How to Draw a Diamond
Diamonds come in all sorts ... Today, we're going to learn how to draw the basic diamond that everyone knows, or at least the most common representation (in shapes and textures) of the diamond.
Before you start your drawing, it is obviously necessary to equip yourself with reference photos. Indeed, if you draw based on your imagination or your memories of what a diamond might look like, you might get lost in your drawing.
Choose one or more references that you like, whether it be because of the shape or the color of the diamond and keep them in sight.
From my side, I have gone with these references:
DRAW A DIAMOND STEP BY STEP
To begin, we will lay the foundations of our diamond.
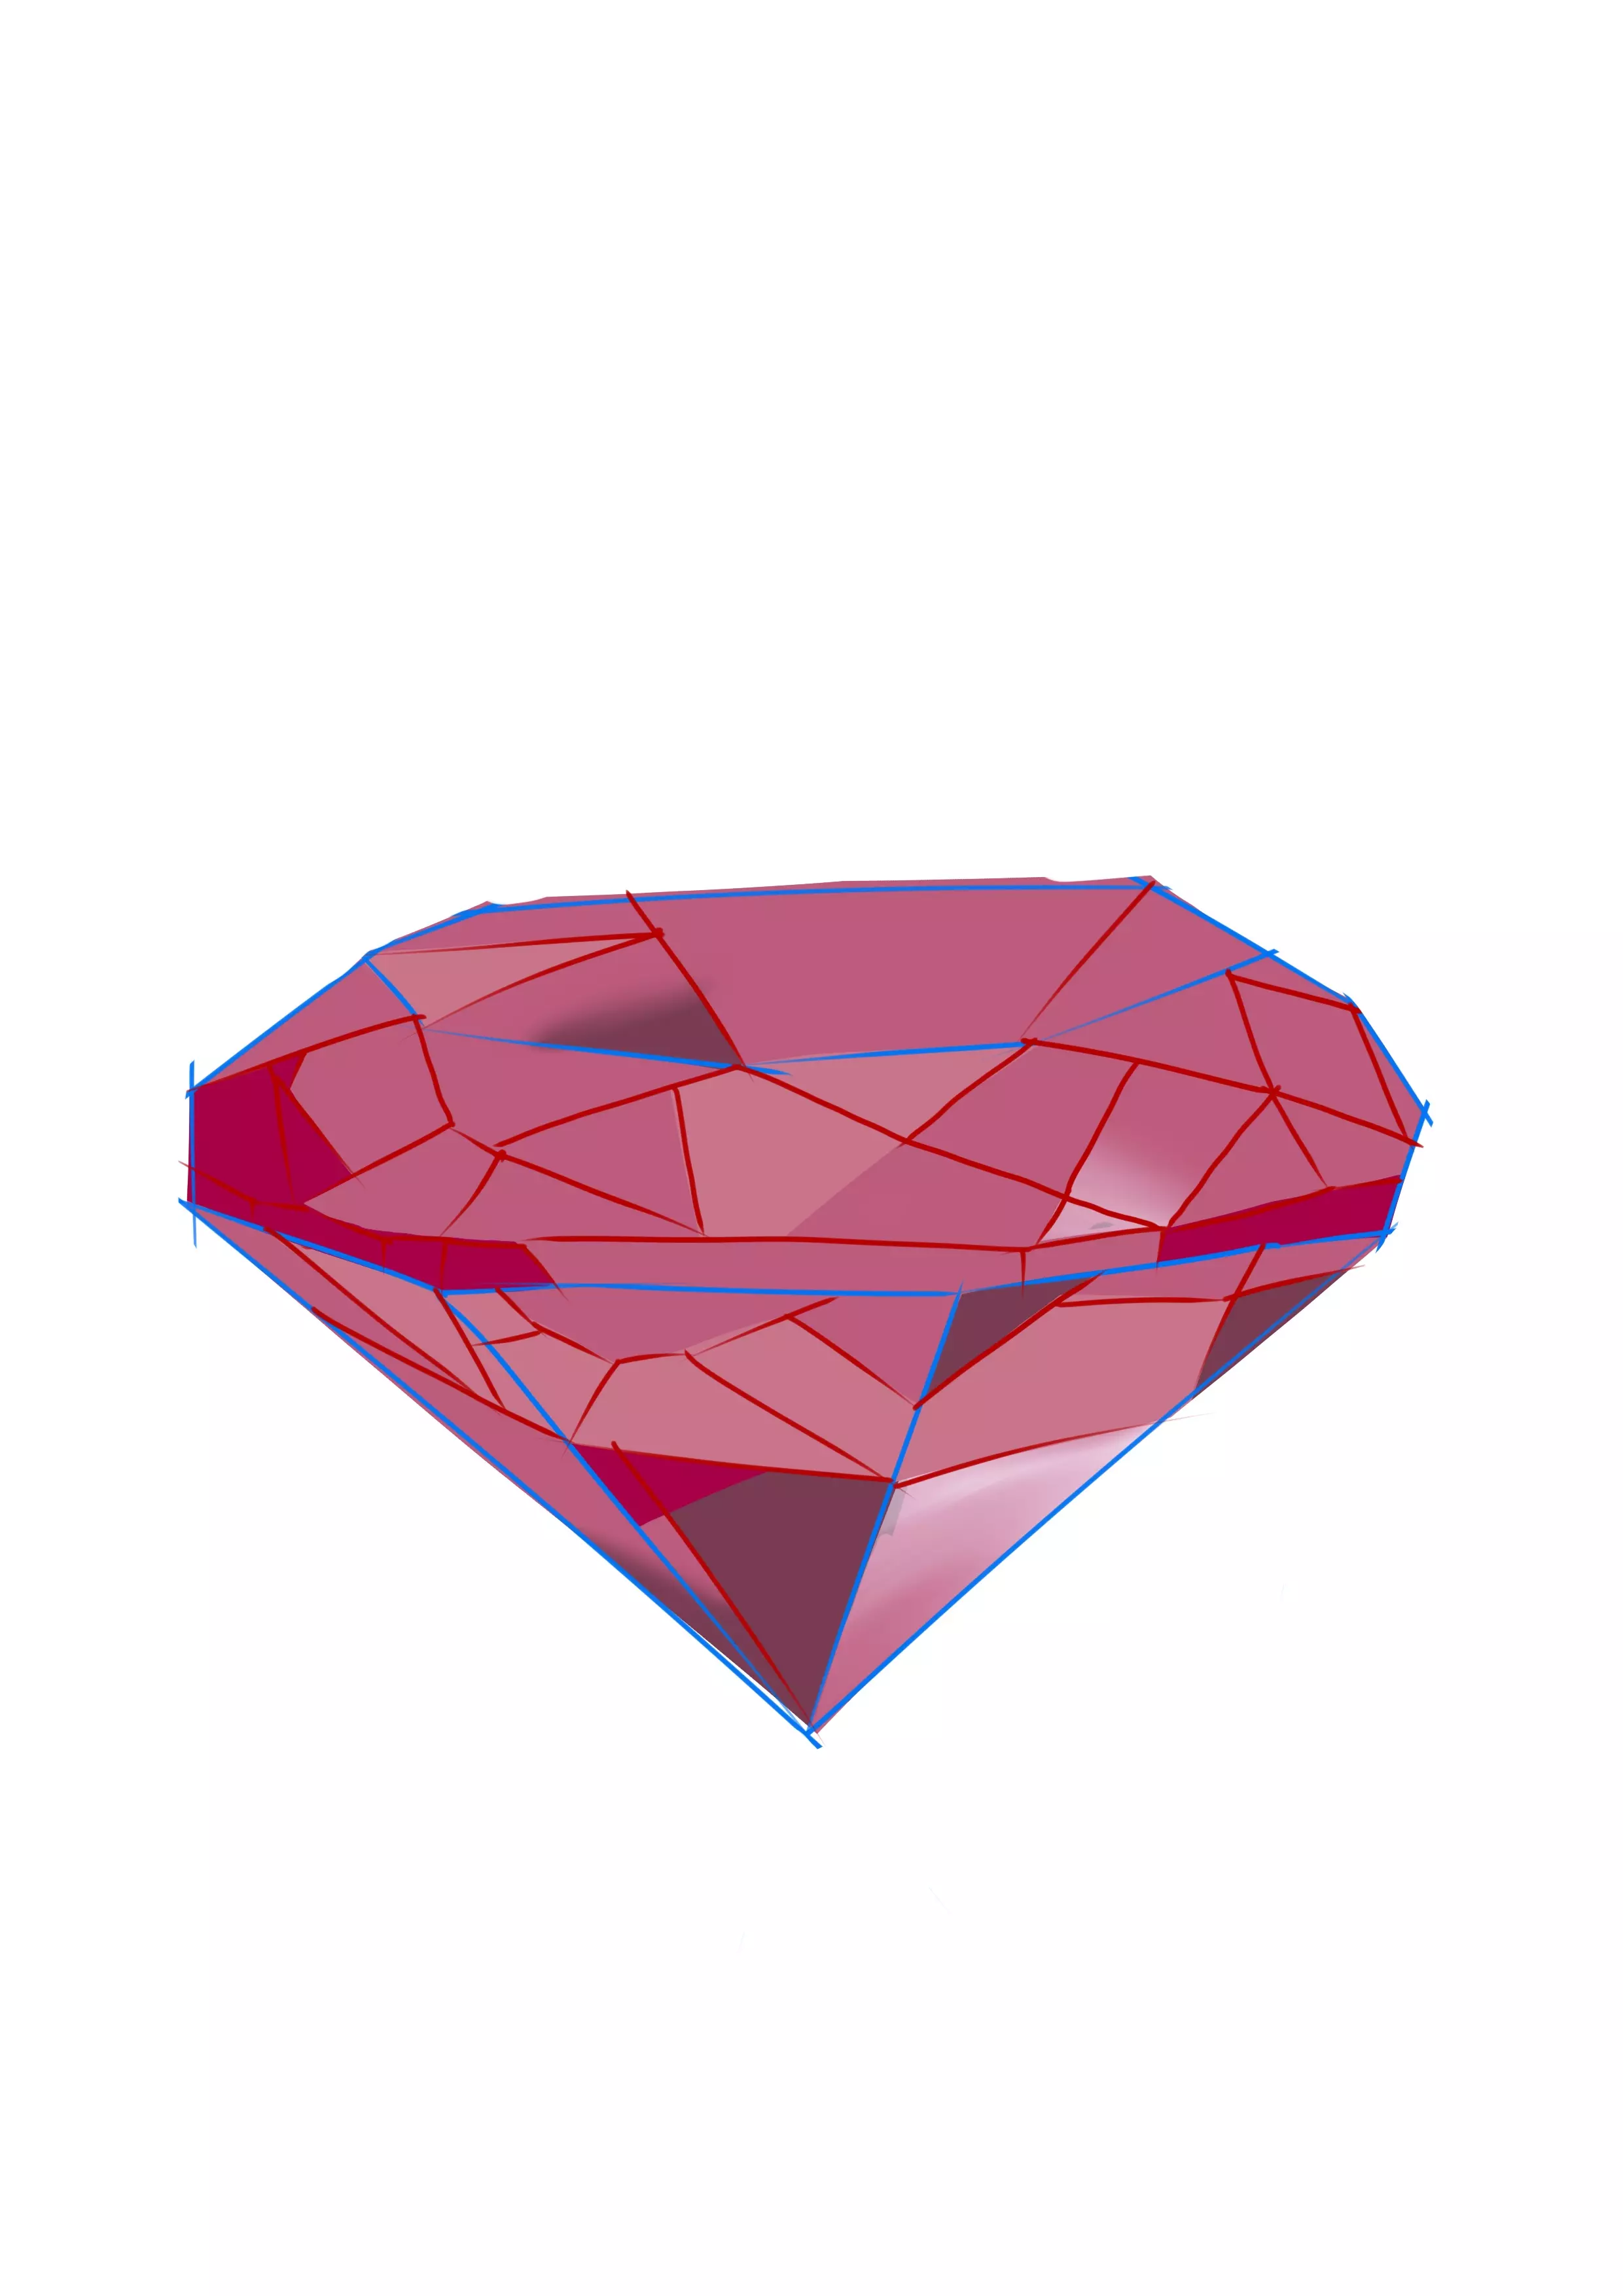
When we observe it closely, we realize it looks like an upside-down triangle. So, we will start by drawing a triangle, point pointing downwards.
Then, I directly carve a more precise shape into my triangle.
We see that there are different angles that form at the top and on the sides of the upper half, so I adjust its shape.
Now that the exterior is done, I'm moving on to the interior.
A diamond is composed of several facets, more or less visible depending on the light and its color.
In my reference photo, we can make out several faces of varying sizes. I transfer these onto my drawing. These markers will also help to define the areas of different shades in the diamond.
Once my base is finished, I give it a good clean to see more clearly.
Now we can move on to color.
ADD COLOR TO THE DIAMOND DRAWING
I start by setting a middle tone.
Wanting to make a pink diamond, I apply a medium pink, neither too dark nor too light, over the entire surface of the diamond.
I continue by adding the darkest areas with a dark pink.
I mainly apply it to the lower area of the diamond and a part towards the left of my drawing (the light coming from the right).
I'm already adding some light touches by adding white, which I will cover later; it serves as a reference point for my light. Since my light comes from the right, I mainly place it on the right side of my sheet.
Once we've established our dark and light areas, we can move on to the next step.
ADD SHADES OF COLOR TO THE DRAWING
Here, you're at the stage where you can really let loose.
Indeed, the diamond reflects light in multiple directions, which means that one facet of a diamond will not have the same color as another!
You will be able to place the nuances of your color wherever you like, while still maintaining the logic of the direction of the light ...
This step will allow you to thoroughly explore your color palette.
Do not forget to add areas that are more saturated in color, these are the areas where the light reflects less, so the color is more contrasted and less bright.
Have fun adding different shades to the different facets; one facet can even have 2 different shades if it has a part in the light or in the shadow.
Remember to blur certain parts and leave others very clear.
Blending should be done in the middle of a facet, to mix several colors, while the sharp areas will serve to define the facets, showing the hard side of the diamond.
Do not hesitate to rework some areas, again and again, especially the areas of shadows and lights that will help create the volume of the diamond.
Finally, blur your lines (or even remove them completely if you want).
Our diamond is finished!
Have fun redoing it in different colors, it can be an interesting exercise to master the color palette perfectly :)