How to Draw a Dolphin
I don't know about you, but when I was a child, the animals I loved to draw were marine mammals. Maybe because at the time we all had "Free Willy" and other shows like Flipper. In any case, marine mammals are cool to draw and quite simple in my opinion.
Today we are going to focus on the Dolphin!
It's quite difficult to find complete dolphin images that allow a good understanding of their entire structure (especially the tail fin). But I would let you watch movies, documentaries or look at other images if you need to see our model from different angles :)
DOLPHIN WATCHING
This is our favorite step, of course!
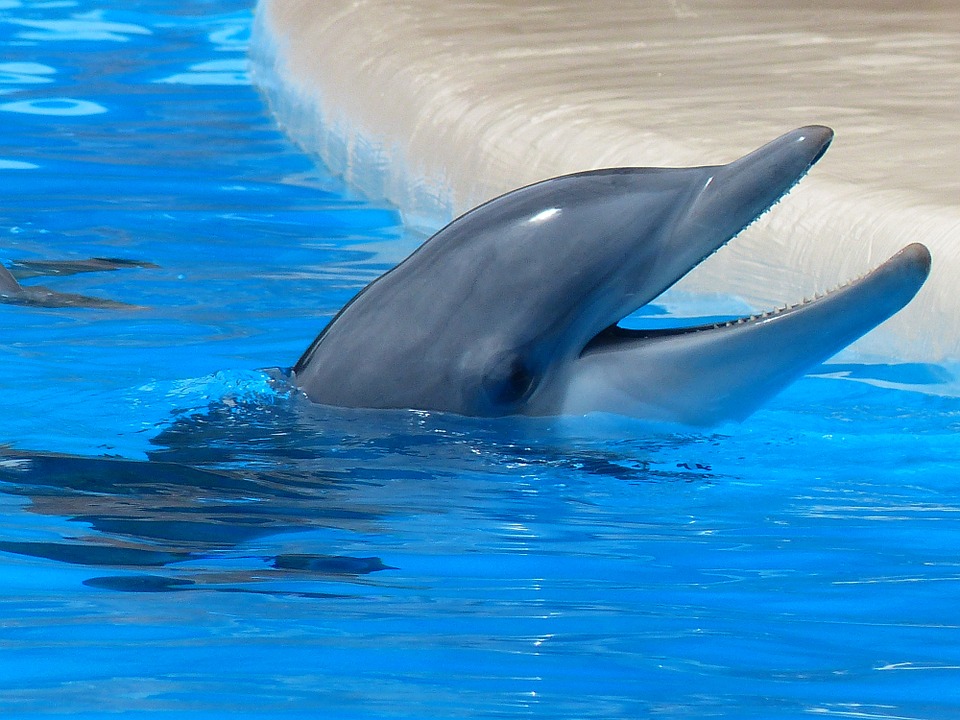
The dolphin is a rather simple animal because its body, or at least the greater part of its body, is essentially cylindrical. (The little bulge you see on the underside of the belly corresponds to the genital apparatus, which is not usually so pronounced, our friend must have been pressing on it for this photo ^^).
The subtlety lies in the shape of its head, its tail, and the placement of its fins.
The head has a rounded and somewhat flattened shape from a side view, but not from the front. The eyes are located on the sides of the head very close to the corners of the mouth (somewhat like in birds). Long and thin mouth, somewhat like a beak (which is short) with a slight upward curve.
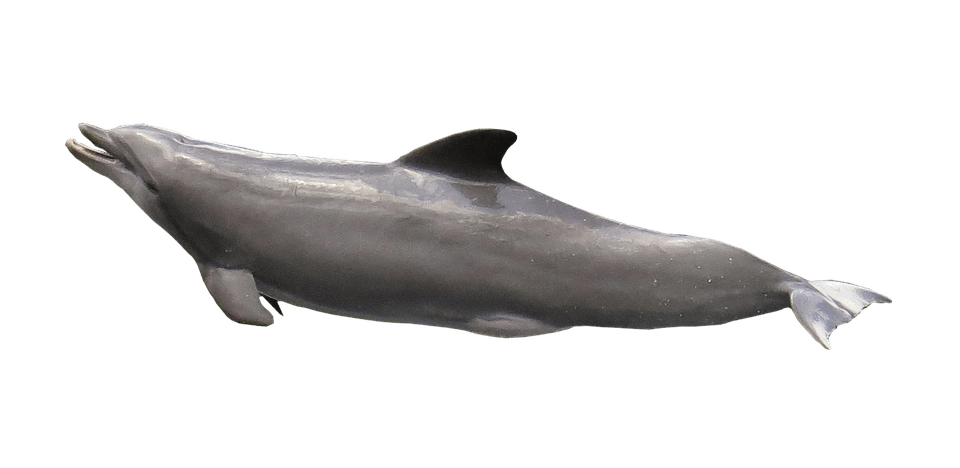
The fins are quite close to the head and are small and triangular.
The characteristic central fin is located about halfway down the body.
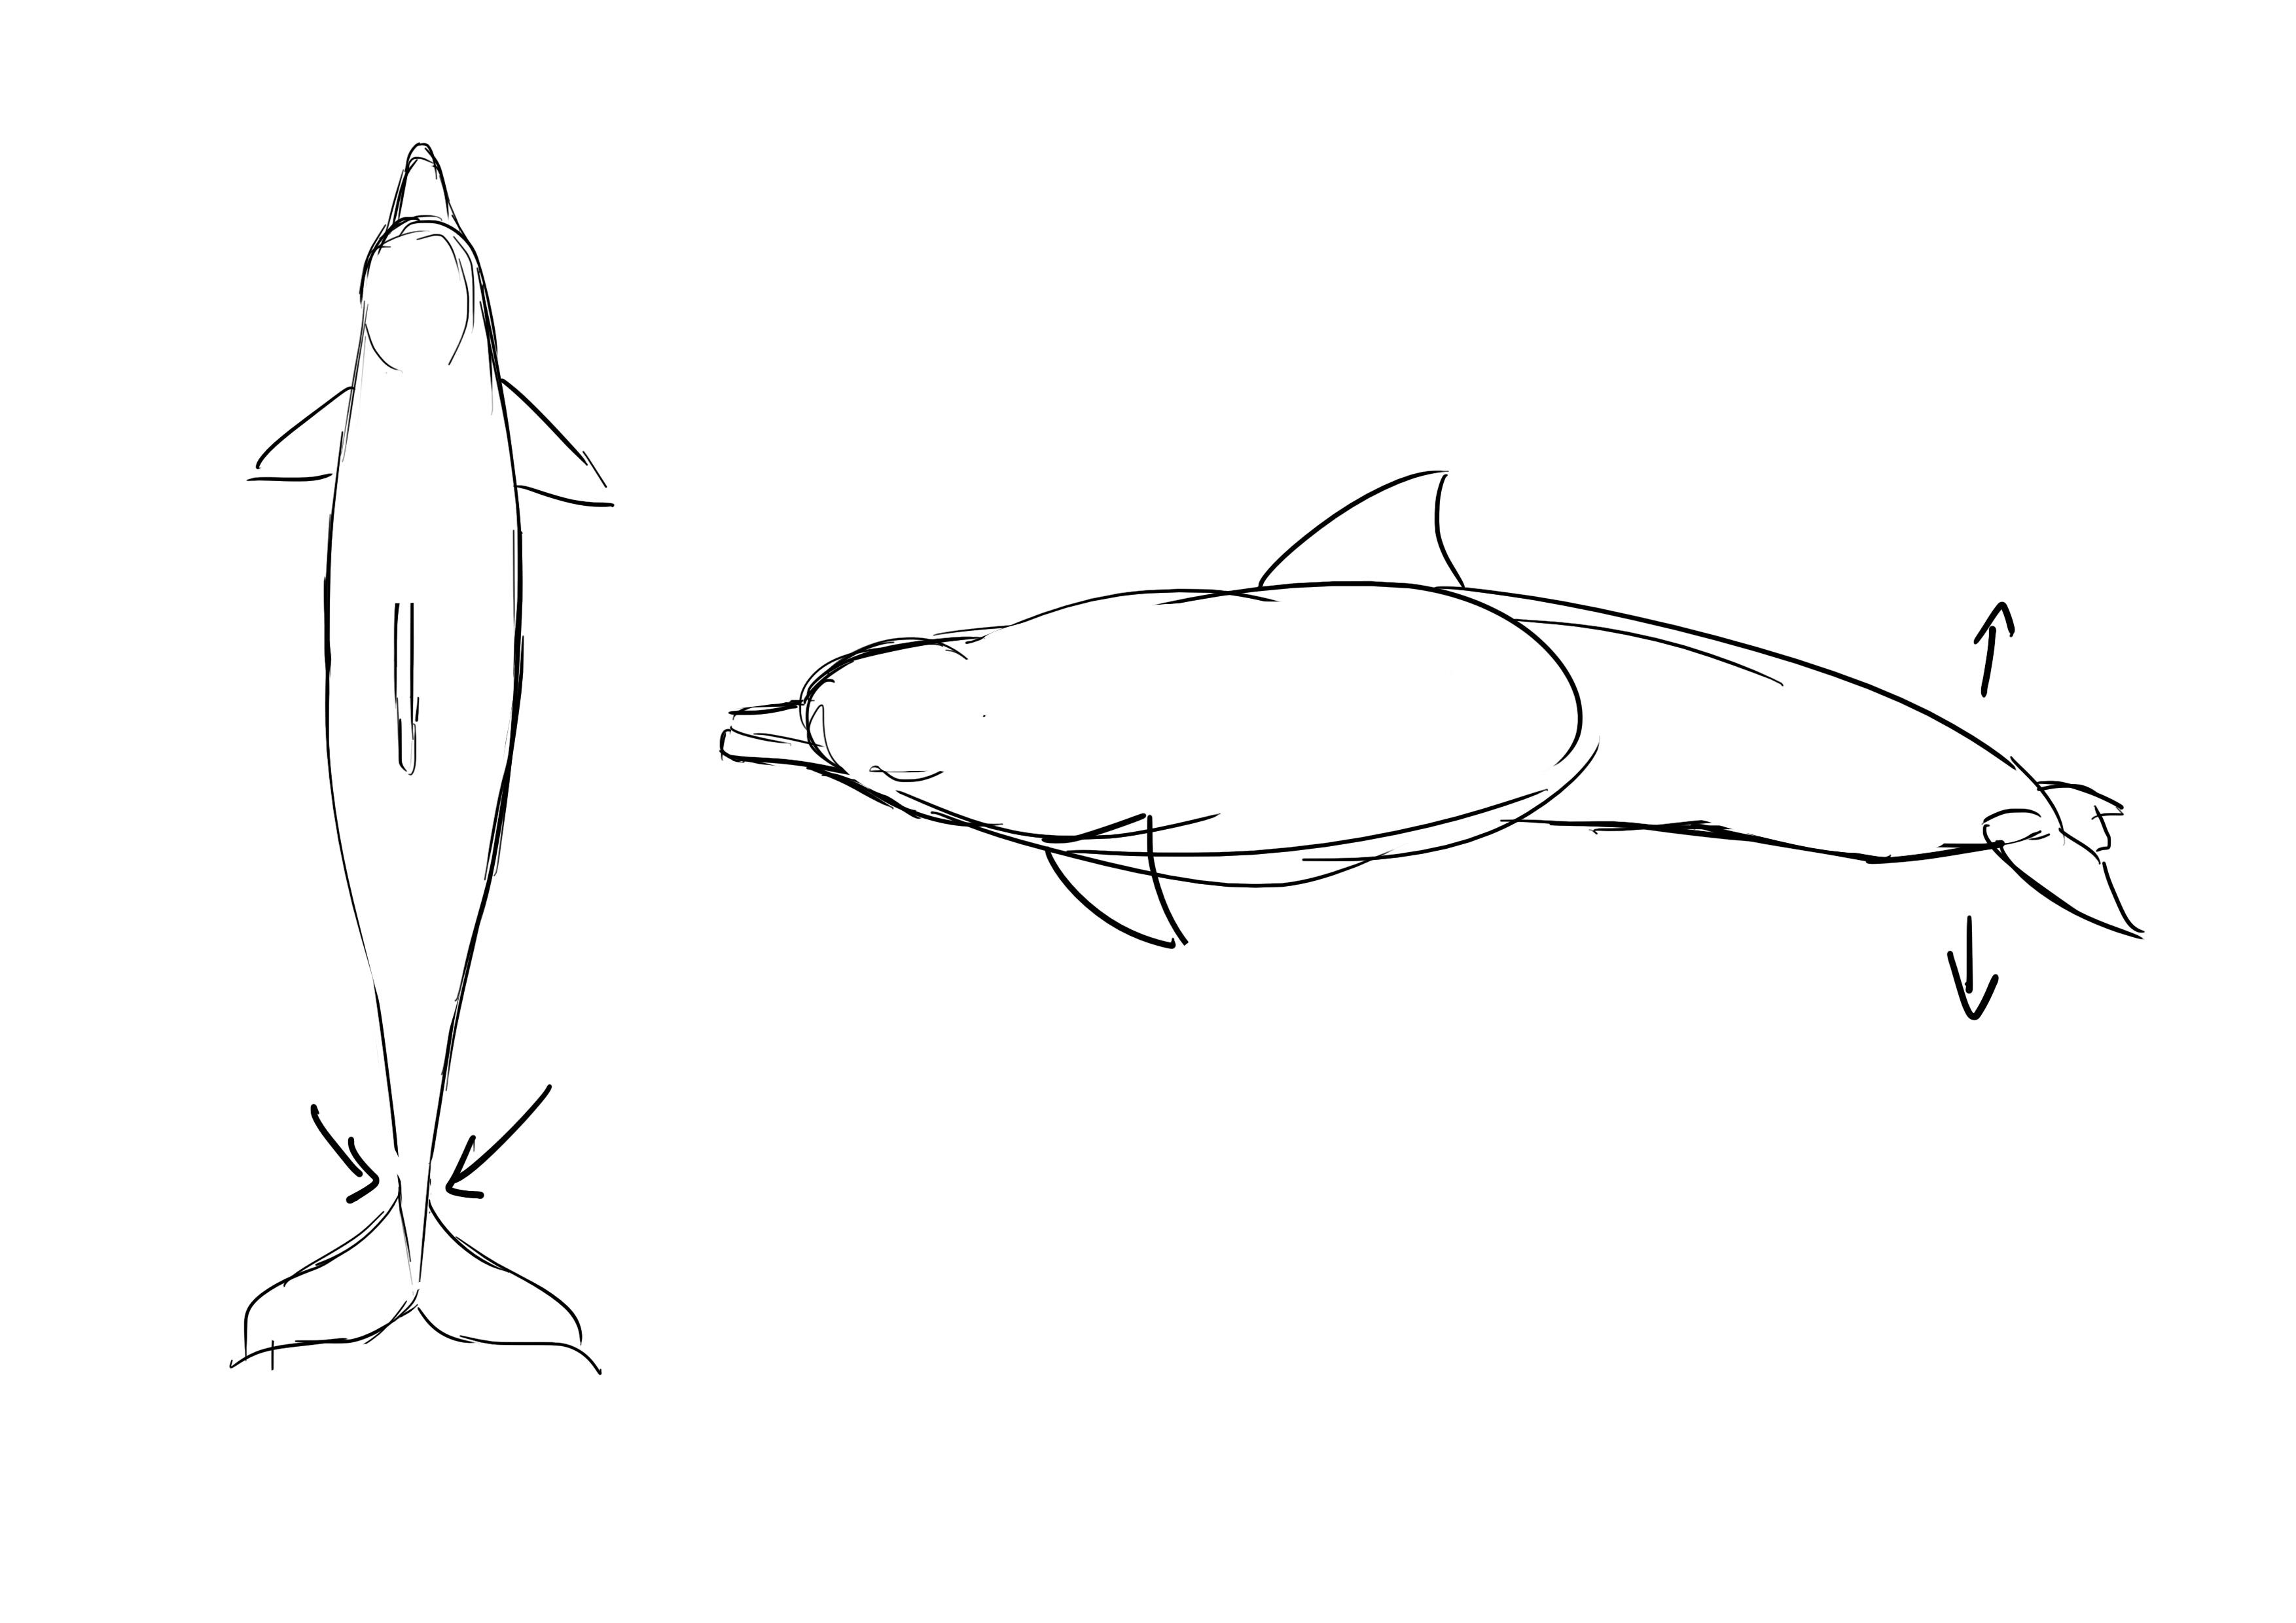
As for the back of the body, it tapers finely when viewed from above, but appears very wide when seen from the side (I think I am losing you, I will make you a diagram, do not panic). The caudal fin, on the other hand, is completely flat and with the characteristic shape that everyone knows.
IN BRIEF
Here is the diagram of thedolphin bodyfrom above and from the side so that you can grasp some of the intricacies of the creature. Which brings me to tell you that generally, do not rely on just one photo when you draw something. Take various photos from different angles to fully understand what you are drawing and thus avoid pitfalls. If you are working from a physical model in front of you, move around and turn around it to understand its structure well and thus, draw it much more convincingly ;)
THE DOLPHIN DRAWING
Now, to the heart of the matter!
The dolphin is not very complicated once you understand how it is structured. And for once, I will break the rule and not start with the head, but with the body.
Today, I will not base my thoughts on any particular photo.
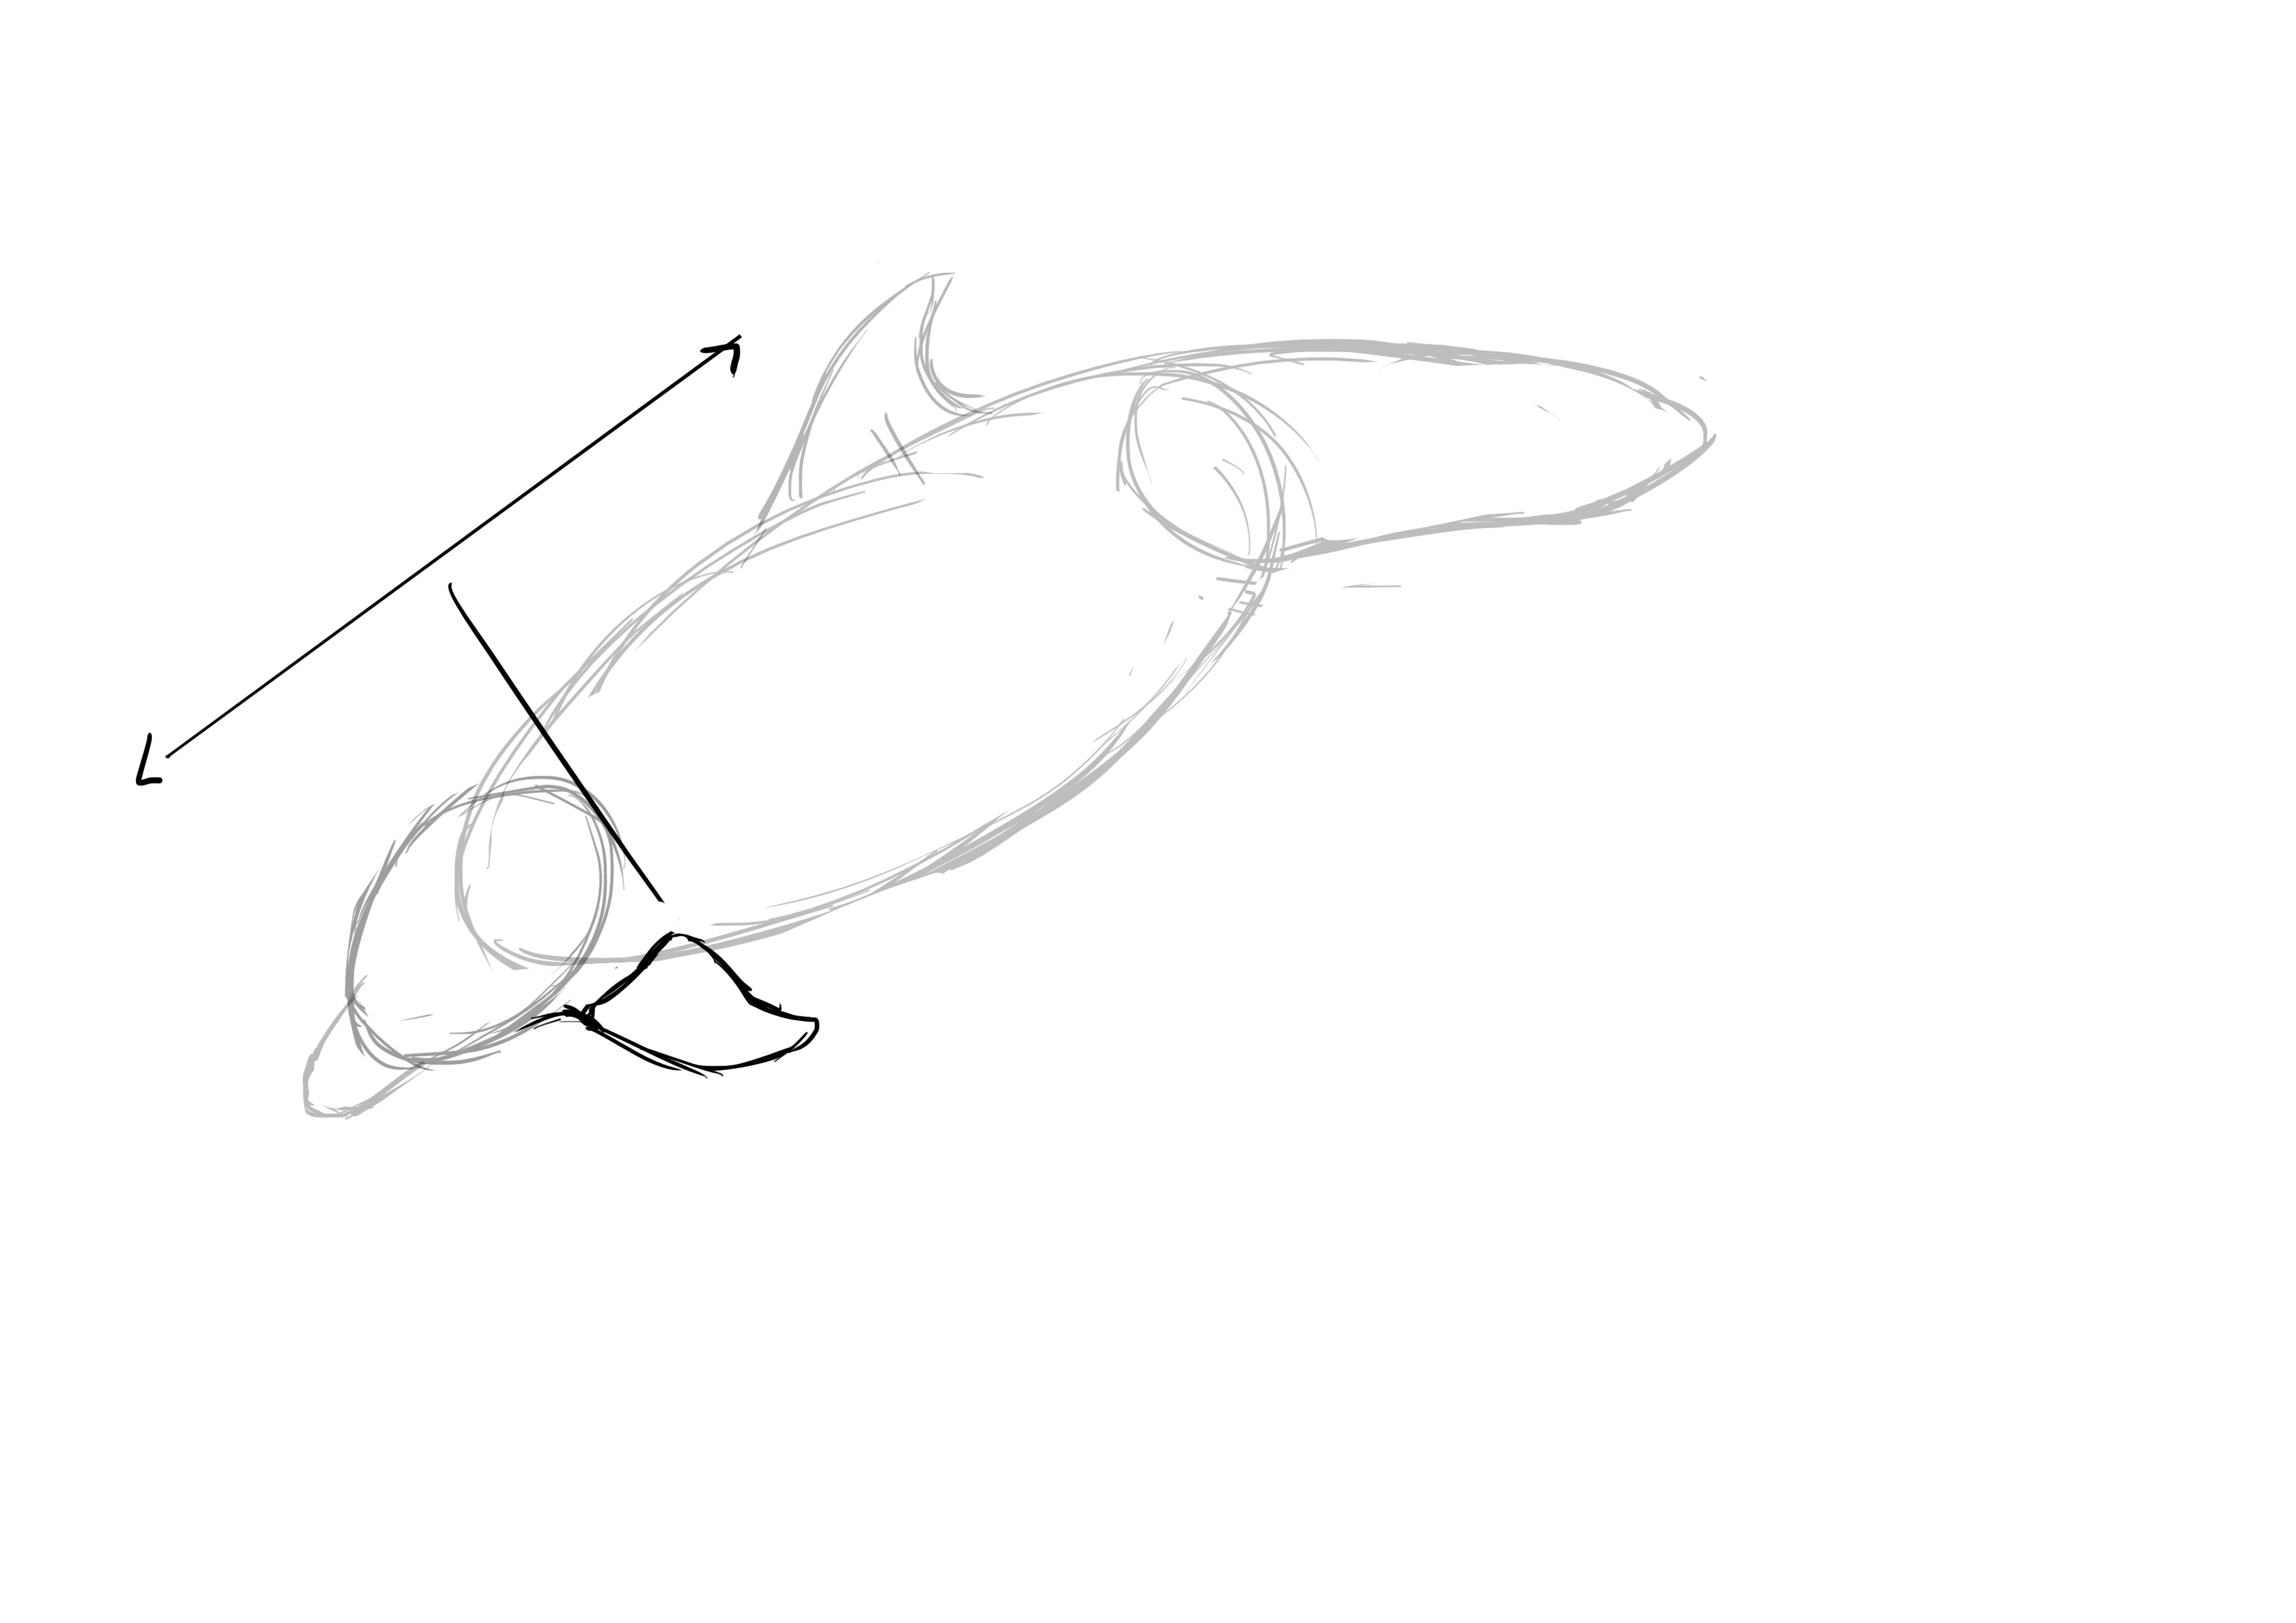
DRAW THE BODY
So let's place the body with two potato-shaped forms. Why two? If you look at the photo I showed you earlier, you will probably notice that one part of the body is much more swollen and thicker than the other, which is more muscular. This is normal, it's the abdomen which contains most of the organs, while the rest is almost exclusively muscular.
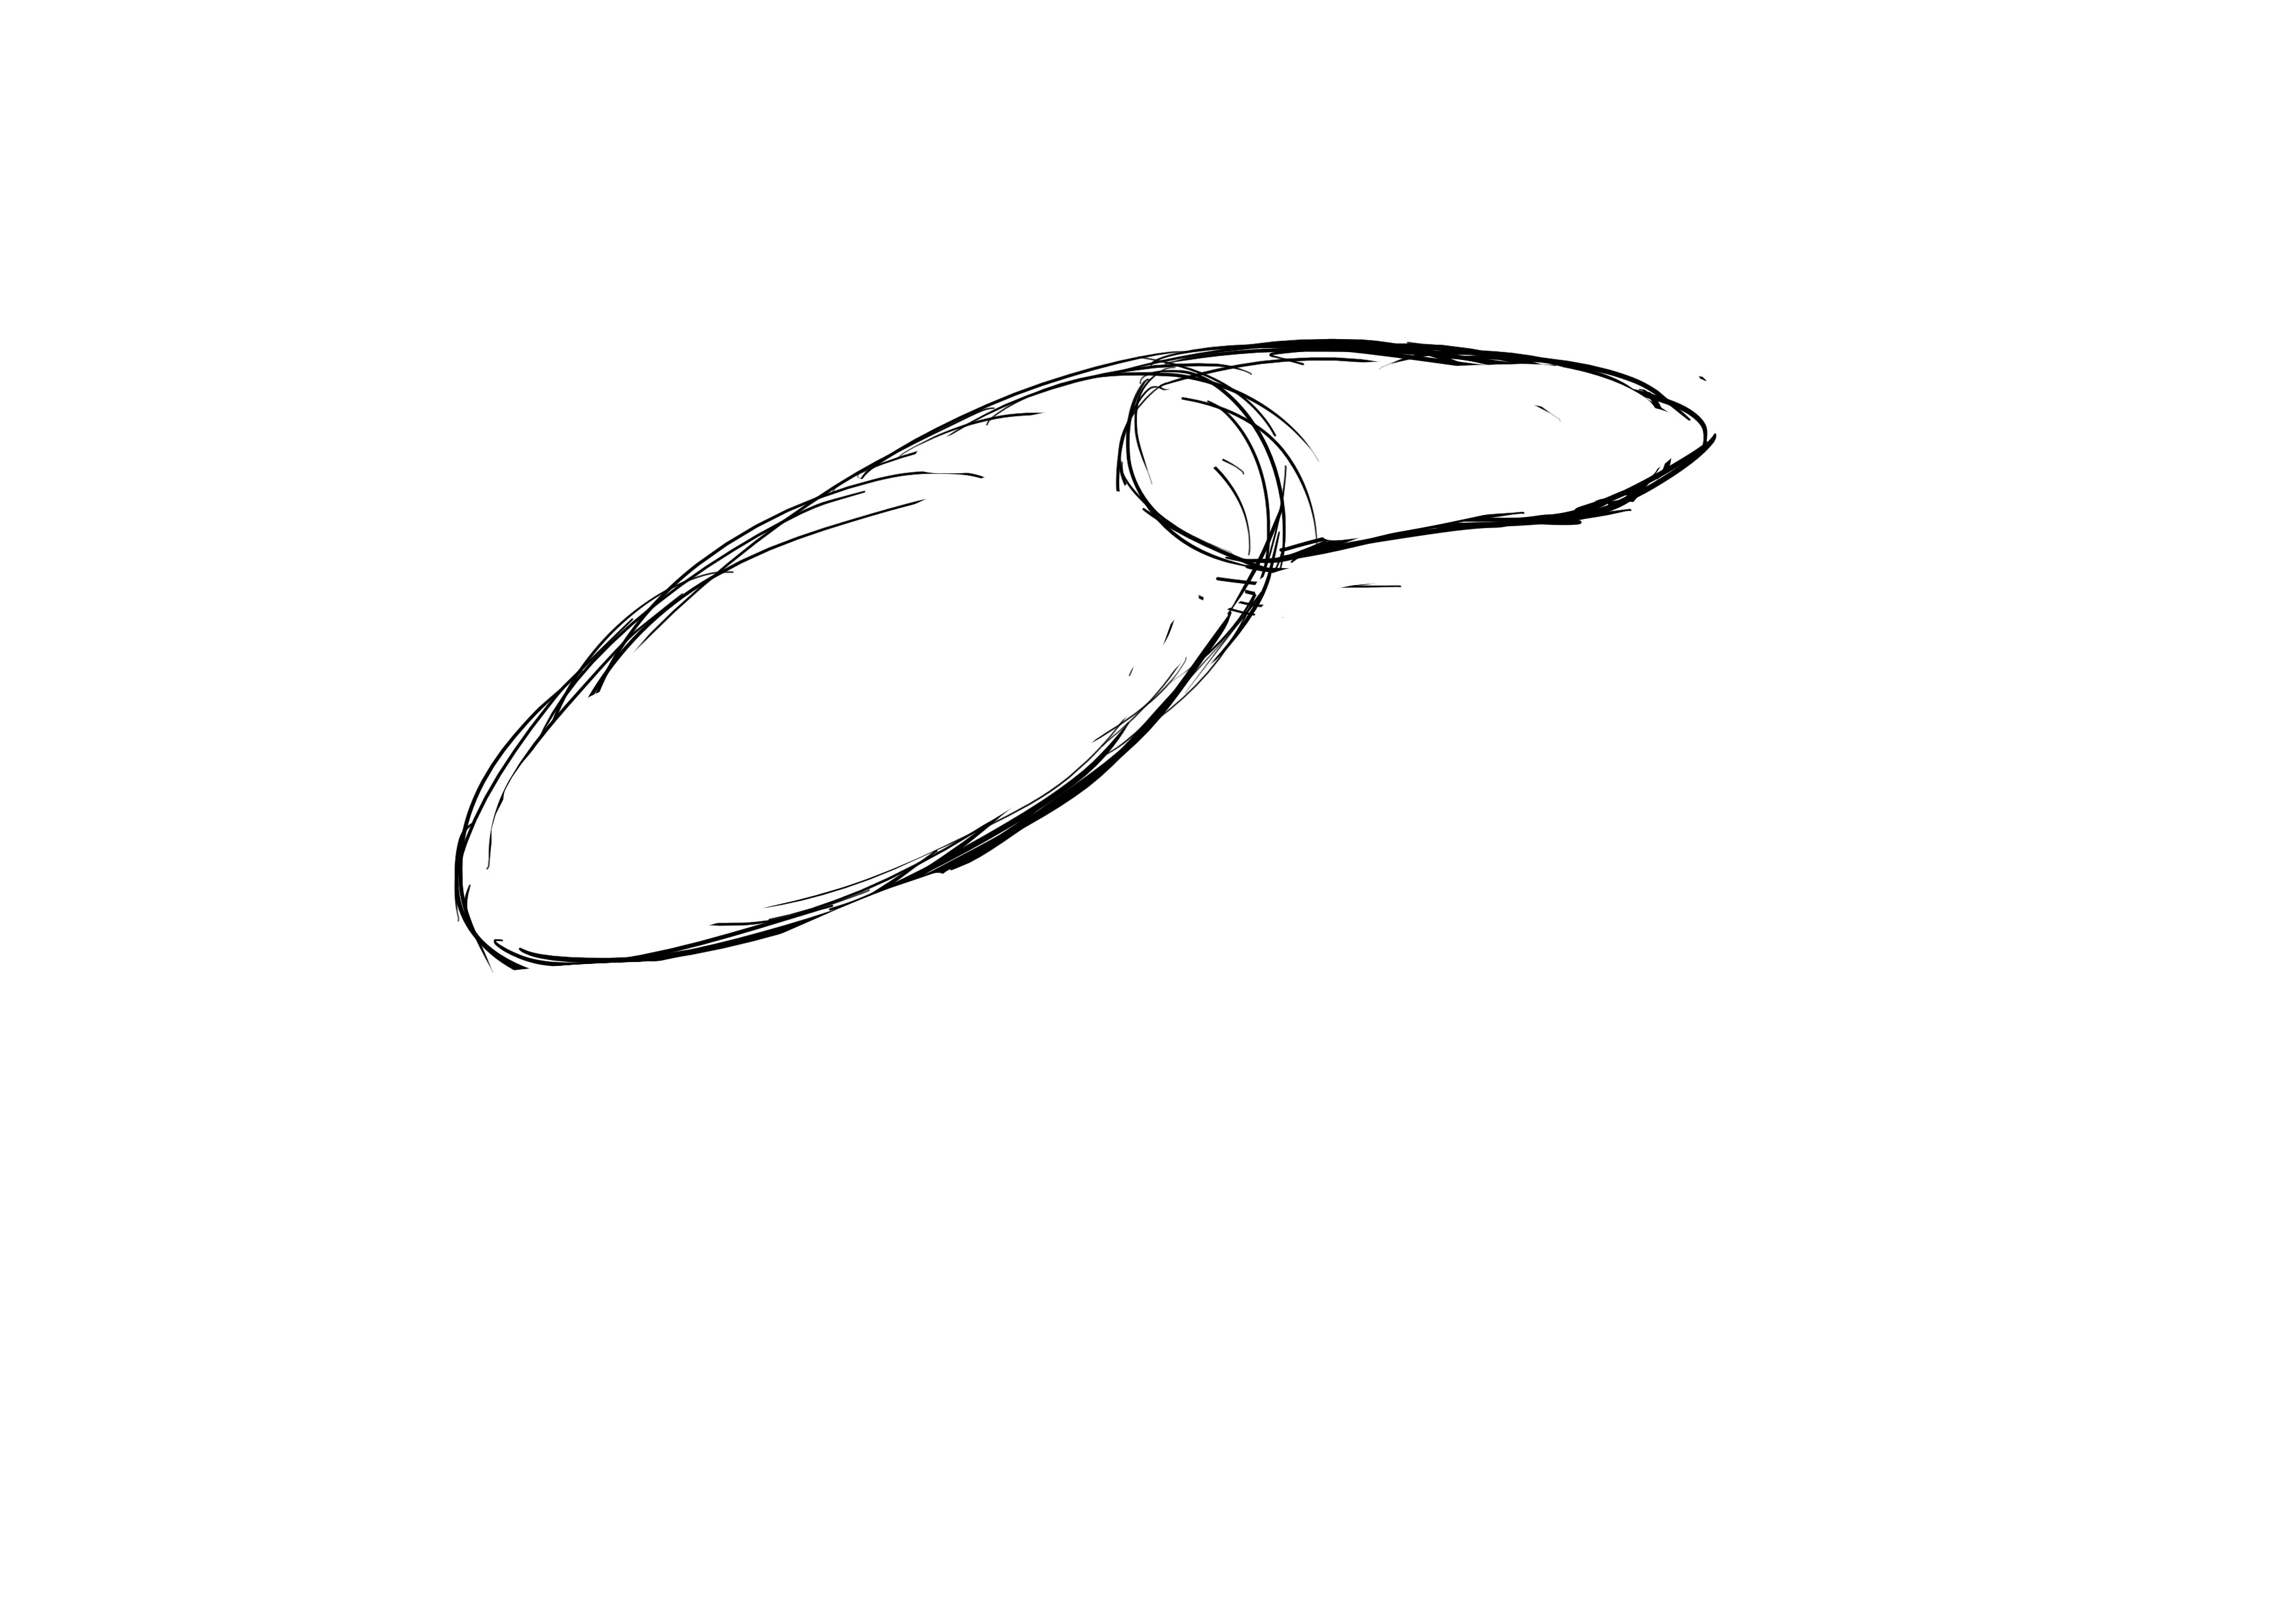
So, a swollen shape for the belly and a more slender one for the tail. It's hard to give you precise measurements in this case, you'll have to observe well ^^ Anyway, the swollen shape is about twice as long as the other ;) By the way, the genital apparatus marks the end of the swollen part and the beginning of the muscular part.
THE DOLPHIN'S HEAD
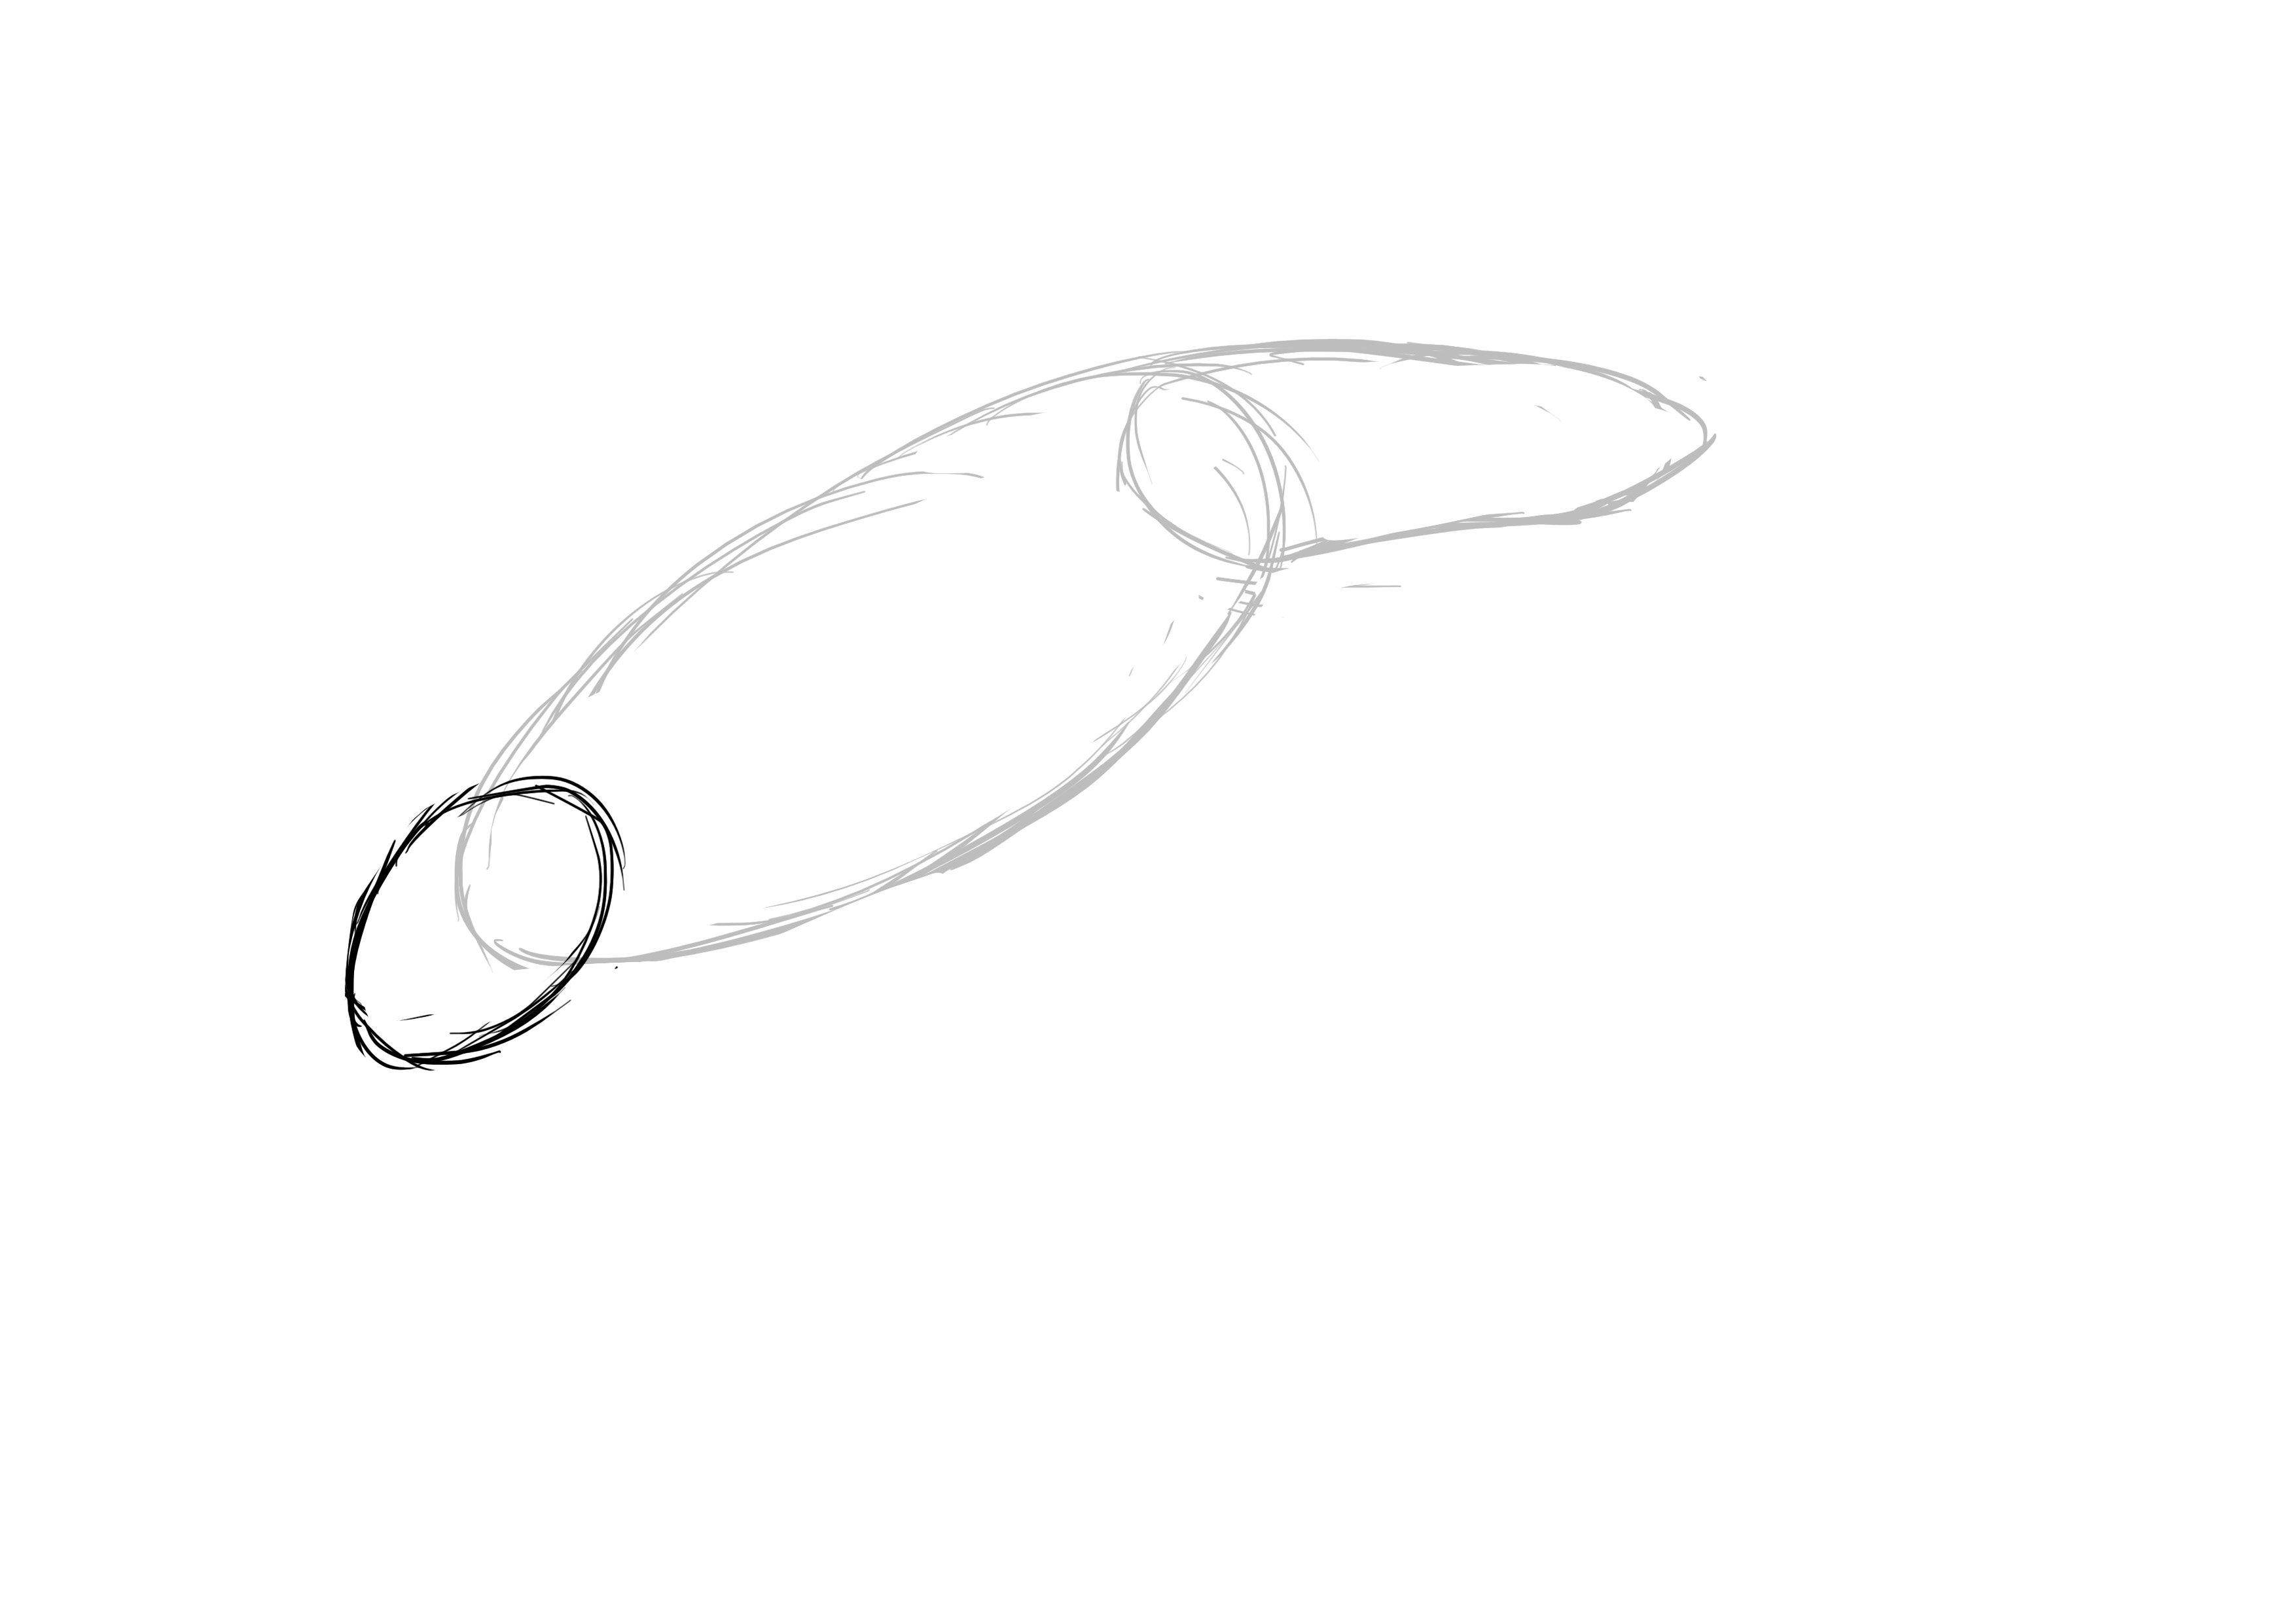
To this, we will add a small ellipse (flattened circle) for the head.
DRAW THE FIN AND THE BEAK
We will also place the fin at the center of the body.
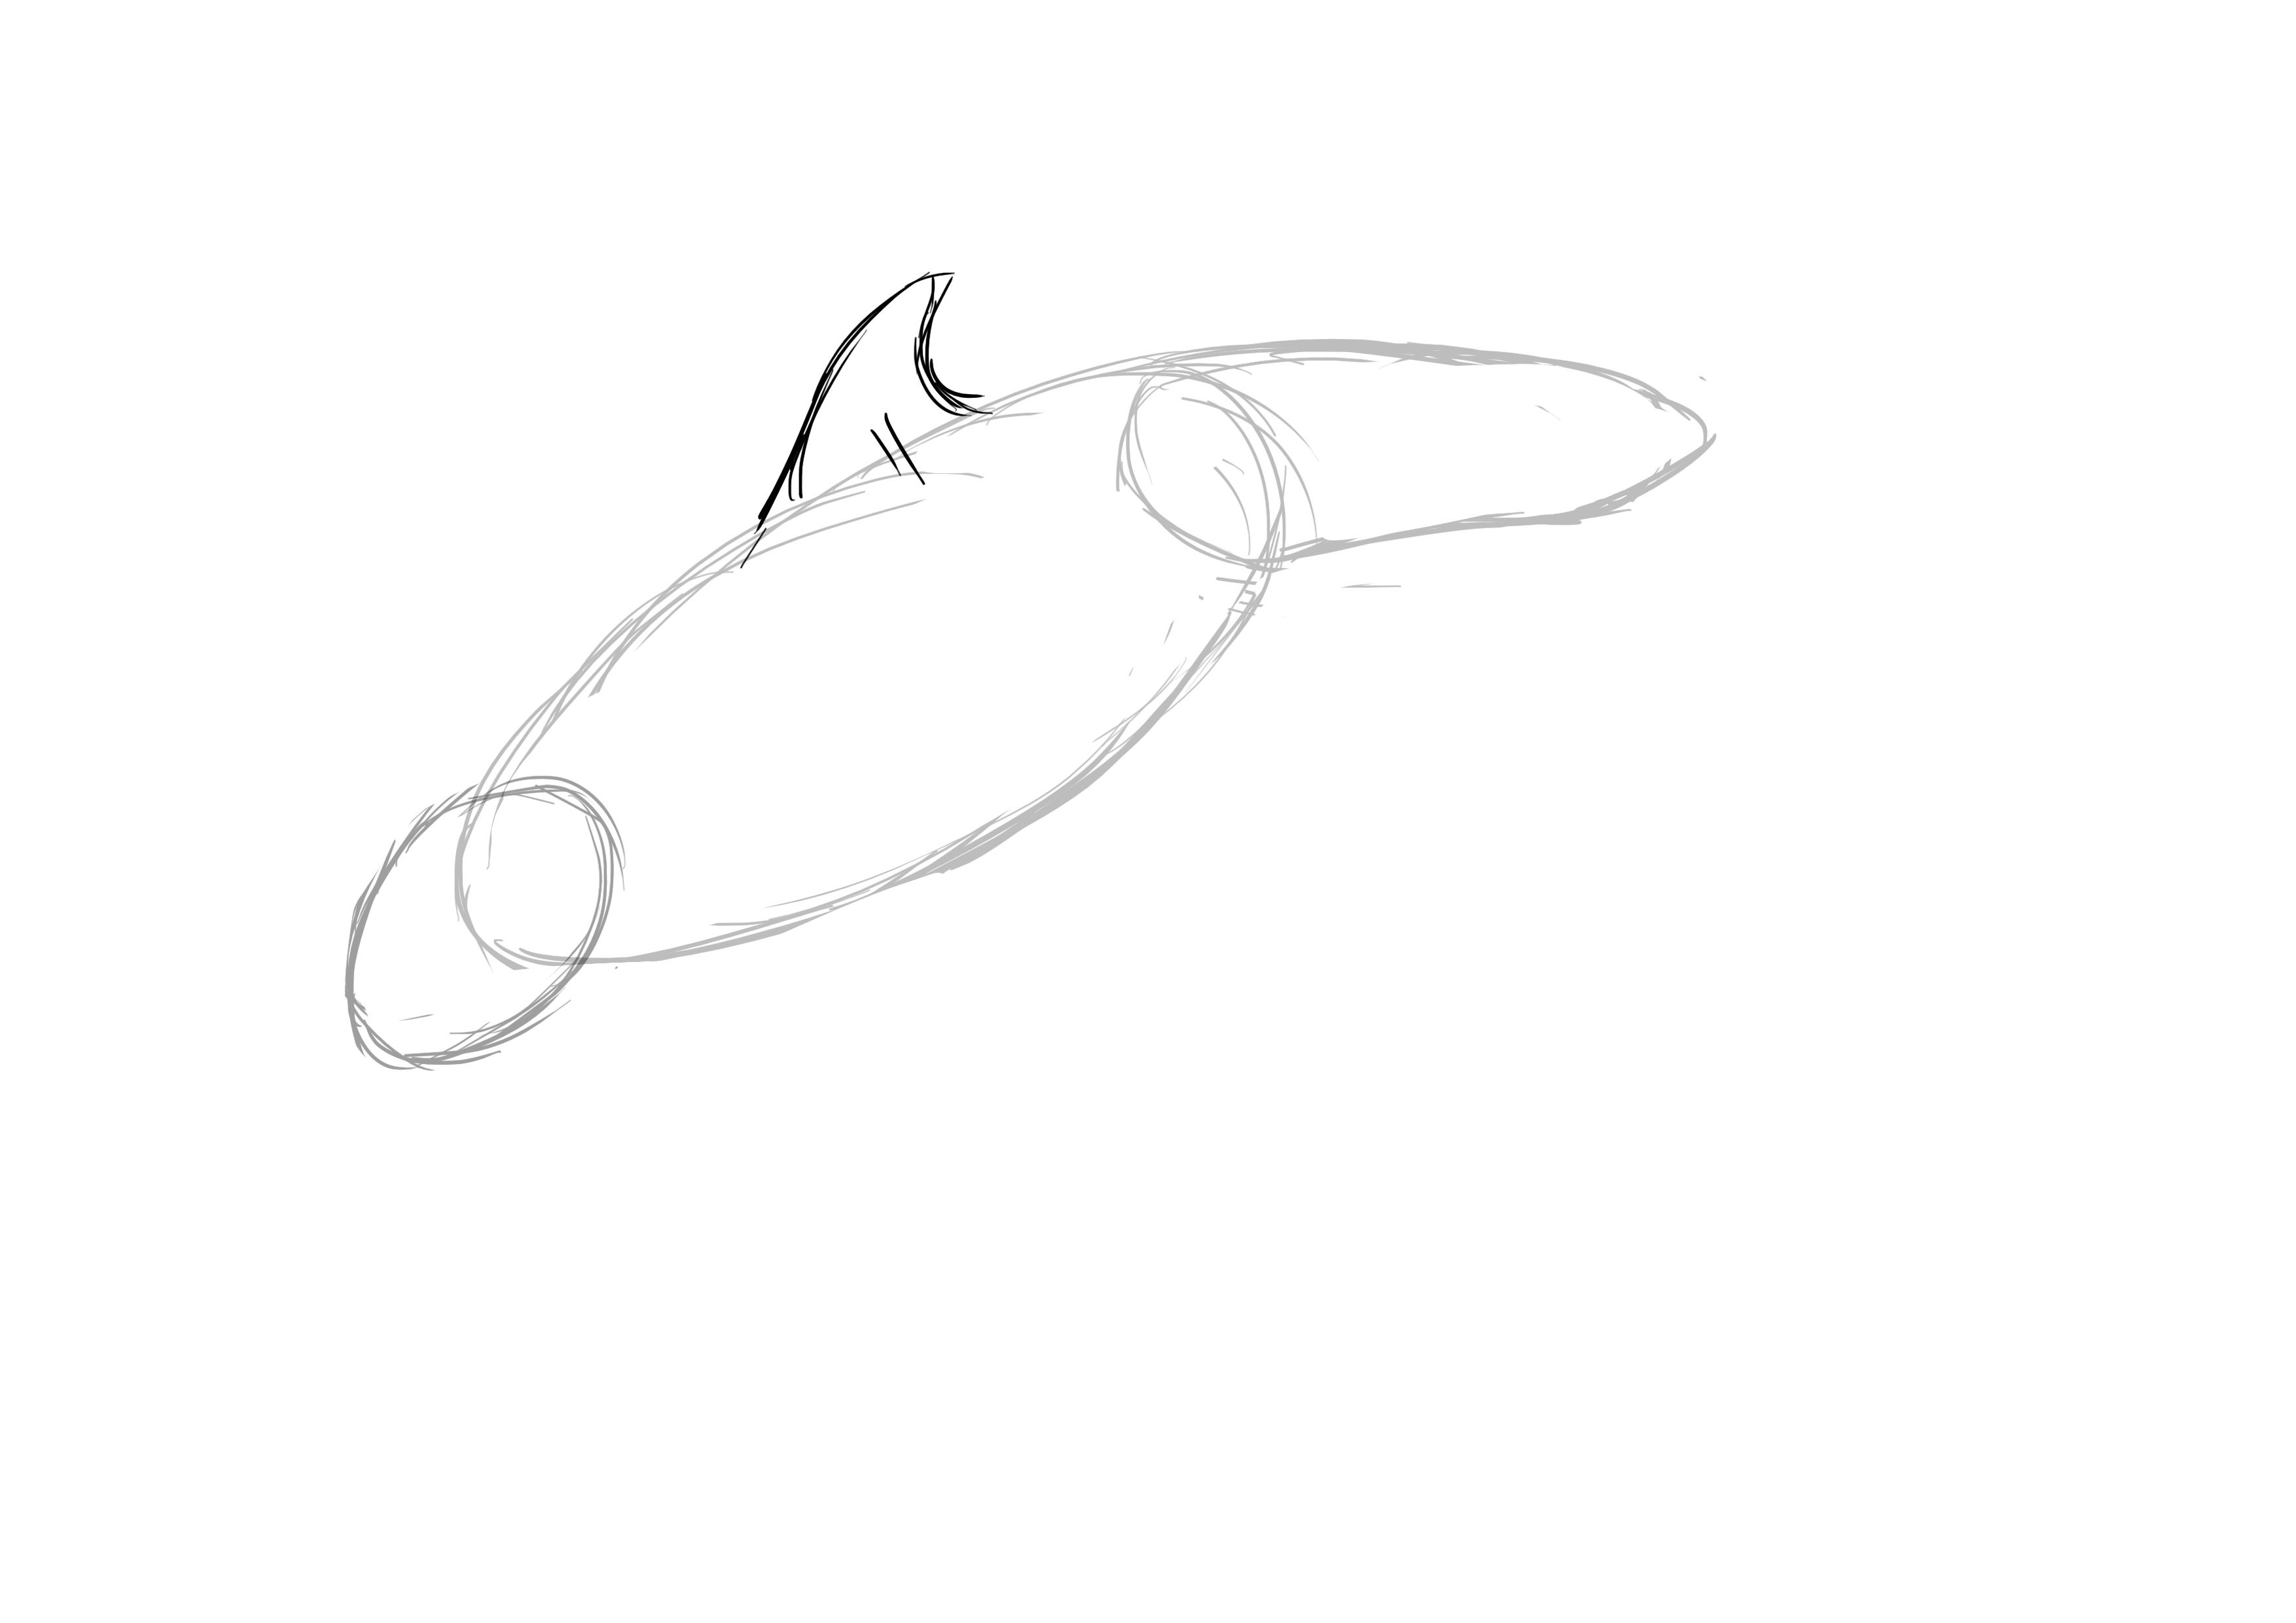
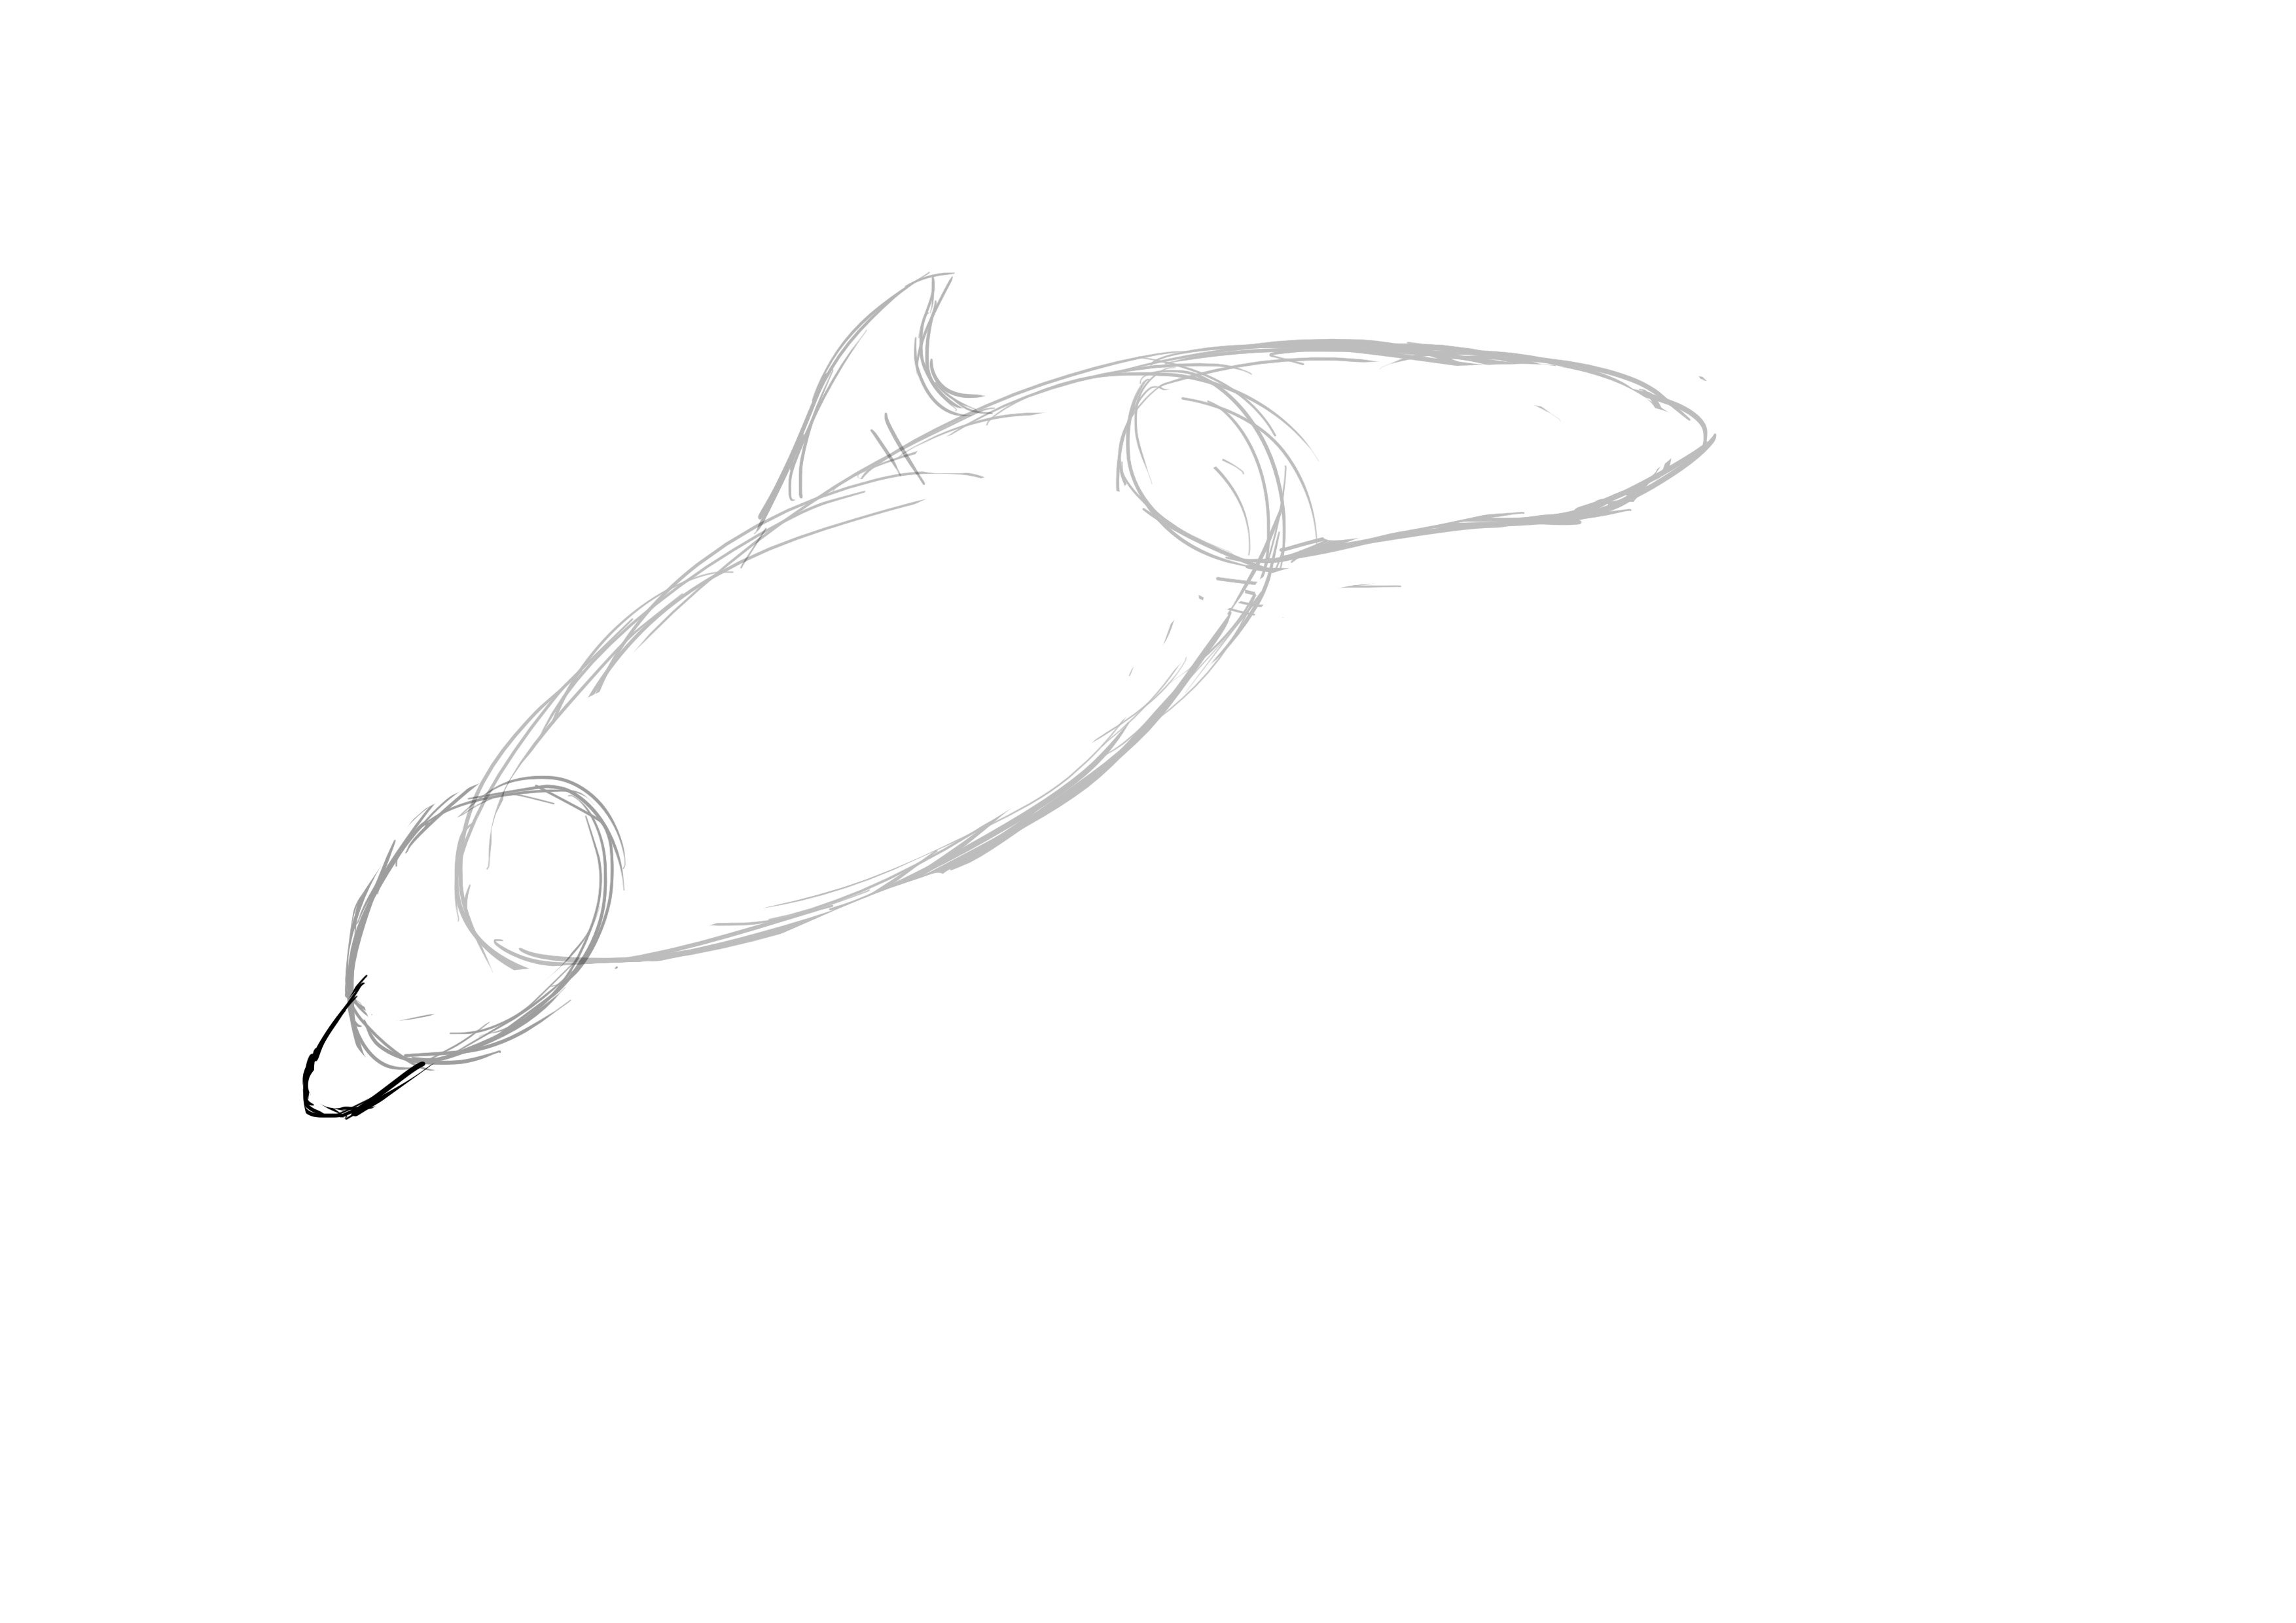
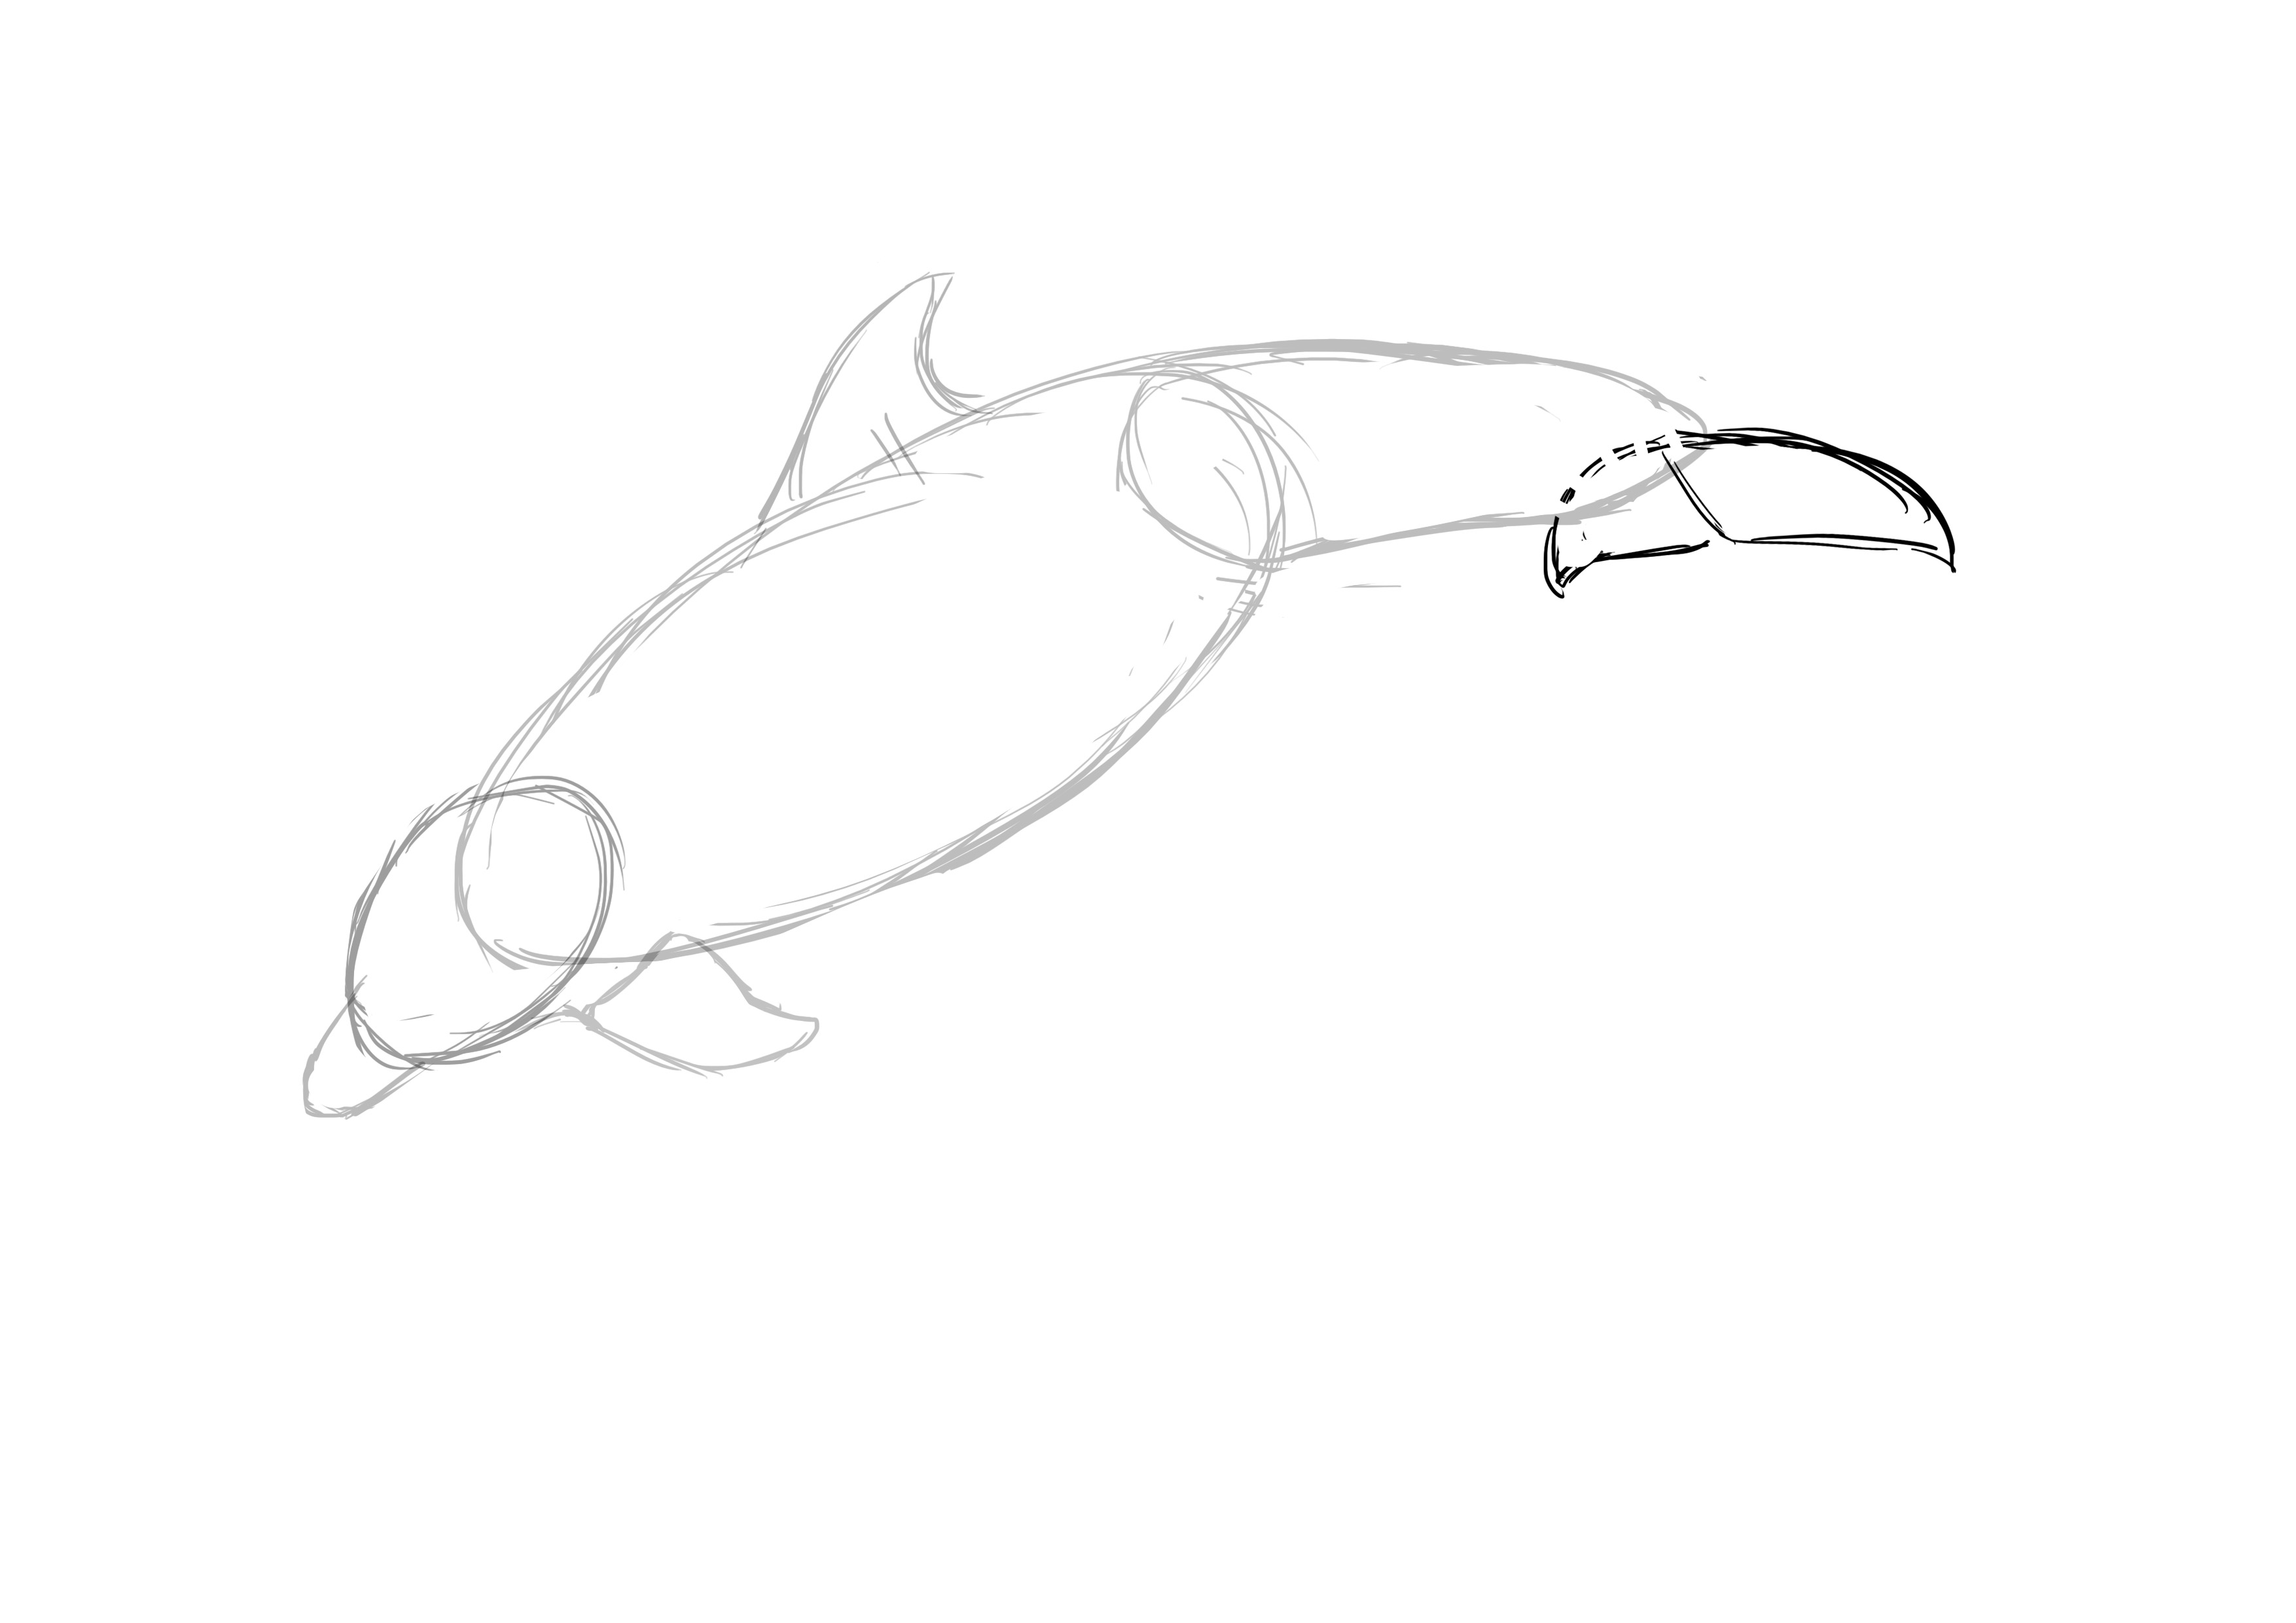
Place the beak which is between one third and half the length of the head, and as thick as half its height.
DOLPHIN FINS
The front fins are positioned about halfway between the central fin and the tip of the snout and they incline backwards. Both the fin and the fins are of similar size, roughly equivalent to the size of the dolphin's head + snout.
Finally, the caudal fin positioned at the end of the tail: each half of a similar size to that of a fin.
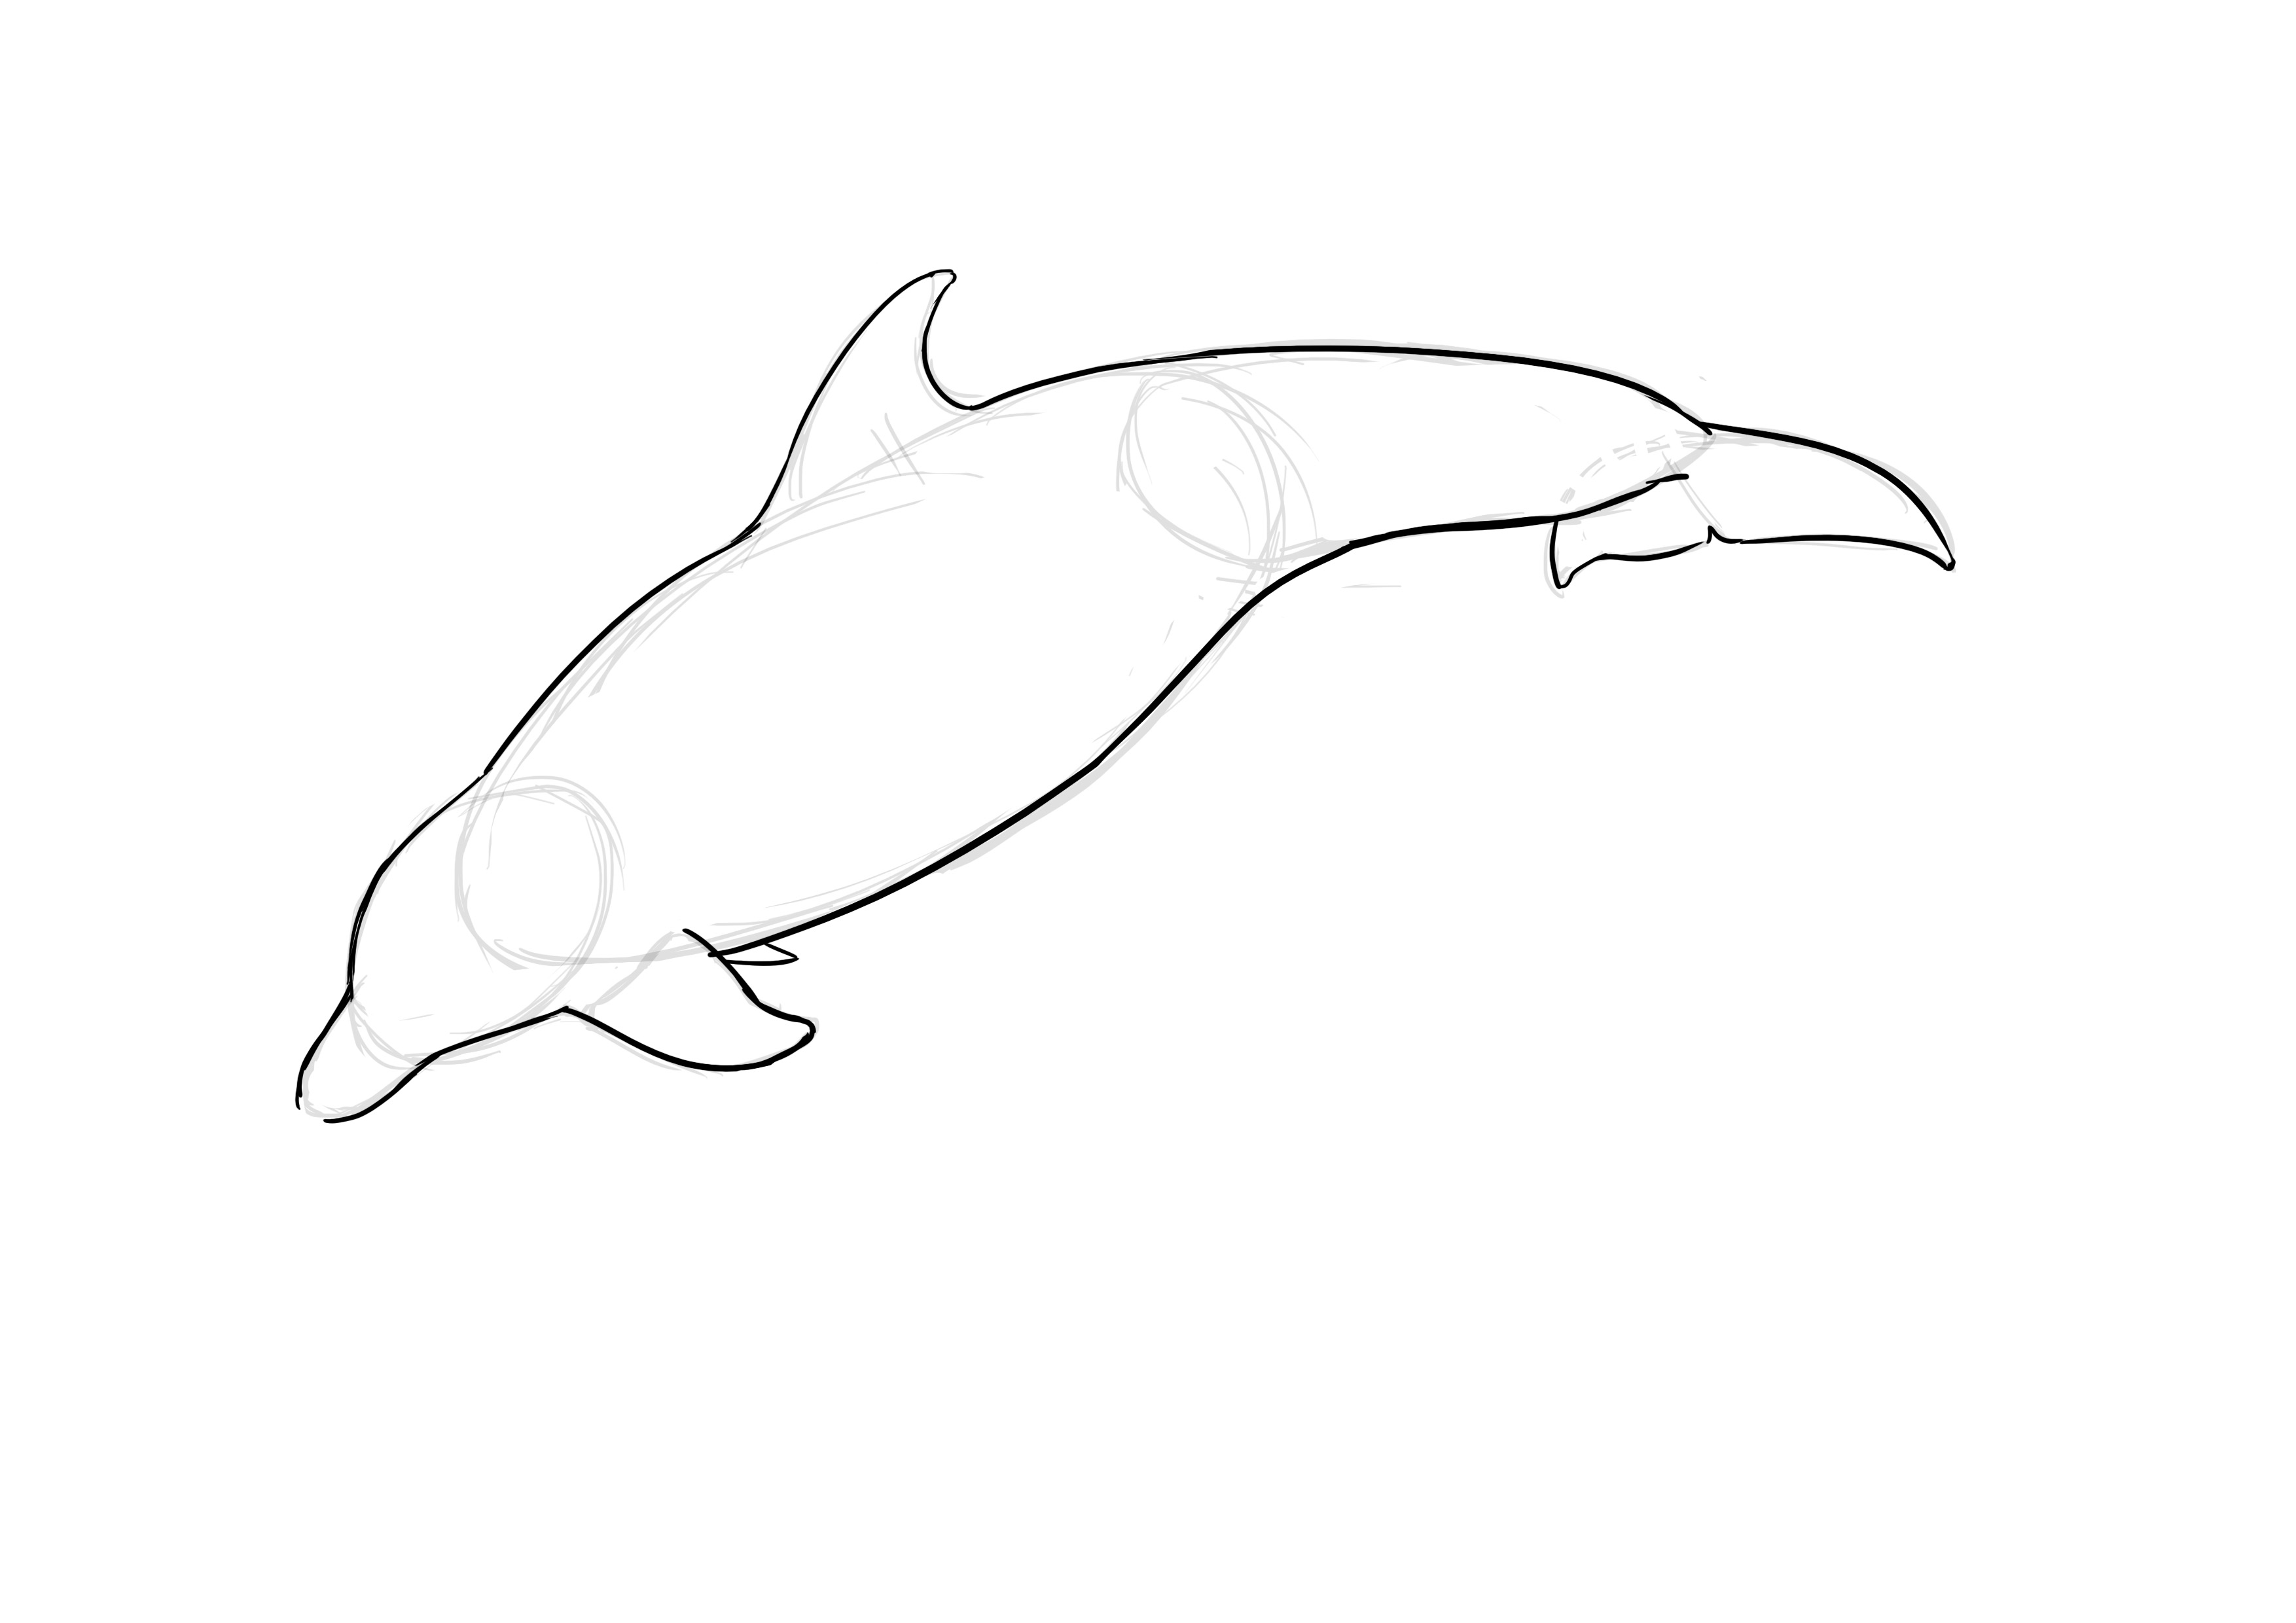
TRACE OVER THE DRAWING LINE
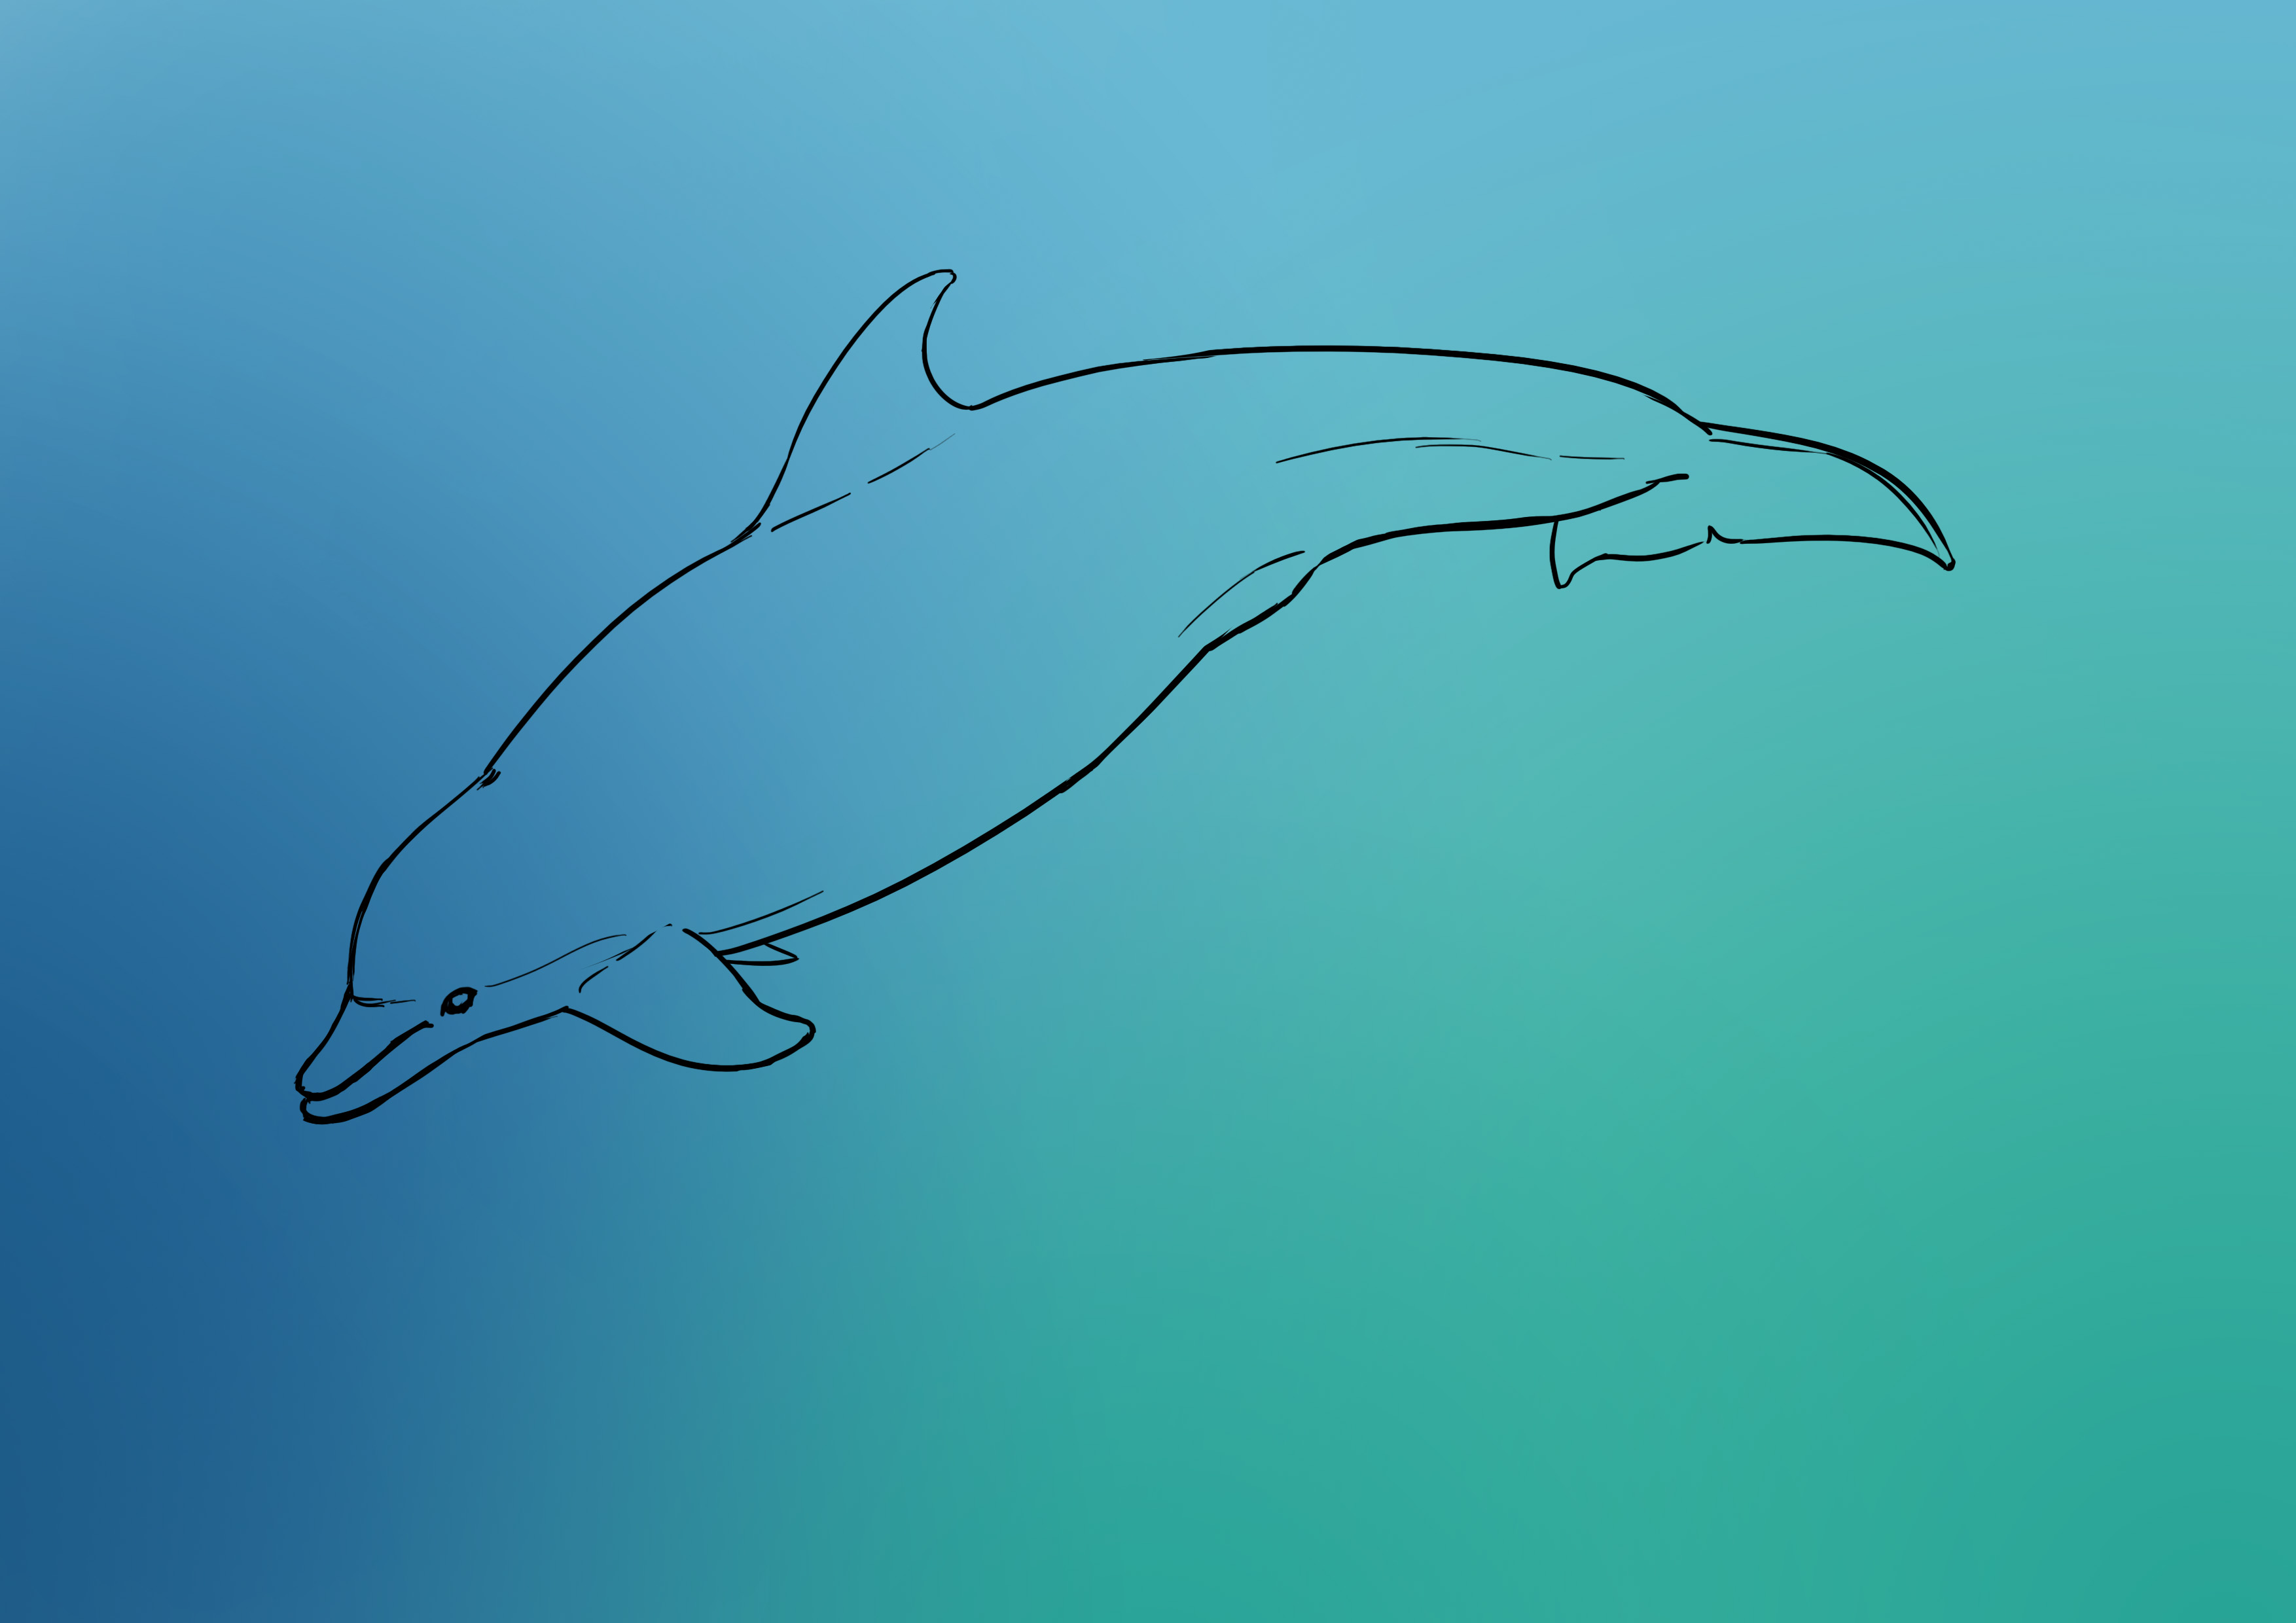
Before detailing all of that, let's go over the outline of our dolphin:
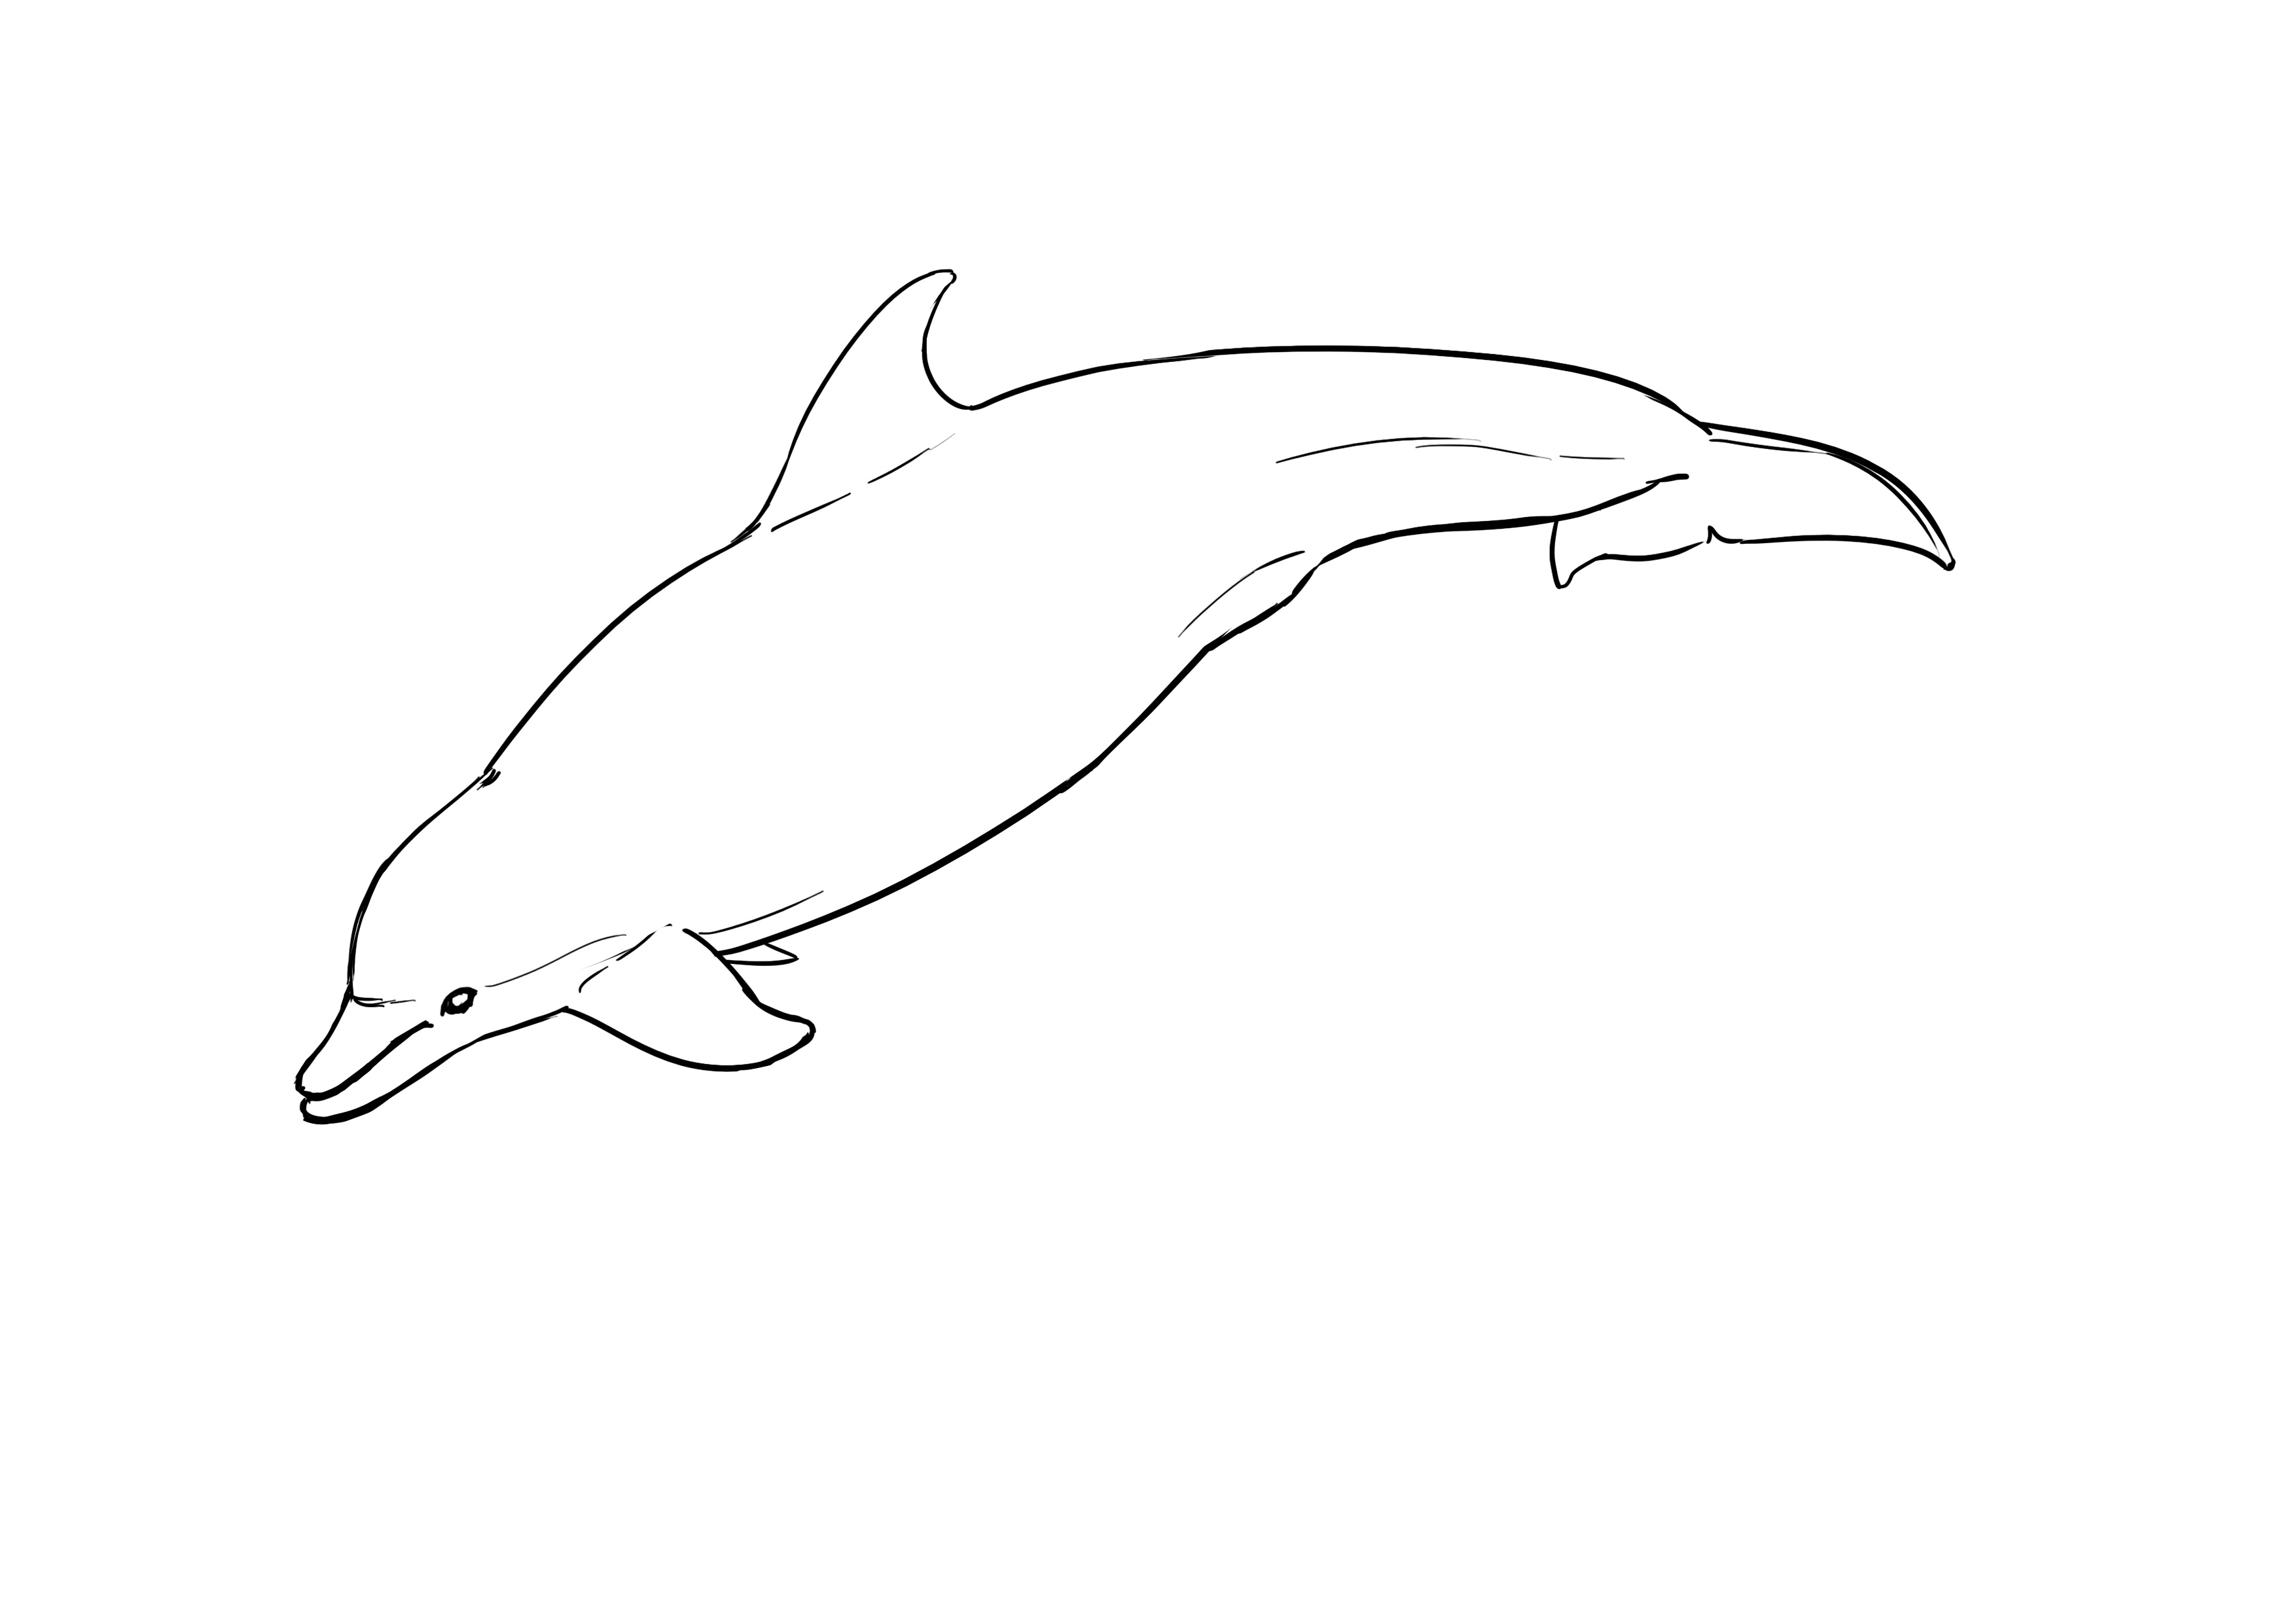
DRAWING DETAILS
Let's move on to the details of ourdolphin drawingAs always, rely on photos to add small details that will make a difference. Here, we can add a line along the body of the dolphin to highlight its musculature, for example. Let's not forget that this is the time to place the eyes, the mouth, and refine our jaws a bit. Not to forget the blowhole, if you see it, placed at the junction between the head and the body (the small hollow that occurs naturally). I'm taking this opportunity to redefine the shape of the jaw that I've altered underneath especially.

I invite you to review the observation section if you have trouble placing these different details.
In the end, after doing a nice inking, we should have a result like this.
APPLY COLOR TO THE DOLPHIN DRAWING
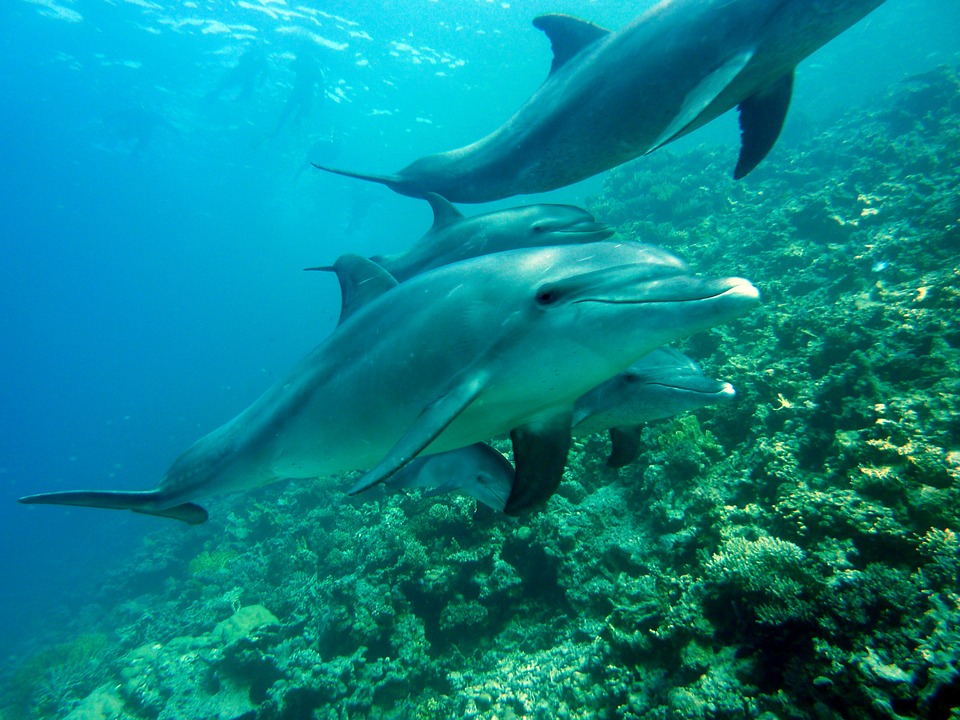
For marine animals, when they are underwater, the environment in which they are located must be taken into account. The ocean has a certain hue and depending on the depth, allows more or less color to filter through. Not to mention the reflections of light coming from the surface, possible blurs due to turbulence, etc.
For this very particular environment, as always, take reference photos.
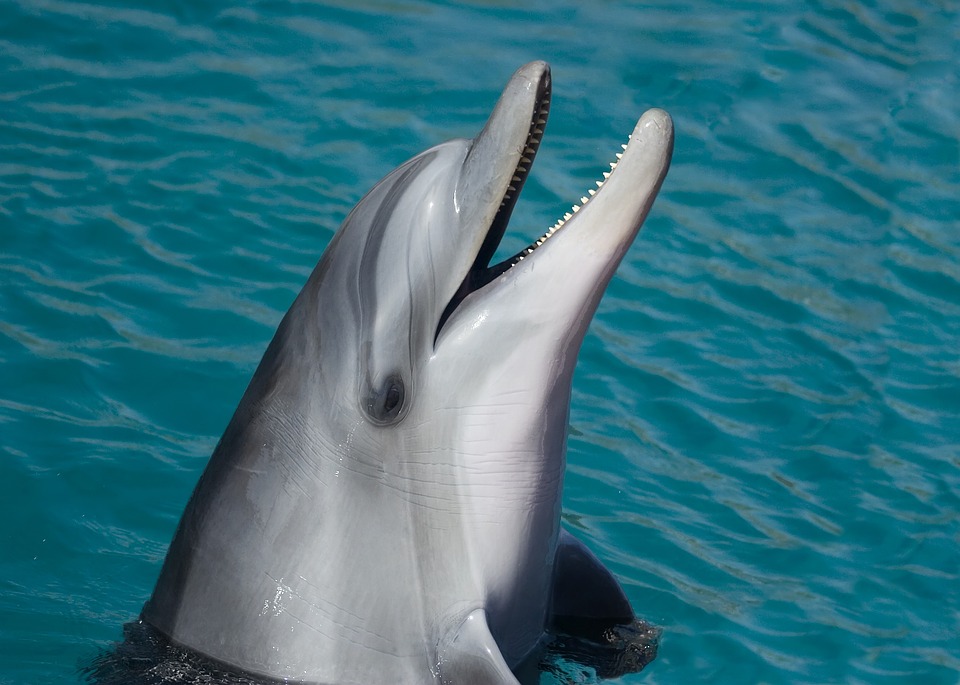
For my part, I will base it on the following photo:
And so exceptionally, I will also do a background, which I will not detail any further since the subject of this article is the dolphin.
So I start by laying down my background colors, a kind of gradient composed of blue, turquoise, and green.
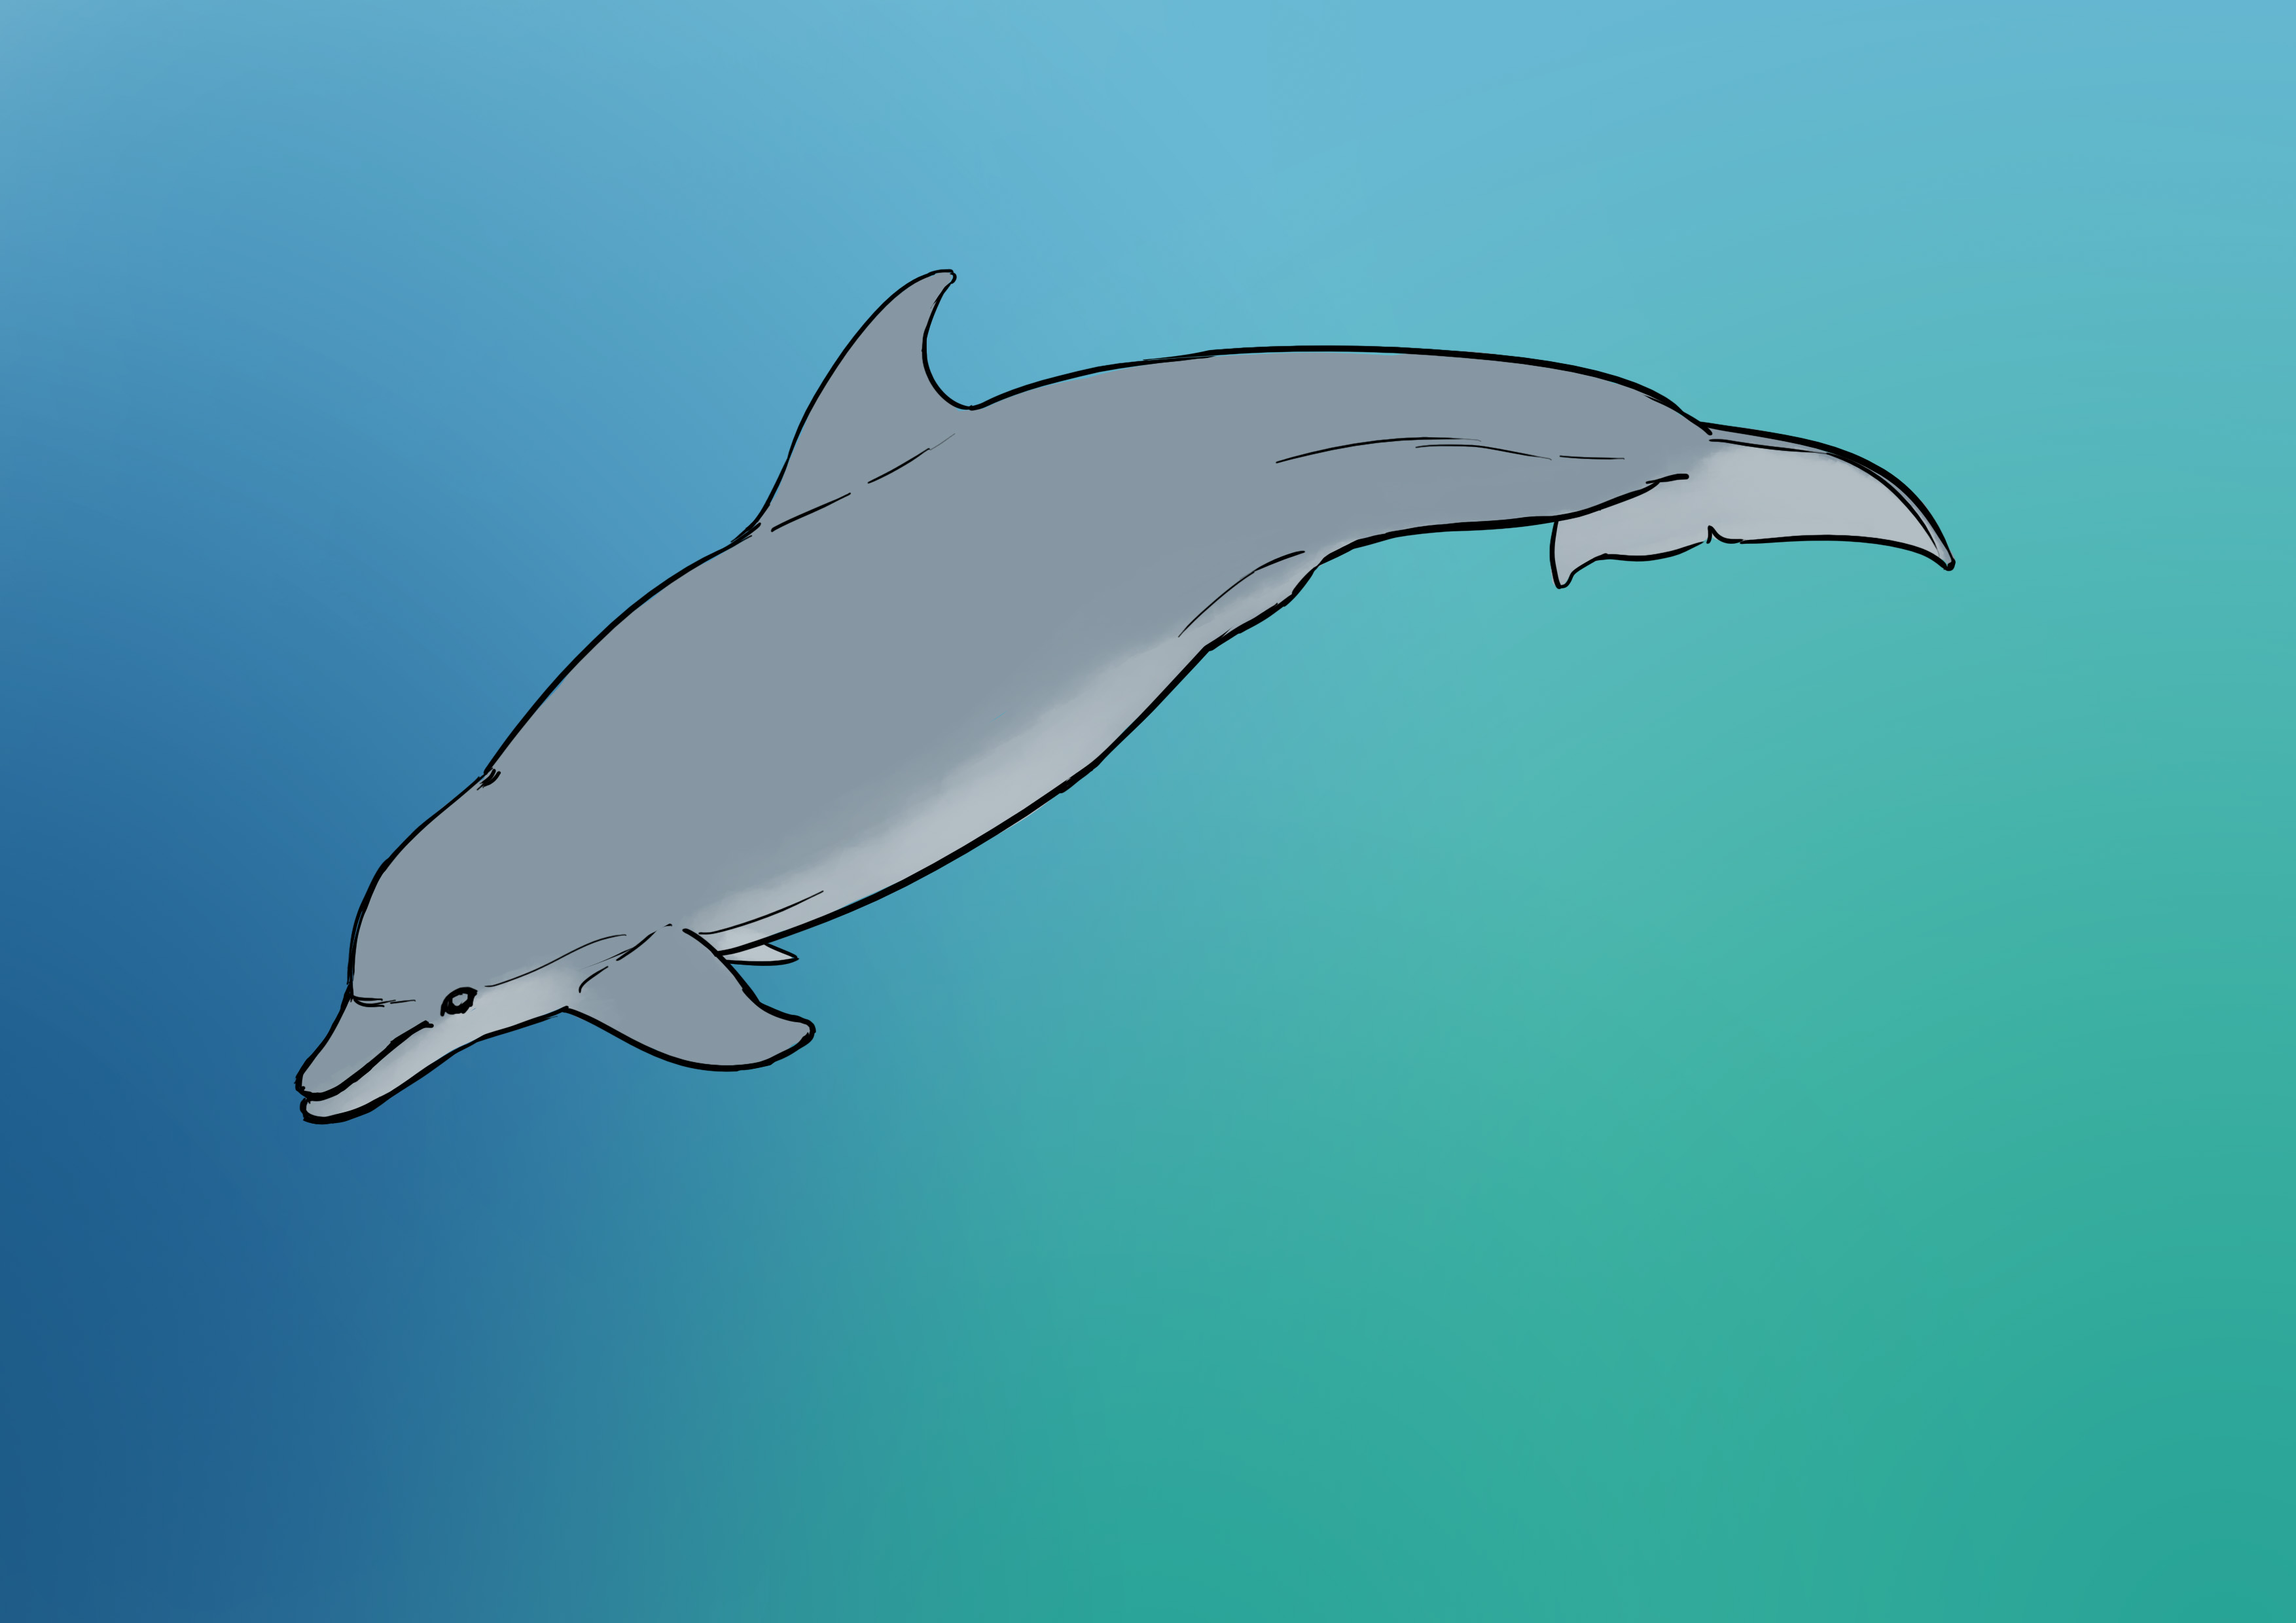
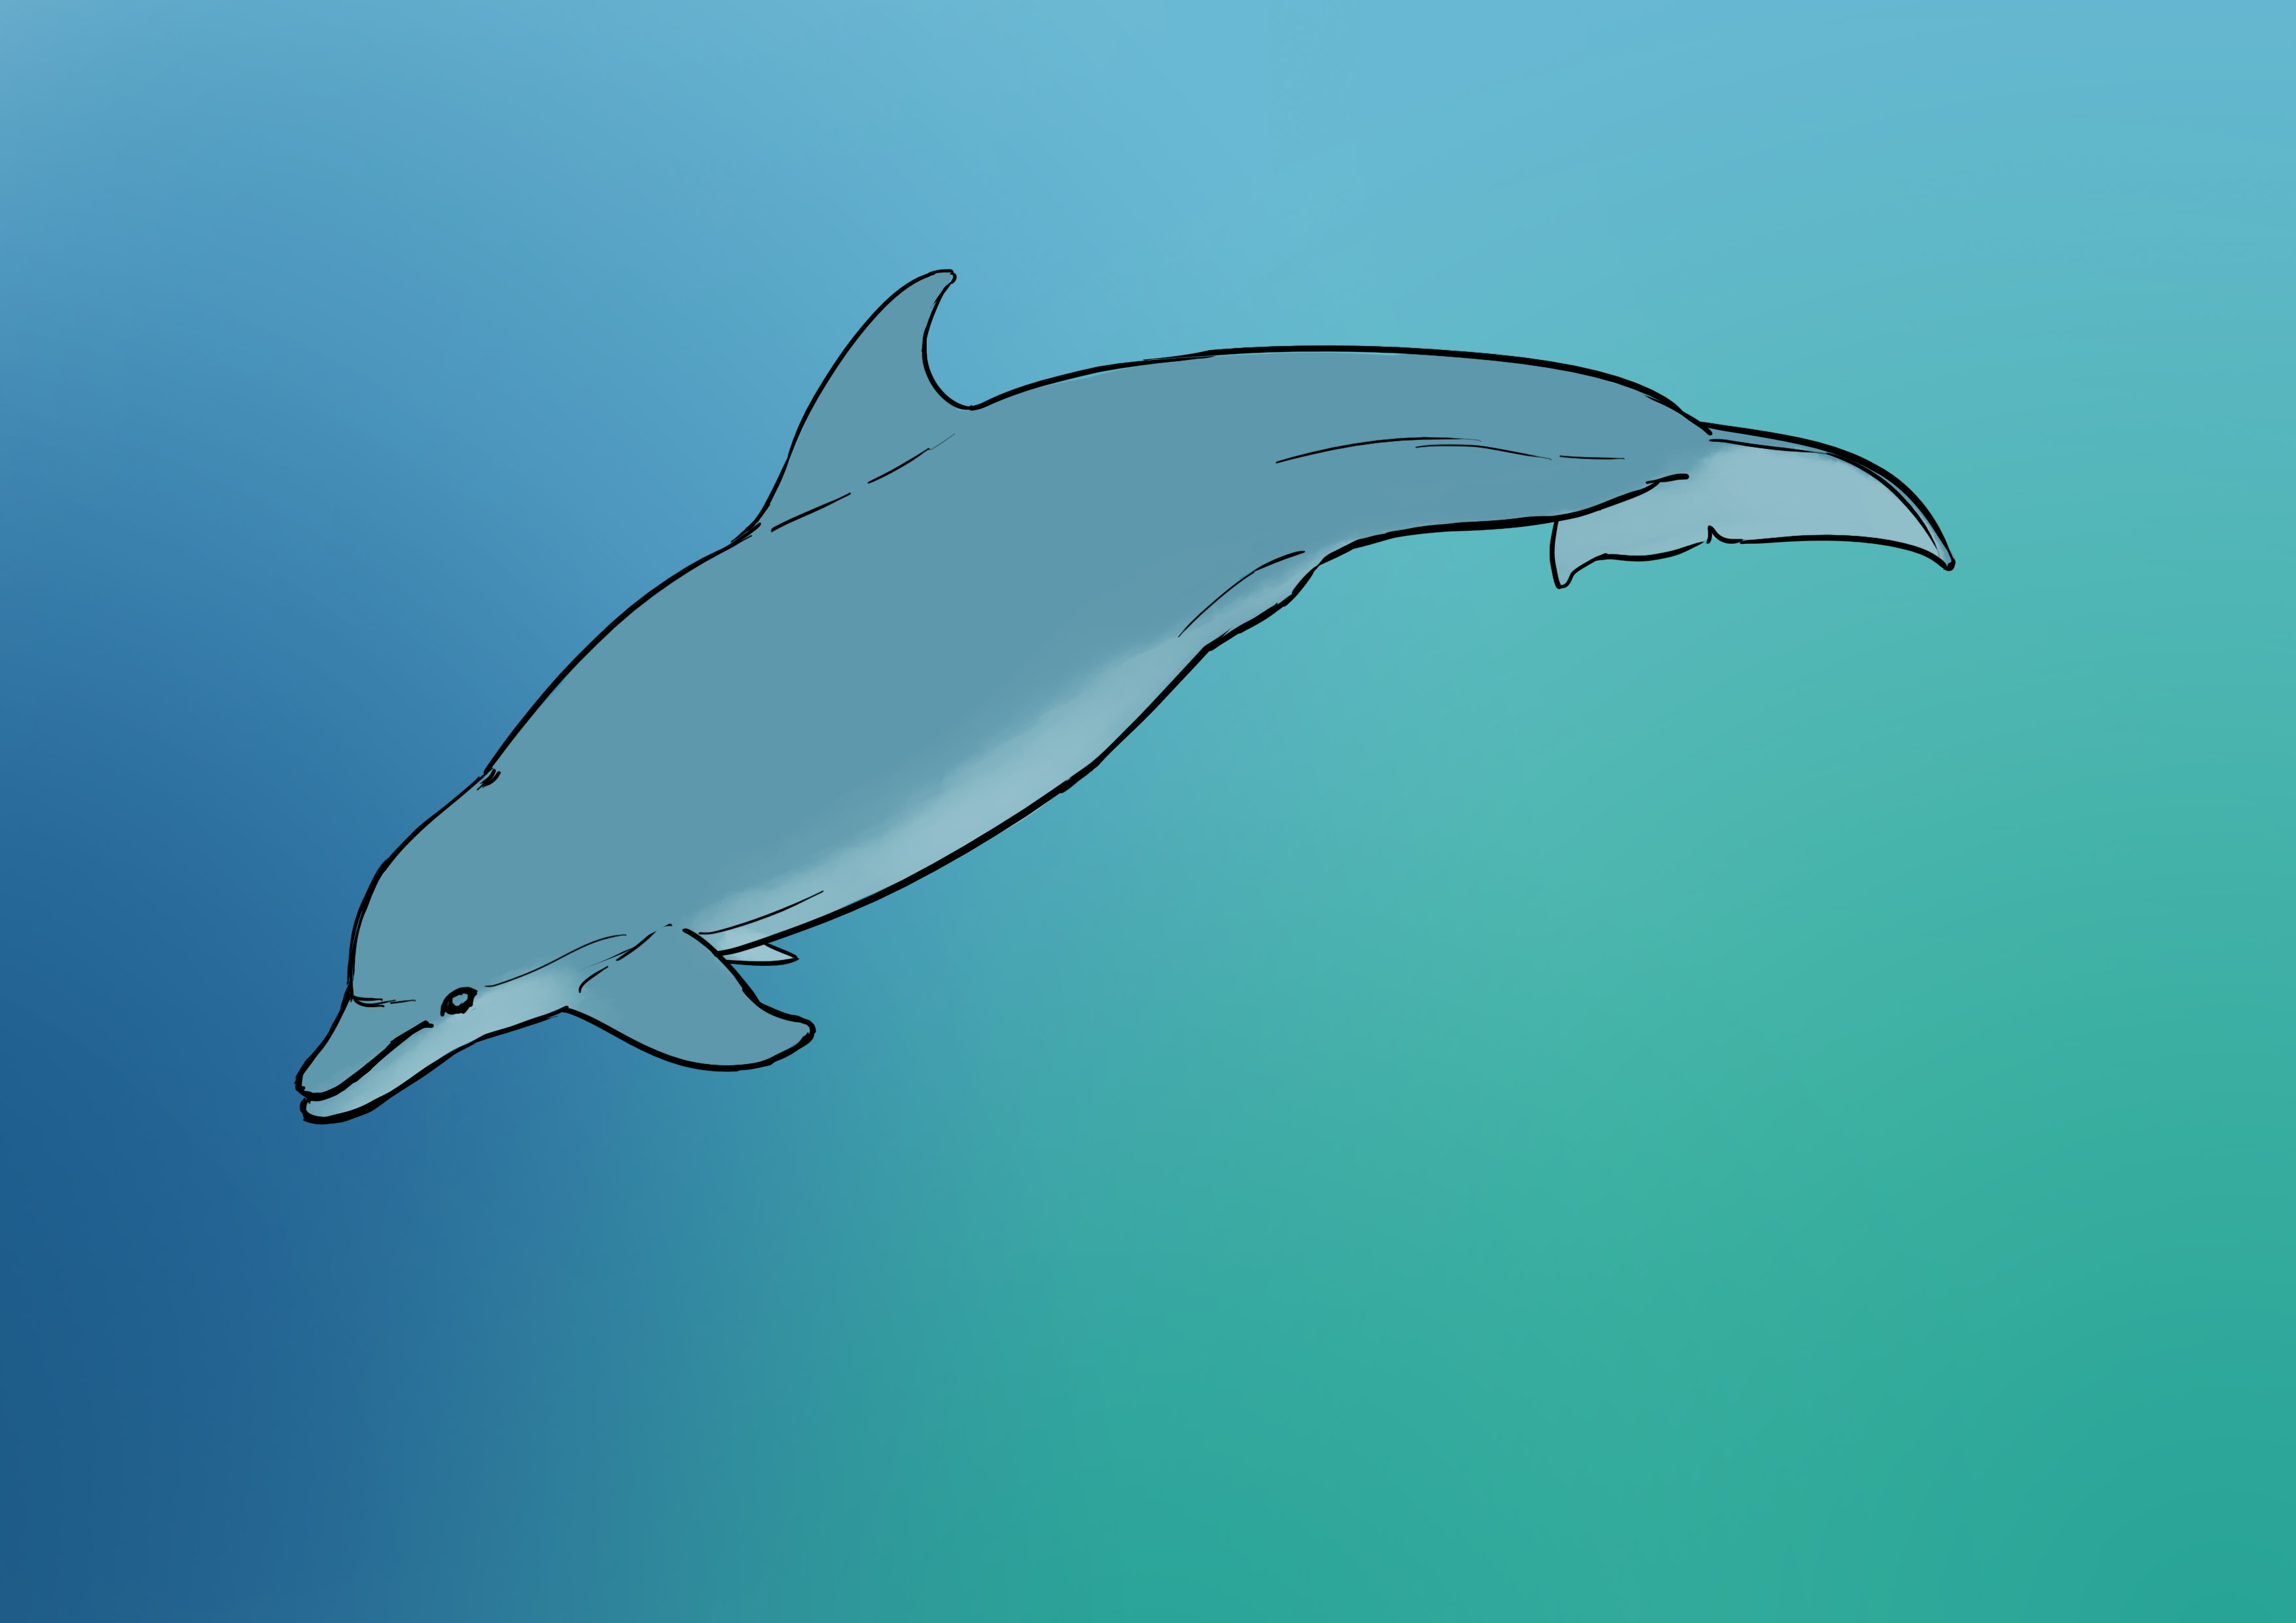
I will then apply a bluish-gray flat color for my dolphin. I am basing this on the shade my dolphin has when it is out of the water. I don't forget the lighter part on the underside of its body :)
I could go with the shades I see in my reference photo, which are very pretty, by the way, but there's an issue with this reference.
Do you see the lighter part of the dolphin's body? Particularly its belly. We know it's almost white when it's at the surface. Yet in our photo, it seems green. It's not just due to the hue of the water. Our dolphin is passing close to very green algae and corals, illuminated by the sun. So, there is a green reflective effect on the body of the dolphin, especially on its belly.
So, I could have chosen to use a different reference, but I like the colors of this image so I am going to show you how to work around the problem. And how to use a reference in ways other than copying it.
I have therefore laid down the base colors for the body of our dolphin. They don't really match the colorful environment it is in. It looks weird. So, I'm going to create a new layer (those with watercolor, you can do a wash ^^) and apply a shade from my background.
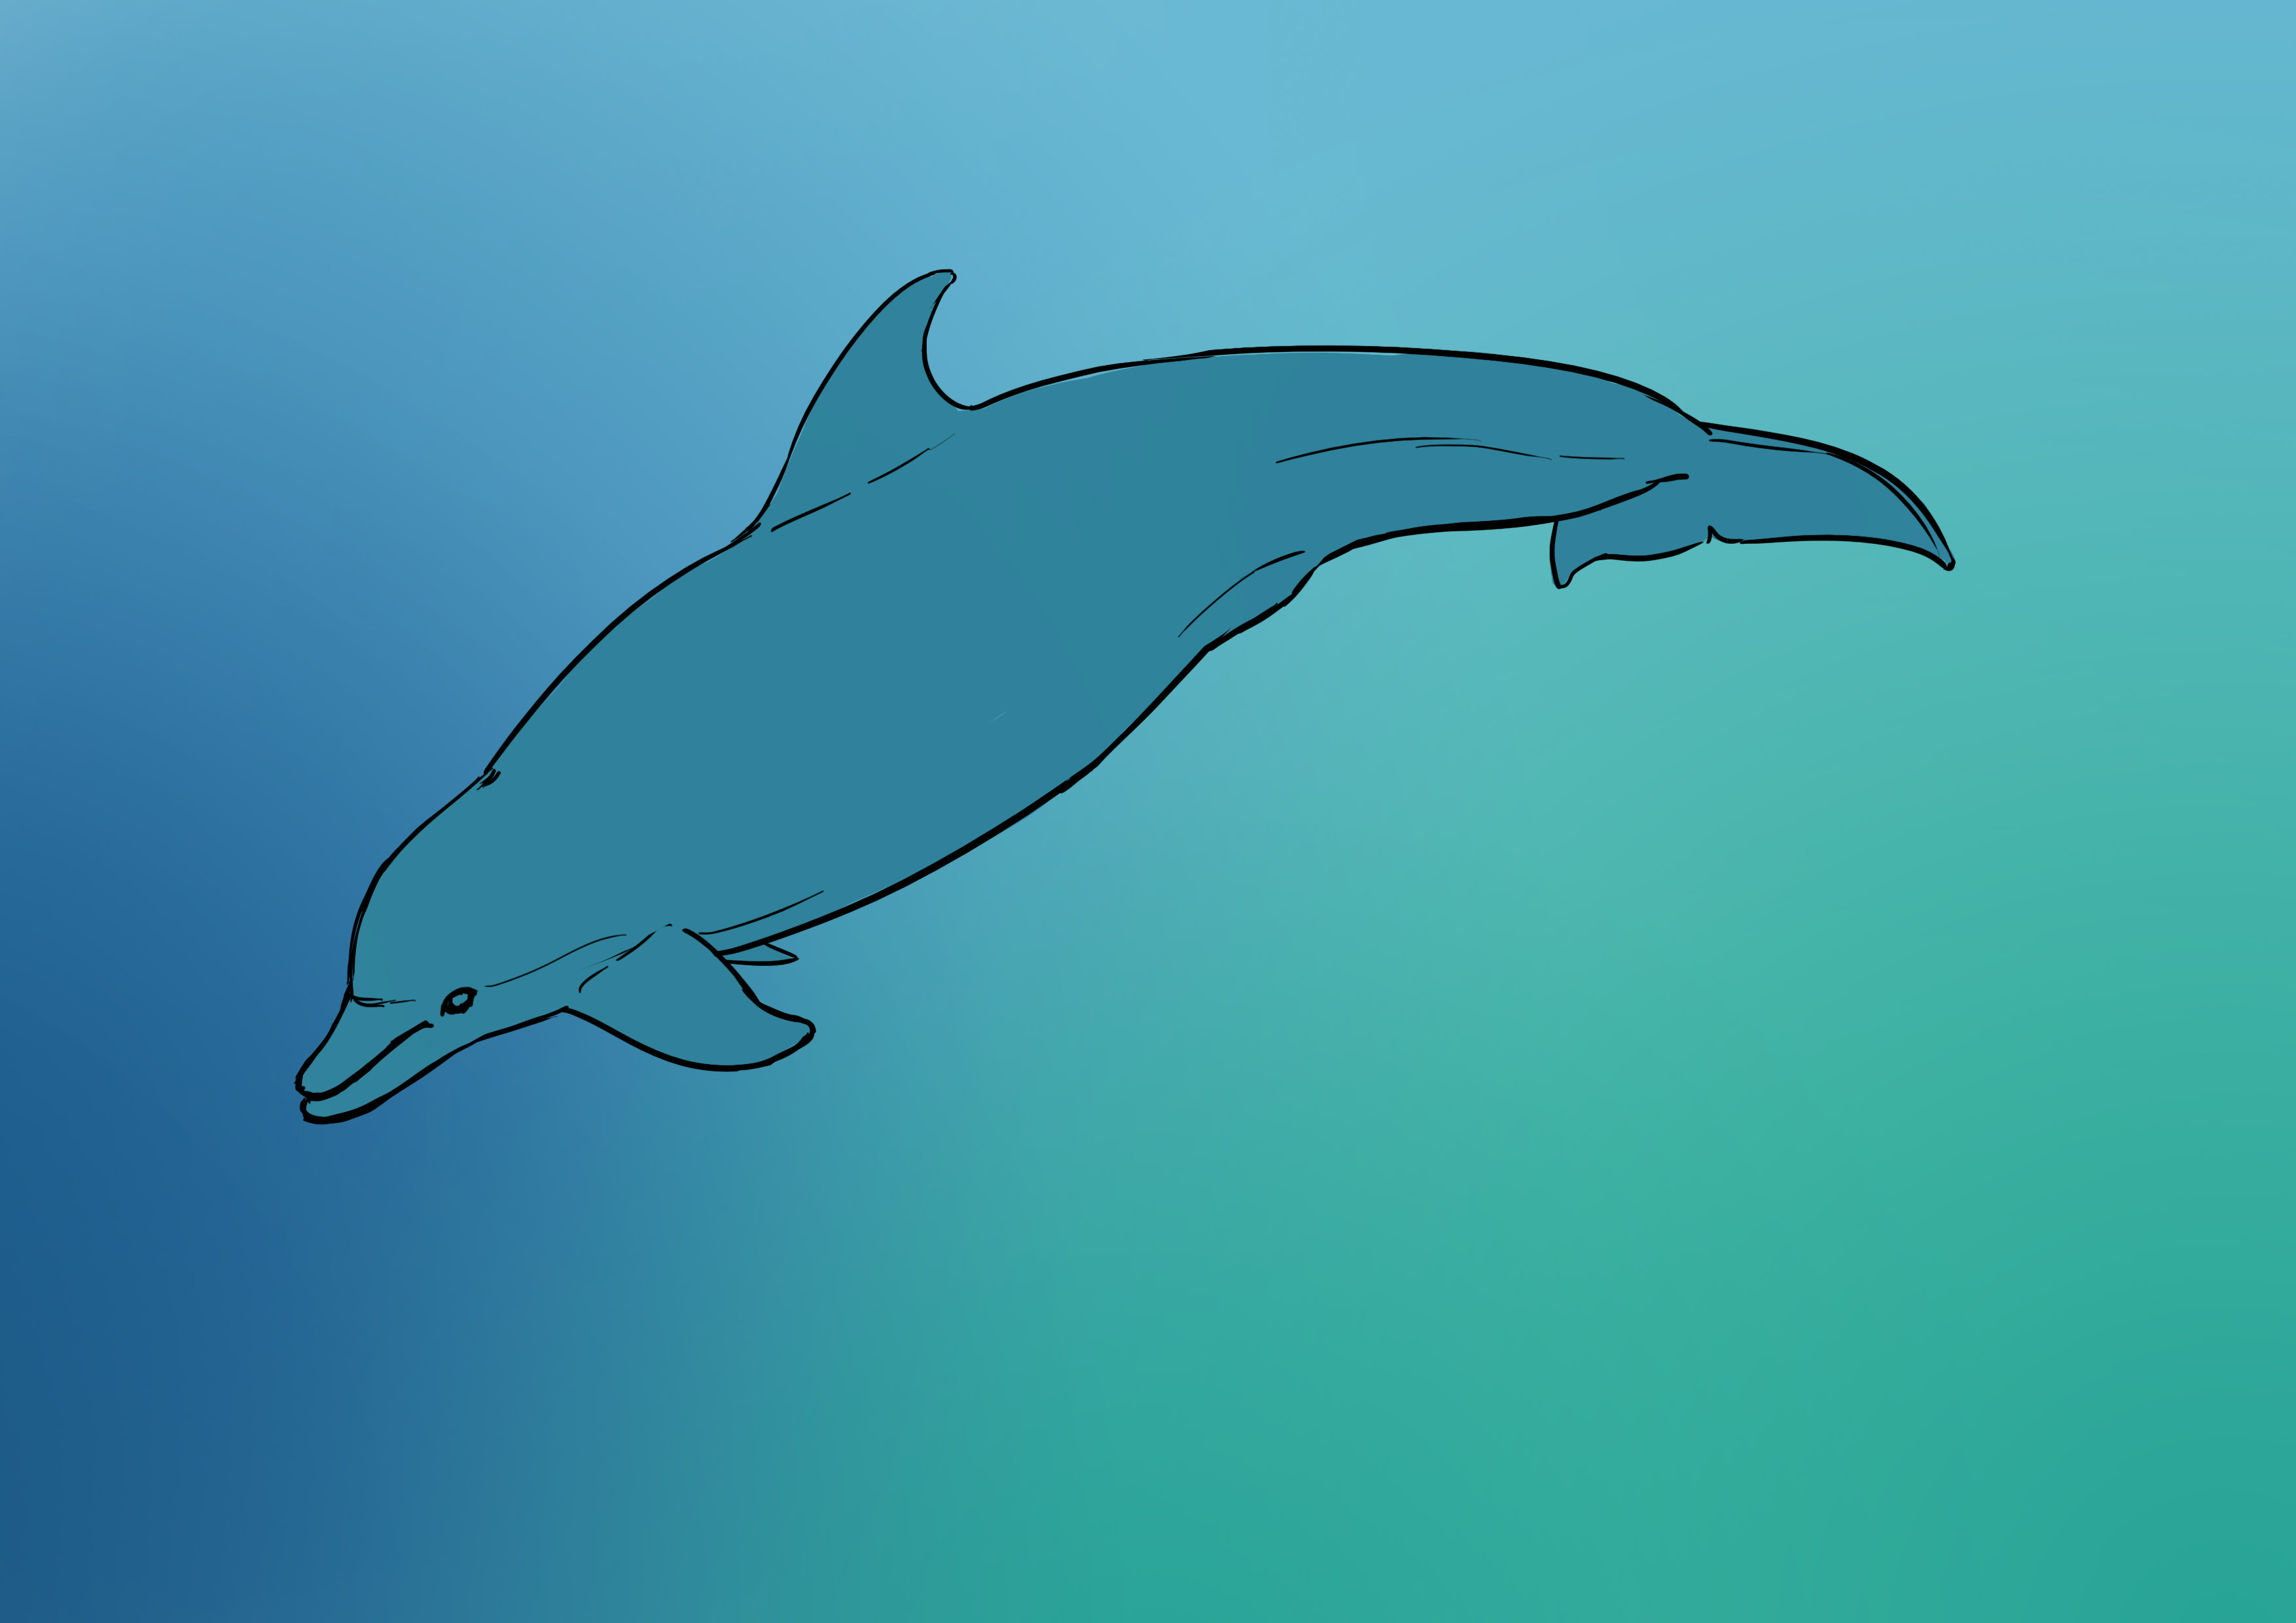
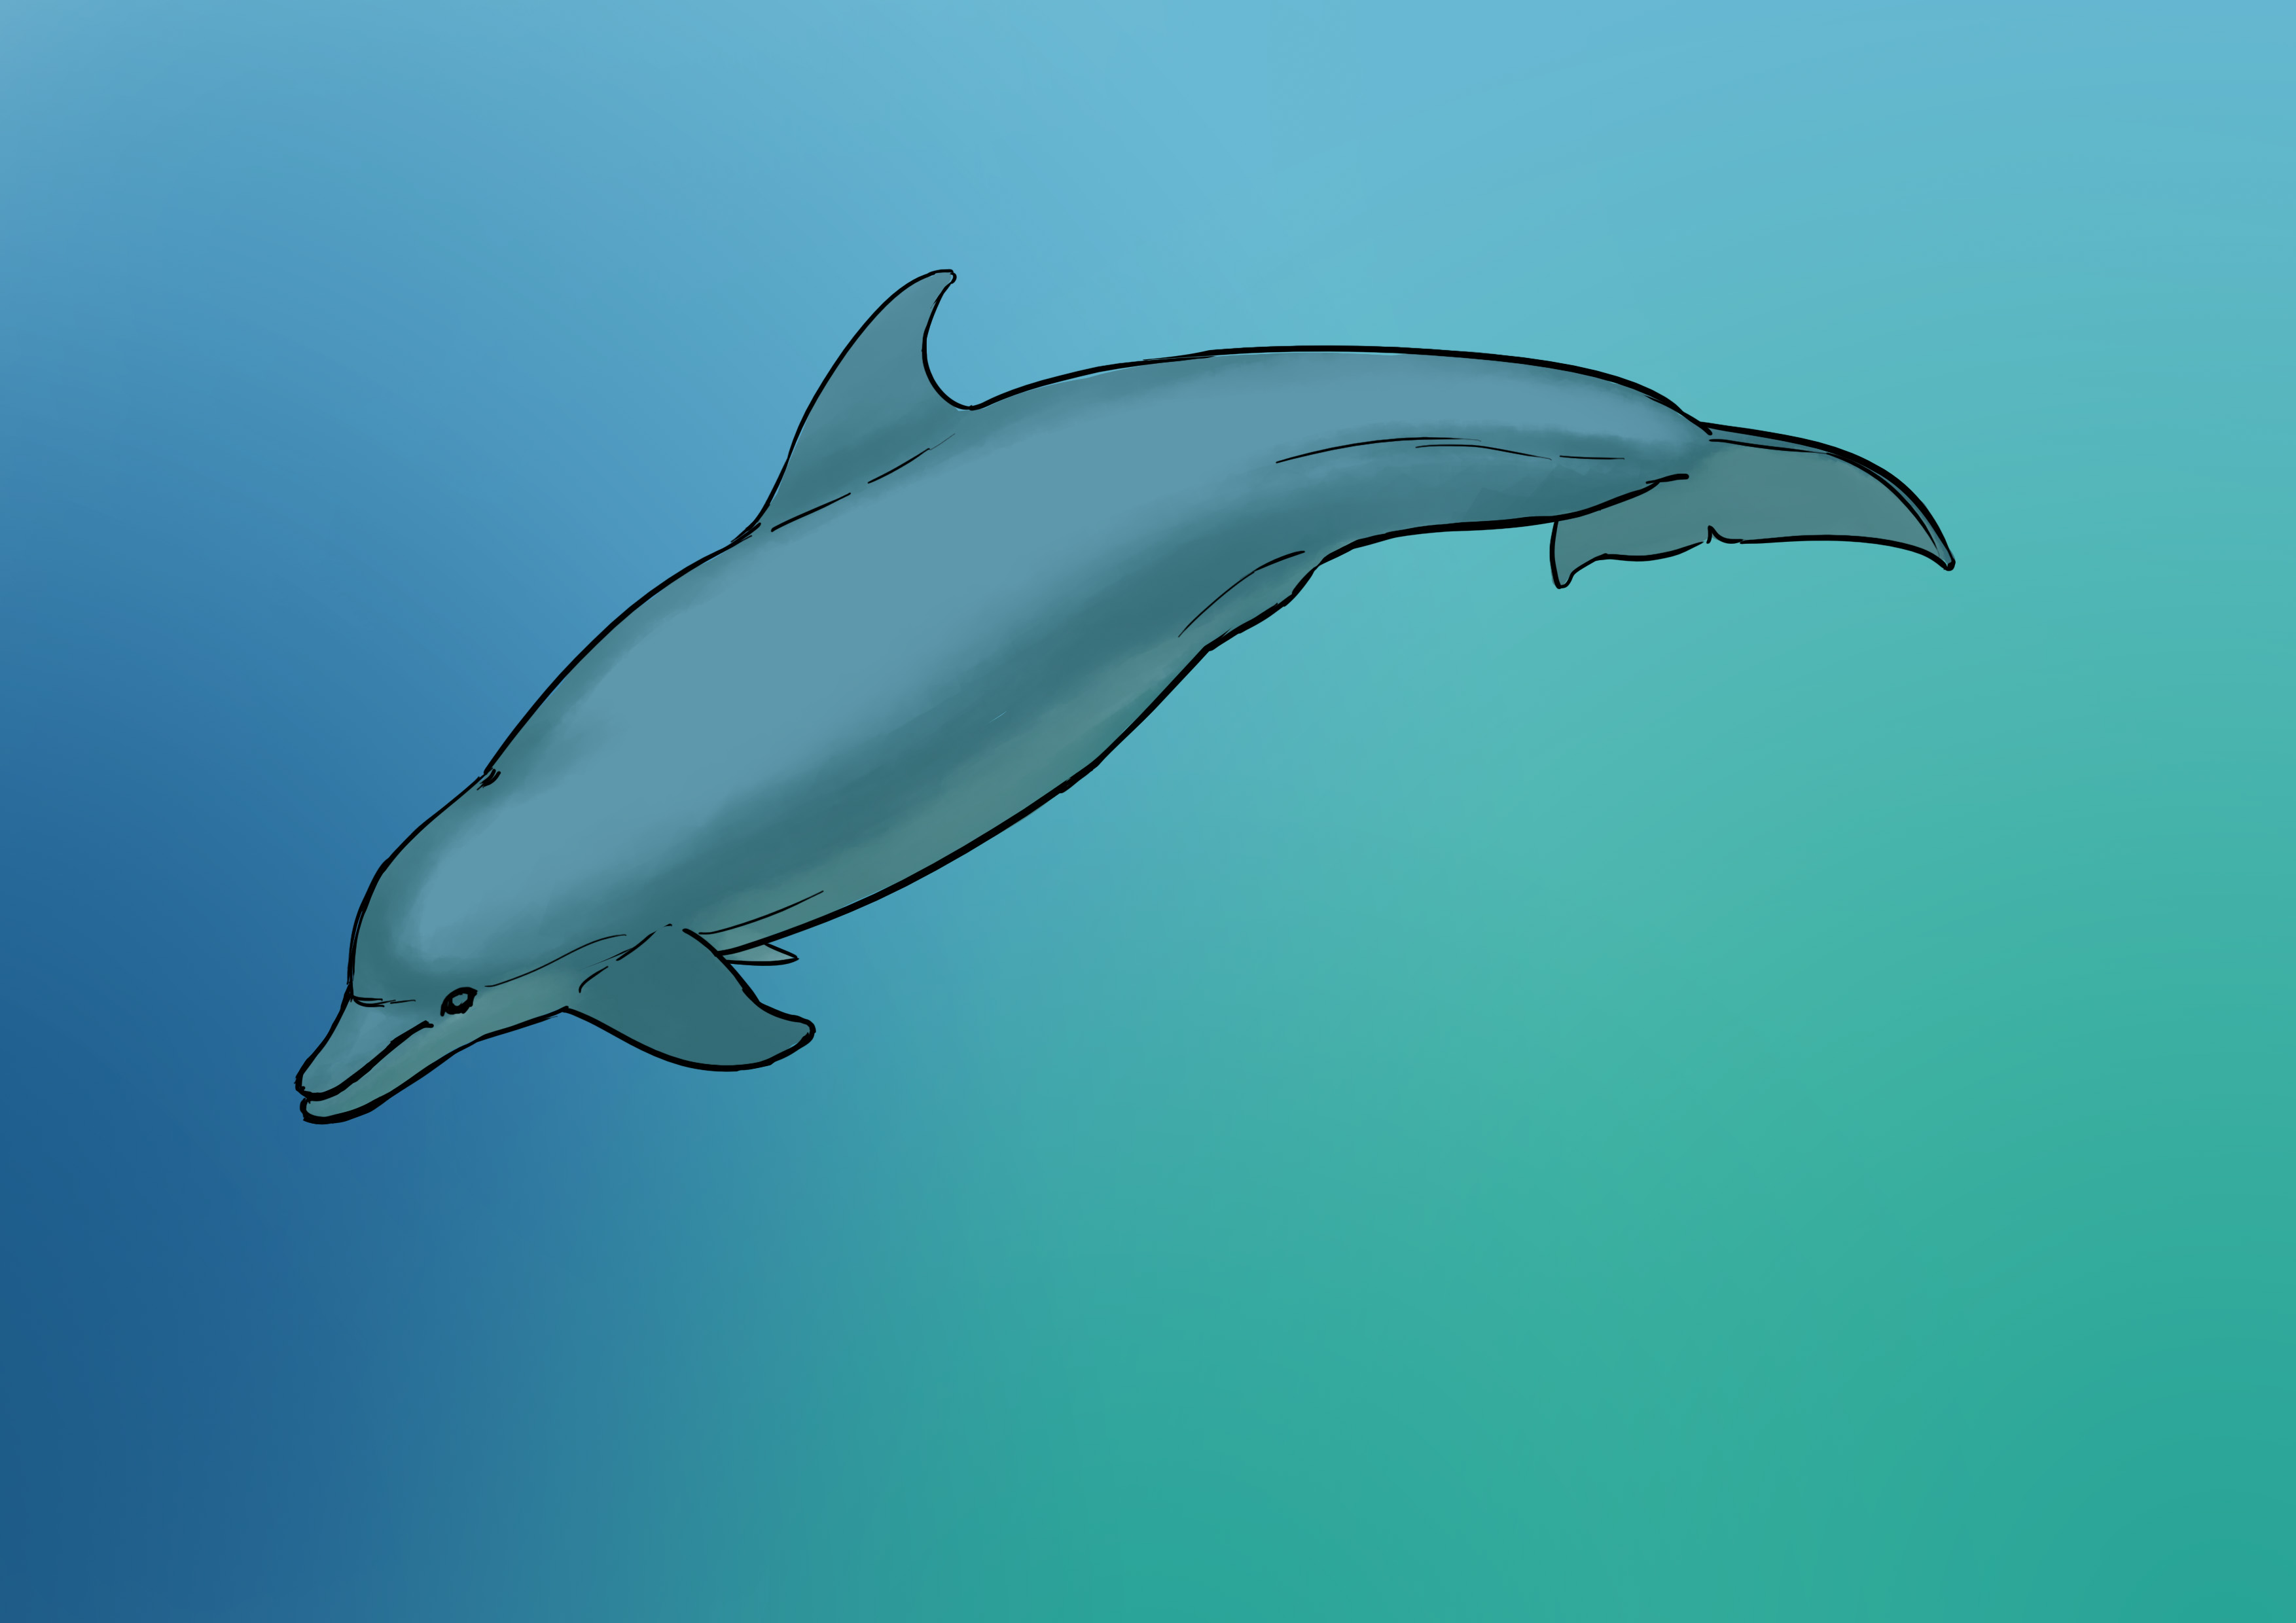
And then I will set this layer to "soft light" mode.
Tadaaaa, our shades match, we can now continue to work normally.
THE SHADING OF THE DRAWING
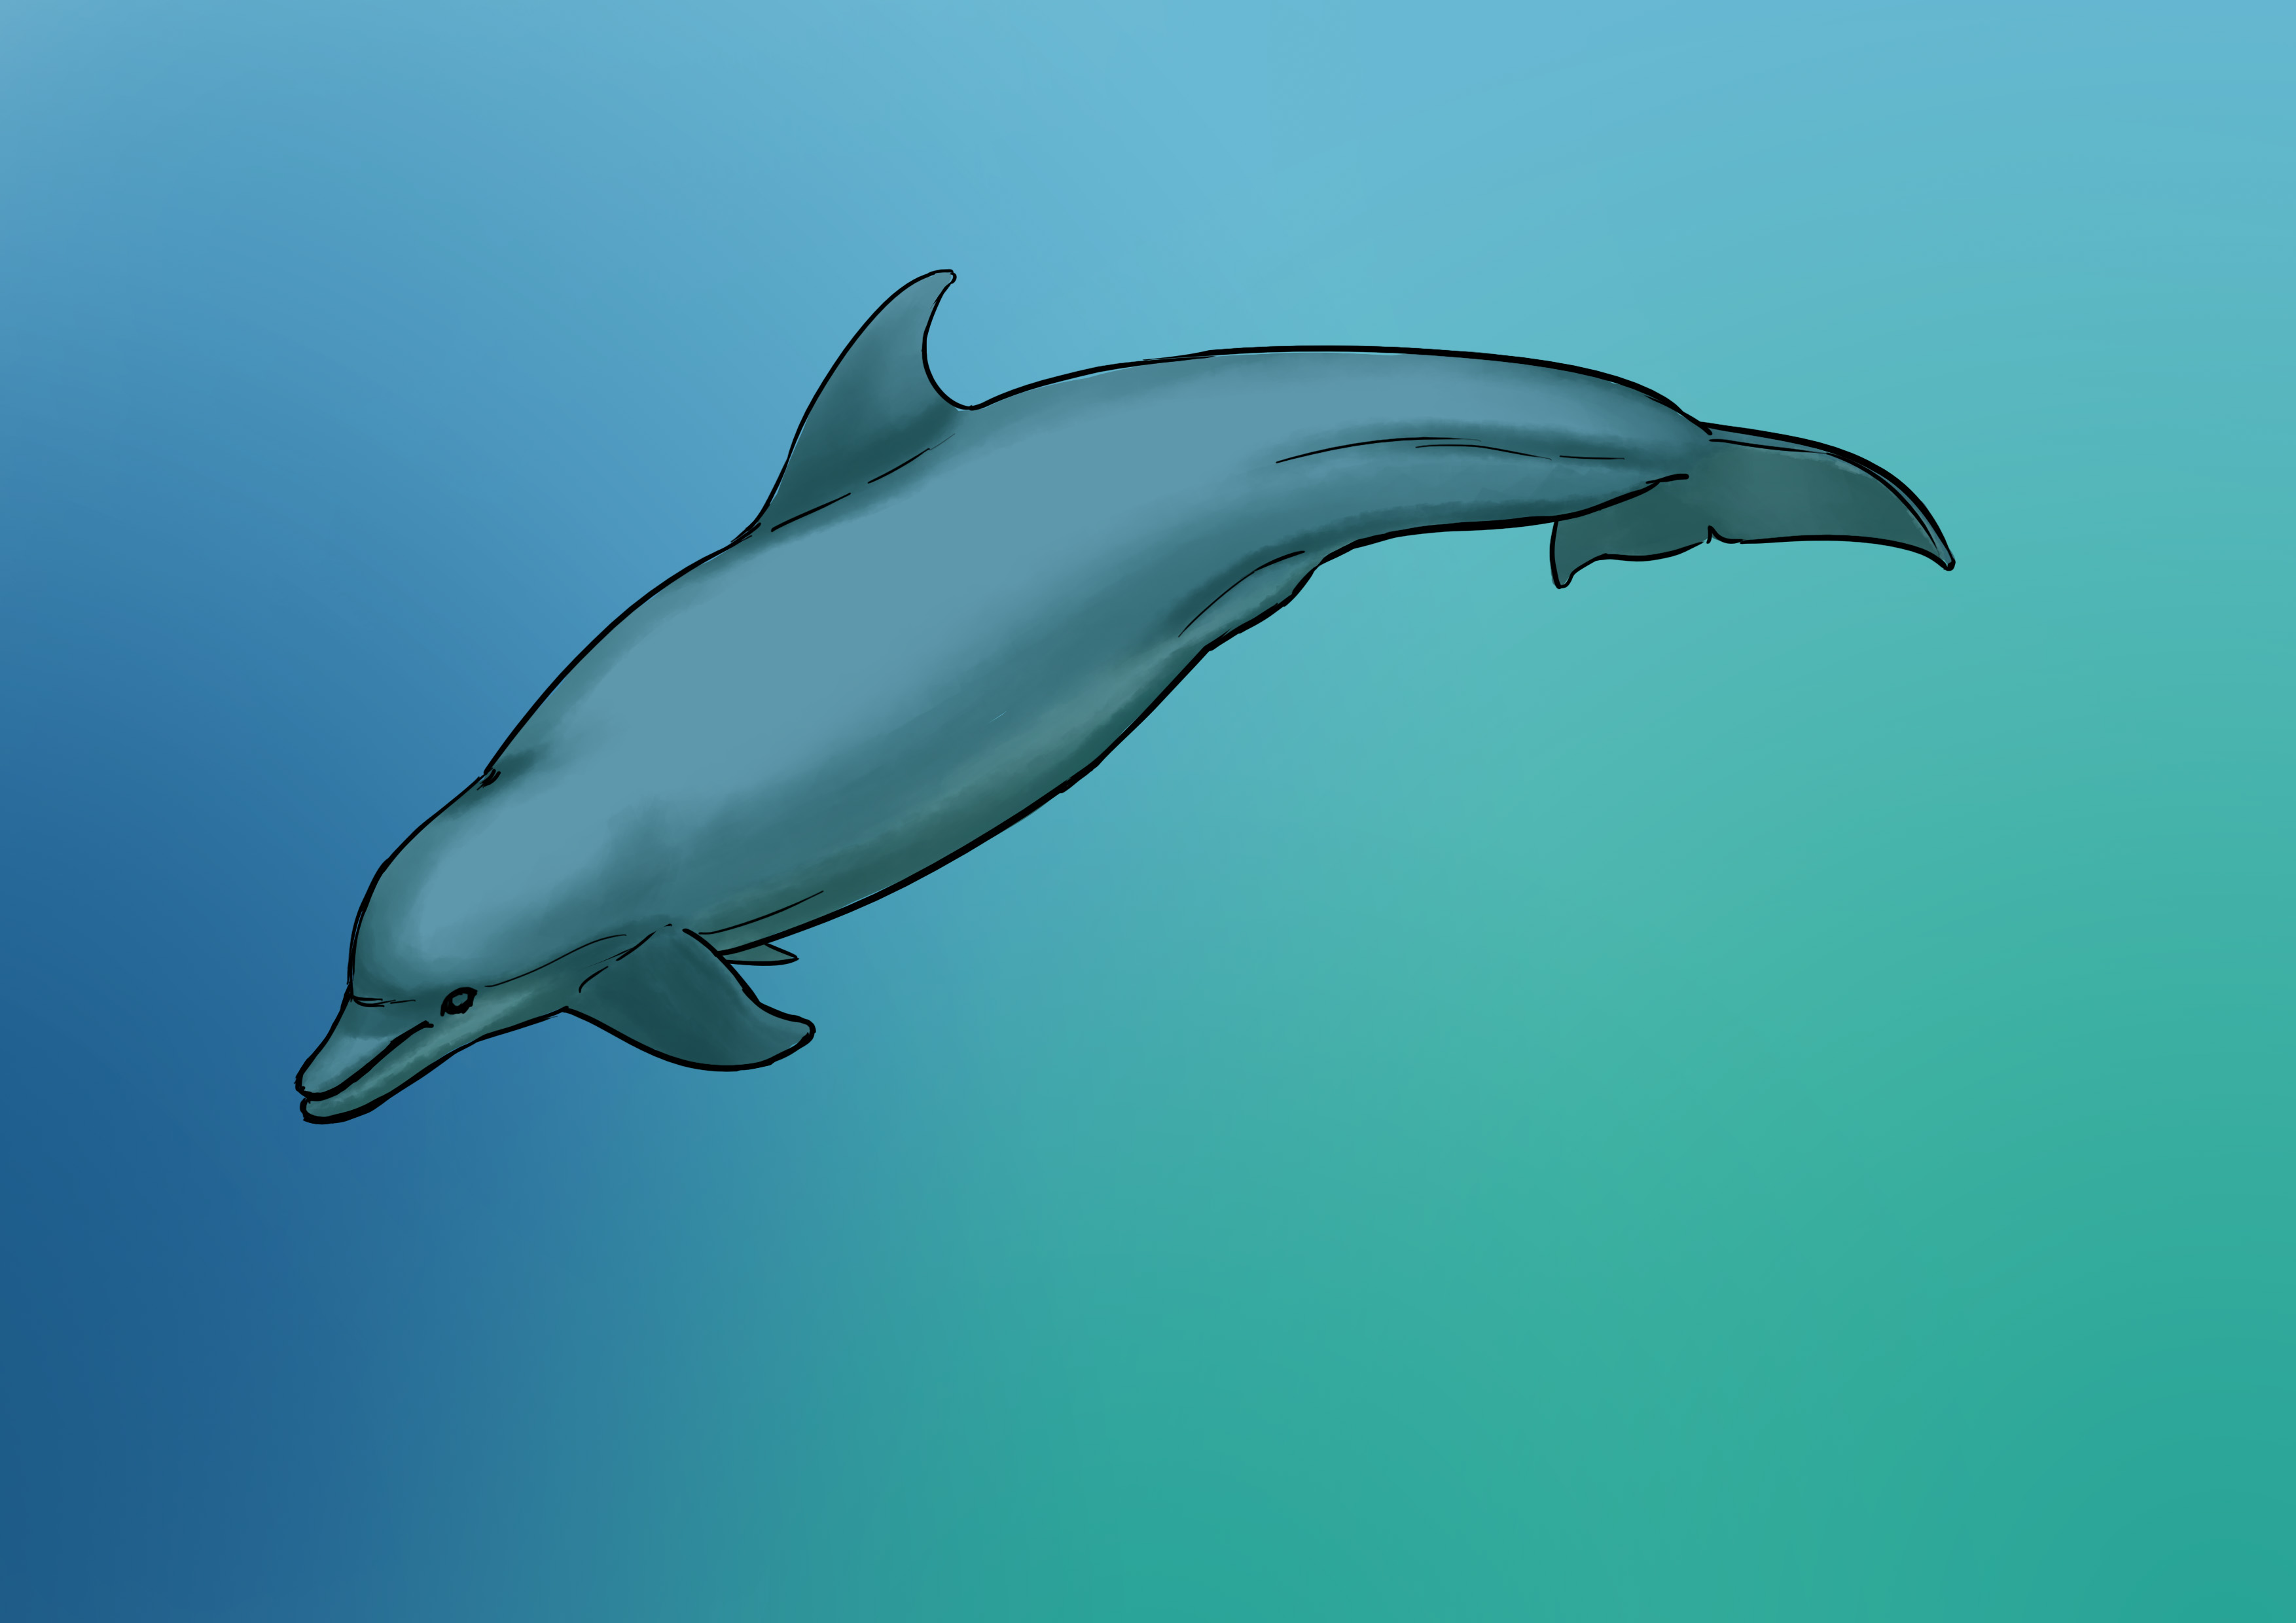
We will therefore start to place the volumes. Our dolphin being a kind of large cylinder, there are shadows along its entire silhouette. There are also shadows around the blowhole, its eyes, its beak, its various fins, and the long muscle line that we previously placed.
No text to translate.
We are underwater, in broad daylight, so the light comes from above. Keep that in mind.
We are going to add lights, to give more volume and also mark some details like scars for example.
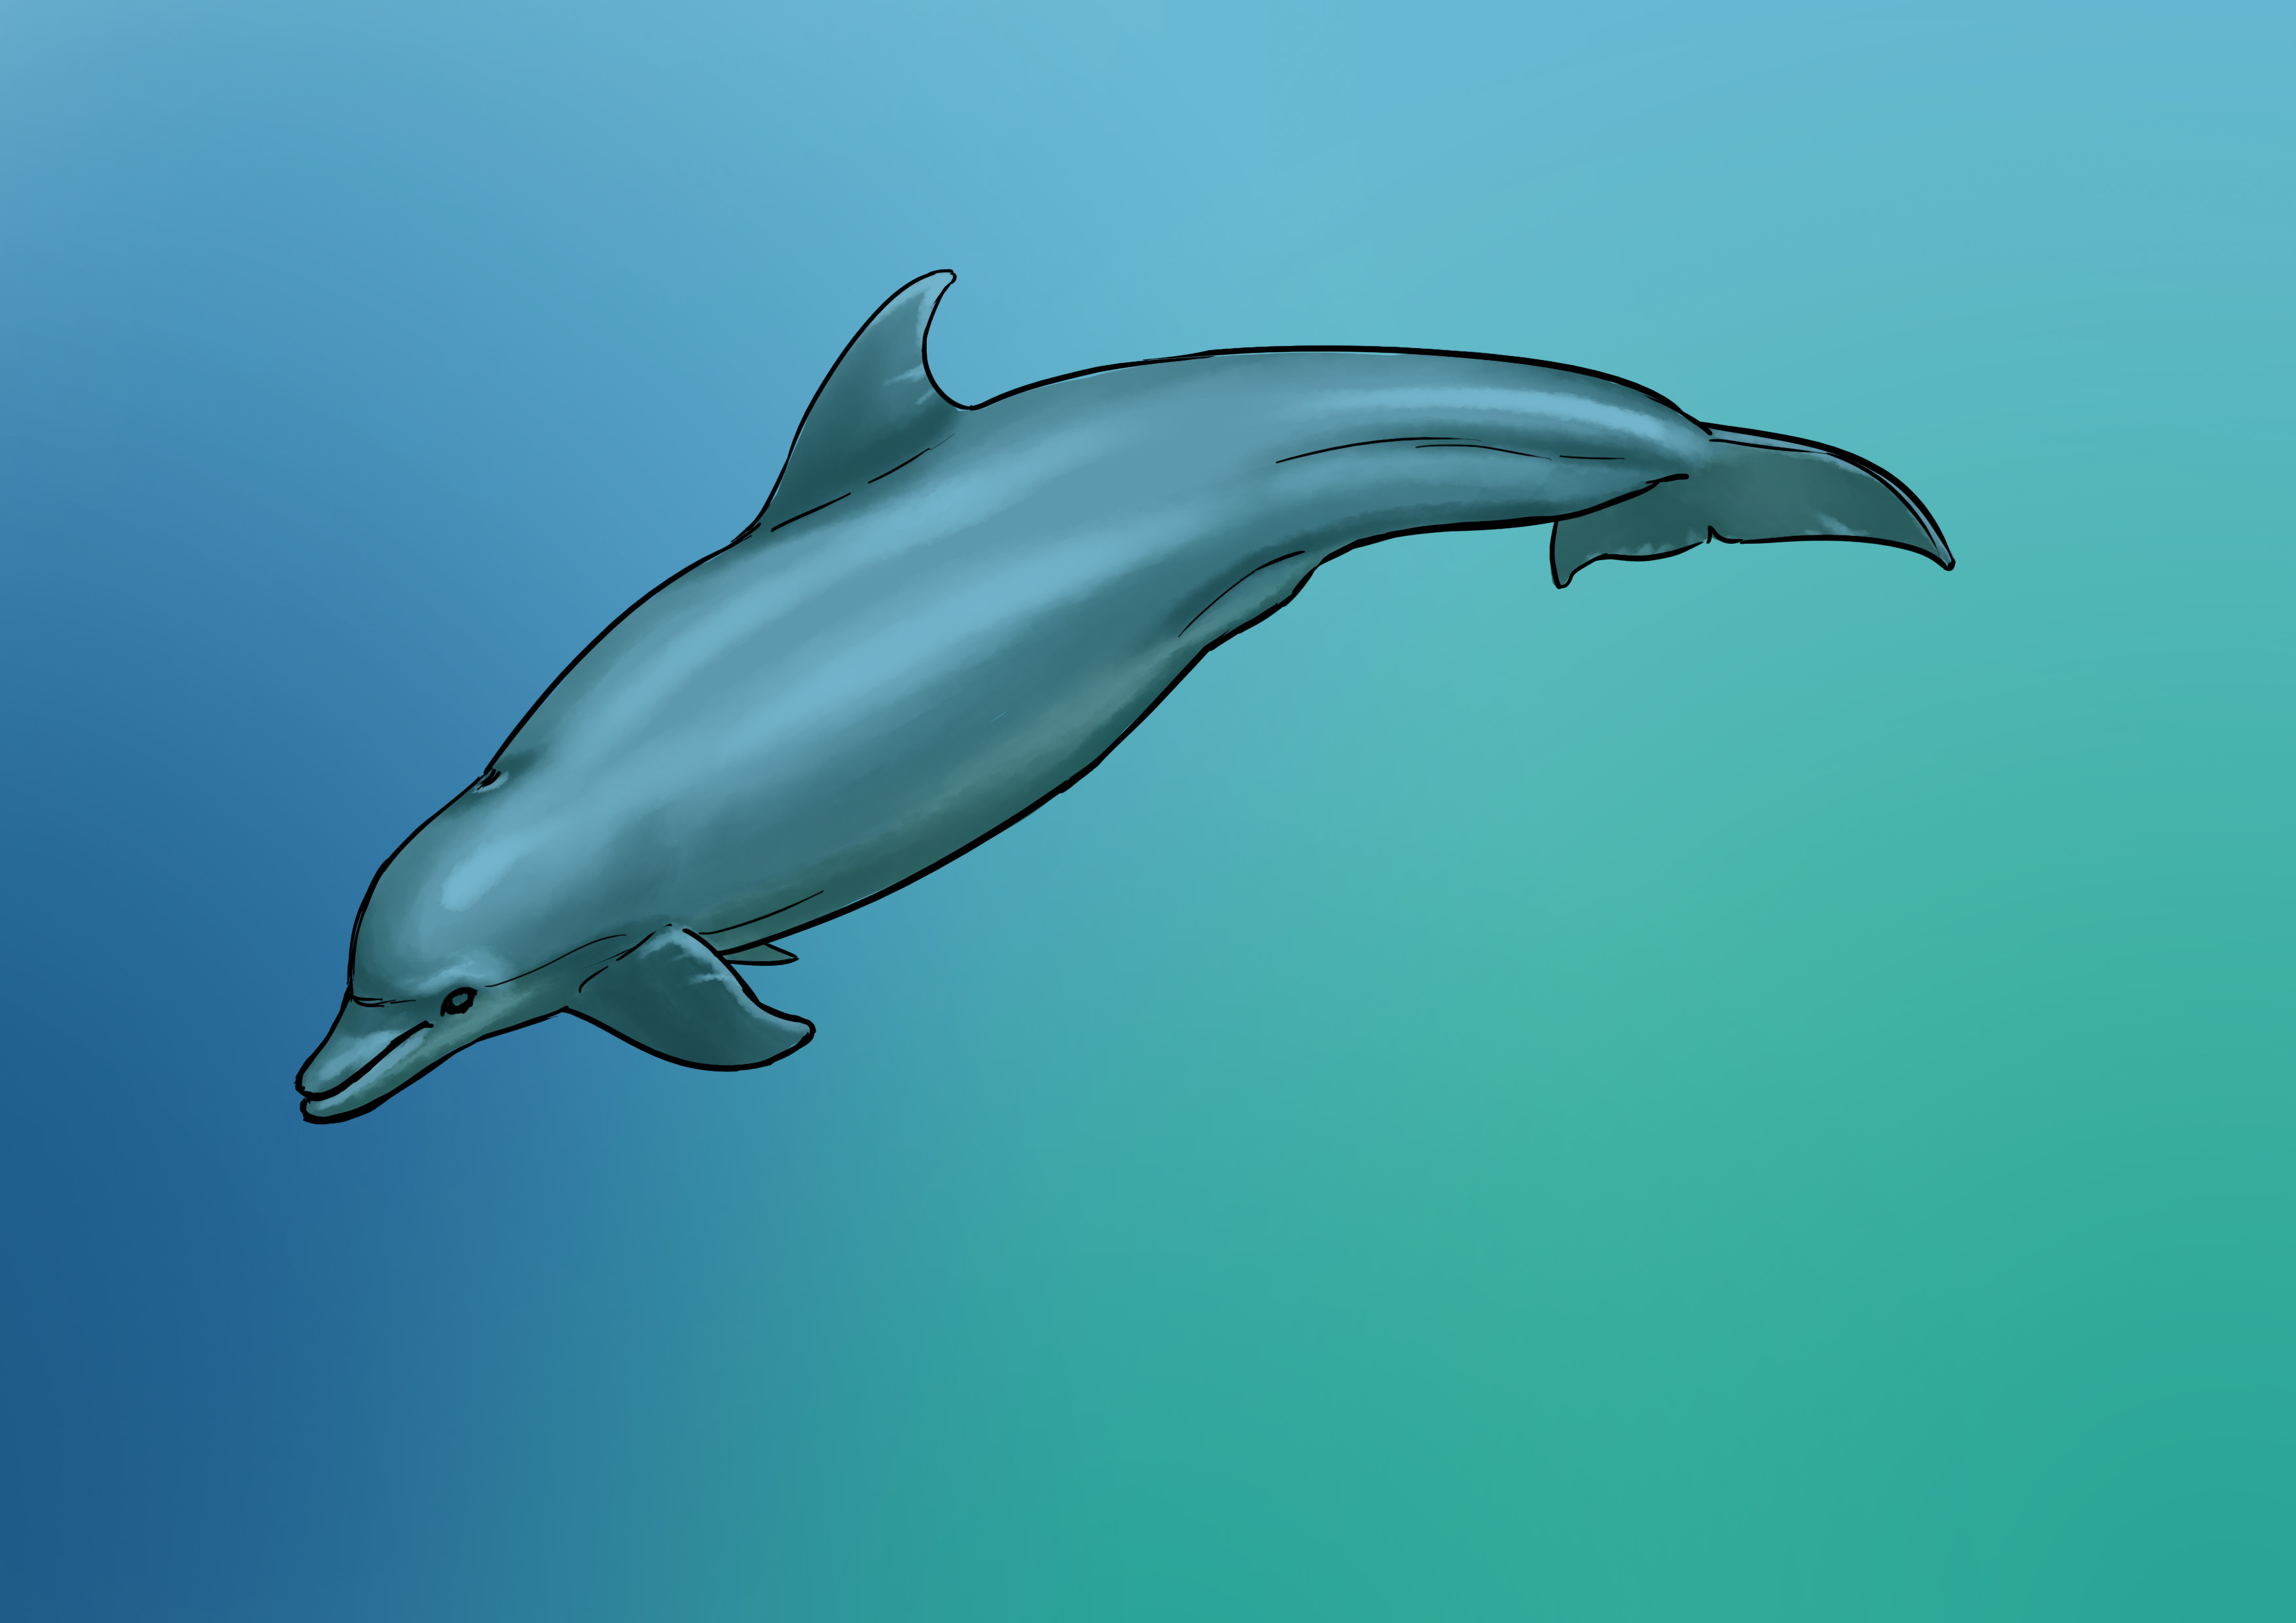
To finalize everything, we add the dark shade of the eyes and a slight backlight under the body. We choose a turquoise shade and draw a light outline. Again, this will give more volume to our dolphin :D
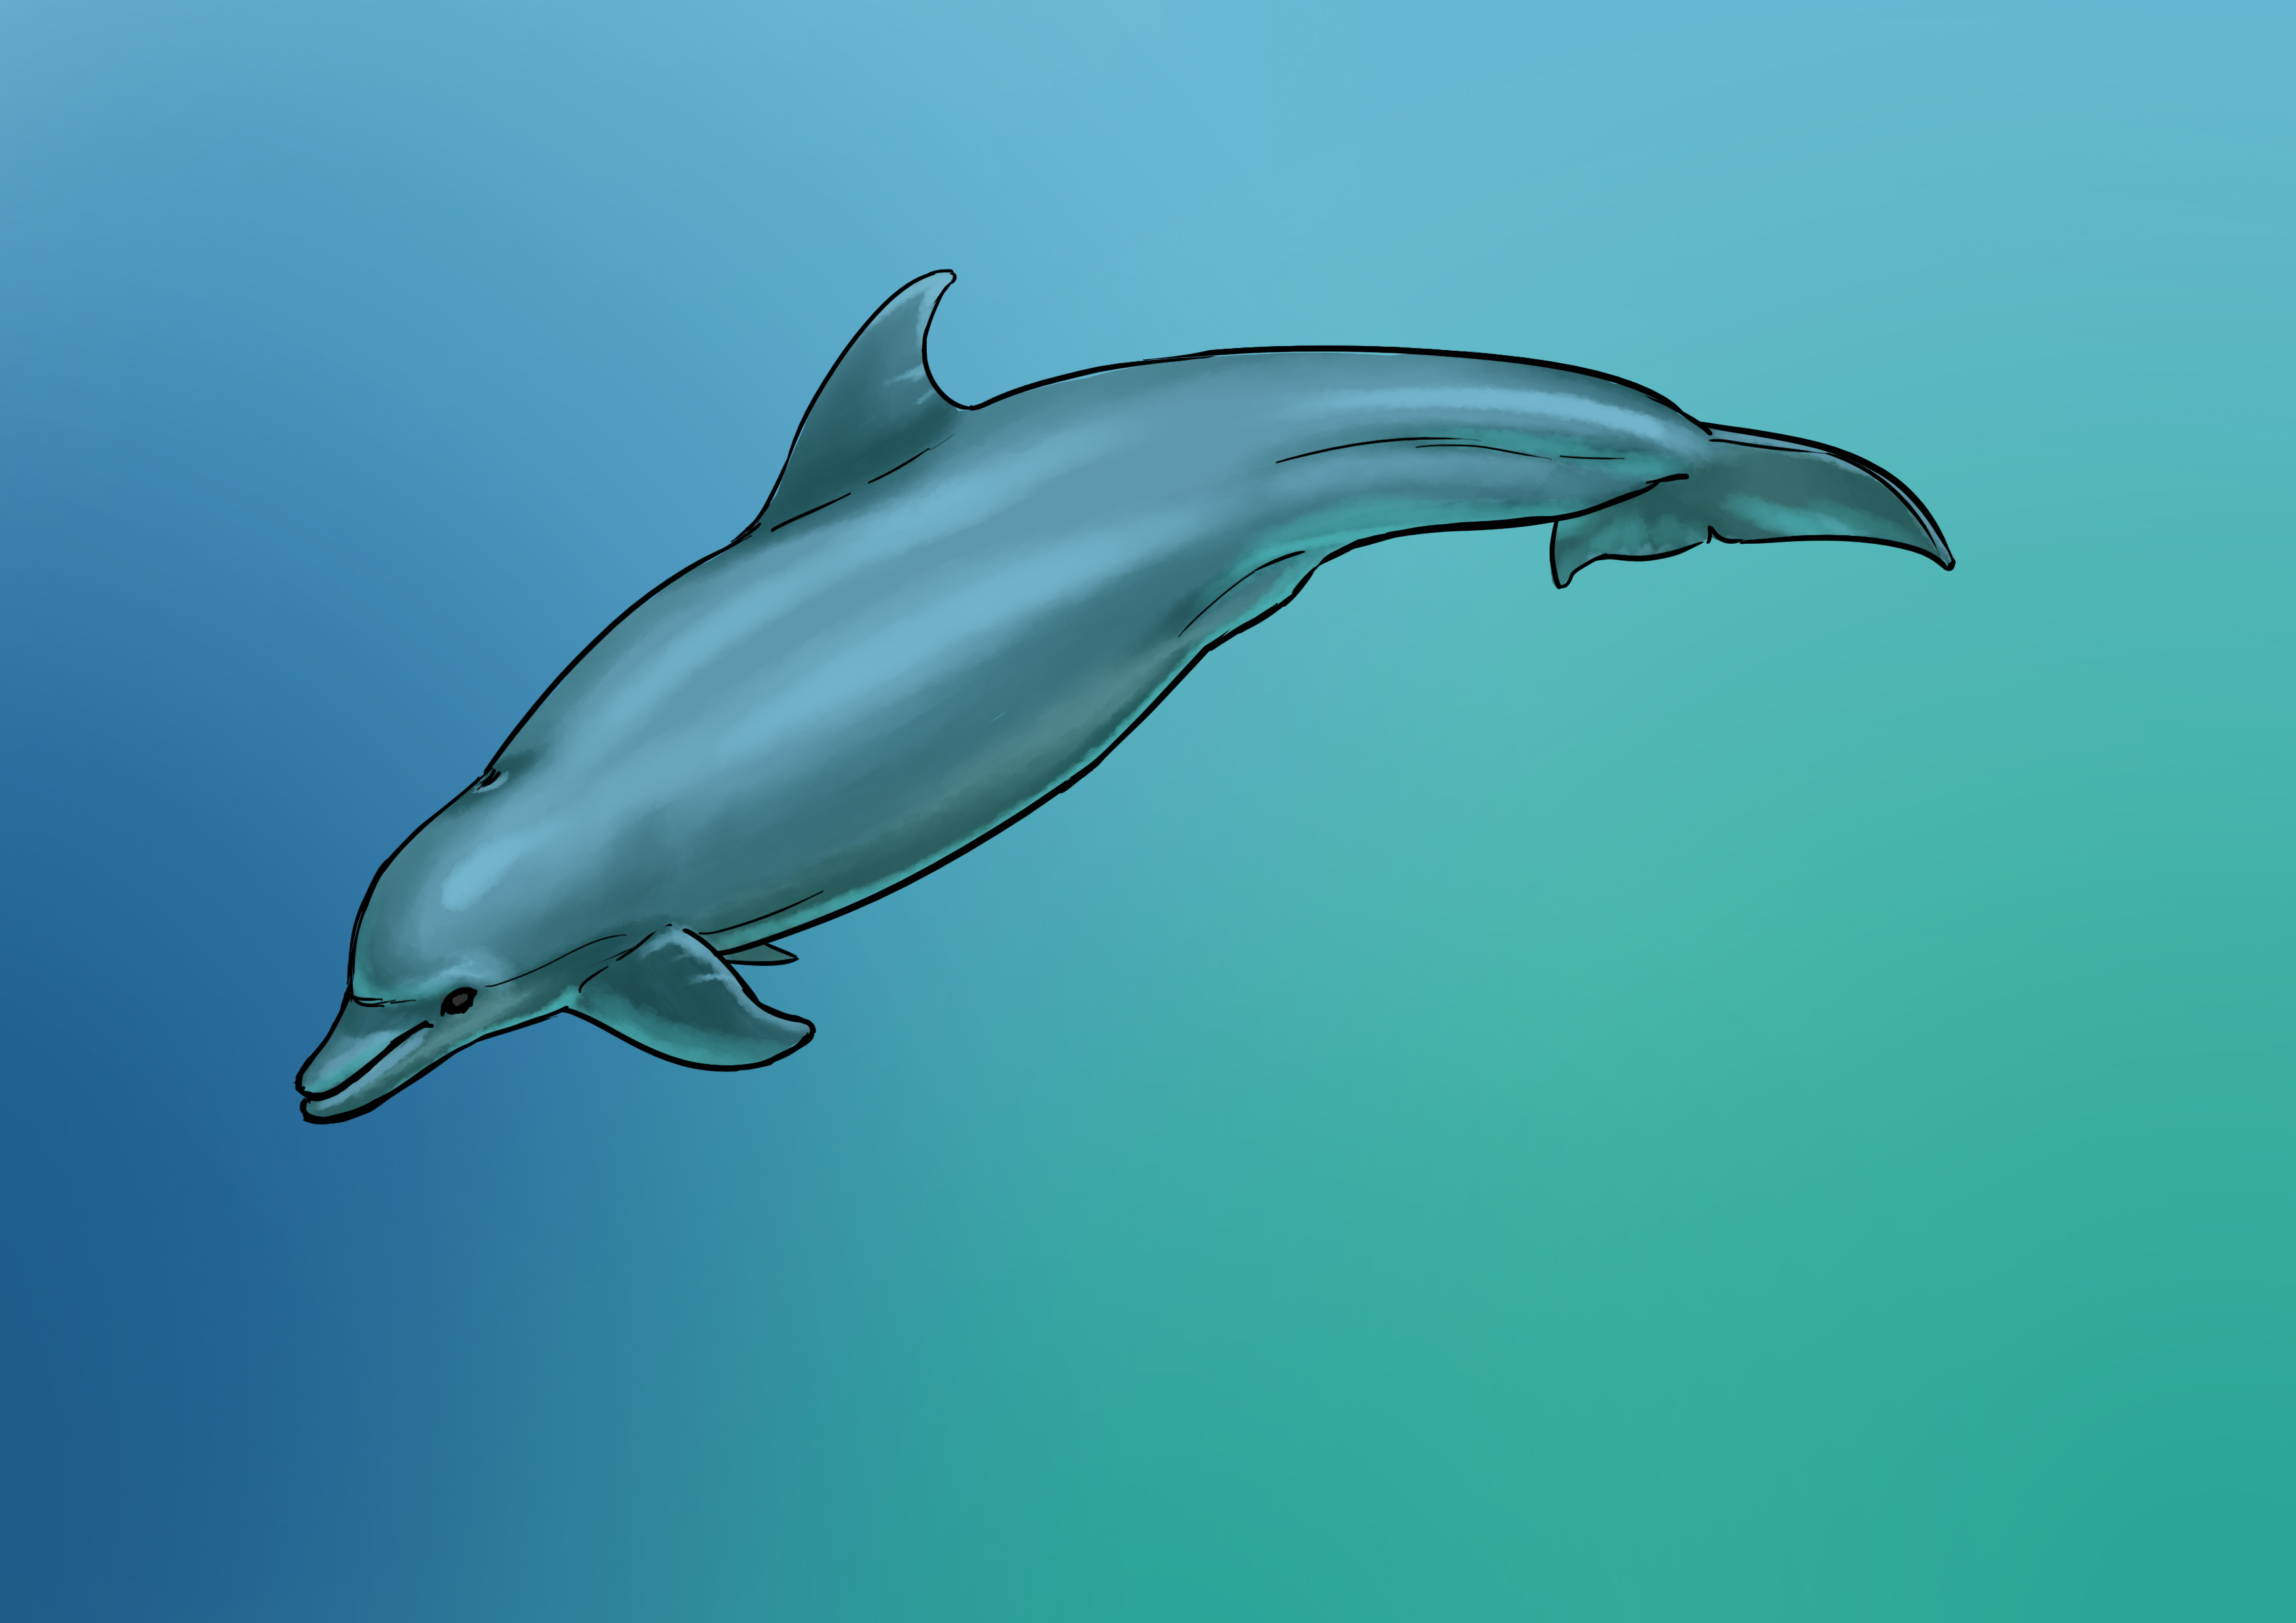
And there you have it! Our dolphin is now complete!
Recap!
- We start from two potato-like shapes
- We add the head and then the fins
- We detail the body and the eyes
- We switch to color considering the environment in which our dolphin is located
- We don't forget the little lights and it's done!
Save