What is the Acrylic Pouring Technique?
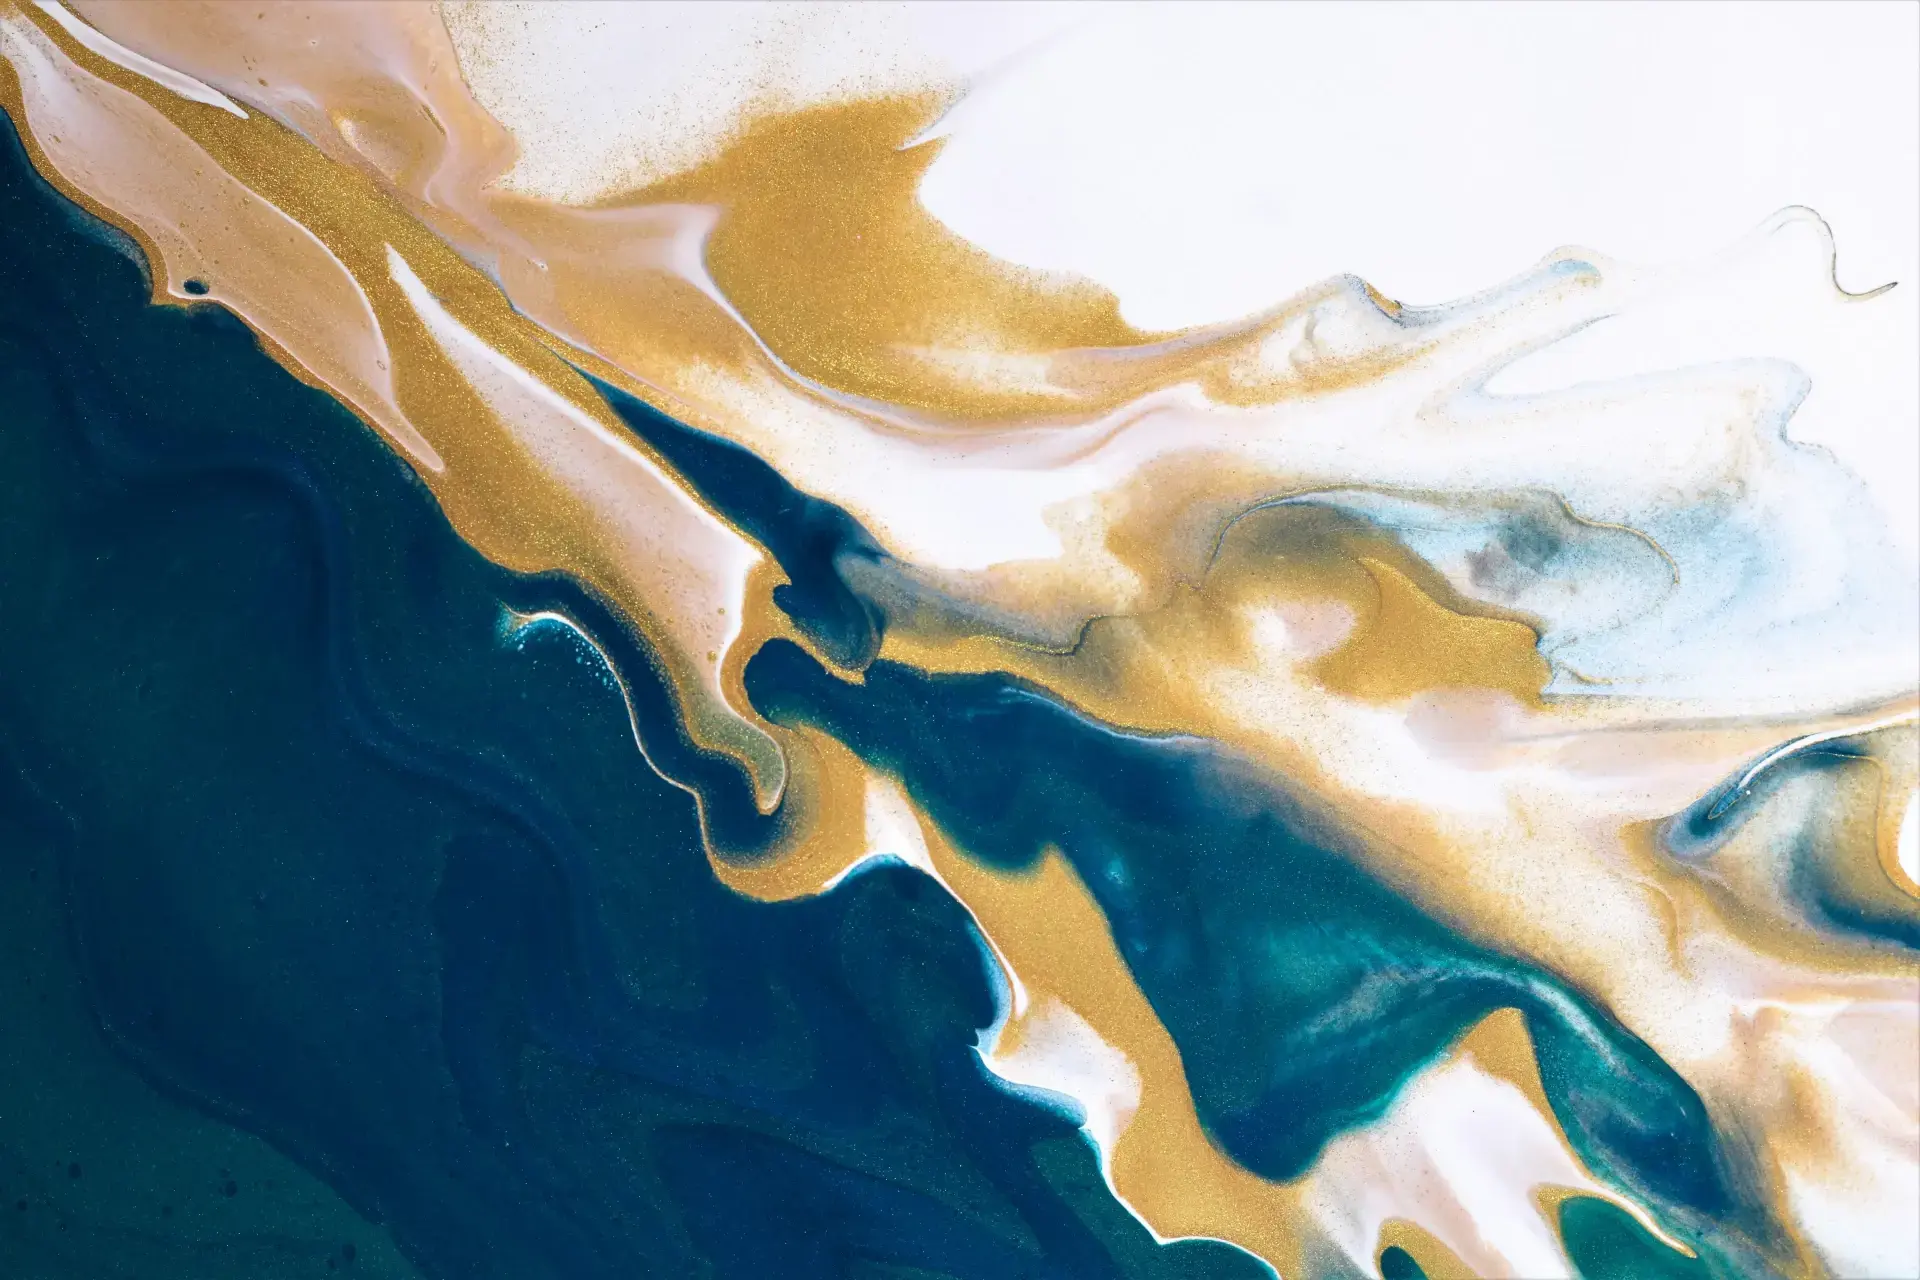
If you have always dreamed of painting differently, abandoning brushes and traditional forms to dive into the world of abstract art, this technique is for you. Pouring is an acrylic painting method that exploits the fluidity of the material to create artworks with fascinating organic patterns, simply by letting the color flow freely on the canvas.
Welcome to this tutorial where I will reveal everything you need to know to master this technique and have great fun during the creative process.
The origins of pouring
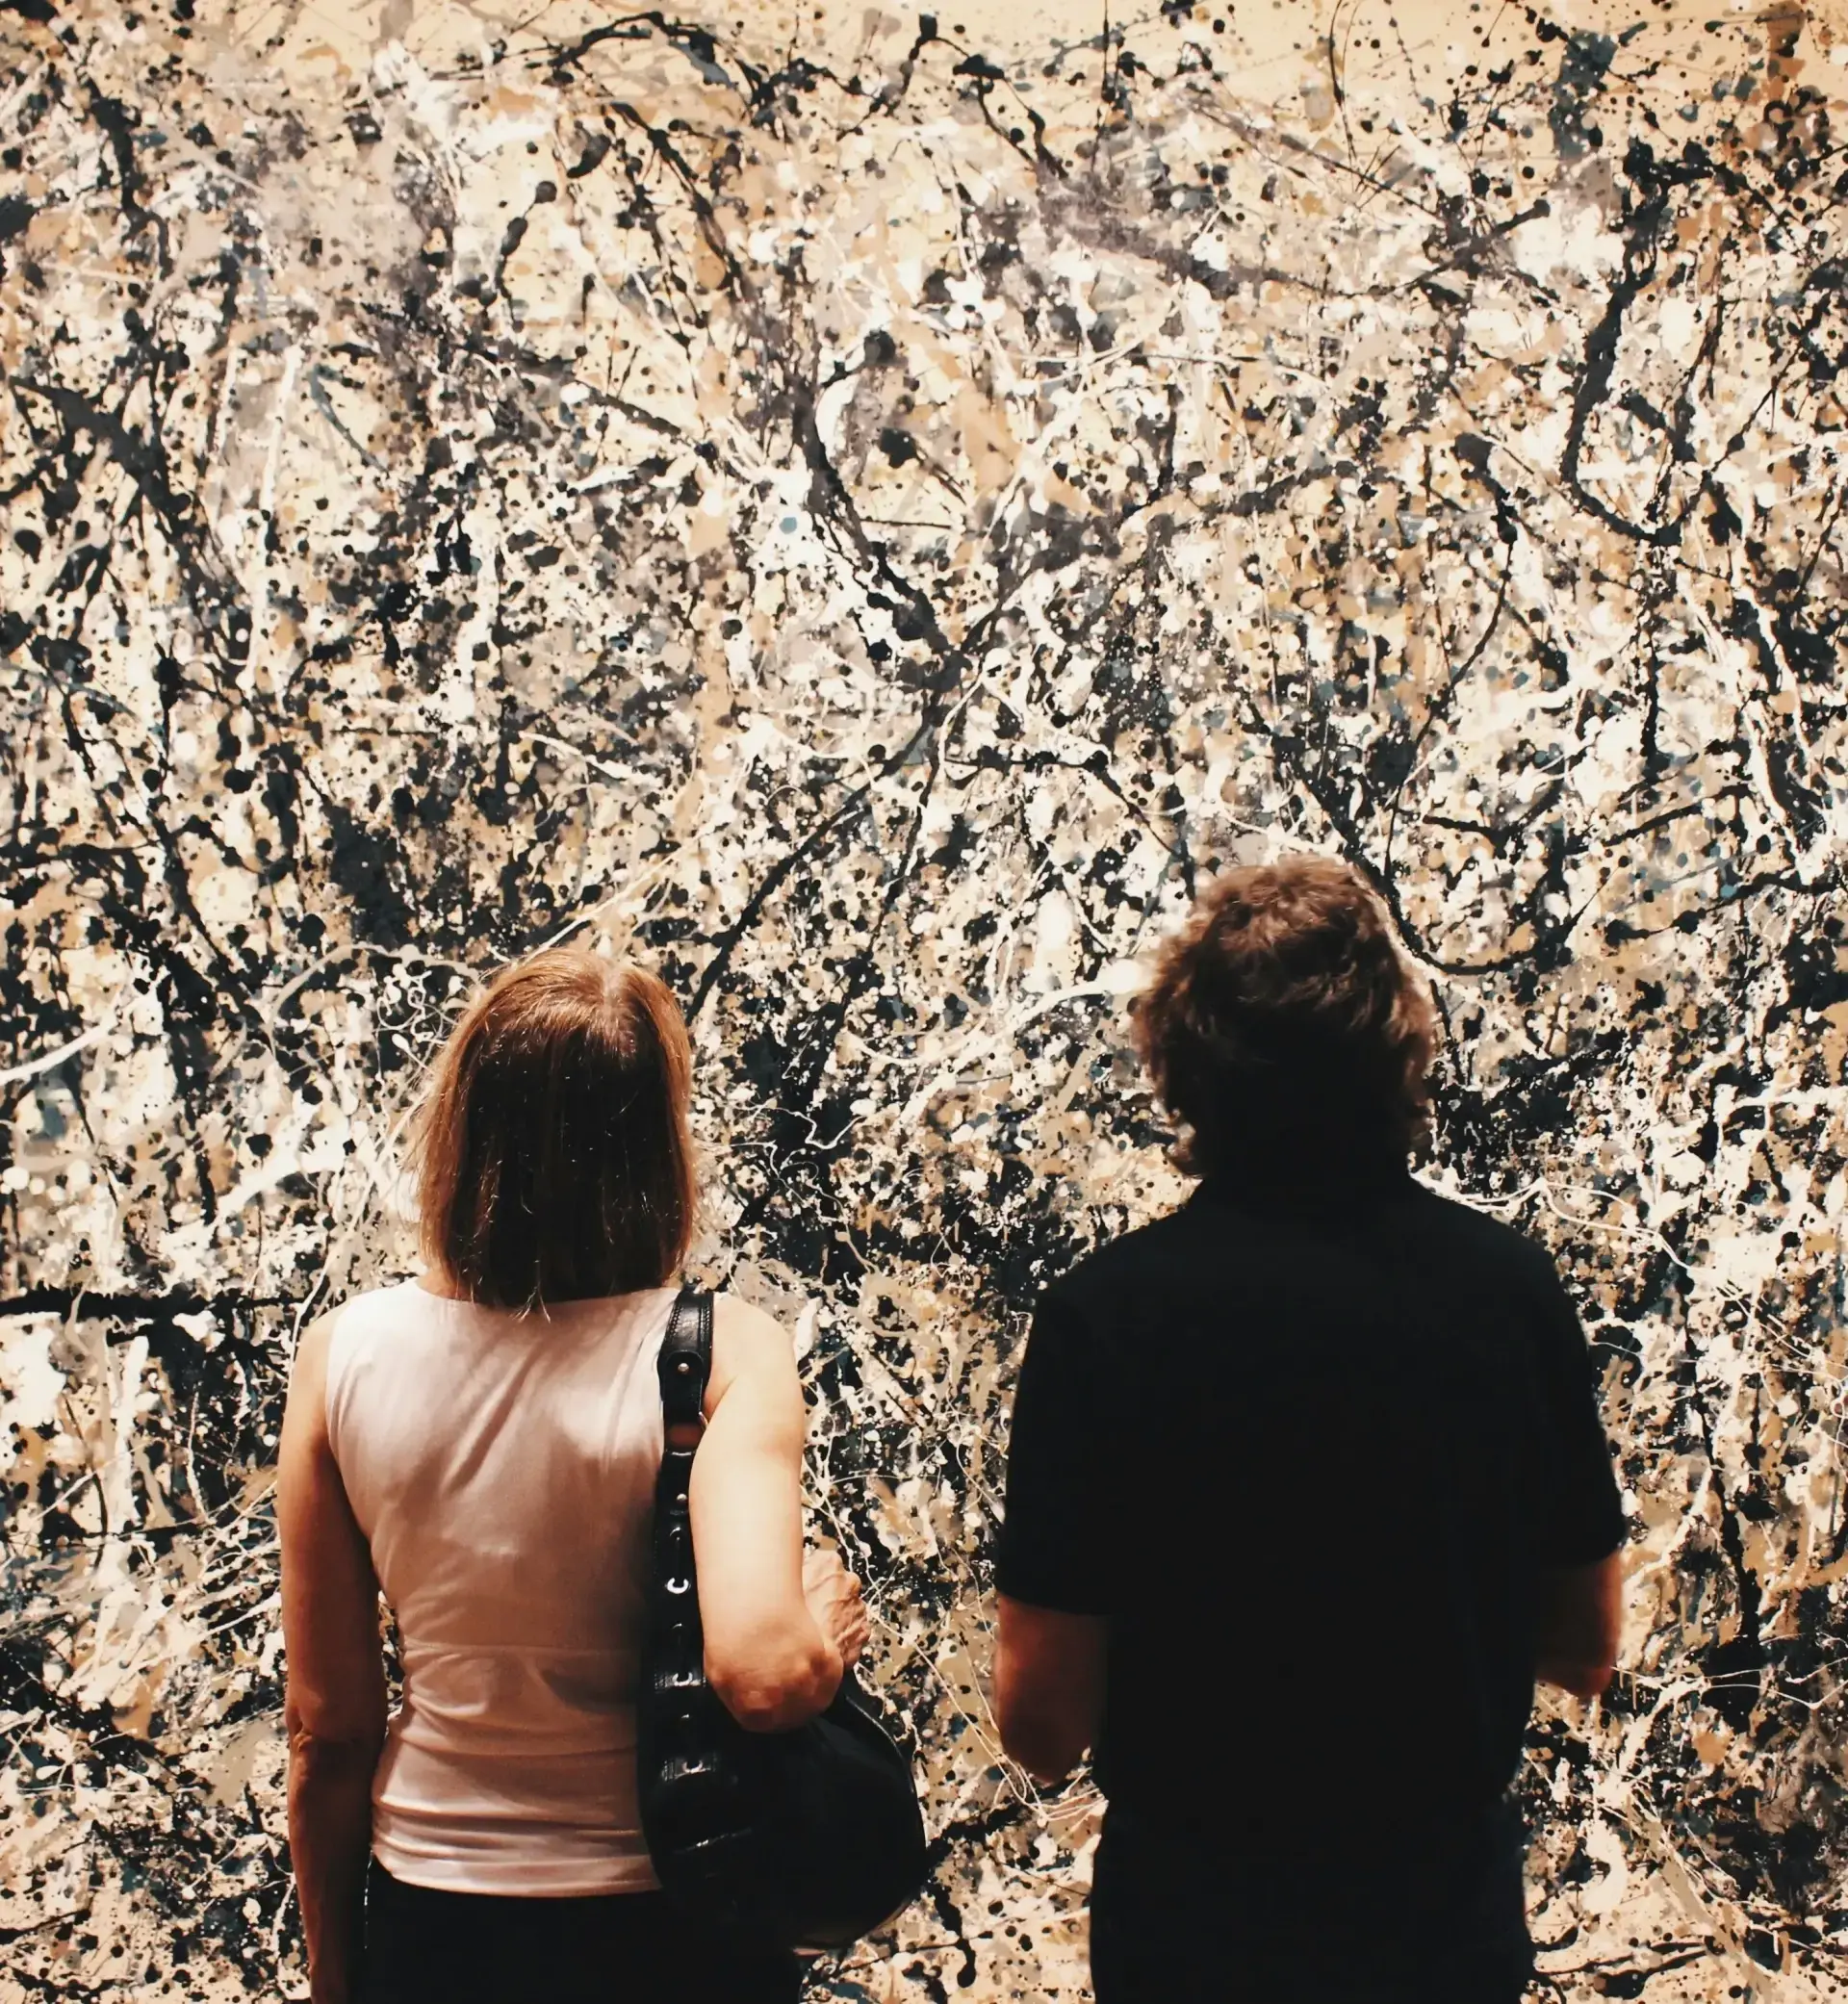
To understand where this technique comes from, we need to go back to the major abstract art movements. Artists of that era were asking revolutionary questions around how to liberate the expressiveness of painting and how to break free from conventions in order to create spontaneously.
Against this background, figures like Jackson Pollock and Helen Frankenthaler emerged, who revolutionized painting by applying color directly to the canvas, by throwing, tipping, or pouring it, thereby creating effects never seen before.
Required equipment
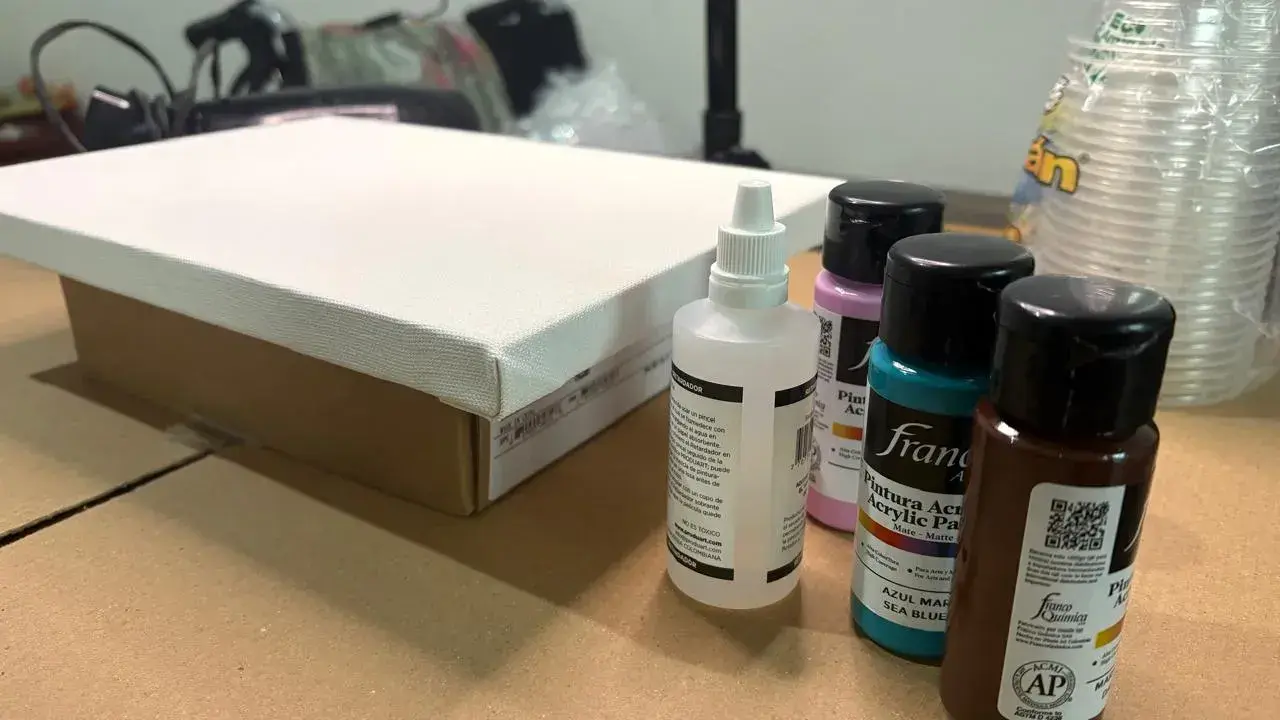
Here is the complete list of materials you will need:
Painting and mediums:
- Acrylic paint of medium consistency, in generous quantities
- Pouring medium, an essential element that slows drying and enables paint manipulation (you can also use Floetrol or PVA, which is white glue)
- Water for diluting and mixing components
Tools and resources:
- Disposable cups or other containers for mixing
- Lolly sticks or tongue depressors for mixing
- Canvas or rigid support (wood panel, vinyl record). Absolutely avoid paper which will not support the weight of the paint.
- Elevation supports: upside-down cups, pieces of wood, or similar objects to elevate the canvas
Protection:
Gloves to protect your hands
Plastic or newspaper to cover your entire work surface
If you want to achieve special effects, you can add:
- Silicone oil: just a few drops to create spectacular cells
- Kitchen blow torch or lighter: to burst air bubbles and intensify the cell effect
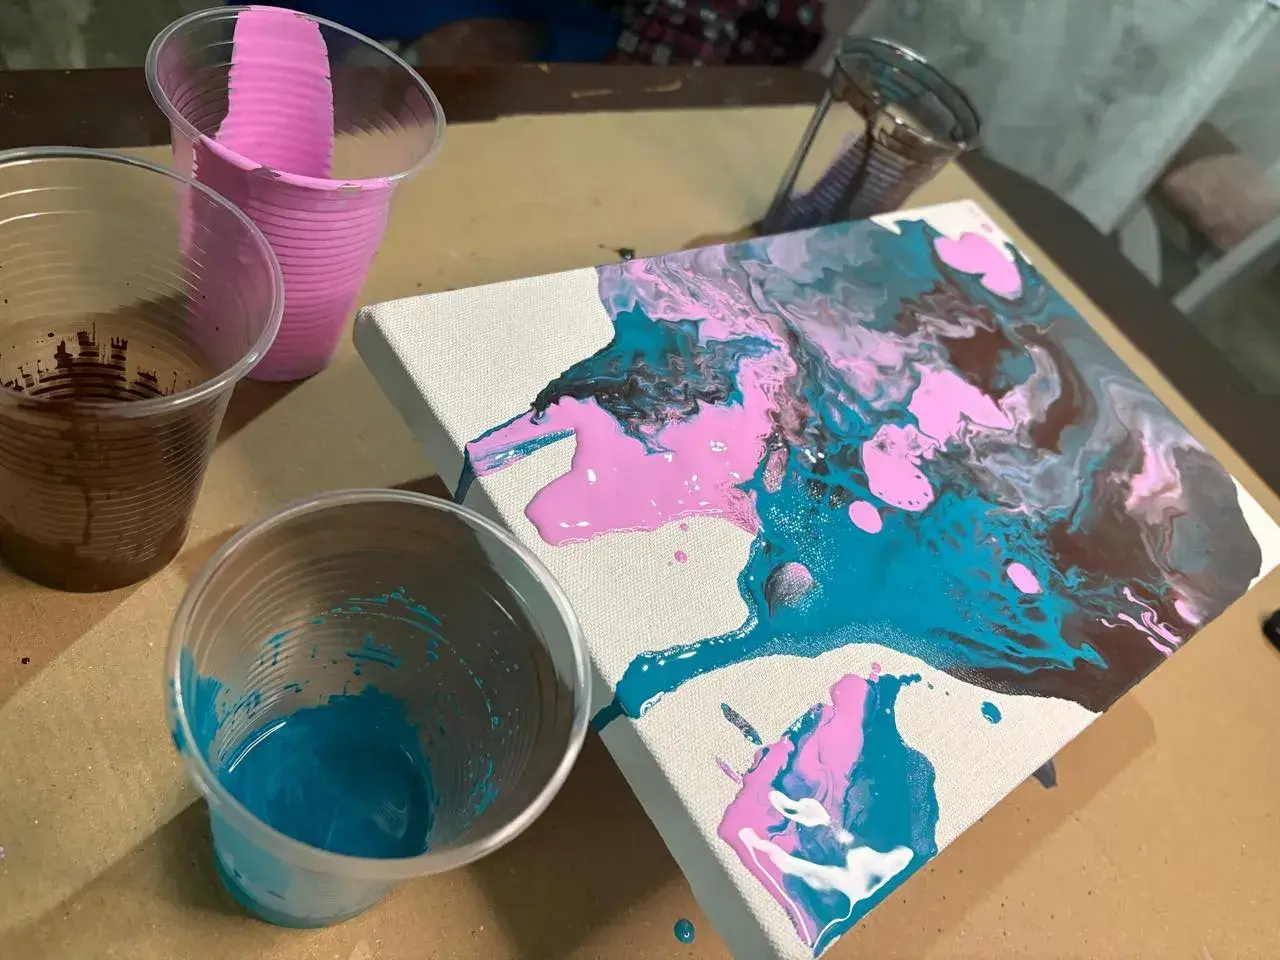
The flip cup method: step-by-step tutorial
The concept is simple: you will prepare a mix of several colors in a cup, then pour it onto the canvas allowing the paint to naturally create organic shapes. Then, you can intervene to customize the result. Here is the detailed process:
Prepare the workspace
Protect your entire work surface well. I'm not exaggerating: generously cover the entire area with plastic or newspaper, as this technique can get messy quickly.
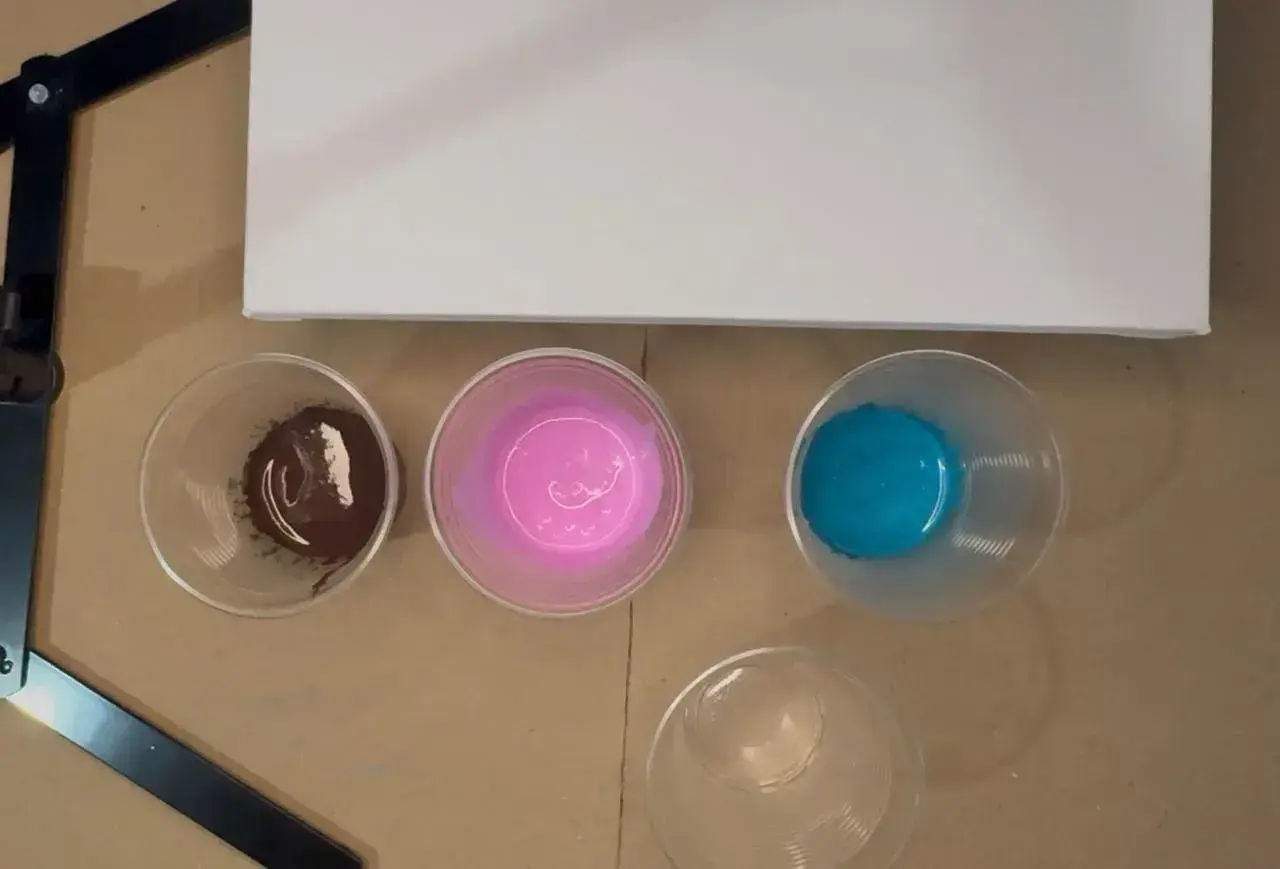
How to properly prepare your paint mixes
- Reserve one cup per color
- Pour about a large spoonful of paint into each cup
- Add two spoons of medium
- Add a spoonful of water
- Mix until you achieve a consistency that flows like a continuous thread, without lumps, but without being too transparent
Important note If you are using silicone, add 2-3 drops at this stage, then mix with a stick making no more than two turns. No more, otherwise the effect will be compromised.
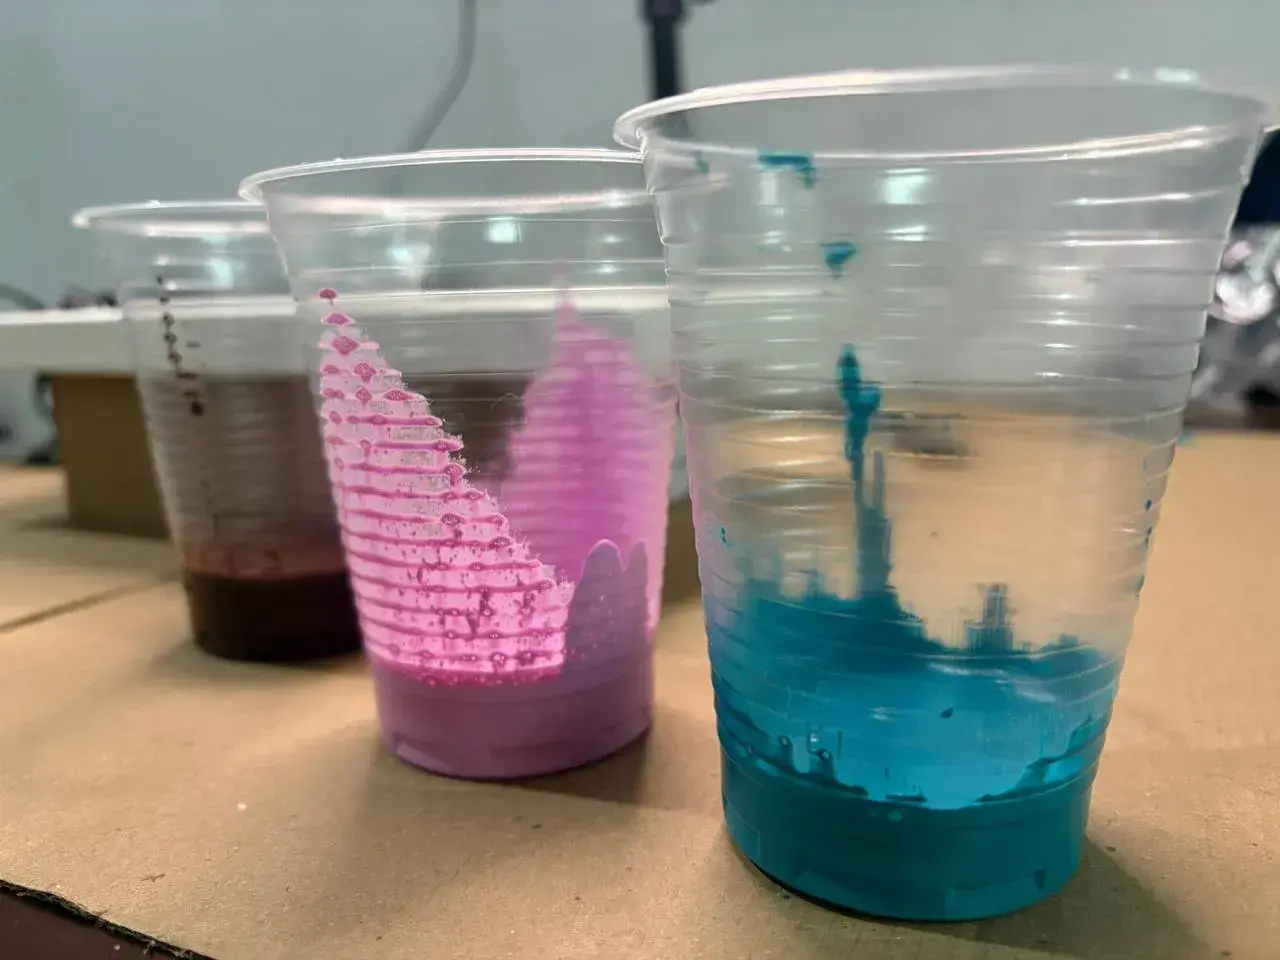
Overlay colors
In a new cup, begin to pour your colors one by one. Let them drop in moderate amounts, without mixing them. The layers should naturally overlap.
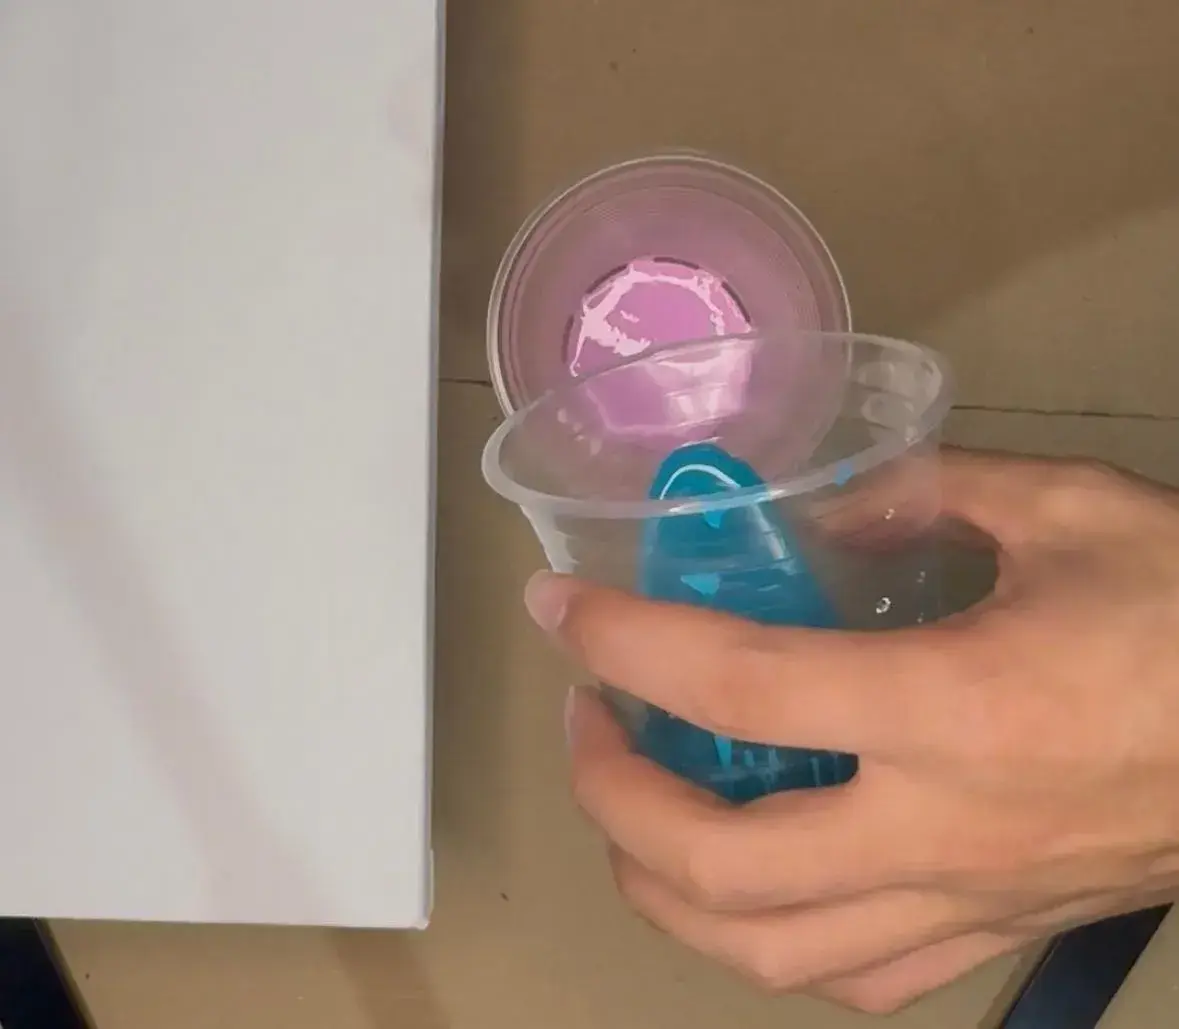
The tipping point: key moment
This is the decisive moment!
- Hold your filled cup in one hand
- Place the canvas on top like a lid
- On the count of three, quickly turn it over
- Place it on the stand while firmly holding the cup

Count to 10 to allow the paint to position itself correctly.
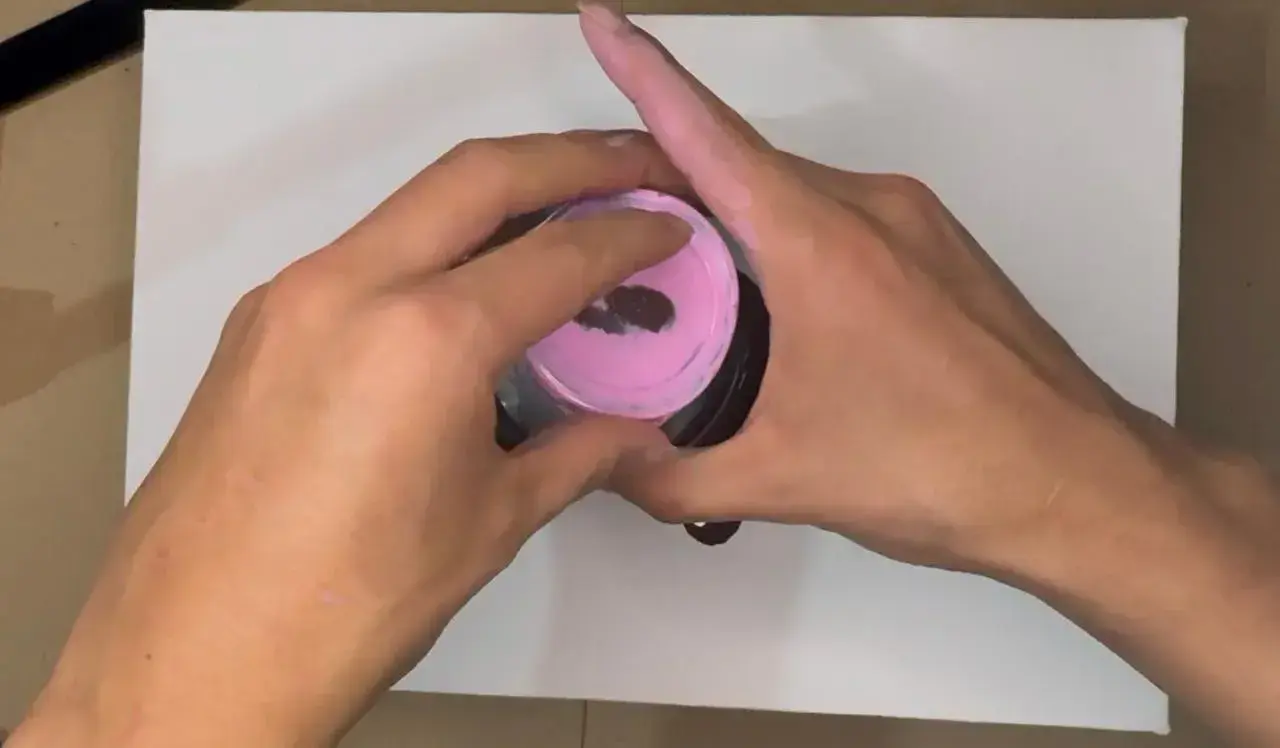
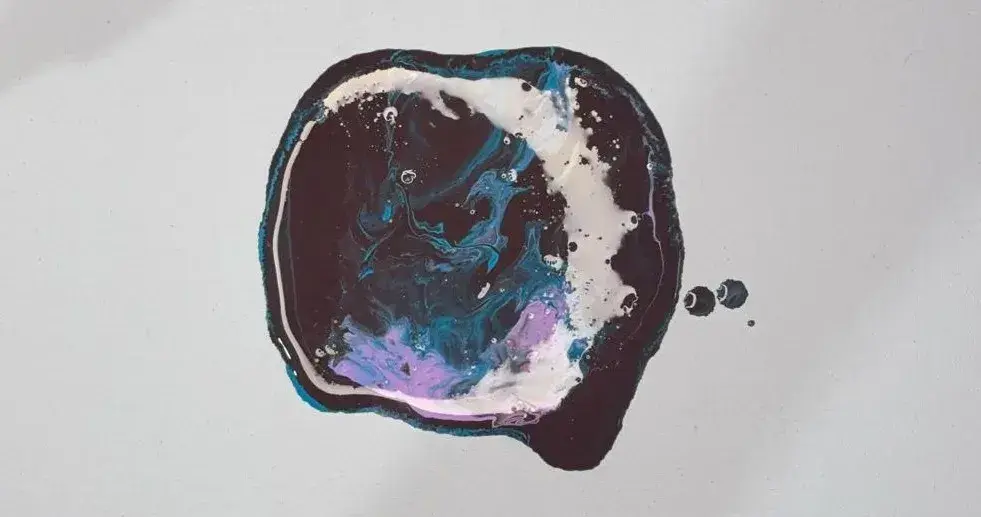
After this time, slowly lift the cup and watch the magic happen: the paint begins to travel across the canvas leaving fascinating patterns.
Advanced techniques to enhance your pouring
If you want to bring even more dynamism to your work, you can proceed as follows:
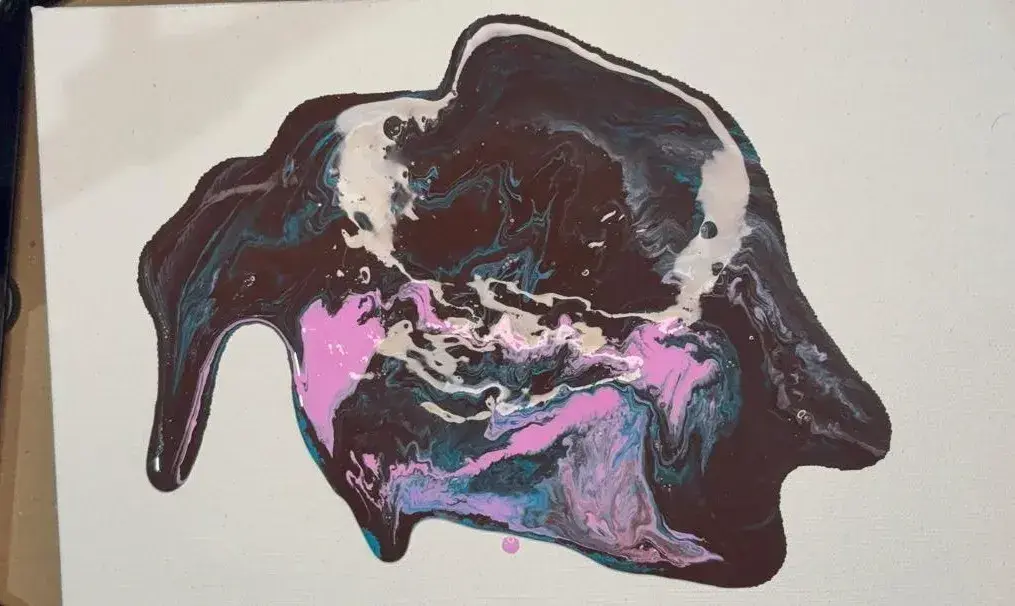
Take your canvas and gently tilt it in different directions. The paint will move from one side to the other, creating much more dynamic and organic curves.
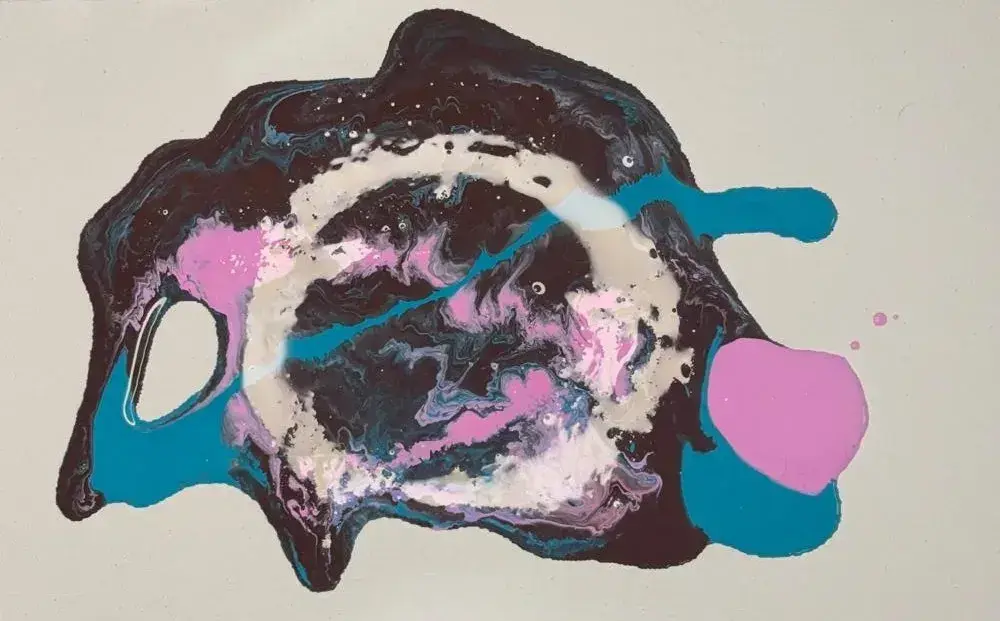
Pour more color directly onto the existing composition and let it blend naturally to enrich your artwork.
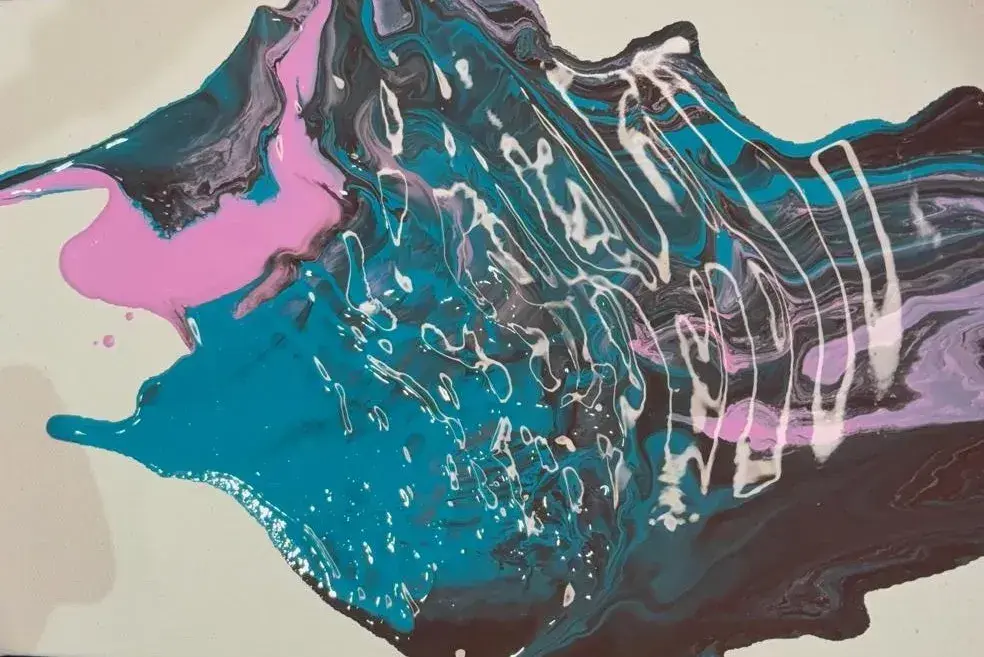
Take a hair dryer (yes, you read that right) set it to the lowest power and gently blow on the paint. This will create beautiful wave effects.
Caution: to be done only under adult supervision
If you have used silicone, it's time to activate its effect with heat:
- Use a kitchen blow torch or a lighter
- Quickly pass it over the surface, never stopping in the same spot
- This action will burst the bubbles and reveal the cells
Continue experimenting until you achieve the desired result, then let your piece dry completely still.
Key tips for mastering acrylic pouring

Master paint consistency
This is the most important element of this technique:
- Too thick: the paint will not flow properly and will remain static
- Too diluted: the colors will blend completely and you will lose the desired effect
Check the level of your support
Make sure your work surface is perfectly horizontal. A slight tilt could cause all your paint to flow to one side and ruin your composition.
Plan the order of colors
The first color poured into the cup will be the one that stands out the most, while the last will be mostly covered by the others. Consider the final effect you want to achieve.
Choose your color palette
Use a few well-chosen colors. A strong color contrast will give more impact to your artwork than a mix of too many shades.
Measure silicone cautiously
A few drops are more than enough. Excess would create a less aesthetic effect and could compromise the adhesion of the paint.
Allow drying time
Arm yourself with patience: the large amounts of paint and the retarding effect of the medium mean that your work will take several hours, or even a whole day, to dry. Do not move it until it is completely dry.
Here, you have all the skills and knowledge to embark on the adventure of acrylic pouring! I apologize in advance for the mess you are going to create, but I am convinced that you will have a lot of fun experimenting with this technique.
Pouring is much more than just a painting method: it's a different, therapeutic, and liberating artistic experience. So, don't hesitate any longer, protect your workspace well and dive into creating!
Discussion
Cool technique!
Very clear and enjoyable article to read. The explanations are simple, well-structured, and really make you want to try the technique. Thank you for this tutorial!