How to Add Texture to Watercolor
Today, I suggest we explore watercolor from a slightly different angle. The idea is to play with the material to create original textures that will bring depth and life to your drawings.
A little reminder about watercolor
Watercolor is a fairly free technique that can sometimes be a bit unpredictable, but it is capable of producing truly superb results.
Water is at the heart of the process, and that's what gives it its charm. But there's more to it! Other elements come into play to create interesting effects, and that's exactly what we're going to discover here. In practice, watercolor is available in pans (solid form) or tubes (more liquid). The secret to how it works? A natural ingredient called gum arabic, which holds the pigment and releases it gently upon contact with water.
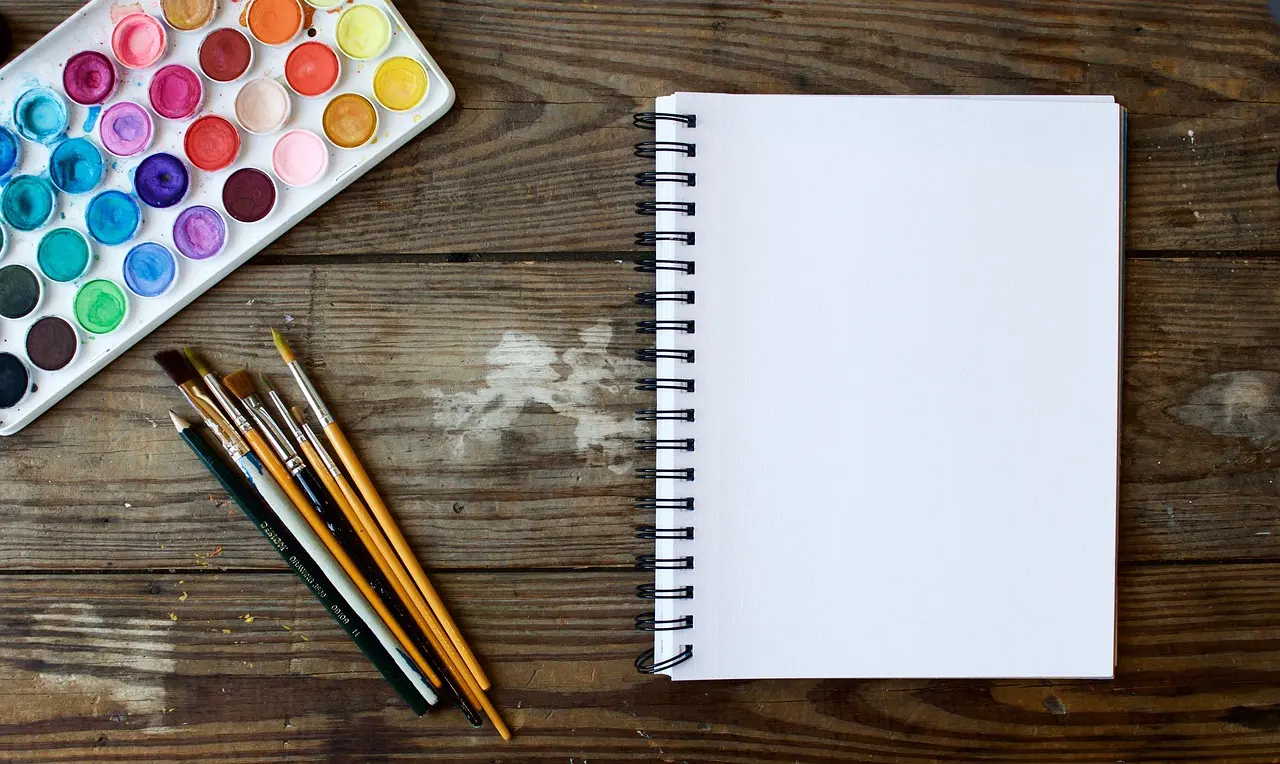
As for the material, the best option is to use paper specifically designed for watercolor. Ideally, you should use paper with the following characteristics:
- A high weight: between 300 g/m² (140 lb) and 425 g/m² (200 lb), or even more if possible.
- A suitable texture: cold pressed (slightly textured), hot pressed (smooth and soft), or rough (very textured). The chosen texture will greatly influence the final result.
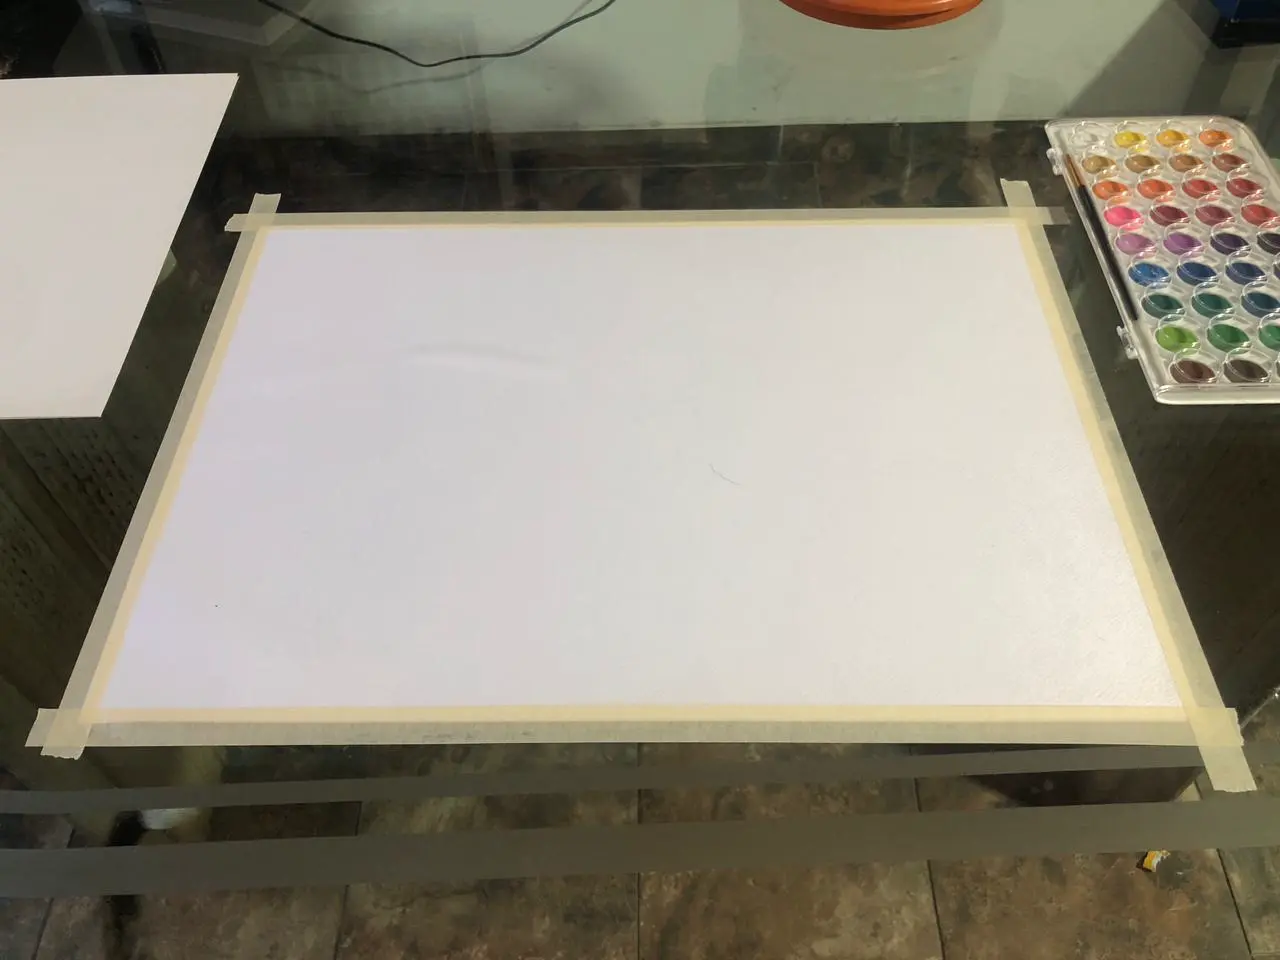
Before you start, prepare your paper to prevent it from buckling under the effect of water. The idea is to stretch it properly so that it stays flat throughout the work. For this, you have two options:
- Immerse it completely in water for a few seconds;
- Or evenly moisten it with a large brush.
Personally, I recommend the first method, which I find more effective. Once the paper is moistened, attach it to a rigid surface using adhesive tape (such as masking tape), making sure to cover all the edges well. This will prevent it from lifting or warping as it dries.
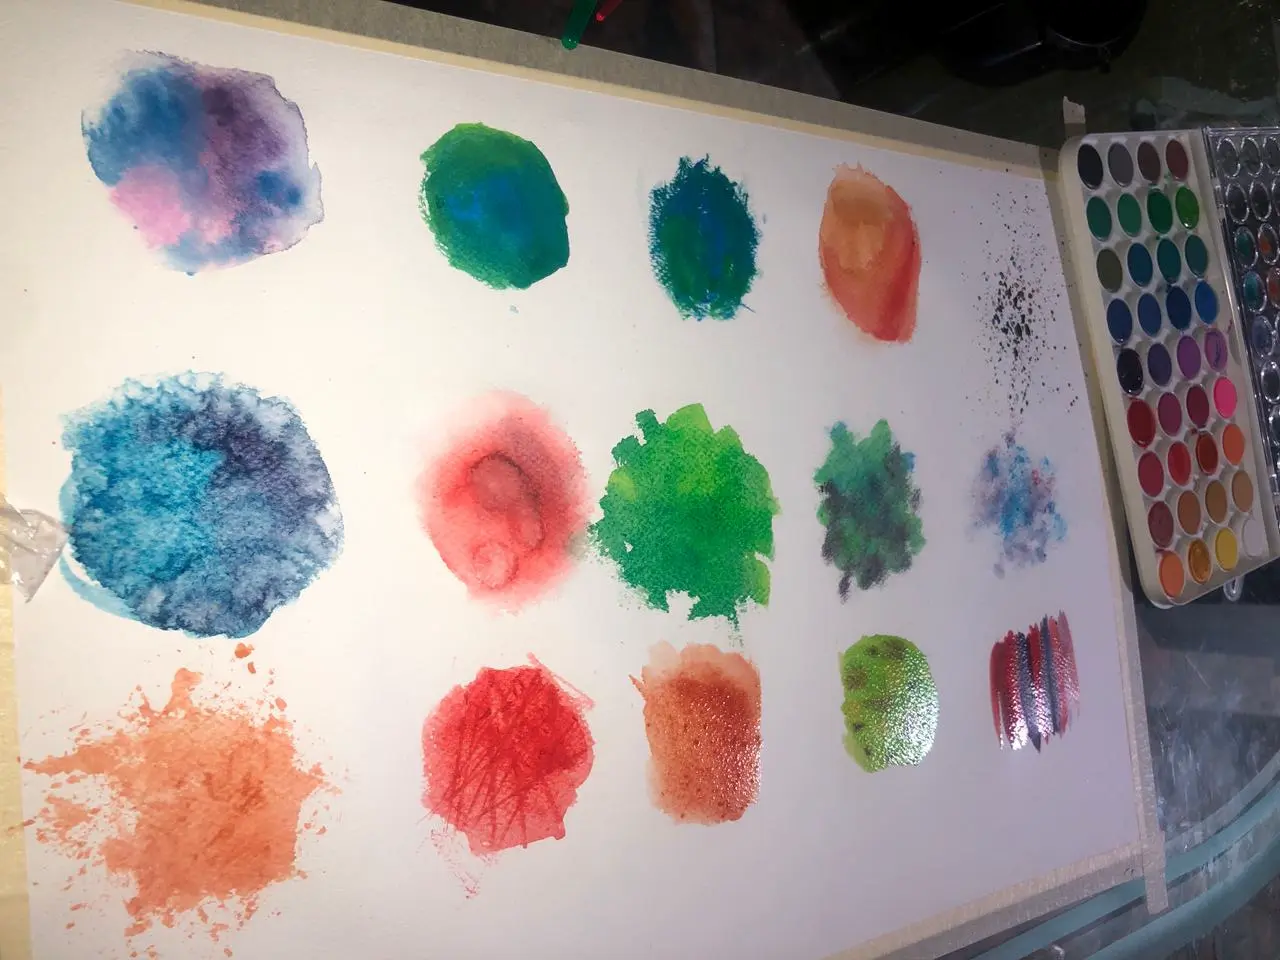
How to create varied textures with watercolor
Our goal today is to create varied textures in watercolor. For this, we will test different approaches to achieve contrasting effects:
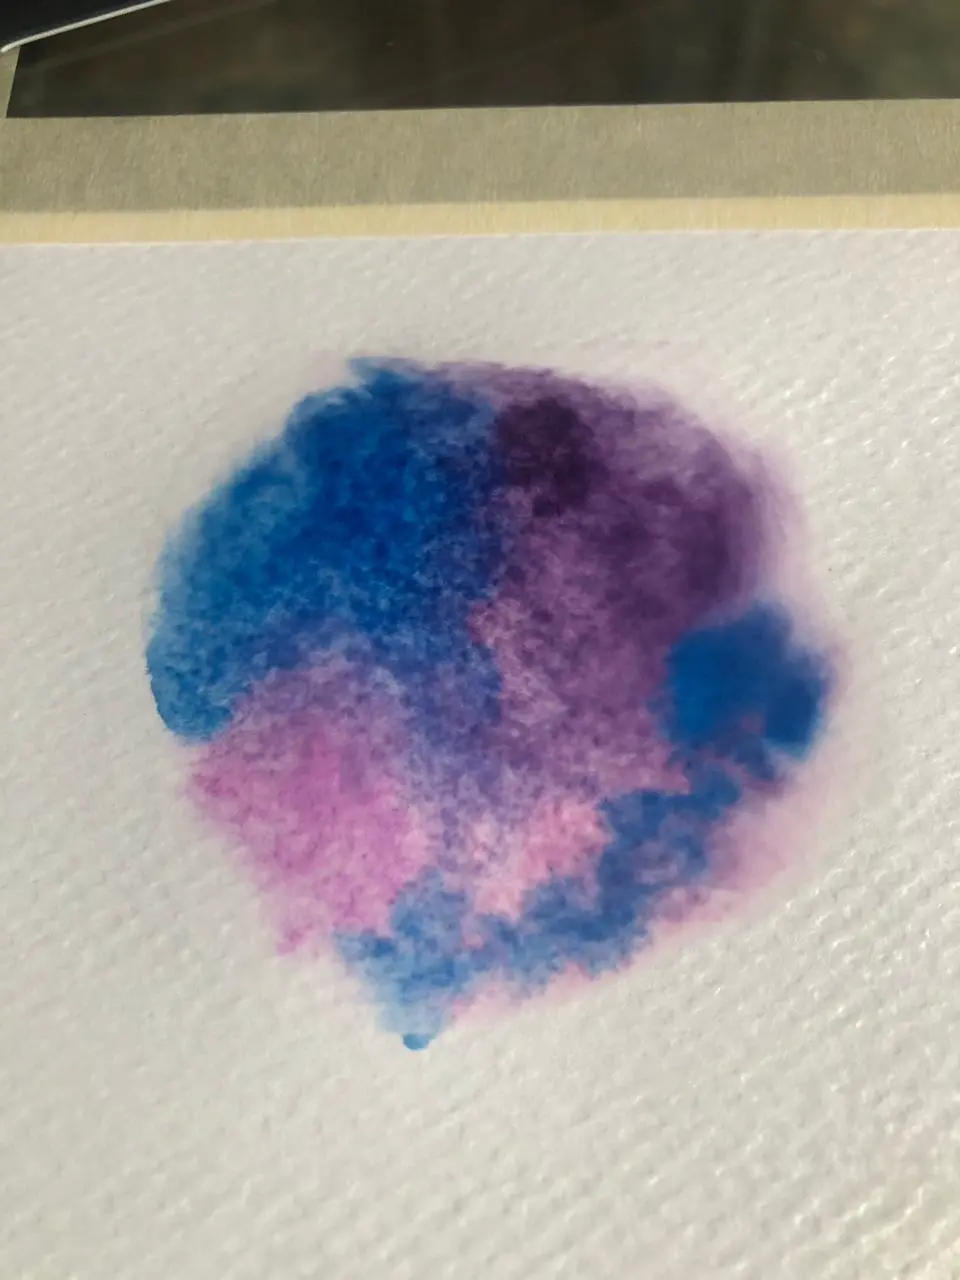
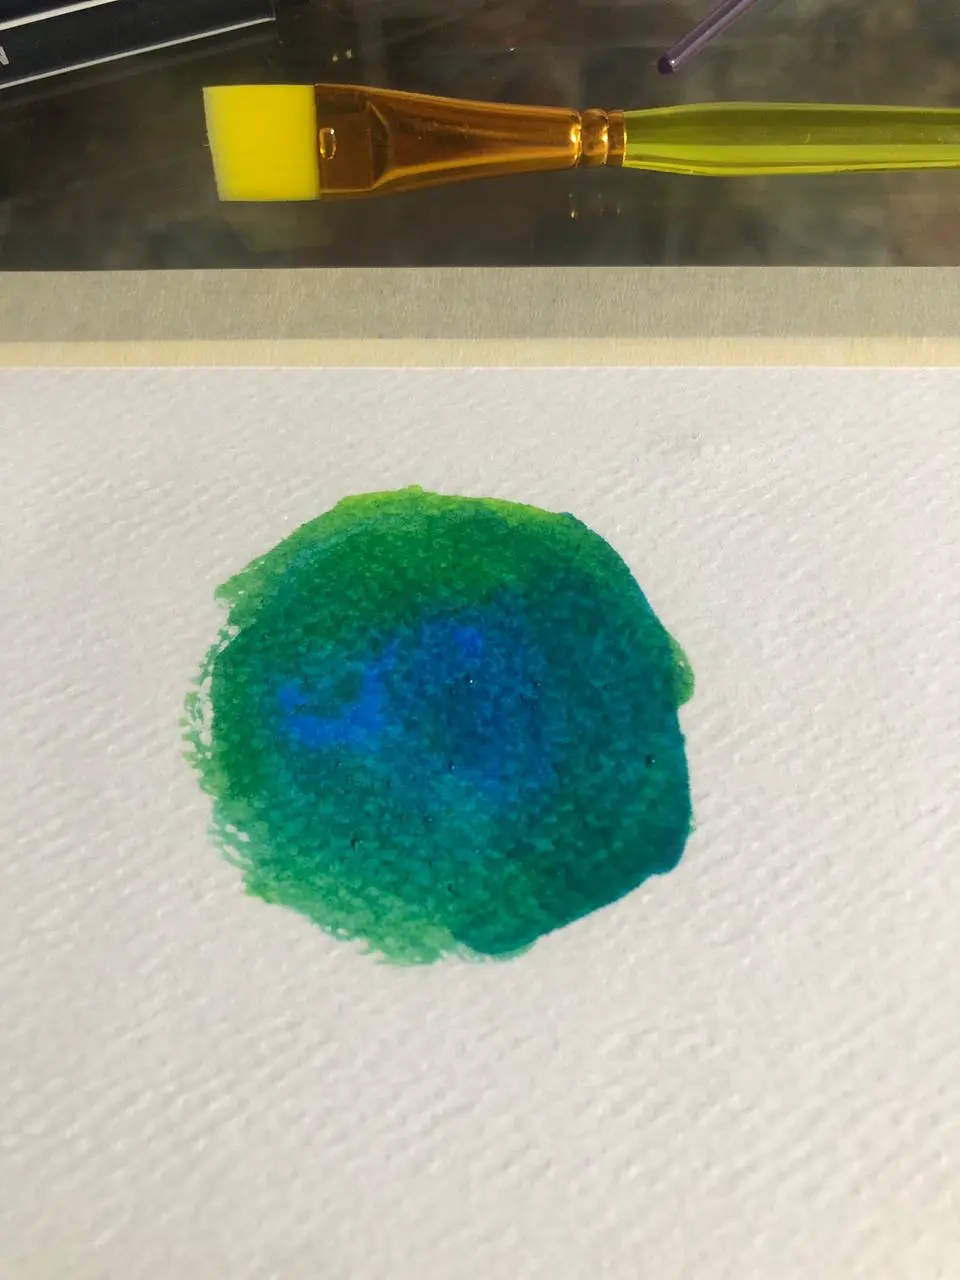
Wet on wet
This is the basic technique that we often explore first when starting out with watercolor. You wet the paper, load your brush with color... and let the paint diffuse on its own. The result is often surprising, with soft shapes and a beautiful blending effect.
And if you combine multiple colors, they blend together very smoothly
Wet on dry
Let's now see what a wet brush does on dry paper: you will notice that the strokes are more defined, while maintaining a certain fluidity.
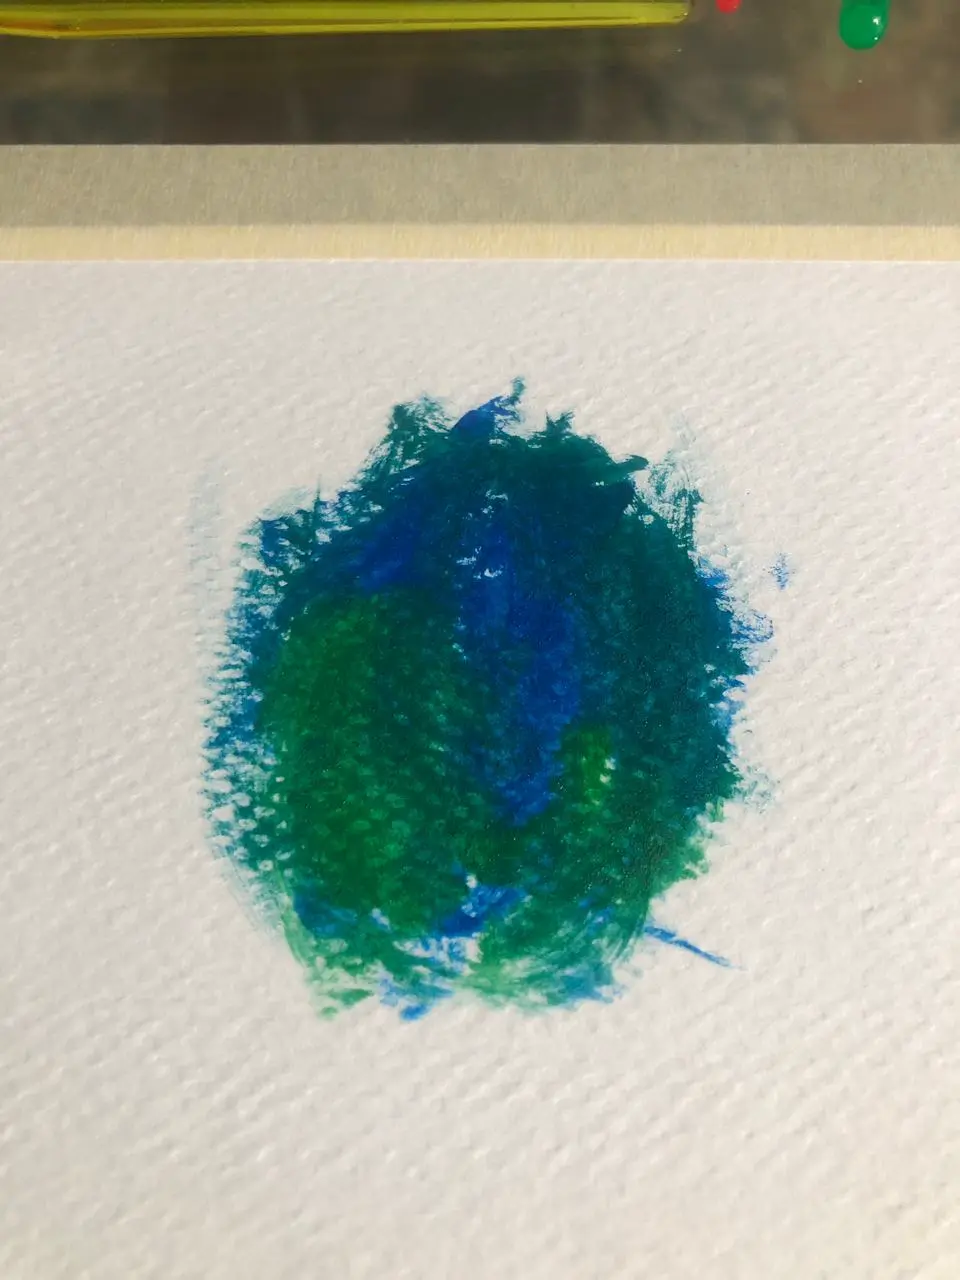
Dry on dry
It may seem contradictory to the typical idea of watercolor, but if you're looking for a textured effect, you can actually create it using almost no water.
By applying almost pure paint on dry paper, you will get very intense spots that are rich in pigments, with a more marked and textured rendering.
It's a good way to add contrast or to highlight certain elements of your drawing.
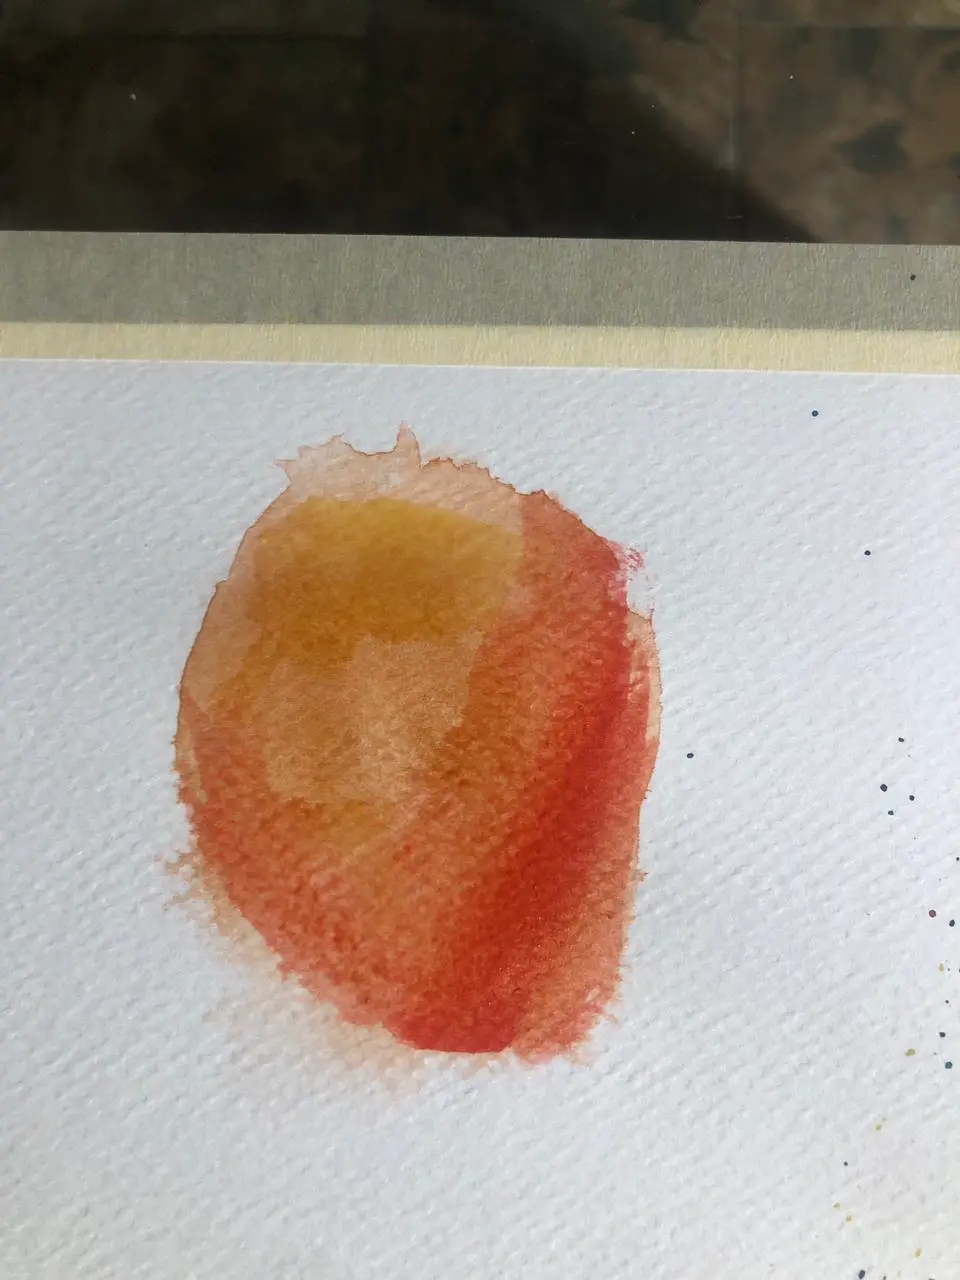
Transparency
You can achieve this effect on your palette as well as directly on the paper.
Just load your brush with lots of water, then add a little pigment. The more you dilute the color, the more transparent it will become.
Once your first layer is dry, you can add others on top to create a nice layering effect.
As colors do not mix on a dry background, it is ideal for clearly distinguishing different areas in your composition.
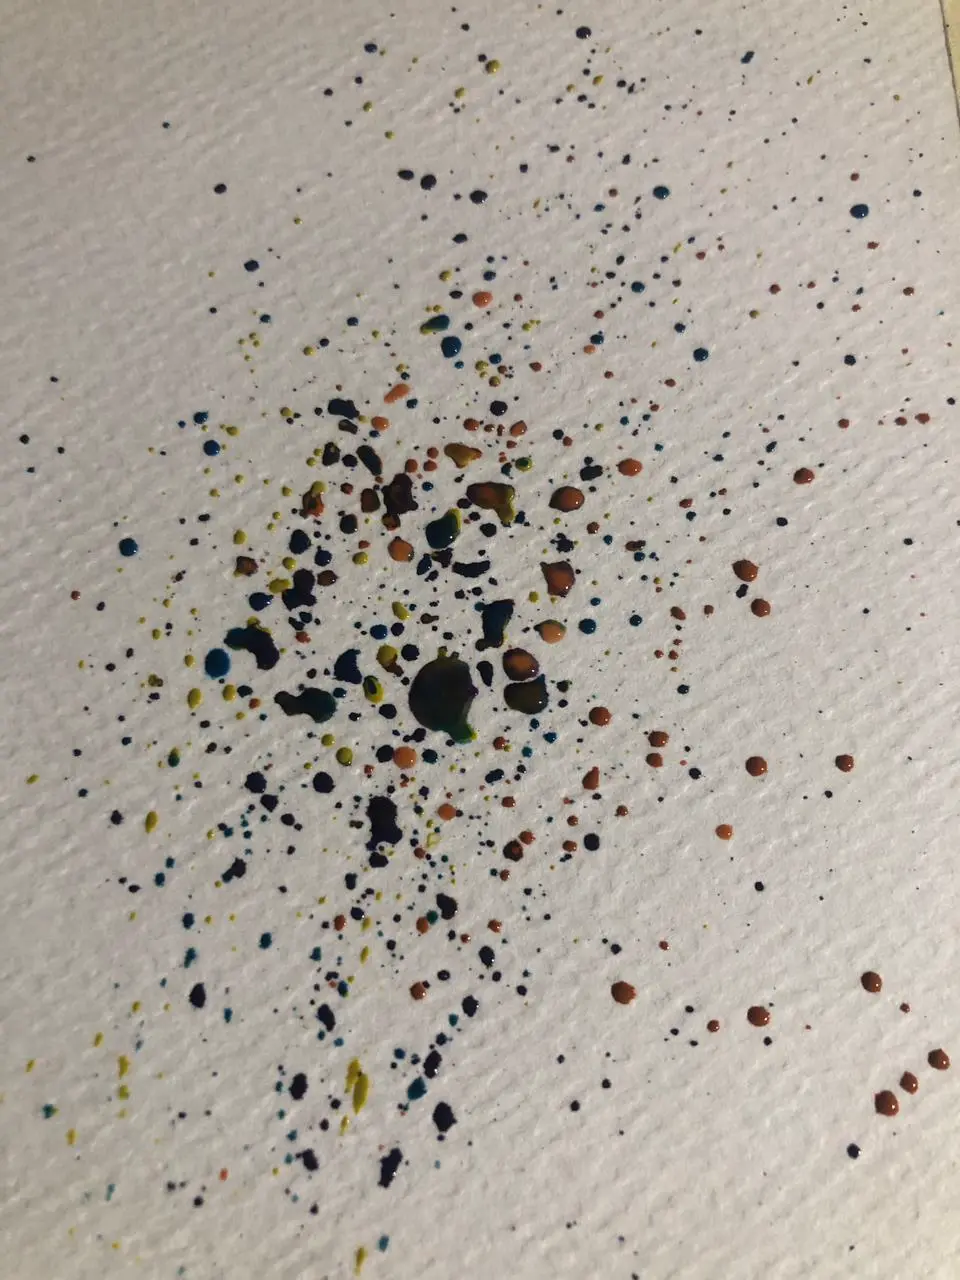
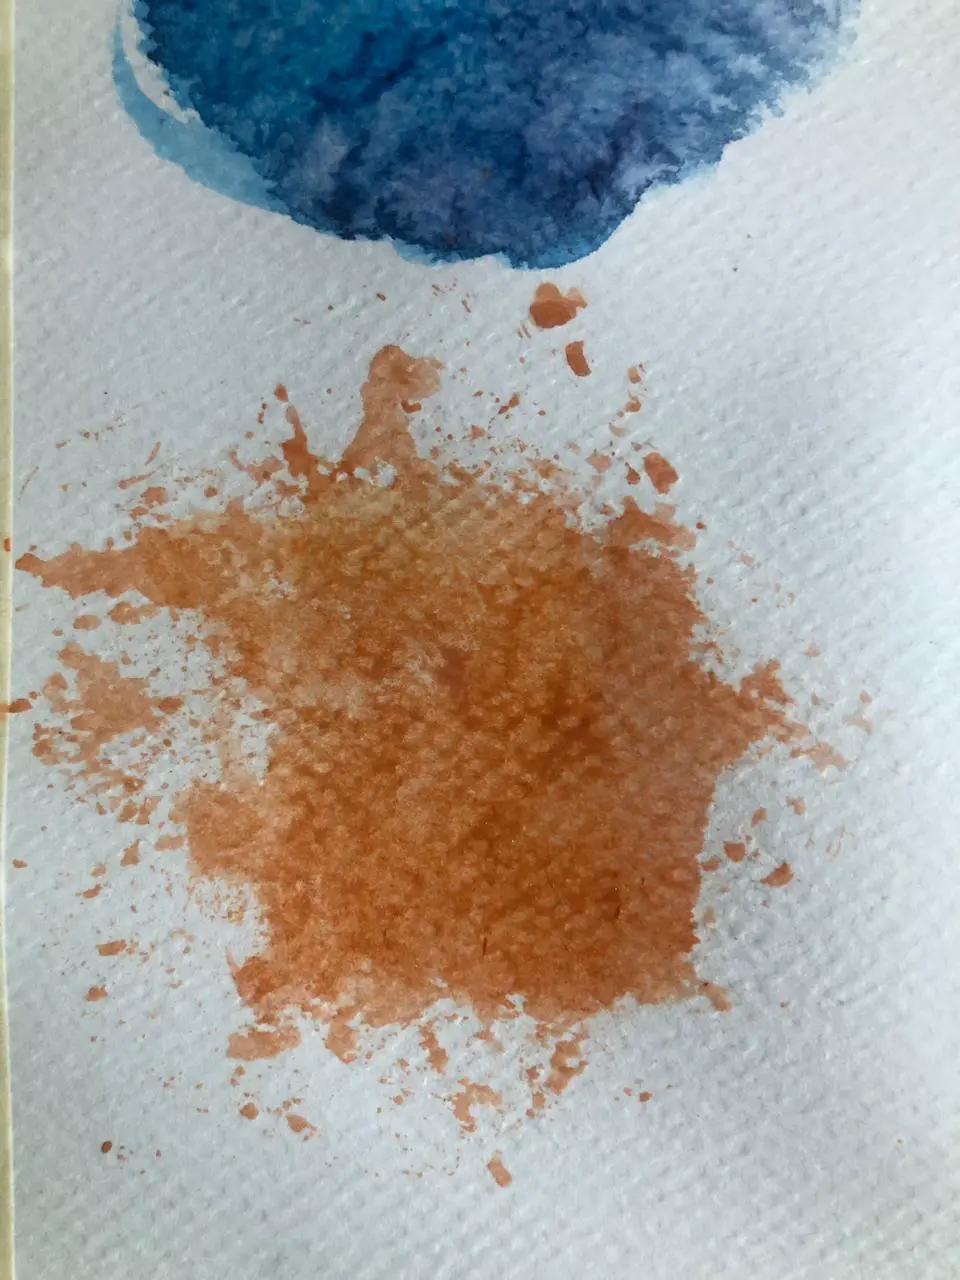
Project the paint
If you want to add a slightly more stylized touch, try this simple technique: load your brush with color, then lightly tap it or shake it over the paper.
The paint will splatter in small random drops, creating dynamic splashes that bring rhythm and texture to your illustration.
Using other elements to add texture to watercolor
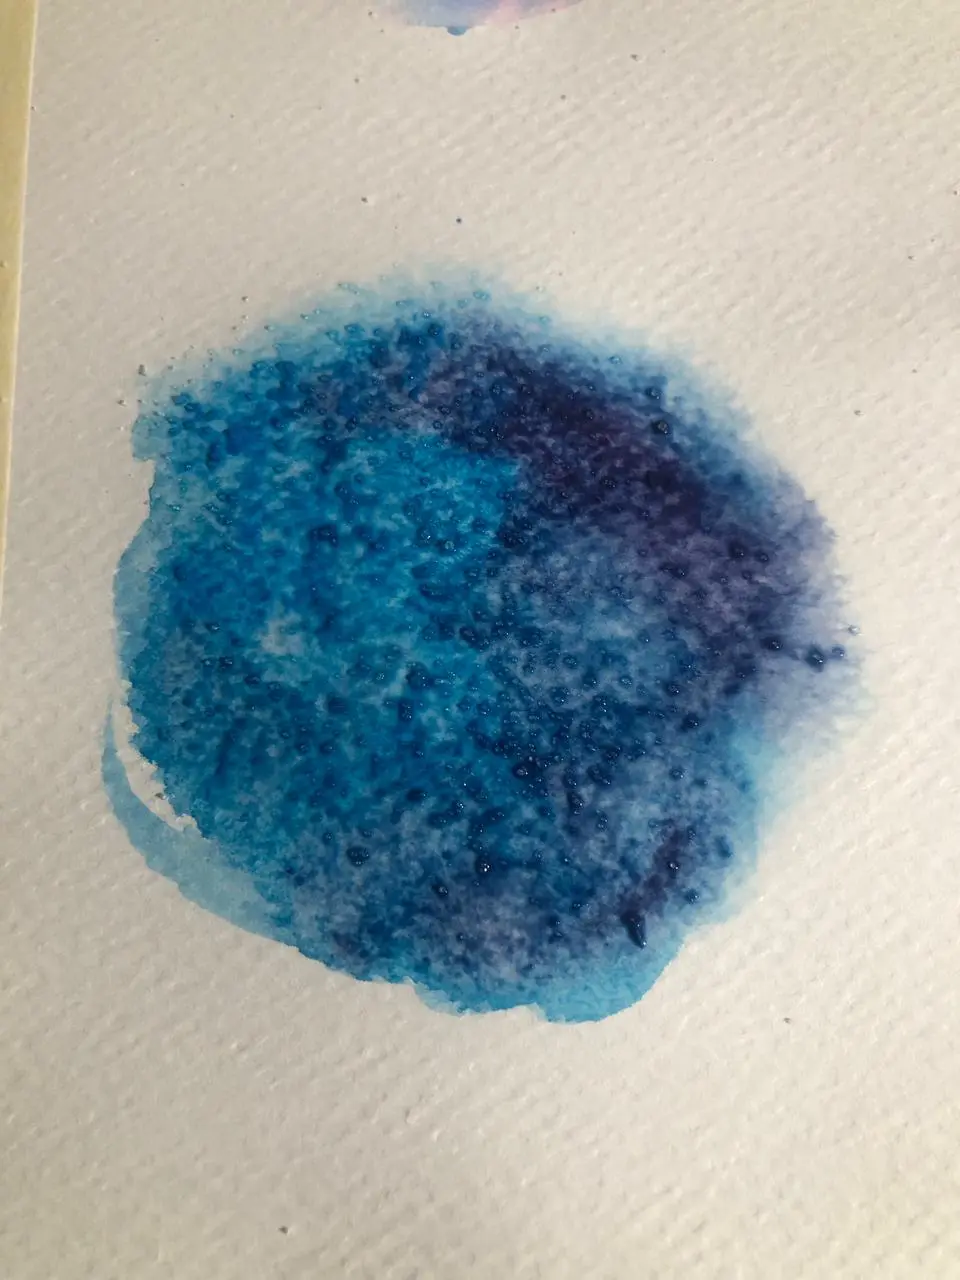
Add salt
Water can sometimes react with certain elements in a surprising way, and salt is one of these elements.
If you sprinkle a little on the still-wet paint, you will see a grainy texture appear.
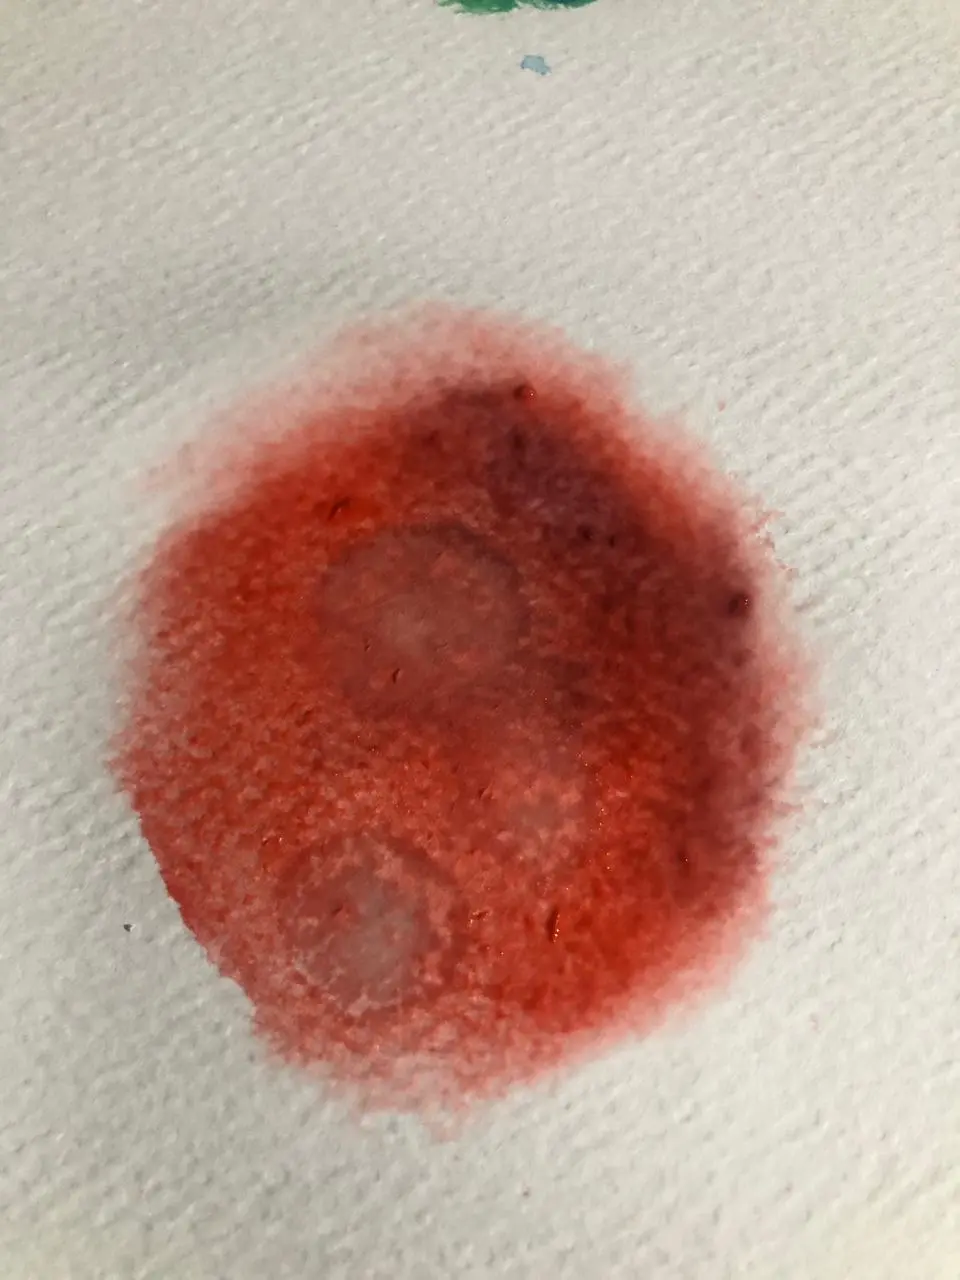
Add alcohol
The principle is the same as for salt, but this time, we use a few drops of alcohol.
When it falls on the still-wet paint, the alcohol reacts with the pigment and creates lighter, almost bleached areas.
Using various materials with watercolor
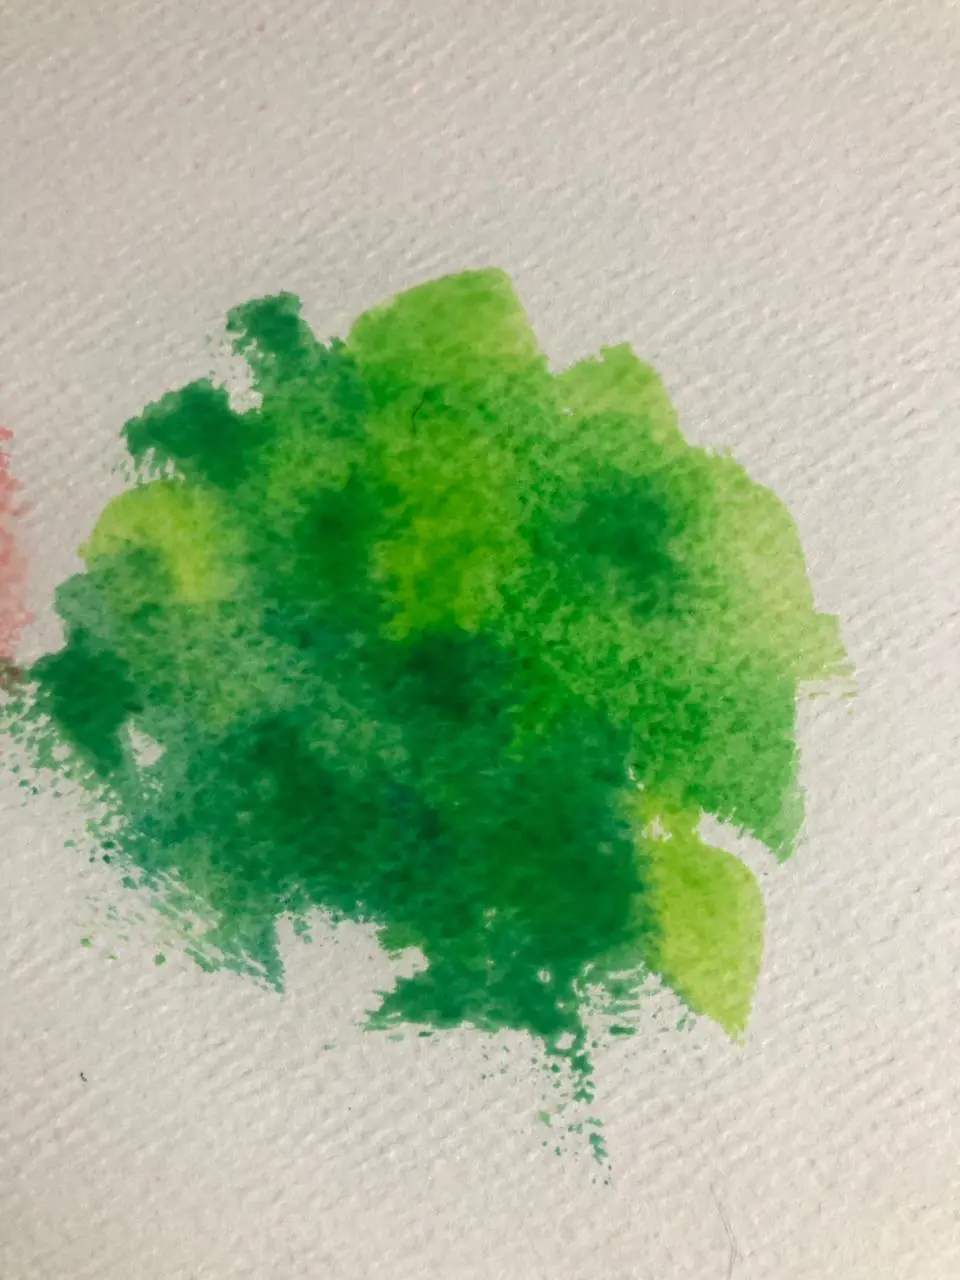
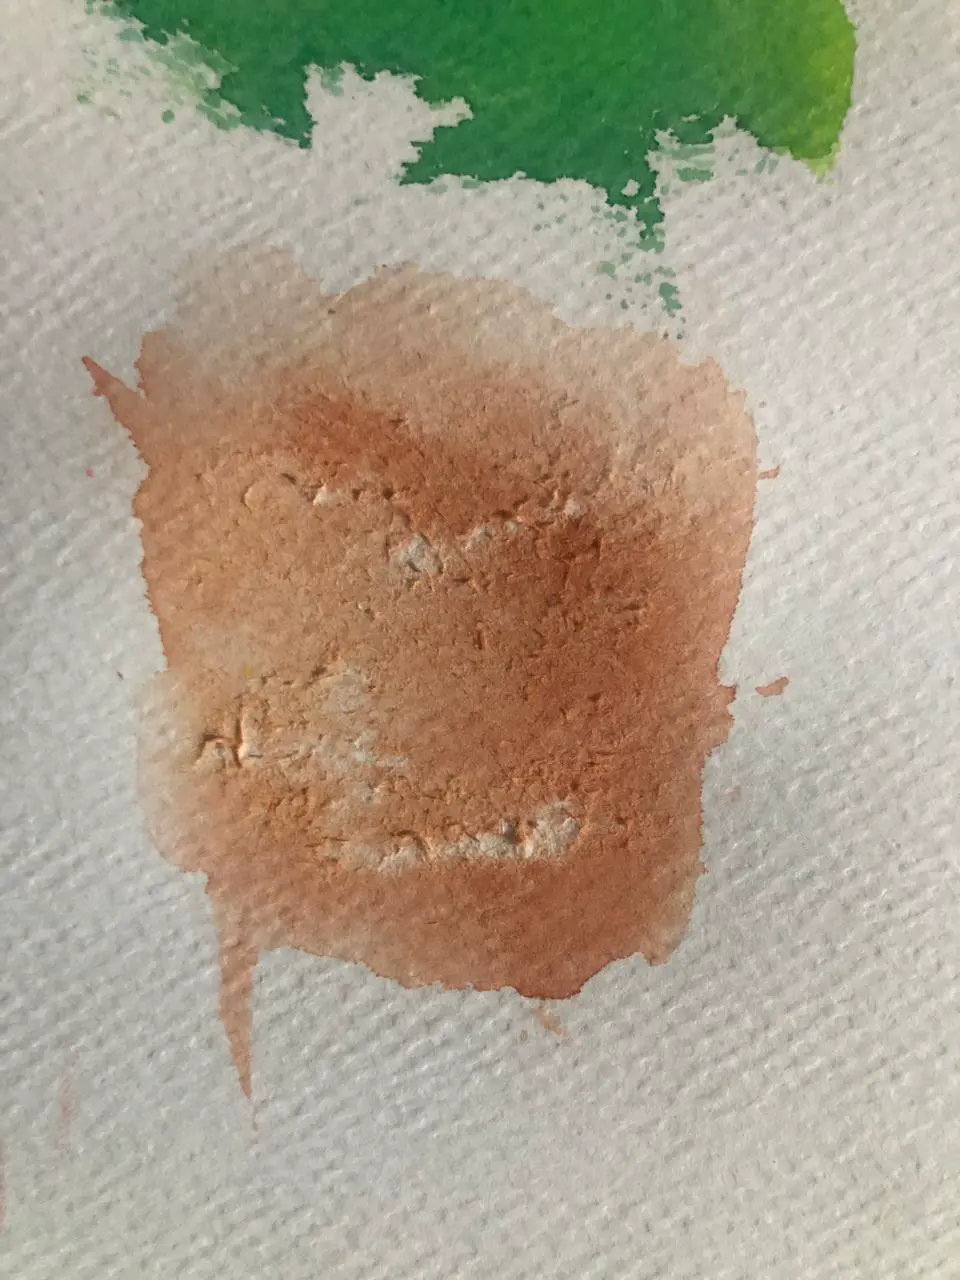
Using a sponge to add texture
Start by thoroughly moistening your paint pots or prepare a mixture of tube paint diluted with a bit of water. Dip a kitchen sponge into the color — you can even combine several shades for a richer effect.
Then, gently dab the sponge on the paper: the paint will transfer unevenly, creating areas that are more or less pigmented.
It's perfect for creating plant textures, such as foliage or textured backgrounds.
Using plastic
If you want to achieve a glossy and uneven effect, apply paint to a plastic surface, then transfer it to paper. The pigment will deposit following the reliefs of the plastic. The more rigid the plastic, the sharper the shapes will be.
Scratch with an object
Once your paint is dry, take a plastic card, spoon, or any other flat but flexible object, and scrape the painted surface. This will remove a thin layer of color, creating a worn or eroded effect.
It's your turn to play around now!
Do not hesitate to mix several techniques in the same illustration, as this is what will give your drawing rich, lively, and full-of-character textures.
I hope you enjoyed this introduction!

Discussion
No comments yet.