Getting Started With Acrylic Painting
Acrylic is a versatile paint that offers many possibilities for beginner artists. Quick to dry and easy to handle, it allows for the creation of a variety of textures and effects while being affordable. In this article, I propose we go back to the basics of acrylic through the materials and techniques needed to get started properly.
Why choose acrylic paint?
Acrylic is an excellent choice for beginners for several reasons. Its quick-drying properties allow for rapid work, which is great if you like to experiment without waiting for hours. Moreover, unlike oil, acrylic is less toxic and does not require chemical solvents, making it safer and more pleasant to use in an enclosed environment.
It is also extremely versatile: you can apply it on a multitude of surfaces (canvas, wood, paper, etc.) and use it in various ways, diluted or thick. Lastly, it provides rich and vibrant colors and above all, it remains affordable.
Materials required to start acrylic painting
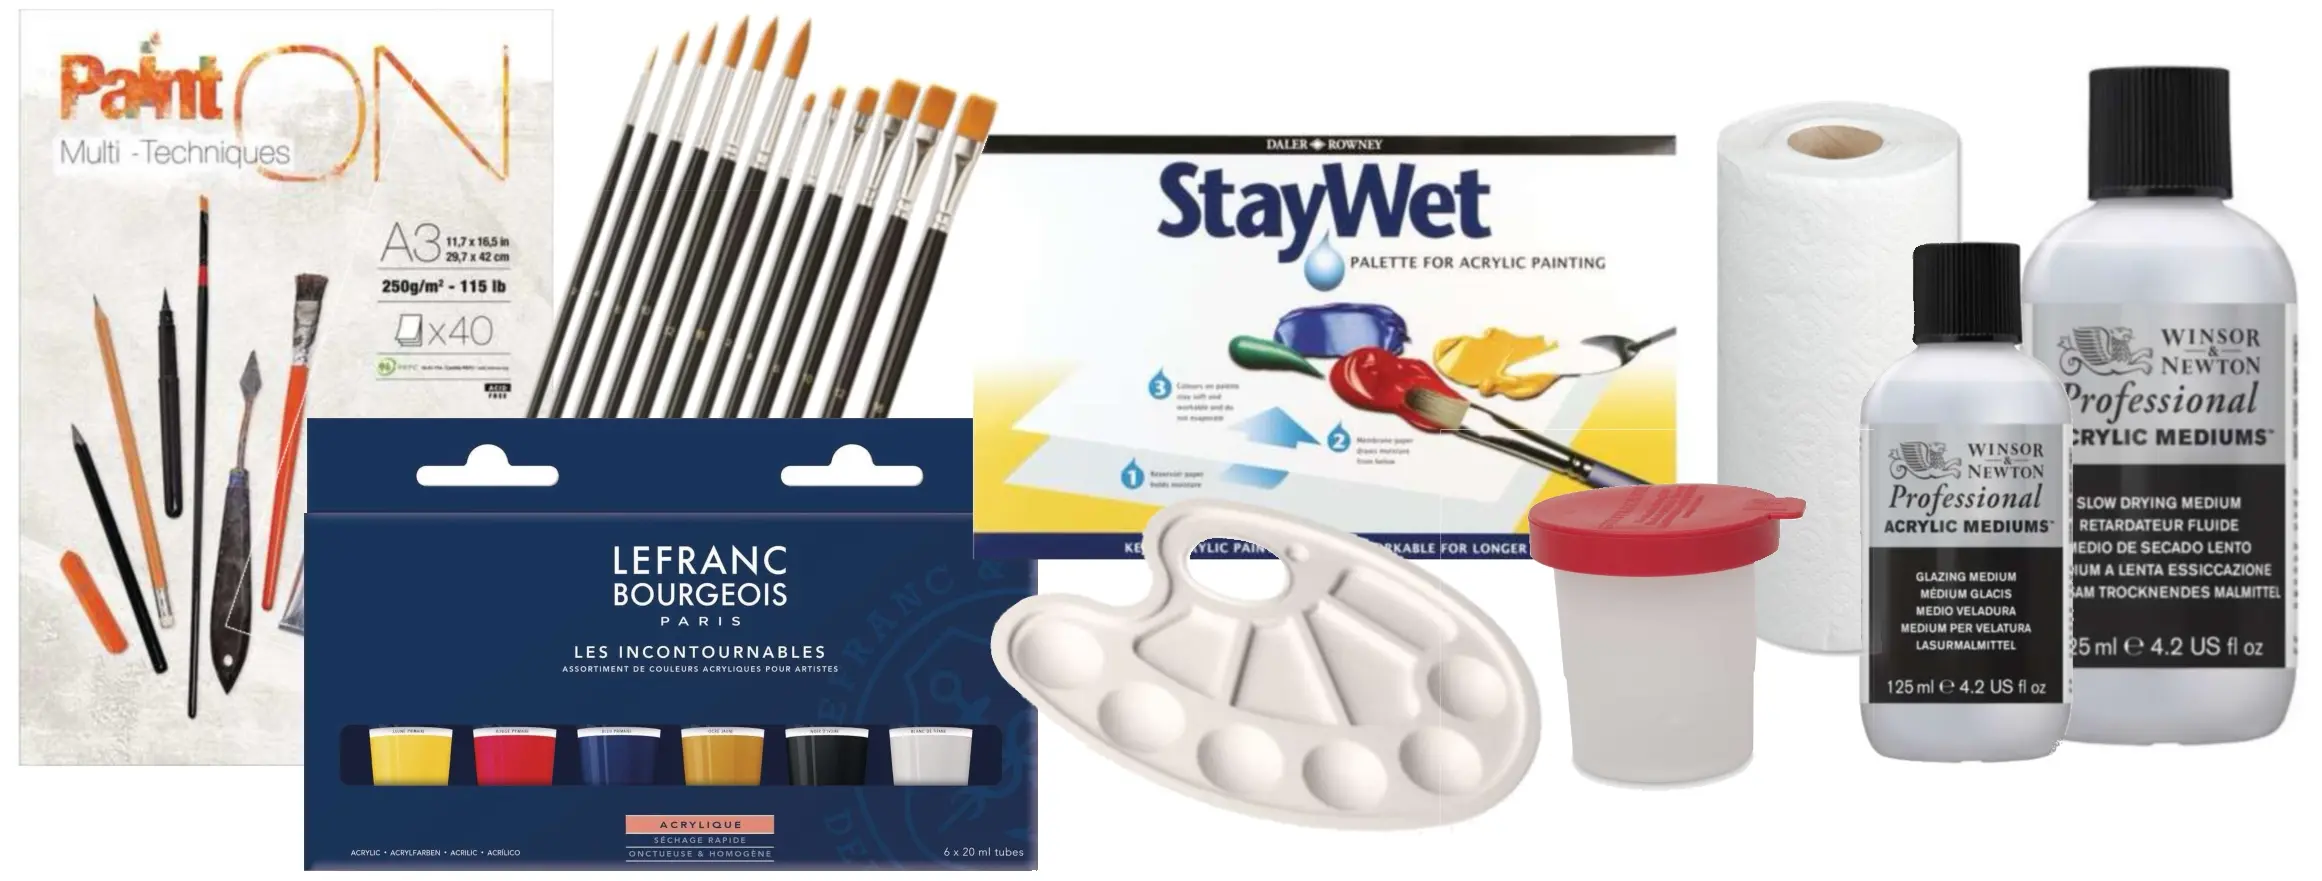
The materials required to start acrylic painting do not need to be expensive or extravagant. I will introduce you to the most useful tools, but feel free to not use all of them or to build up a small kit over time.
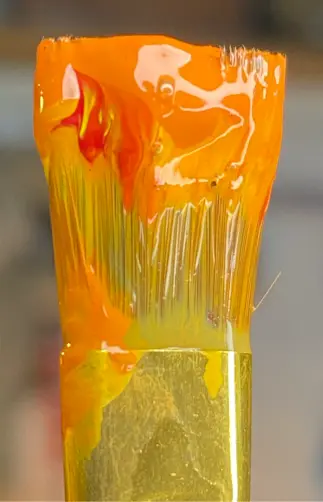
Paint
This is one of the only items you should consider investing in. Opt for fine or extra fine quality paint. There's no need to have every color, a few basic shades will do just fine. I recommend this acrylic box.
Paper
This is the second element where you can invest. You will need paper of at least 250 g/m² to ensure that it does not warp. You can also opt for canvases or even cardboard as acrylic works on any type of support. If you want to learn more about how to choose your paper, I suggest you read this article https://dessindigo.com/blog/advice/which-drawing-paper.
Brushes
You can start with a basic entry-level kit and invest more over time. I recommend these brushes.
Palette
Again, there's no need to invest here. A plate or a simple plastic palette can work very well. However, if you want, you can use palettes, which will keep the moisture and therefore stop your paint from drying out.
Mediums and additives
Acrylic is a paint to which you can add various mediums or additives to slightly modify its properties. For example, you can extend the drying time with a retarder, or work in transparency and create beautiful glazes. These mediums are optional, but they will enhance your experience.
Other
Finally, I recommend using transparent cups to clean your brushes (at least two, one for cleaning and the other for diluting colors), and to always have paper towels at hand.
Basic techniques
Finding the right consistency
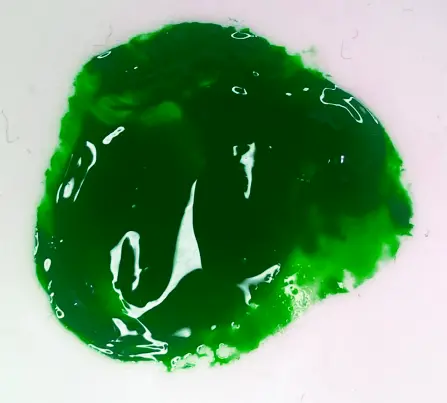
The first technique, and the most important, involves achieving the right consistency for your acrylic. Generally, when you start, it's not very difficult because the paint is new. But over time, you will see that it can dry out, even in the tube.
It is therefore essential to get into the habit of finding the consistency that suits you. I recommend adding just a few drops of water to your paint so that it becomes fluid, yet remains slightly thick. This will allow you to achieve good coverage without creating a pasty effect.
Dilution
The second technique you will need to master is that of dilution. It may seem quite simple: take the paint, dilute it, and that's it! However, the challenge is to be able to reproduce the same dilution multiple times, or to understand which dilution is most suitable for working with flat areas, and which is better for details…
Dilution will be very important to understand and master acrylic painting. I suggest that you practice with different colors, trying to achieve the same dilution percentages each time.

Flat color
Ah, flat color! If you've ever taken painting classes, you've undoubtedly heard a lot about it. Normally, if you've mastered the consistency of your acrylic, it shouldn't be too tricky. There are several techniques, but I recommend the most classic and effective one: dip your brush in the color, make your stroke on one side, then turn the brush and make your stroke on the other side.
Normally, you get a clean flat coat in just two coats. I also advise you to practice by painting simple geometric shapes, such as squares or rectangles, to master this technique well.

Gradients
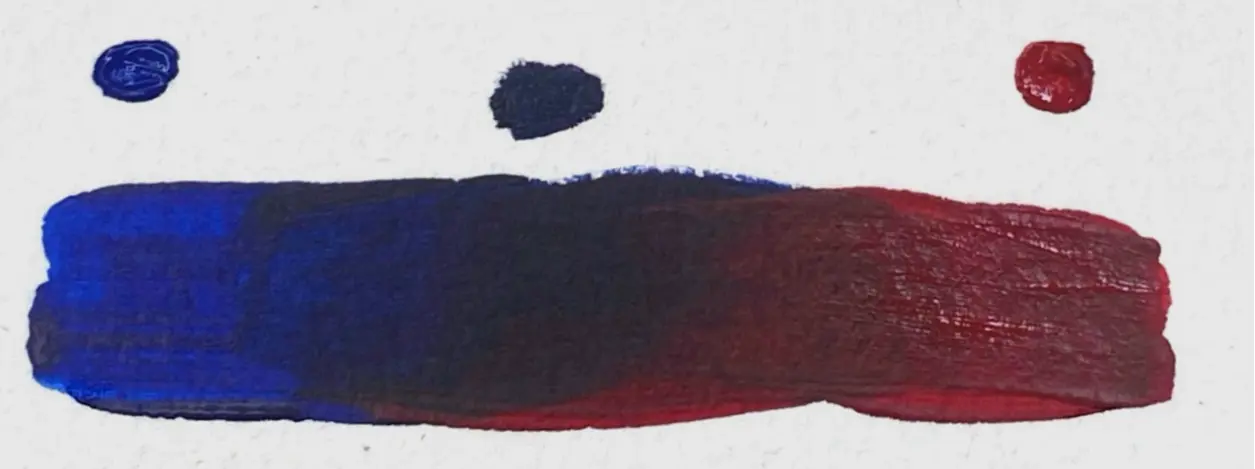
Did you think flat color was annoying? You haven't tried gradients yet! But don't panic, with a little training you will get there without any worries. Here, too, there are several techniques. The first is similar to flat: one color in one direction, the other color in the other direction.
This technique can work very well if you use a retarding medium, but if not, you risk getting a mark, and, therefore not having a perfect gradient. It is essential to work quickly to prevent the paint from drying before you can blend it properly.

The best and most commonly used way to create gradients is to use transition colors. If you need to blend two shades that are too far apart, mix them beforehand on your palette to create one (or more) transition shade(s), and then create gradients between each of these shades. It's a bit more time-consuming, but the result is often cleaner and smoother.
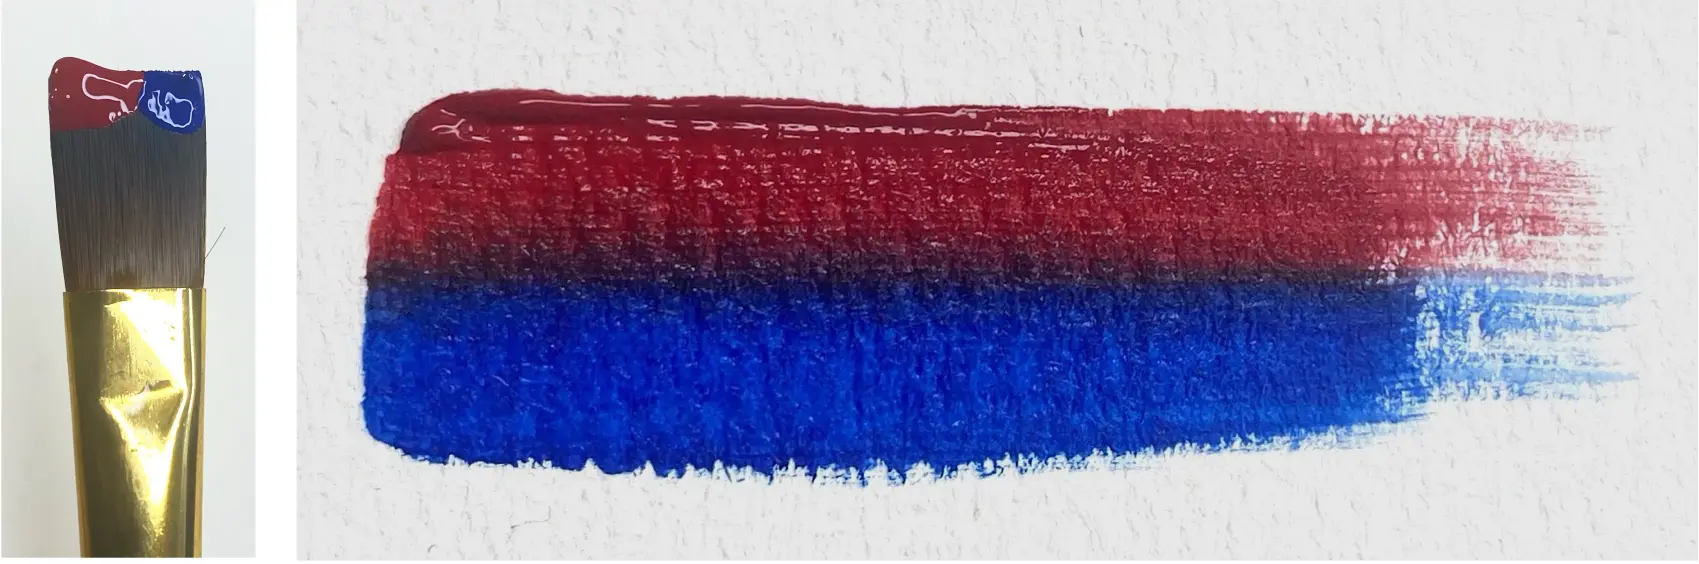
One last technique that can be useful if you want to achieve a gradient transition between two (or more) colors is to apply these colors side by side on the brush, and then make a few back-and-forth movements (making sure to be as straight as possible). This will gradually create a gentle transition between the two colors.
Texture
Acrylic has the advantage of being workable with many consistencies. You can choose to work with very diluted paint or, on the contrary, work with a lot of material to create texture.
You can explore using different brushes or even painting knives, sponges, etc. Acrylic is particularly well-suited for experimentation, so have fun!

Some mistakes to avoid
Not preparing enough paint
A very common mistake in acrylic painting is underestimating the amount of paint you'll need, forgetting the quick drying time of the paint (unless you use a palette to keep it moist).
When preparing your mix, even if it's for a very small area, always anticipate needing a bit more, as you will spread some on the palette, the brush will absorb some, and some will dry by the time you apply the color to your canvas!
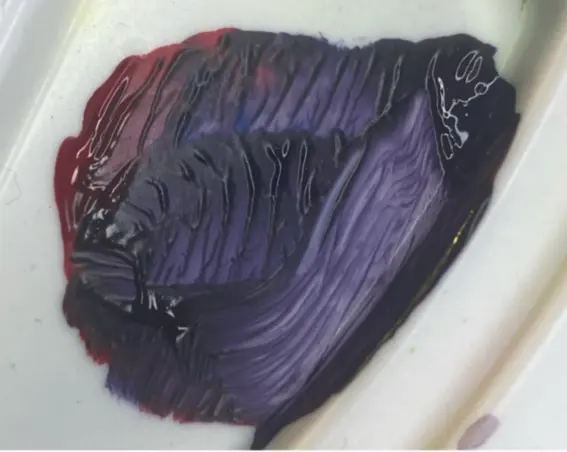
Poorly mixing your colors
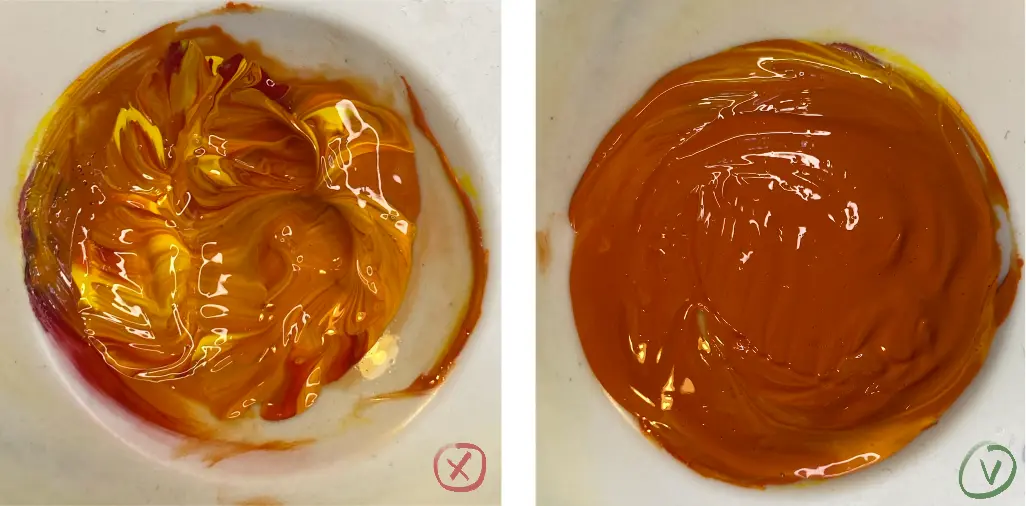
Poorly mixing your colors is also a very common mistake, and there's a chance that at the beginning you might not see it as such. When you mix your different colors, mix thoroughly, making sure that you don't leave small shades of the original colors, as this will not give you the exact shade until the mix is complete and may even leave unwanted color residues on your brush.
Showing your colors
This error follows the same idea as the previous one. When you pick up a new color with your brush, make sure there are no residual traces of previously used colors from your palette or that have not been removed after cleaning.
Otherwise, there will come a time when you will be very happy with your canvas and its cleanliness, then you will make a small touch-up on a very visible element, and then, you'll accidentally add unwanted residual colors (yes, I'm talking from experience here). I therefore advise you to learn from the mistakes of others and to ensure that your brush always has only one single color (unless it is a deliberate choice).
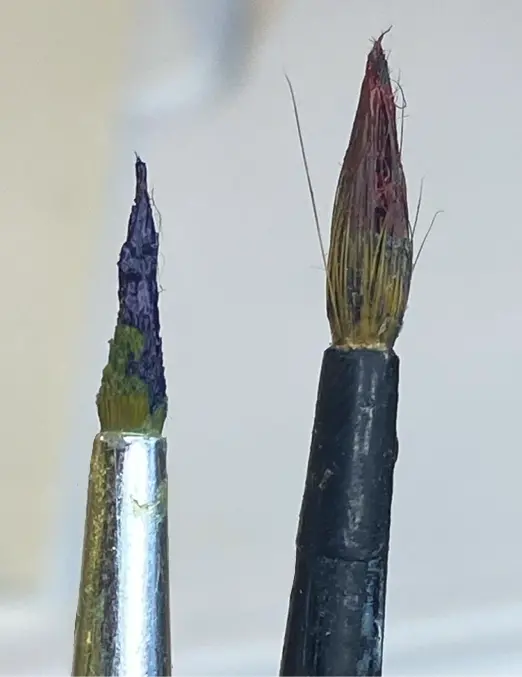
Not looking after your brushes

This last error does not directly concern the moment when you are painting, but rather afterwards, once you have finished. Even though it can be annoying or if you are in a hurry, always take a few minutes to clean your brushes. Acrylic dries quickly, and once it's dry on your brushes, it may stick the bristles together and damage them.
You can peel them off using nail polish remover, but if you get into the habit of simply rinsing them with water, or even using a little soap after each painting session, you will avoid many problems.
And there you have it! We've just covered the basic materials and techniques for getting started with acrylics. Now, it's your turn to explore this new medium! Practice creating flat colors, dilution, and gradients… but above all, experiment and have fun! This will make your creations all the more beautiful!
Discussion
here are some very valuable tips