How to Use a Blending Stump
As you progress in your artistic training, you will discover all sorts of materials. It's not just about colors and their many variations, there's a vast world of possibilities in the materials that support and facilitate creative work.
Today, I'm back with an article dedicated to a fascinating tool, which is much more useful than it seems at first glance. The blending stump is a valuable ally of graphite, charcoal, and other dry techniques, as it enables artists to polish finishes with finesse and elegance.
What is a blending stump?
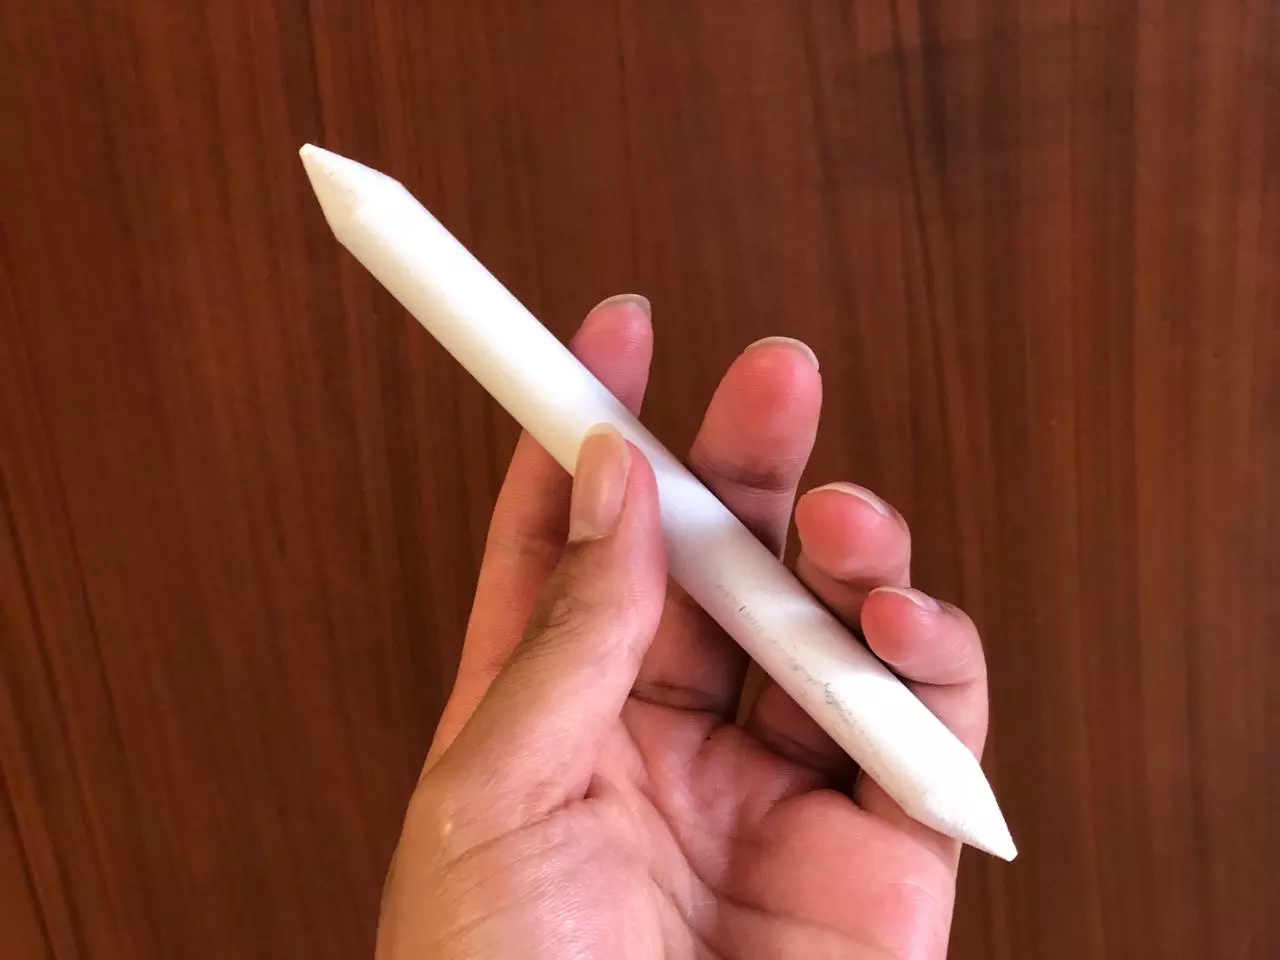
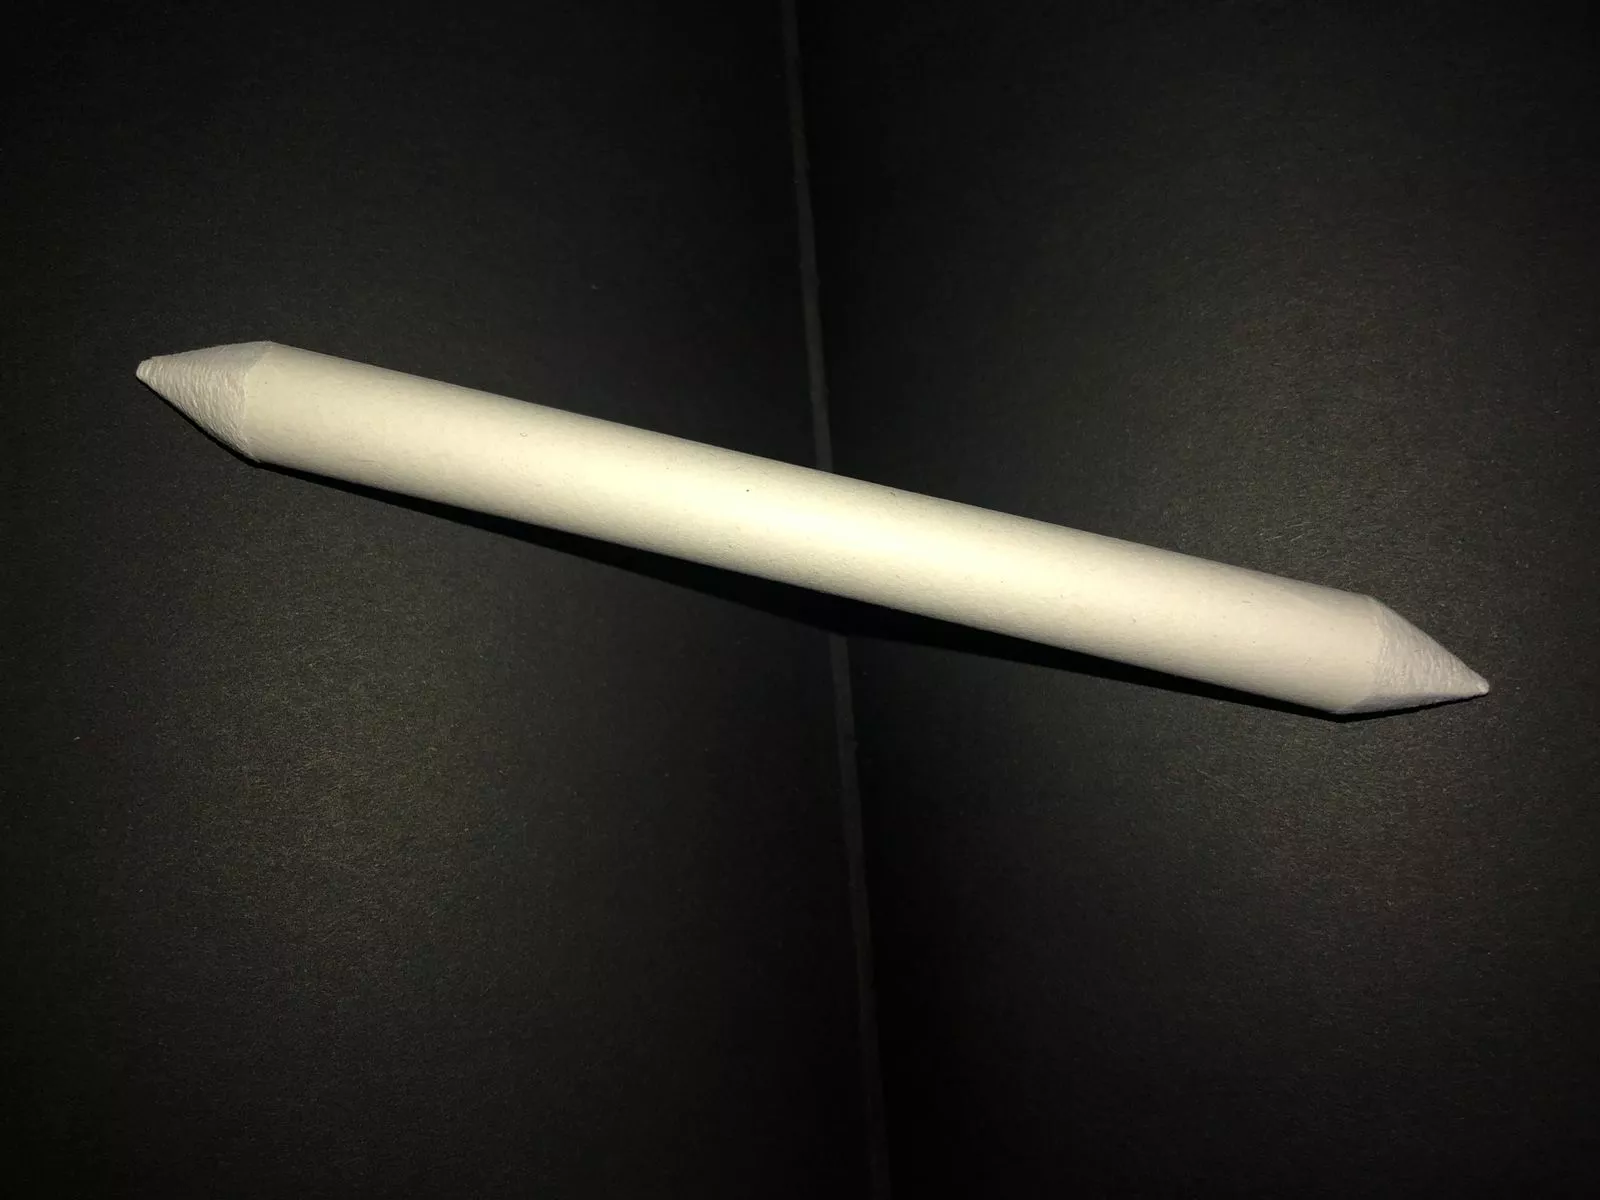
It is a very tightly rolled cylinder of paper, whose two ends come to a point. As you can see, it contains no pigment and is not designed to apply color as a brush would.
The blending stump is simply made of porous paper, and its function is to soften lines and shadows. It does not deposit material, but instead works the pigment already present on the surface to blend and smooth it.
How to use a blending stump
Here are some recommendations to get the most out of this tool.
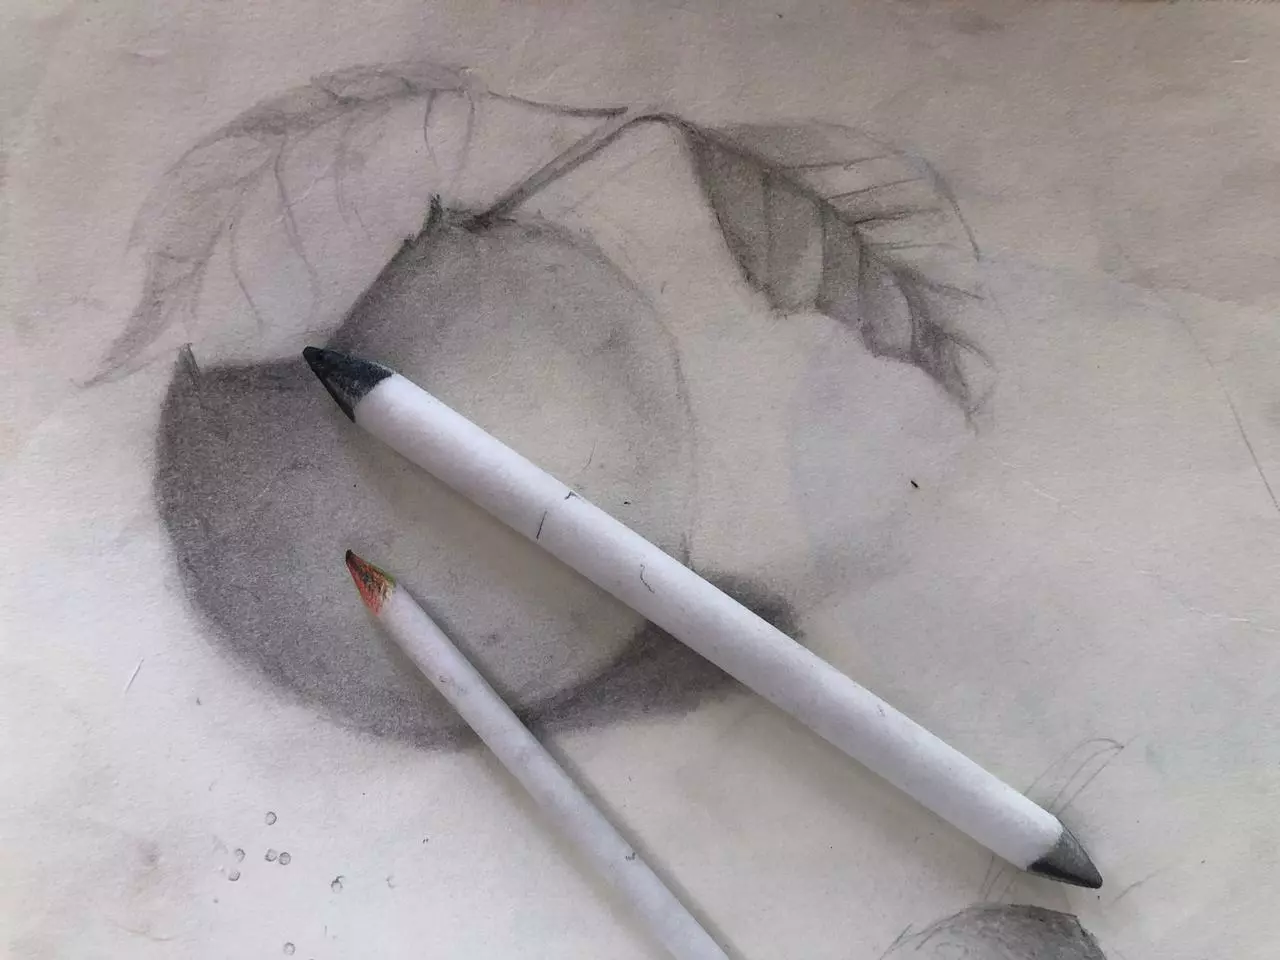
When you start using the stump, you'll notice that some of the pigment sticks to its end. This can cause undesirable smudges or a "dirty" effect. To avoid this, clean it regularly: simply rub it gently on a piece of sandpaper, and this will remove the excess material.
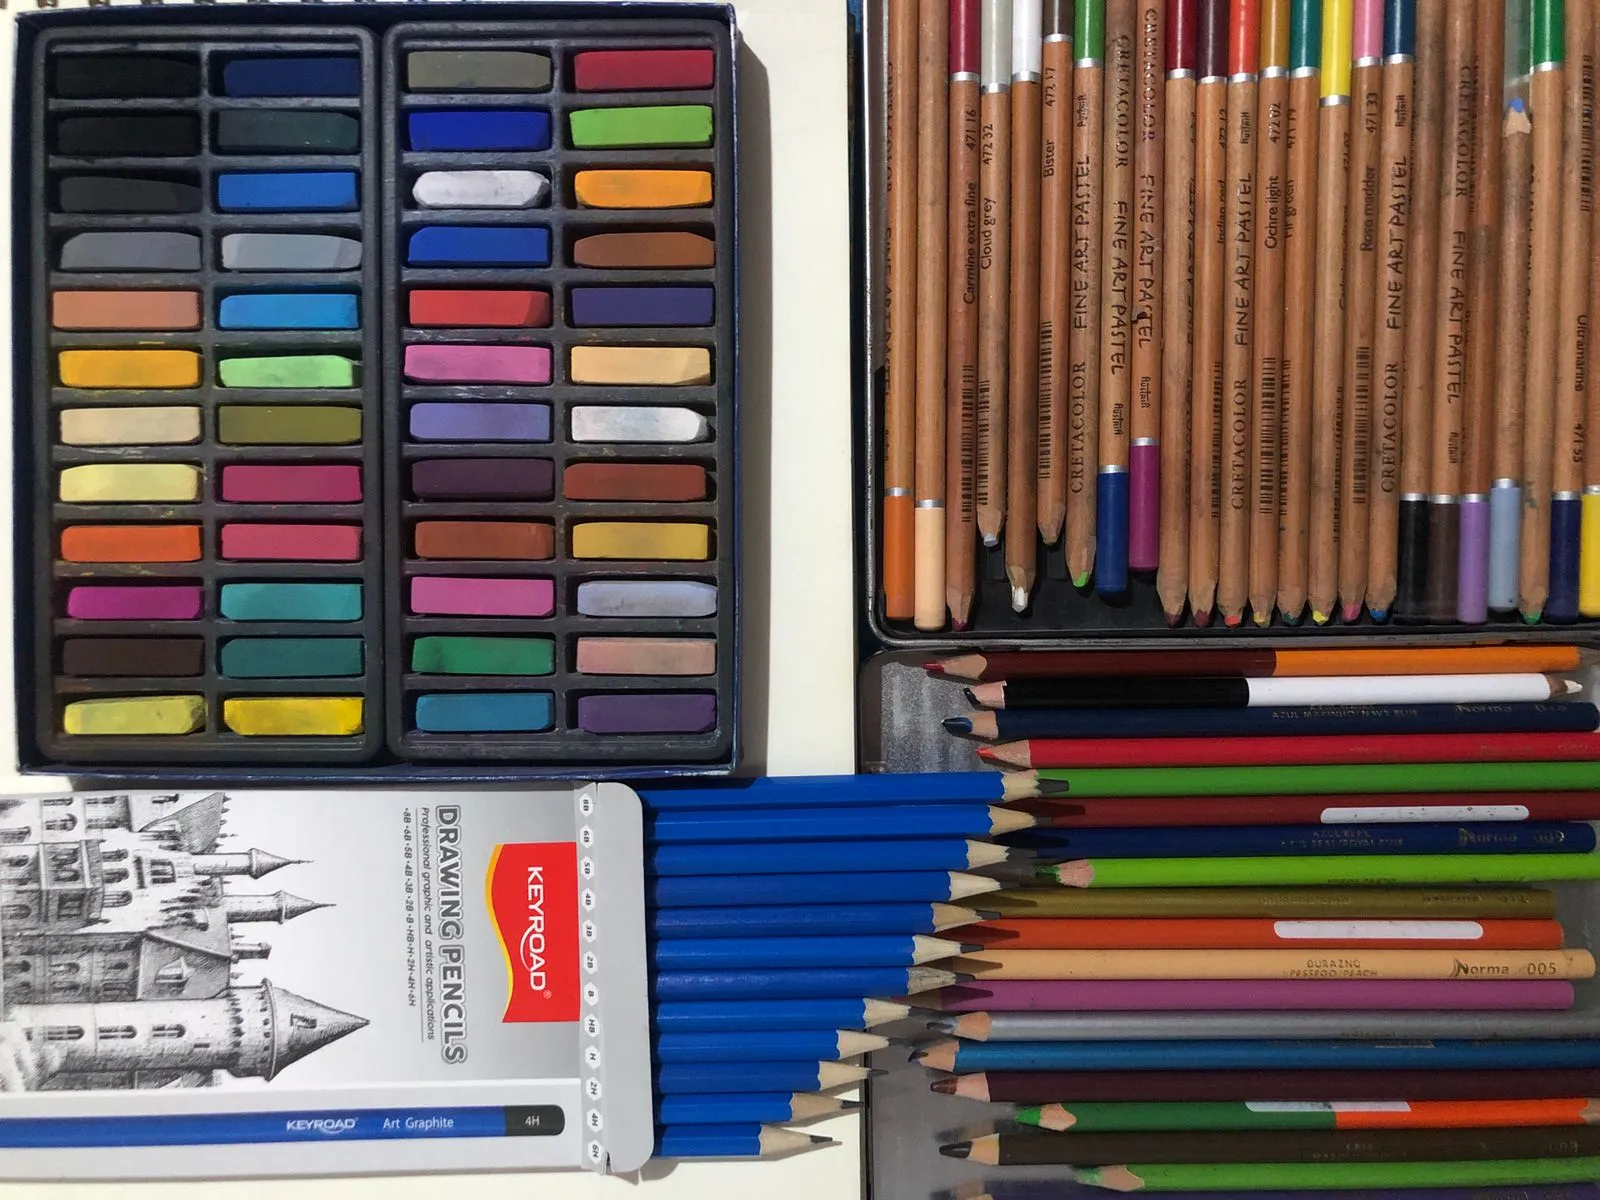
As mentioned above, the blending stump works particularly well with dry techniques: graphite, charcoal, pastel, or colored pencil. However, it is not suitable for wet or oily mediums, where it would lose all effectiveness.
 :
:
3 practical exercises to use it effectively
The blending stump is versatile and easy to use, provided that you know how to exploit its full potential. Here are some practical exercises to learn how to use it properly:
Create uniform shadows
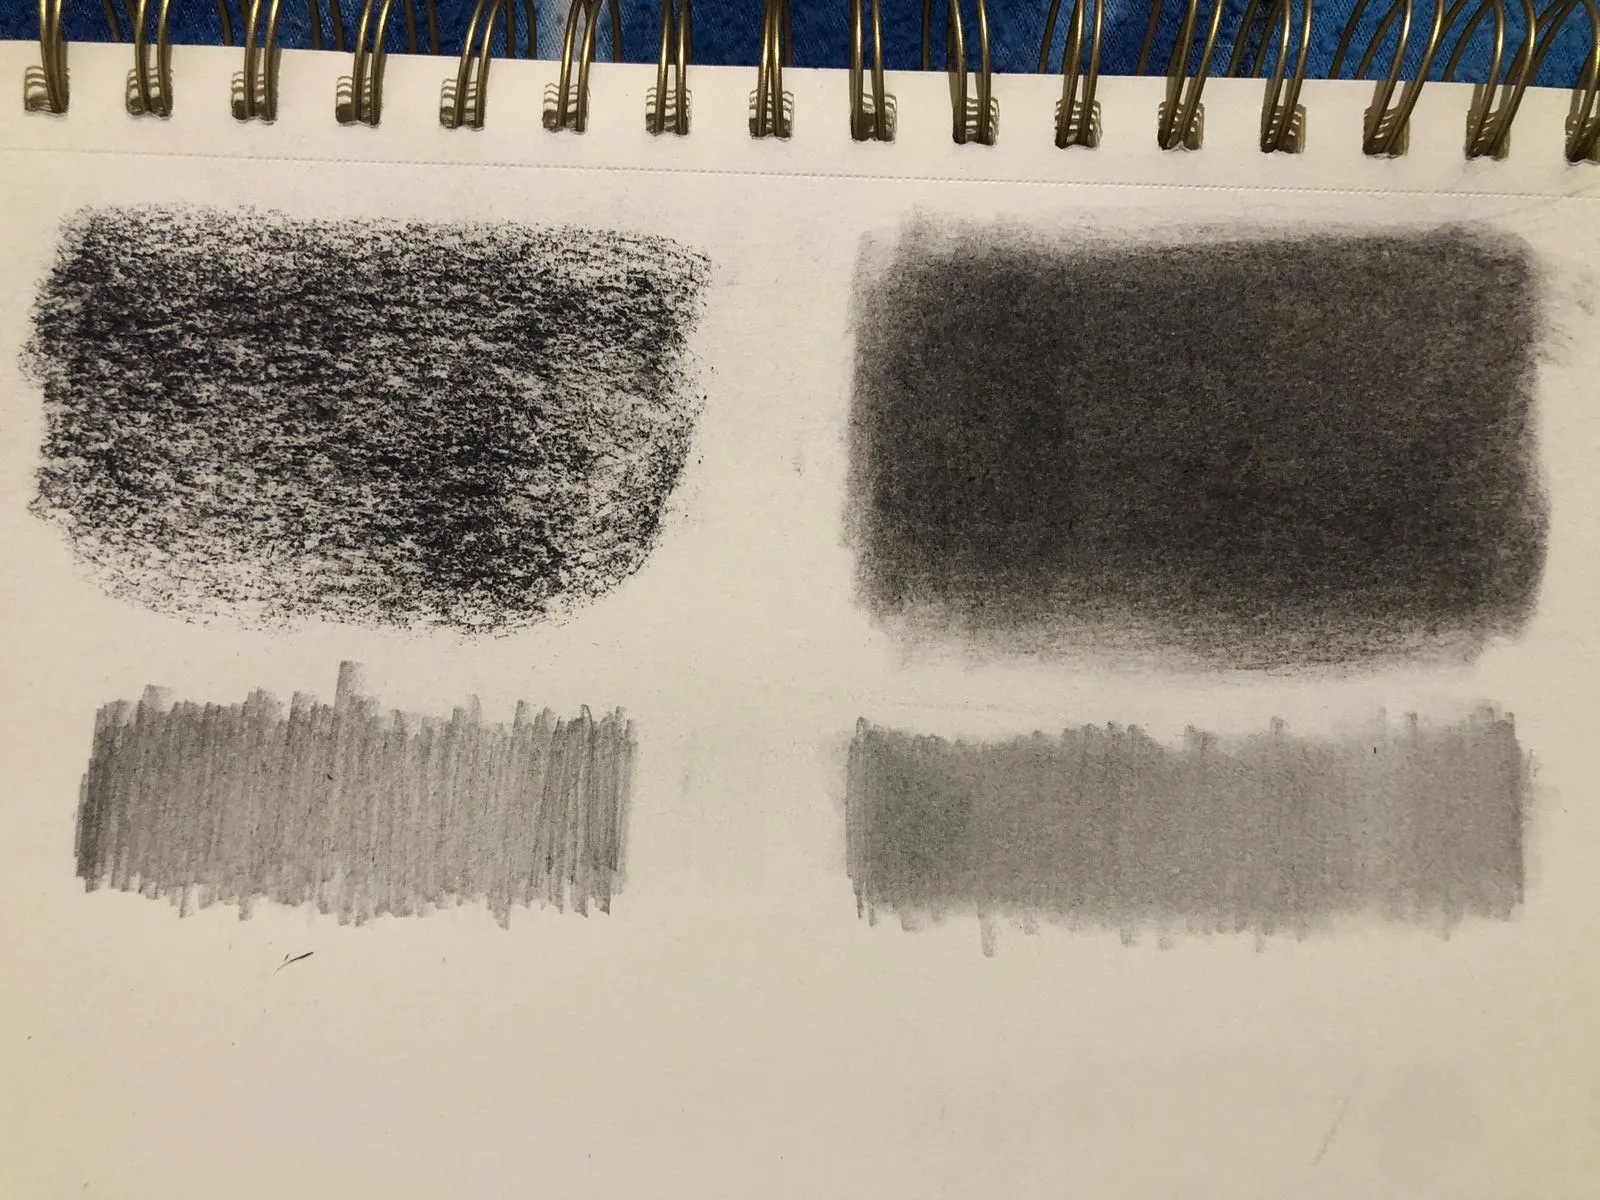
When shading an area, there are often small, unsightly white spaces left, especially on large surfaces. This is where the stump becomes essential.
Create two shaded areas with graphite or pastel, then, on one of them, make small circular motions with the stump. You will see that the surface becomes uniform and smooth.
Polish transitions and gradients
Smooth and gradual gradients are always pleasing to the eye, but difficult to achieve with only a pencil. Blending makes this work much easier: create several gradients, then refine the transitions using short, controlled movements.
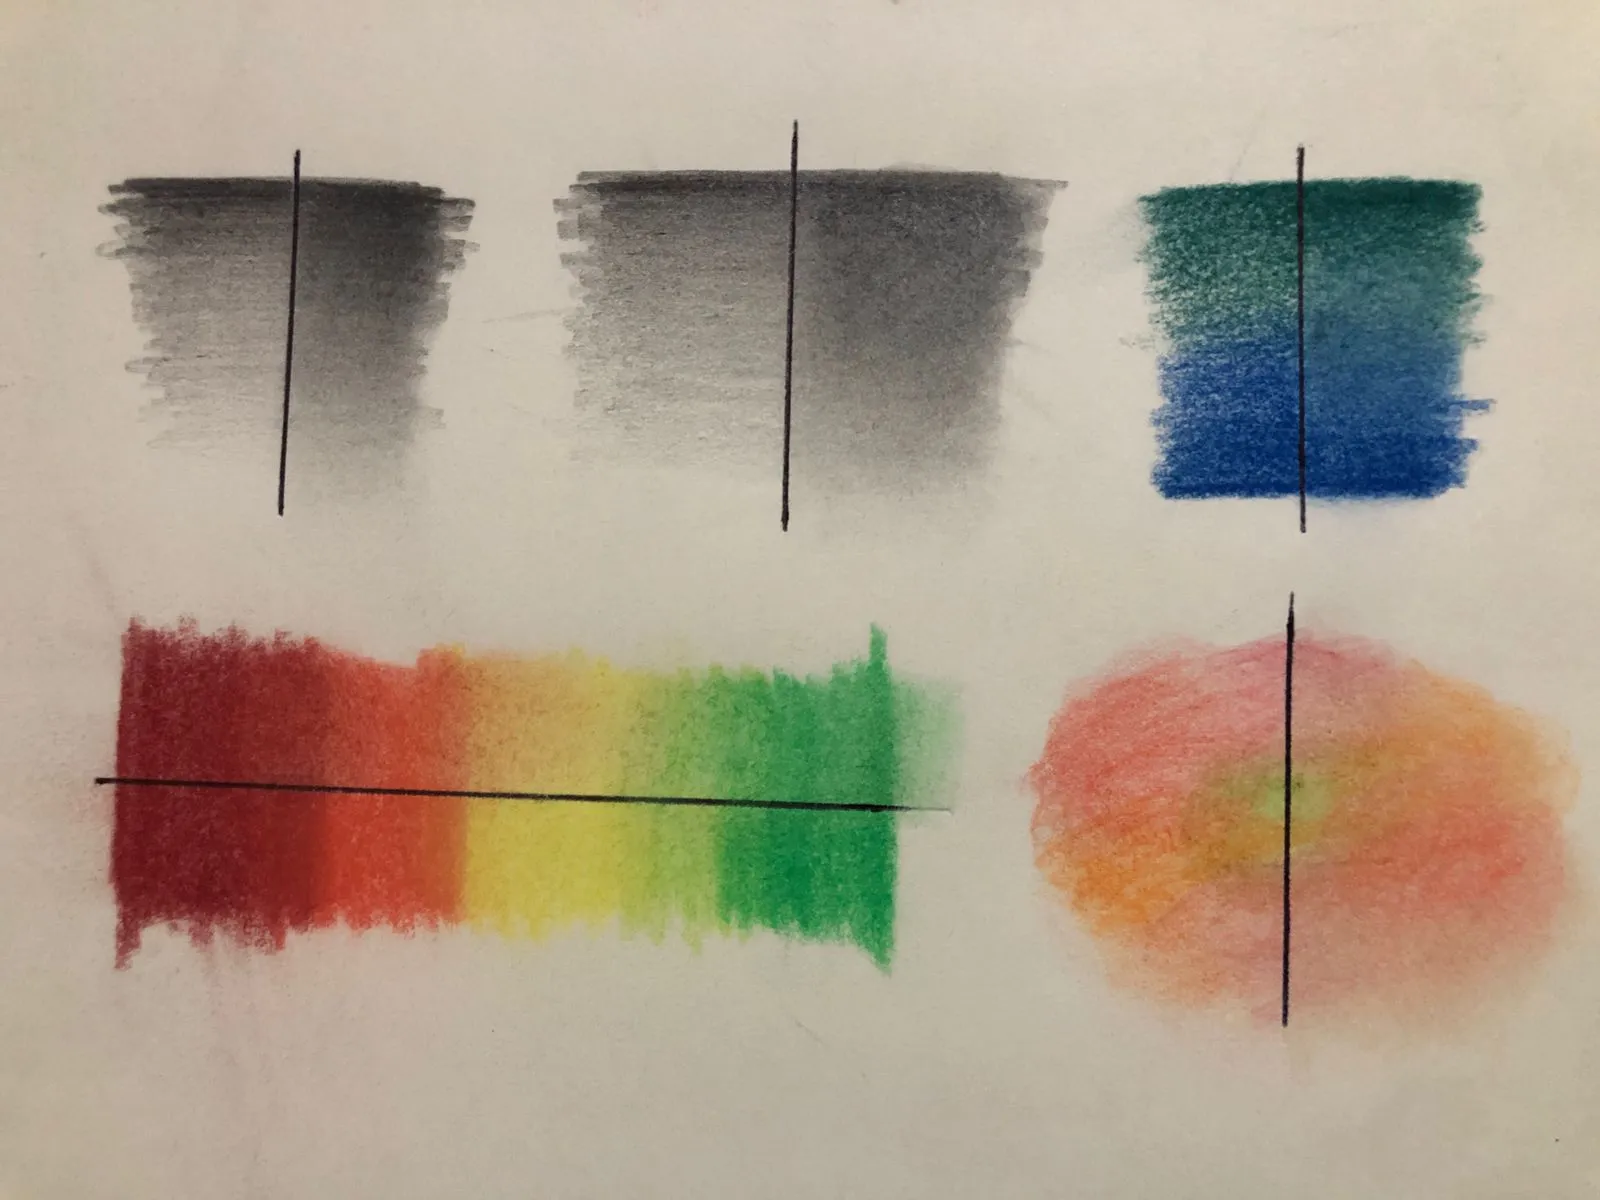
Soften the edges
Some lines may appear too harsh or defined. By gently rubbing the stump over them, you can soften the outline and achieve better cohesion between the contour and the rest of the drawing.
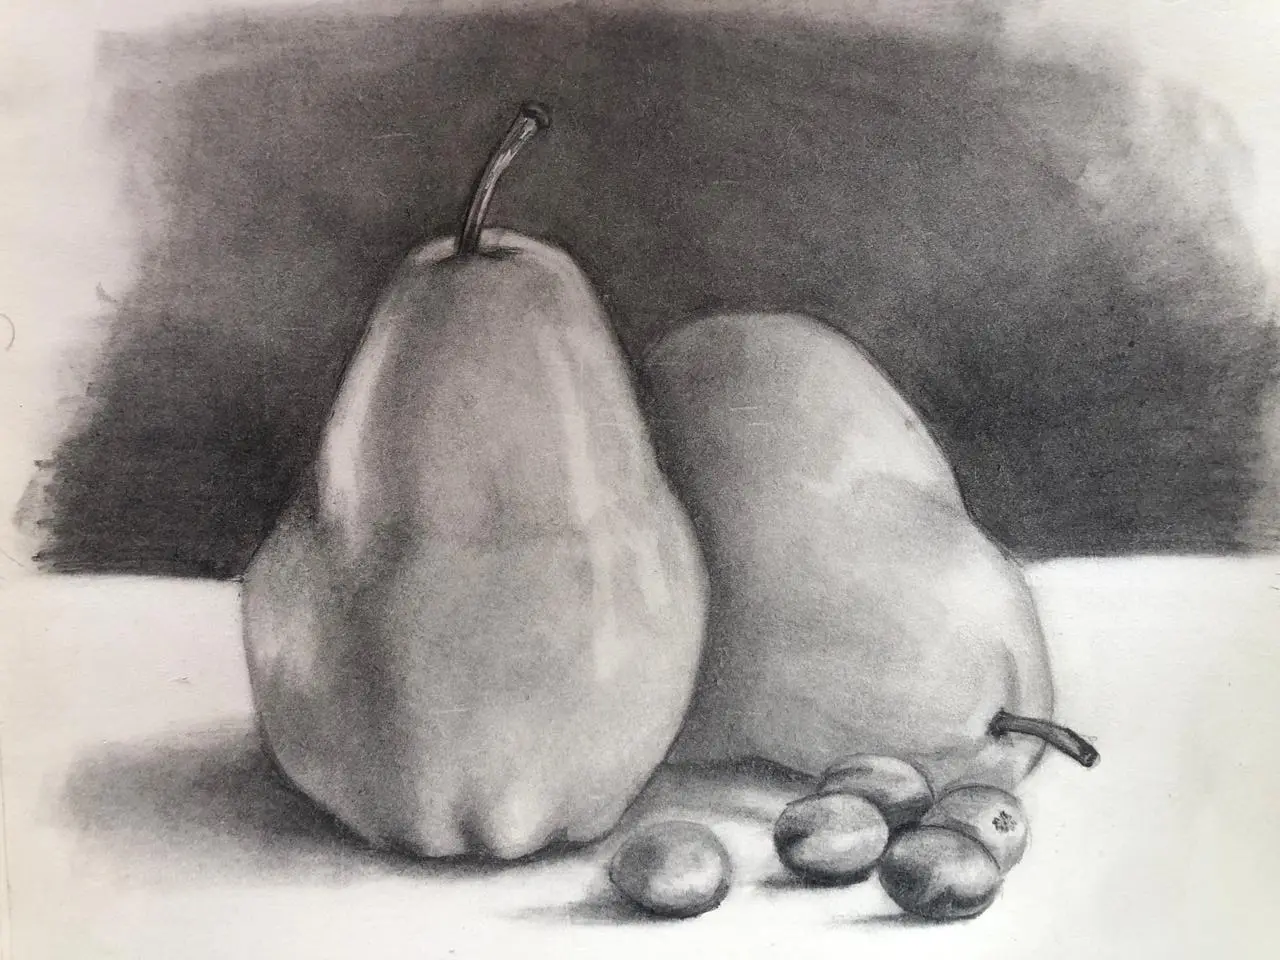
Using a stump on a still life drawing
Let's take a small exercise with a still life: before using the stump, the contrasts are marked and the transitions abrupt. After blending, the shadows become homogeneous, the transitions silkier, and the edges softer, bringing realism, depth, and solidity to the whole piece.
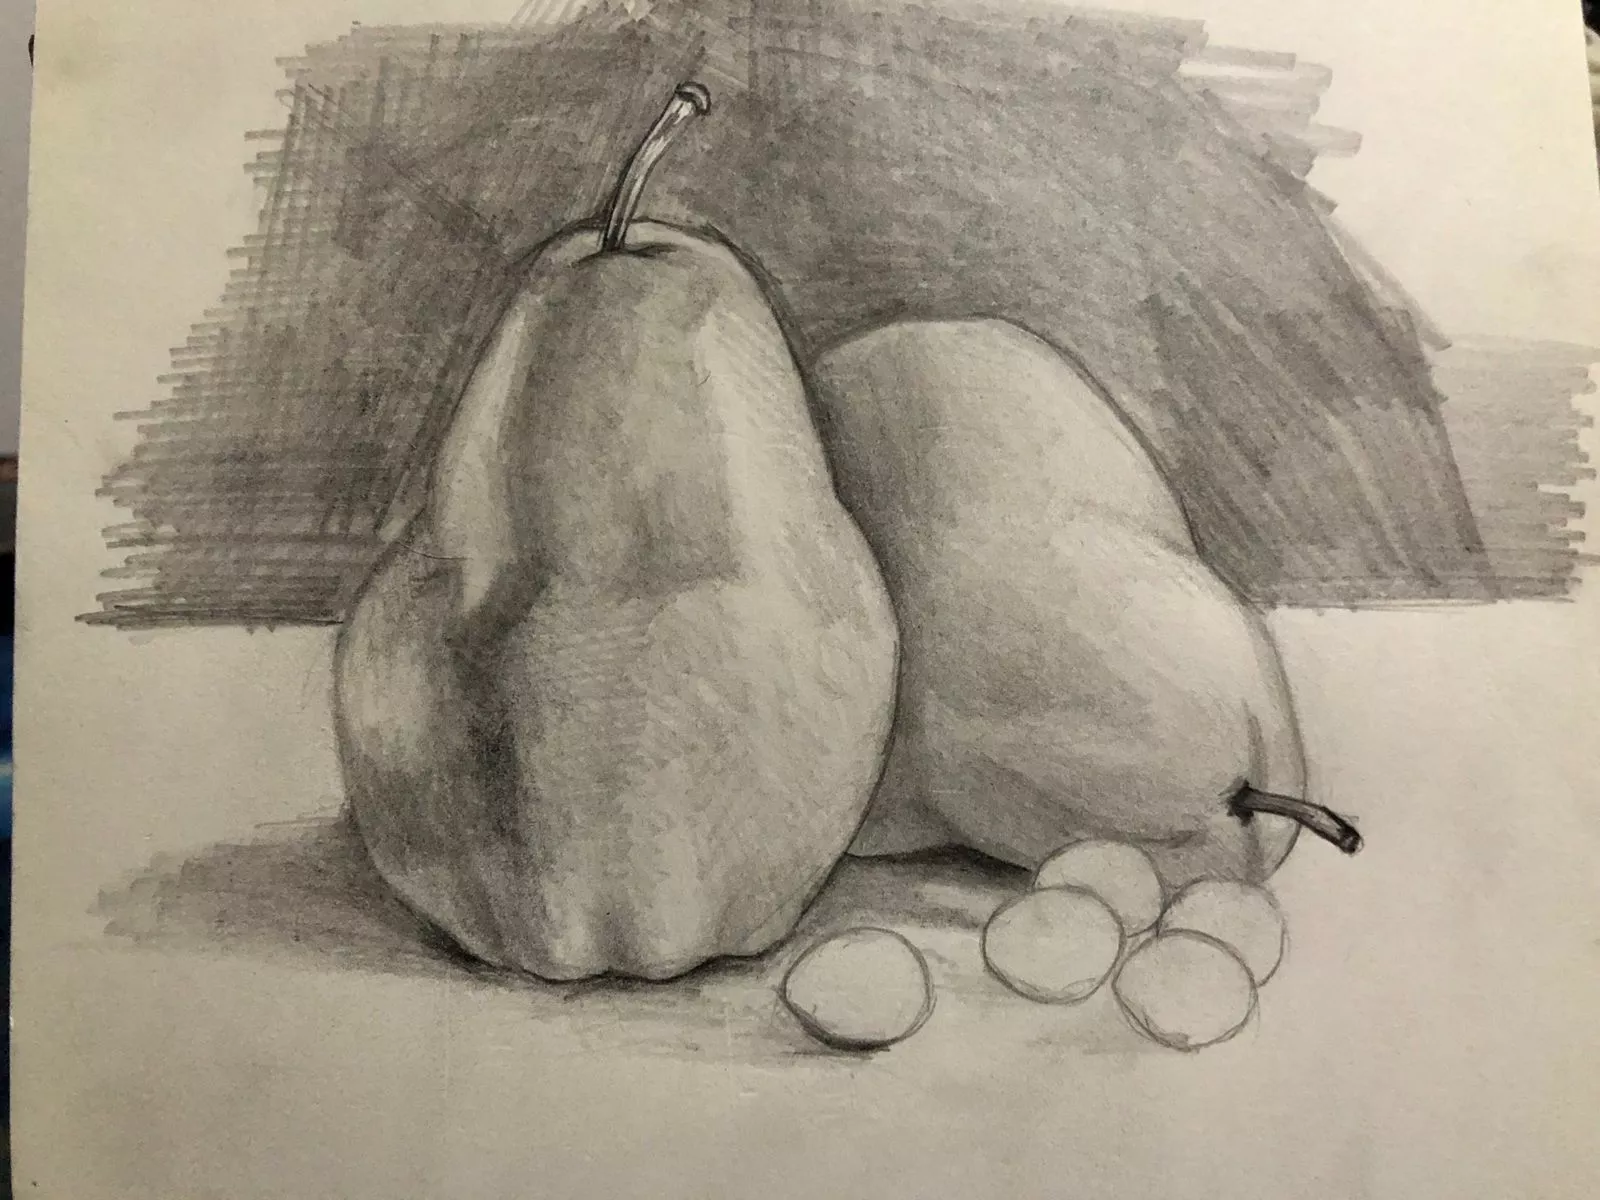
We will now use the blending stump. Identify what uses you can make of it in this drawing. For example, there is a background shadow that needs to be blended; similarly, some very marked contours could be softened, and several shadows of the objects can be blended to create more subtle transitions.

And that's it for today!
I hope this article has helped you to better understand and use a blending stump to improve the quality of your artwork. Remember to use it with the right materials, clean it regularly, and always work with short, controlled movements.
Do not forget that it is often necessary to overlay multiple layers of shading and blending to achieve the desired rendering.
Discussion
No comments yet.