How to Draw with Graphite Pencil?
The pencil is clearly the first tool used by all artists, but did you know that there is a much more versatile variant? Today I present the graphite pencil, techniques for using it and how to draw with it.
WHAT IS A GRAPHITE PENCIL?
The graphite pencil or “graphite lead” is a pencil made entirely of graphite, without a wooden body. Instead, the lead is covered with a plastic film to avoid getting your fingers dirty when handling it. It is also called a “lead pencil”, although graphite pencils today no longer contain lead.

Like traditional pencils, they come in different grades: H for the harder leads, and B for the softer ones. The classification is the same, meaning that the higher the number, the more pronounced the characteristic. A 5H graphite lead will be very hard, and a 2B will be slightly soft. Of course, there are also HB graphite pencils, just like the usual pencils.
As with pencil drawing (which already has a tutorial on this site), you can get different leads depending on your needs. In general, hard leads are useful for sketching and soft leads for the final drawing. If you don't know what to get, opt for a 3H, an HB and a 3B graphite pencil. In this way, you will have a wide range of evidence at your disposal and can work out later on what suits you best.
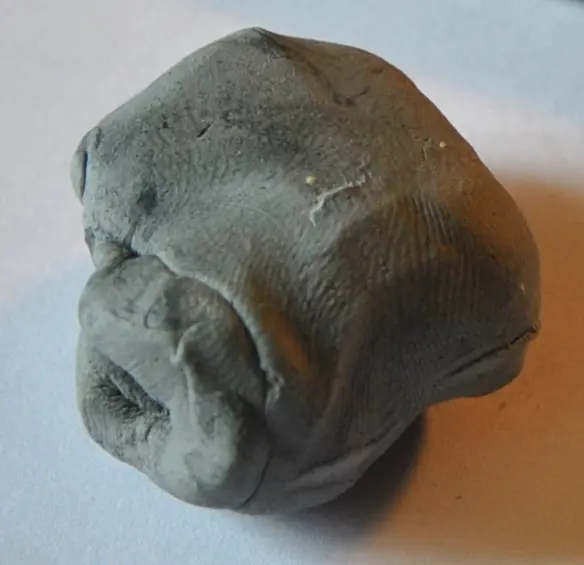
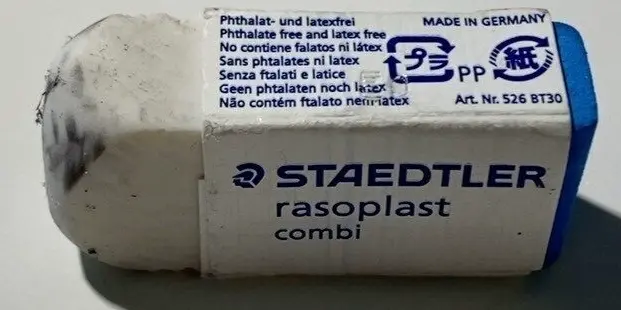
Finally, it is always practical to combine the graphite pencil with an eraser! Useful both for correcting mistakes and for creating certain effects, do not hesitate to get one for the rest of this tutorial. You can choose either a white eraser or a kneaded eraser.
HOW TO USE A GRAPHITE PENCIL IN DRAWING?
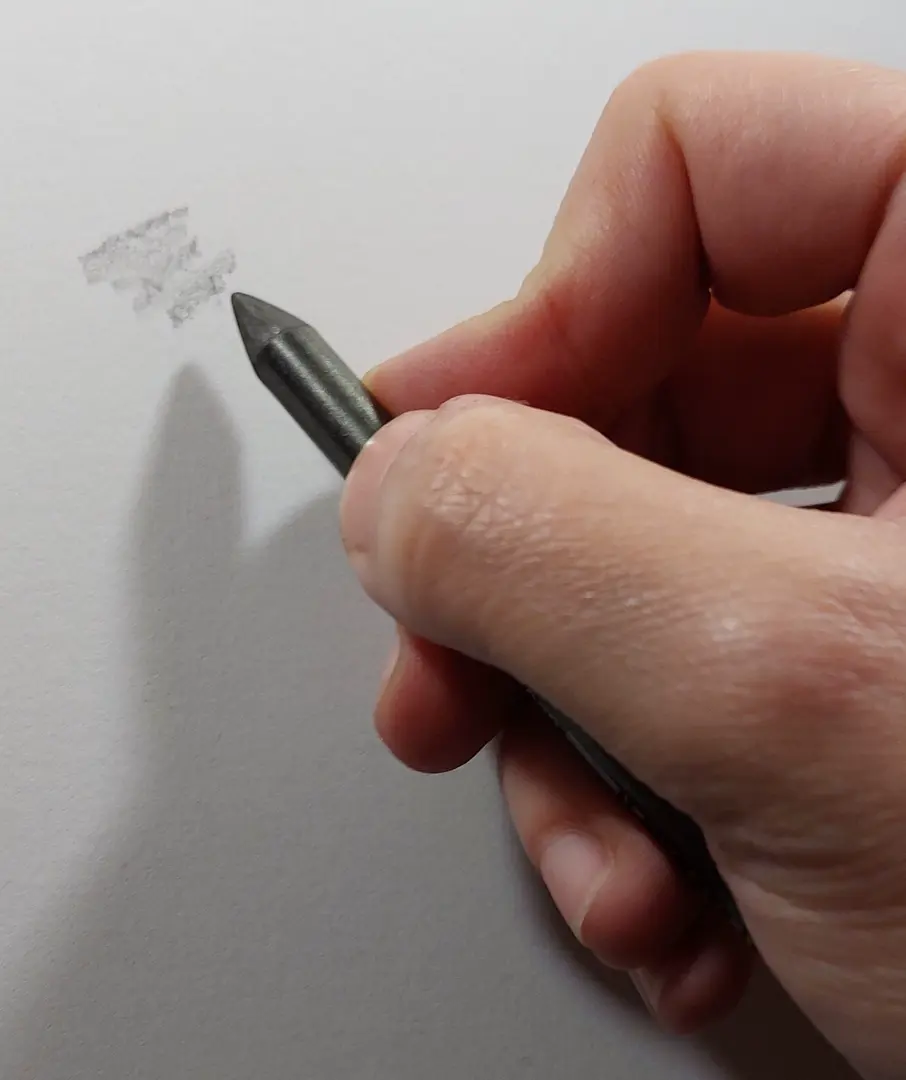
The graphite pencil is first and foremost a pencil. Therefore, it can be used like a traditional pencil, i.e. by drawing with the point of the lead. In this way, thin, regular lines can be produced.
Remember to sharpen the tip well with sandpaper (sold in fine arts shops) or simply with a nail file.
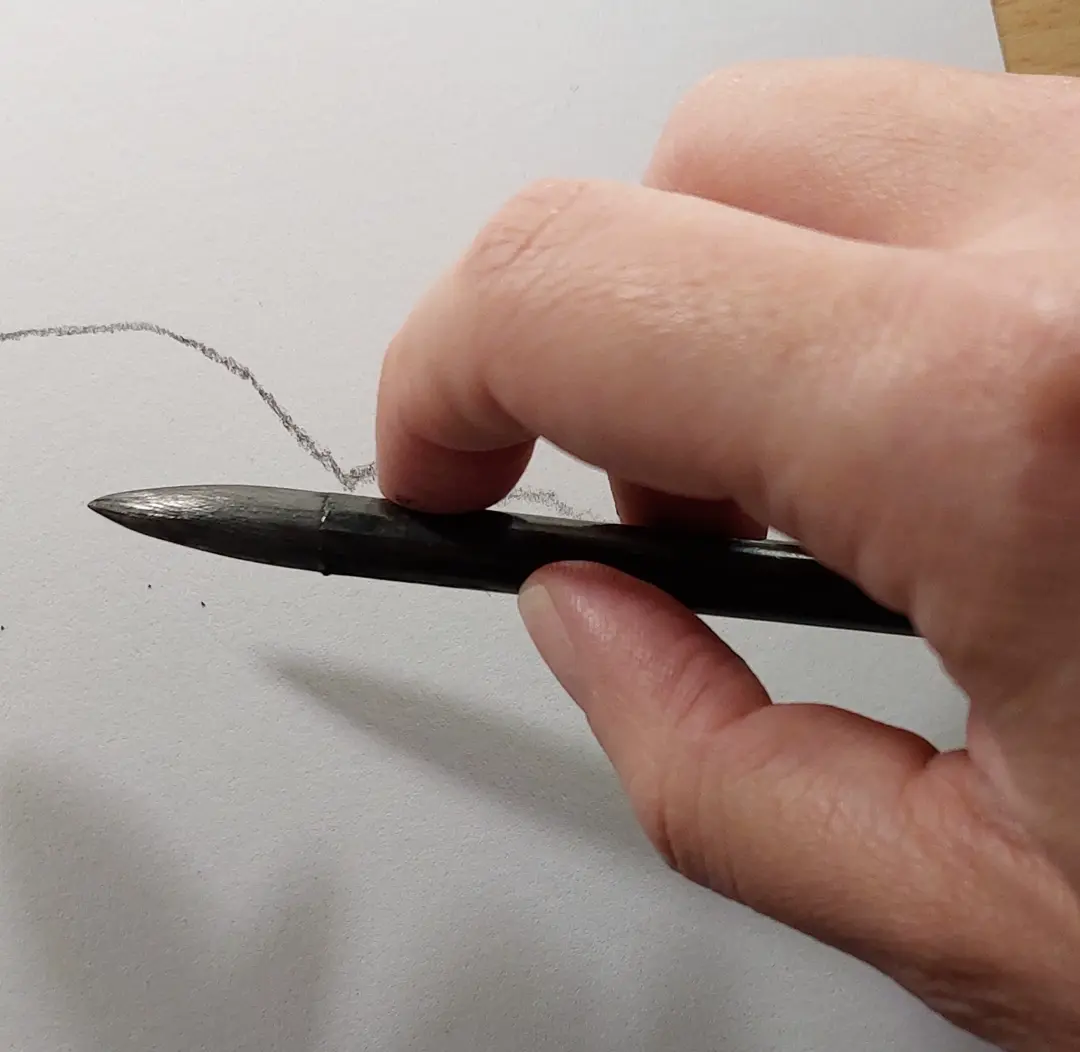
It is also possible to draw with the side of the tip. In this way, you can create flat areas of graphite. Hold your pencil horizontally, somewhat like the bow of a violin, and tilt it so that it rubs the paper with the side of the tip. This requires some time to adapt, but you can quickly achieve satisfactory results.
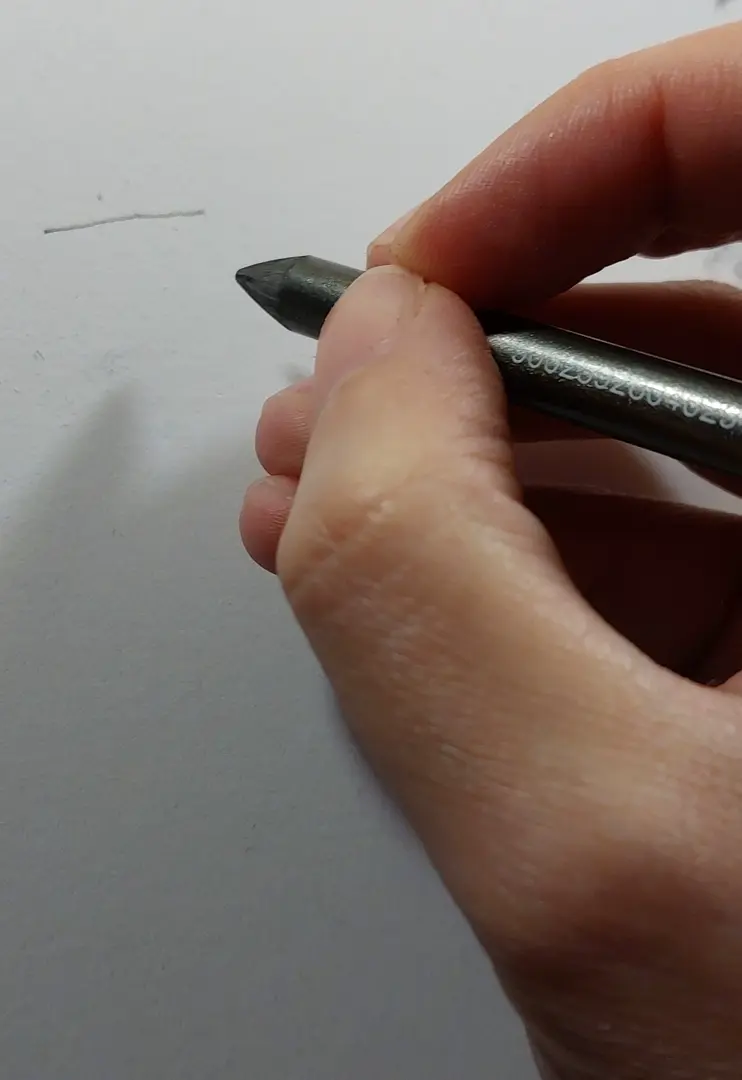
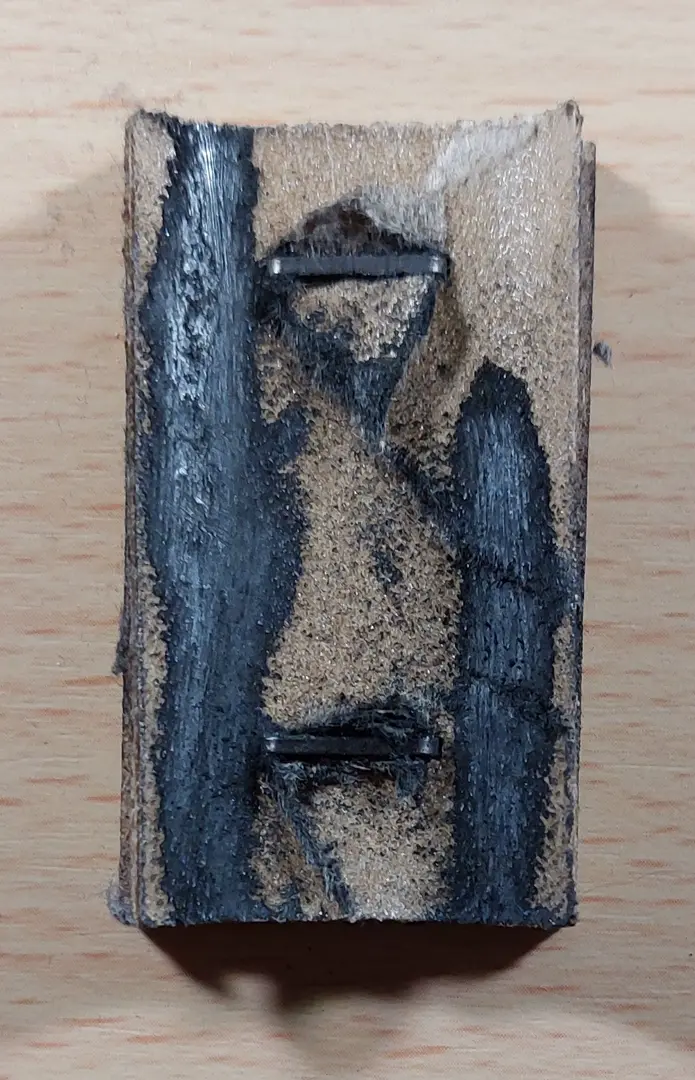
The main advantage of the graphite pencil is therefore that you can draw with the body of the tool, so don't deprive yourself of it! Carefully remove the plastic for a few centimetres and sharpen your lead pencil so that it has a rounded tip-shaped body:
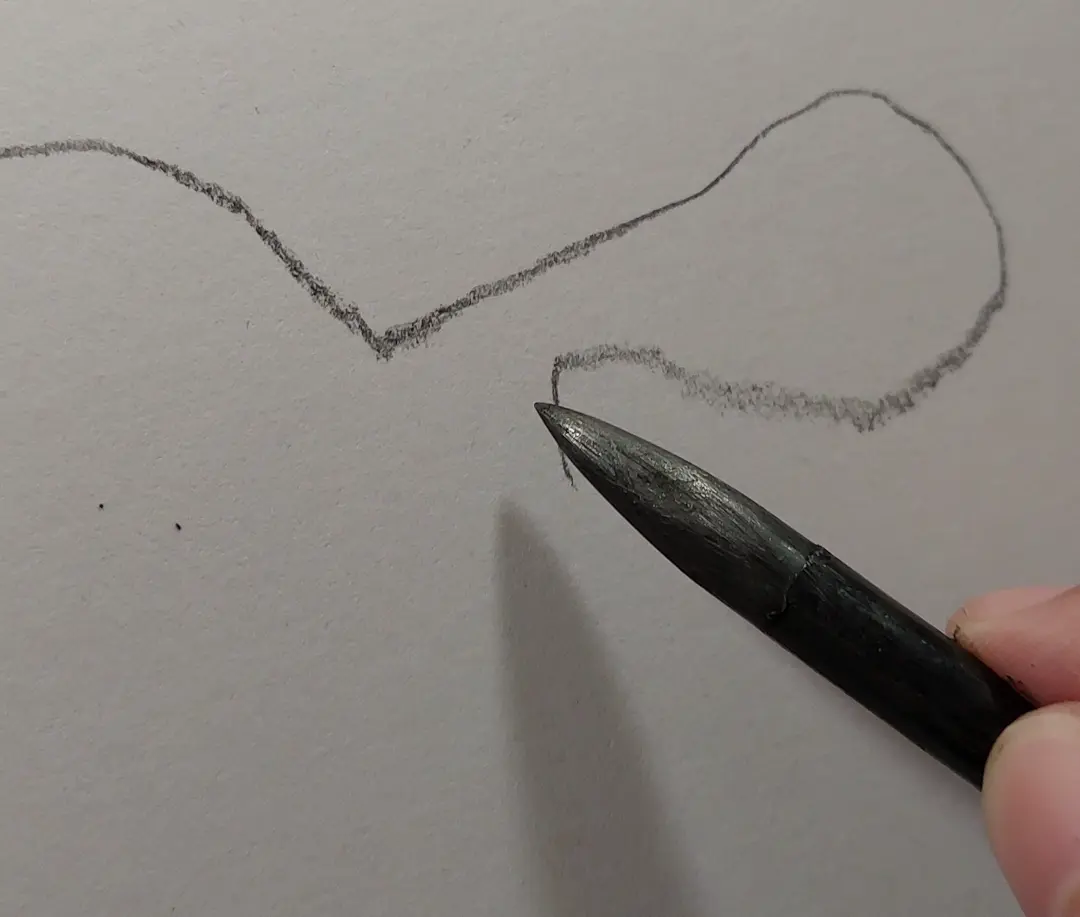
This pointed shape will allow you to vary the thickness of the stroke depending on the angle of the lead! The more you skim the paper and the more you draw with the body of the pencil, the better for thick lines. Conversely, if you straighten the lead, you will use the tip: perfect for thin lines. Practice making nice thick and thin lines by varying the angle as you go.
Take the time to get used to these techniques to properly master your tool before moving on to the drawing step.
DRAWING WITH A GRAPHITE PENCIL STEP BY STEP
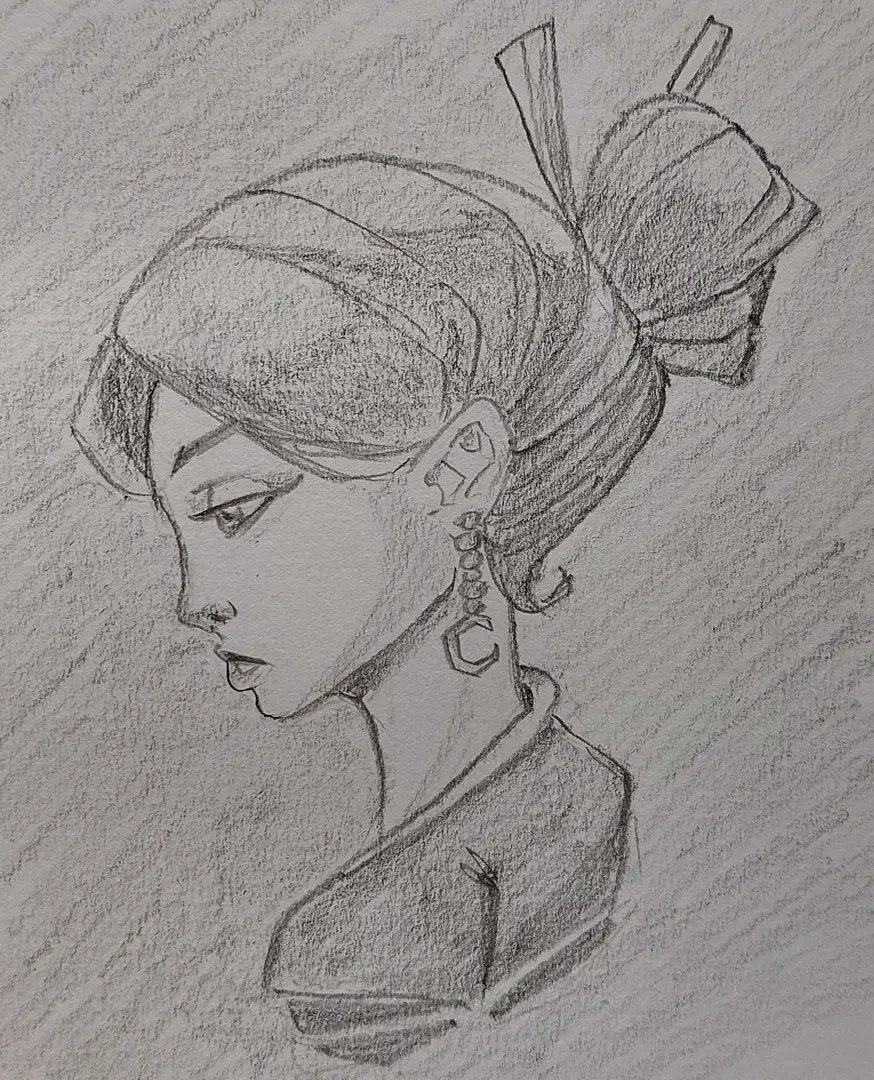
To conclude, I offer you a small drawing done step by step using graphite leads.
I start by making a dry lead sketch to have all my construction lines.
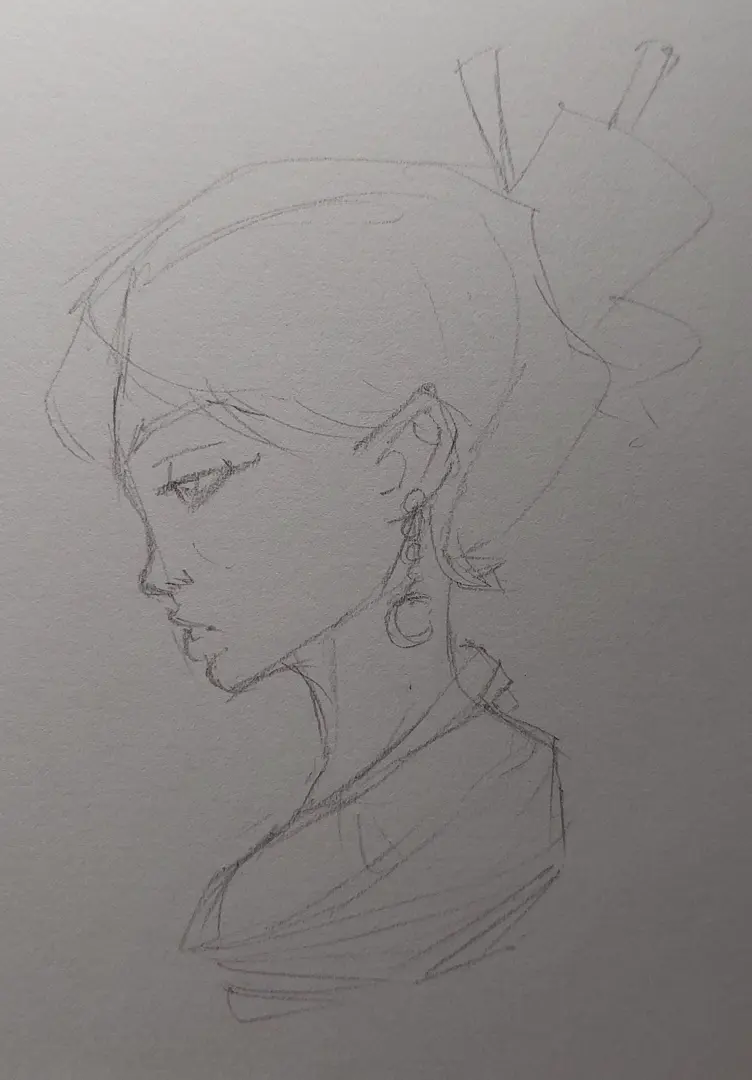
Next, I go over the fine lines with the tip of my lead. From here, I use a 2B graphite pencil.
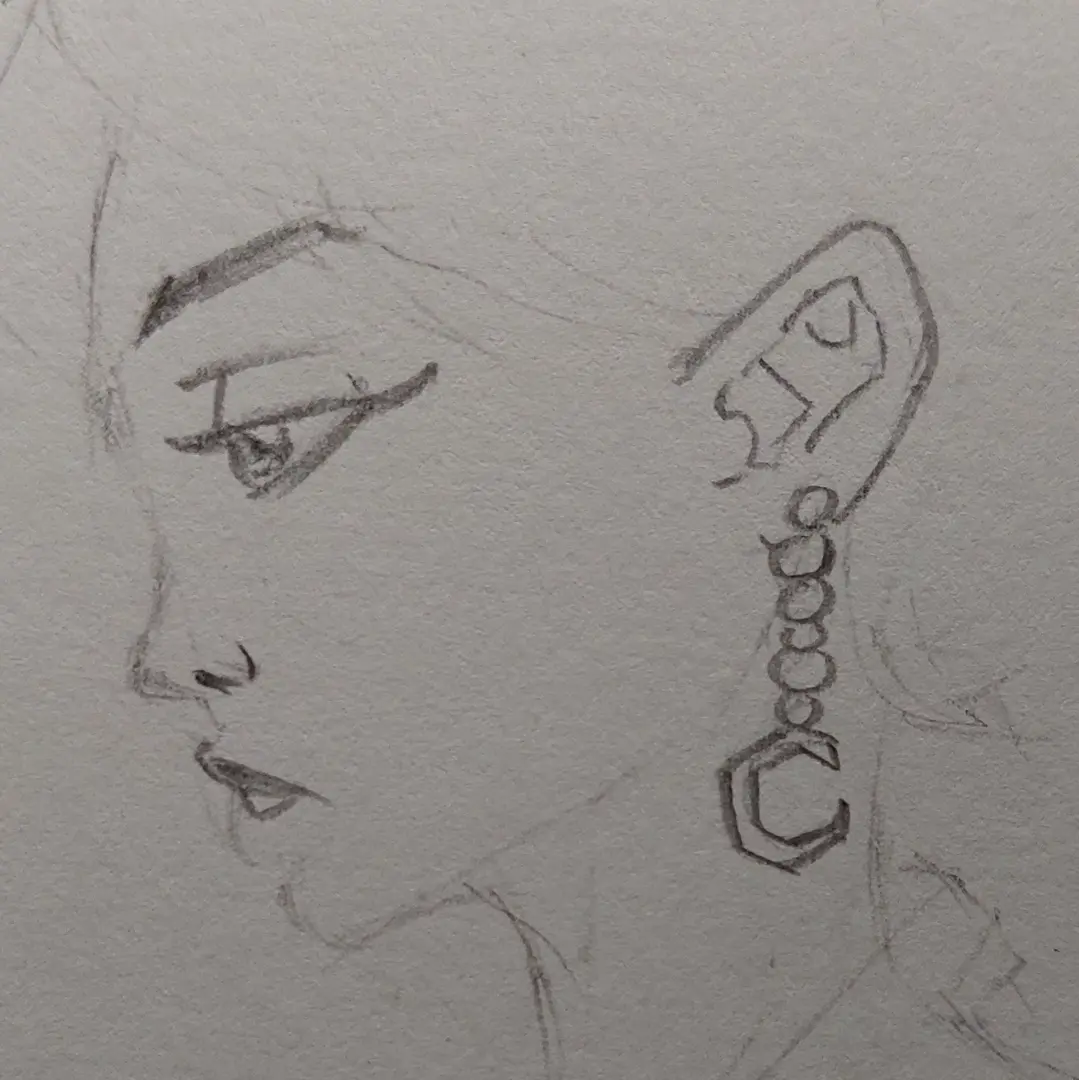
If needed, I slightly tilt my pencil to make certain thick and thin strokes. This will give more life to my drawing.

I use the side of my lead to fill in my flat areas. It's much faster than with a standard pencil, but it might require some erasing for corrections. If I want darker blacks, I can go over my surfaces again or increase the pressure on my lead. Finally, it's always possible to use a softer lead to make the task easier. Here, I opt for a 3B graphite pencil.
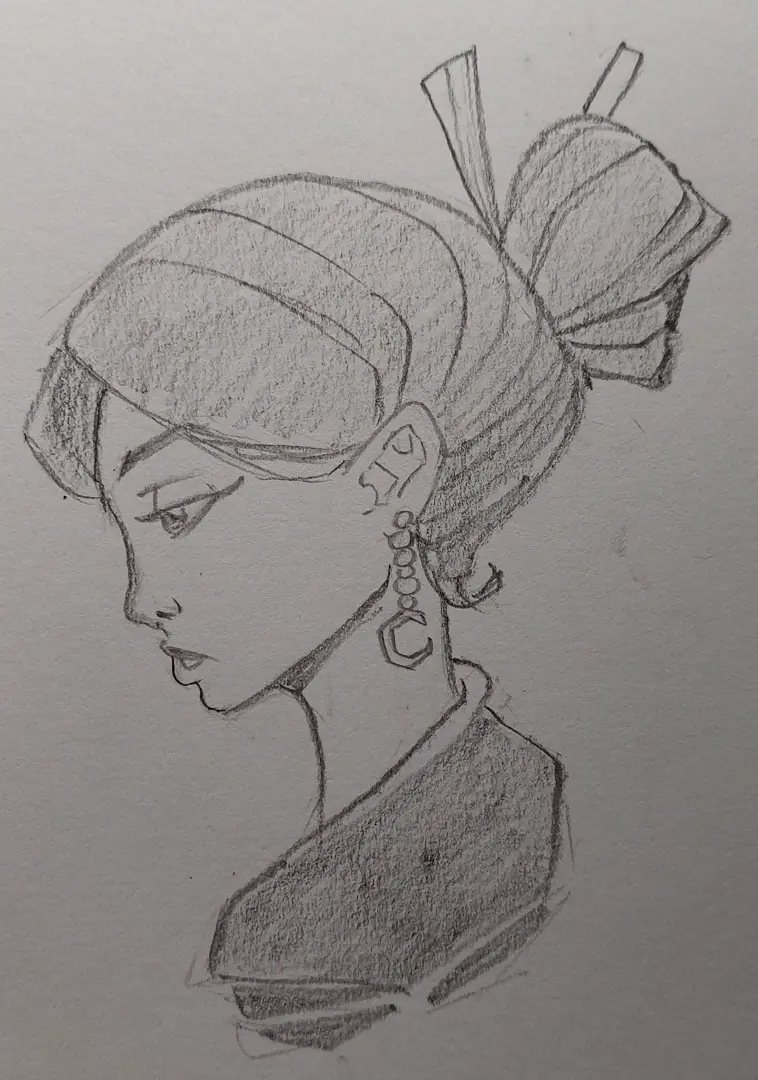
All that remains is to add volume to my drawing! To do this, I will place shadow areas using the body of the pencil, similar to how I do spot colours. If I need to give light to certain elements, I can always remove some graphite with the eraser. In this case, I recommend using thin white erasers or shaping the kneaded eraser for greater precision.

And there you have it, my little graphite pencil drawing is finished! If you want to explore the technical aspect in more detail, have a look at our article on drawing with pencils and, above all, experiment!

Discussion
No comments yet.