How to Draw in Adobe Illustrator

Welcome to this detailed tutorial in which we will explore the exciting art of drawing a delicious cup of coffee using Adobe Illustrator. With its powerful tools and versatility, Illustrator offers an ideal platform for bringing illustrations rich in detail and texture to life.
Whether you are an amateur or an experienced artist, this guide will take you through every step of the creation process, helping you to master the nuances of this versatile software.
In this tutorial, we will delve into the key features of Illustrator while creating a realistic representation of a steaming cup of coffee. From basic drawing techniques to advanced tips, you will learn to use the drawing tools, manage layers, manipulate shapes, and apply colours to bring your own digital masterpiece to life. Get ready to explore the endless creative possibilities offered by Illustrator and discover how each stroke can contribute to the creation of a truly captivating illustration.
Follow each step carefully and let your imagination run wild to create a cup of coffee that looks ready to be enjoyed. We are excited to guide you through this enriching artistic adventure!
INTRODUCTION TO ILLUSTRATOR
Adobe Illustrator is a great software that helps you draw beautiful pictures. Thanks to its fantastic tools, you can create amazing illustrations, such as a realistic and appetising coffee mug. In this tutorial, you will learn how to use the drawing tools, manage layers and add beautiful colours to make your cup of coffee look alive and appealing. Follow these simple steps to create your own cup of coffee and let your creativity shine. Have fun!
CANVAS PREPARATION
To create a new document:
- Open Adobe Illustrator and click on "File".
- Select "New" from the menu.
- Choose "Mobile" for the correct dimensions of a mobile wallpaper.
- Adjust the width and height according to the wallpaper dimensions.
- Choose whether you want it to be vertical or horizontal.
- If necessary, change other settings such as resolution or colours.
Once everything is ready, click "Create" to start designing your cup of coffee on a wallpaper suitable for mobile phones.
LAYER MANAGEMENT
Give your layers clear names to easily know what they contain.
Organise the layers in a logical order, placing background elements at the bottom and foreground elements at the top, so that everything is well organised.
If you don't want to change something, lock the layer to avoid modifying it by accident.
Control what you see by toggling the eye next to the layers to show or hide what you want while you work.
In the initial stages, we took the time to get familiar with the Illustrator interface, to create our canvas, and to master layer management for efficient organization of our work.
Now we get to the heart of the process of creating our cup of coffee. We will start by outlining the delicate contours of the mug with the Pen tool, then add detailed features such as the handle with the Shape tool. Finally, we will bring our illustration to life by applying basic colours, resulting in a realistic and eye-catching representation of our coffee cup.
Don't hesitate to closely follow the next steps to successfully create your own coffee cup illustration on Adobe Illustrator.
DRAWING A CUP OF COFFEE STEP BY STEP ON ADOBE ILLUSTRATOR
Add colour to the background of your drawing.

Use the Shape Tool to create three ellipses that will form the base of our cup of coffee. The Shape Tool is perfect for drawing simple shapes like ellipses, rectangles, or polygons, and it is ideal for sketching the outlines of your drawing.
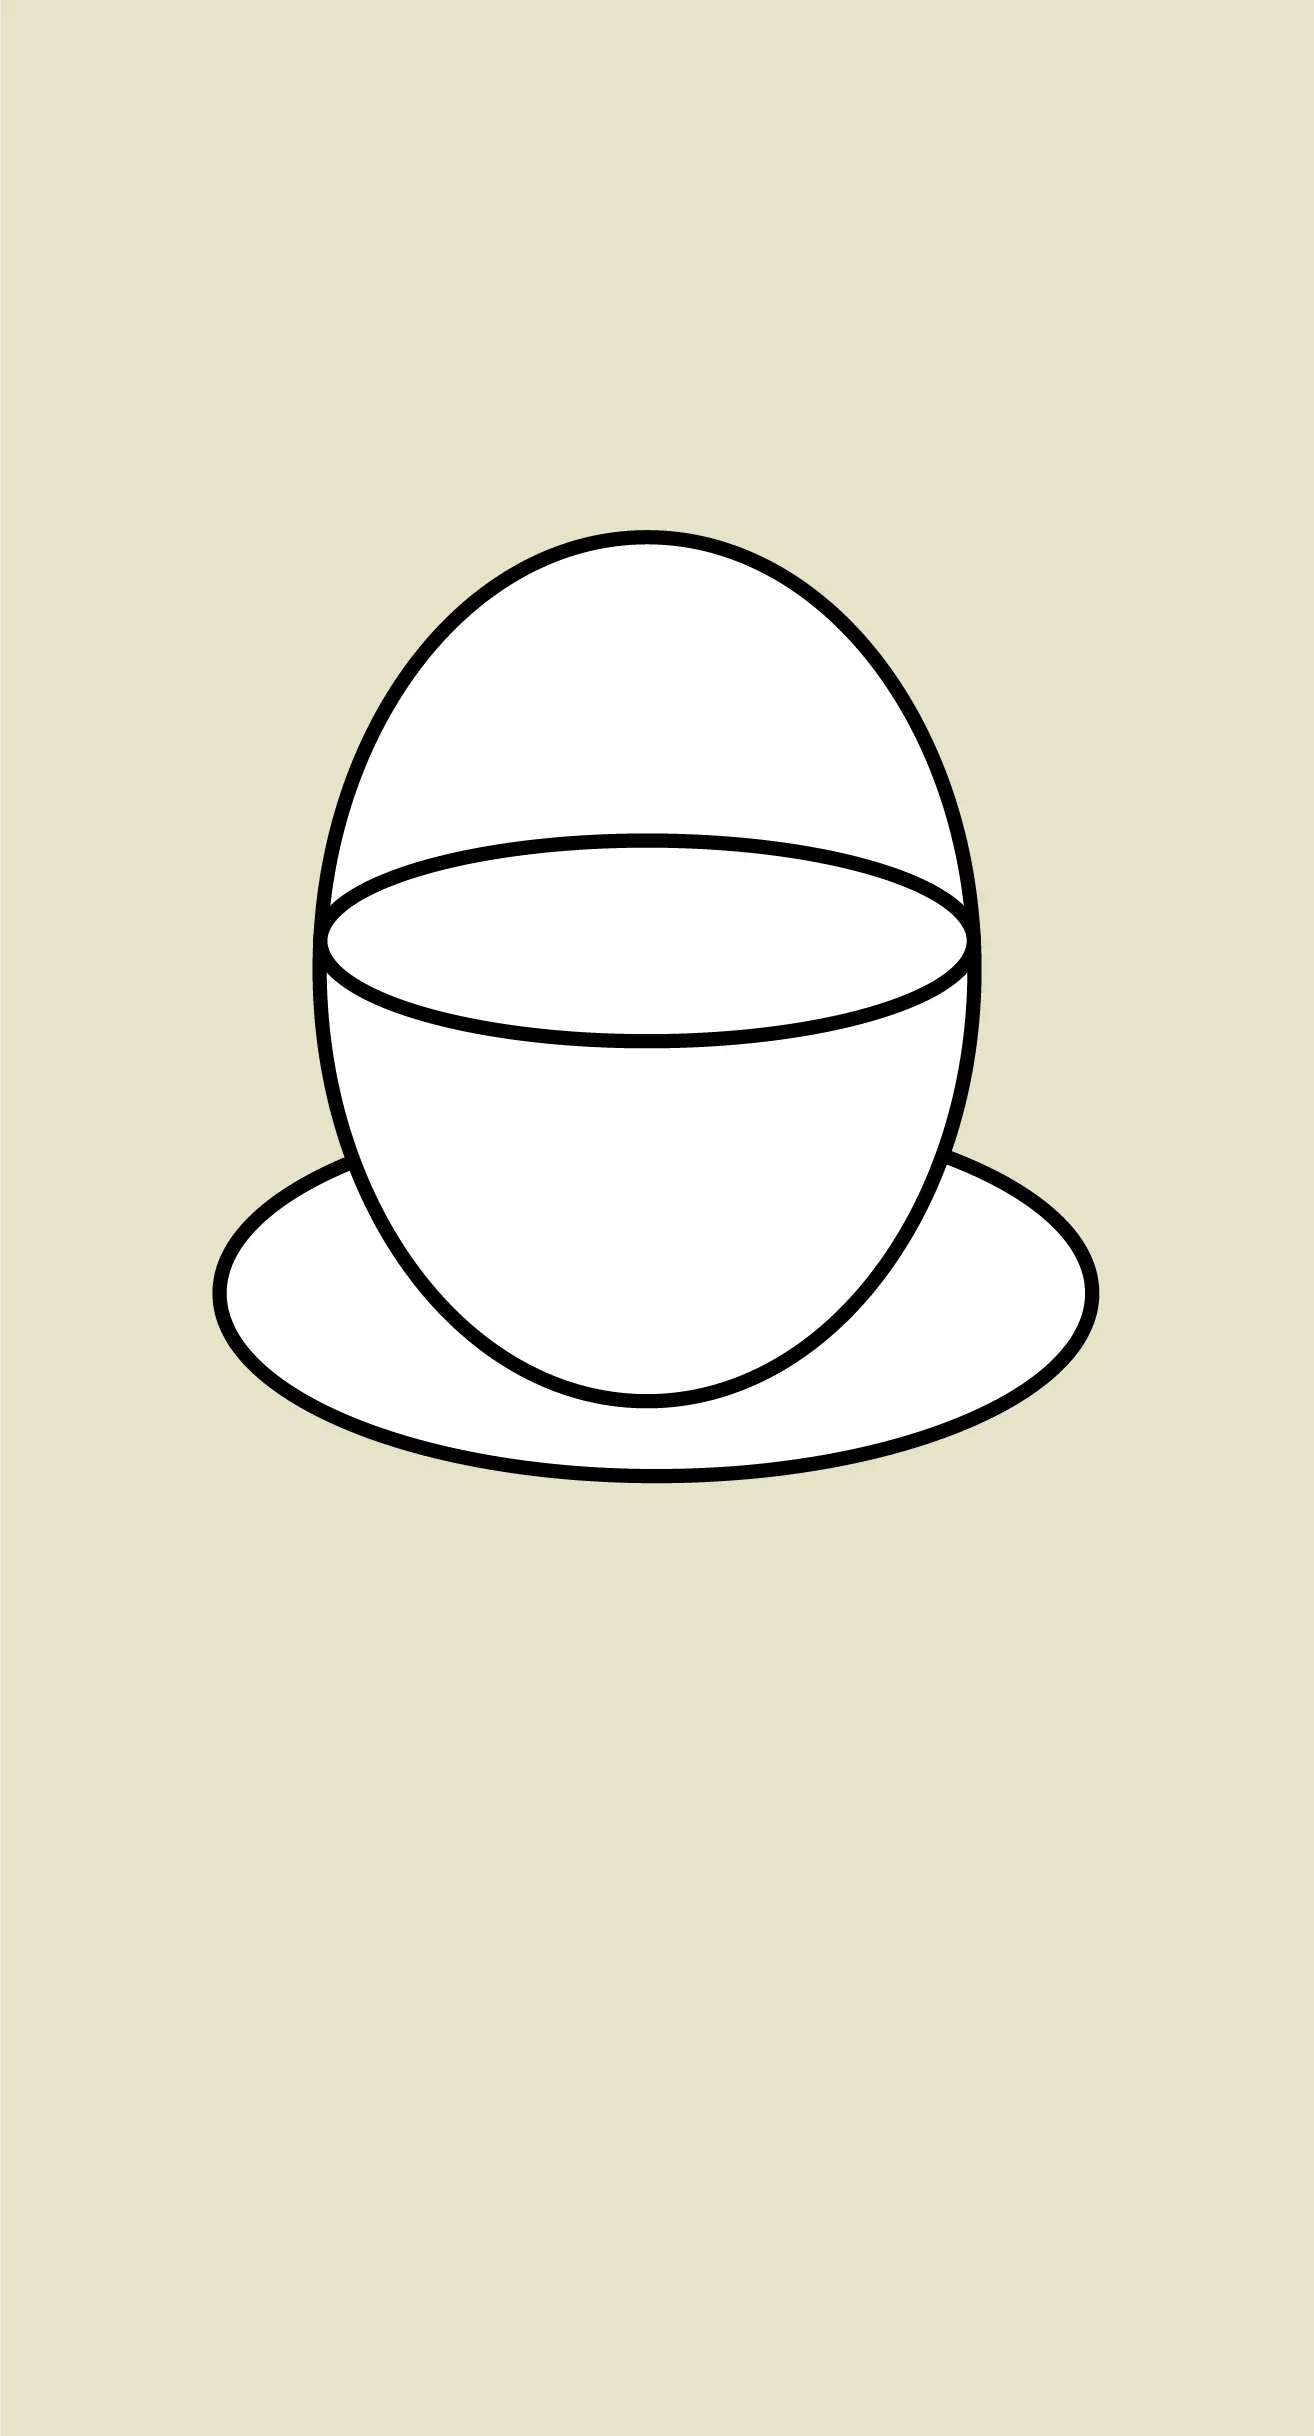
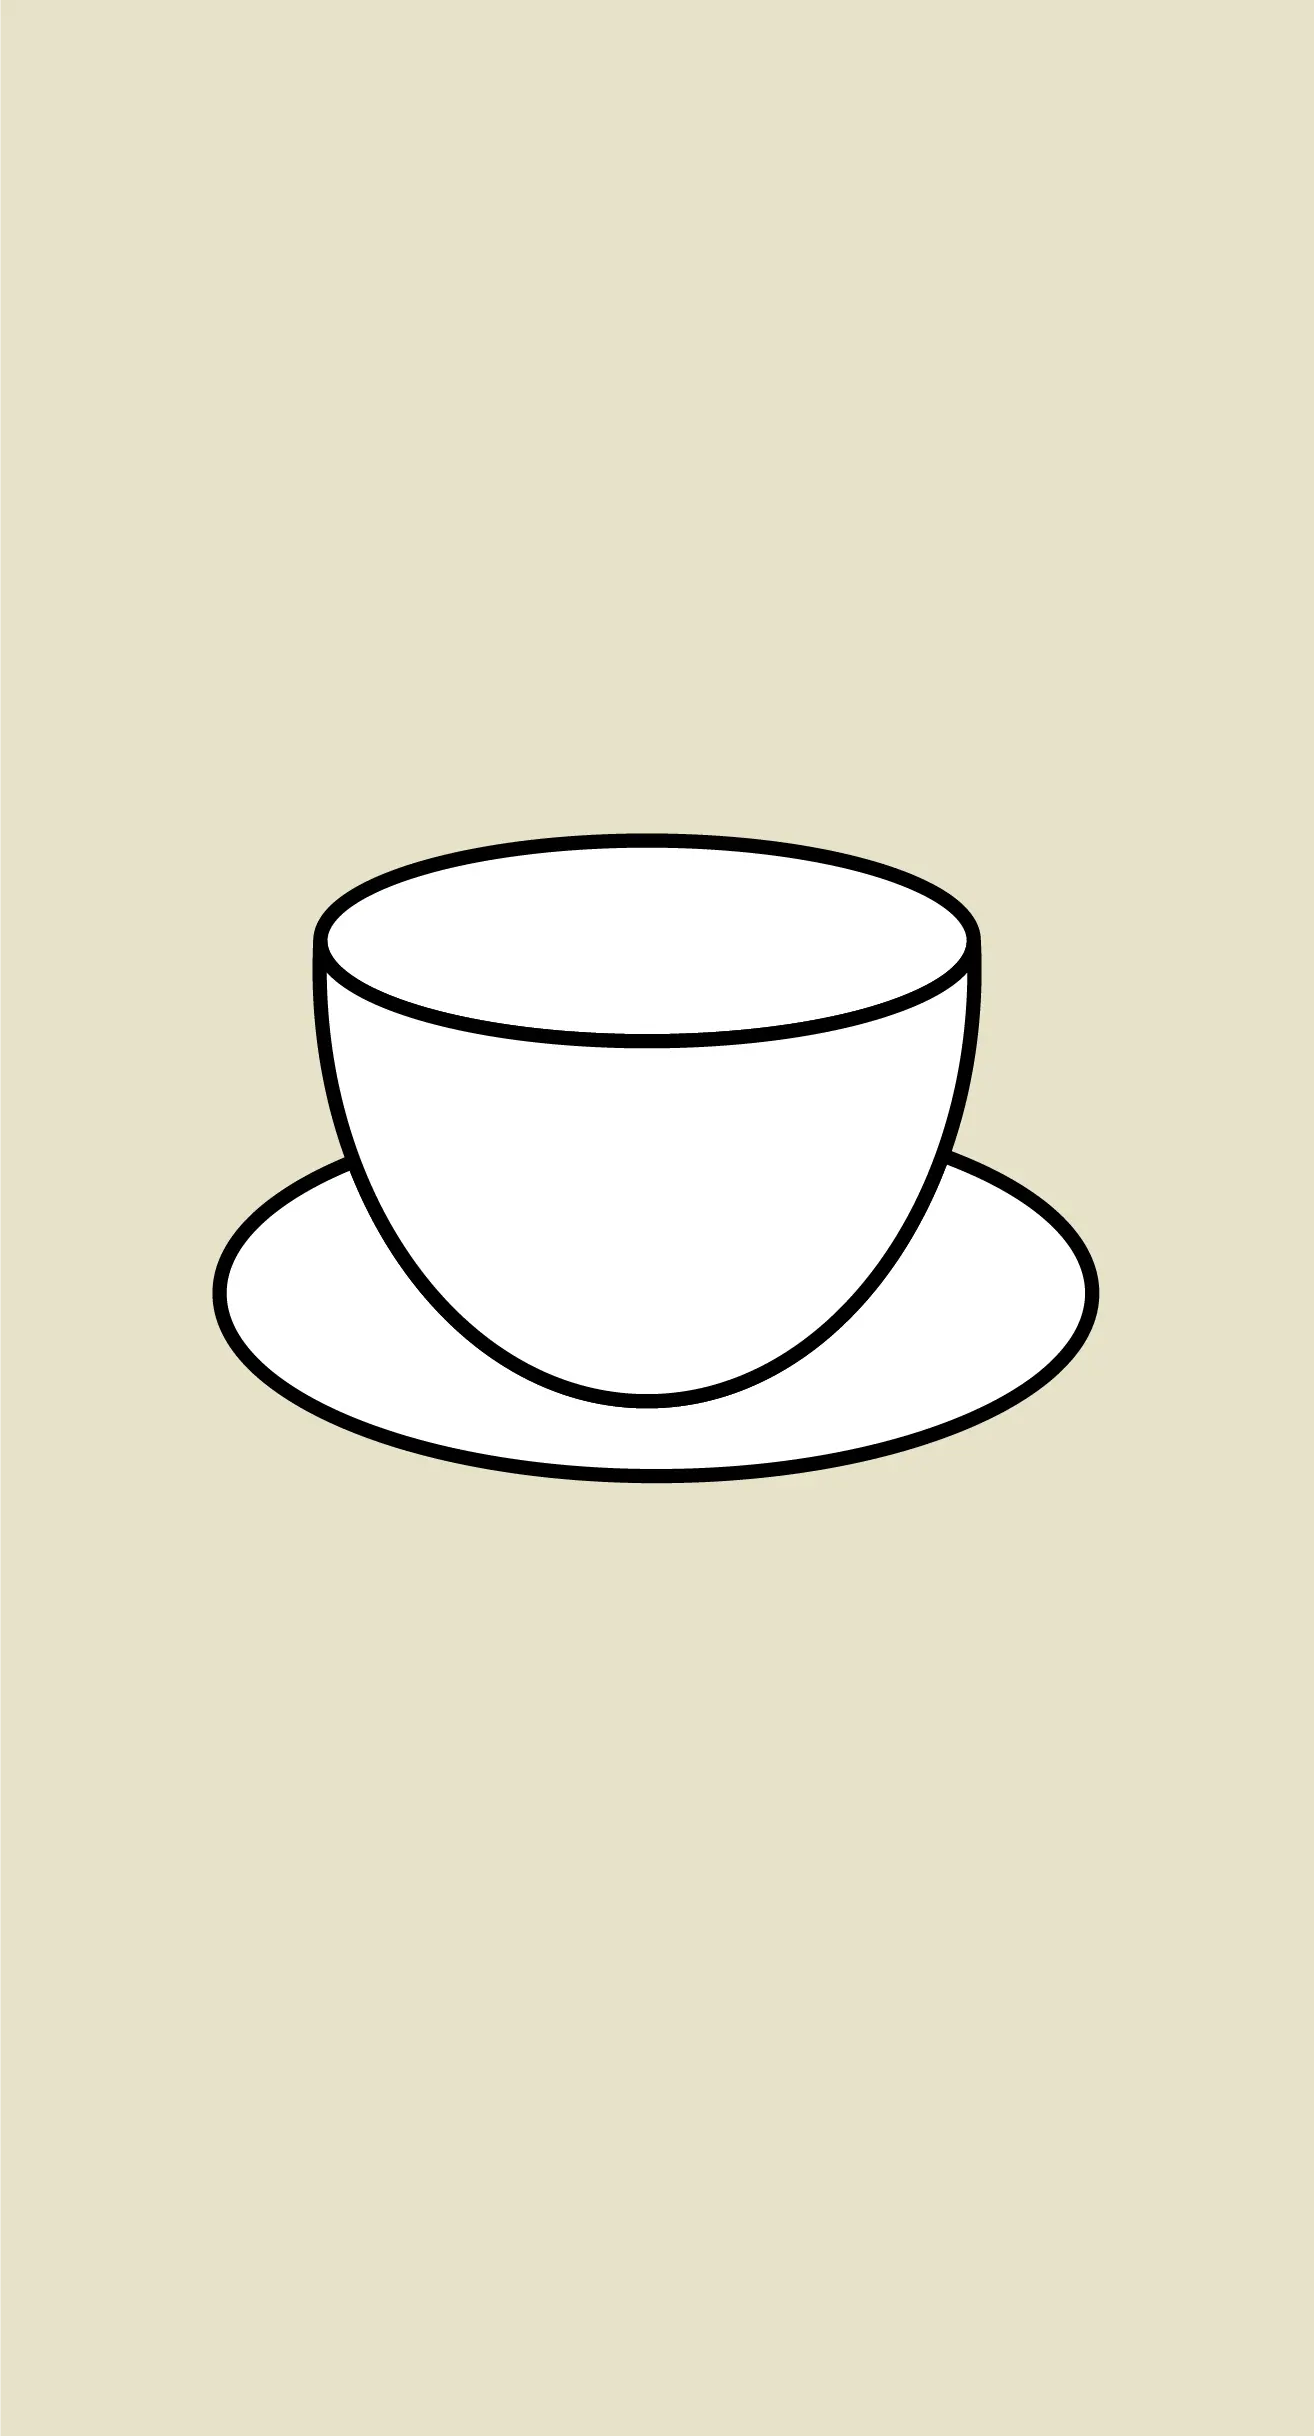
Use the Pathfinder tool to divide the three ellipses and combine them as necessary to obtain the final shape of the cup. The Pathfinder tool is a powerful instrument that allows you to precisely join, intersect, subtract and exclude shapes. In this way, you can create complex and unique shapes for your drawings.
Use the Pen tool to draw the shape of the cup handle. The Pen tool allows you to create custom shapes by adding anchor points and curves. You can adjust these anchor points to obtain smooth and precise lines, making it the ideal tool for creating complex and detailed shapes as required.

Once the design sketch is selected, use the control bar to adjust line size and contour shape. The control bar allows you to change these parameters individually, so that you can fine-tune the line details of the design one by one according to your preferences. Add precise details and refine the design according to your artistic preferences.

ADDING DETAILS
Draw the coffee in the cup by adding two ellipses in dark and light colours to represent the liquid.

Use the Pathfinder tool to subtract the two shapes and delete the element that will no longer be used in your drawing.

Draw some curved lines with the Pen tool to give the cup a volumising effect.

Select the curved lines, then use the control bar to adjust the shapes of these lines, just as you did for the base of the cup. Try to achieve a realistic adjustment by changing the line settings with the control bar.

Add curved lines like snakes to give a realistic effect to the smoke. Use the control bar to adjust the thickness of the lines and their size.

To add volume and depth to the design of the cuo of coffee, we will add some subtle details. Use the Pen tool to draw curved lines along the edges of the cup, adjusting the anchor points to get sharp sides and add a realistic dimension to the illustration. This step will allow us to create subtle shadows and reflections, which will bring our cup of coffee to life and give it a three-dimensional appearance.
ADDING COLOURS
Draw an ellipse below your drawing with a darker colour than the background to represent the shadow of your cup.

Use the Pen tool to draw a shape based on lines that will give volume to your cup. Use the same colour as the previously drawn shadow to ensure consistency.

This step will give your cup of coffee a more realistic appearance by simulating light and shadow effects on its surface.
FINALISATION AND ADJUSTMENTS
Draw white shapes on the liquid to simulate the presence of milk.

Draw ellipses in various places to decorate the scene.

Review all the details of your illustration, making sure that the colours, shadows, and reflections are well balanced and consistent with the realistic look you are aiming for.
Make the necessary adjustments to harmonize the tones and contrasts, focusing on key areas such as shadows, highlights, and bright spots, to achieve an optimal visual effect.
Check the proportions and lines of your cup of coffee to ensure that the overall shape is harmonious and balanced, making the necessary corrections if anything seems unbalanced or disproportionate.
Once you are satisfied with your final illustration, save your work and export it in a format suitable for your intended use, making sure to maintain the high quality of the image and all the carefully added details.
EXPORT OF THE ILLUSTRATION
To export the finished cup of coffee illustration, follow these simple steps:
- Click on the "File" option in the top menu bar of Illustrator.
- Select the "Export" option from the dropdown menu.
- Choose the desired file format for your illustration, such as JPEG, PNG, or SVG, depending on your specific needs.
- Specify the destination folder where you want to save the file and assign it an appropriate name for easy future identification.
- Check the export settings to ensure that the resolution and image quality are suitable for your intended use.
- Finally, click on "Export" to save your illustration in the selected format, ensuring to maintain the high quality of the image and all the carefully added details throughout the creation process.
Discussion
Thank you for this detailed tutorial on drawing in Adobe Illustrator