How to Scan and Clean Up a Drawing
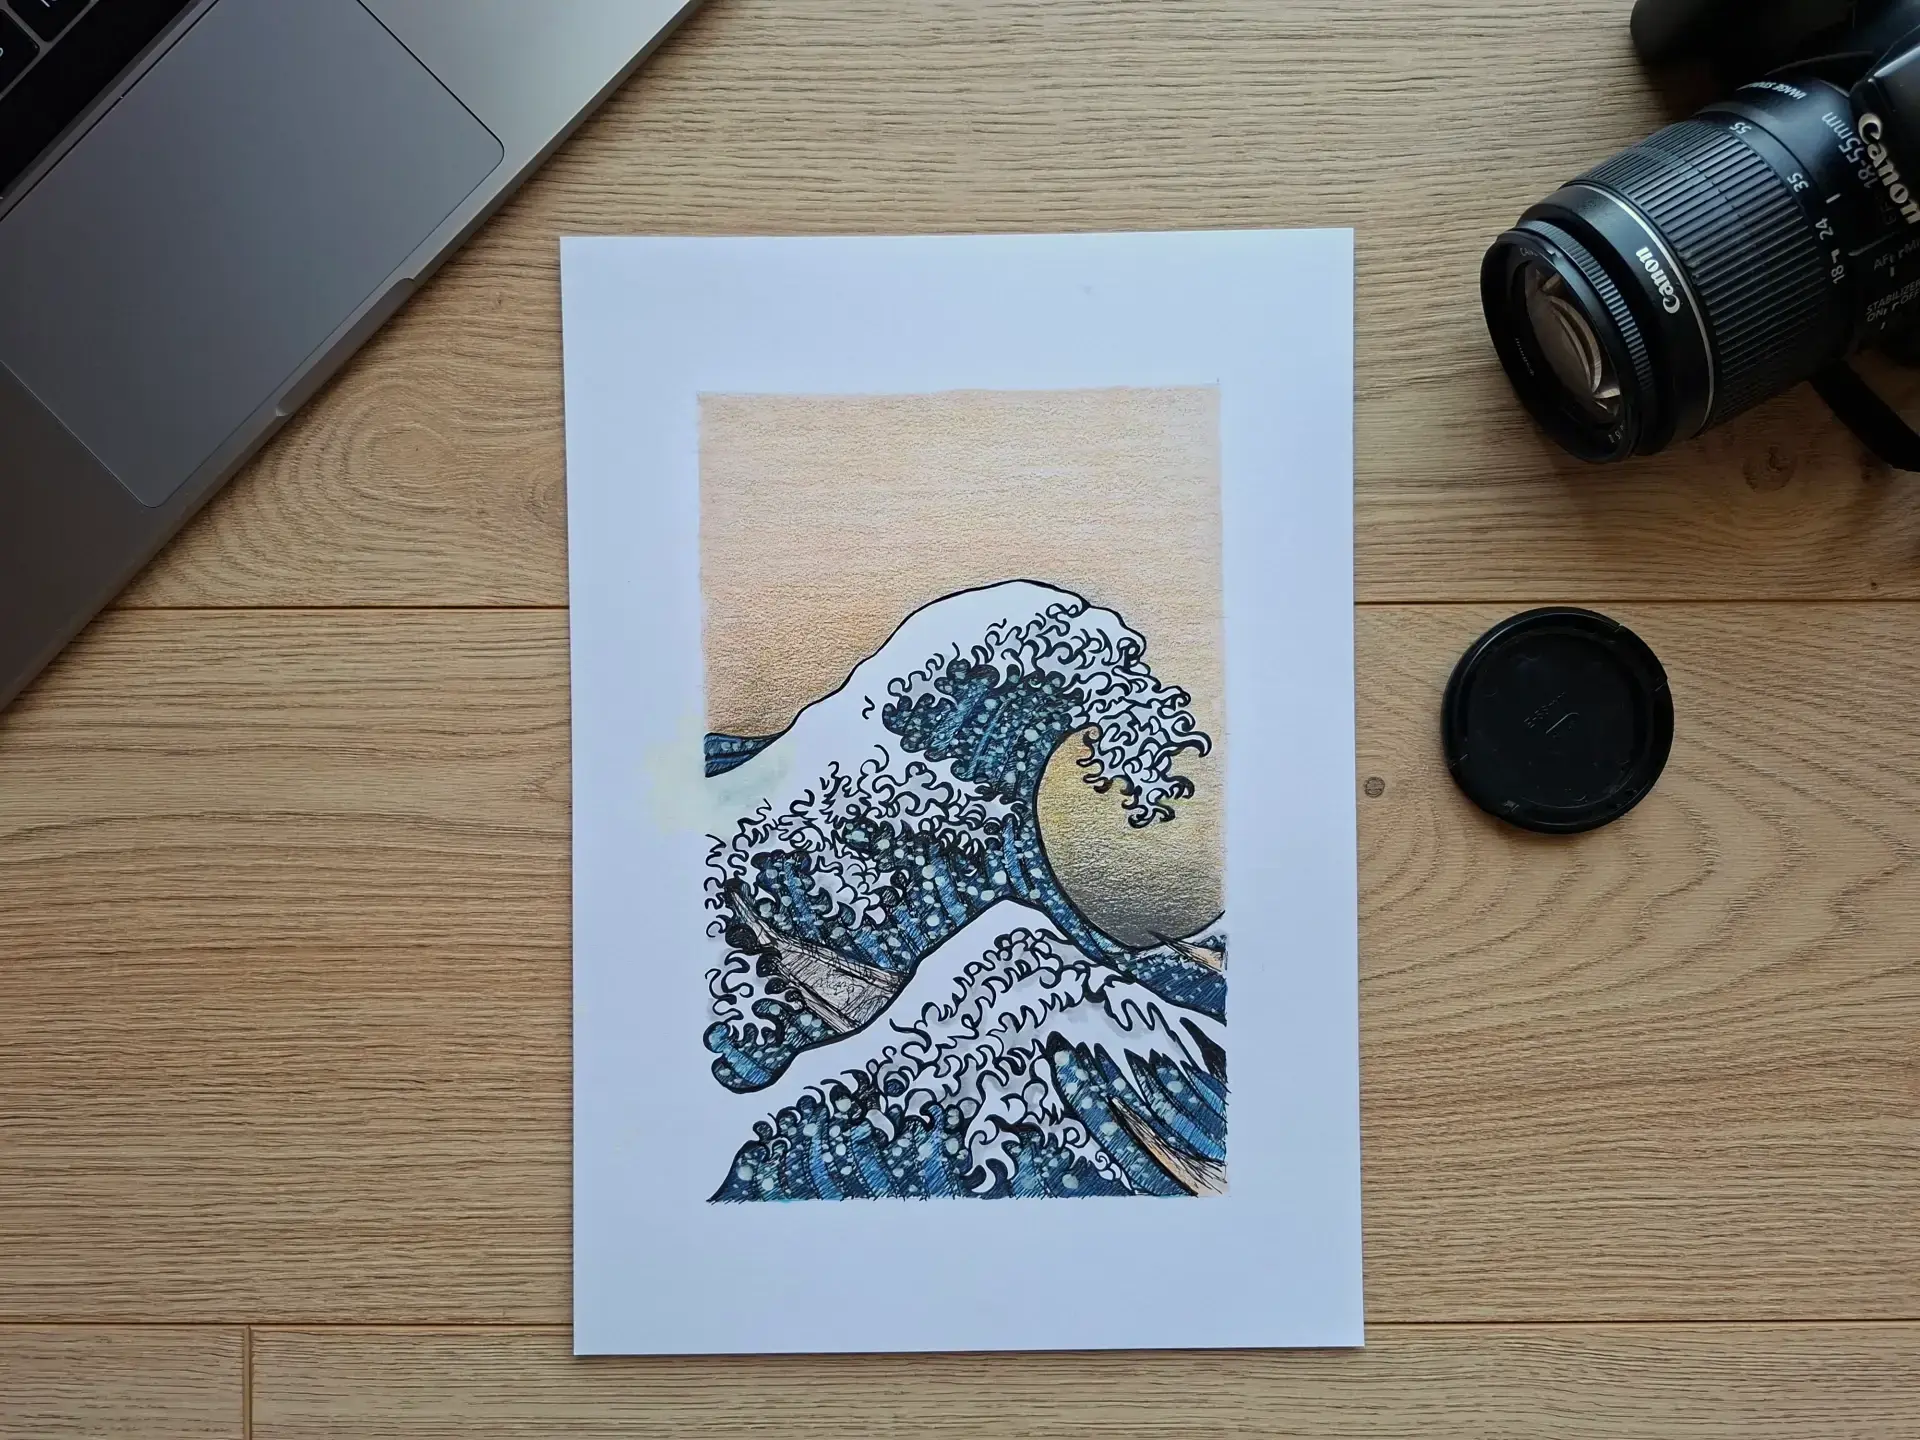
When we finish a traditional drawing, a new step begins: digitizing it carefully. Whether it's to share your work on social media, print an illustration, create a portfolio, or rework your drawing digitally, the quality of the scan plays an essential role.
A drawing, even a successful one, can quickly lose its charm with a scan that is too dark, blurry, or poorly cleaned up. Conversely, a good scan helps preserve the fineness of the line, the texture of the paper, and the balance of contrasts.
In this article, we will explore how to scan a drawing well, and then how to clean it up simply to achieve a clean, clear, and professional result.
Why is it important to scan your drawing well?
The scanner connects the drawing on paper to the digital format.
If the digitization is poor, several problems may appear: contrasts become weak, the paper may seem discolored, the lines can be blurry, and dust or smudges may be visible. The colors may also be altered.
Conversely, a good scan helps to retain all the details of the drawing. It facilitates quality printing, clearer sharing, and simpler digital image processing. Even a simple drawing becomes clearer with a clean scan.
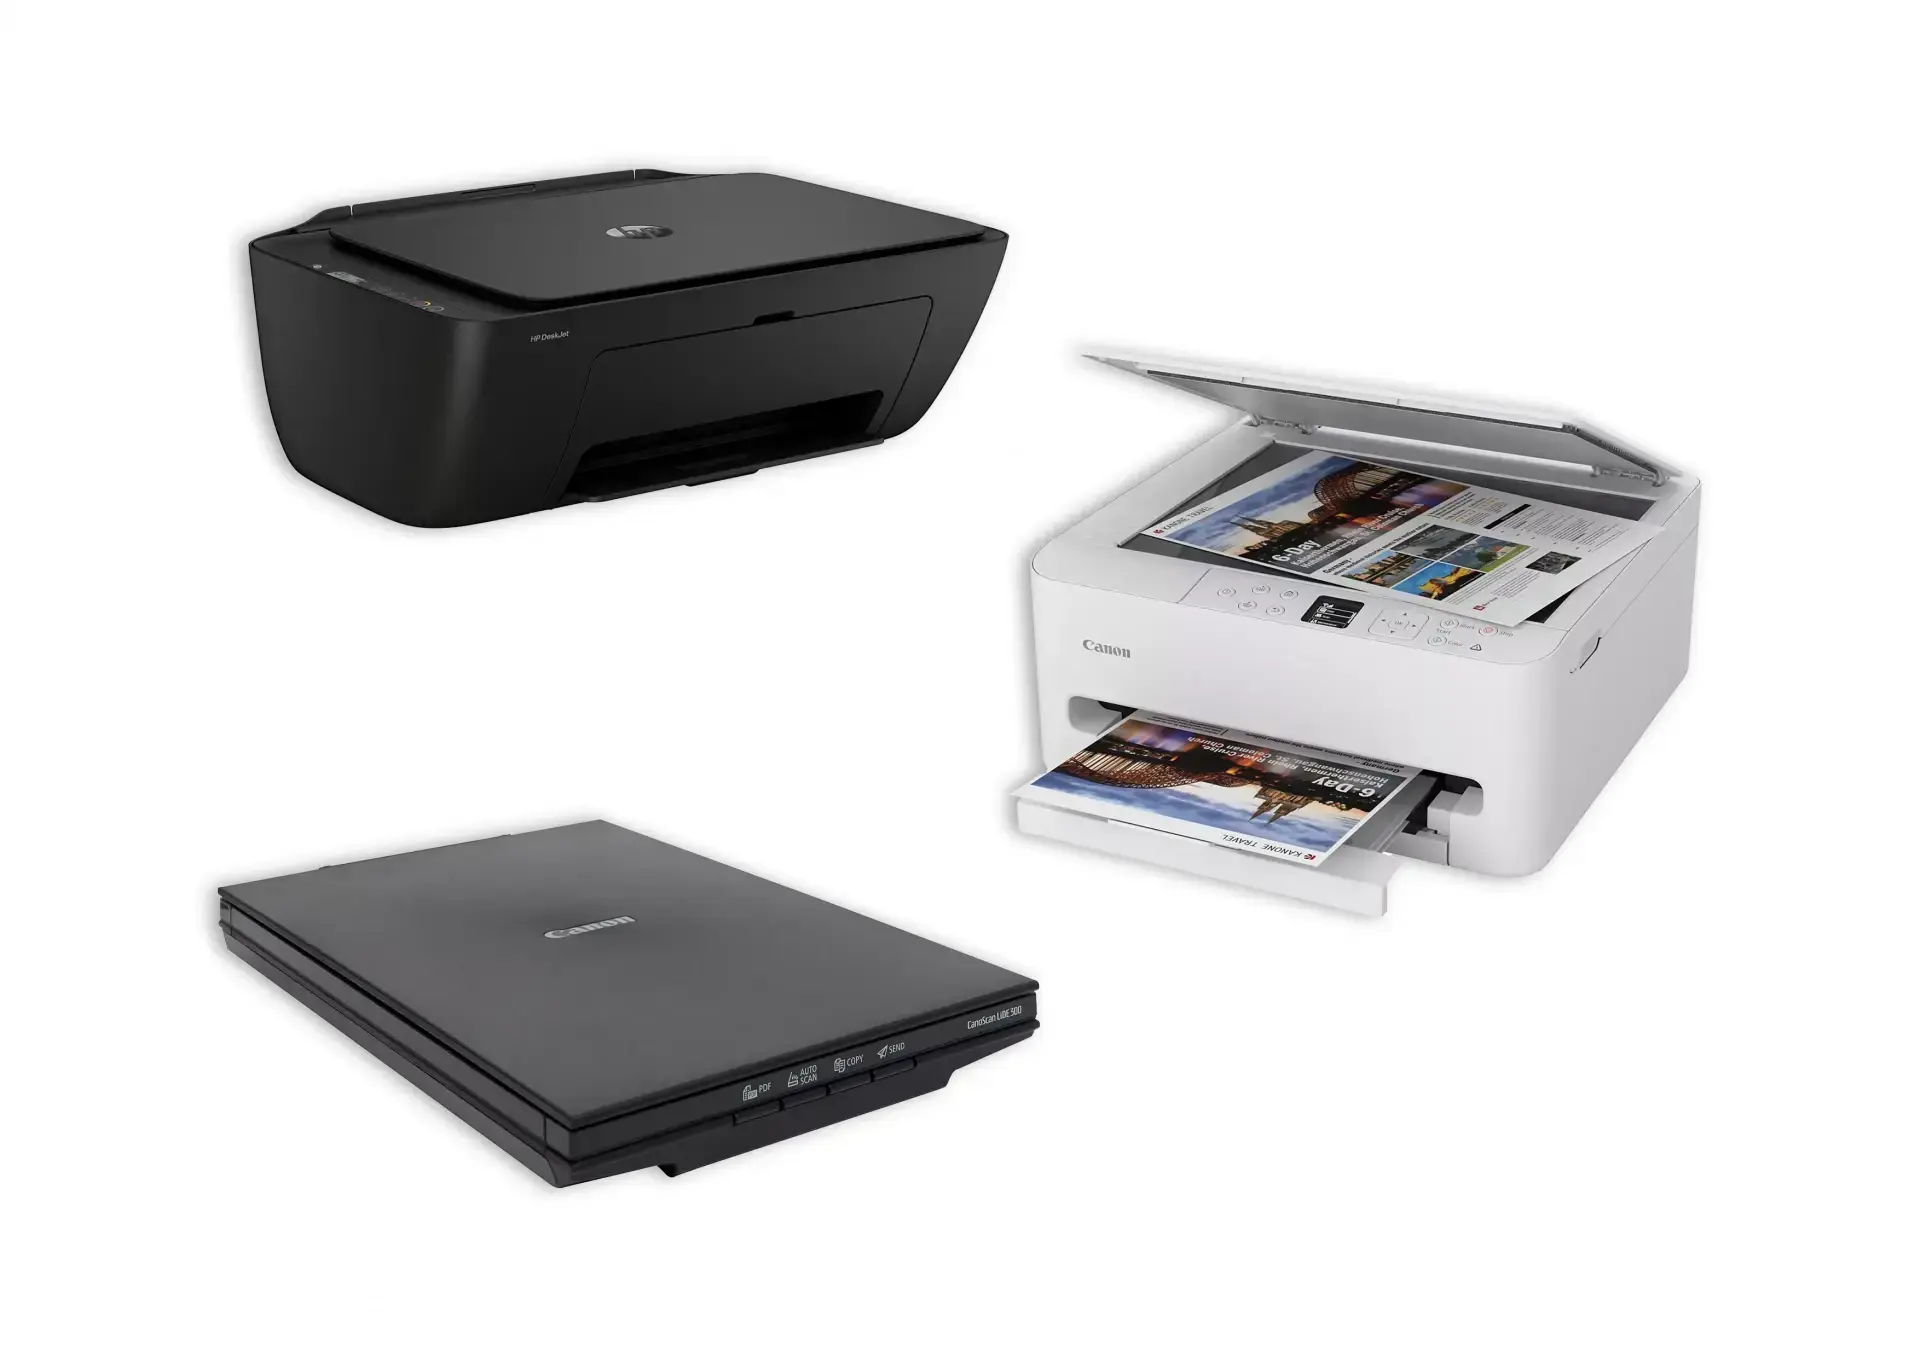
Recommended equipment
It is not necessary to have expensive equipment in order to achieve good results.
A flatbed scanner remains the most reliable solution, especially for pieces created with pencil, pastel, ink, or watercolor, as well as highly detailed illustrations.
It prevents distortion and ensures even lighting, for a faithful rendering of the original design.
Suitable resolution and format
It's best to use a PDF format with good resolution.
- 300 DPI: perfect for web and basic printing.
- 600 DPI: ideal for preserving maximum details or reworking the image.
Note: scanning at too low a resolution will make the drawing blurry or pixelated.
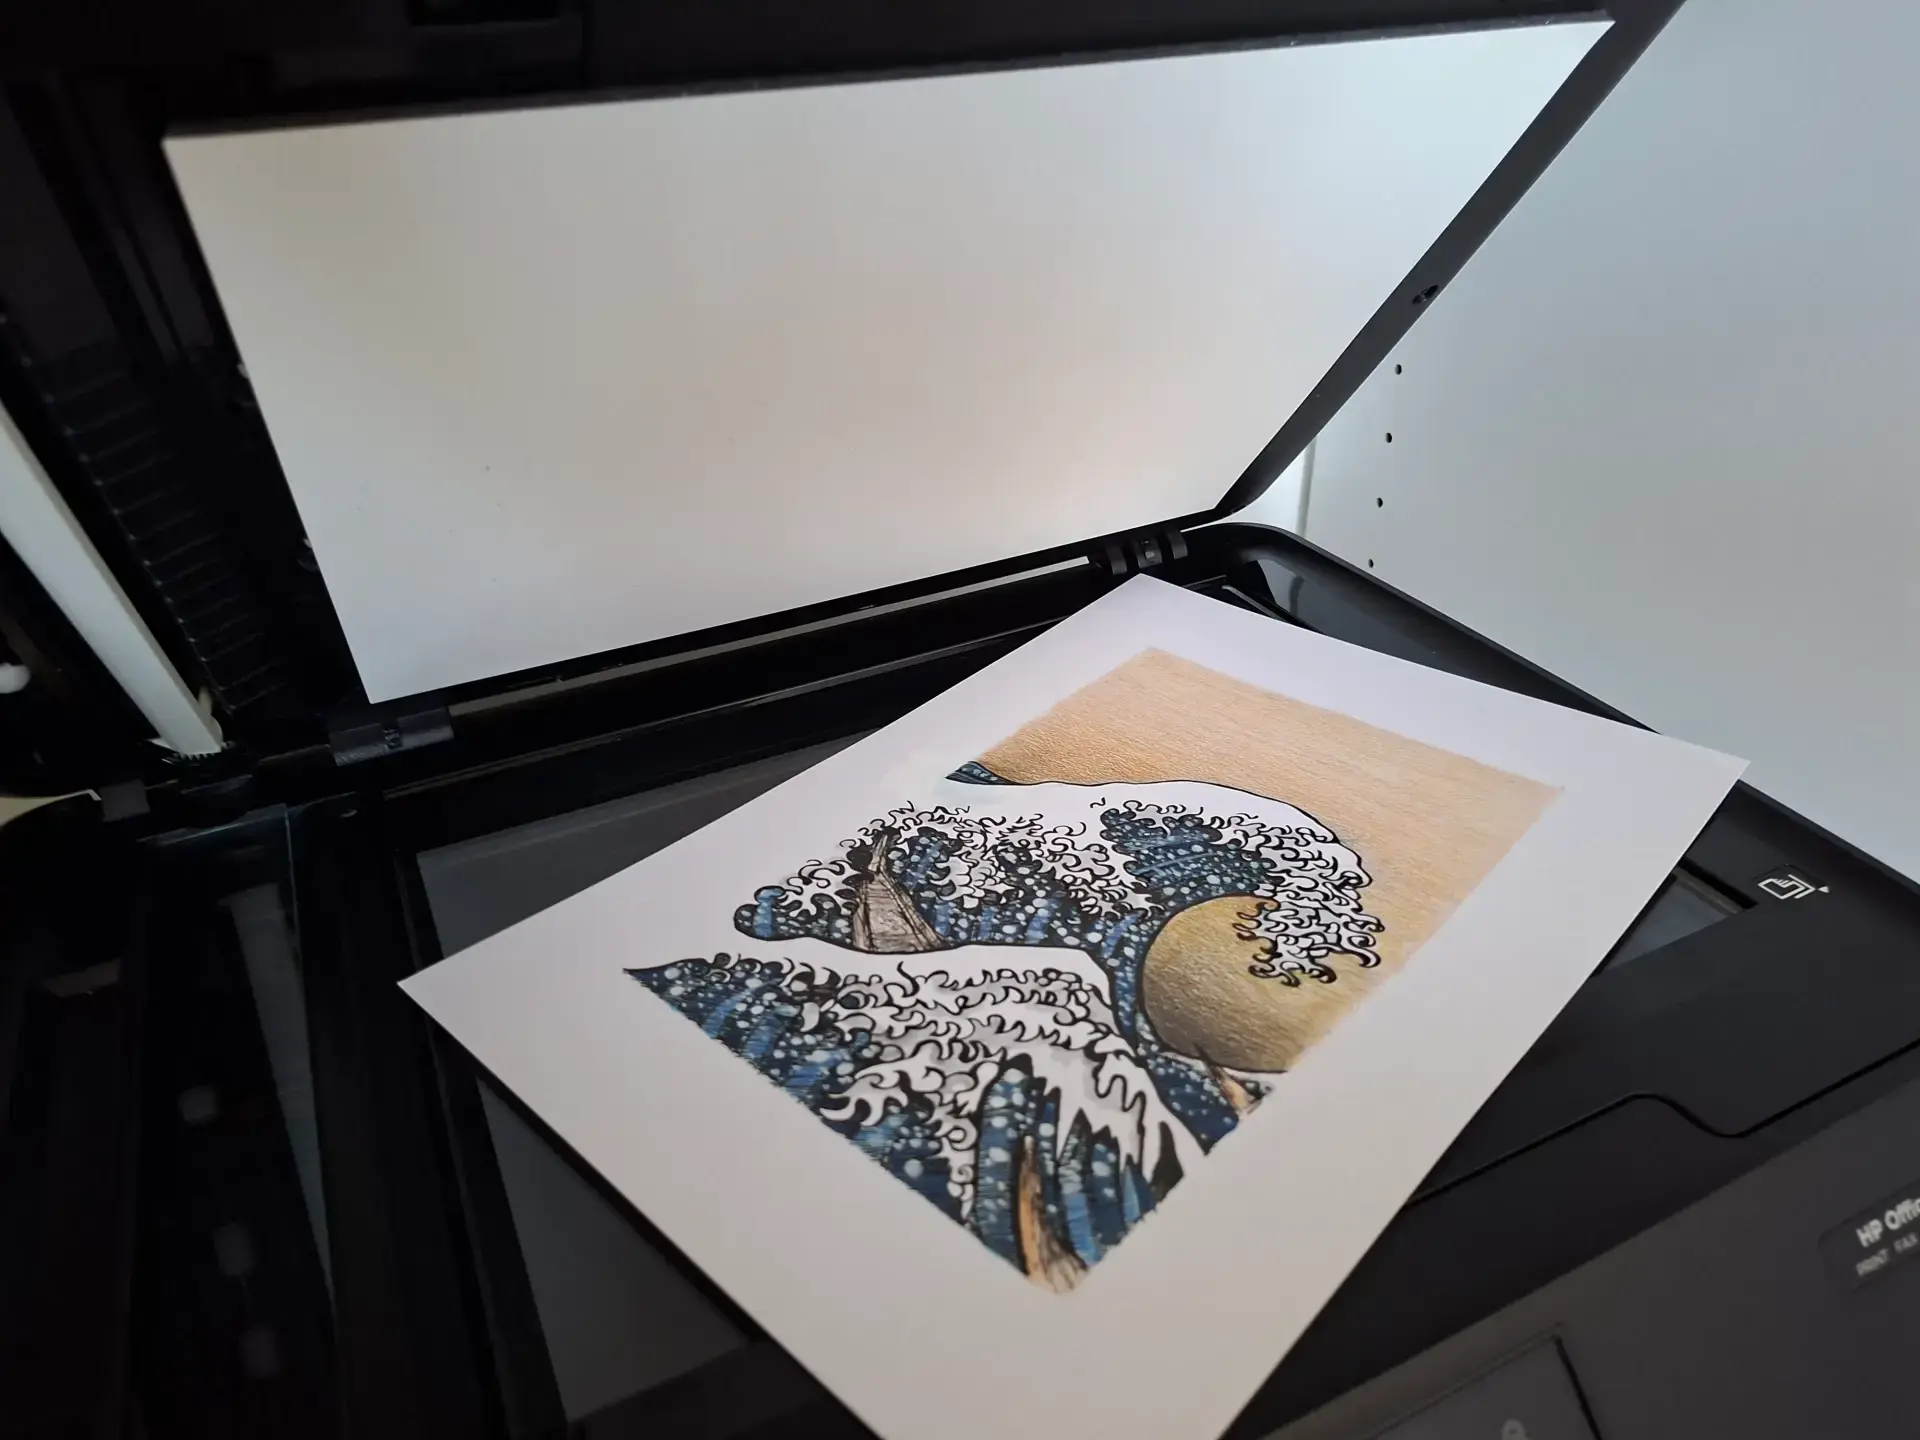
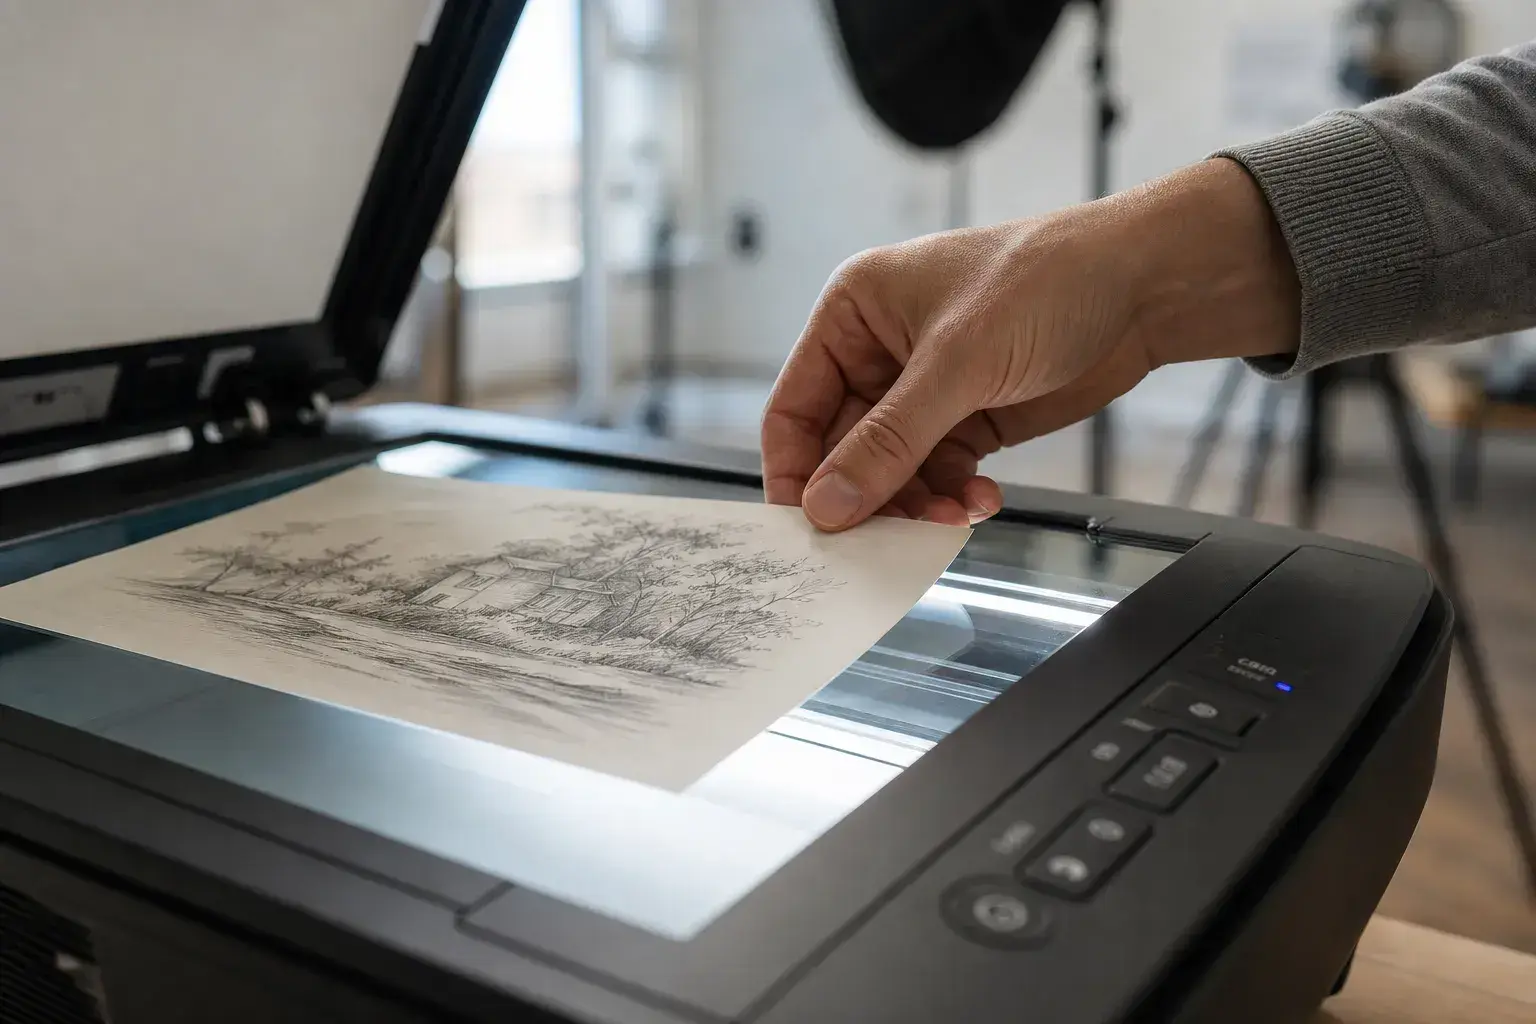
How to scan your drawing well
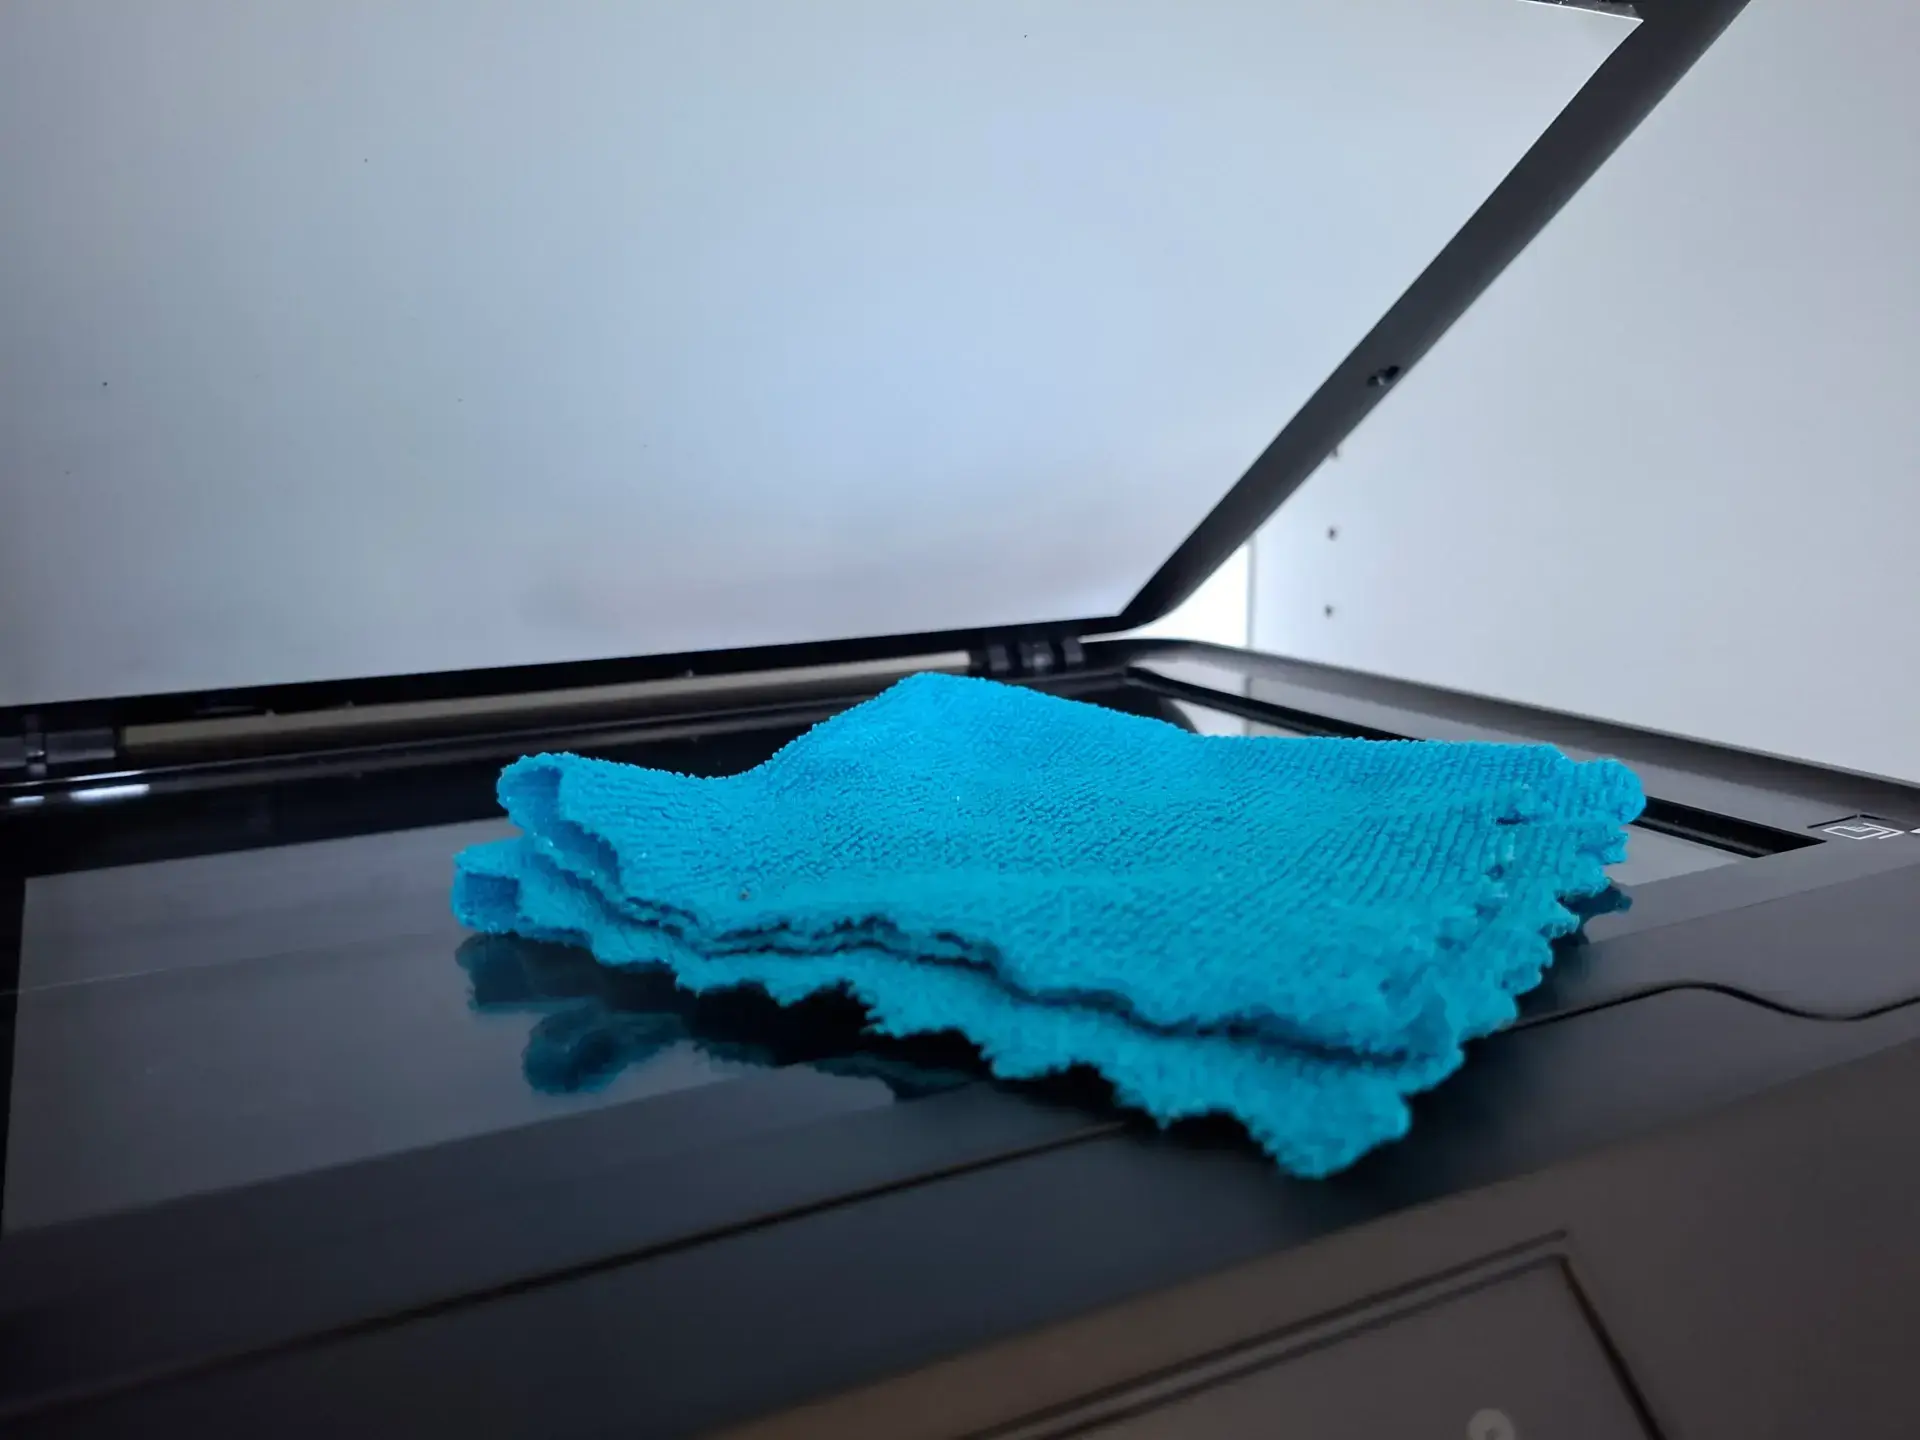
Clean the scanner glass
It may seem obvious, but many defects are simply due to dust or marks on the scanner glass.
Before scanning, take the time to clean it with a soft cloth, remove dust, and check that no marks remain visible.
A simple small dot can become very visible once the image is enlarged.
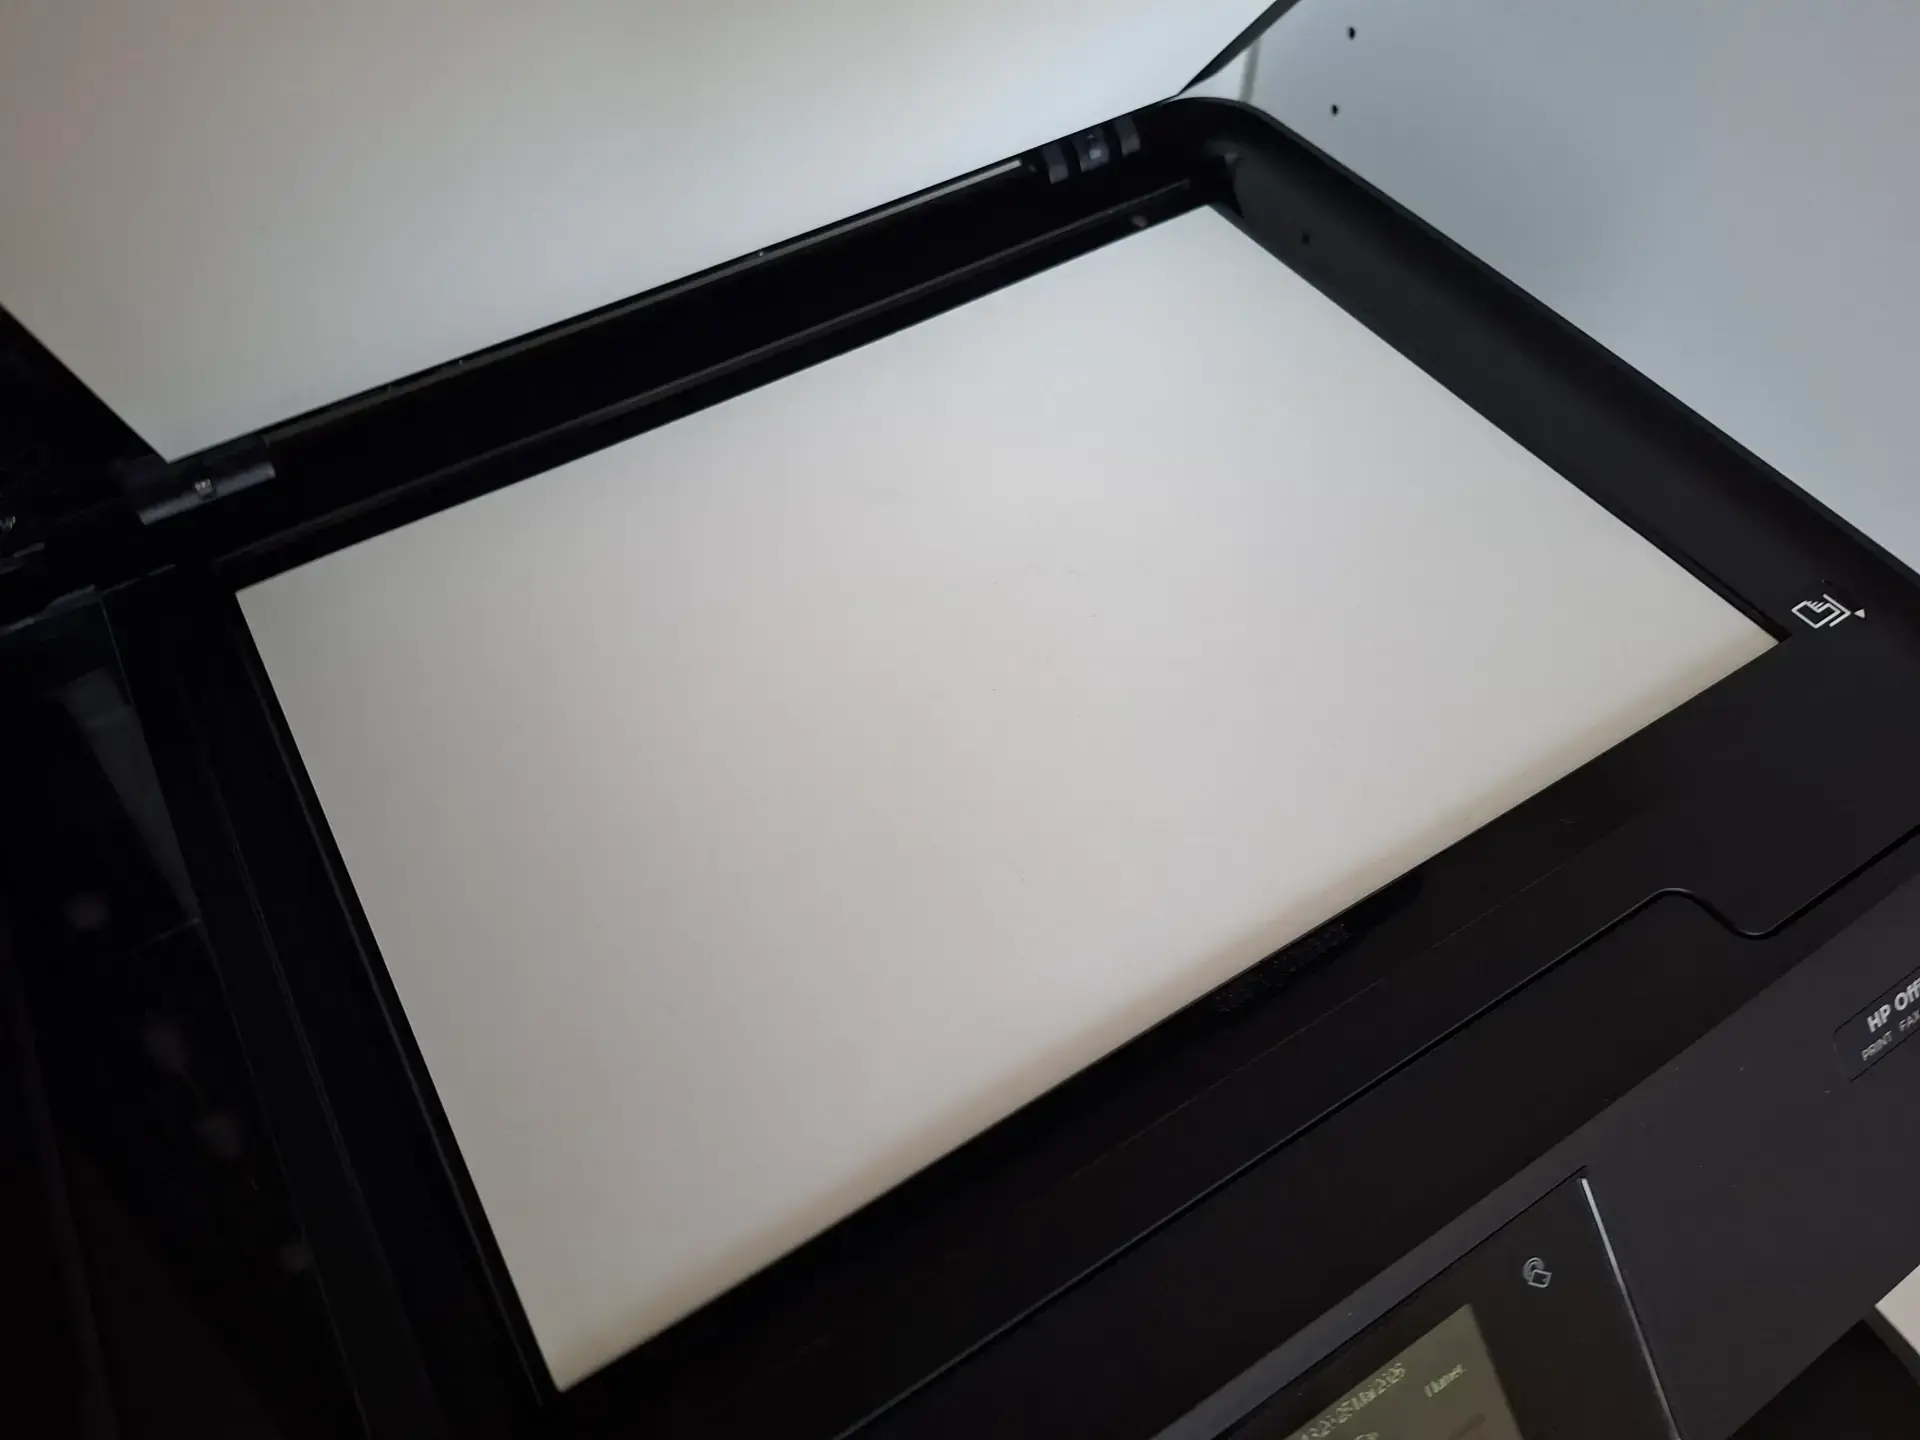
Position your drawing well
Place your drawing so that it is properly aligned against the scanner's guides
Avoid the following errors:
- warped sheets
- raised corners
- crumpled paper
If the paper moves slightly during scanning, the result may lose sharpness.
Color scan, even for a black and white drawing
A common mistake is scanning directly in black and white.
The color mode retains more information and facilitates digital cleaning later on.
Even a graphite drawing often gains in nuances when scanned in color.
Avoid overly strong automatic contrasts
Scanners often offer options such as "automatic enhancement", "smart sharpness", or "automatic correction".
However, these settings can degrade the image by overdoing the whites or crushing the shades of gray.
It is therefore best to perform the scan as neutrally as possible, then manually adjust the contrasts afterward.
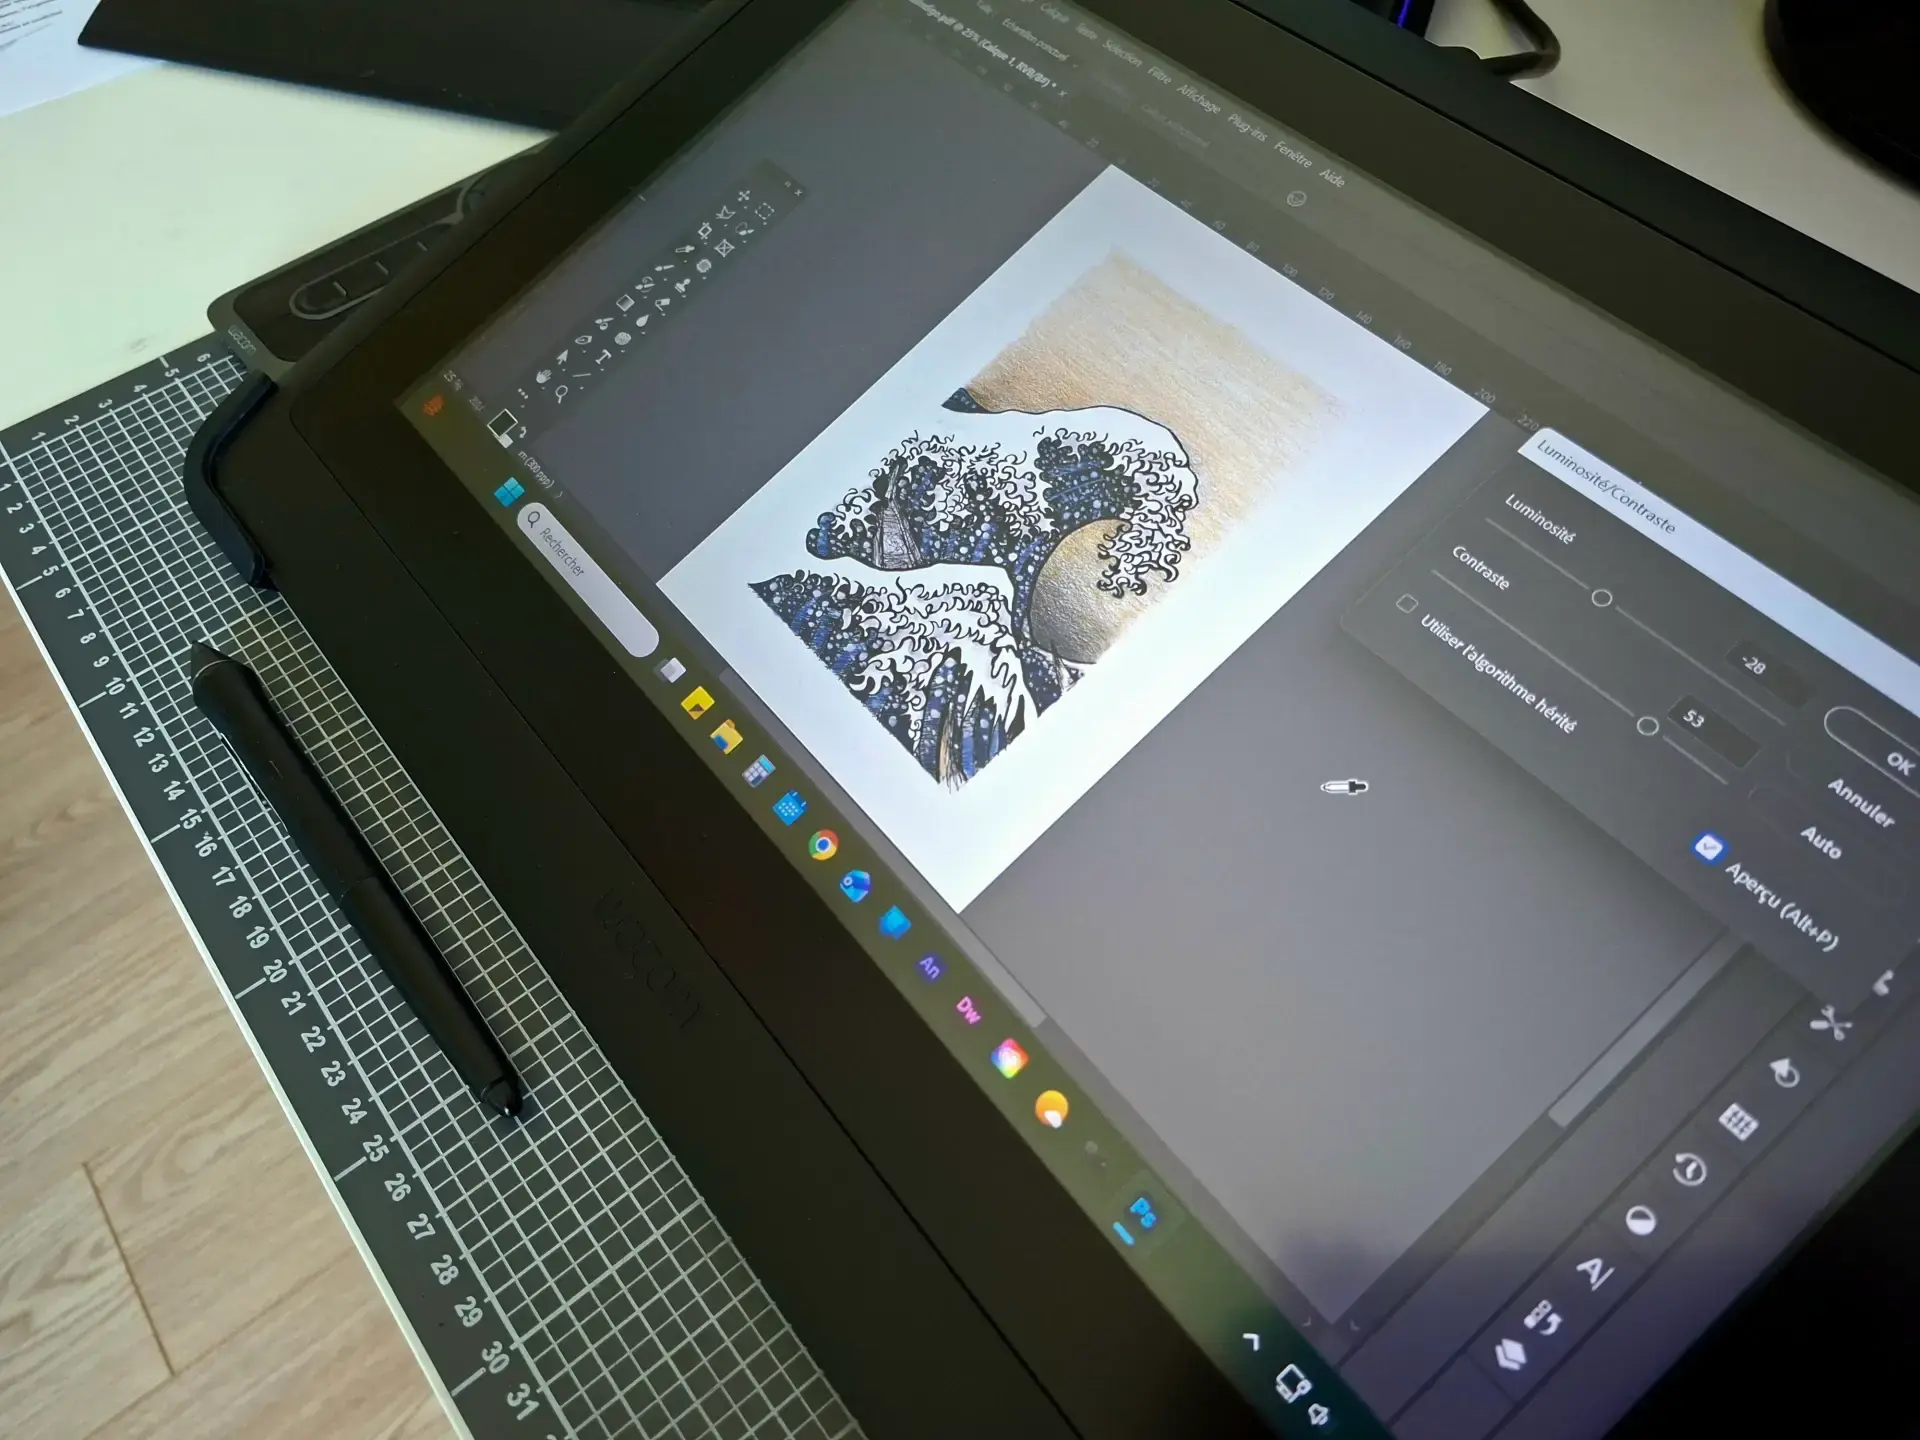
Clean up your digital drawing
Once the scan is completed, it is often useful to make some simple corrections.
There's no need to be a photo editing expert: a few adjustments are enough.
Adjust the levels
This is an essential step in the process.
The goal is to make the paper whiter, enhance the blacks, and preserve the intermediate shades.
In most software (Photoshop, GIMP, Clip Studio...), you can use the levels or curves settings to achieve this.
Adjust the contrast subtly to improve clarity without losing the details of the drawing.
Remove dust and small marks
Even with a clean scanner, some imperfections often appear:
- grains,
- dust,
- small gray marks.
Use:
- the eraser,
- the local corrector,
- or a very soft white brush.
Be careful not to "over-clean": a drawing should maintain a natural texture.

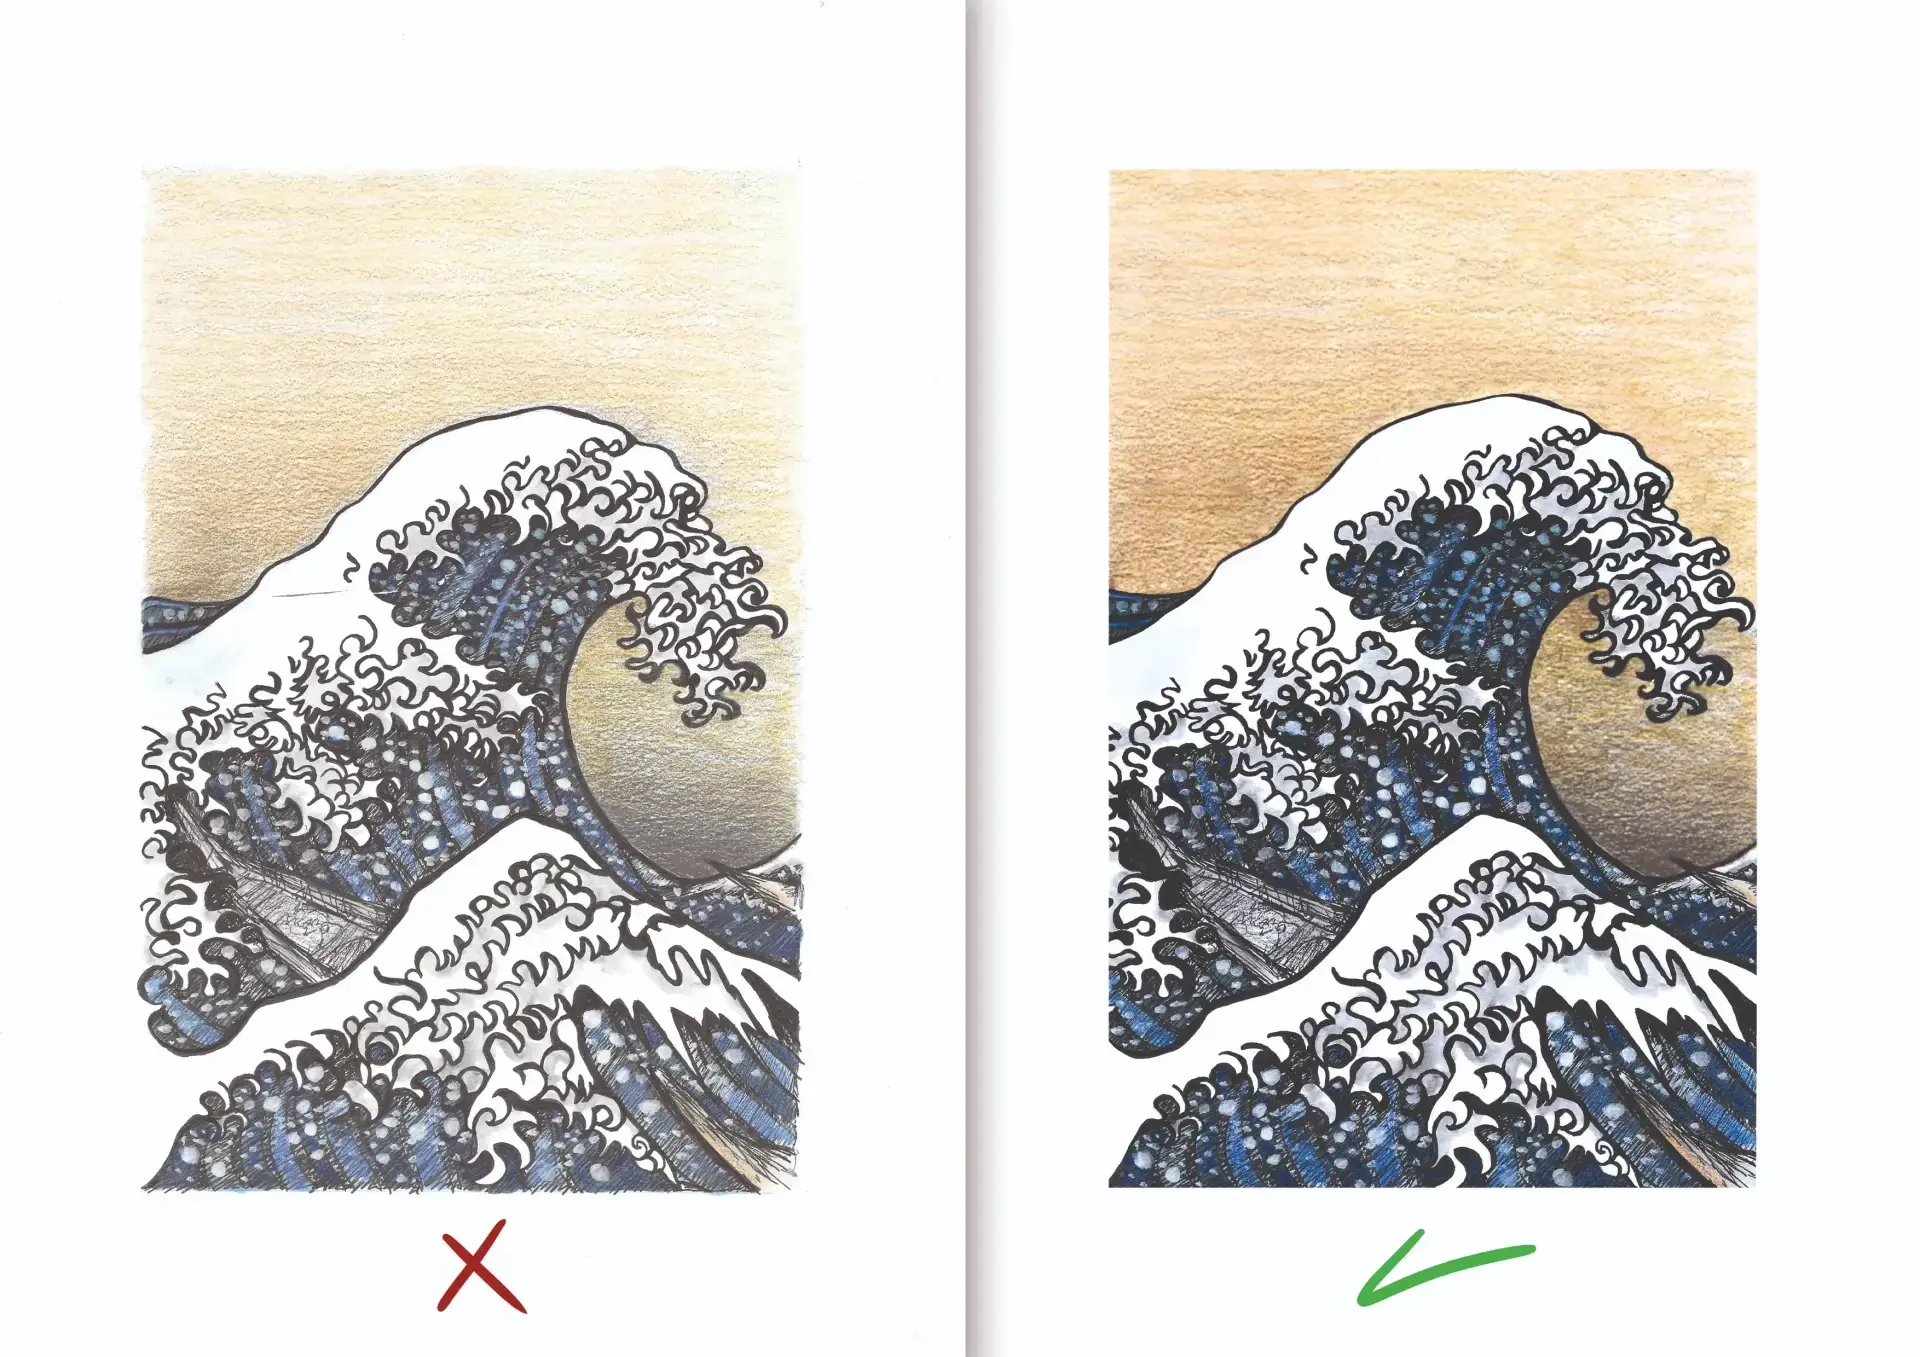
Correct the tilt
A slightly crooked drawing can quickly result in a less tidy appearance. Take the time to straighten the image, then crop it neatly. A simple framing often suffices to significantly improve the final result.
Respect the original values
When retouching a scan, it can be tempting to significantly enhance the blacks to achieve more contrast.
But it's better to be restrained: overly deep blacks can block shadows, cause the finest details to disappear, and make gradients too abrupt.
The idea is simply to improve the drawing, while remaining faithful to the original paper rendering.
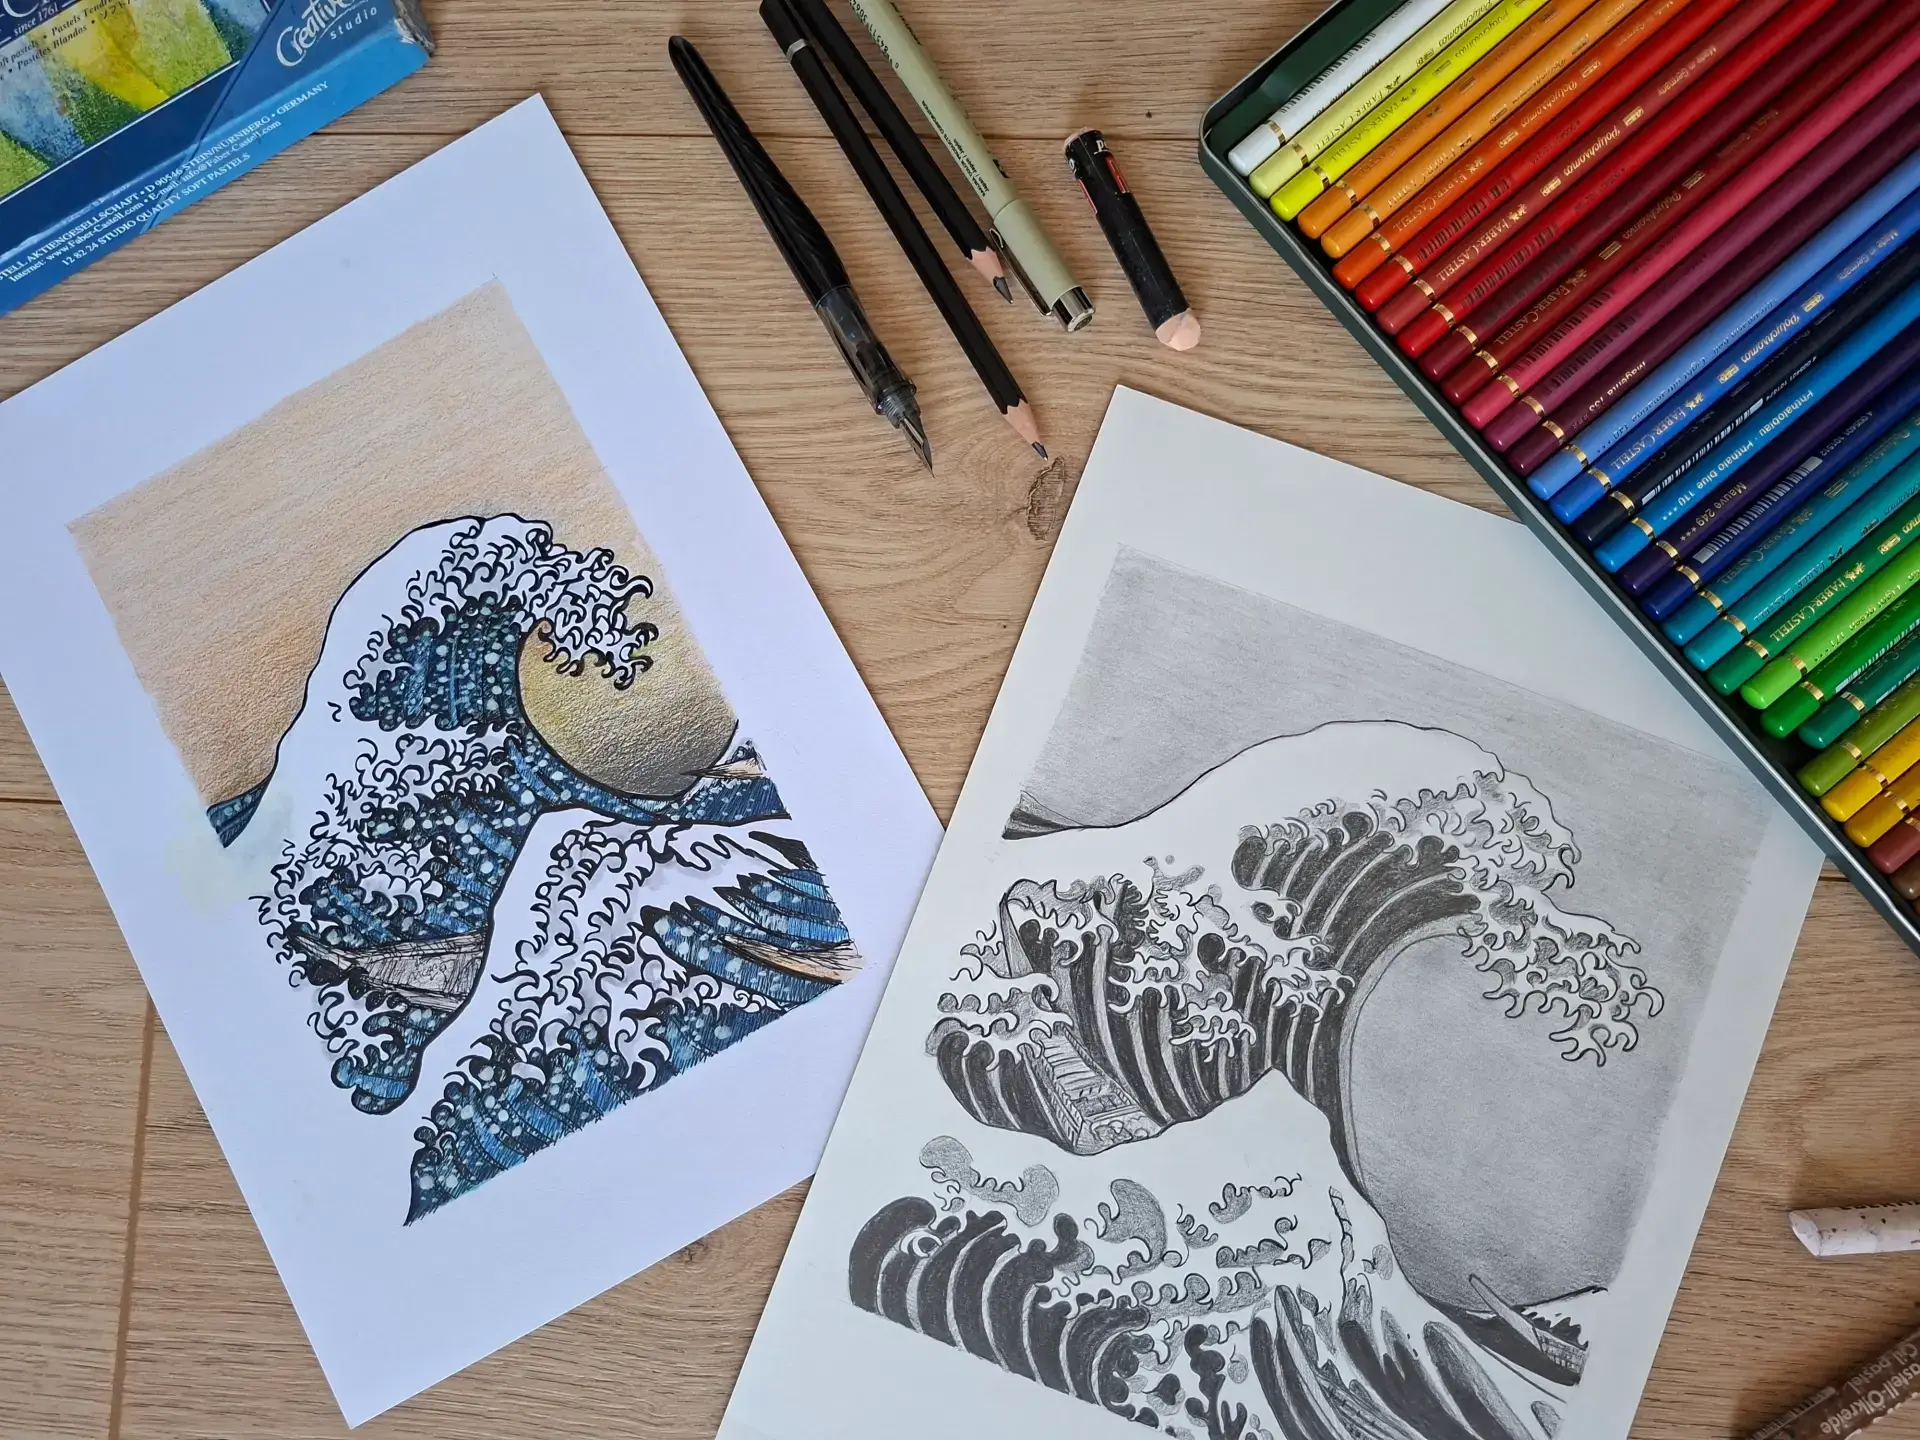
Scanning a pencil, ink, or pastel drawing: What are the differences?
Scanning a drawing isn't done in quite the same way depending on the medium used.
Graphite can create reflections: it's better to keep subtle grays and avoid too strong a contrast.
Ink primarily requires clean whites and sharp blacks, and remains the simplest medium to work with.
Dry pastel is more sensitive: it's important to preserve textures and colors, with a high-resolution scan and light corrections.
Should you use a photo instead of a scanner?
A scanner remains the most reliable solution for obtaining an accurate rendering.
But a photo can be a good alternative if the format is too large, if the paper is thick, or if the artwork is fragile.
In this case, prioritize natural and diffused light, position yourself directly in front of the drawing and avoid shadows as well as overly yellow lights. Using a tripod can also make a real difference.

Conclusion
Scanning a drawing well is part of the artistic process. Careful scanning helps preserve the details, textures, and intent of the original drawing.
With a few simple adjustments and a bit of attention, you can achieve a clean, accurate, and pleasing presentation.
The key is to find the right balance: improve the image without losing the richness and personality of the stroke.
Discussion
Thank you for this article.
I was more used to taking photos, but a high-resolution scan is indeed of higher quality.
Hello. Thank you for providing so much information to try out. I hadn’t thought about retouching after scanning, except for the black spots. I will try all of this.