What is linocut?
Hello everyone, you've probably already heard of linocut, and if you haven't, you'll see that this creative and accessible technique is ideal for getting started in the art of engraving. In this article, I will explain the necessary materials, the key steps to succeed in your first attempts, and give you some tips for getting off to a good start.
So, get your tools and linoleum sheets ready, let's go!
The History of Linocut
Linocut is a traditional printing technique. It involves drawing on a linoleum plate, then removing certain parts of the material with gouges to create a raised image. Only the areas left on the surface will be covered in ink and therefore be printed on the paper.
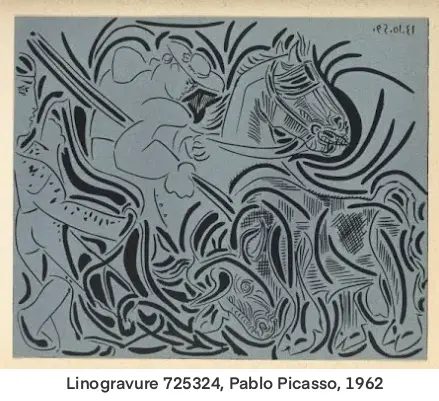
It was popularized in the early 20th century, particularly by artists like Pablo Picasso and the German Expressionists. Originally, this technique developed as a more flexible and affordable alternative to wood engraving, while allowing for a sharp and precise rendering.
Linocut is particularly appreciated for its ability to reproduce a design in series. By creating a single plate, you can print as many copies as you want. It's perfect for making cards, posters, or a limited series of illustrations. Each print retains a handmade character as small variations naturally occur from one print to another, making each copy unique despite the repetition of the pattern.
The necessary tools for linocut
When you want to start a new activity, one question may arise: the price, because as you know, artistic activities generally cost a lot. But good news, you don't need to invest a fortune to start linocut printing. With a few basic tools, you can already achieve very satisfying results. Many supplies are durable, allowing you to use them for many projects without having to replace them often.
Let's look at the essential equipment together.
The linoleum plate
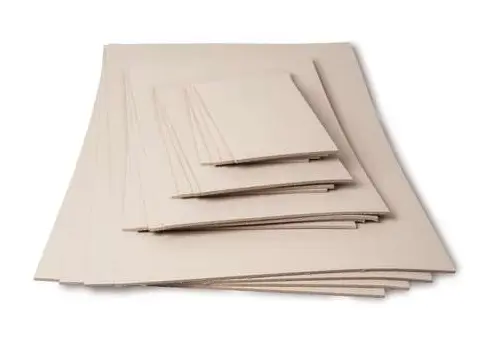
This is the main material on which you will be engraving. There are different qualities: some plates are more flexible (ideal for beginners) and others are more rigid and designed for finer results. It is also possible to use plates specially designed for engraving, which are easier to notch.
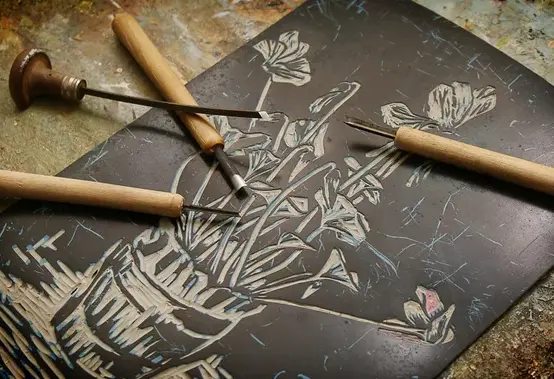
The gouges
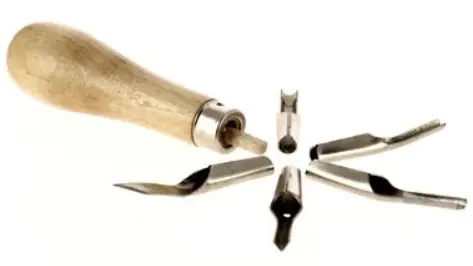
Gouges are the tools that allow you to carve linoleum. They come in various shapes (V-shaped, U-shaped, flat, etc.) to create different types of lines and textures. There are kits for beginners with several interchangeable tips, which are perfect for exploring different cutting sensations. If there's one tool in which you can invest, it's definitely this one, as good gouges are essential for comfortable work and these tools are not consumables.
Printing ink

The ink required for lino-engraving is thick and pigmented. It is available in water-based (easier to clean) or oil-based (more durable and intense) versions. To start, a water-based ink is often sufficient. Make sure to choose an ink specifically designed for lino-engraving, otherwise you may not get a nice print result or damage your plates. You'll see, there are many colors available, it's up to you to choose!
The roller (or brayer)
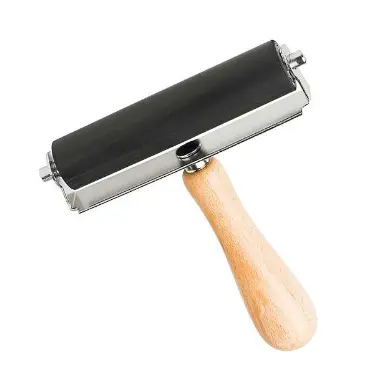
The roller allows the ink to be applied evenly on the engraved plate. It must be flexible enough to glide along the linoleum surface. A small rubber roller is quite sufficient at the start. Be careful, ink should never be applied with brushes or a sponge.
The paper
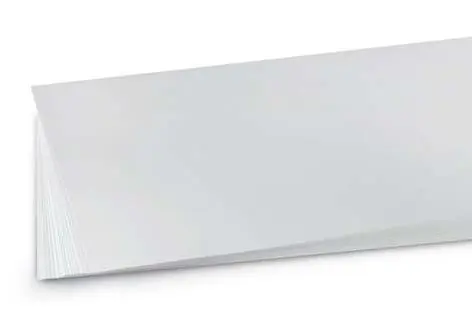
In theory, you can use any type of paper, but some types, such as those that are more flexible or with a slightly textured surface, give better results. Special engraving or watercolor paper is ideal, but you can also test with standard paper for your trials. In any case, I advise you to choose a thick paper, of at least 250 g/m2.
The press or the spoon
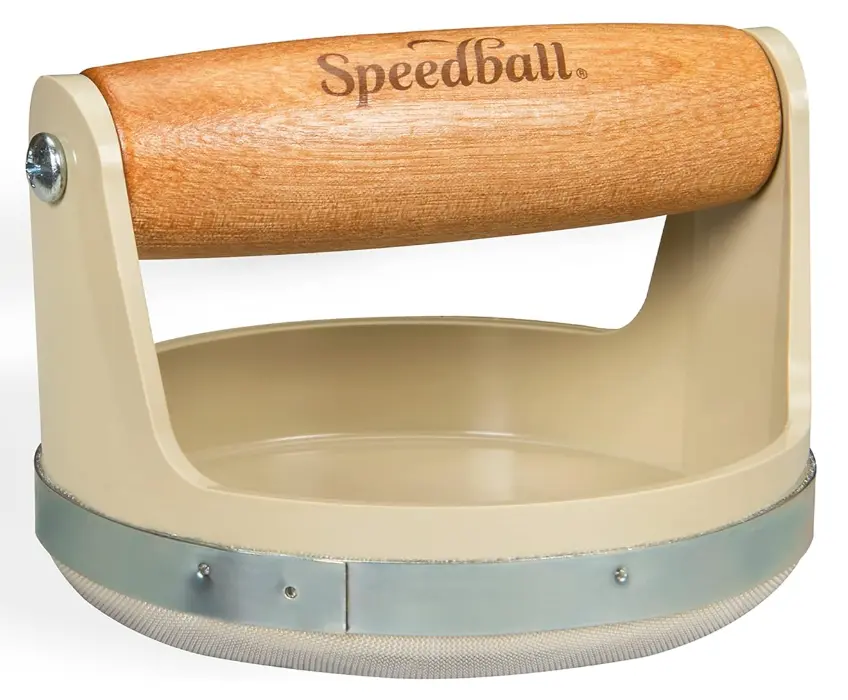
To transfer the ink from the linoleum to the paper, a linocut press is the best option, but it is costly. Fortunately, it is entirely possible to manually press using a wooden spoon or a baren (tool shown opposite) by rubbing firmly on the back of the paper.
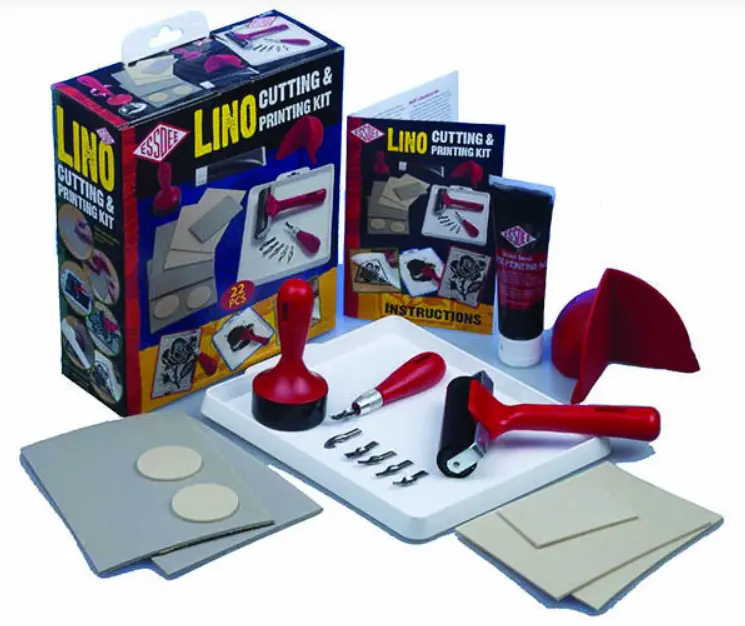
If you prefer, you can also find ready-made kits for around fifty euros. They have the advantage of providing all the necessary tools and materials to achieve beautiful linocuts, which can allow you to take your first steps in discovering this technique without feeling overwhelmed by the choice of equipment.
How to Make a Linocut?
Preparing your drawing
Before anything else, you need to choose or create the design you want to engrave. Start with a simple pattern, without too many fine details, especially if it’s your first linocut. Also remember that the image will be reversed during printing, especially if you add text!
Transfer the drawing onto the plate
You can draw directly on your linoleum plate with a greasy pencil, or transfer your drawing using tracing paper. Transferring allows you to keep your original intact and position your image better.
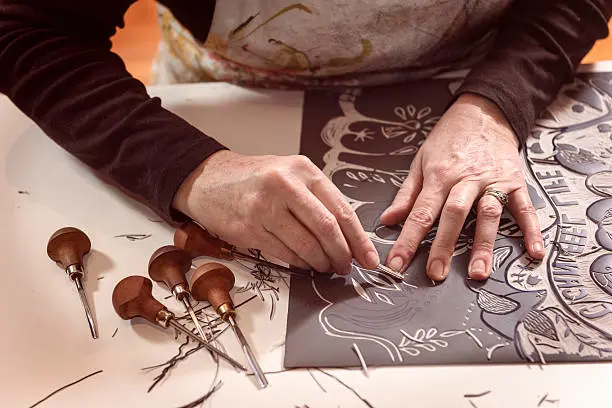
Engrave the plate
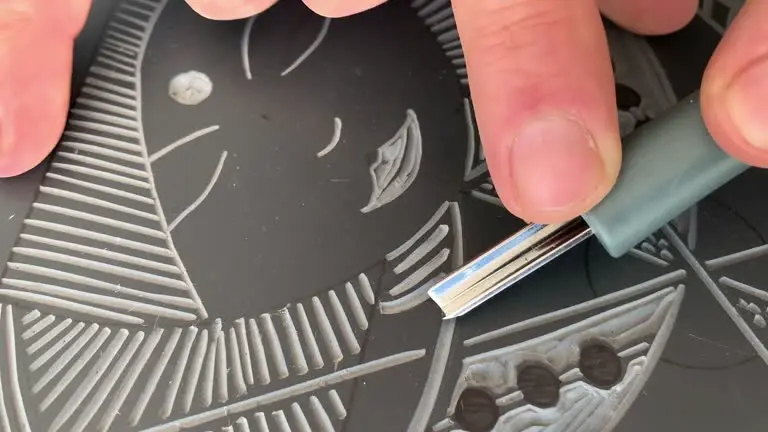
With your gouges, start to carve out the areas you want to leave white in the print. It is important to go slowly, especially in the beginning, to avoid slipping. Vary the sizes of gouges depending on the details to be removed.
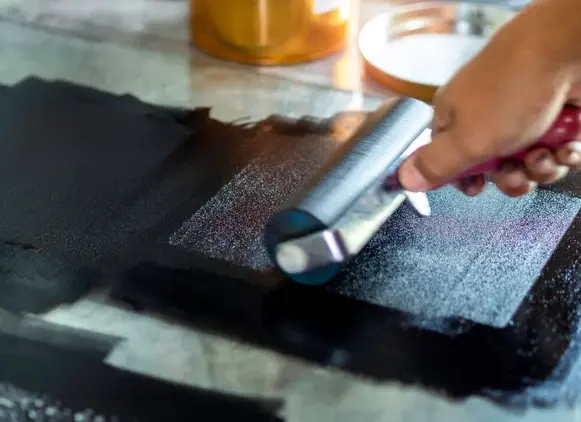
Ink the plate
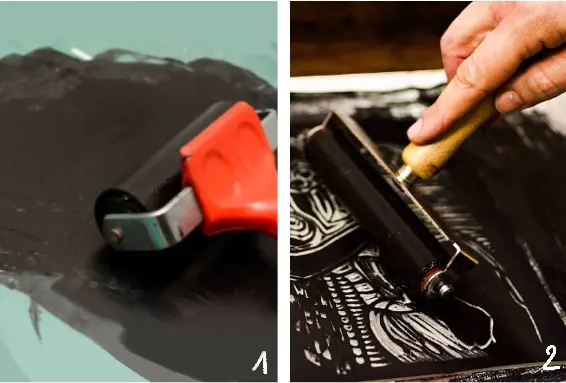
Using an ink roller (brayer), first spread a thin layer of ink on a glass or plastic plate. This step is very important: it helps to distribute the ink evenly on the roller before applying it to your linoleum plate. If you pick up the ink directly without spreading it, you risk having clumps or overly loaded areas, which could result in smudges or an uneven print.
Once the ink is evenly distributed on the roller, apply it uniformly on your engraved plate. Be sure to make several cross passes (one way then the other) to cover the entire raised surface without accumulating too much ink. The goal is to have a thin and even layer in order to achieve a clean and well-defined print.
Print
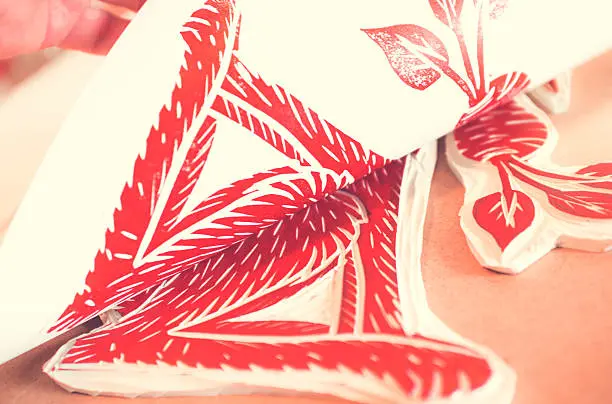
Carefully place a sheet of paper on your inked plate. Press evenly with your hands, a wooden spoon, or a baren. You can also use a press if you have one. Gently remove the sheet to reveal your print!
4 Tips for Successful Linocut Prints
Work gently with the gouges
First, test your tools on a scrap piece. Engrave without applying too much force, keeping a light hand to avoid slipping. Use a small gouge for details, and a wider one to hollow out larger areas. Don't forget that this tool is still slightly sharp, so be very careful with your fingers.
Properly dosing the ink
When you roll your brayer over the linocut, make smooth movements without pressing too hard: the goal is for the ink to cover only the raised surfaces, without filling the grooves you have carved. If you apply too much ink or press too hard, your design will lose its sharpness and the details may become blurred. It's best to start with a small amount of ink and gradually add more if necessary. Also, take the time to listen to your brayer: a slight sticky noise is often a sign of a good coverage!
Anticipate your rendering

When preparing your engraving, remember that what you carve will remain the color of the paper, while what you leave in relief will be covered in ink and printed. Before you start, clearly visualize your image in reverse: you need to think in "negative" for your pattern to come out as you wish!
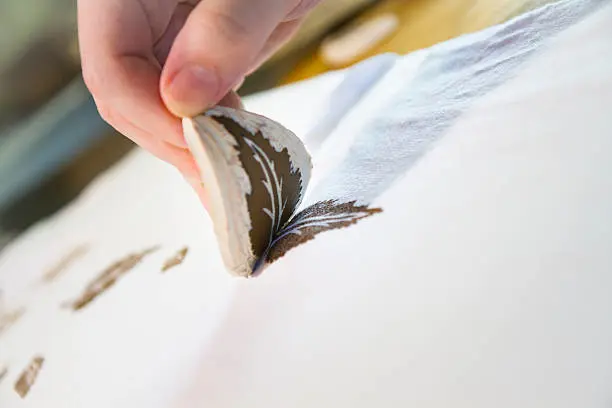
Small patterns can be stamps
If you want to print very small patterns, instead of applying the sheet to your plate, apply the plate to your sheet like a stamp. Just be careful not to slide when you press down to ink and when you remove the plate.
And there you have it, now you know the basics to have fun with linocut printing. Don't forget that, like with any new technique, it might take a little time before you feel comfortable, but that's okay! The main thing is to have fun 😊 I hope you enjoyed this article and that it inspires you to try linocutting.
Editor: Chloé Pouteau
Great post!
Fascinating read about linocut printing! As a beginner, I especially appreciated your clear explanation of the carving process and ink application techniques. The historical context you included adds such rich depth to understanding this art form. Would love to see a follow-up post showcasing different linocut tools and their specific uses - your expertise makes complex topics accessible
Thanks so much for your kind words! I’m glad the explanation of carving and ink application was helpful for you. 😀