
What is Pyrography?
Throughout history, fire has been a companion to humanity: for nourishment, lighting, heating... but also for creation. Pyrography is an example of this: it is an artistic technique that uses heat to engrave and draw on natural surfaces such as wood or leather.
In this article, we will tell you everything you need to know about pyrography: how it works, the necessary equipment, the safety rules to follow, and some exercises to help you get started.
Note: pyrography is a technique that requires structured and supervised training. This article is therefore intended to be informative.
The principle of pyrography
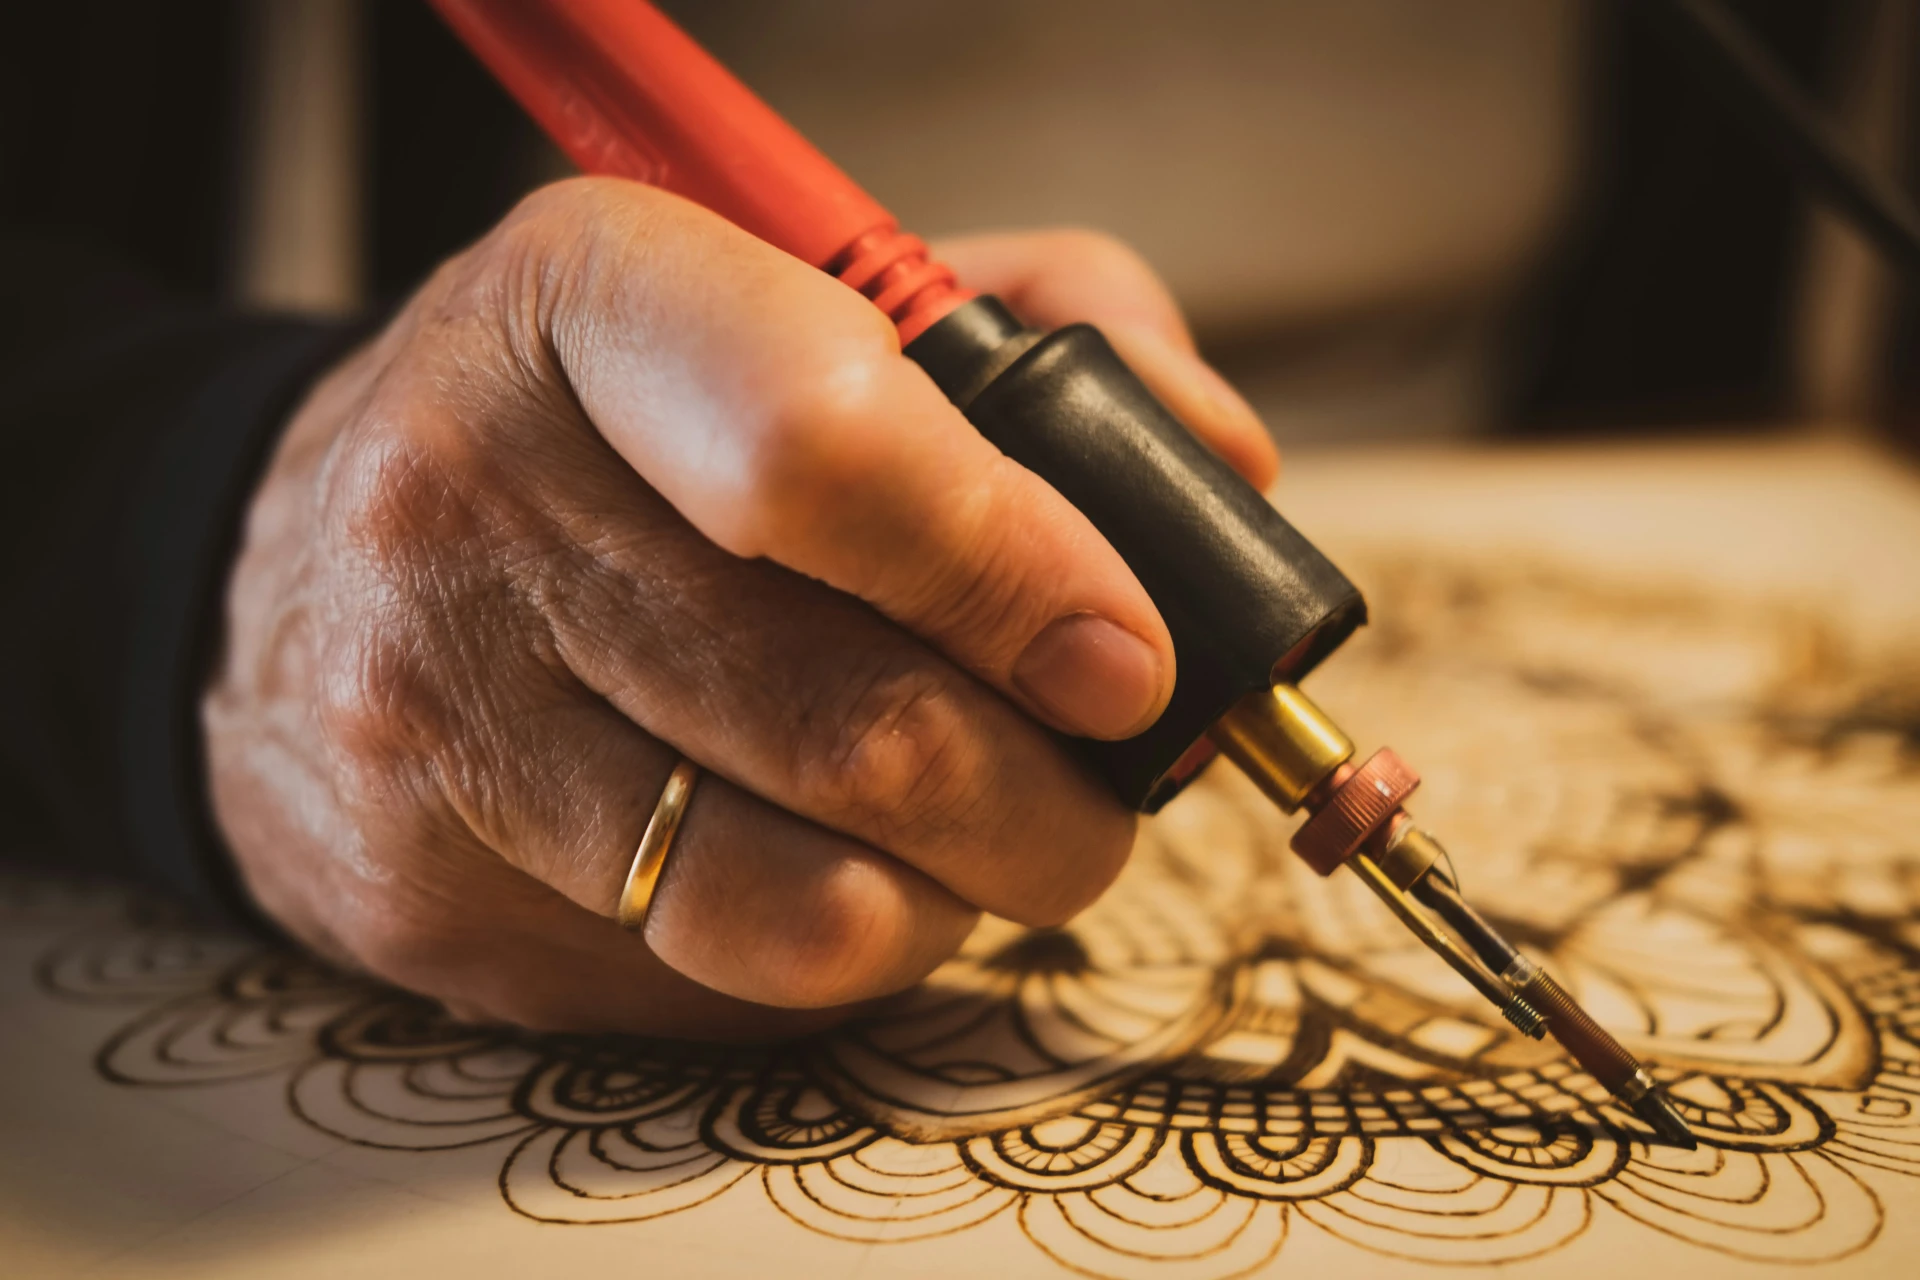
Pyrography is based on the process of charring. When heat is applied to a surface, mainly wood, it gradually darkens, transitioning to increasingly deeper shades of brown. By controlling this heat precisely, the artist is able to draw shapes, gradients, and very fine details.
Materials needed for pyrography
To practice pyrography properly, it is important to have suitable equipment.
Pyrography tool
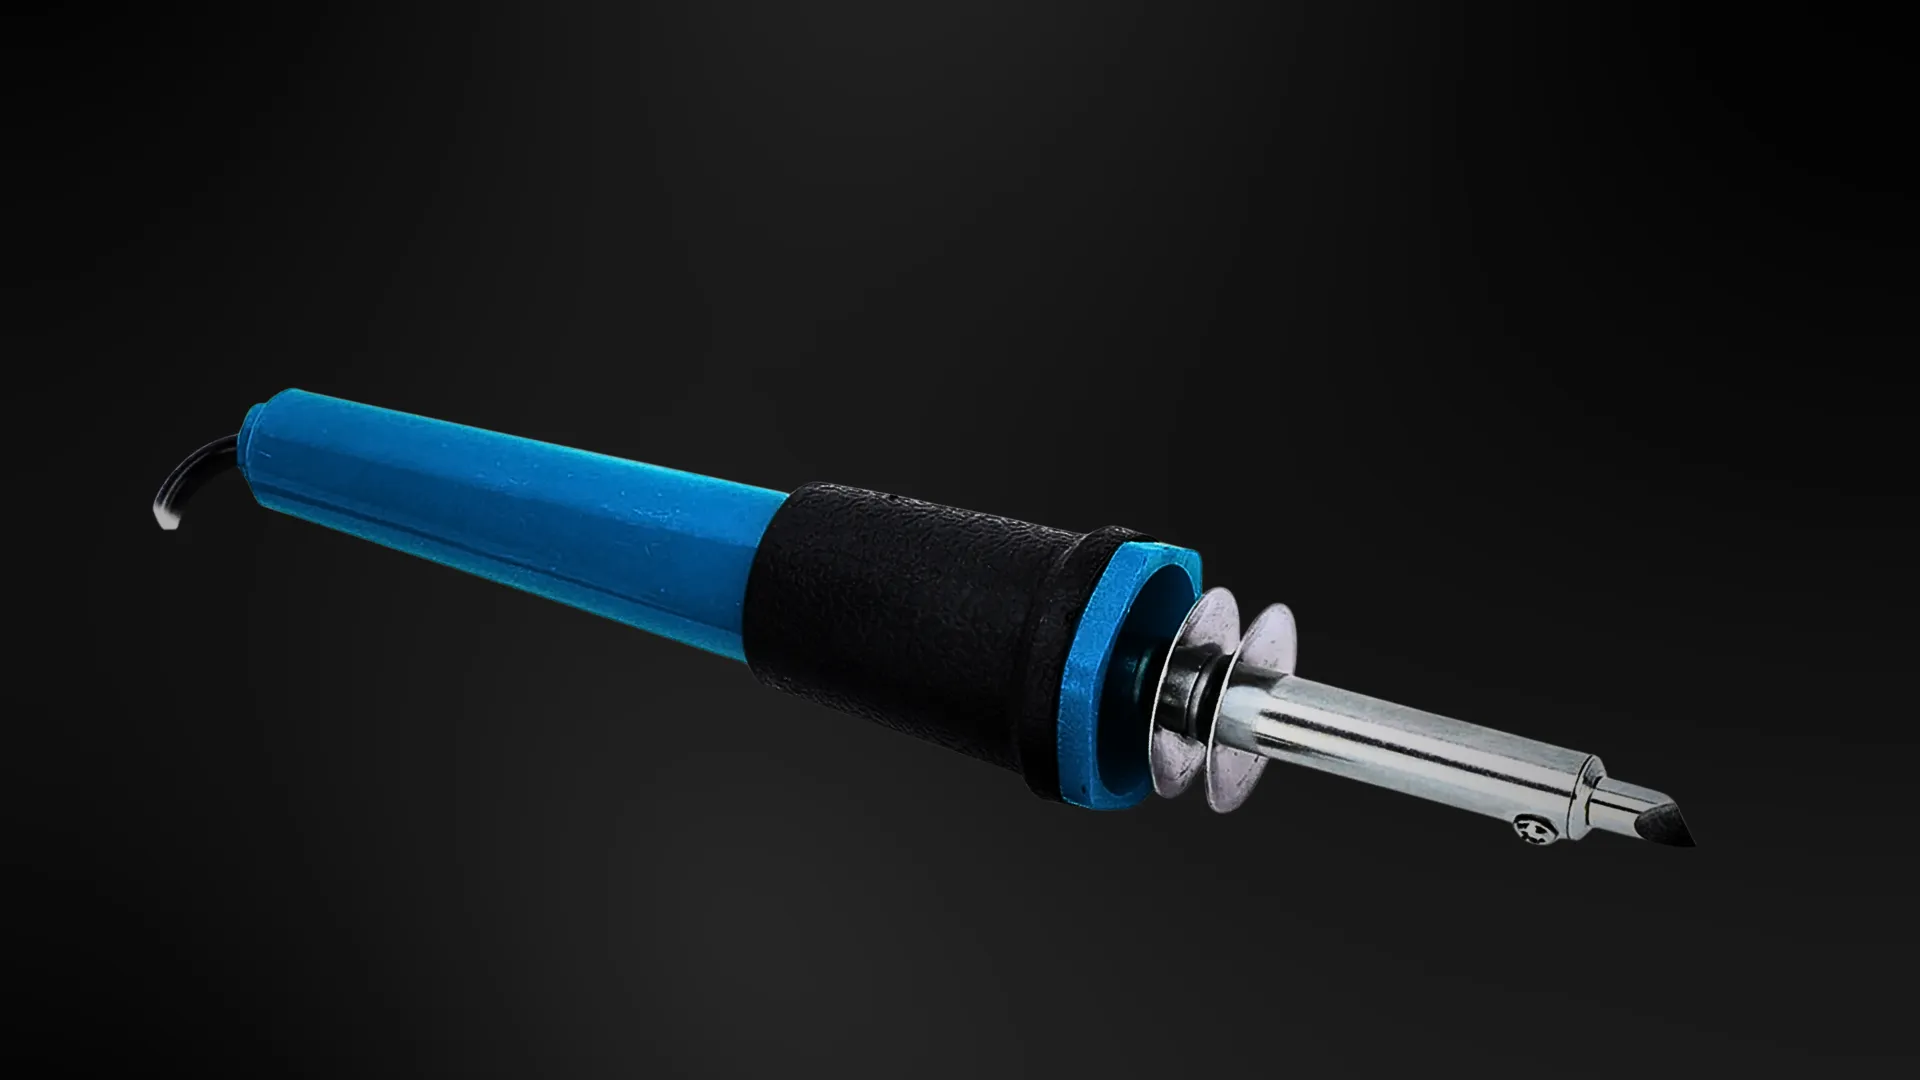
The pyrography tool is the central instrument of this technique. It has a tubular shape, similar to a pen or pencil, with a fine or wire-like tip. An integrated motor transmits energy to the tip, which heats up to an adjustable temperature.
Interchangeable tips
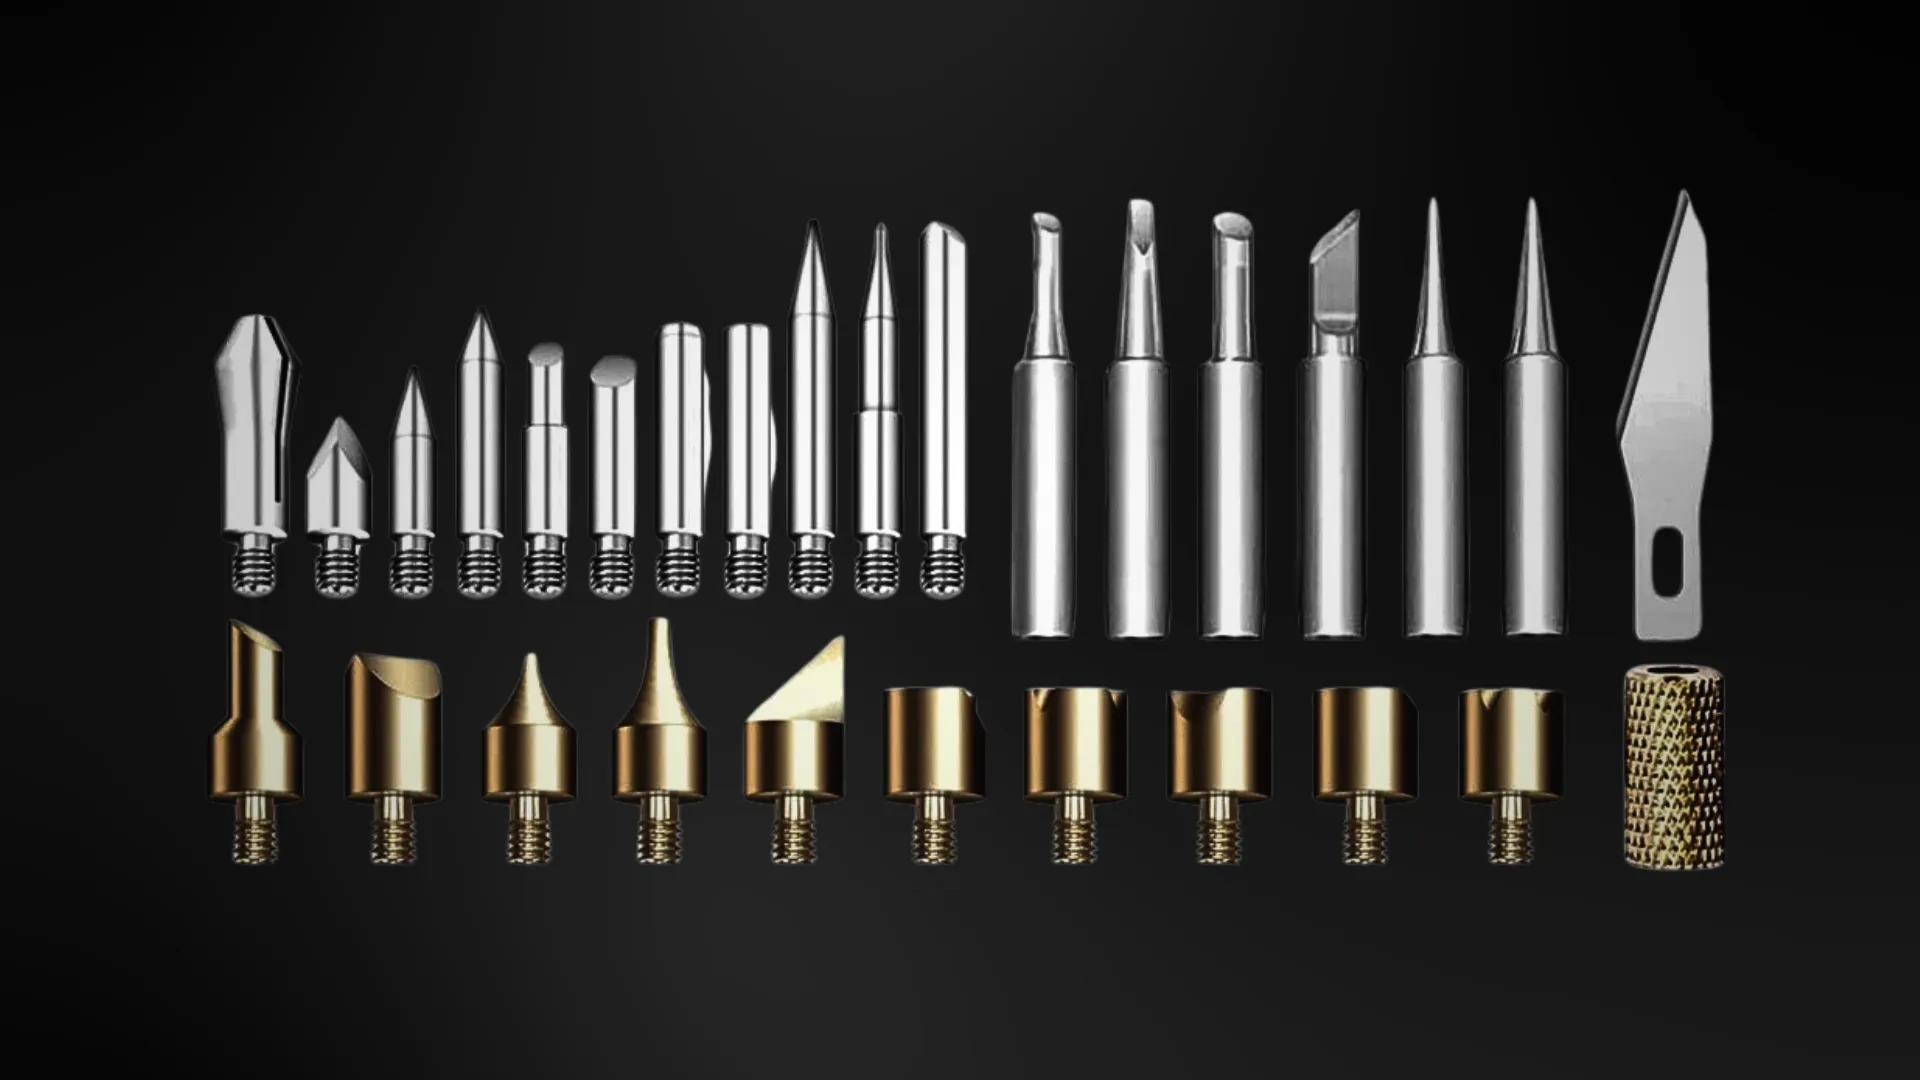
Just like brushes in painting, the nibs determine the type of stroke you will get. There are sets of replaceable nibs with various shapes (beveled, fine point, leaf shape, etc.), which enable you to vary the effects: fine lines, solid areas, shadows, and much more.
Surfaces suitable for pyrography
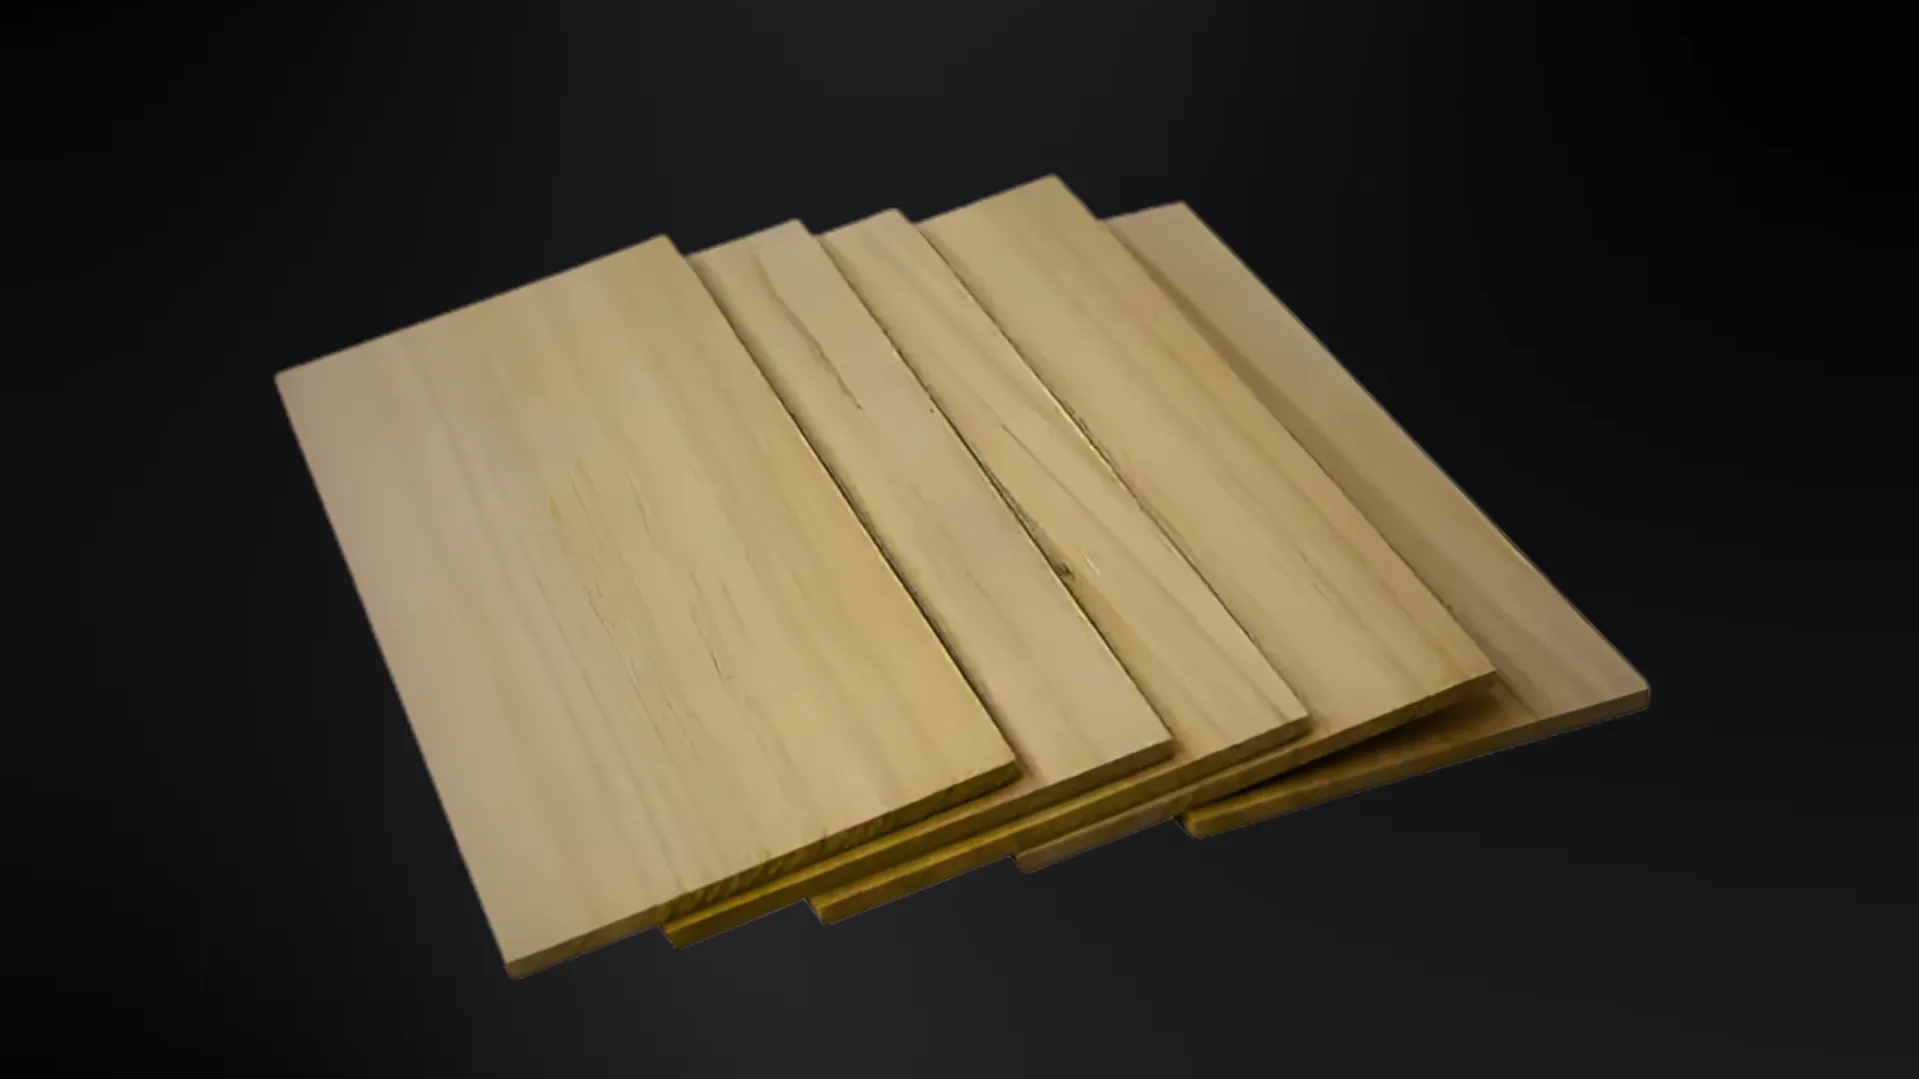
The choice of surface is essential. Ordinary paper, for example, simply couldn’t withstand the heat. To start, it is advisable to use light-colored woods with a regular grain, such as poplar or pine: their color and texture are perfectly suited for this exercise. It is also possible to work on tanned leather or cork.
How can I get started with pyrography?
Here are the main steps to follow in order to prepare for a pyrography session, as well as some practical tips for making safe progress.
Prepare the work surface
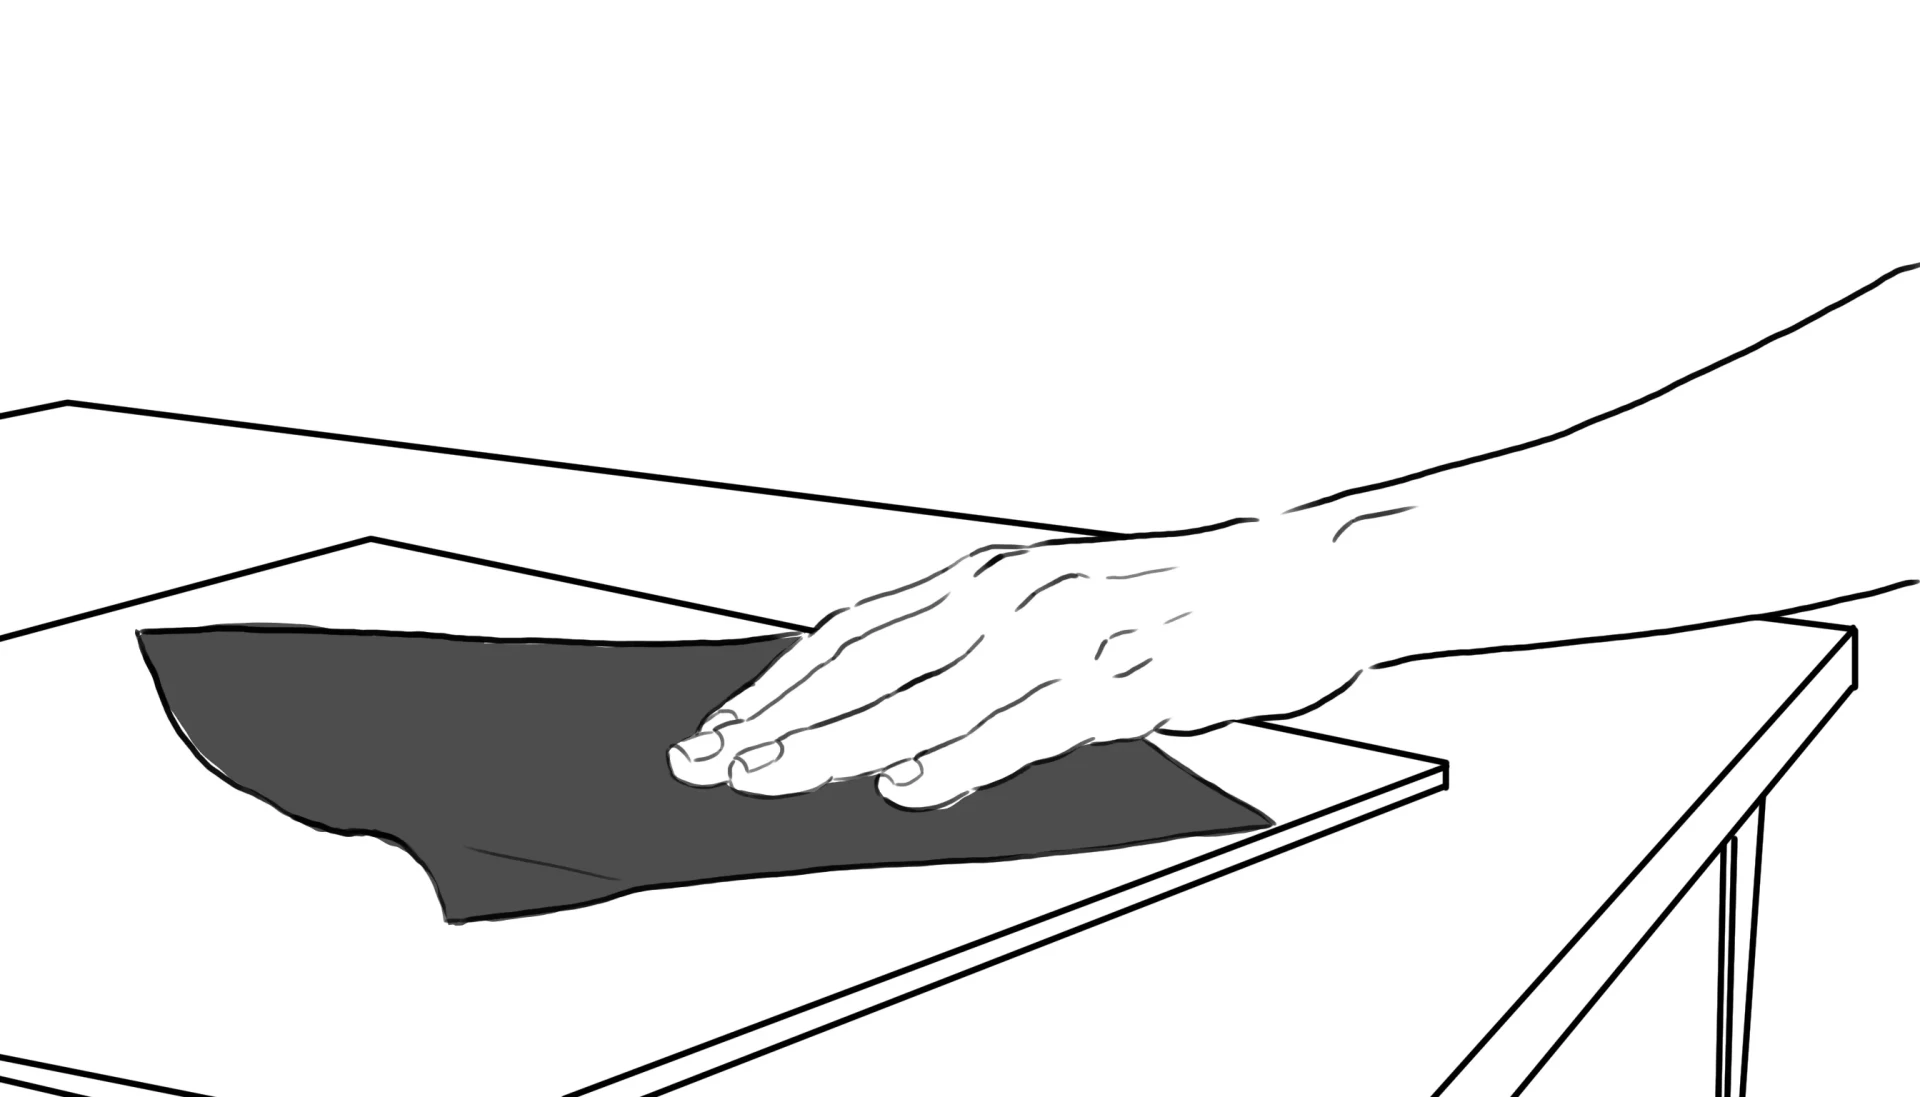
If you choose to work with wood, start by sanding it carefully to obtain a smooth and even surface, without any roughness. This step is essential so that the pyrography tool can glide smoothly and create clean lines.
Essential protective equipment
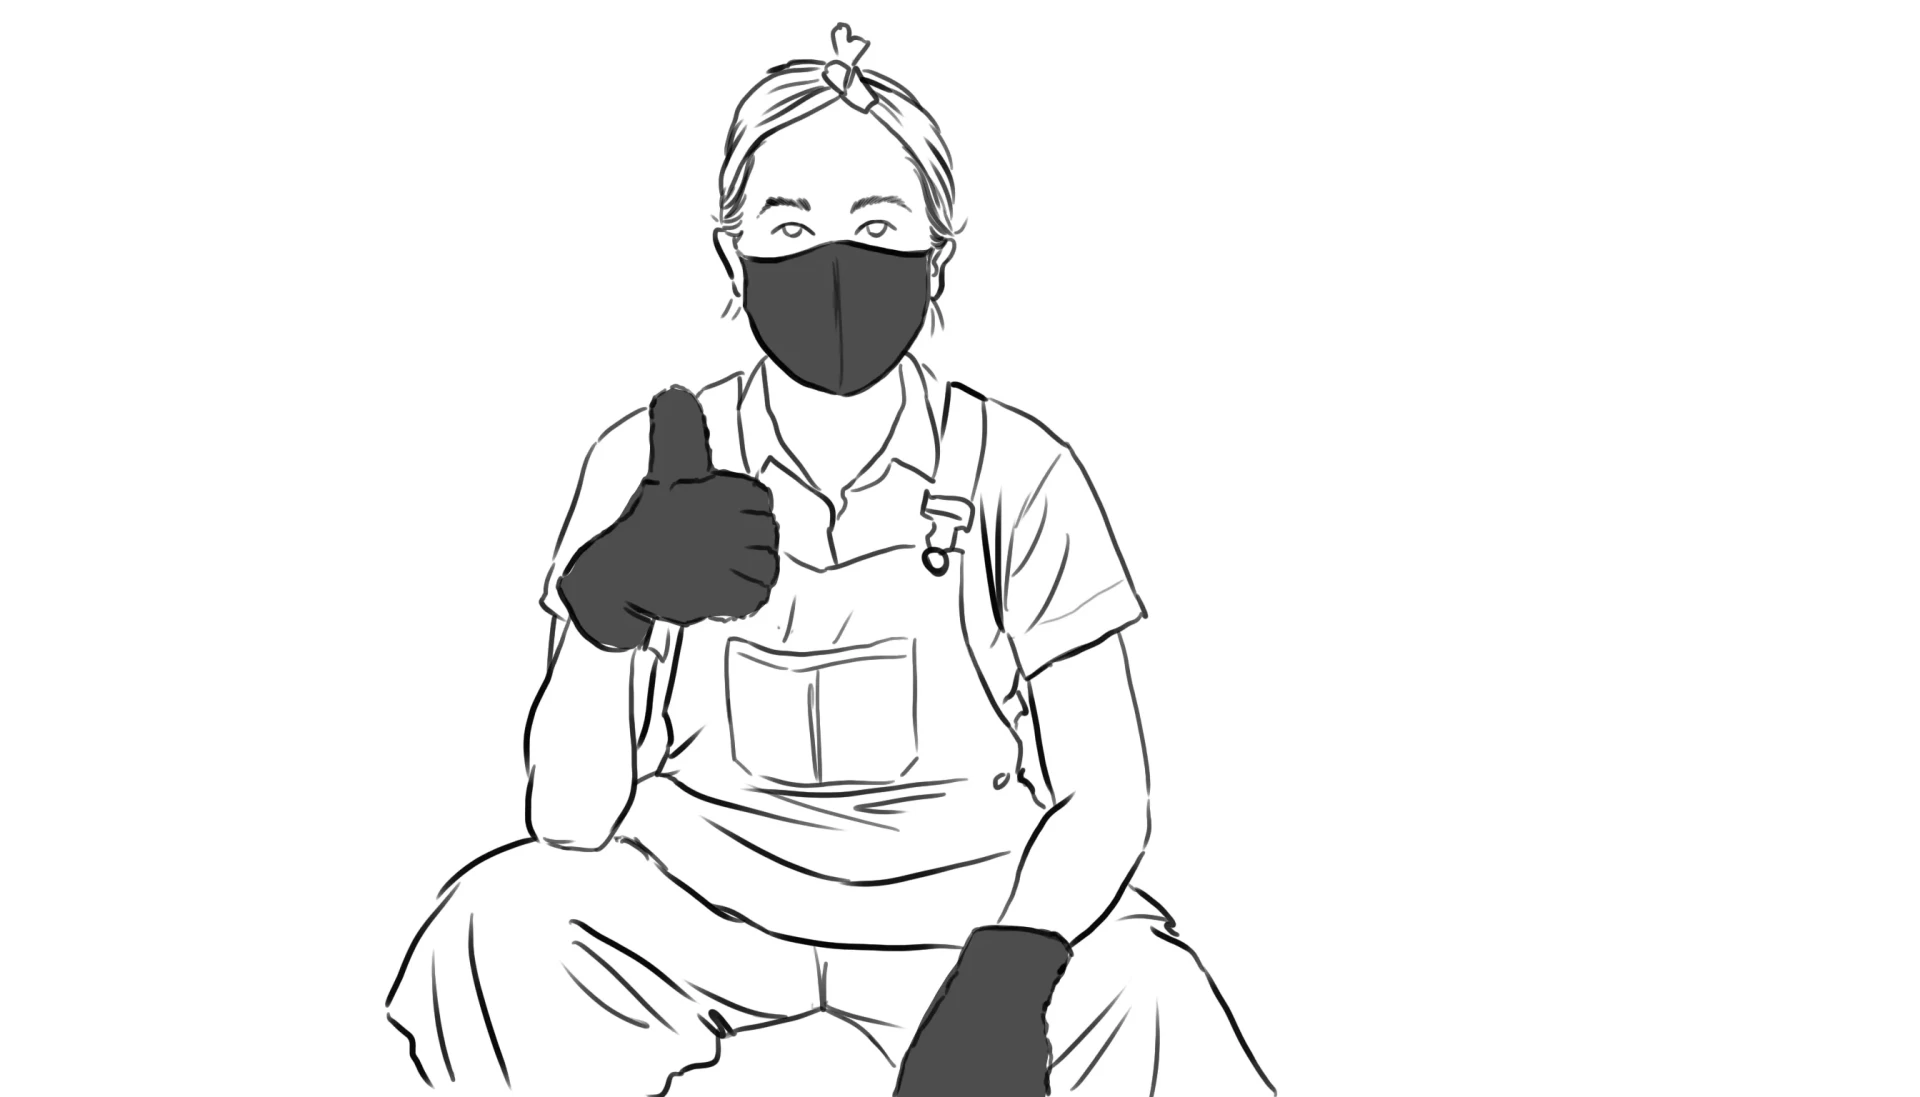
Working with heat requires you to take serious precautions. Before you start, make sure to:
- wear a heat-resistant apron;
- put on protective gloves;
- use a mask to avoid inhaling the fumes and chemical residues released by burning wood;
- place the pyrography tool on a suitable stand between each use to prevent accidental contact with the tip.
Transfer your design onto the wood (optional)
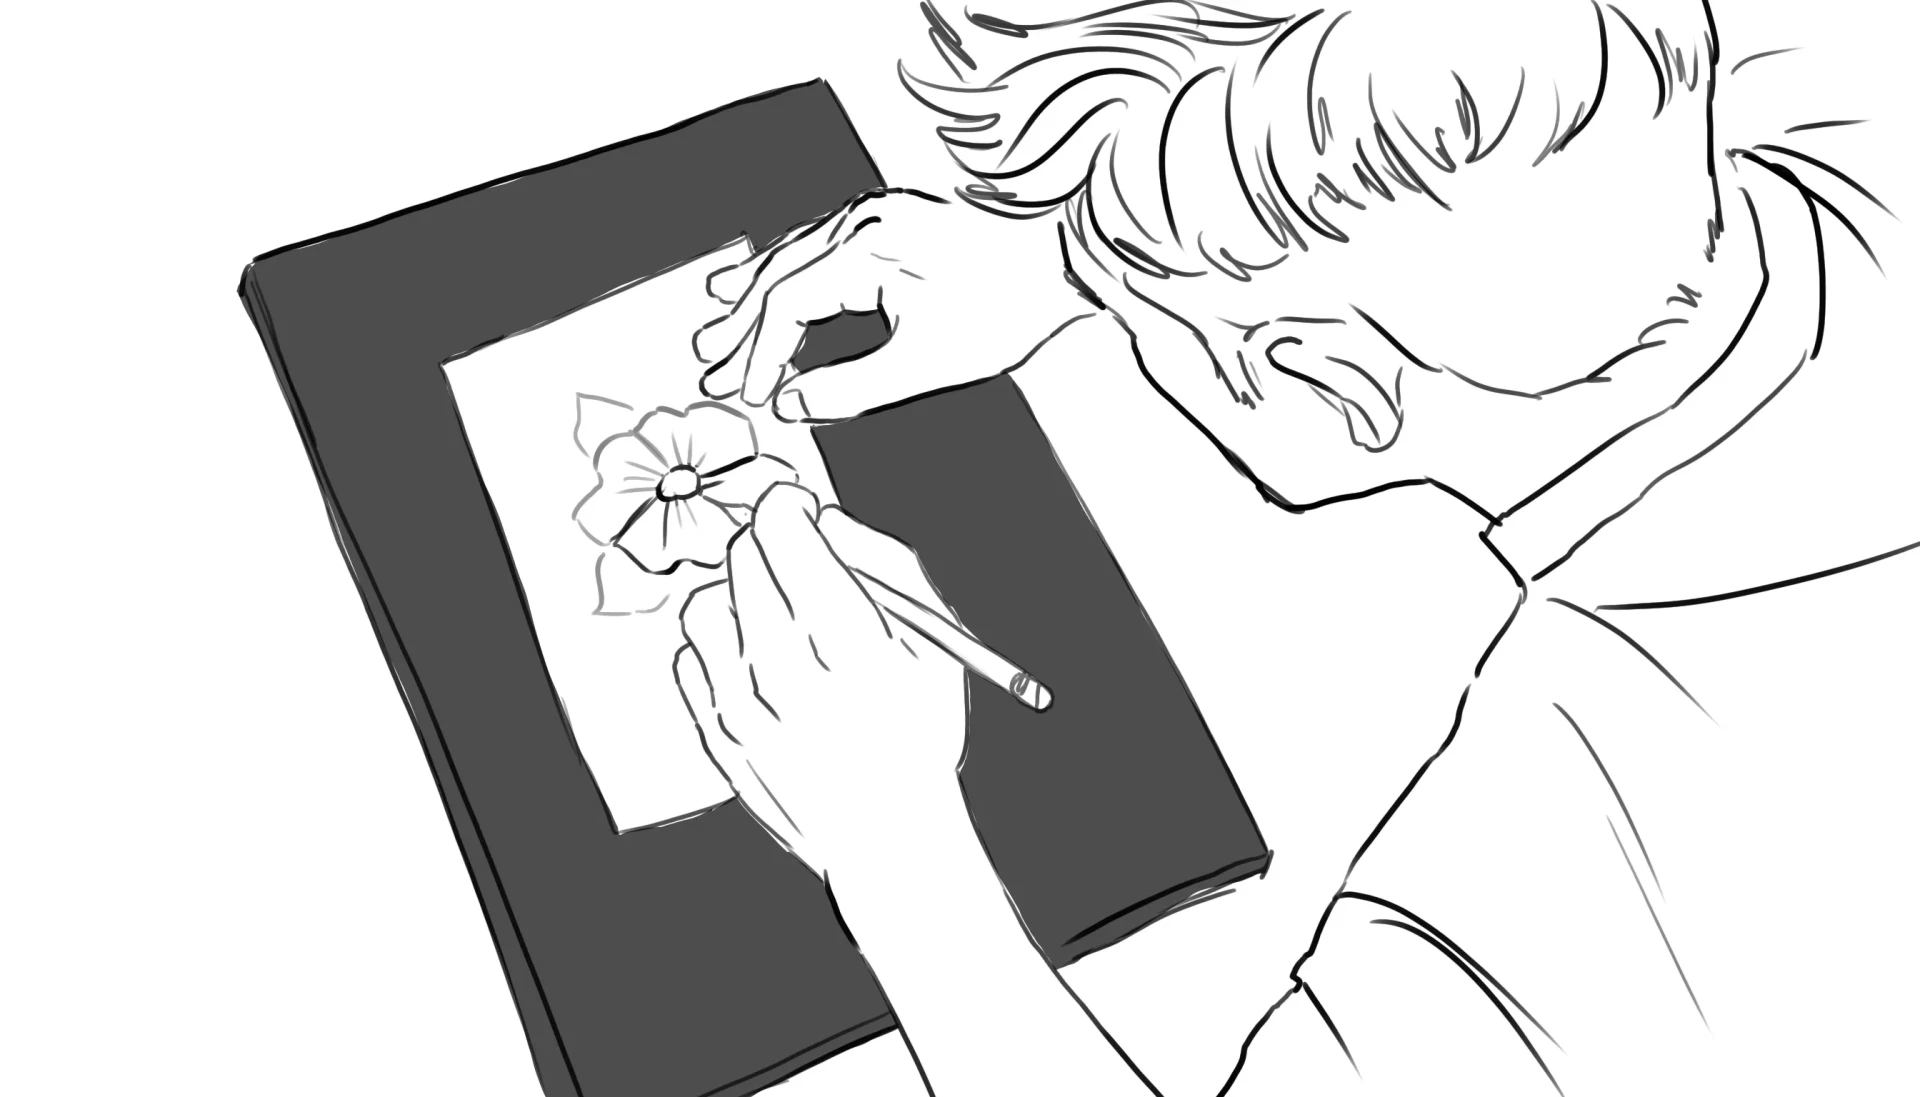
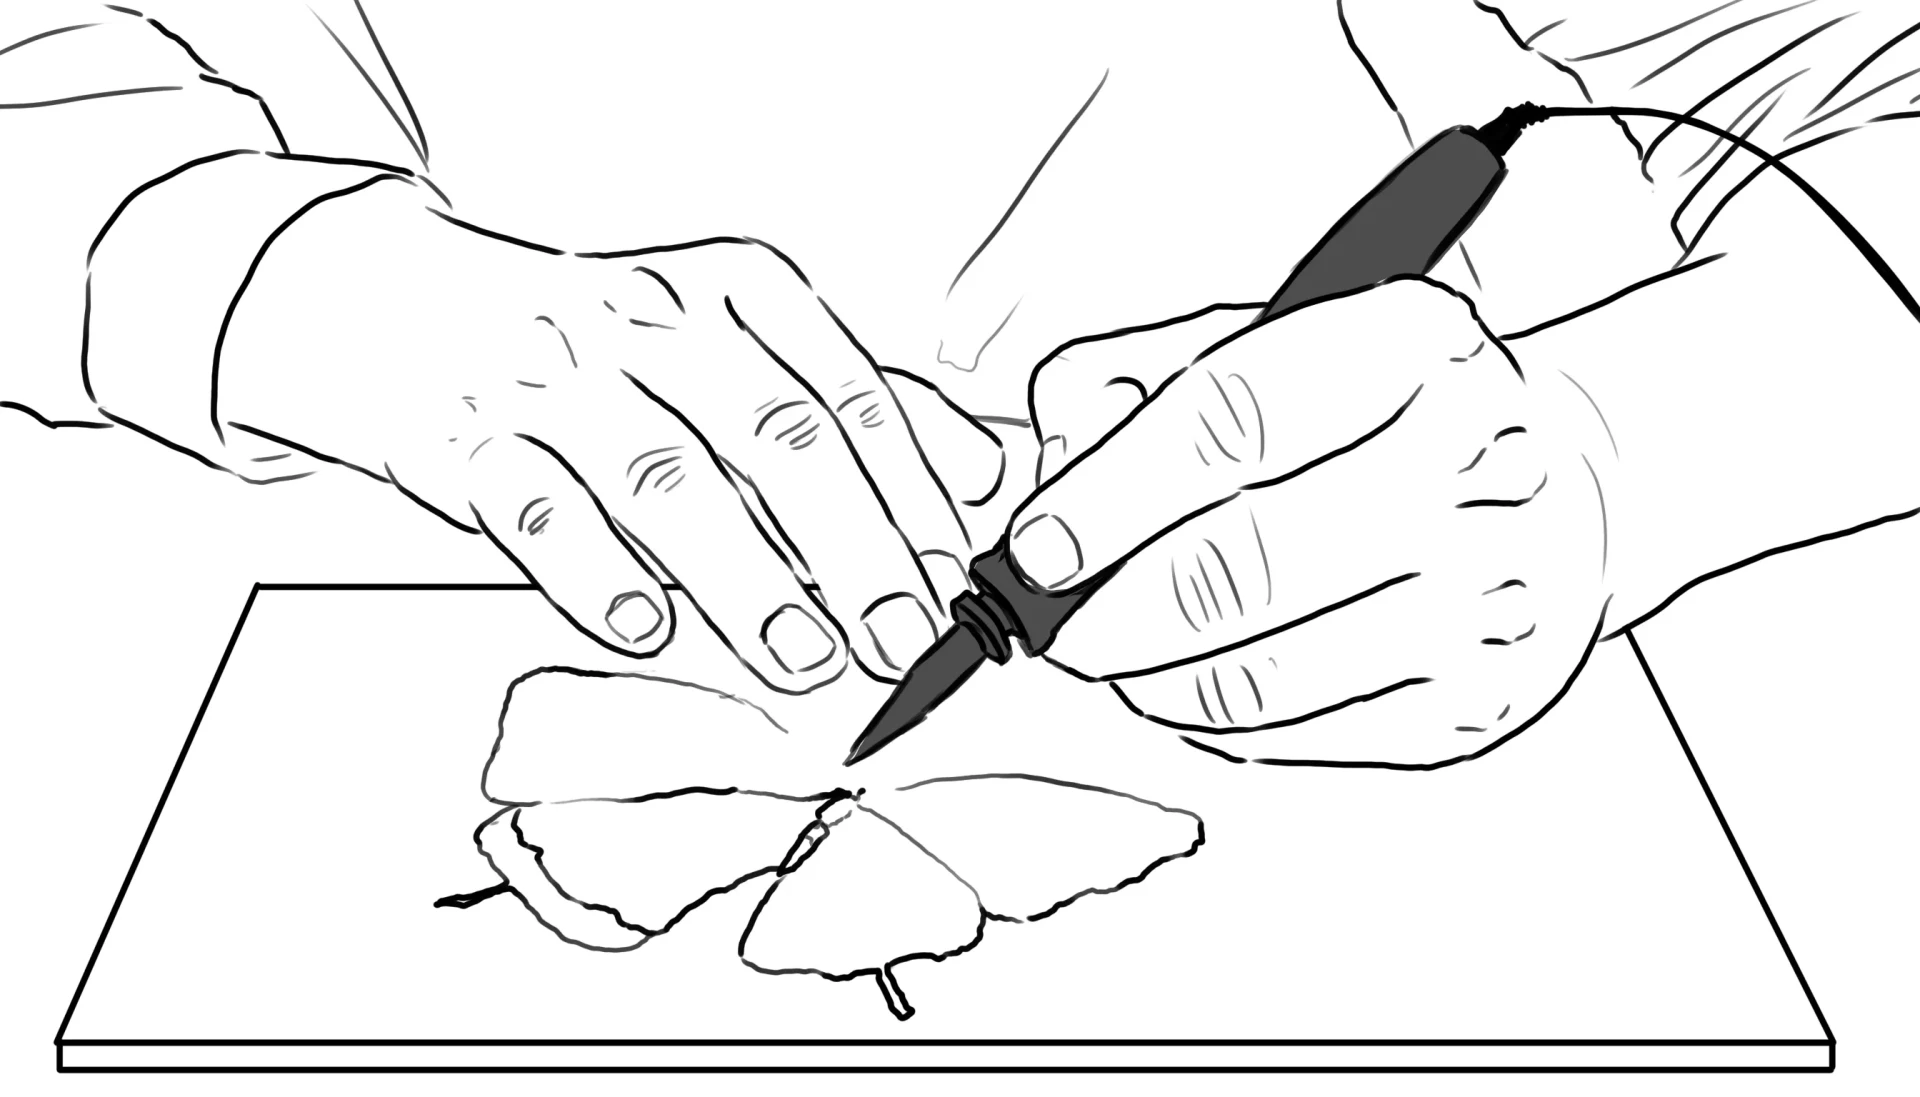
If you do not wish to draw on the wood freehand, you can prepare your composition on paper, then transfer it to the wood using carbon paper. Place the carbon paper on the wood, place your drawing on top, and go over all the lines with a pencil or pen. The design will gradually be transferred onto the surface.
Adjust the pyrography tool and trace the first lines
To start, set your pyrography tool to a low temperature. The goal is to gradually darken the surface by going over the same area several times, rather than burning it too intensely right away. An overly strong burn cannot be corrected: it is better to proceed in stages.
Maintain a steady movement
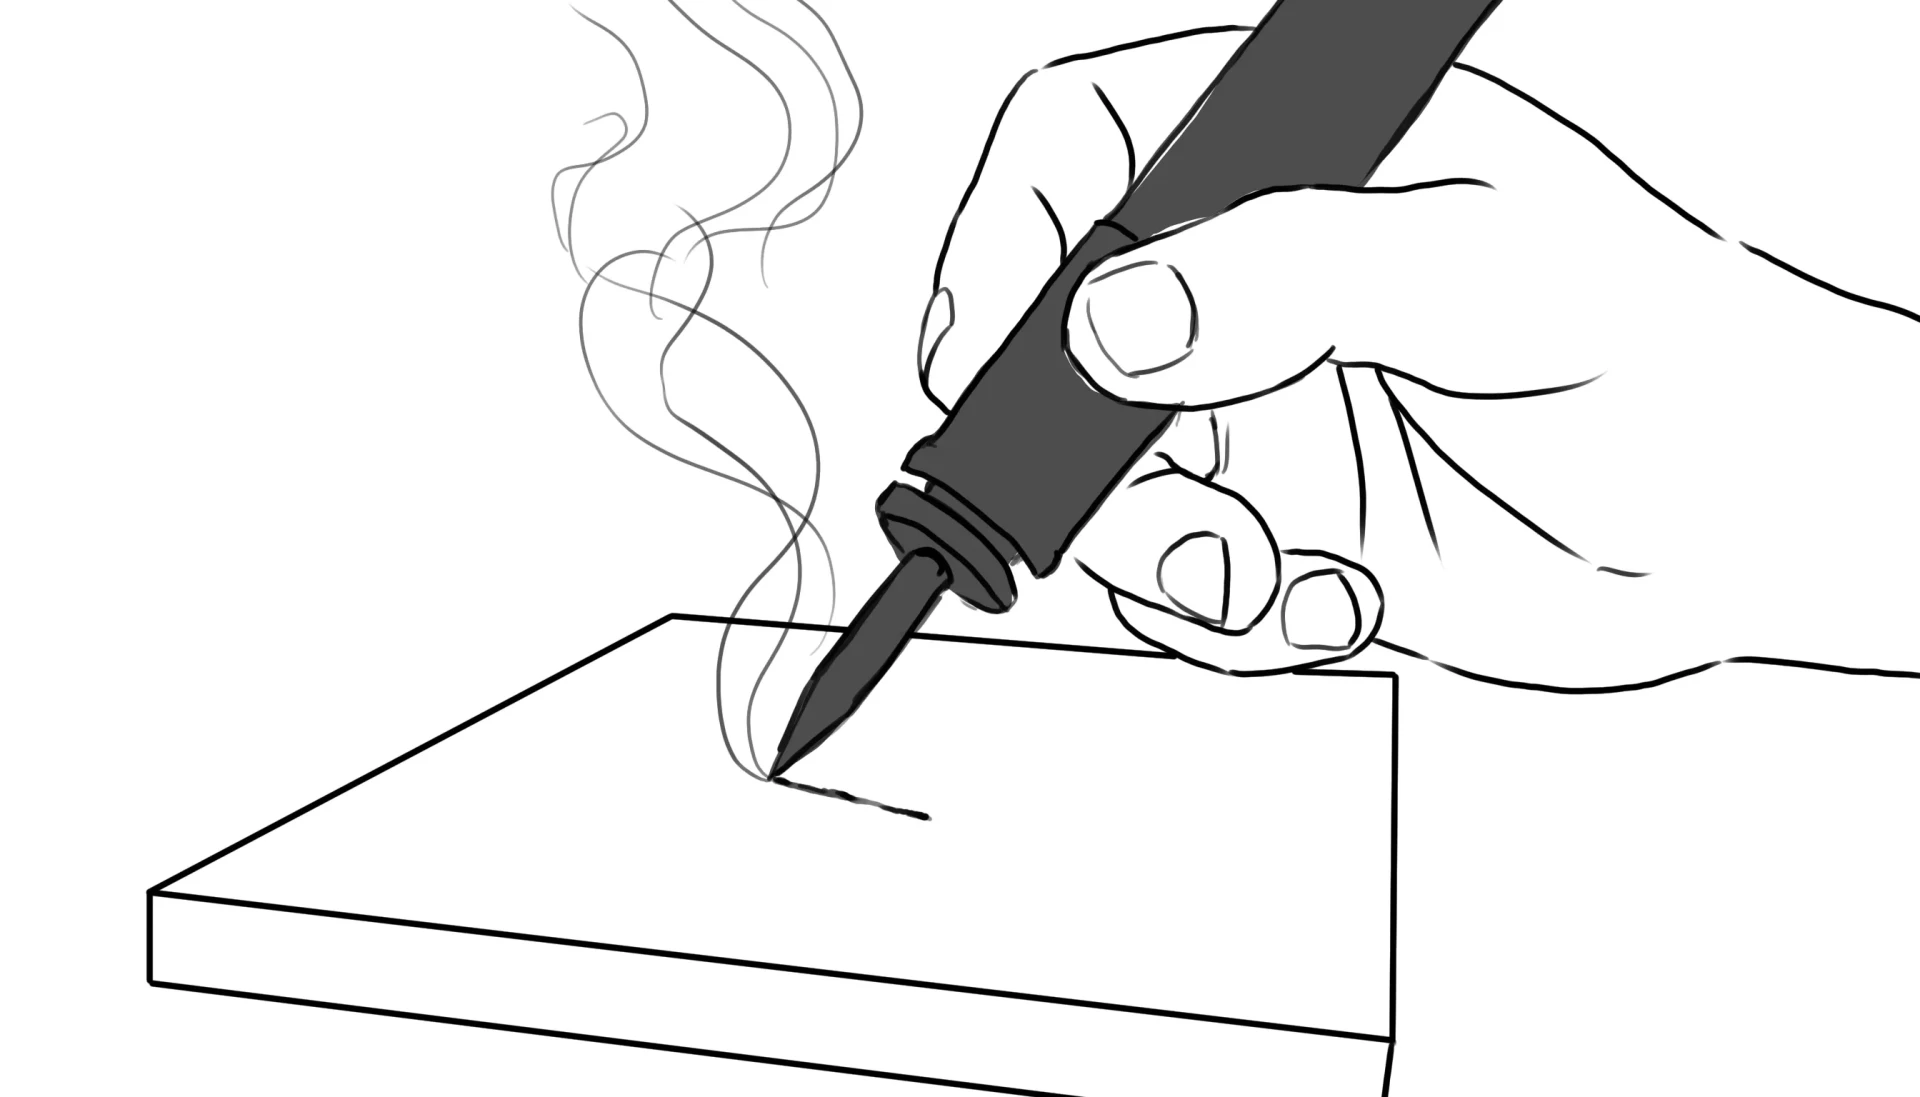
One of the golden rules of pyrography is to never leave the tool stationary on the surface. If the tip remains in one place for too long, heat will build up and cause an uncontrolled burn. Always maintain a continuous movement, and remove the tool as soon as you are no longer drawing.
Take care of the tips
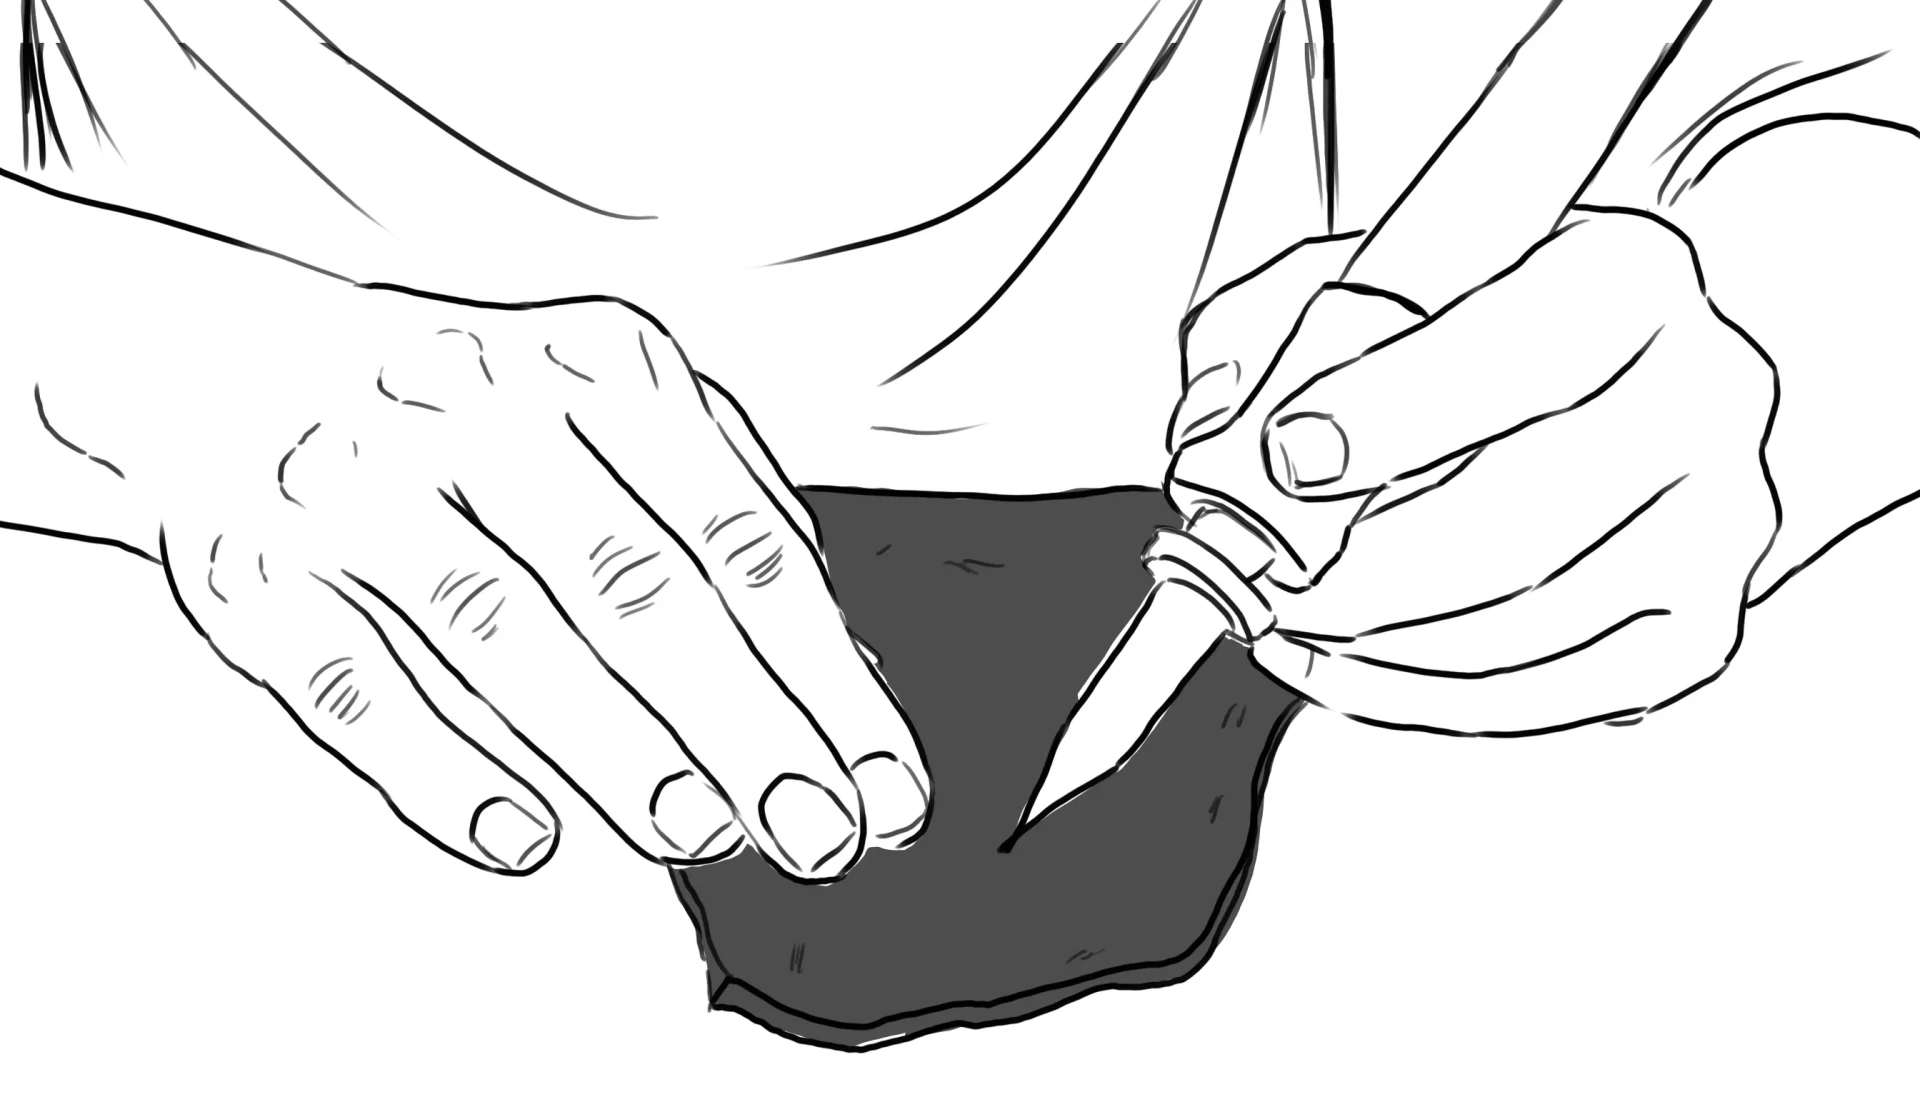
After use, residue may accumulate on the tips and cause unexpected deposits or unwanted charring. Clean them regularly with a metal sponge or a piece of leather to ensure clean and precise lines.
Practical exercises for mastering pyrography
Now that you know the basics, here are some simple exercises to develop your mastery of the tool.
The three essential variables of burn strokes
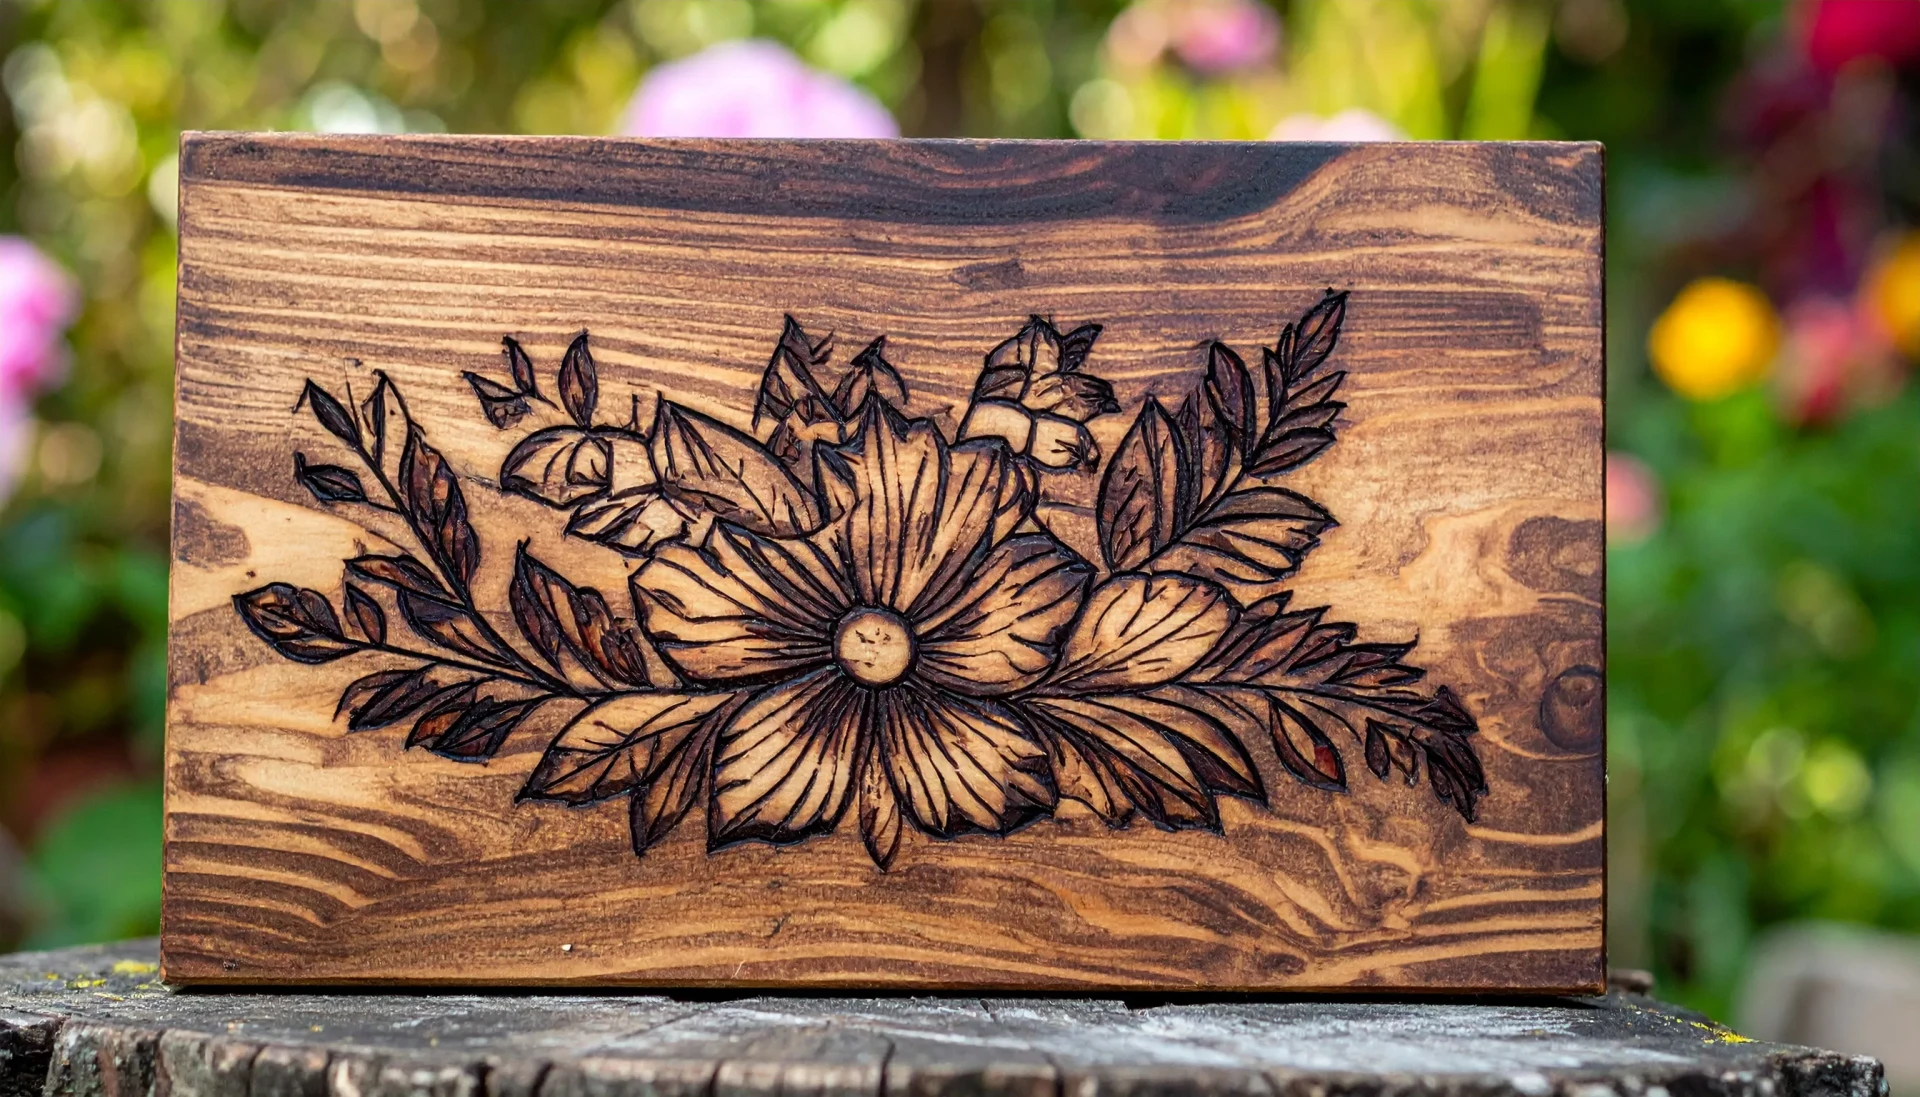
To control your burn strokes in pyrography, you need to learn how to play with three parameters: heat, speed, and pressure. Each one influences the result in a different way, and it is by combining them that you will find your style.
Straight lines : start with straight lines that are parallel, using low speed, heat, and pressure. This will produce a light and even line. Then gradually increase each parameter and observe the changes.
Points : practice working in pointillism by creating simple geometric shapes. The intensity of the points defines the perceived form.
Solid areas and shadows : to create uniform areas, use a beveled or leaf-shaped tip, and maintain consistent settings: the same speed, the same pressure, the same heat, without going over areas that have already been marked.
Gradients : focus mainly on speed. Slow down in the areas where you want a darker tone, and speed up towards the lighter areas. The longer the contact, the more concentrated the heat and the darker the shade.
Free forms : to finish, practice drawing simple shapes, circles, squares, triangles, as well as decorative elements such as flowers, stars or spirals. Add shadows to develop it further.
Pyrography is an artistic technique that requires patience, precision, and a bit of practice. By following the safety instructions and progressing step by step, you will discover a unique medium of expression, where heat becomes a true creative tool.
Don’t forget: always learn under the supervision of an expert, especially at the beginning.
Discussion
Very interesting; I had already seen craftsmen do this with names to personalize a gift.
But I didn’t know that there were several interchangeable heads; this opens up many more possibilities in terms of production.
A great idea to test during workshops.
Need a heavy workout for your brain? Octordle is the perfect choice. The game requires you to decipher eight hidden words at once, demanding high concentration and sharp analysis. The satisfying feeling when the letters all turn green is sure to be addictive!