How to Shade Your Drawings?

When drawing in pencil, charcoal or any other dry technique, a commonly used method is shading. In this article we will look at what materials to use for shading, what techniques to use and what pitfalls to avoid.
AN UPDATE ON THE EQUIPMENT
Smudging is a traditional drawing technique that involves spreading graphite or pastel on a sheet of paper. Therefore, you can use pencils or charcoal for your drawings intended to be smudged. The softer the pencil, the easier it will be to smudge. Therefore, avoid pencils that are too dry (H range) and favor softer pencils (B range). However, you can still use your H pencils for the preliminary sketch of your drawing.
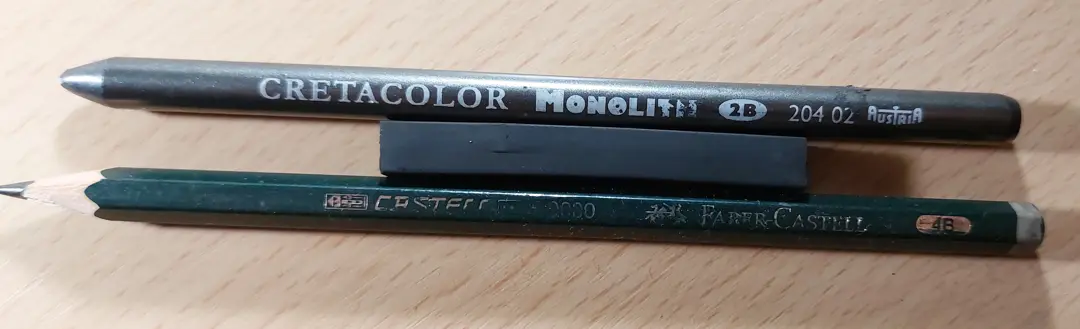
There are several tools to blur your drawing. Of course, you can use a blending stump: it’s a pencil-shaped tool made of paper that allows you to spread the graphite. You can easily buy one in an art store. They come in different sizes, which are very handy depending on the fineness you need.
You can clean the blending stump by rubbing it on a nail file or a piece of sandpaper. However, avoid thick sandpaper which could damage the tool!
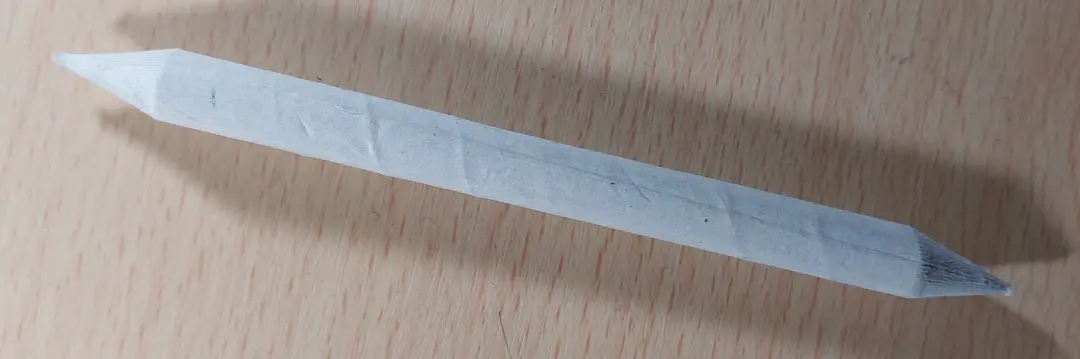
Another tool similar to a stomp is the paper stump. A paper stump is a piece of paper rolled into a cone shape that allows for blending. The notable advantage of a paper stump is that you can make one yourself: just take a piece of paper and roll it. You can also choose the paper to use and vary the textures this way. The notable downside is its durability: a paper stump is generally thrown away after two or three uses.

Finally, it is also possible to blend with your finger. This is generally the first experience every artist has with blending. However, I strongly advise against using your fingers. In fact, the technique is imprecise, messy and, above all, the finger deposits grease on the design which will have a sealing effect: it will therefore become very difficult or even impossible to go over greasy areas!
THE DIFFERENT WAYS TO MAKE DRAWINGS HOMOGENEOUS
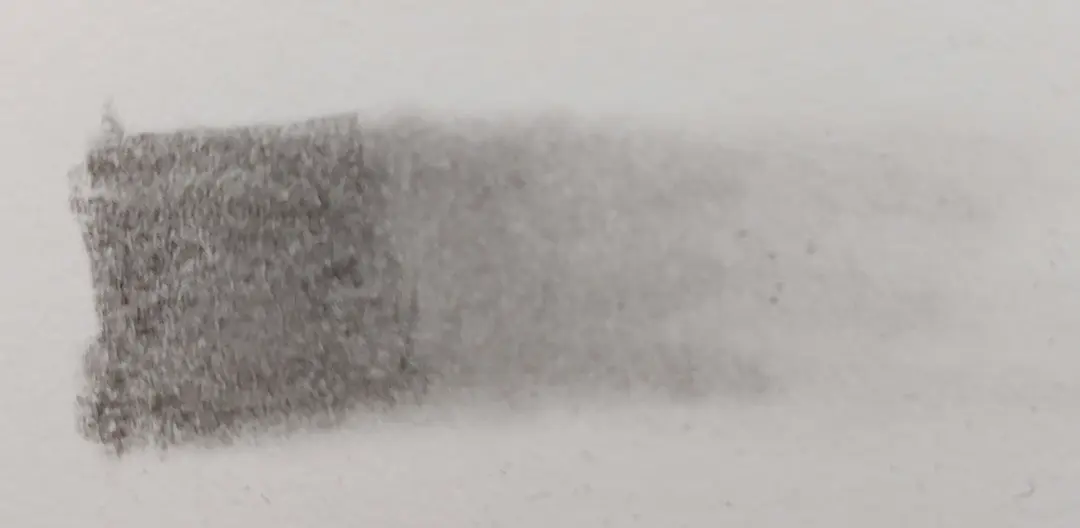
Now that the equipment is ready, you can start working on it. Take a sheet of paper and start creating a flat layer in pencil, which you will then blend with the blending stump. This will help you understand the amount distributed by the blending stump. Don't hesitate to change pencils or tools (charcoal, coloured pencils, crayons...) to re-test and better visualise what can be done with the blending stump. Remember to clean it between uses.
Once you have your blending stump in hand, you can move on to the main exercise: the gradient. Apply a flat layer on your paper and blend it in one direction. The goal is to spread the graphite to create a linear gradient. Feel free to vary the exercise by blending along a curve, or by blending from both sides of your flat layer.
Another possible type of gradient is the radial gradient. Flatten and degrade it evenly in all directions. You can “pull” the graphite from the centre of the plate outwards, or create larger and larger concentric circles.
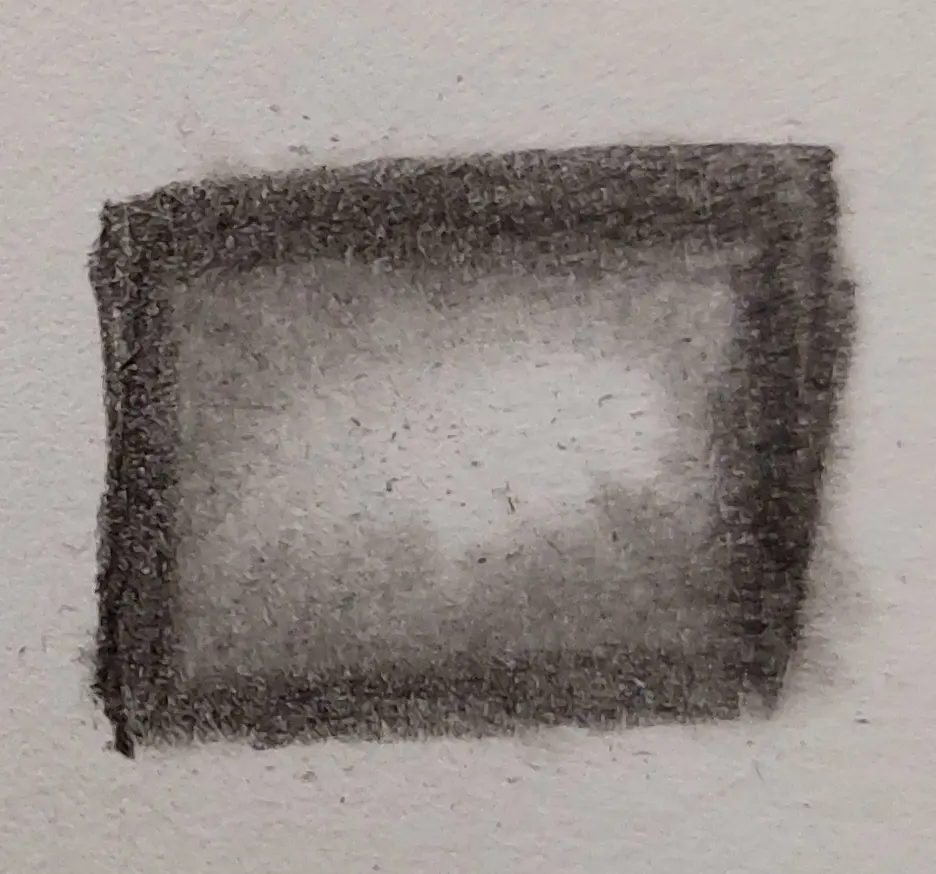
Finally, it is possible to create an inverted radial gradient. Draw a square on your sheet and shade each side of the square inward. You will obtain a radial gradient that is lighter in the center and darker at the edges.
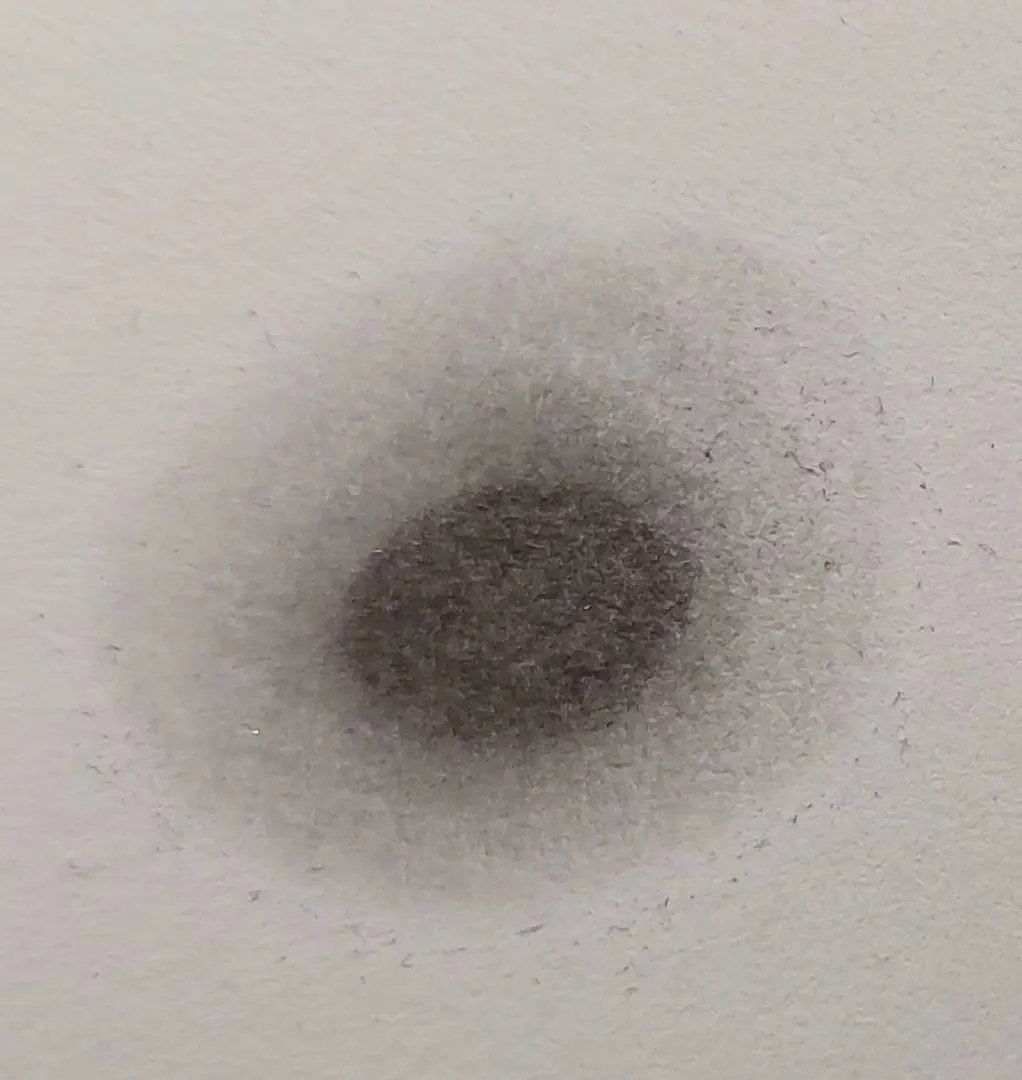
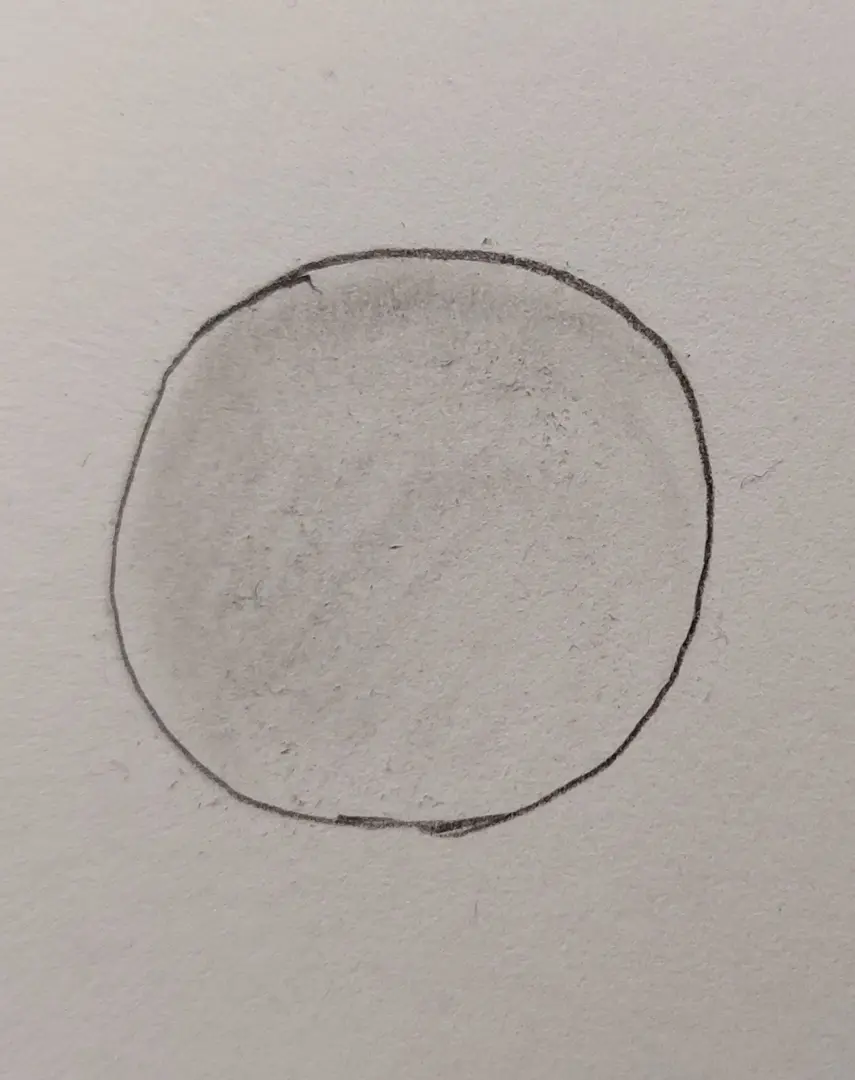
It is also possible to use a "dirty" blending stump to draw. It is a very practical technique to apply graphite more softly and achieve a "misty" result. Draw a circle on your paper and try to shade it using an already used blending stump. Tip: very often, blending stumps have two tips. Keep one tip “dirty” and the other “clean” so that you can easily switch from one technique to the other.
Congratulations, you now have all the cards in your hand to create a drawing with the smudging technique! Let us now see how to use these techniques with a practical case.
DRAWING AN APPLE USING THE SHADING TECHNIQUE
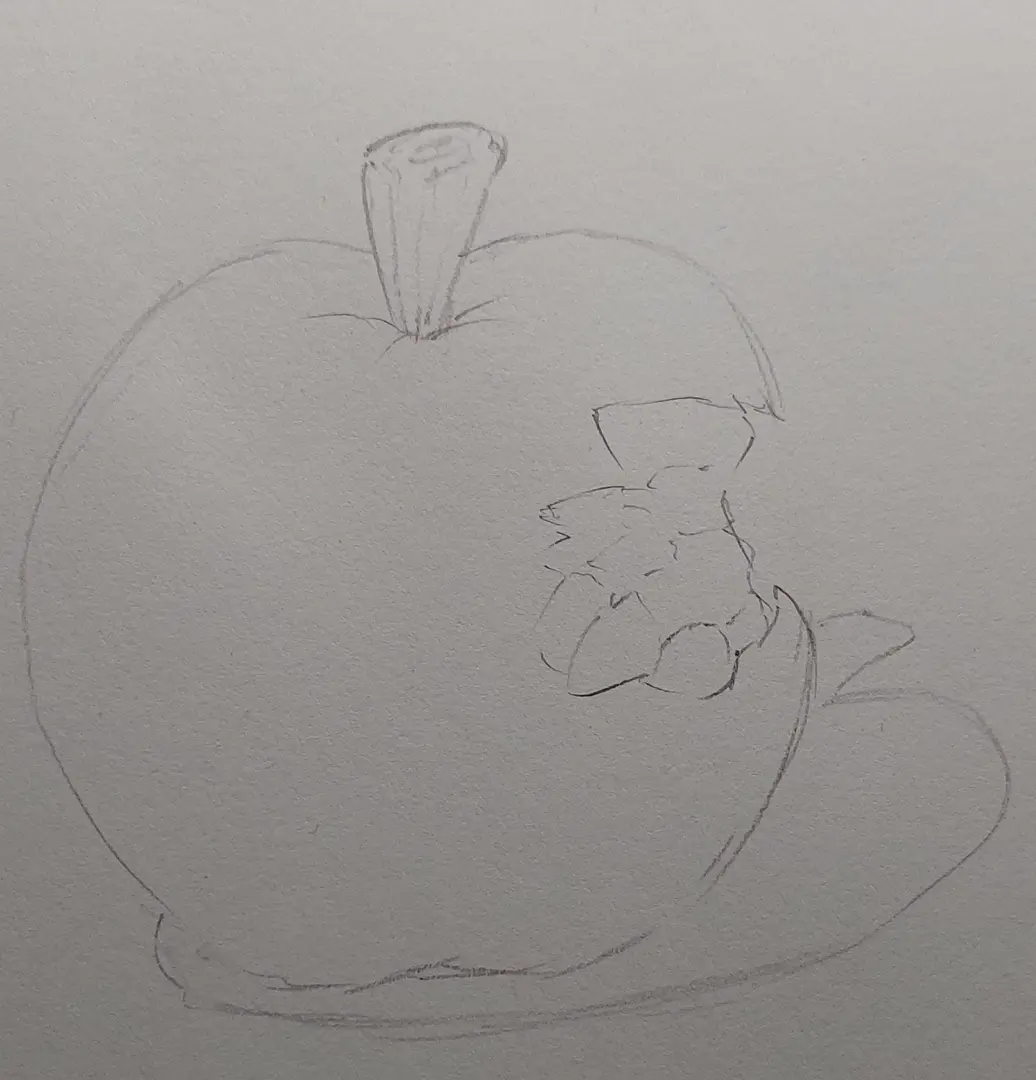
For this example, I will take a relatively simple object, namely an apple. I start by sketching my apple with a dry pencil.
Then, I lay down the various values with a sharp pencil. I make sure to make approximate gradients to facilitate the casting work later.
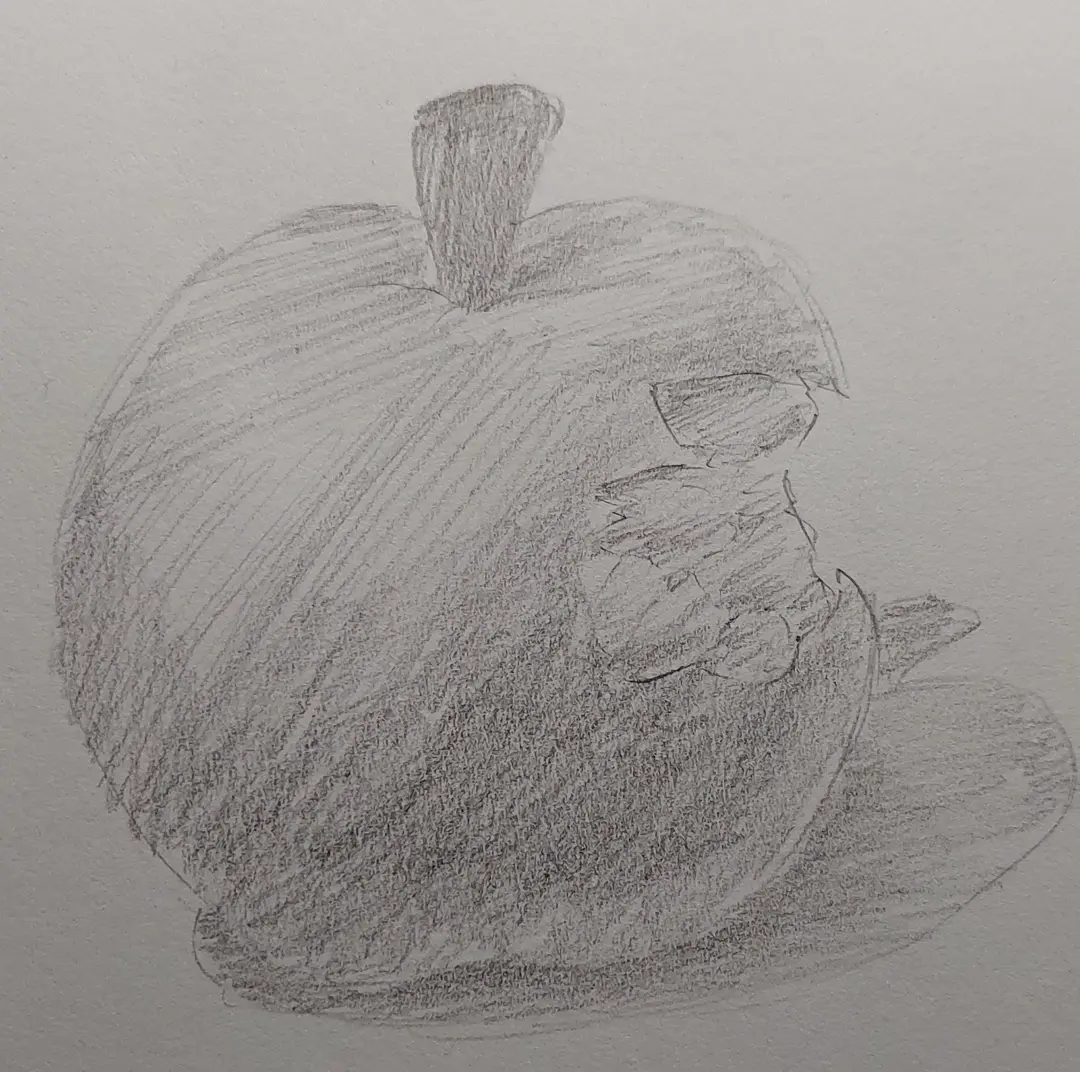
With my clean stump, I perfect my linear gradients.
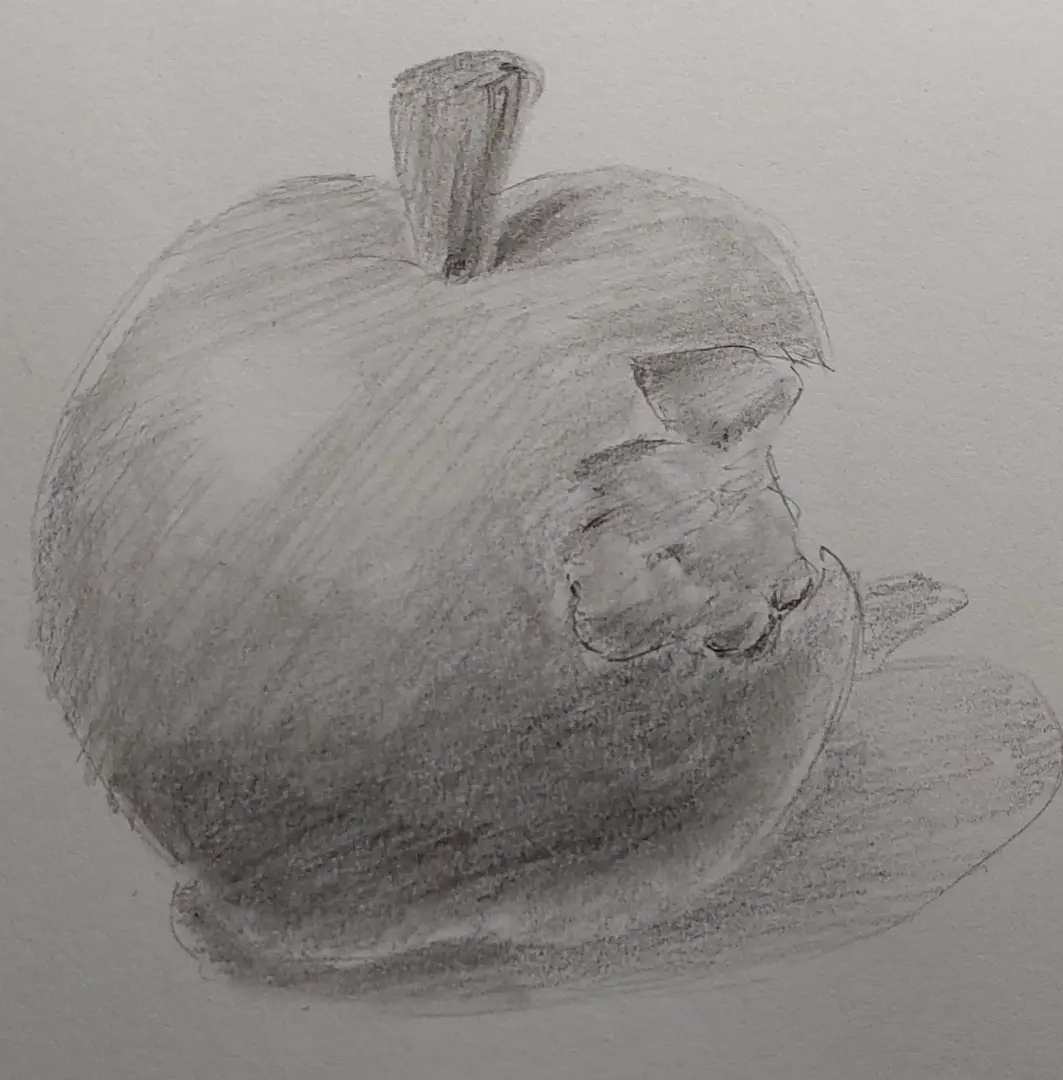
As my shading stump is now dirty, I take the opportunity to add a grey background to my sketch.
Finally, I created a radial gradient for the shadow of the apple.

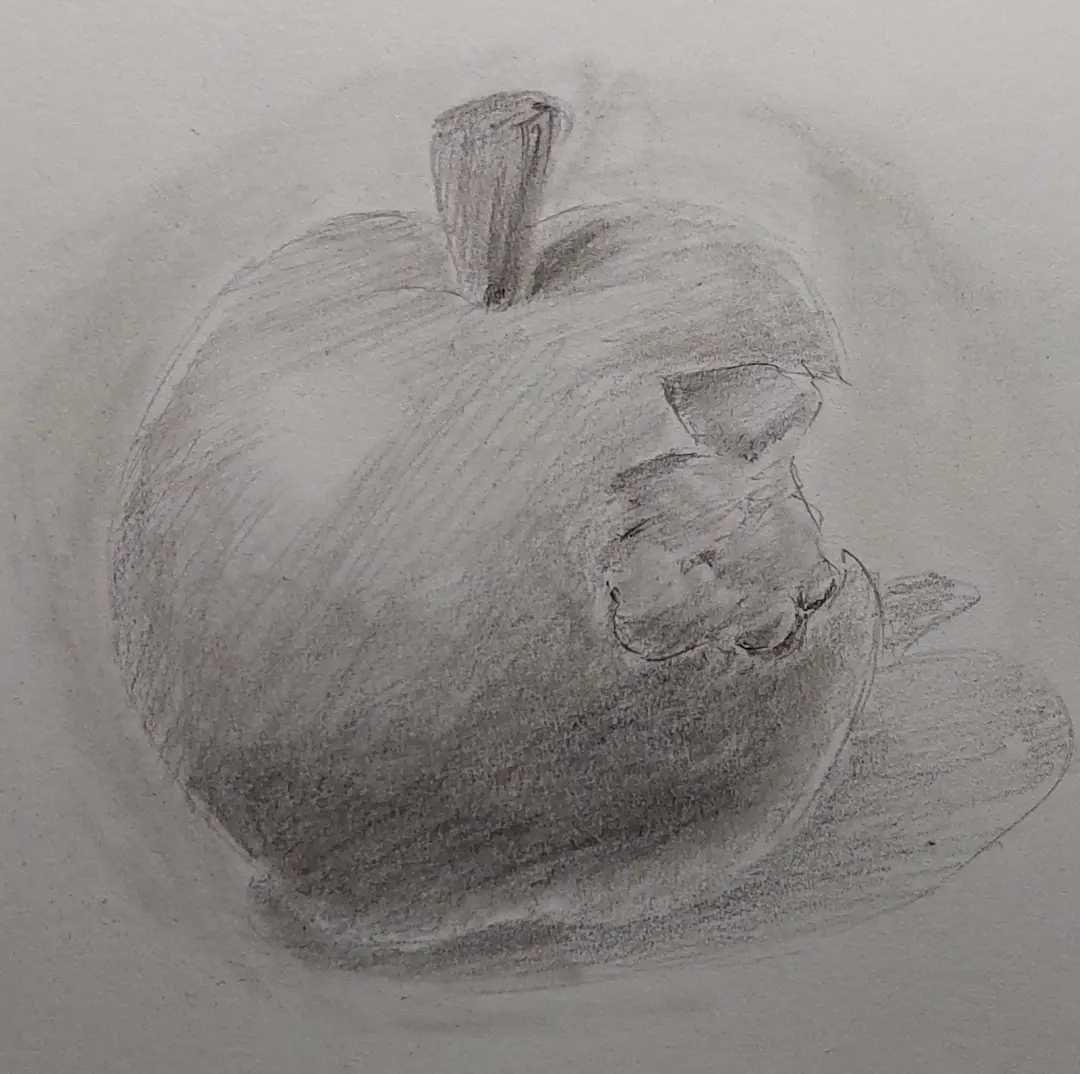
And there you have it, my drawing is complete! Now it is up to you to try smudging in your illustrations. Feel free to use other tools such as charcoal or pastel to fully understand smudging techniques.
Popular Articles
Discussion
Hello,
I also blend a lot with paper stumps, cotton swabs, and following the purchase of powdered graphite, I use brushes dedicated to this,
time savings guaranteed.
I do have an example of a drawing, unfortunately I can't post it (it might be a space for teachers)