How to Create a Good Base Sketch Before Painting with Watercolors
Before starting a watercolor, the base sketch is an often underestimated step. Yet, it is what lays the groundwork for your painting, guides the values, organizes the composition, and saves you numerous difficulties once you have brushes in hand. A well-prepared sketch enables you to paint more freely, with more confidence and less hesitation.
In this article, we'll explore how to create a clear, light, and effective sketch to prepare for a harmonious watercolor painting. You will discover best practices, mistakes to avoid, and simple tips to approach this stage with confidence.
Why is the base sketch important in watercolor painting?
Watercolor is a delicate, transparent medium that is difficult to correct. Unlike acrylic or gouache, it is virtually impossible to completely cover up a mistake.
The sketch therefore serves to:
• place important elements
• balance the composition
• anticipate light and dark areas
• avoid risky modifications once water is on the paper
• give you a clear plan to paint more freely
A successful sketch should not be complicated: it should simply be accurate, well thought out, and light.
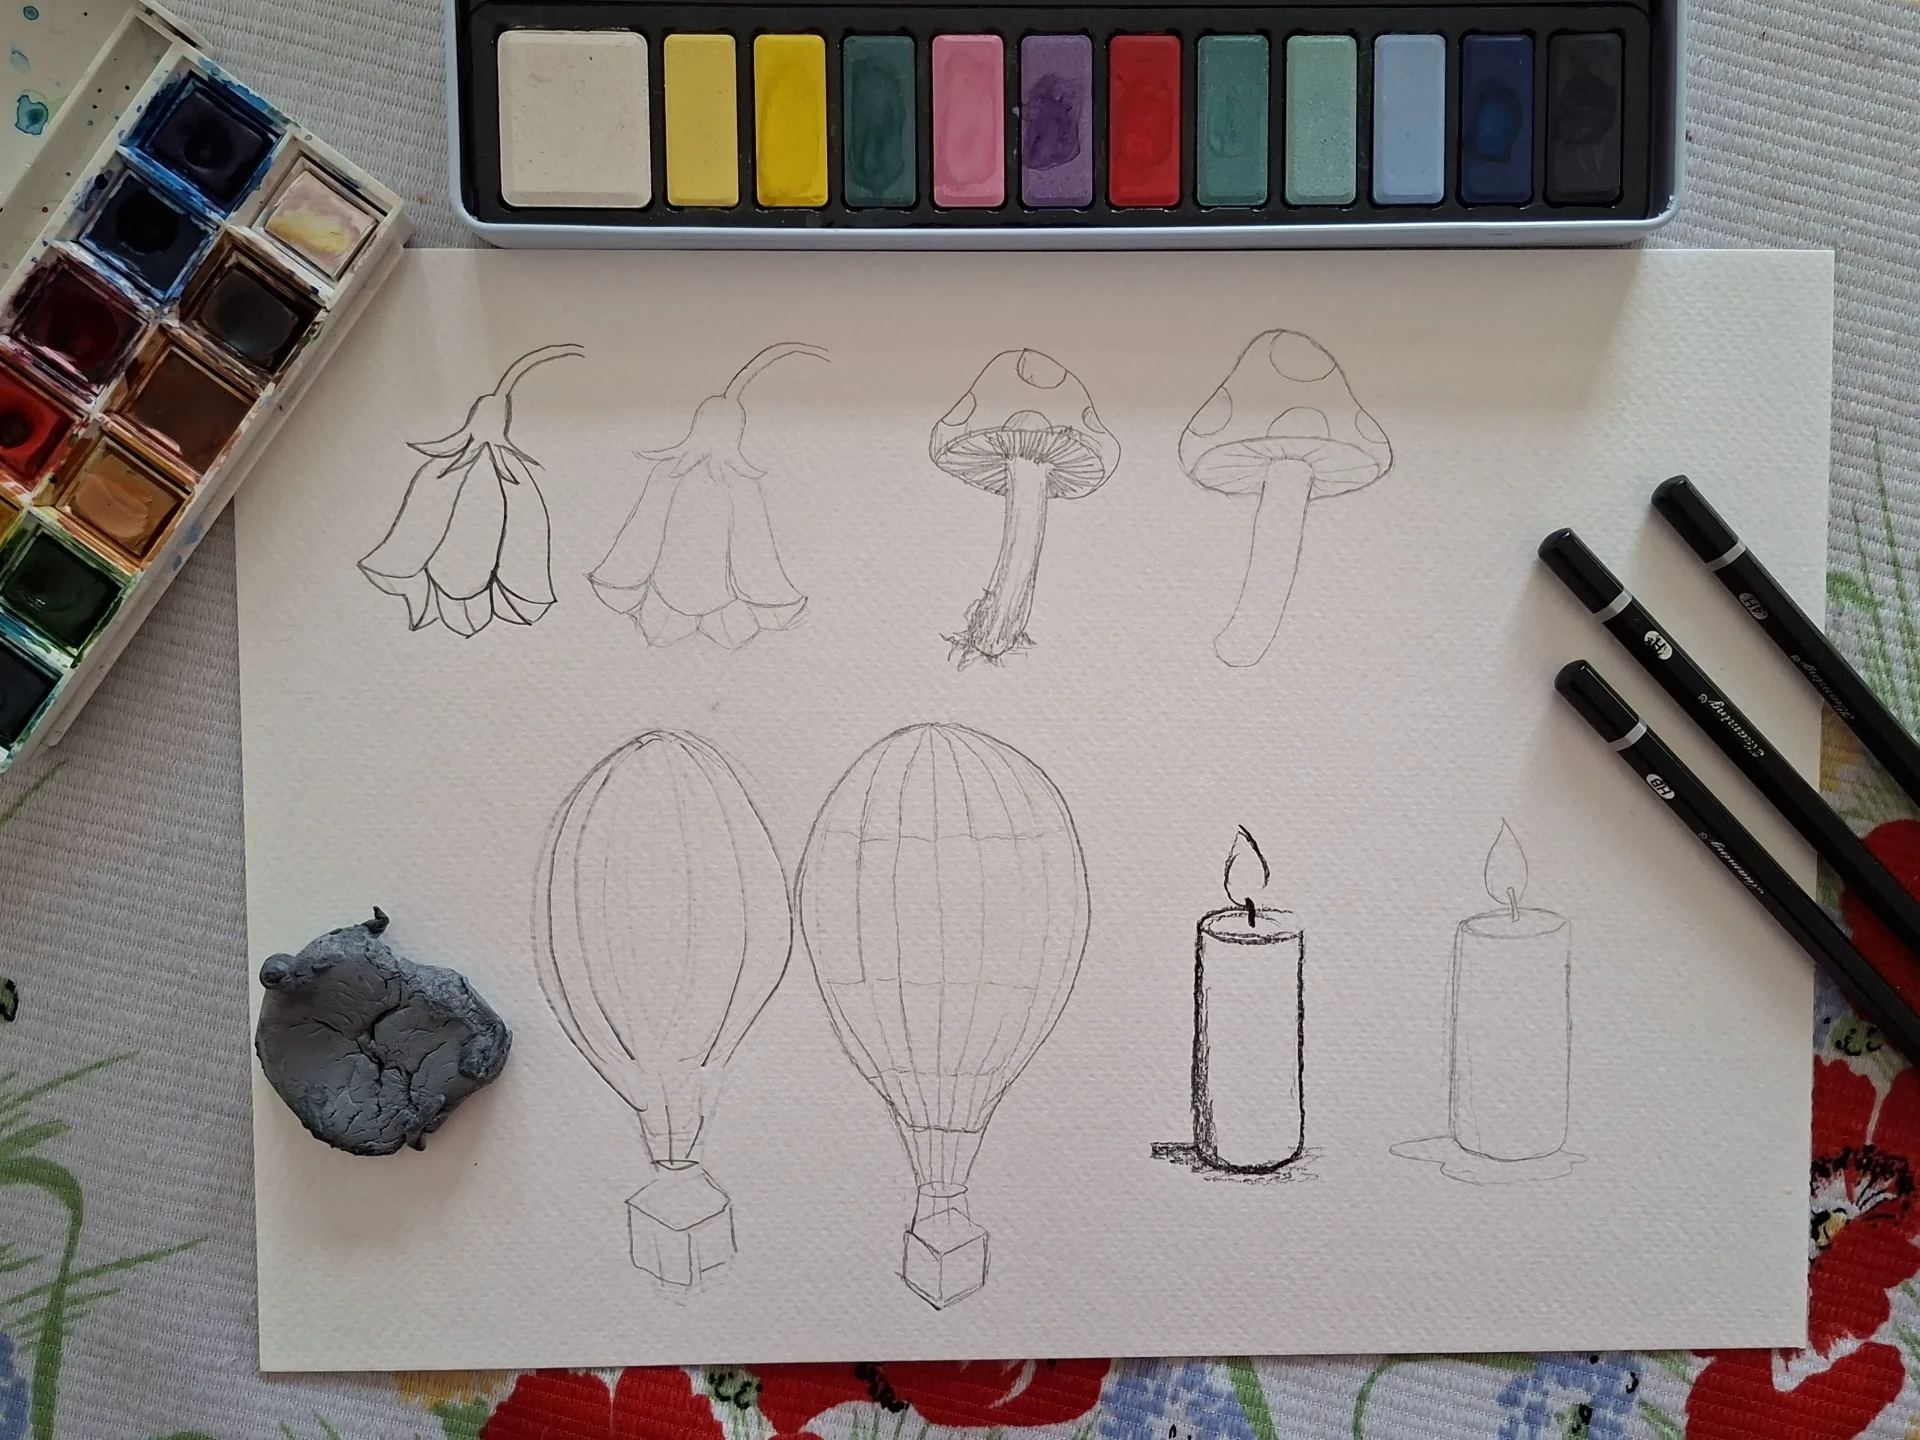
Materials for creating a watercolor sketch
Choosing the right tools greatly facilitates your work.
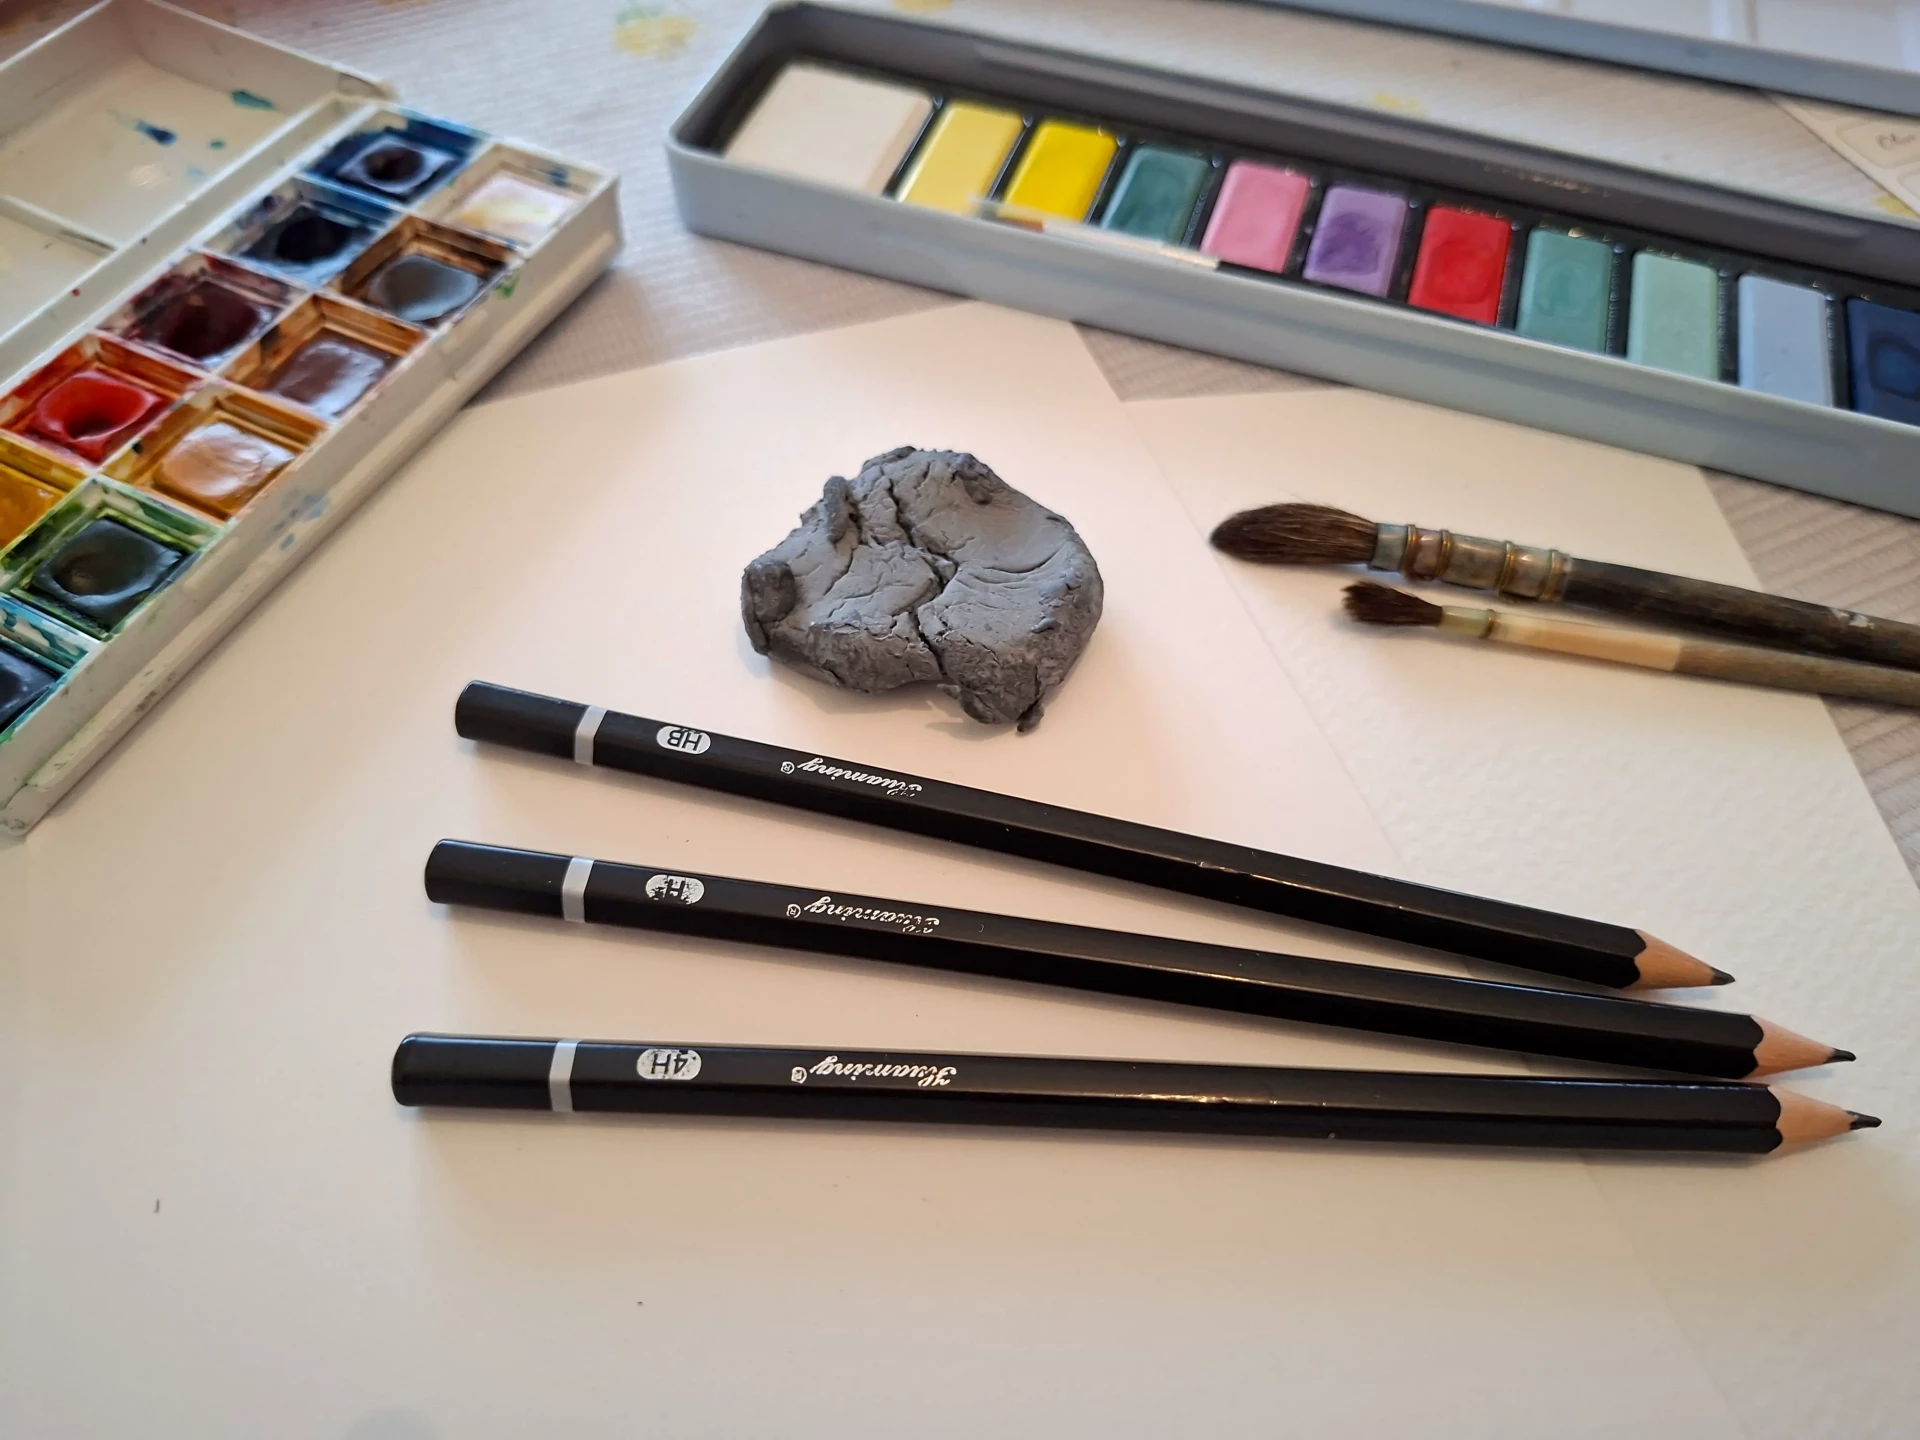
A light pencil, the most commonly used are:
• HB or F for a fine and neutral line
• 2H or H for an even fainter sketch
• a mechanical pencil with a fine lead (0.3 or 0.5 mm) to avoid thick lines
Avoid overly soft graphite (B, 2B…): it can smudge the watercolor and leave visible marks under the washes.
A soft eraser:
• a kneaded eraser to lighten the sketch without damaging the paper
• a traditional soft eraser for clean corrections
Appropriate paper, a good sketch also depends on your support:
• 100% cotton paper (ideal)
• fine or coarse grain according to your preference
• minimum 300 gsm to support washes
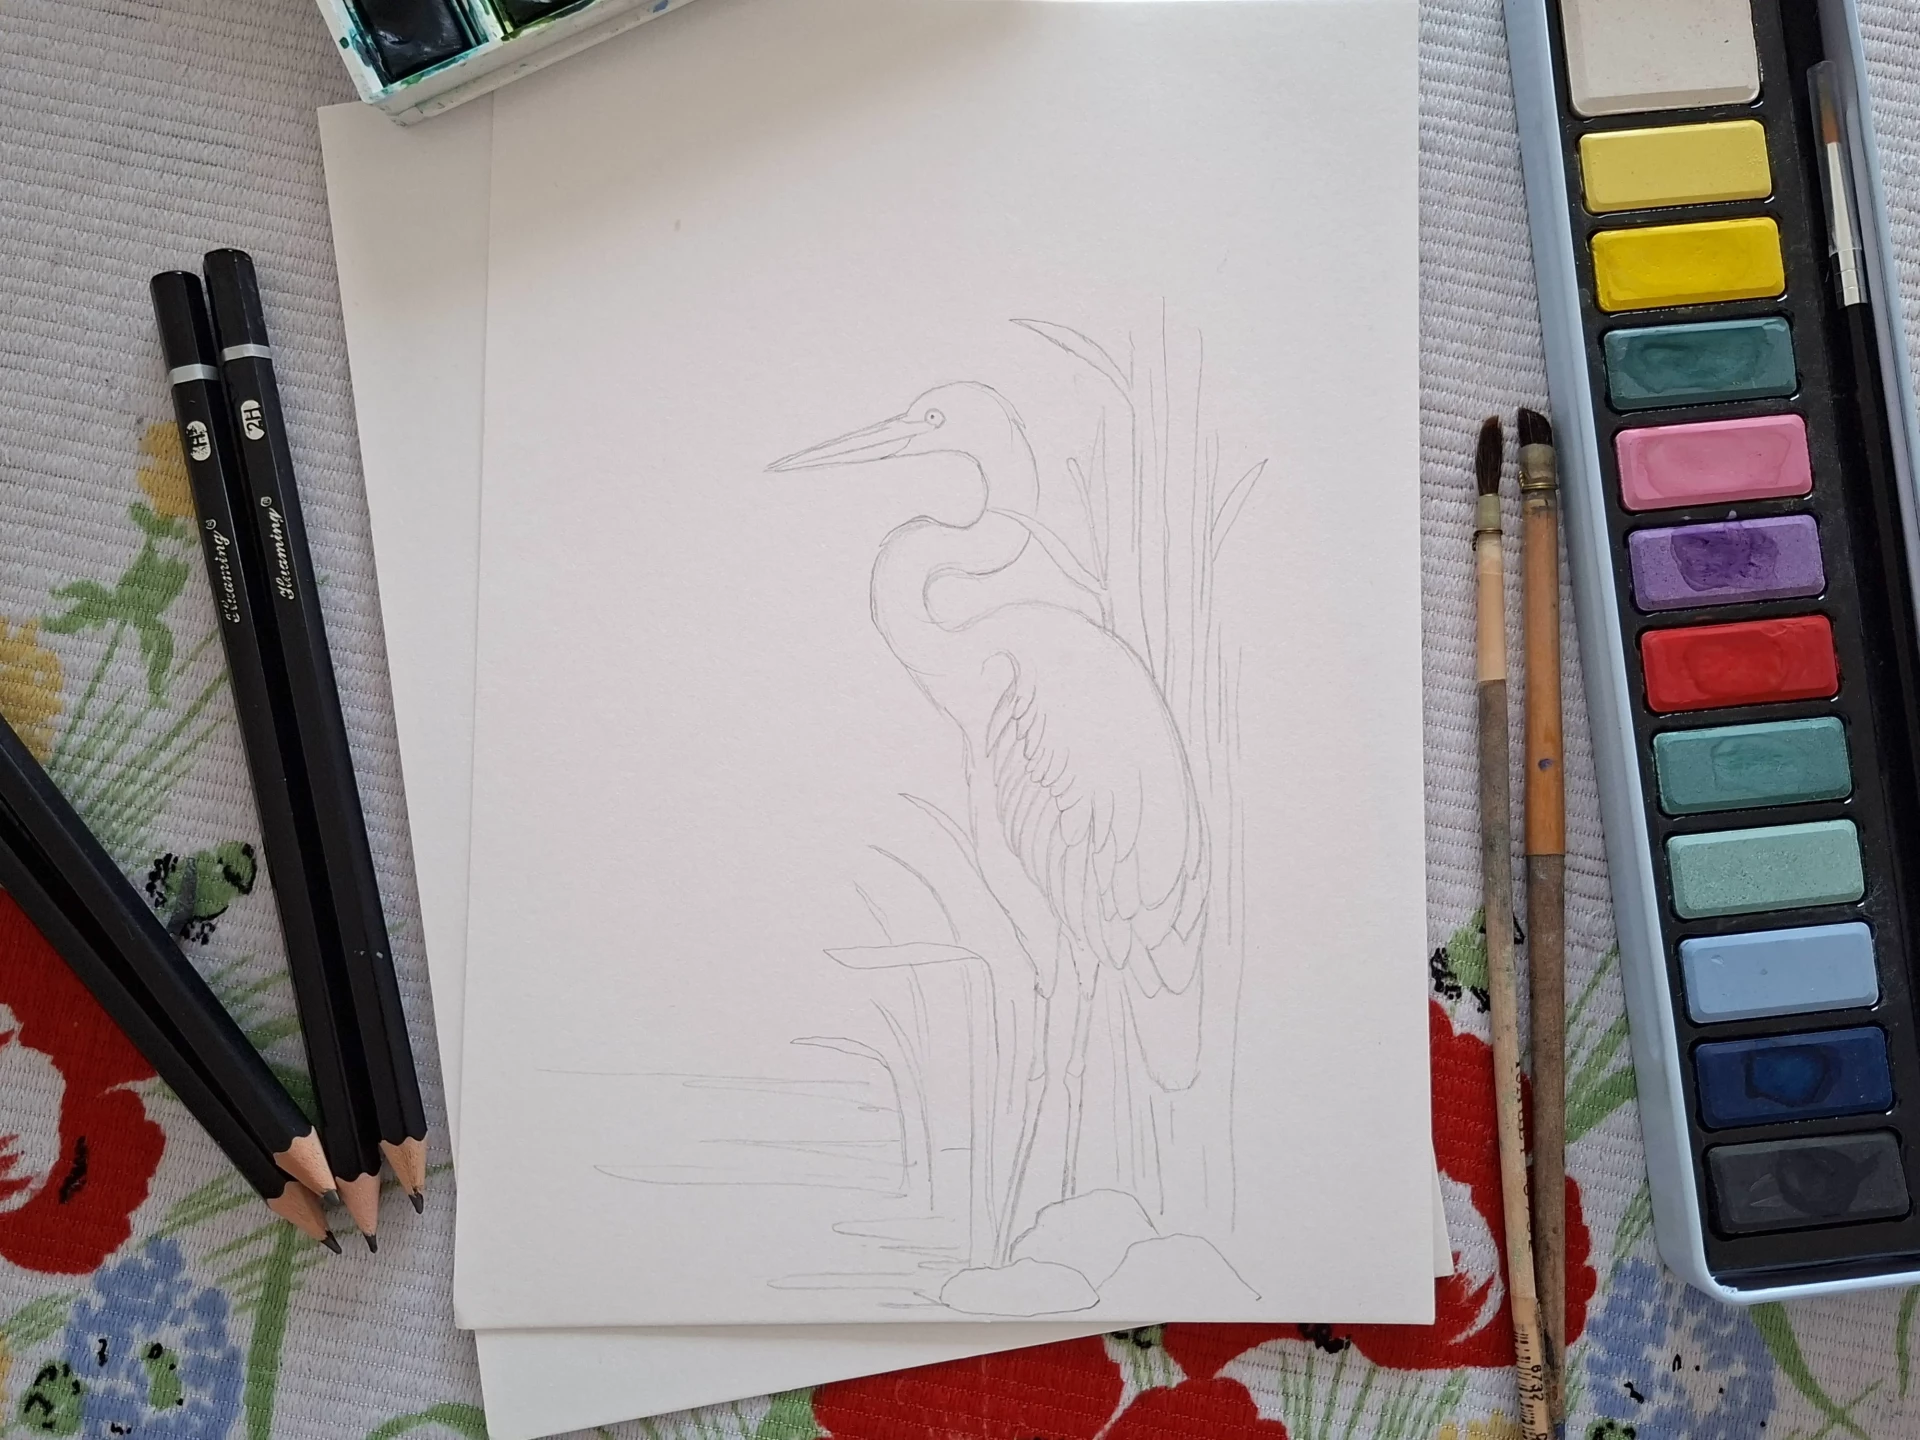
Building your sketch: essential basics
Outline the structure with simple shapes
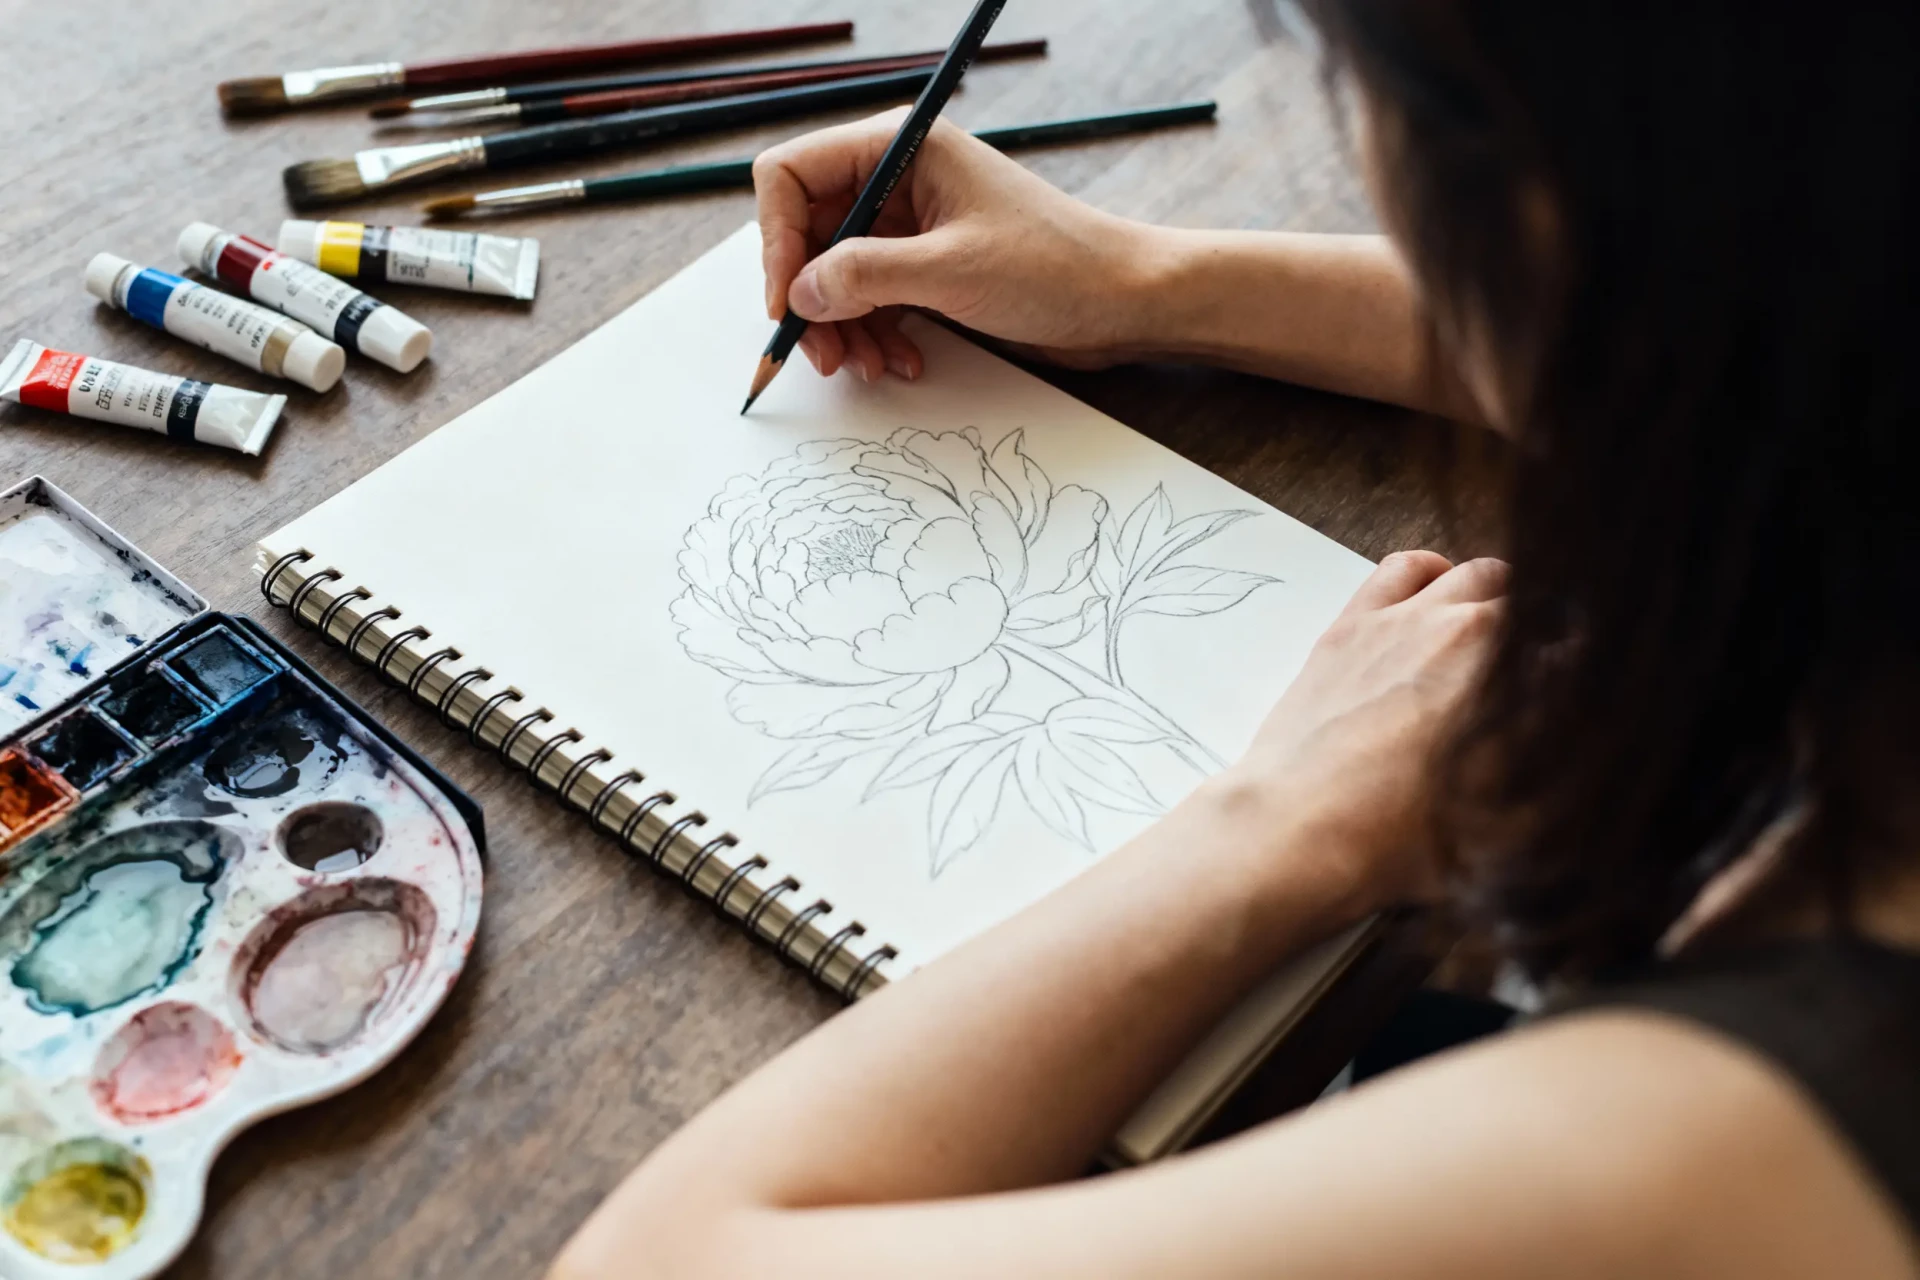
Before getting into the details, you need to establish the structure. It's a quick but crucial step.
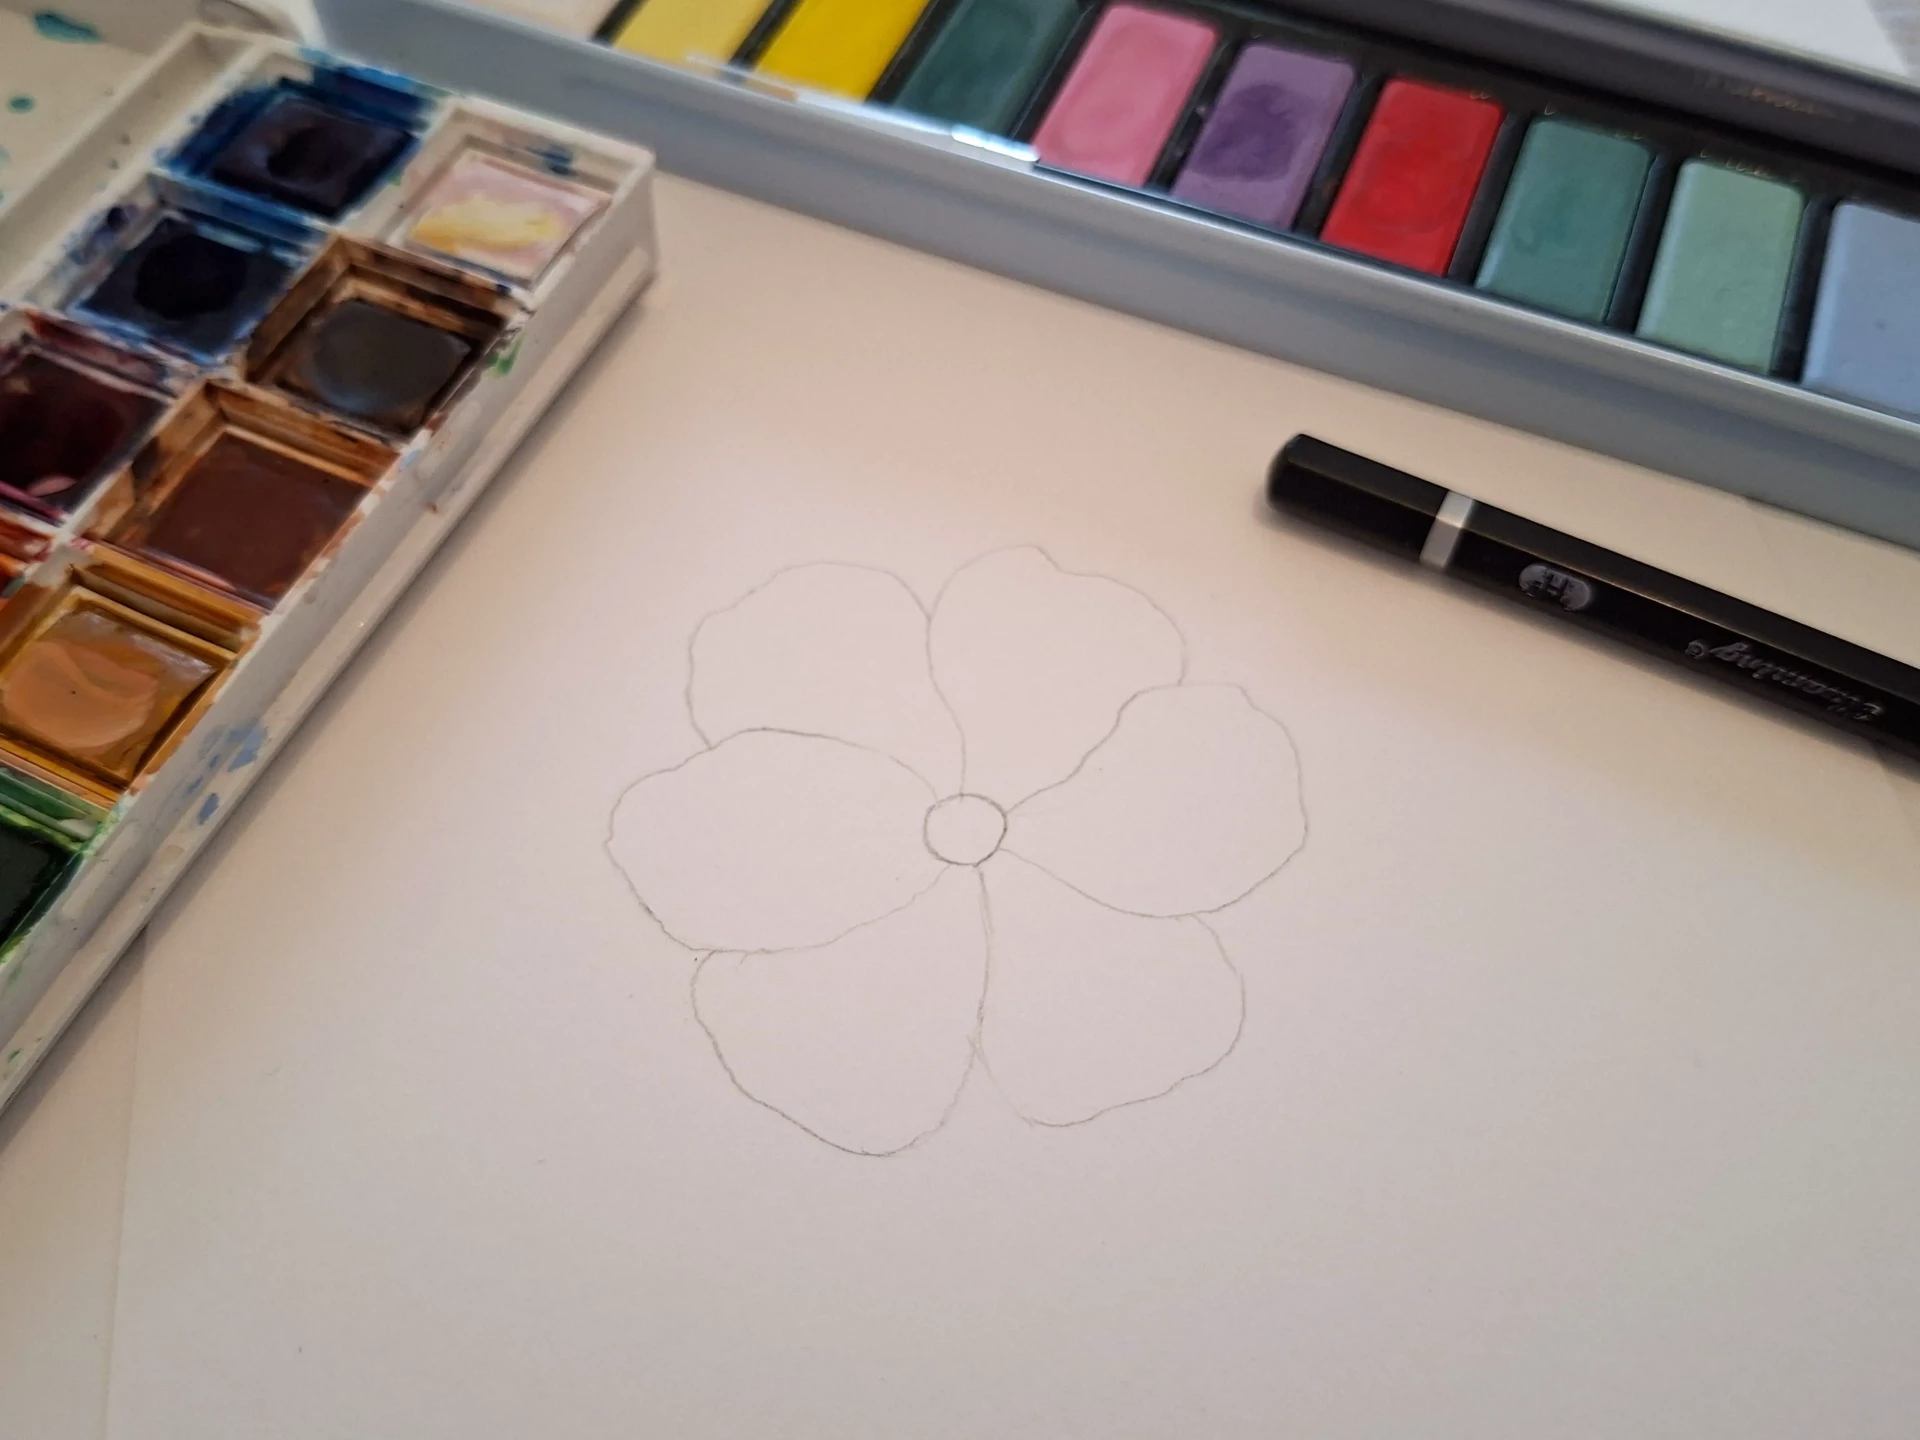
With an HB pencil, draw your first shapes: start with the central circle, then add petals all around. Don't hesitate to overlap the shapes; you can erase the excess afterwards.
Tip: take the time to observe before drawing. Look at your subject for 20 to 40 seconds, analyze it, and then draw. This significantly improves the accuracy of the drawing.
Work very lightly
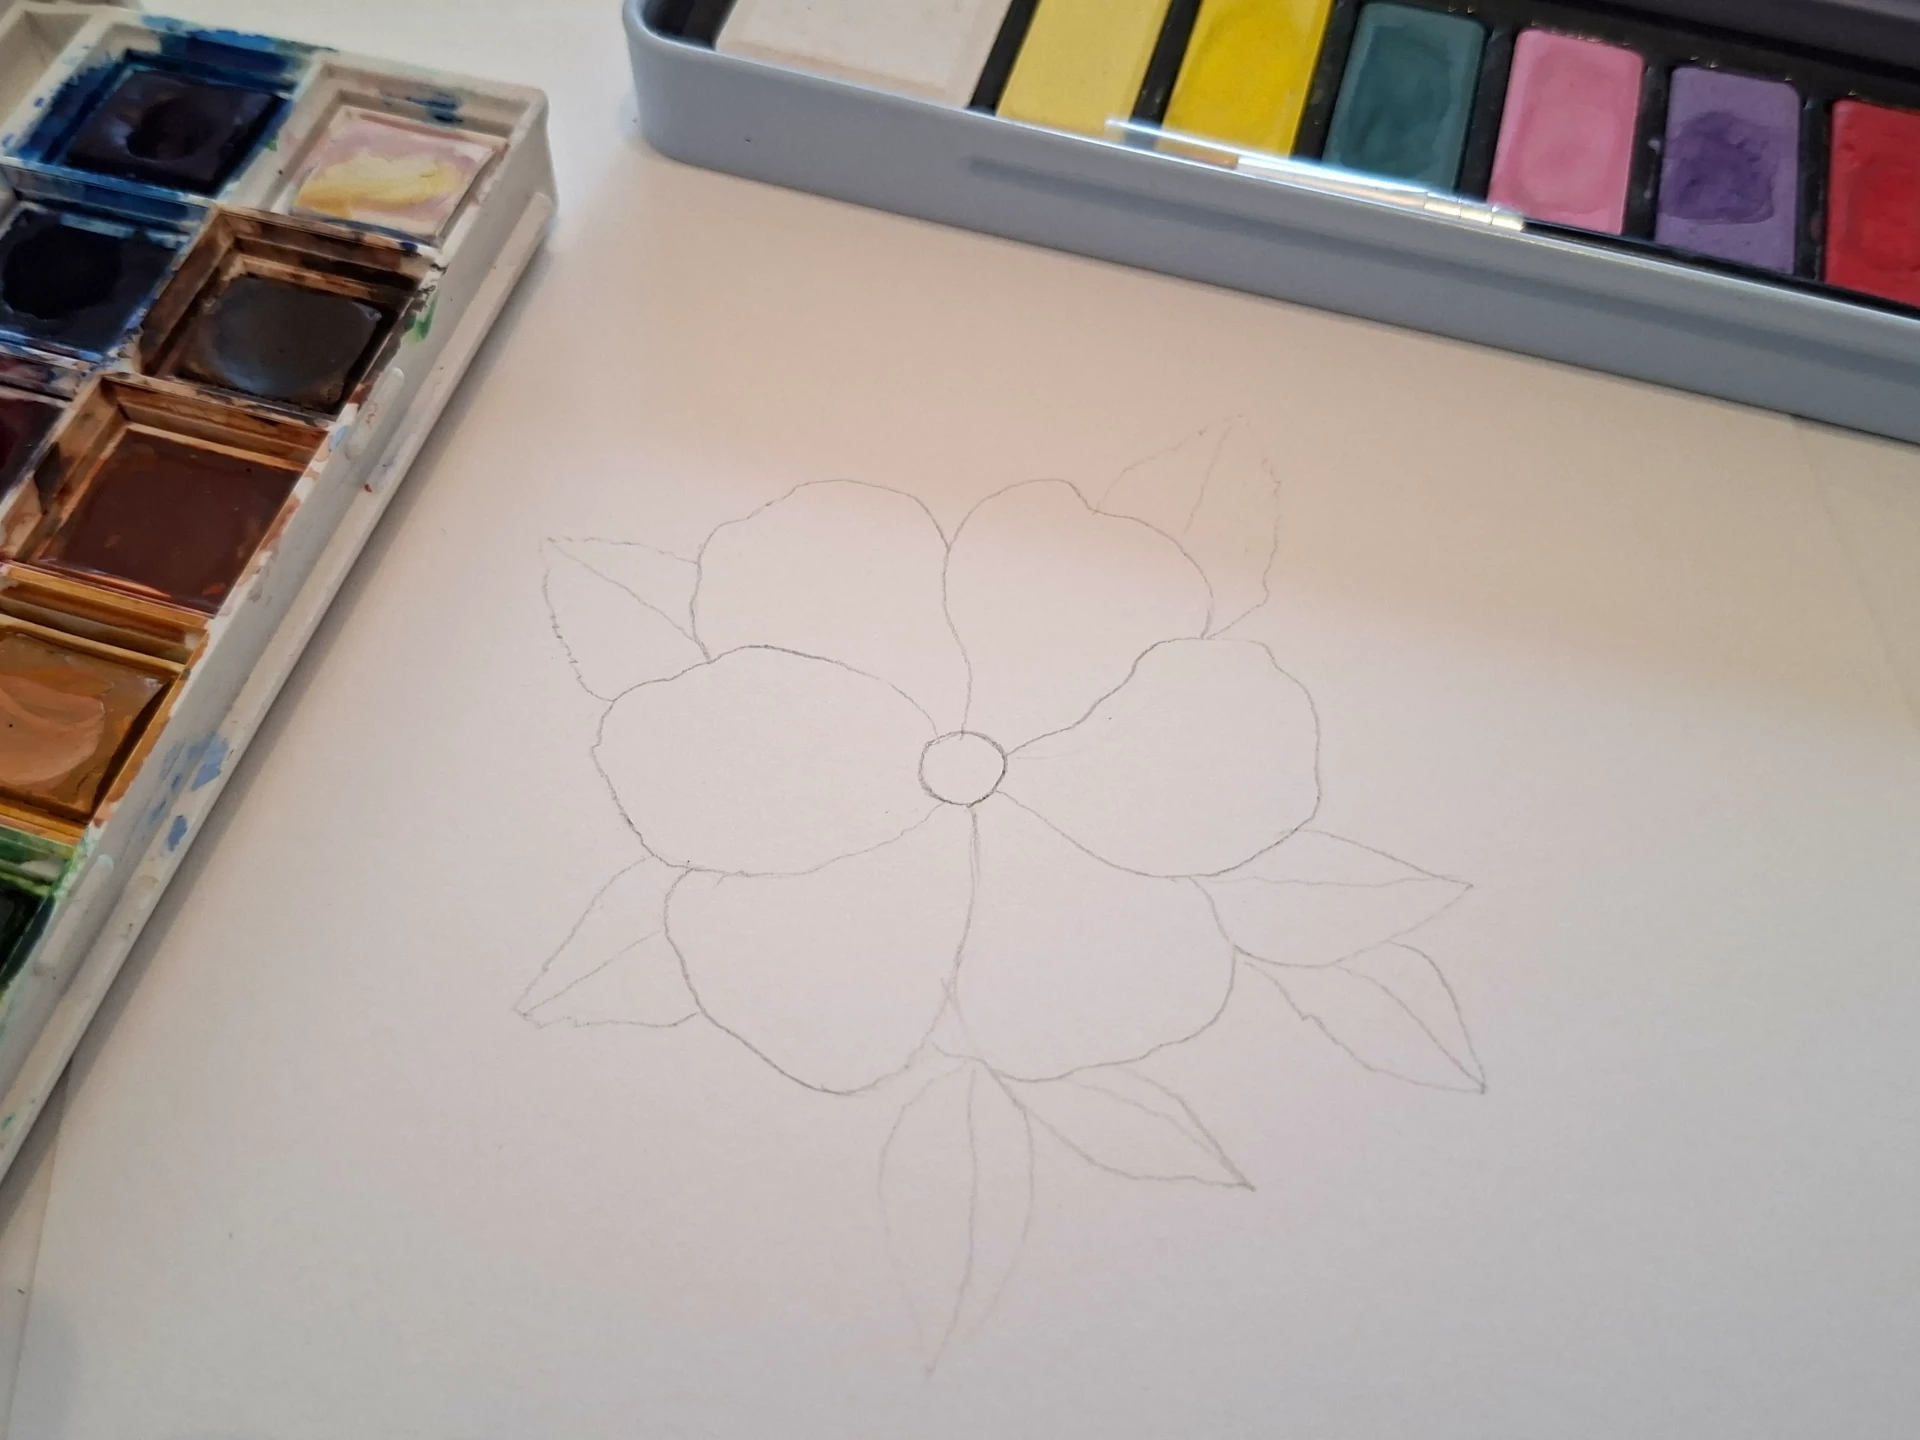
Still using an HB pencil, continue the structure of your flower by adding leaves around the general shape (they can be simplified into triangular shapes).
Tip: the sketch should support the color, not dominate it. To check if your strokes are light enough, see if the paper's grain remains visible through the stroke. If it does, you are working at the right intensity.
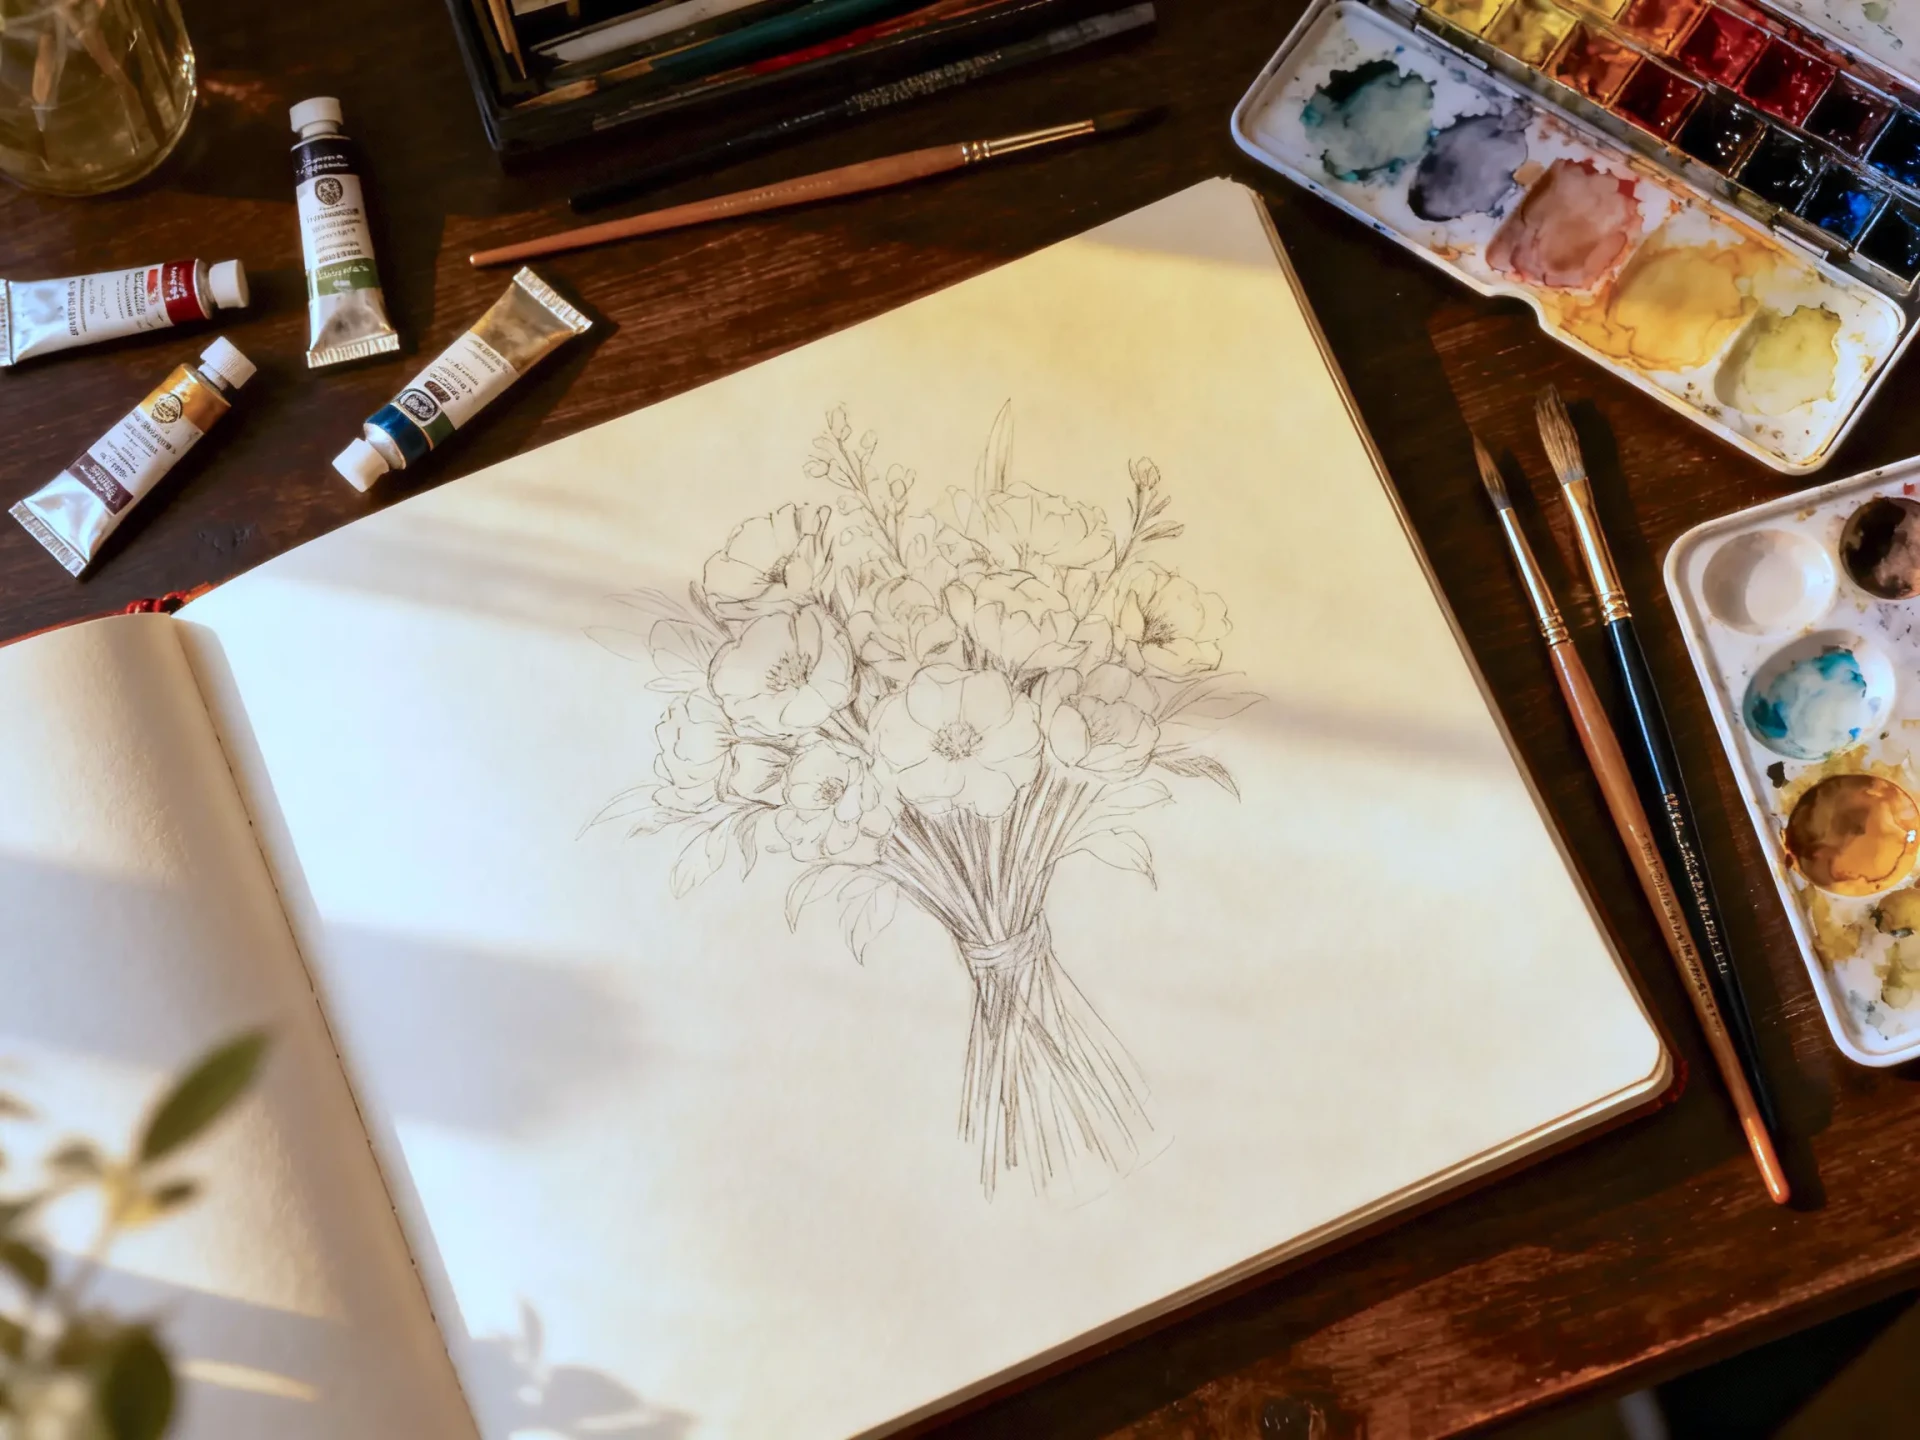
Draw only the essentials
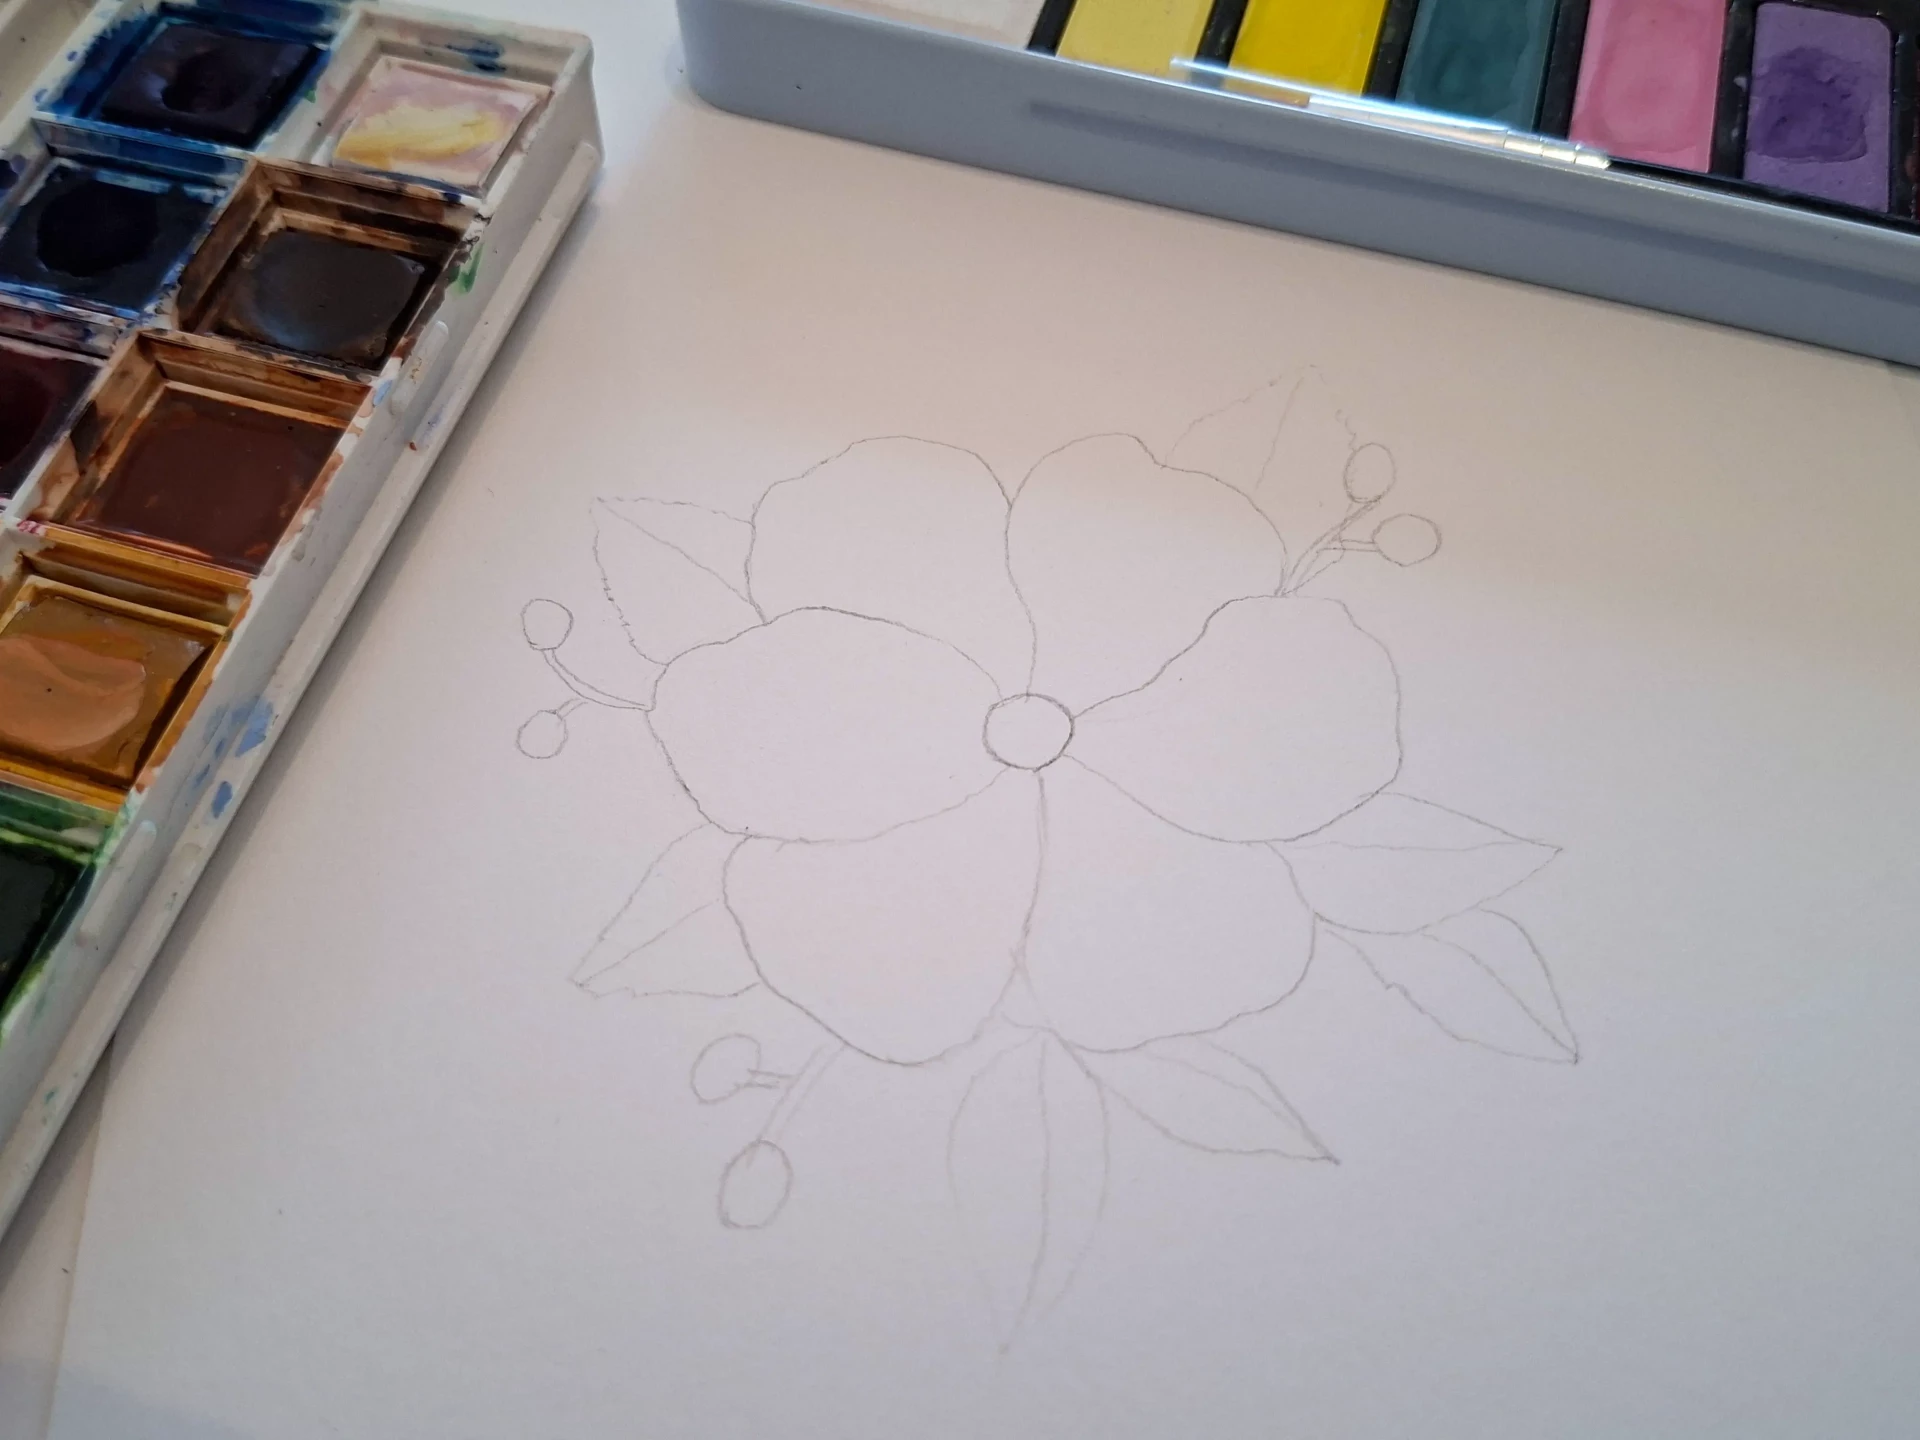
Continue your drawing by adding some light details around the flower. Your sketch is now complete.
Tip: a watercolor sketch is not a finished drawing. It is not necessary to draw the textures, precise details, or pencil shading.
Do not "close" all the lines: some can remain open. Watercolor will bring the drawing to life.
Then use the kneaded eraser by lightly tapping to soften the lines before adding color.
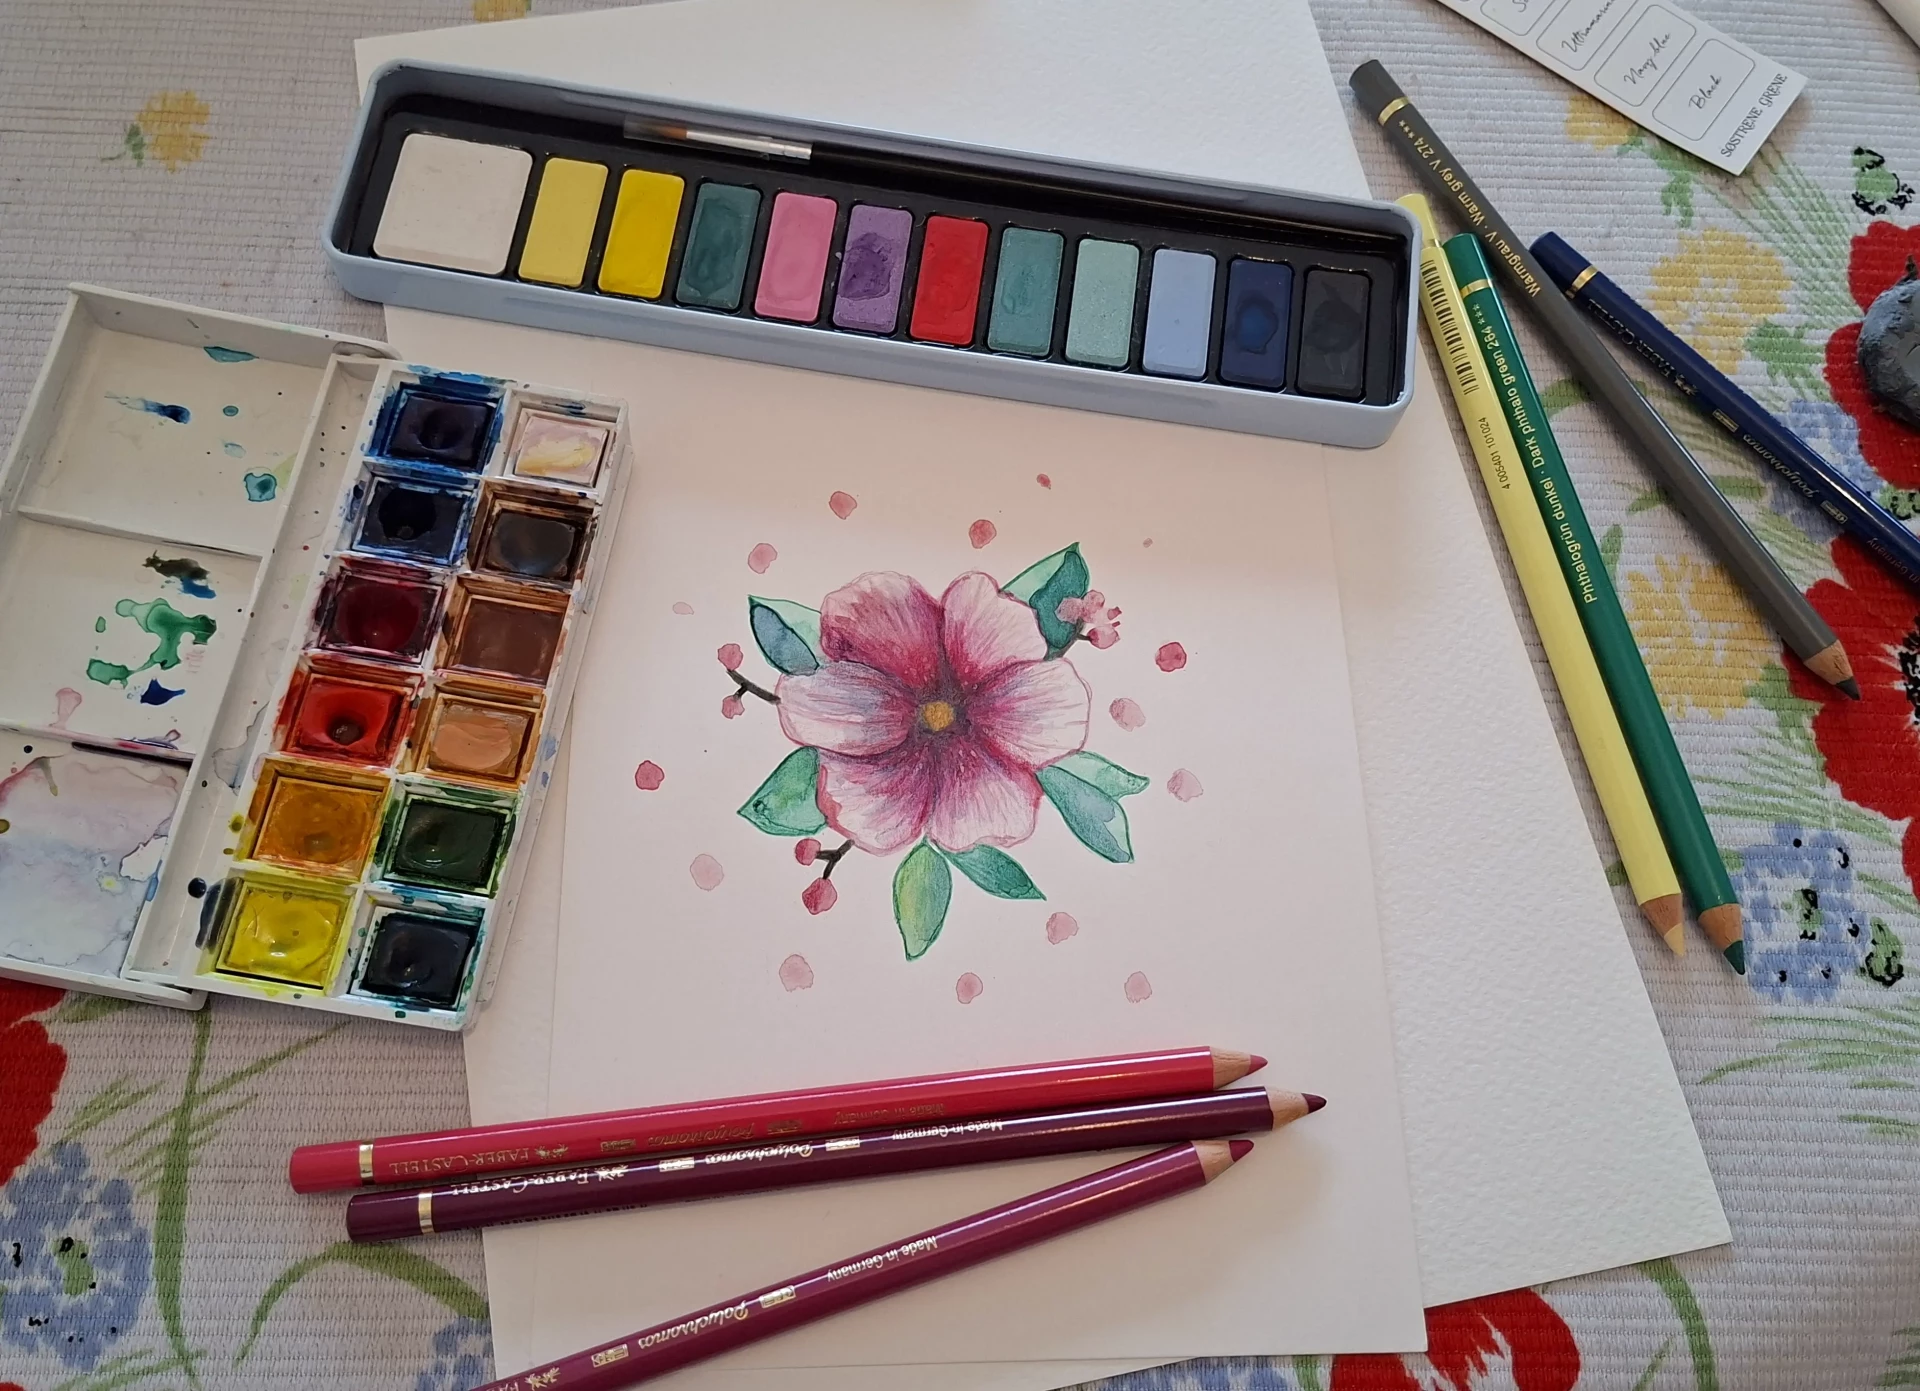
Your finished watercolor
Once the sketch has been created with a dry pencil, you can paint with watercolors and play with colors, transparent effects, and layering.
Avoid the most common mistakes
Error No. 1: Pressing too hard
A stroke that is too hard becomes difficult to mask under washes and can even create a slight groove in the paper.
Error No. 2: Adding too many details
A sketch that is too cluttered can obstruct the painting. Let the watercolor do some of the work.
Error No. 3: Constantly correcting
Excessive erasing damages paper. It is better to start a shape over than to correct it for too long.
Error No. 4: Using a pencil that is too soft
Graphite can mix with water and create grayish stains. Stick with H, HB, or F.
Sketch and watercolor: think about values
Even if you only draw in lines, it is important to think about values.
Ask yourself some questions:
• which areas should remain very light?
• where will the main shadows be located?
• which parts should catch the eye?
You do not need to draw the shadows, but anticipate them. Visualizing three values (light, medium, dark) is often enough to effectively guide the painting.
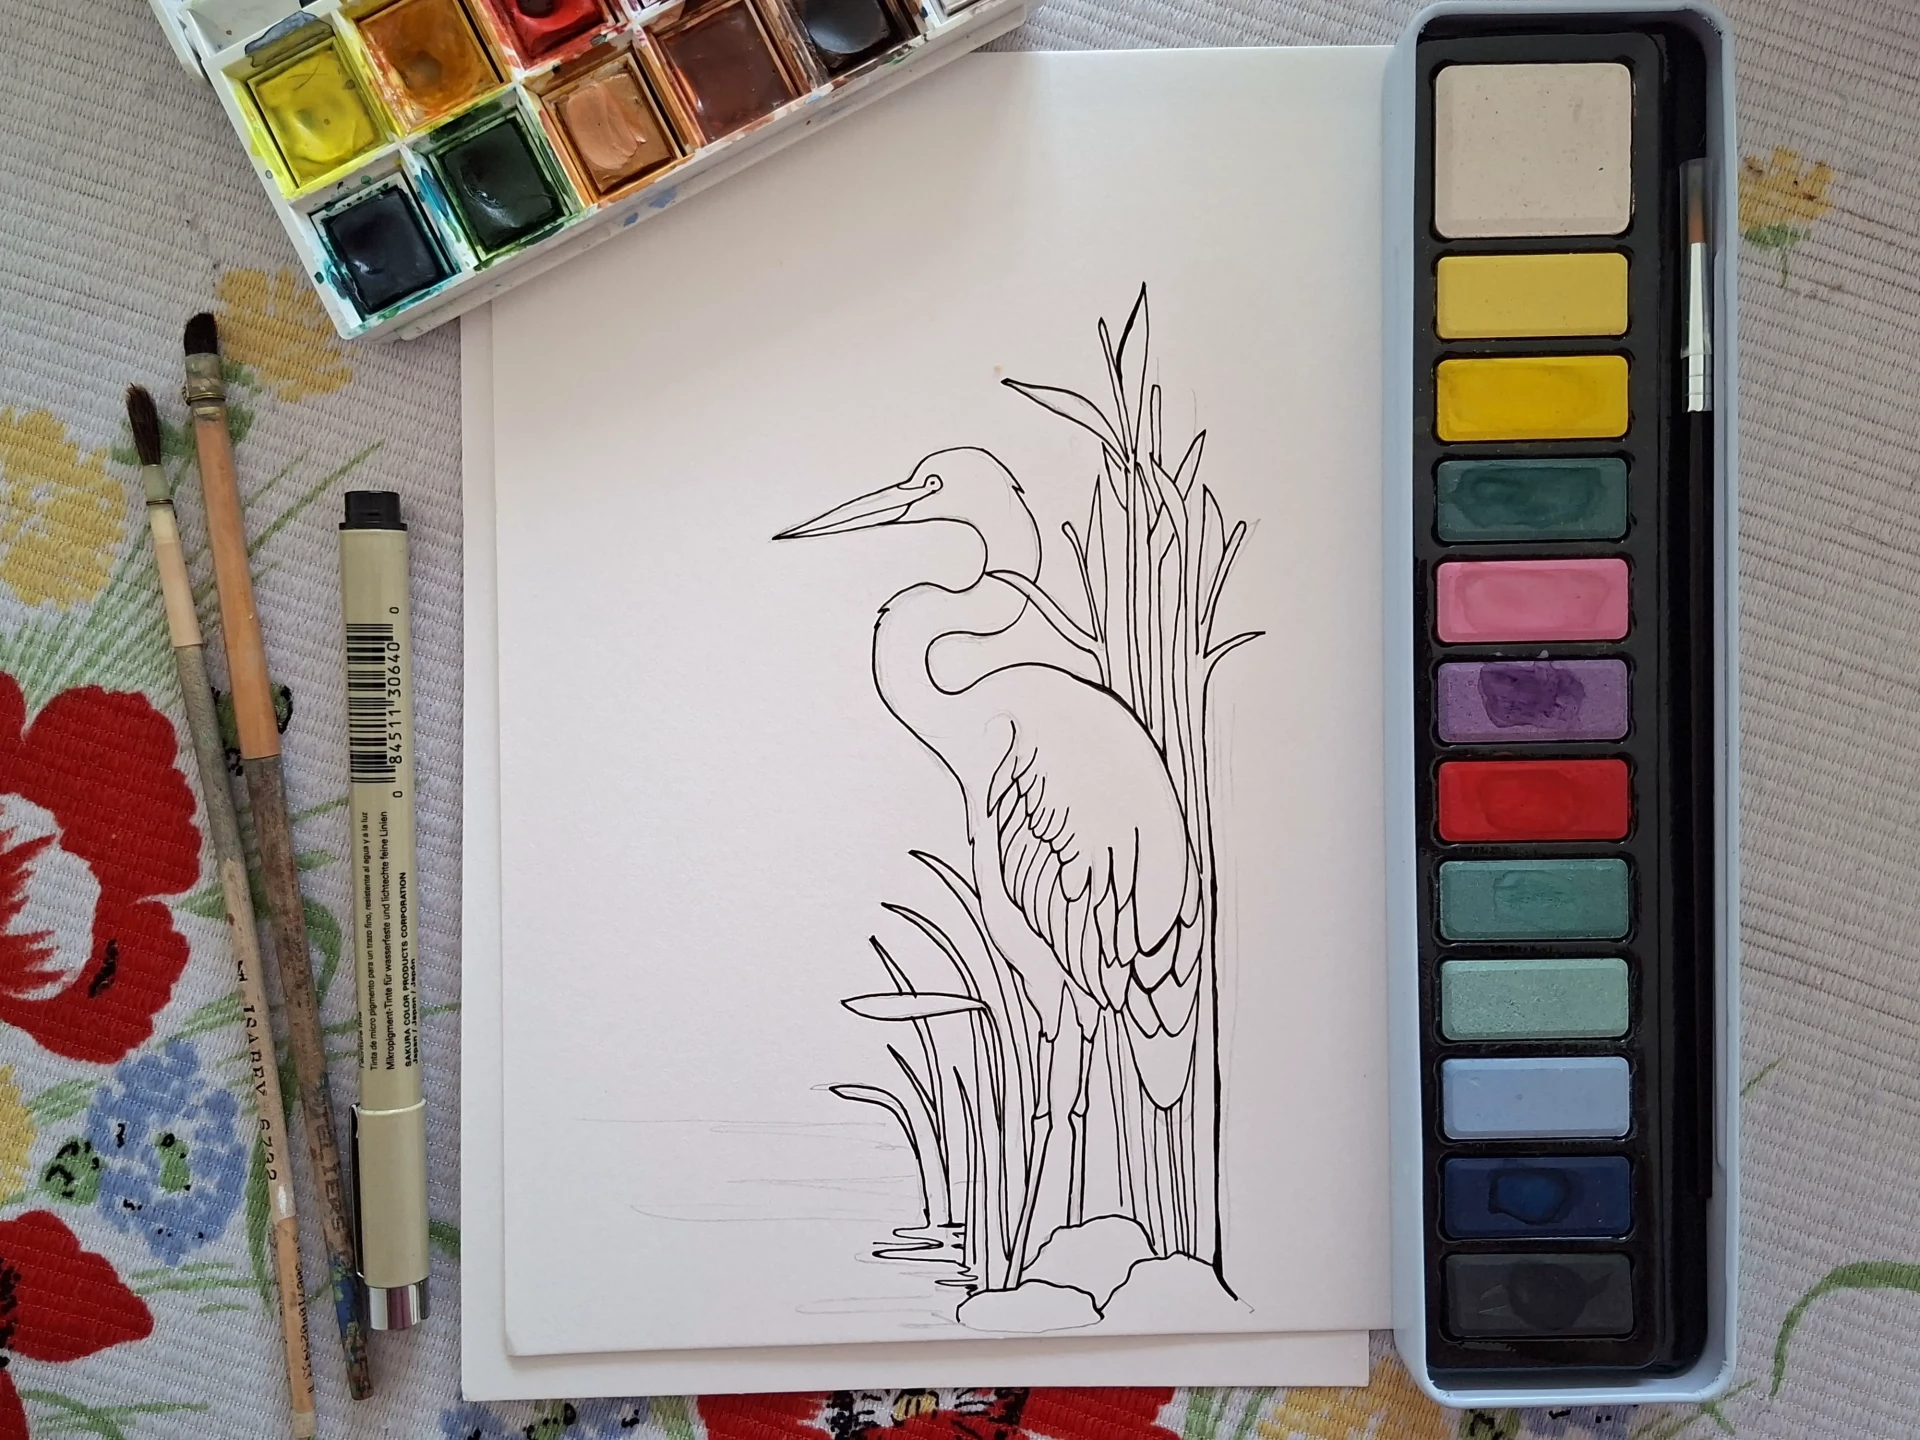
Should you ink your sketch before adding watercolor?
It is not mandatory, but it is an option. You can go over your drawing with a waterproof pen, pigmented ink, or a technical pen.
Advantages:
• graphical rendering
• drawing visible after color
• more defined structure
Disadvantages:
• less softness and permanent lines, with no possibility of correction

Some tips for success every time
• Make a small thumbnail sketch before you start
• Simplify the scene into three major values: light, medium, dark
• Stop sketching as soon as the structure is laid out
• Soften the lines with a kneaded eraser before painting
• Breathe: the sketch is not a finished drawing, but a guide
Conclusion
A good sketch is the key to a successful watercolor. It provides a solid base without overwhelming the painting, allows for smooth work, helps avoid mistakes, and enables the artist to approach the subject with more confidence.
Soft, light, structured but never rigid: it's the ideal balance to let watercolor express all its delicateness.
With a bit of practice, this step becomes a real pleasure and a valuable ally in your development.
Editor: Sacha Fatticcioni
Discussion
Indeed, I think this will allow me to approach my projects with more confidence. I will focus more on my sketches before painting, thank you.
Good advice thank you