Draw an Ant

Today I'm going to teach you how to draw an insect, but not just any insect... we’re going to draw an ant! Indeed, these tiny creatures attracted to sugar fascinate me a lot, which is why I am going to teach you how to draw them. Before we start drawing an ant, we will look at its anatomy to understand its body and how it works.
Initially, let's turn our attention to the following question: what is an ant? A social insect living in large communities within anthills, the ant, like bees and wasps, is part of the group called "hymenoptera." You can also find a tutorial on how to draw a bee on our blog. Don't hesitate to have a look!
There is a staggering number of ant species. Including red, russet, black, white ants and many others, there are said to be over 14,000 species.
Here are several types of ants:
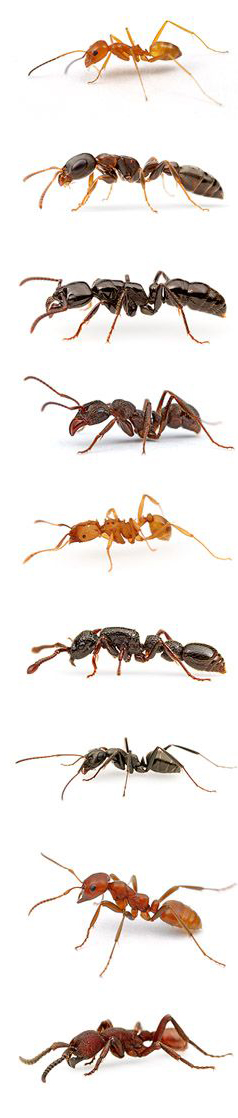
Now we are going to tackle the very anatomy of an ant to better understand its composition and how it works.
We can see from the following image that the ant is made up of a flexible and articulated body. The ant has 6 legs, which are attached to the first part of its body. It also has antennae on its head that are used to pick up smells and mandibles that allow it to eat.
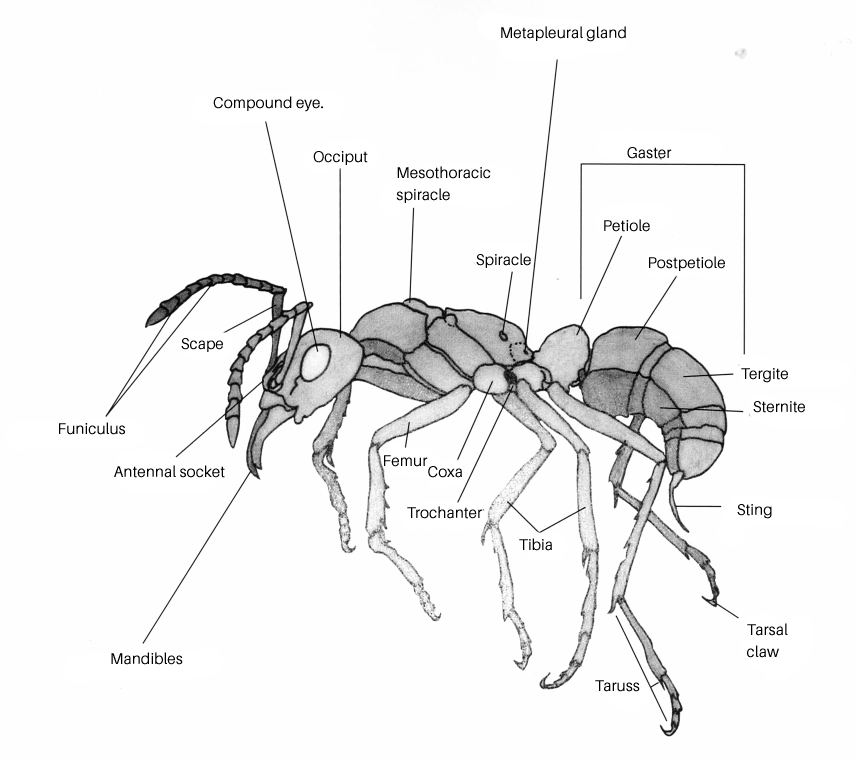
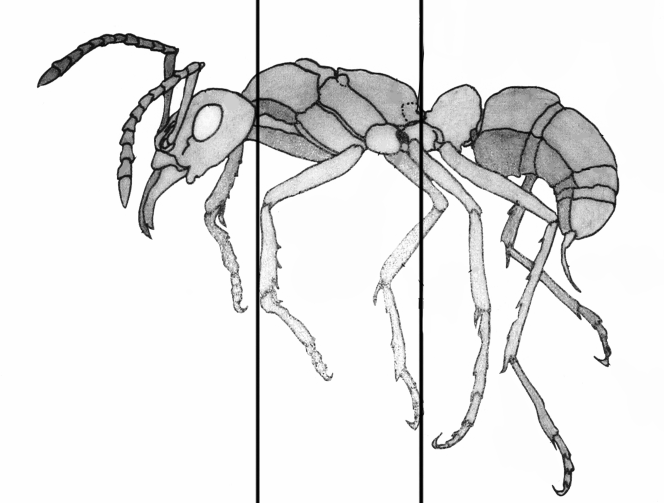
To simplify it, we will divide the ant into 3 parts: the head, the thorax, and the abdomen.
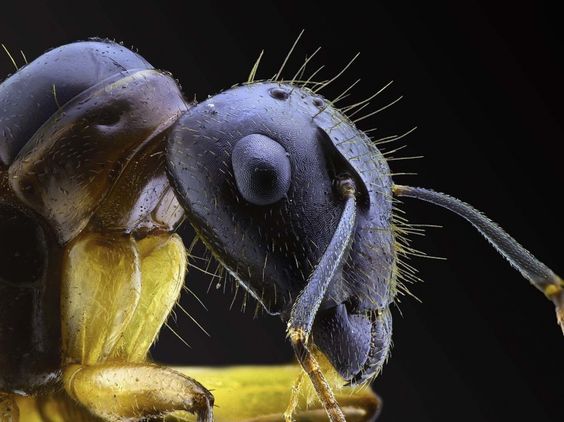
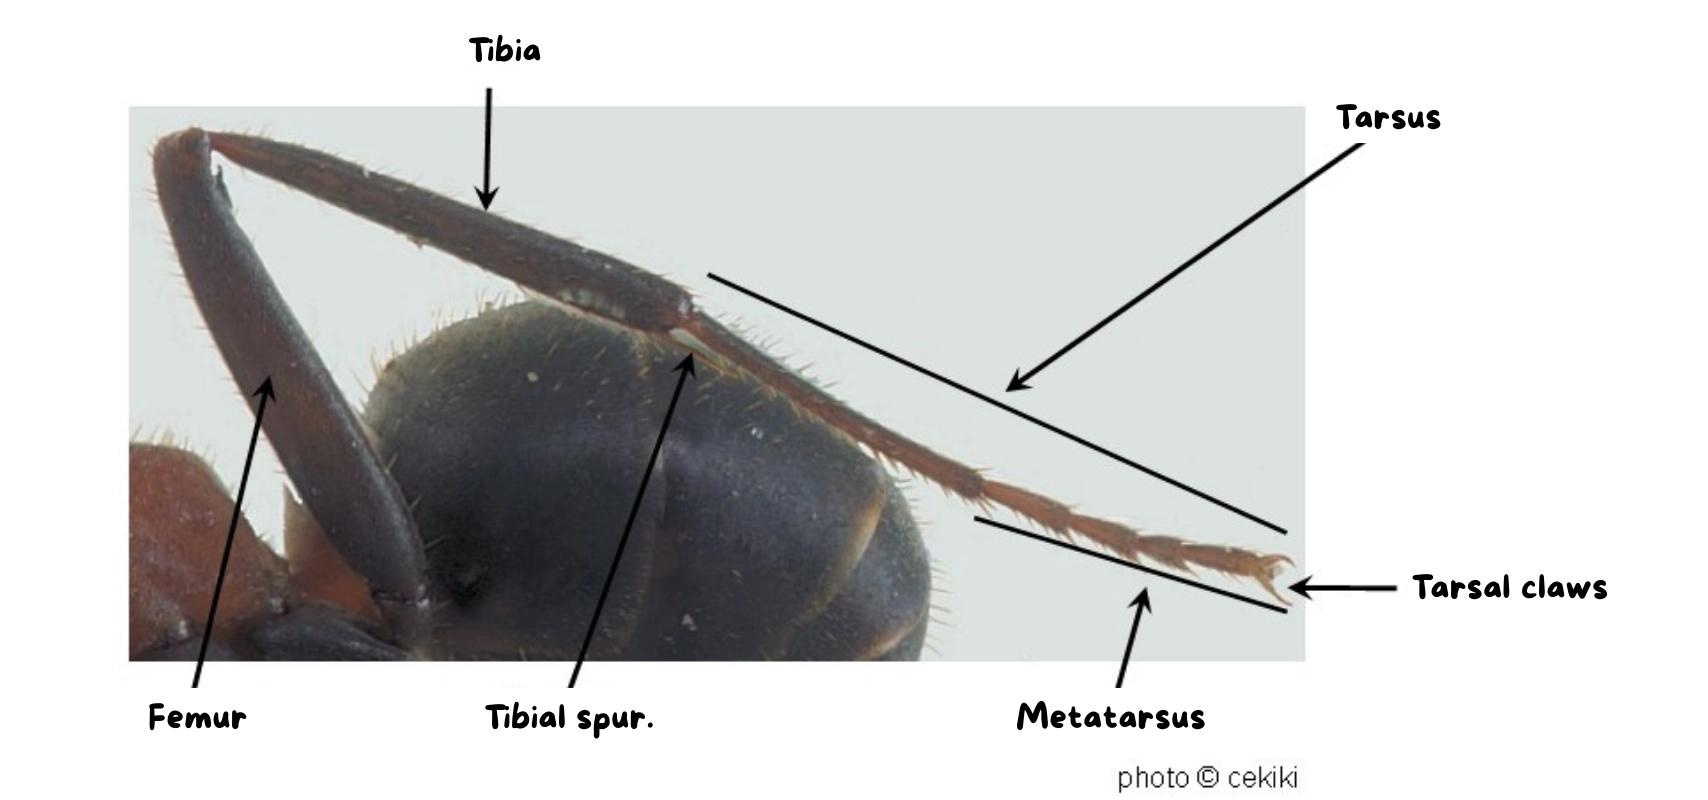
Here is a picture of the mandibles as well as the extremities of the legs of an ant in detail.
The ant does not have a spinal column like other species. Indeed, ants possess an exoskeleton located outside their body. Unlike endoskeletons, these are not sets of bones, but rather types of external "shells."
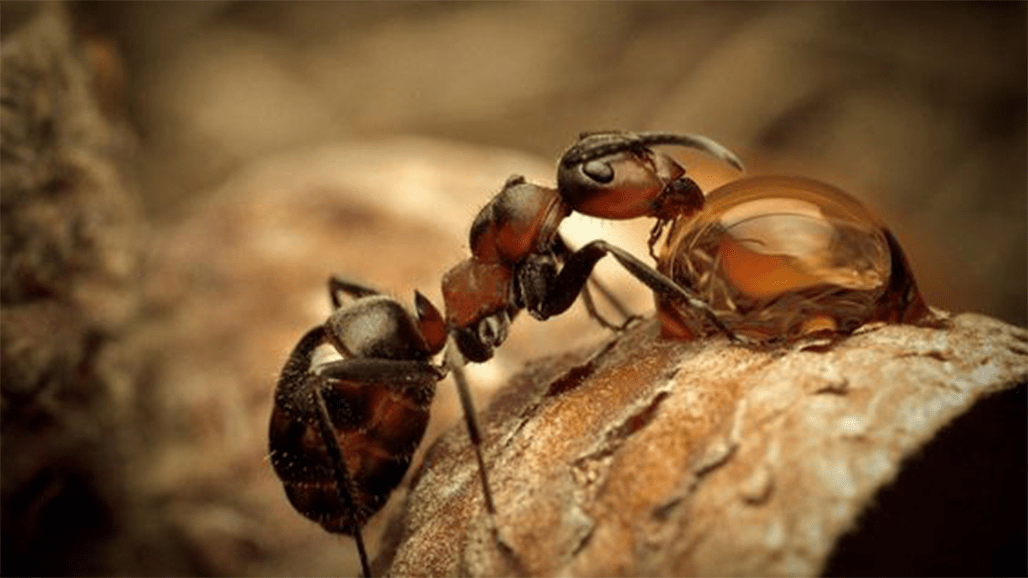
We are now going to learn how to draw an ant, using this photo as a reference.
Here is the dynamics of the ant:
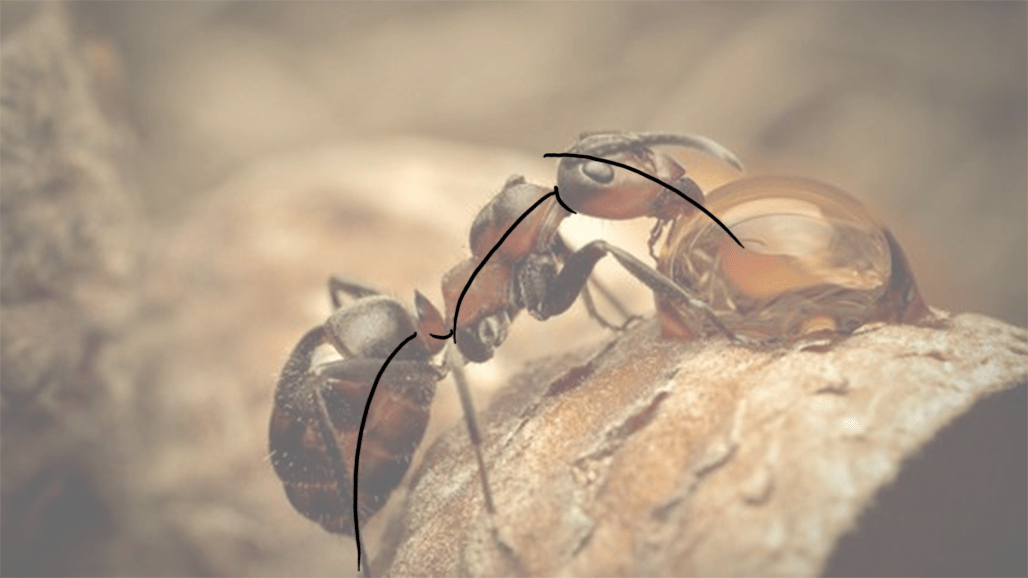
We will base our approach on this dynamic. Notice that the ant's body is made up of round shapes.
THE BASIS OF DRAWING AN ANT
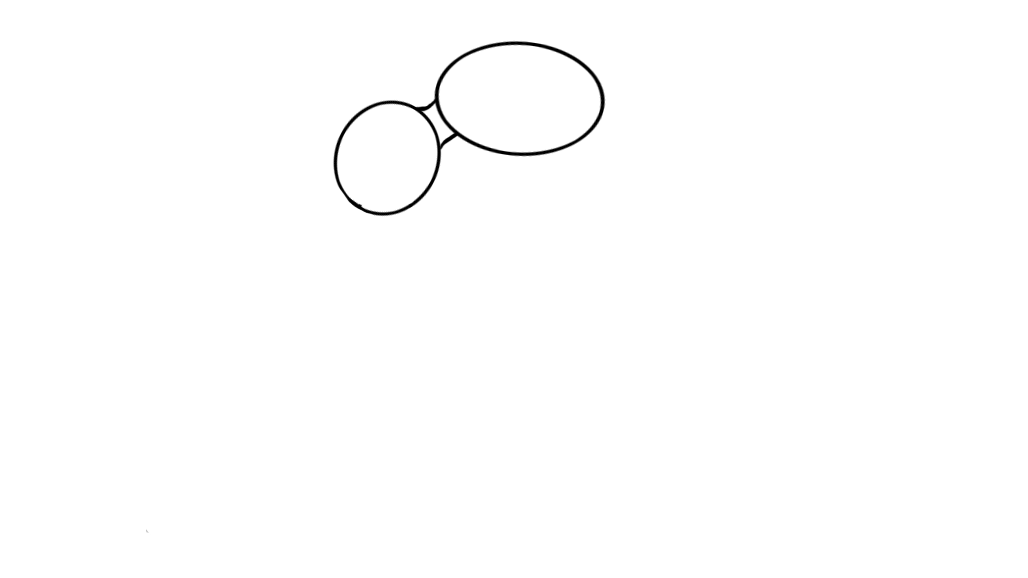
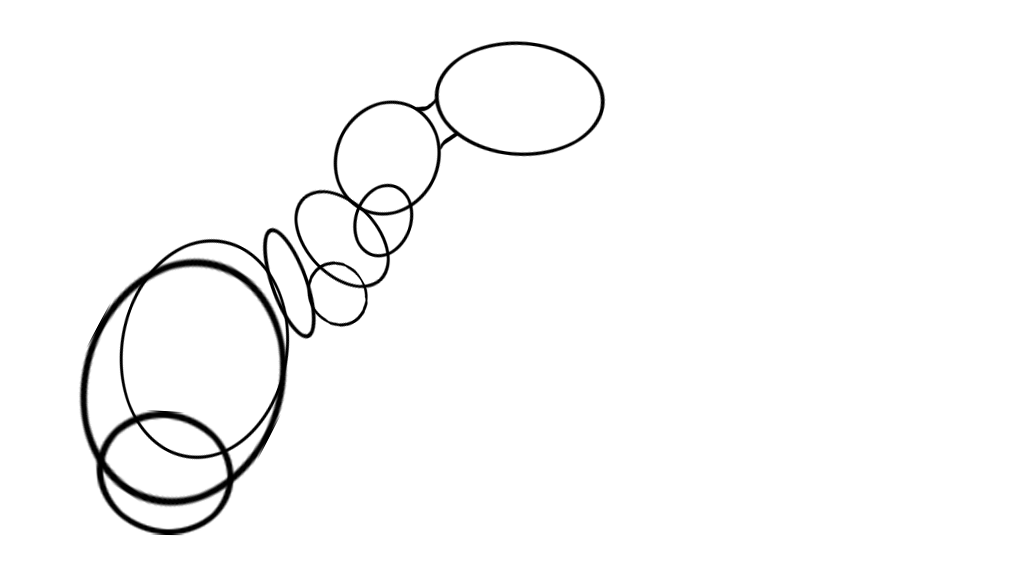
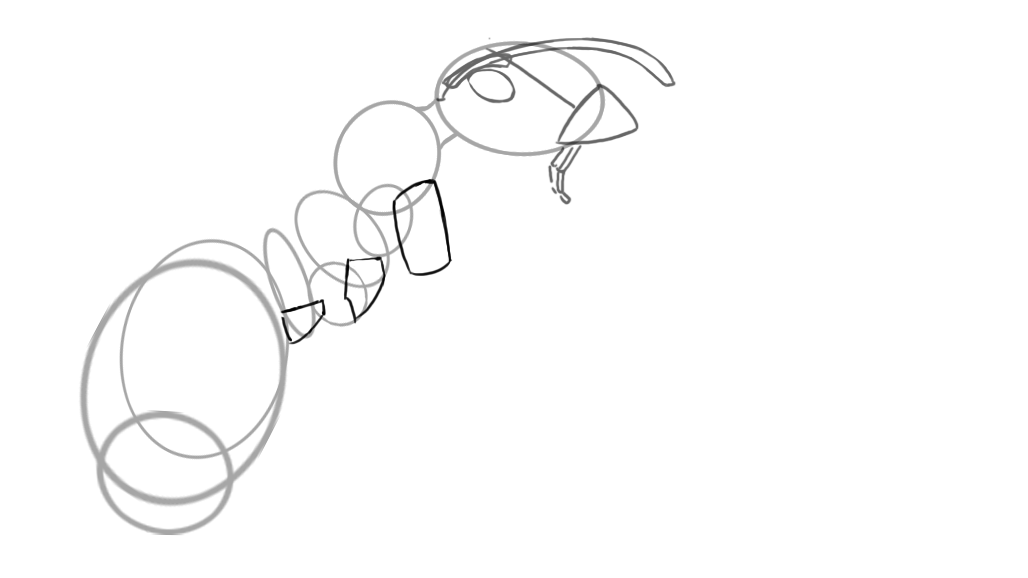
We will start with the head of the insect by drawing circles and ovals as a base. Notice that the body is stacking up on itself.
Do the same for the rest of the body.
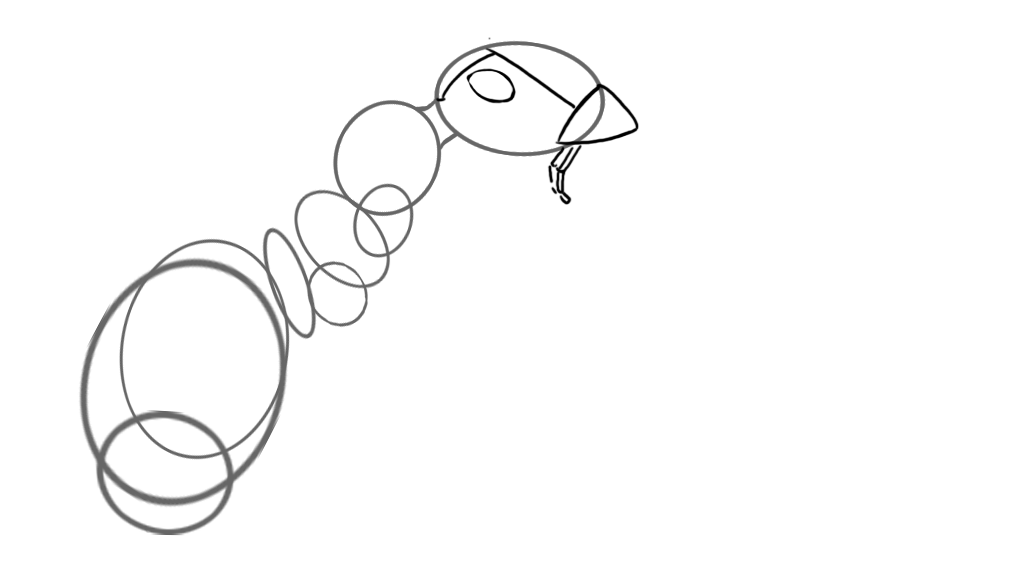
We will move on to the head, which features a triangle for the mandibles, another circle for the eye, which is located near the outside of its head, and two lines that correspond to the articulated part of its head.
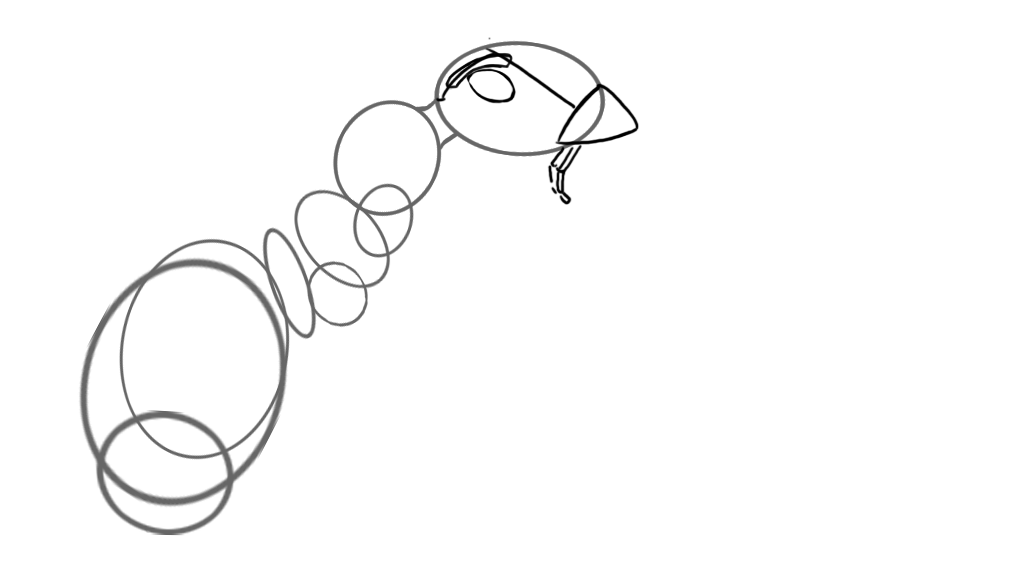
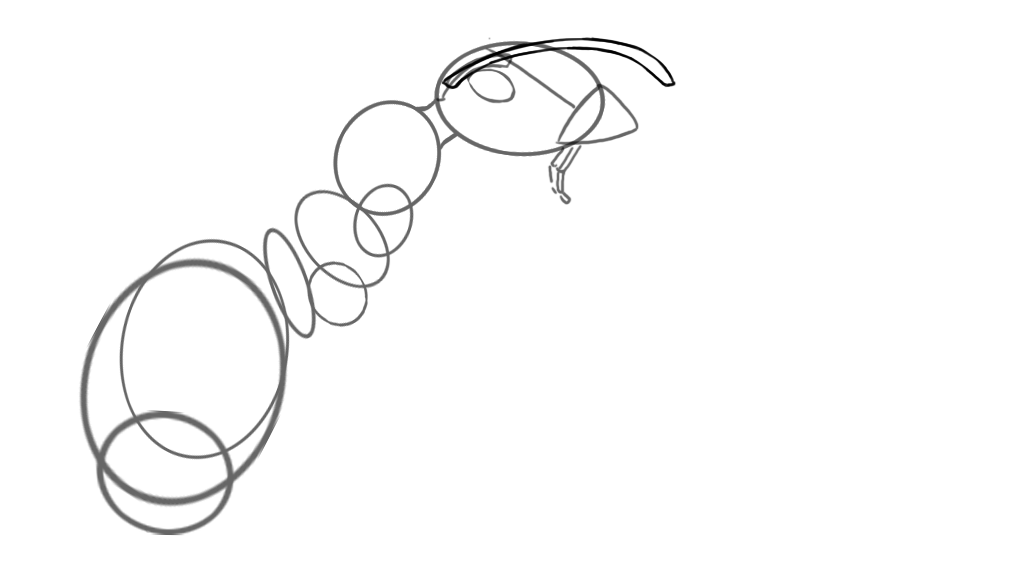
Let's move on to its antennas, which we will represent with rounded rectangles. This creates arcs that are situated above the ant's eye.
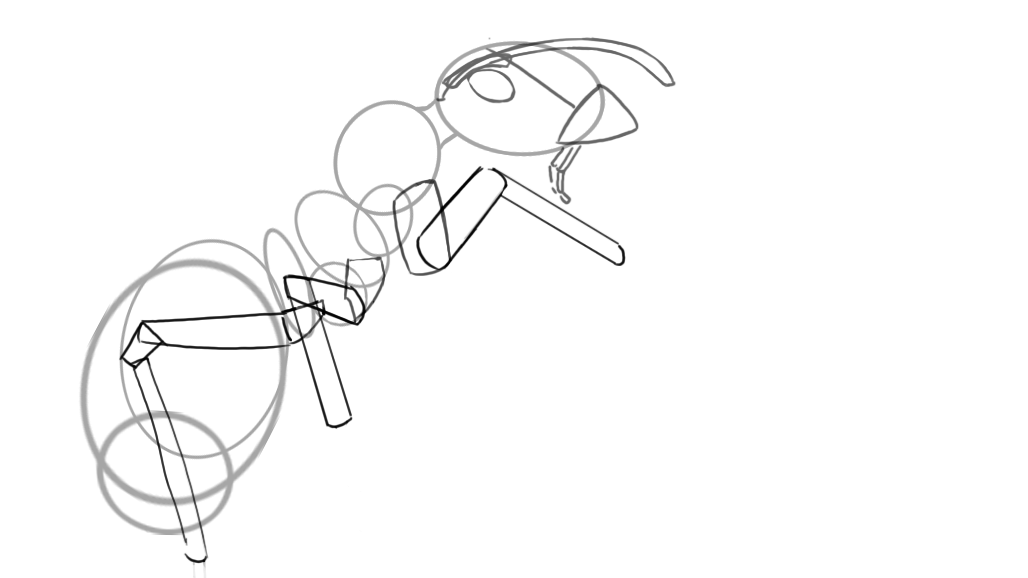
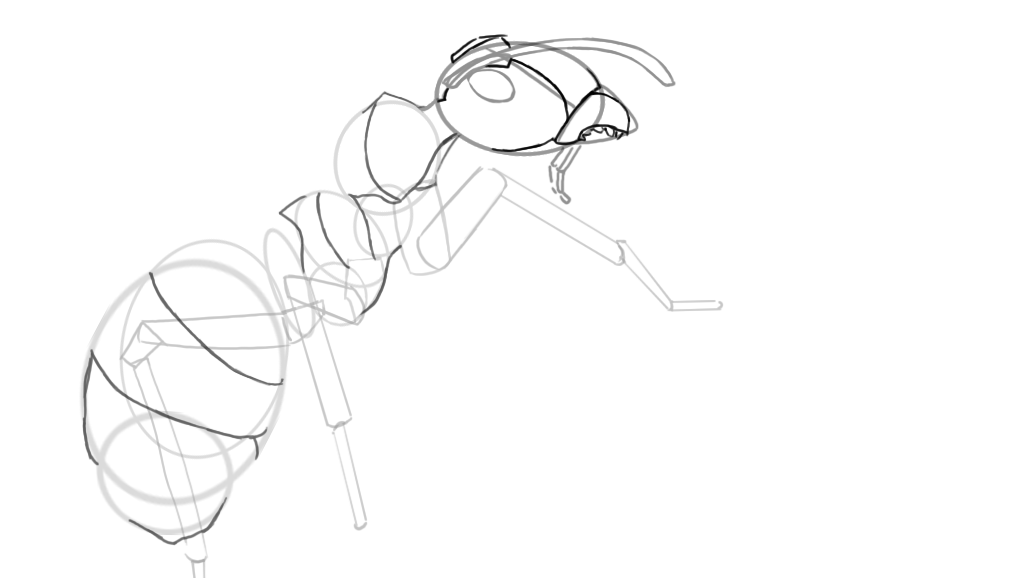
Let's move on to the limbs, which allow the ant to move. We start by placing rectangles of varying lengths on the ant's thorax. The thorax corresponds to the small circles drawn.
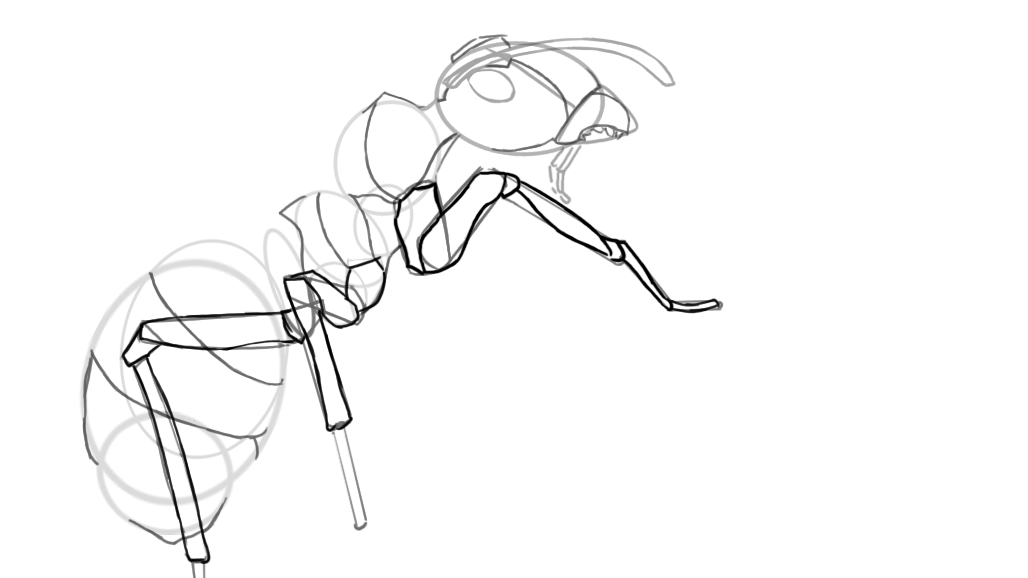
We then draw the rest of the joints in the form of elongated rectangles. There are a total of four joints to form an ant's leg. We will draw the last part in another step because these are thinner.
Here is the last joint, which is built with thin tubes onto which studs are fixed. This allows them to grab material when they move.
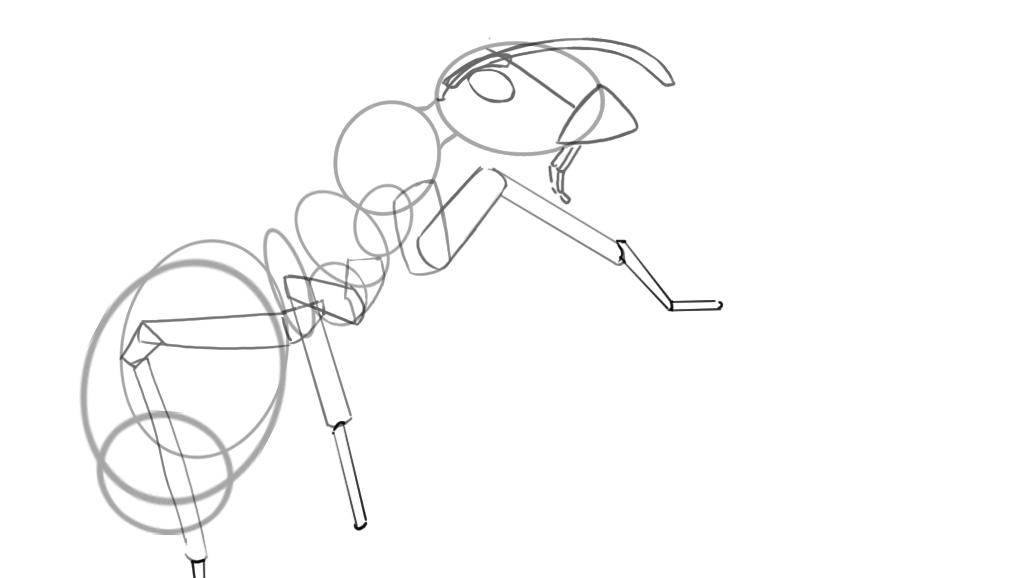
Now that the base is finished, let's move on to the details to make it look like a real ant.
DRAWING THE DETAILS OF AN ANT
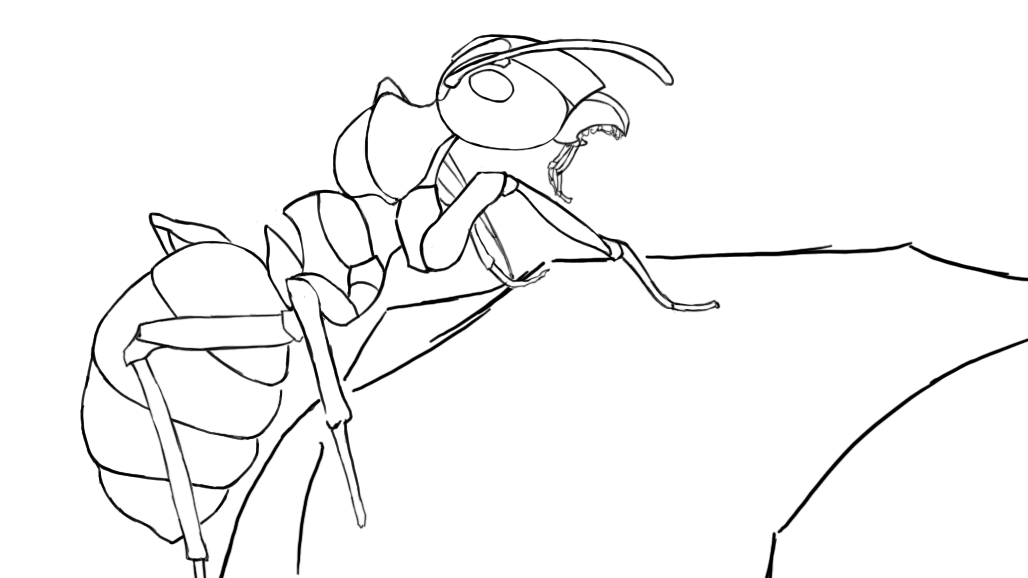
We are going back to the last drawing we did to assemble the different parts of the ant's body. We will therefore assemble the entire body of the ant by drawing triangles or curves on the thorax and abdomen. The lines drawn in the middle of these two parts correspond to the famous joints I mentioned earlier.
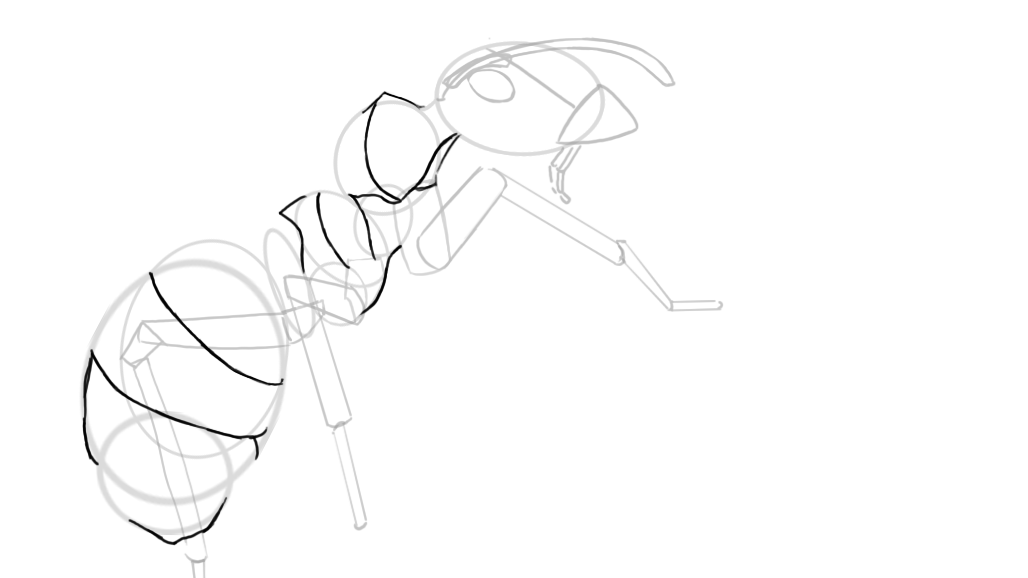
We'll do the same for the head. We need to place curves between the upper and lower parts of the head. In the middle of the ant's head, we will draw a circular arc. We need to reduce the size of the mandible by drawing two upward circular arcs and by adding teeth shaped like triangles.
We are now moving on to the ant's legs. We can see that there are quite a few shapes here. They range from a rounded triangle that follows the cut of the thorax for the base, to the second part of the leg where we add rounds in the corners of the rectangle while enlarging the base. Don't forget to reduce the part making the junction between the second and third part of the leg.
We need to do the same for the third part, which is finer than the first two. Simply repeat the same process. The fourth part of the leg is cut into a small, rounded cube followed by a tube that is slightly twisted at the ends.
Here is the final result of our drawing.
All that remains is to add details like the fur and the famous claws to finish this simple line drawing.

Go ahead, it's your turn to have a go!
Discussion
14 comments