How to Get Started with Charcoal Drawing
Do you want to start charcoal drawing but don't know where to begin? Don't worry. I will guide you step by step on how to get started with this drawing technique: first, we'll look at the essential materials, then I'll suggest a simple exercise focusing on a landscape to put all this into practice.
The history of charcoal
Charcoal is a calcined tree branch. Historically, branches from a shrub called spindle are used, but it can also be made from other trees such as lime, willow, birch, spruce. The best charcoals are made from spindle and willow.
This technique is ideal for monochrome processing of an image.
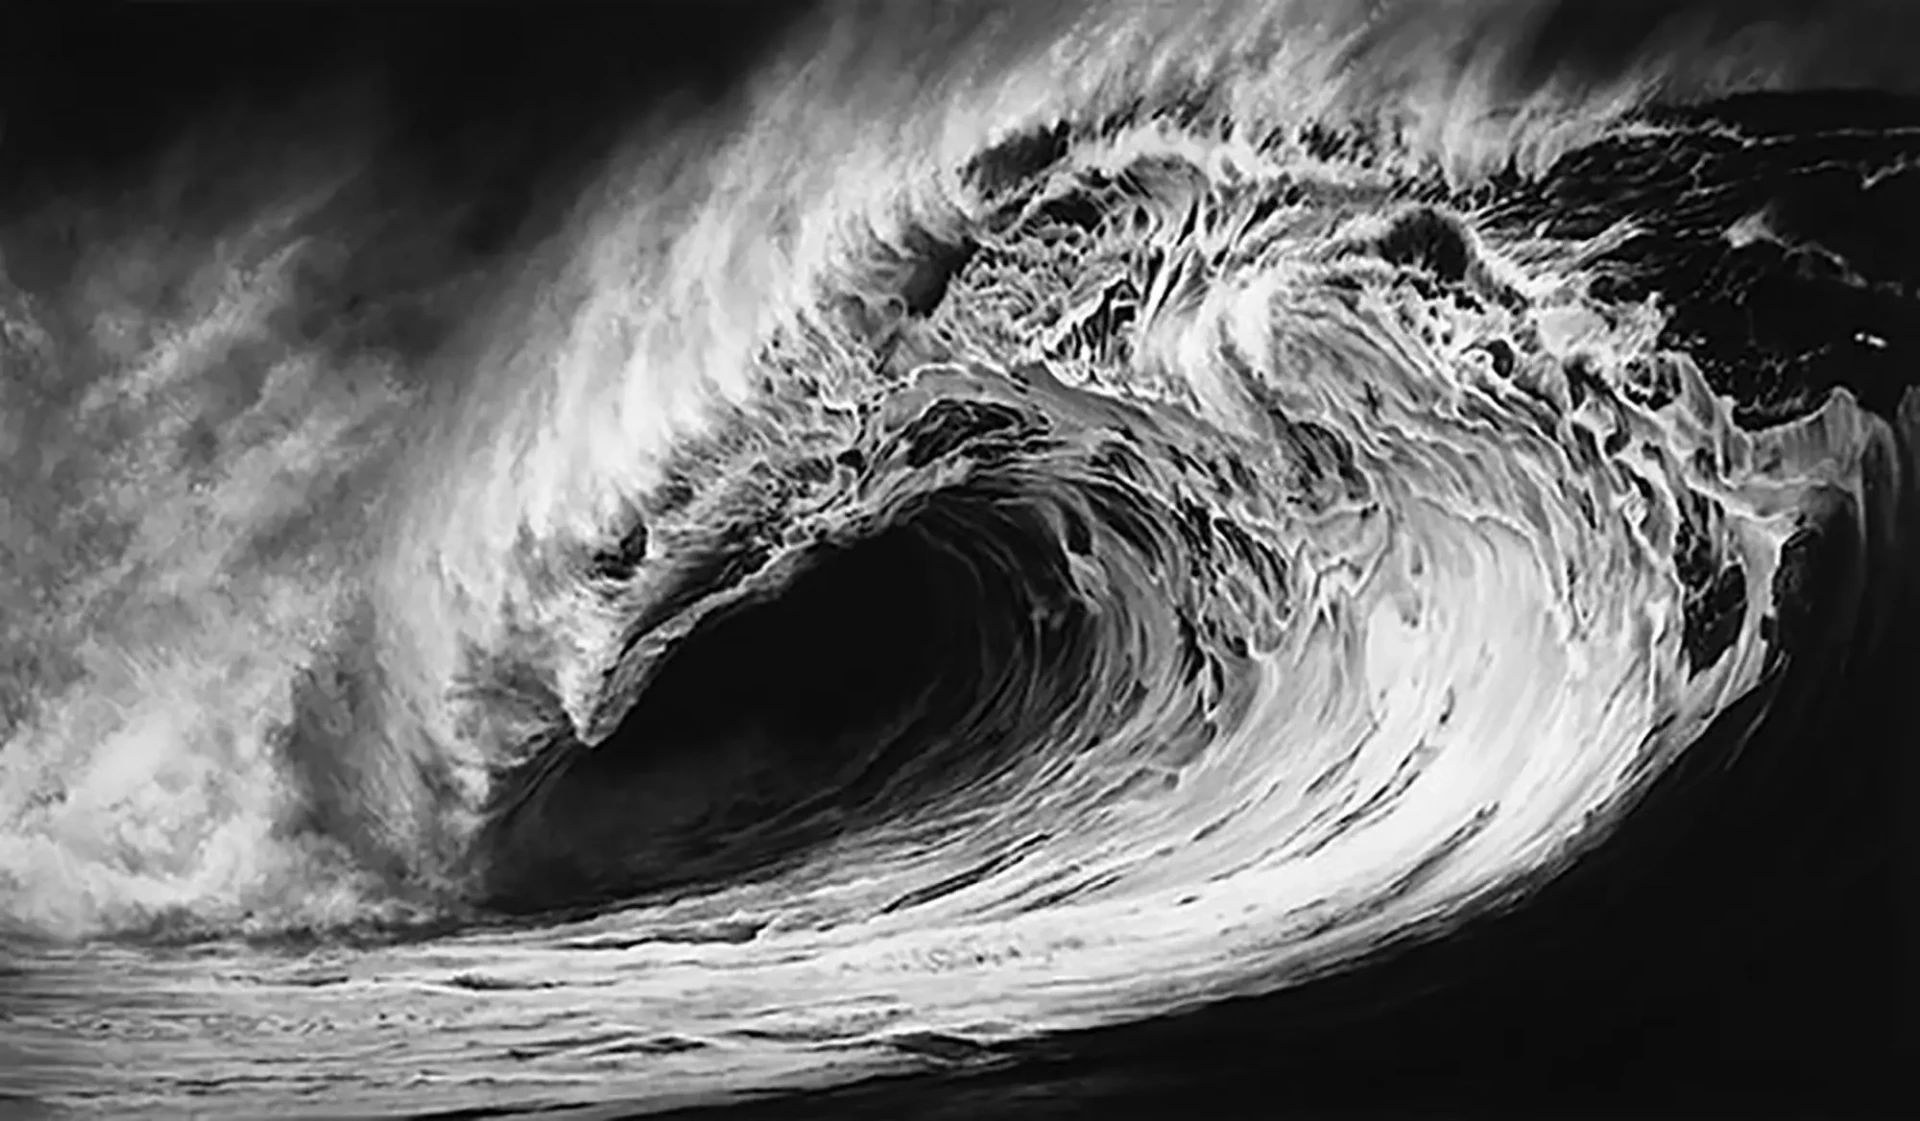
Charcoal can be used for making preparatory sketches for oil painting, for imaginative drawing, as well as for creating detailed images (Roberto Longo, Untitled, Hellion, 2011).
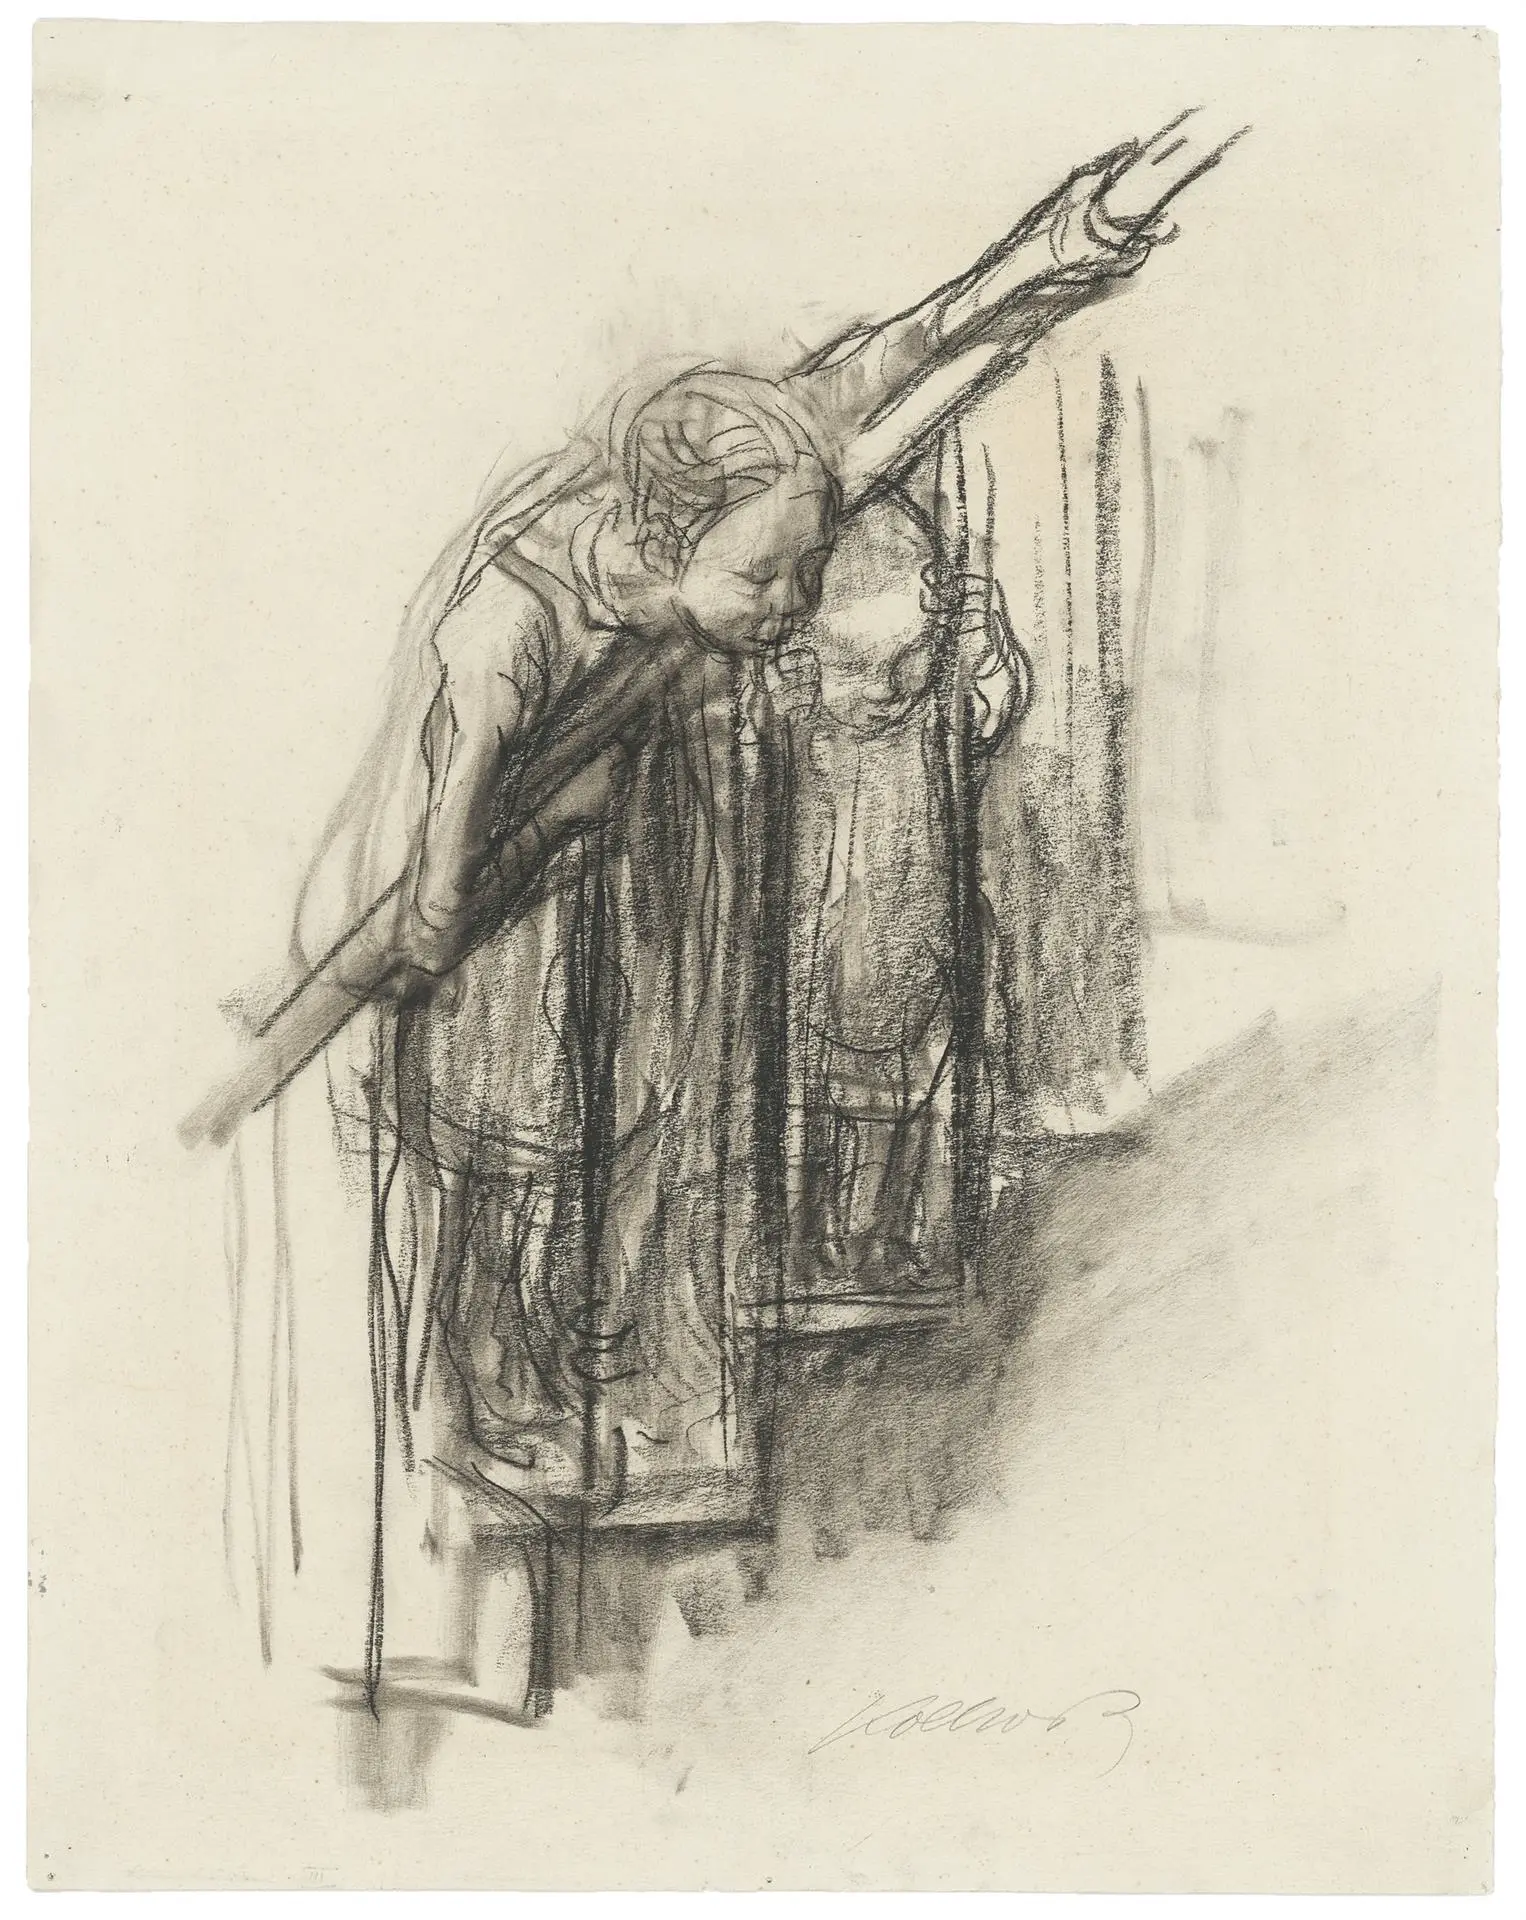
... for observational drawing (Käthe Kollwitz, Two Children at the Railing, circa 1927):
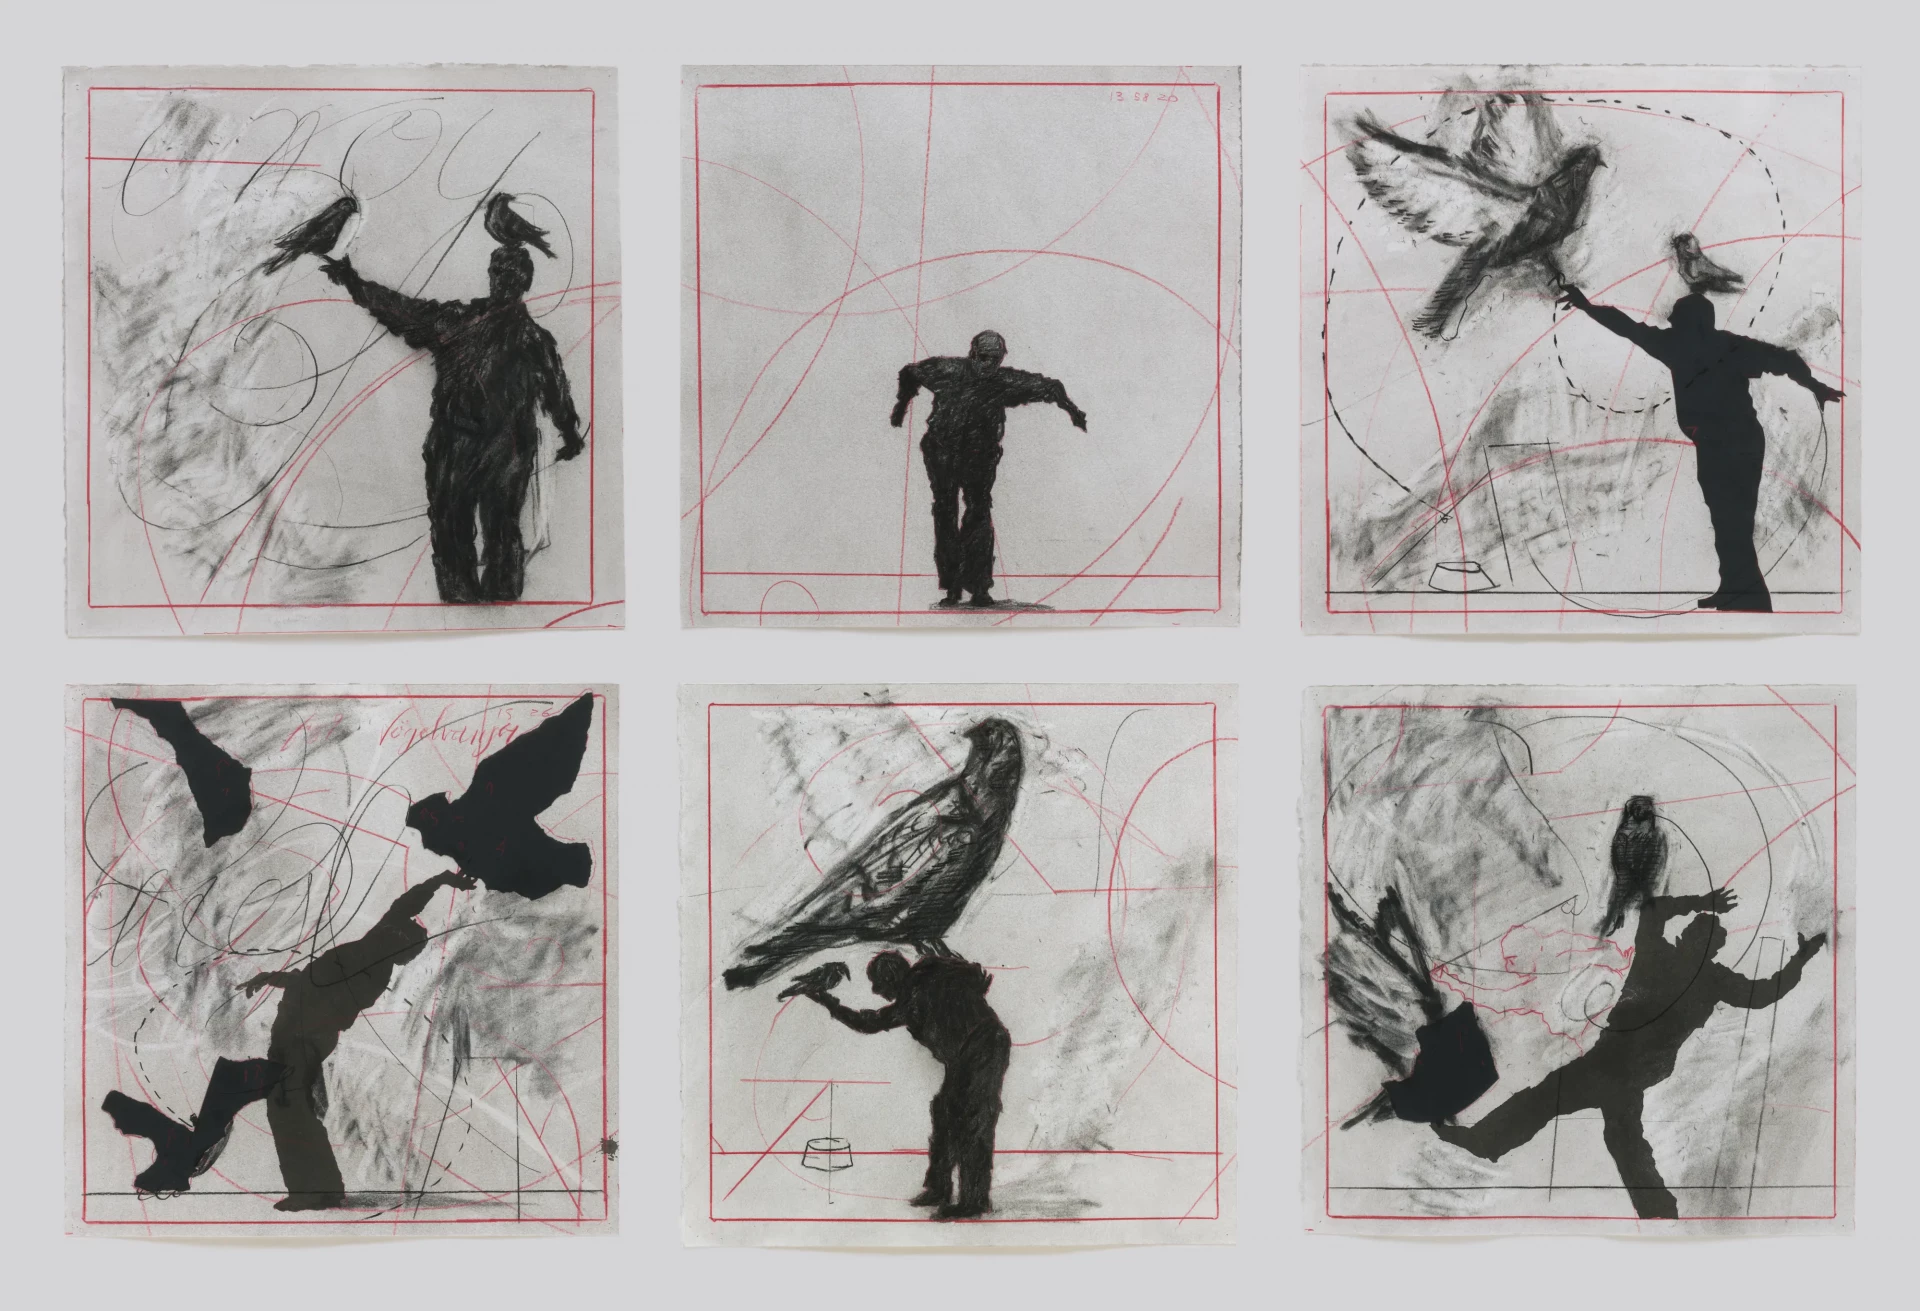
and even animation (William Kentridge, drawings from Preparing the flute (birdcatcher) )
The equipment
There are several types of spindle tree:
Natural charcoal stick
Used for softer shadows. These sticks vary in size (from 2 to 14mm in thickness).
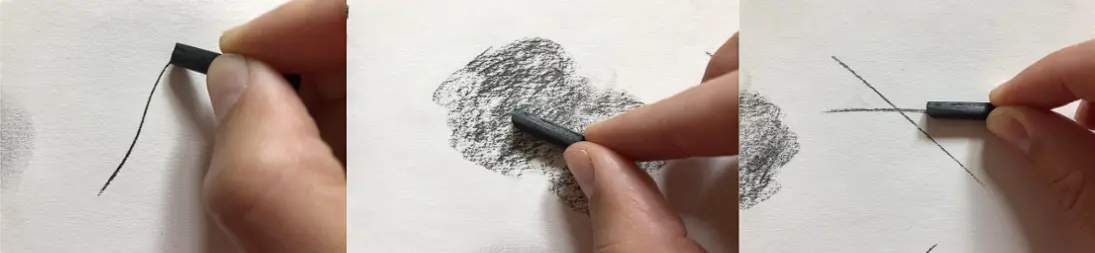
Charcoal can be used like a pencil to make lines or on its side to cover large areas and create textures, or again on its side to make lines.
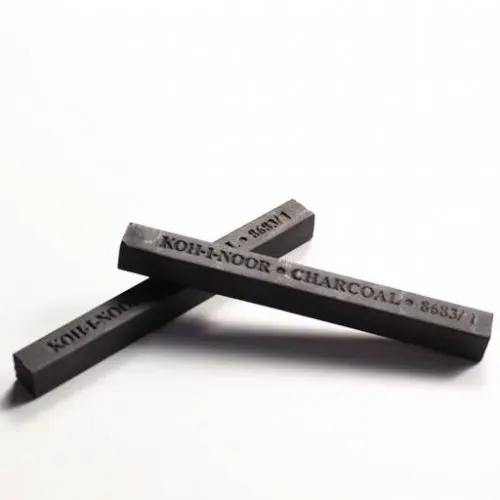
The compressed charcoal
Mixed with soot and clay, it is more resistant, less crumbly, and provides a darker and more intense black than natural charcoal. This type of charcoal helps to give depth to the drawing.
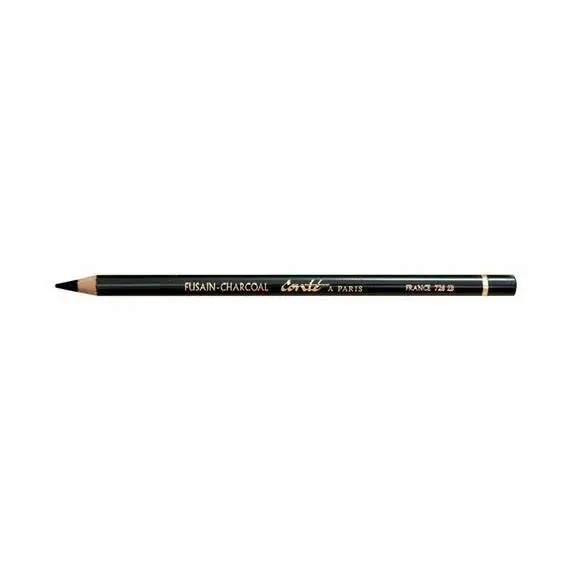
Pencil charcoal
It is easy to use, allowing for fine and detailed lines. These pencils are well suited to various techniques, whether you are a beginner or advanced. Use an H pencil for light and detailed lines or switch to a 2B to add intensity and depth to your work.
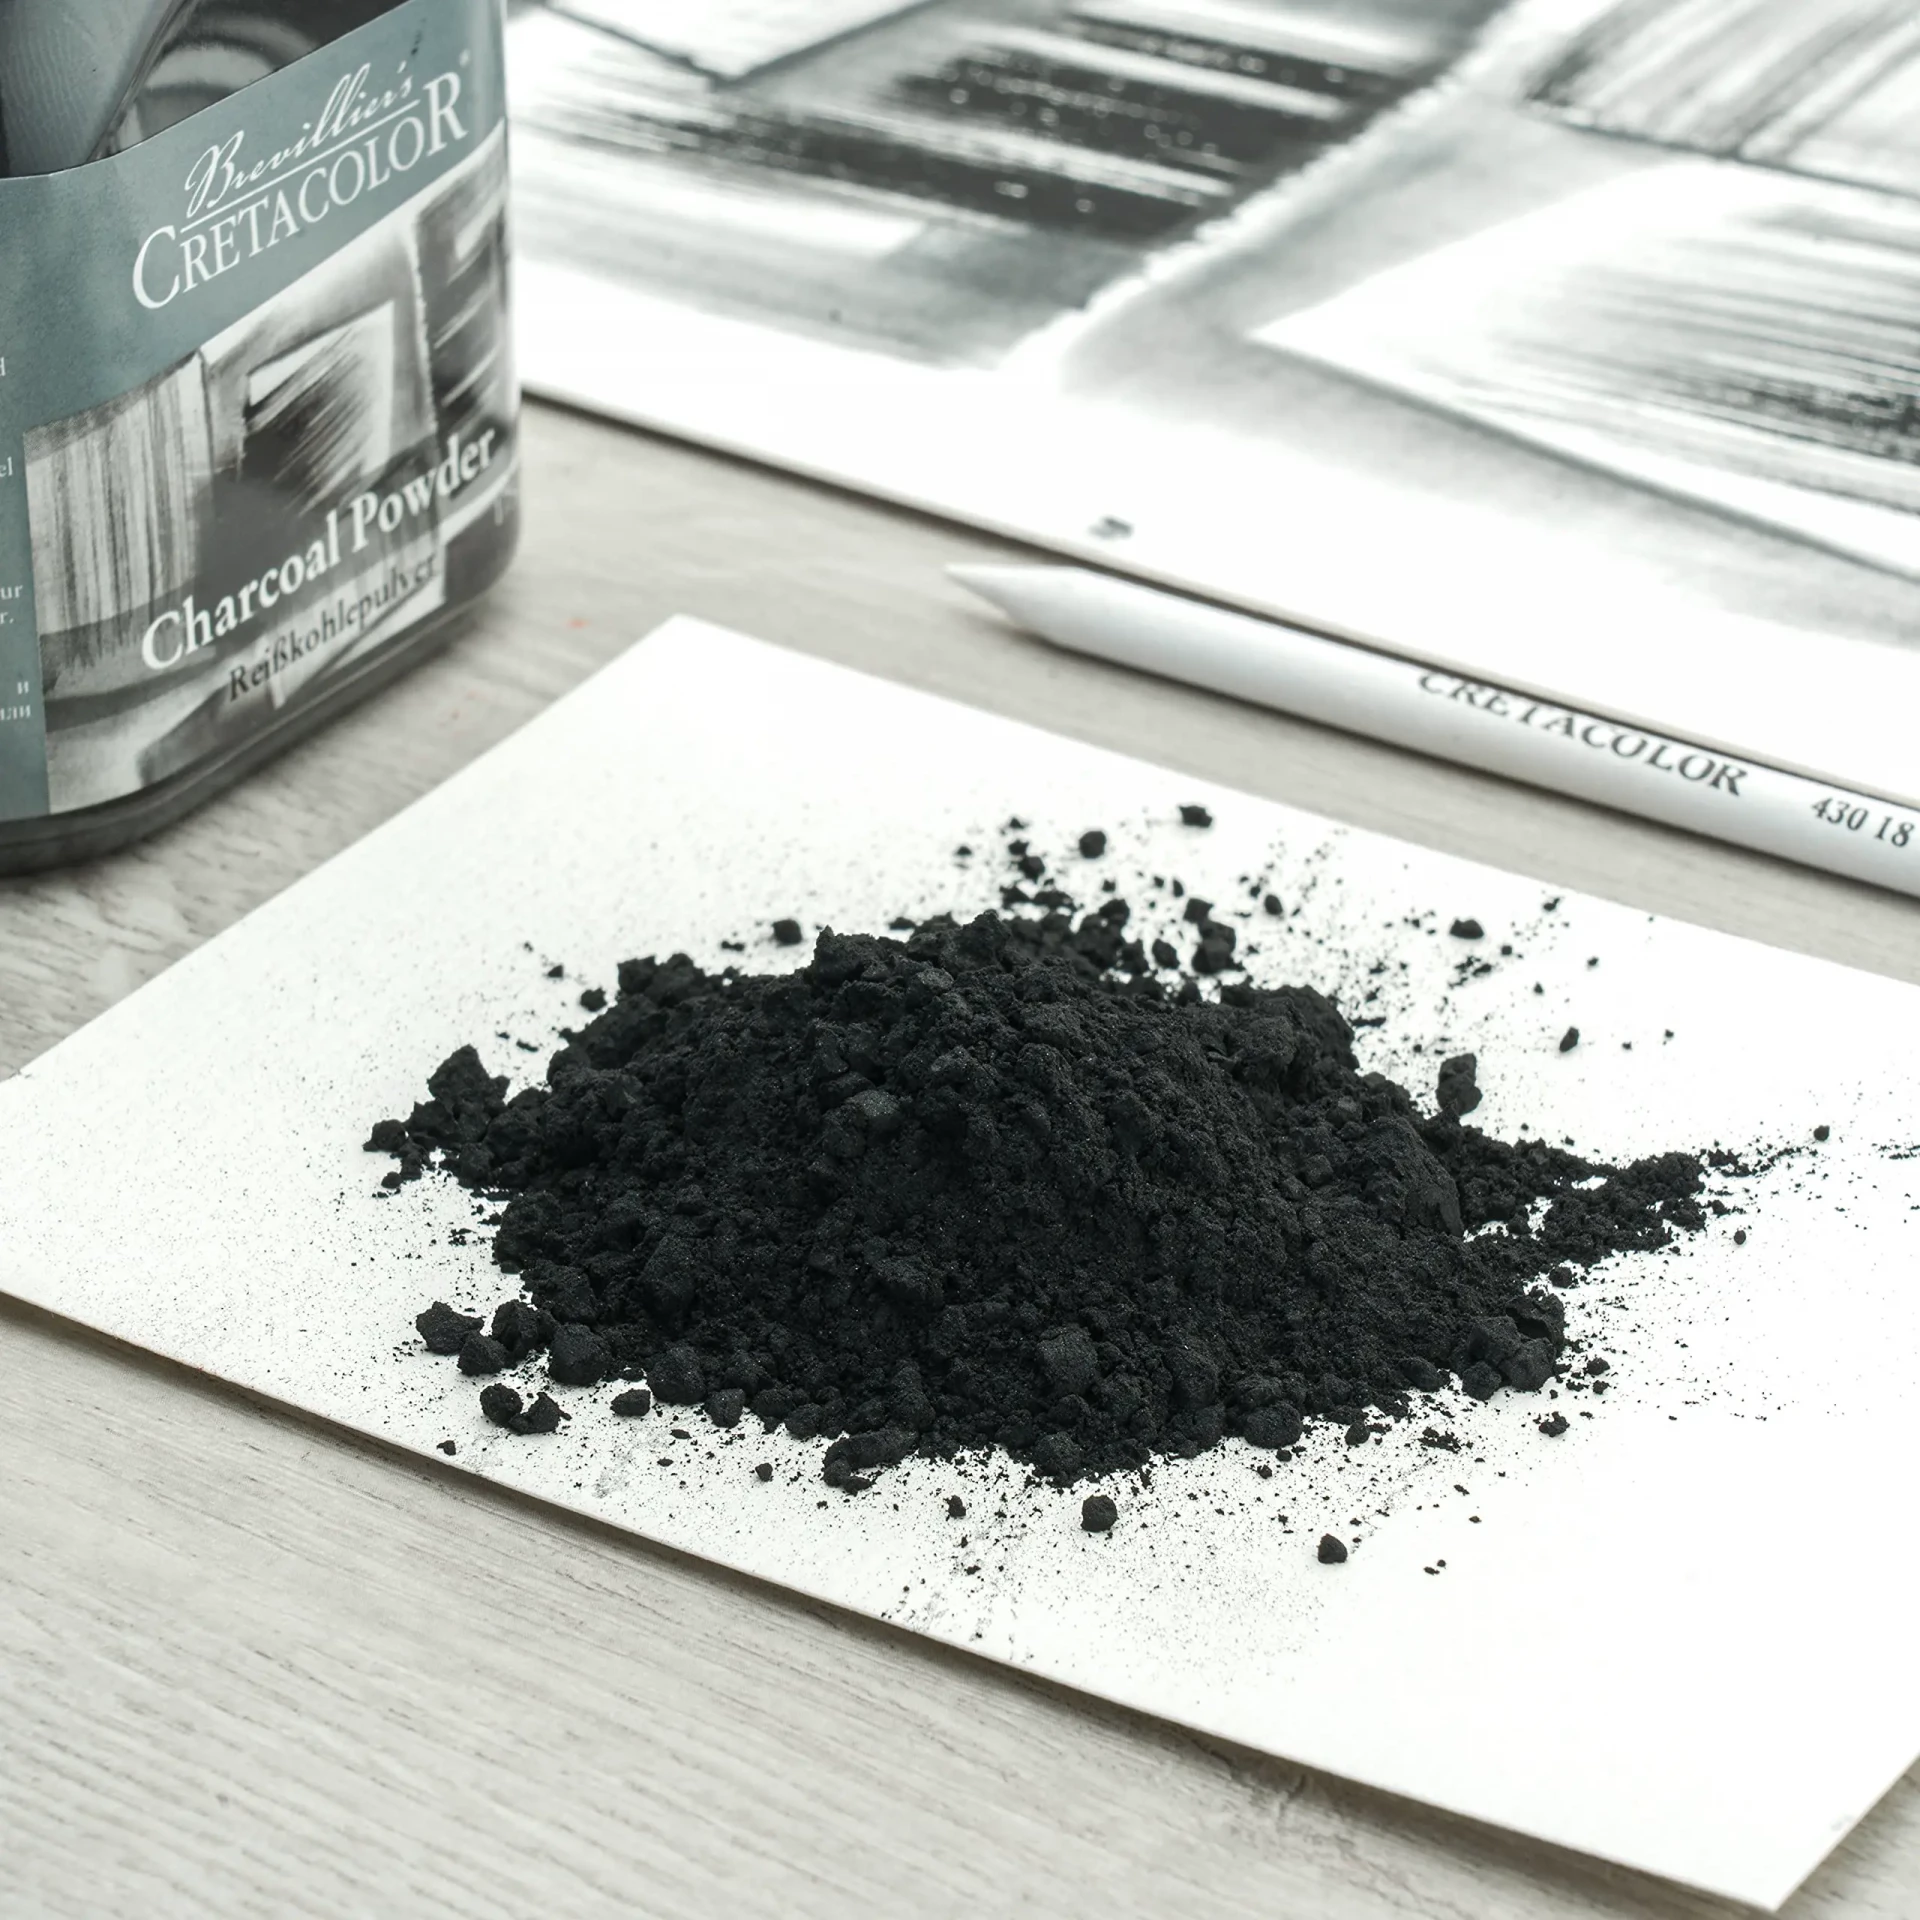
Charcoal powder
Allows application over a large area of the canvas or paper. Spread with a brush or a pad to create smooth transitions between light and dark areas. This technique is ideal for working on a large scale and achieving more significant movement effects.
To choose the right charcoal, consider its hardness and texture. Natural charcoal, compressed charcoal, and charcoal pencils are available in various hardness levels (H, HB, 2B, etc.).
The best paper for using charcoal is textured paper. With too smooth a sheet, the charcoal does not adhere.
Example: 180g Canson paper.
If using a white sheet is the most classic, you can also use a gray or brown sheet. In addition to charcoal, you can use white dry pastel to add highlights that stand out better on slightly darker paper.
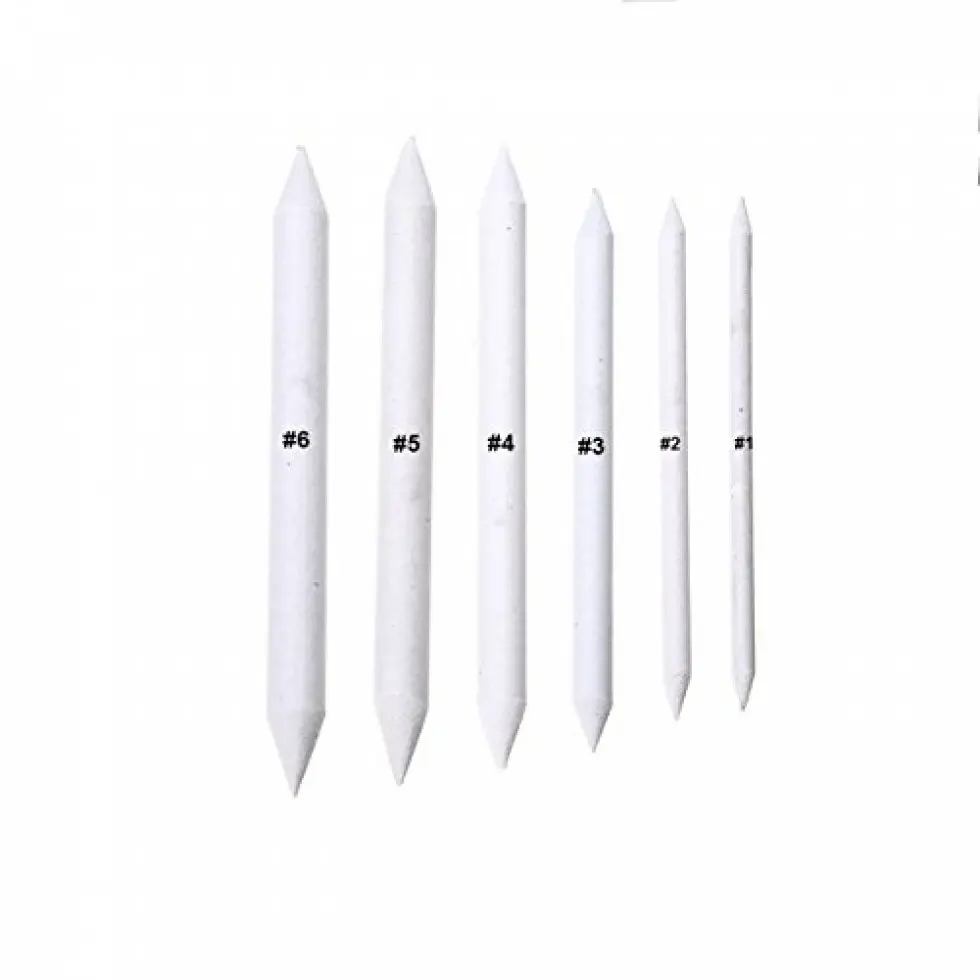
How to smudge charcoal in a drawing?
To soften, there are several techniques. Softening is the act of making an outline blurry, in order to create a gradient or simply to remove material when a surface is too dark.
The smudge tool is the most classic tool for reducing the intensity of charcoal. However, the pigments are directly fused into the paper sheet, so they are less easily erased afterwards.
The brush with soft or rough bristles can also be used. It is easier to spread the pigments with this tool, and they will not be directly absorbed into the sheet.
The finger remains a very good way to distribute pigments and create gradients, but it is advisable to keep a slightly damp cloth within reach, as it is also the messiest!
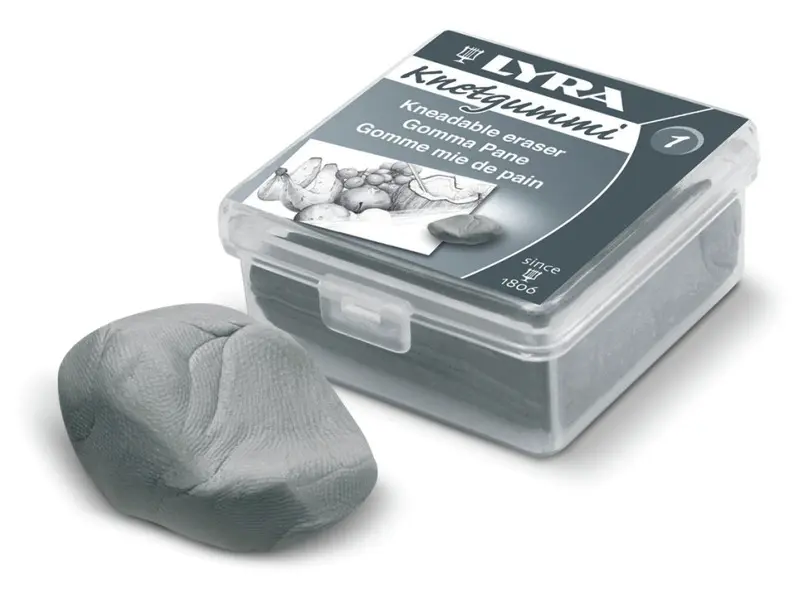
The eraser
The kneaded eraser is the most suitable tool for removing material, particularly suited to charcoal. It is also a very good ally for adding details by drawing negatively on a surface already covered with pigments.
Hard rubber is also suitable for a dark area, but it is less effective and sets the remaining pigments in the paper, which does not allow to regain the paper's whiteness as effectively as with the bread crumb eraser.
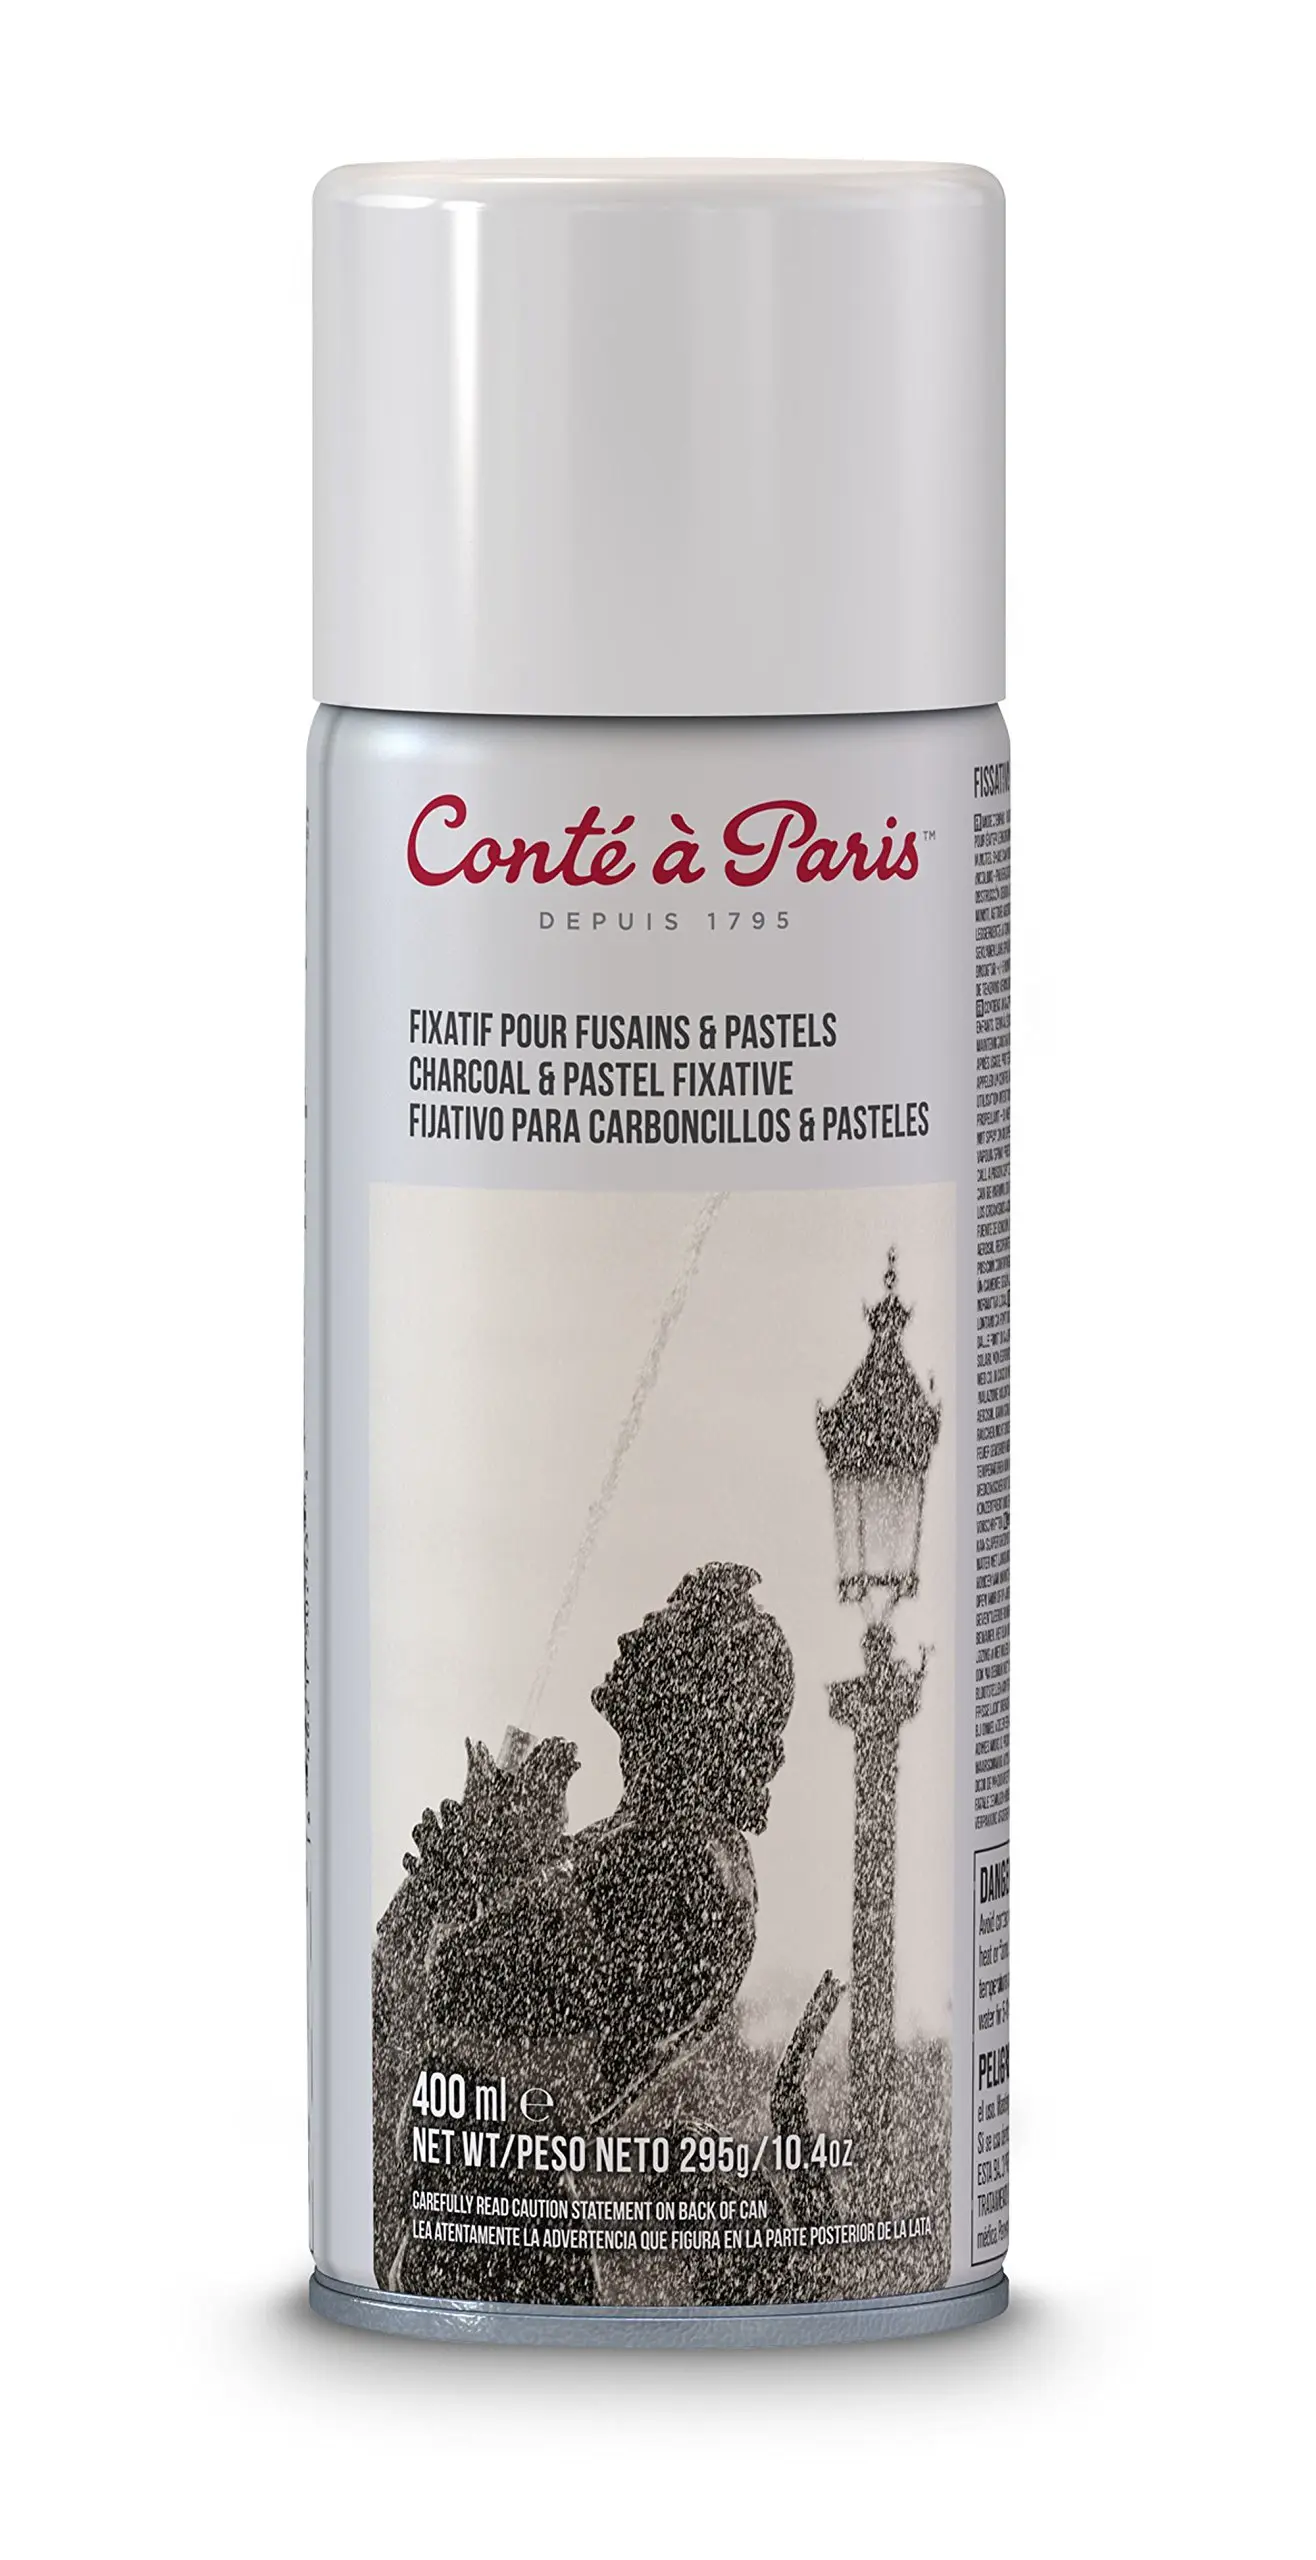
The fixing spray
When the drawing is finished, or when you want to preserve a stage of the drawing to rework it later, use a fixative for dry pastels — or hairspray, which is more economical — to fix the pigments on the paper sheet.
Be careful to hold the sheet vertically when fixing the drawing, and not to hold the fixative too close to the sheet (about 10-15 cm).
Apply multiple successive layers. If the fixative is placed too close to the paper during its application, the liquid that should be sprayed will condense on the sheet in liquid form, which could alter the drawing.
Things to Consider Before You Start
With natural charcoal sticks, you cannot achieve a very deep black. The darkest shade possible is a dark gray. Be careful, as attempting to darken an area too much can negate previous actions.
To darken an area, one might be tempted to go over it several times, pressing down on the charcoal. It can be noticed that the new application, instead of being darker, remains the same, or can even be lighter than the area that was already drawn before.
In this case, it is necessary either to lighten the surrounding areas with a stump, or to erase this area and redo it. If a darker area is desired, it should be fixed and reworked over, or another material such as compressed charcoal or black stone can be used.
A pencil can be used as a preliminary sketching tool. However, be careful not to press too hard, or to use a pencil that is too soft. Charcoal, which is a dry medium, might not cover over a greasy pencil (beyond 2B).
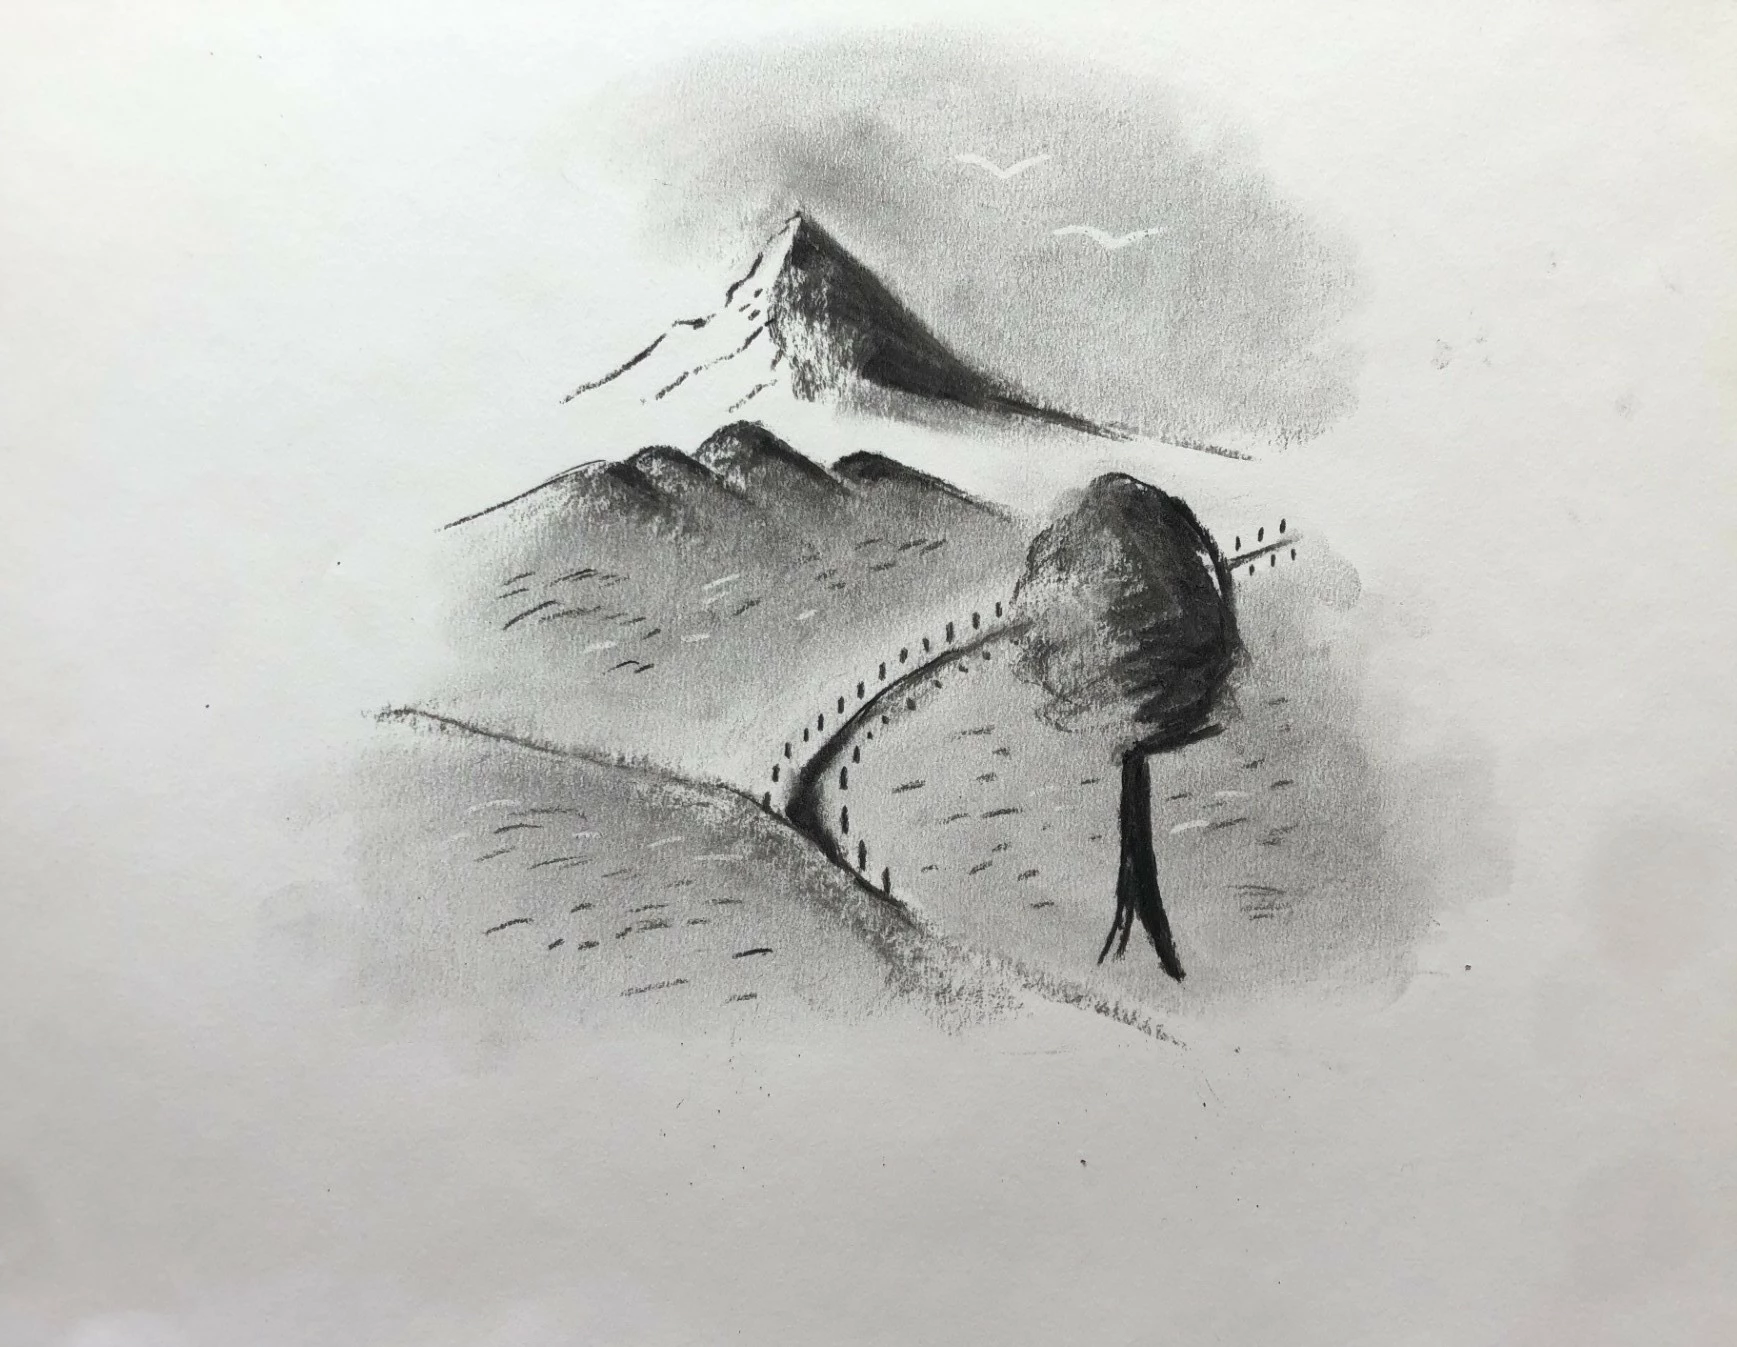
Draw a Charcoal Landscape for Beginners
To draw with charcoal, use a high-contrast image as a model if possible, as this is when its use will be most interesting.
We will process an image that brings together different examples of charcoal application: smudging, details, gradients, etc.
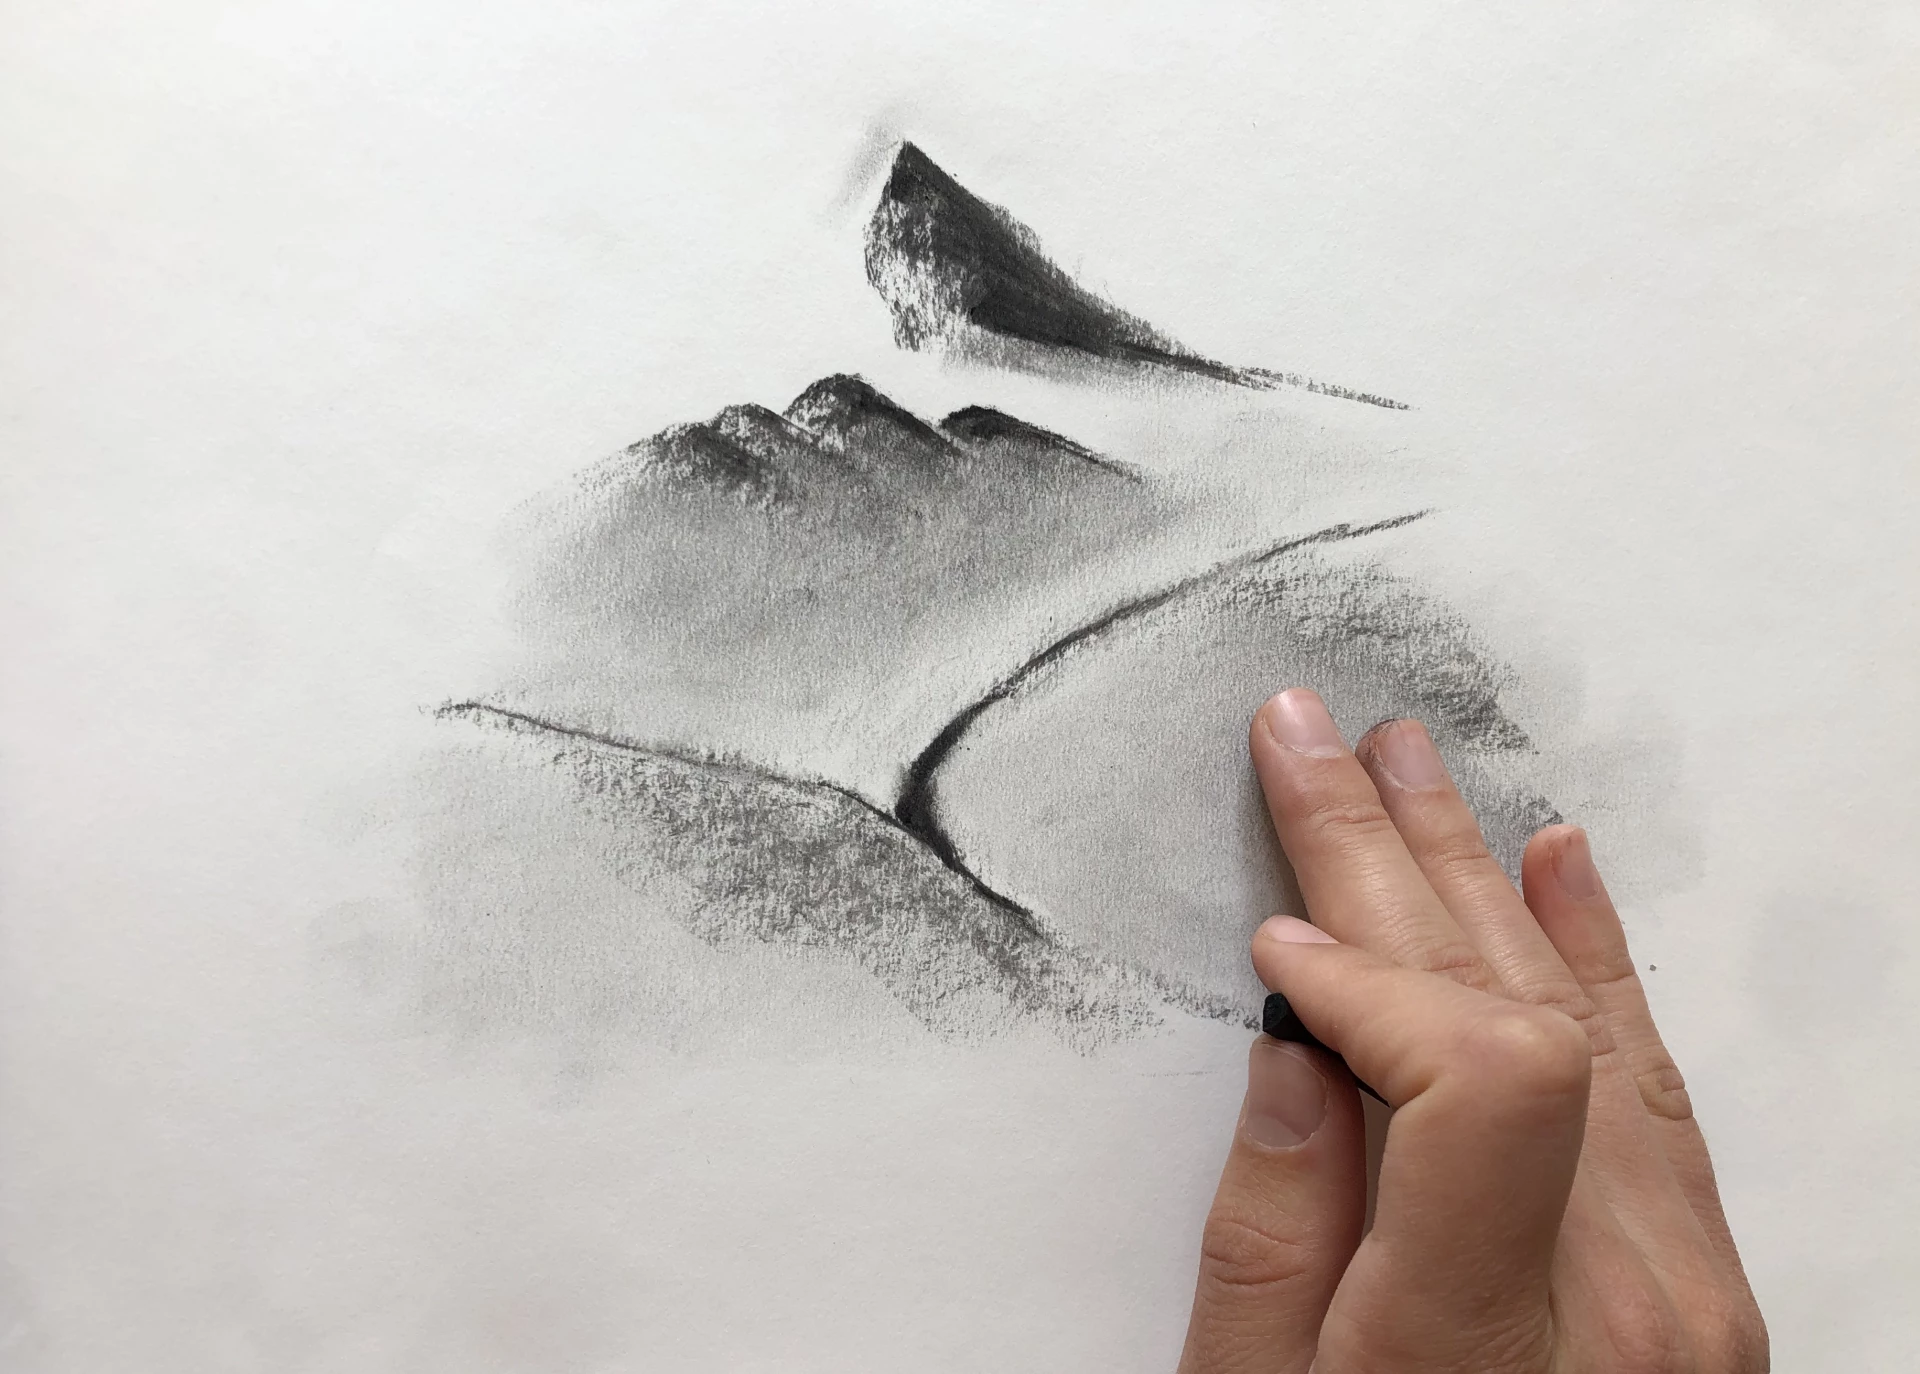
Use a charcoal stick for the initial sketch: draw volumes to define the shadows in the landscape.
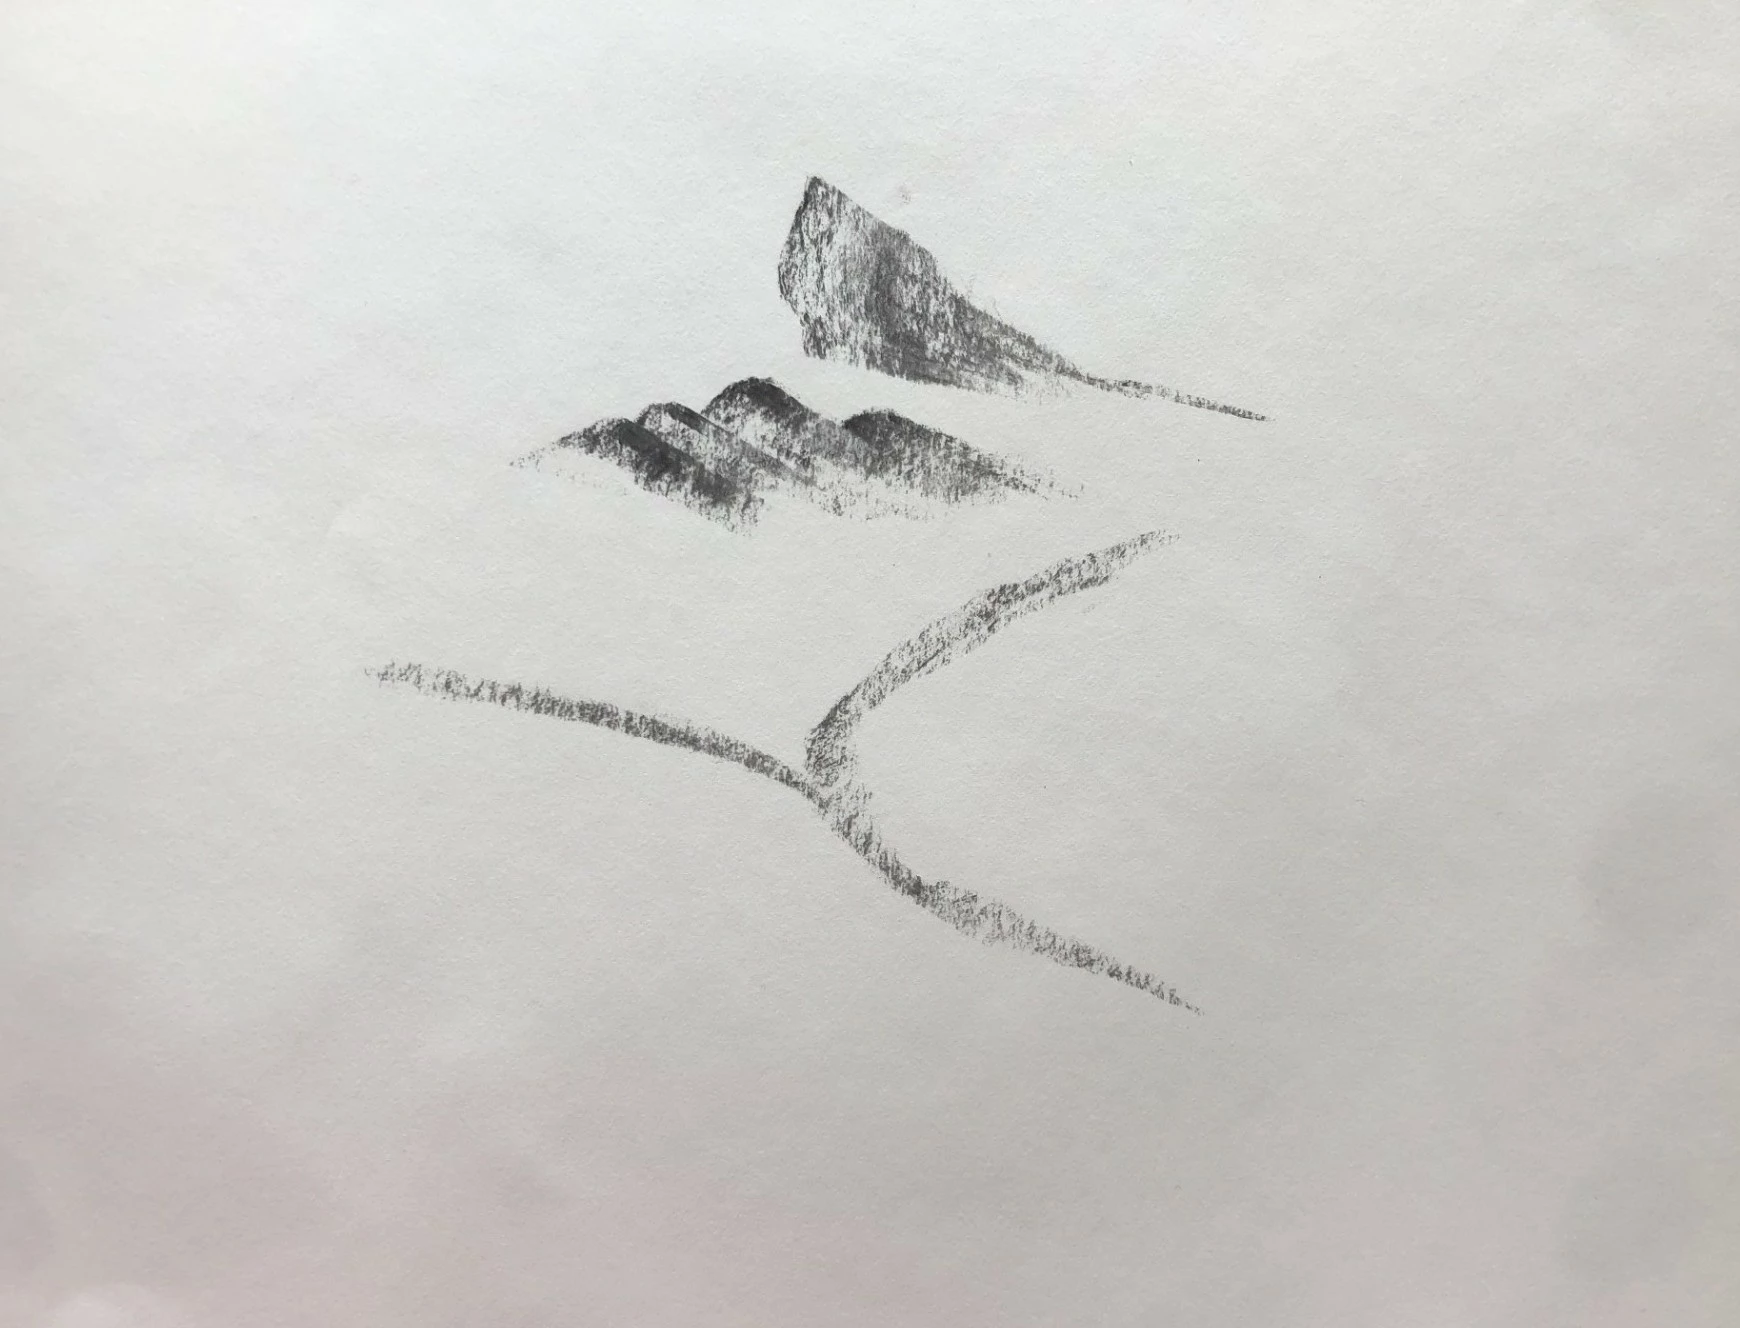
Always with the charcoal stick, one can emphasize the shadows compared to the gray areas.

You can blur with a finger or with a blending stump, which allows to soften the gradients and create relief.
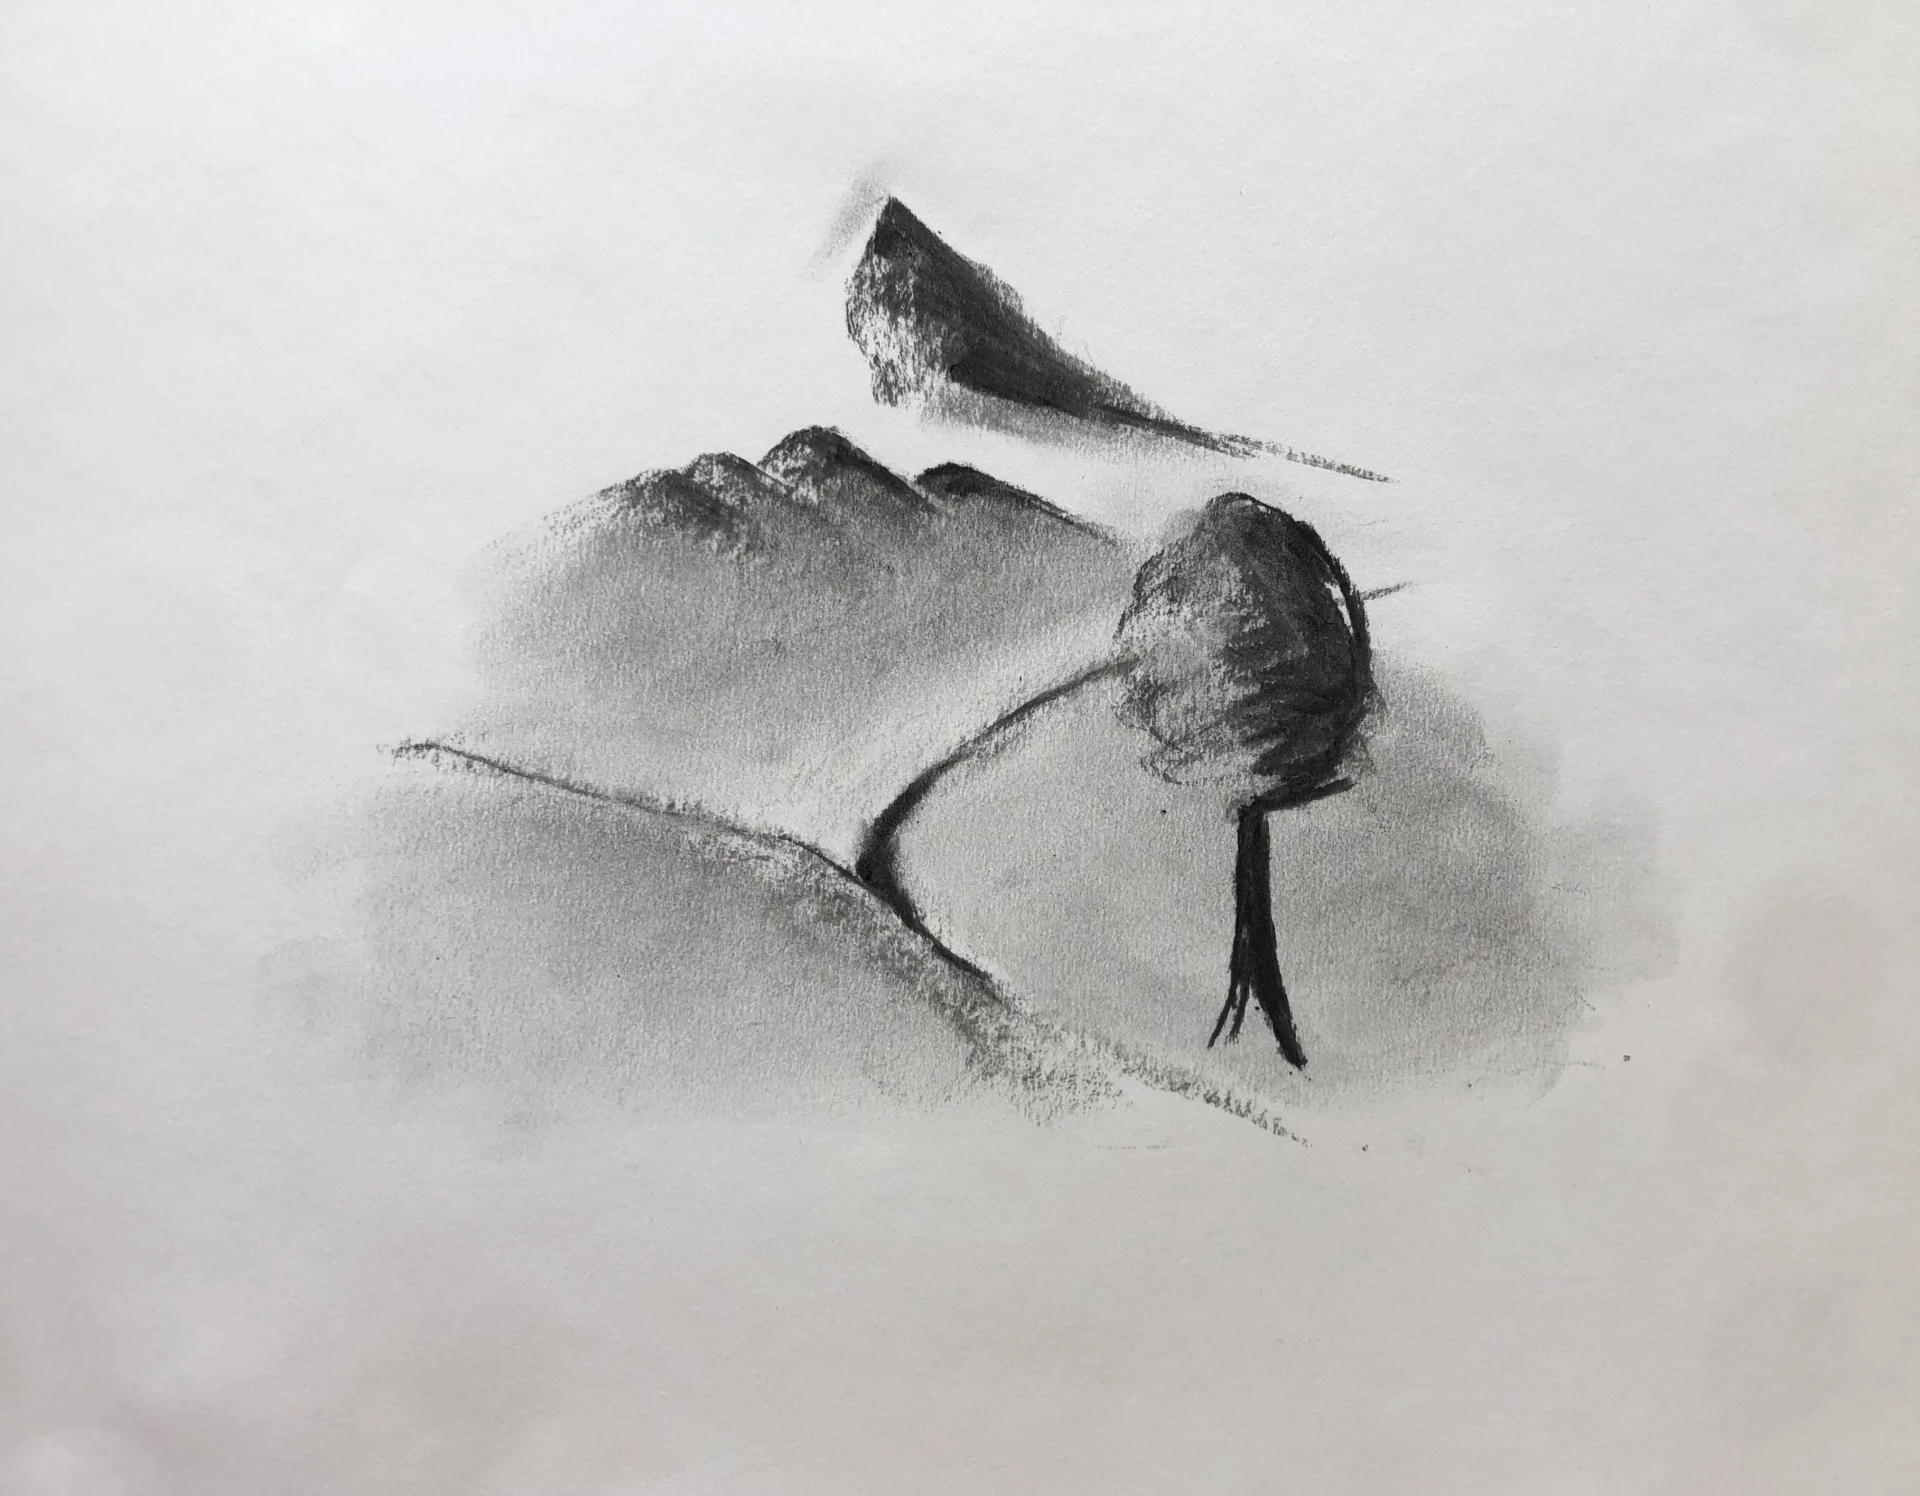
To create relief, we can incorporate elements with strong contrast such as a tree, for example. By using the foreground in backlighting, the perspective in the landscape is more distinguishable. To do this, we can use natural charcoal or compressed charcoal for a deep black.
Add details to the drawing
We add details with charcoal pencil or natural charcoal. Be careful not to press too hard when using natural charcoal, and use the edge of the charcoal for detailed rendering.
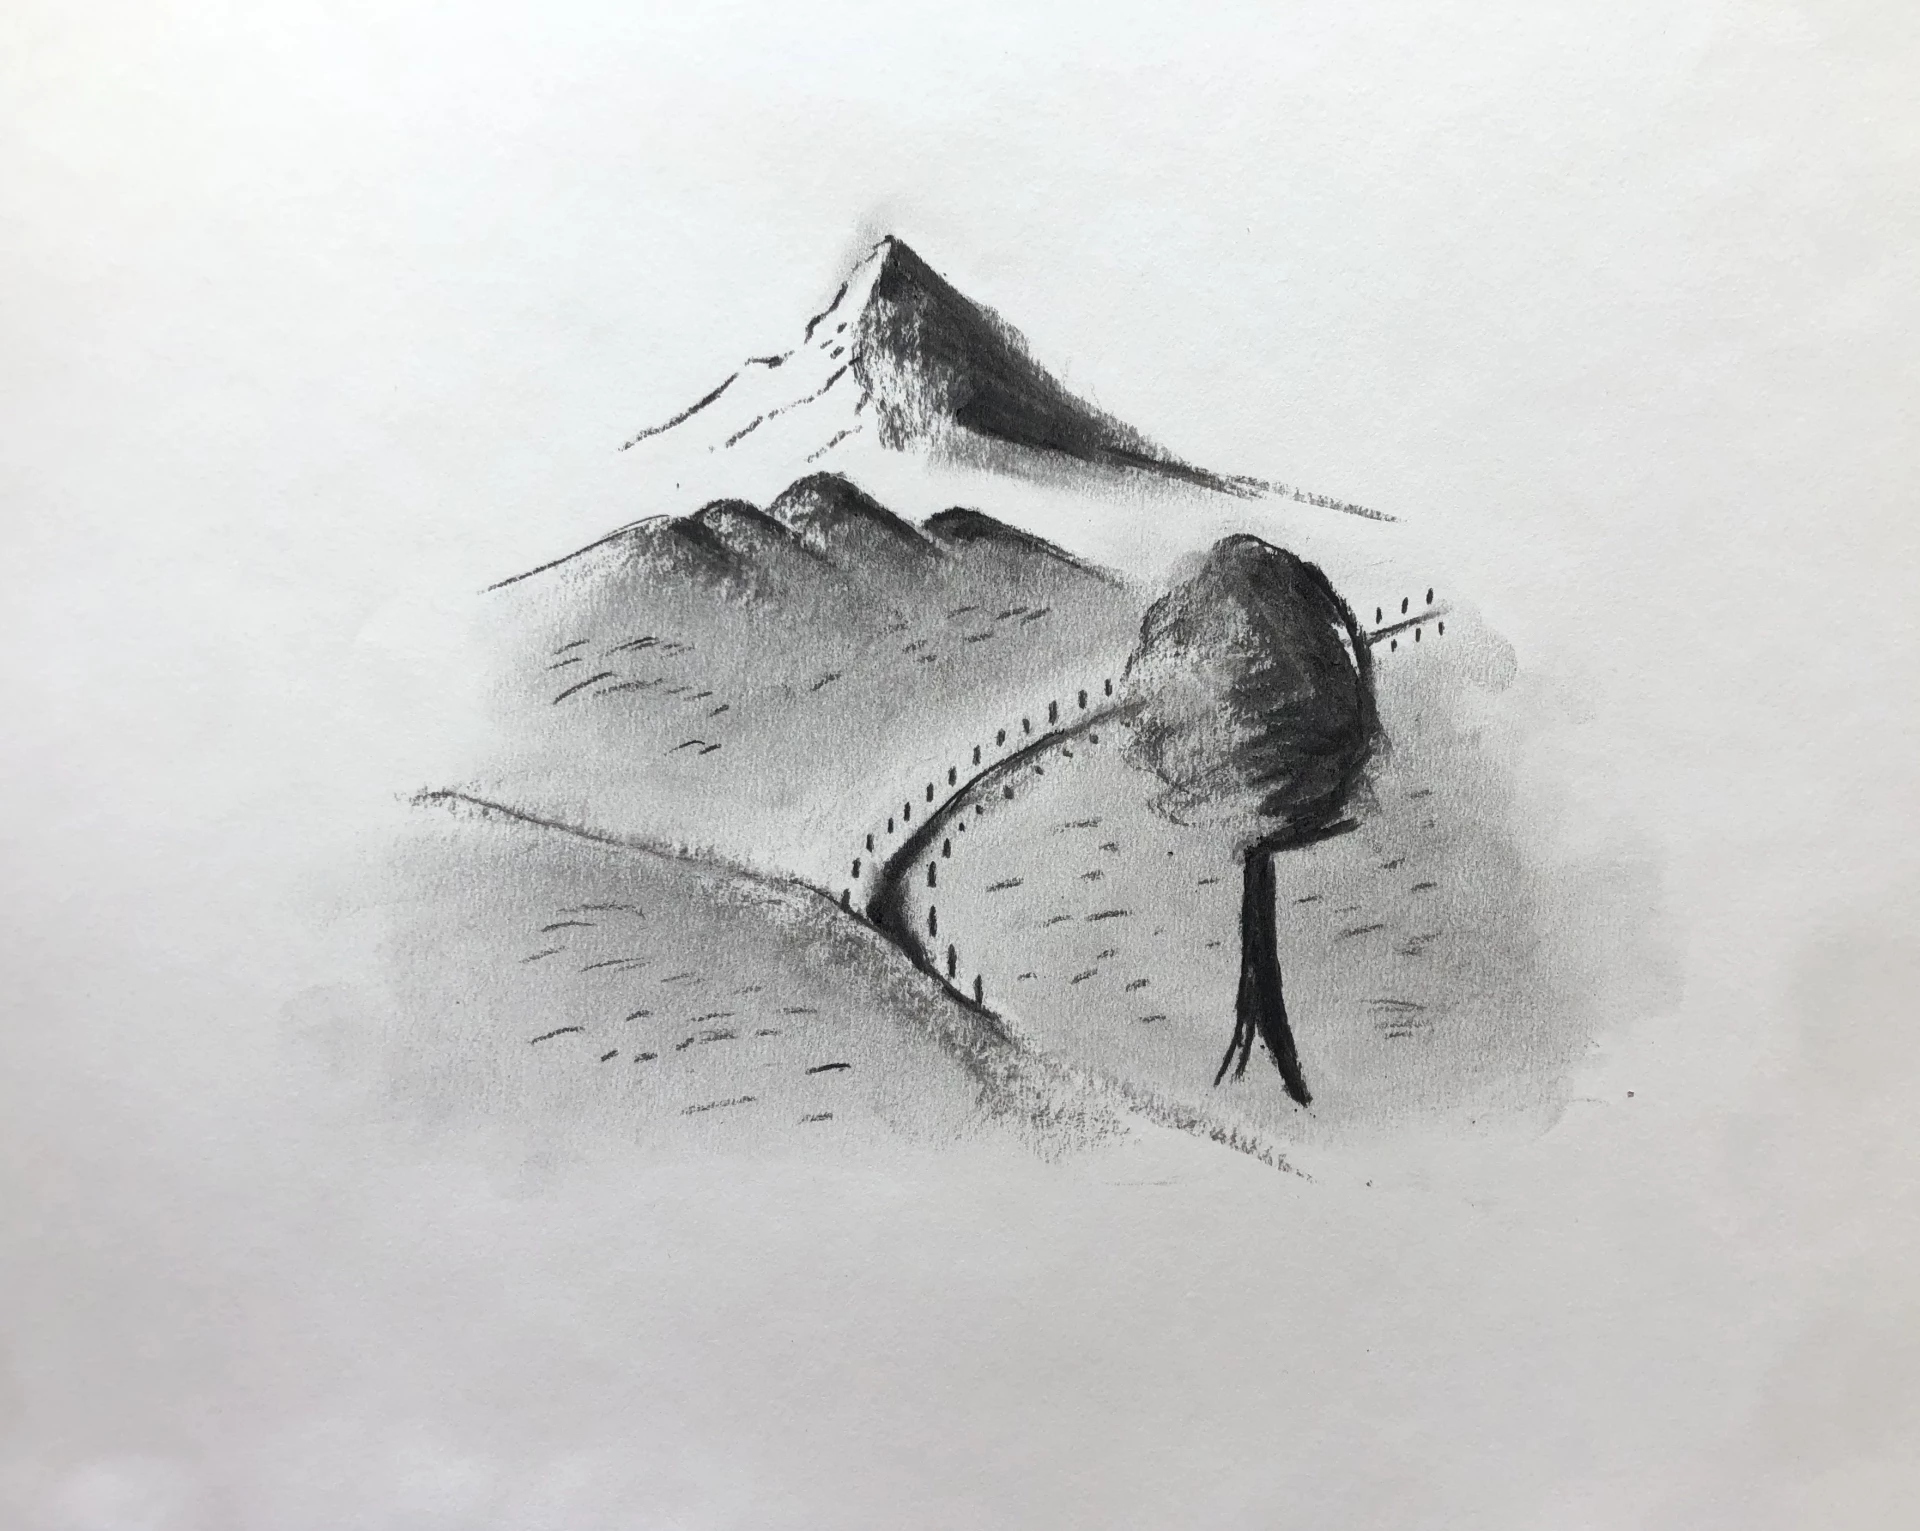
By erasing a few details in the landscape such as birds and blades of grass, we add even more depth and relief to the image. These details can be done with a kneaded eraser or with a conventional hard eraser, depending on the tool that will give you the most precision.
And there you have it, our first landscape is complete! Feel free to bring your own interpretation and add details that will make you happy.
Writer and Illustrator: Léa
Bonjour,
Très inéressant, le fusain, mais pas aussi simple que ça à maîtriser. Quoiqu'il en soit, je vais me pencher sur ce médium sèrieusement.
Eric.