Drawing animals using alcohol markers
Today, I will show you how to draw animals using alcohol markers.
The materials
To draw animals using alcohol markers, you will need both alcohol markers and Layout paper, which is a paper specifically designed to be used with alcohol markers. You will also need other materials depending on your preferences: black liners for inking, if desired, and a white gel pen for white highlights.
Alcohol markers
Alcohol markers are available in various brands: Copic, Ohuhu, Promarker, Graph’it, Arrtx, etc. I have tried almost all of them and each has its advantages and disadvantages, whether in terms of price, durability, marker usage, their tips, etc. This article isn't about the different brands, so I'm not necessarily going into detail, but personally, I really like using a mix of all the brands, depending on the colors I use.
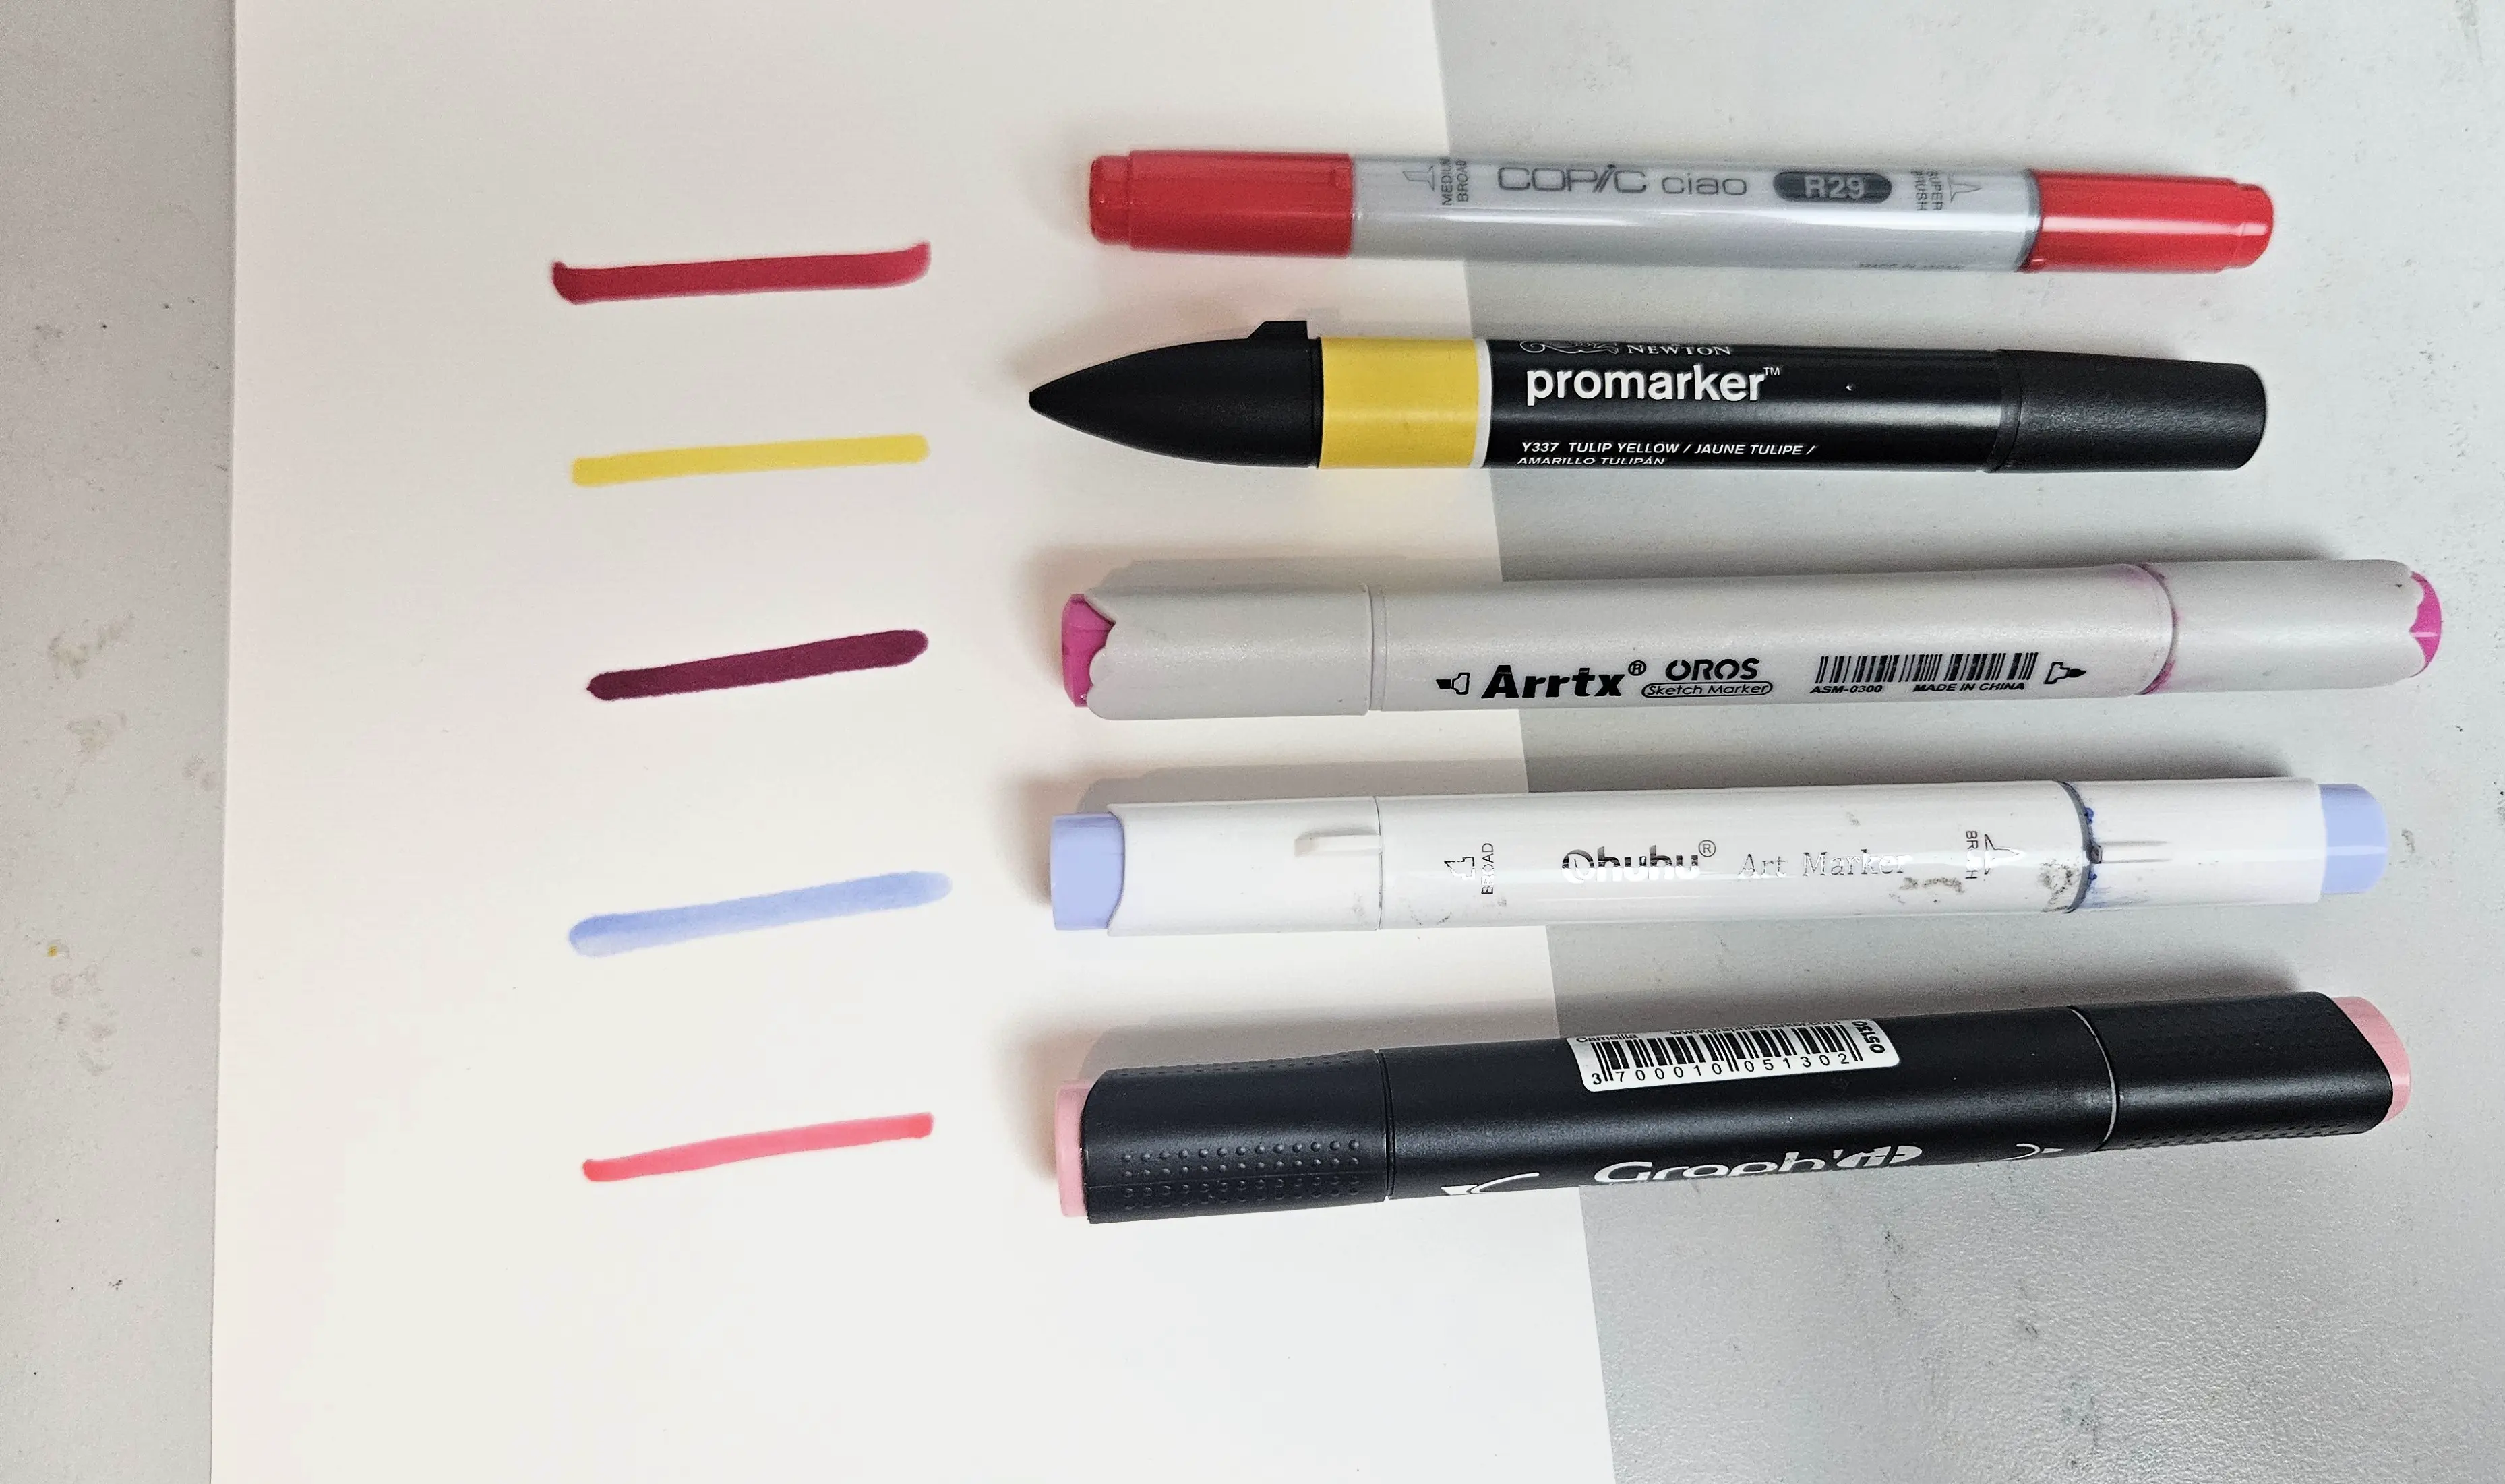
In this article, I will be using several brands of markers. To start with, you can definitely begin with a set from Ohuhu or Arrtx, which offer excellent value for money, especially when you are new to drawing.
Layout paper
Layout paper is very important when you are drawing with alcohol markers.
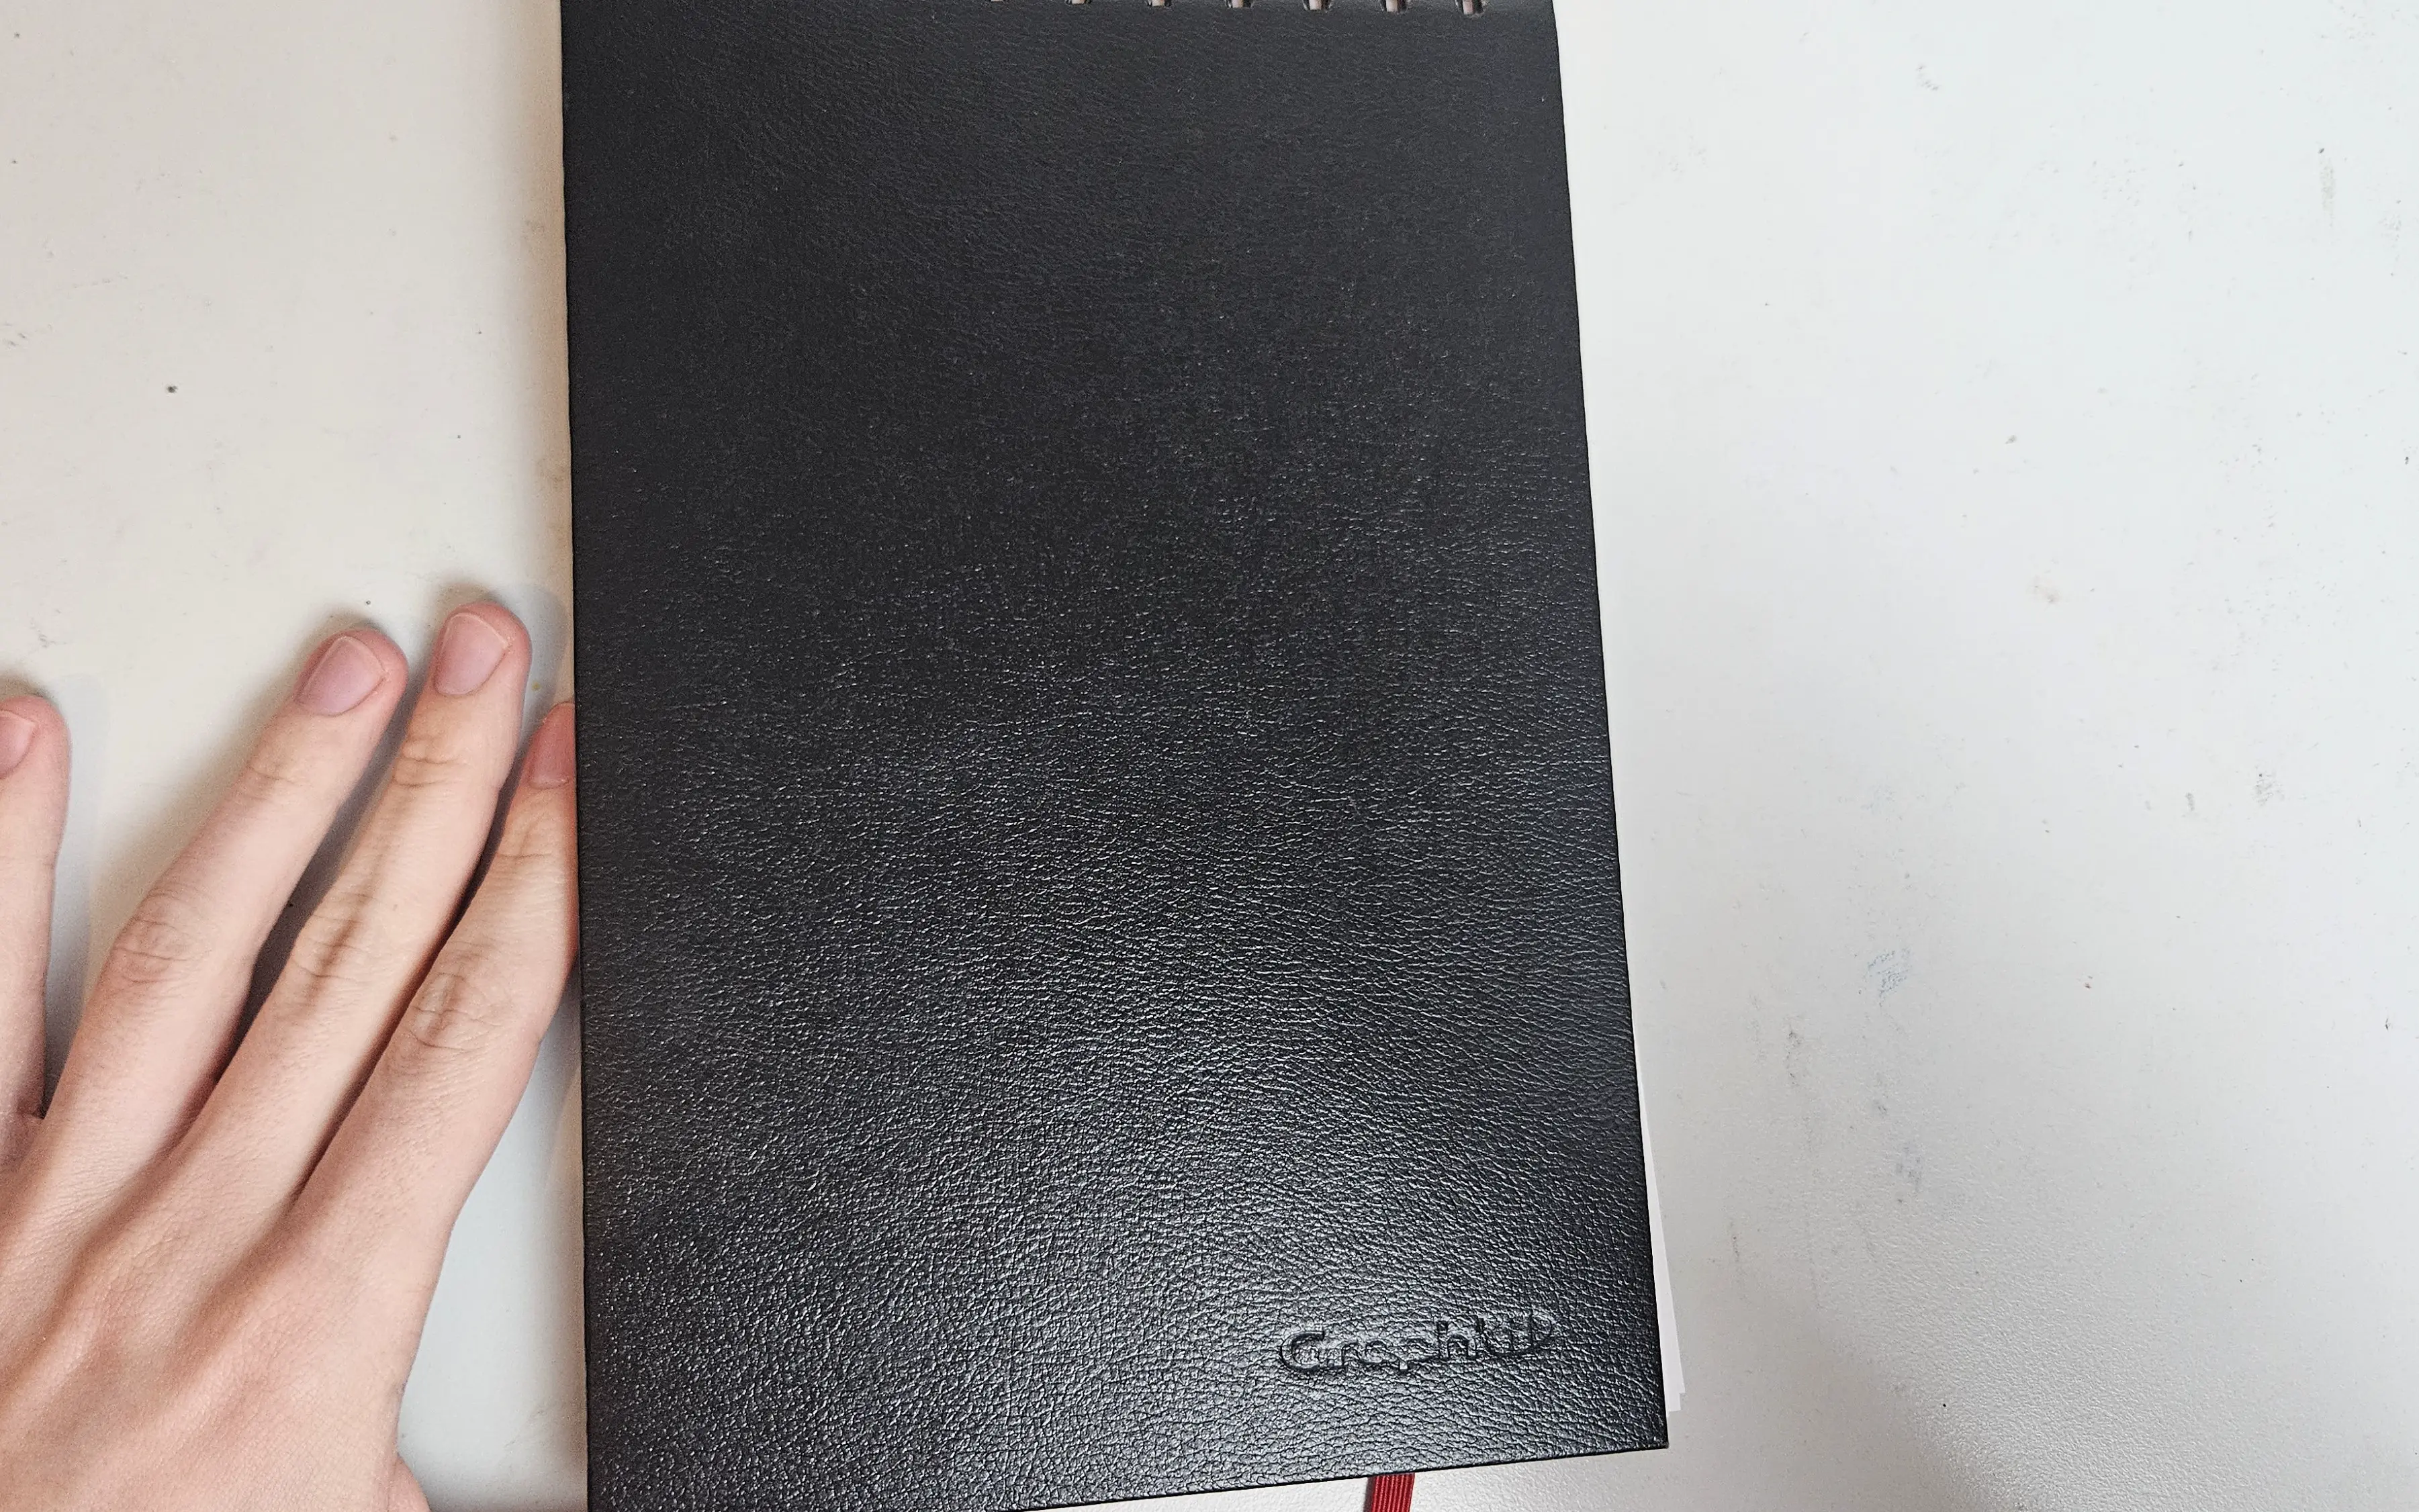
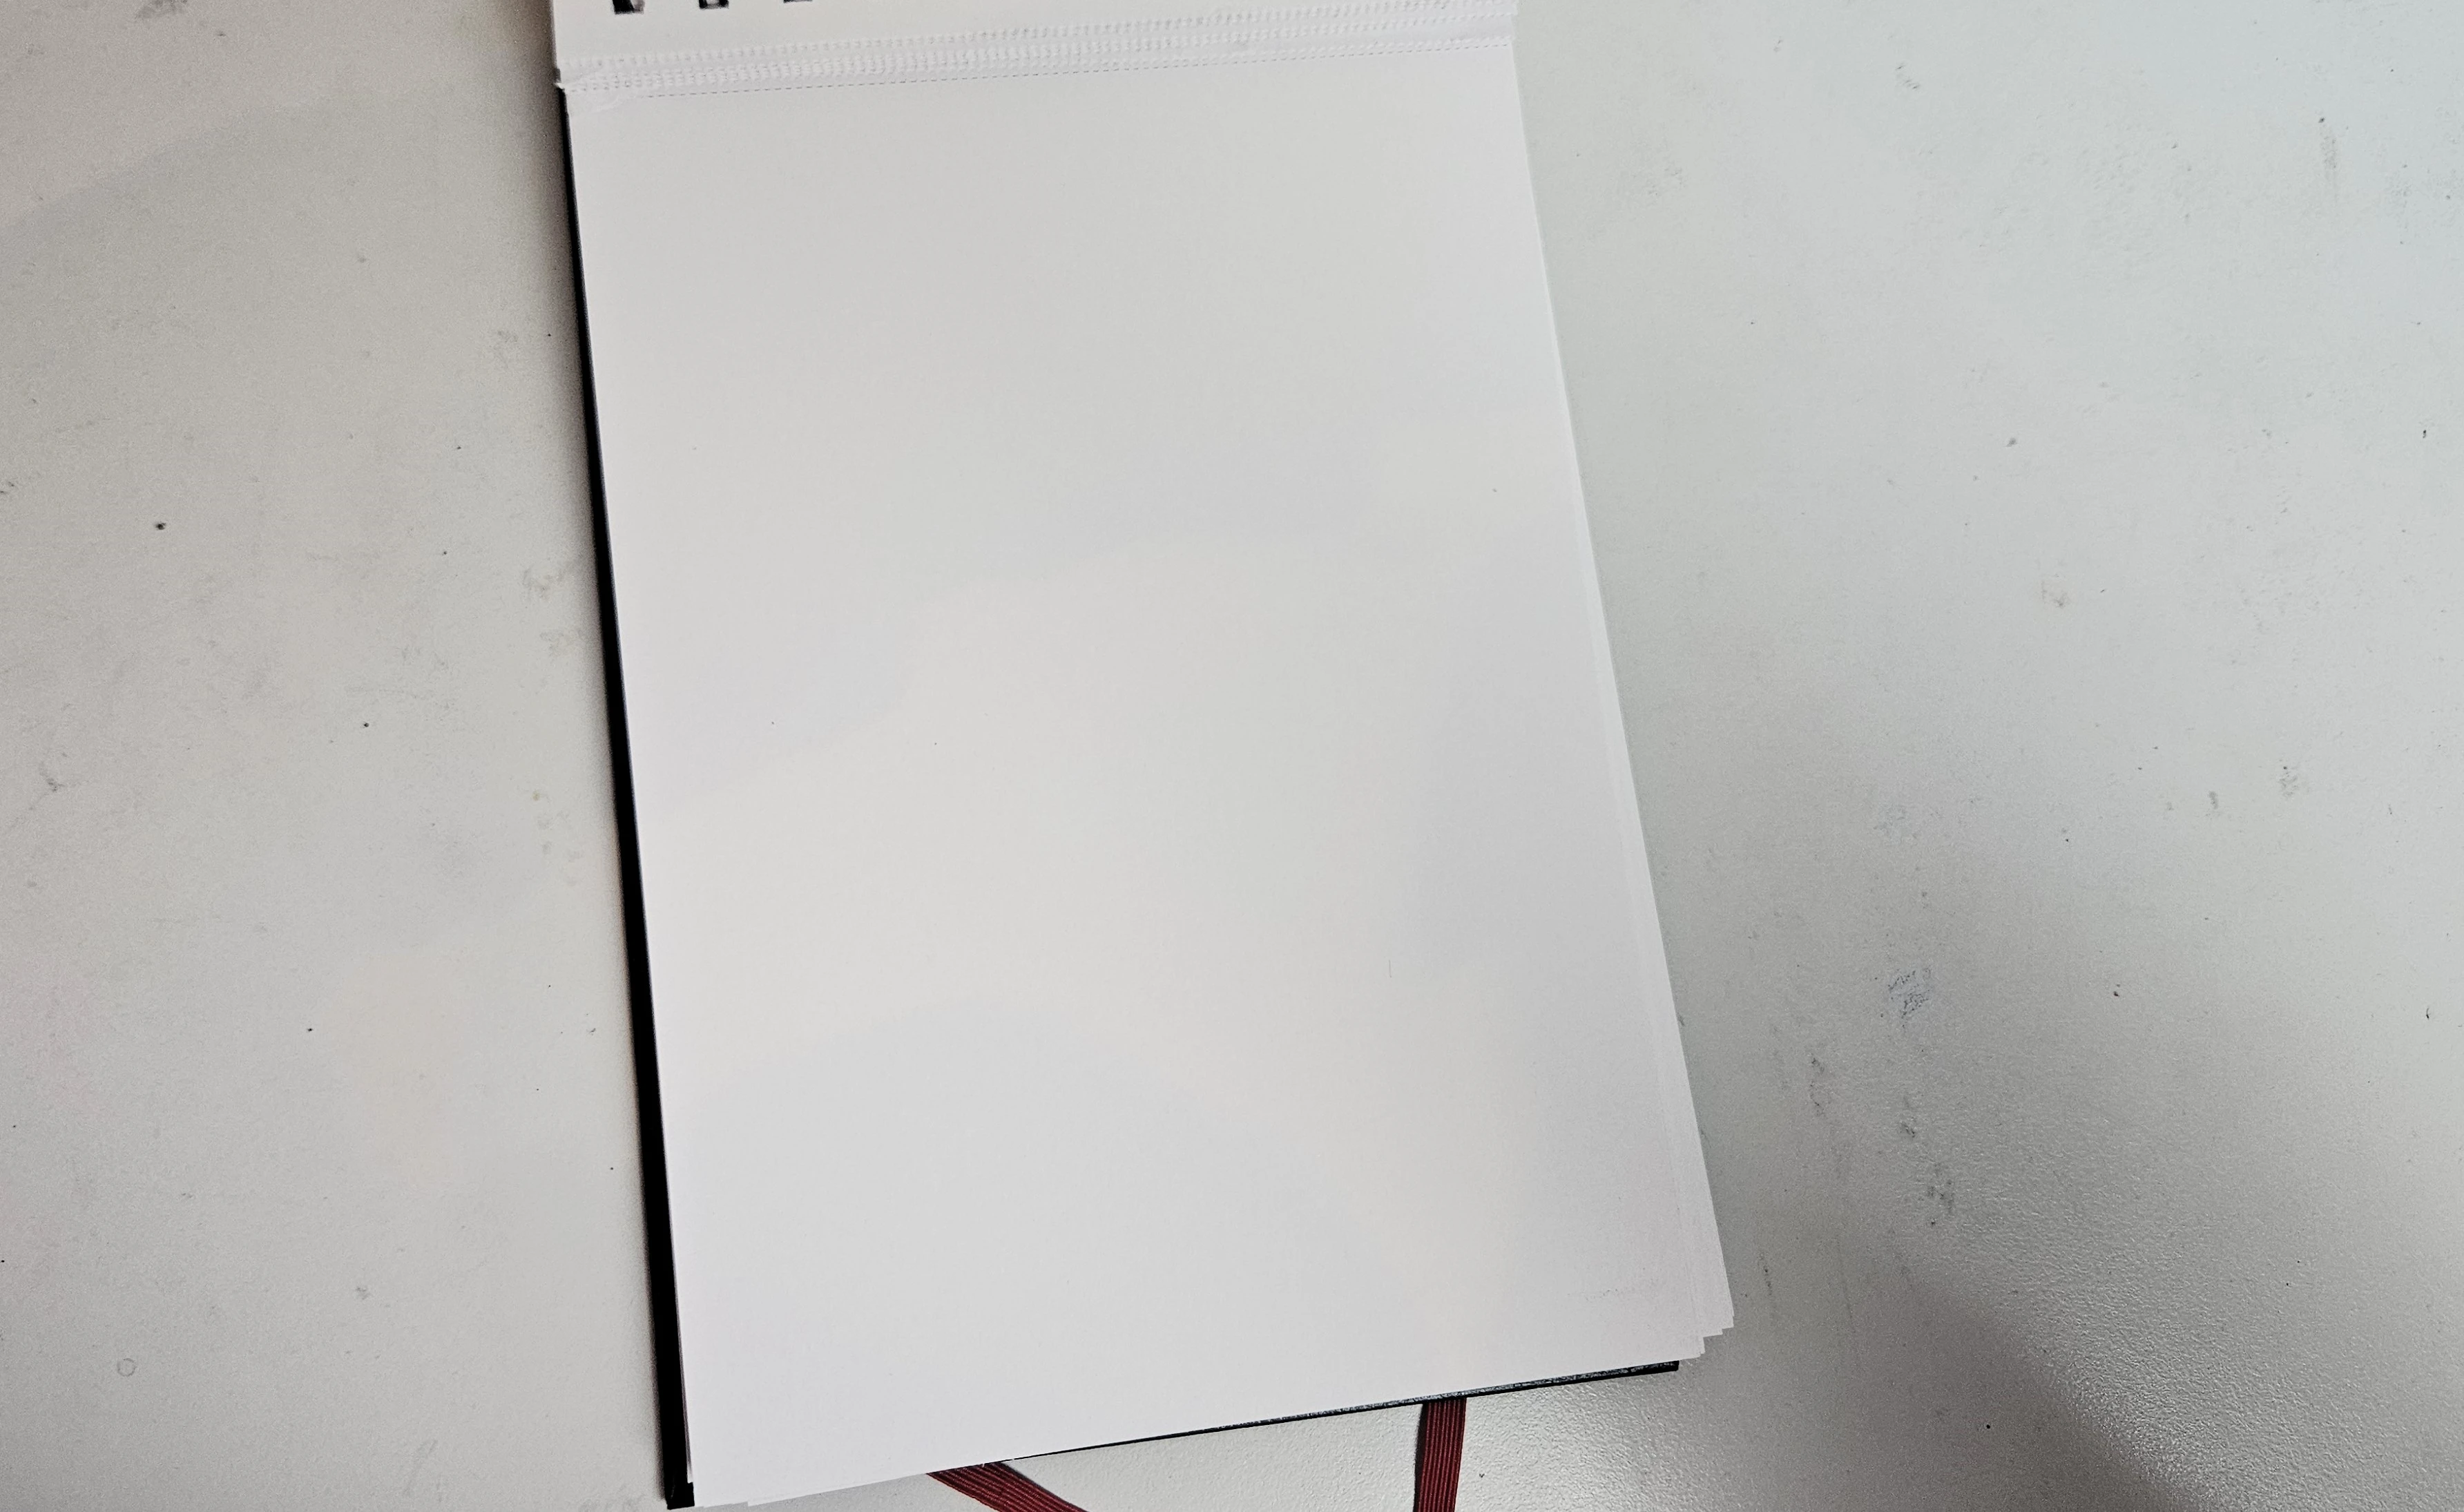
In this article, I will be using A5 size Graph’it Layout paper. It’s a 300 gsm paper that prevents ink from bleeding through. Therefore, you can draw on both sides of the paper without any issues. This paper is specifically designed for alcohol markers and the paper is excellent quality! I often use this notebook for my small drawings.
For drawings using only alcohol markers, as in this article, I recommend using Layout paper. However, if you also want to use other mediums, such as colored pencils, you can use mixed media paper, like Paint On paper.
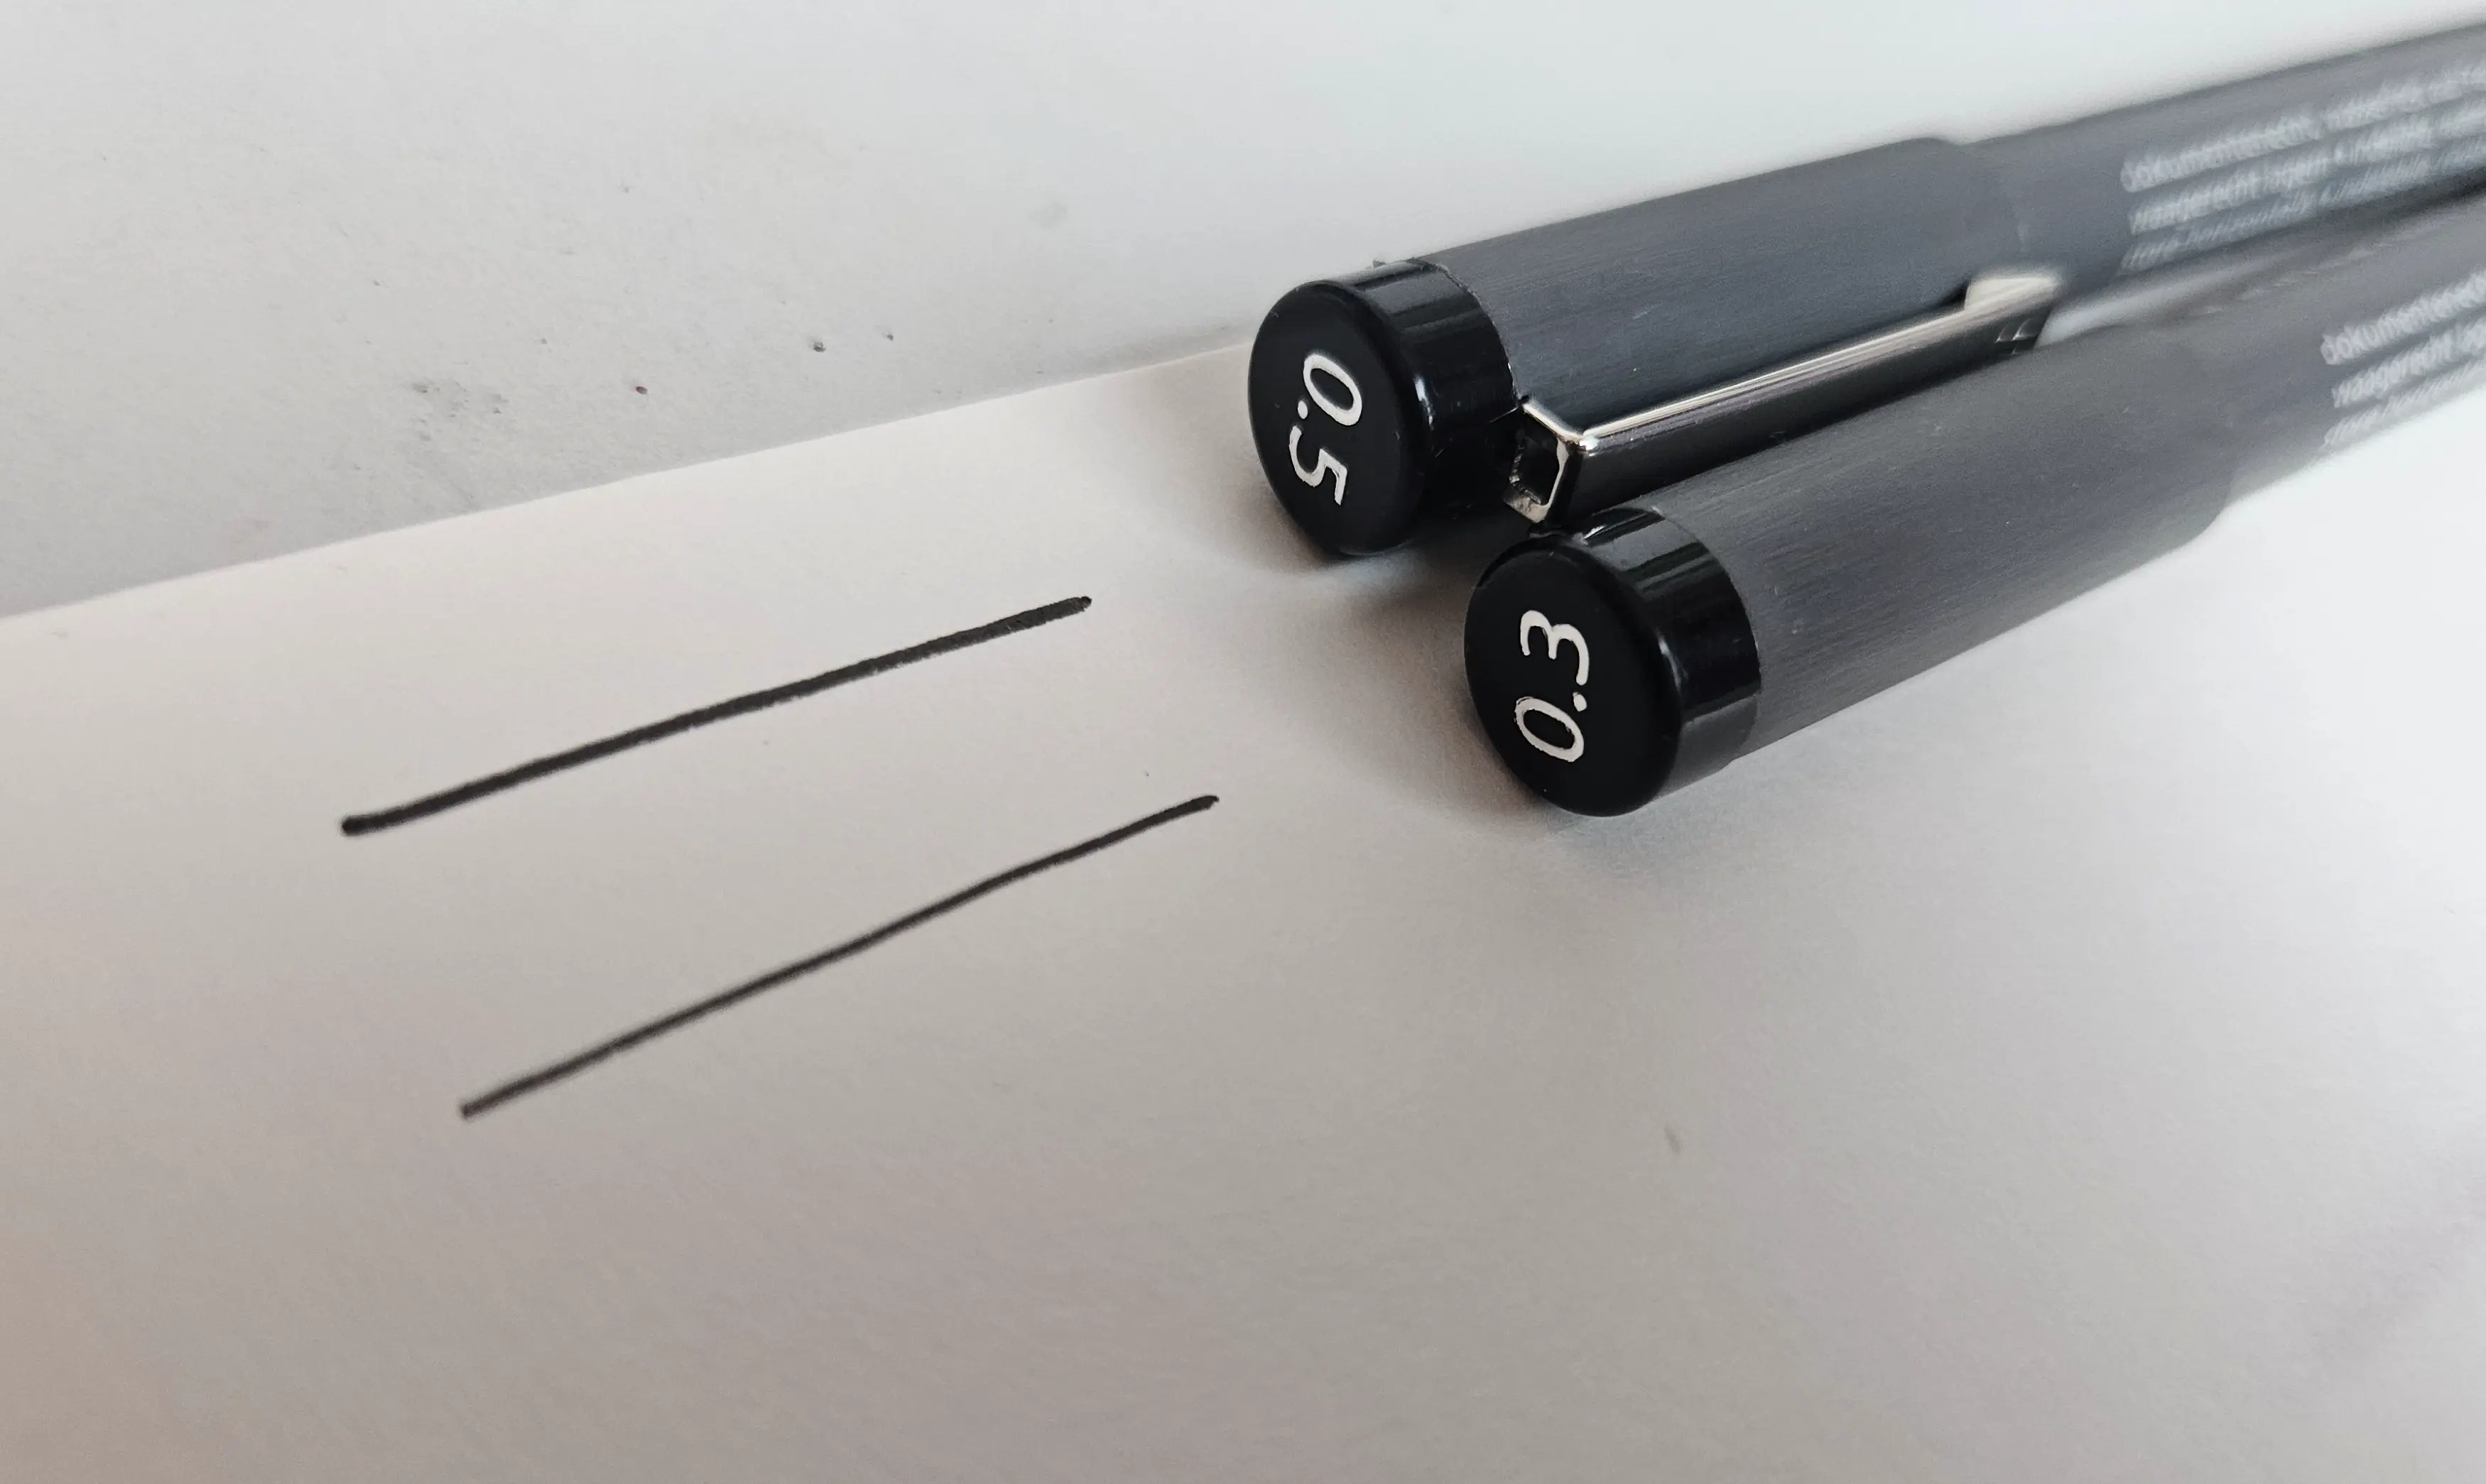
Black liner
A black liner is useful when drawing a cartoon animal to outline the animal. You can use a 0.3 or 0.5 tip depending on the desired effect.
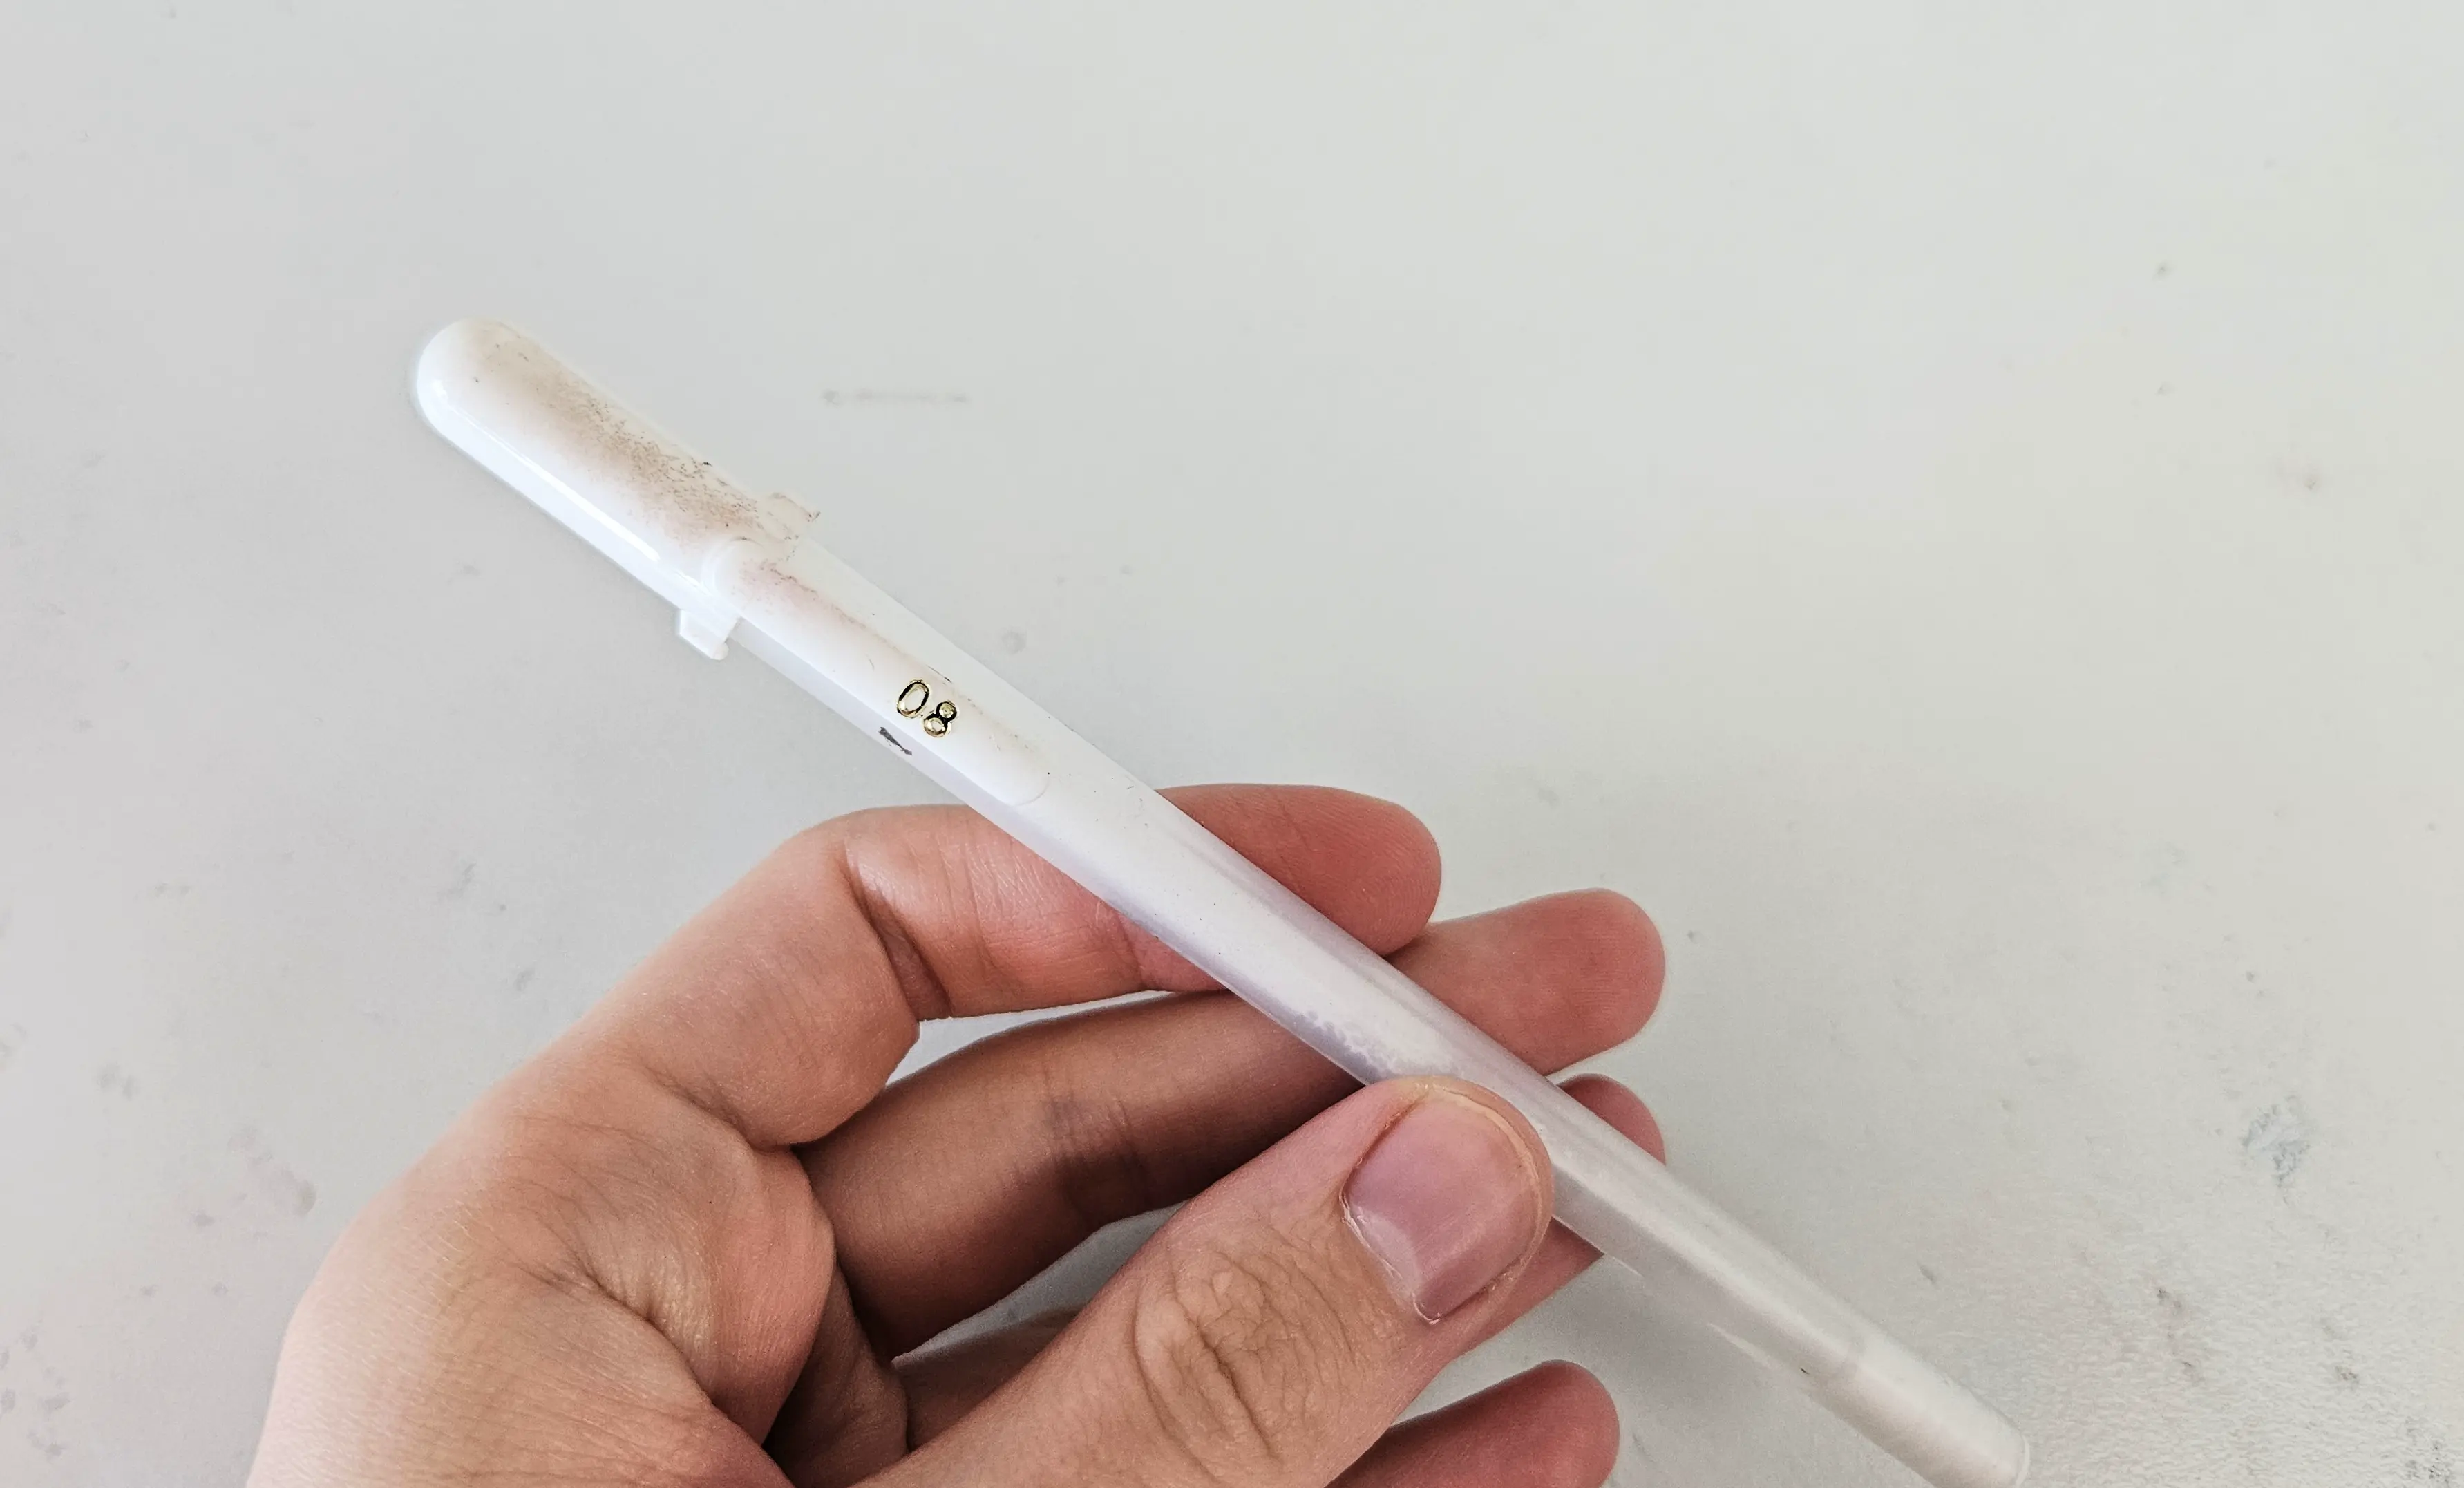
White gel pen
A white gel pen is often also necessary to add touches of light to your drawing.
The strength of alcohol markers
Alcohol markers allow you to layer colors and achieve smooth transitions. You can work in successive layers.
You can also create textures depending on the desired effect:
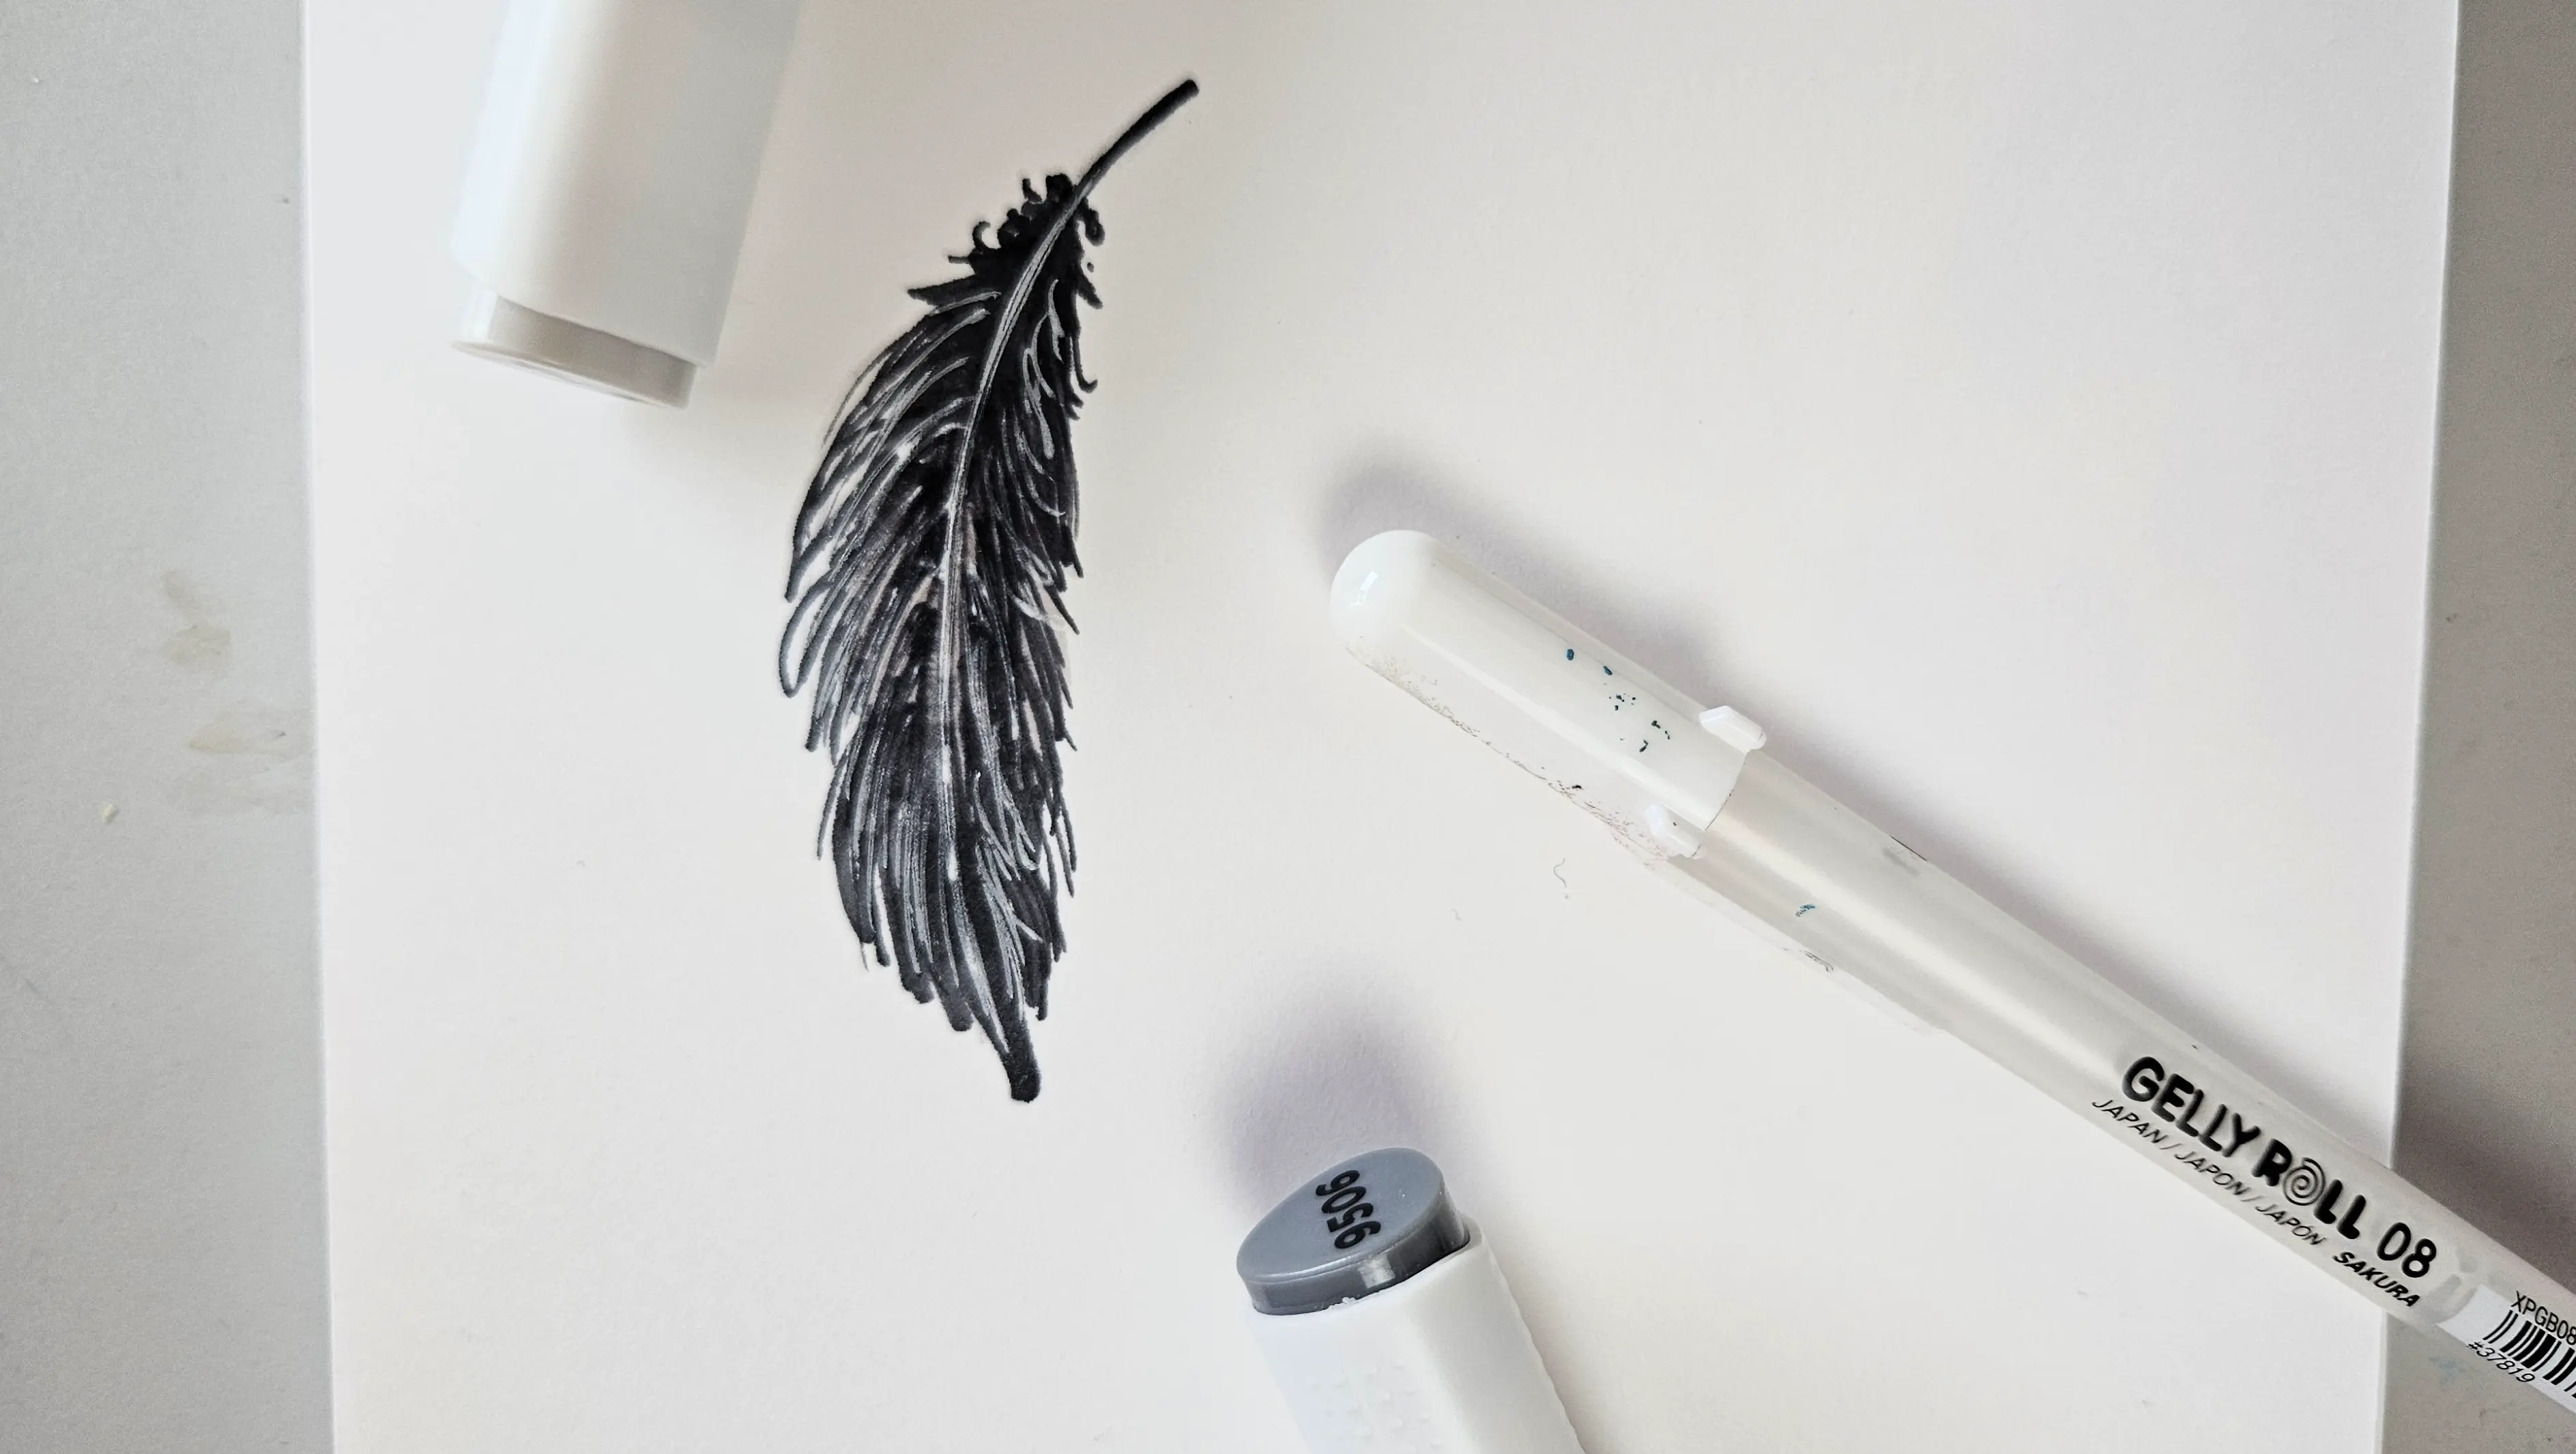
- For a fur effect, you can layer quick strokes to mimic the fur of a dog, a cat, etc. Remember to always color in the direction of the fur. The same applies to bird feathers, for example. Here, you can see that I have made many curved strokes in the direction of the feather using two gray alcohol markers, and my white gel pen.
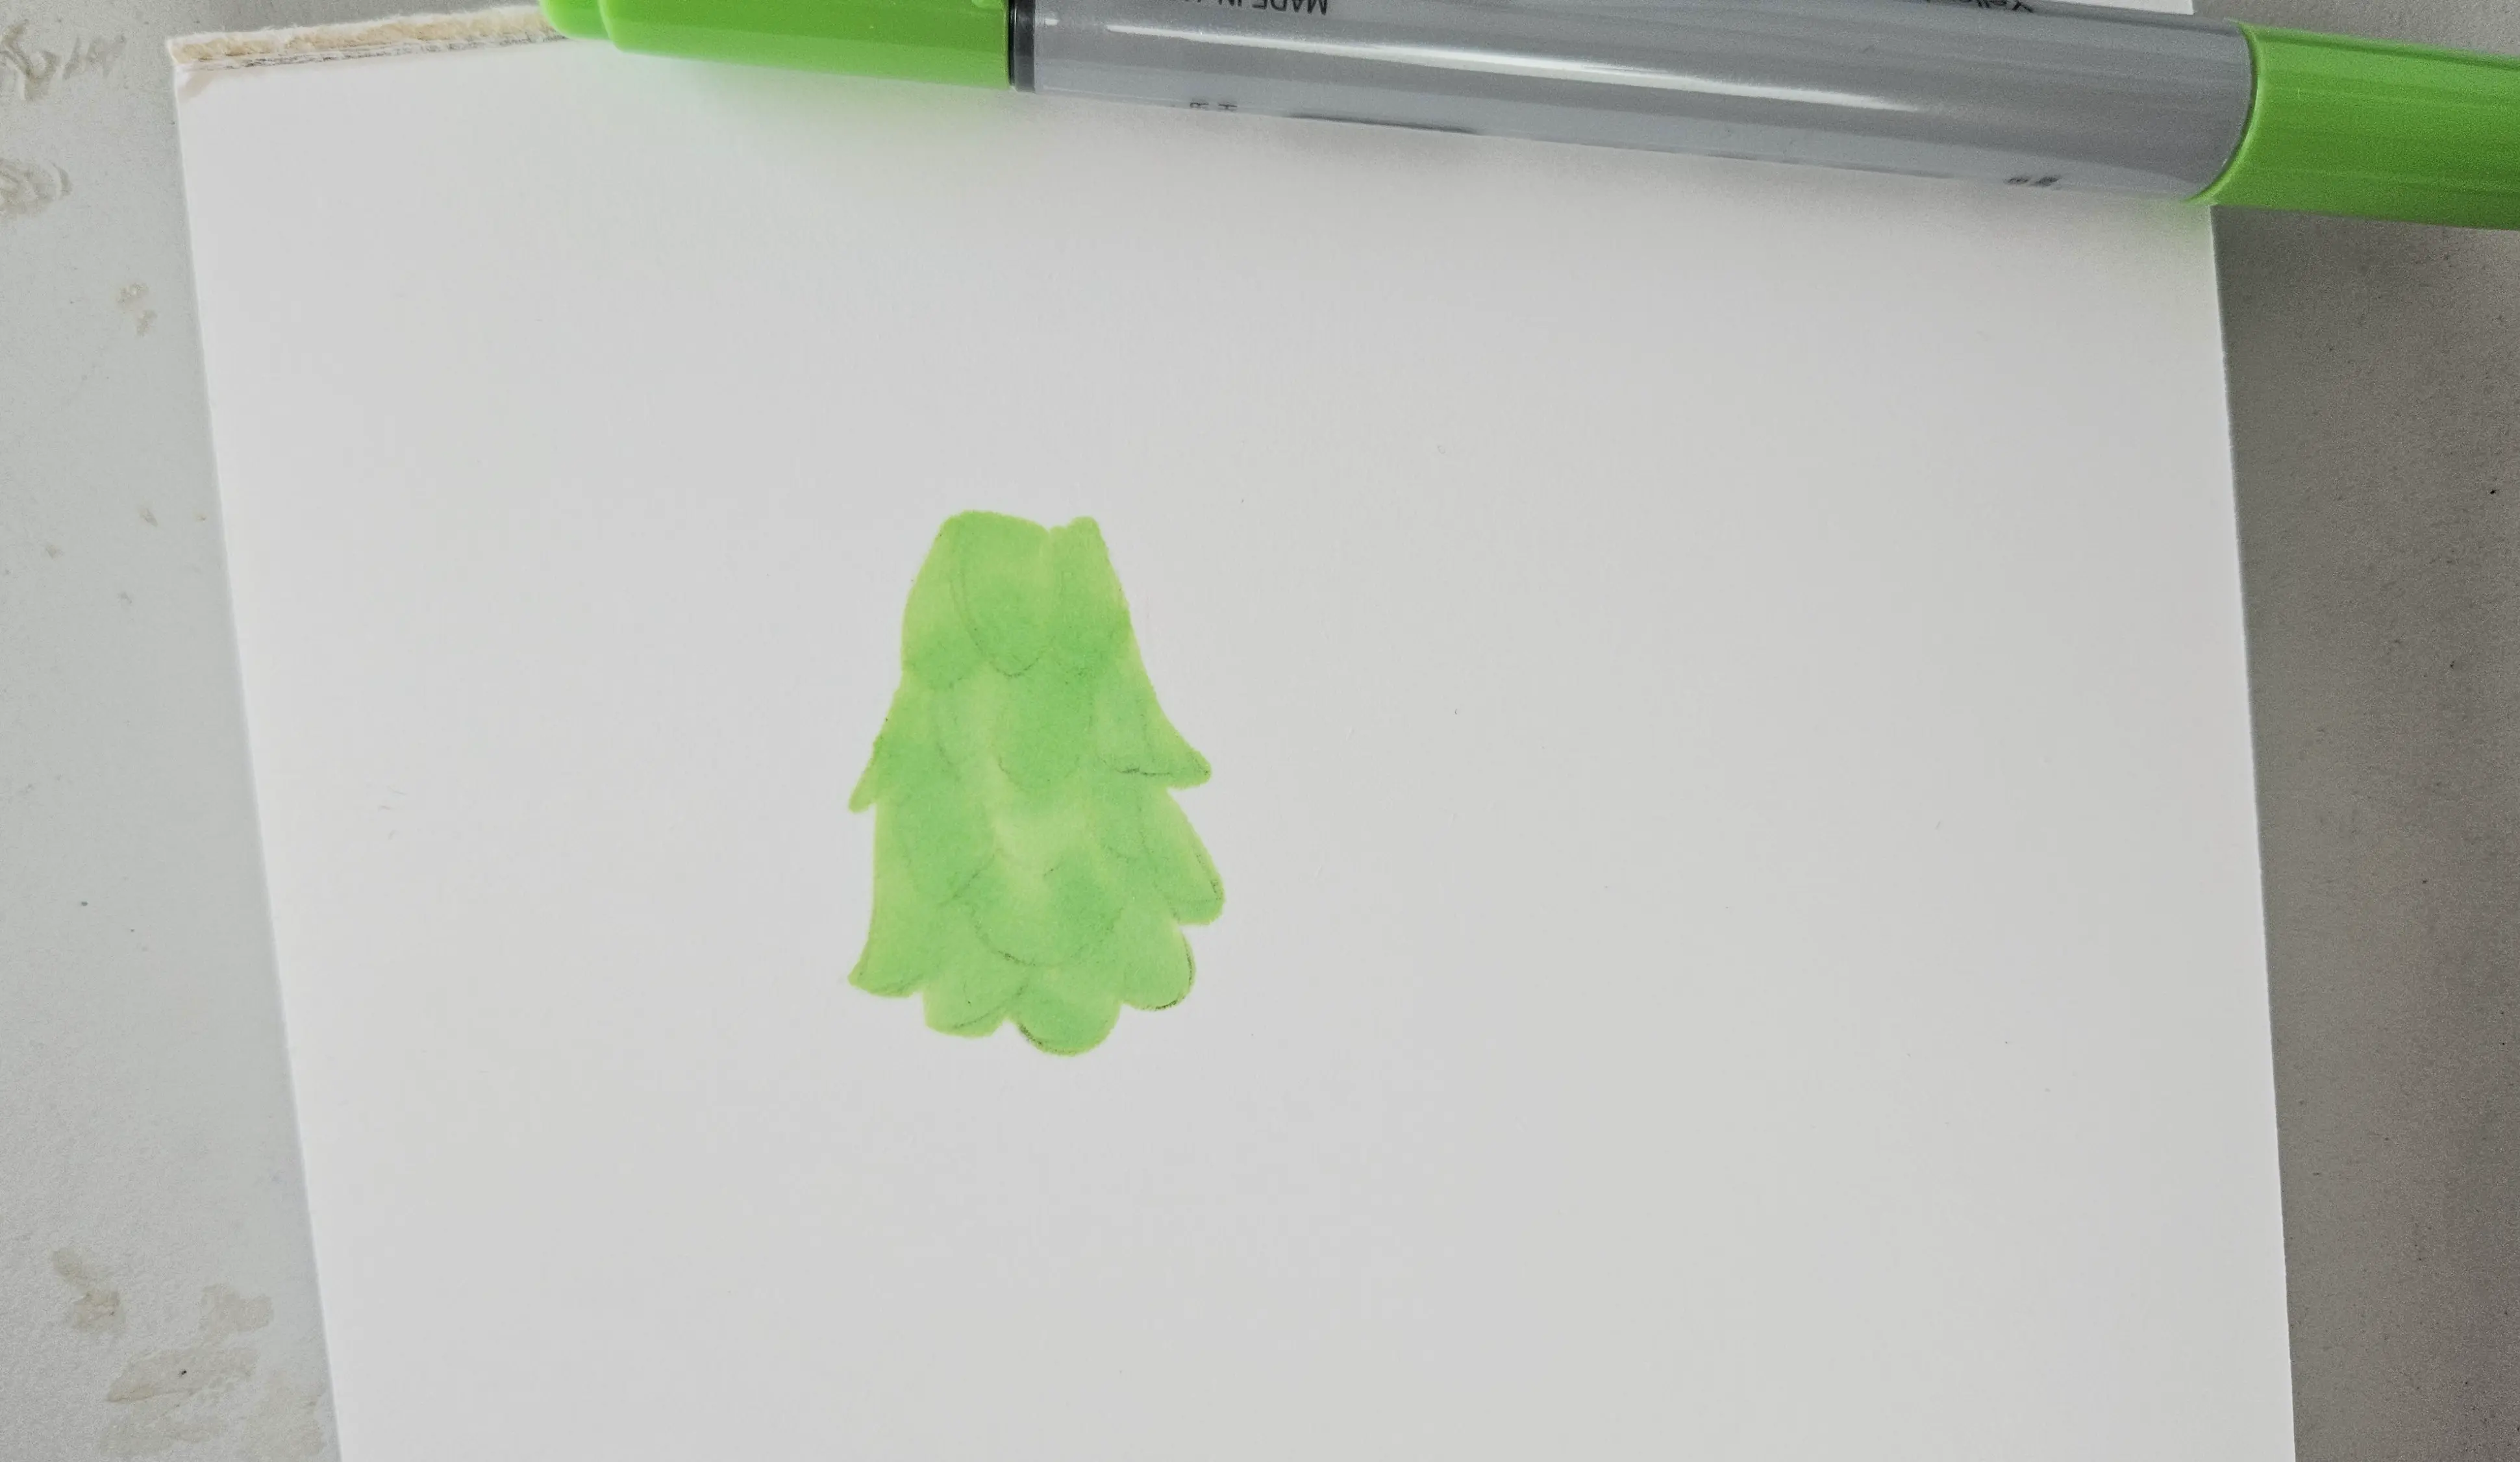
- For a scale effect, you can draw repetitive shapes and play with contrasts to give volume to your animal, be it a fish, bird, or reptile.
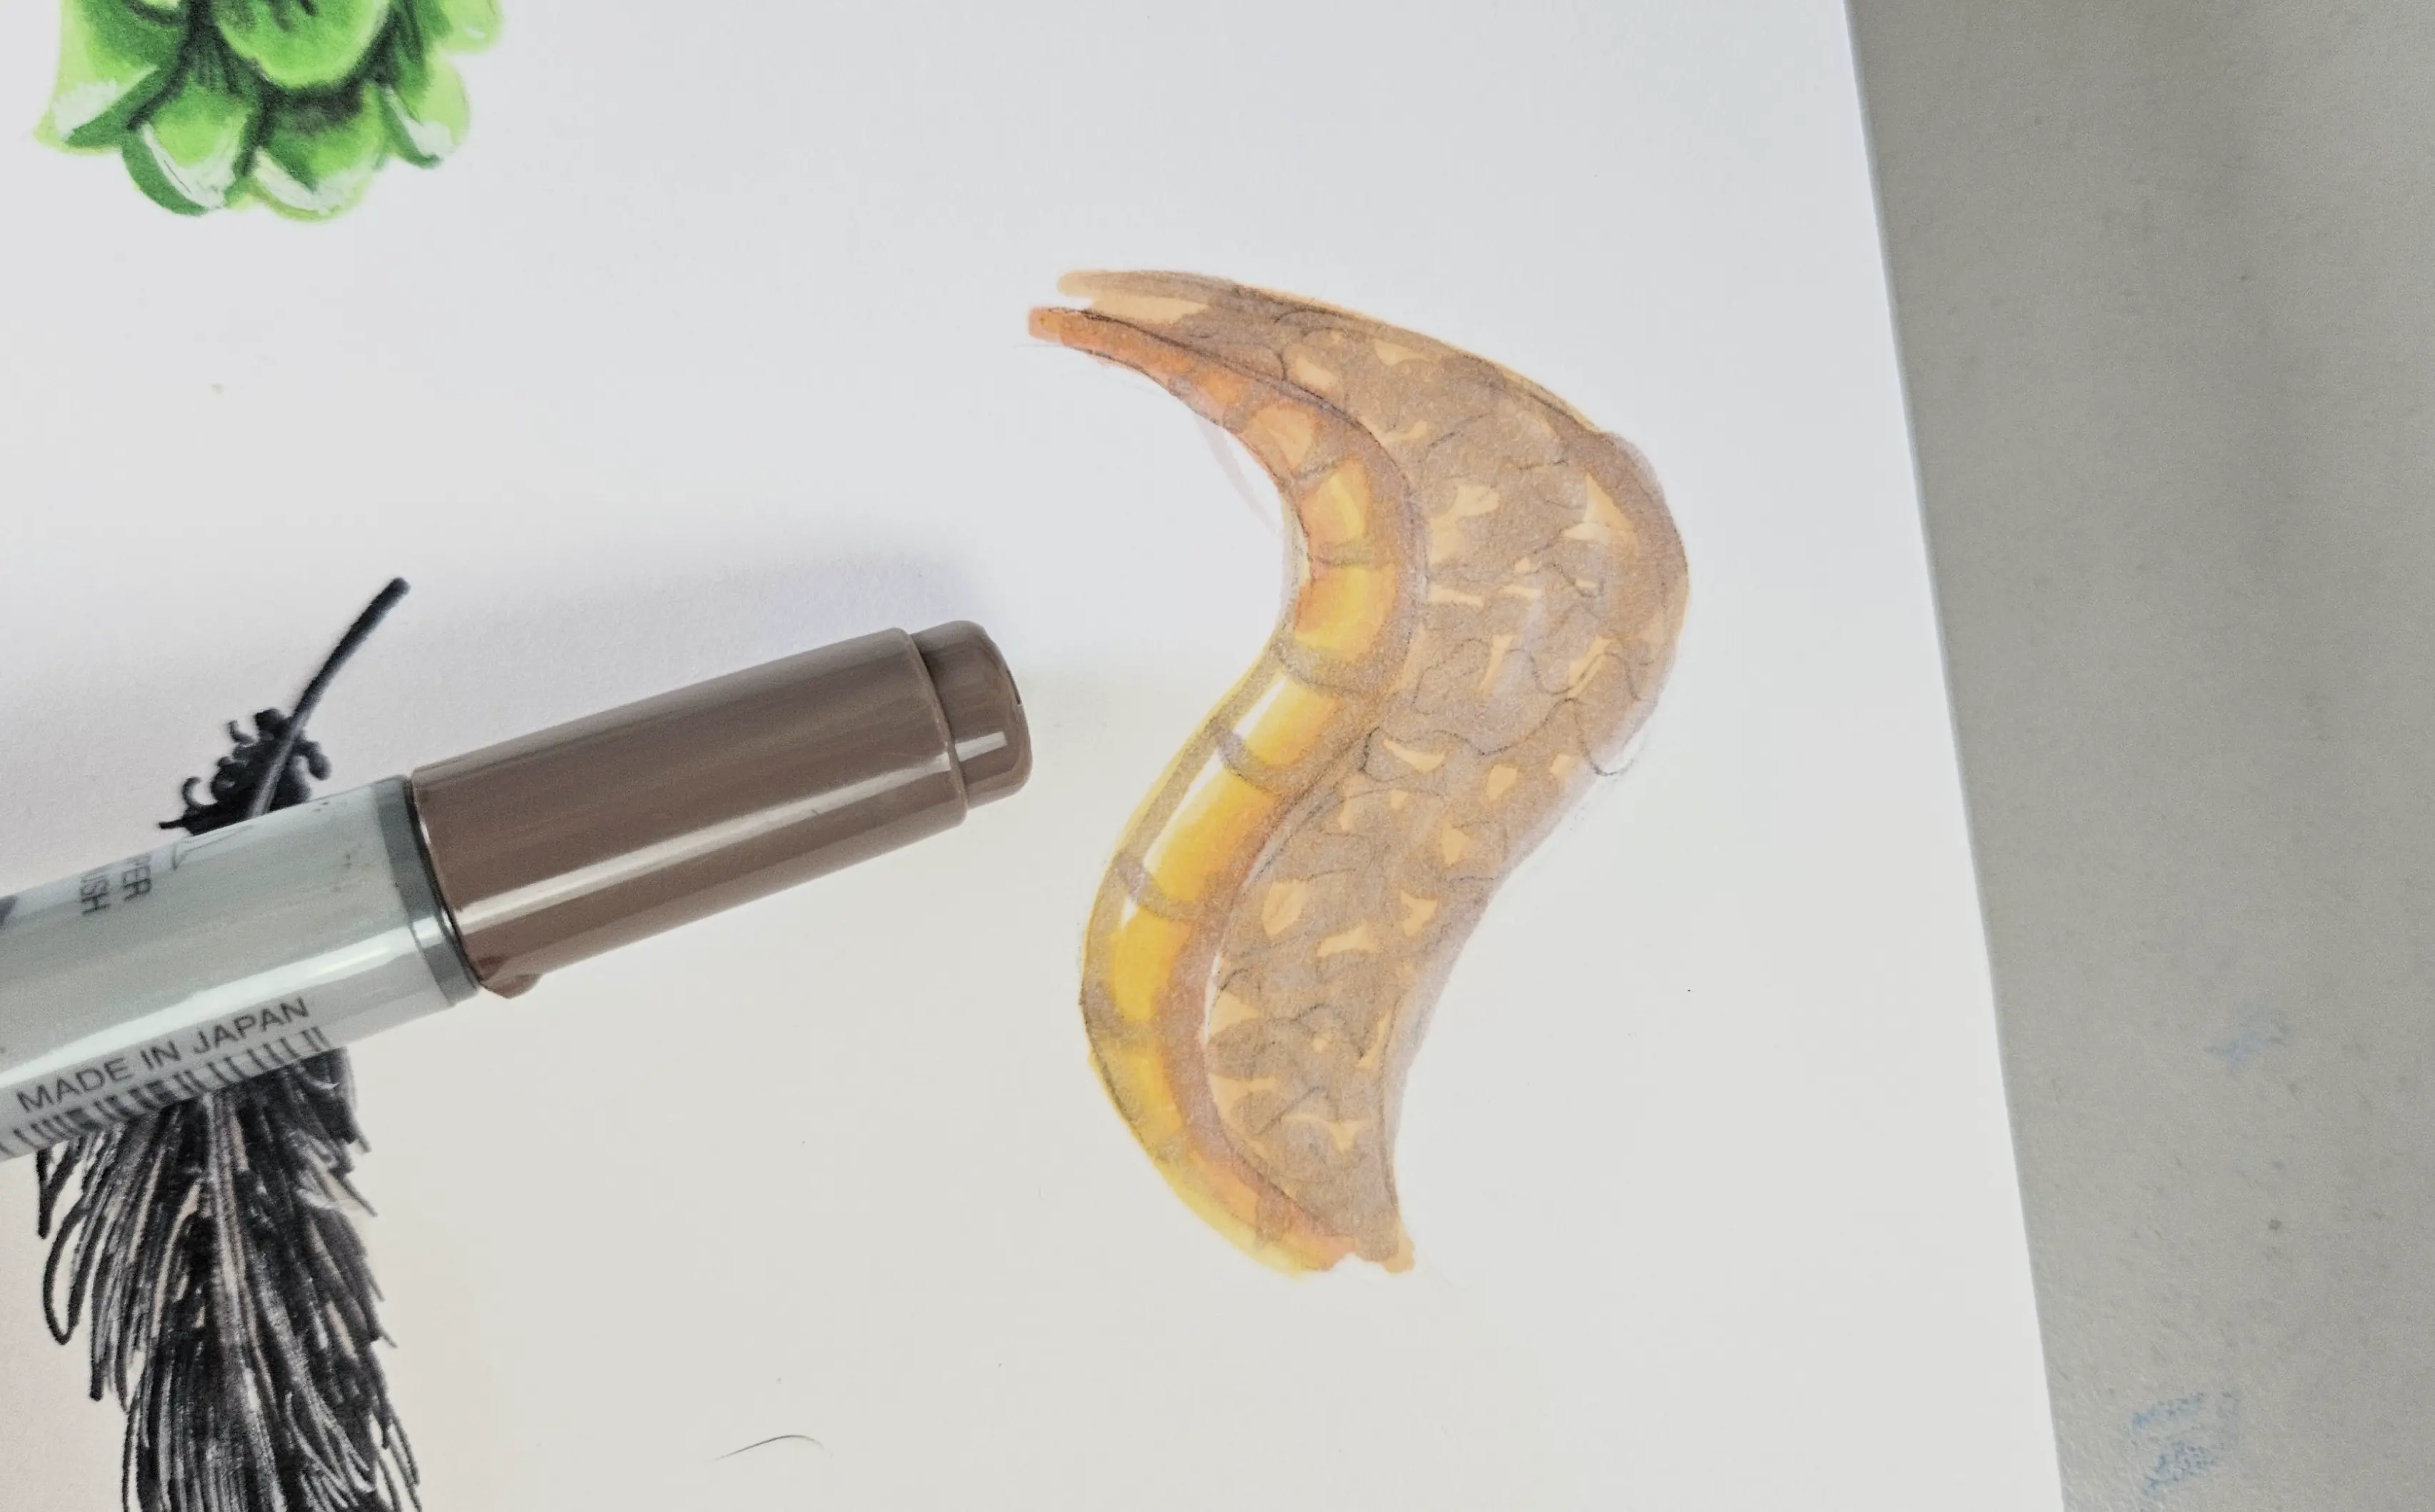
In general, you can start with a simple flat color.
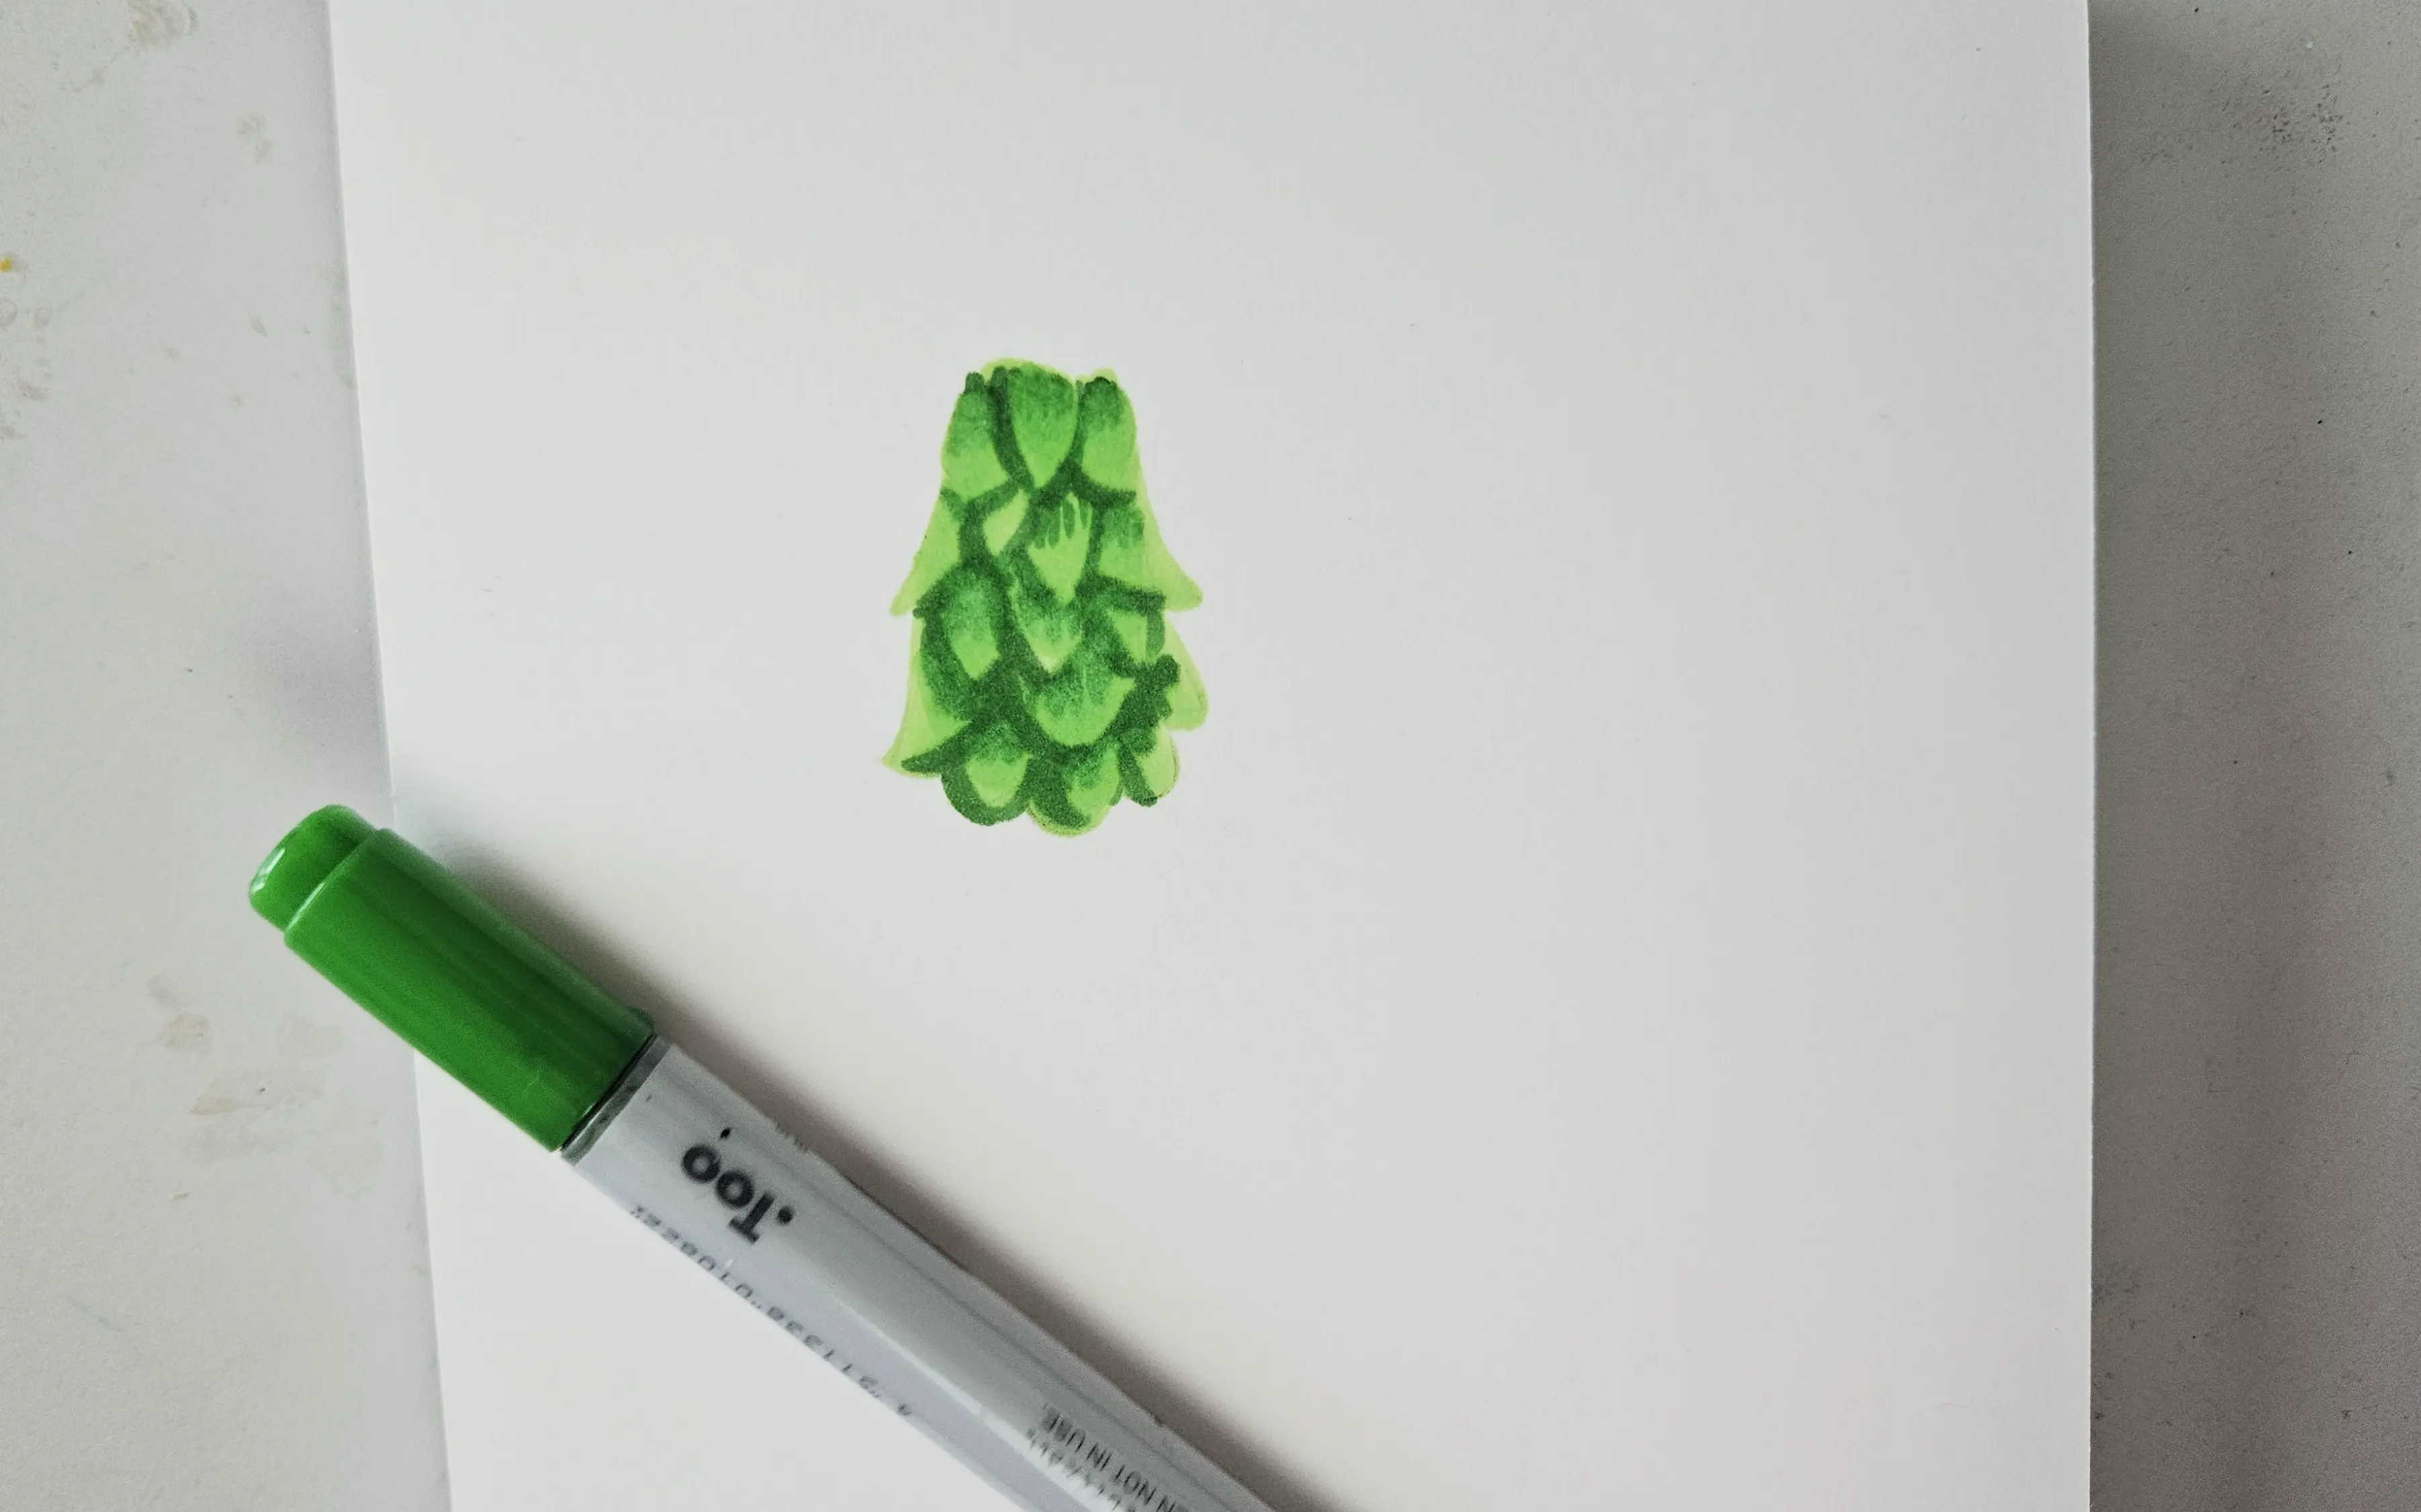
Then you can use your darker color to add a bit of contrast.
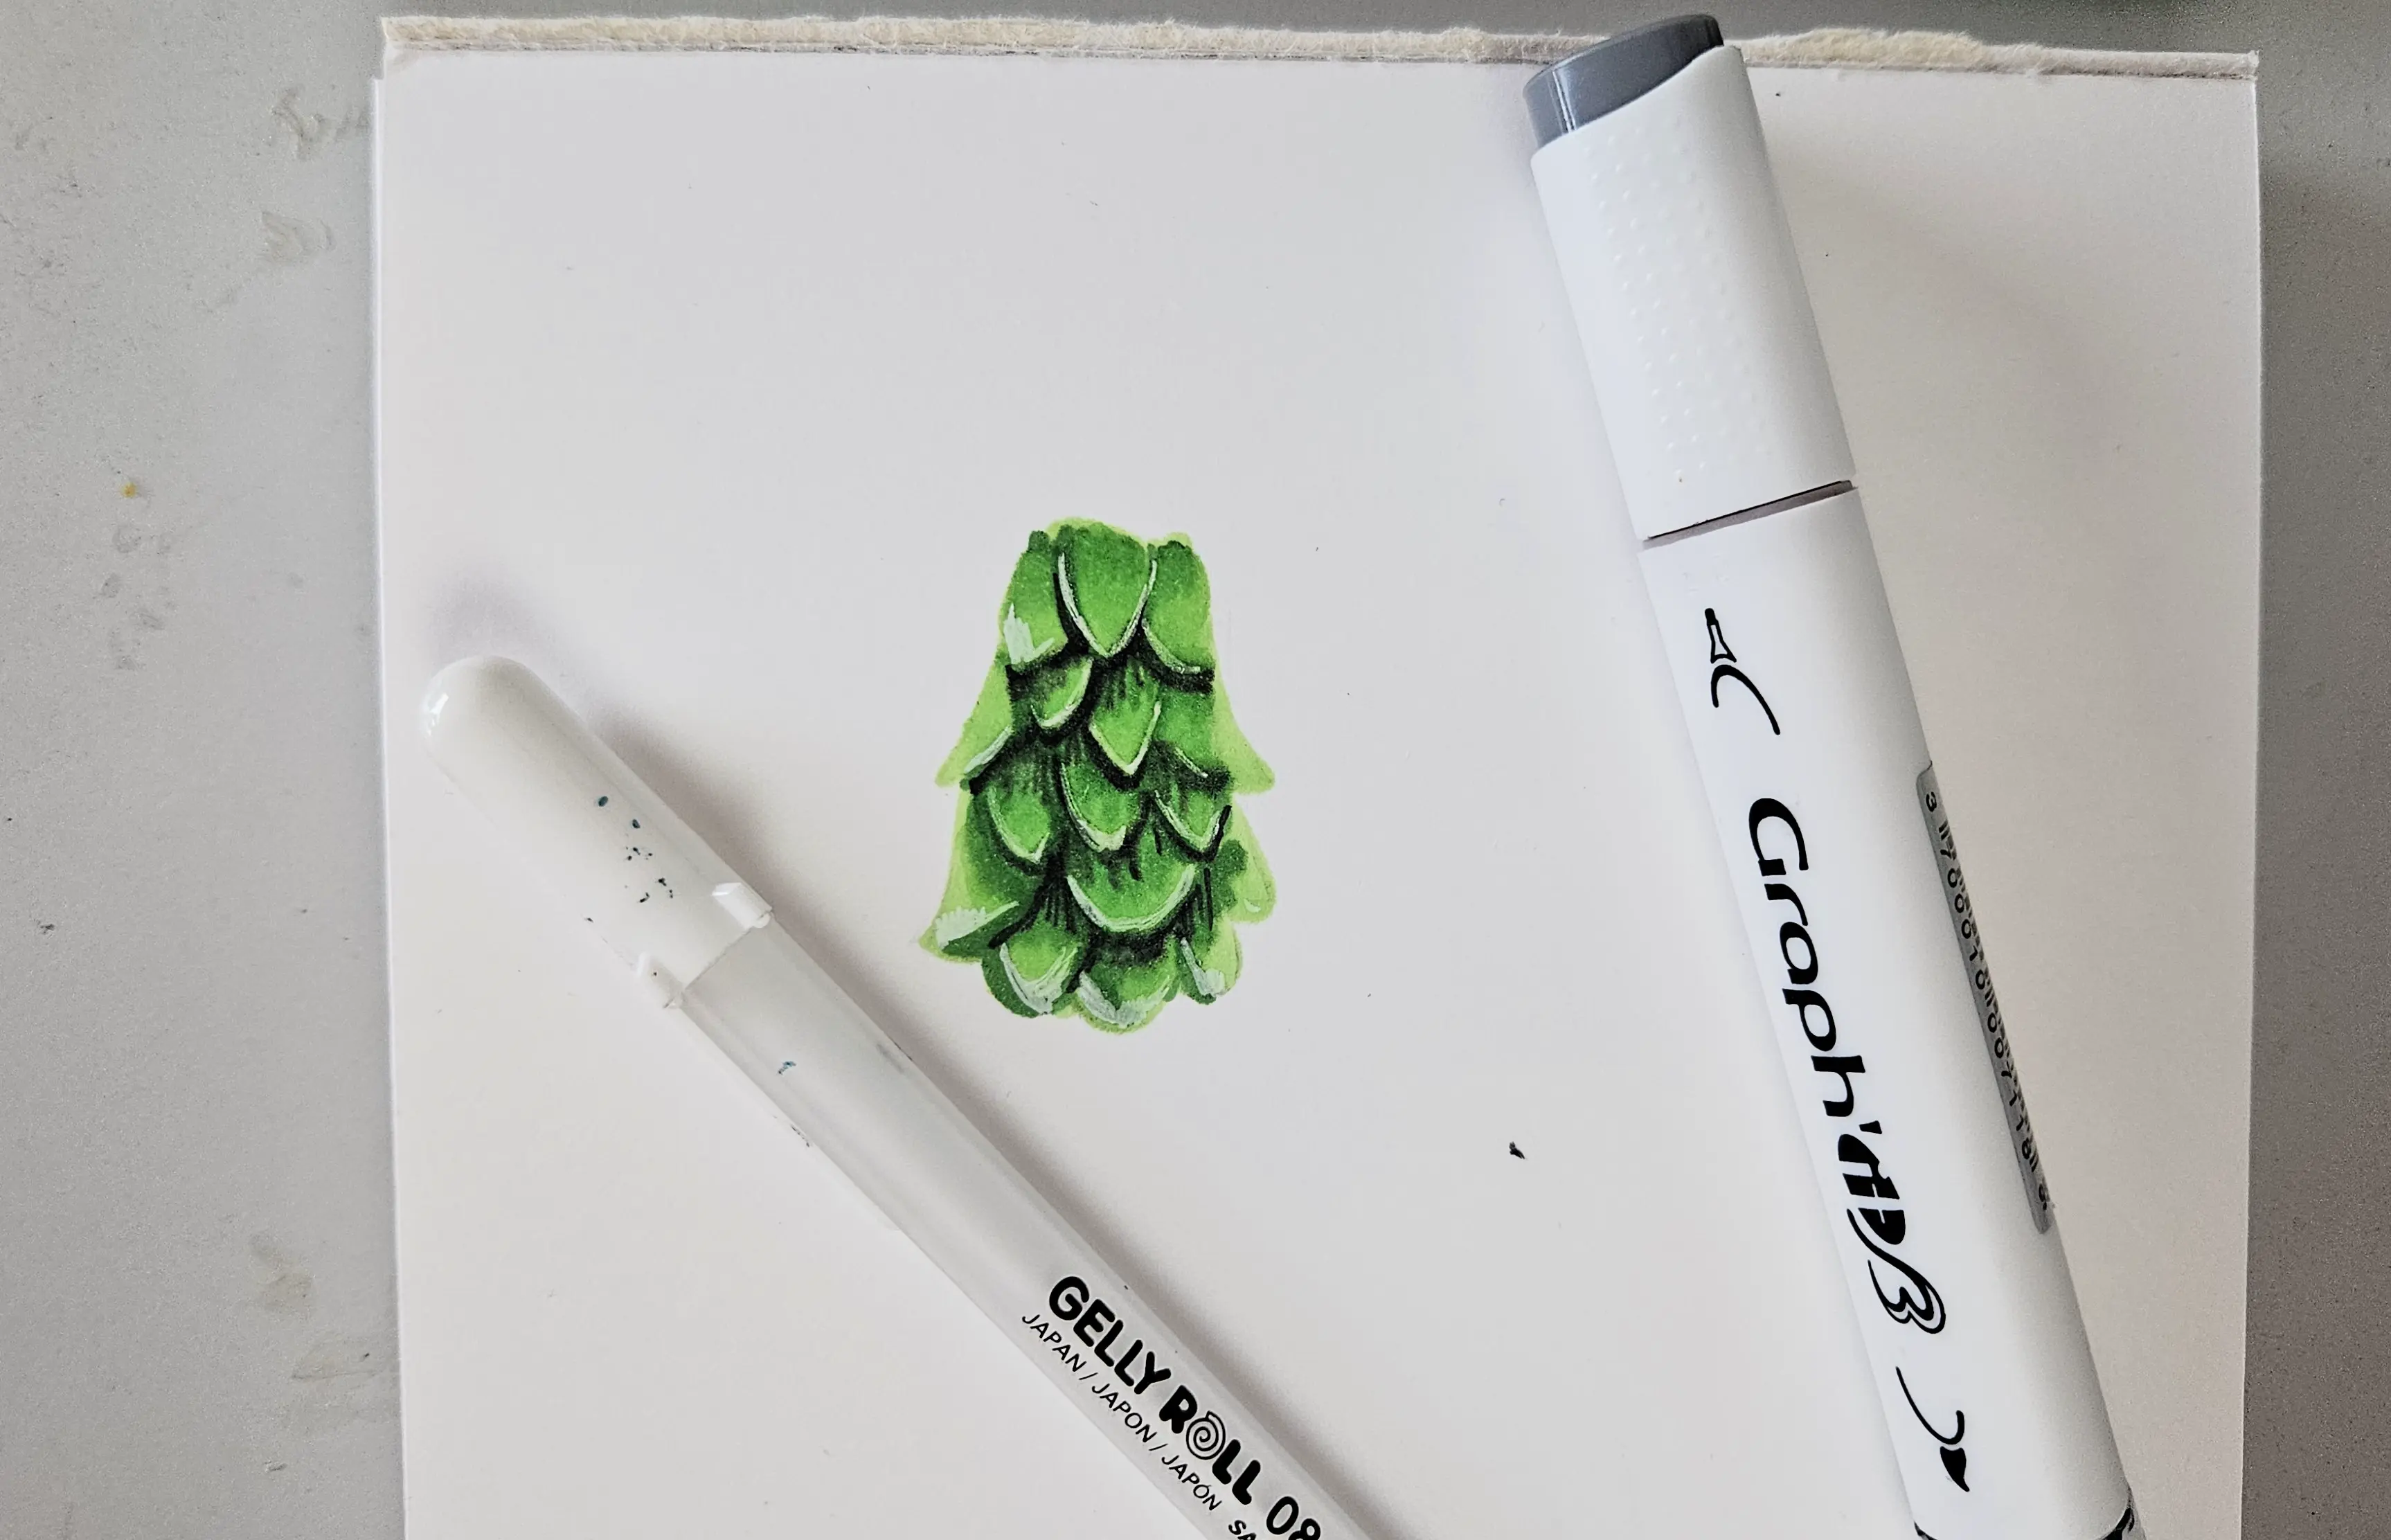
Finish with a dark gray color and the white gel pen.
Reptiles have a particular texture underneath the belly and beneath the scales.
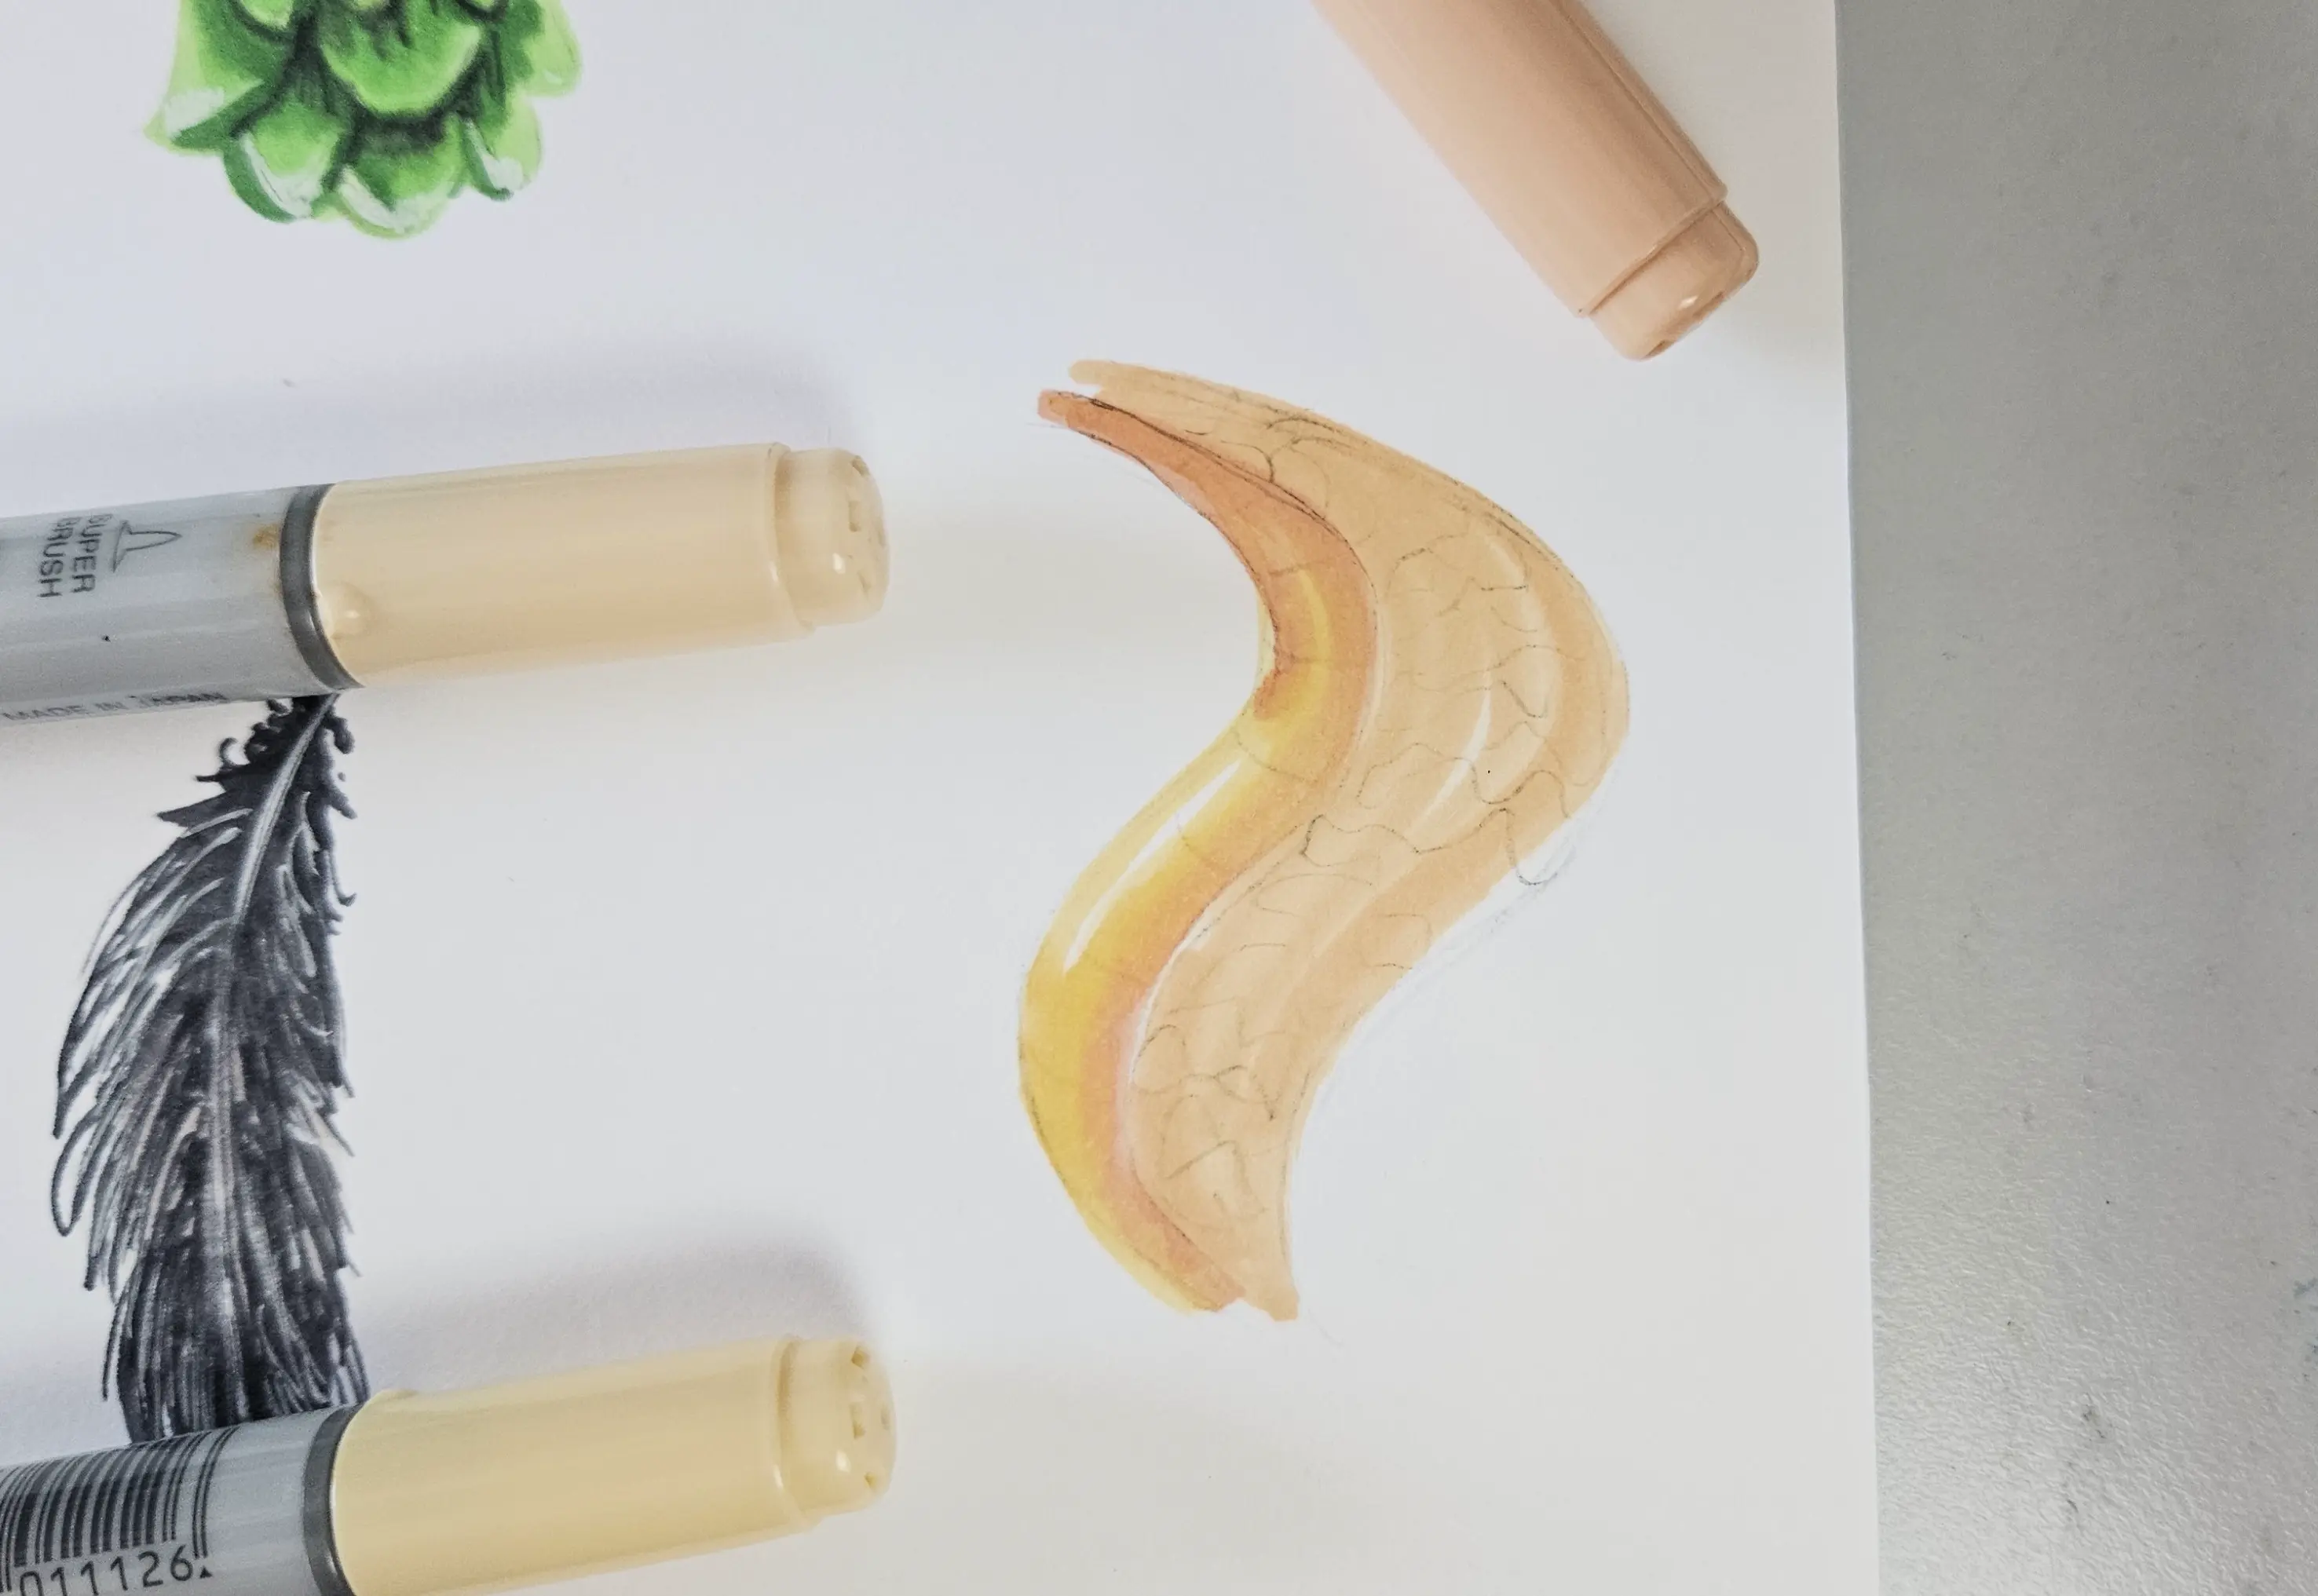
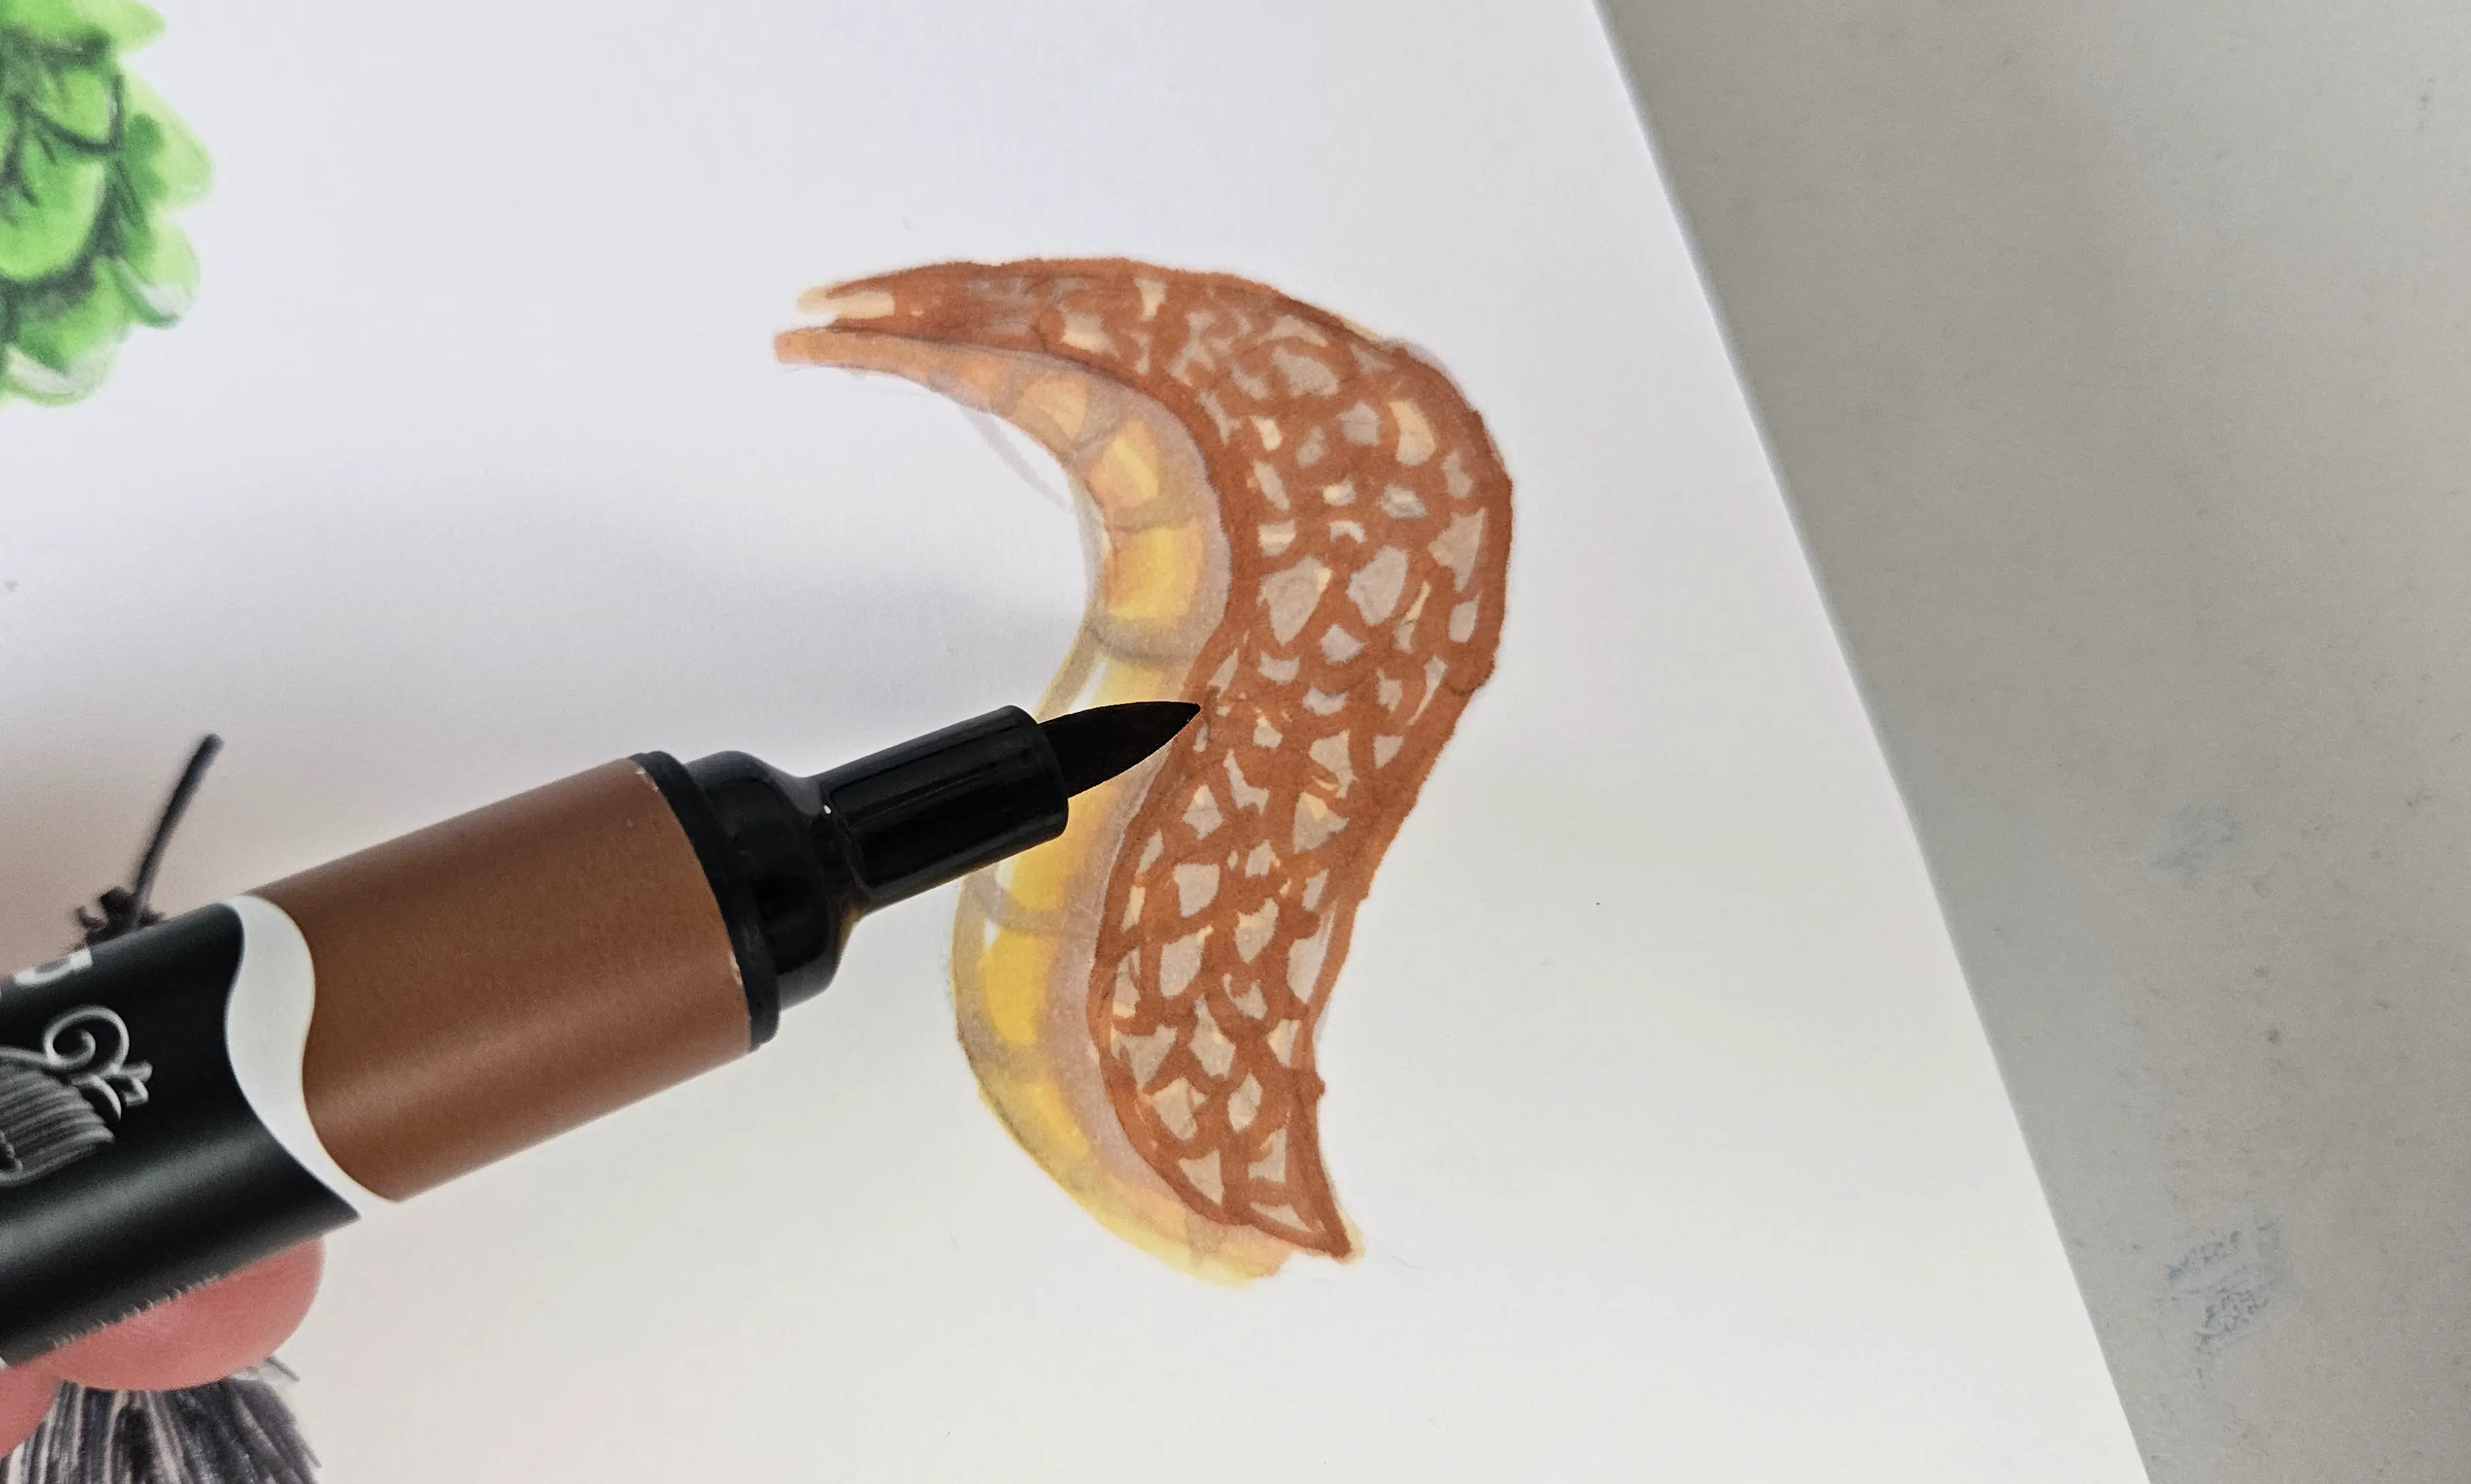
Once the flat colors are applied, I use a light brown to define curved lines for the lower belly, which will follow the movement of the body. And I make random movements (shapes that close) on the body to represent scales and add some texture.
I continue the scales with a darker brown.
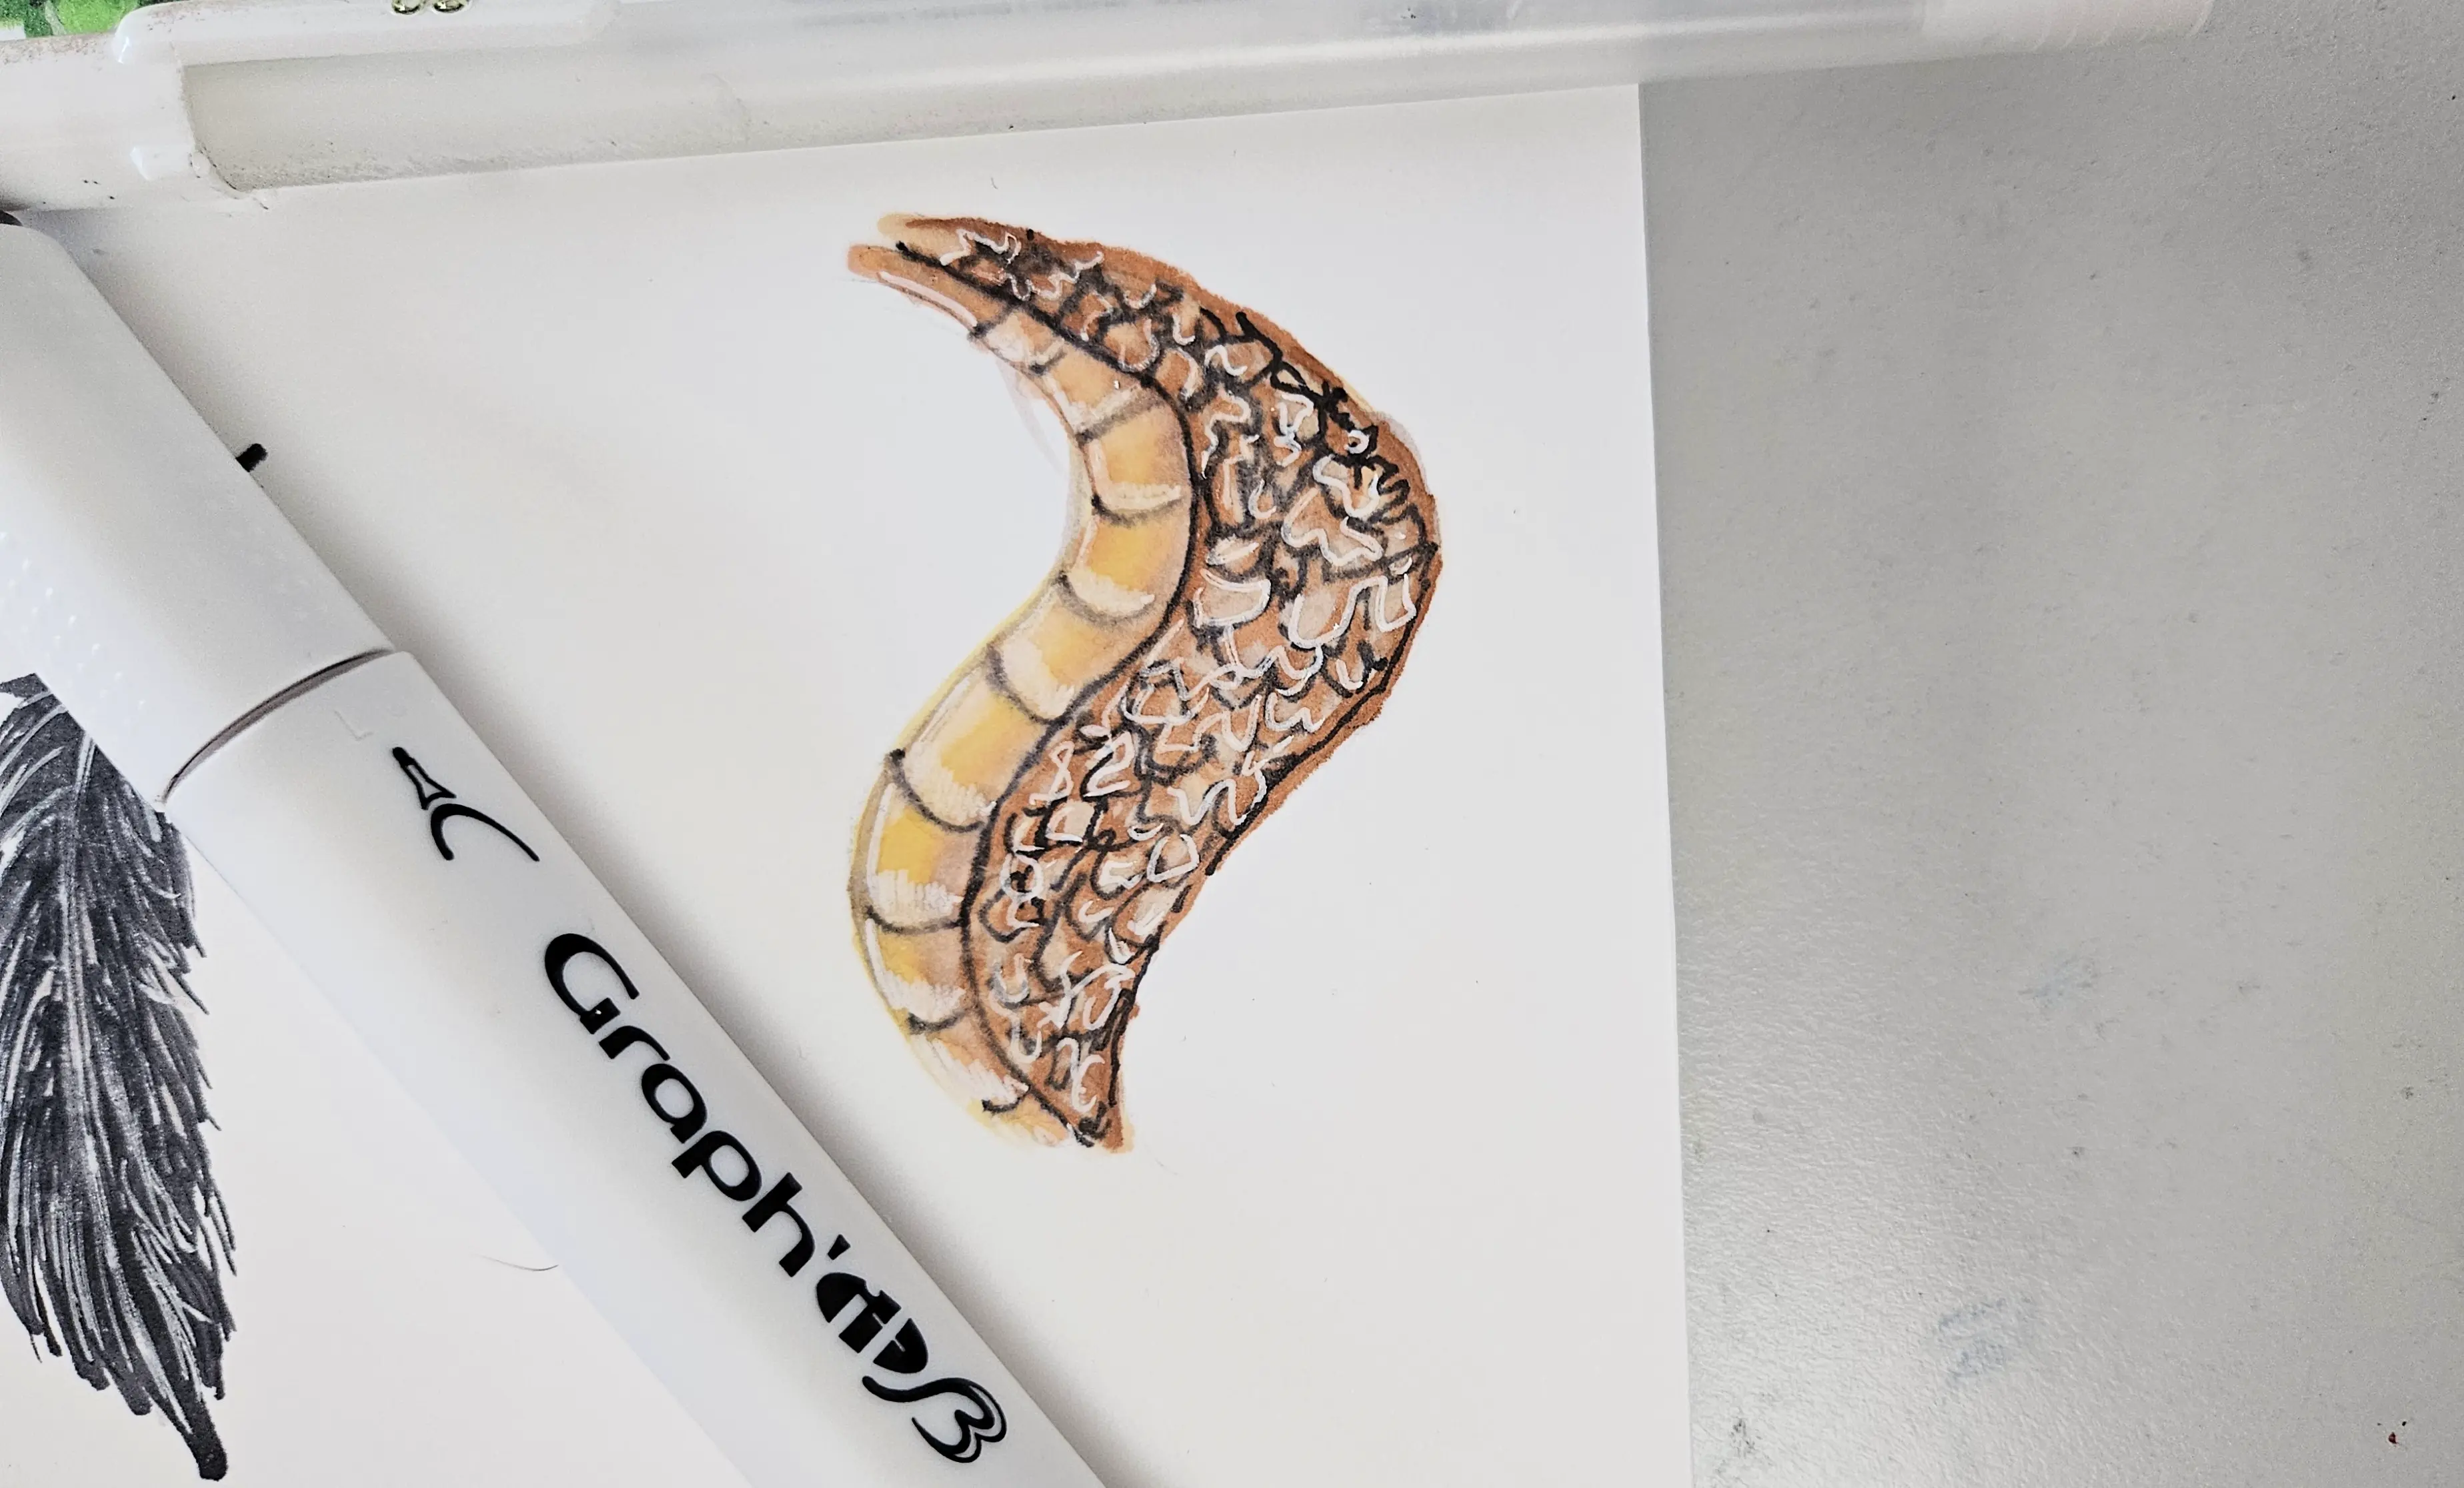
I finish with a dark gray and a white gel pen.
You can also add a background if you feel like it. You can start with a simple background, using basic colors.
You can also vary the drawing styles. If you draw in a realistic style, you can play with the details and the depth of colors. If you draw in a cartoon style, you could ink your drawing with a black liner, and use more flat colors, etc. We will see this later with 2 different examples.
Draw the bases of my animals
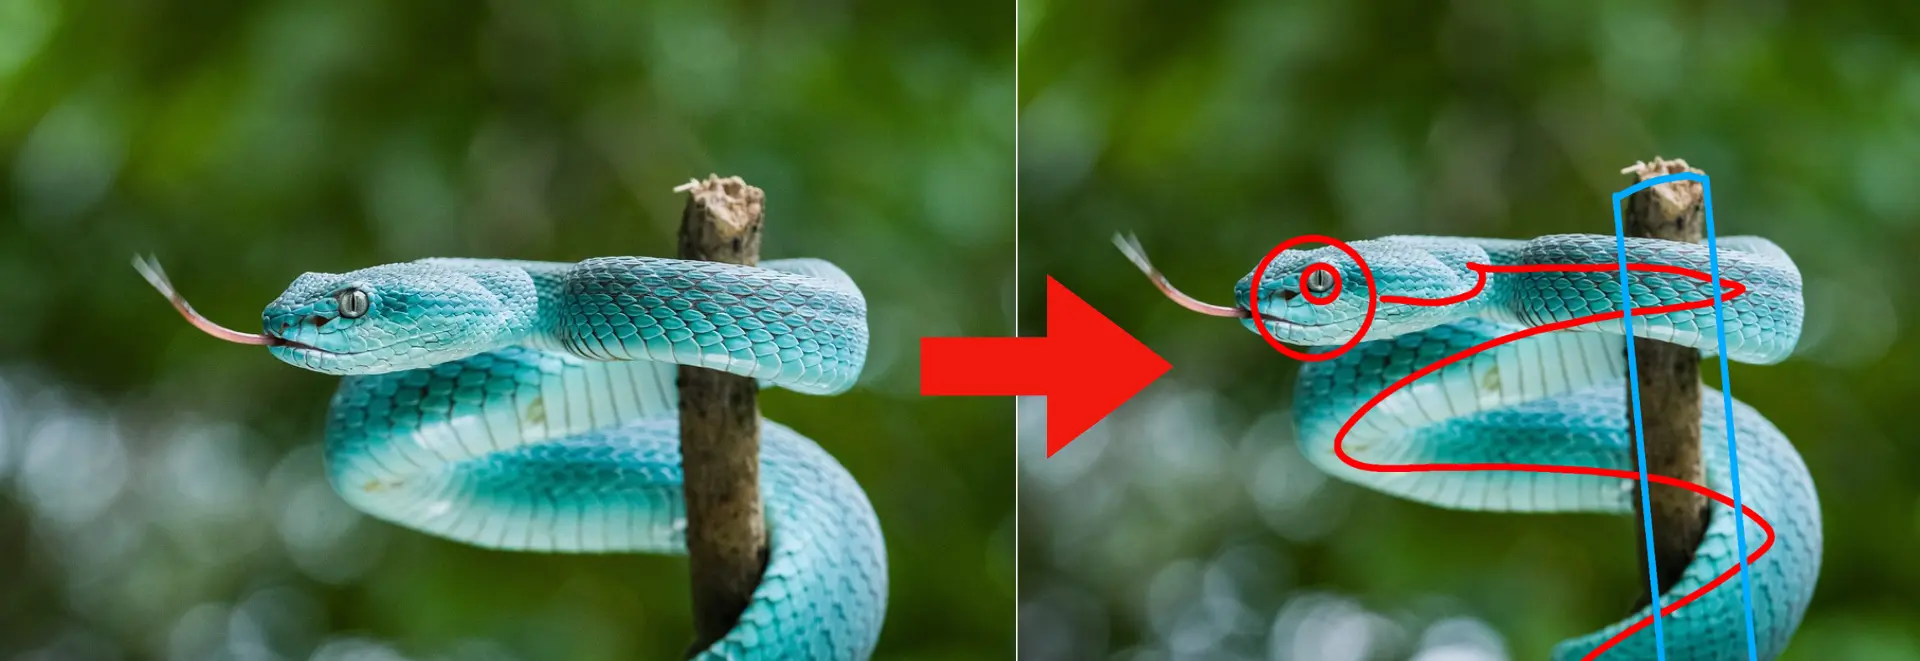
First, we need to choose which animal we want to draw. Generally, I start with a light pencil sketch. I first define my animal with geometric shapes.
Here, the snake is made up of a circle for the head and a sinusoidal line for the body. I quickly sketch this line as it will help us better represent the movement of the body.
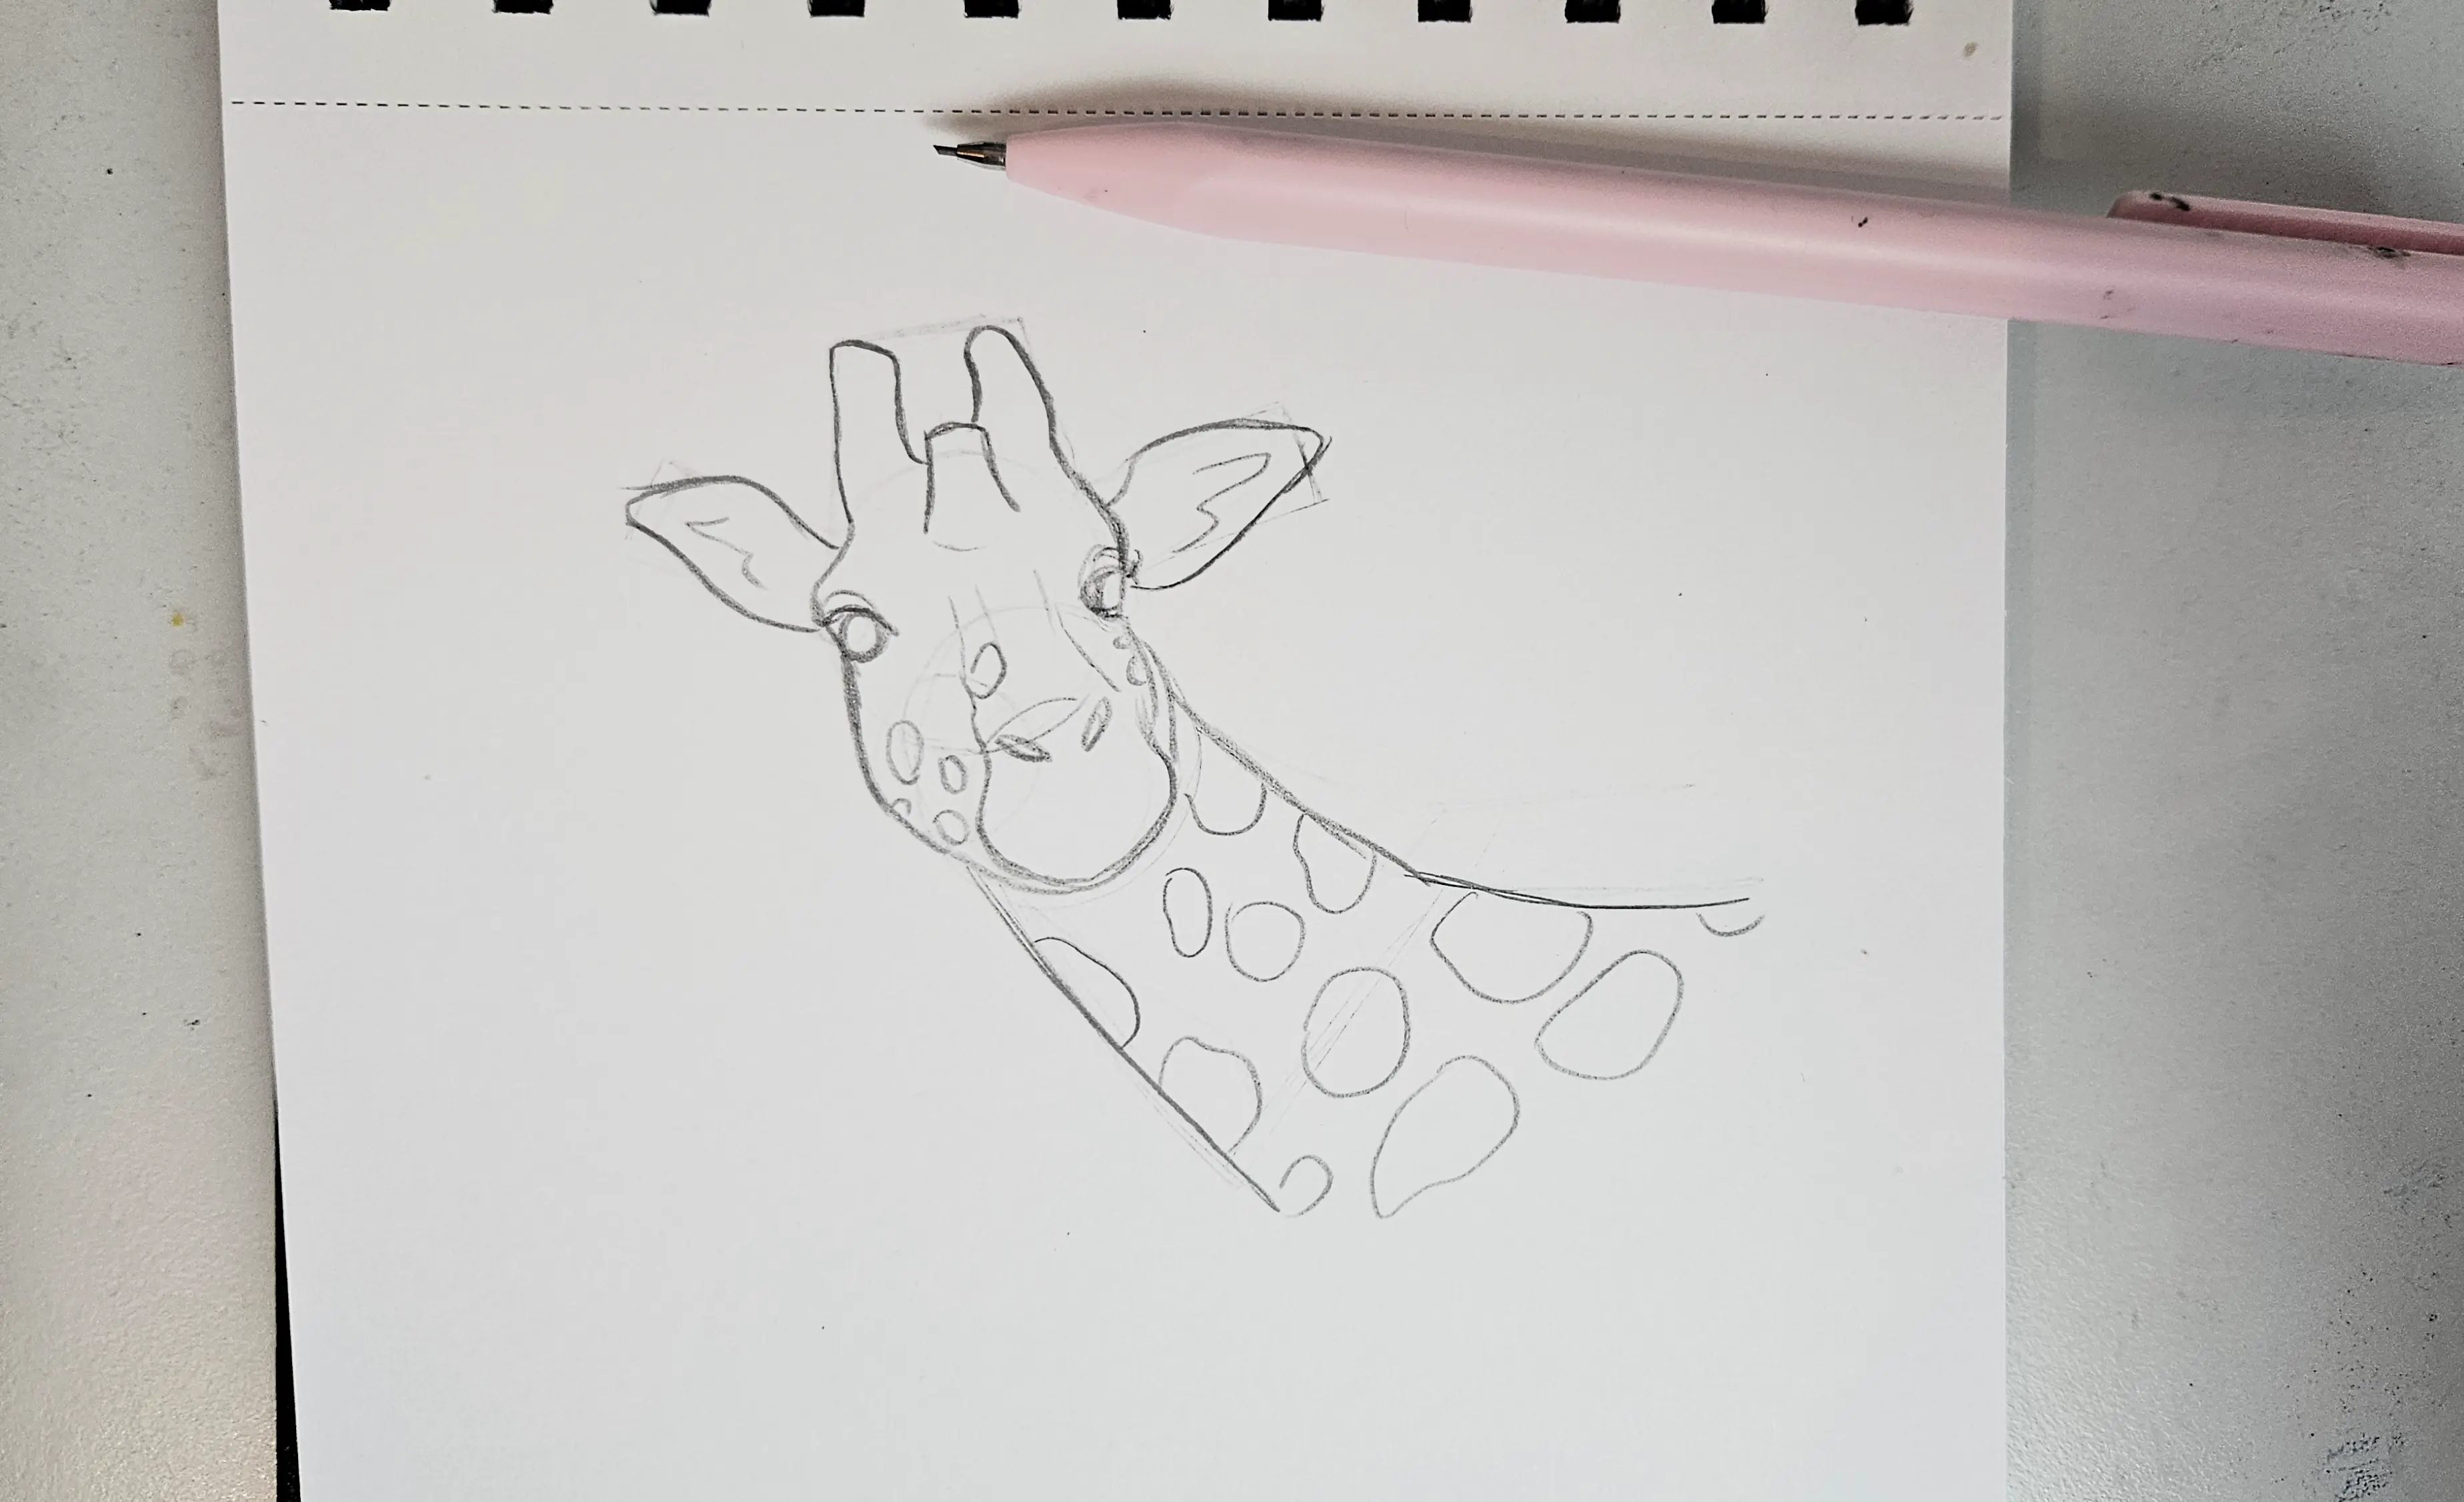
Let's also take the example of this giraffe. We can break it down into simple geometric shapes.
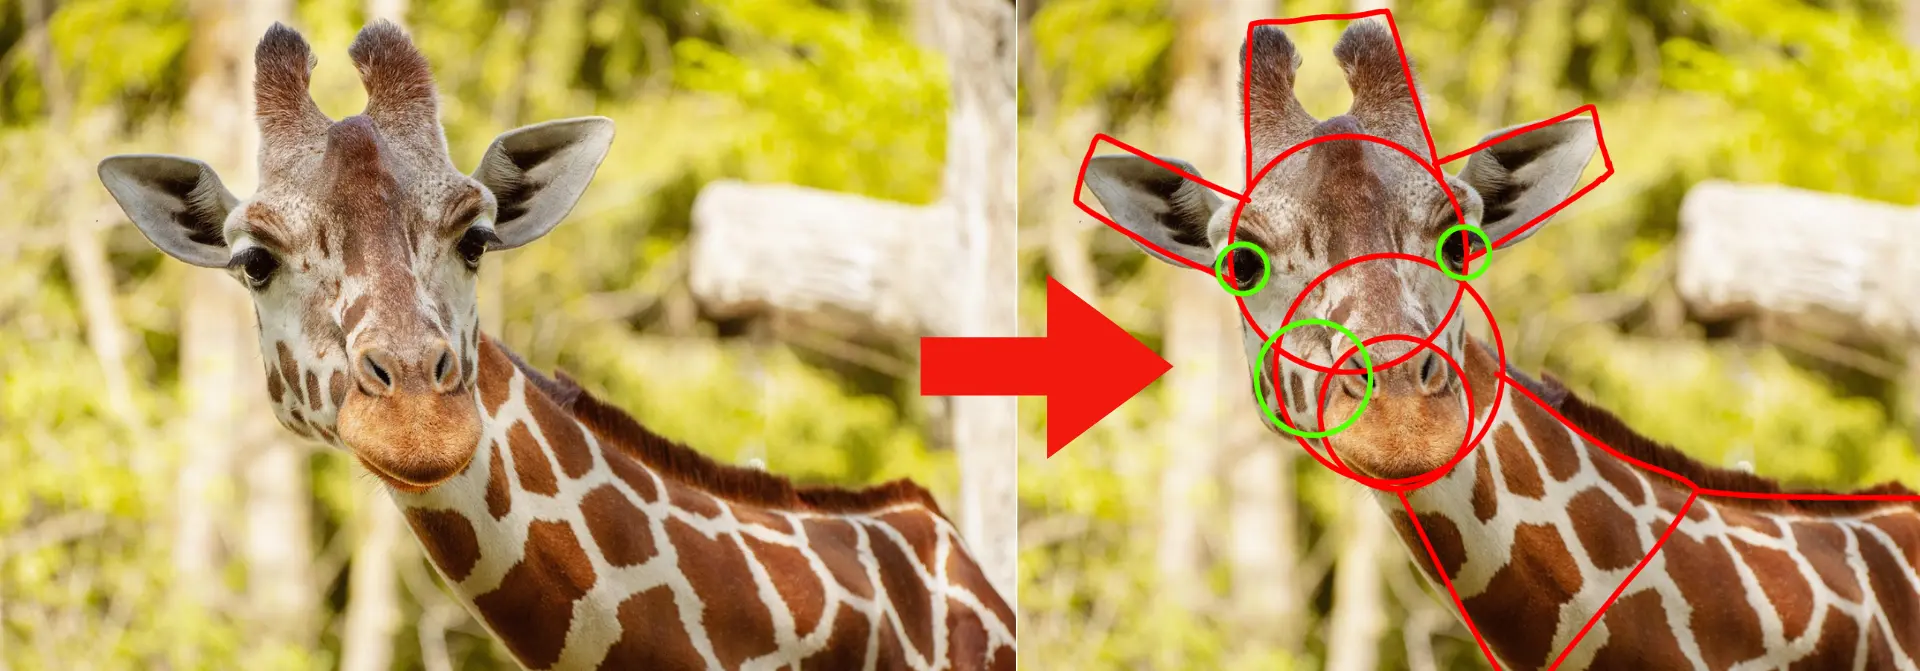
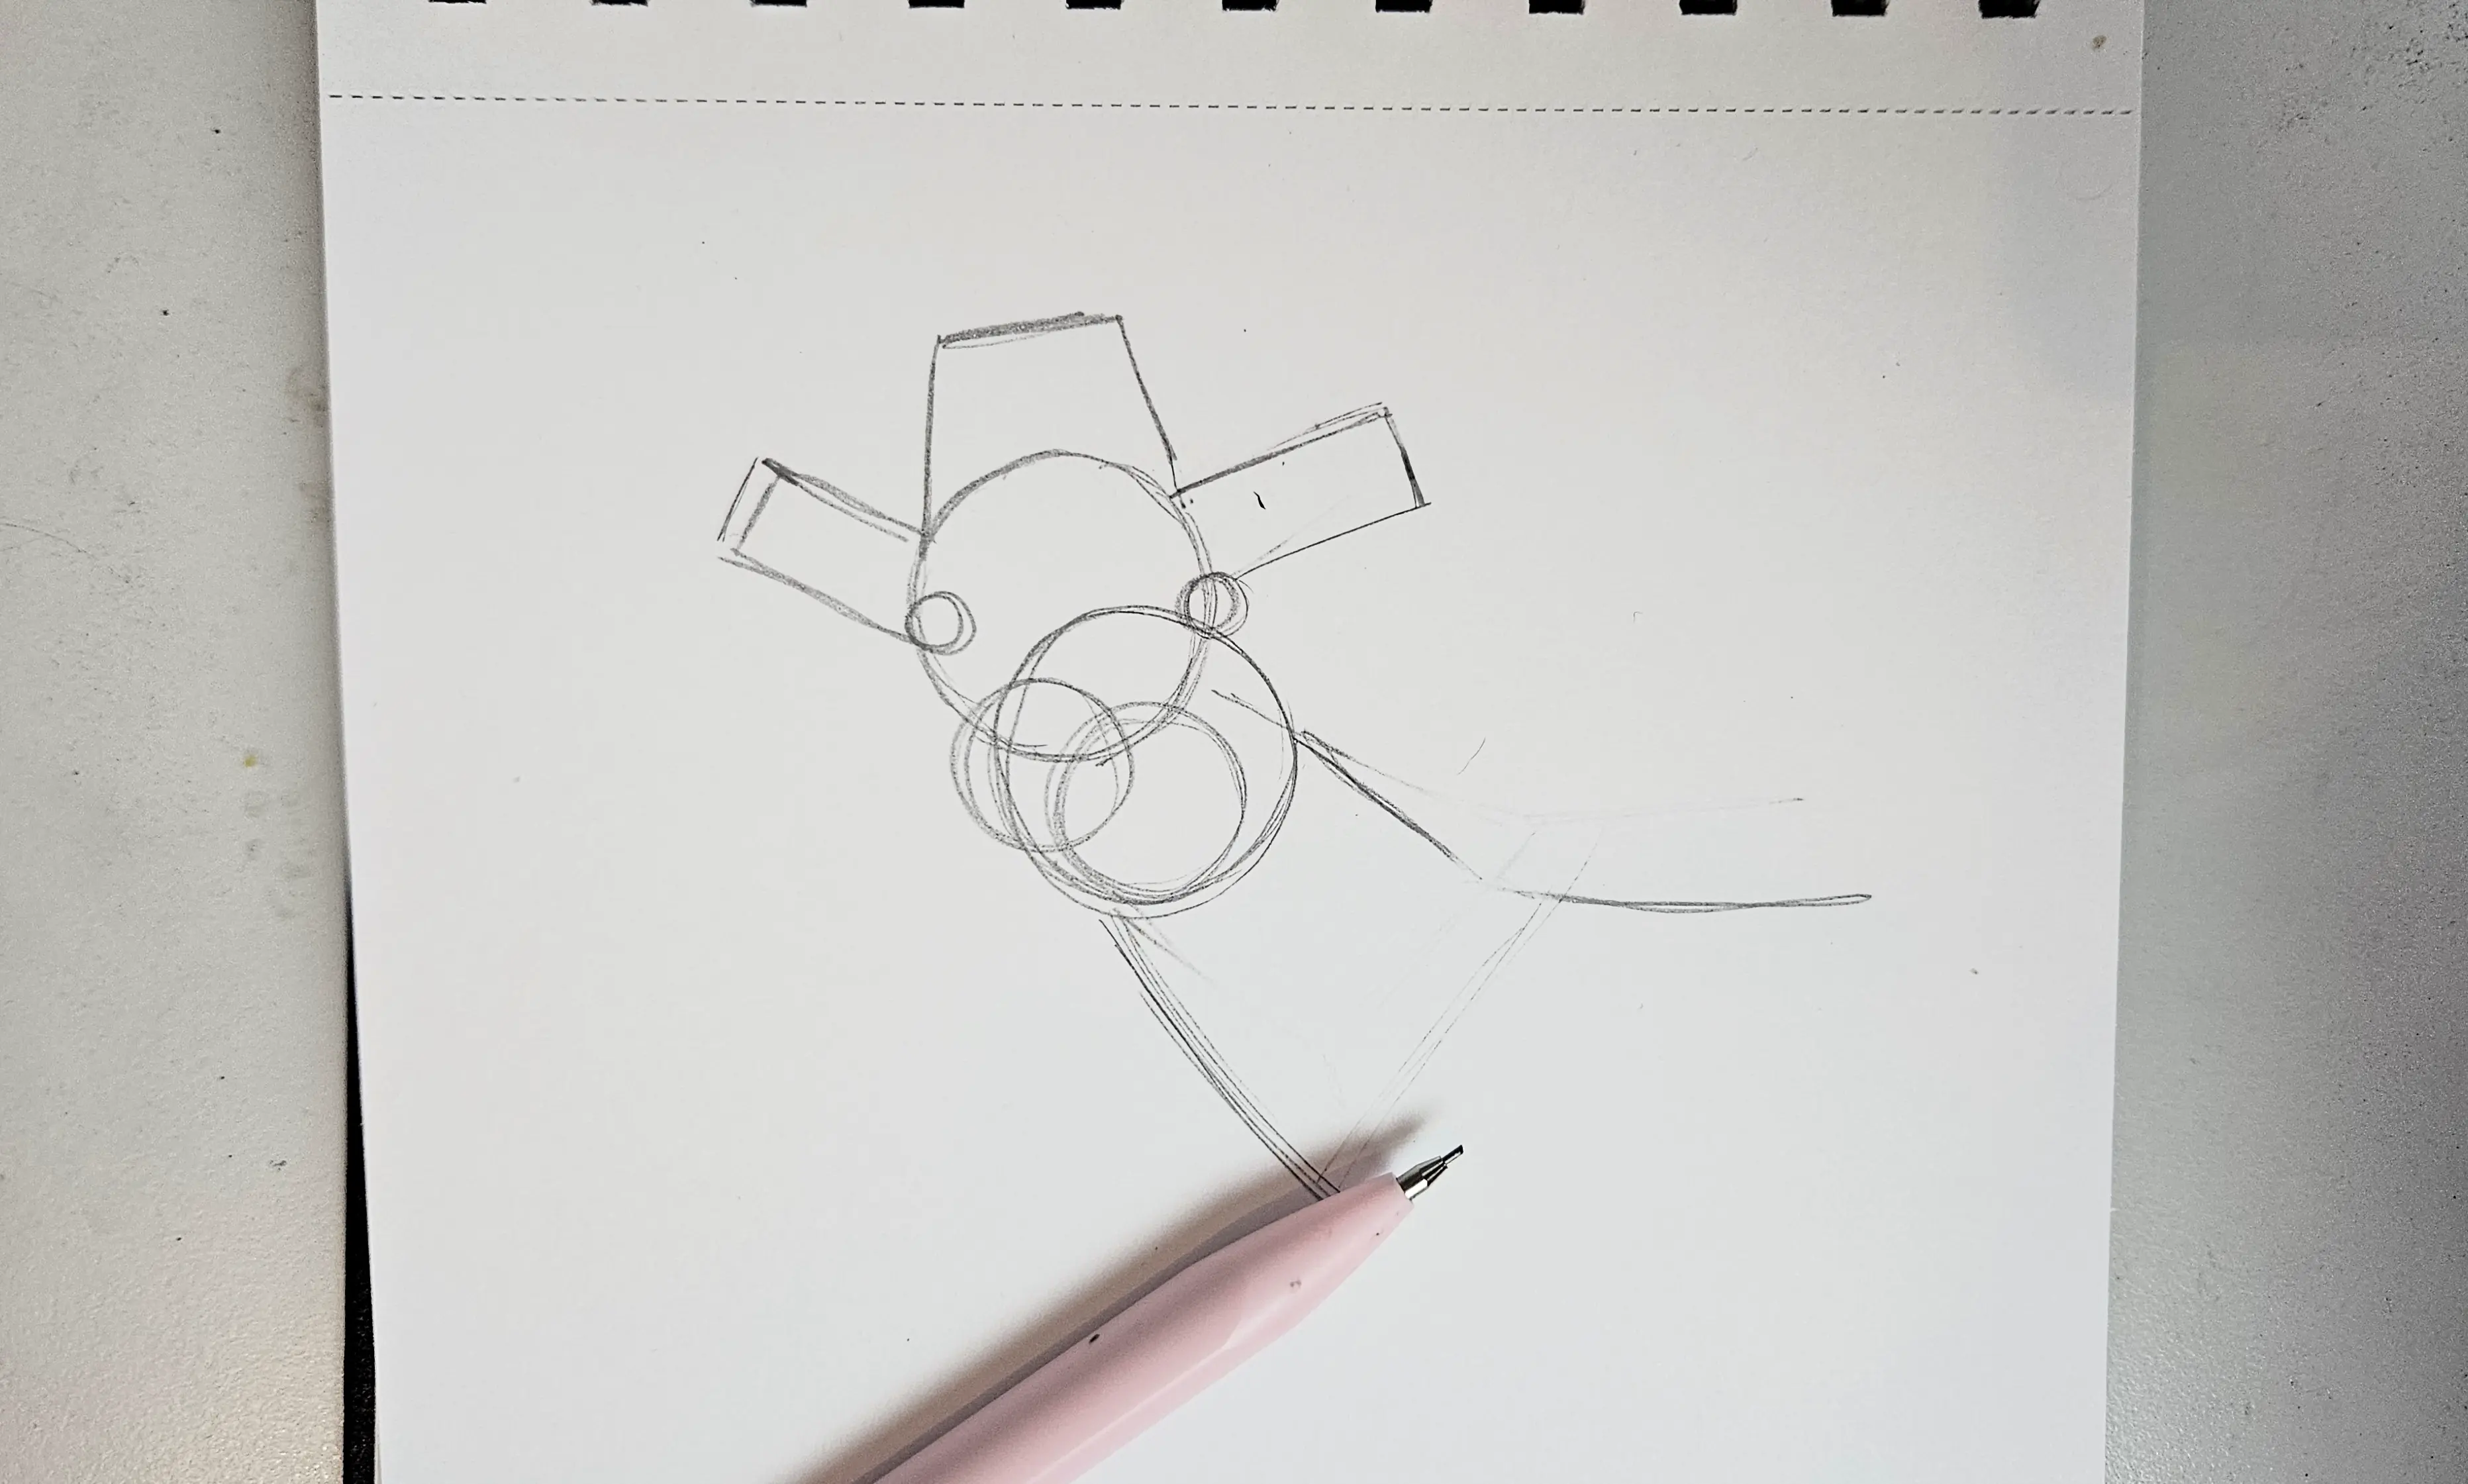
I take my sketchbook, and I begin to create the same geometric shapes that I made just above.
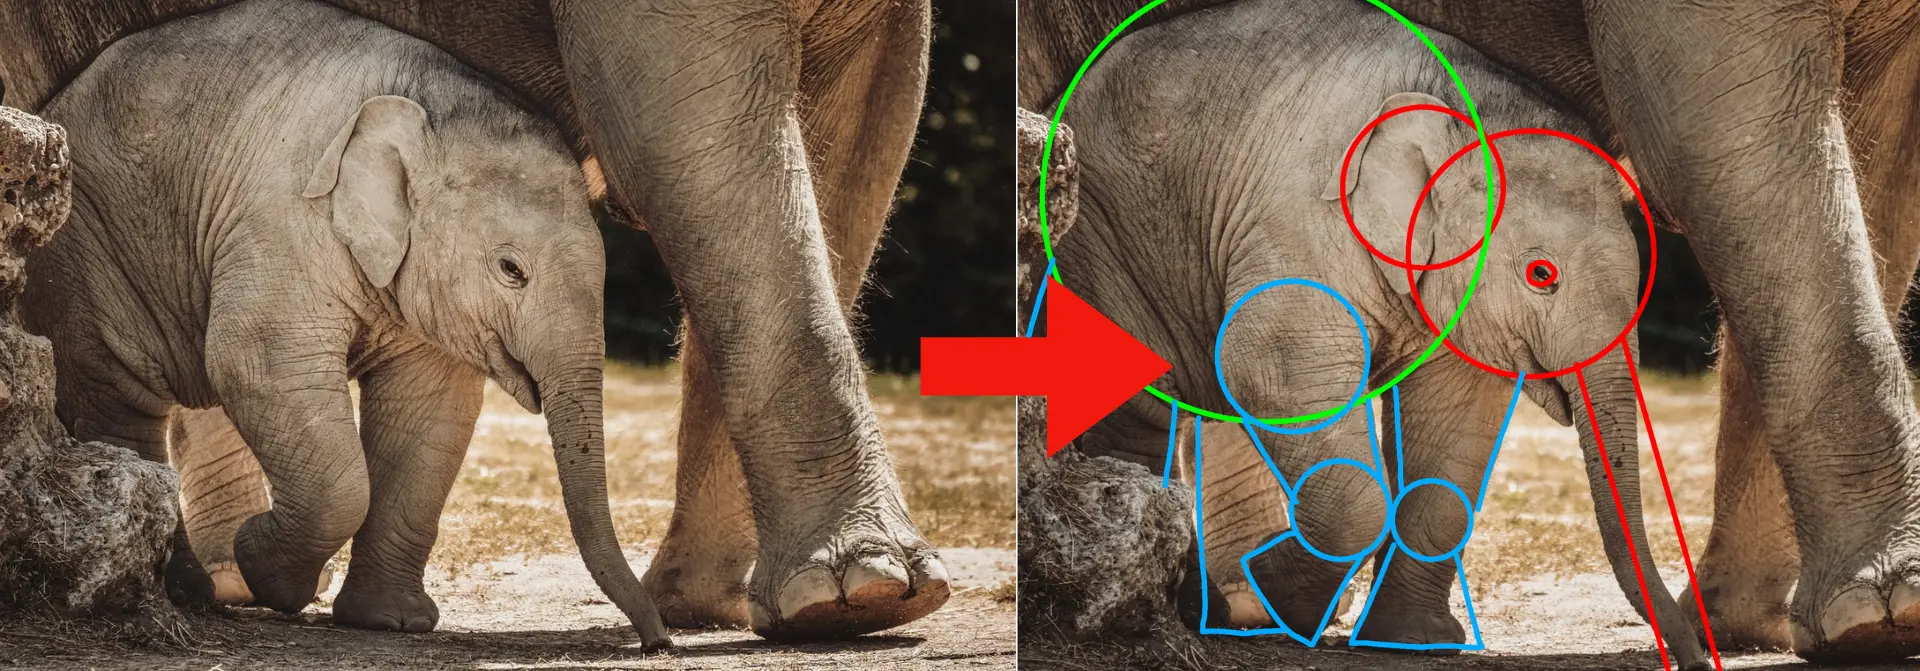
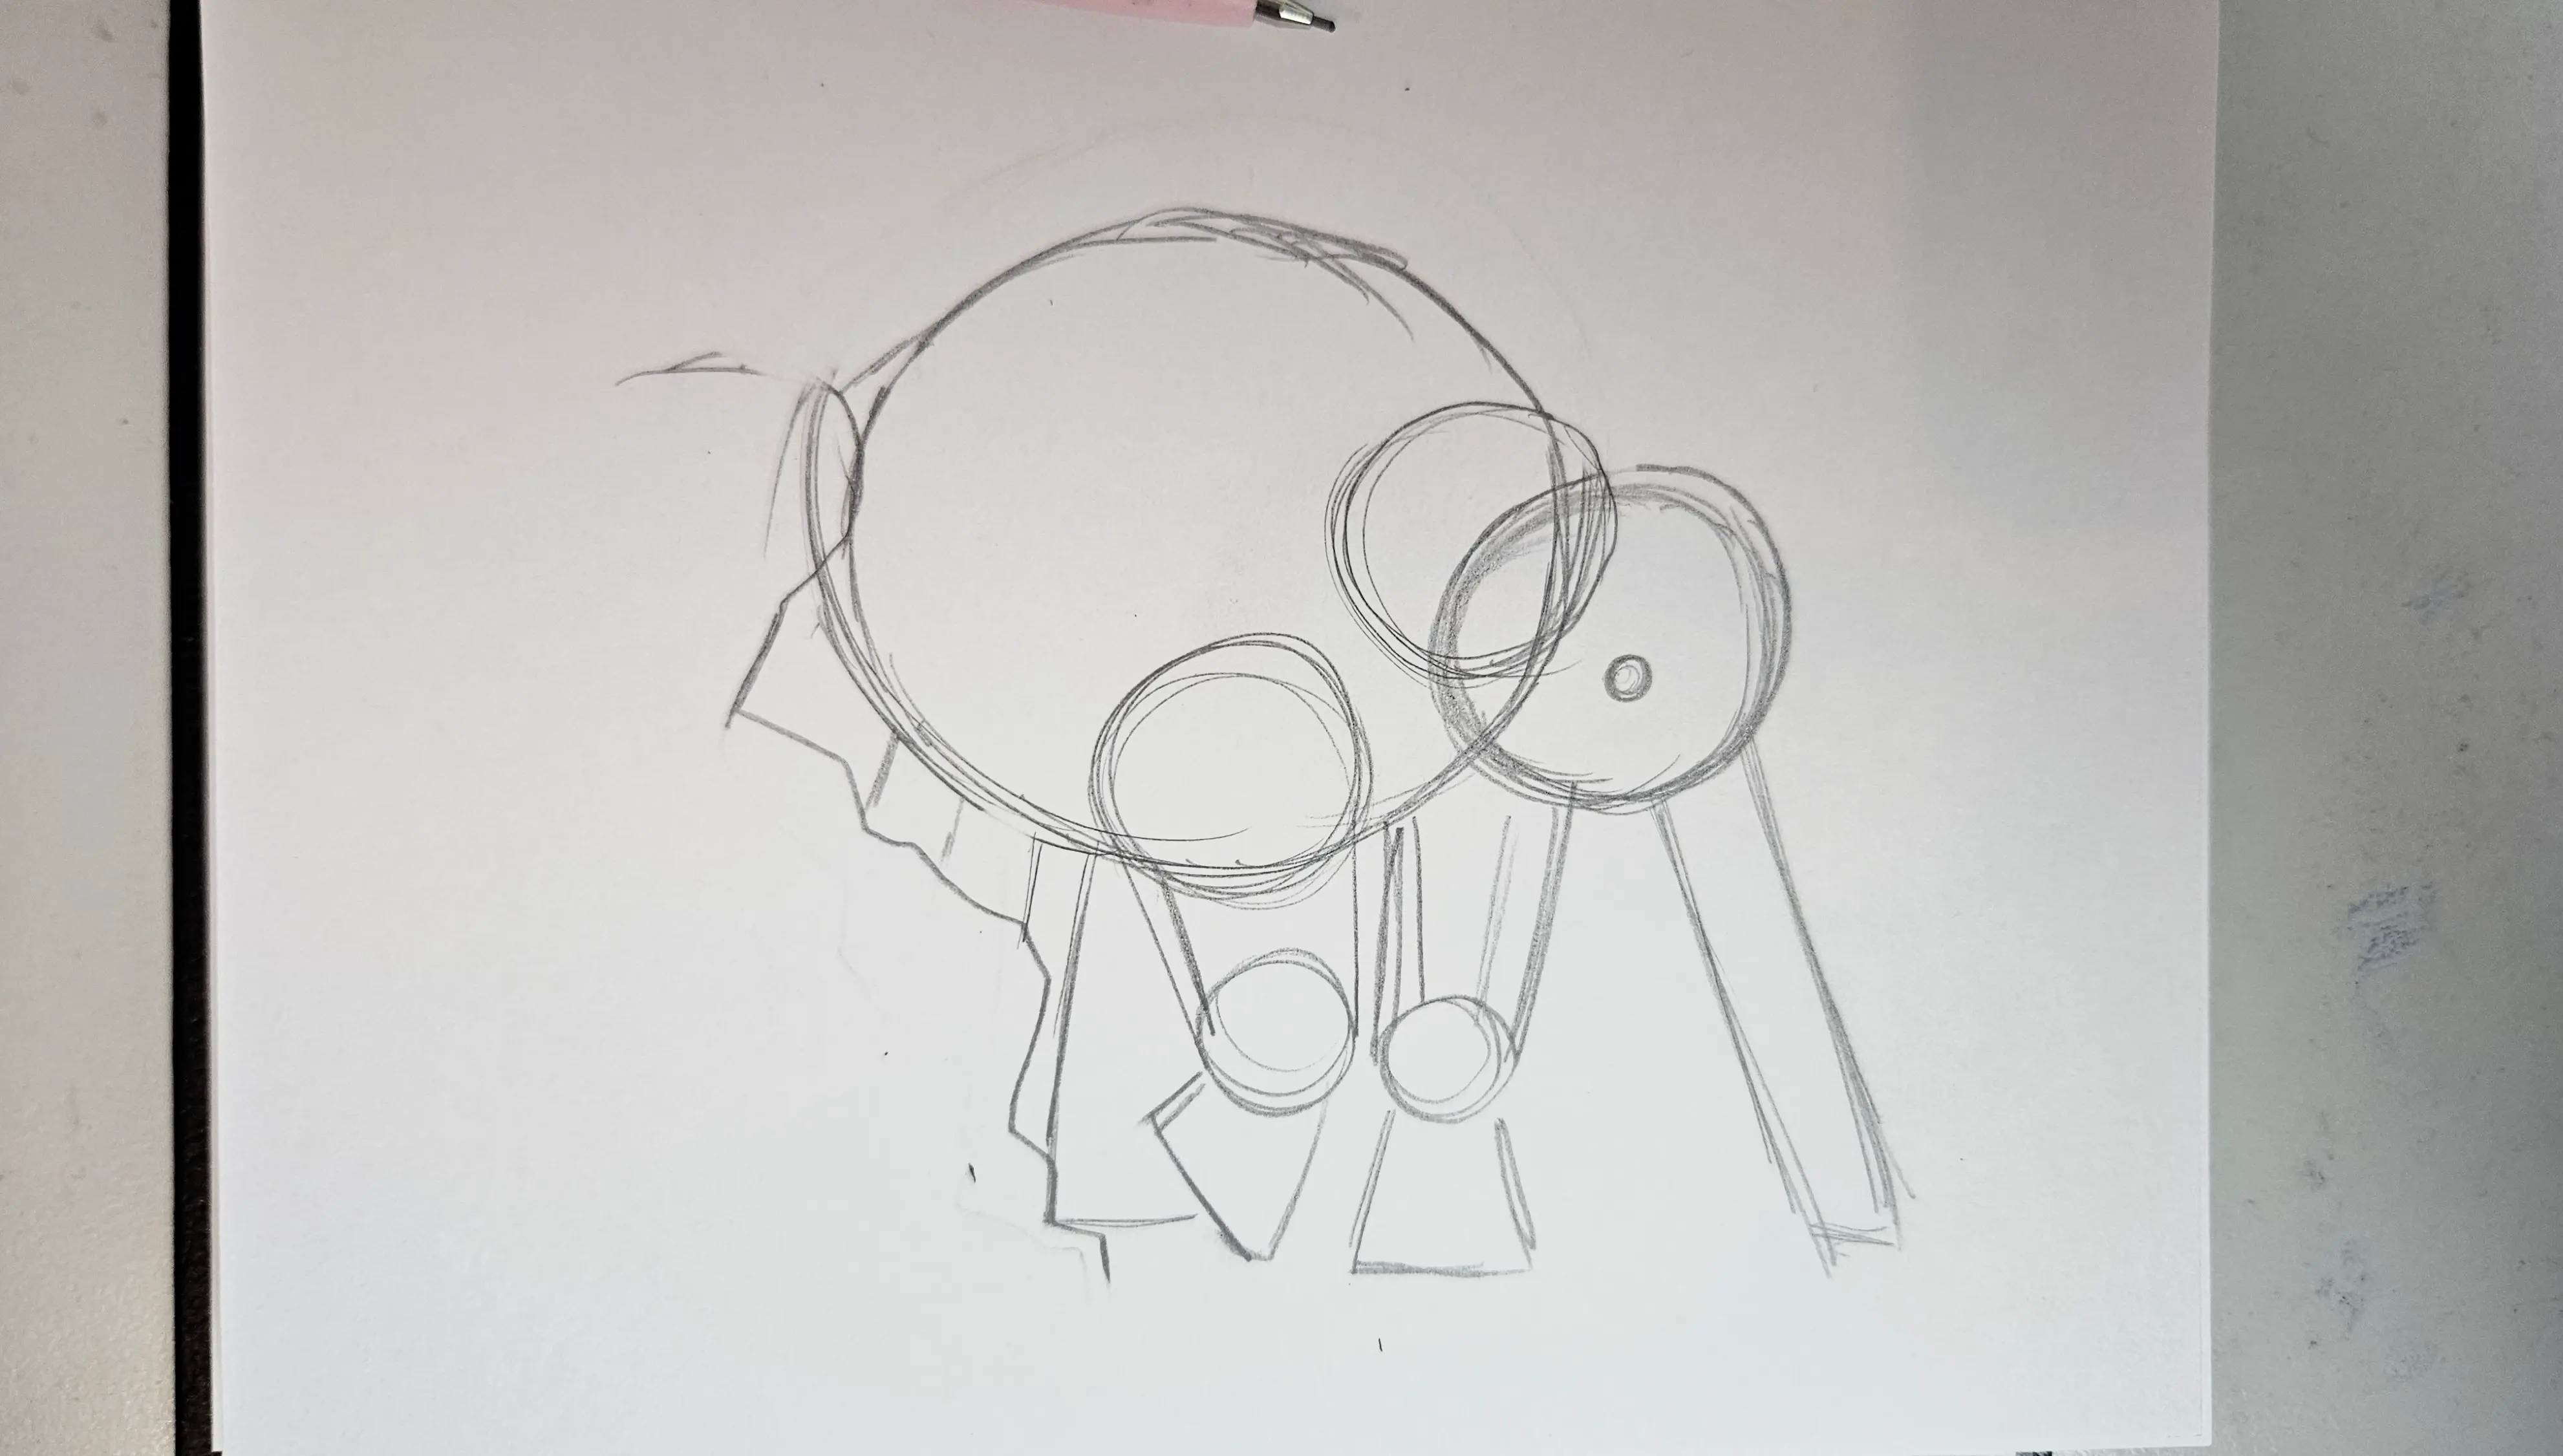
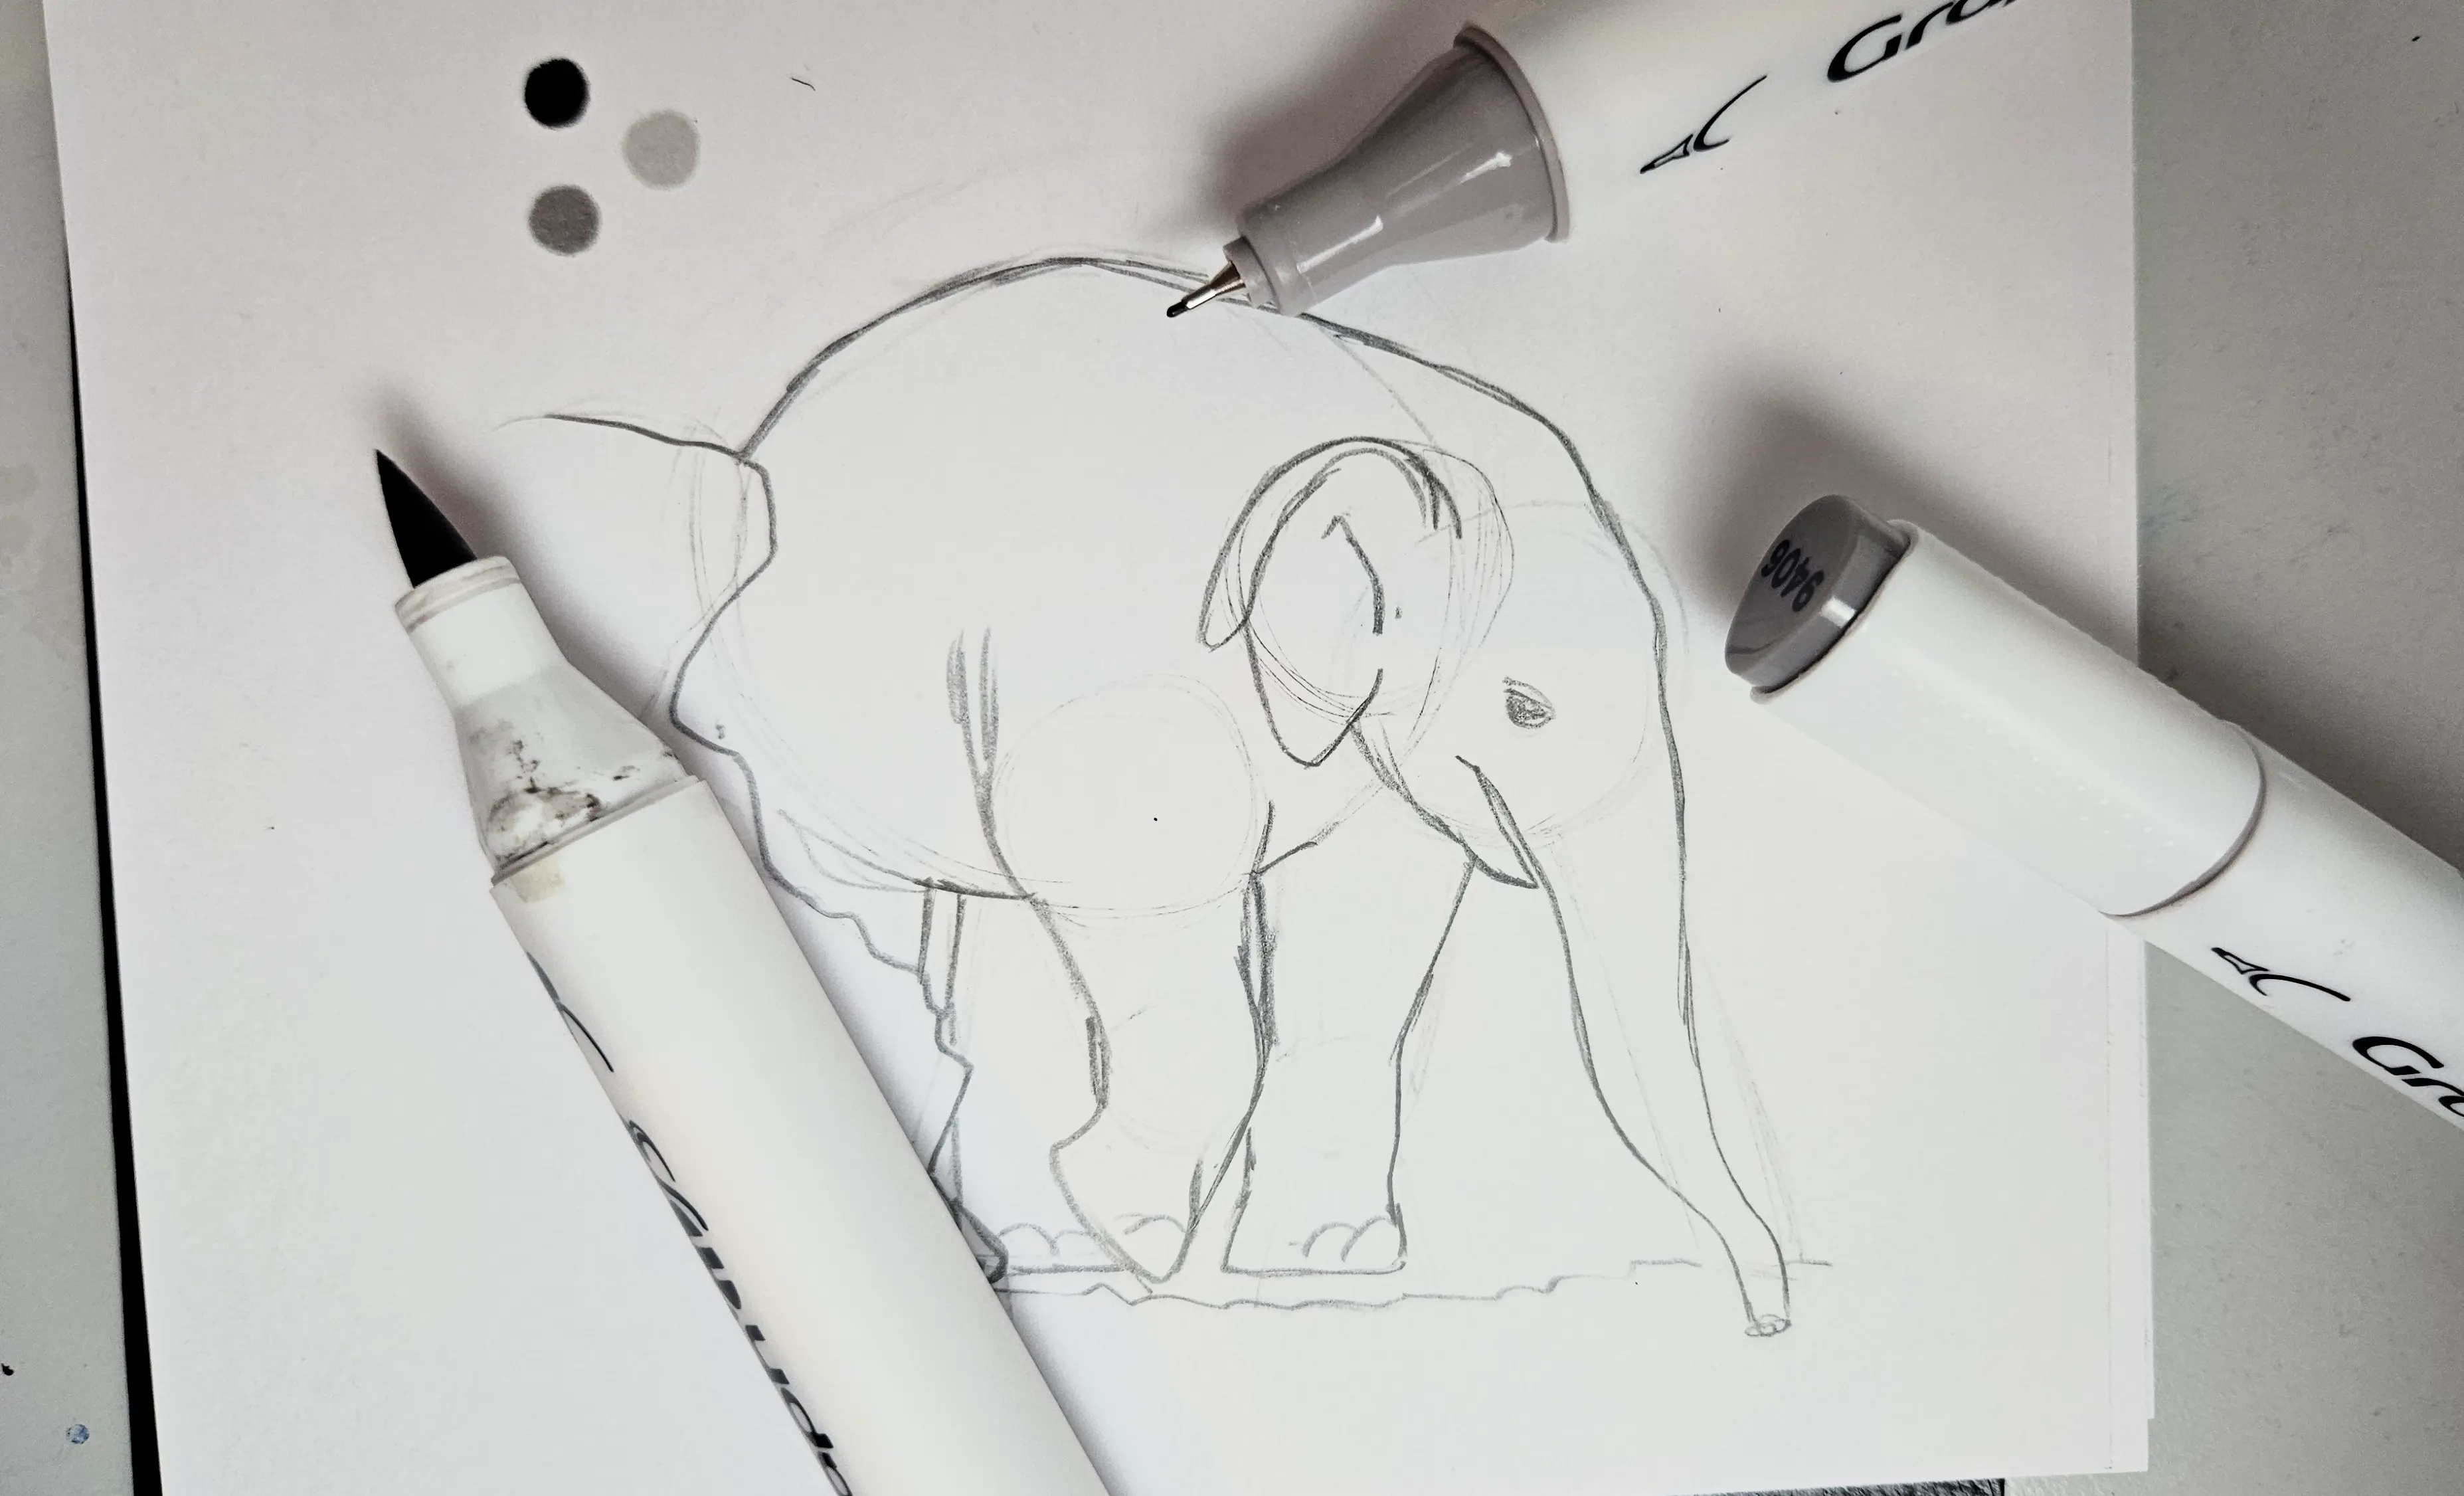
I do the same for this little elephant. A circle for the head, a circle for the body, and then some trapezoids and circles for the legs.
We achieve this result in our sketchbook. It doesn't look like much but we're going to refine it gradually.
When I've finished this step, which is the most important for properly structuring and proportioning our animal, I erase it and start again, gradually detailing my sketch as I go along.
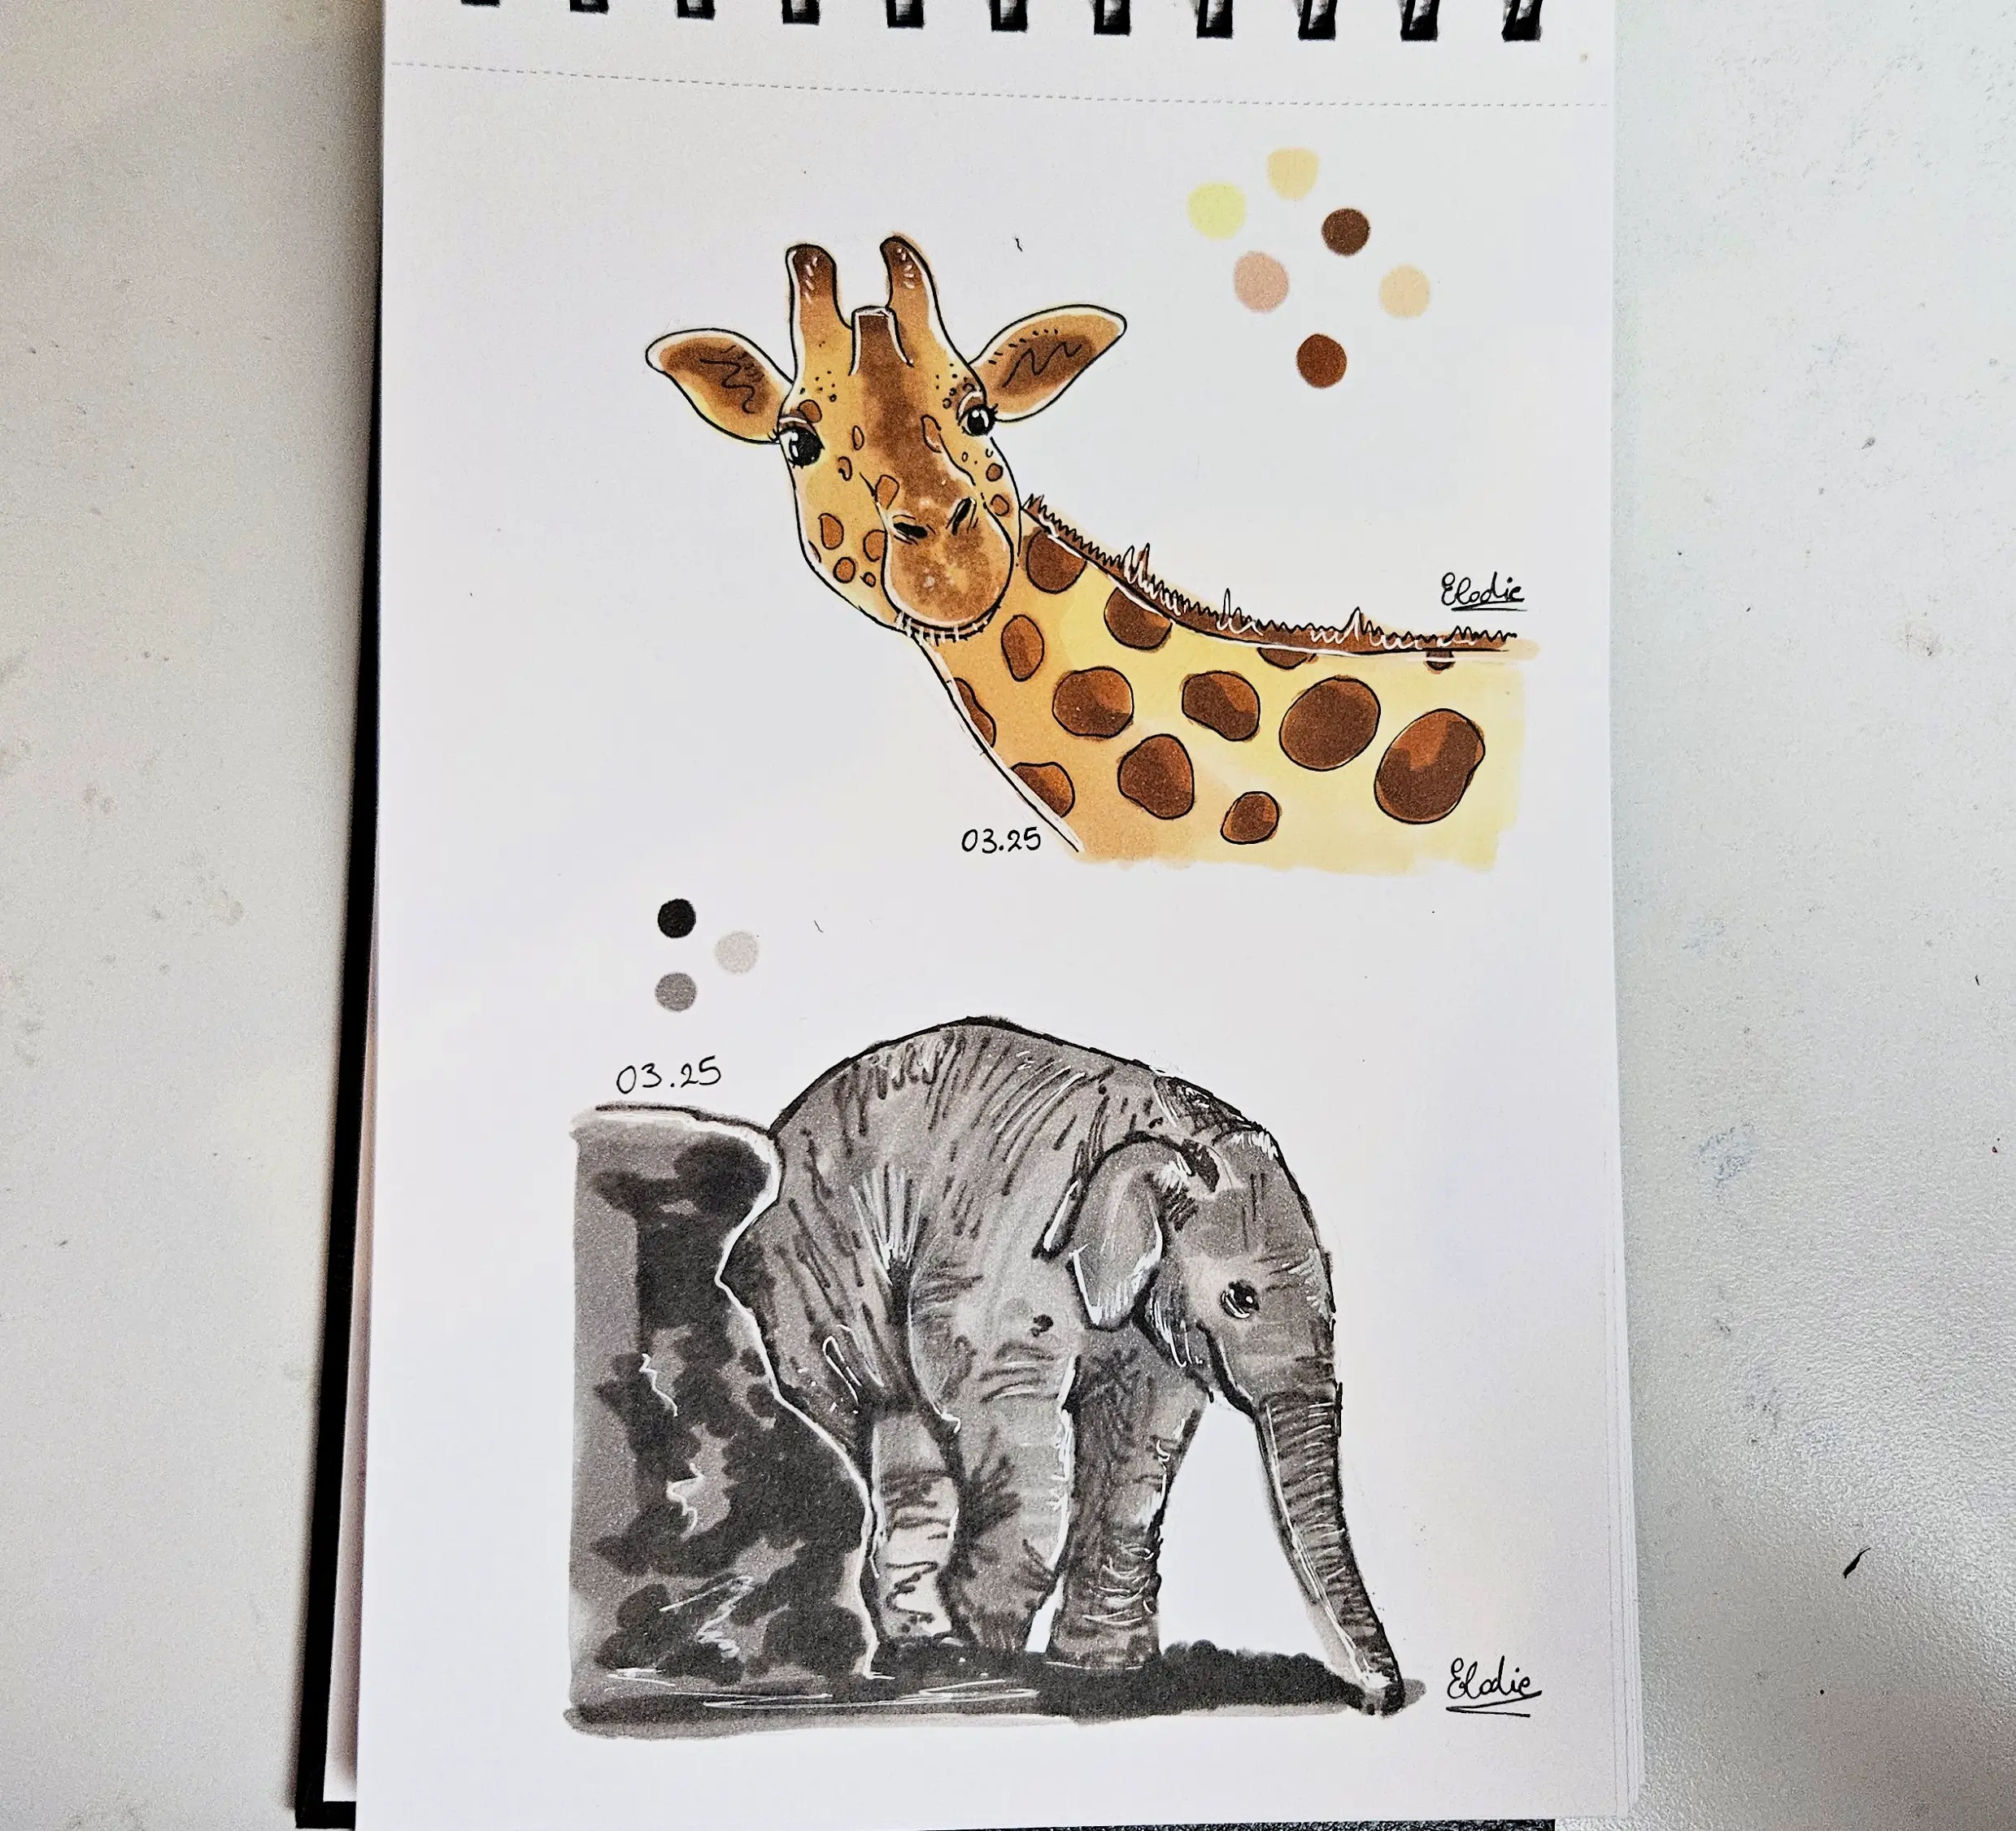
The giraffe will then look like this:
And the baby elephant like this:

Inking your drawing
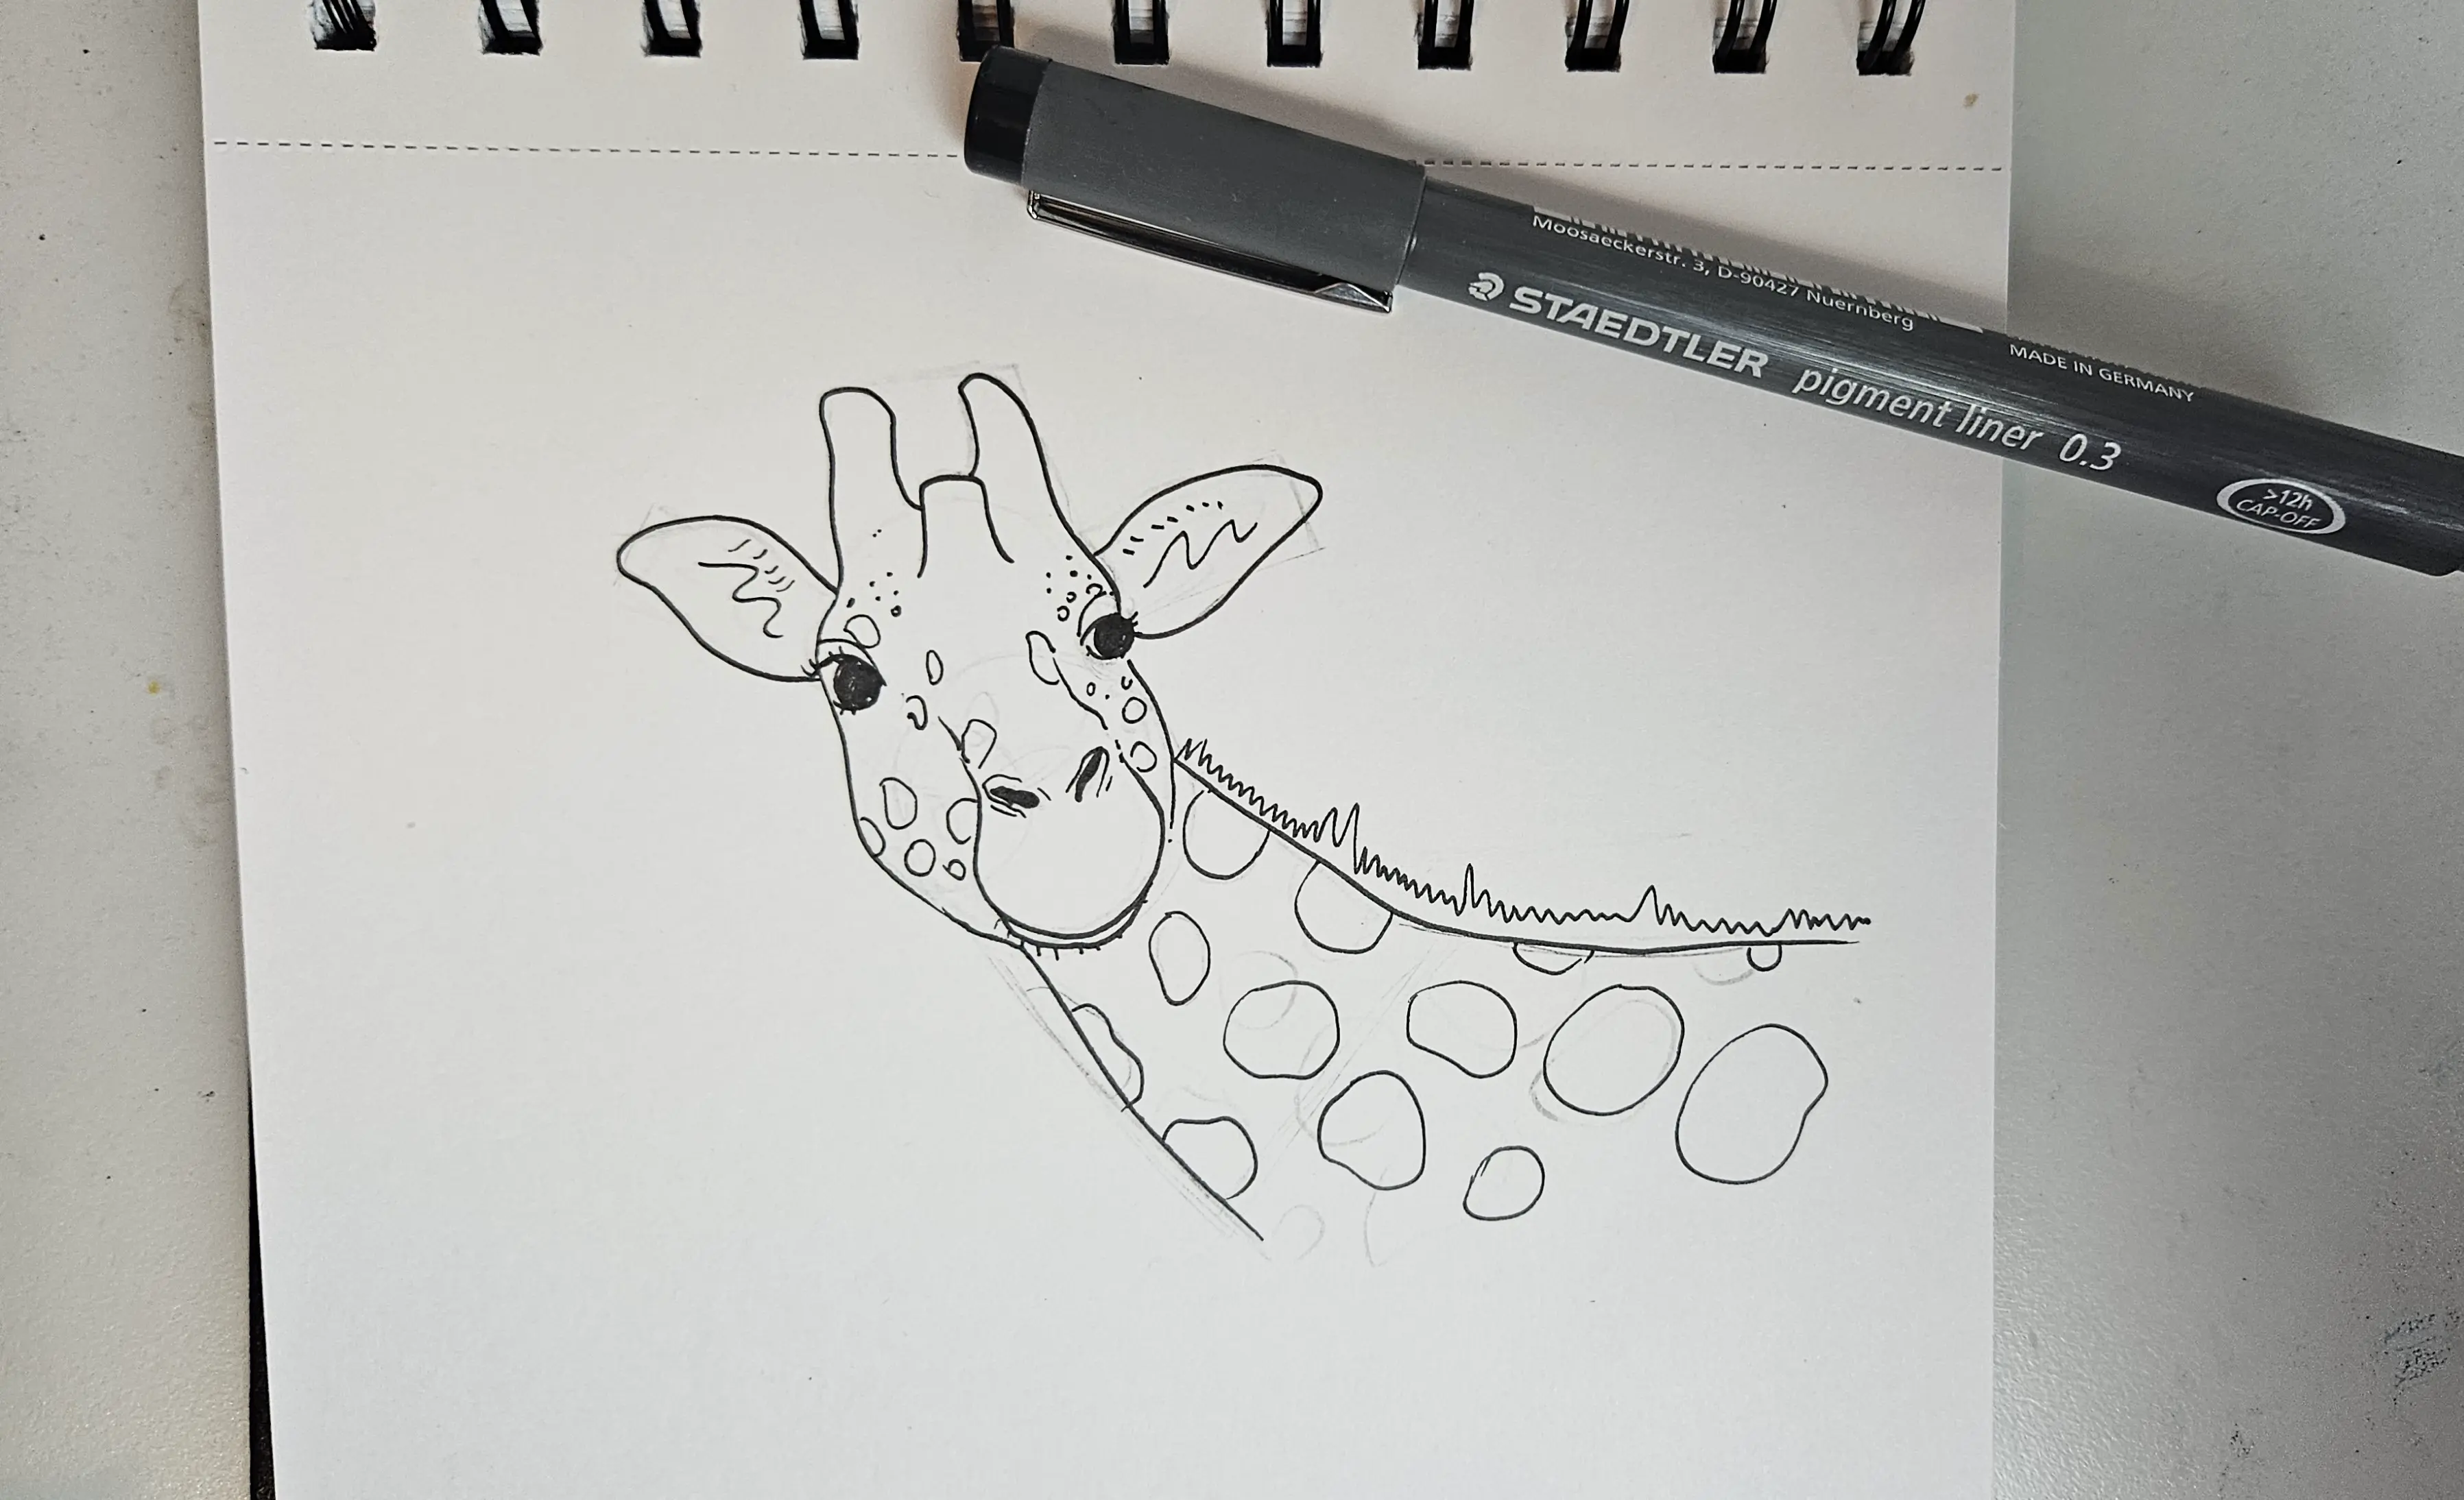
In the case of drawing in a cartoon or semi-realistic style, I can ink my drawing using a black liner. Be careful, this step is not mandatory – it depends on the style of your drawing. In my case, I will only ink the giraffe to show you the difference in rendering.
The giraffe will be created in a very cartoonish style, and the baby elephant in a style that is a bit more semi-realistic (I consider a style as semi-realistic as soon as it is a bit more realistic than a cartoon).
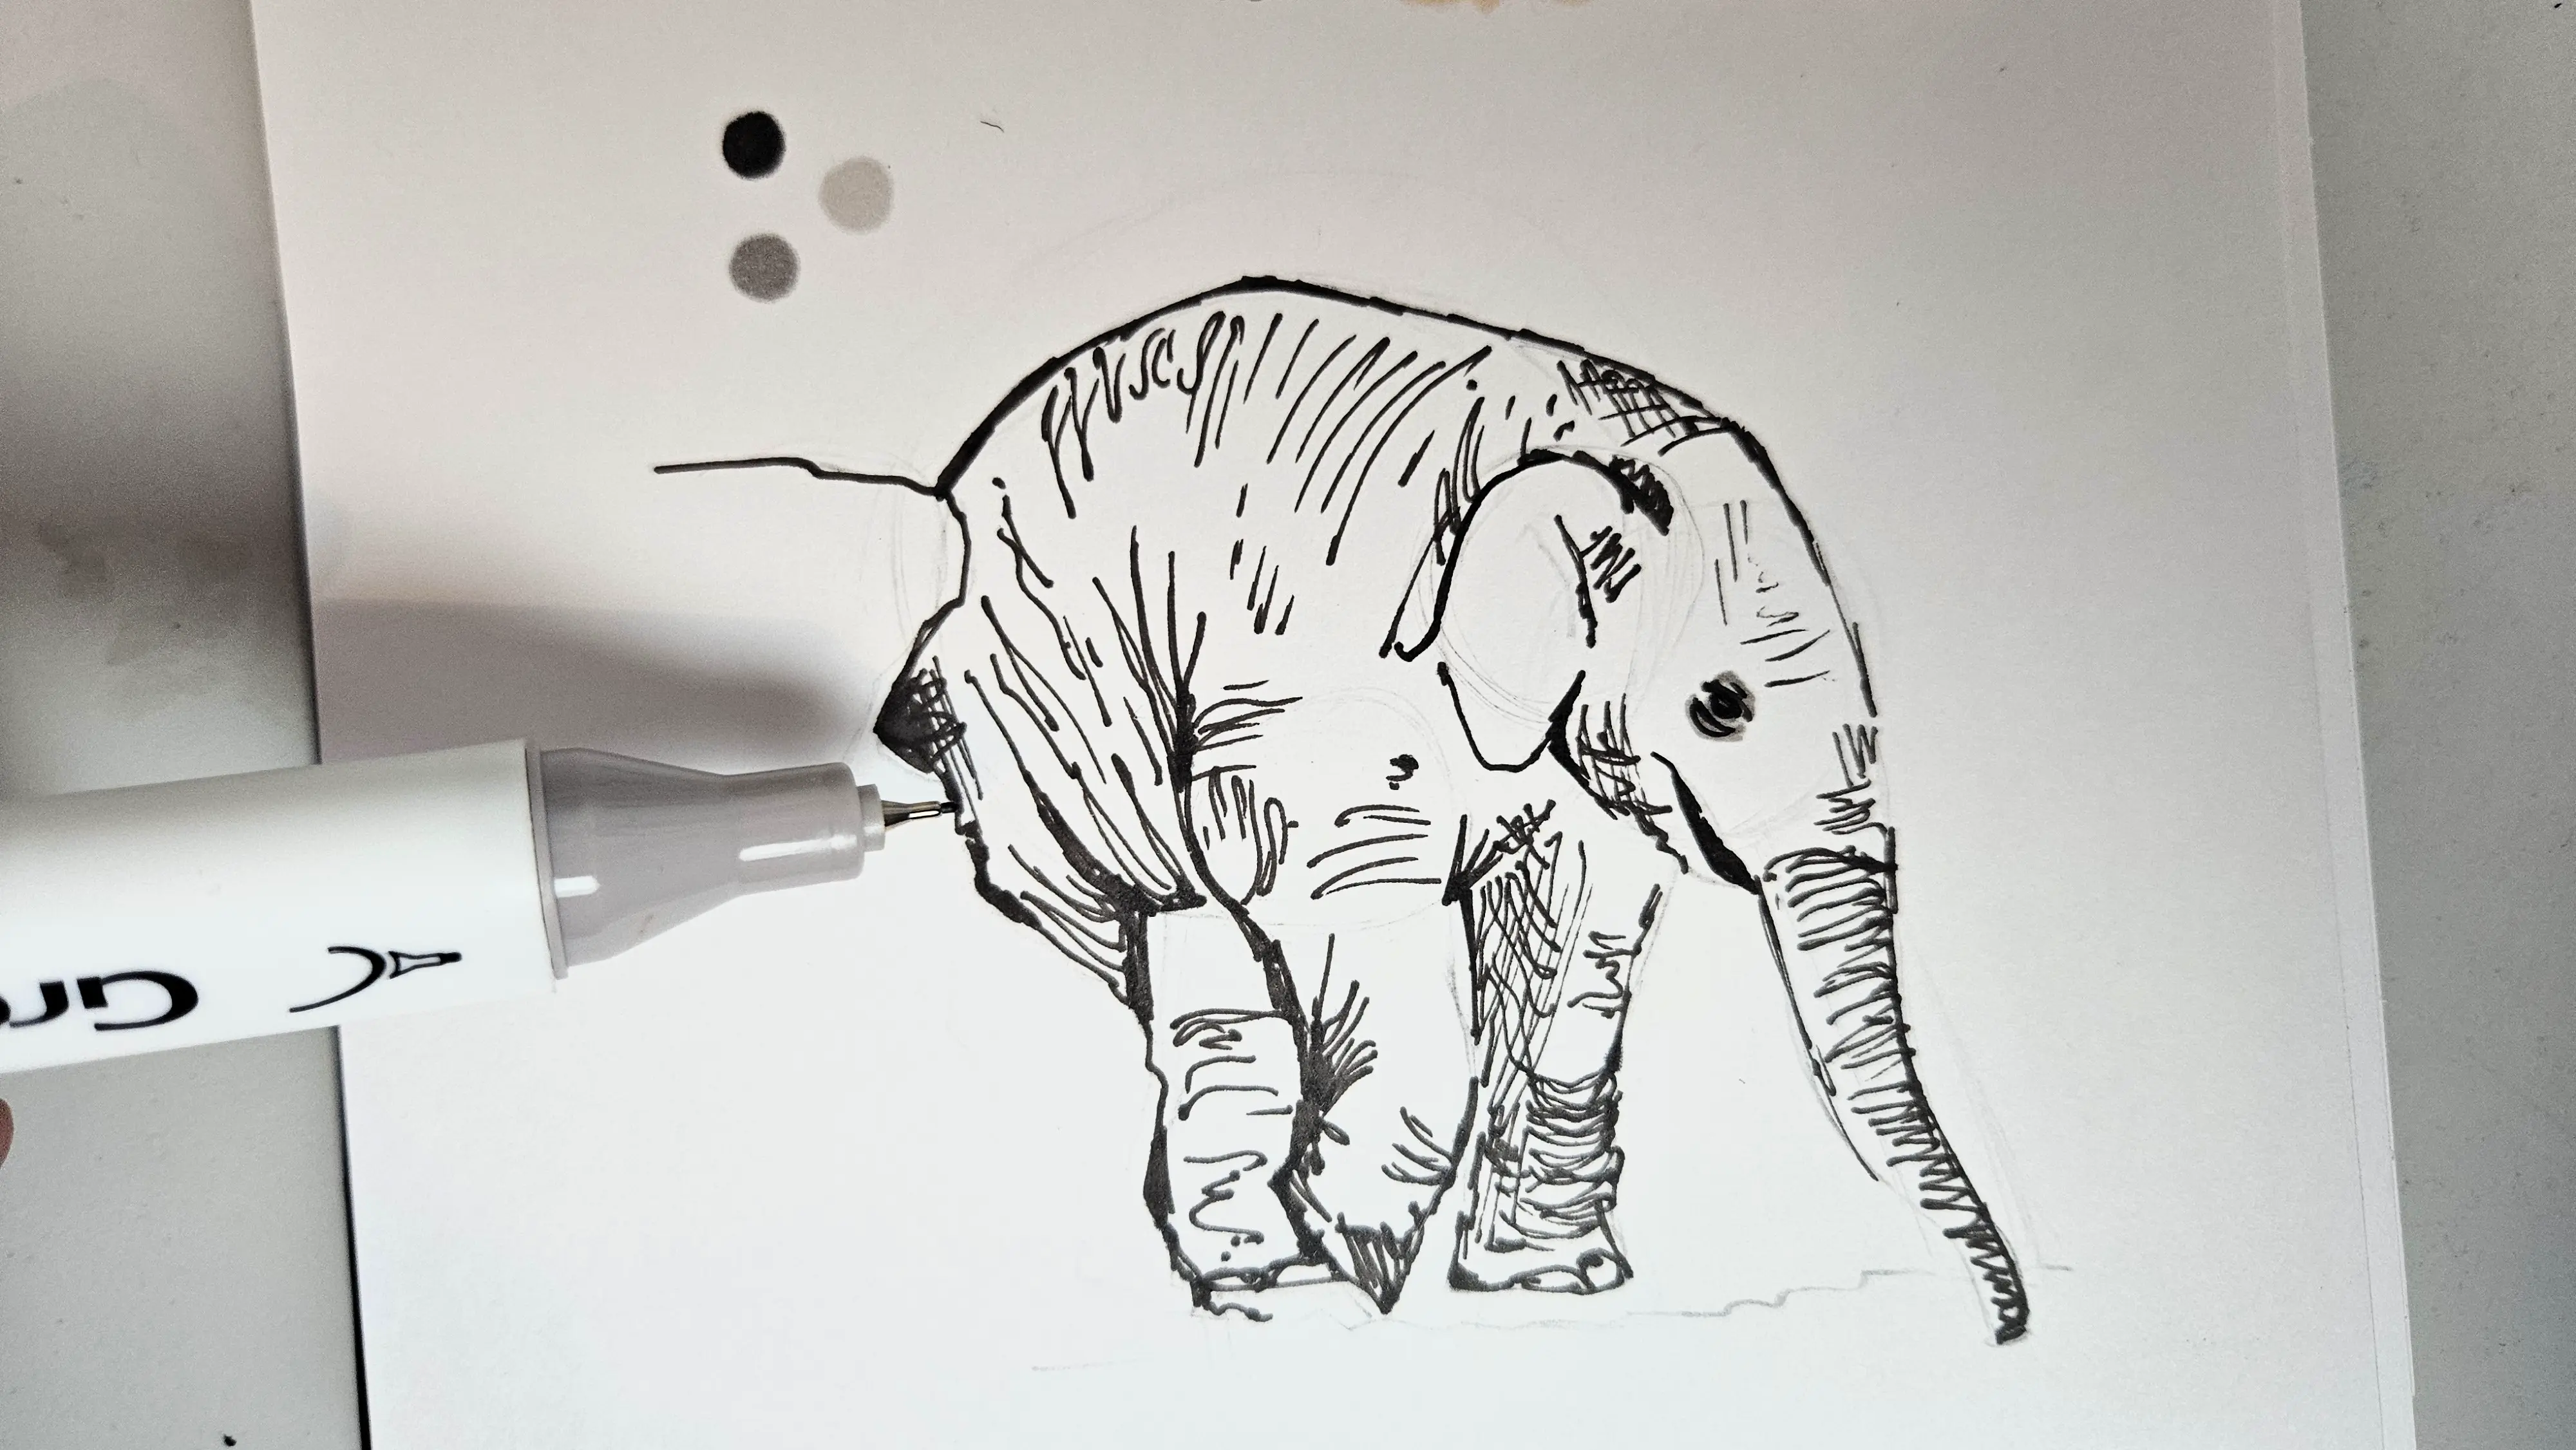
The giraffe inks quite easily in the following manner:
Finalize the giraffe and elephant drawings
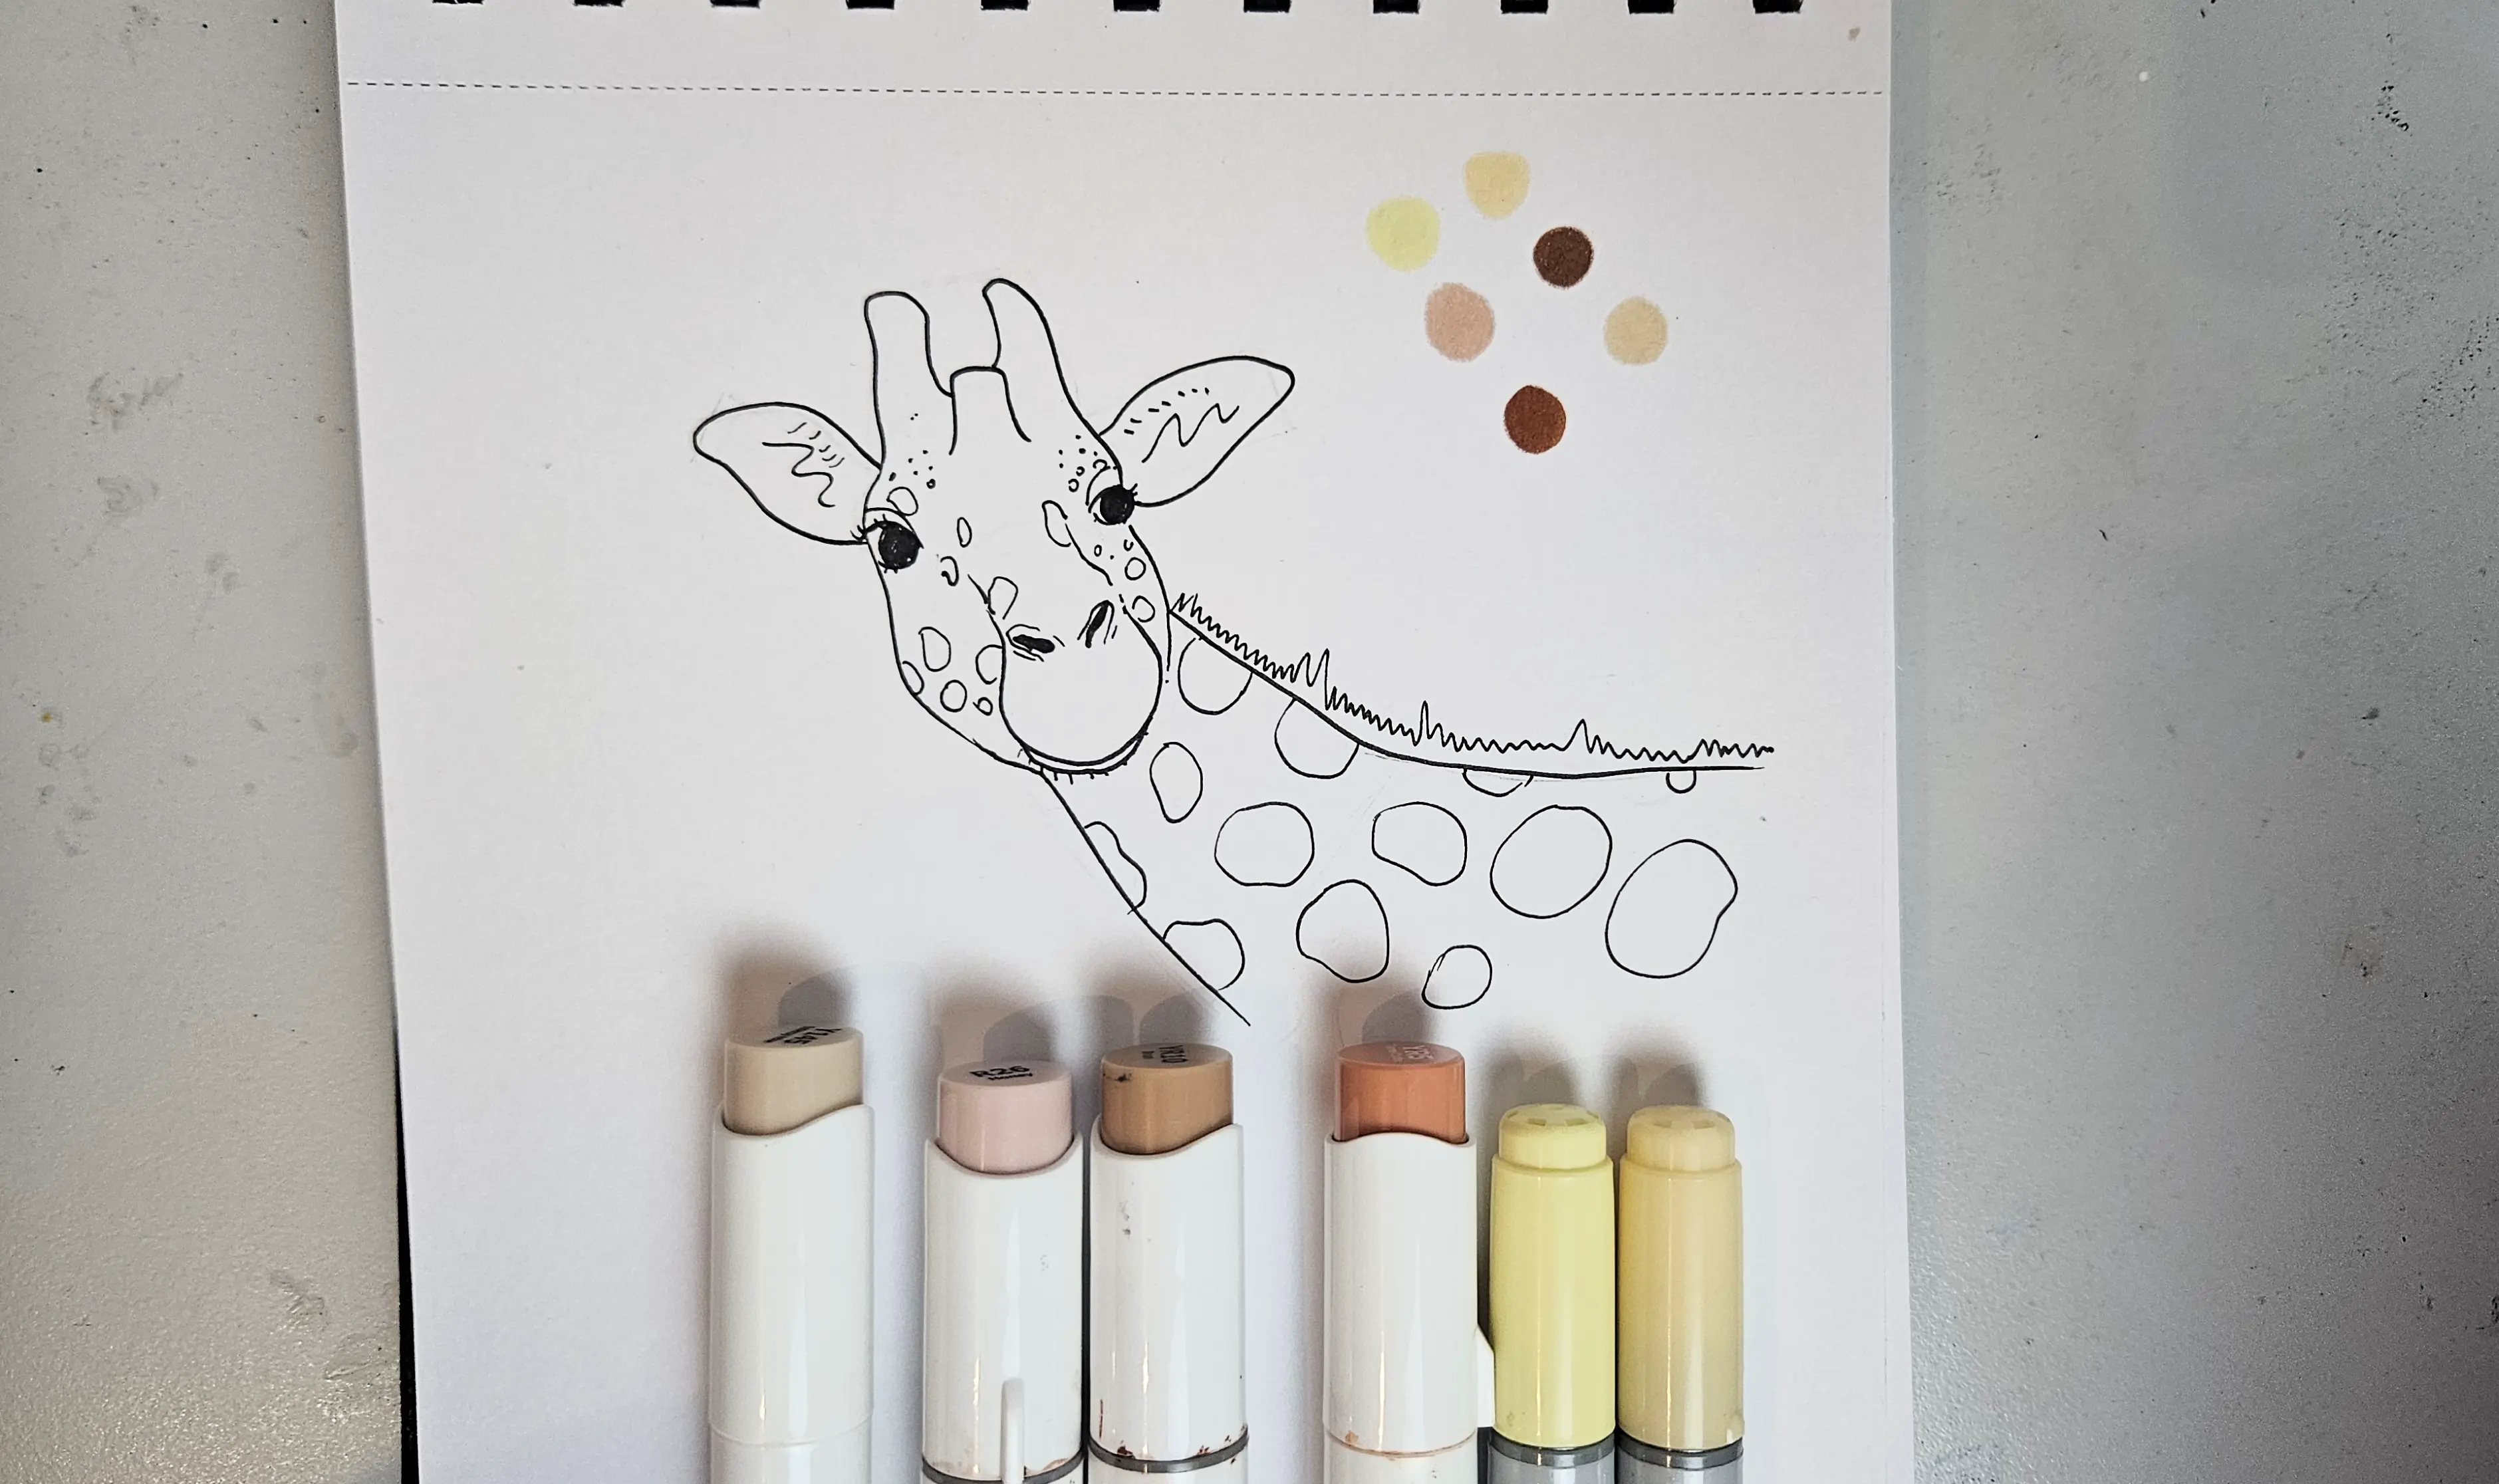
We can now move on to coloring with alcohol markers. Often, I pre-select my alcohol markers by testing them on a separate sheet of paper to determine the colors I will use.
Here are the alcohol markers I've selected to color my giraffe. I won't give you the references for my alcohol markers as it depends on the brands you are using.
The baby elephant, on the other hand, will consist of only 3 colors, which are shades of gray. I am using Graph’It dual-tip markers here: fine and brush. The fine tip will be very useful here to create all the folds and details. We will see this later on.
I will continue with coloring the giraffe, and then I will show you how I chose to color the baby elephant.
Coloring the giraffe
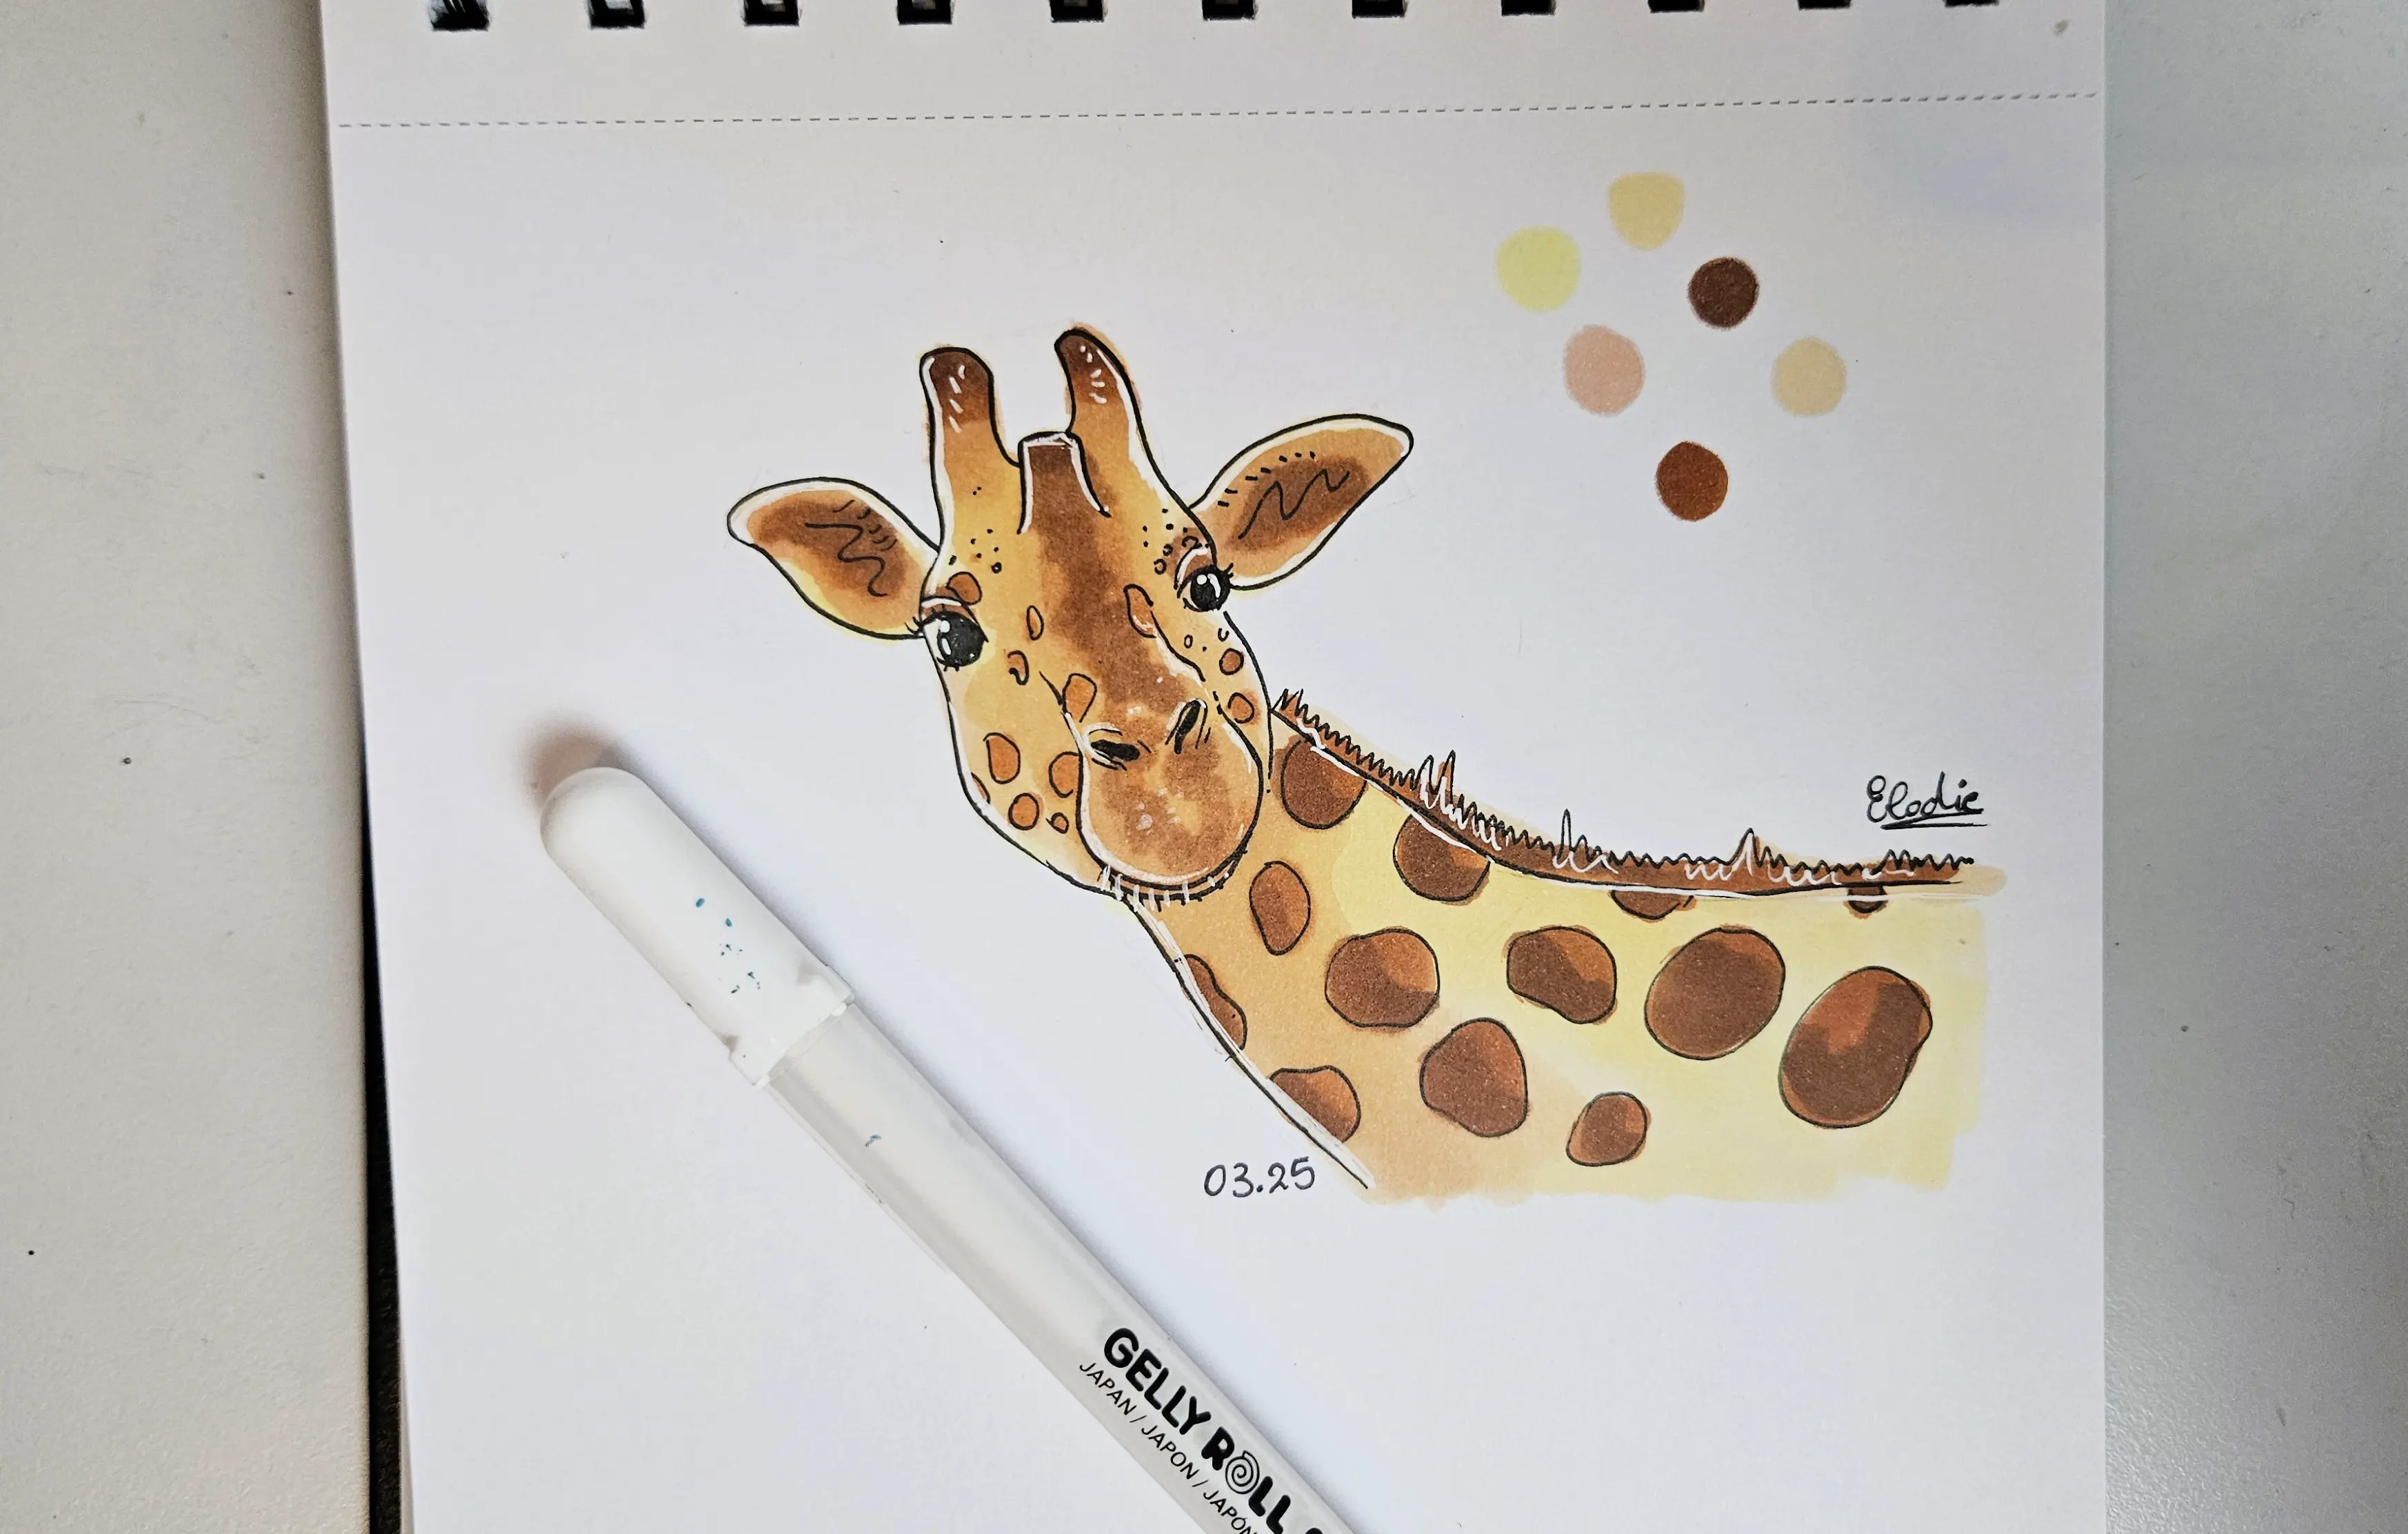
I chose to color my giraffe a uniform light beige color.
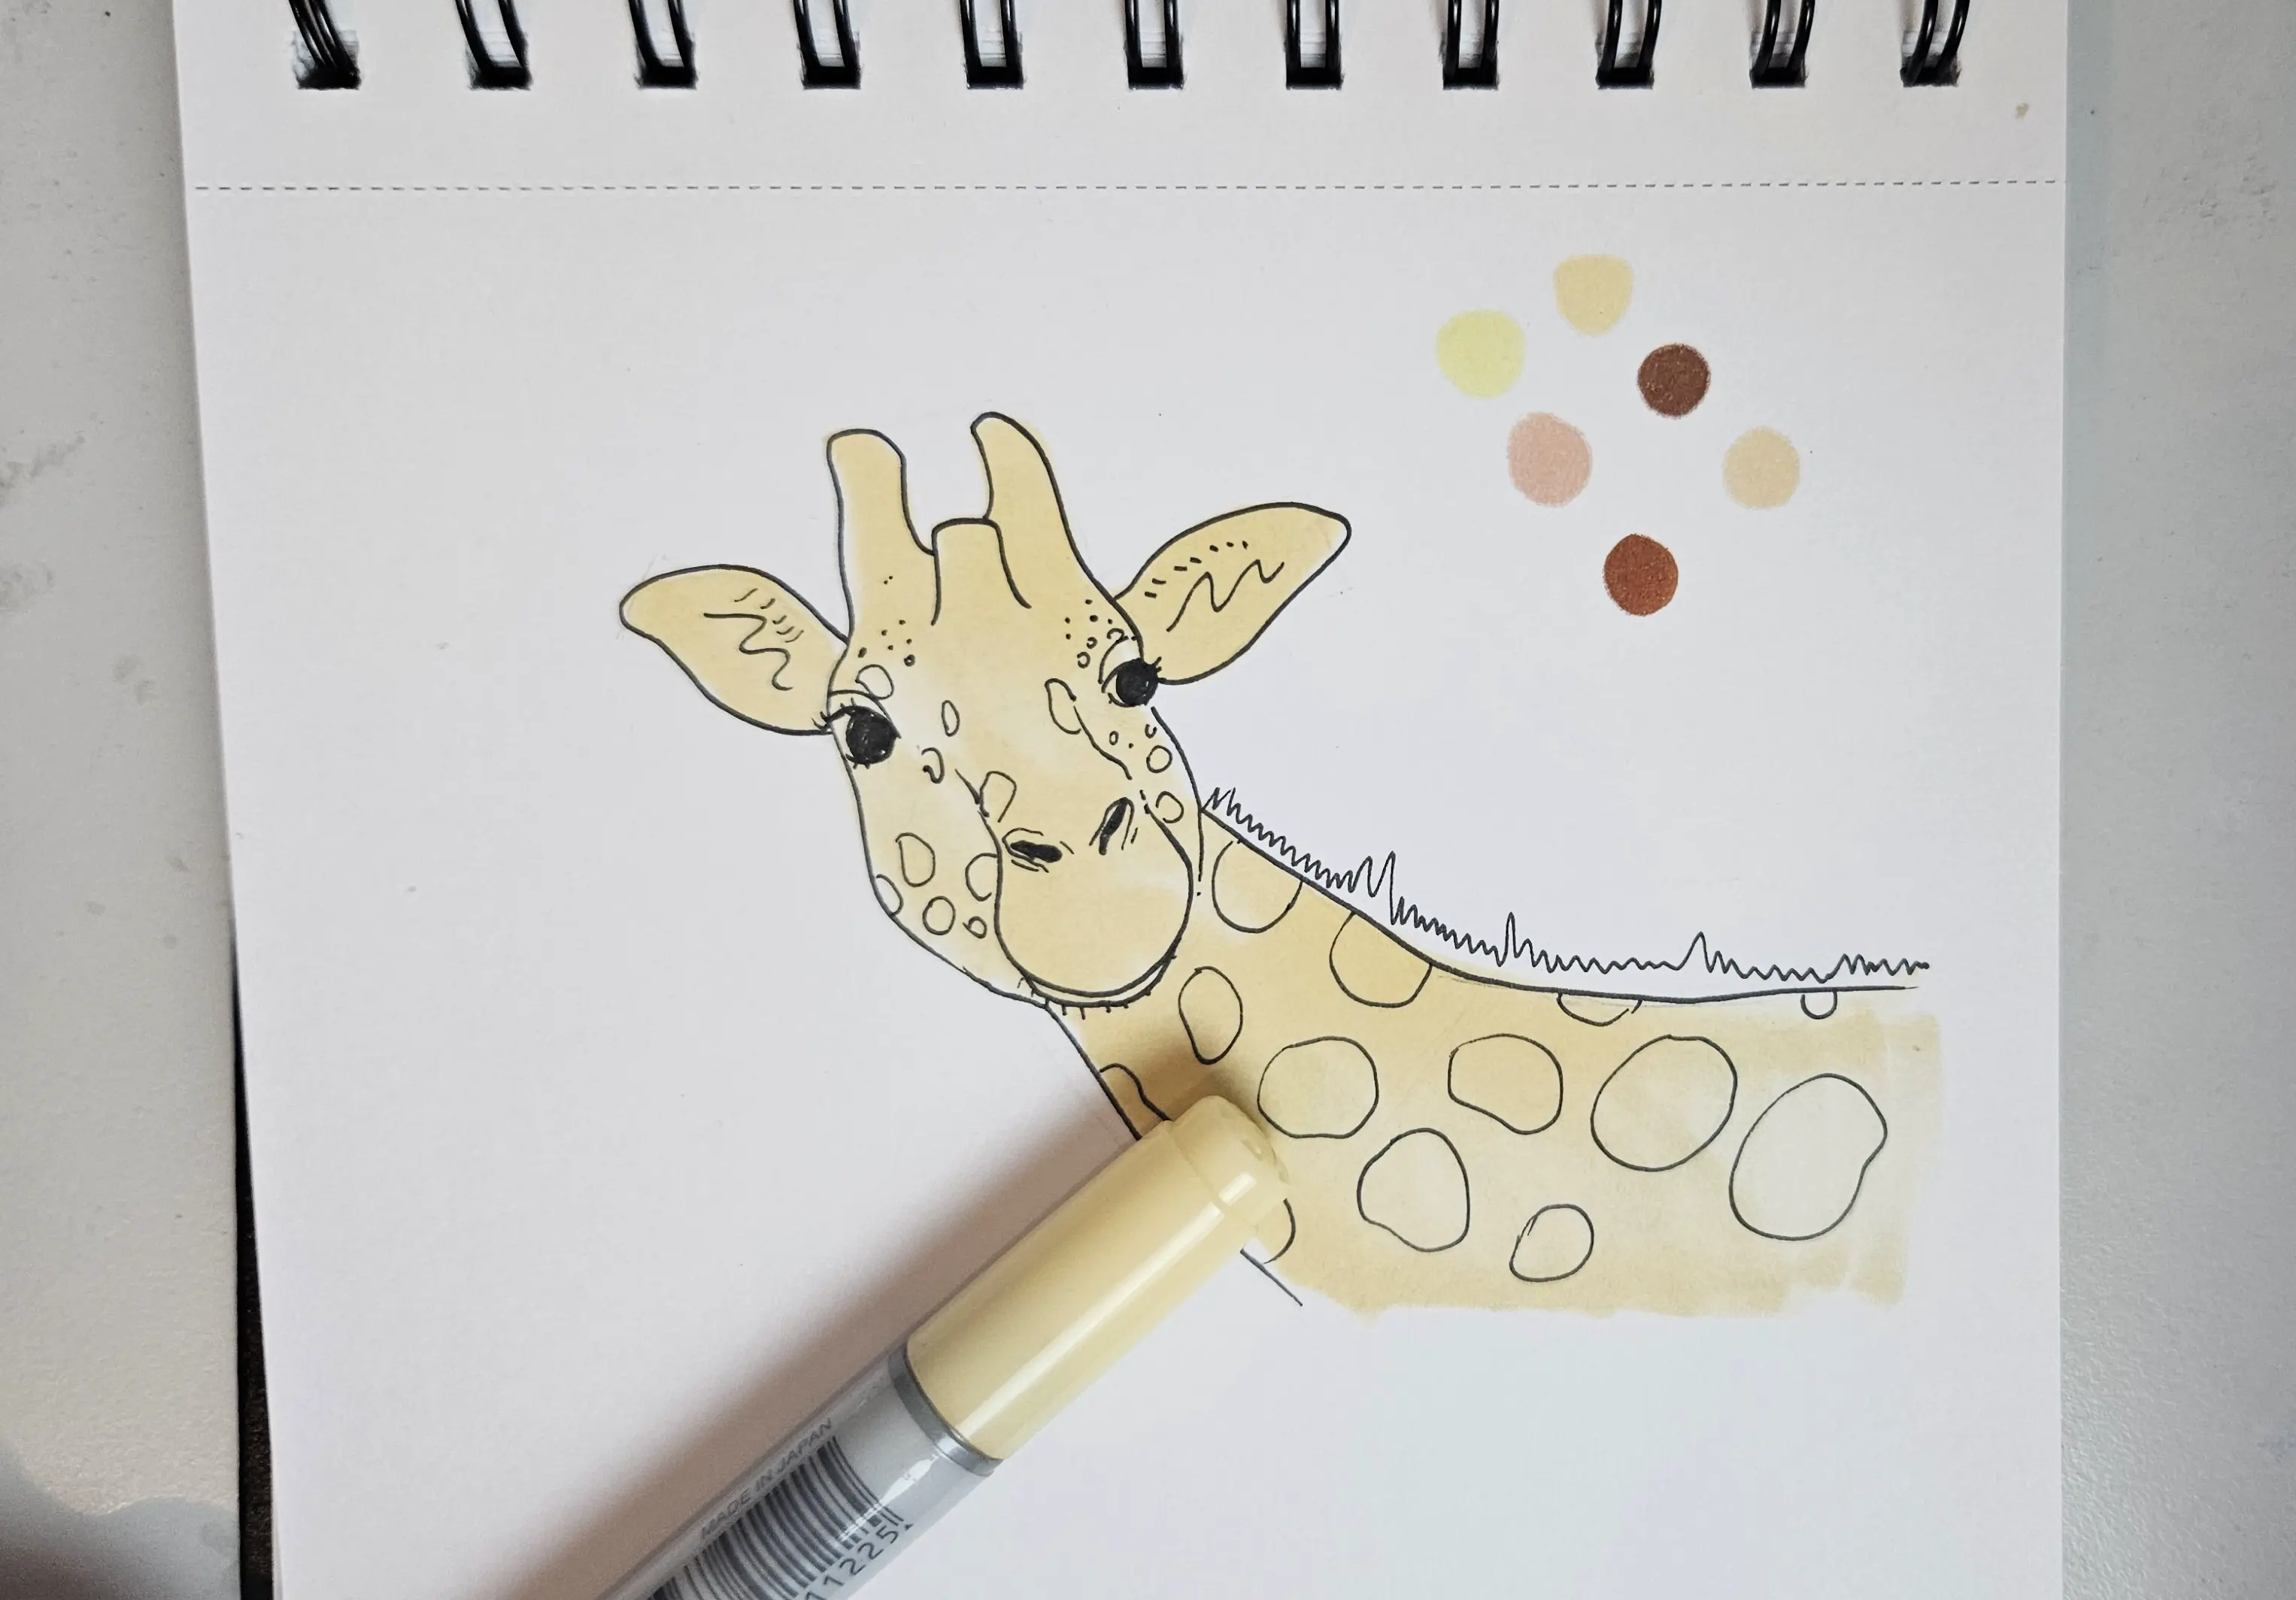
Then I take a slightly yellower color, and I put just a little on the ears, neck, and muzzle. The difference is very slight, so this color is not necessarily mandatory.
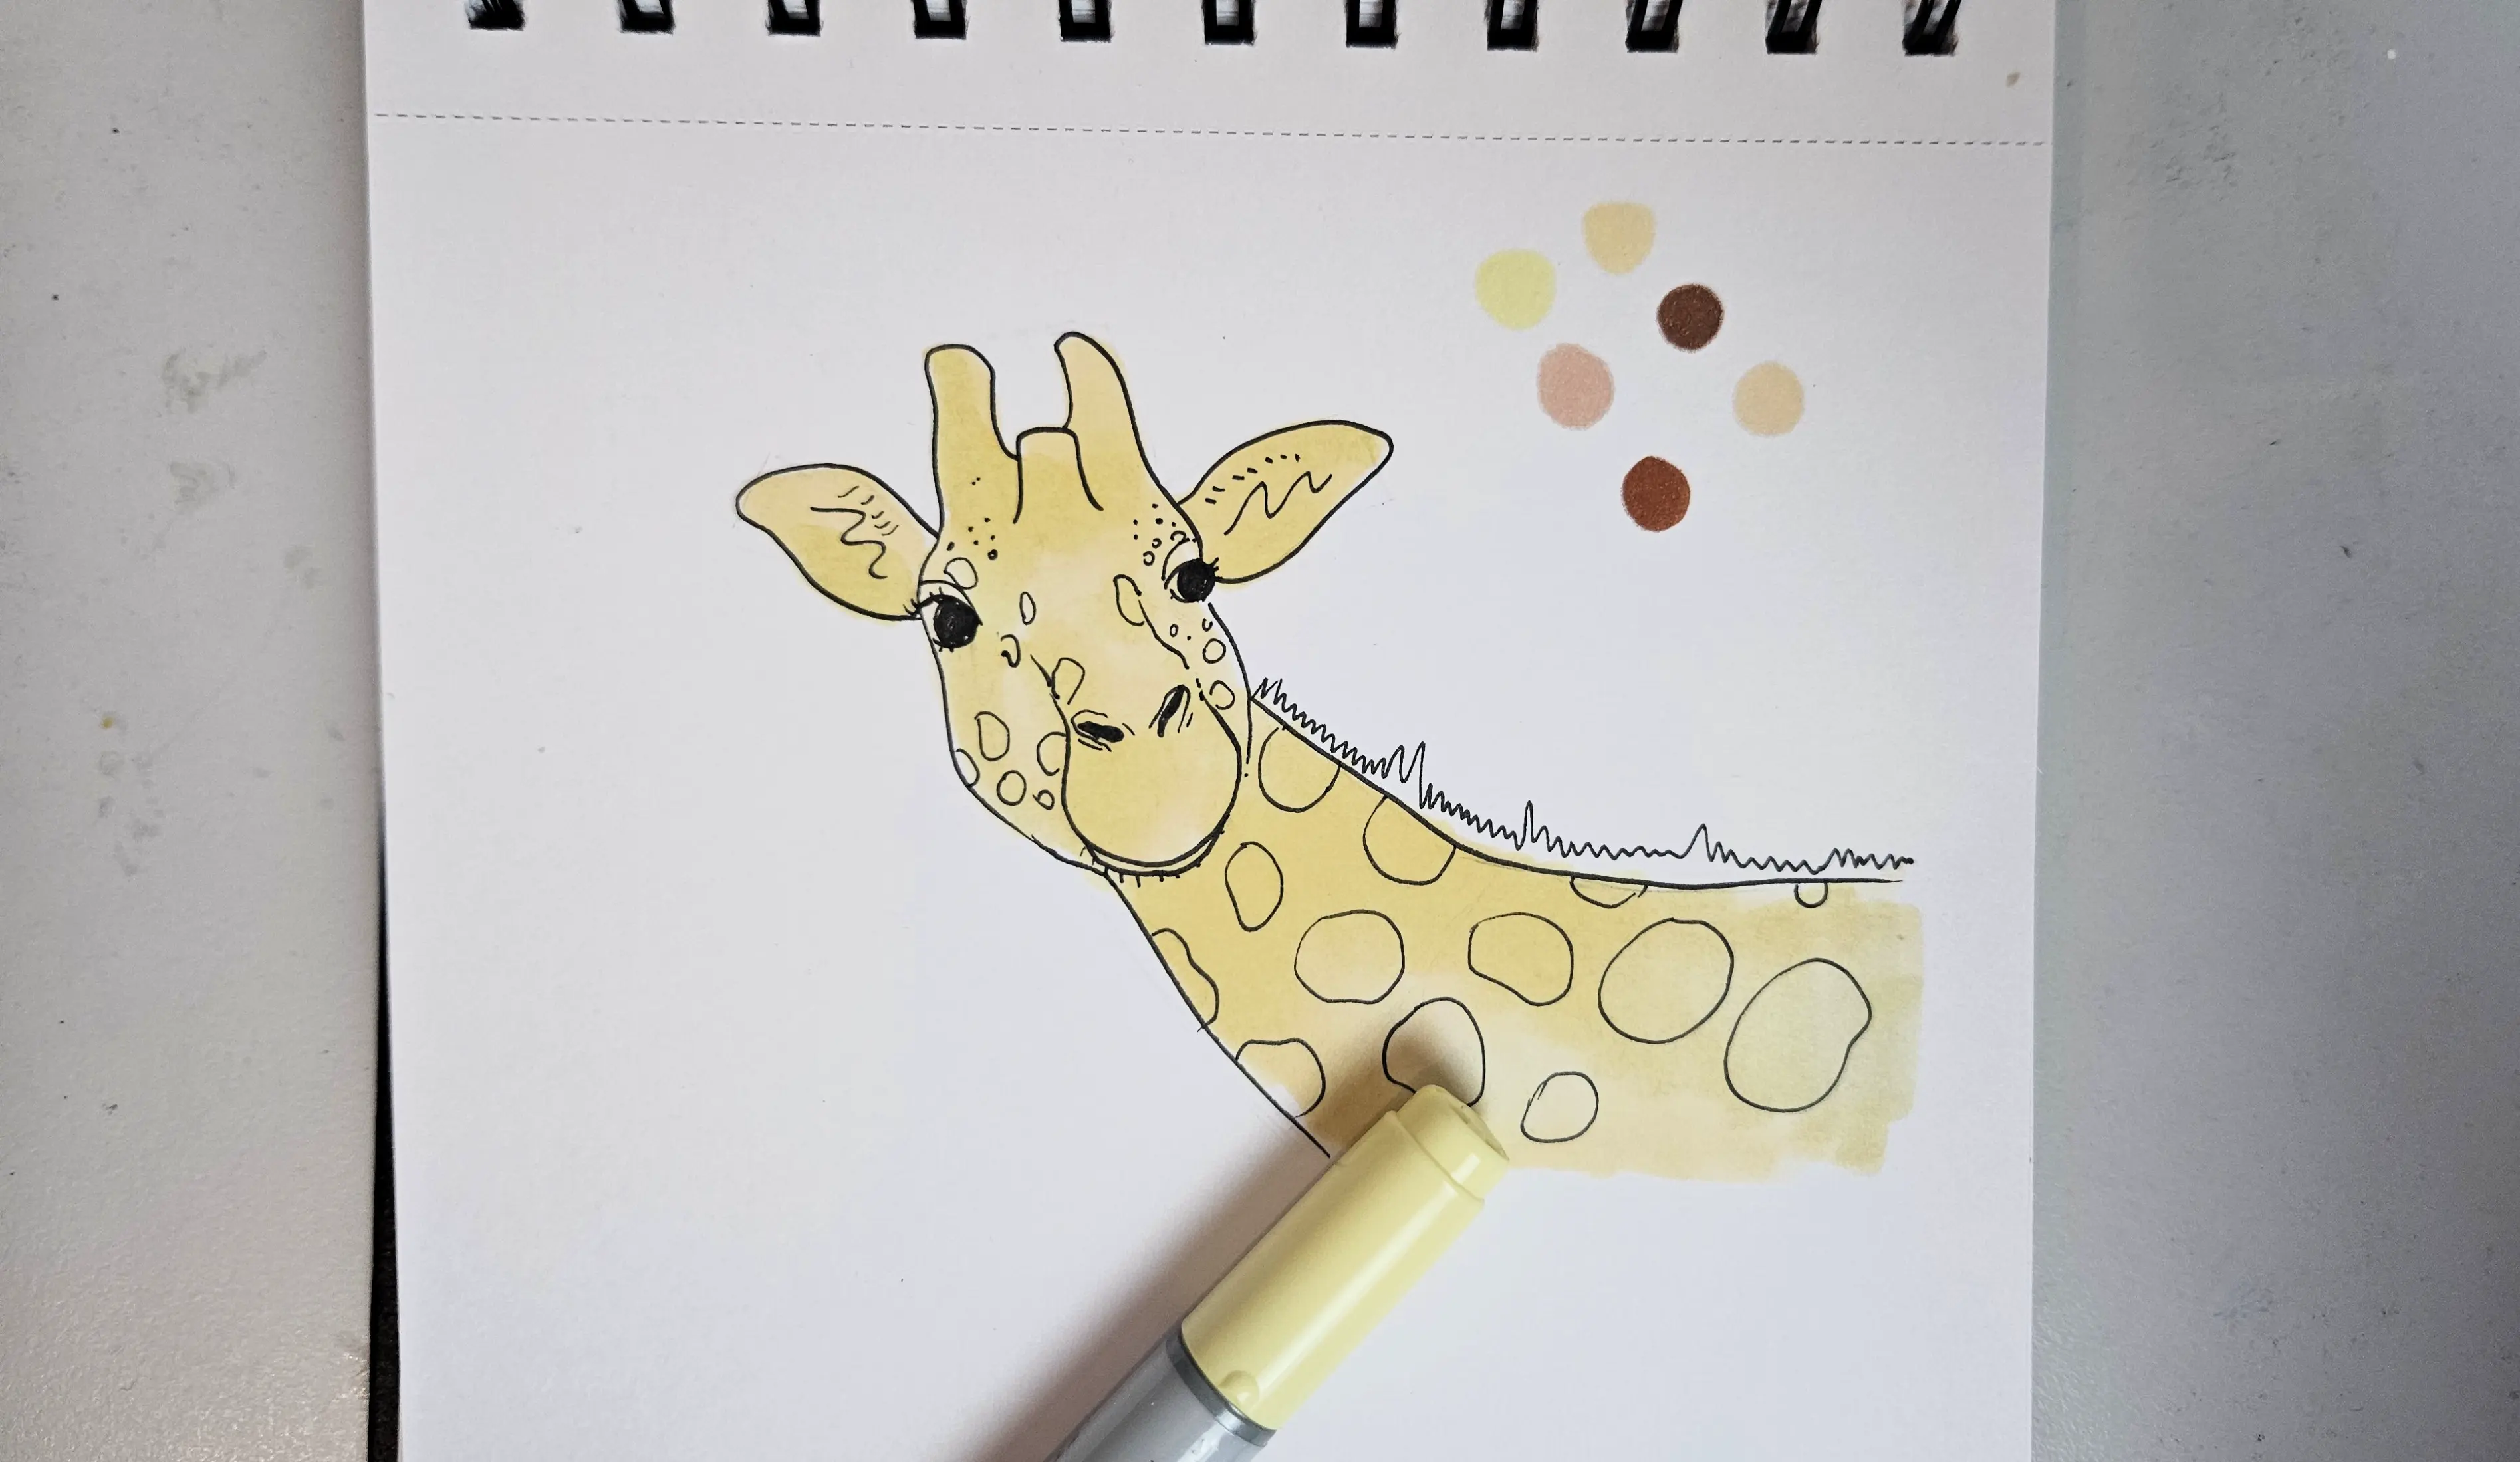
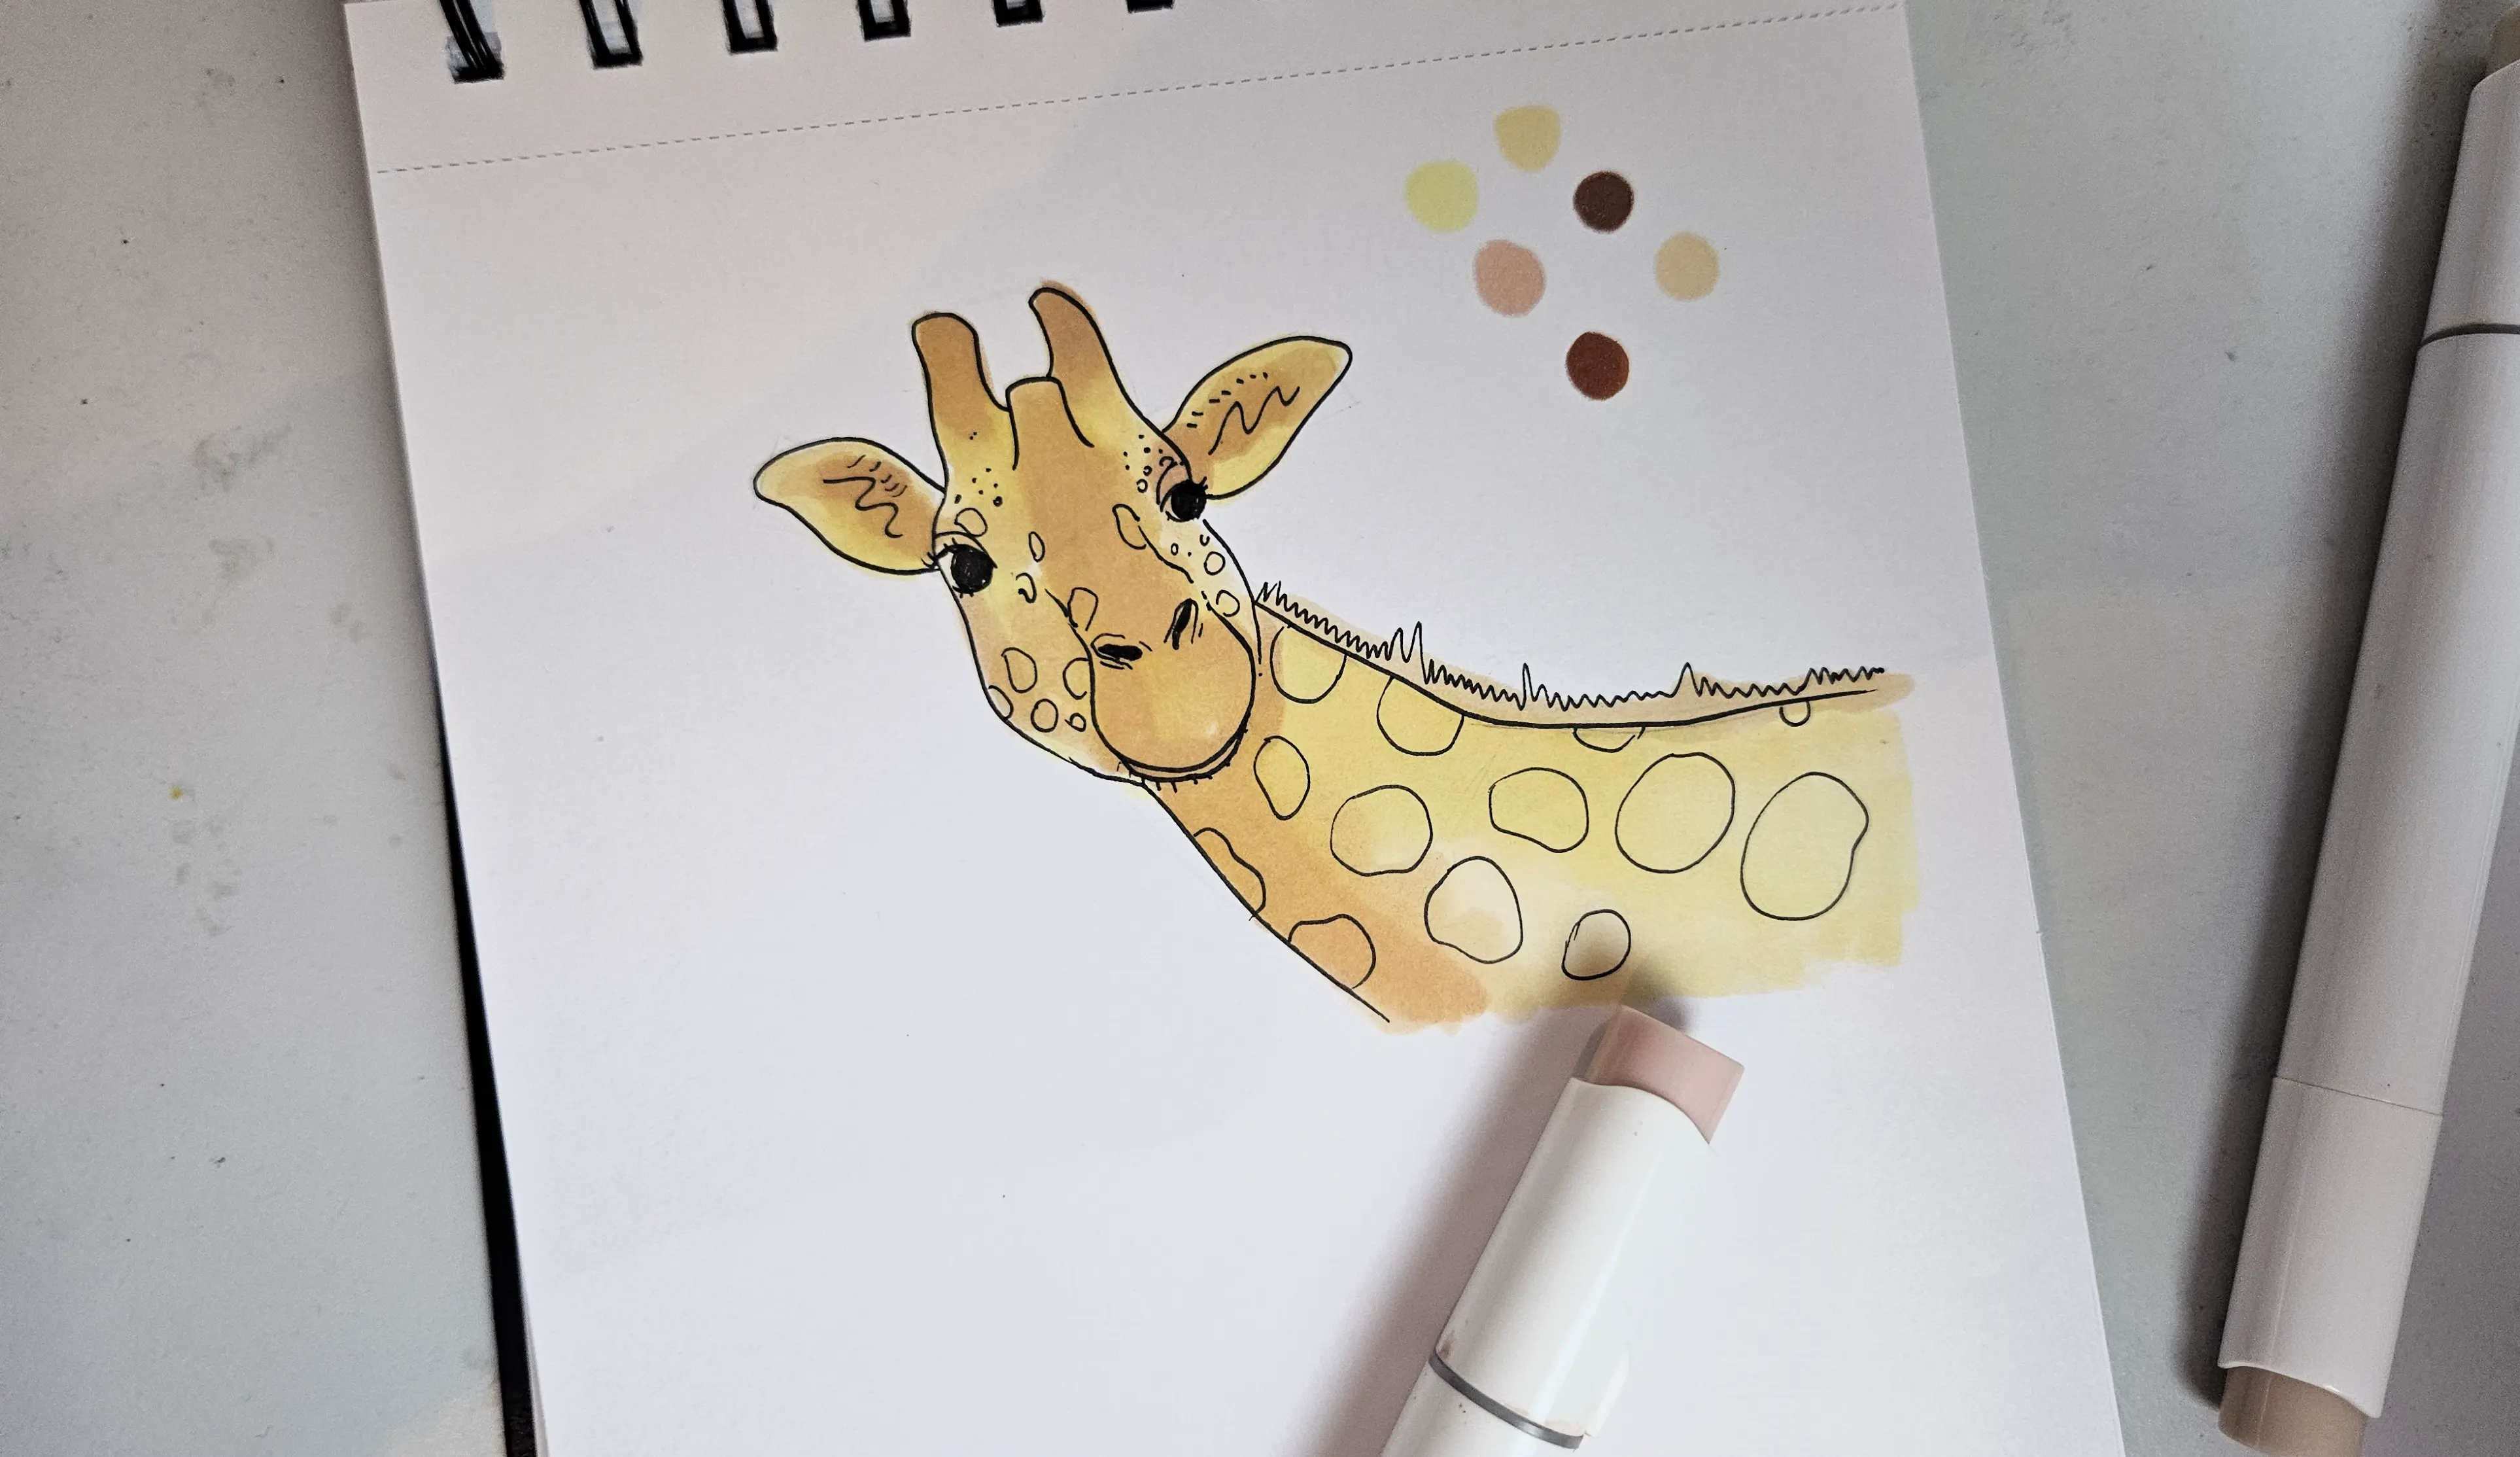
I use my 3rd color, a very light brown, to add a little more contrast to the face and to the neck. I can also color in the hairs.

I am emphasizing the shadow areas with a slightly darker color.
Using my 2 brown colors, I can color the giraffe's spots and fur, as well as add a bit of brown to the horns, ears, and muzzle.
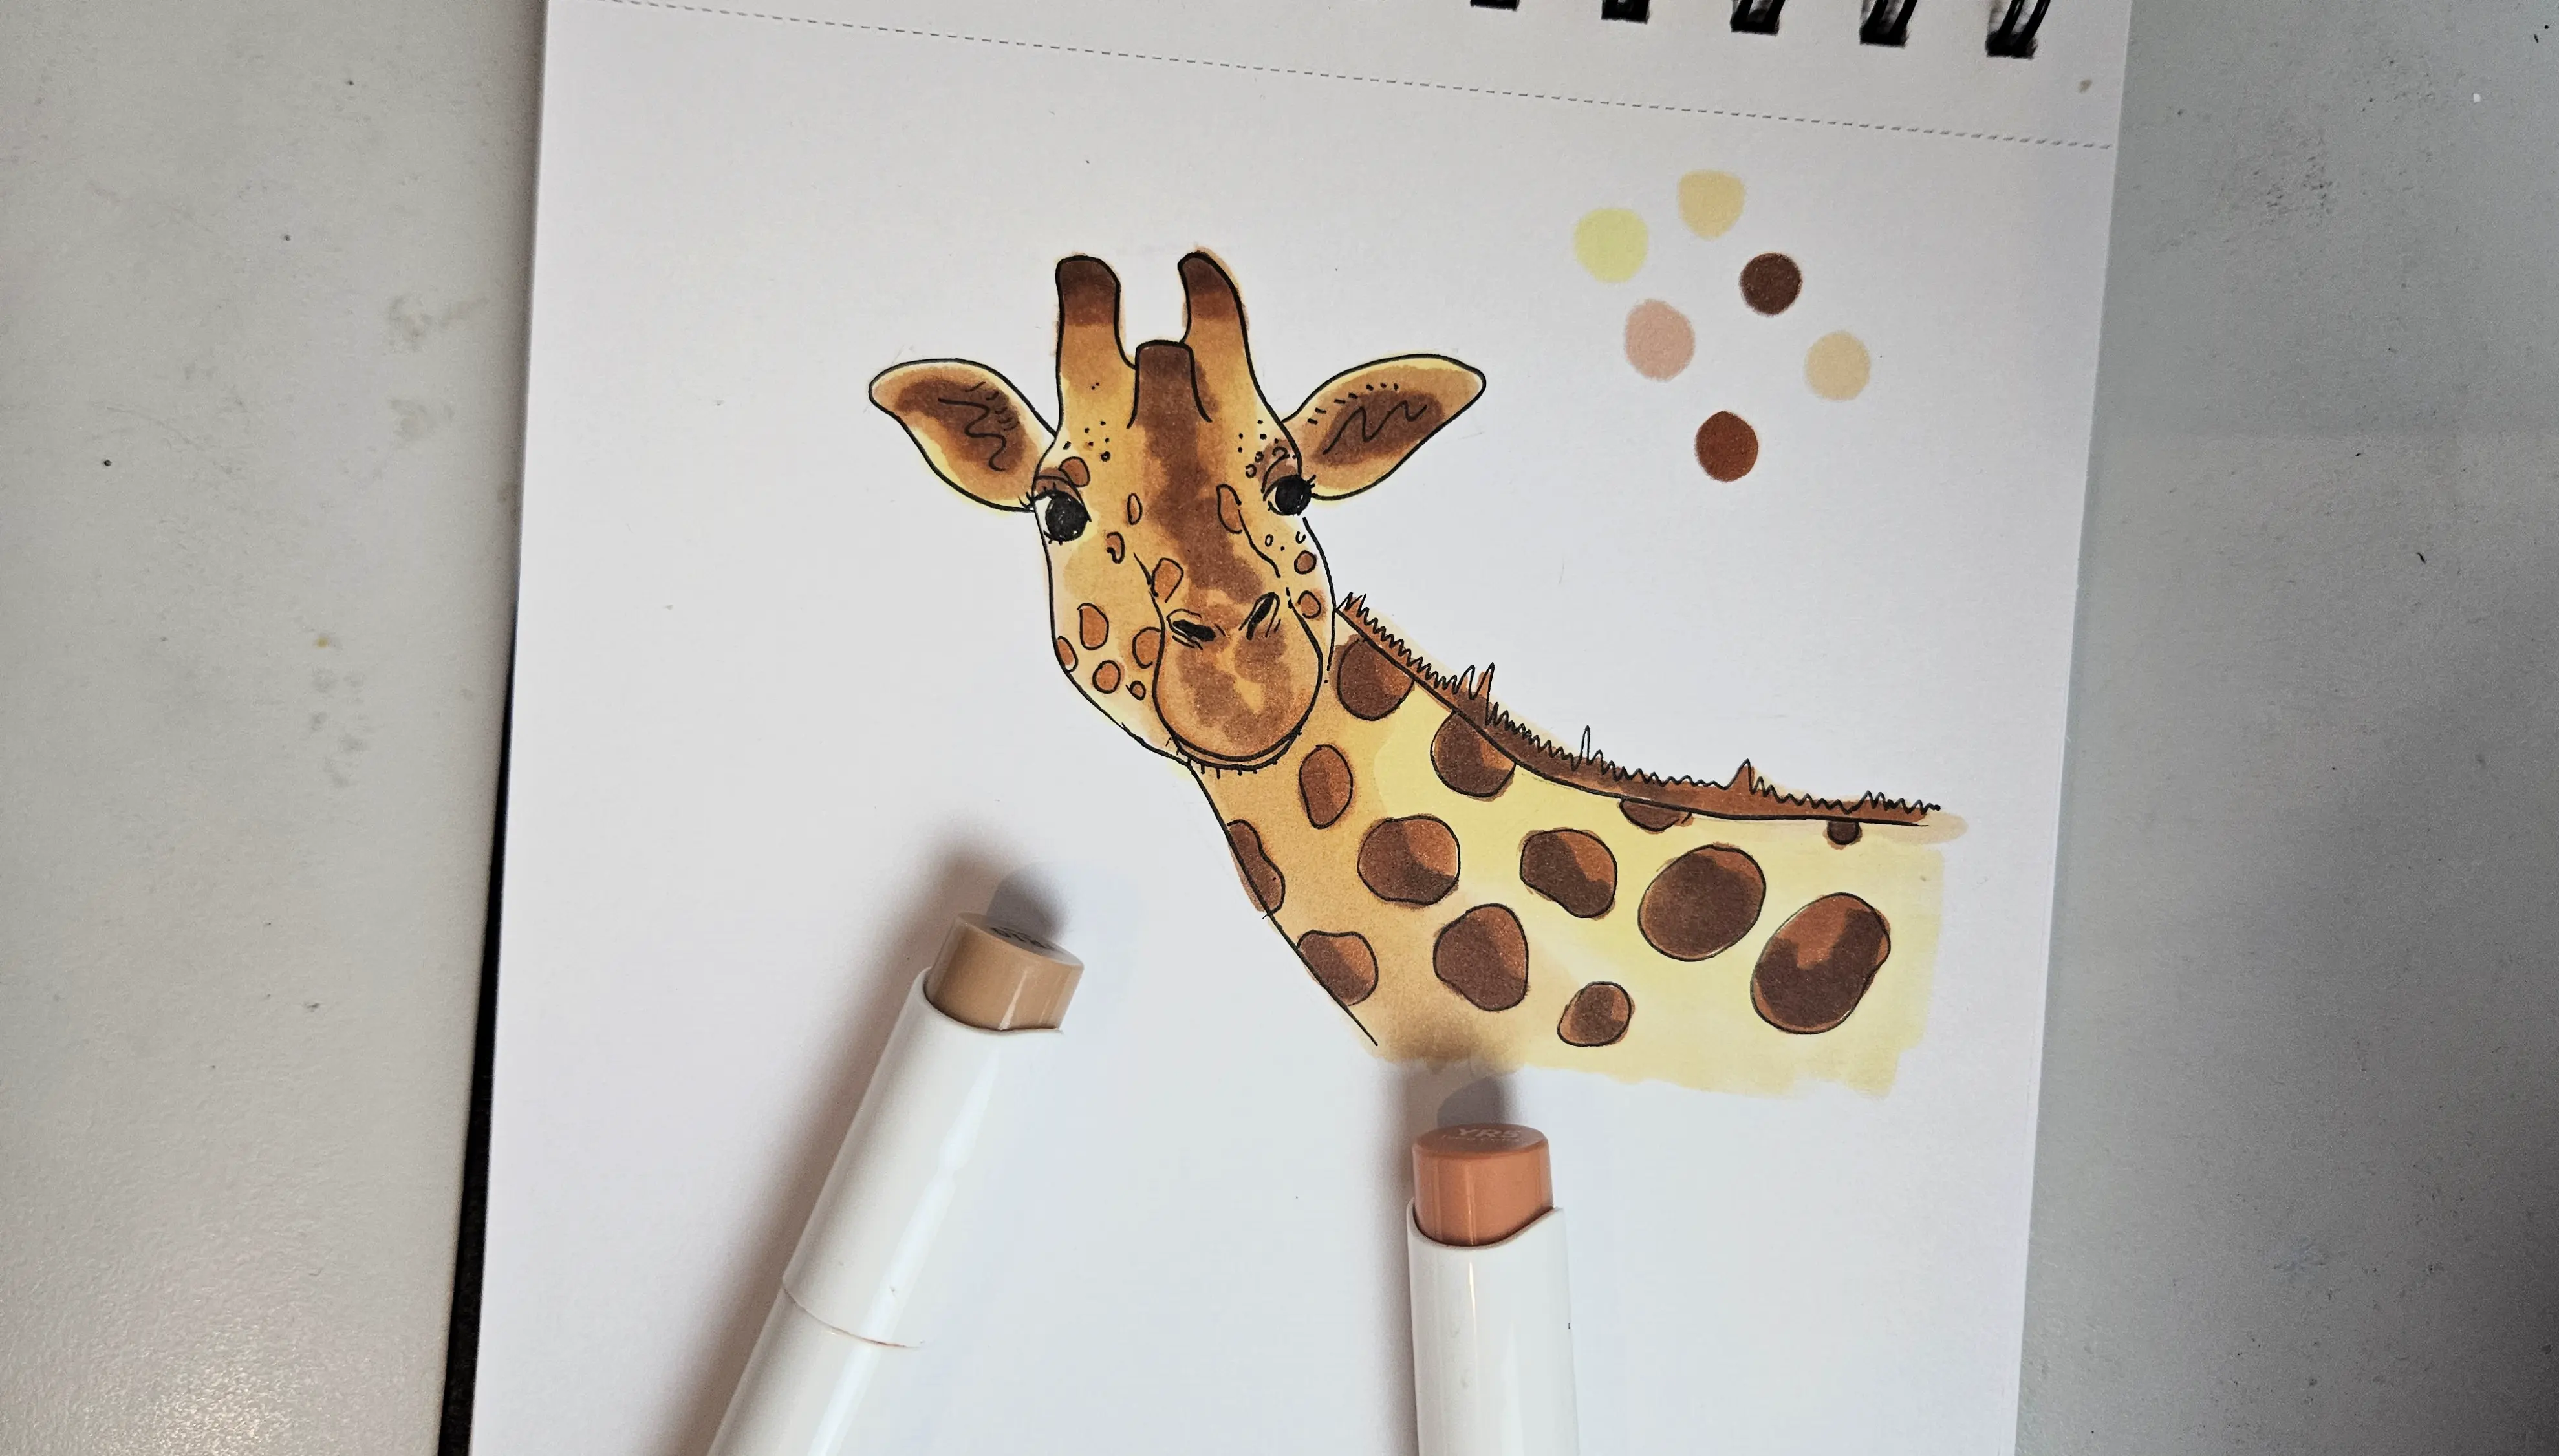
And finally, I use a white gel pen to add some light white outlines, the reflections in the eyes, and a few small points of highlight. My giraffe is now complete.
Coloring the baby elephant
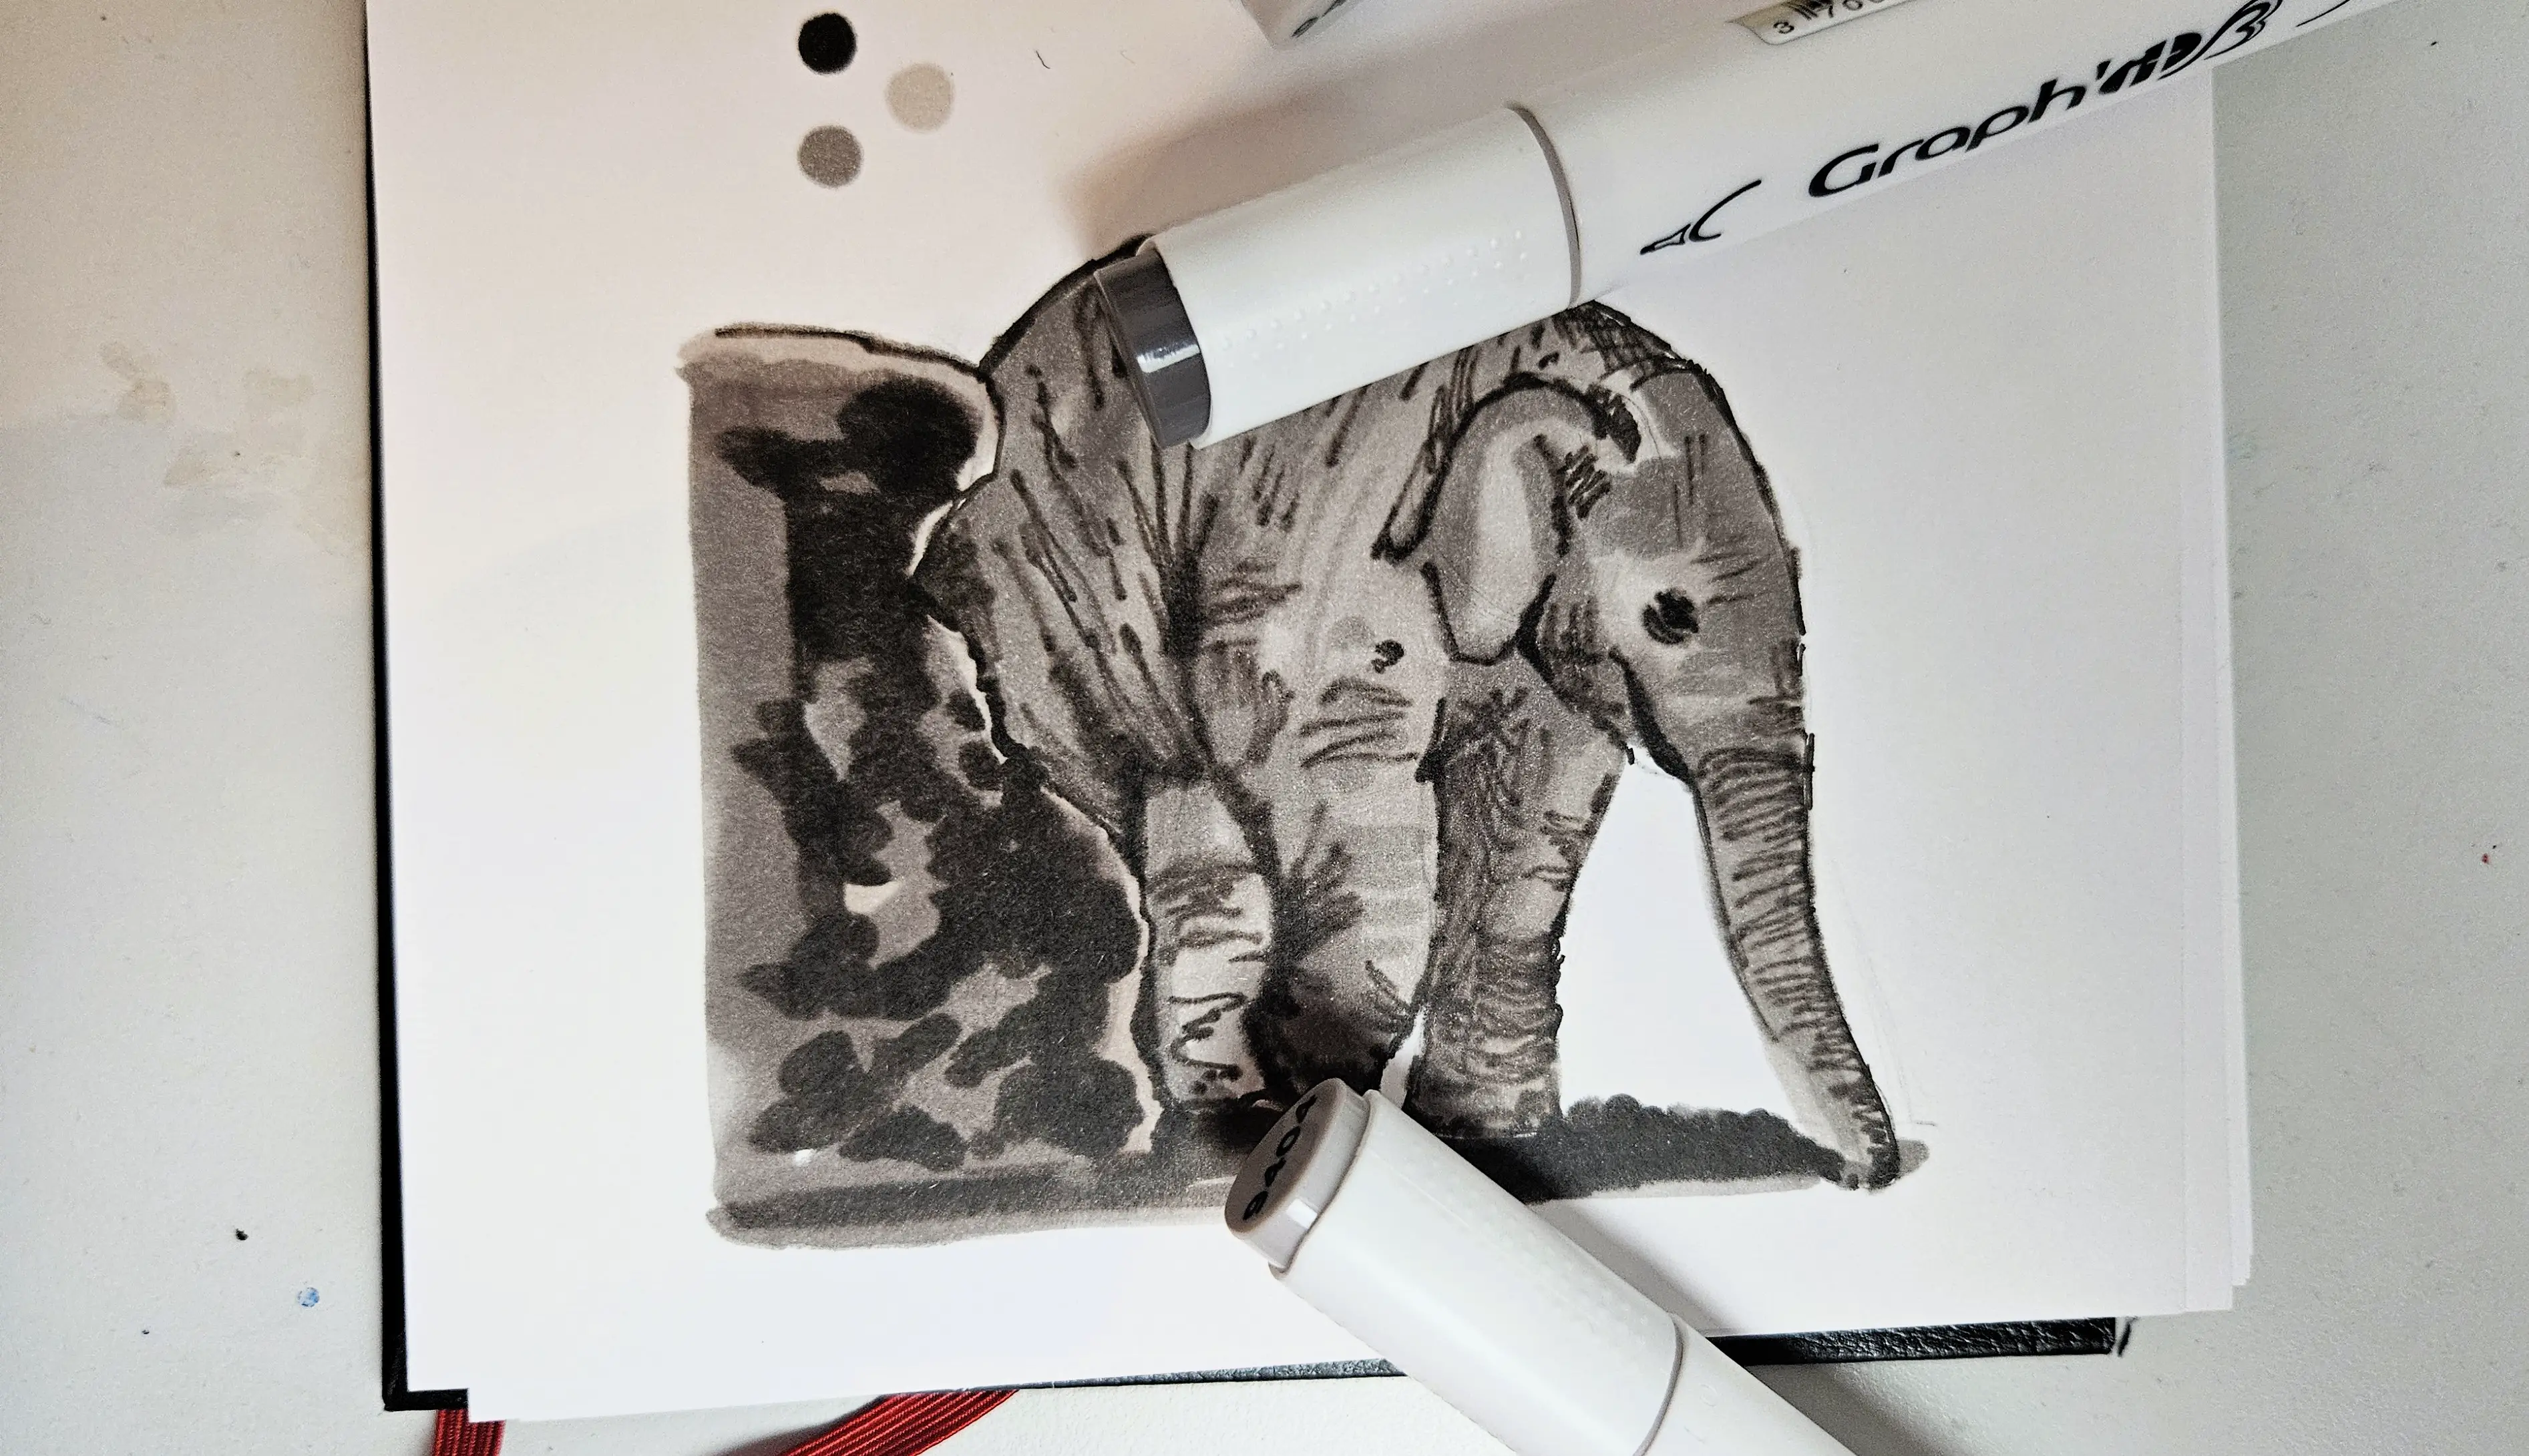
The coloring style will be slightly less cartoonish. I start by making quick outlines with my dark fine tip and adding in all the skin folds. I carefully follow the body movements.
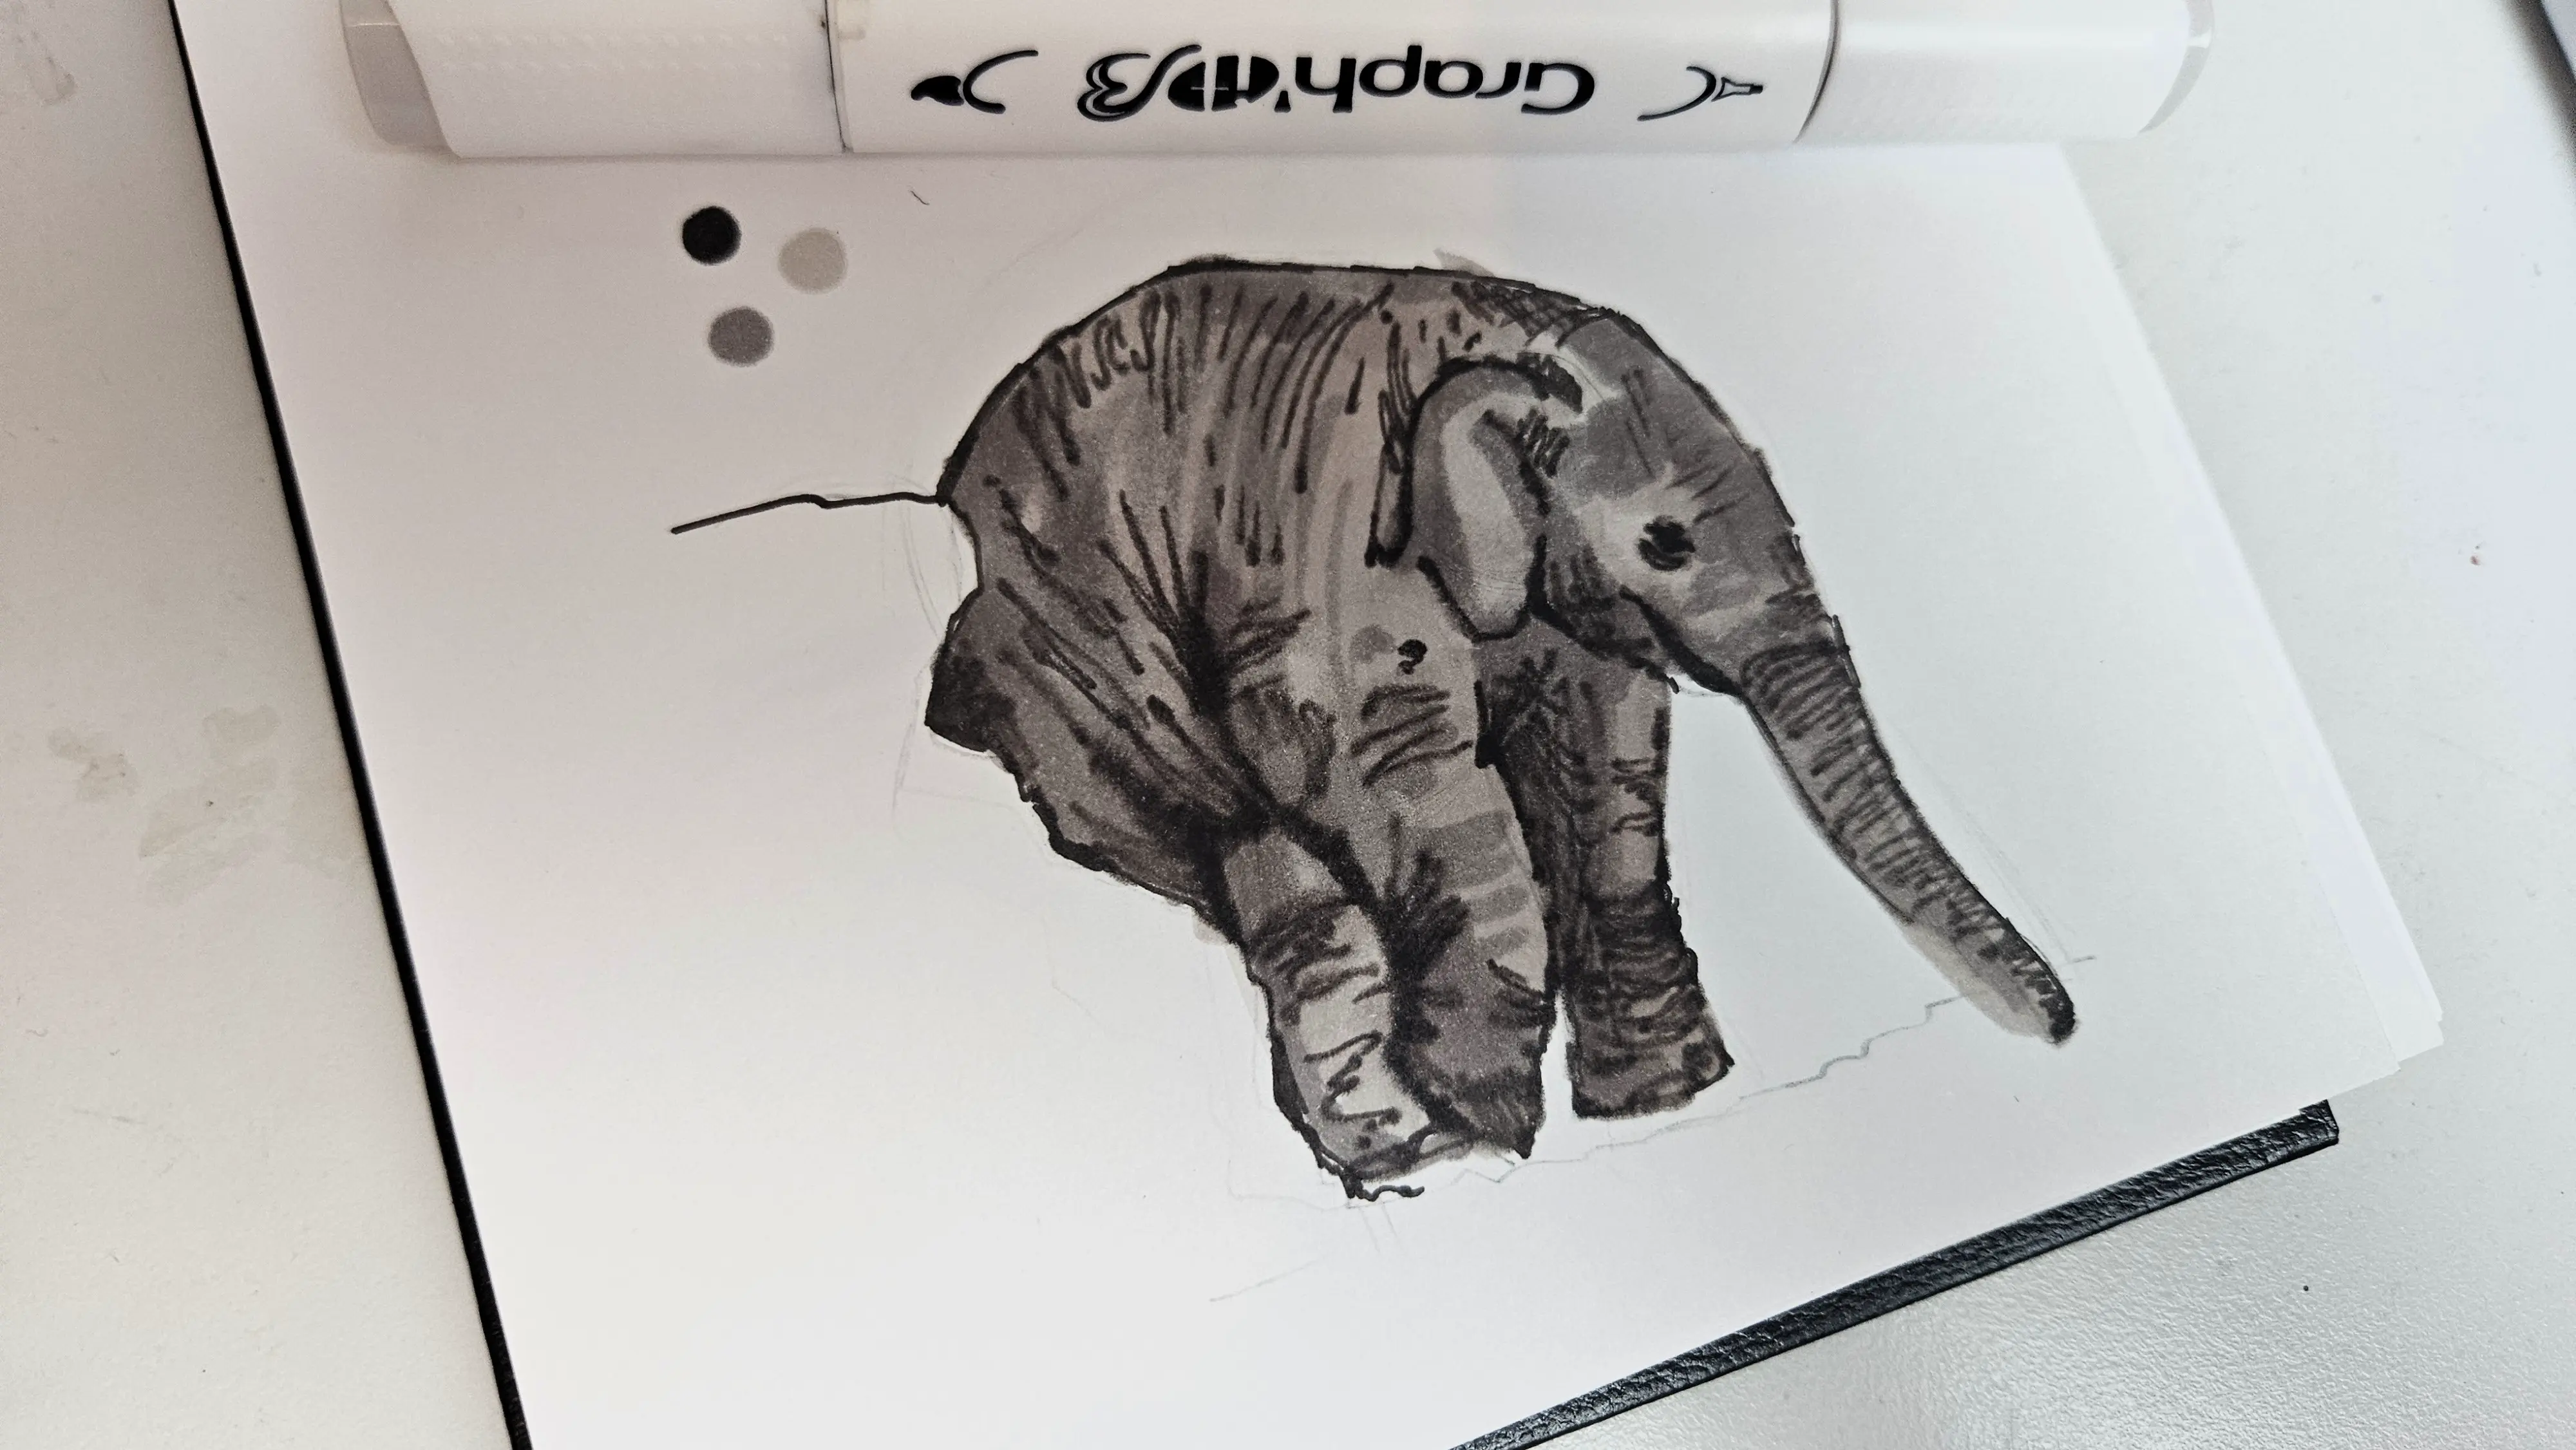
Then color in the darker areas using a medium gray with the brush tip.
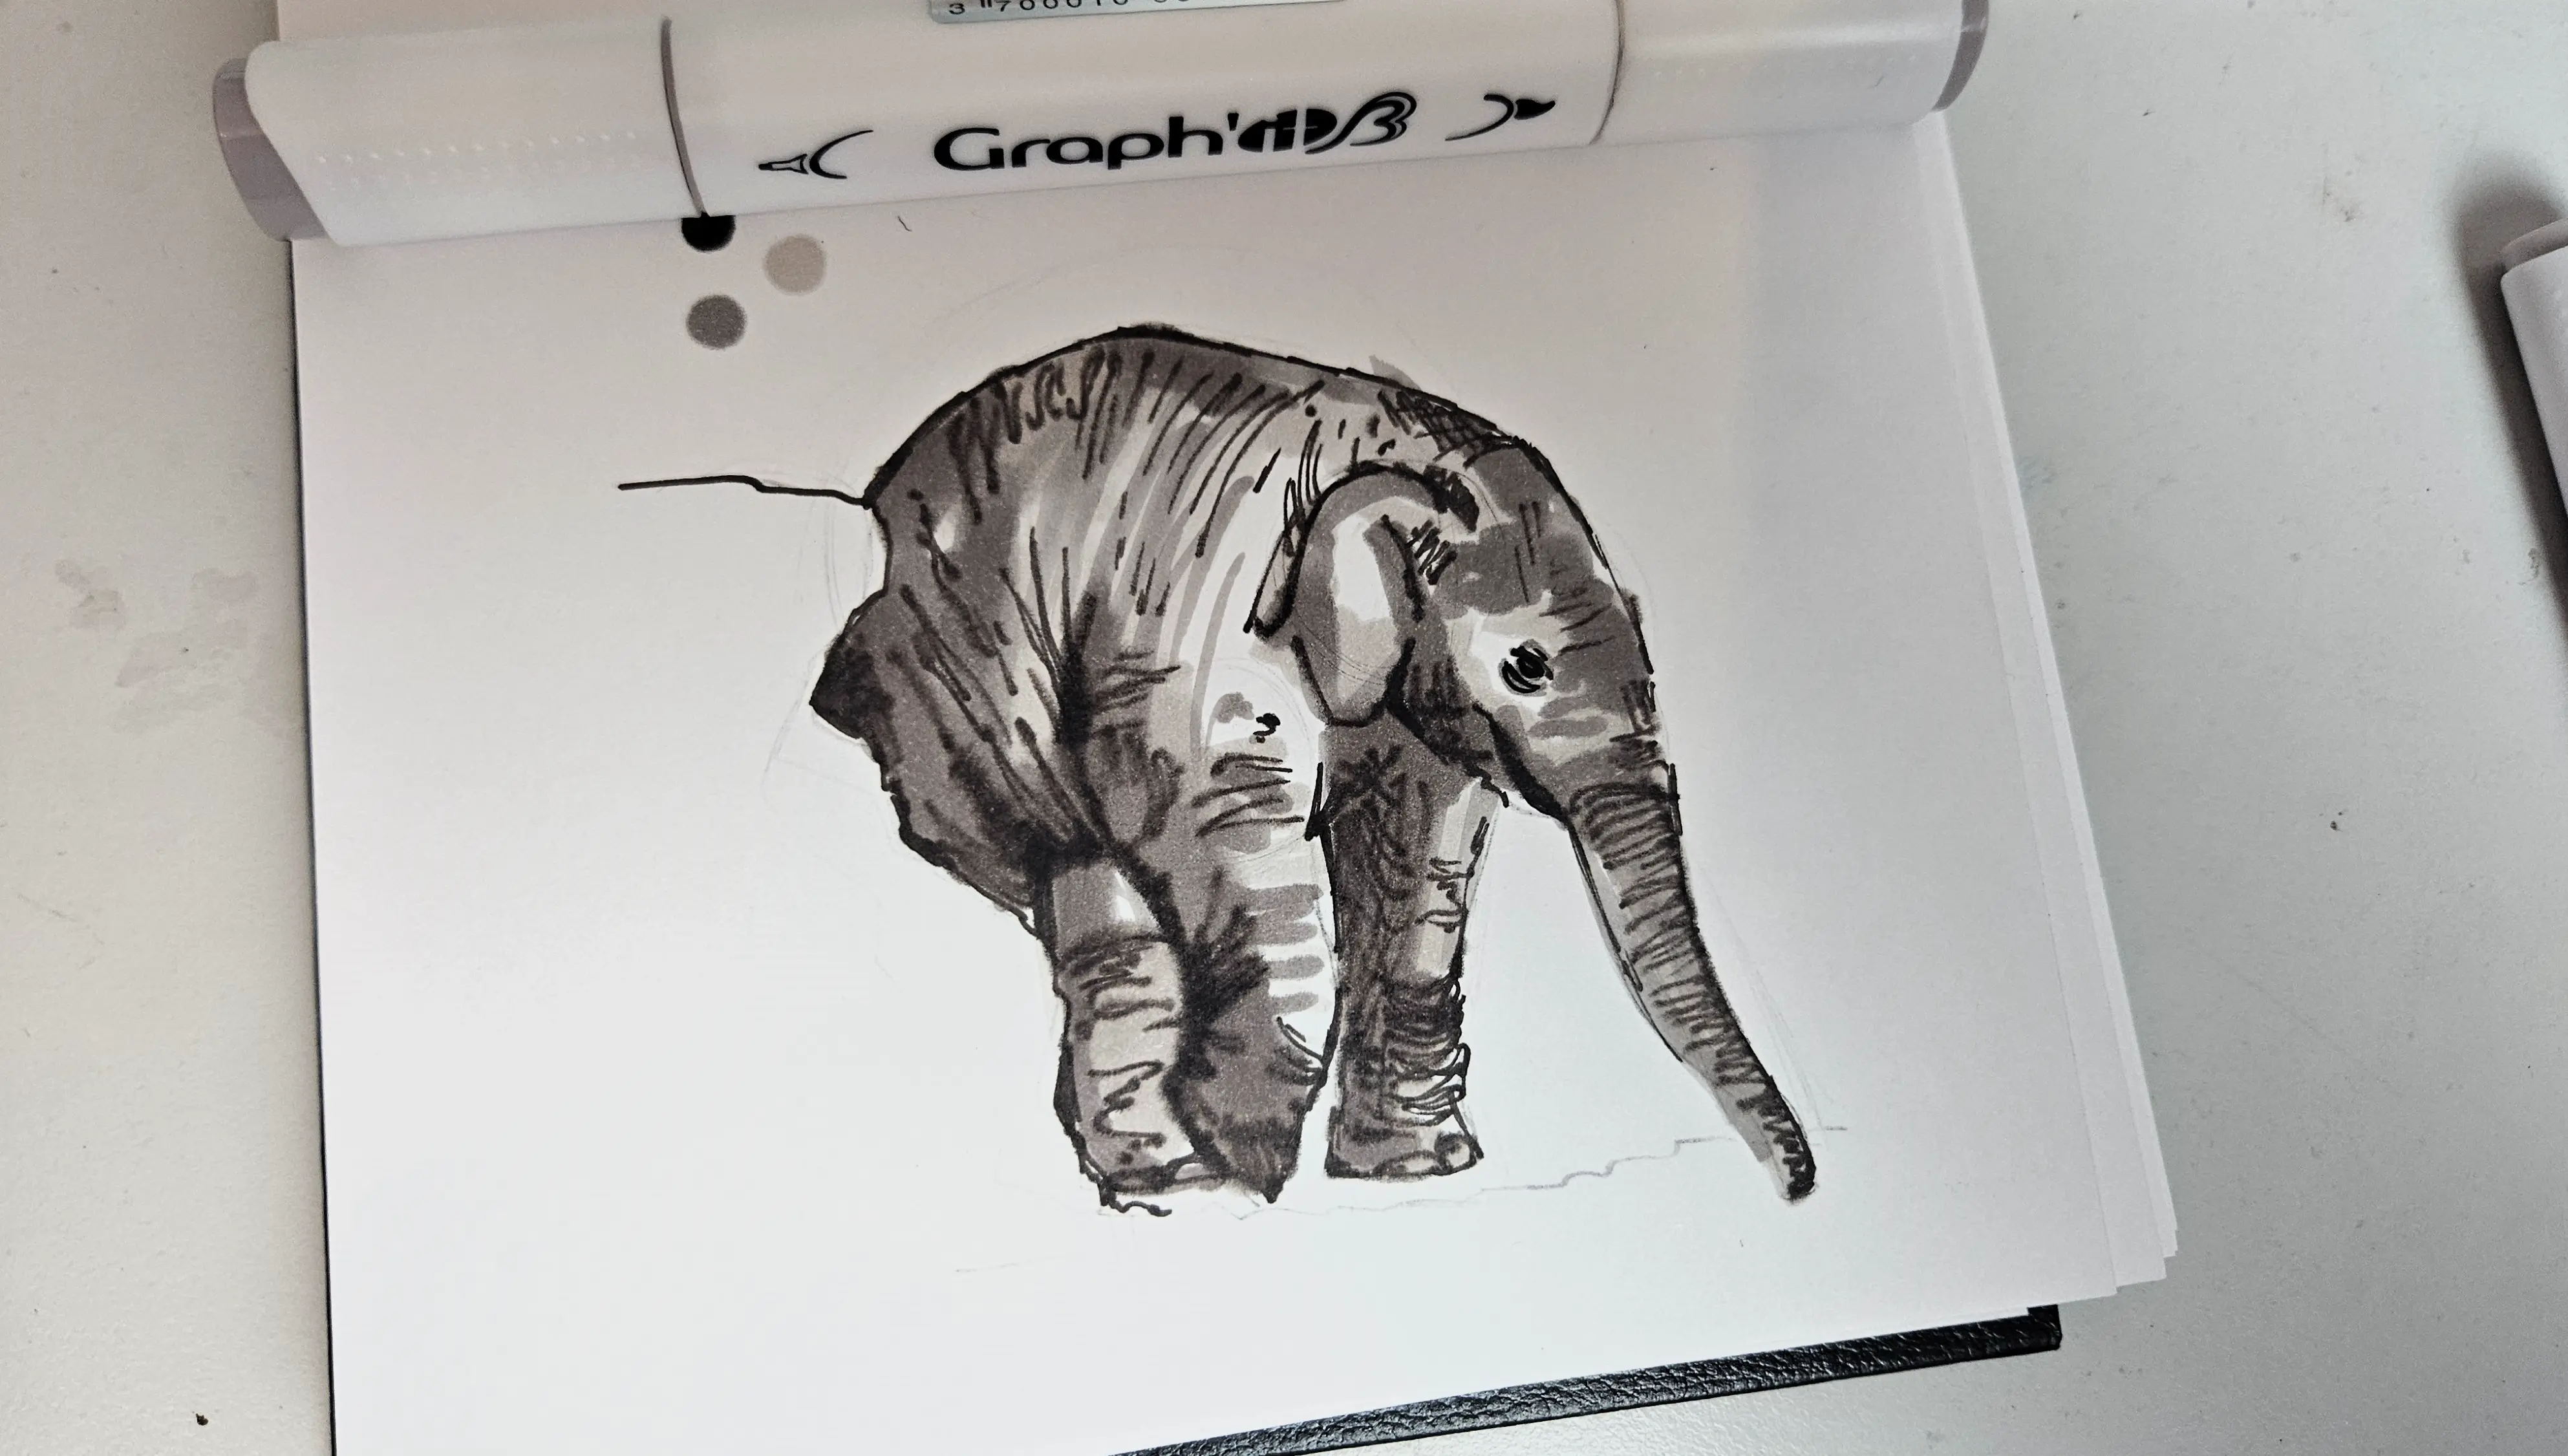
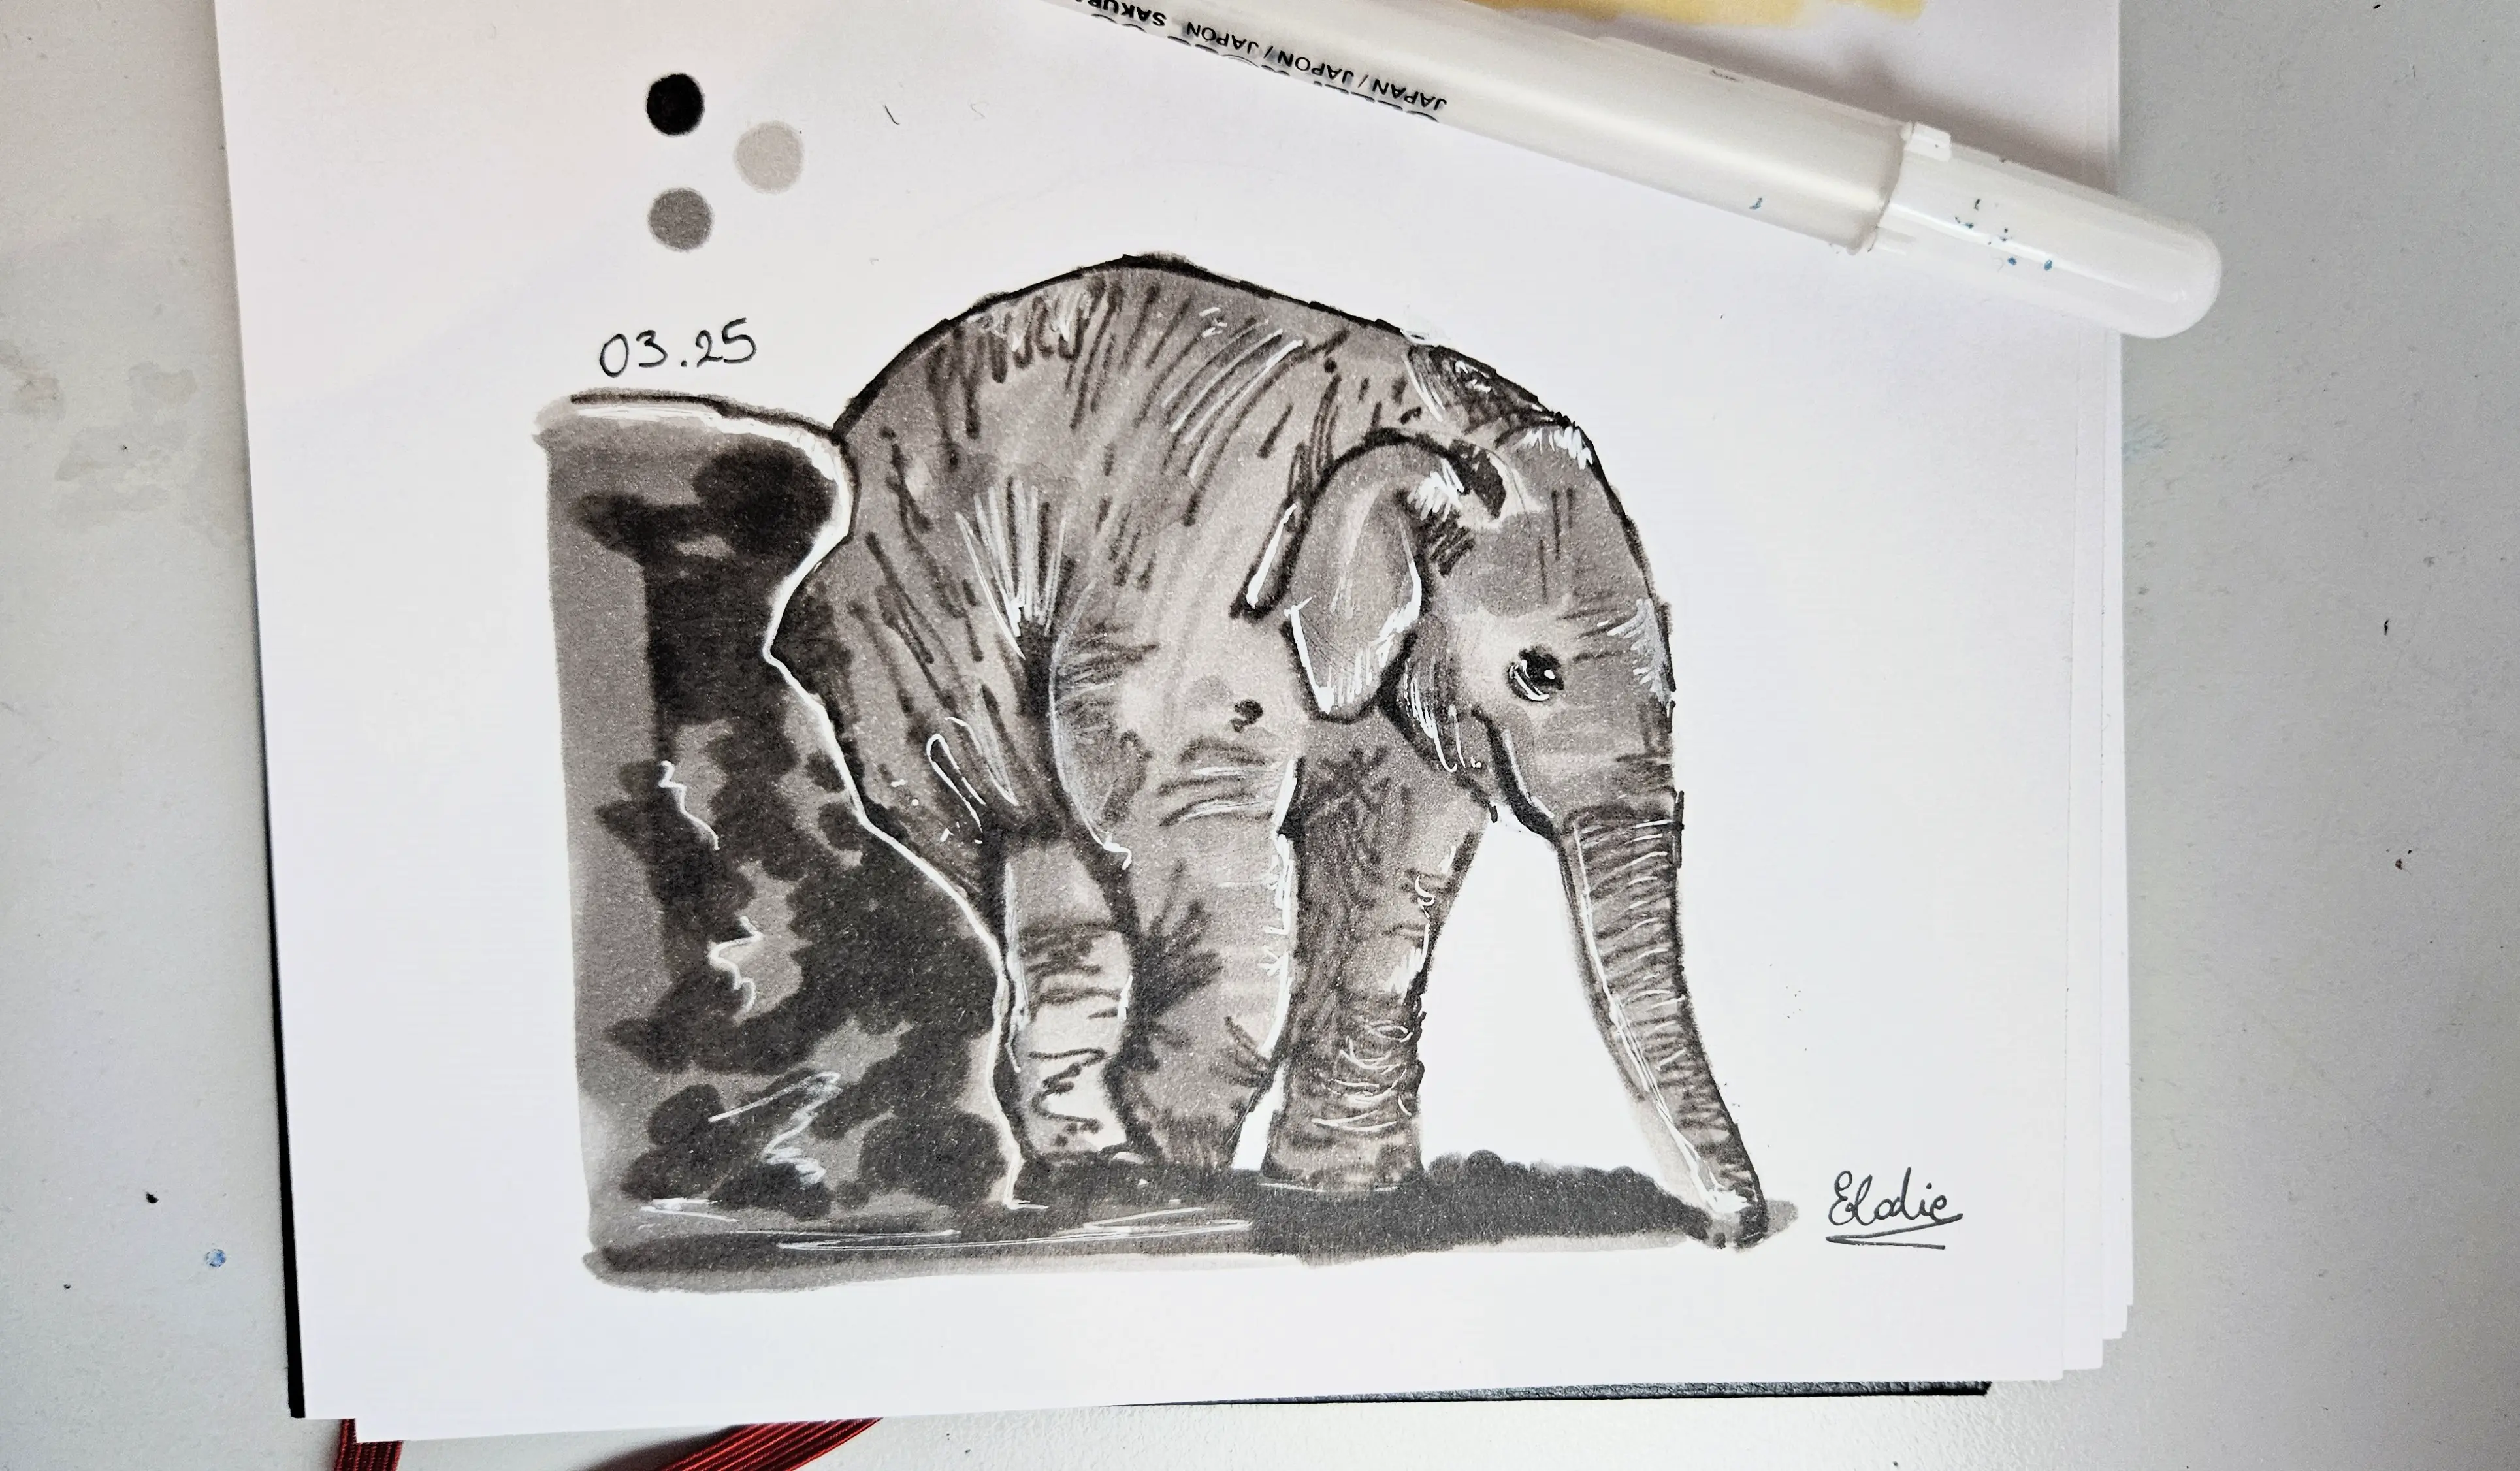
And I can finish it with my lightest gray.
I can create the rock with my 3 colors, I won't go into more detail than that.
Finally, I finish with a few touches of white using my white gel pen. The drawing is complete and here is the final result! As you can see, the coloring style of this drawing is different from the one used for the giraffe. It depends on the individual and the desired final effect.
This article is now finished, I hope you have learned how to use your alcohol markers to draw animals! Feel free to try some observational drawings, your cat, your dog, etc., and quickly color the shades with alcohol markers to add some textures and reliefs.