How to Draw Aurora Borealis
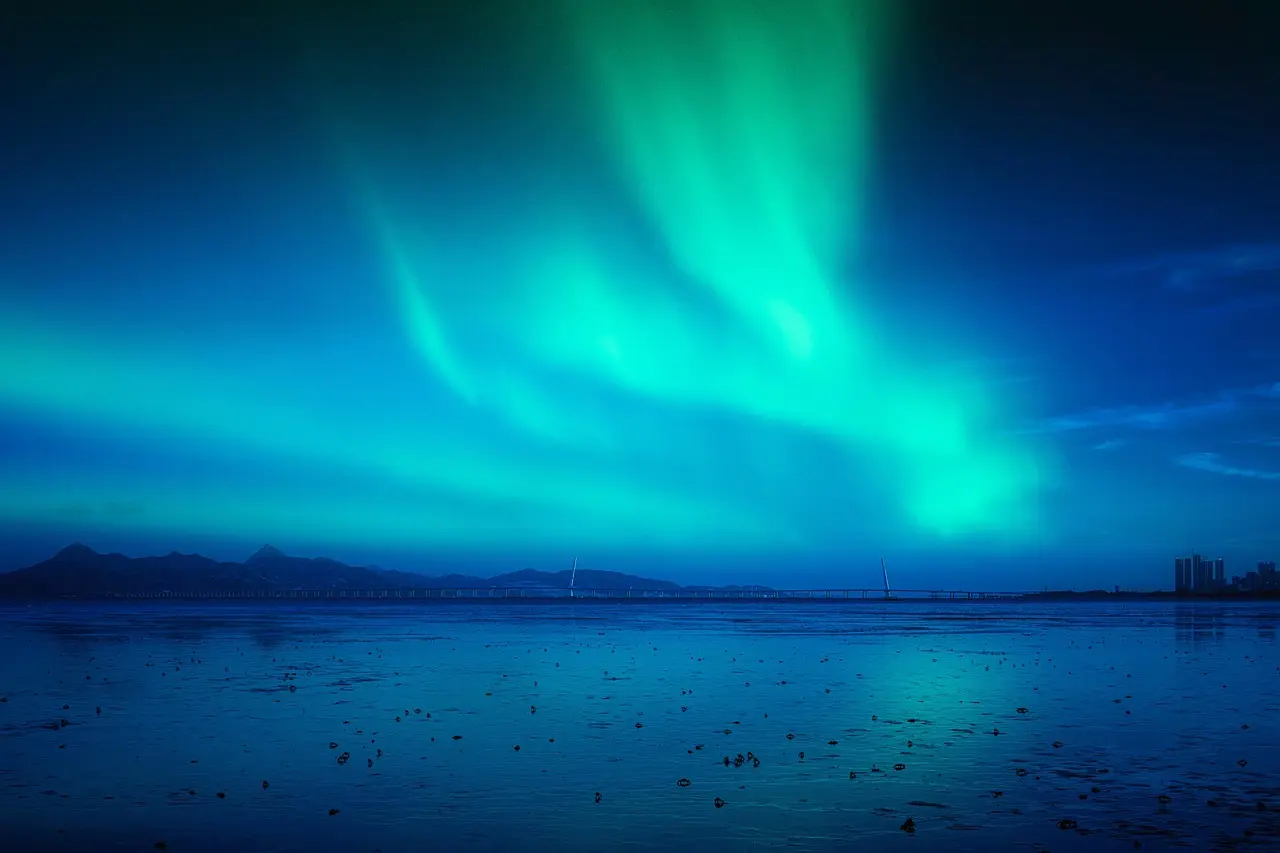
The aurora borealis (northern lights) are undoubtedly one of the most impressive spectacles that nature has to offer. Many of us would be willing to travel hundreds of kilometers and brave the freezing cold of the planet's north, just to admire this display of dancing lights in the sky.
Today, I'm going to help you to create a landscape inspired by this spectacular phenomenon.
Create the sketch of the drawing
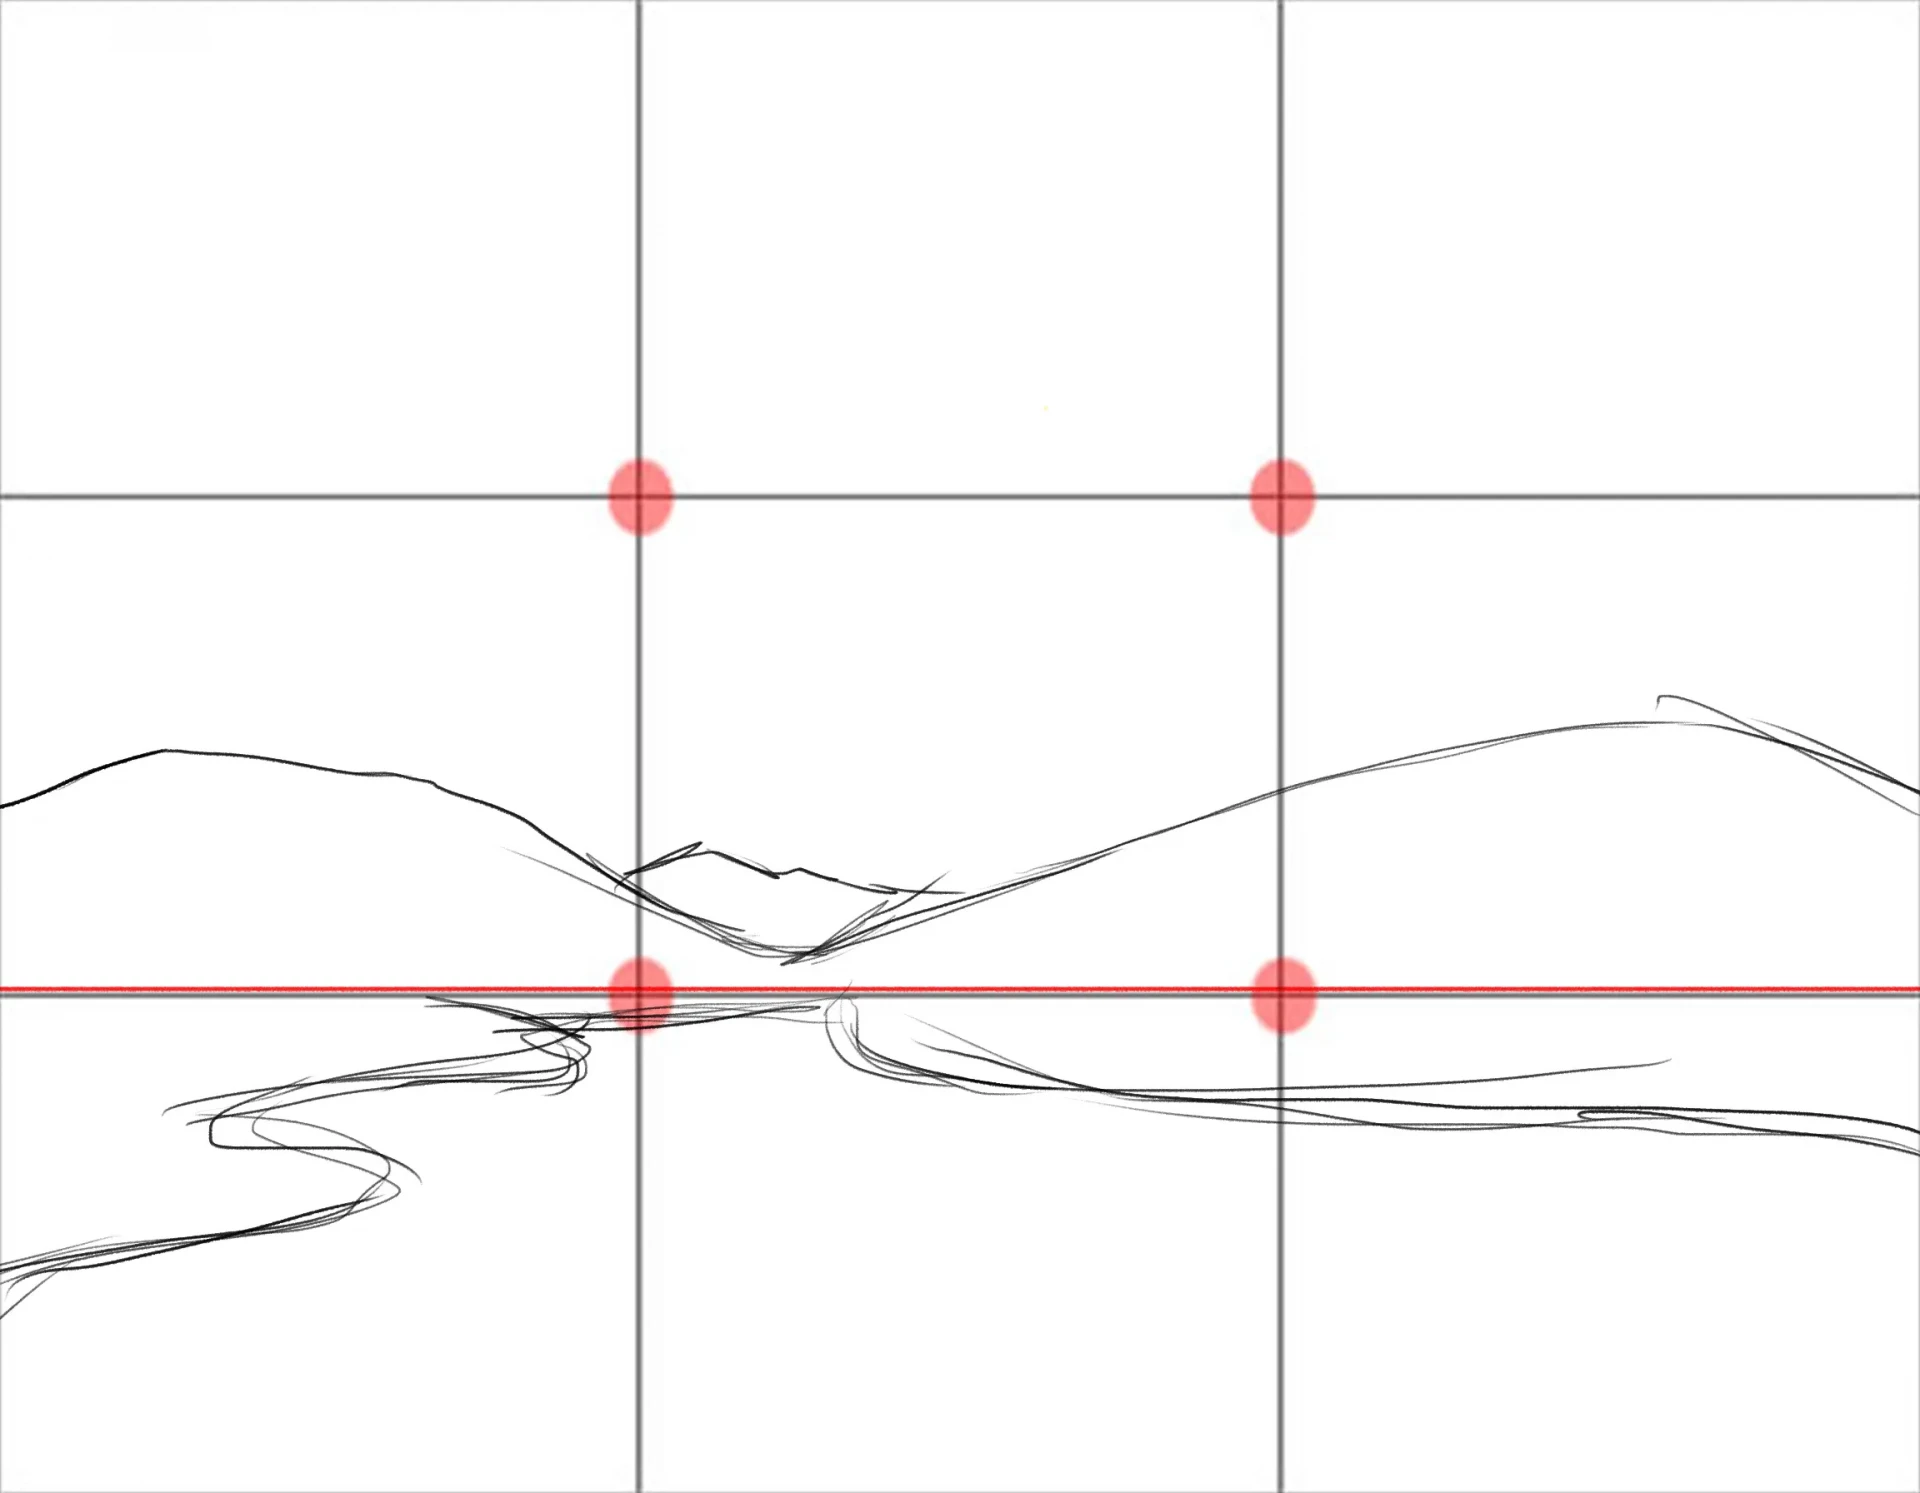
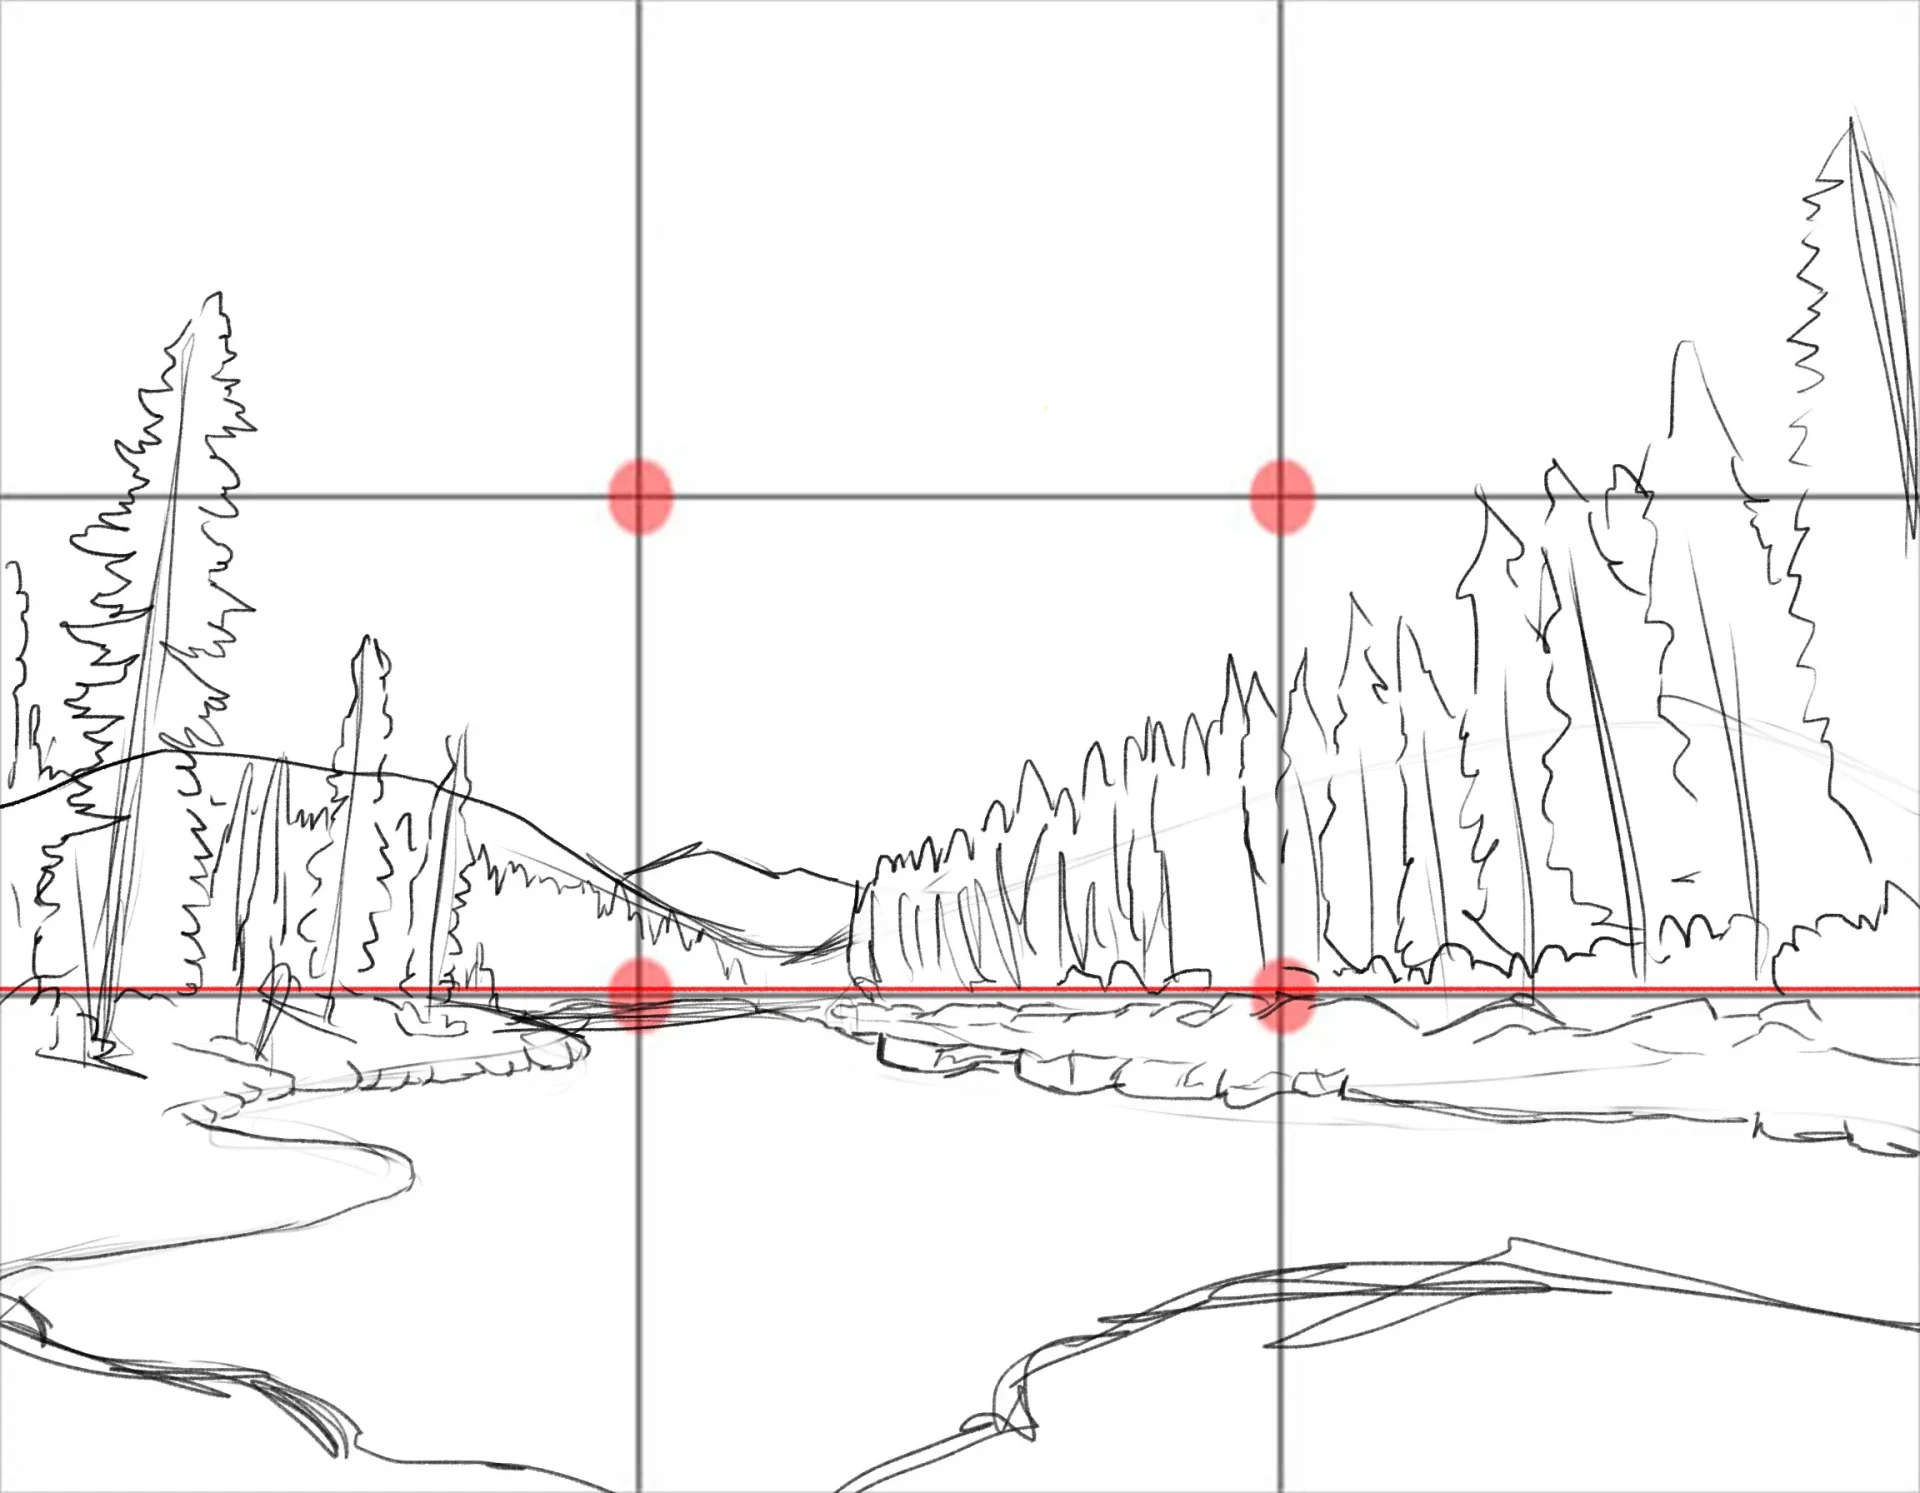
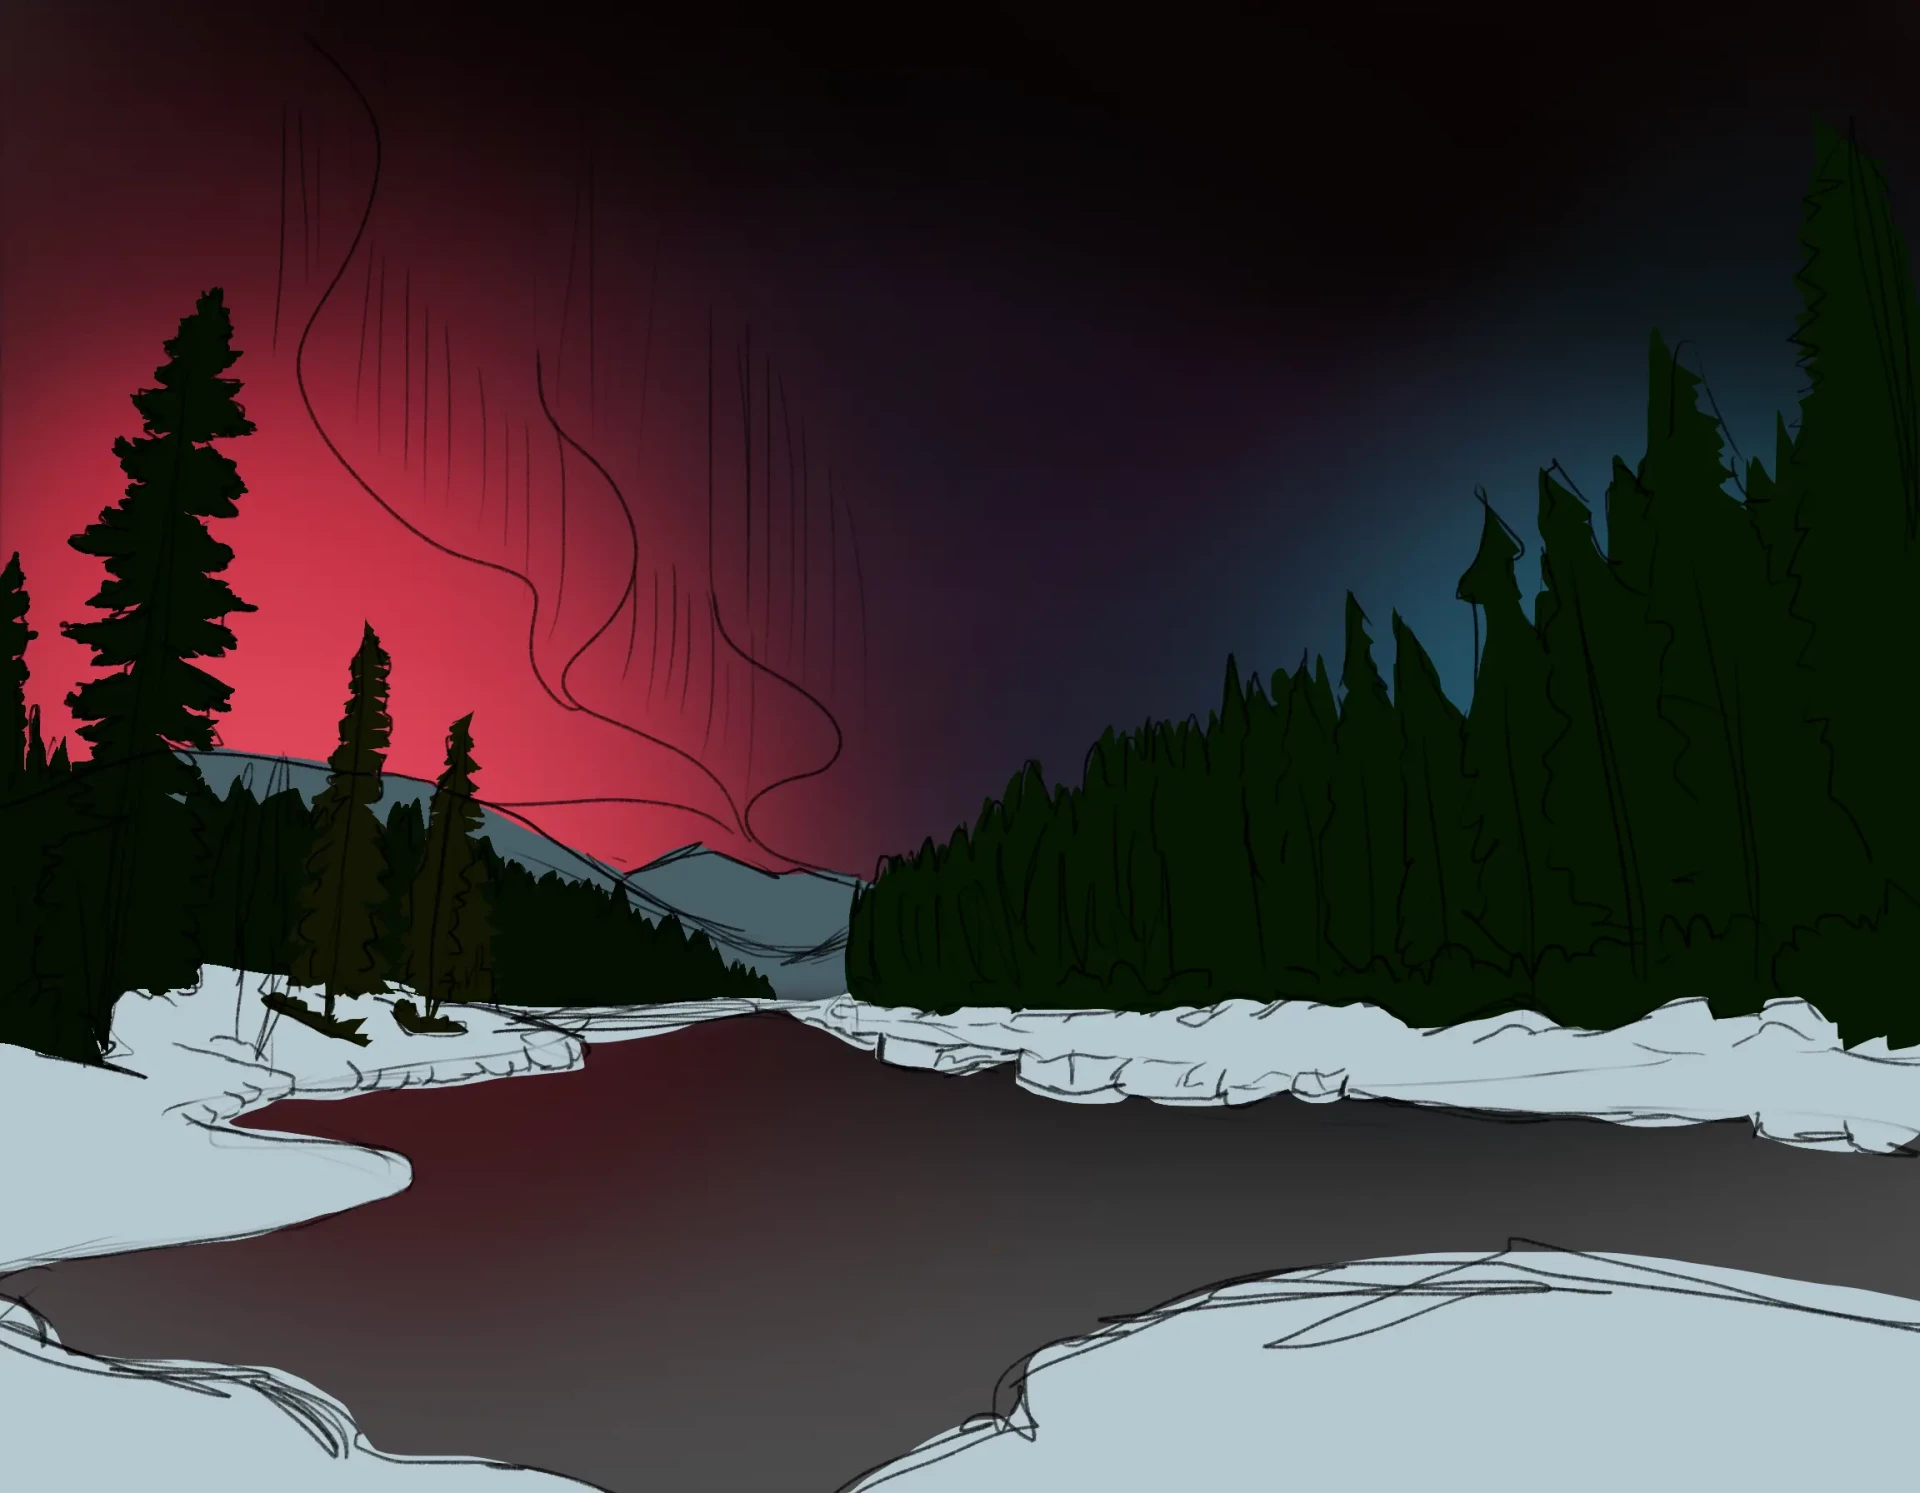
To begin, we will divide our canvas by following the rule of thirds. If you remember this rule, you will know that in order to emphasize the sky, it should occupy two-thirds of the space.
We will therefore draw the horizon line on the second horizontal line, then we will draw mountains above, and below, we will create a lake using curved lines starting from the center and widening towards the sides.
Quickly sketch a pine forest on this area. We're choosing this particular species of tree because it is very common in regions where the northern lights occur.
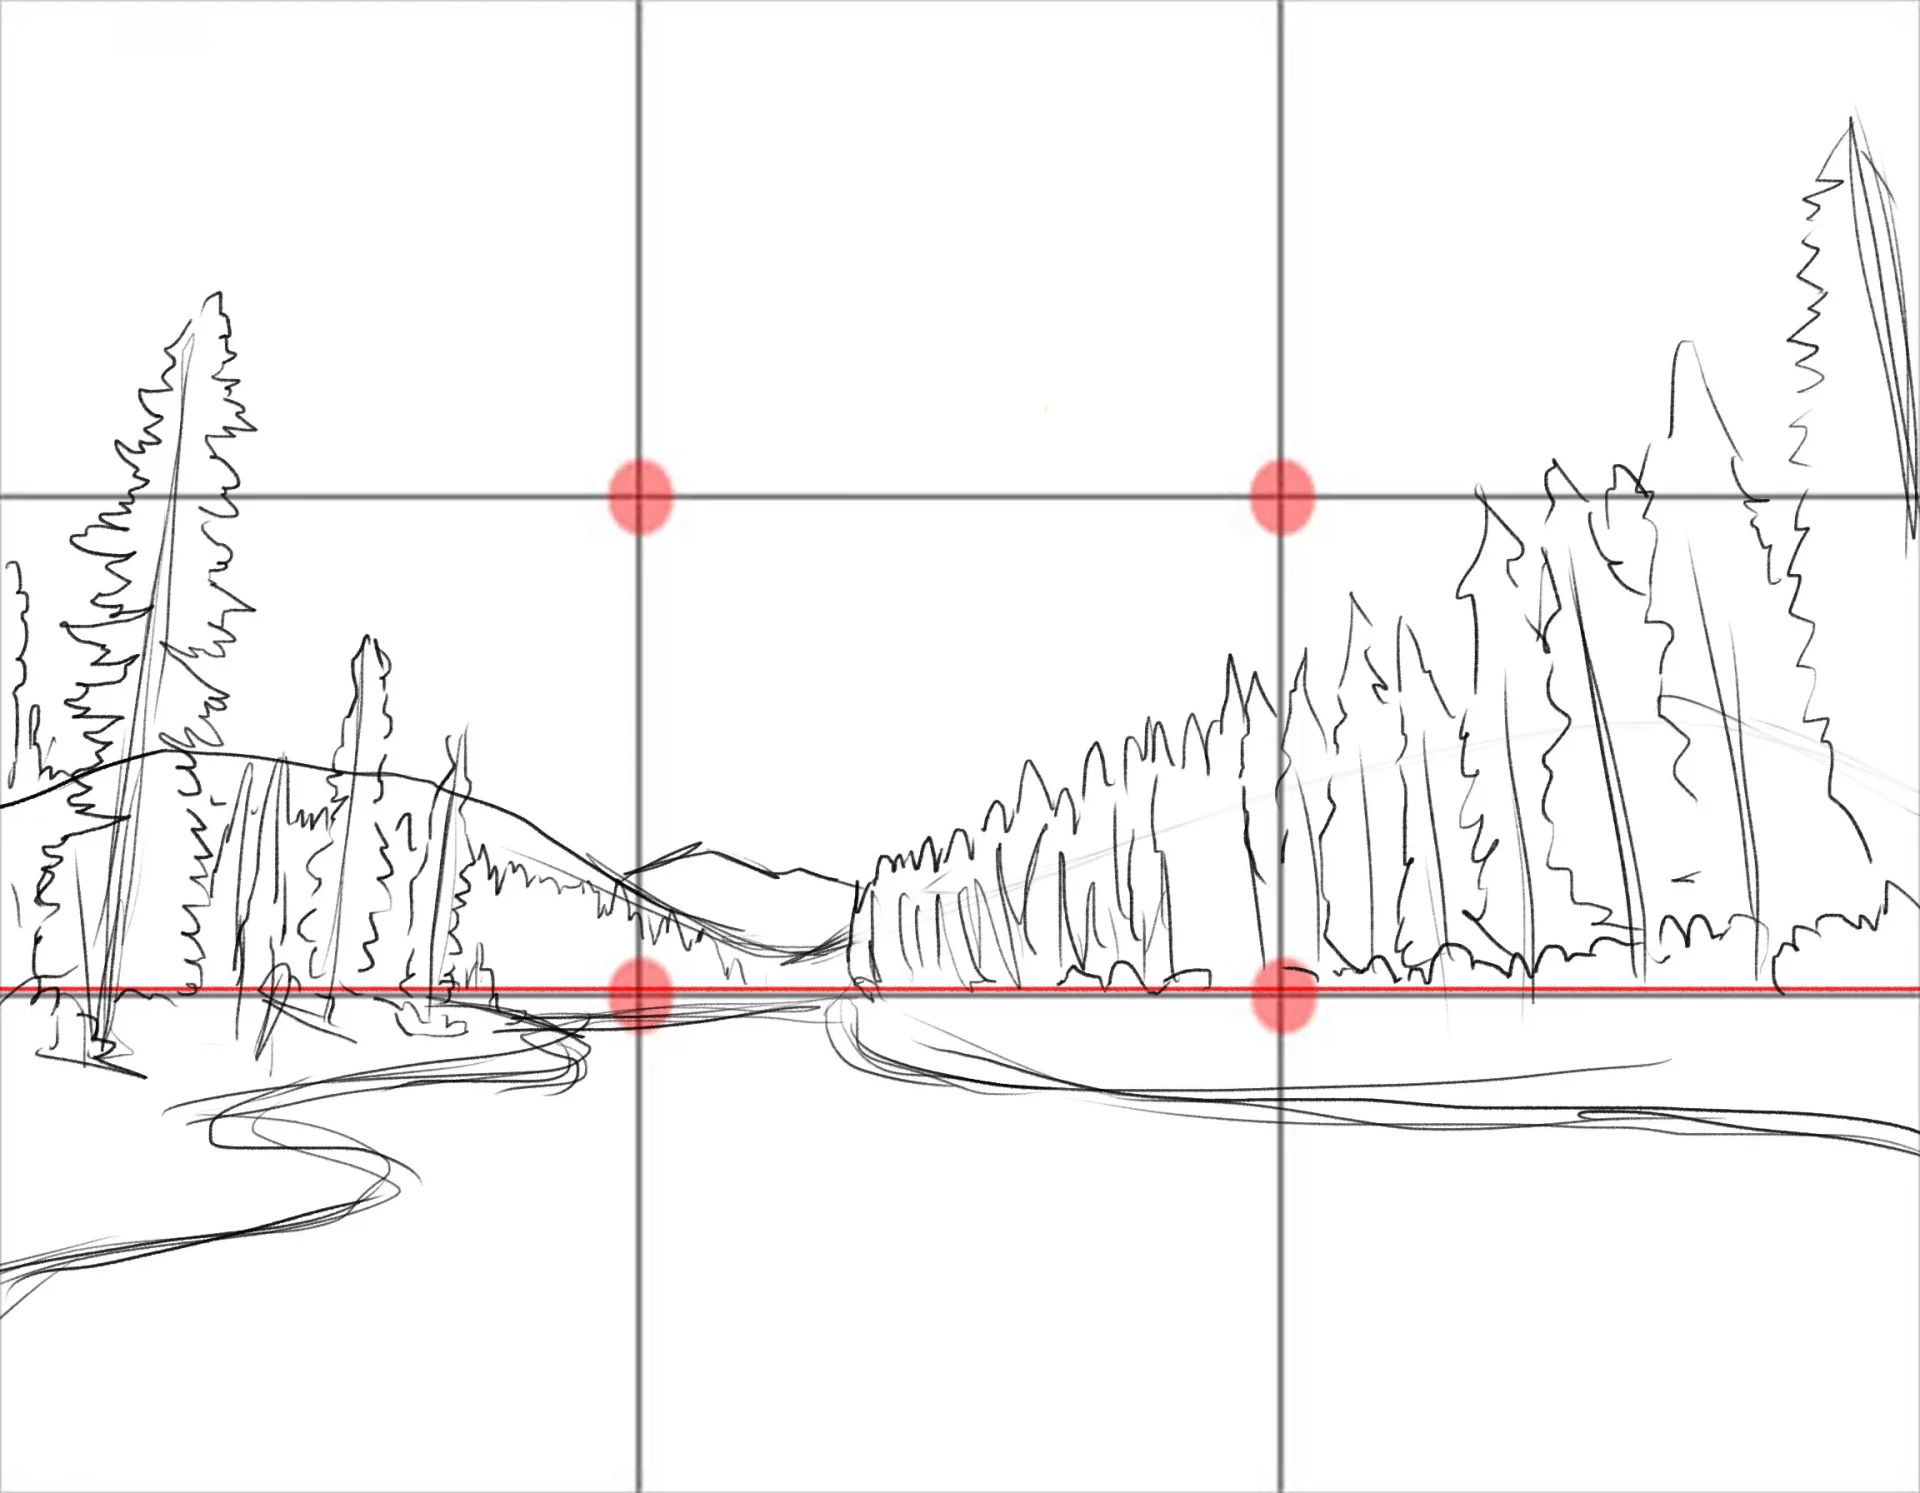
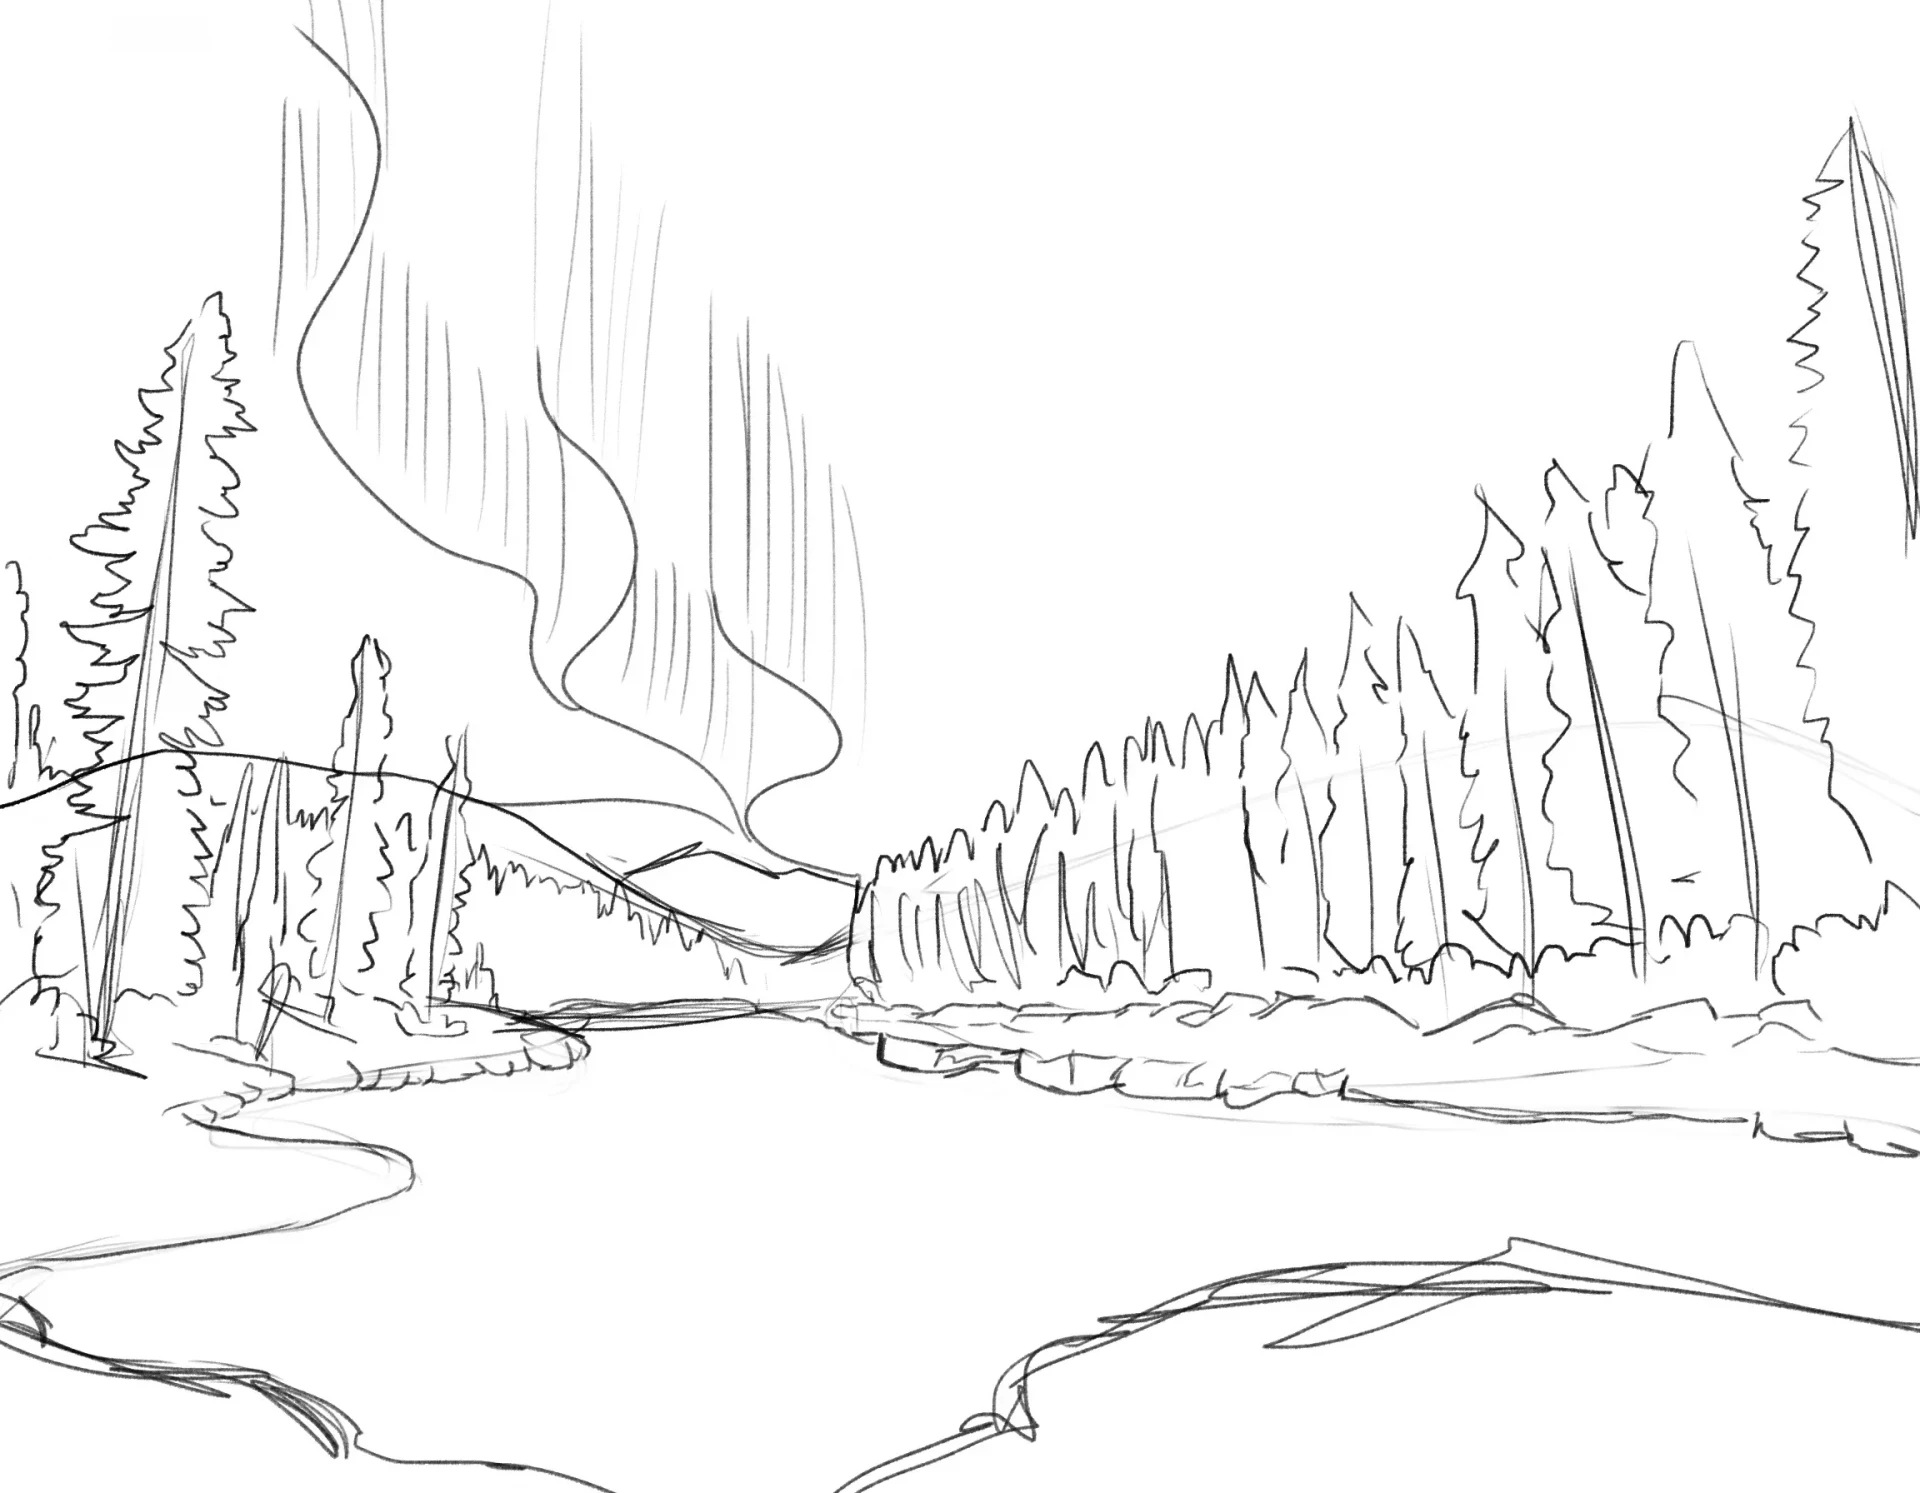
At this stage, we will detail the snow around the lake and under the trees a bit more. Carefully observe how snow behaves: represent it by drawing small rounded mounds throughout the scene, and add a few in the foreground to enrich the composition.
Finally, draw some curved lines in the sky, accompanied by vertical lines rising upwards. This will be the basic outline that we will use later to draw the aurora.
Add color to the drawing
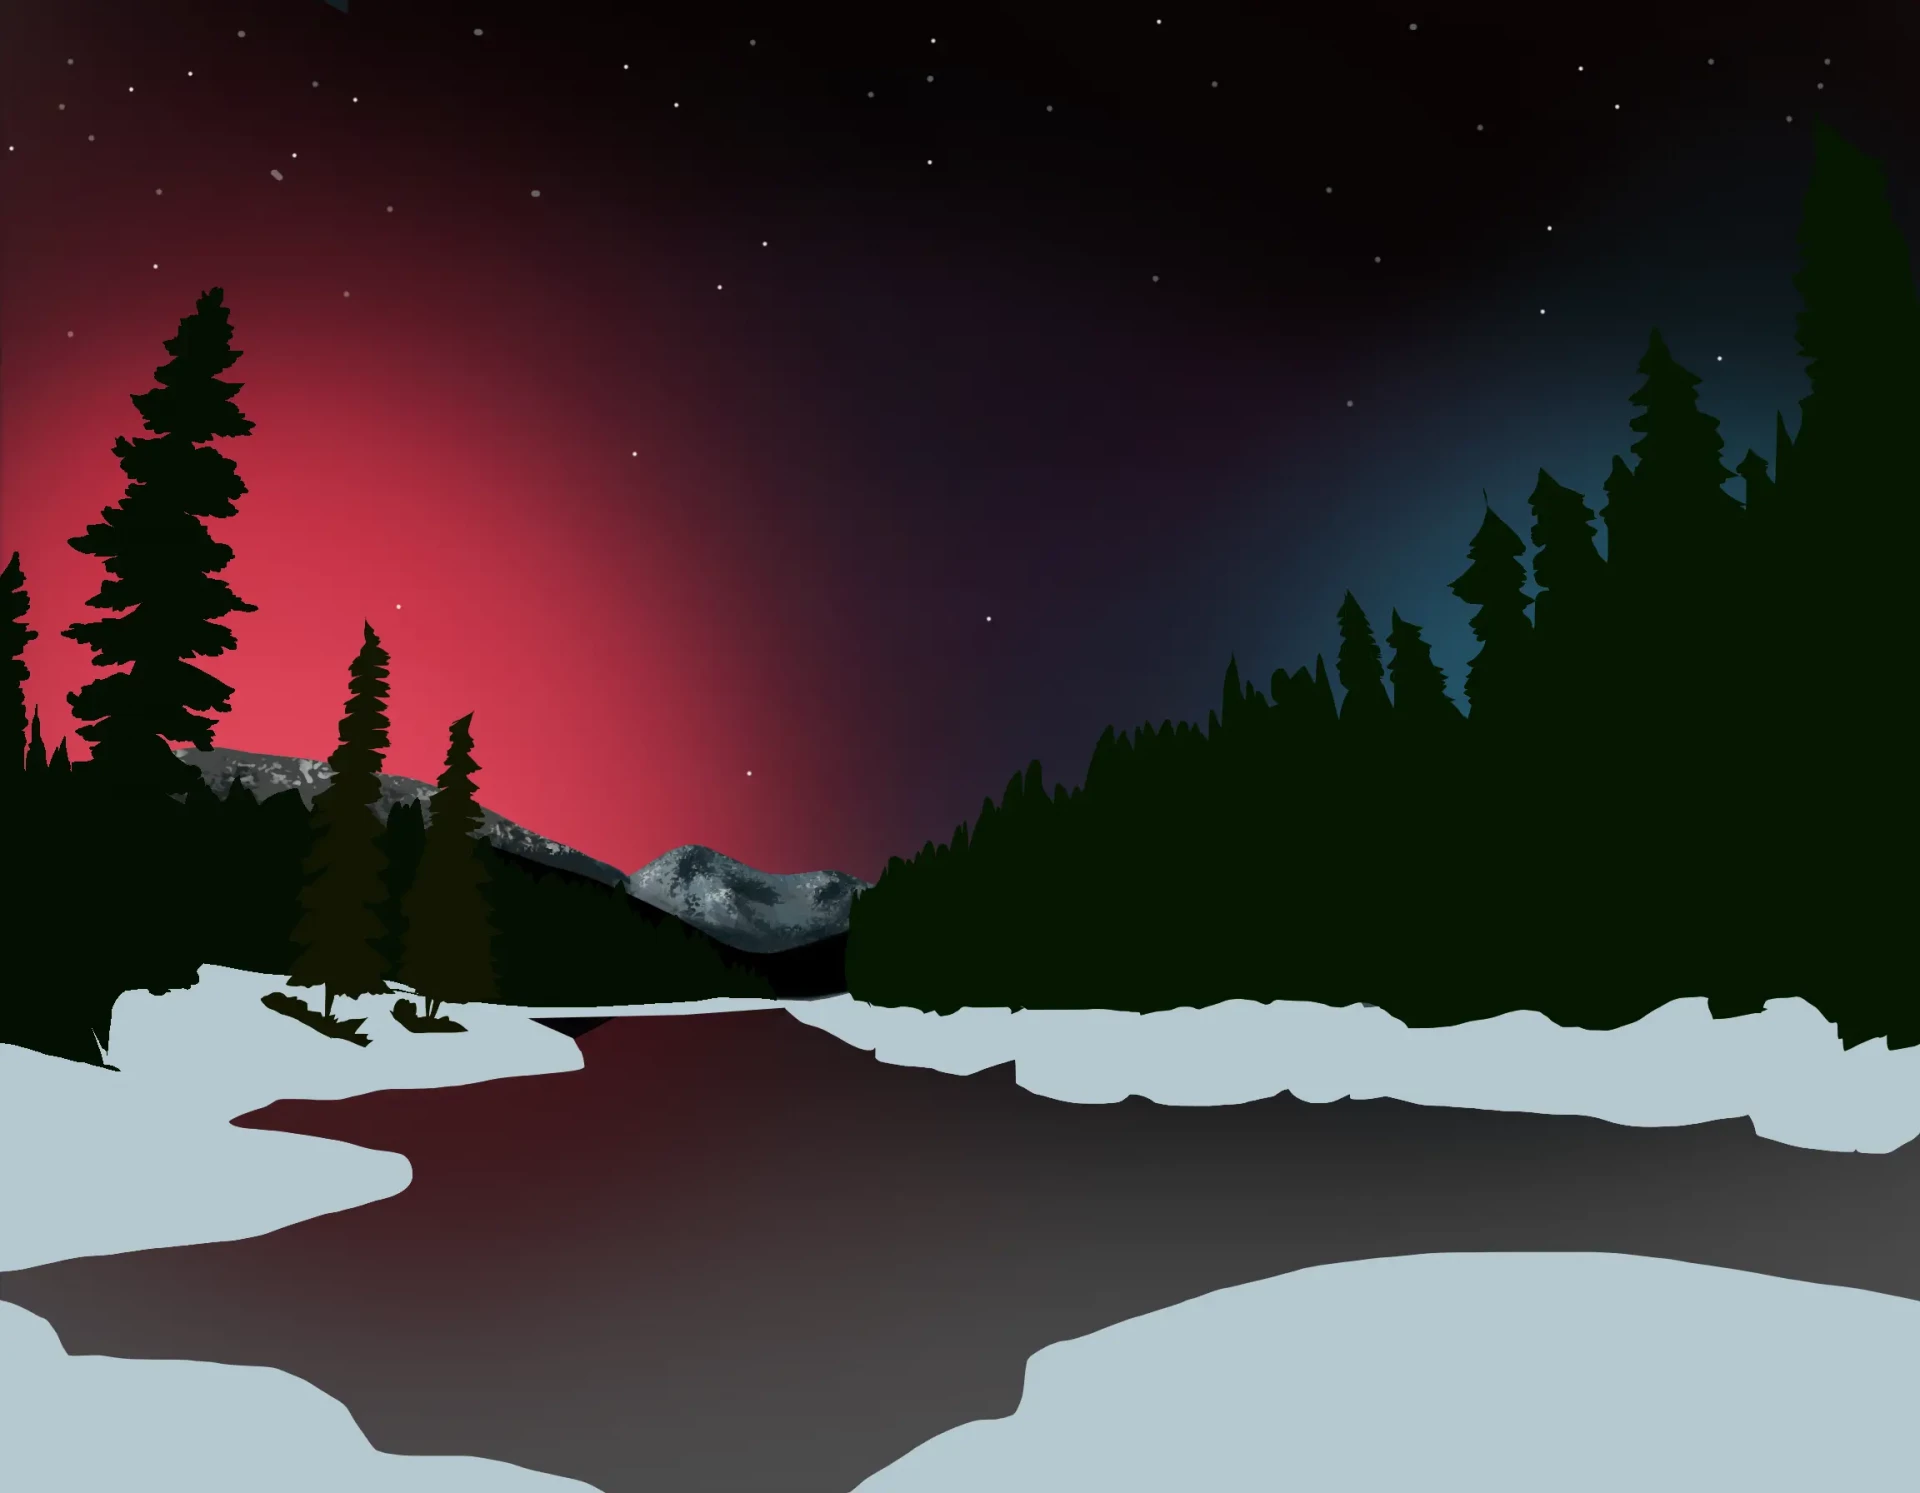
As always, we will start by drawing the sky of the landscape. In this case, it will not just be a dark gradient representing night, but we will add some touches of saturated colors, without making it excessively bright.
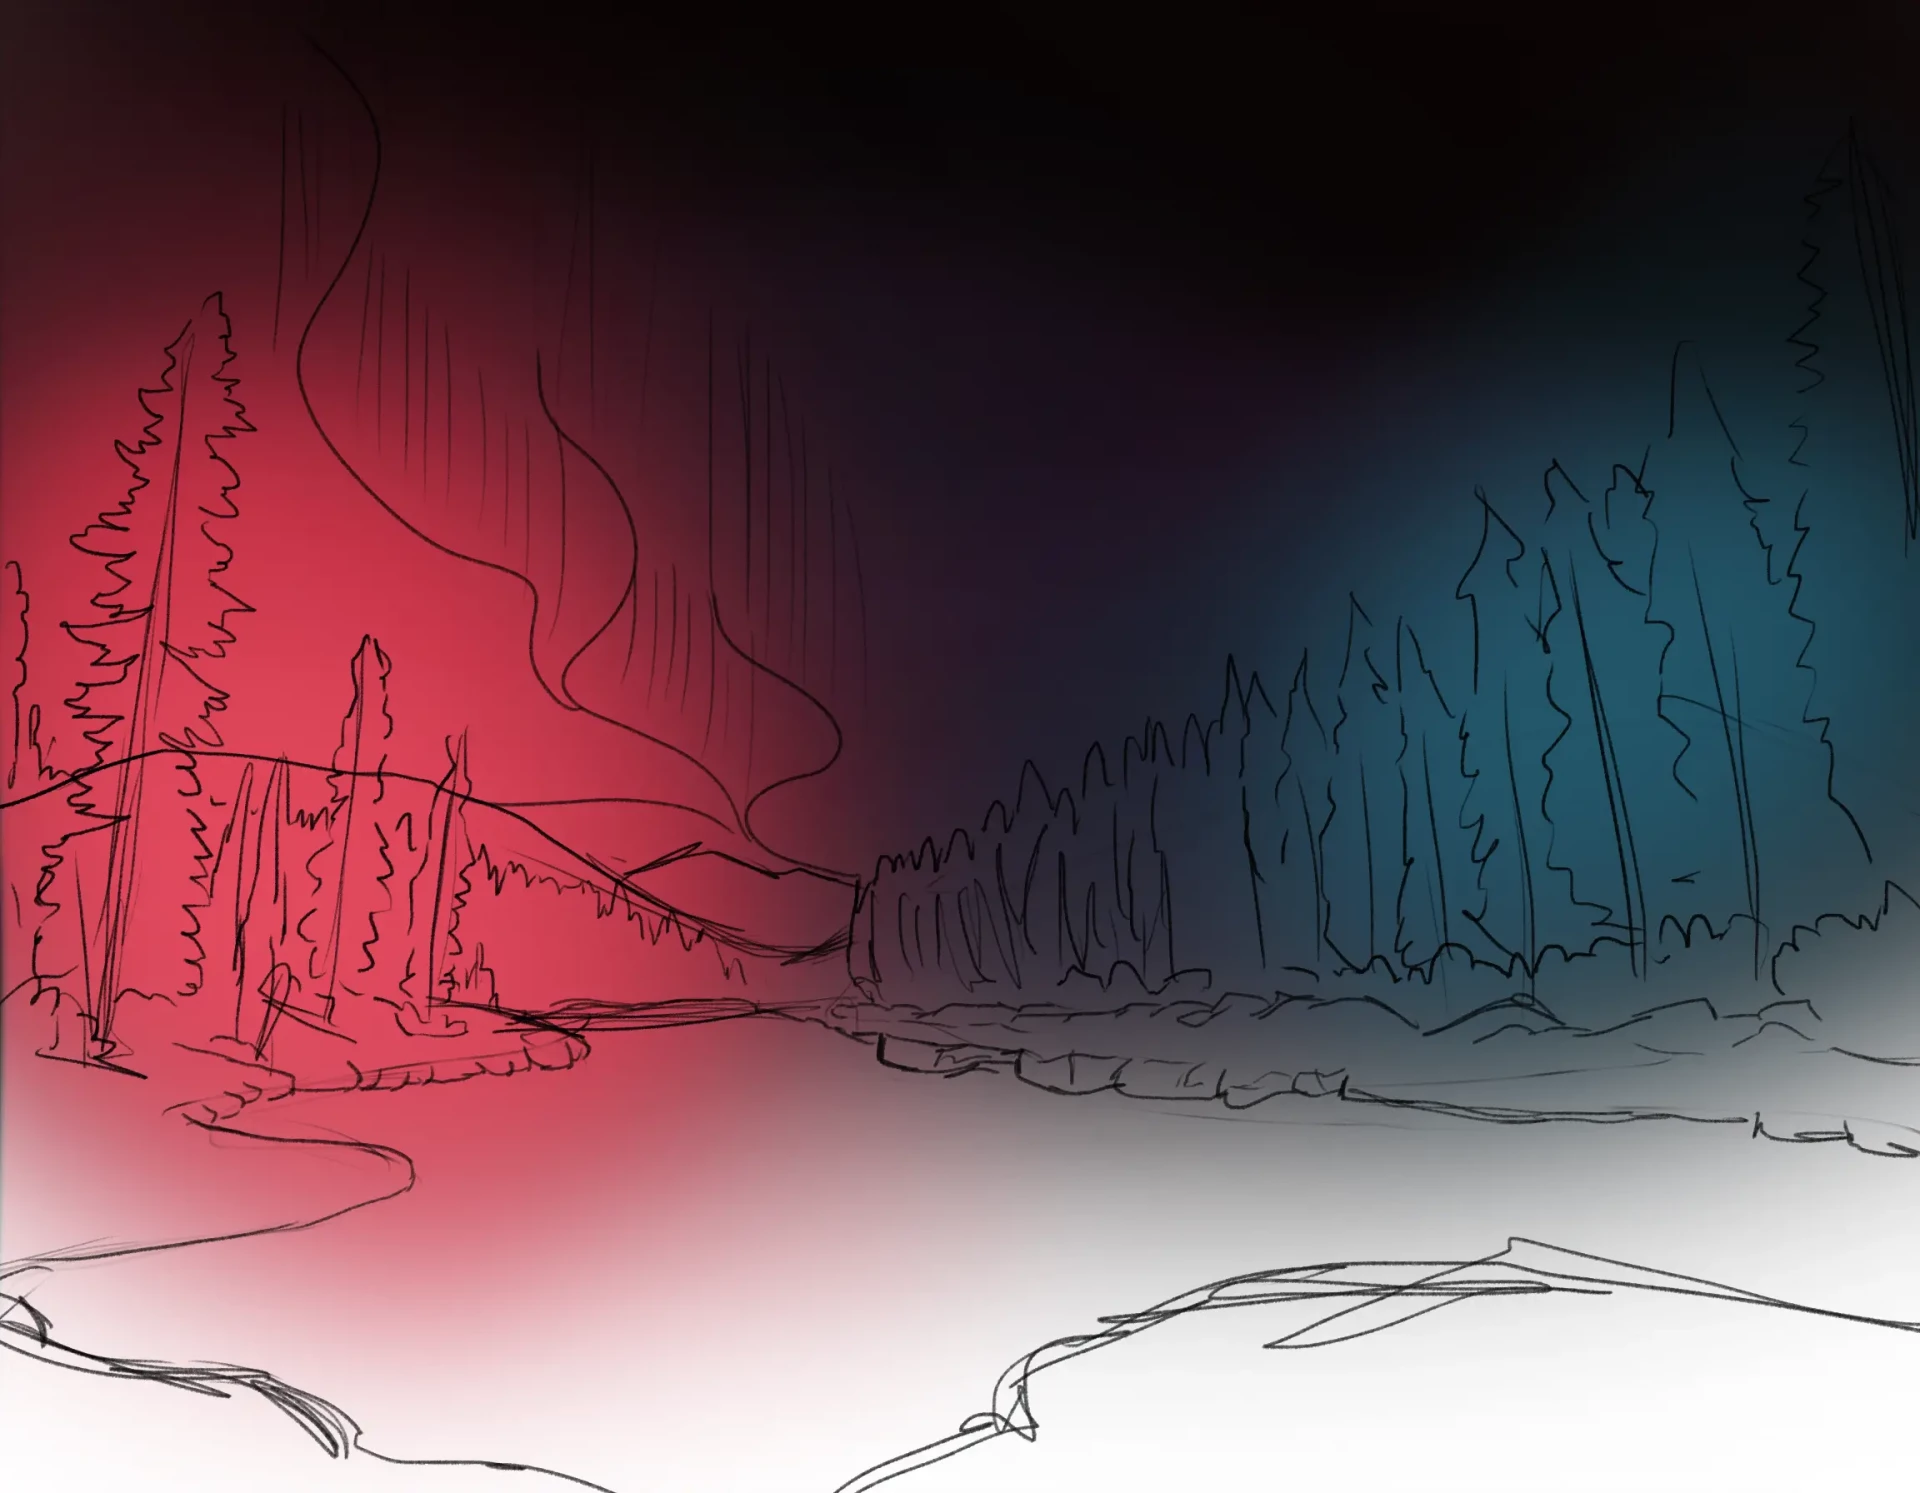
With very unsaturated and light shades of blue, let's color the mountains in the background. For the snow covering all the ground of the landscape, use a very pale blue, almost white. Some details will then be covered by other colors, so it is not necessary to be too precise for now.
Next, let's apply the base color of the pine forest on the sides of the image. It will be a very dark green, not only because of the lack of light typical of nighttime, but also because the trees are backlit by the sky's glow, which further enhances their darkness.
Depict the characteristic elements of a winter landscape
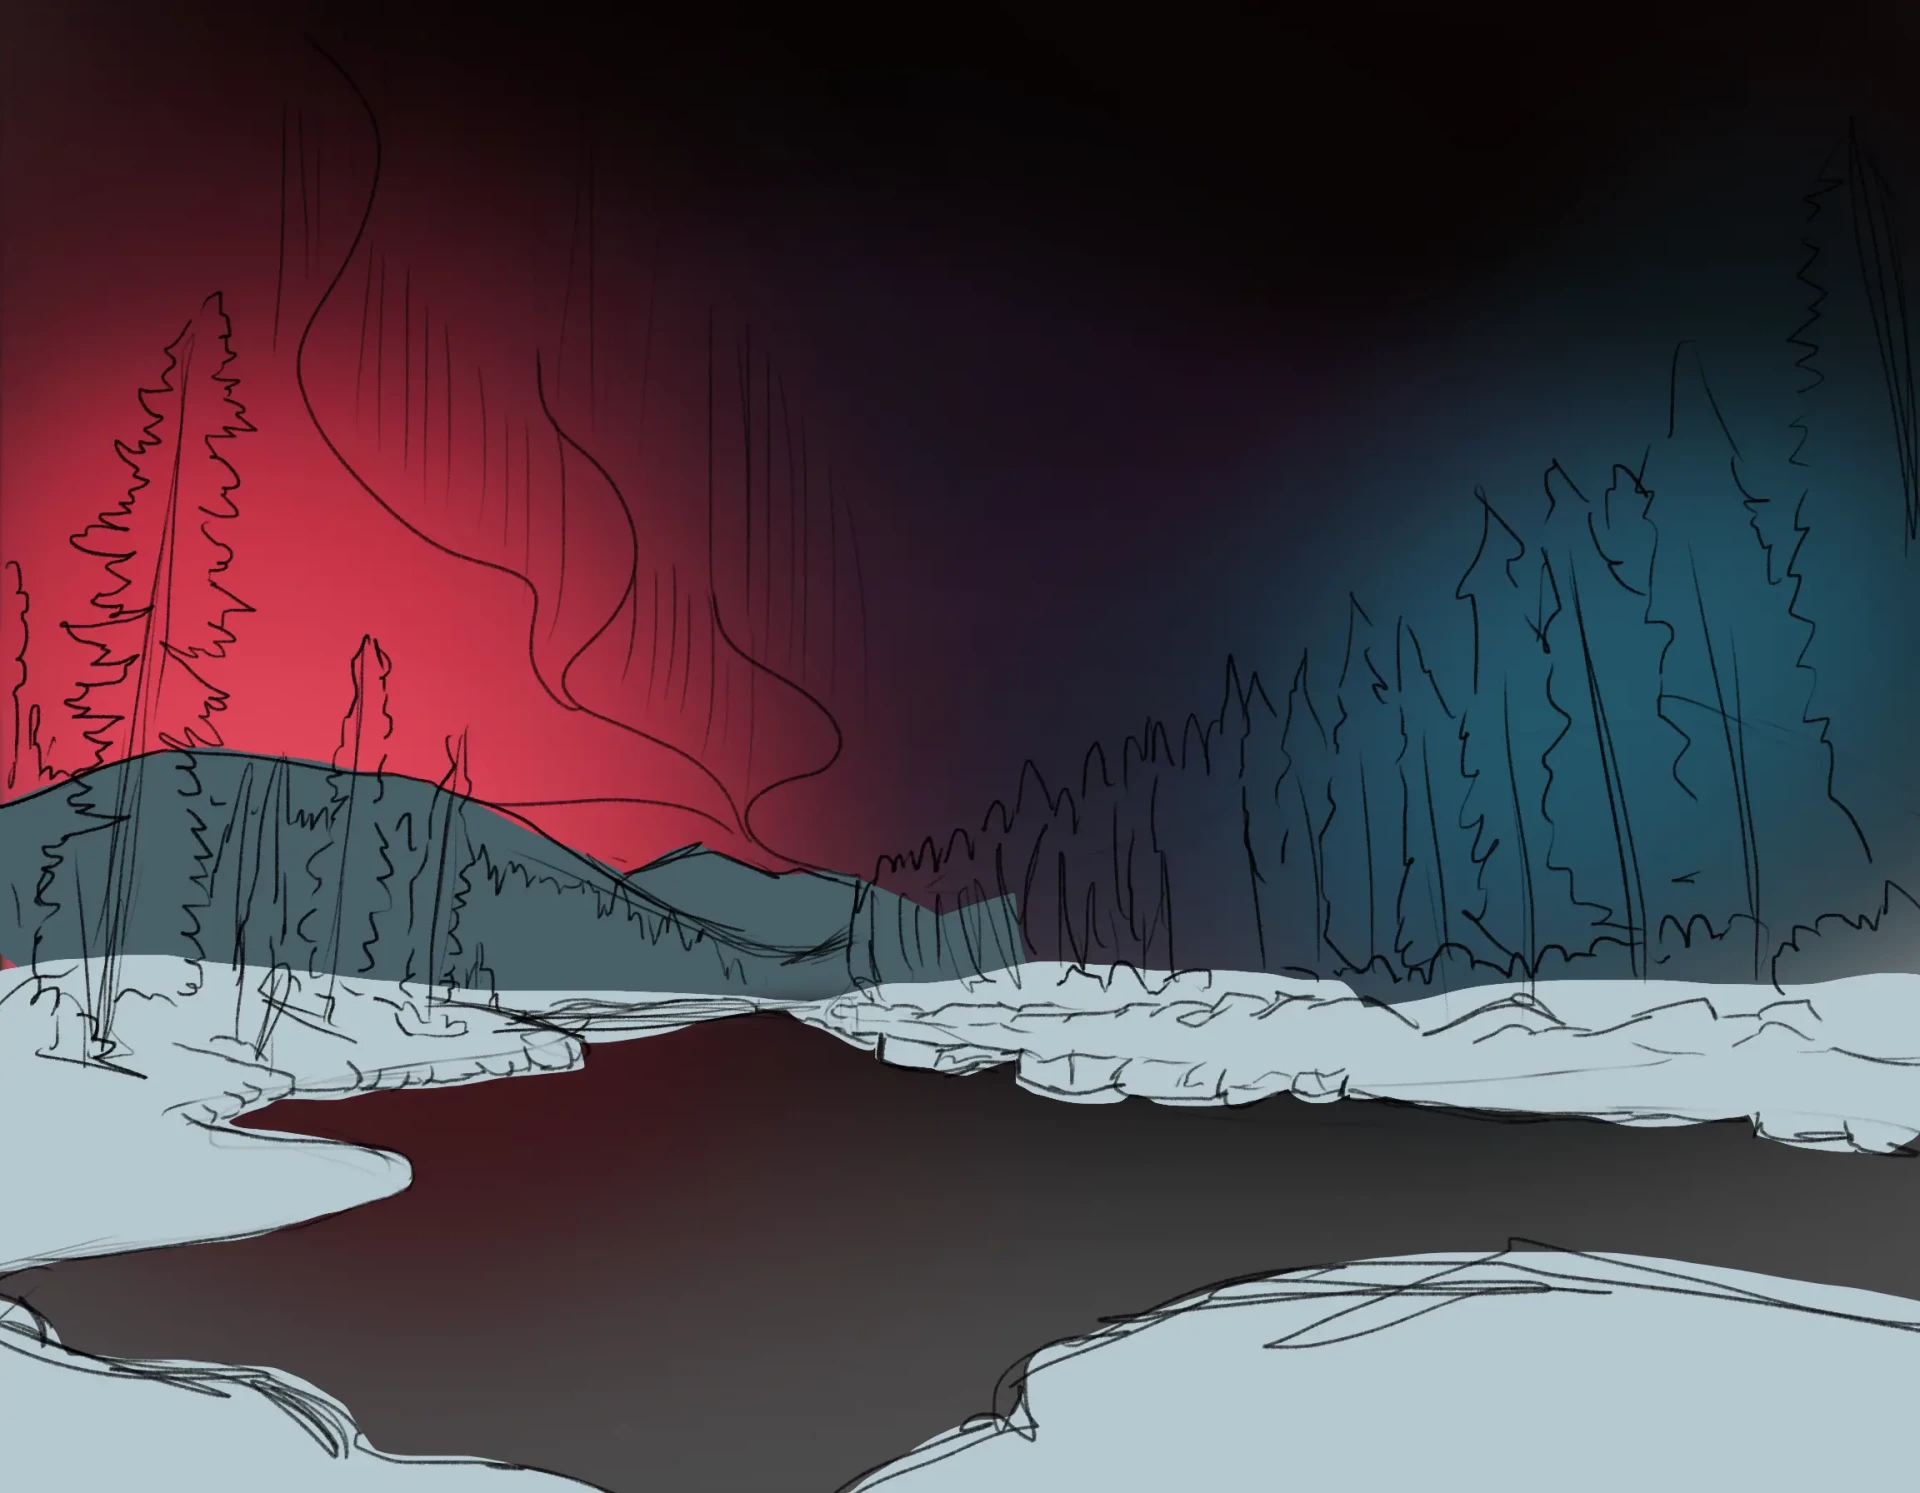
Let's start with the mountains visible in the distance. Draw a layer of light, unsaturated blue, then add some diffuse shadows. Finally, by alternating very dark tones and almost whites, use a granular texture to convey the impression of a snowy mountain.
To depict snow, let's draw soft and rounded shapes across the surface. Since this is a nighttime scene, it's best to use dark, unsaturated blues, close to gray. However, let's remember that snow is very receptive to light. Therefore, let's create subtle contrasts by illuminating certain specific areas with bluish grays close to white.
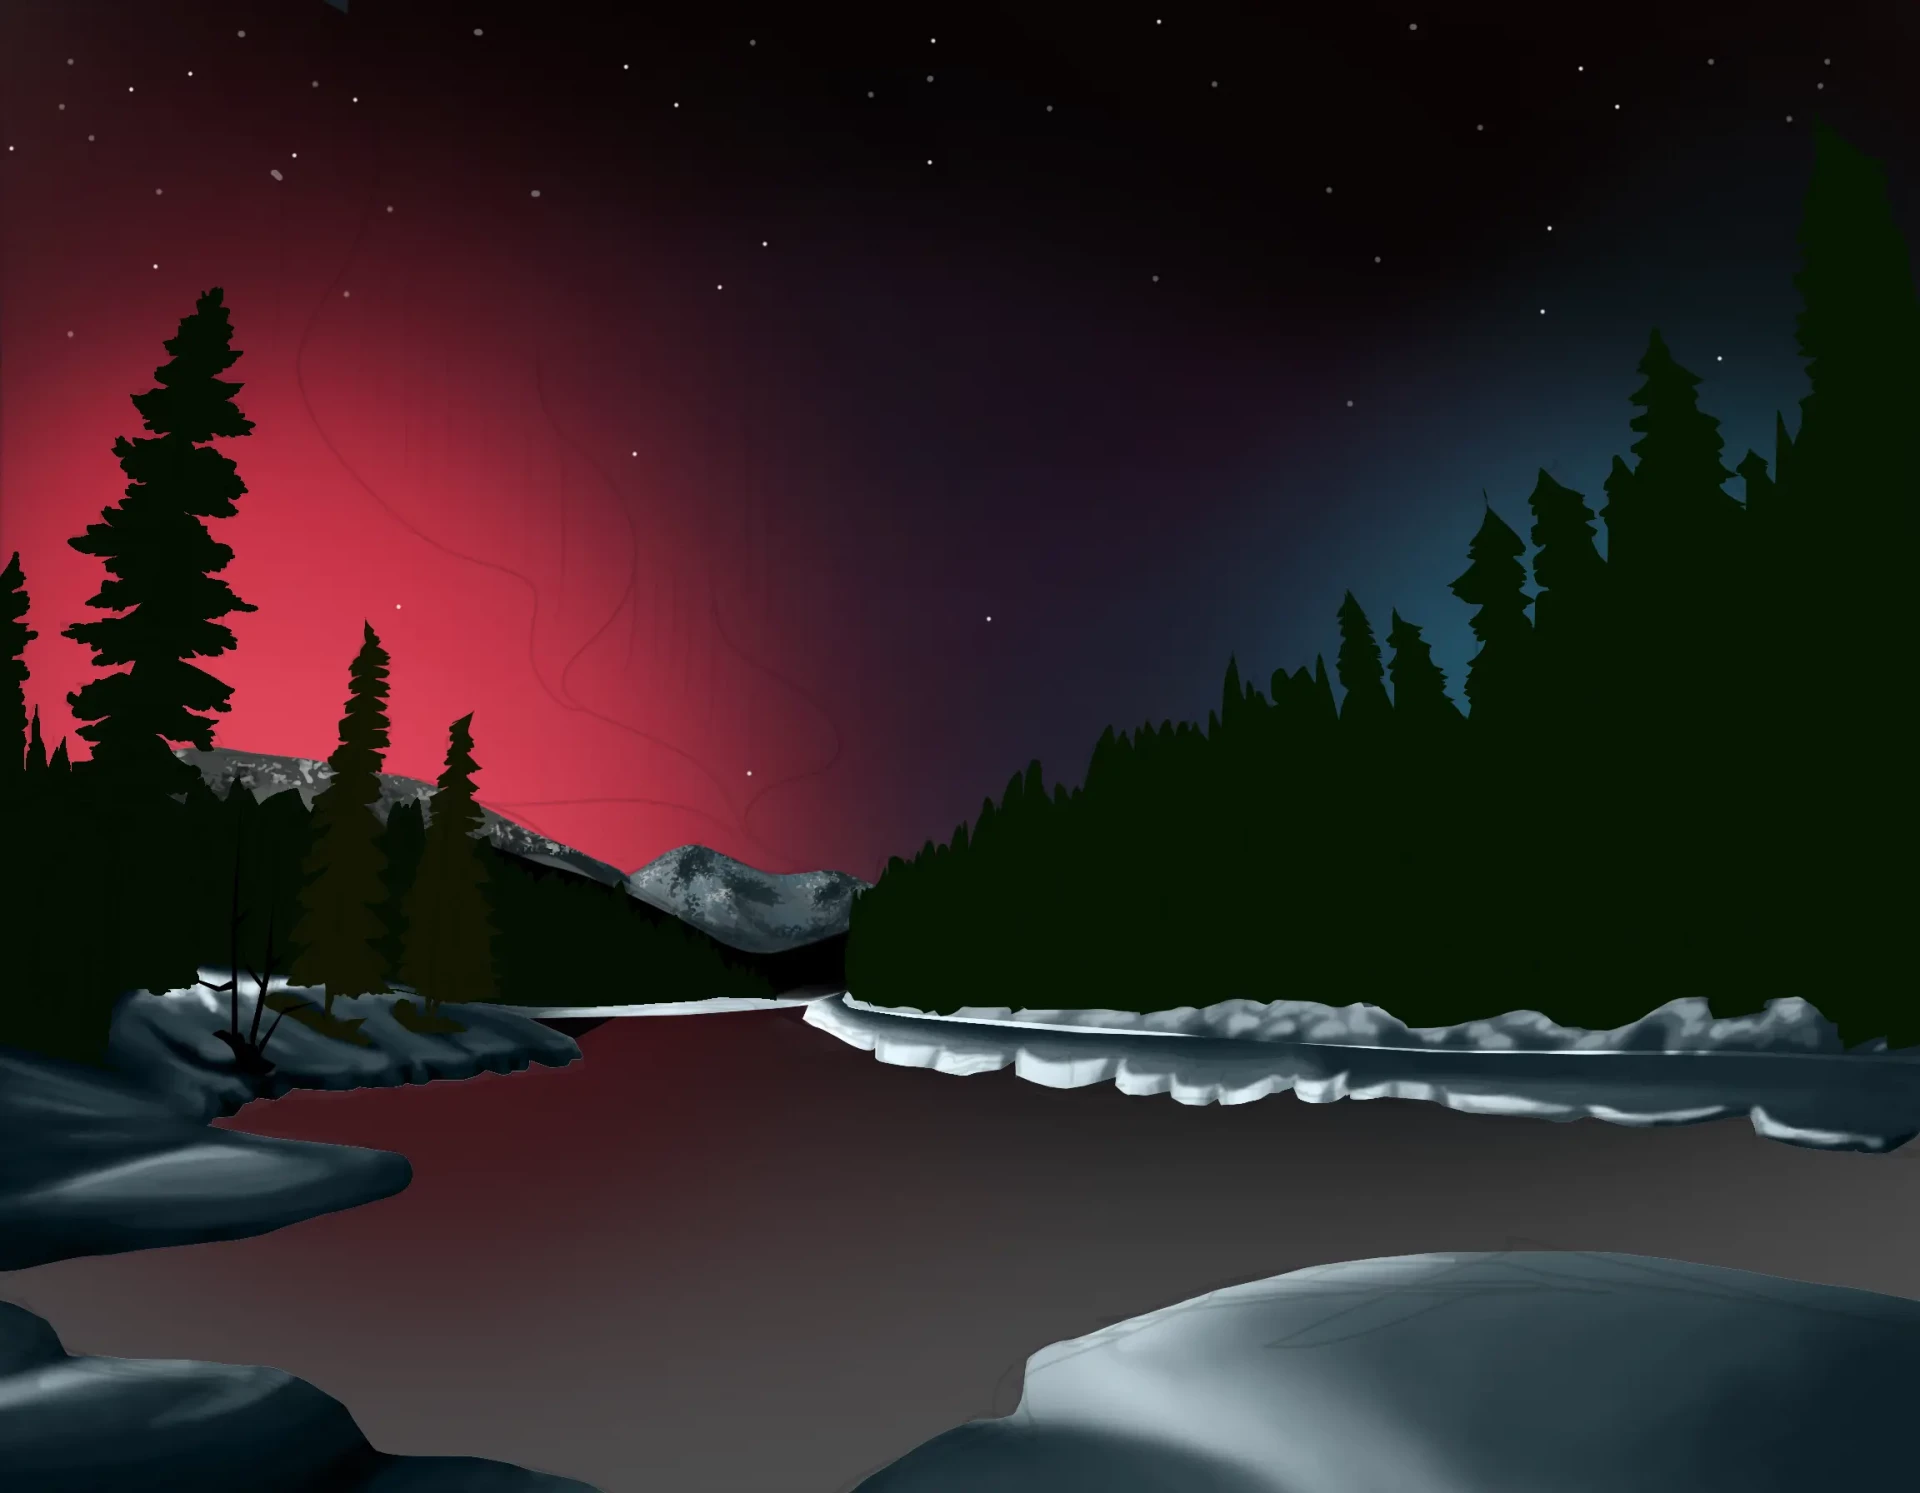
For the forest, let's draw the trees this way: draw a few vertical lines from which irregular strokes branch out to represent the foliage. There is no need to overdo it, opt for a dark scene and only add light where it is strictly necessary.
Important point: cover the entire scene with a light and diffuse red glow coming from the sky, including the snow and trees.
Add the aurora borealis to the drawing
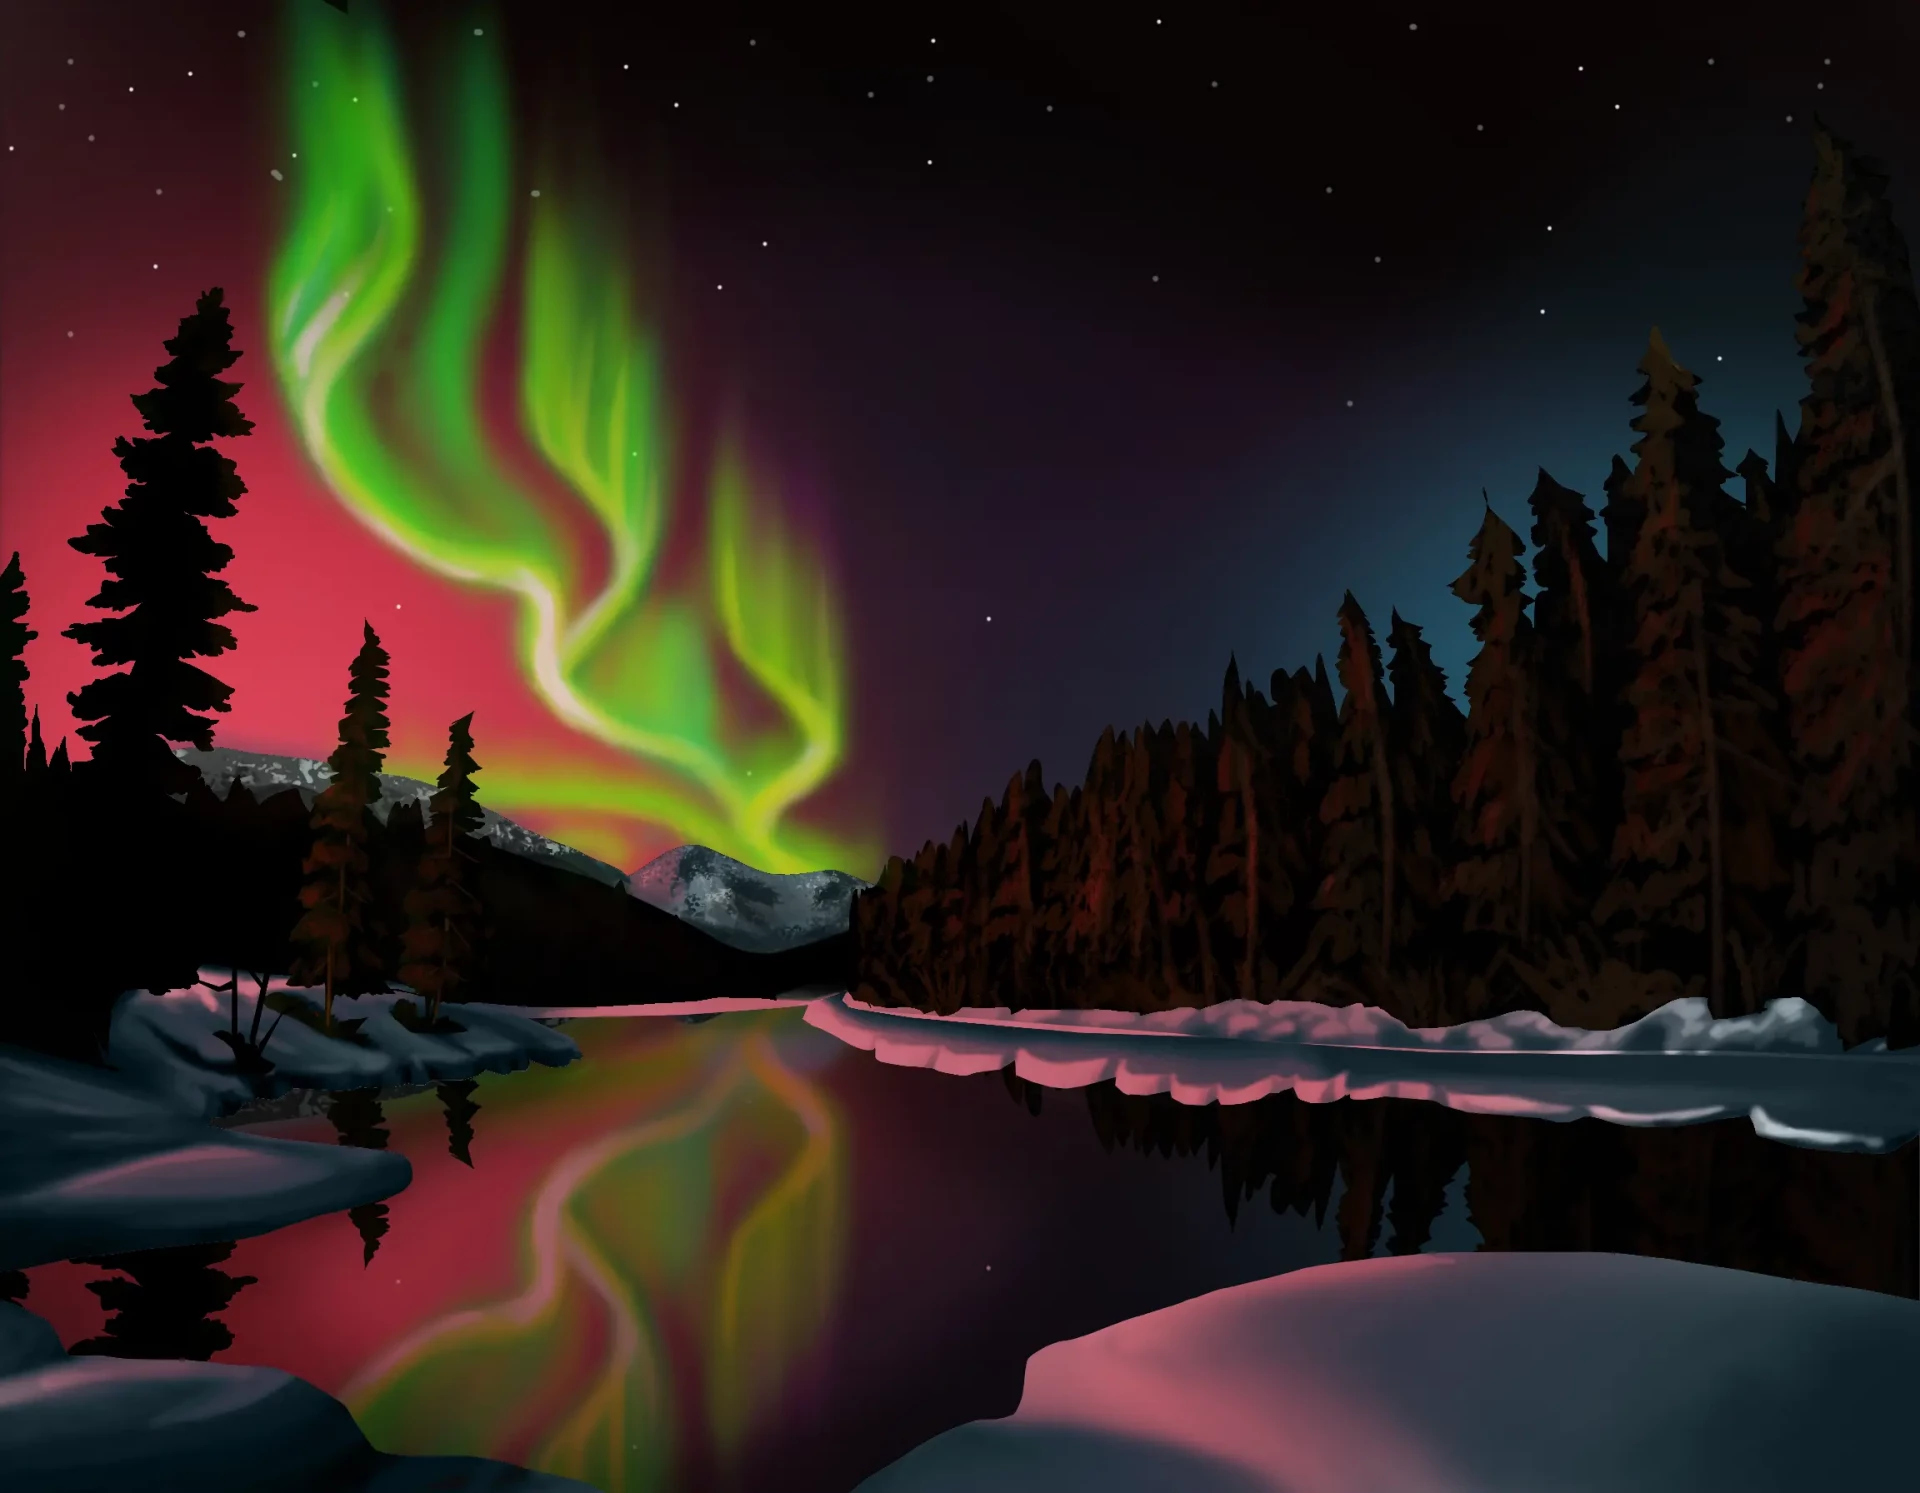
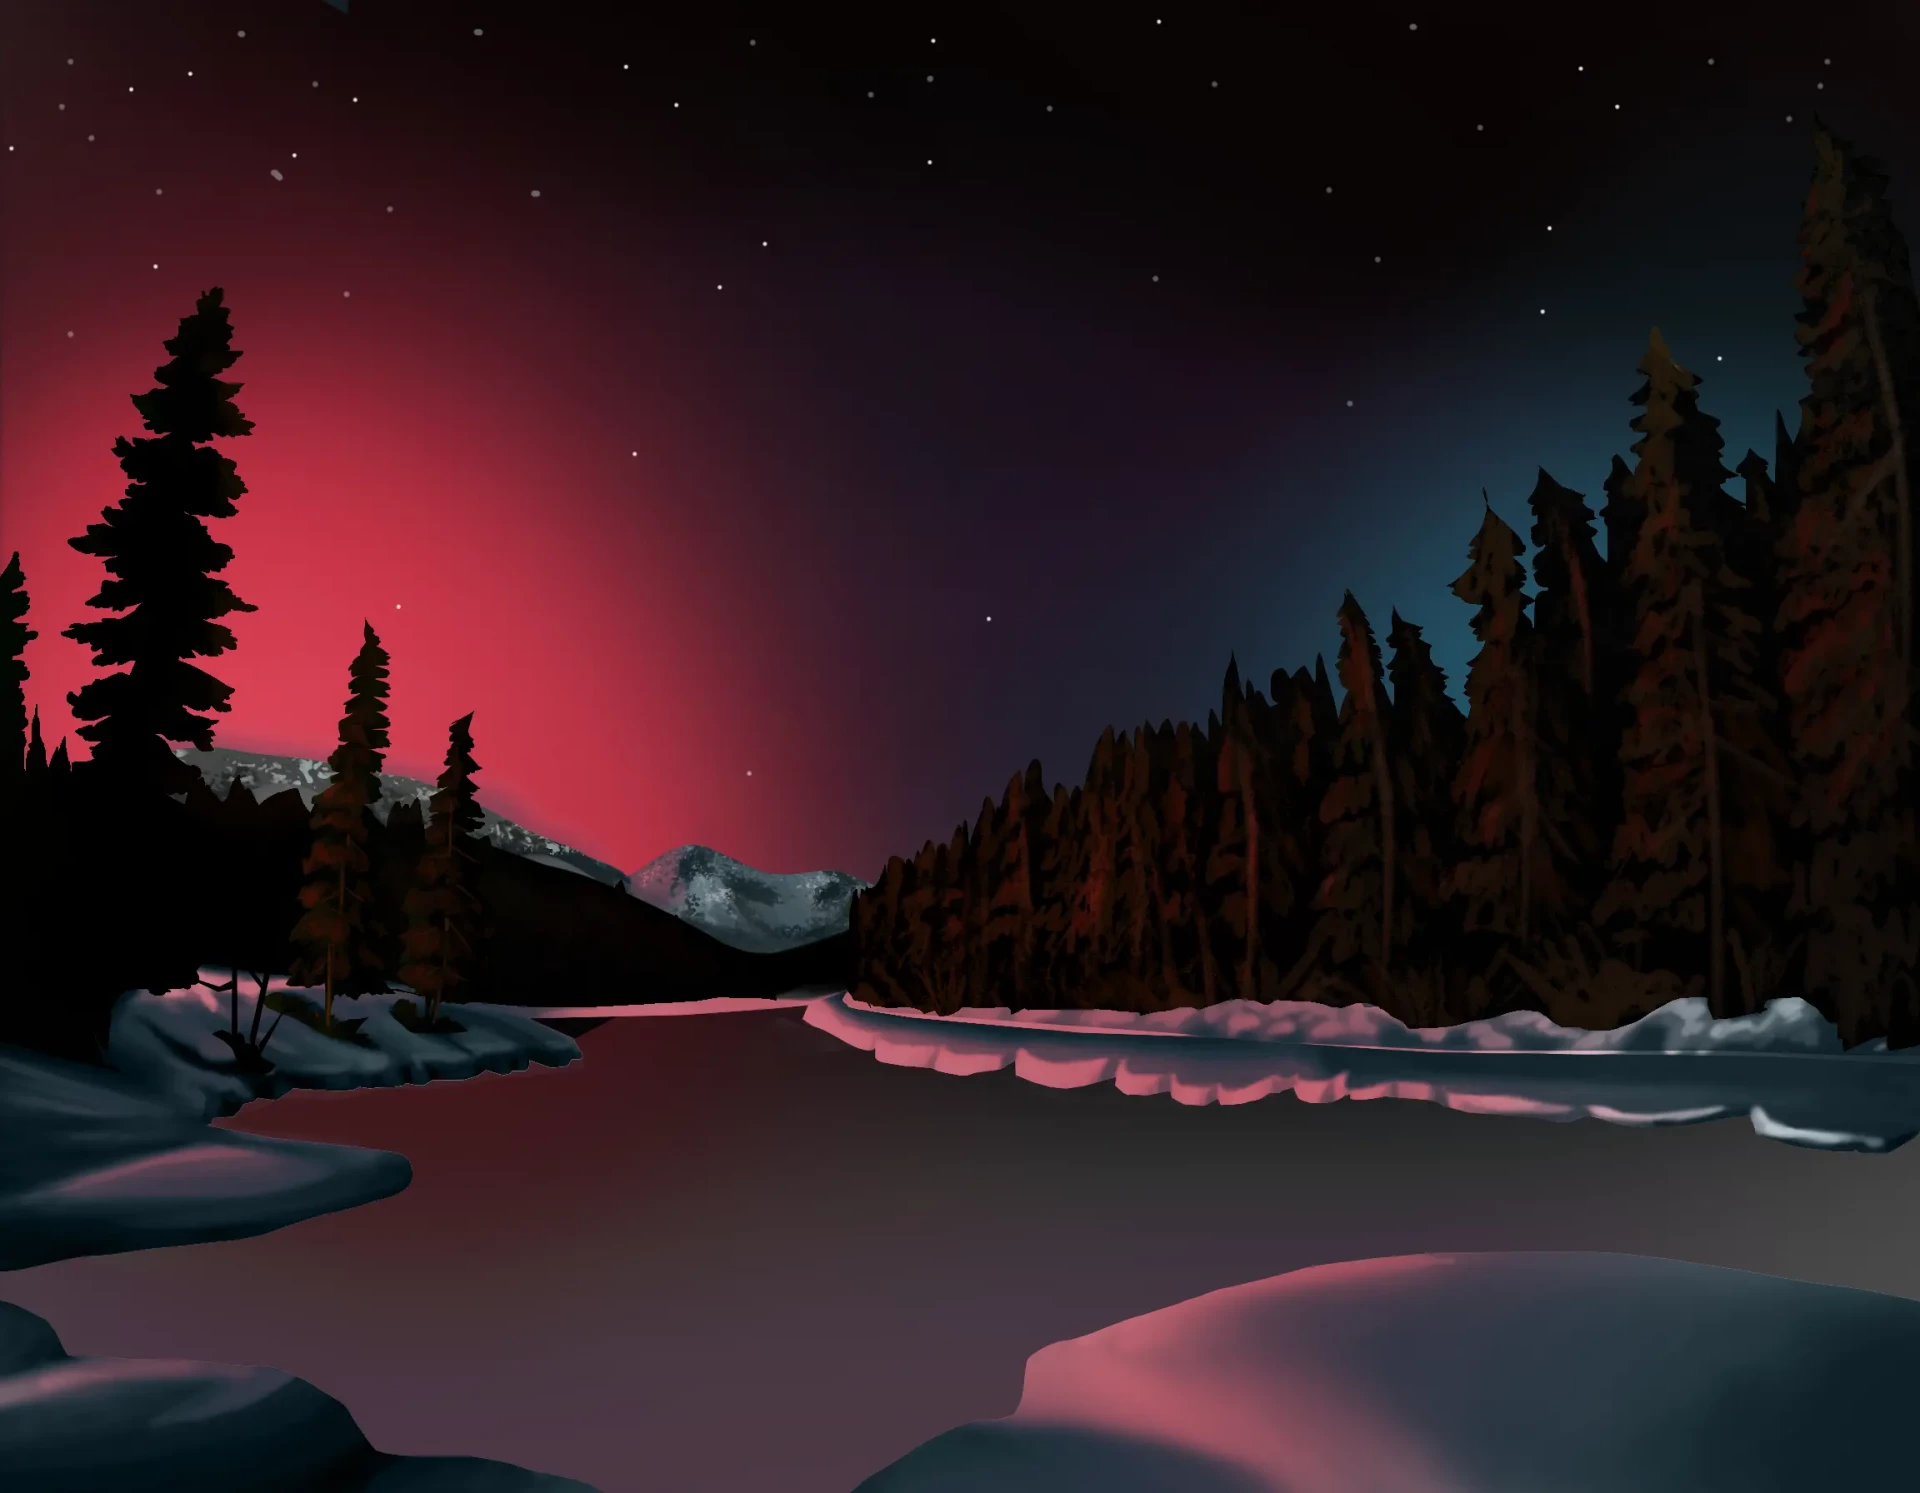
Here comes the long-awaited moment: drawing the northern lights. Draw wavy lines in the opposite direction of the trees, which will create an interesting visual tension. Use several shades of bright green that will stand out clearly against the red light, creating a vibrant and captivating contrast.
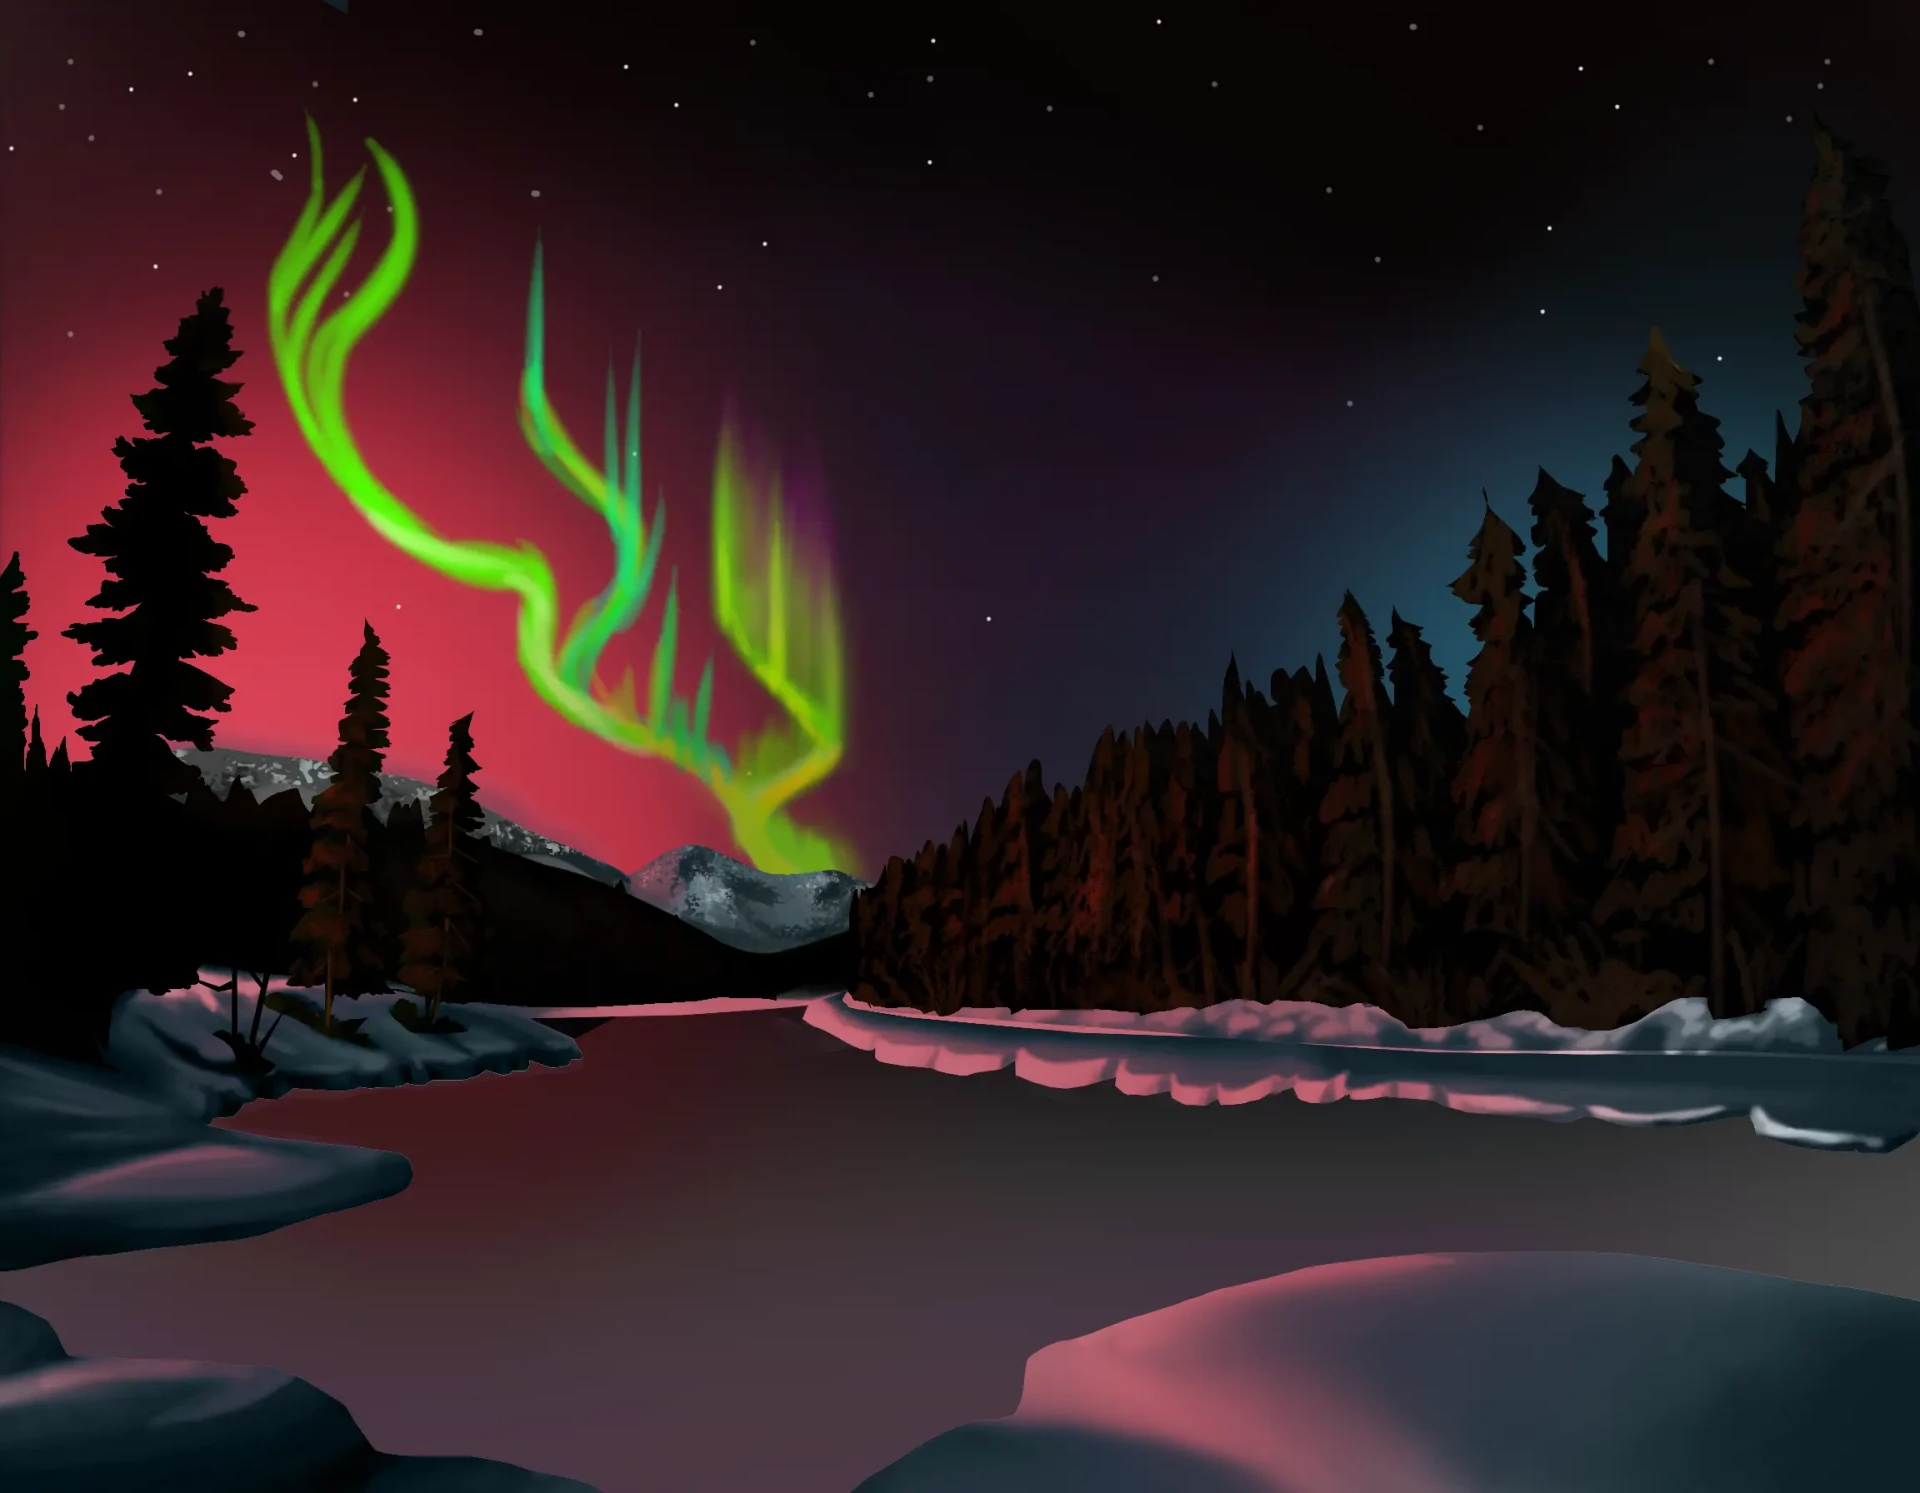
With a very soft brush and lightly loaded with color, make vertical and gradual gradients by varying the shades of green. If you wish, you can add splashes of other colors, such as purple or blue.
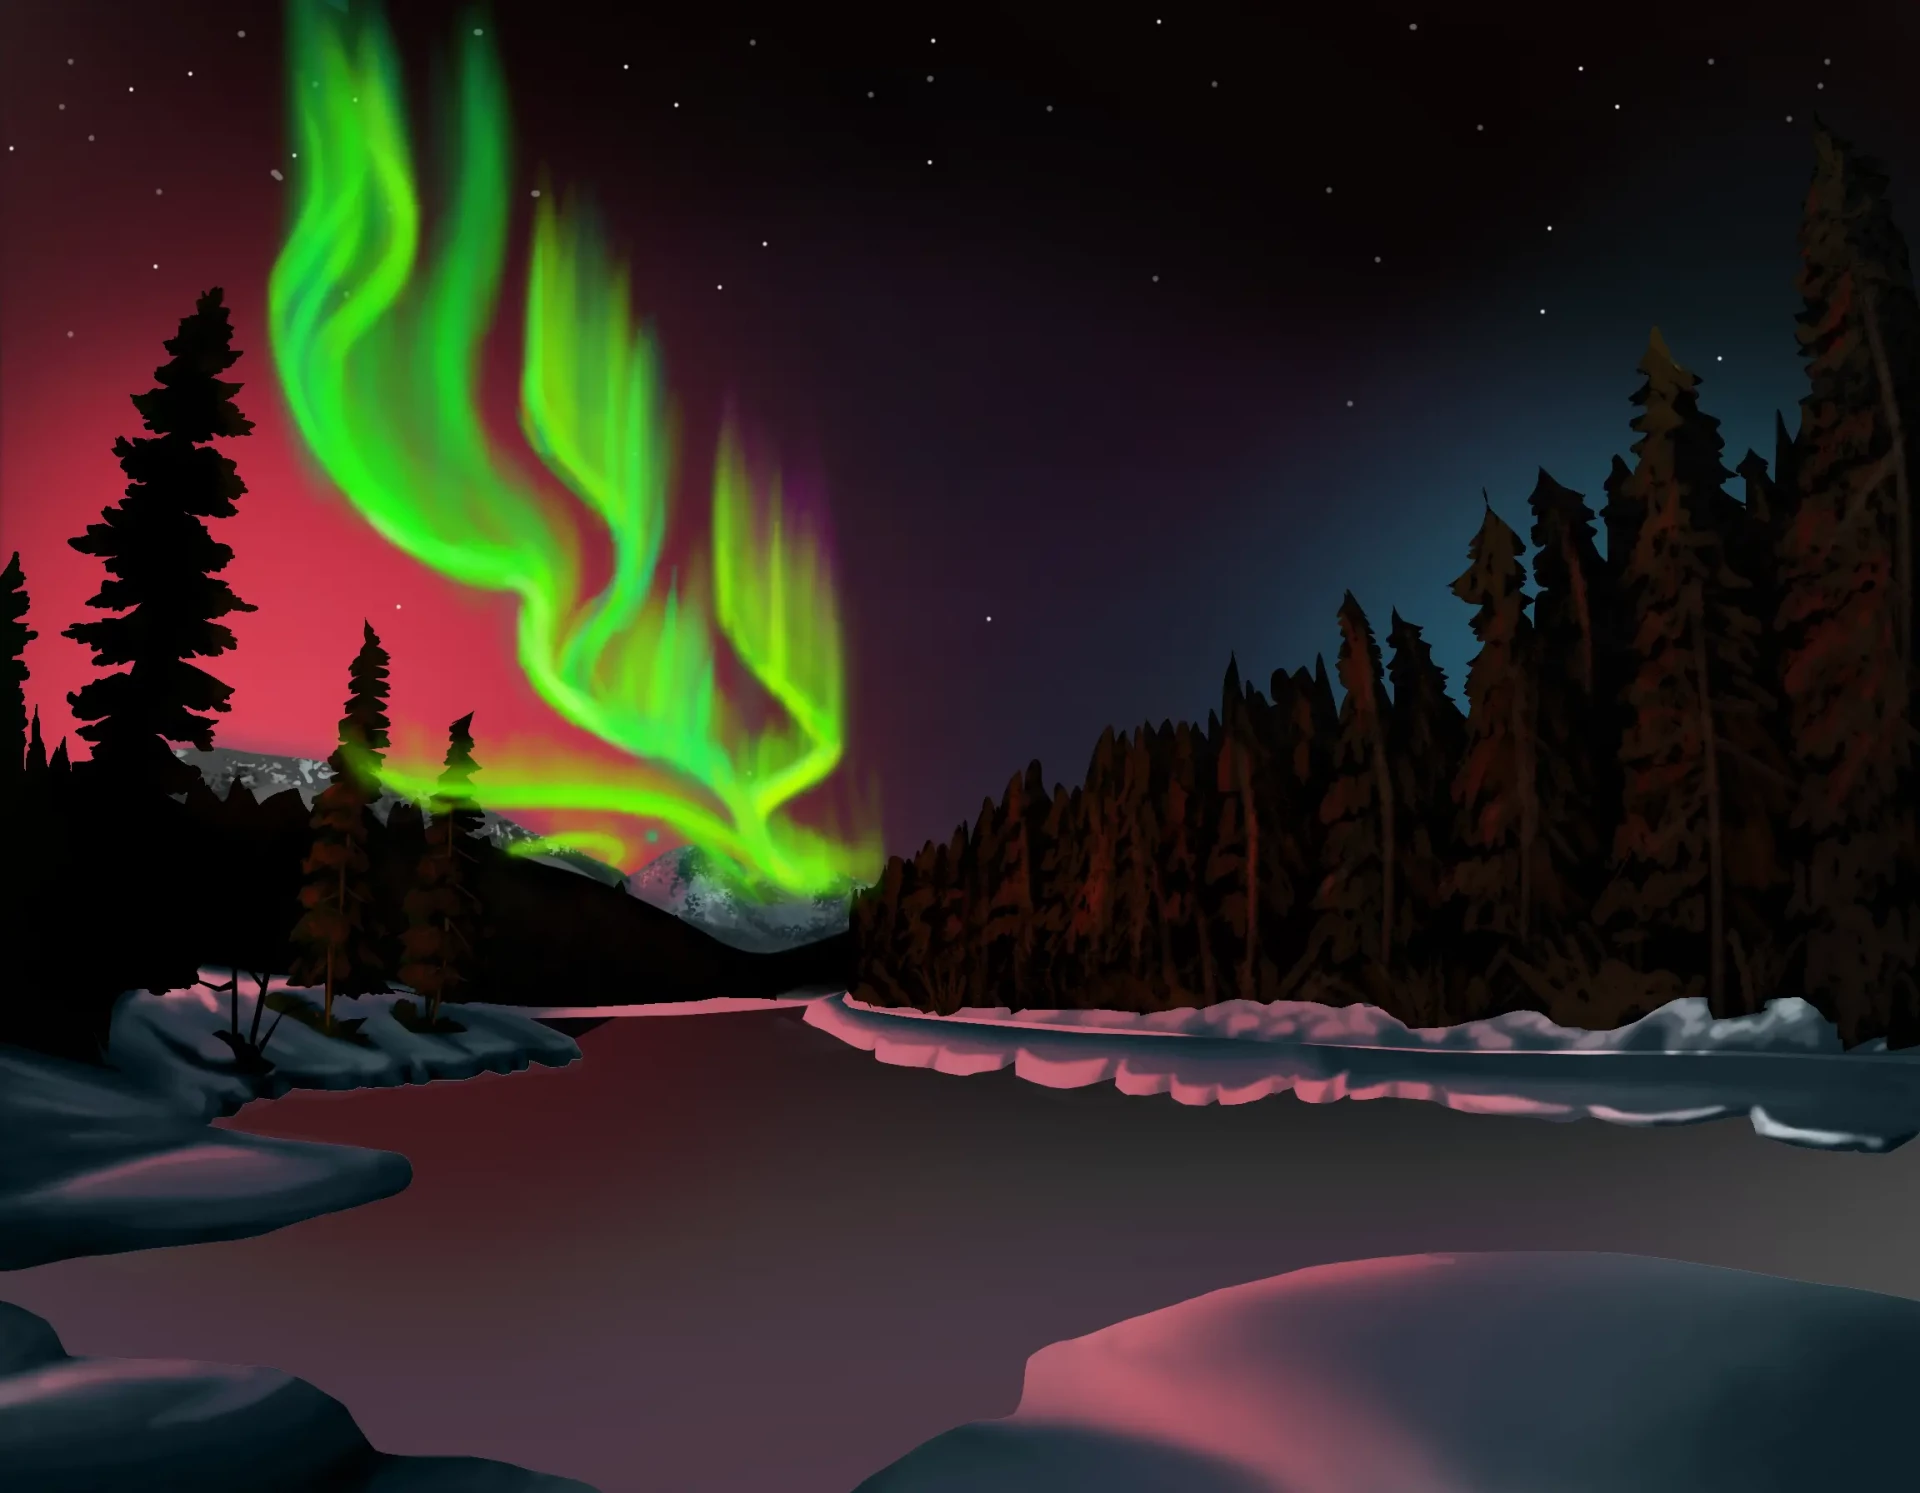
Then, slightly blend the whole thing to better integrate it into the night sky, and go over certain parts of the original line with lighter greens. You can also use yellow or even white in some areas.
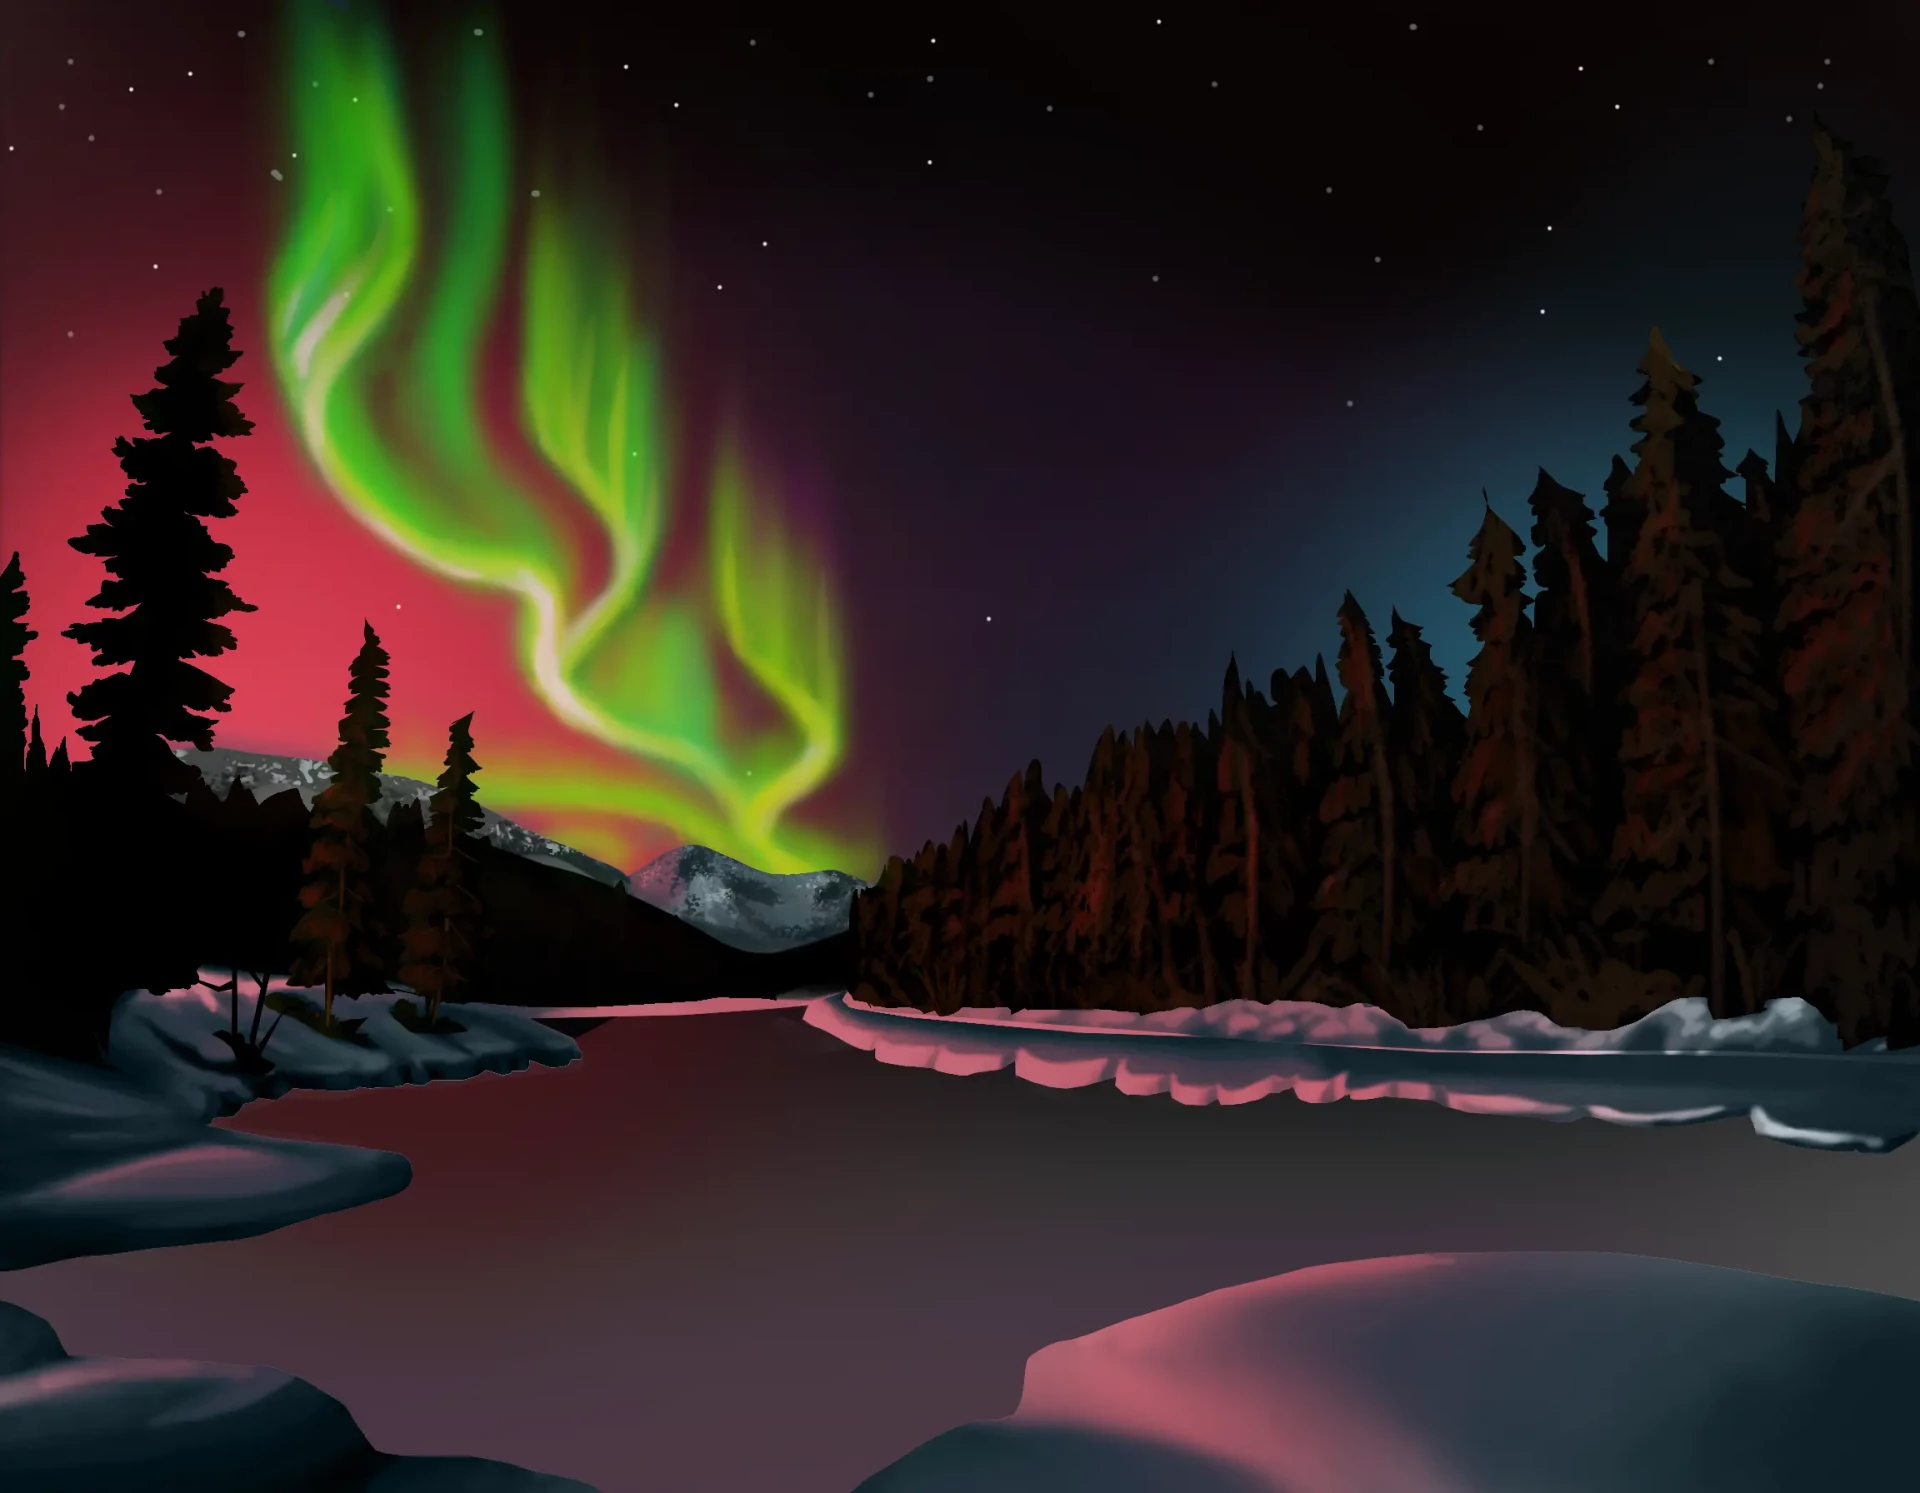
To conclude, let's make use of the lake, which is not there by accident: it will literally double the visual impact of the image. Reflect the sky and trees on its surface, inverted and parallel, and slightly darken the edges to create a natural vignette effect.

And there we have our incredible finished aurora borealis landscape!
I hope you had fun and picked up some tips to improve your own landscapes. Now it's your turn to create: feel free to use the composition rules to enhance your drawings.
Remember to properly assess the amount of light present in your scene and adjust all the basic colors accordingly. Analyze the materials to understand how they respond to ambient light, and above all, use subtle gradients to create a well-balanced luminous atmosphere.
Discussion
@<a href="https://flappydunk.io/">flappy dunk</a>,This tutorial is really clear and inspiring — it makes drawing the aurora borealis feel so accessible and fun. Thanks for the great tips!
[flappy dunk](https://flappydunk.io/)
incredible and sublime thank you!
Great! 👍
Top the tutorial. I'm excited to put it into practice.
Thank you very much
A well-detailed tutorial, truly beautiful ✨❤️
Thank you!
I can't wait to try
Awesome and very detailed tutorial. Thank you 🙏
Hello, I have already done it in watercolor. I will try it with your well-explained technique. Thank you
What pencils are used? Thank you
Hello!
Thank you for asking the question. For this work, I used digital painting, although the steps are designed to be transferable to different types of painting, such as oil or acrylic.