
How to Draw a Blackbird
Today, we will focus on a bird with a noble yet understated appearance: the blackbird. By following the steps to draw one, we will learn how to work with black by playing with contrasts, in order to achieve dark plumage while highlighting every detail.
The anatomy of a blackbird: key points to observe before drawing
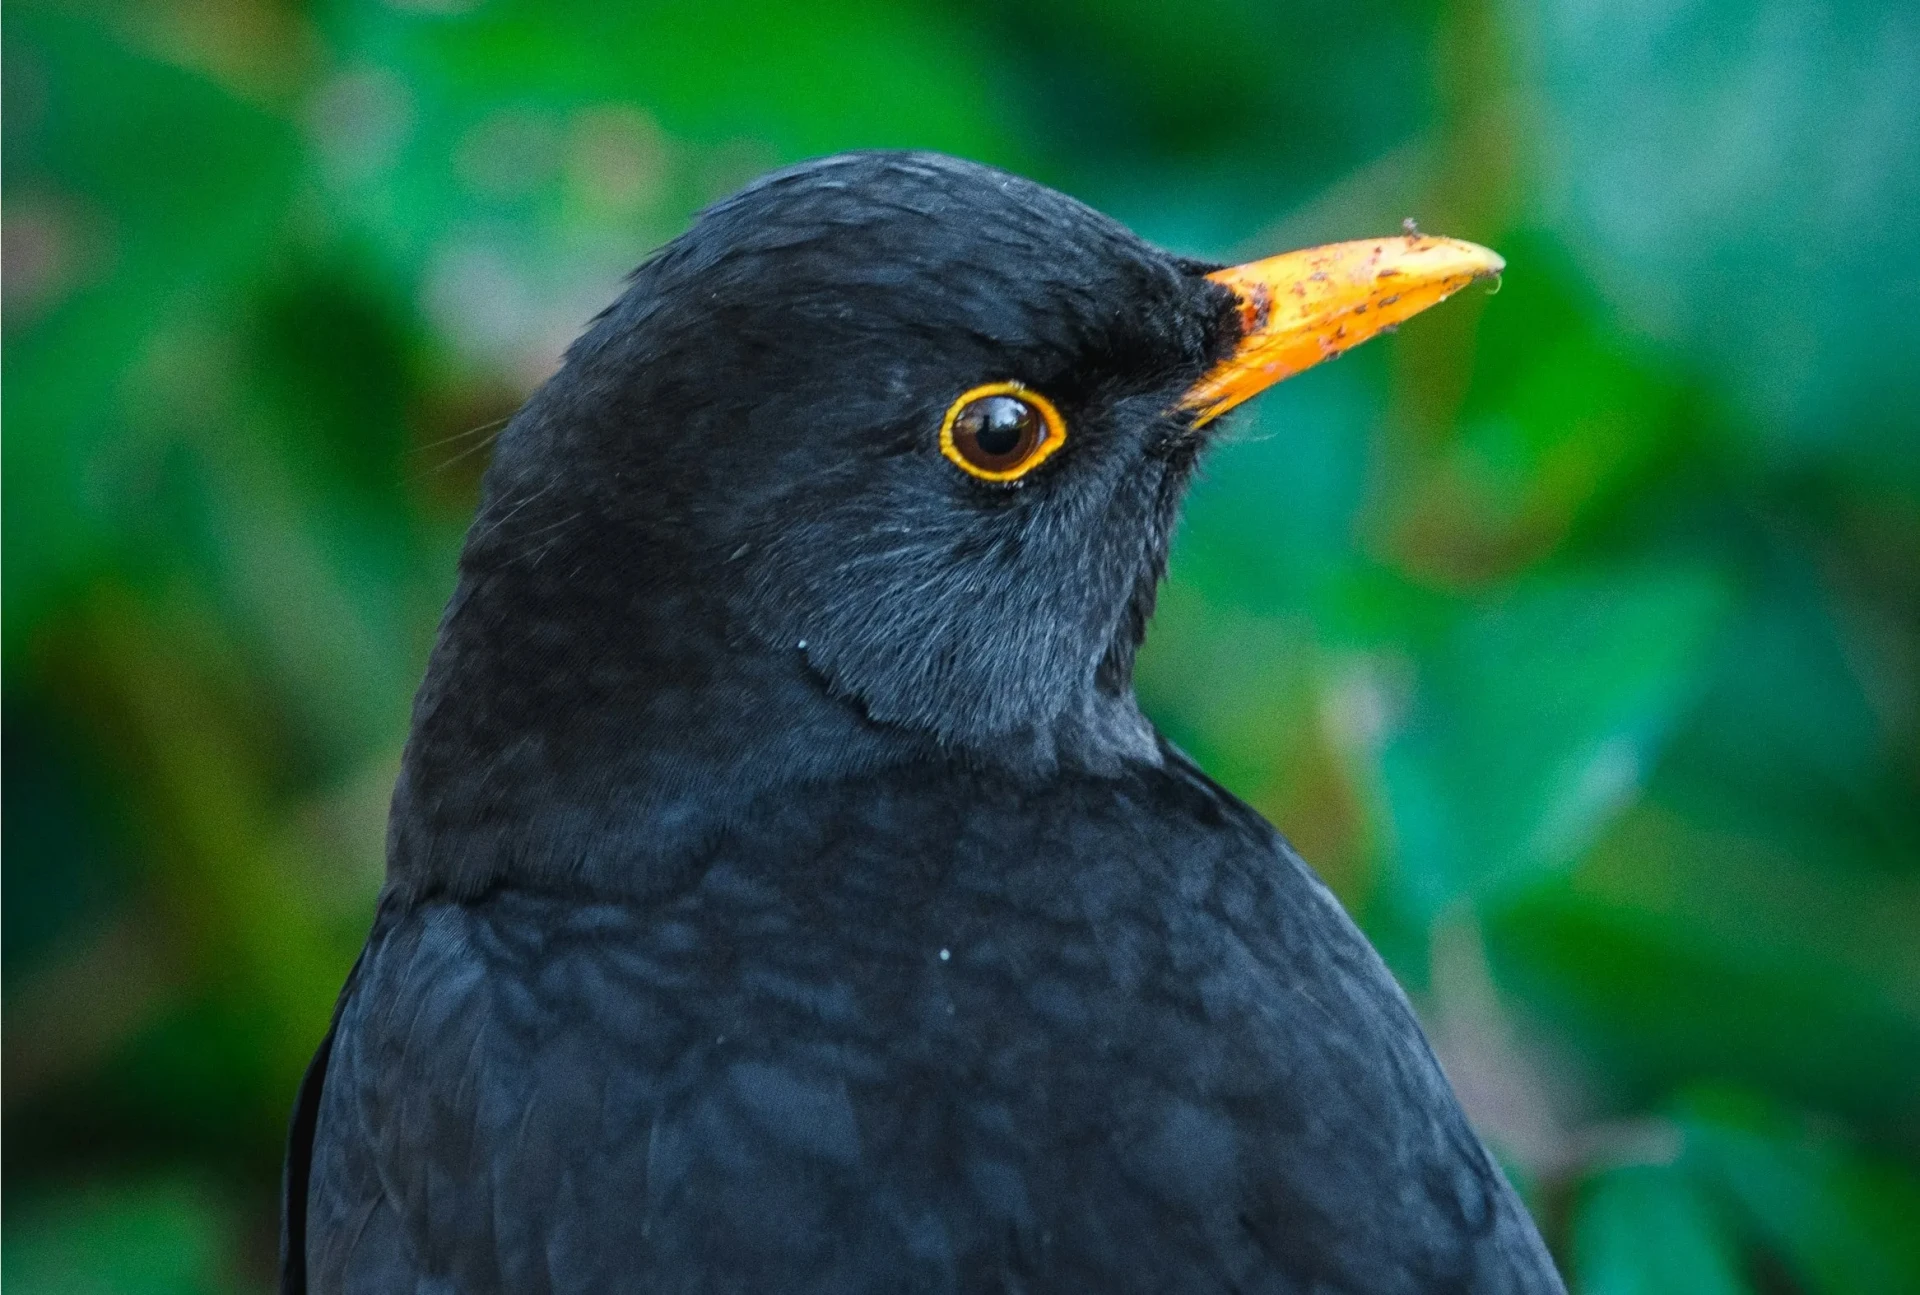
The blackbird is a common small bird found in almost all of Europe, as well as in regions near the Middle East and Russia. In males, the black plumage contrasts sharply with the beak and eye-ring, which are a golden yellow that verges on intense orange. Females, as is often the case in the bird kingdom, have a more subdued coloration in brown tones.
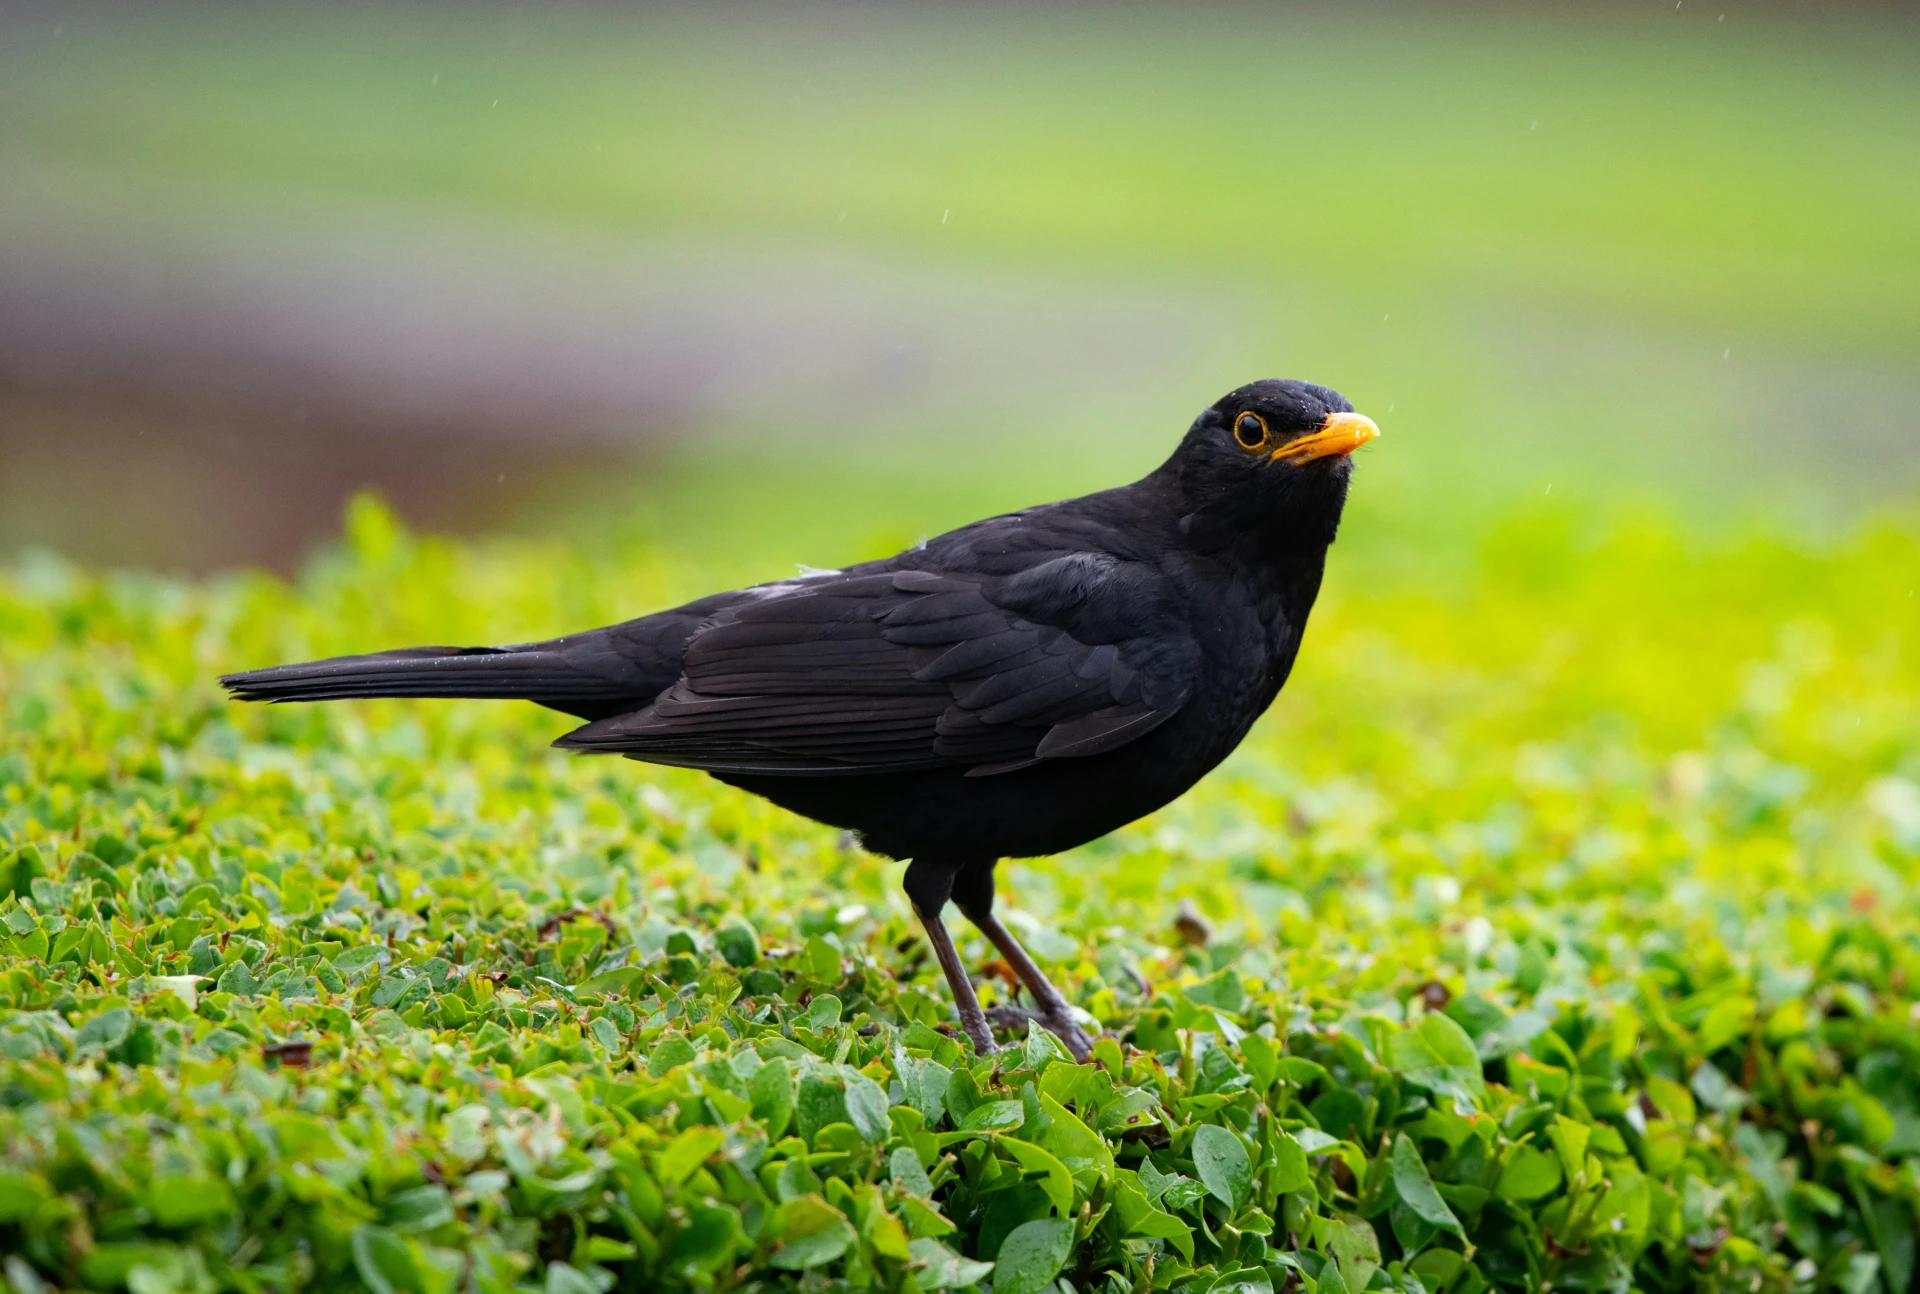
Even though the blackbird appears to be entirely black, pure black is almost non-existent in nature. All objects receive colored reflections from their environment, which blend with their base color. In the plumage of the blackbird, we can see bluish reflections in a wide range of shades, an essential detail that must be carefully reproduced in order to achieve a realistic rendering.
How to draw a blackbird step by step
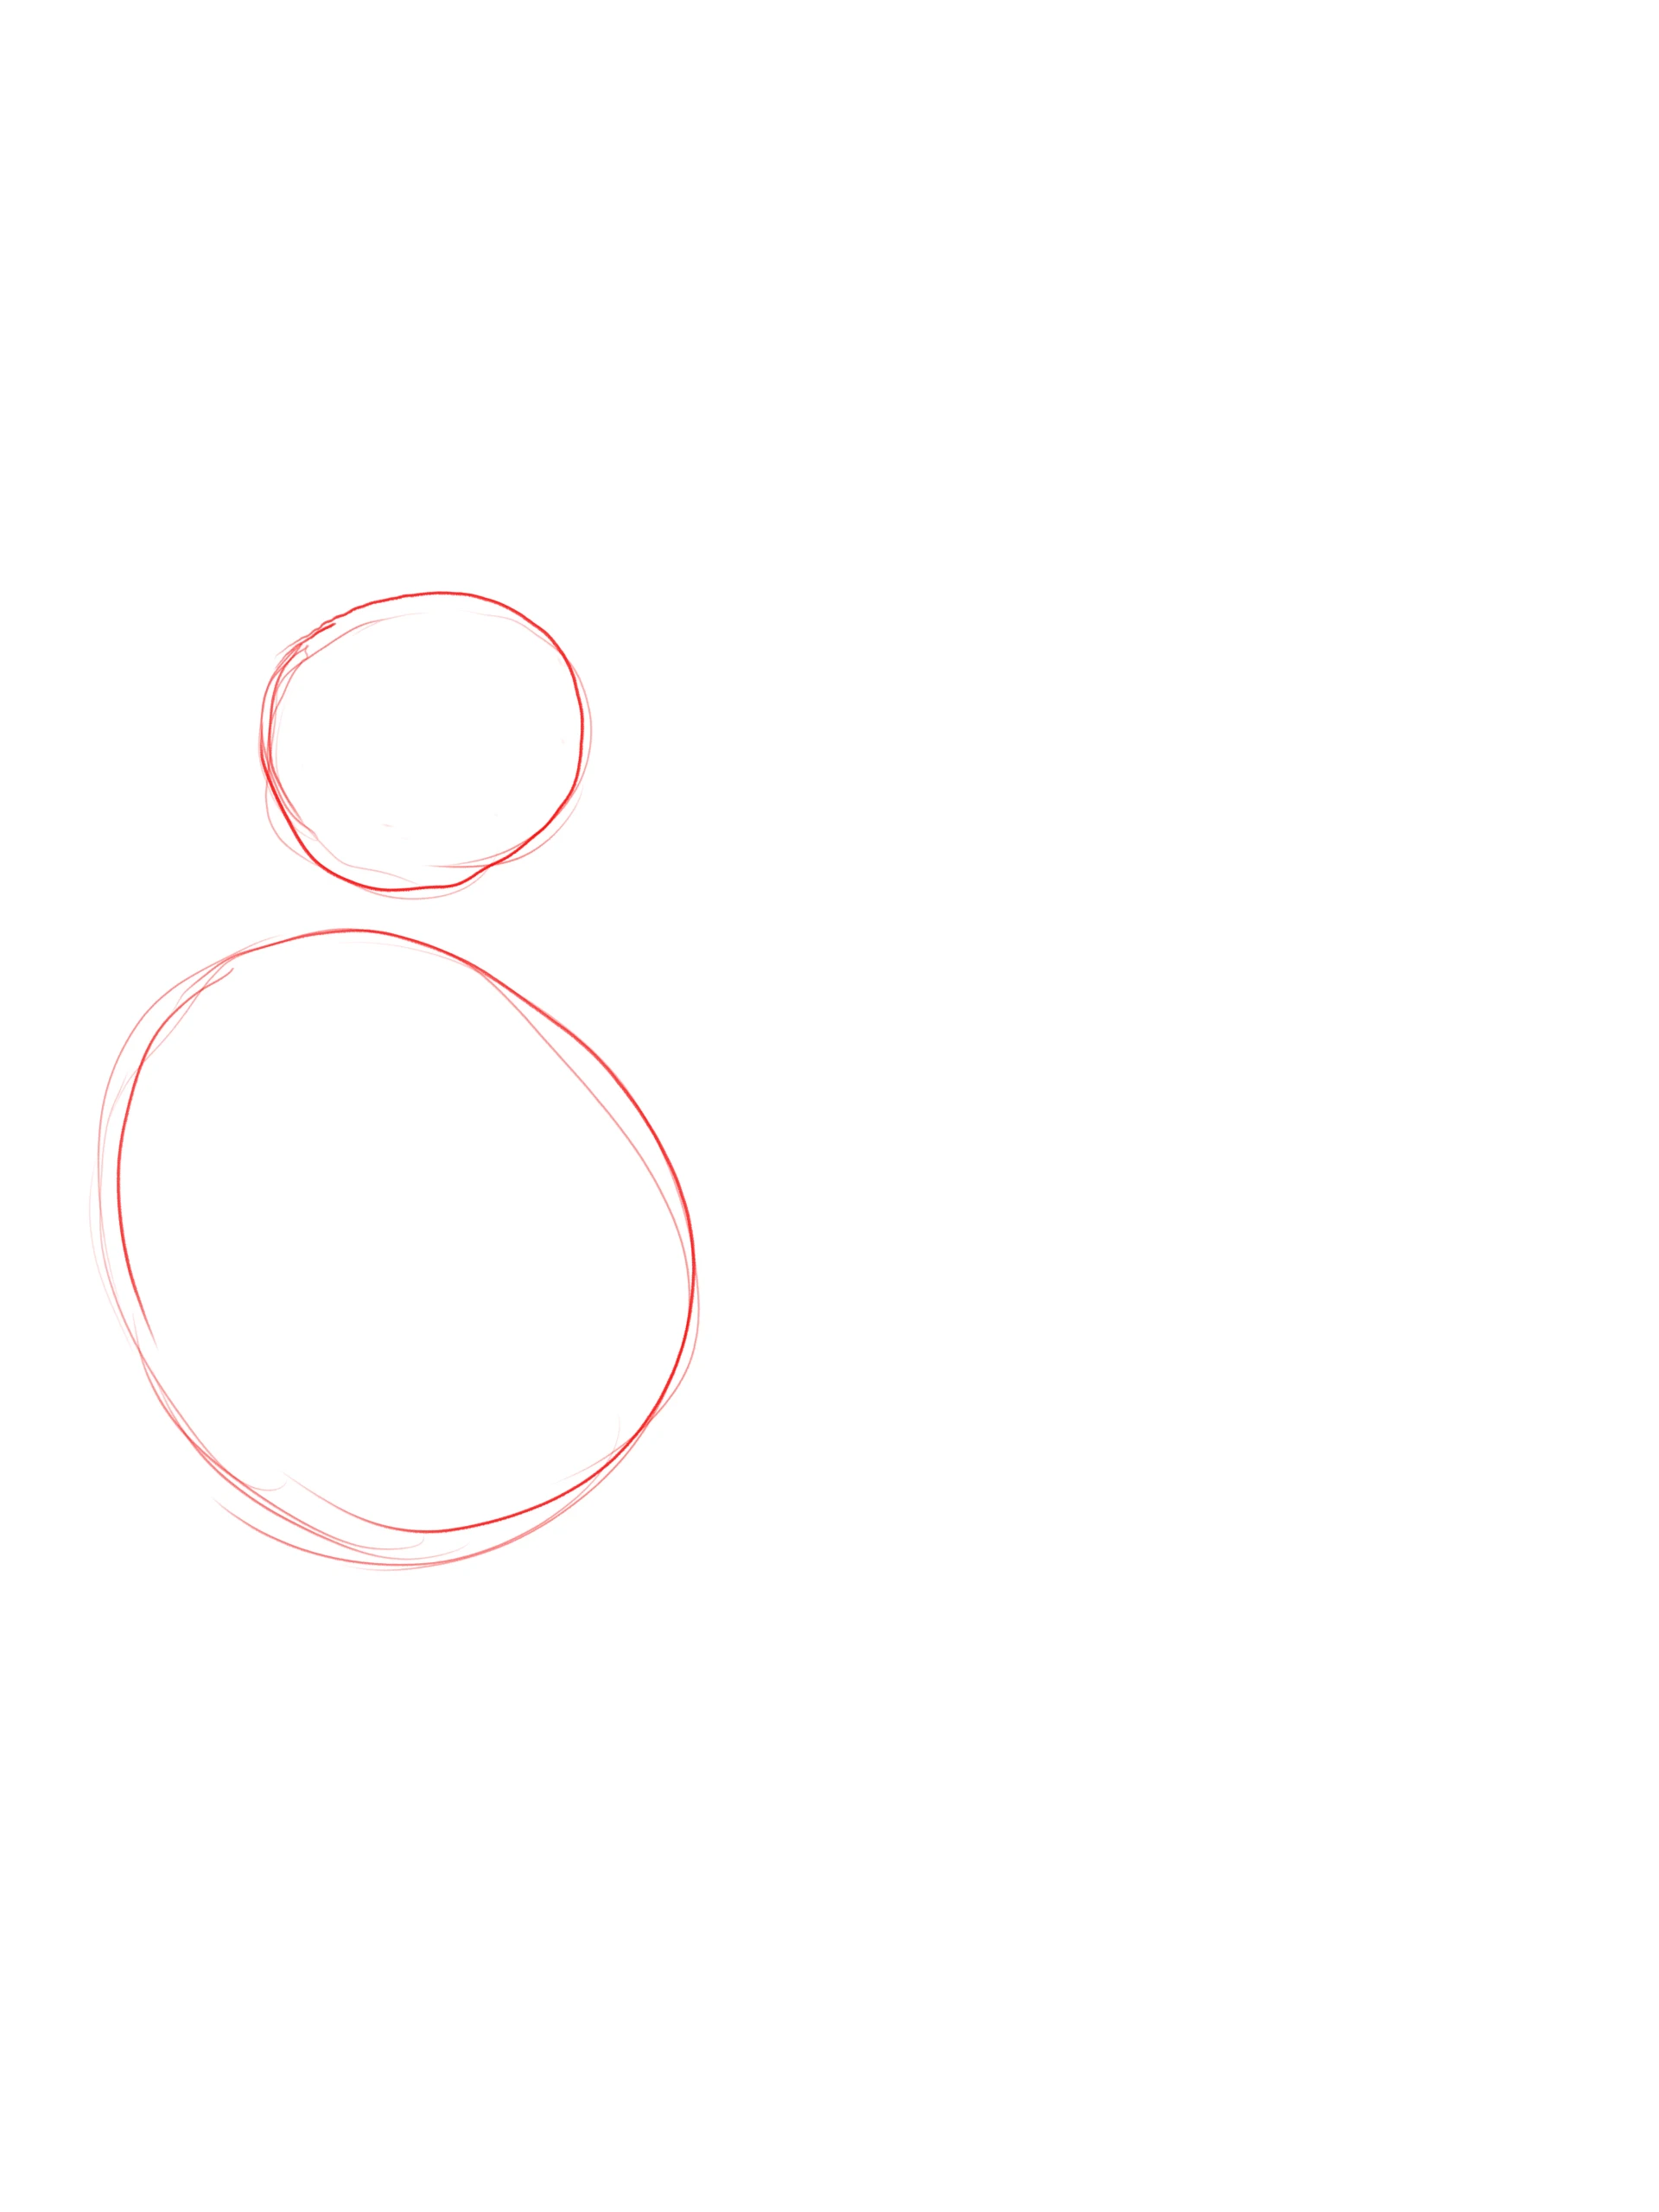
Start with two circles: a large one for the body and a smaller one placed slightly above it for the head.
Next, add an oval resting on the large circle for the wings, a smaller circle below for the top of the leg, and connect the head to the body with a cylinder of uniform thickness.
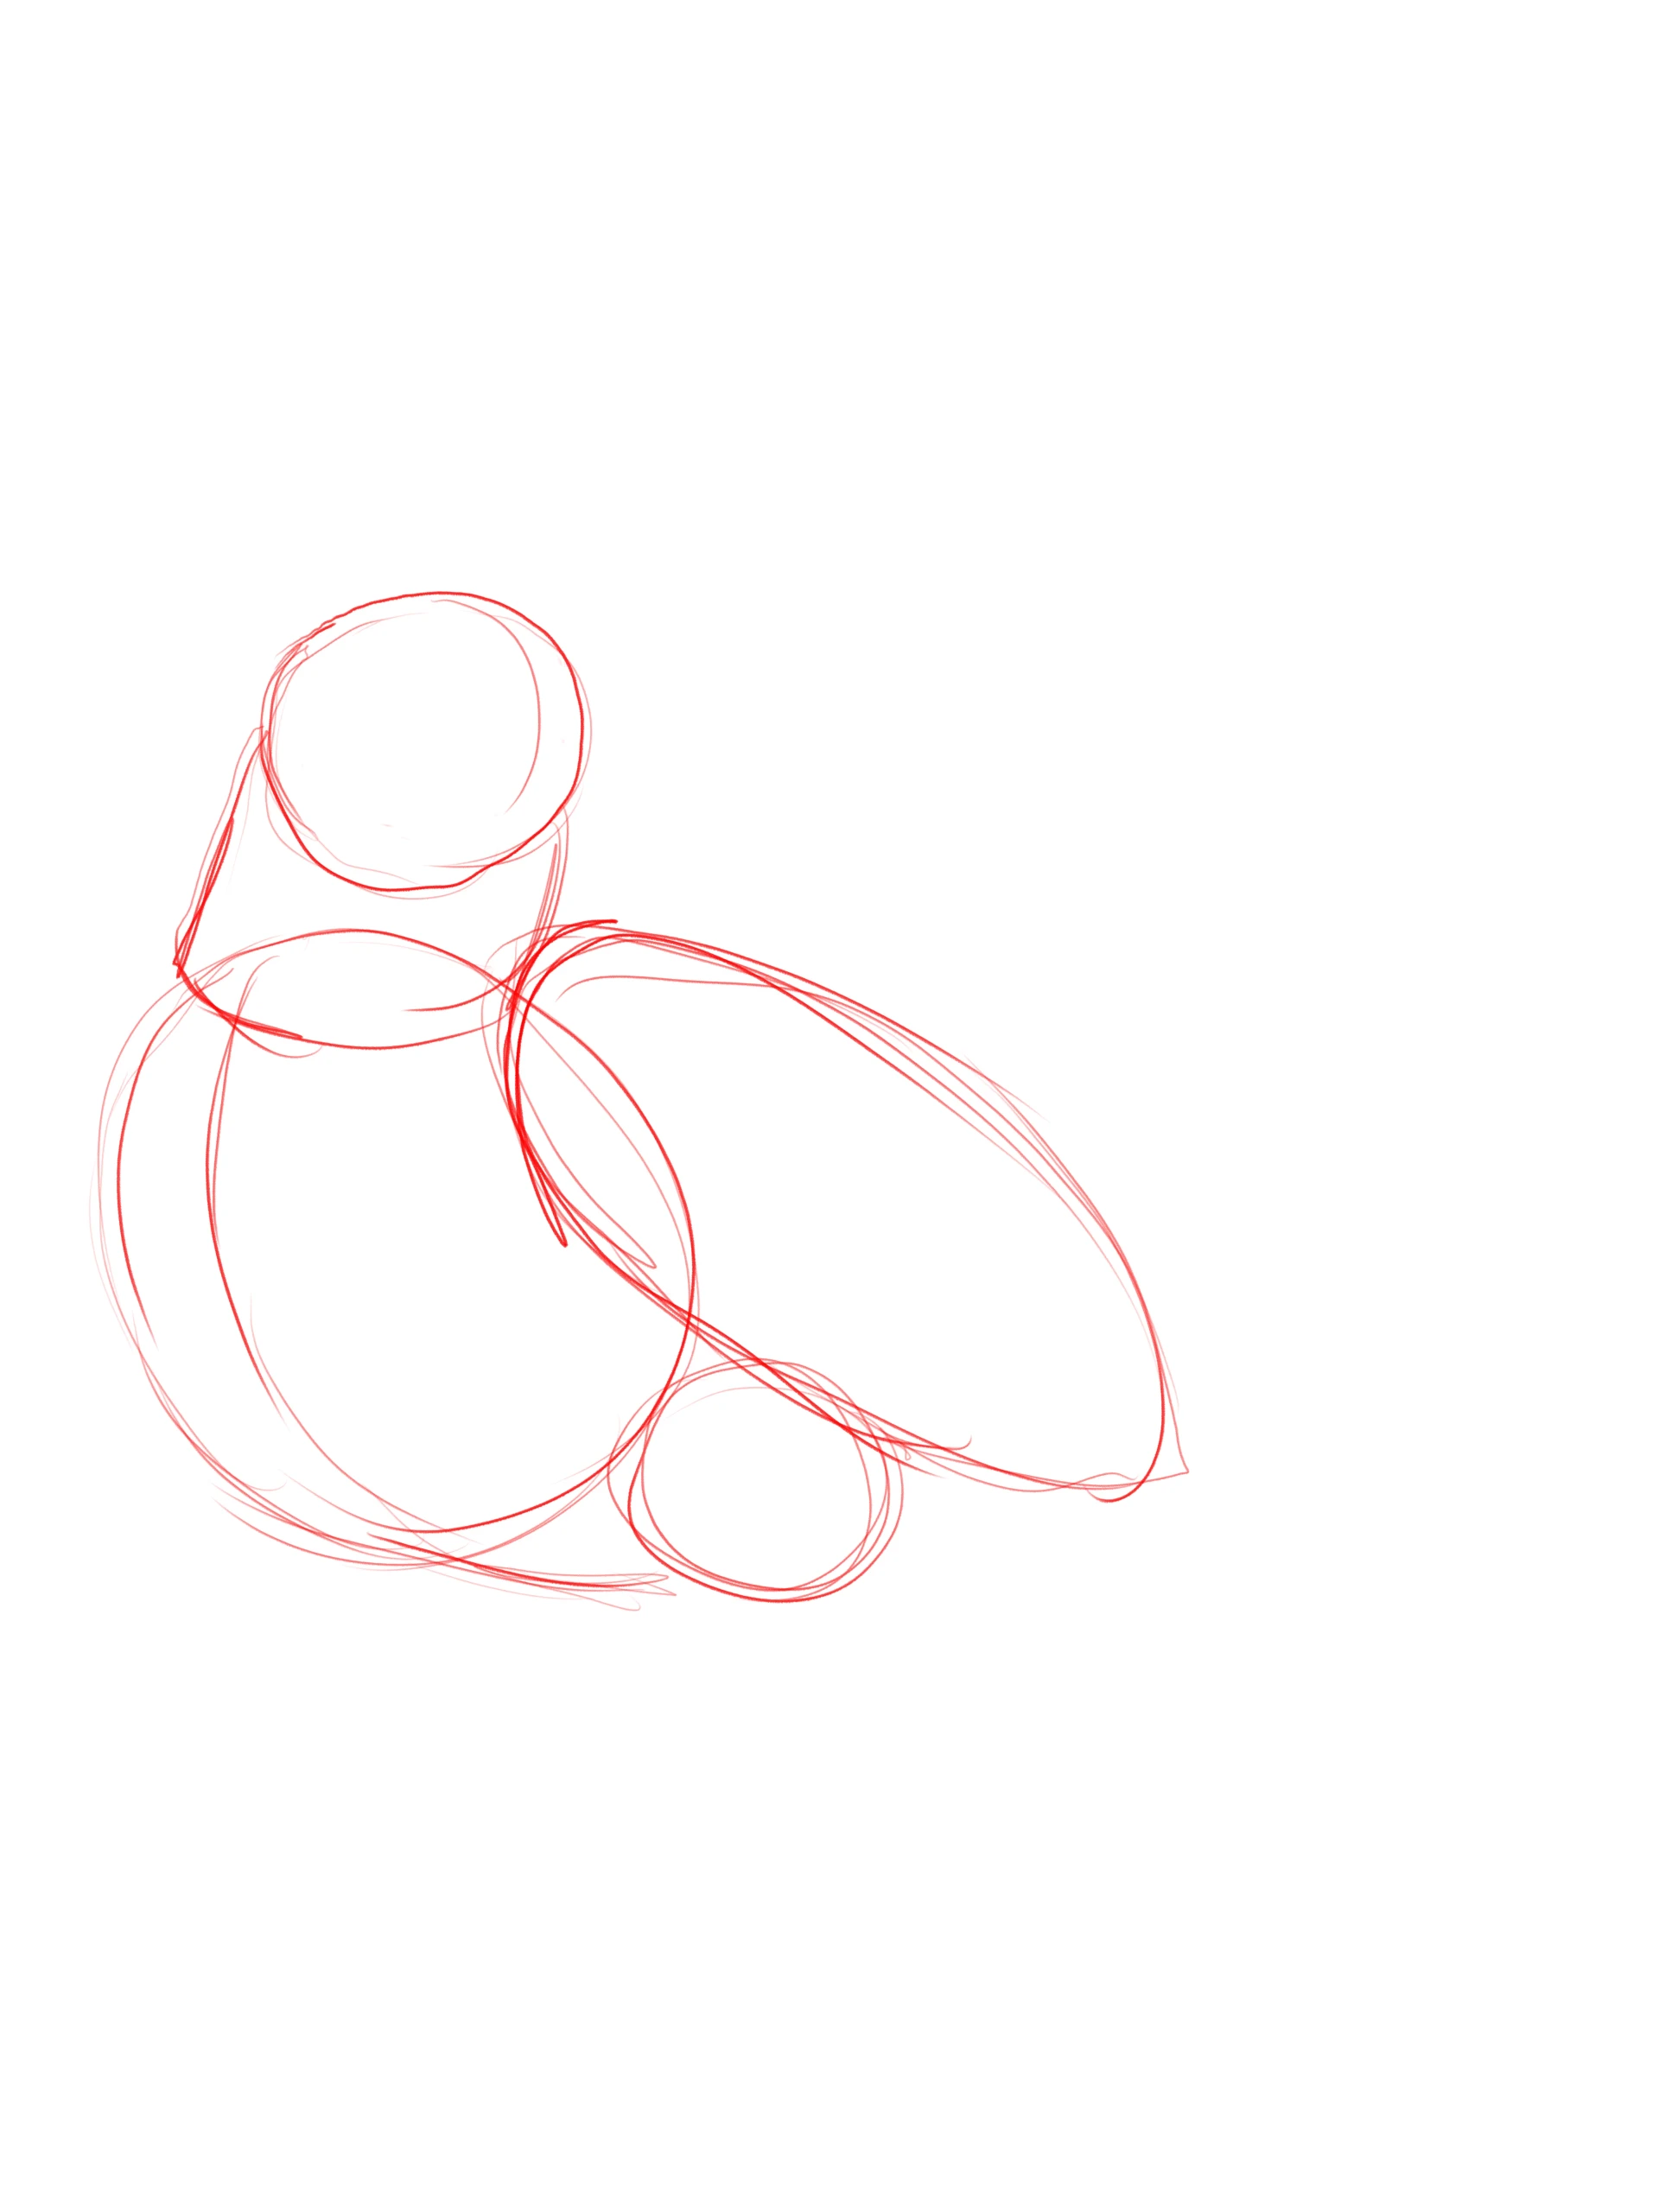
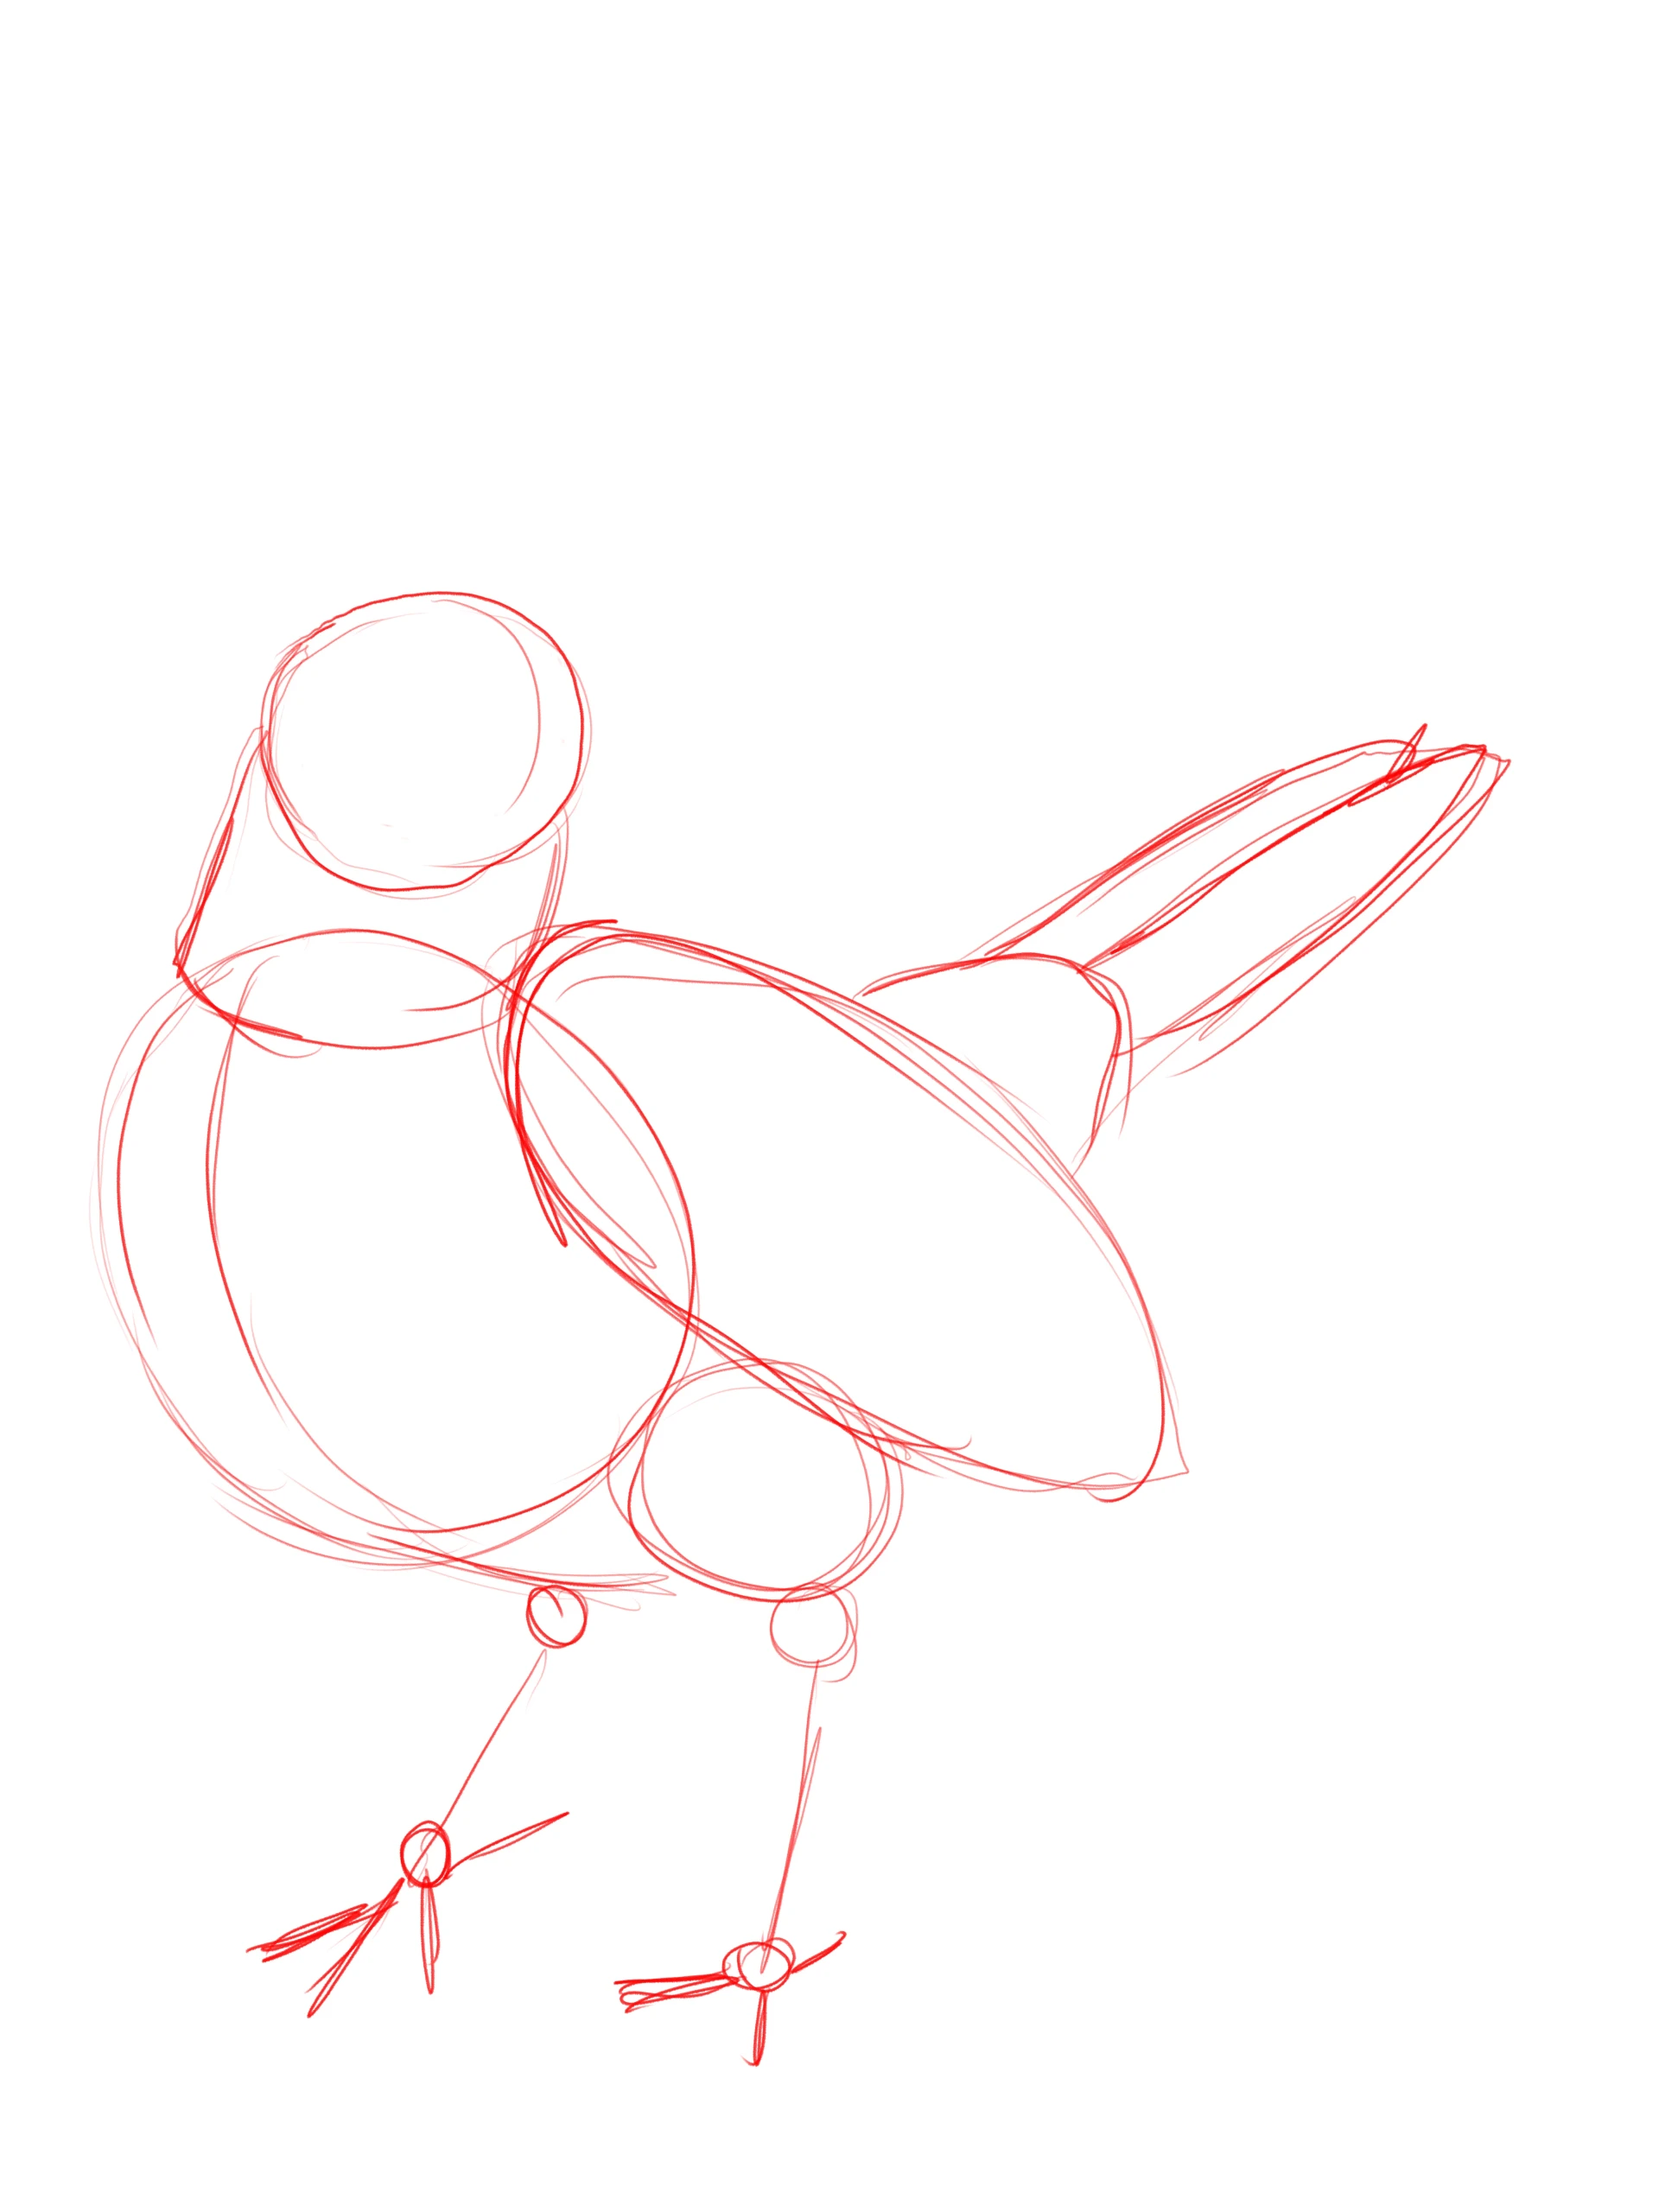
This basic structure makes it easy to add details specific to the bird: the legs and tail feathers naturally fall into place.
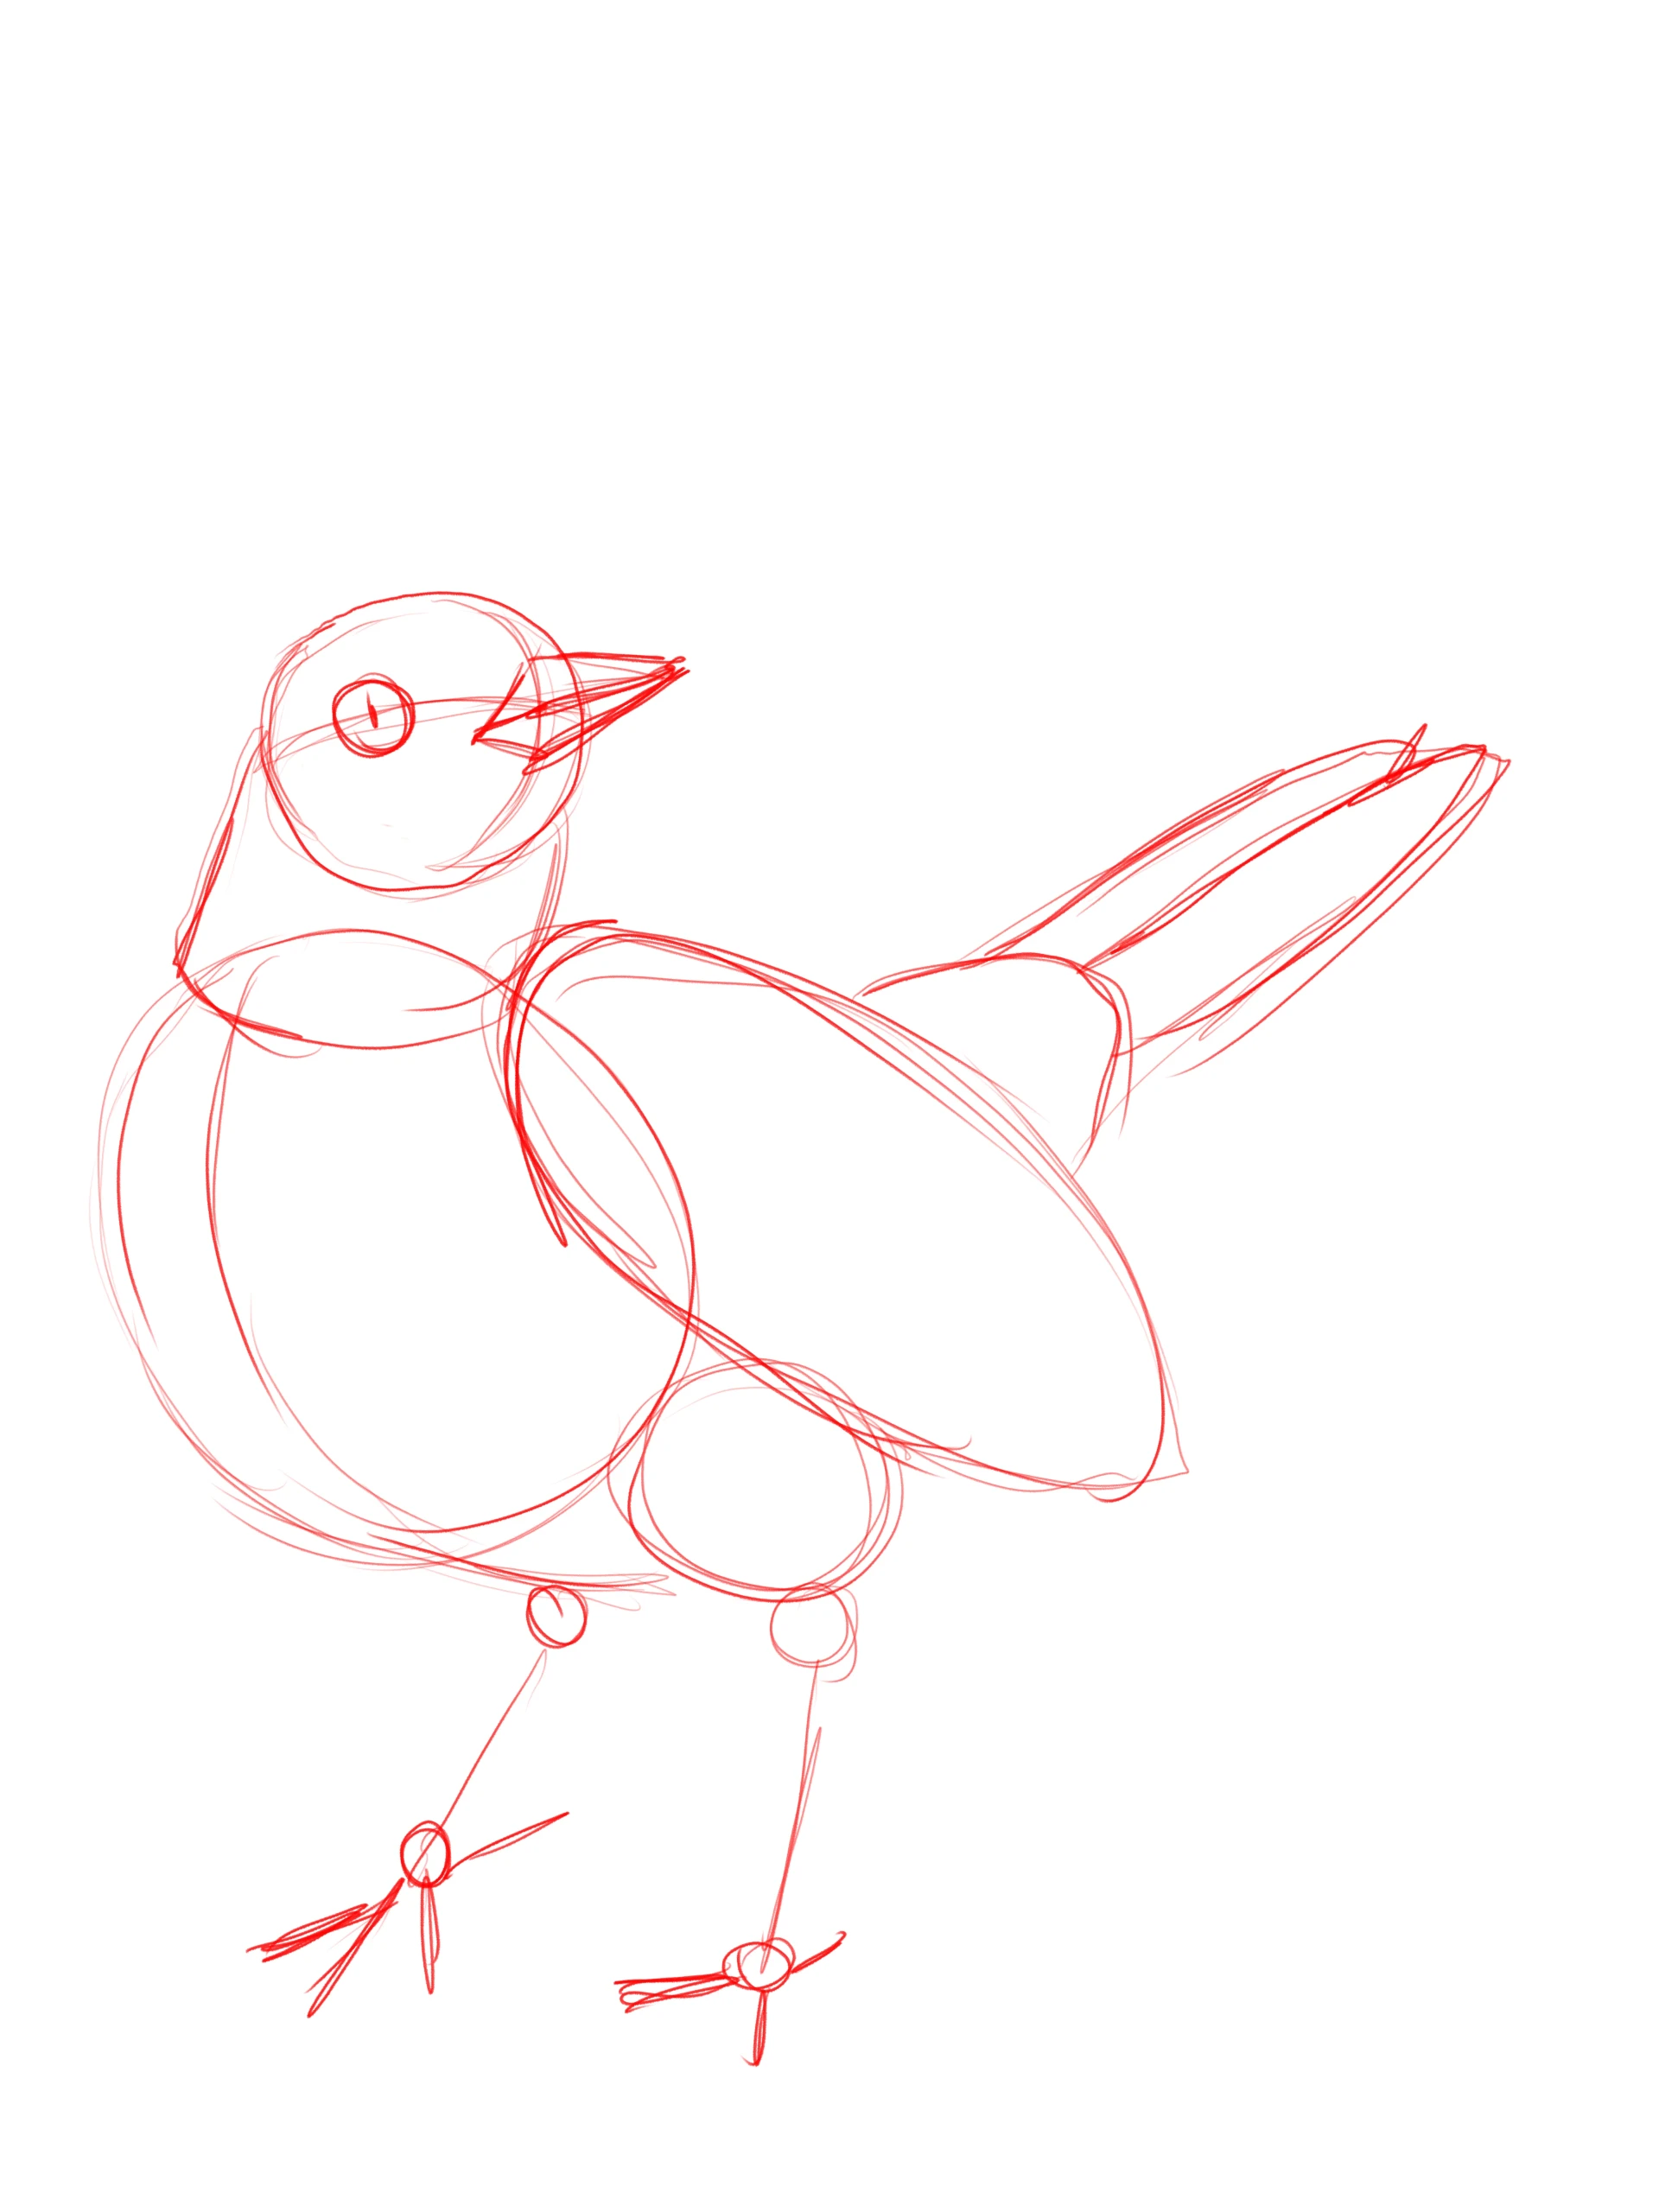
Next, draw two guide lines, one vertical and one horizontal. At their intersection, place an elongated beak, and a few centimeters away, a circle of similar height for the eye.
Now draw the face: a large round eye with a black pupil and a white highlight, surrounded by an outline with irregular lines that slightly overlap. Then draw the beak following the sketch; its tip is slightly rounded and tilted downwards.
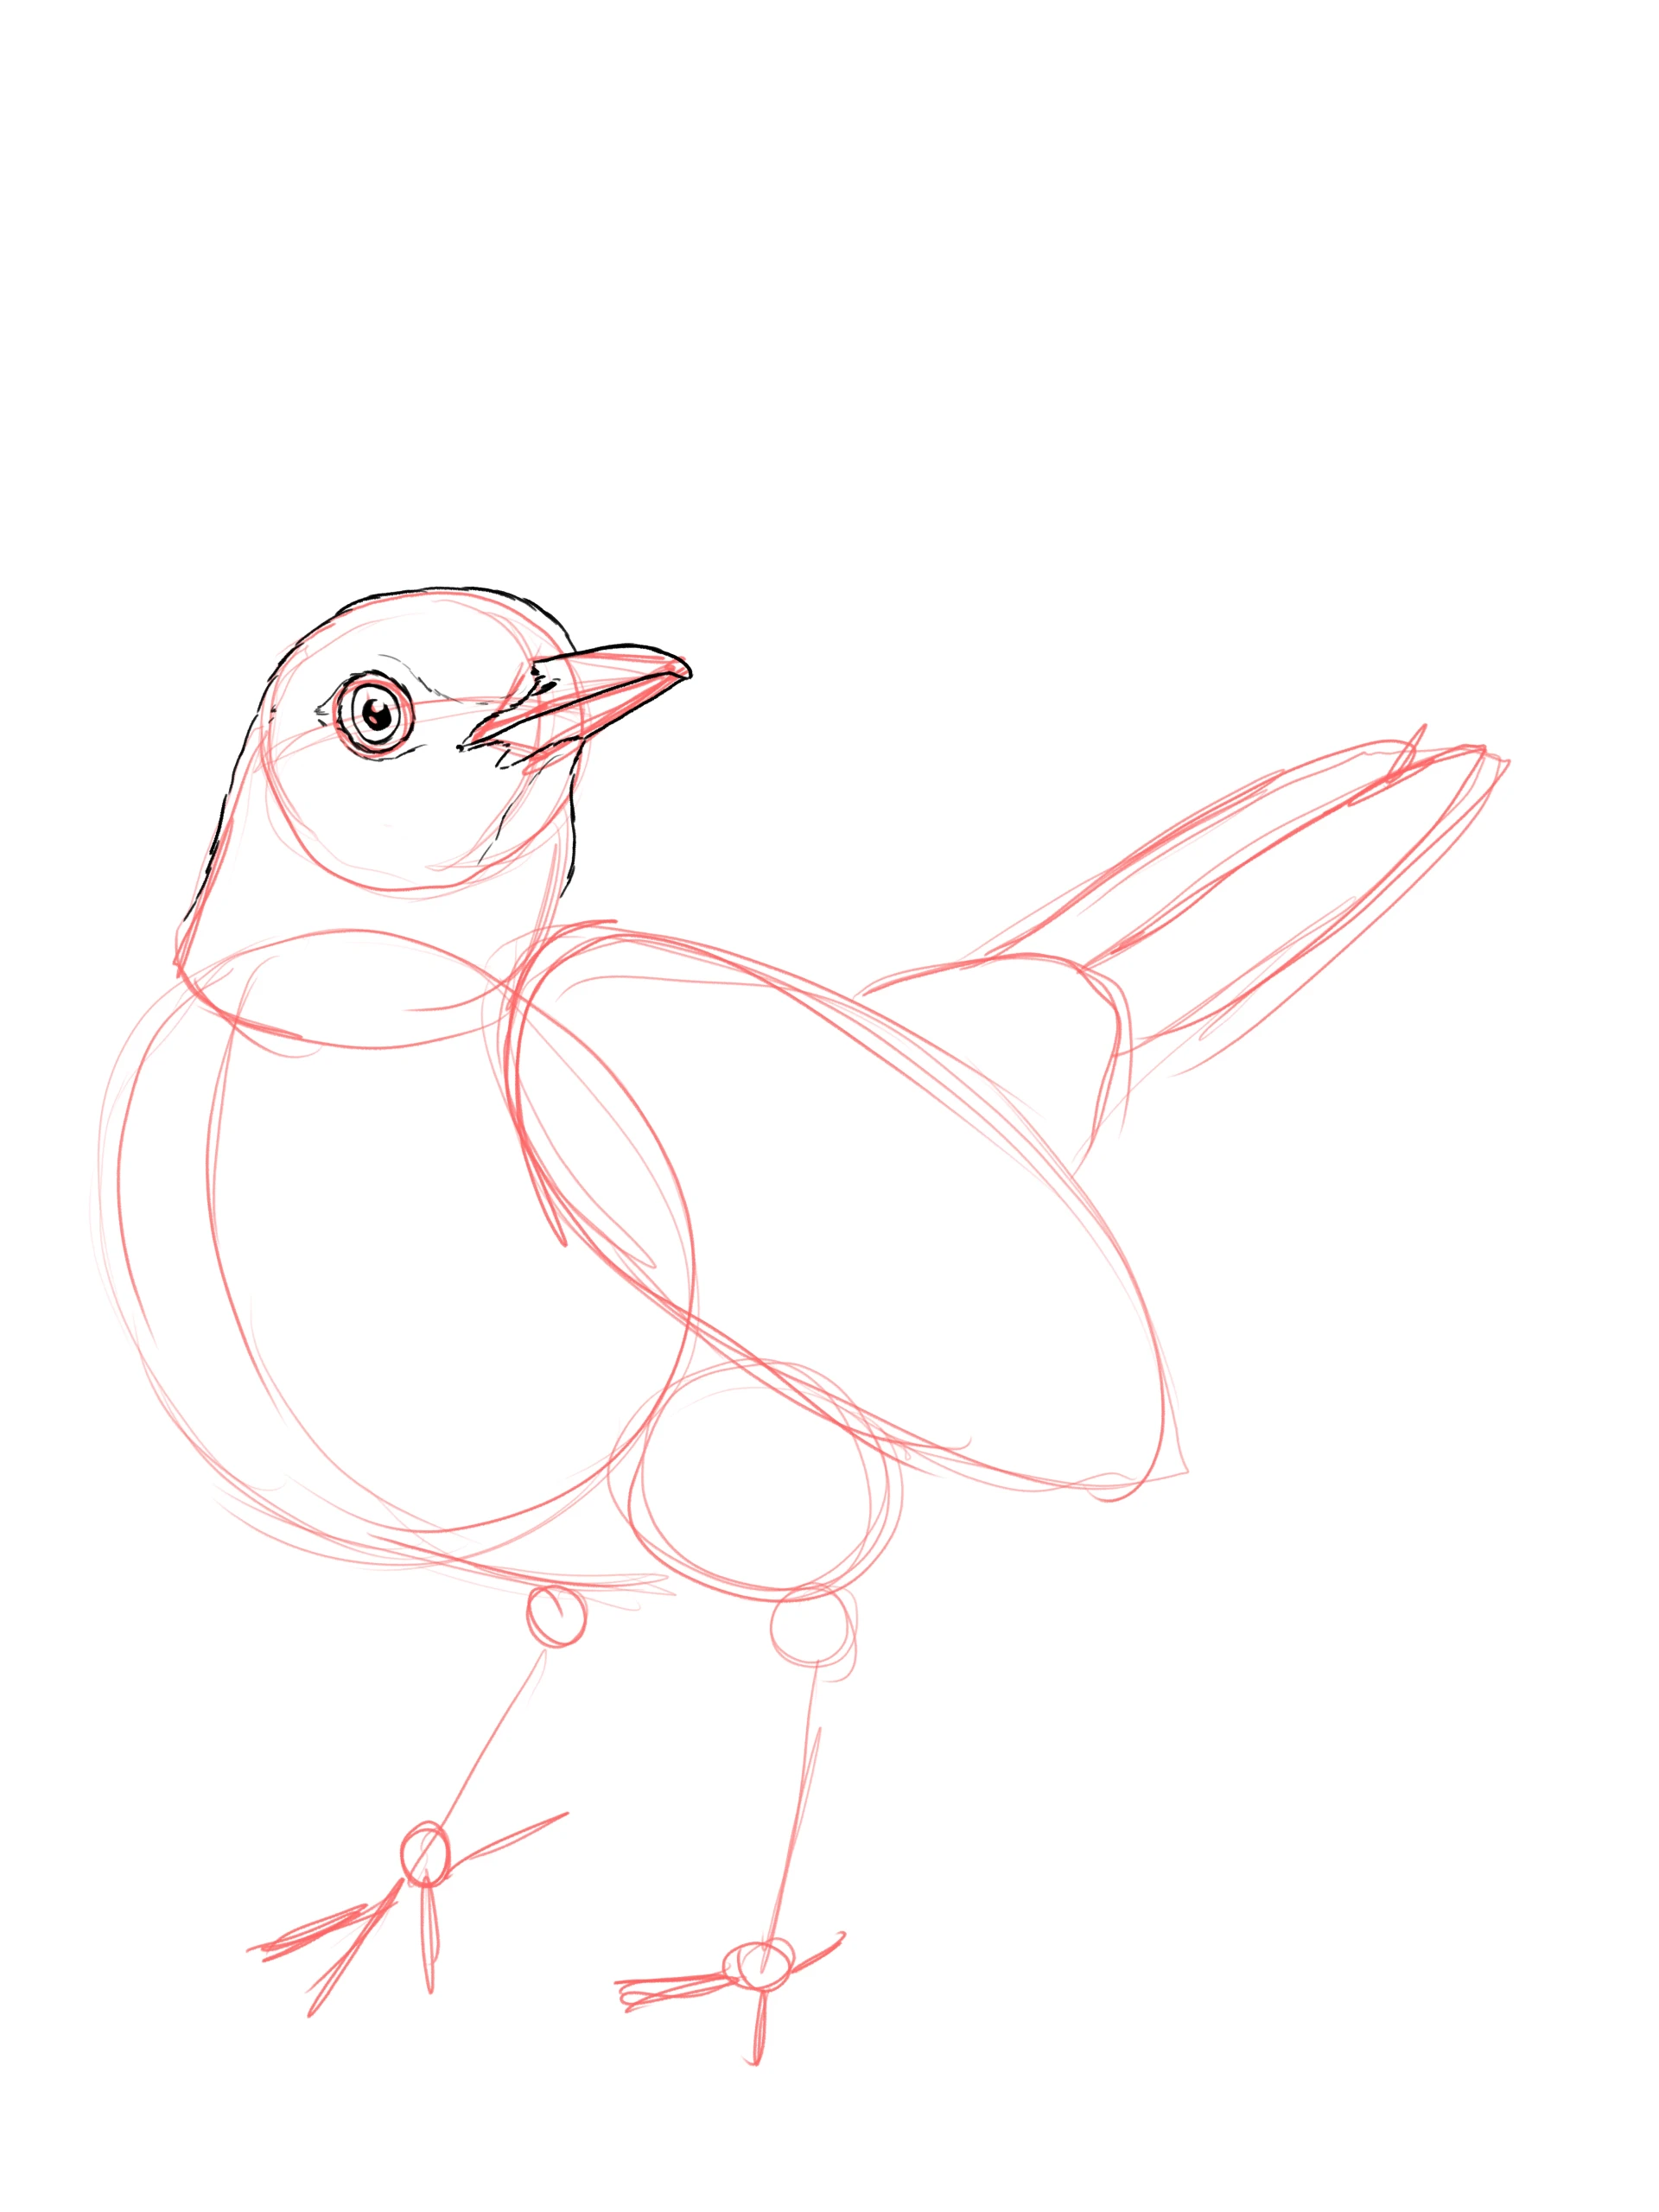
For the head feathers, draw very short and intermittent lines arranged in a "U" shape to imitate the strands of feathers. Repeat the same principle on each side of the chest to create a quilted effect.
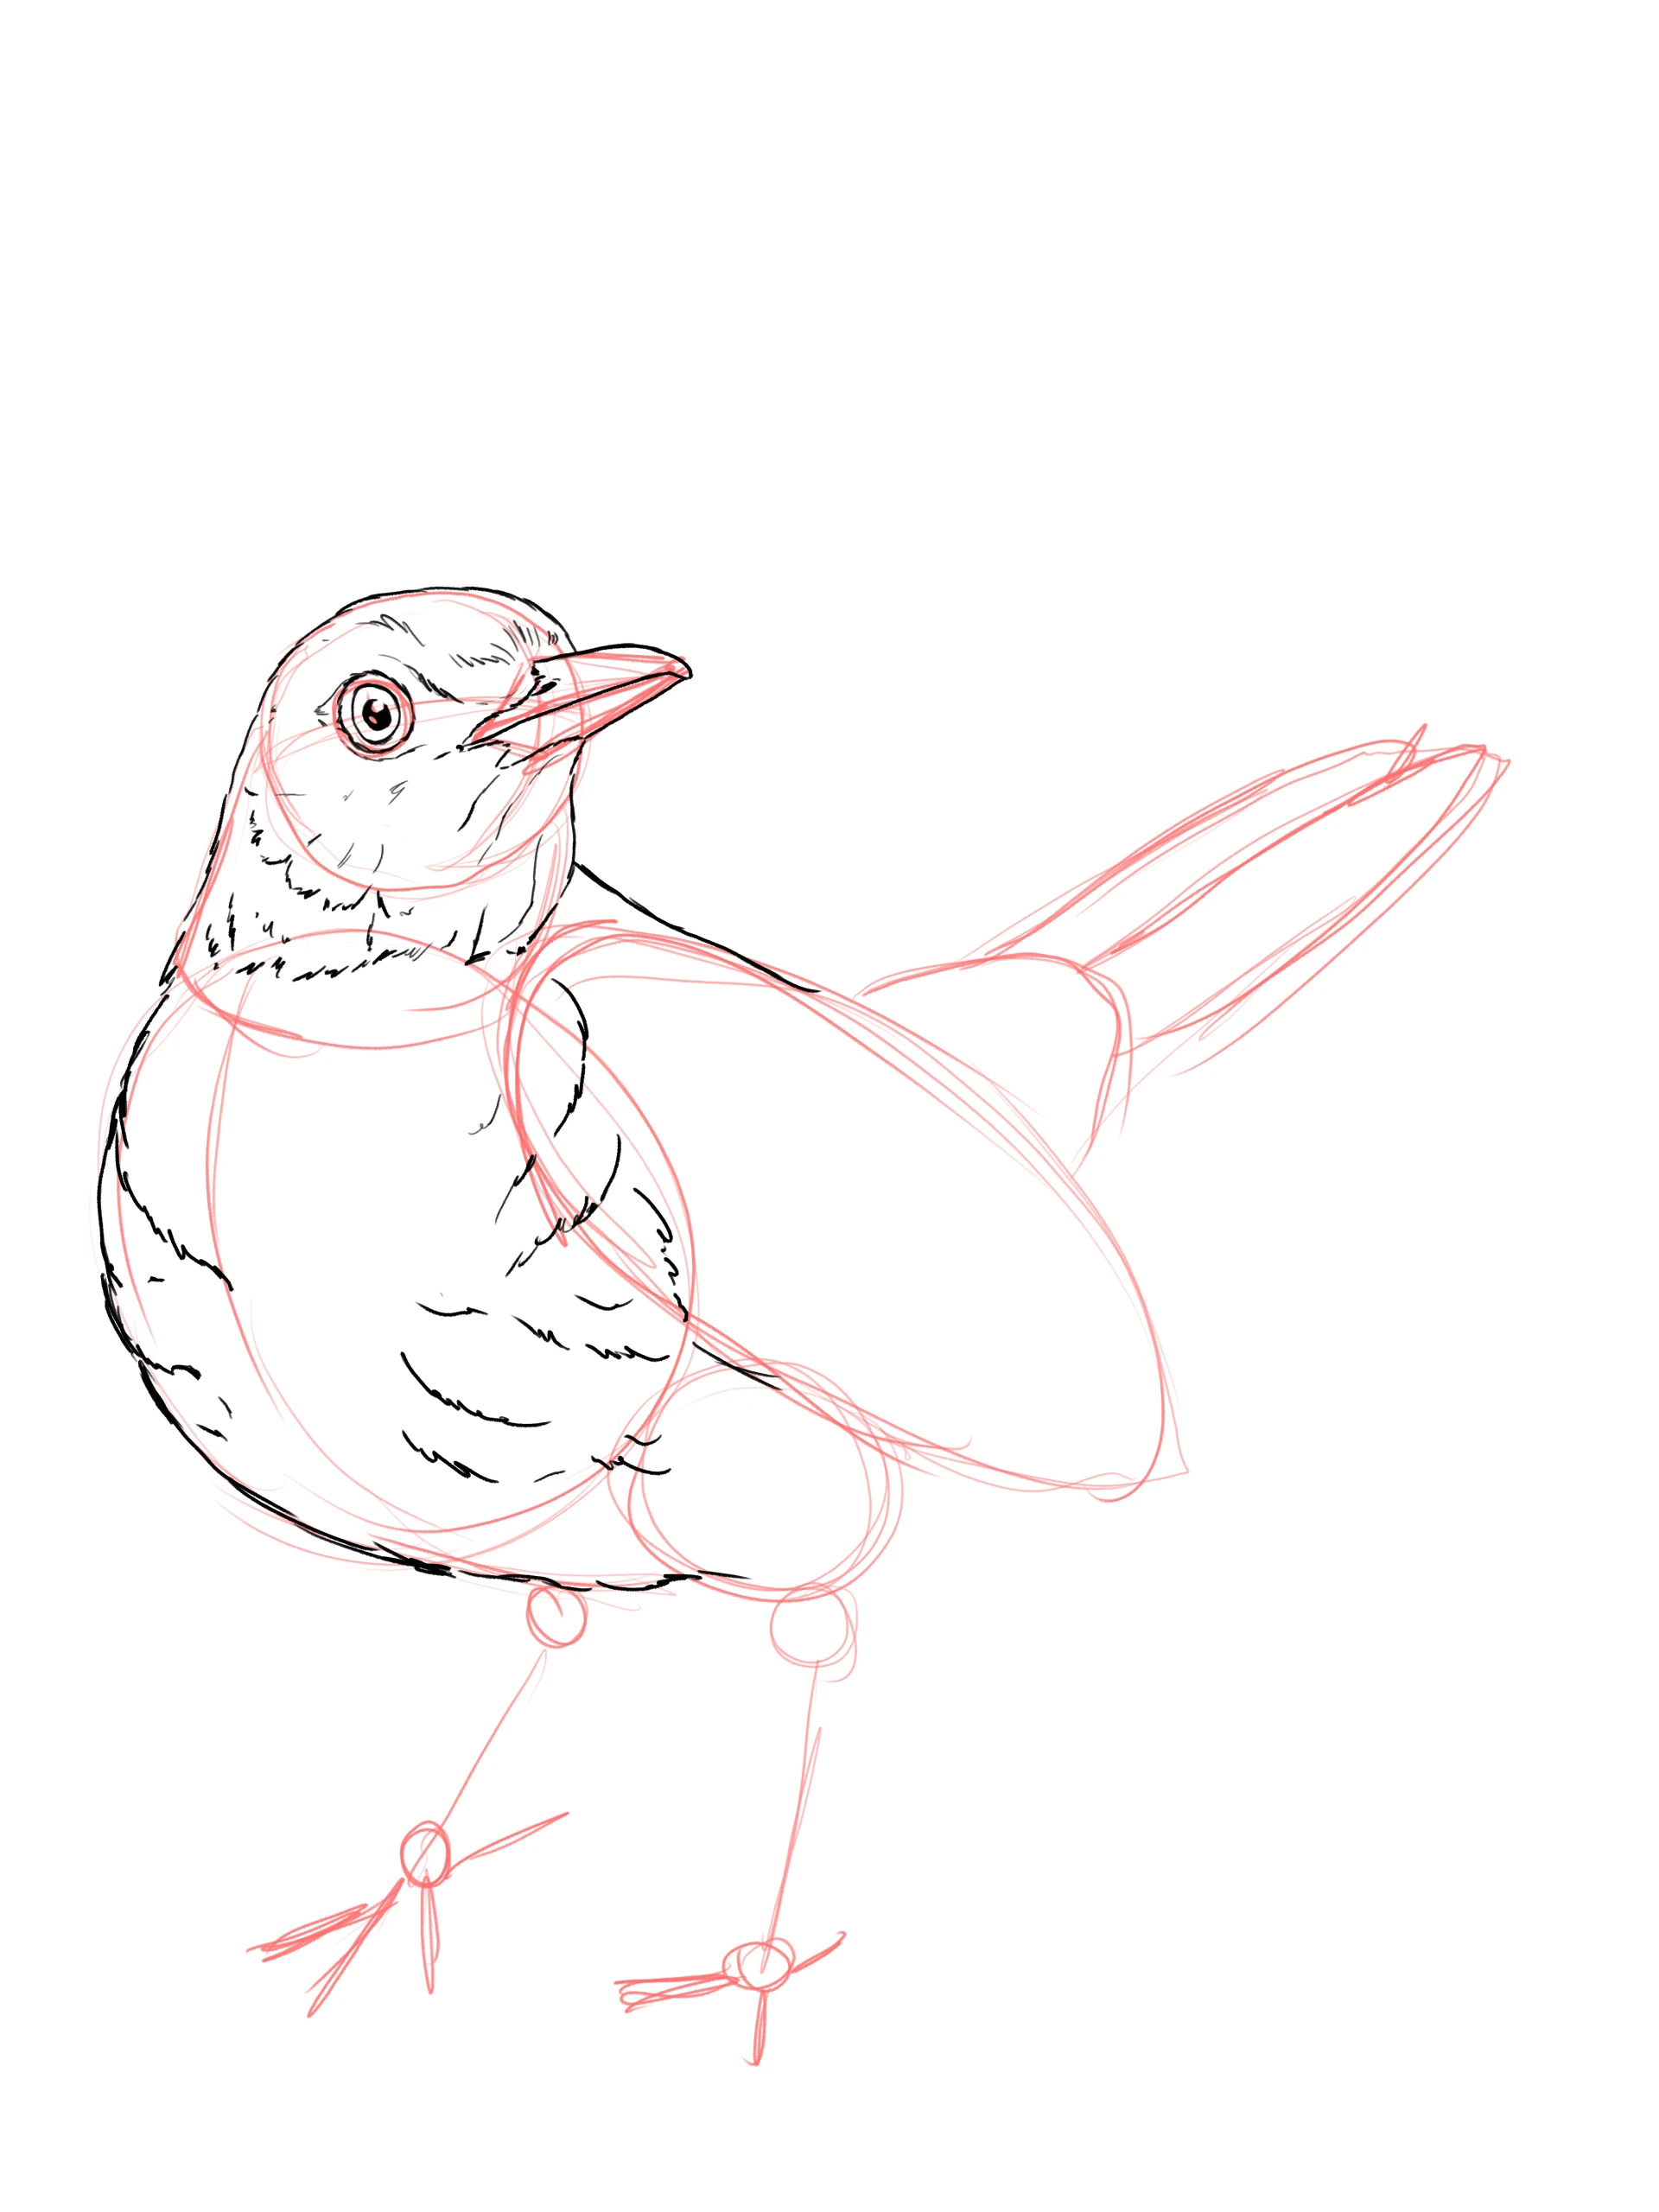
Draw the blackbird's feathers
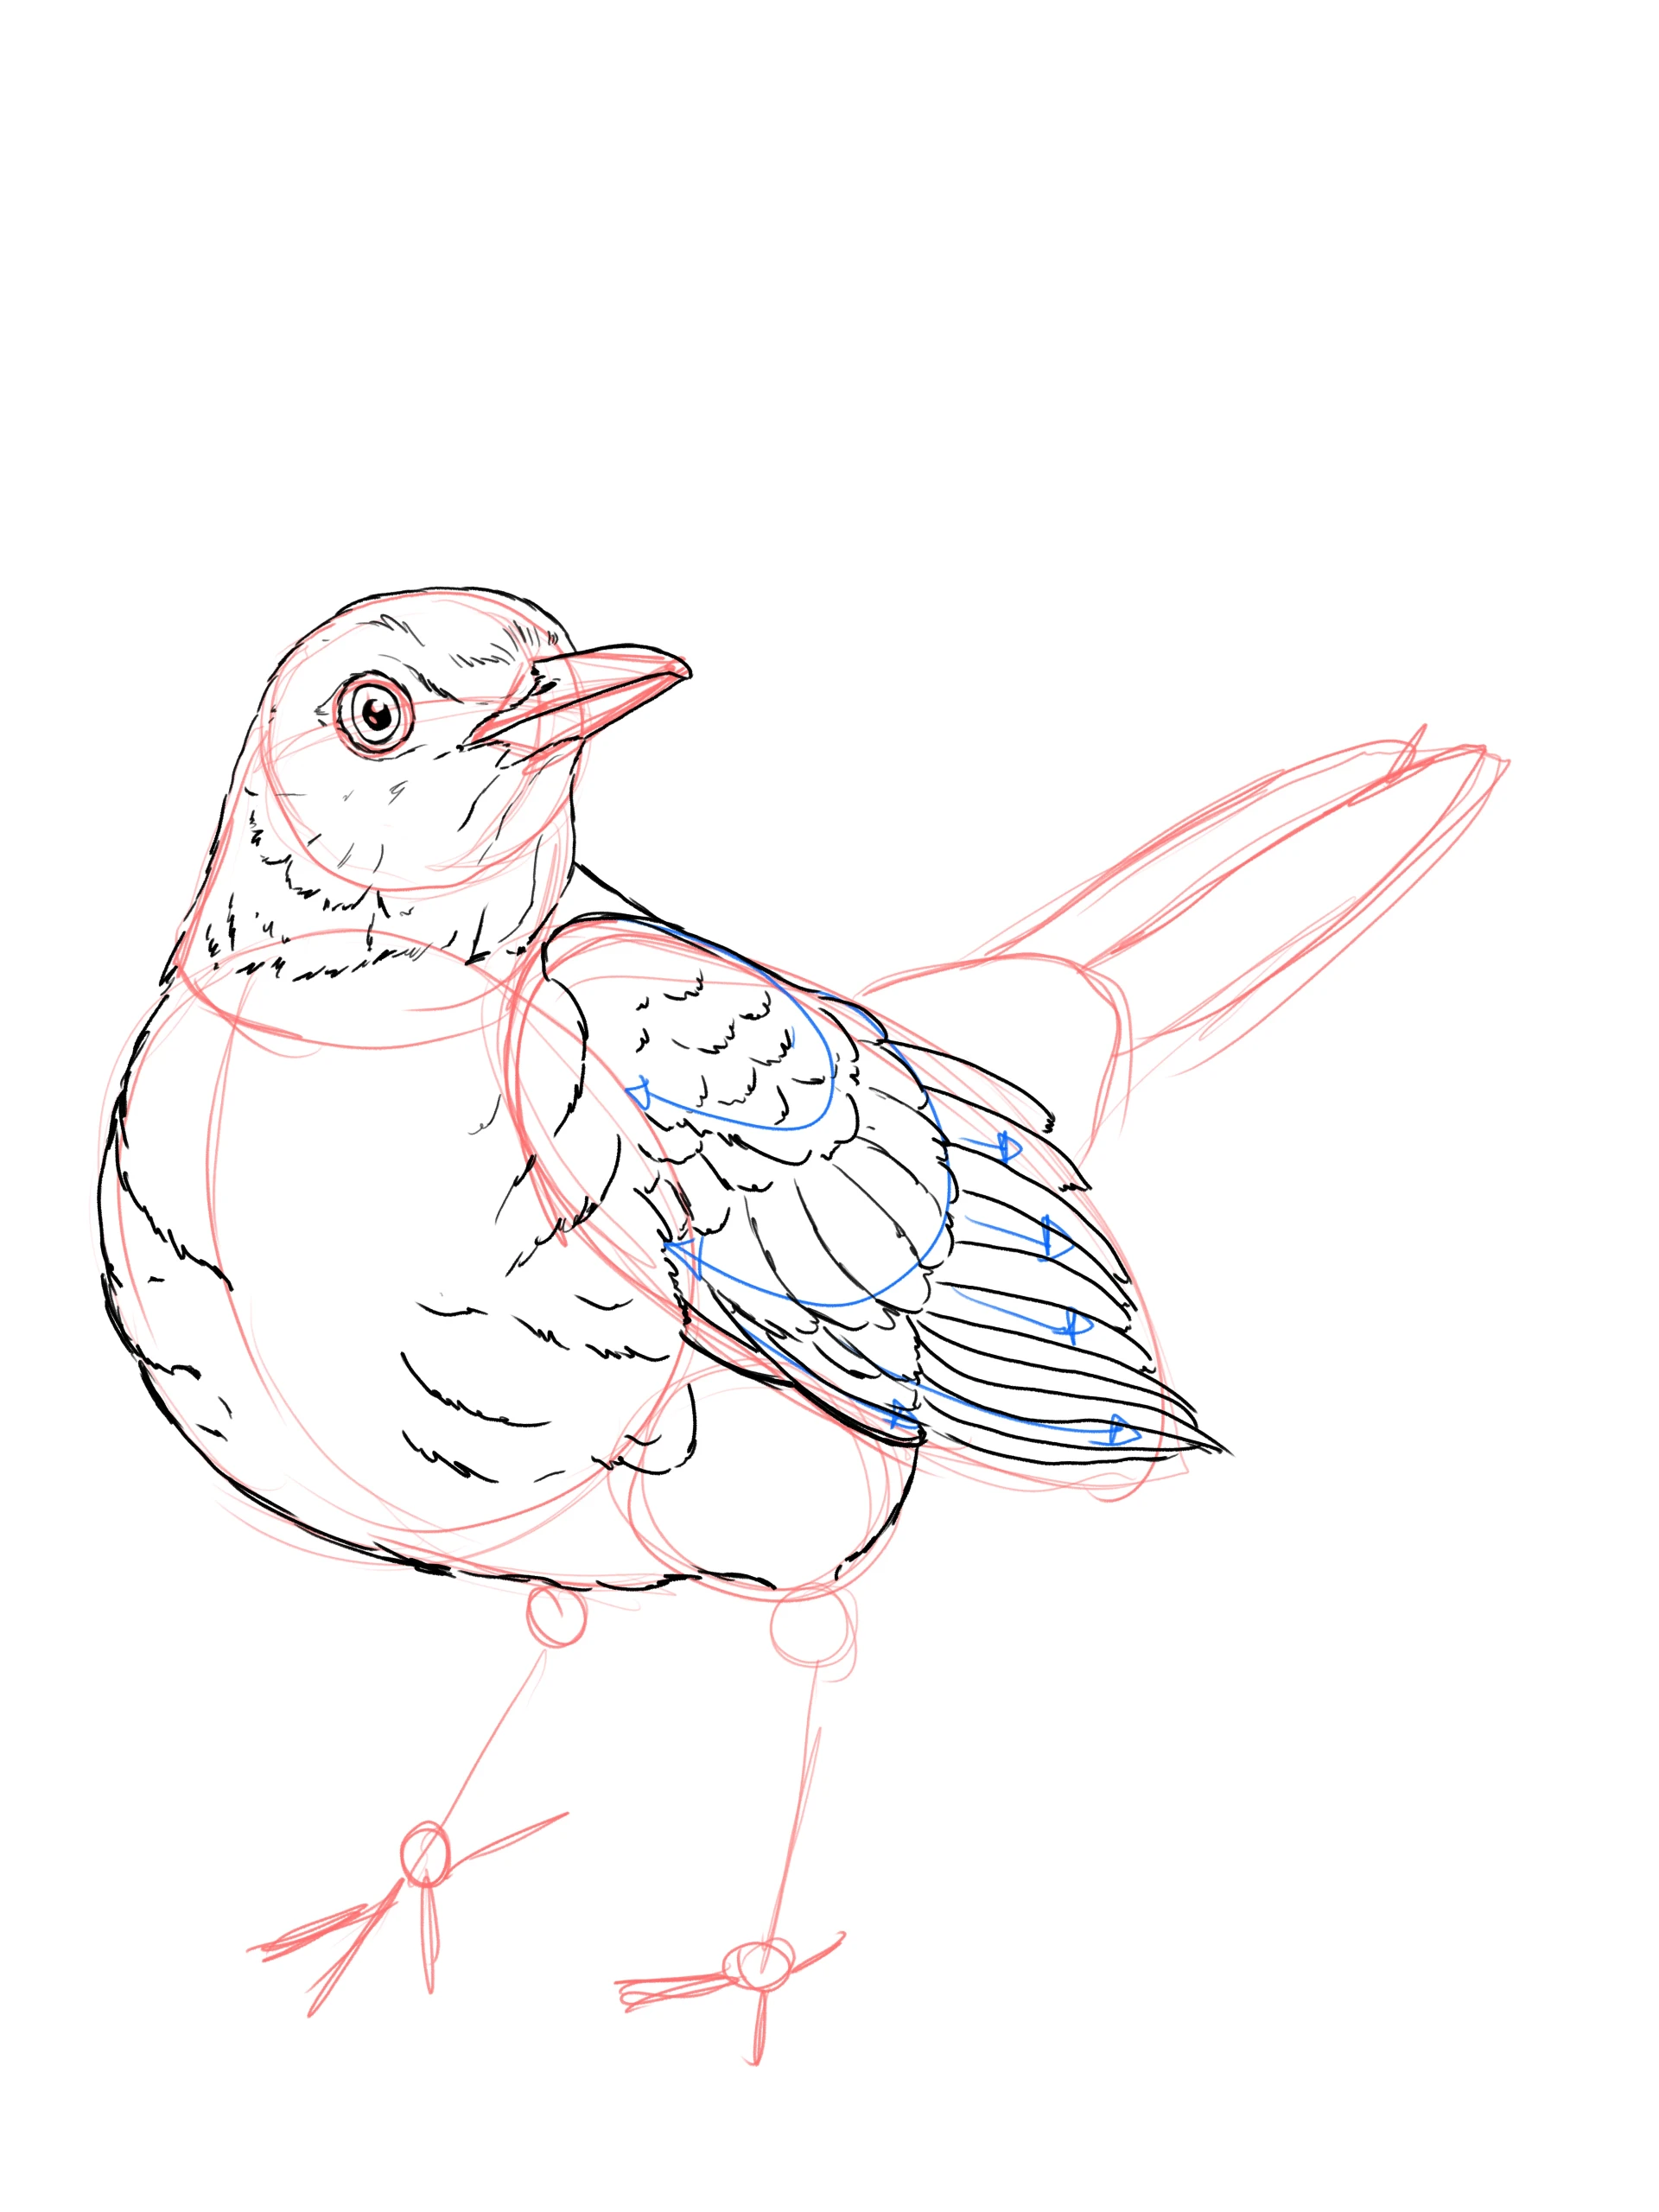
The plumage of the wings consists of three distinct layers; once they are identified, everything becomes much easier to draw: a first layer of very small feathers, a second layer of intermediate feathers that partially overlap, and a third layer of long feathers that are almost entirely superimposed.
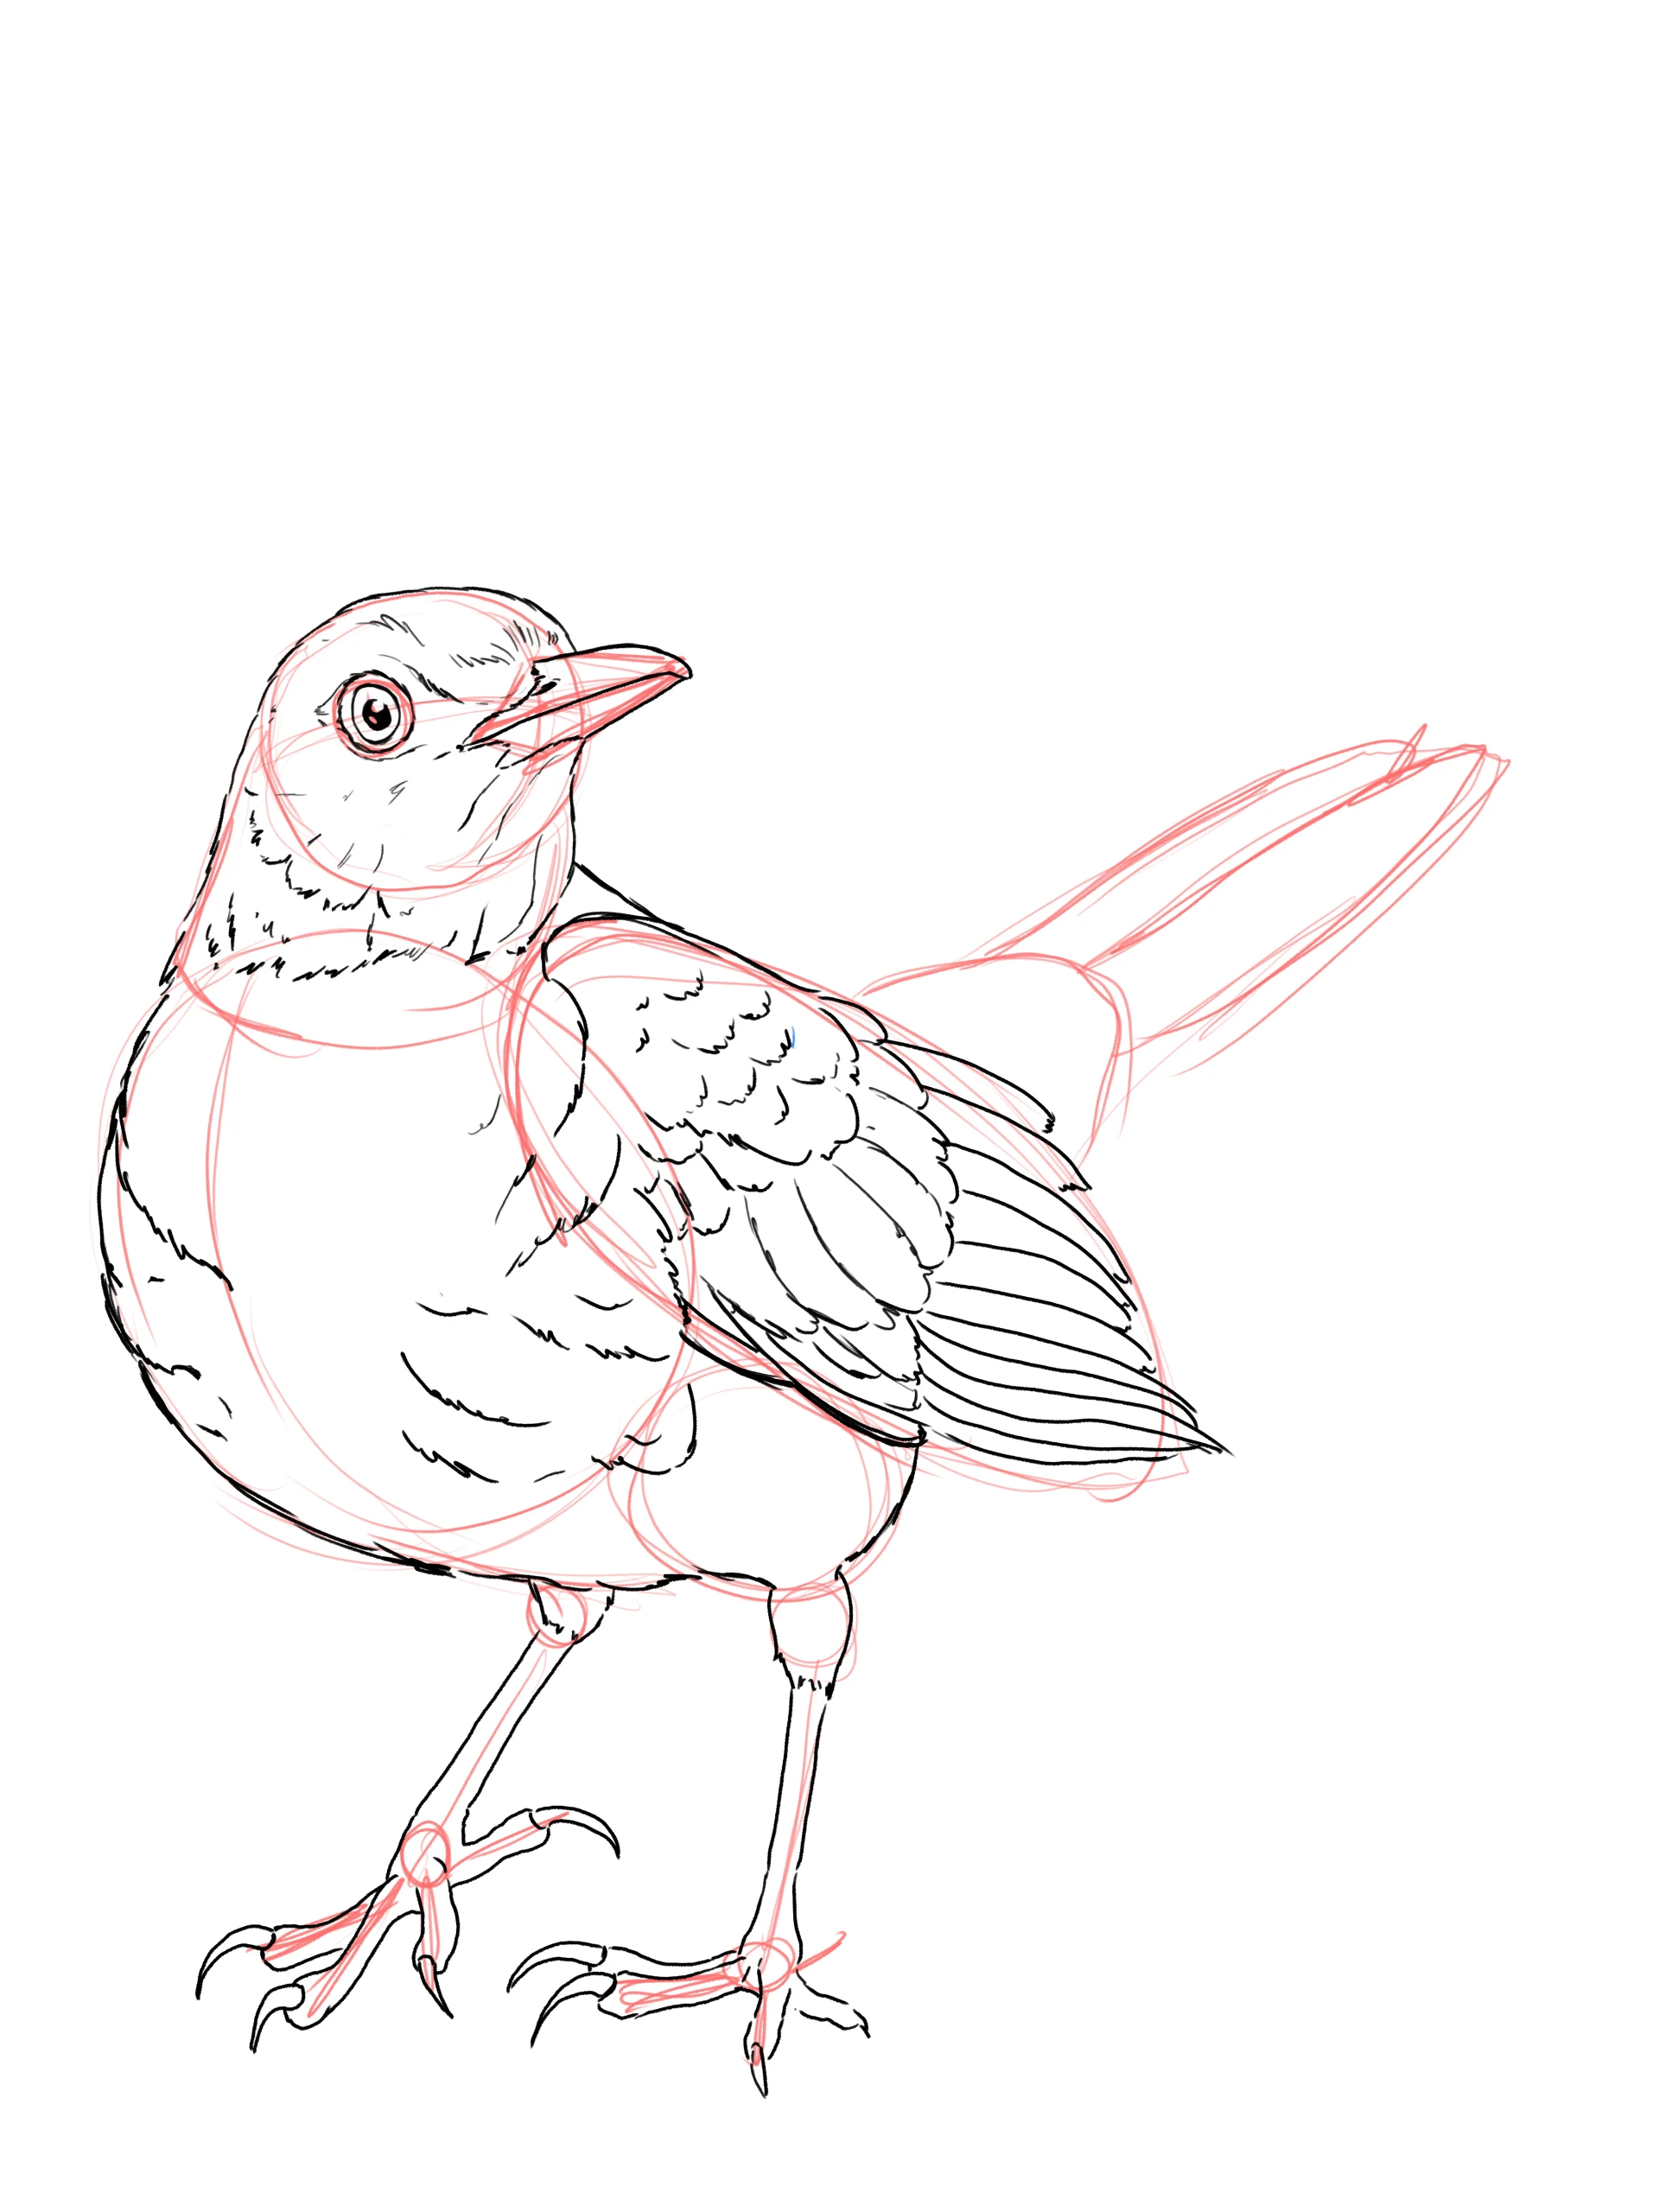
For the legs, draw thighs covered in feathers, then thin lower legs with long toes ending in curved claws: three toes at the front, one at the back.
Finish with the tail feathers: two long feathers that rise up elegantly. Once this last detail has been added, erase the basic sketch to move on to coloring.
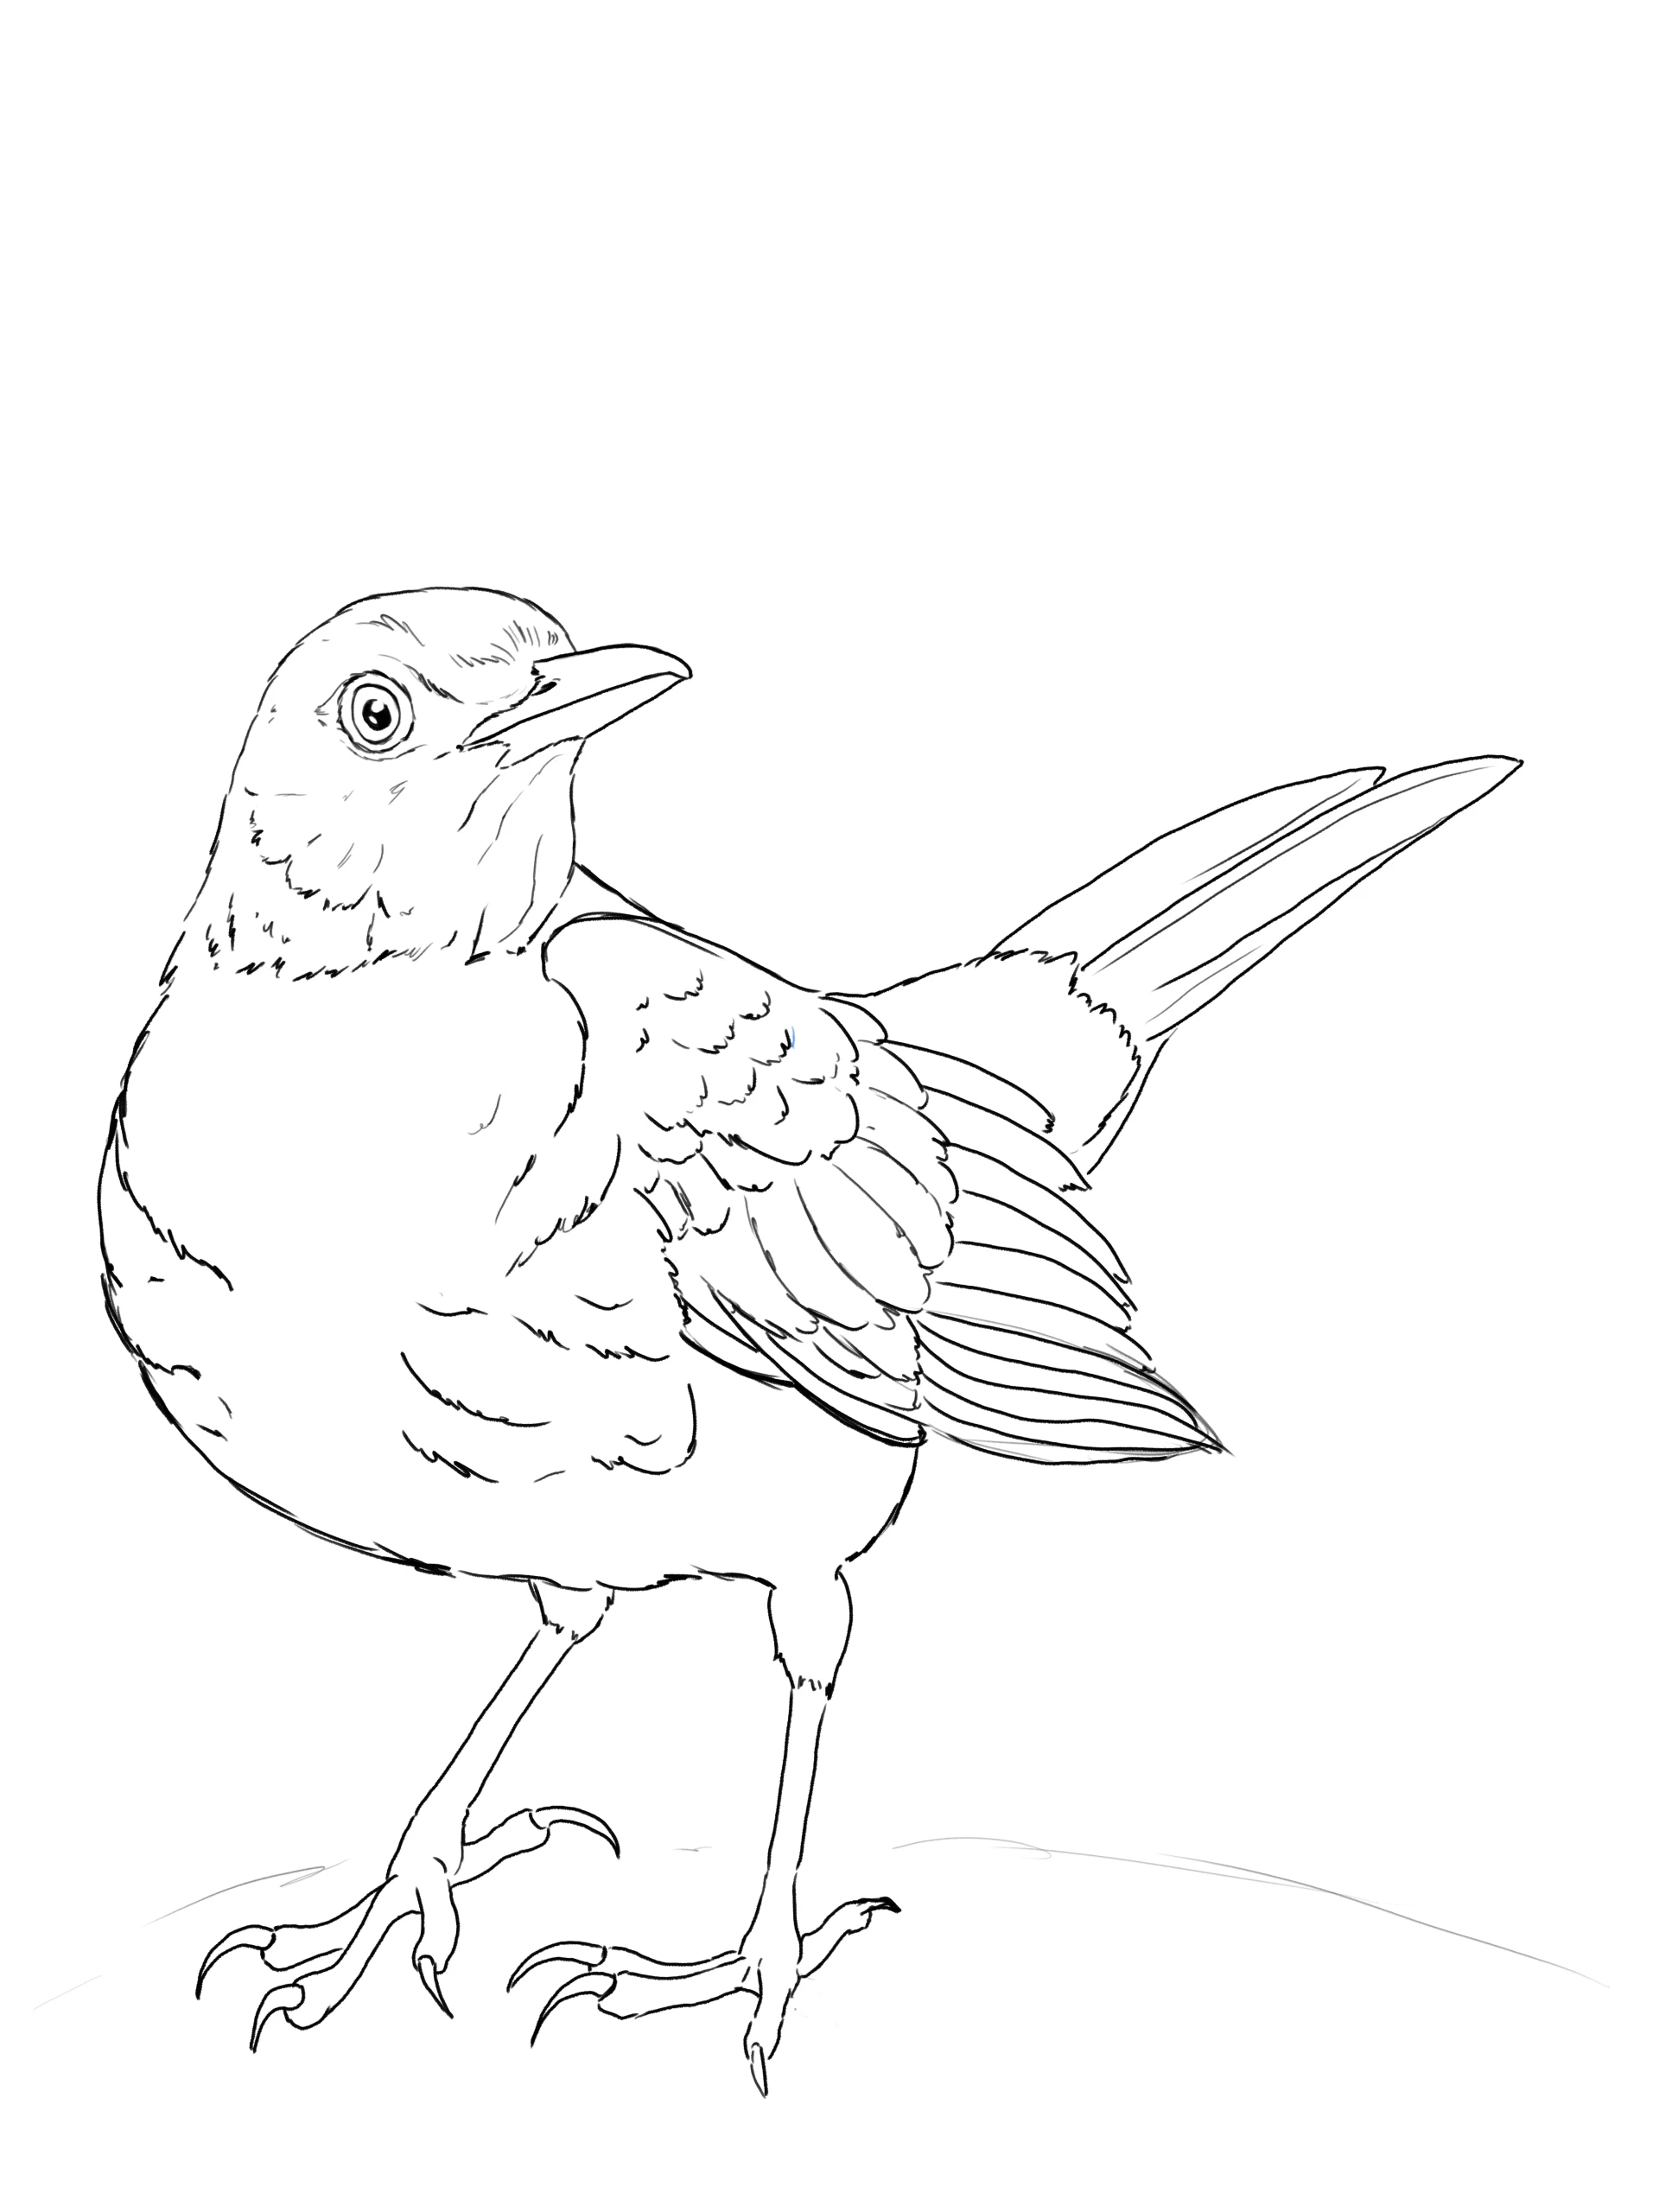
Add color to the drawing
First, apply a flat base color, without focusing on volume or shading. Use a gray with a slight touch of blue and brown to achieve a medium dark but slightly pigmented tone. For the legs, a darkened ocher base will provide a neutral tone. For the beak and eye-ring, use a golden yellow.
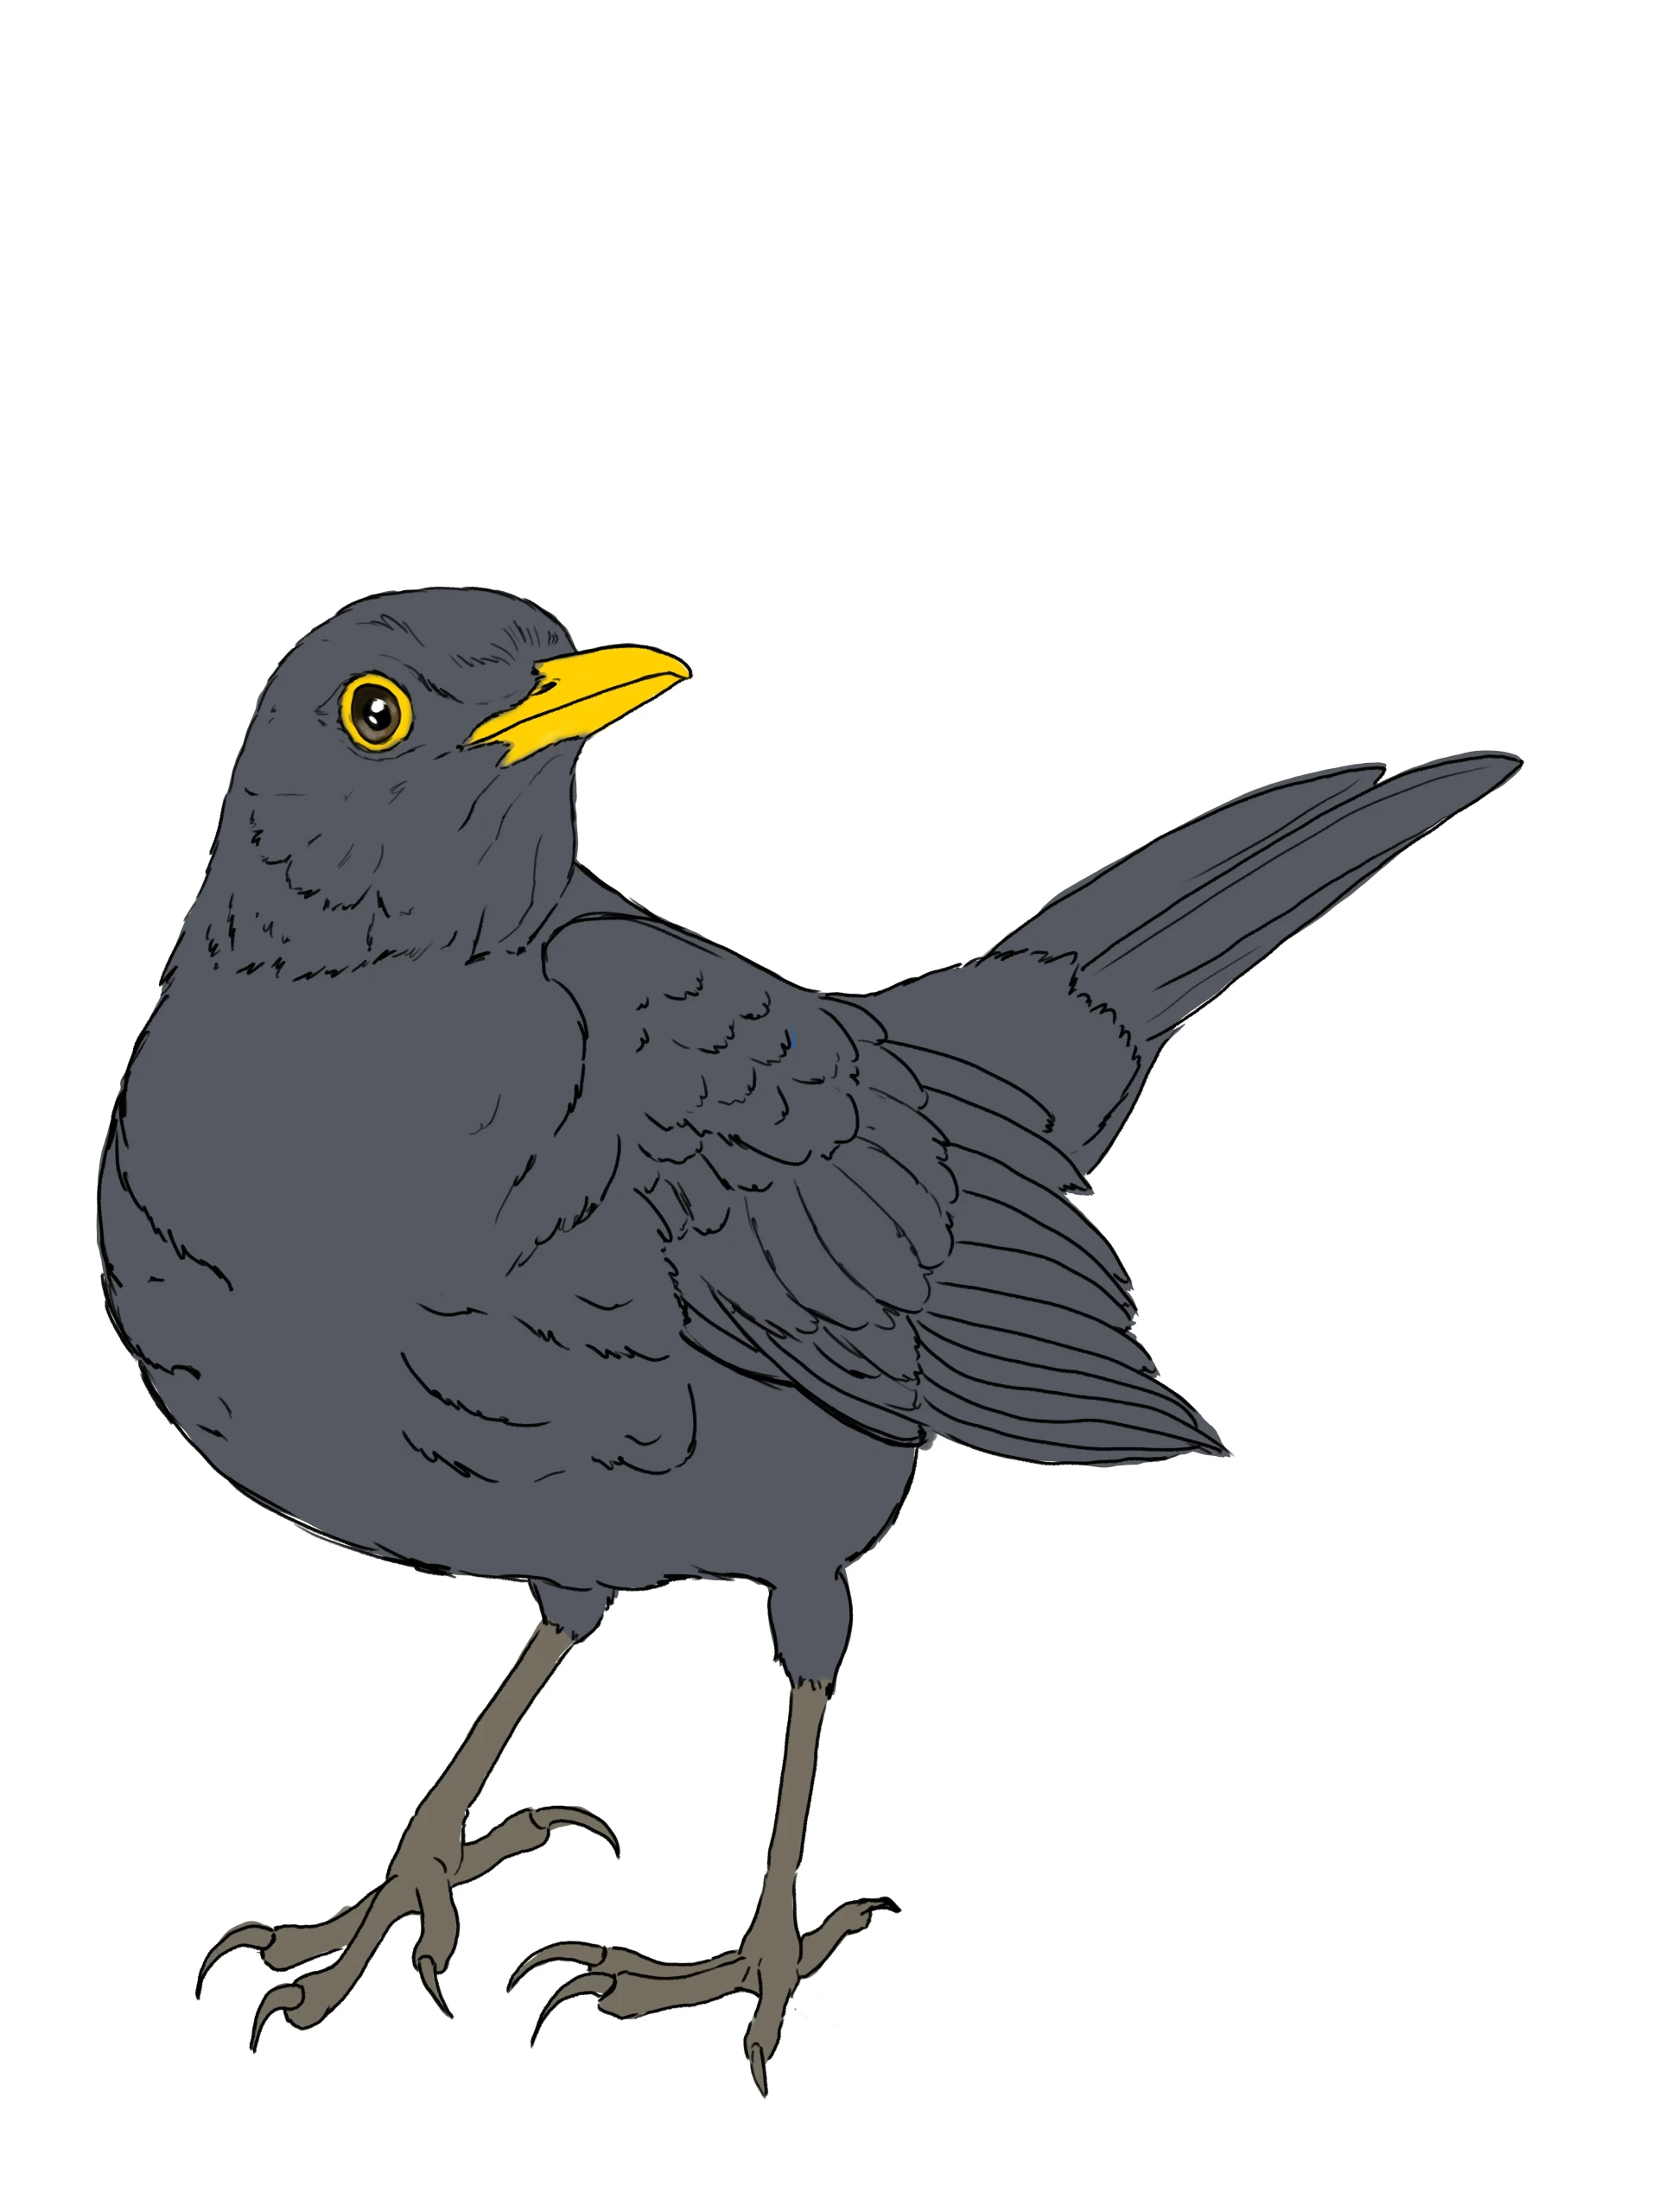
Next, move on to the plumage using a darker shade of the base chromatic gray. Draw small, short, parallel lines that follow the direction of the body parts, and layer them to place shadows in strategic areas above the eyes and under the beak in particular.
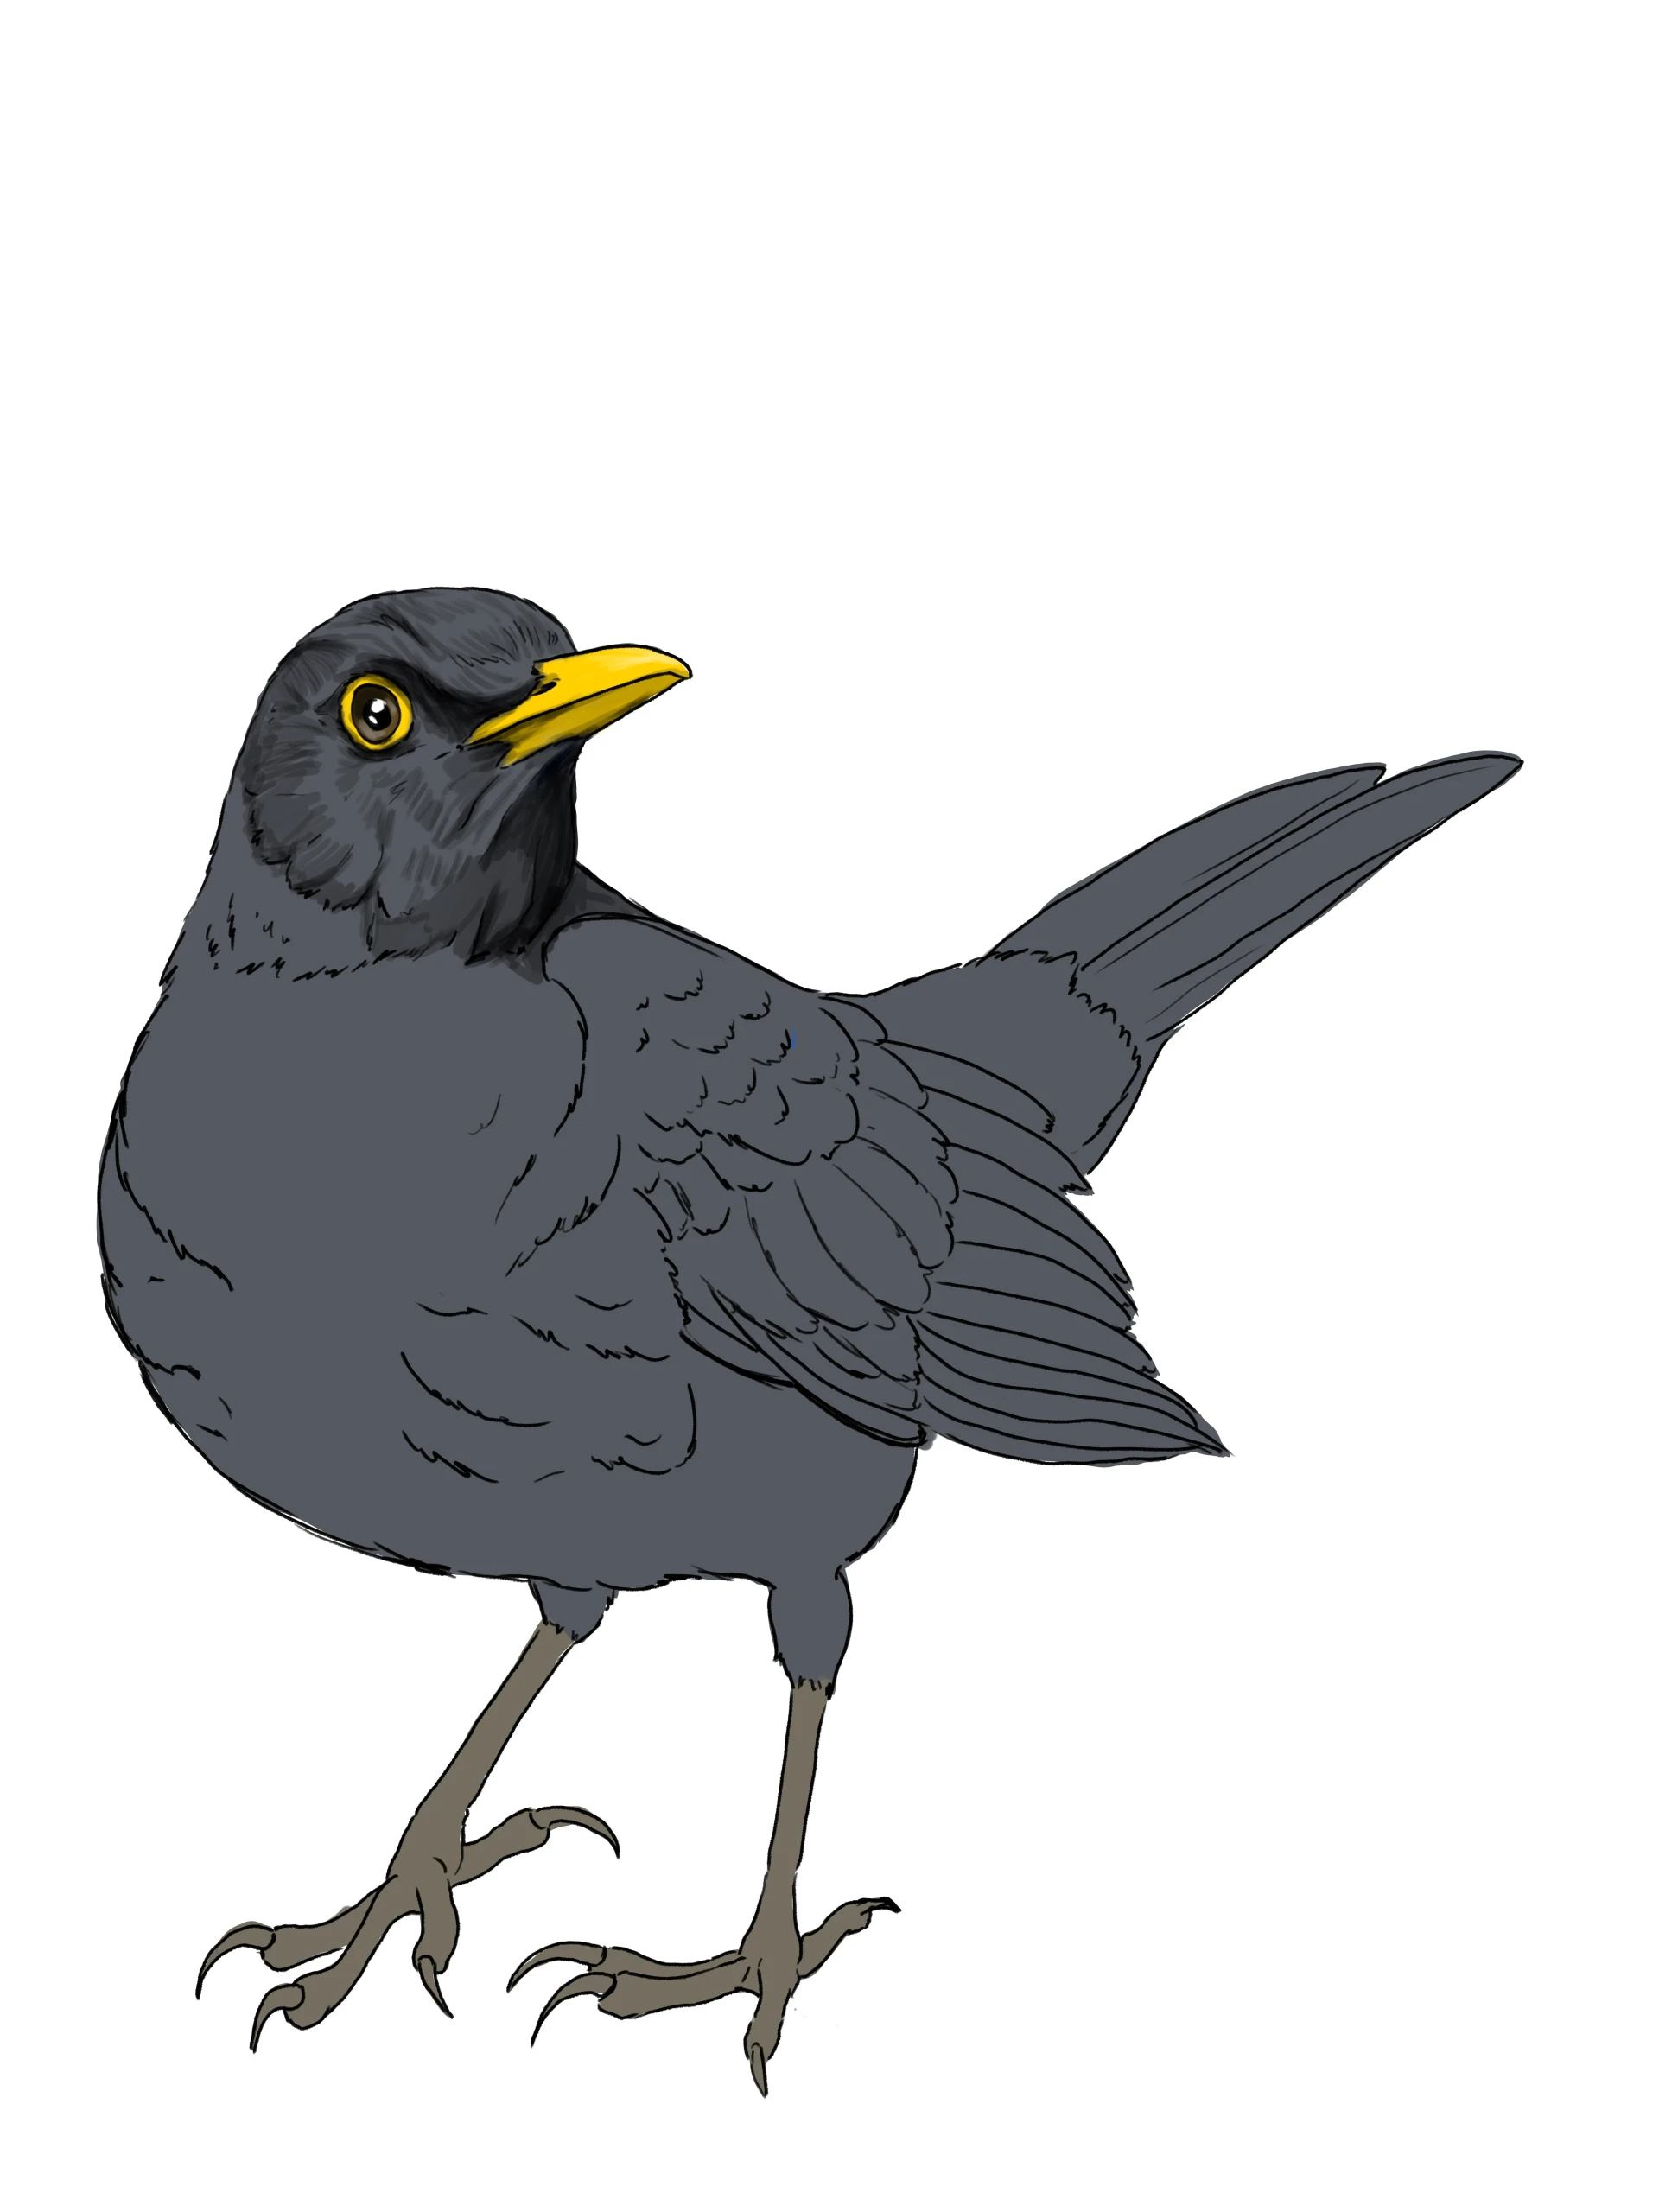
For the chest area, slightly larger strokes placed diagonally towards the center create the impression of quilted volume. Gradually darken the stomach area in successive layers, always keeping some light; avoid pure black.
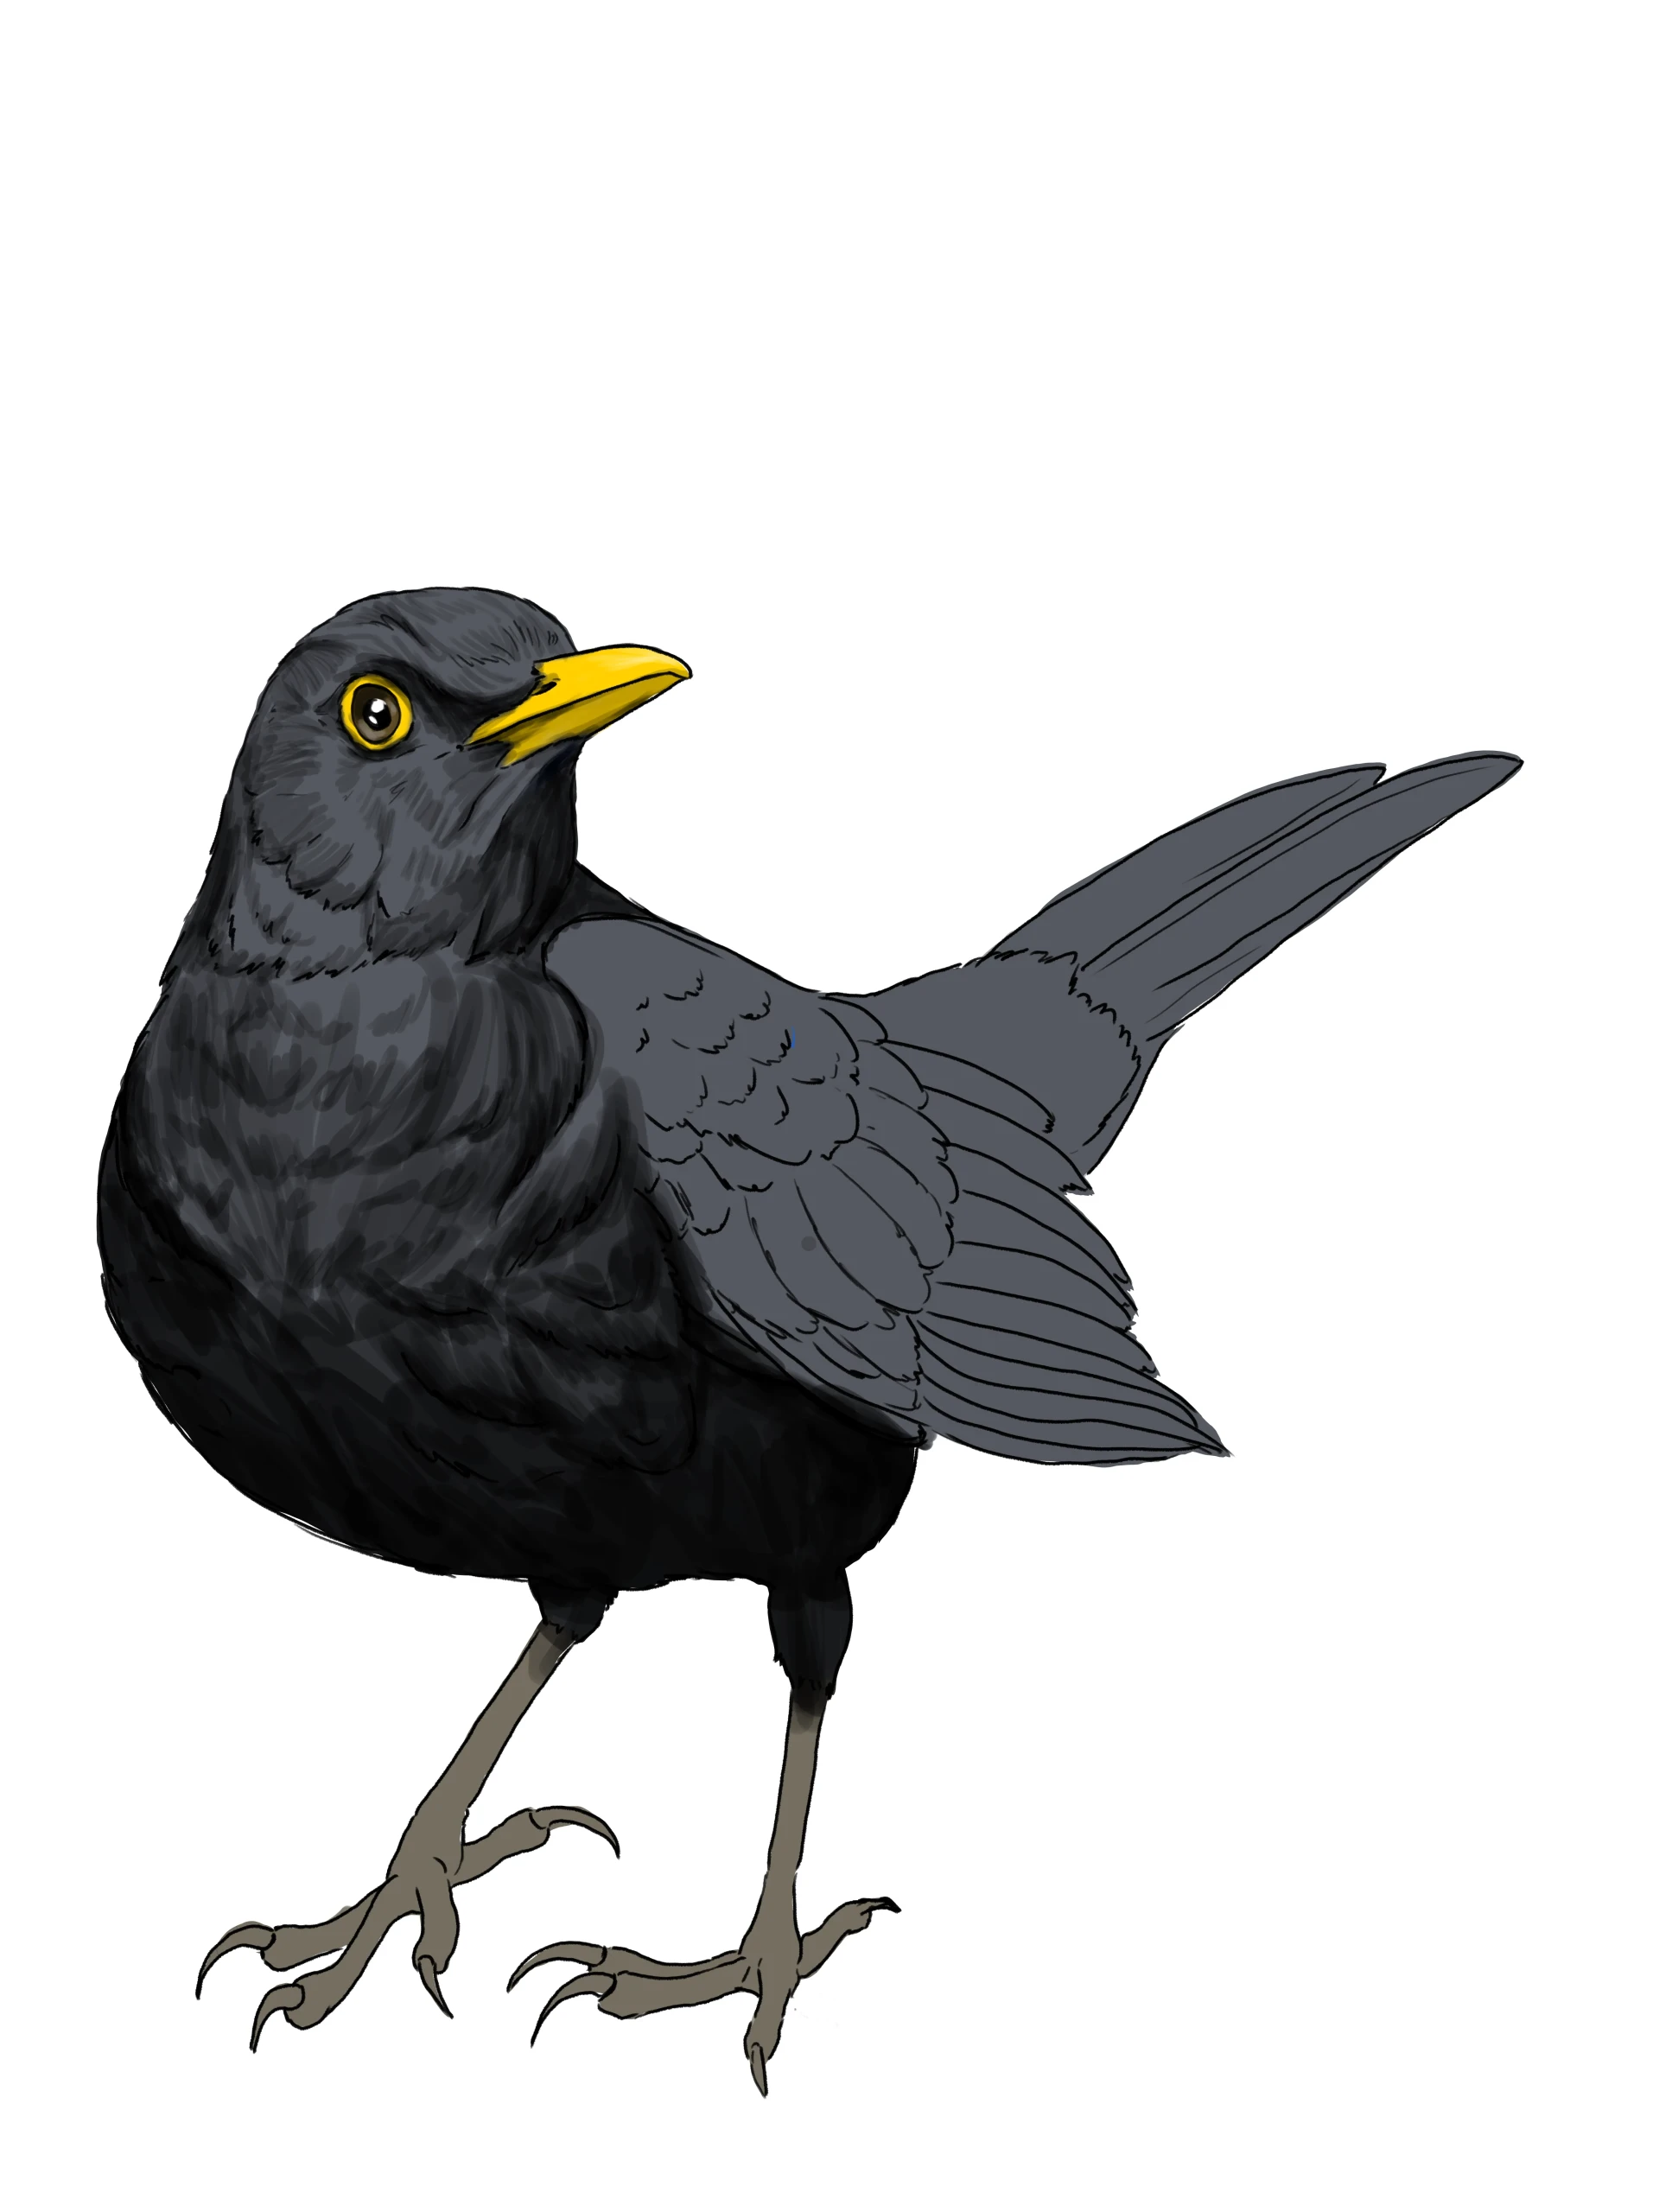
For the first area of the wings, arrange small strokes in alternating semicircles, like fish scales.
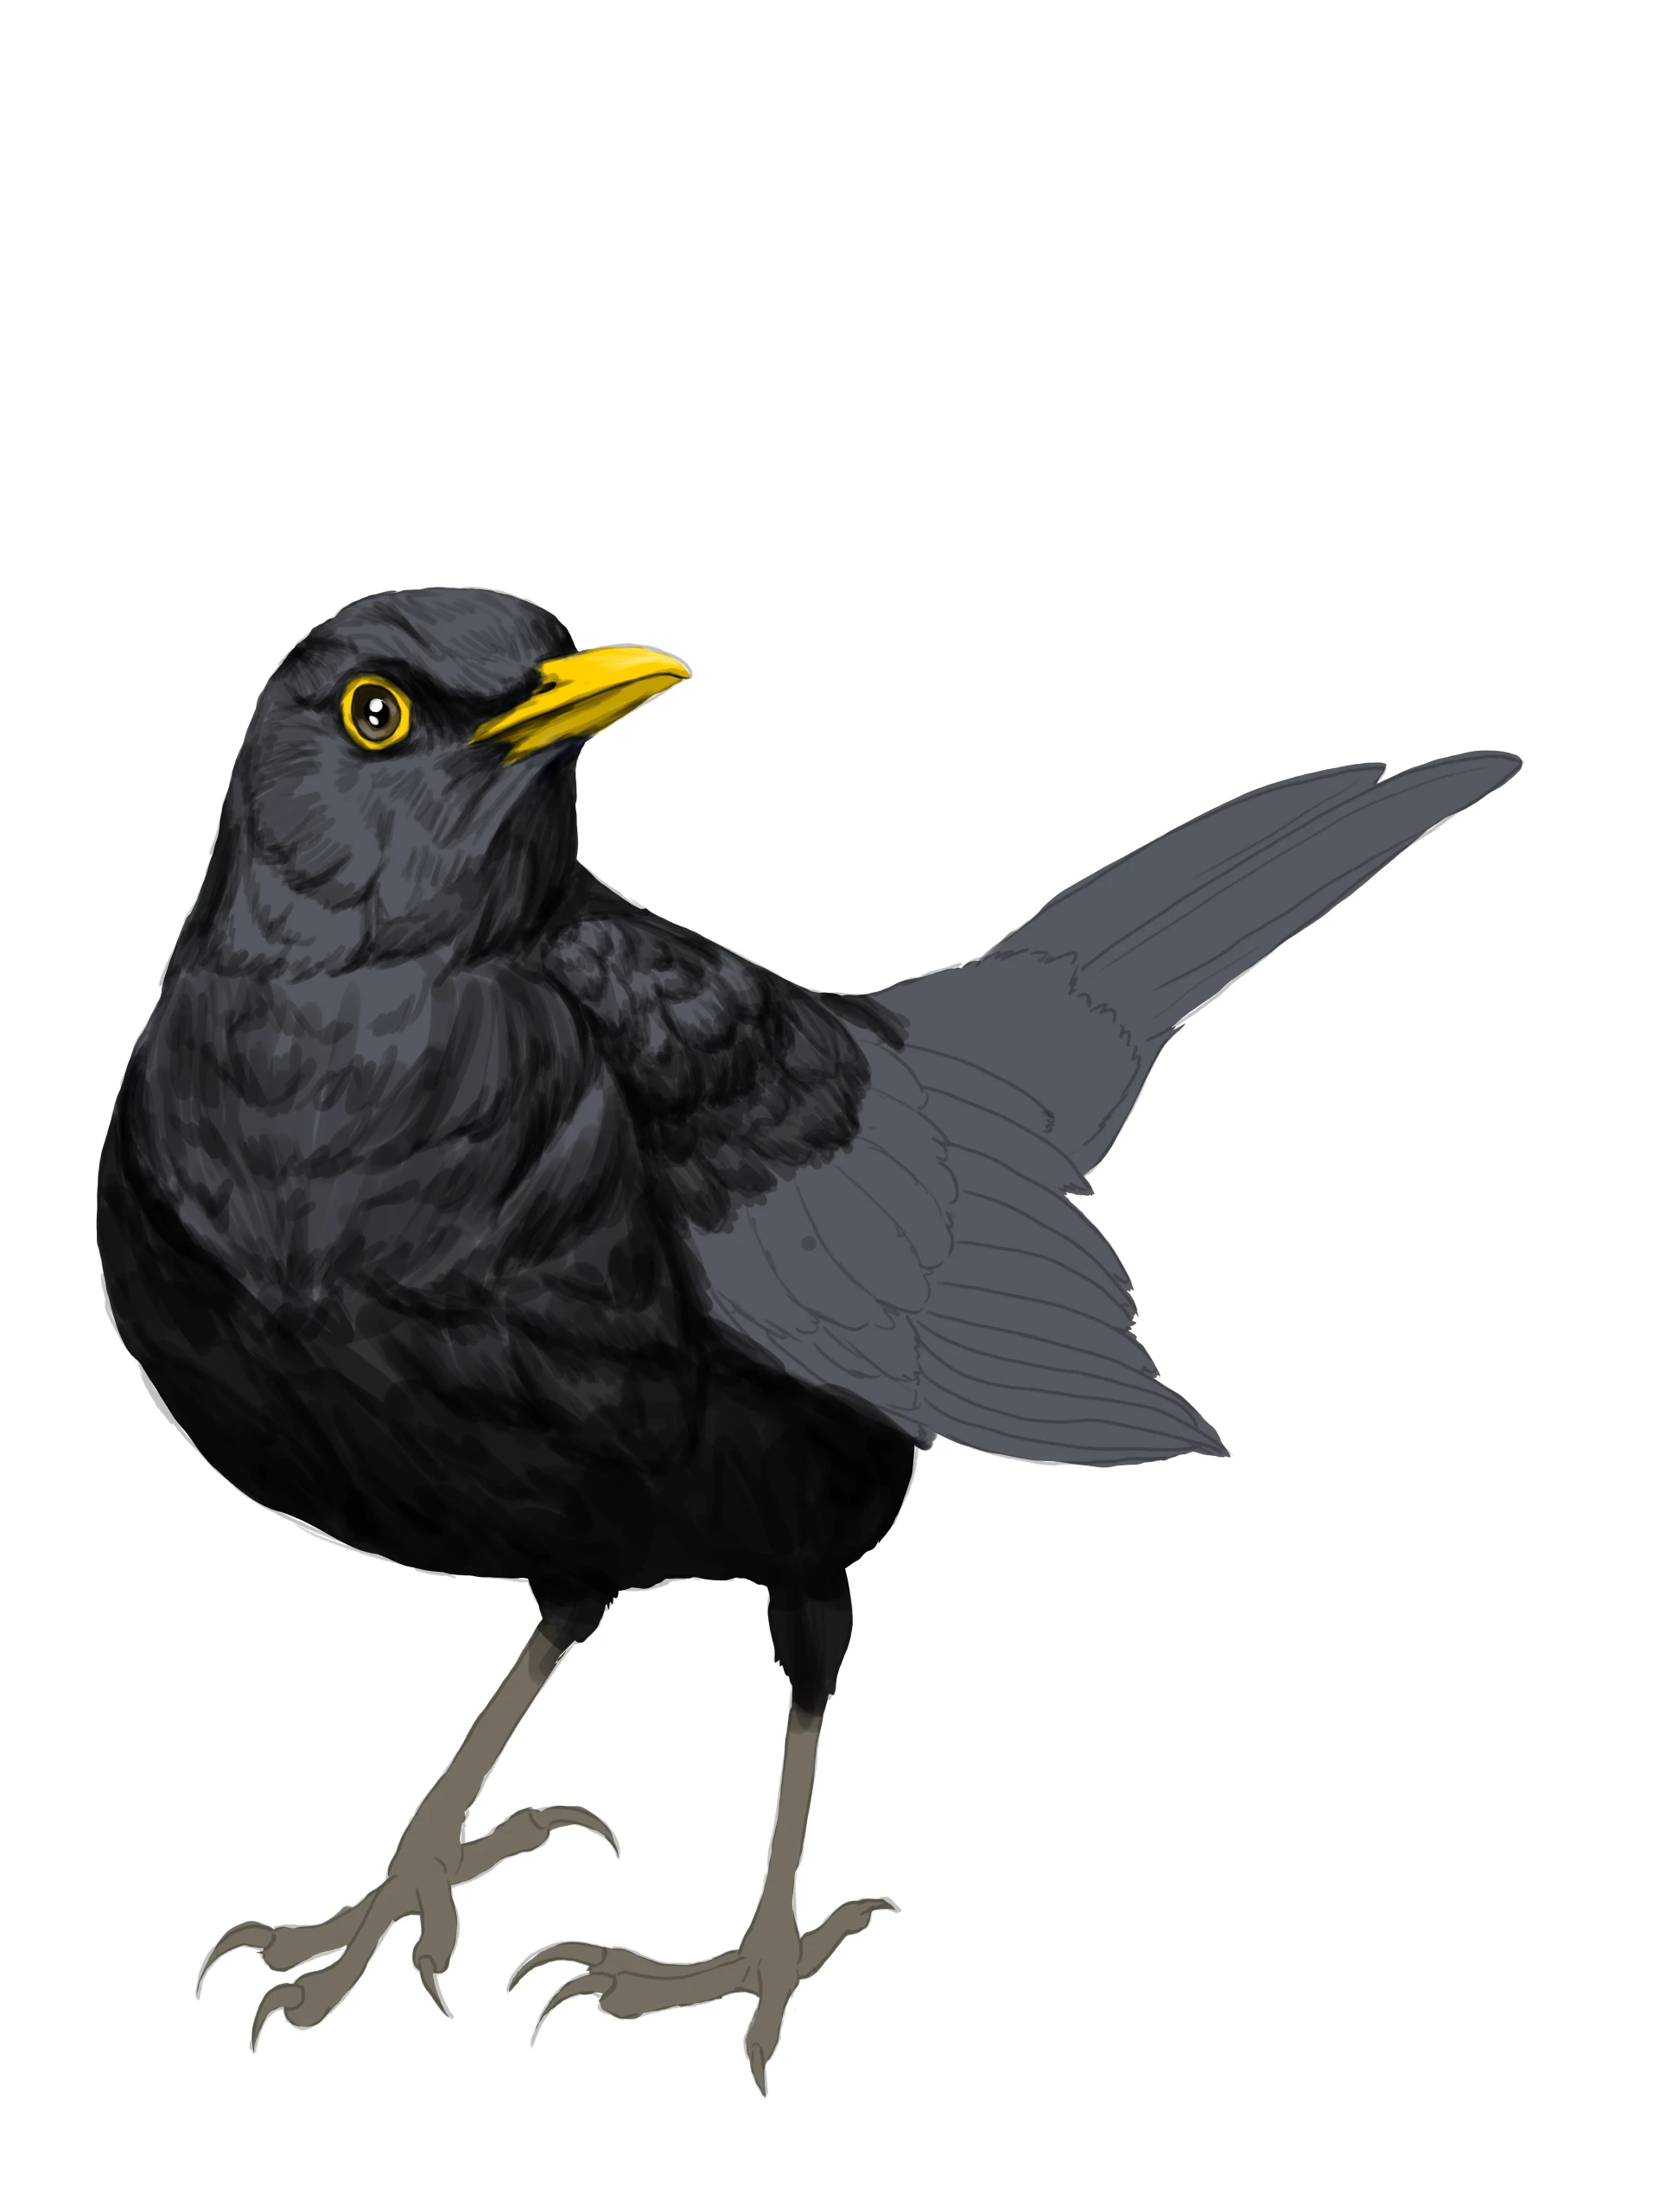
For long feathers, draw lines at both ends, leaving a lighter area in the center. The contact shadows between the feathers, in a fairly dark tone, help to clearly define the shapes.
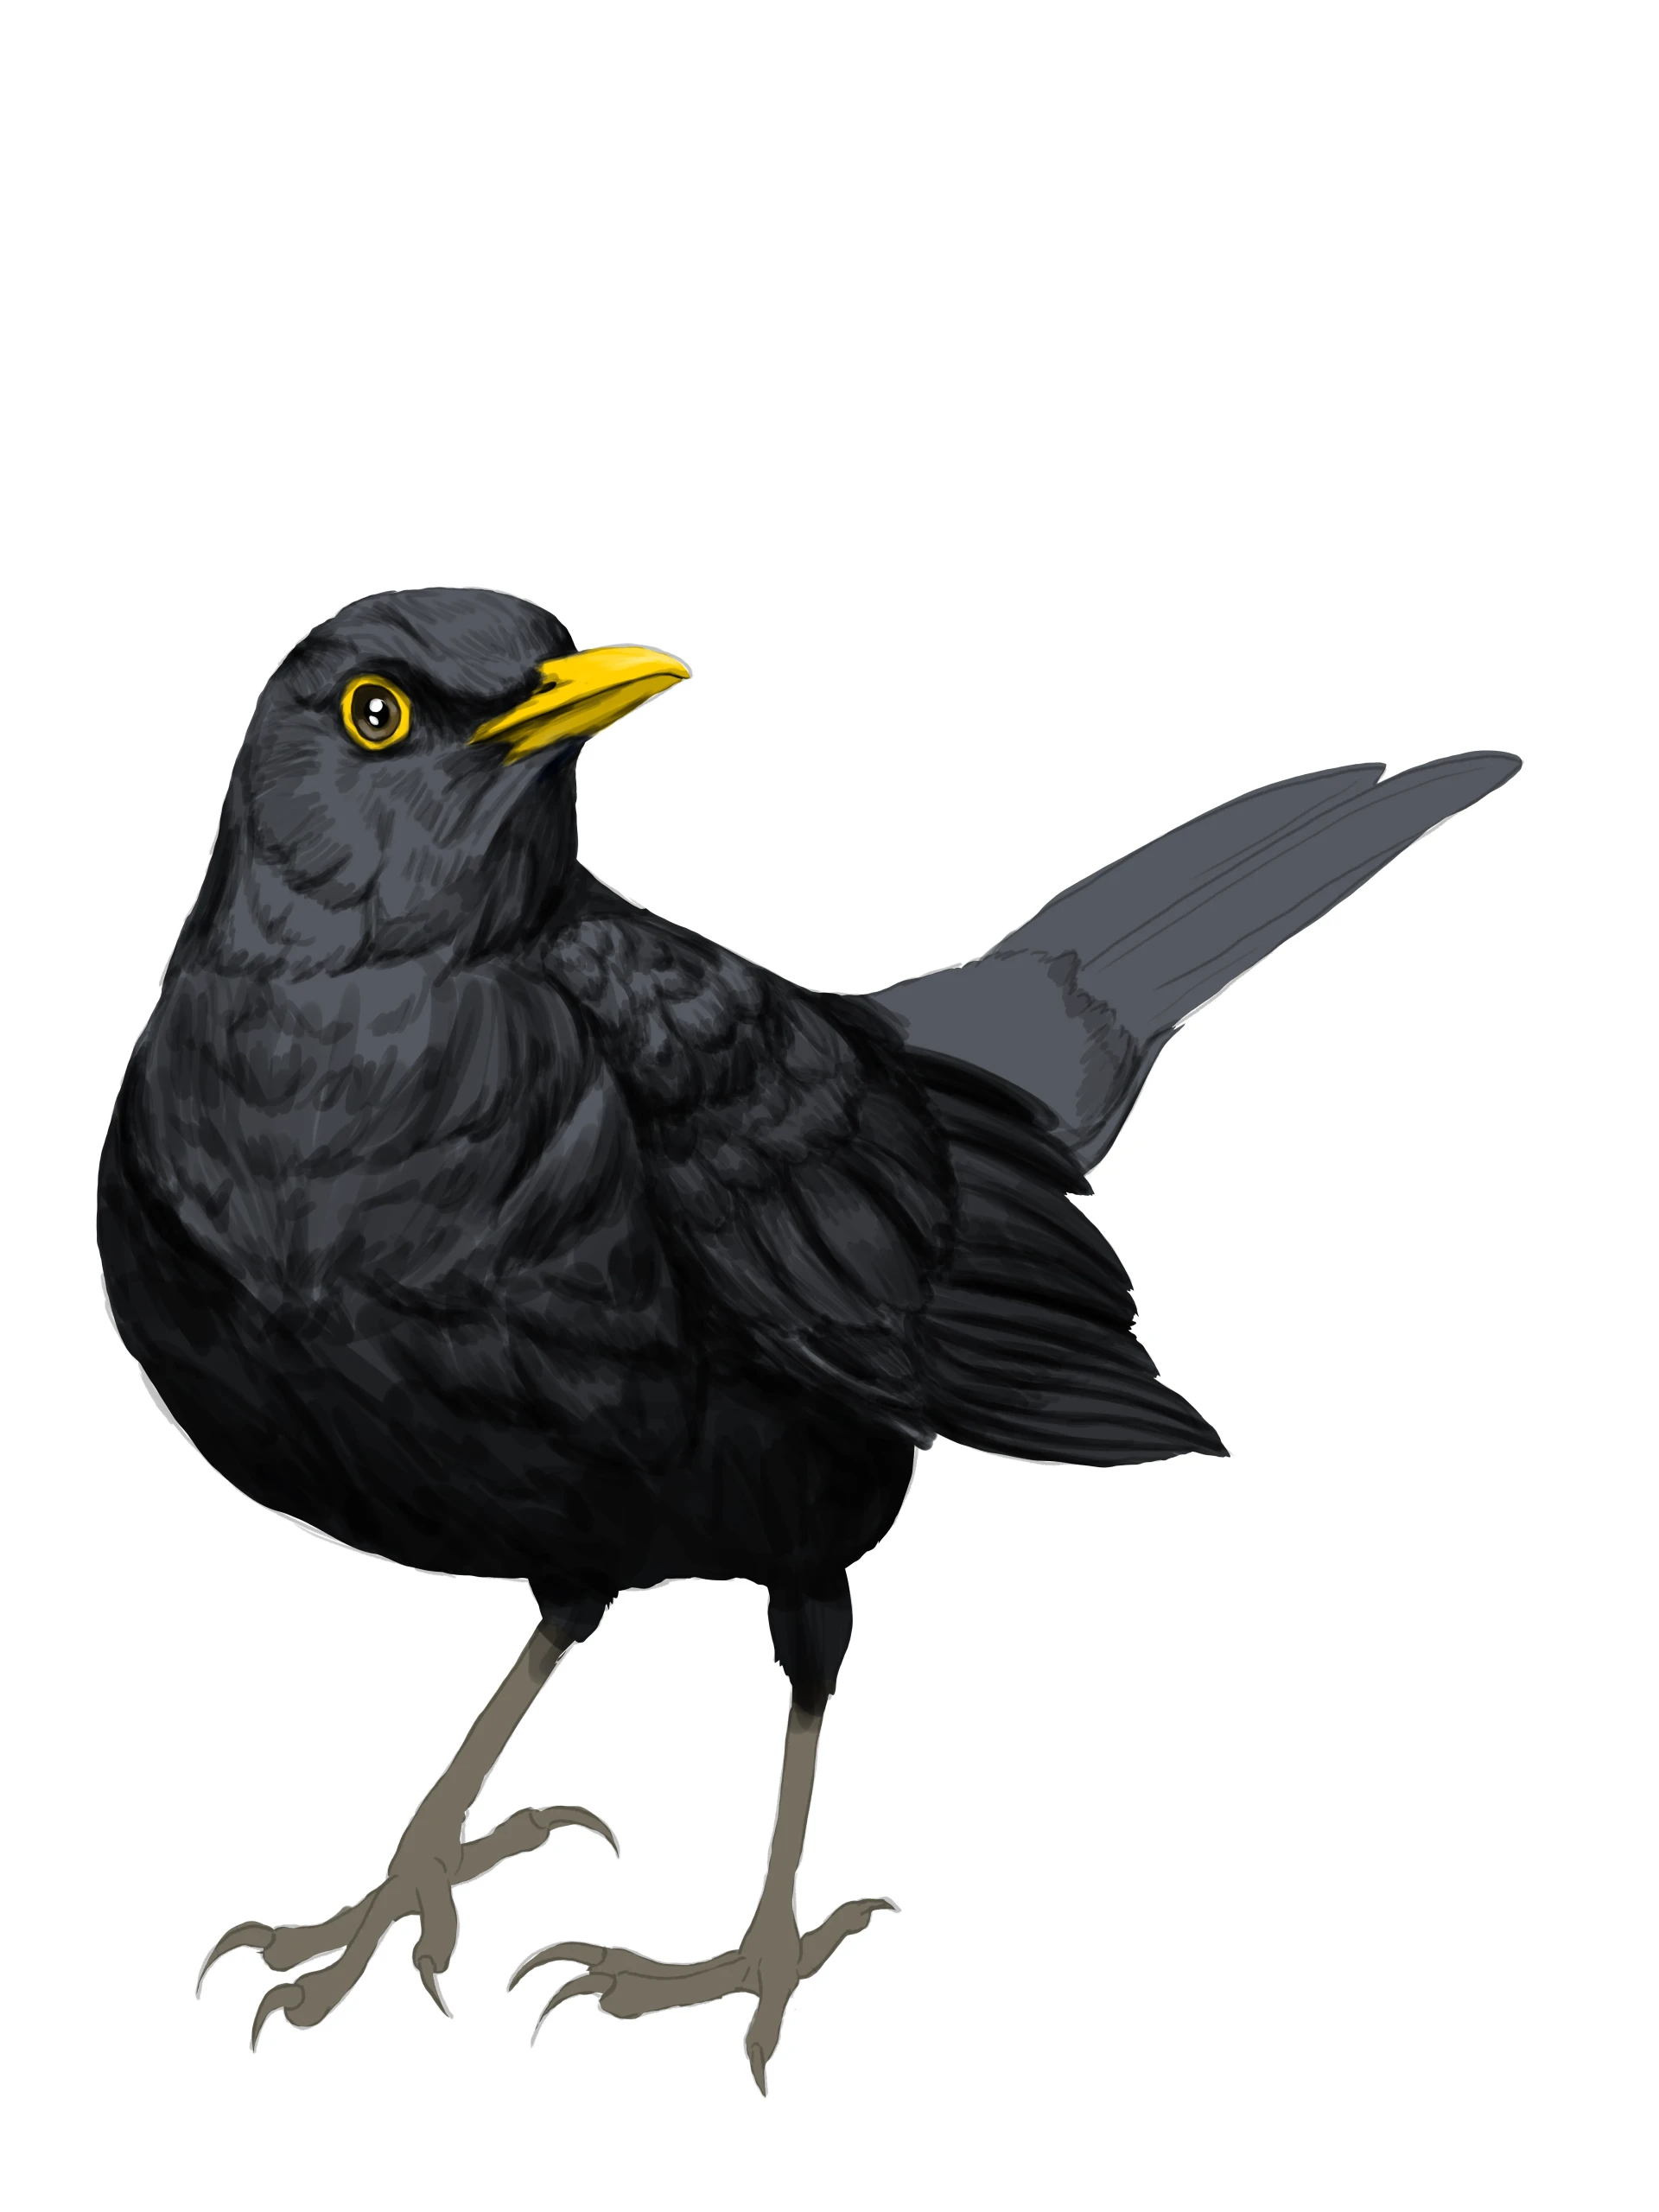
For the tail, combine two types of strokes: short messy strokes to create a texture similar to fur, concentrated in the darker areas, and long, uniform stripes in different shades of chromatic gray for the larger feathers.
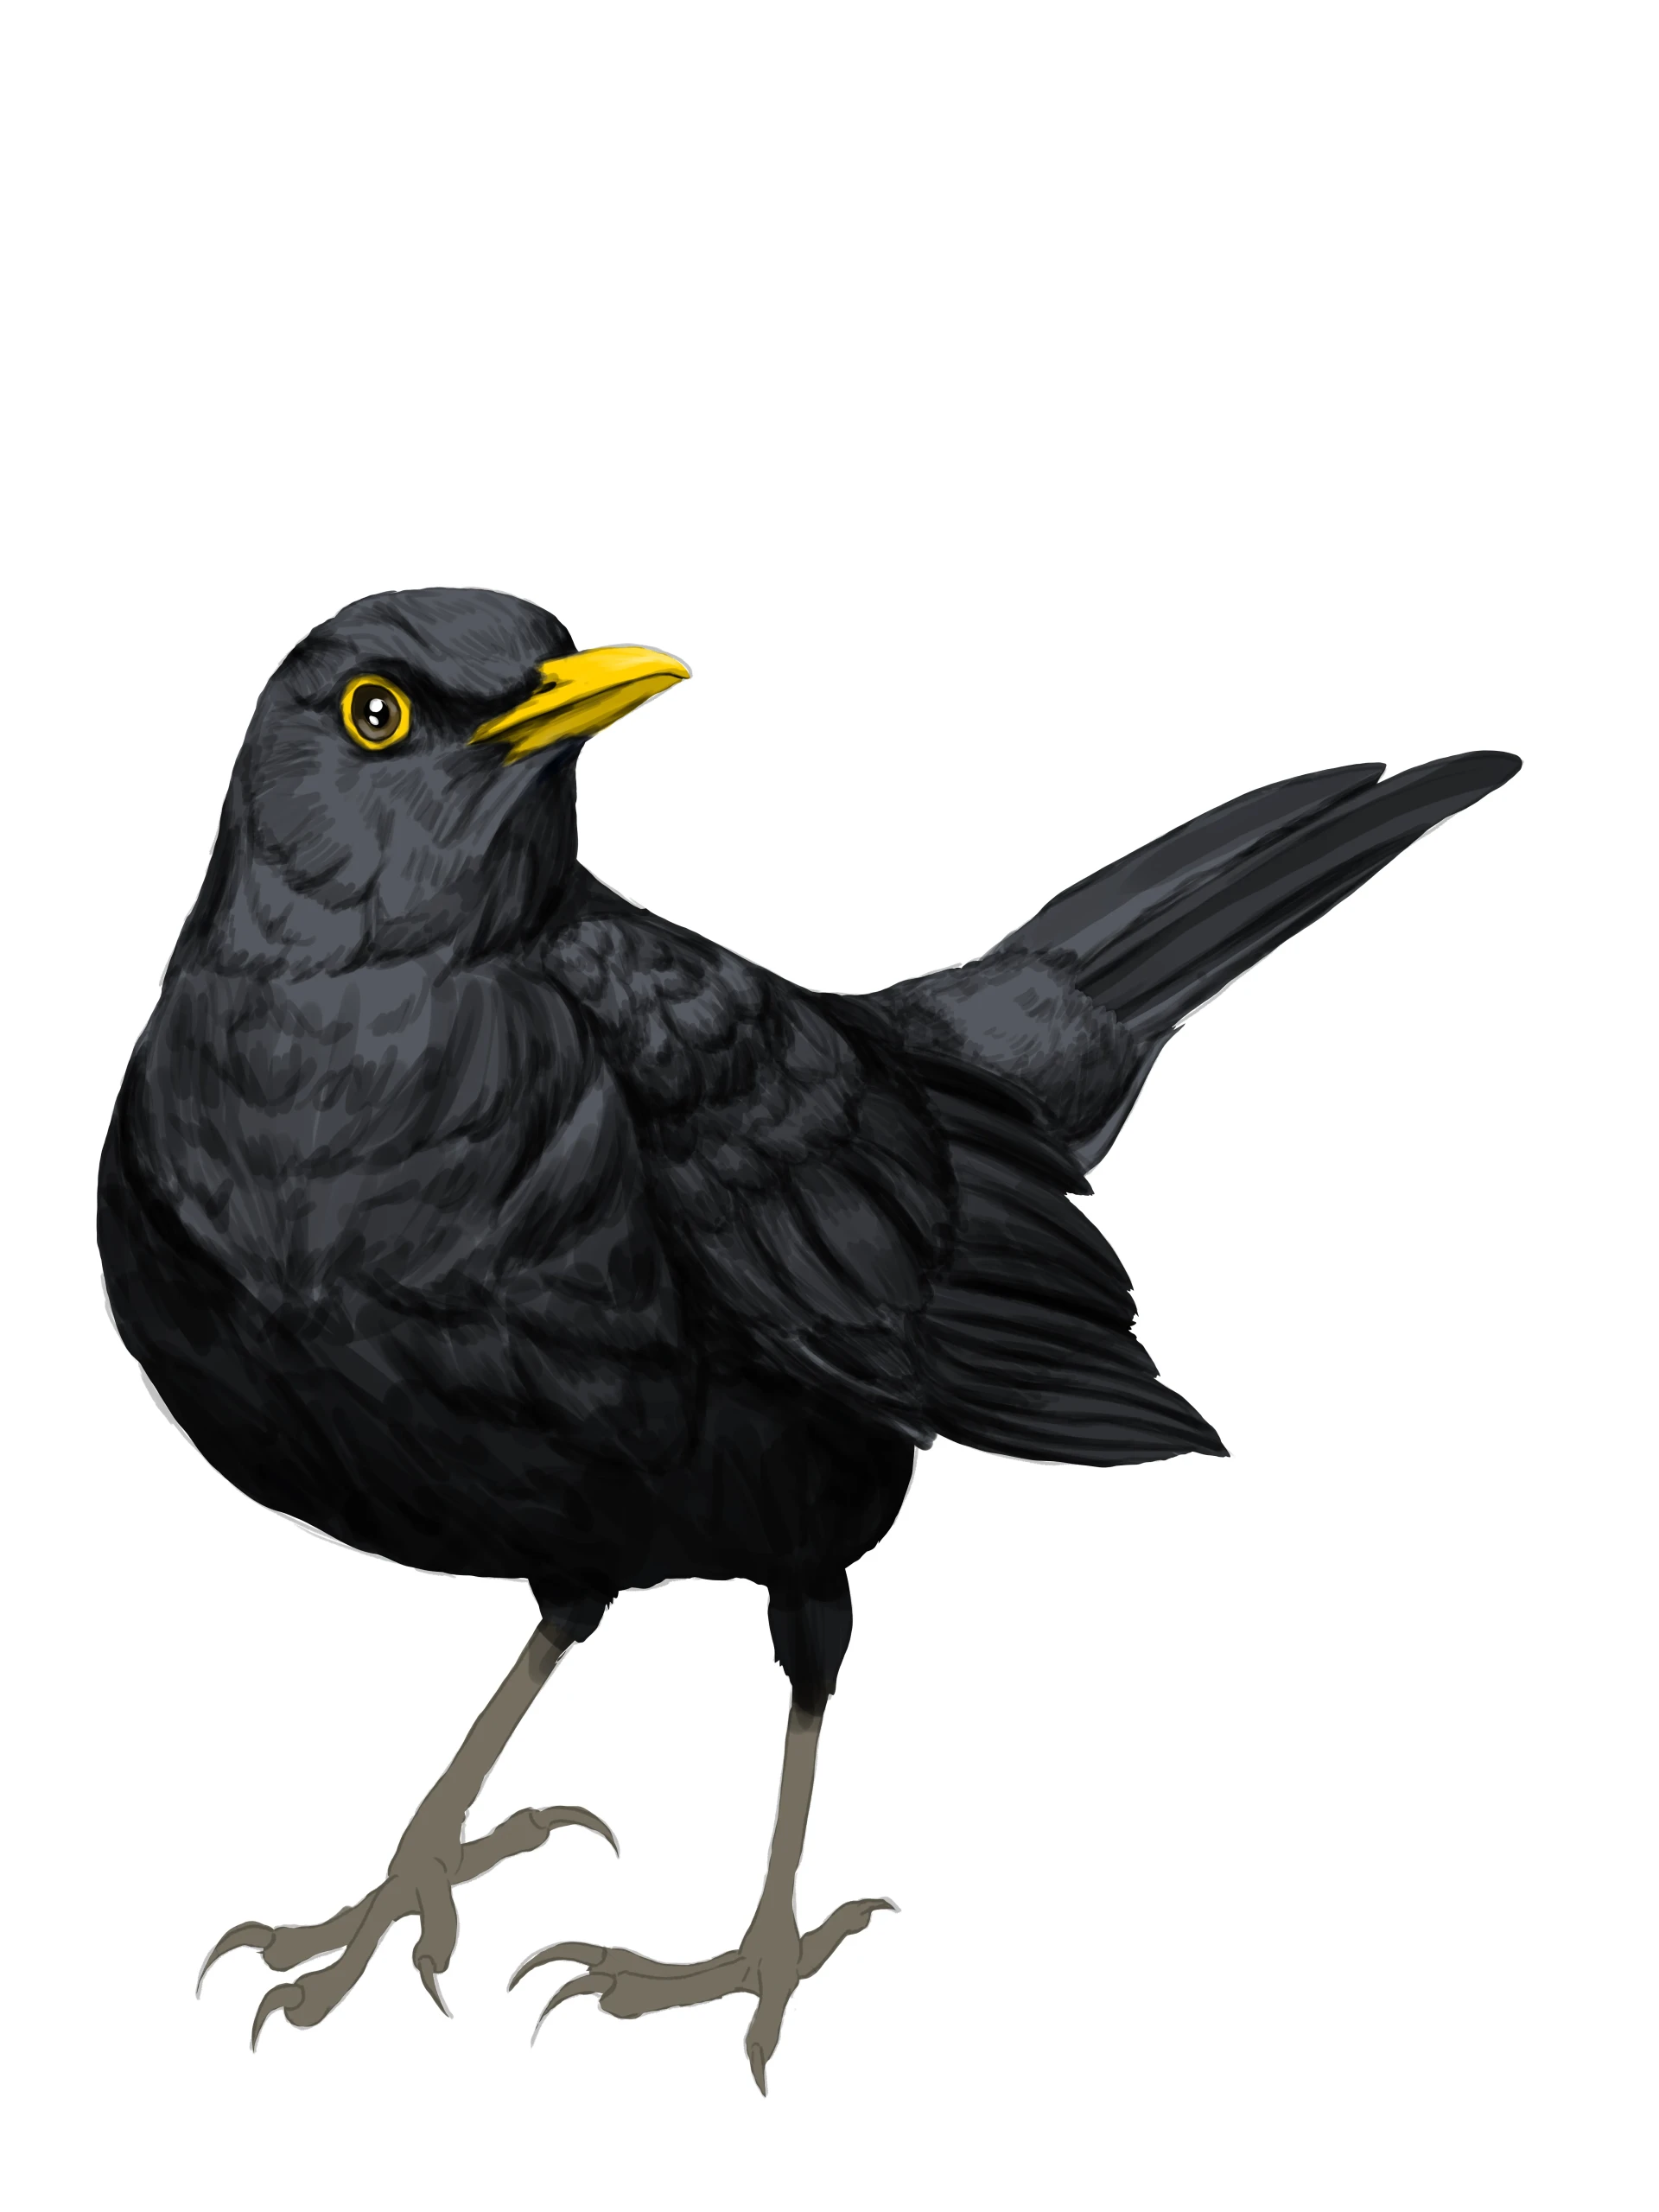
For the legs, a soft shadow with subtle contrast is sufficient.
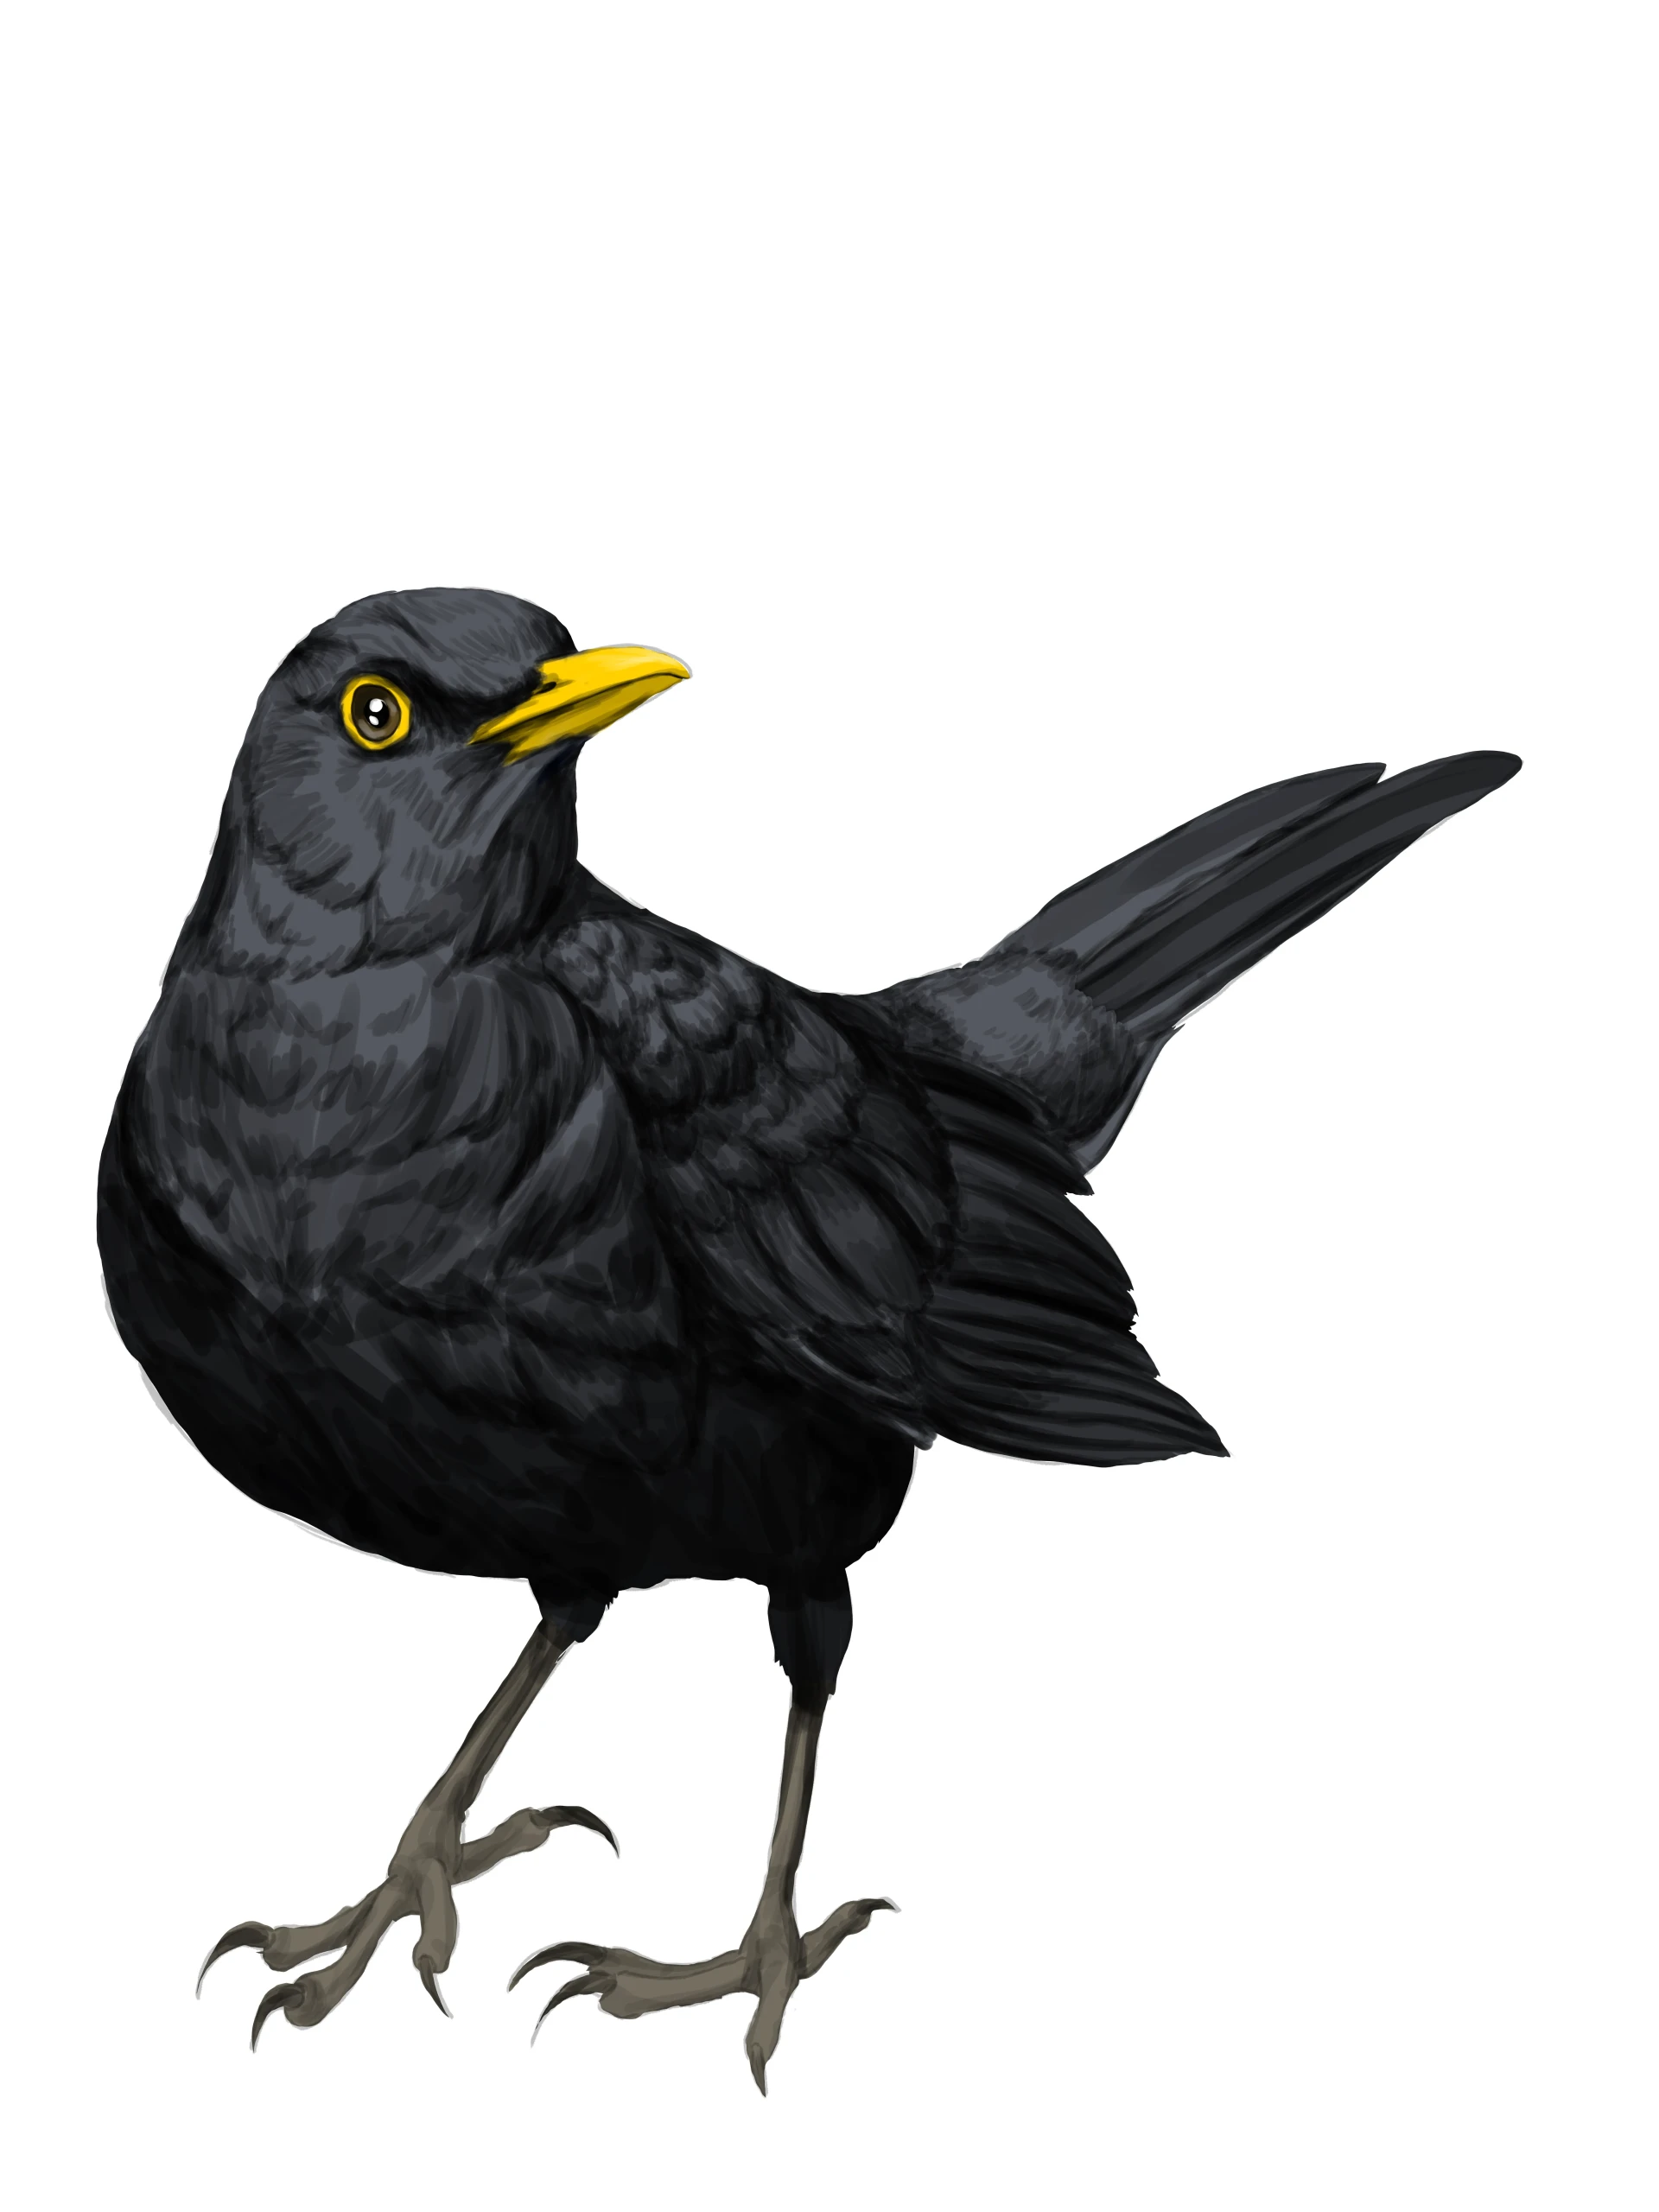
Add light areas
Once the volume and texture has been created, add light to maximize the contrasts. Take a white color that is slightly tinted with the base color and illuminate the areas that have been left clear.
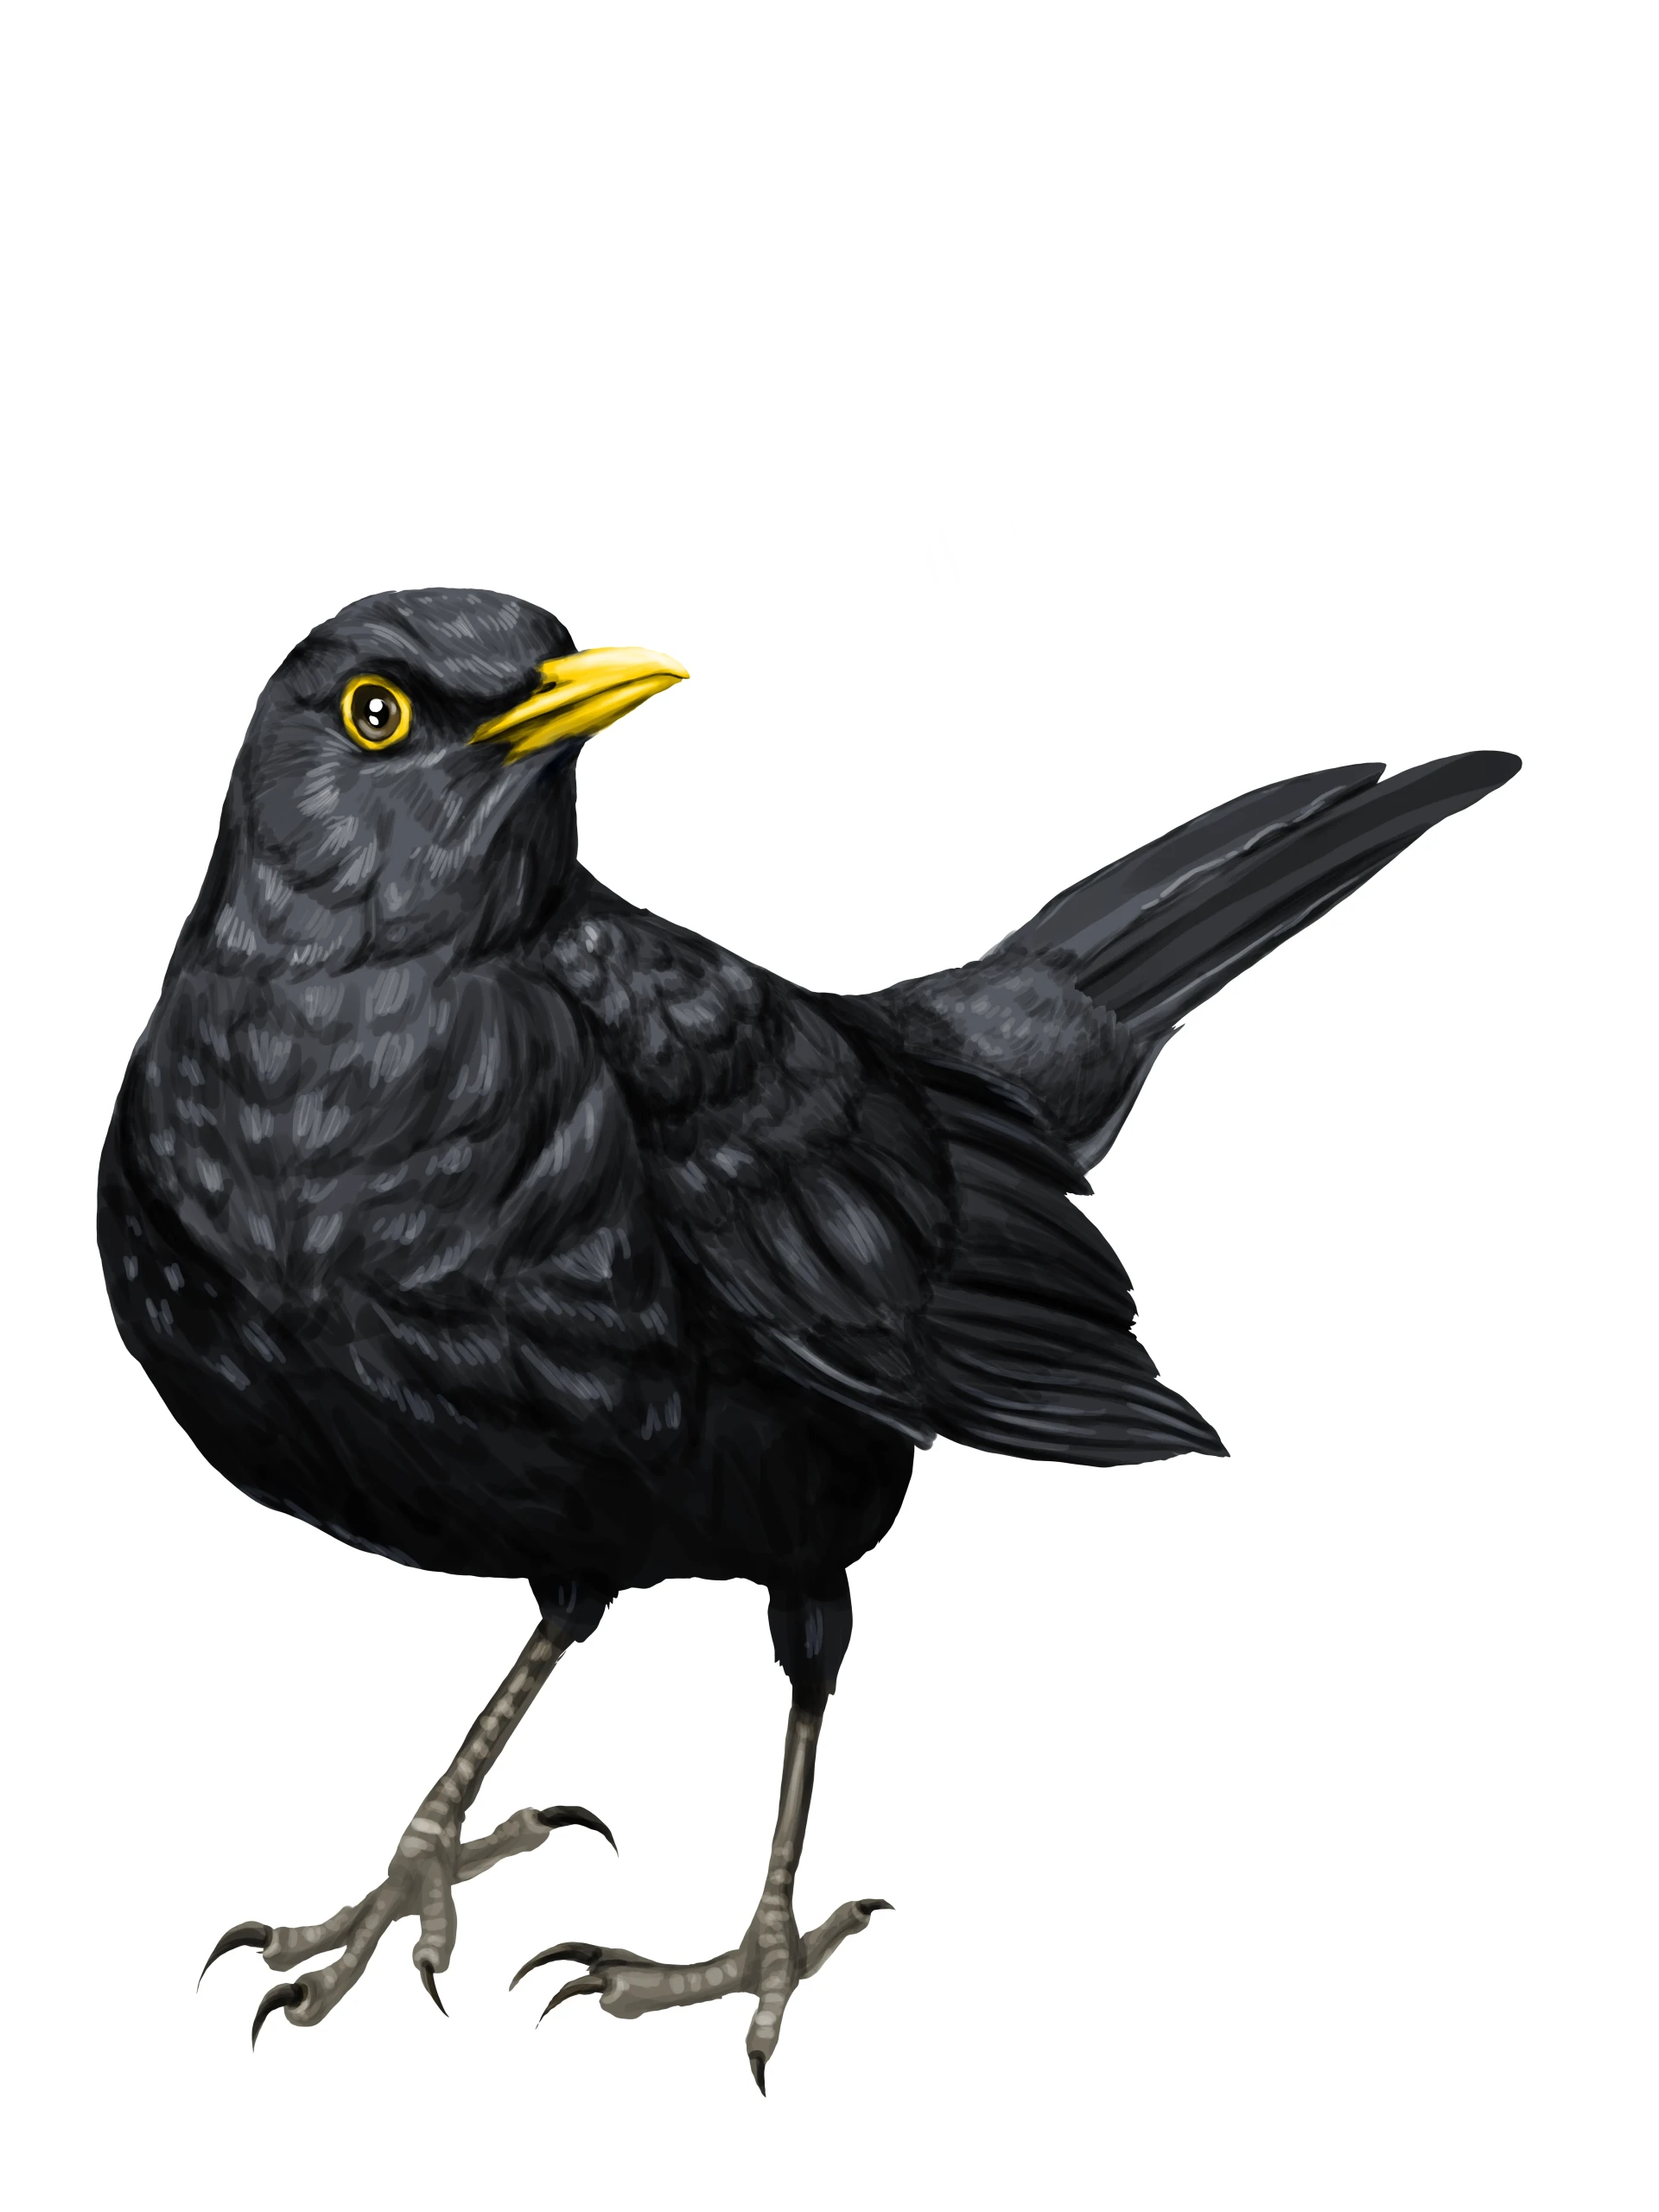
Finally, a few very light layers of blue, yellow, and green in fairly muted tones will add chromatic dynamism and prevent a flat monochrome effect.
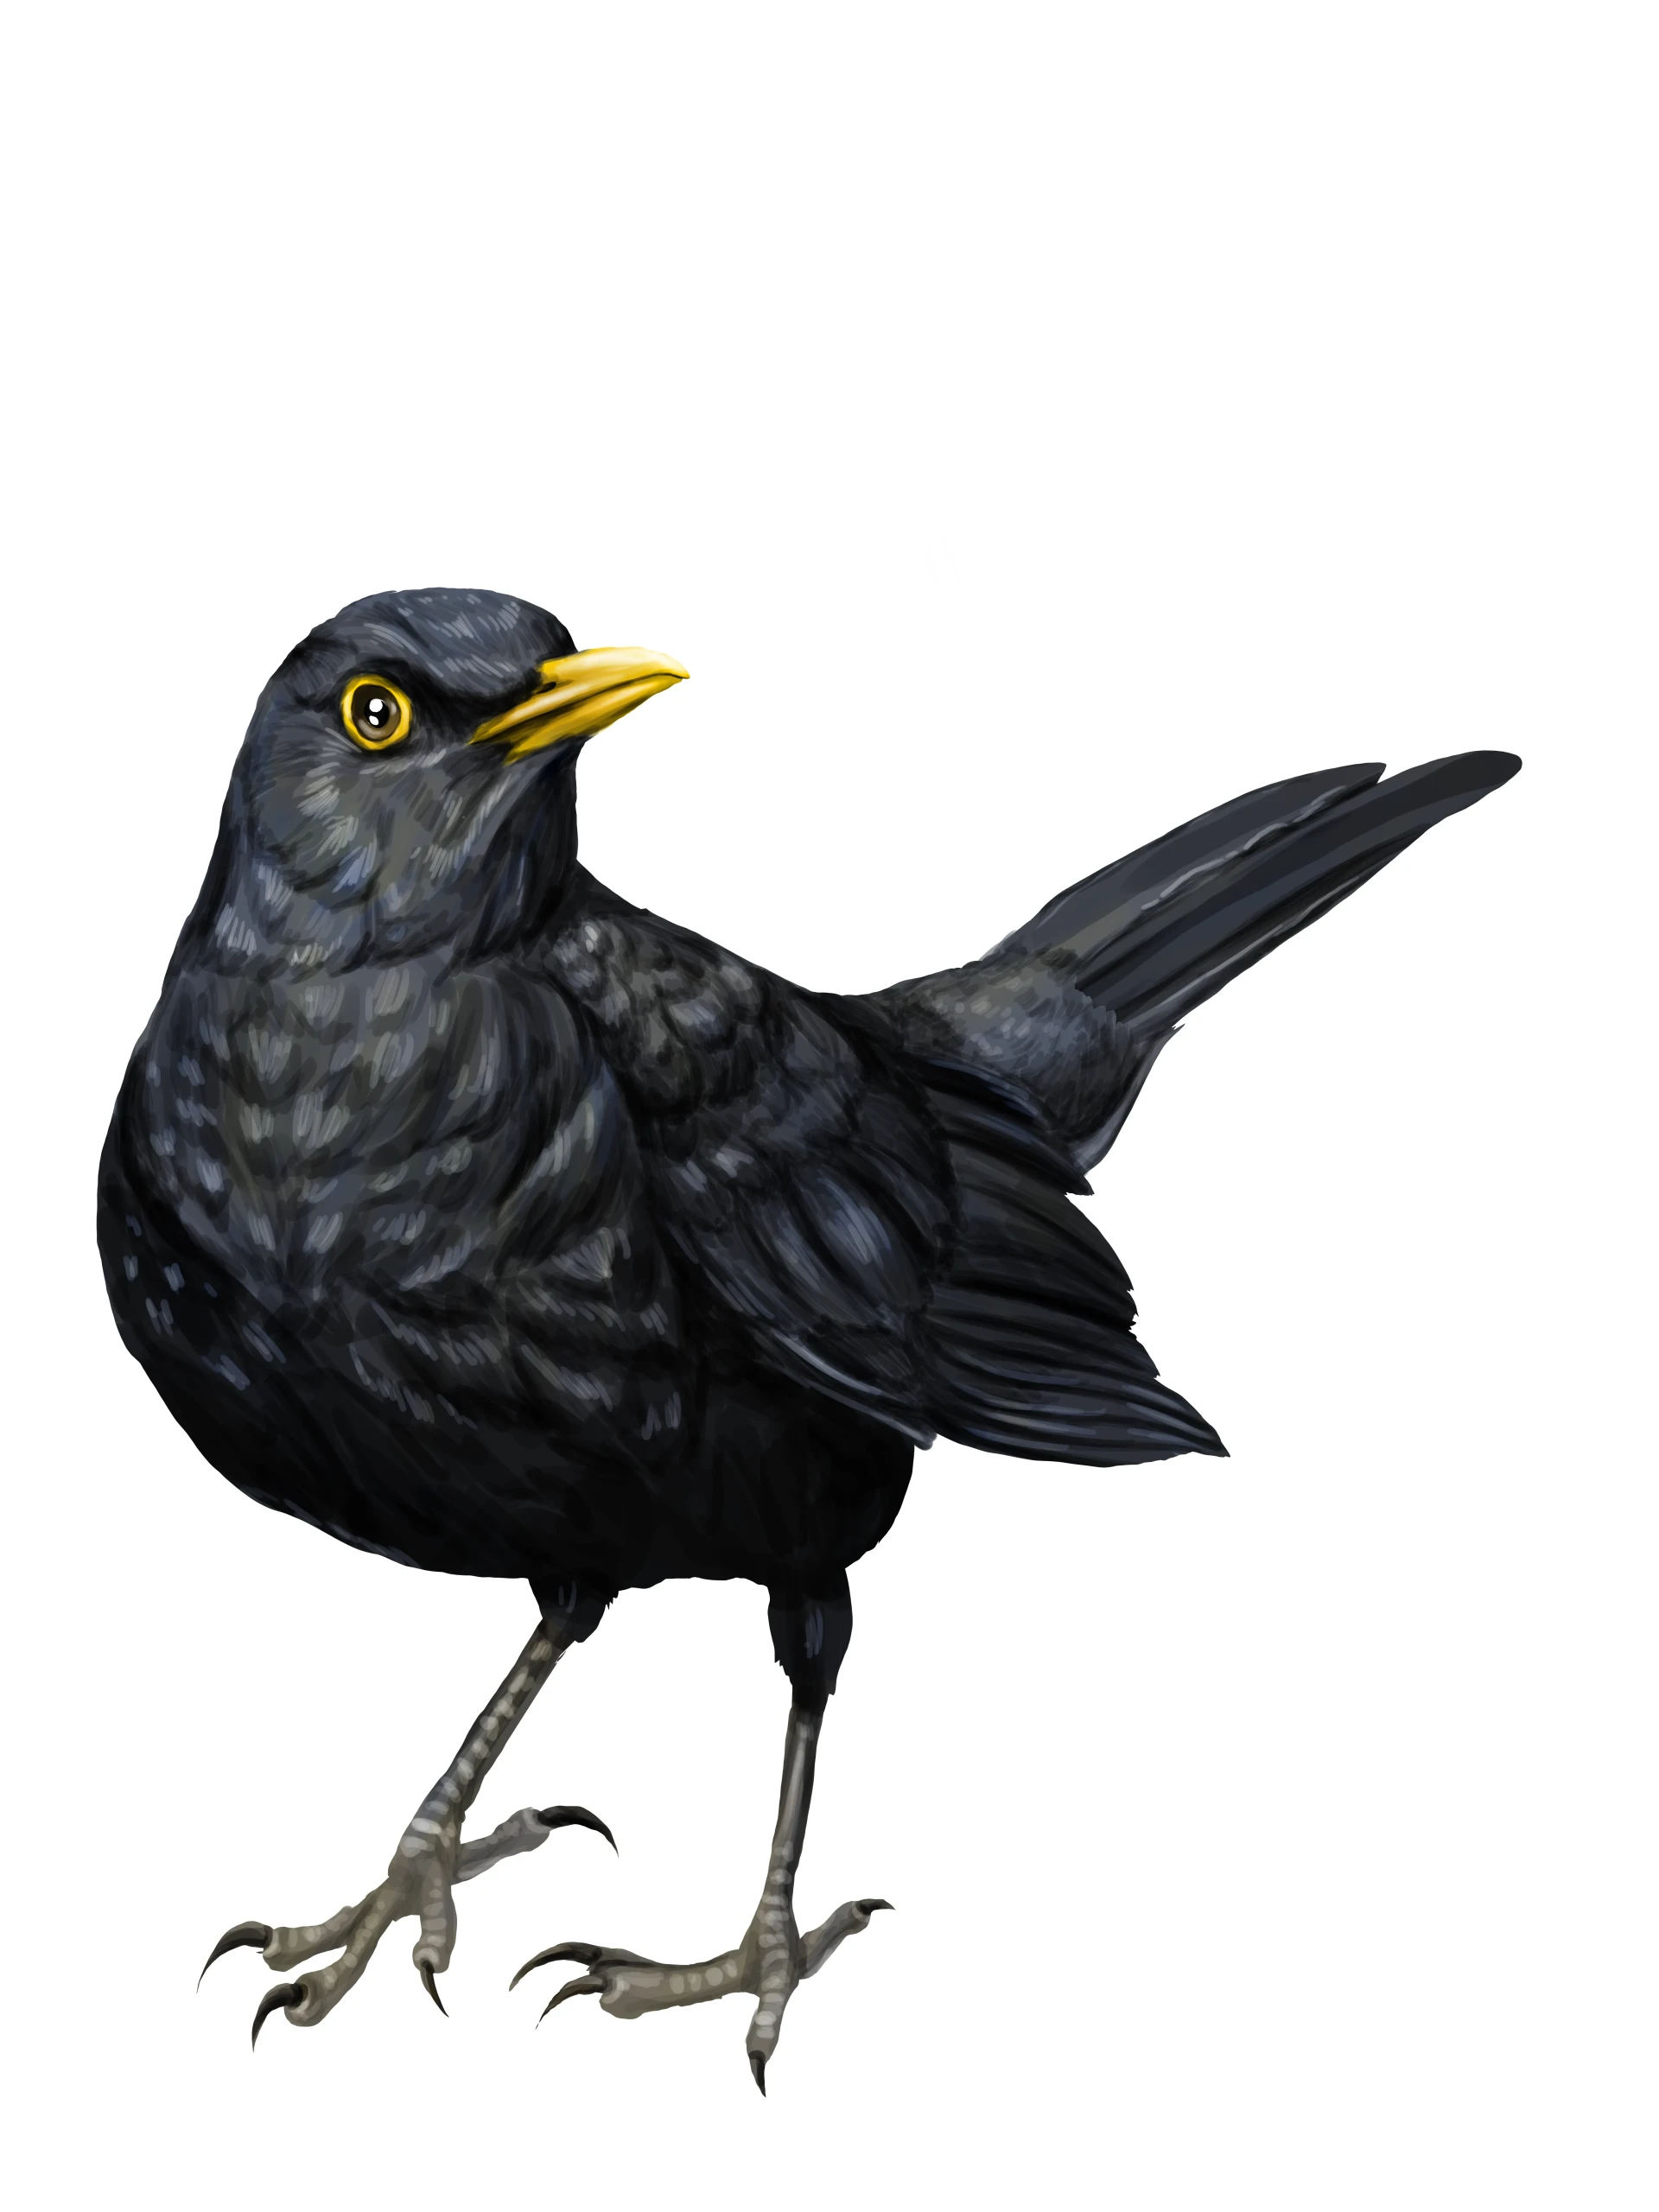
Add the final touches to your drawing
The blackbird prefers to roam in large green spaces rather than perch in trees. A simple setting, with grass and a blue sky, is enough to make the bird feel at home in its environment. In this tutorial, we placed it in a semi-arid landscape with tall grass.
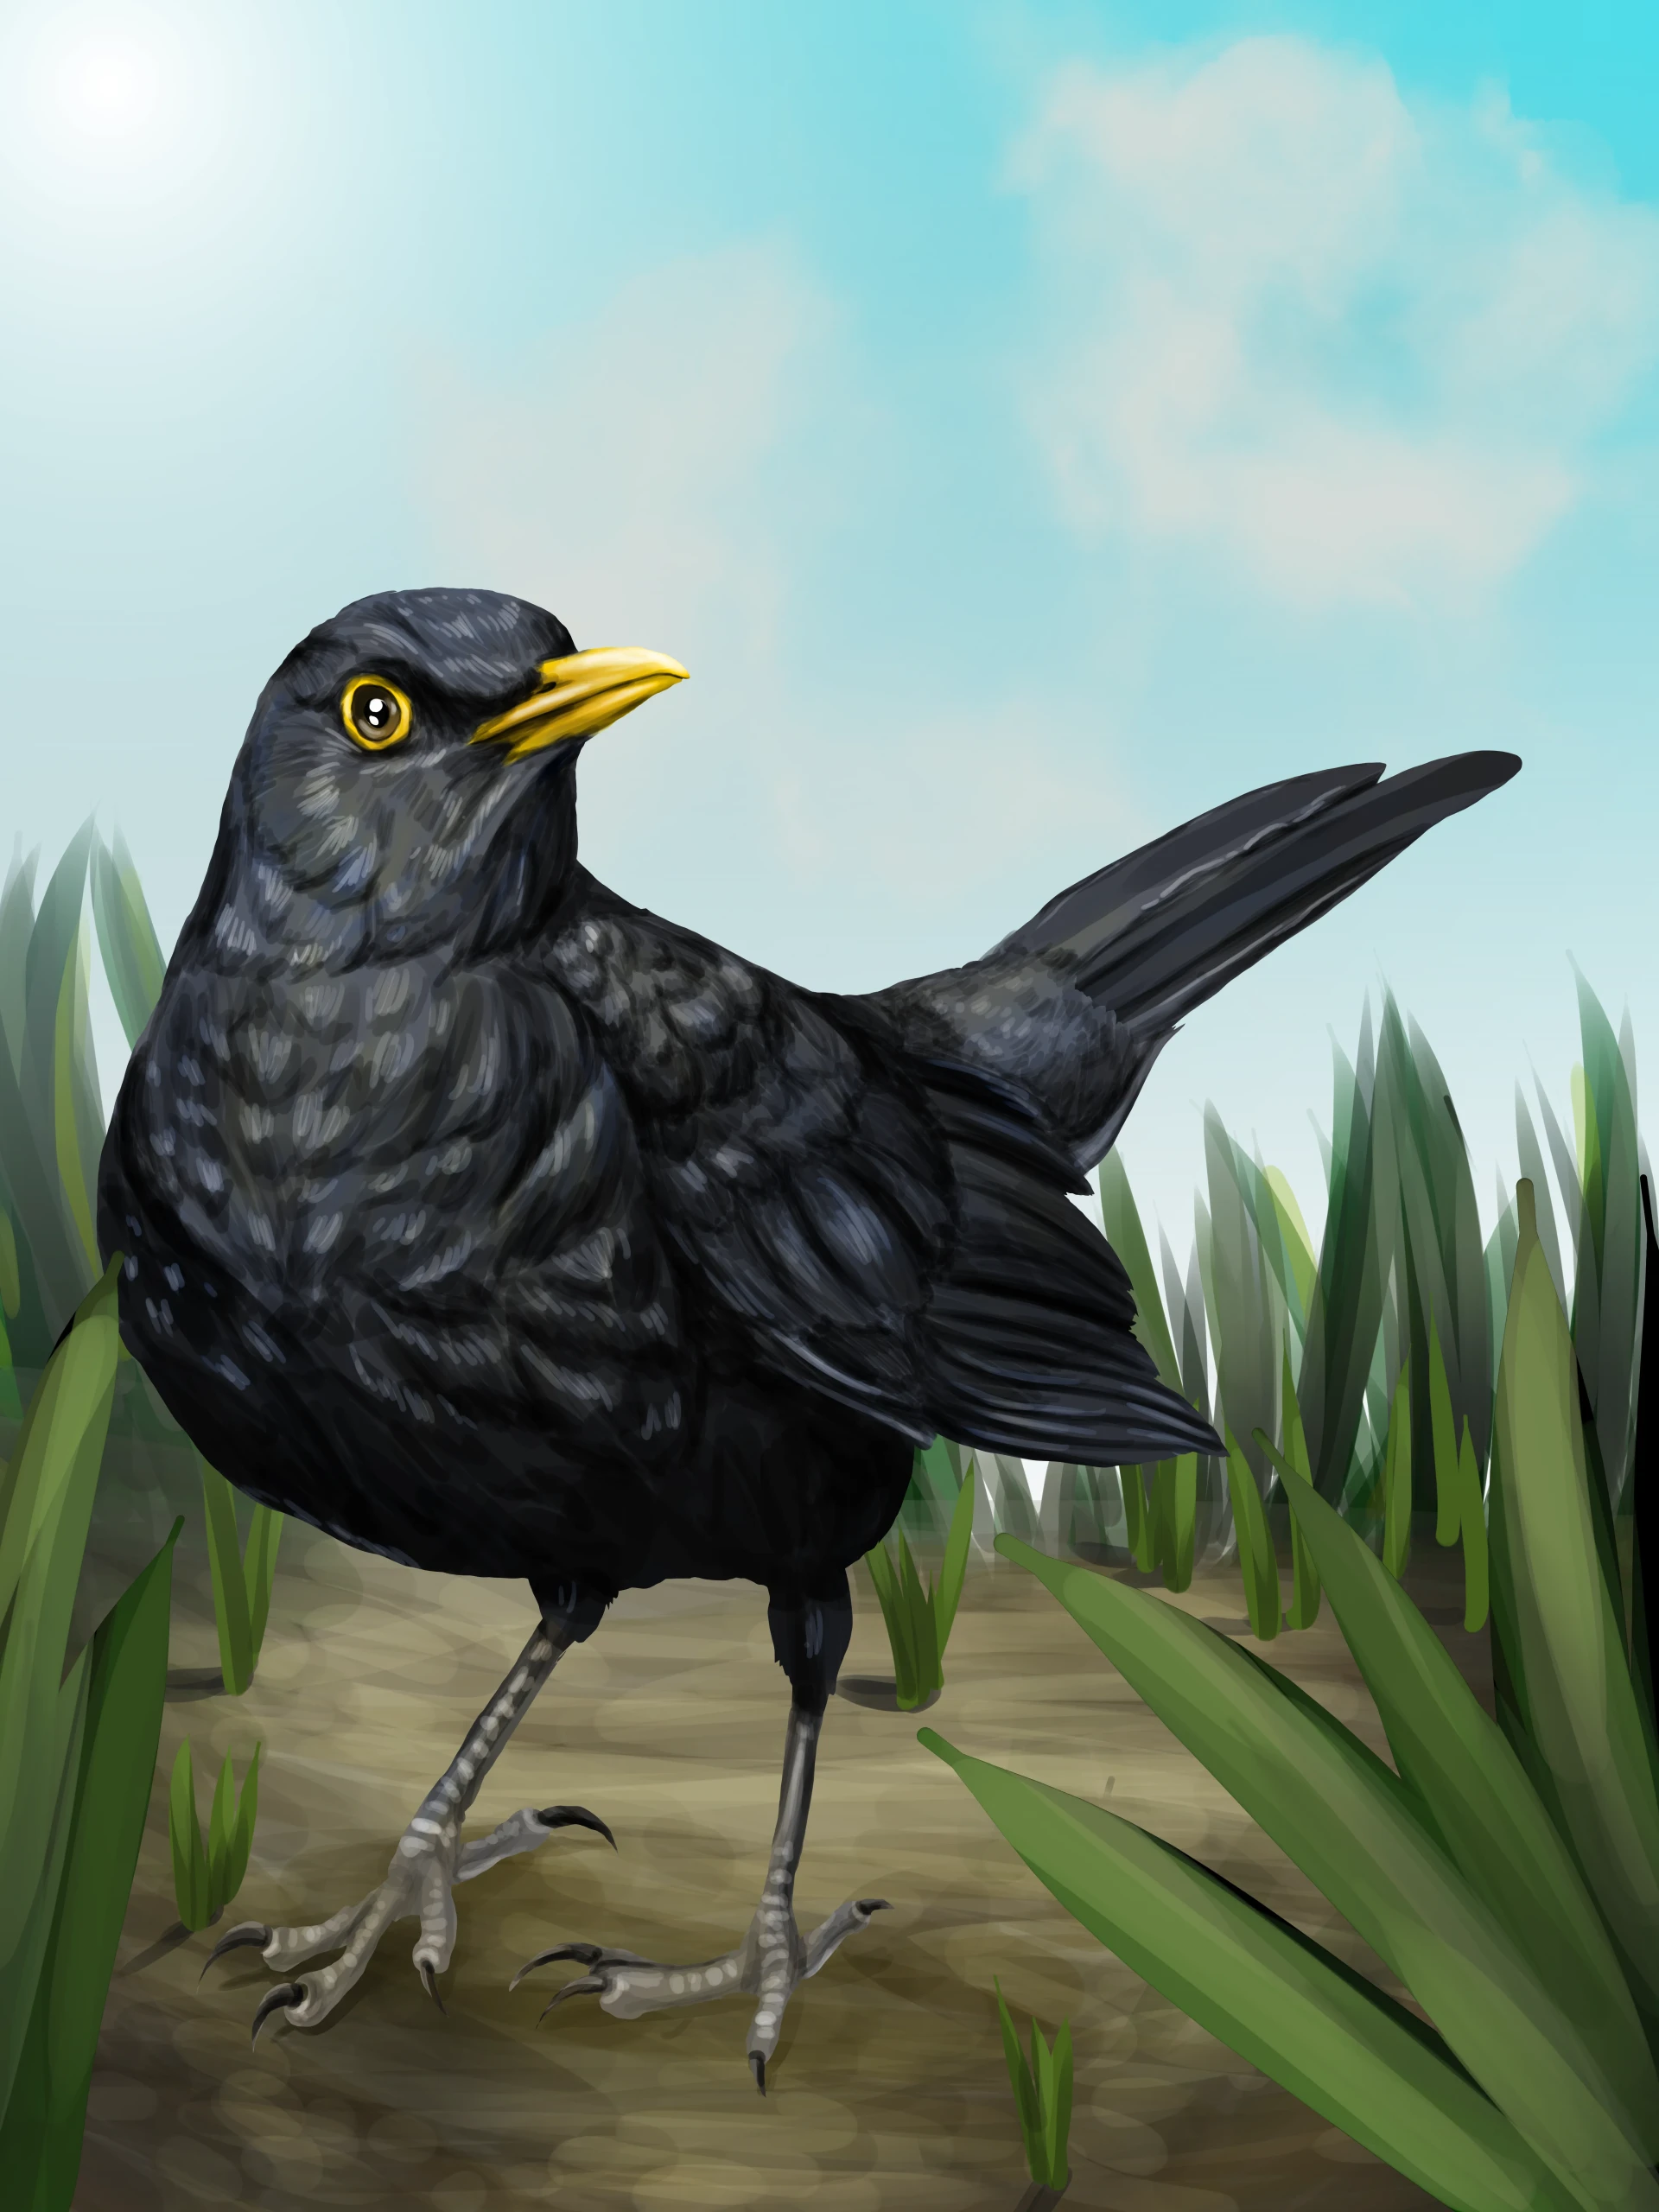
Your blackbird is now finished. As you will have noticed, even a single-color plumage requires a lot of technique to achieve a realistic and convincing result. It’s a great exercise for learning how to master contrasts and reflections for your future drawings.
Discussion
No comments yet.