How to Draw a Church
Churches hold an essential place within religious communities. Their role has always been to bring the faithful together by welcoming them into their spaces and ceremonies. This has led to the construction of imposing buildings that are not only beautiful but also impressive to look at.
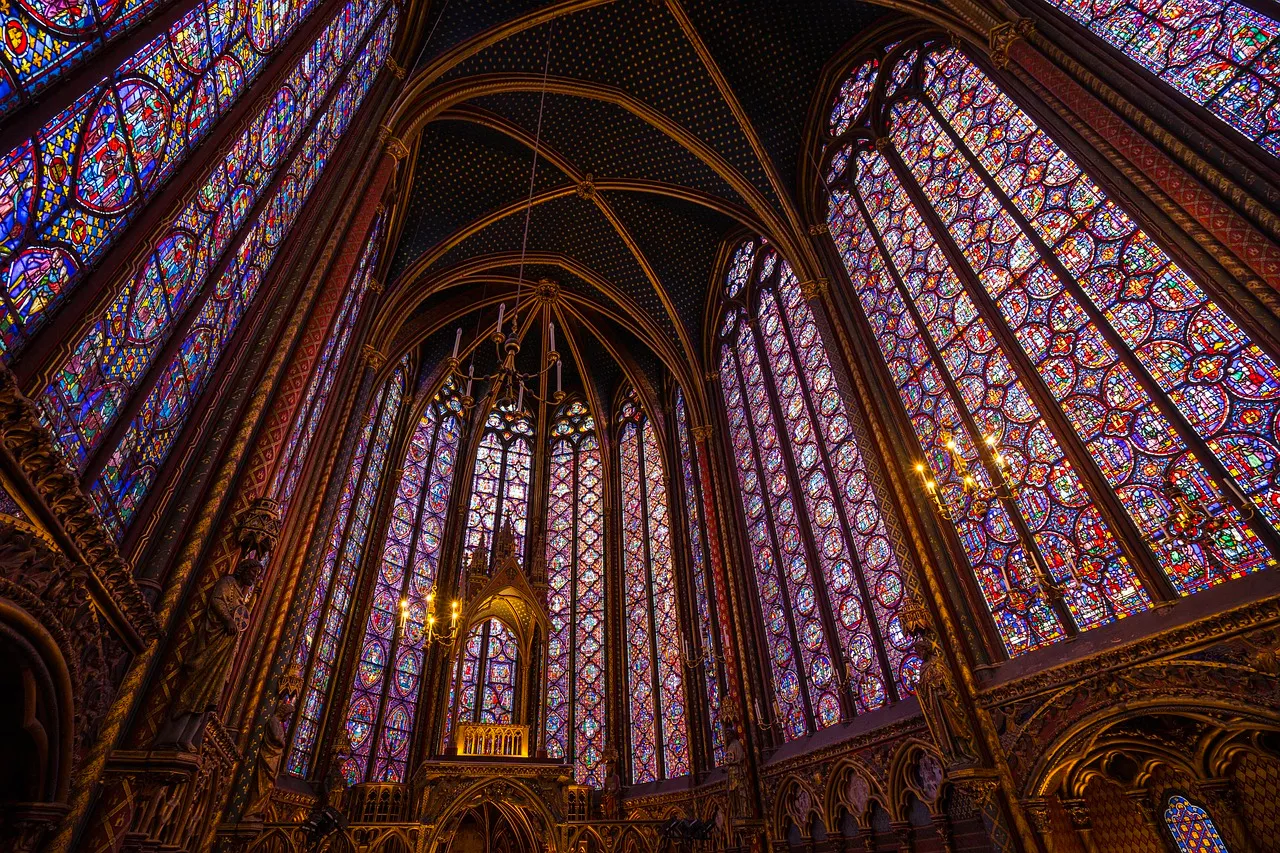
Majestic monuments have therefore been created, erected as if to touch the sky, bathed in light, adorned with large paintings and expressive sculptures, with facades reflecting divine grandeur.
The Romanesque style
Today, we're going to delve into the fascinating world of ecclesiastical architecture and work through a tutorial on how to draw a Romanesque church, following the key features of this style. Throughout history, architecture has reinvented itself to accomplish feats that were once unimaginable, and churches have been at the heart of this constant evolution.
From the articulation of arches to the invention of the parabolic vault, everything has come together to meet the challenge of making the church a heavenly space.

Here, we will talk about the Romanesque style, one of the earliest architectural movements which, as its name suggests, adopted Roman concepts in order to create larger and slightly more elevated spaces. Among its characteristics, we find:
- The use of sustainable materials such as bricks or stone.
- The use of arches to create vaults and galleries.
- Thick and imposing walls.
- Many small and narrow windows.
- Simple and minimally ornate structures.
Now, it's time to move on to practice!
Draw a church step by step
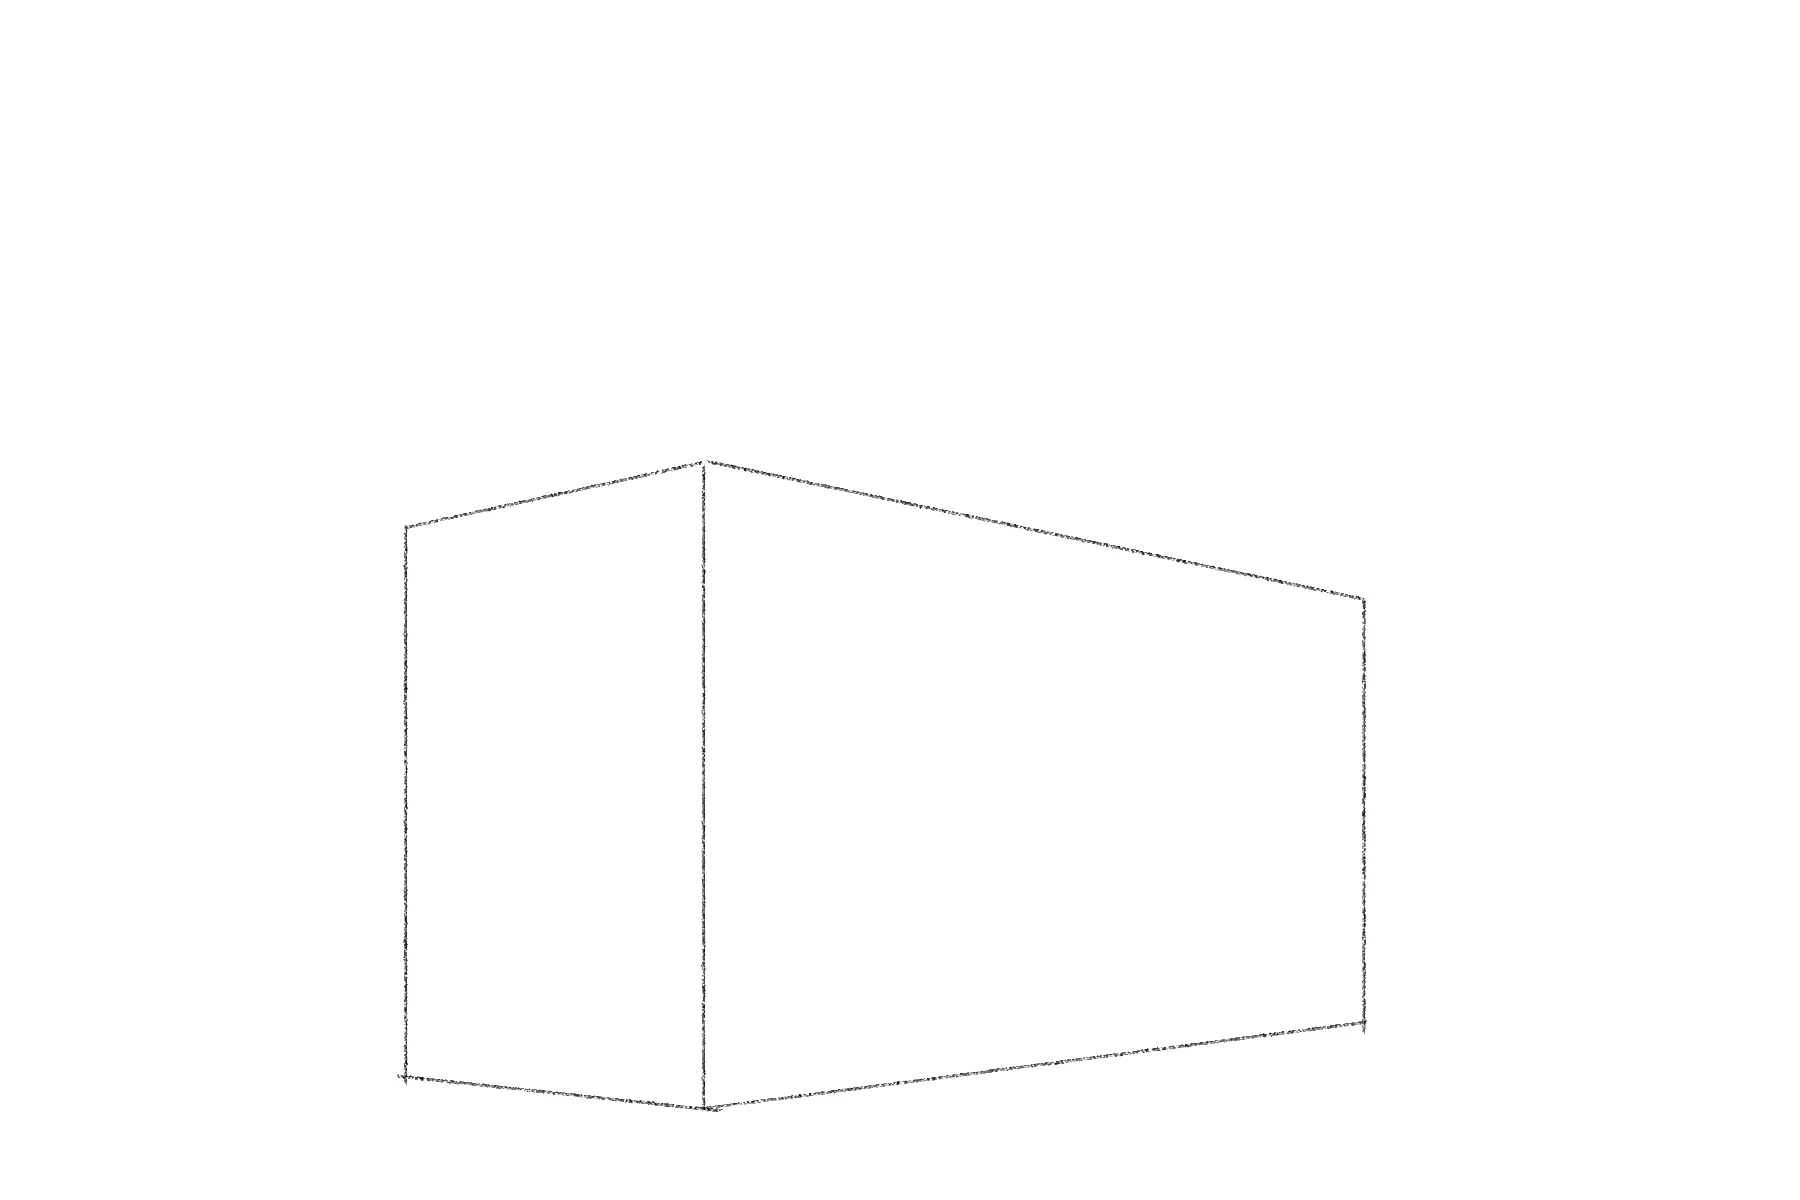
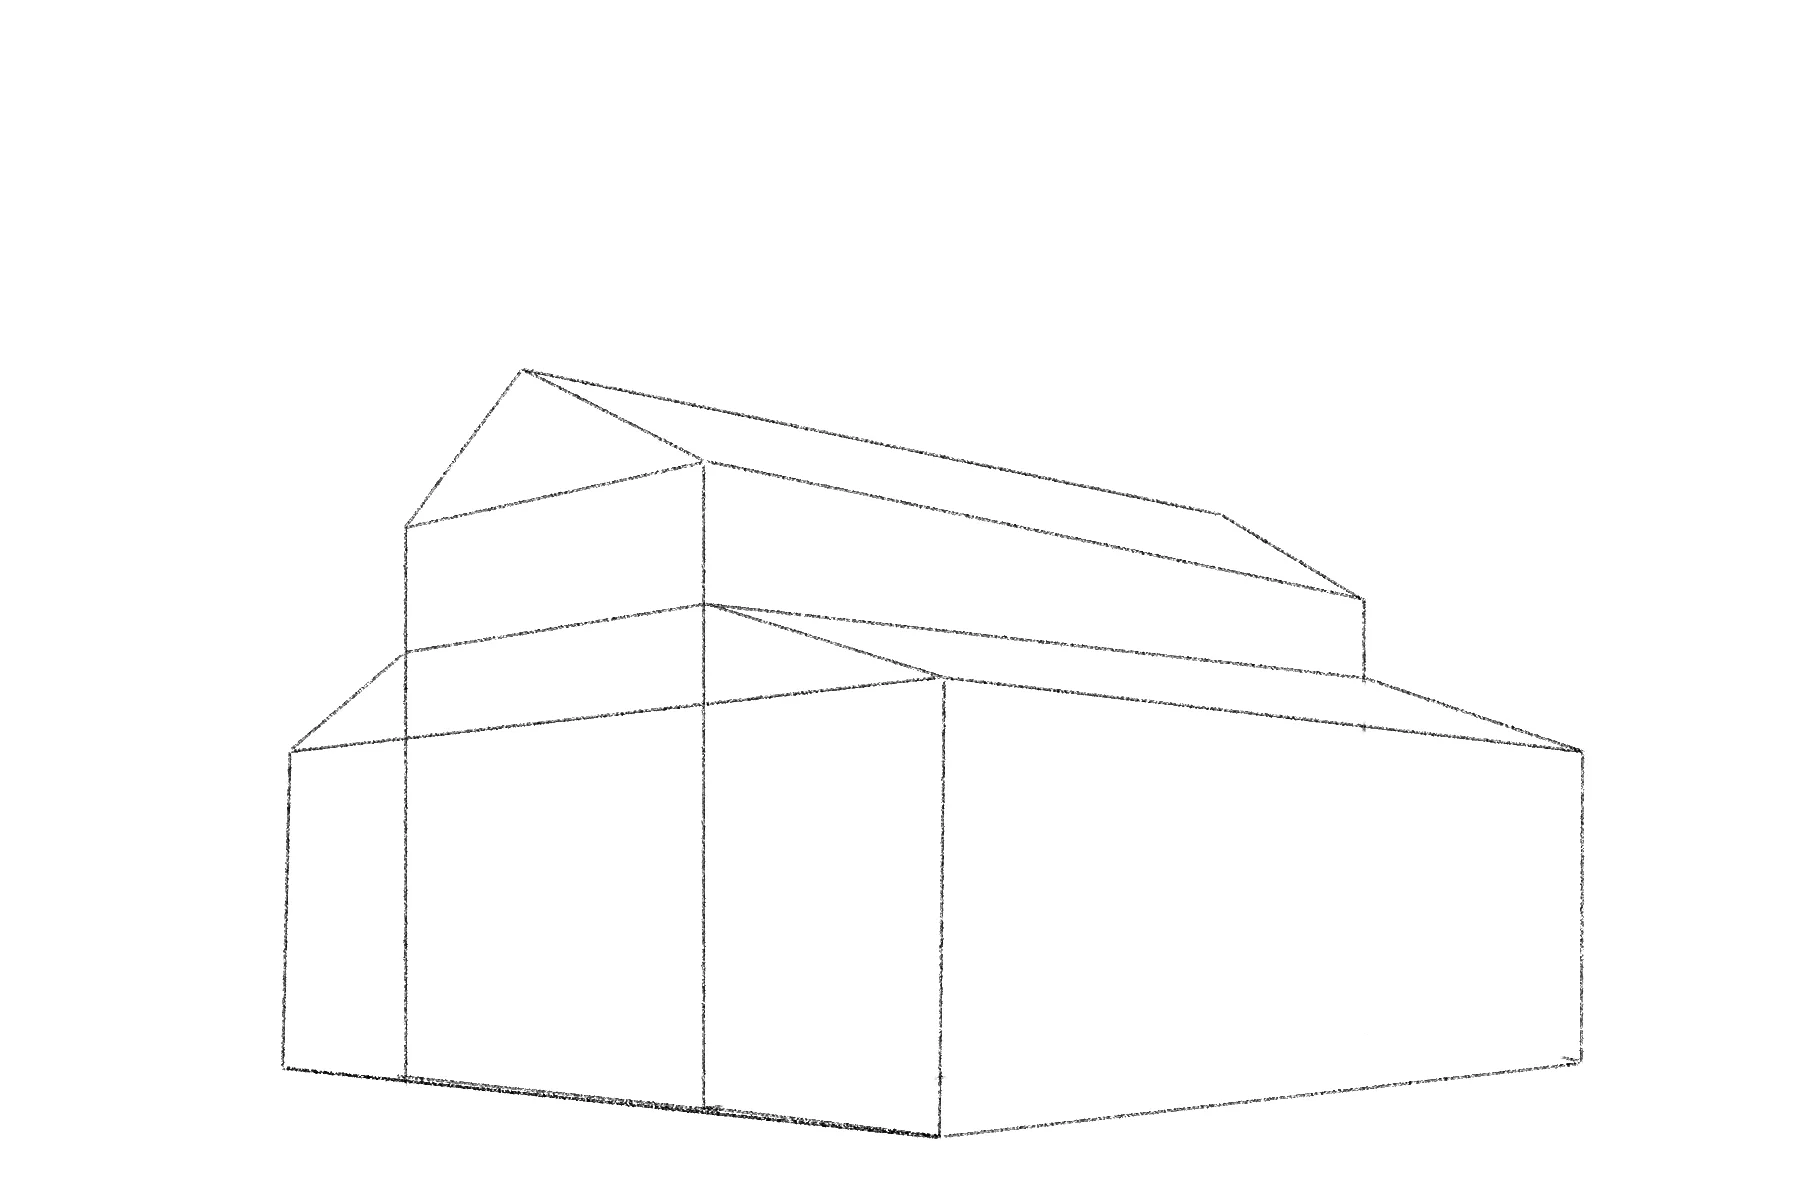
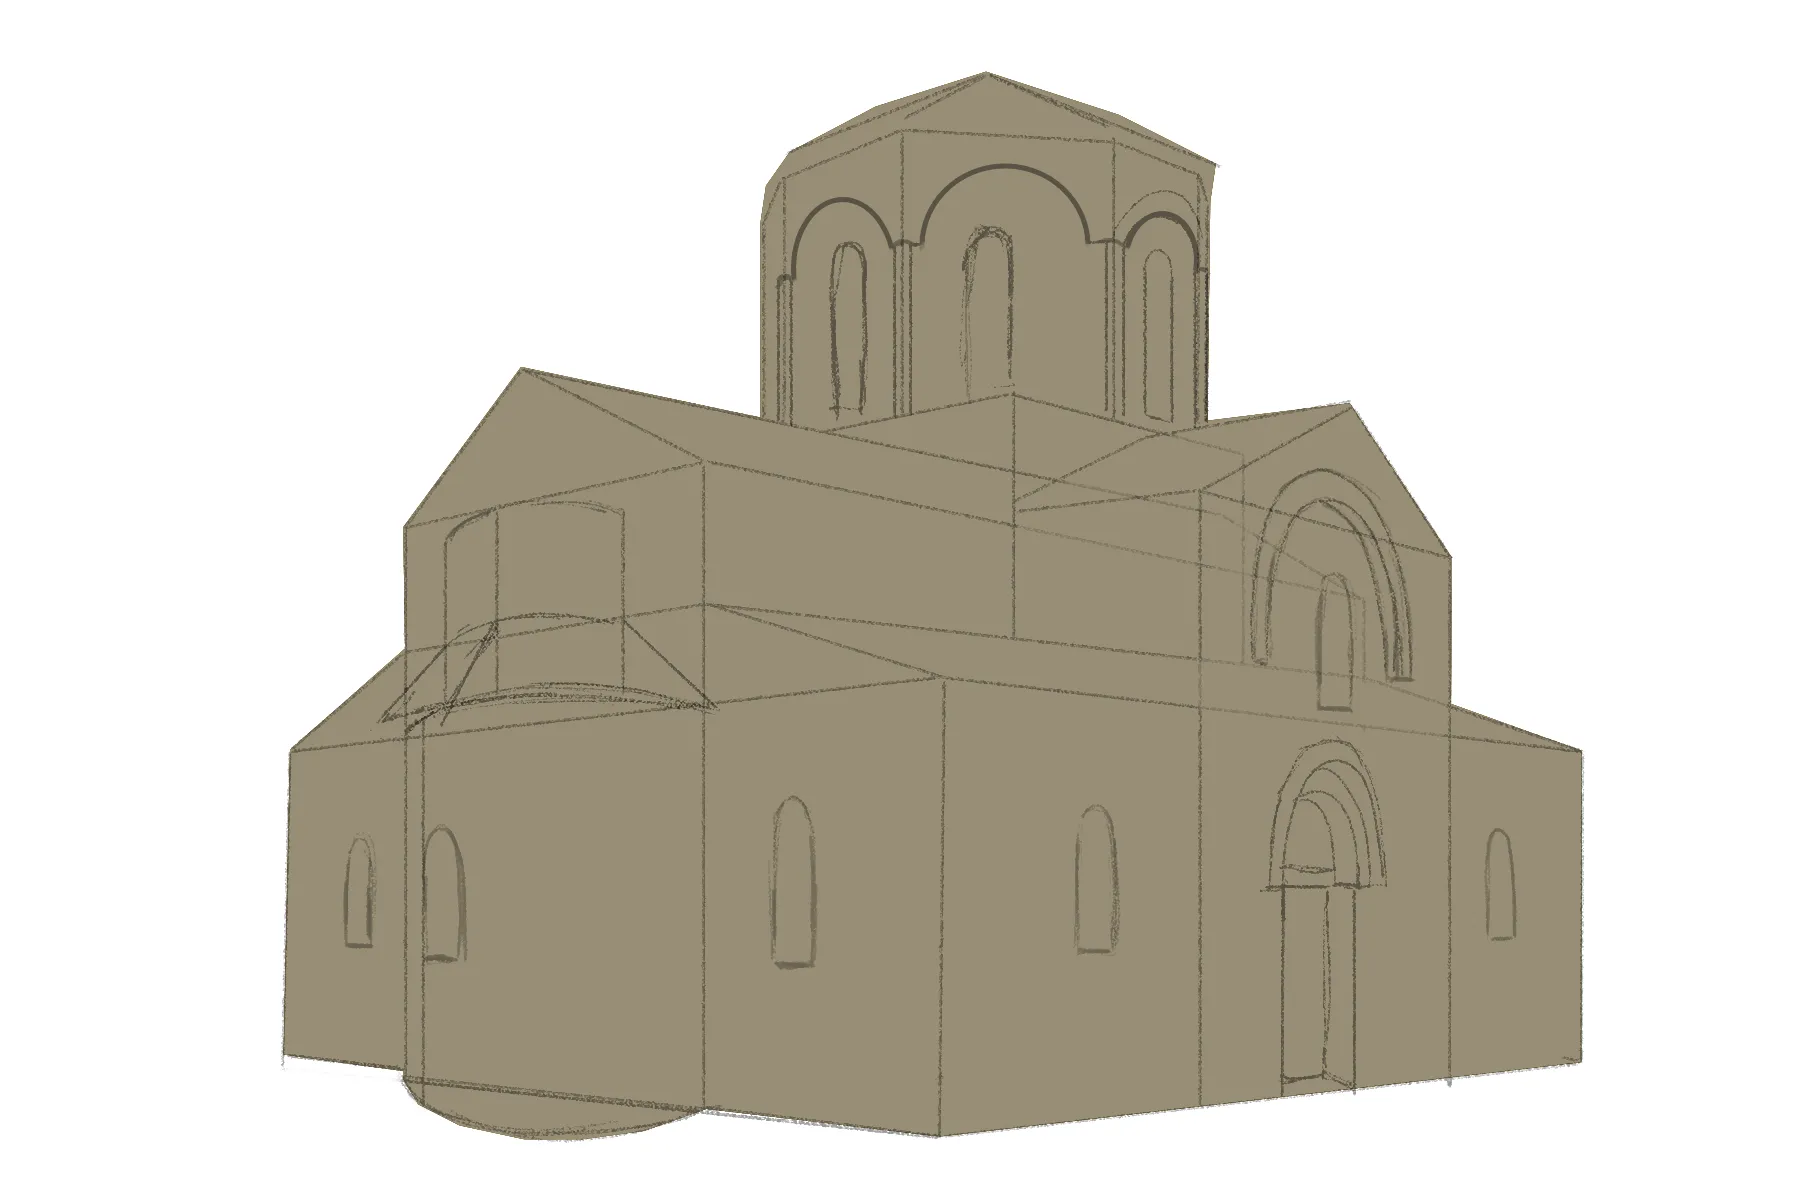
Let's start with the basics. The first step is to draw a cube: this will be our central nave. Try to place it in perspective to give depth to what will gradually become our church.
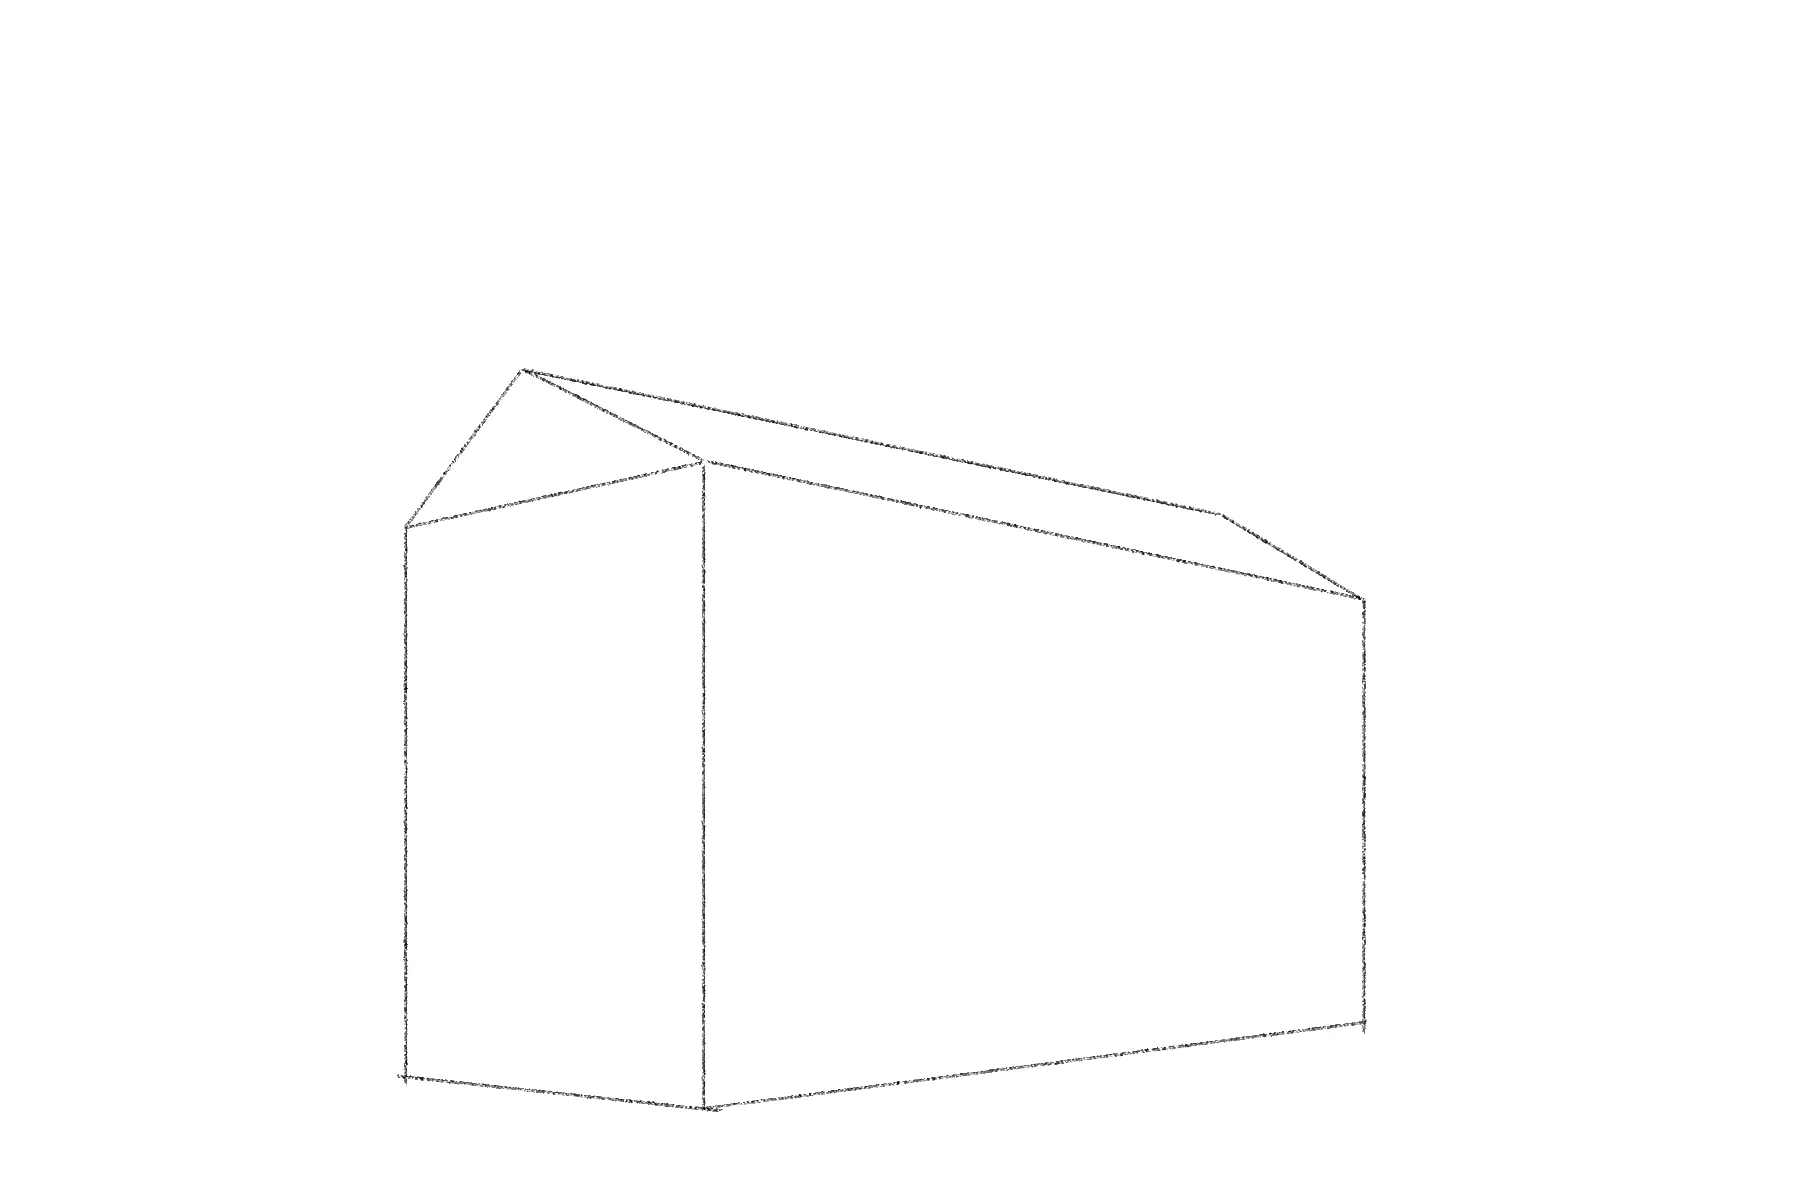
Then let's draw the roof of the church. In this case, there's no need for an ostentatious element. On the contrary, a modest roof will better match the characteristics of this style.
Next, let's draw a lateral aisle on each side of the initial structure. These will not extend up to the top: their height will be slightly more than half, with a slope that will allow for the addition of tiles later on.
In the middle of these lateral aisles, let's add a facade similar to the main one. It too will have a triangular roof and will rise to the same height as its counterpart.
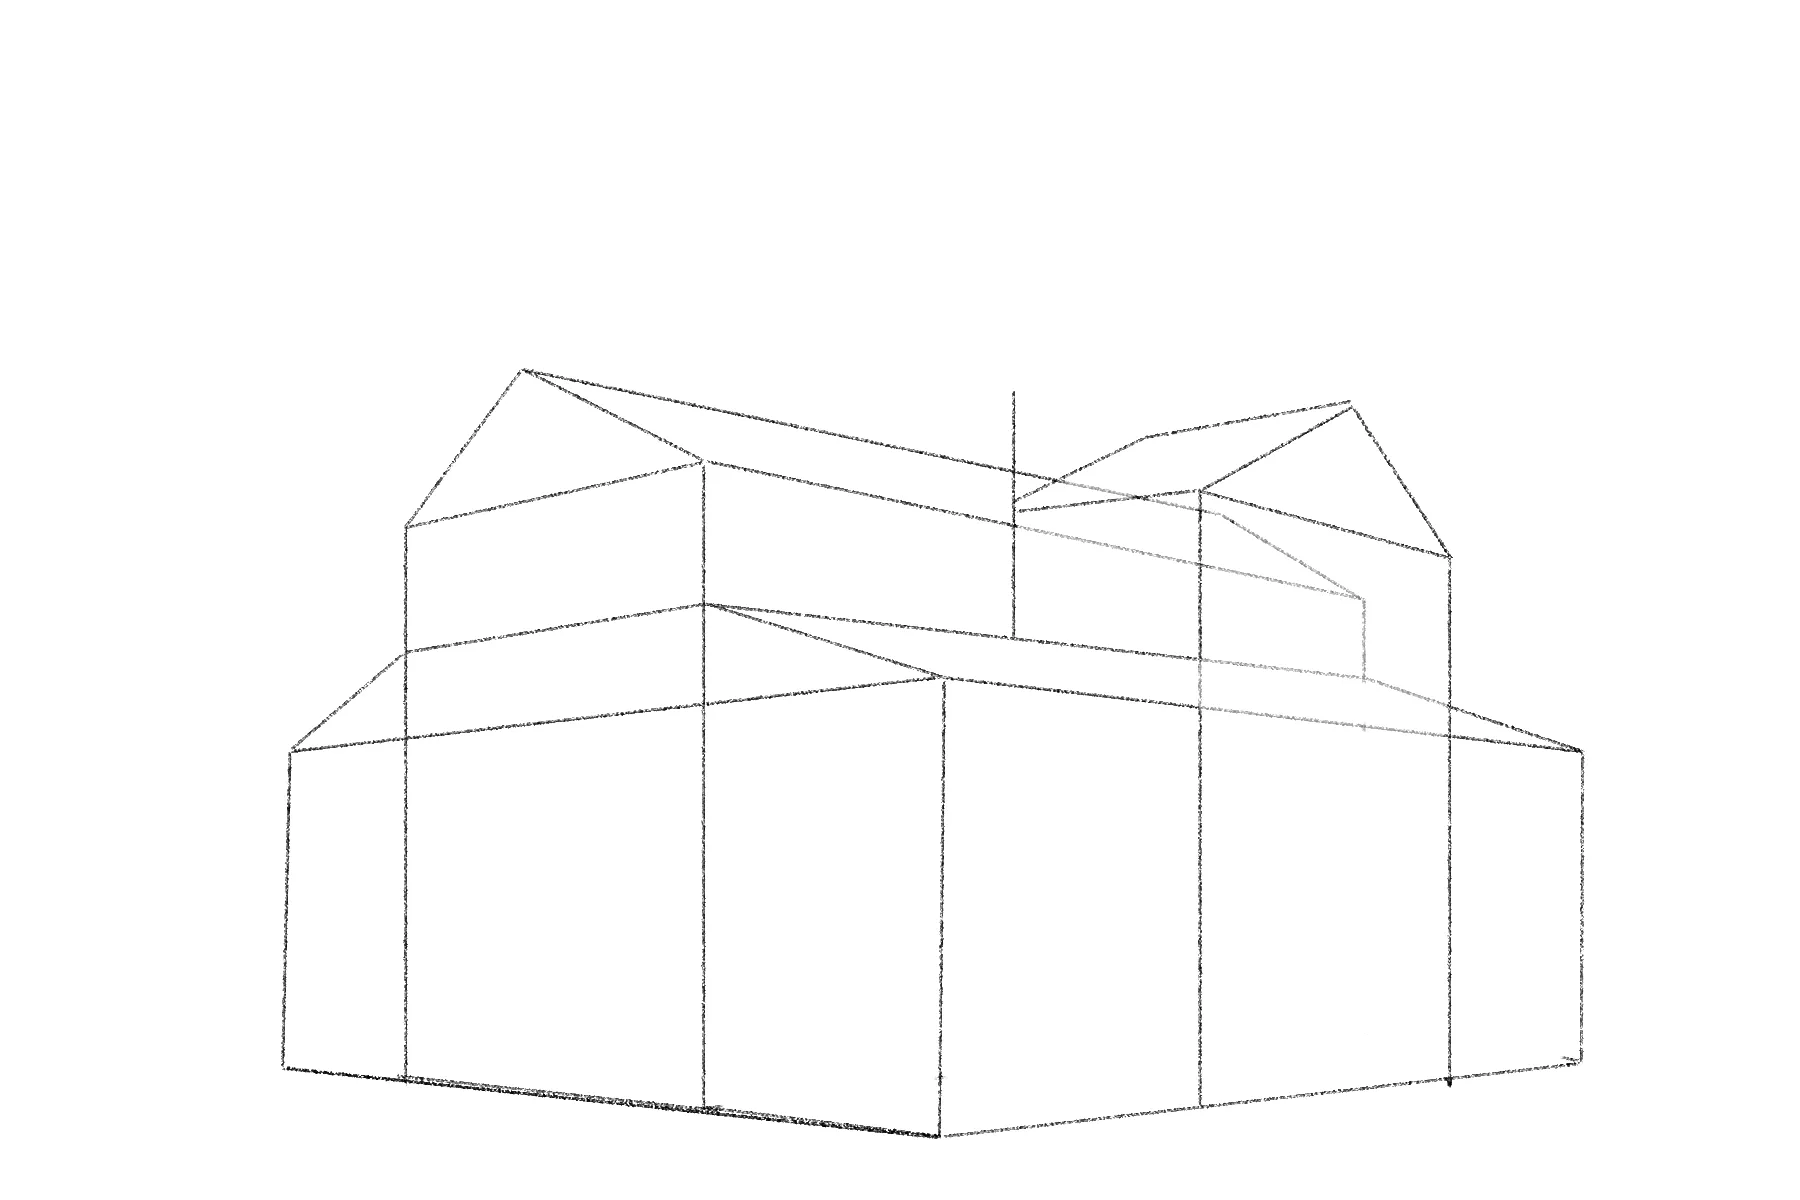
At the intersection, we form a square base. Upon this, we draw a structure that could be hexagonal, topped with a roof of the same shape and not very high like those already drawn. We also add two cylinders on the front facade.
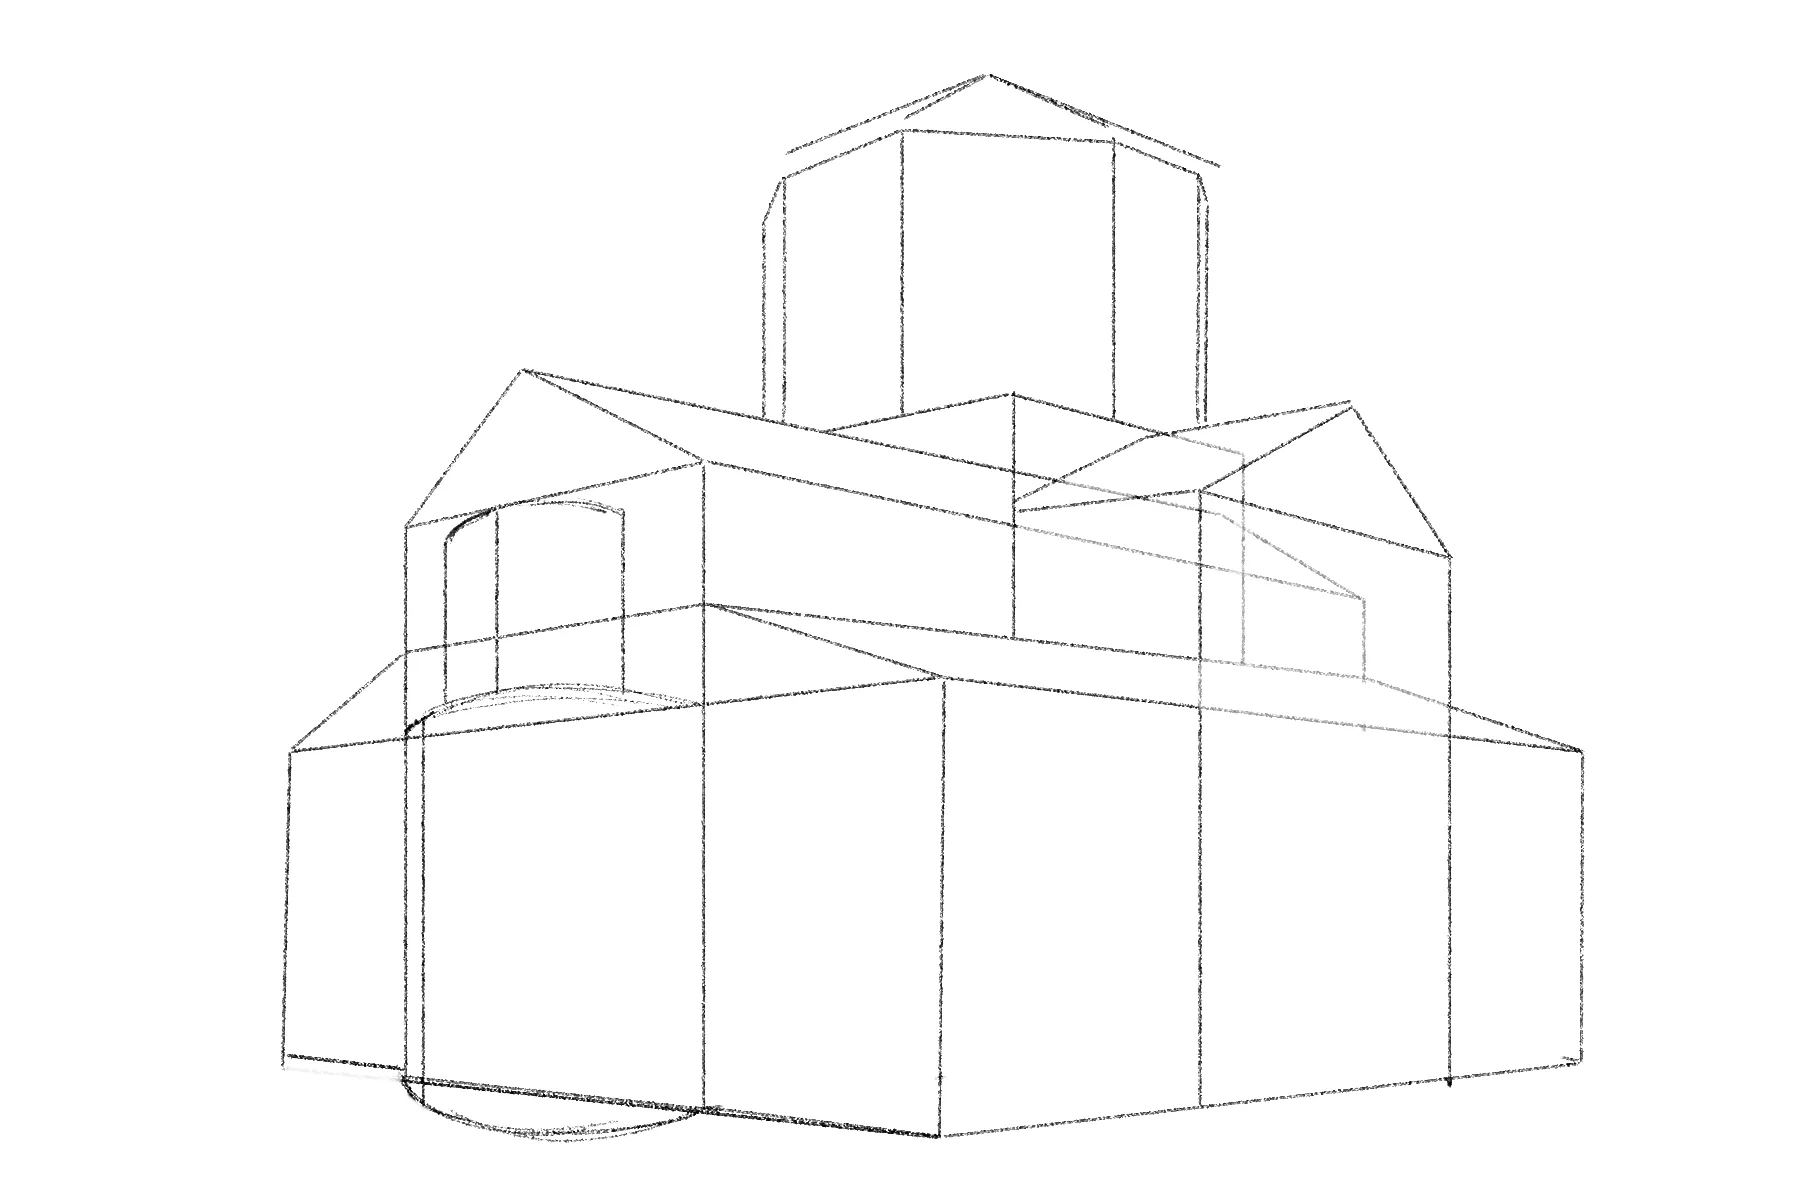
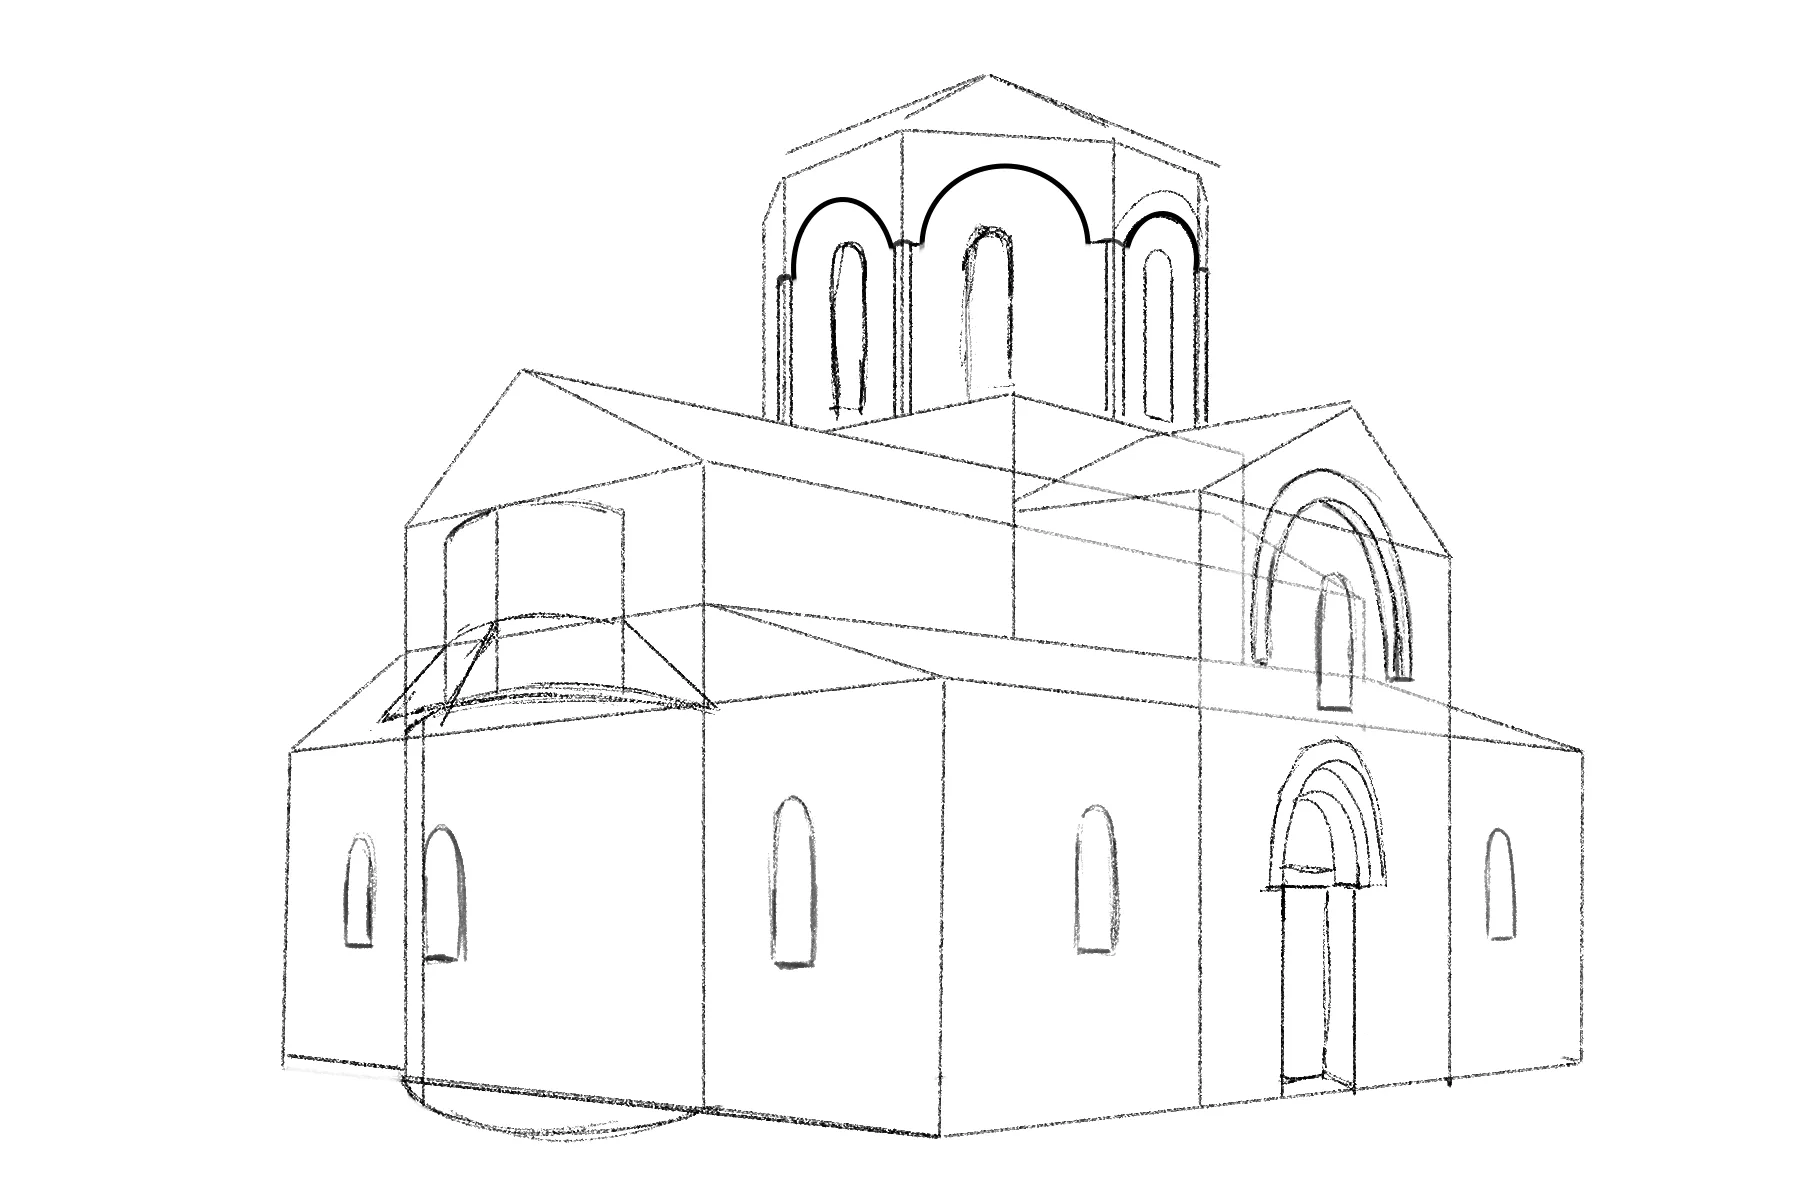
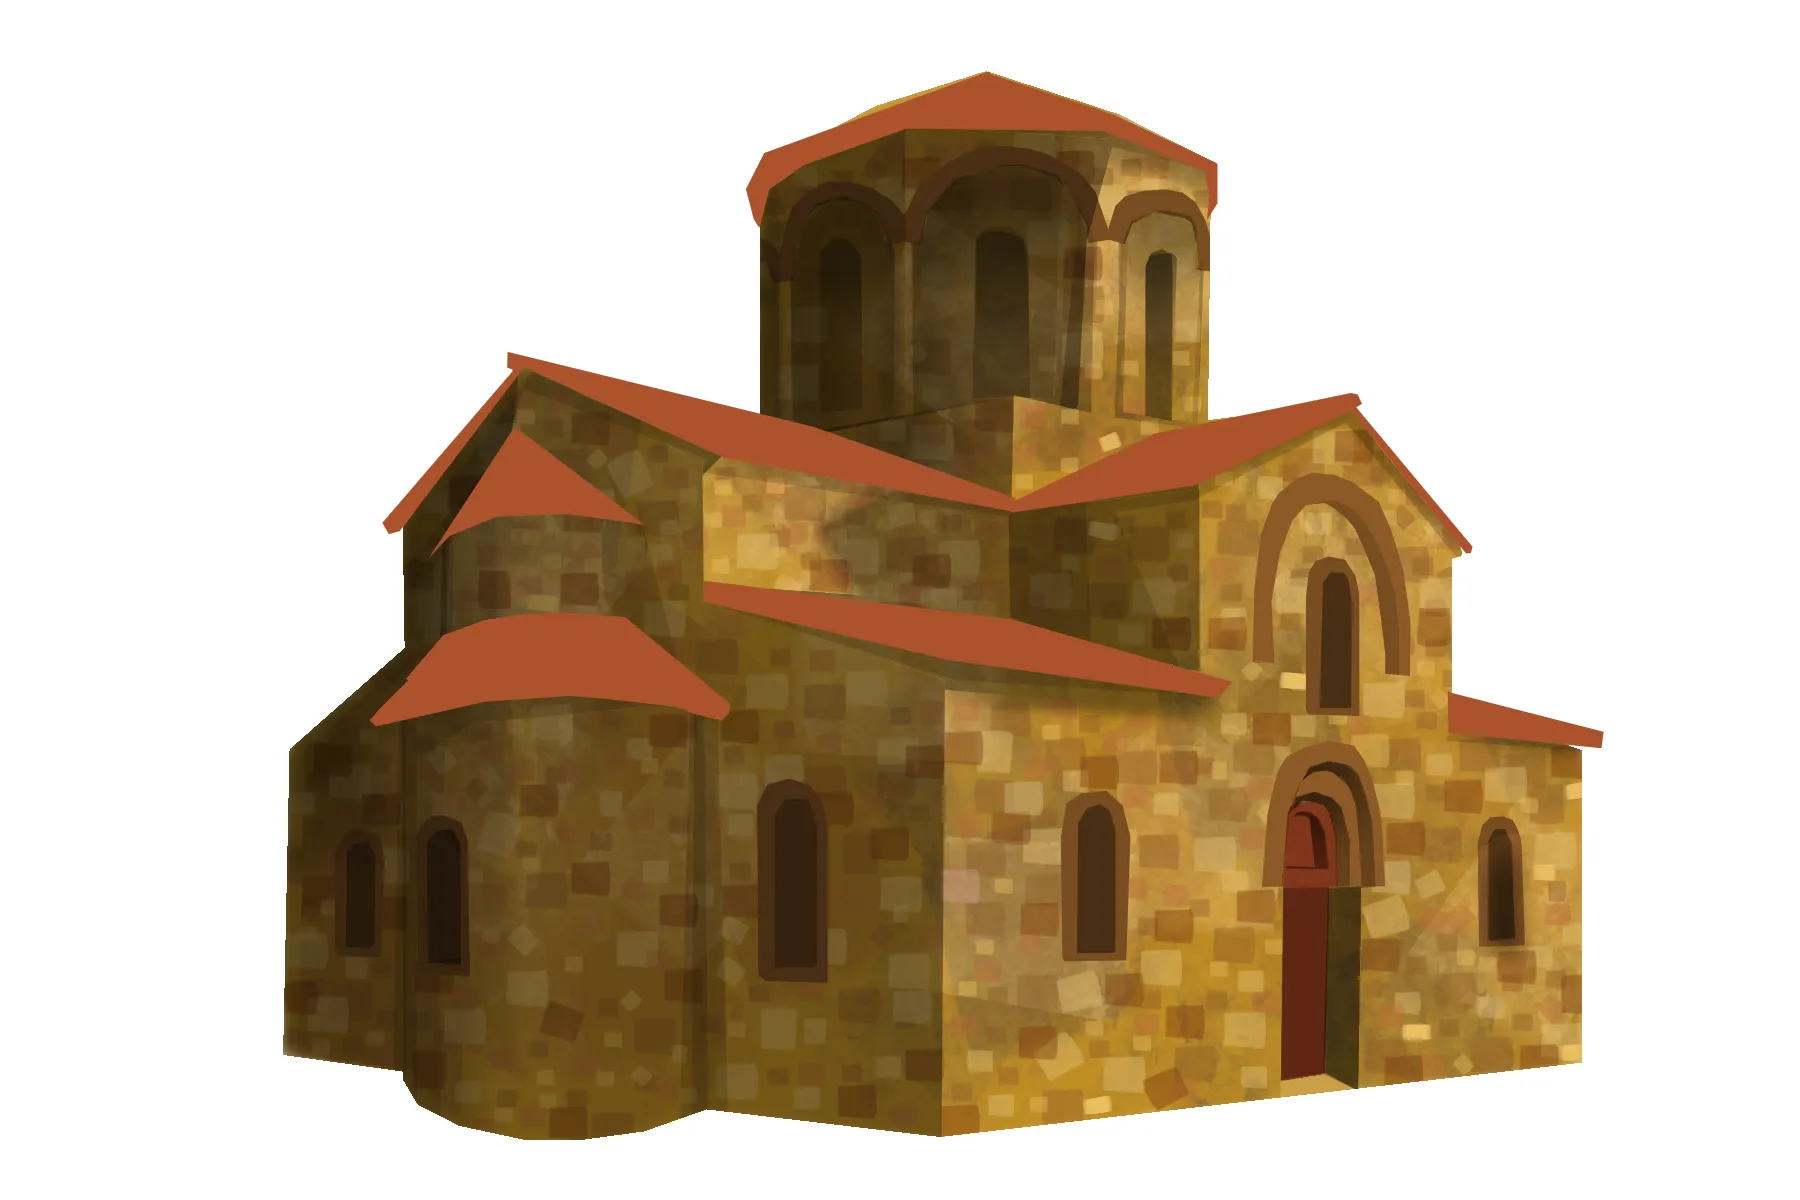
At this stage, we have the framework of our building. All that remains is to draw the windows. Remember that this style is characterized by very small, narrow openings. It is also essential to insert arches in the walls: without them, the structure would simply be impossible.
Add color to the drawing
It is time to draw the materials. Romanesque churches are modest and sober: their aim was to be solid. They were therefore built mainly of stone.
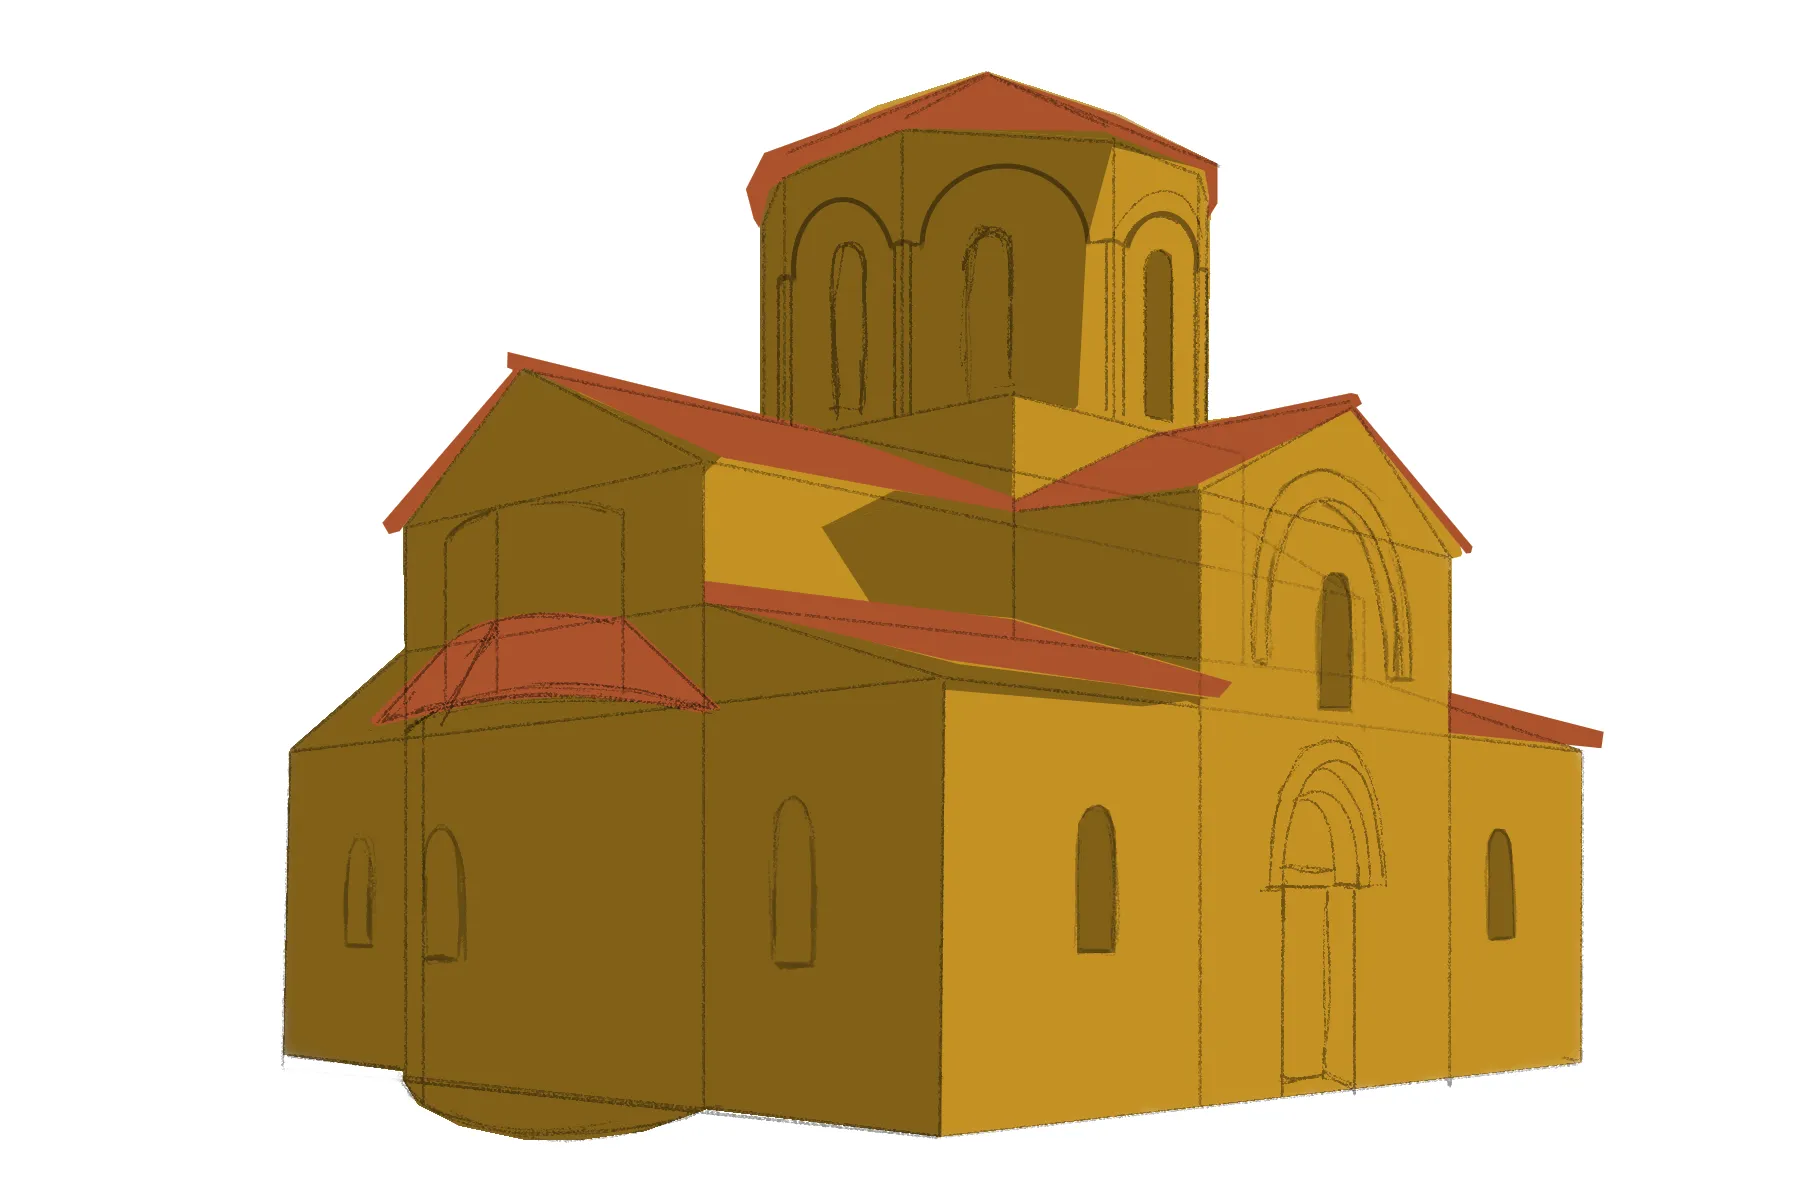
We will adjust the colors to make them earthier tones: ochre will work well. For the roofs, a terracotta tone will enable us to represent the areas covered with tiles.
The walls of our church are made of stone, but not necessarily uniform. In general, all available stone was used, without any criteria for size or color. To represent this, draw rectangles of different sizes on the walls, then apply various shades of brown and yellow, both light and dark.
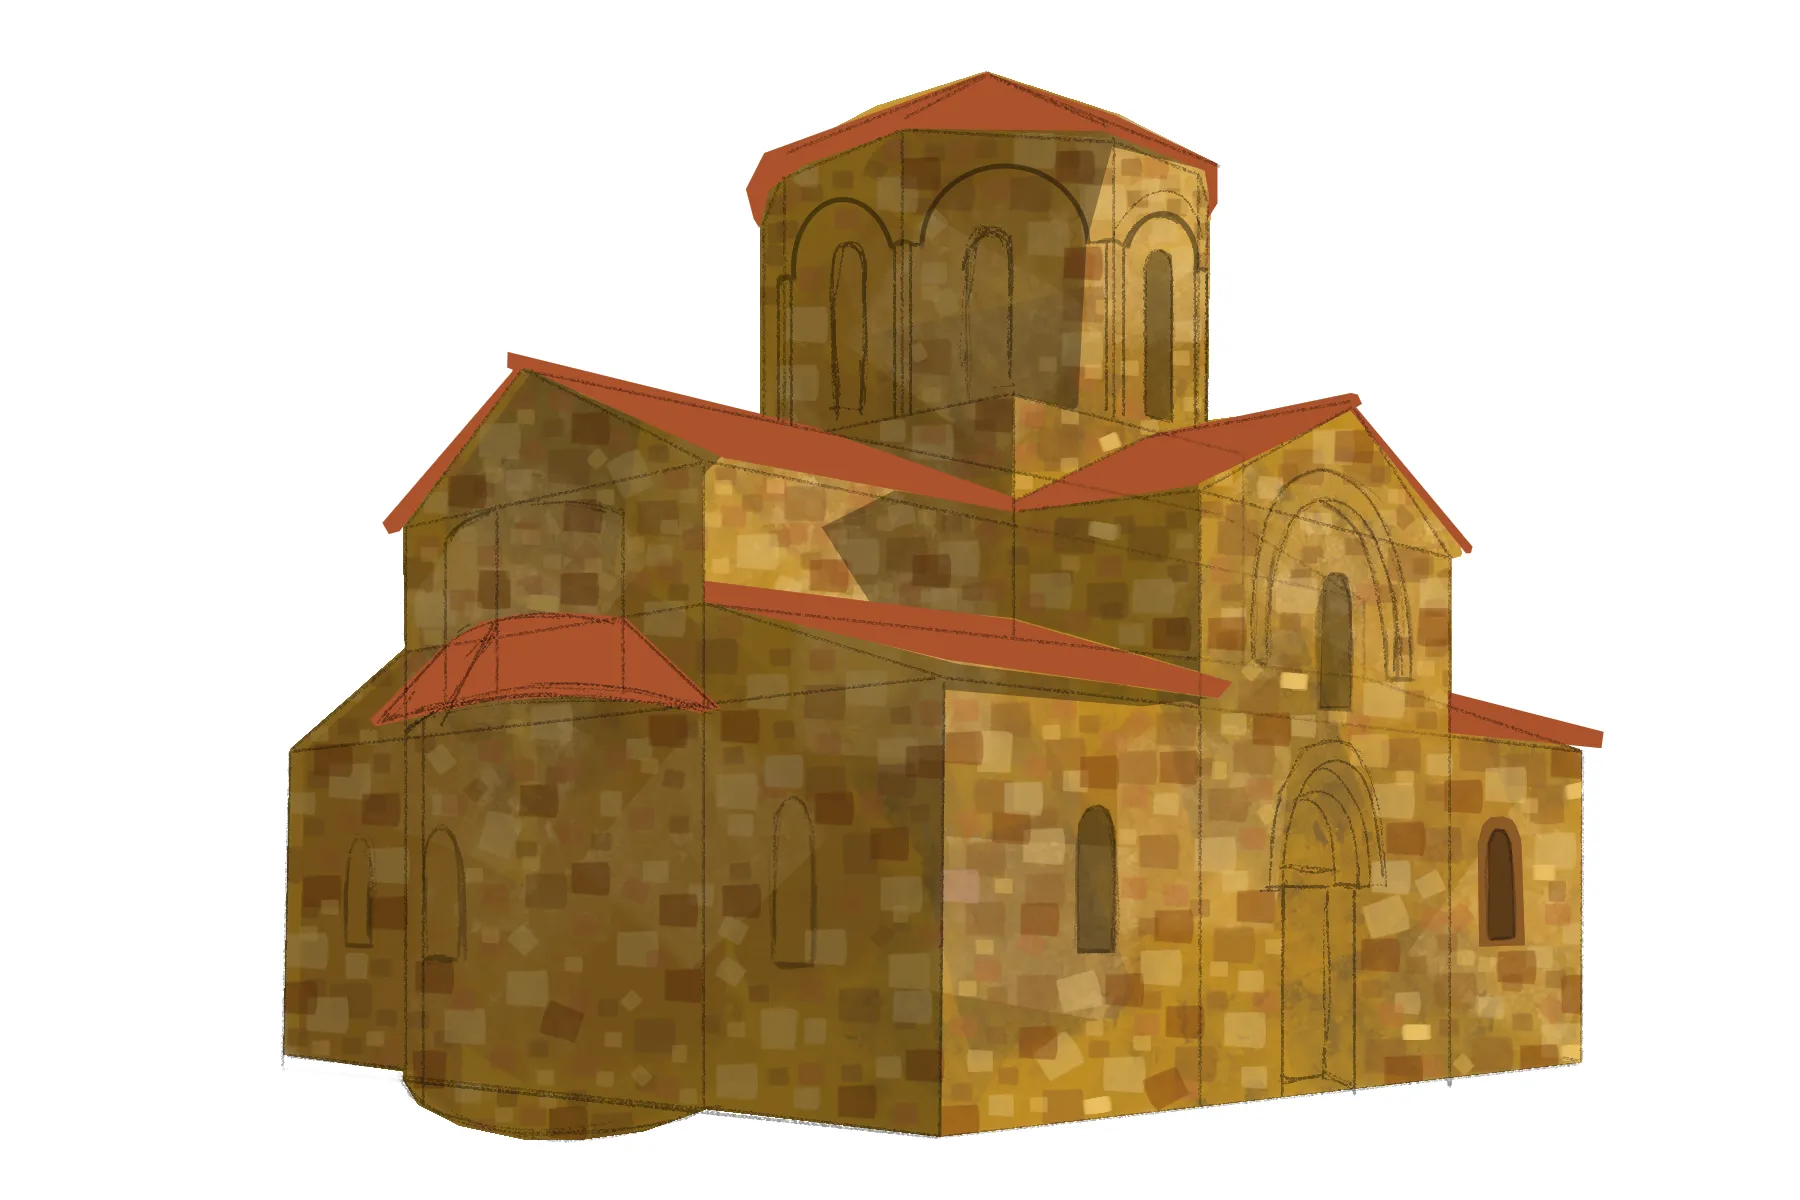
Let's draw the windows with a darker color: they are literally holes in the walls.
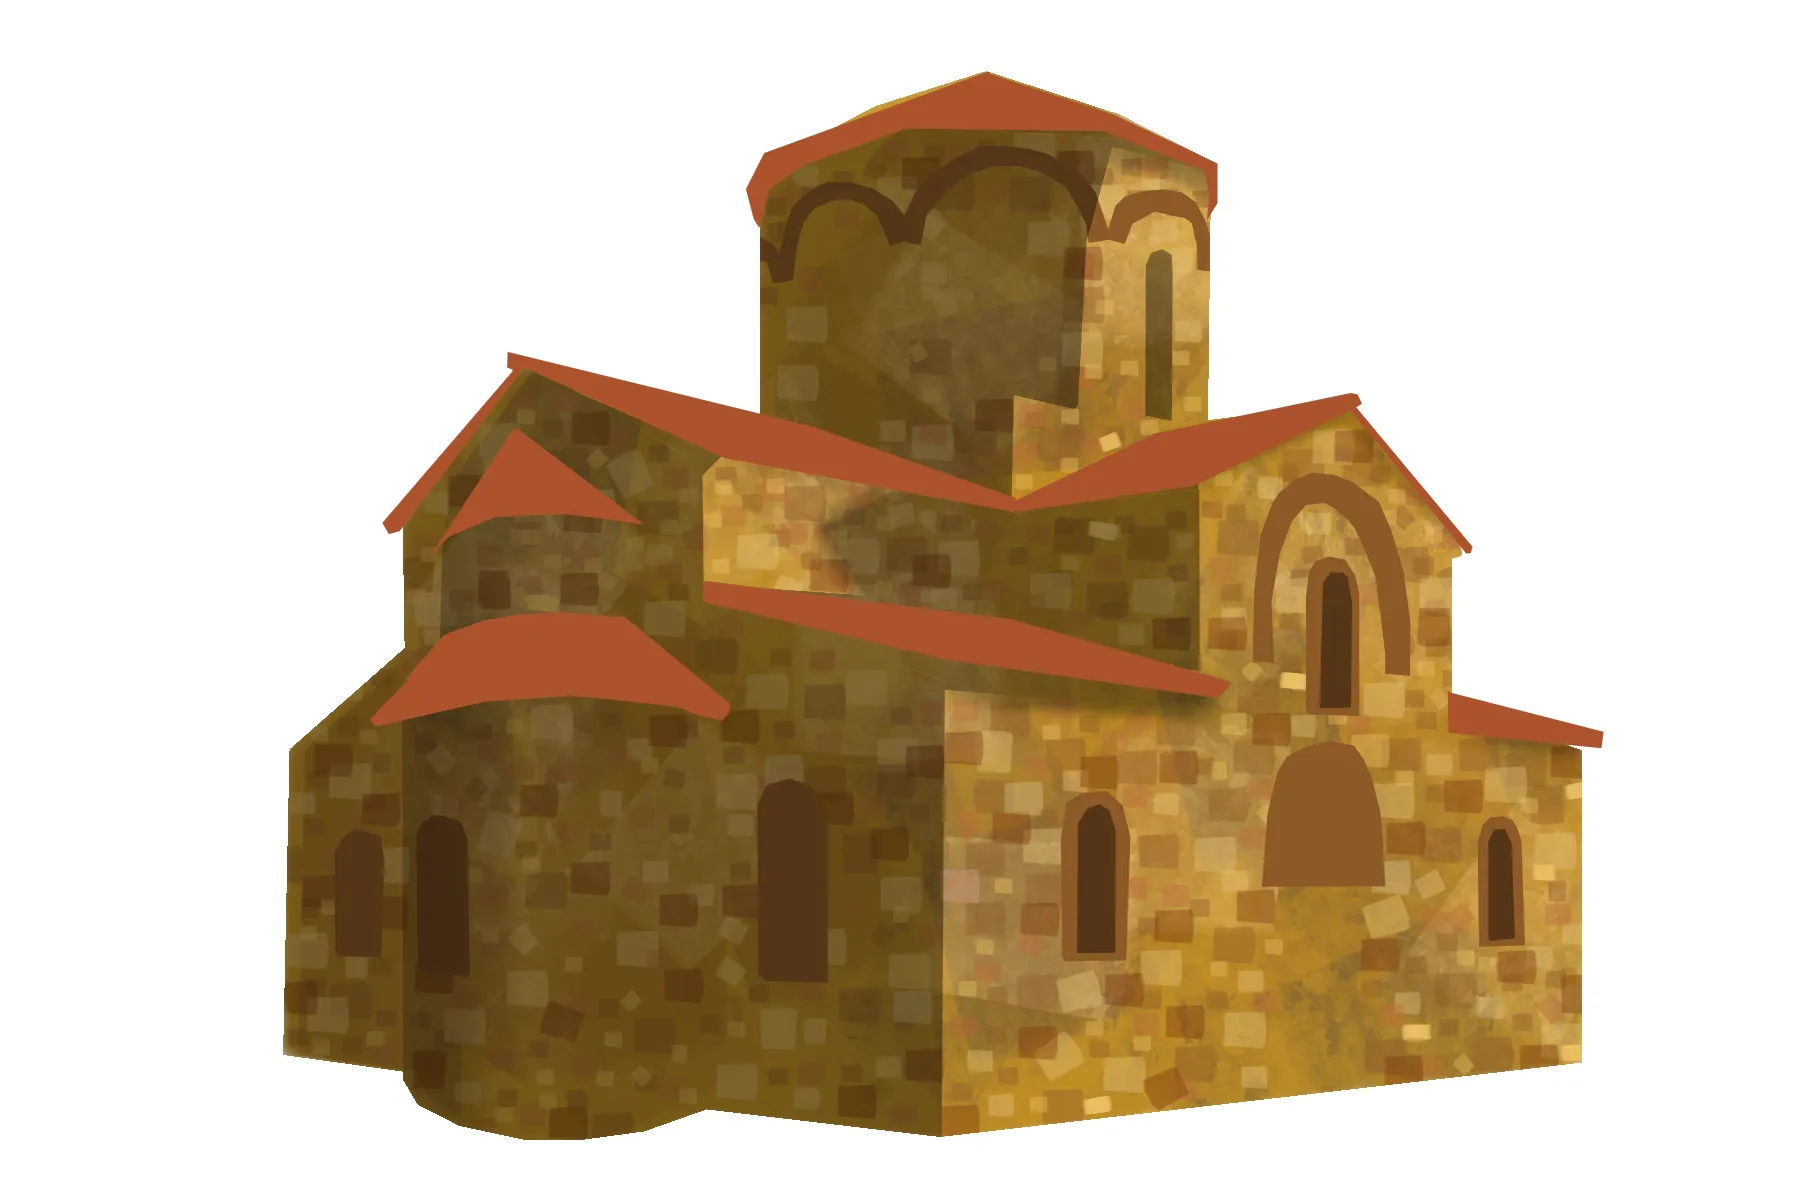
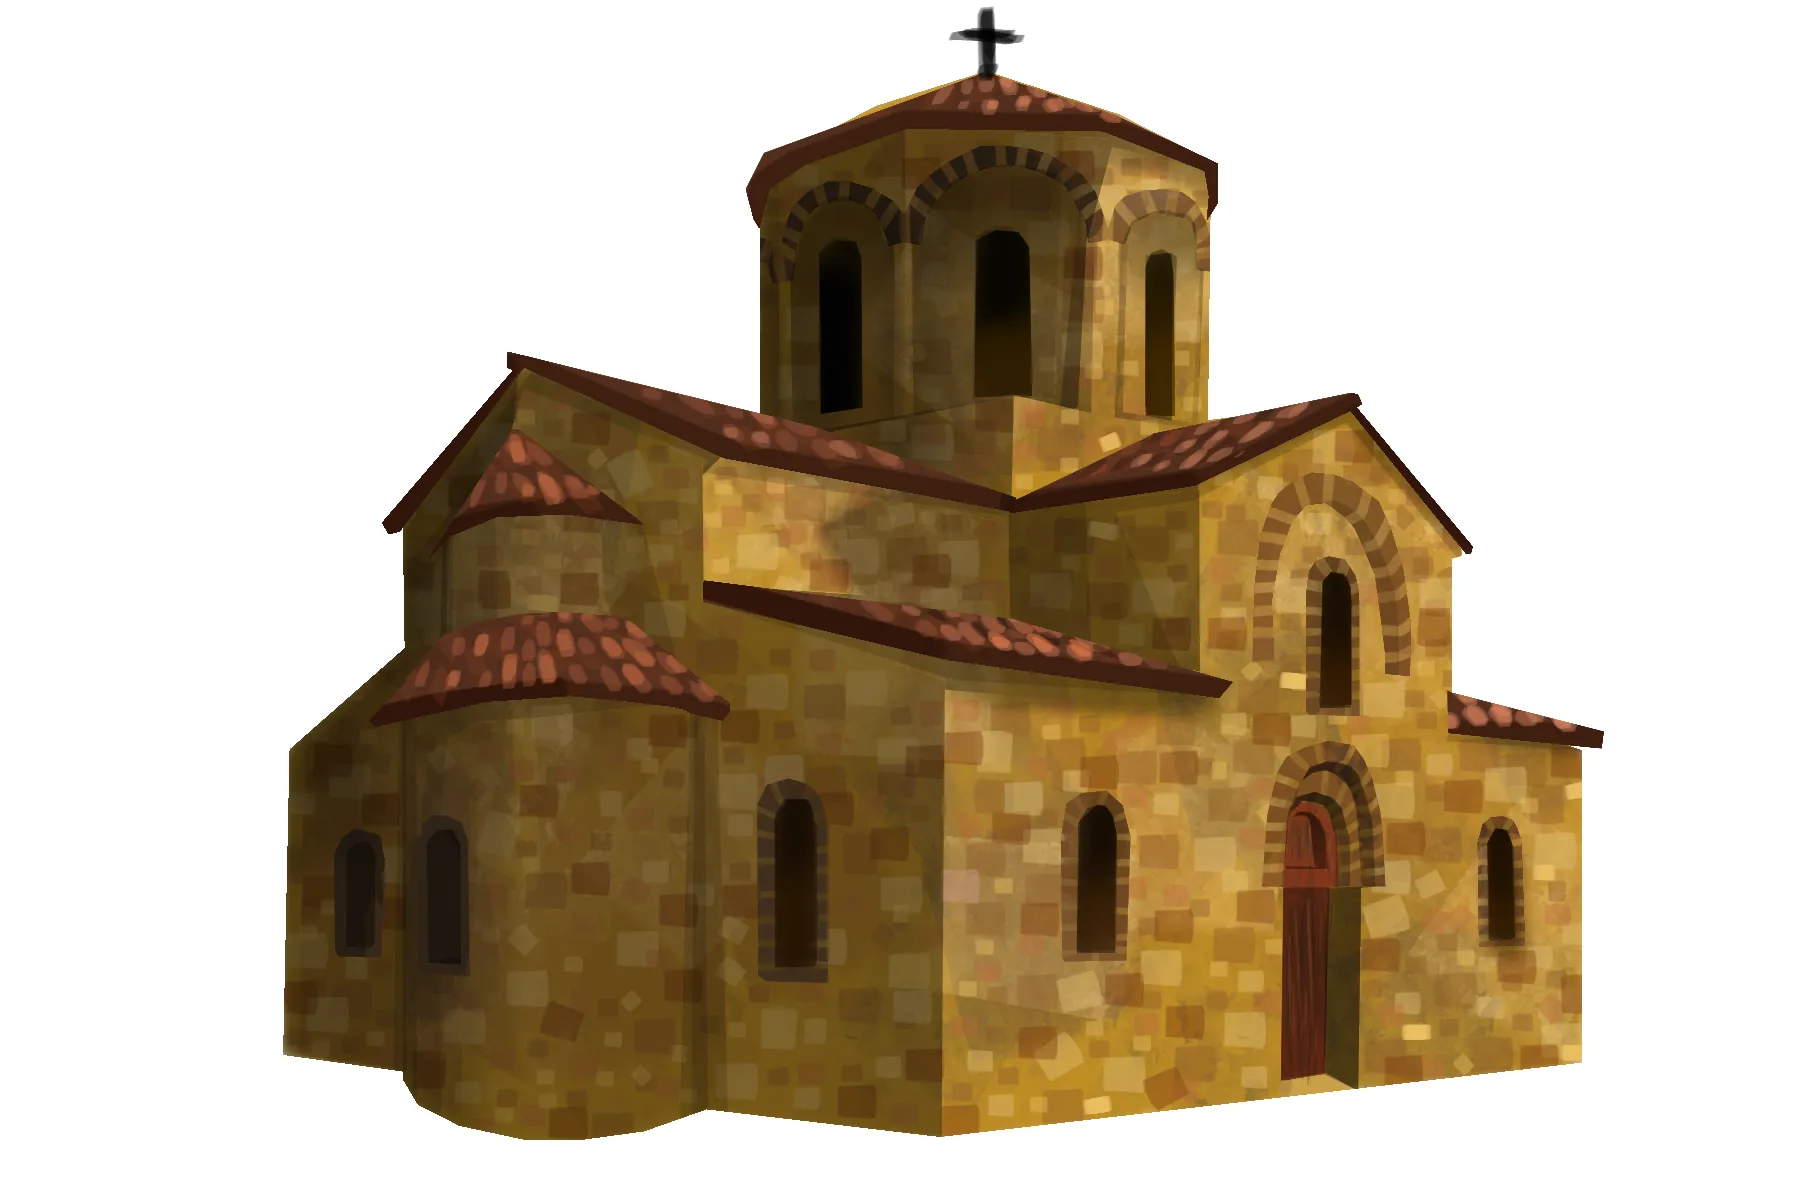
So far, we have only sketched basic shadows to define the volumes. It's now time to draw the shadows in detail. They help to clearly separate certain parts of the structure, such as the arches of the door and windows, as well as those of the tower located above the roof, not to mention the cylinders.
The windows have a stone frame. To draw it, erase small lines from the stripes you have drawn, which will give the appearance of blocks. This is much simpler than drawing them one by one.

We are approaching the end. It's time to draw the roof tiles: start by darkening the shade, then draw small lighter rectangles, but in an irregular way to achieve a realistic effect.
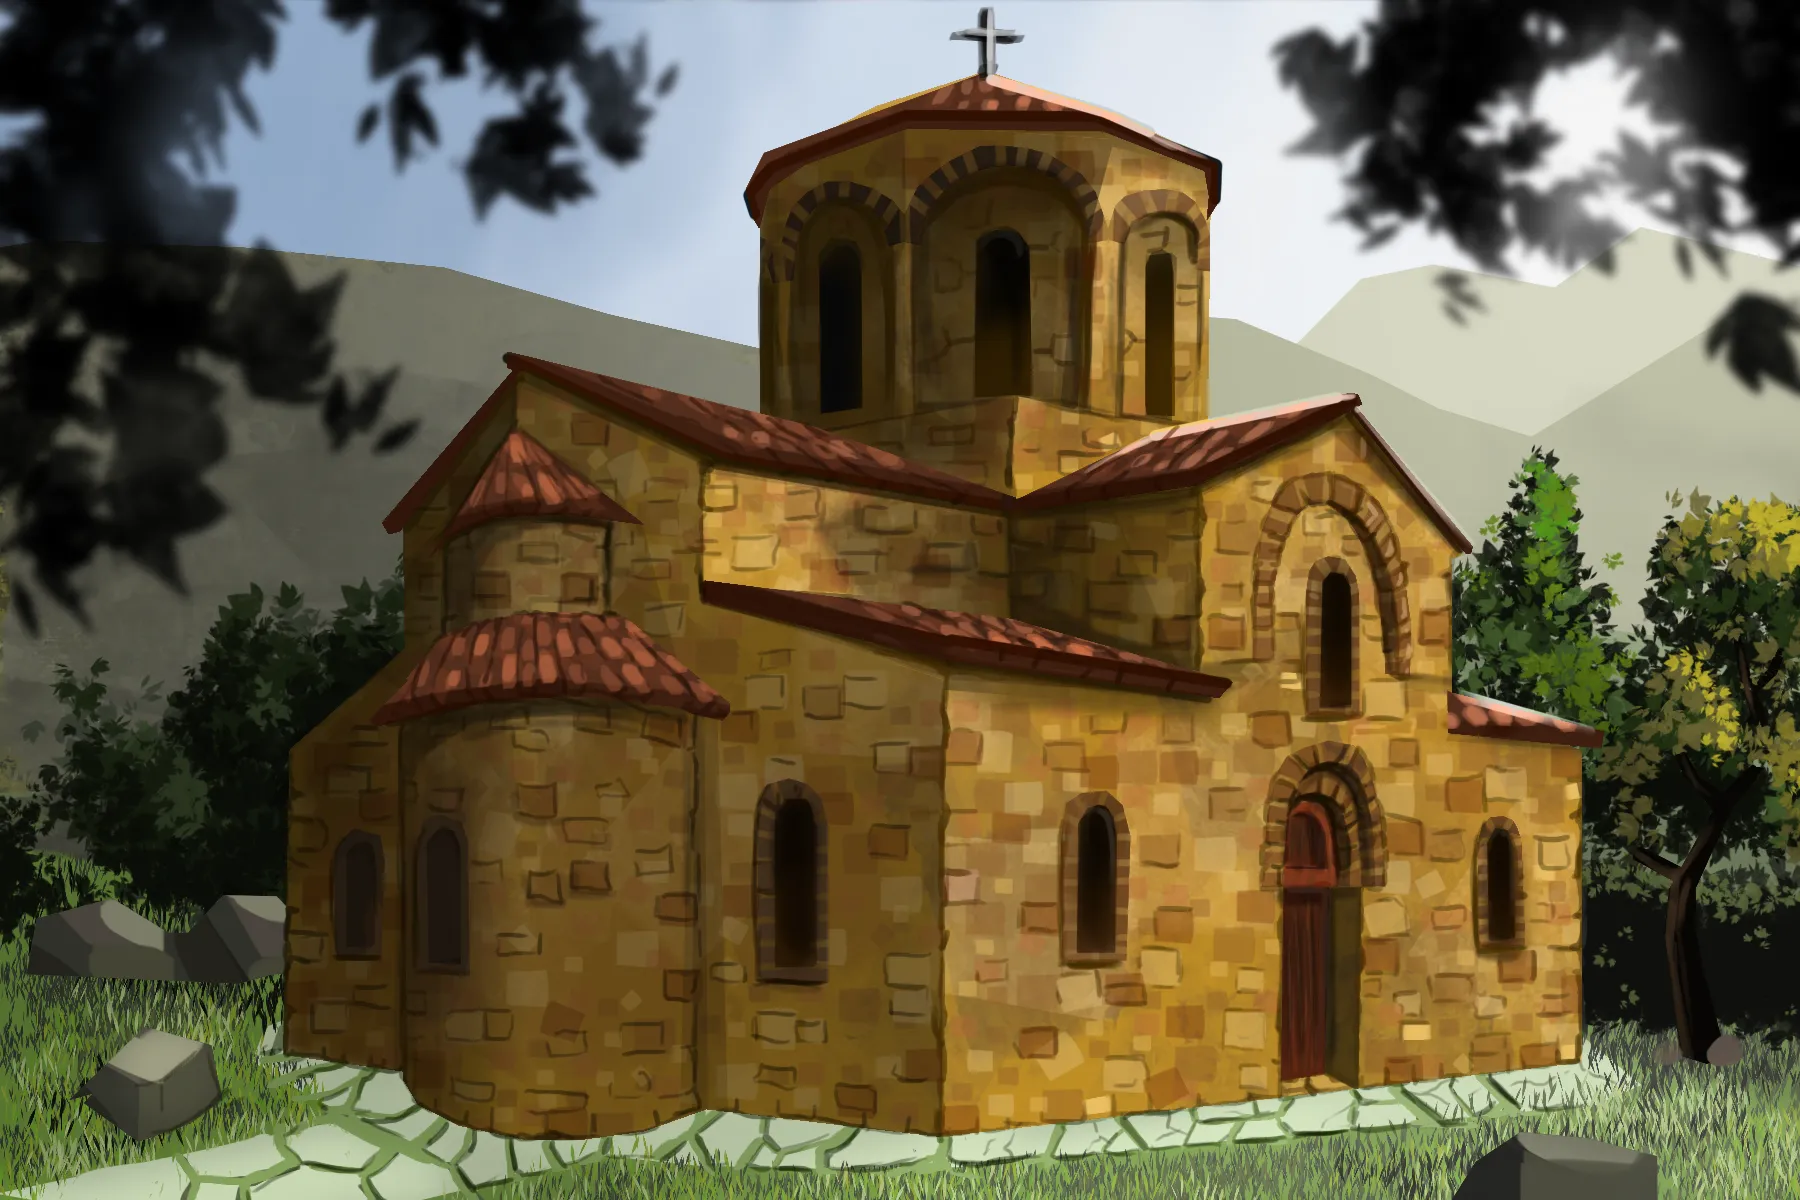
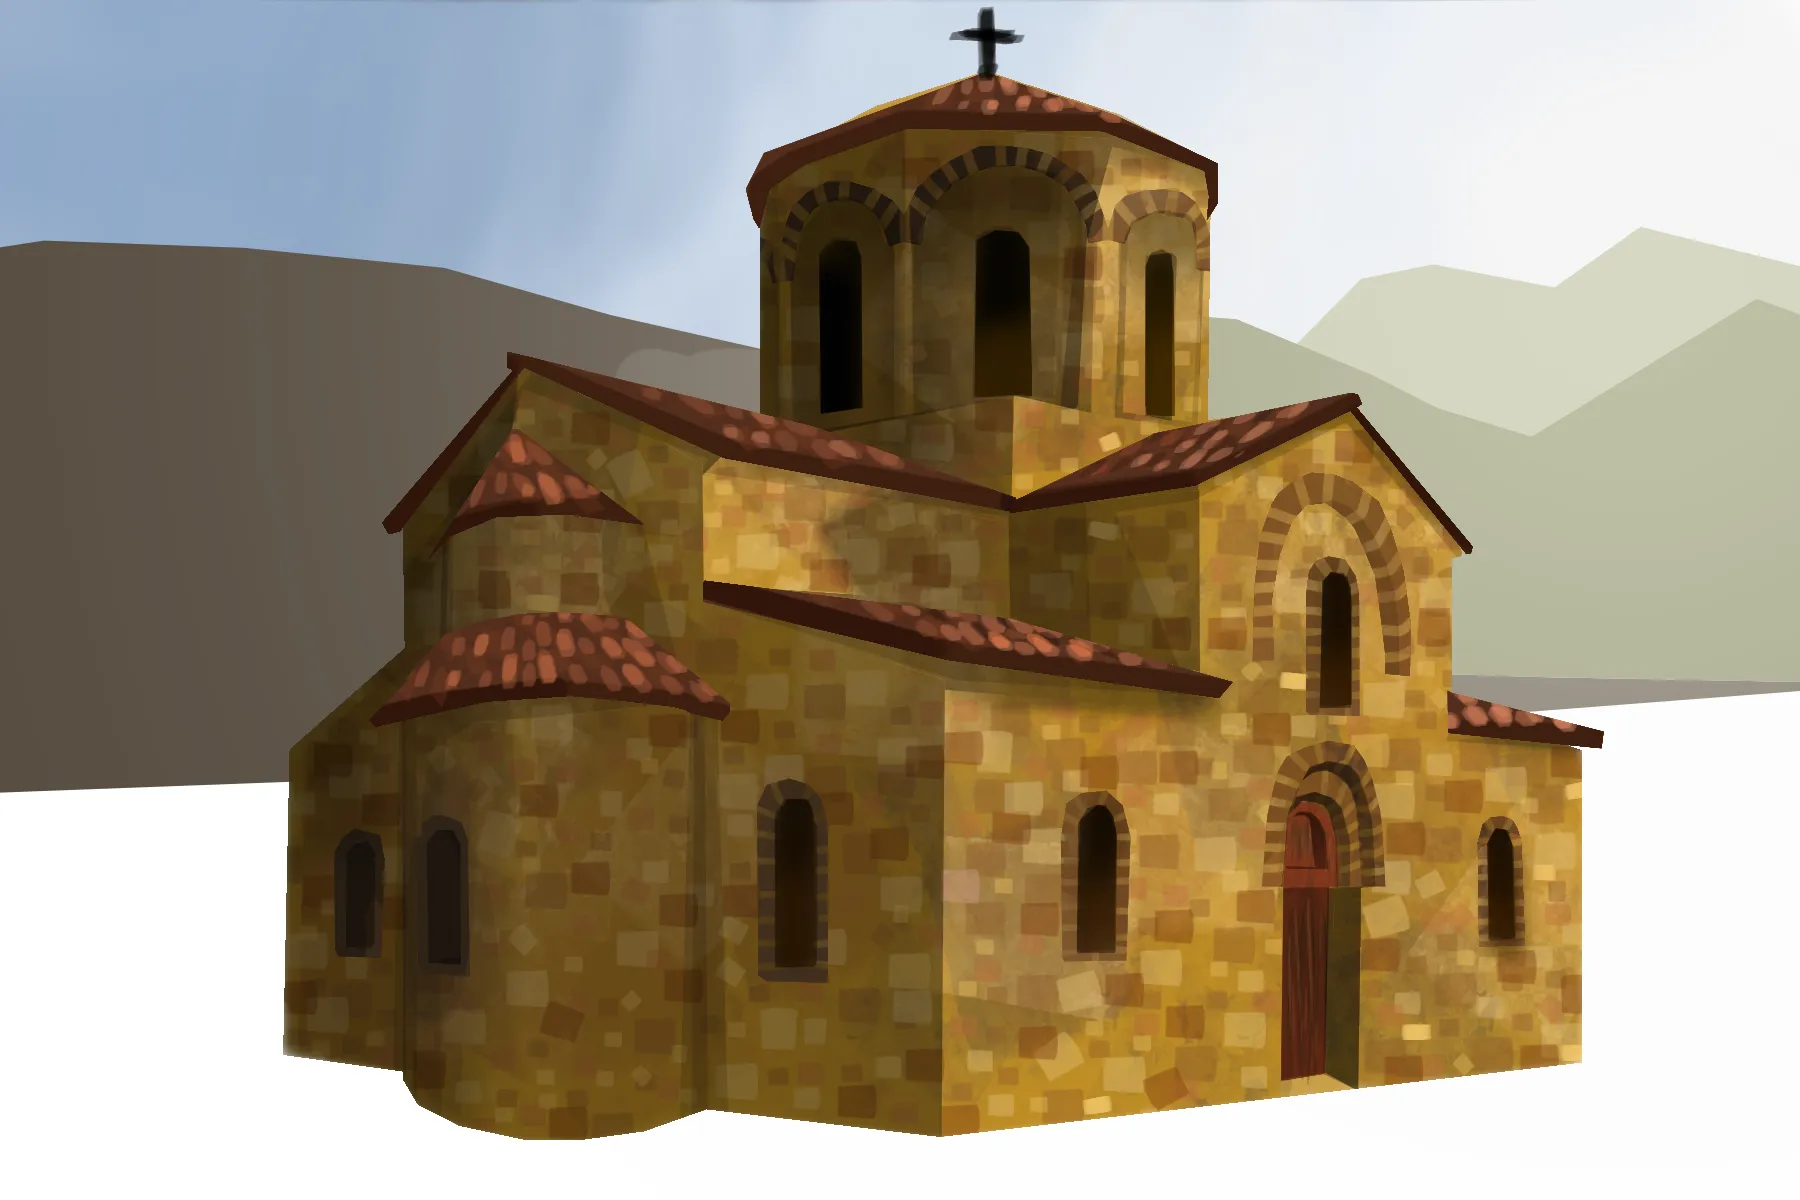
Our church is finished. To finalize our drawing, let's place it in a setting. Since it is a Romanesque-era church, it will naturally fit into a rural landscape. We will start by adding mountains in the background, faded by the sunlight.
Add the background to the drawing of a church
Let's continue with the ground: a green space covered with grass, represented by vertical lines of various shades of green, arranged irregularly. Let's also add irregular stones to form rustic slabs.
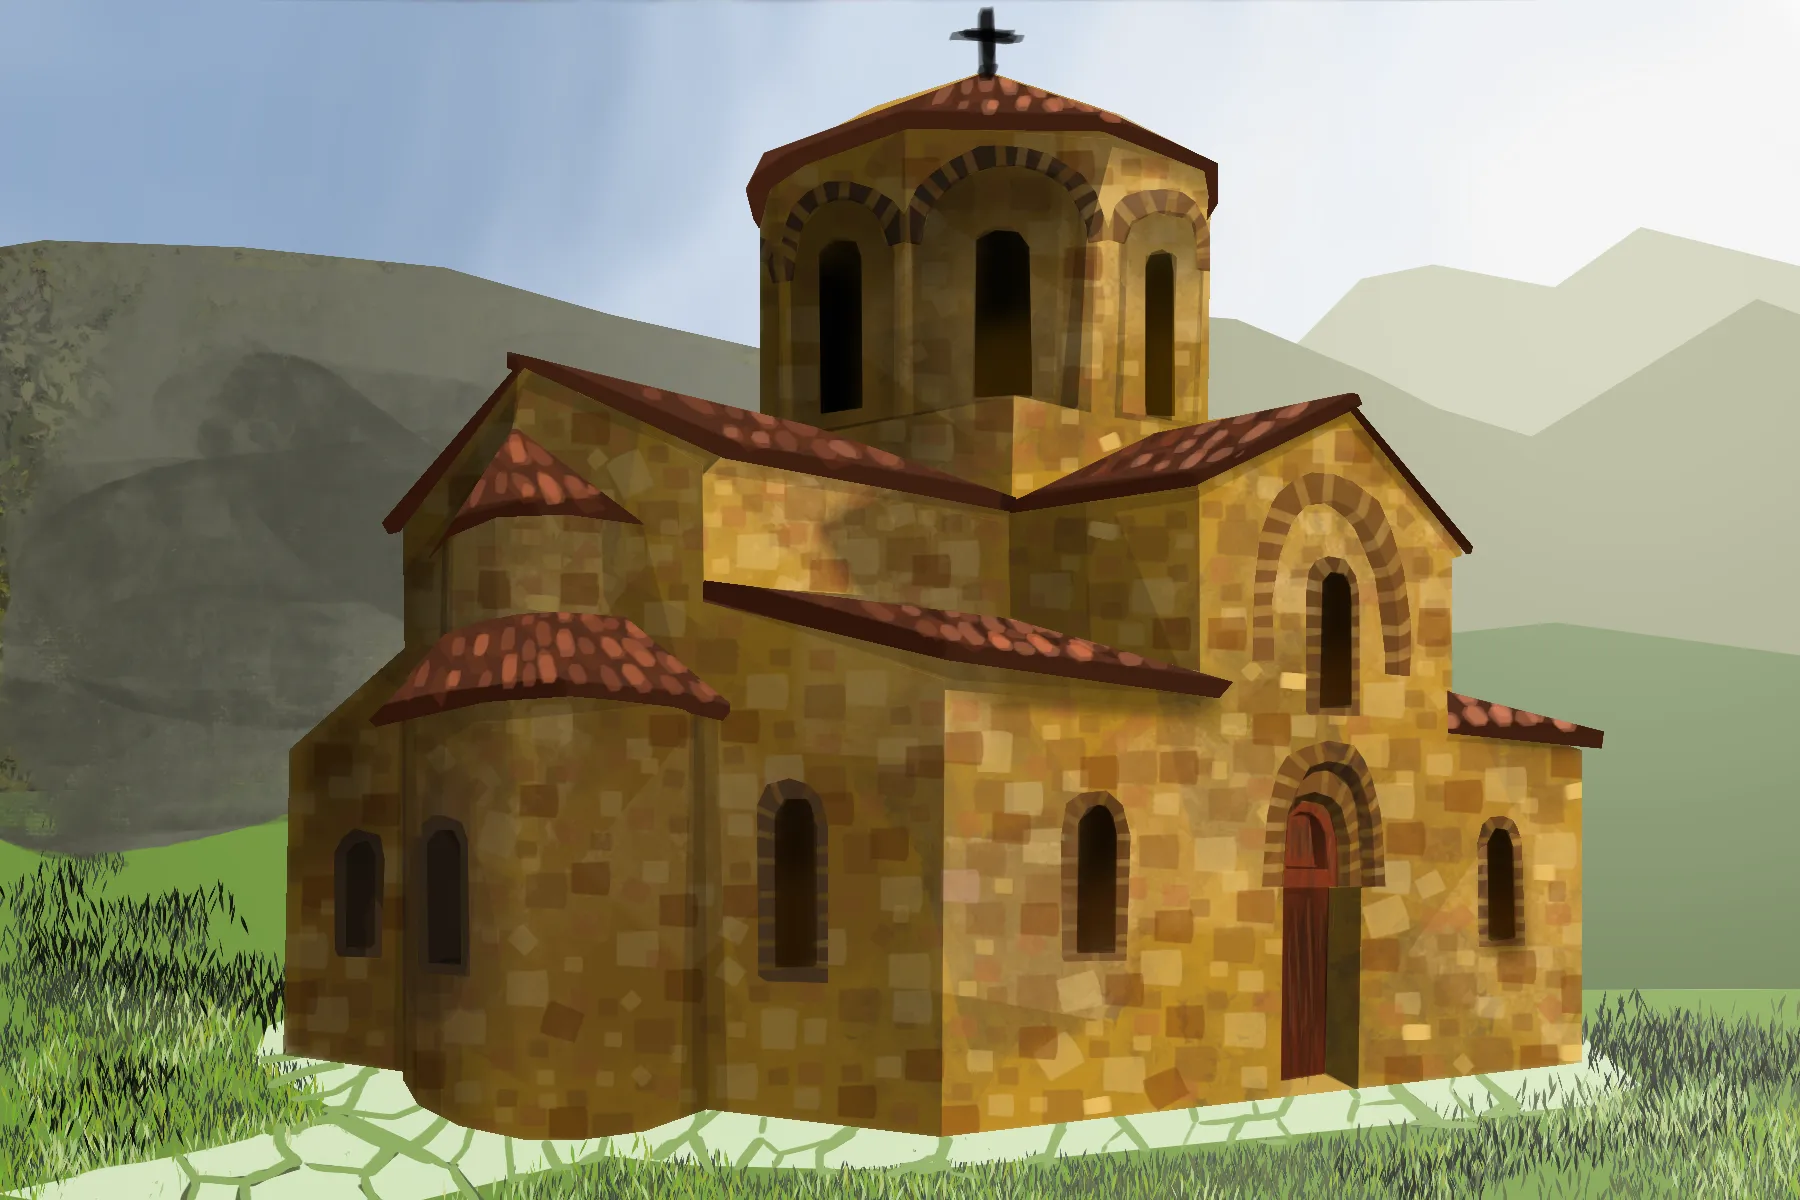
Next, let's bring the scene to life: draw trees behind the church, making sure to vary their shapes and shades. Also add some scattered rocks on the grass.
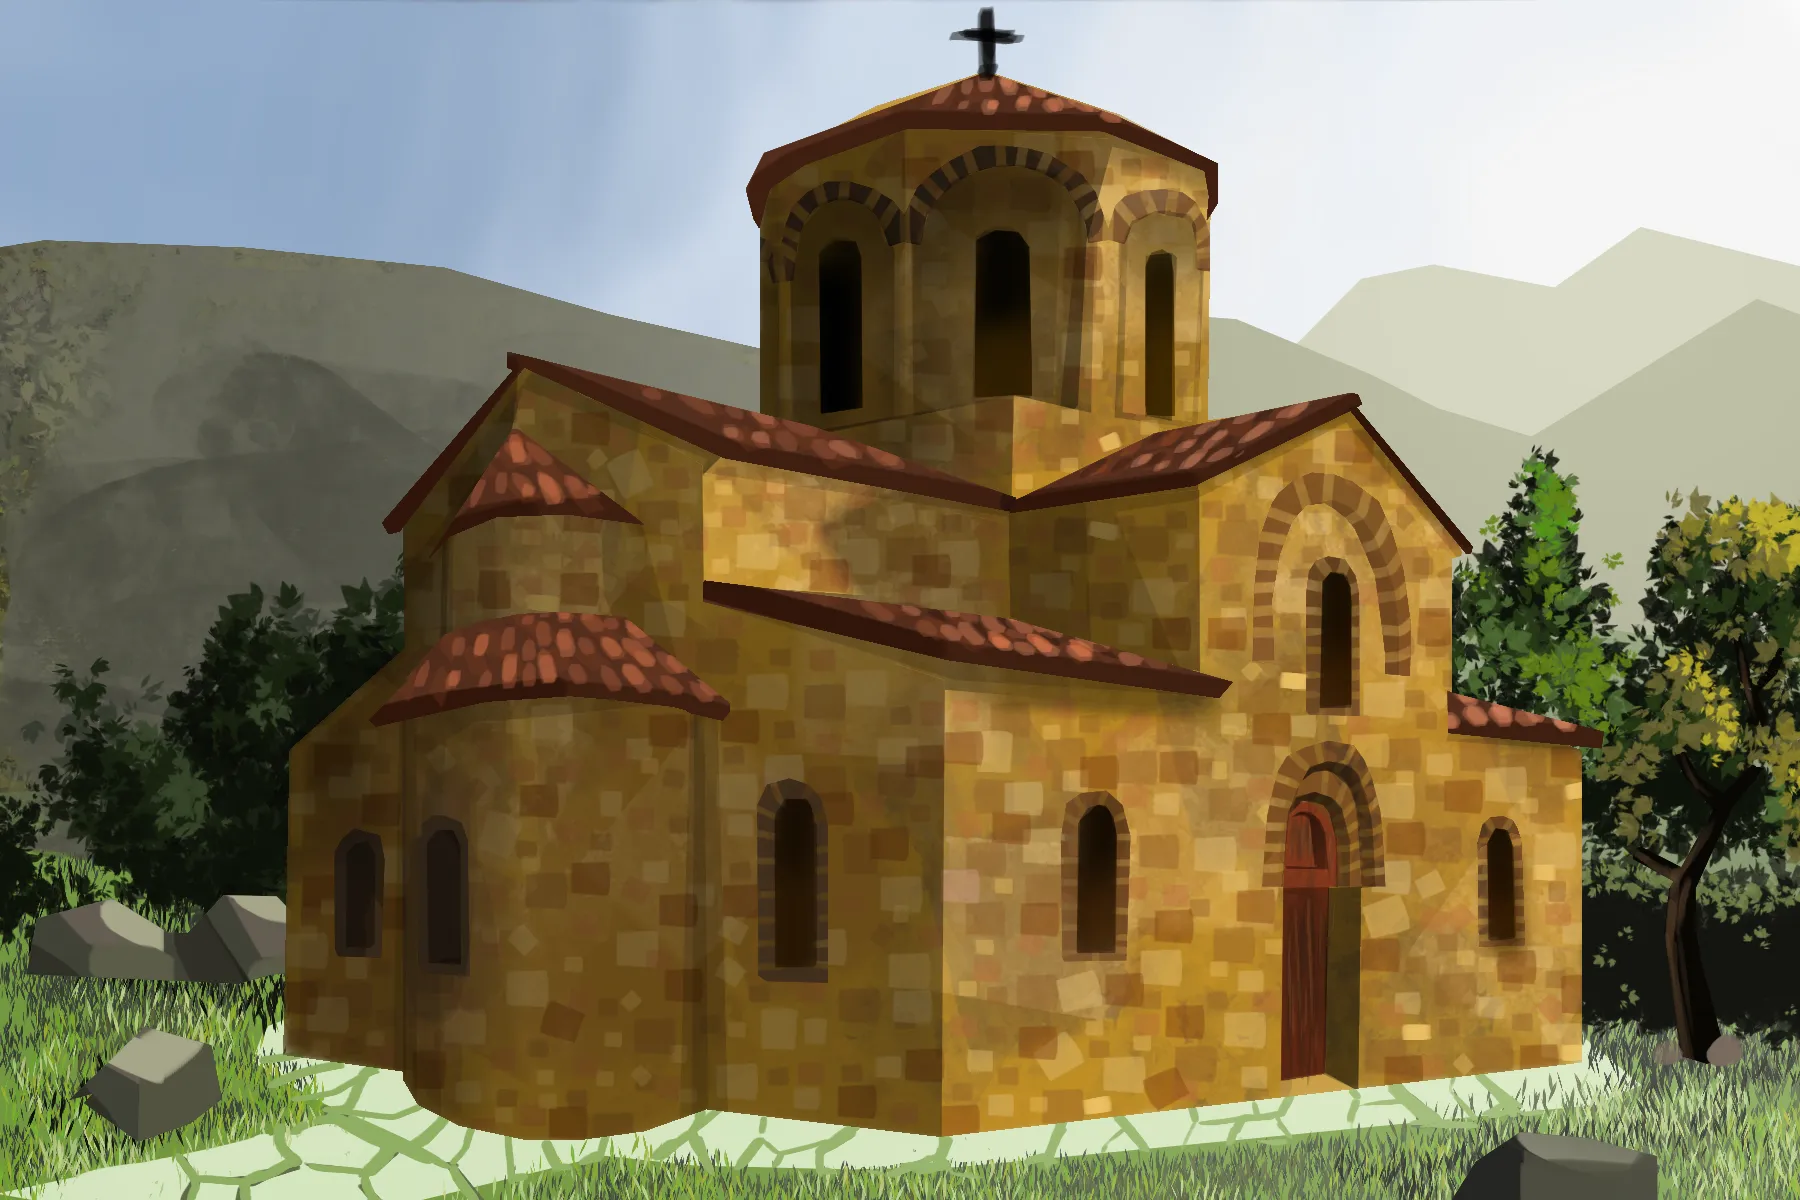
Finally, let's apply the foreground with its characteristic blur: draw some leaves descending from the top of the composition, crossed by soft rays of light, as if we are observing the scene from the shade of a tree.

And so we end up with a Greek cross church in the Romanesque style: a simple example of how the church, architecture, and art come together to build social bonds. Feel free to draw your own church or sketch the one closest to you. And stay tuned for our upcoming tutorials!
Discussion
No comments yet.