How to Draw a City

Today, we will learn how to draw a city. You will explore practical exercises and discover valuable tips for composing scenes inspired by everyday life. By representing spaces and characters, drawing becomes a way to tell stories and unleash your creativity.
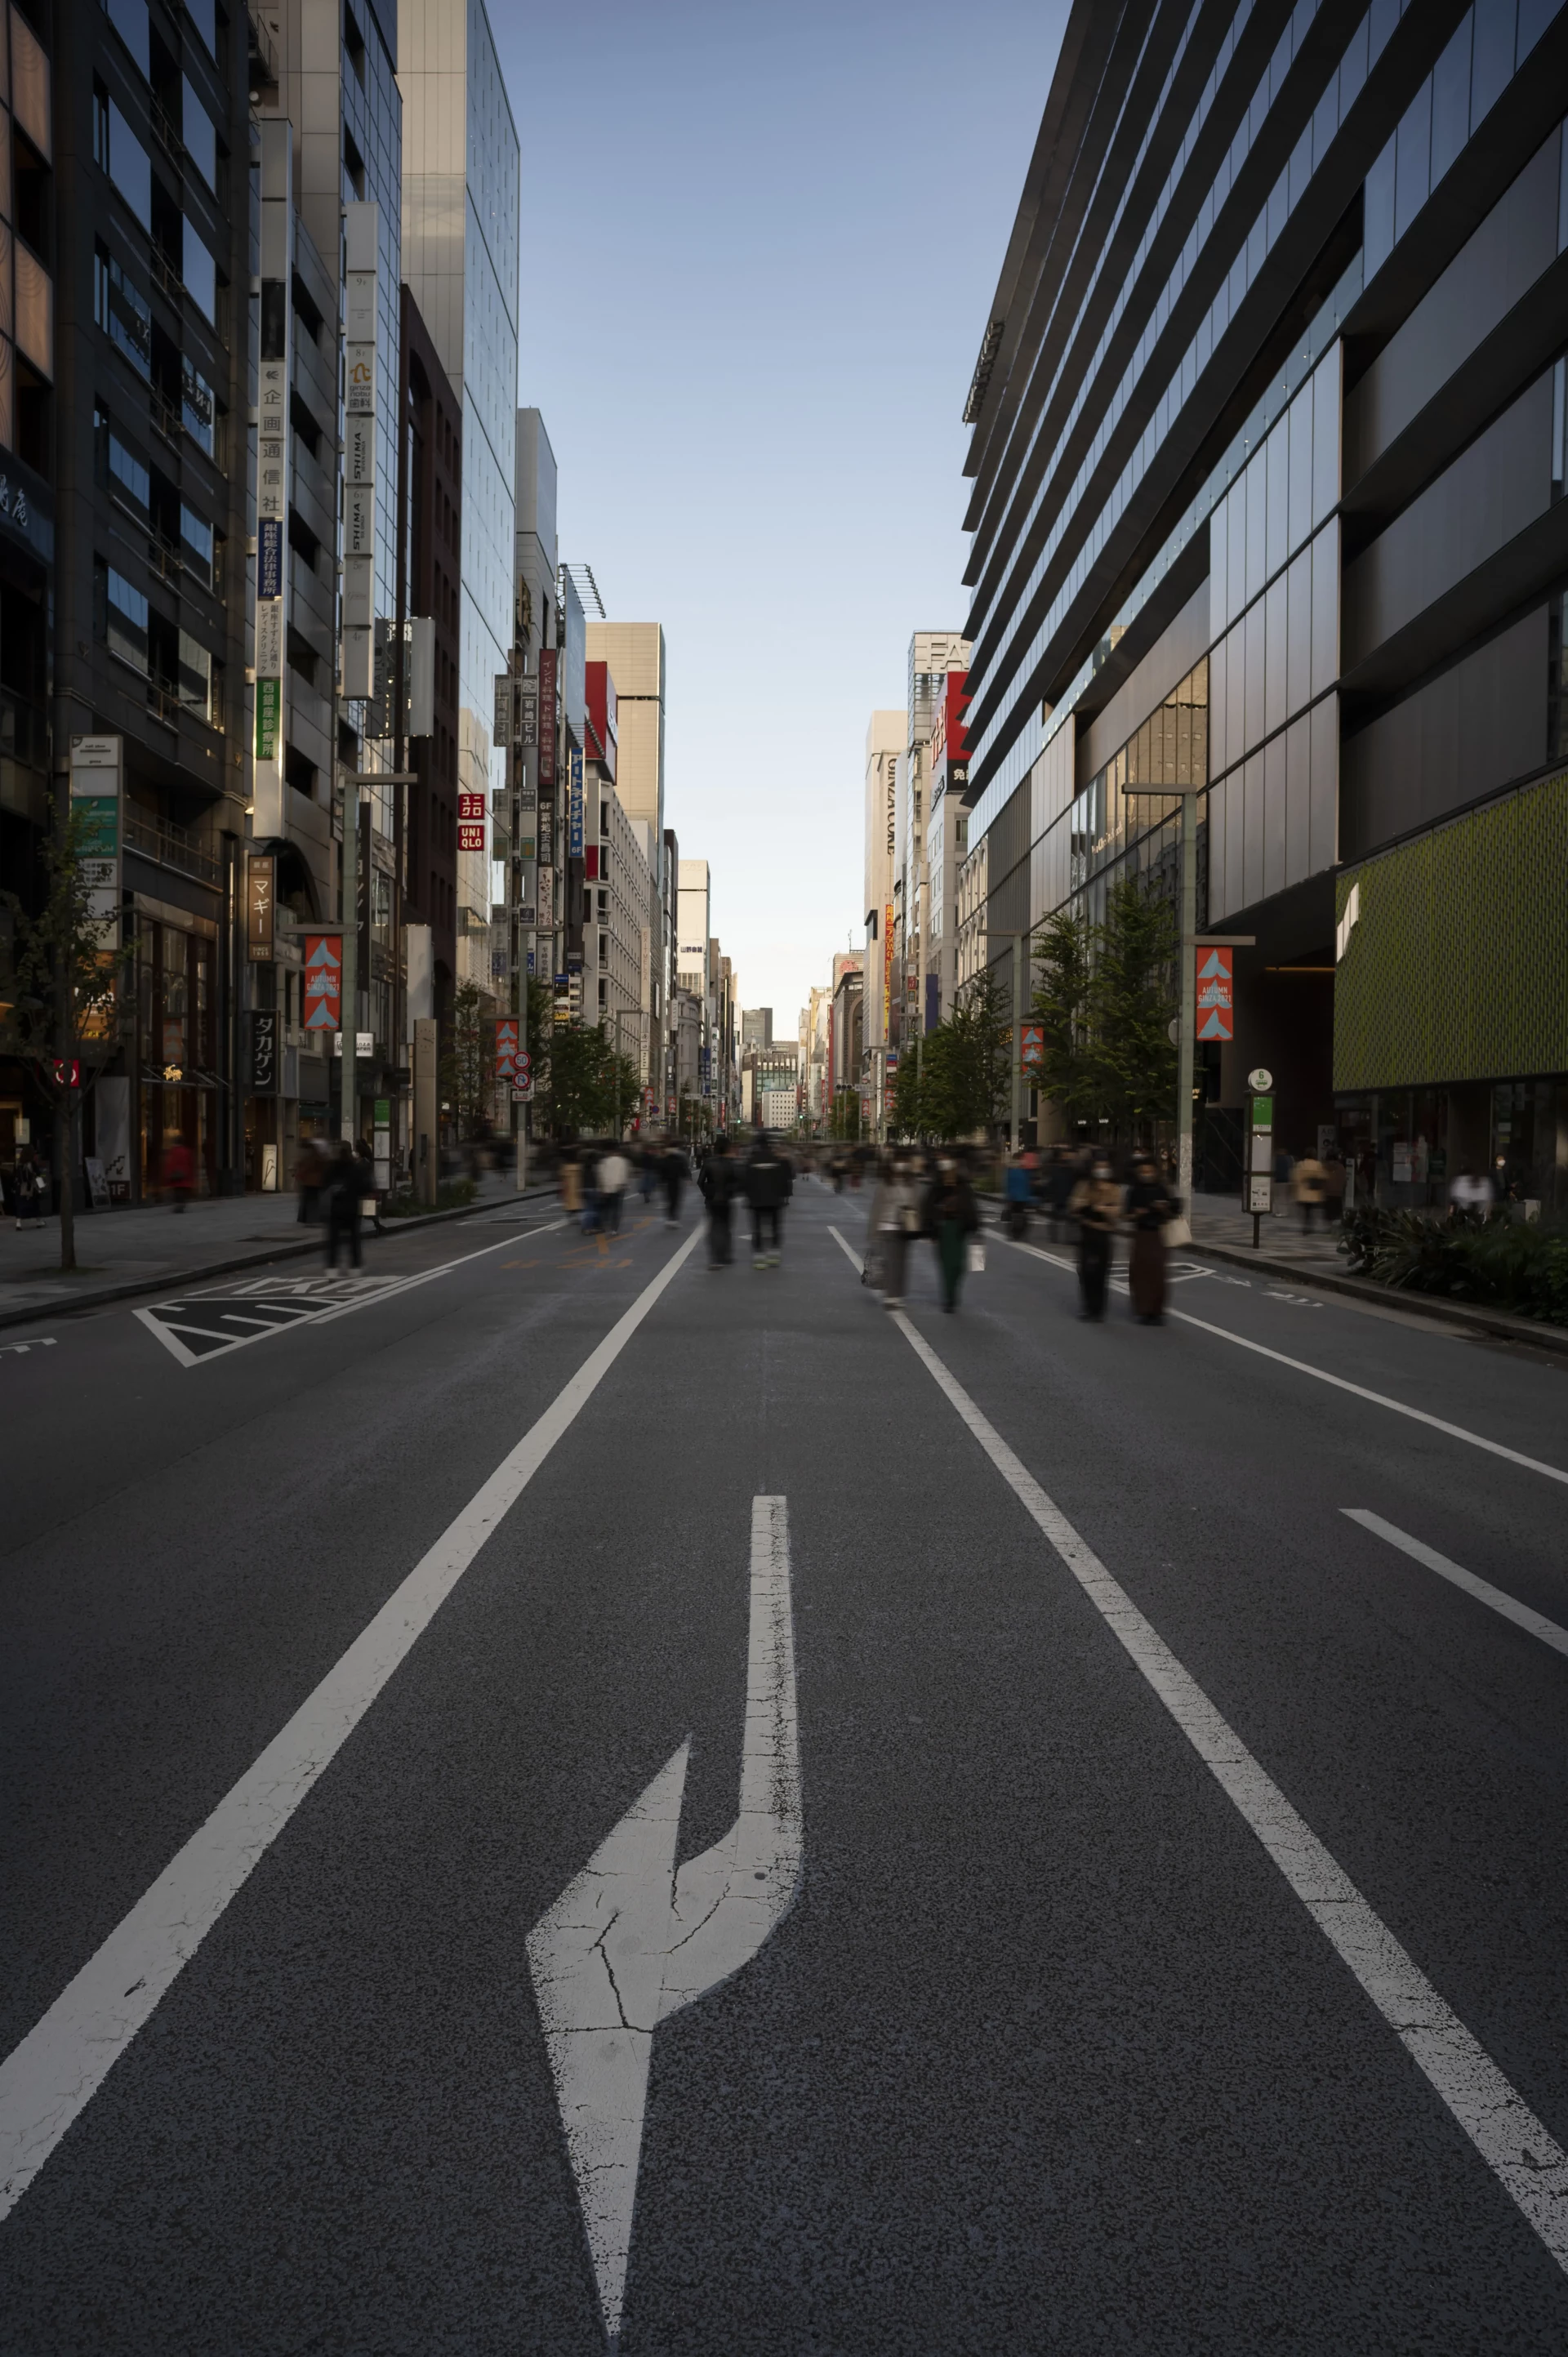
The city is an inexhaustible source of inspiration, where our imagination awakens and is nourished. The stories hidden in its streets are an excellent reason to start drawing: just take a look out the window, go for a walk, or search in books and on the internet for an infinite array of references of your favorite streets. We can recreate places we have never visited and explore them through drawing.
Materials
For this exercise, we will use simple materials. You can add color or texture with the resources you have. If you are a beginner, we recommend starting with:
- Sheet of paper of your choice
- Pencil (preferably H)
- Colored pencils
- Eraser
- Ruler

Measures and dimensions
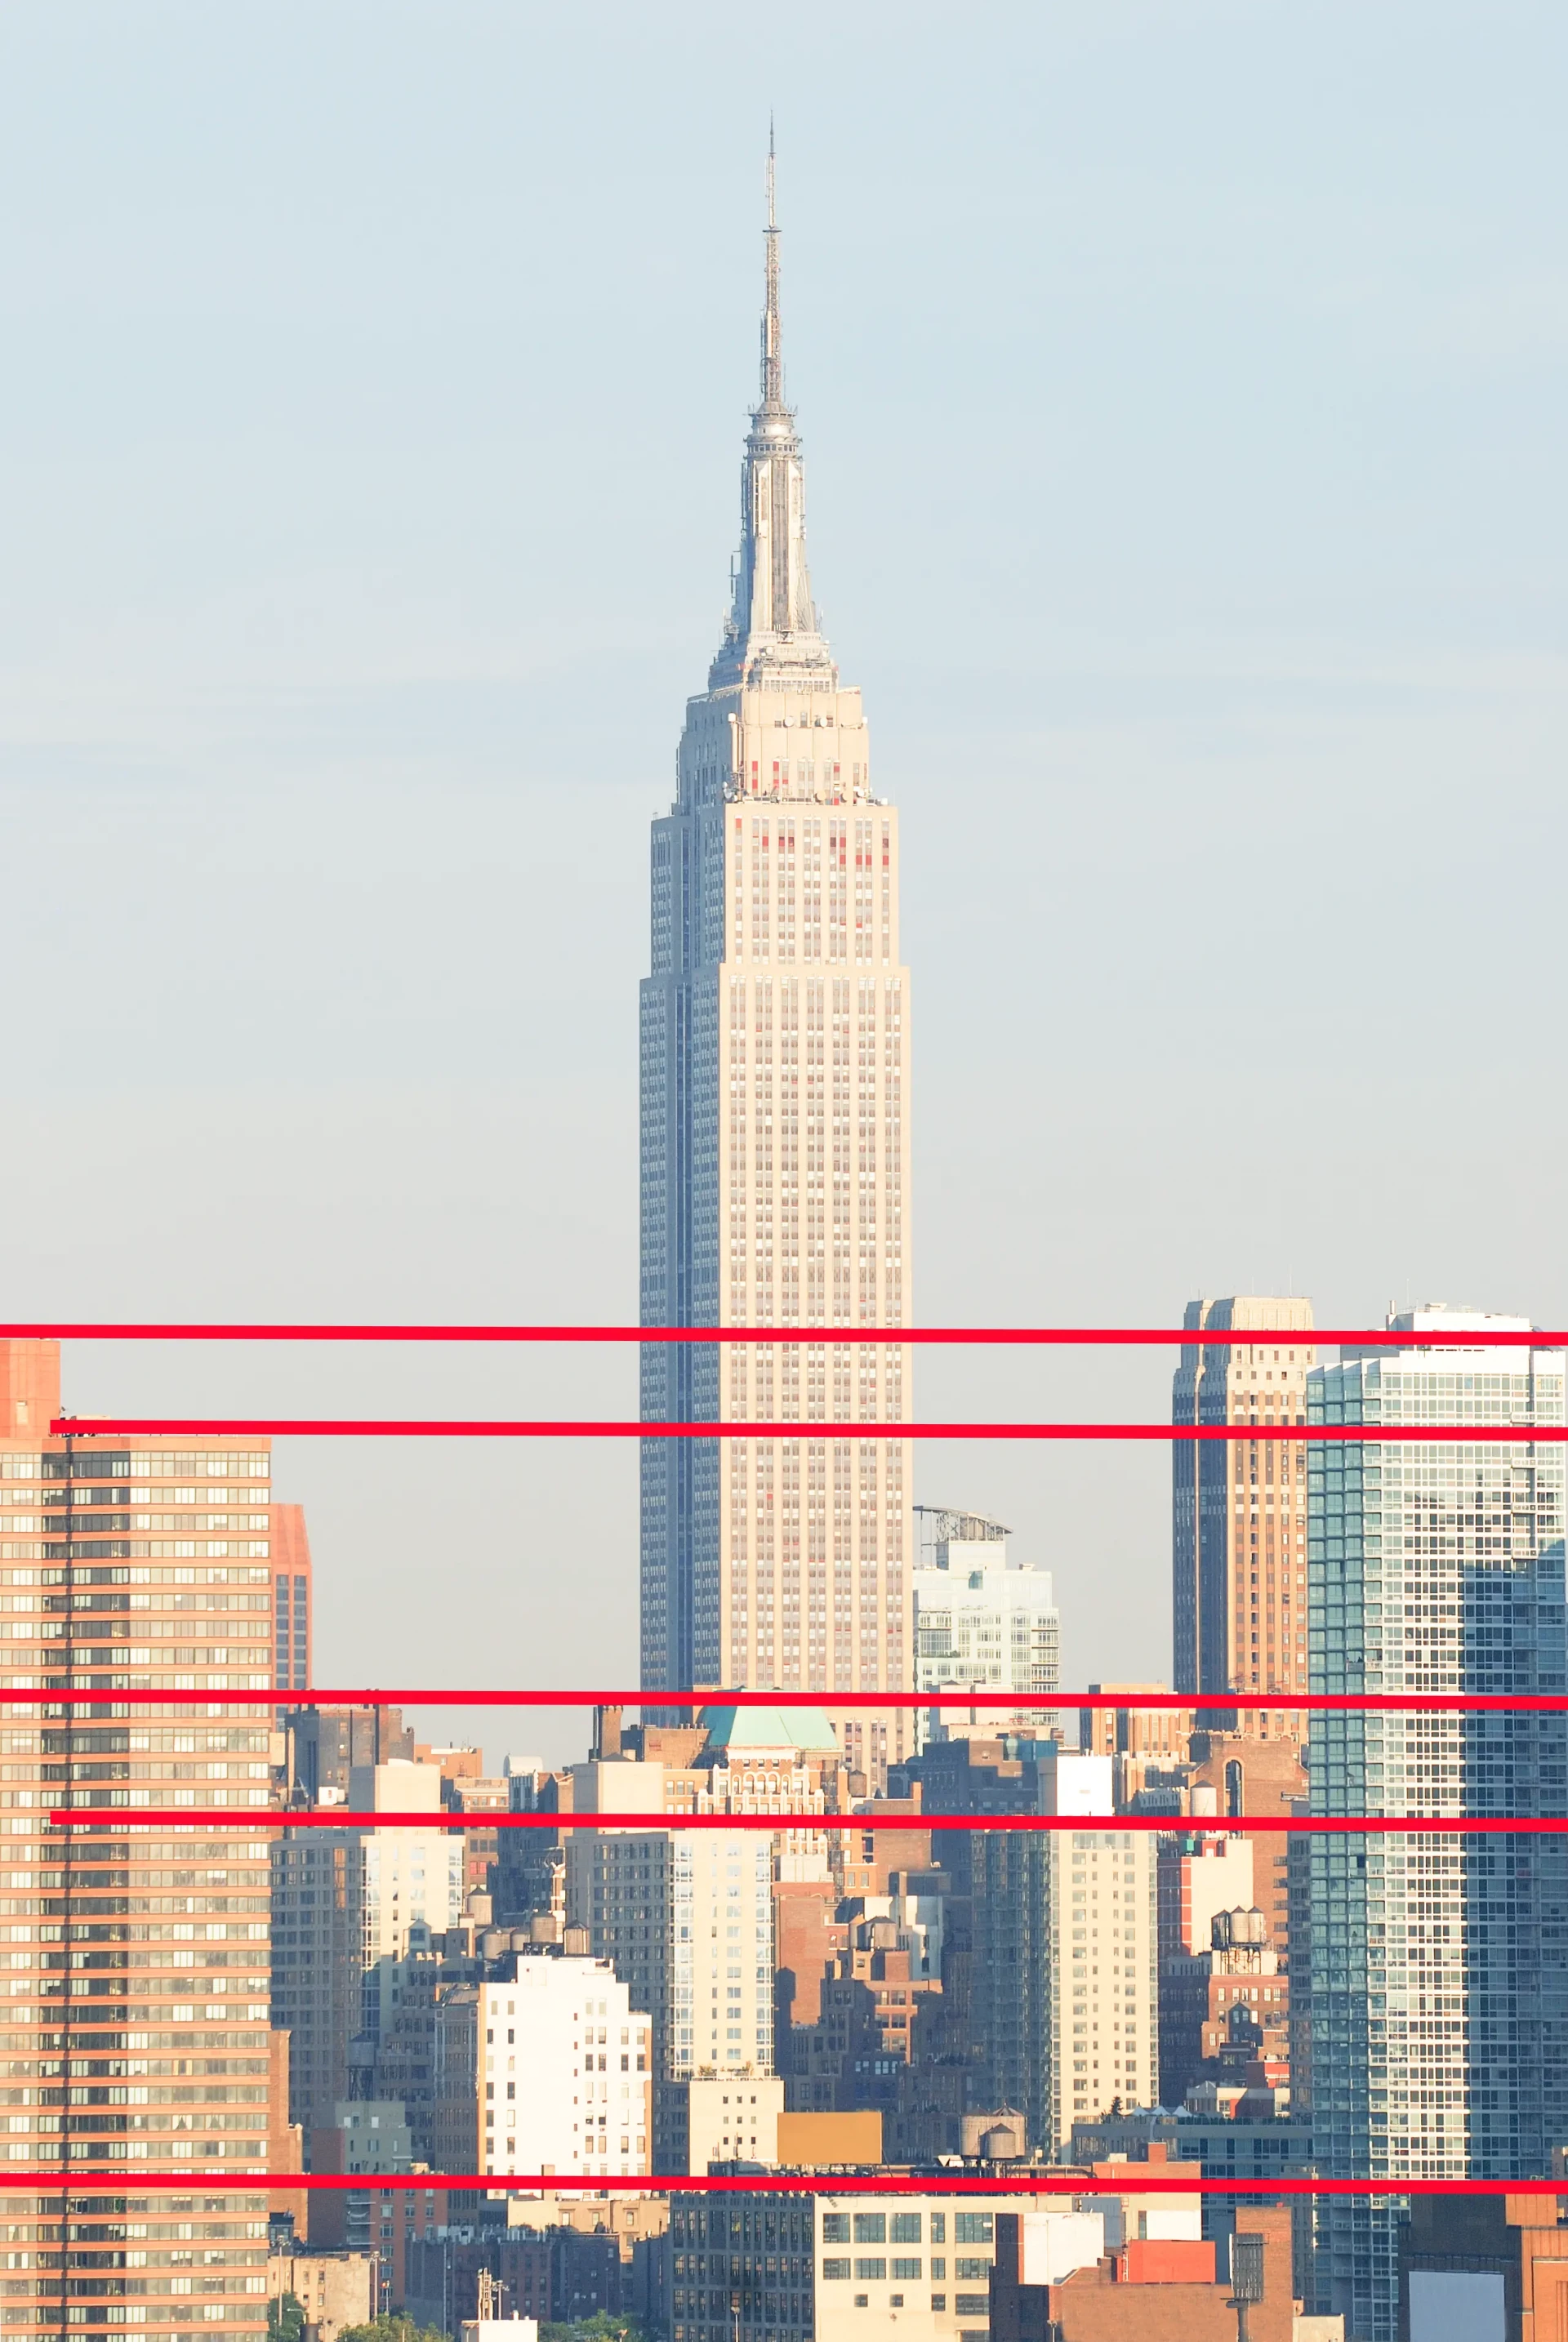
To begin, you need to place the different sizes of the buildings into the horizon. We guide ourselves by drawing horizontal lines. Remember that in the city, buildings are often very different from one another: by their size, style, or texture.
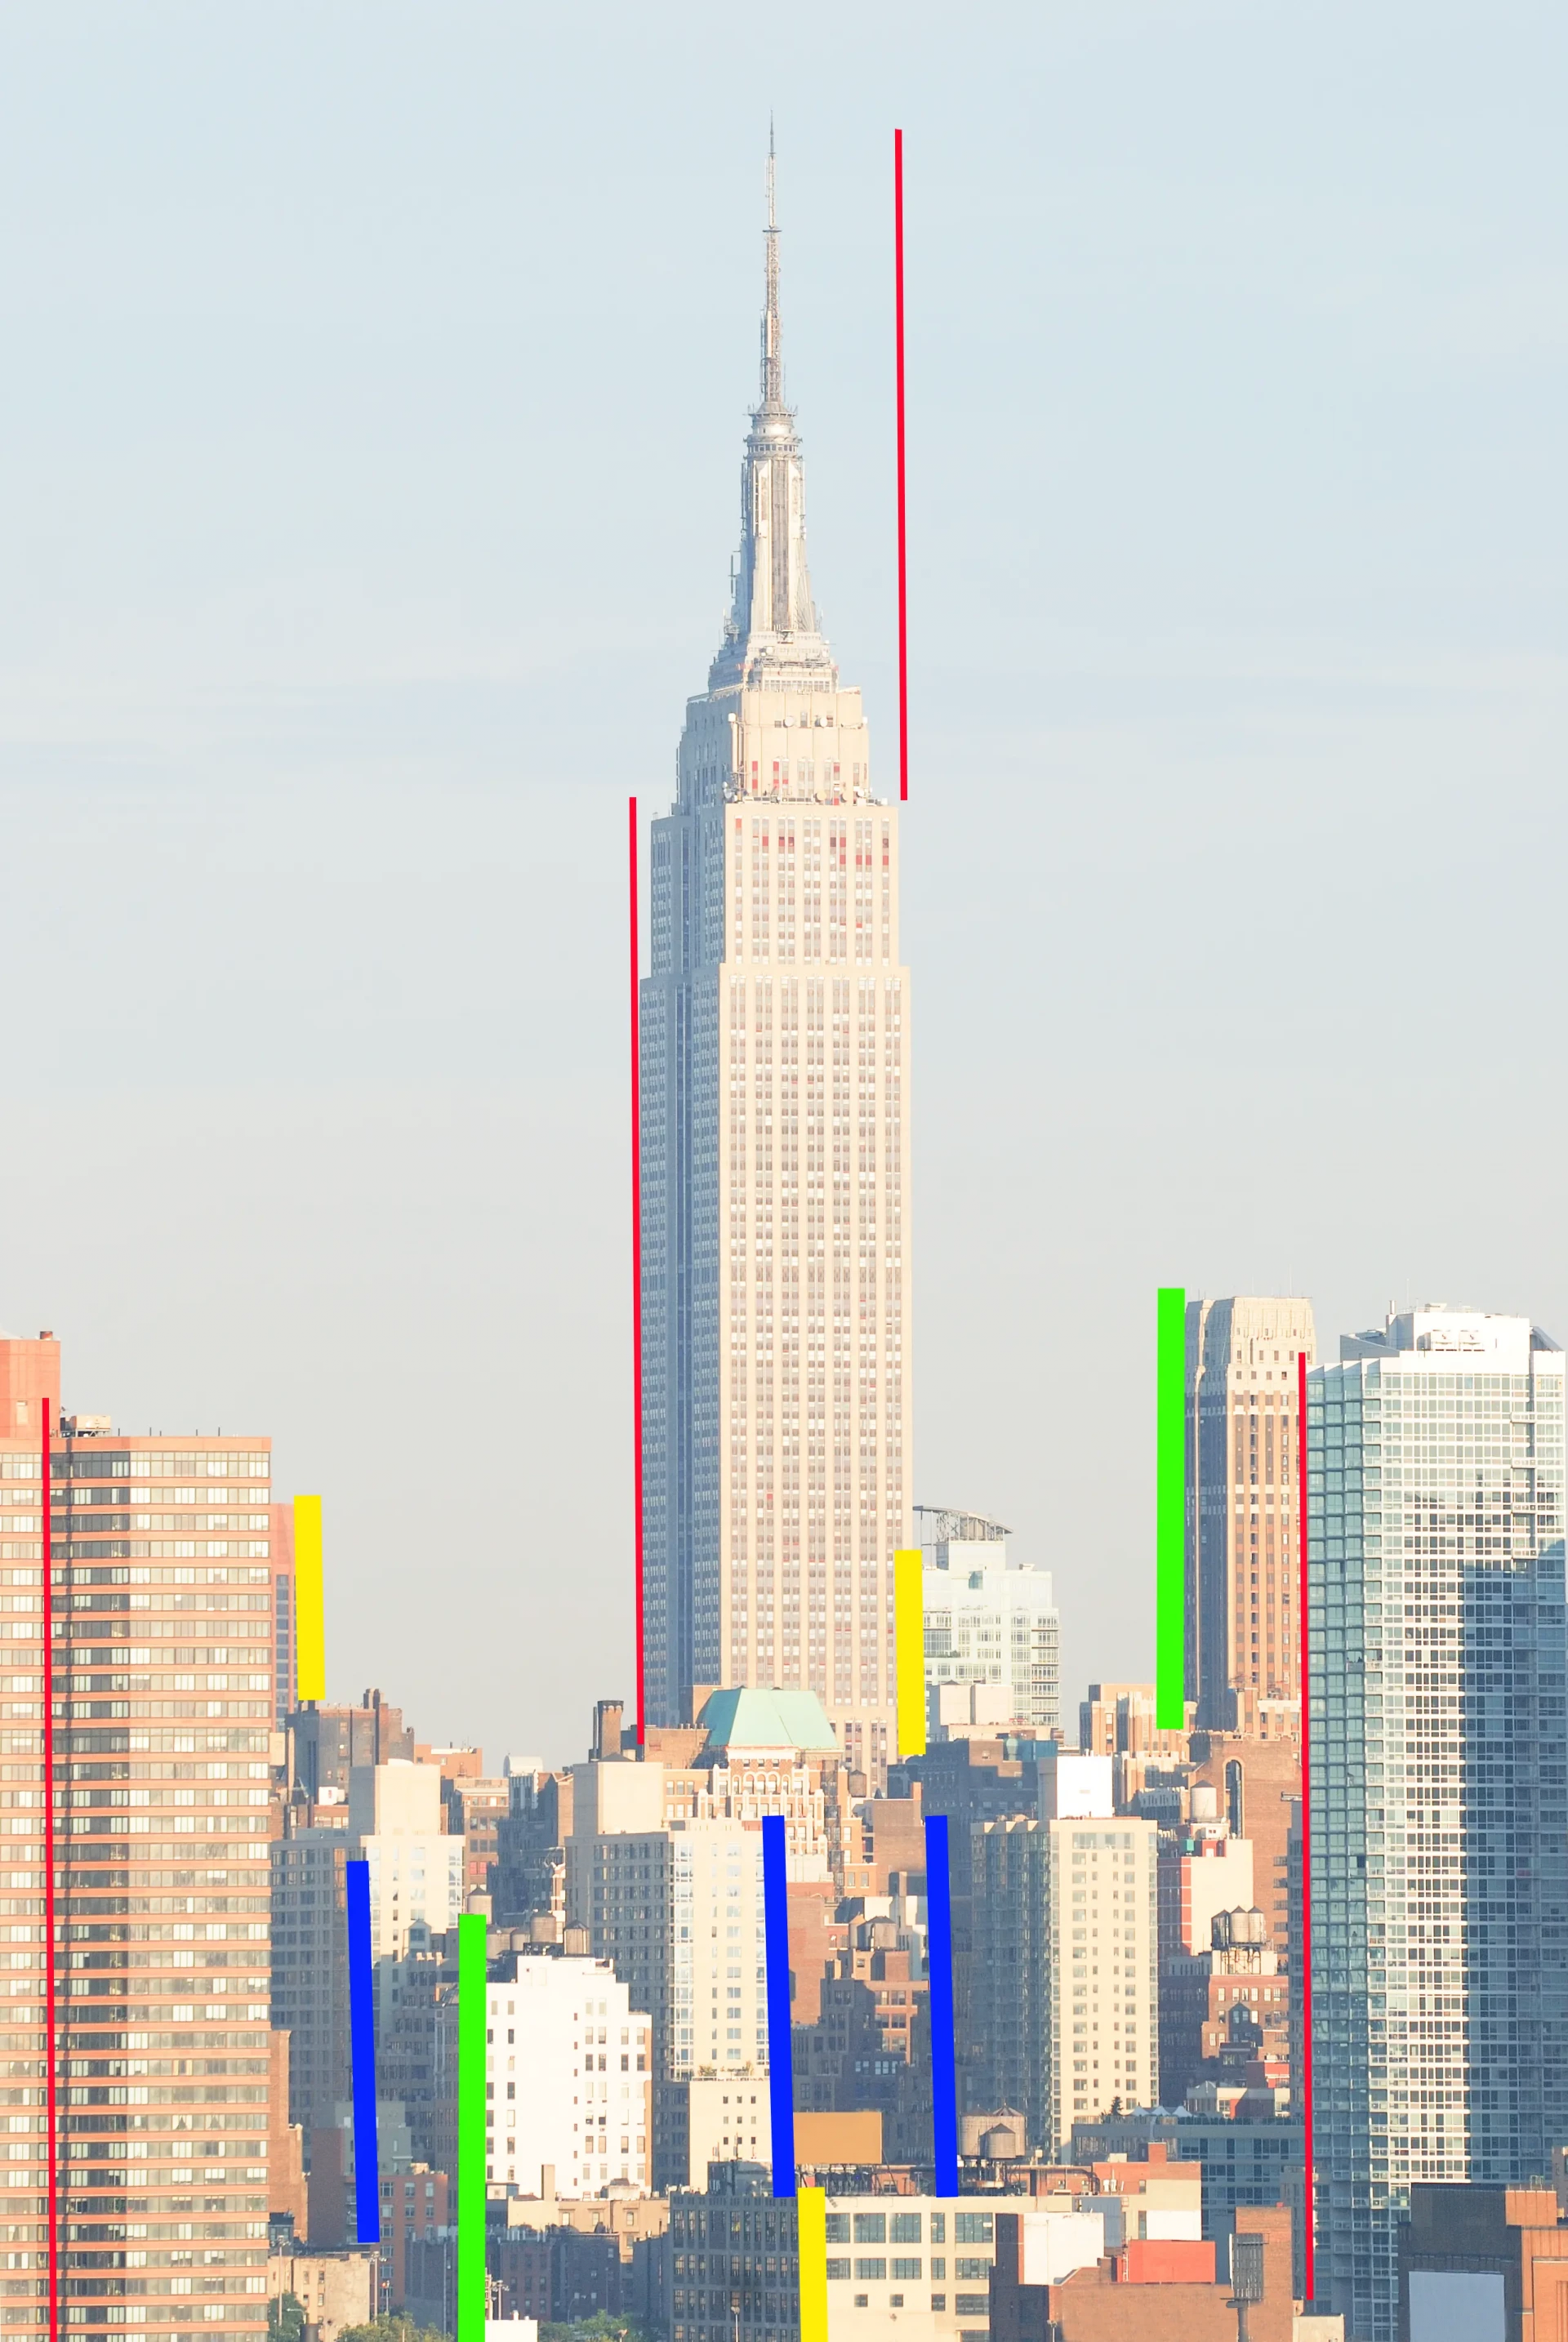
Then, draw vertical lines by observing which buildings have the same height. For example, compare the smallest building to the largest to see how many times it can "fit" into it. This will help you maintain the correct proportions. Also have fun varying the sizes to make the drawing more realistic.
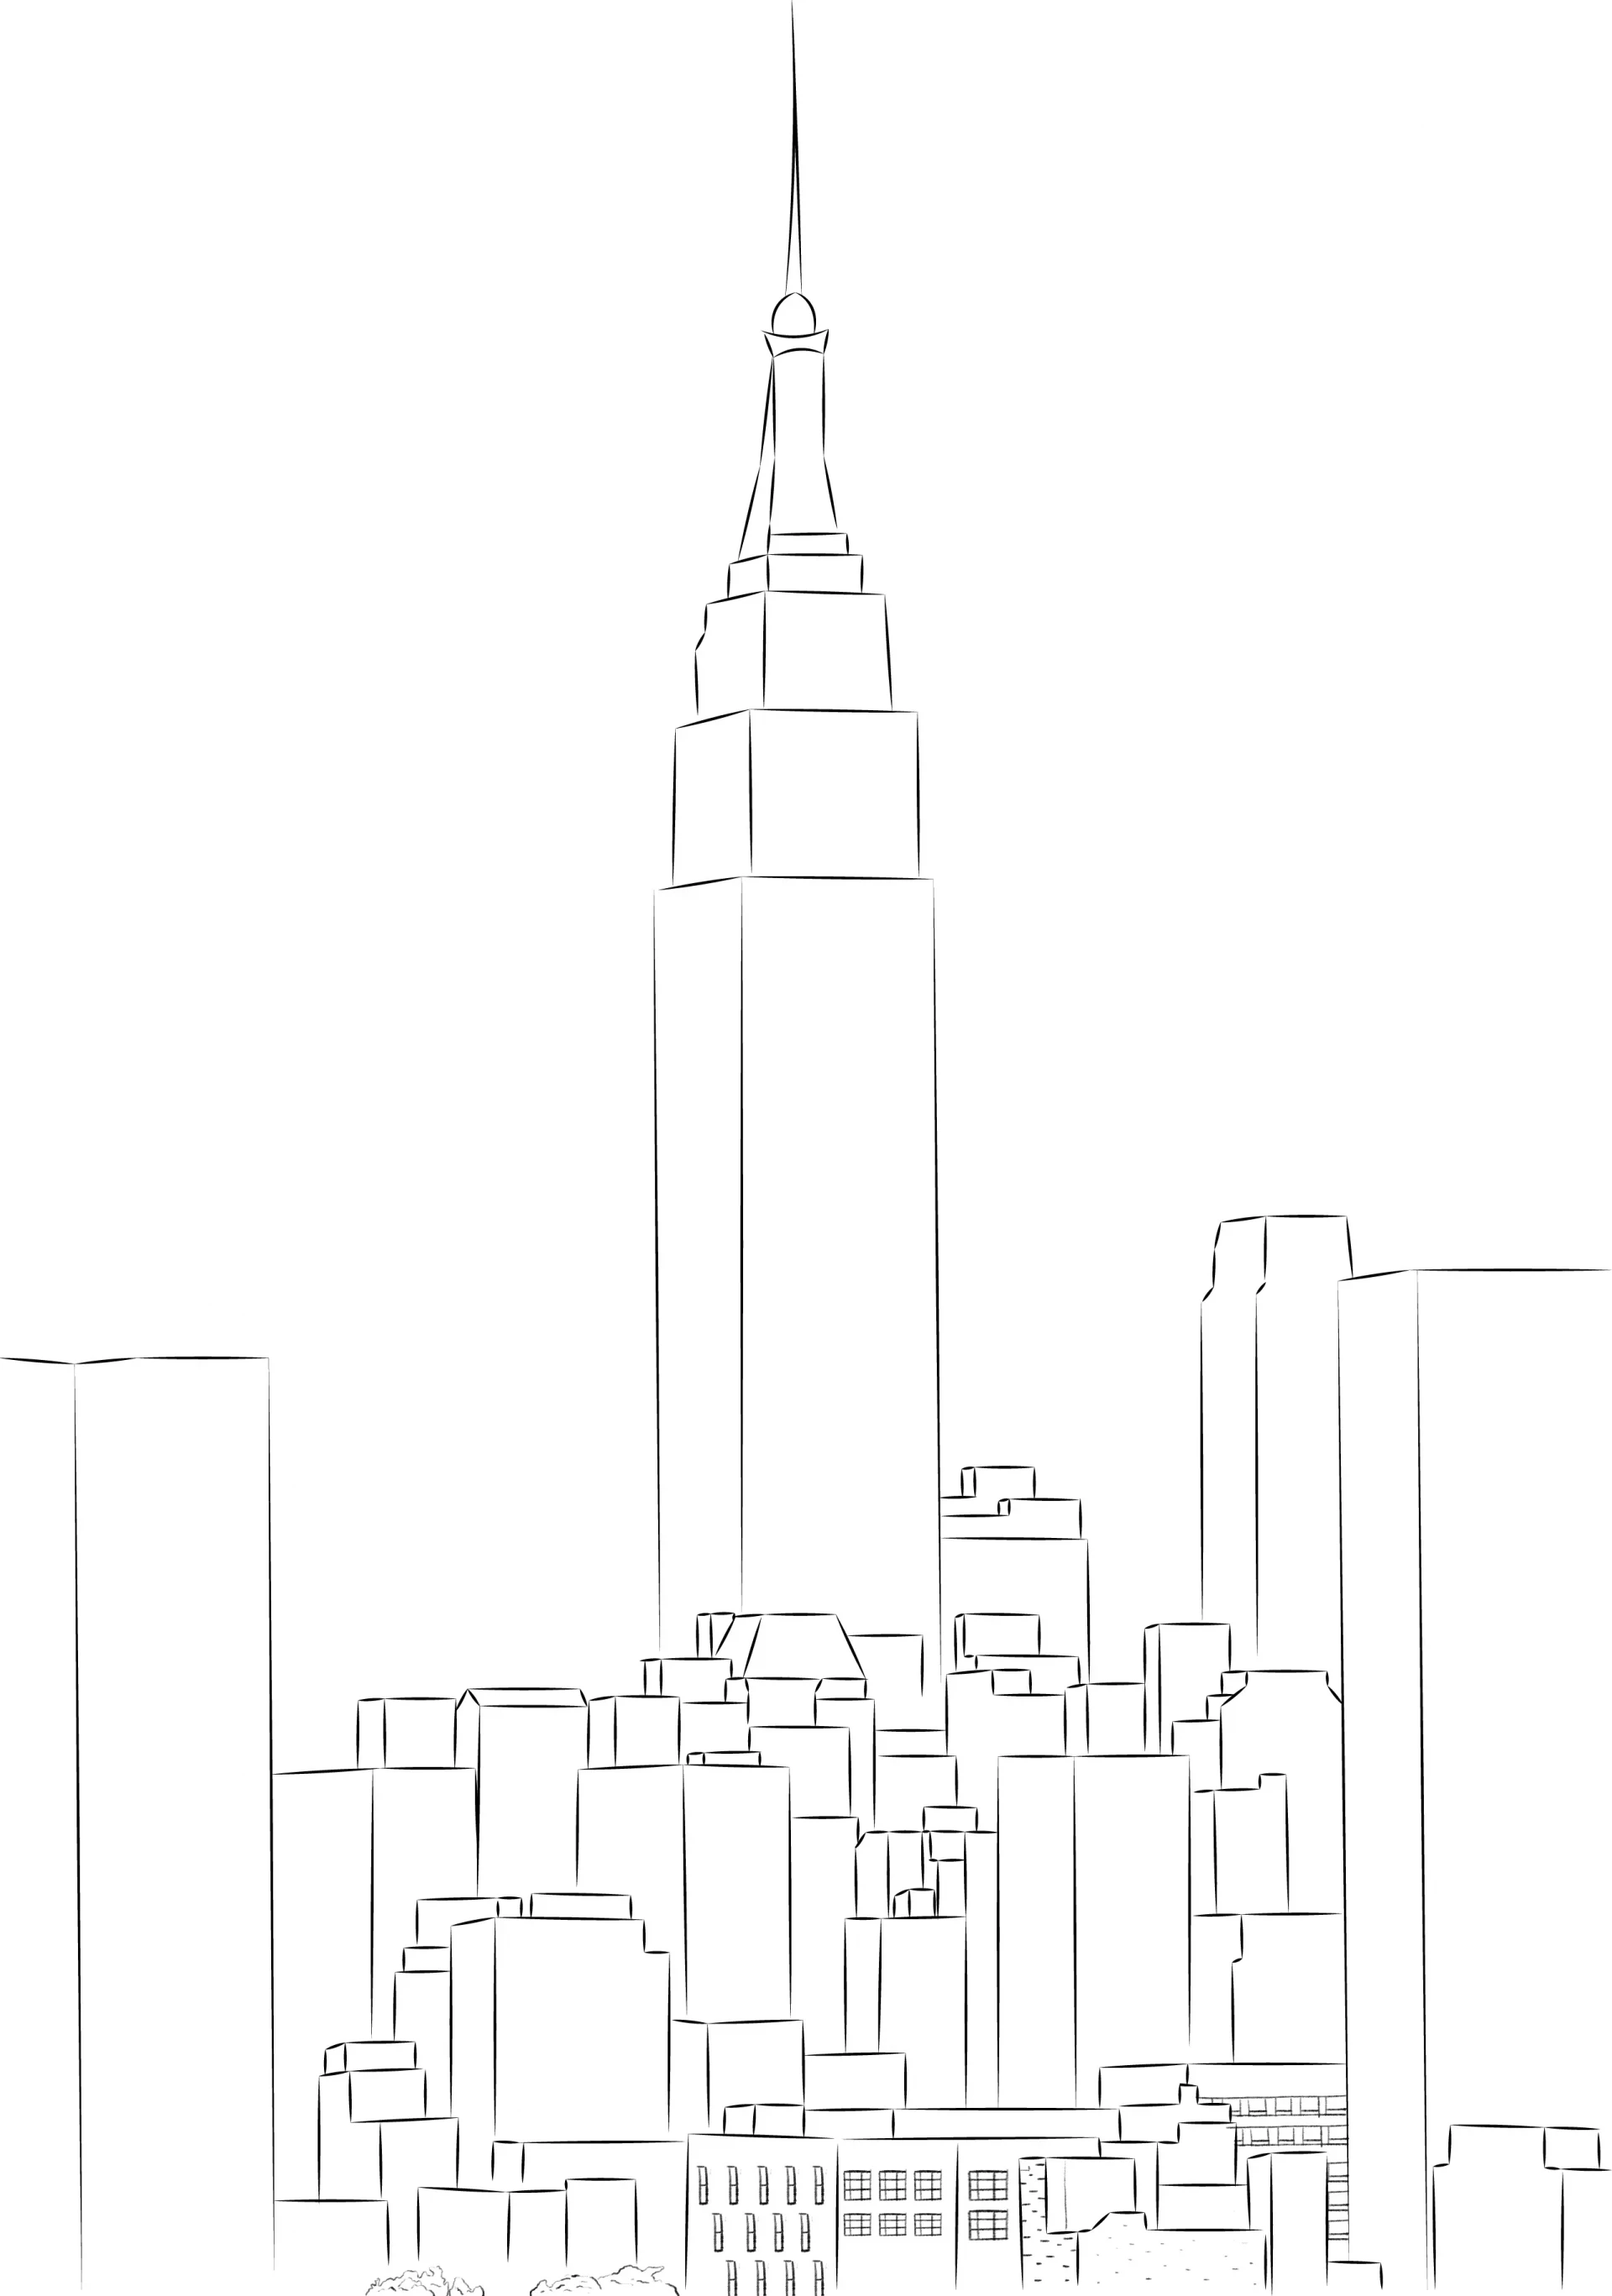
Drawing a city step by step
Start drawing several elongated rectangles representing the buildings in our drawing. Observation is essential here: vary the sizes of your rectangles.

Think also about marking the diagonals according to the perspective. From the horizon, you can see different inclinations: use them to give more or less depth to certain buildings.

Continue to add elements: place the smaller buildings in the foreground, the medium ones on the sides, and one or two large ones in the background. This will give the impression of a dense city.

You can also draw small buildings next to very large ones to accentuate the size contrasts. Then add roofs, balconies, and terraces. Remember that urban architecture is very varied.
Gradually build up by adding details: different window shapes (separated, with grids, rectangular...), textures and reliefs inspired by your reference image.

Do not forget to also add texture on the facades and trees. Observe closely how bricks and materials are composed in the city.
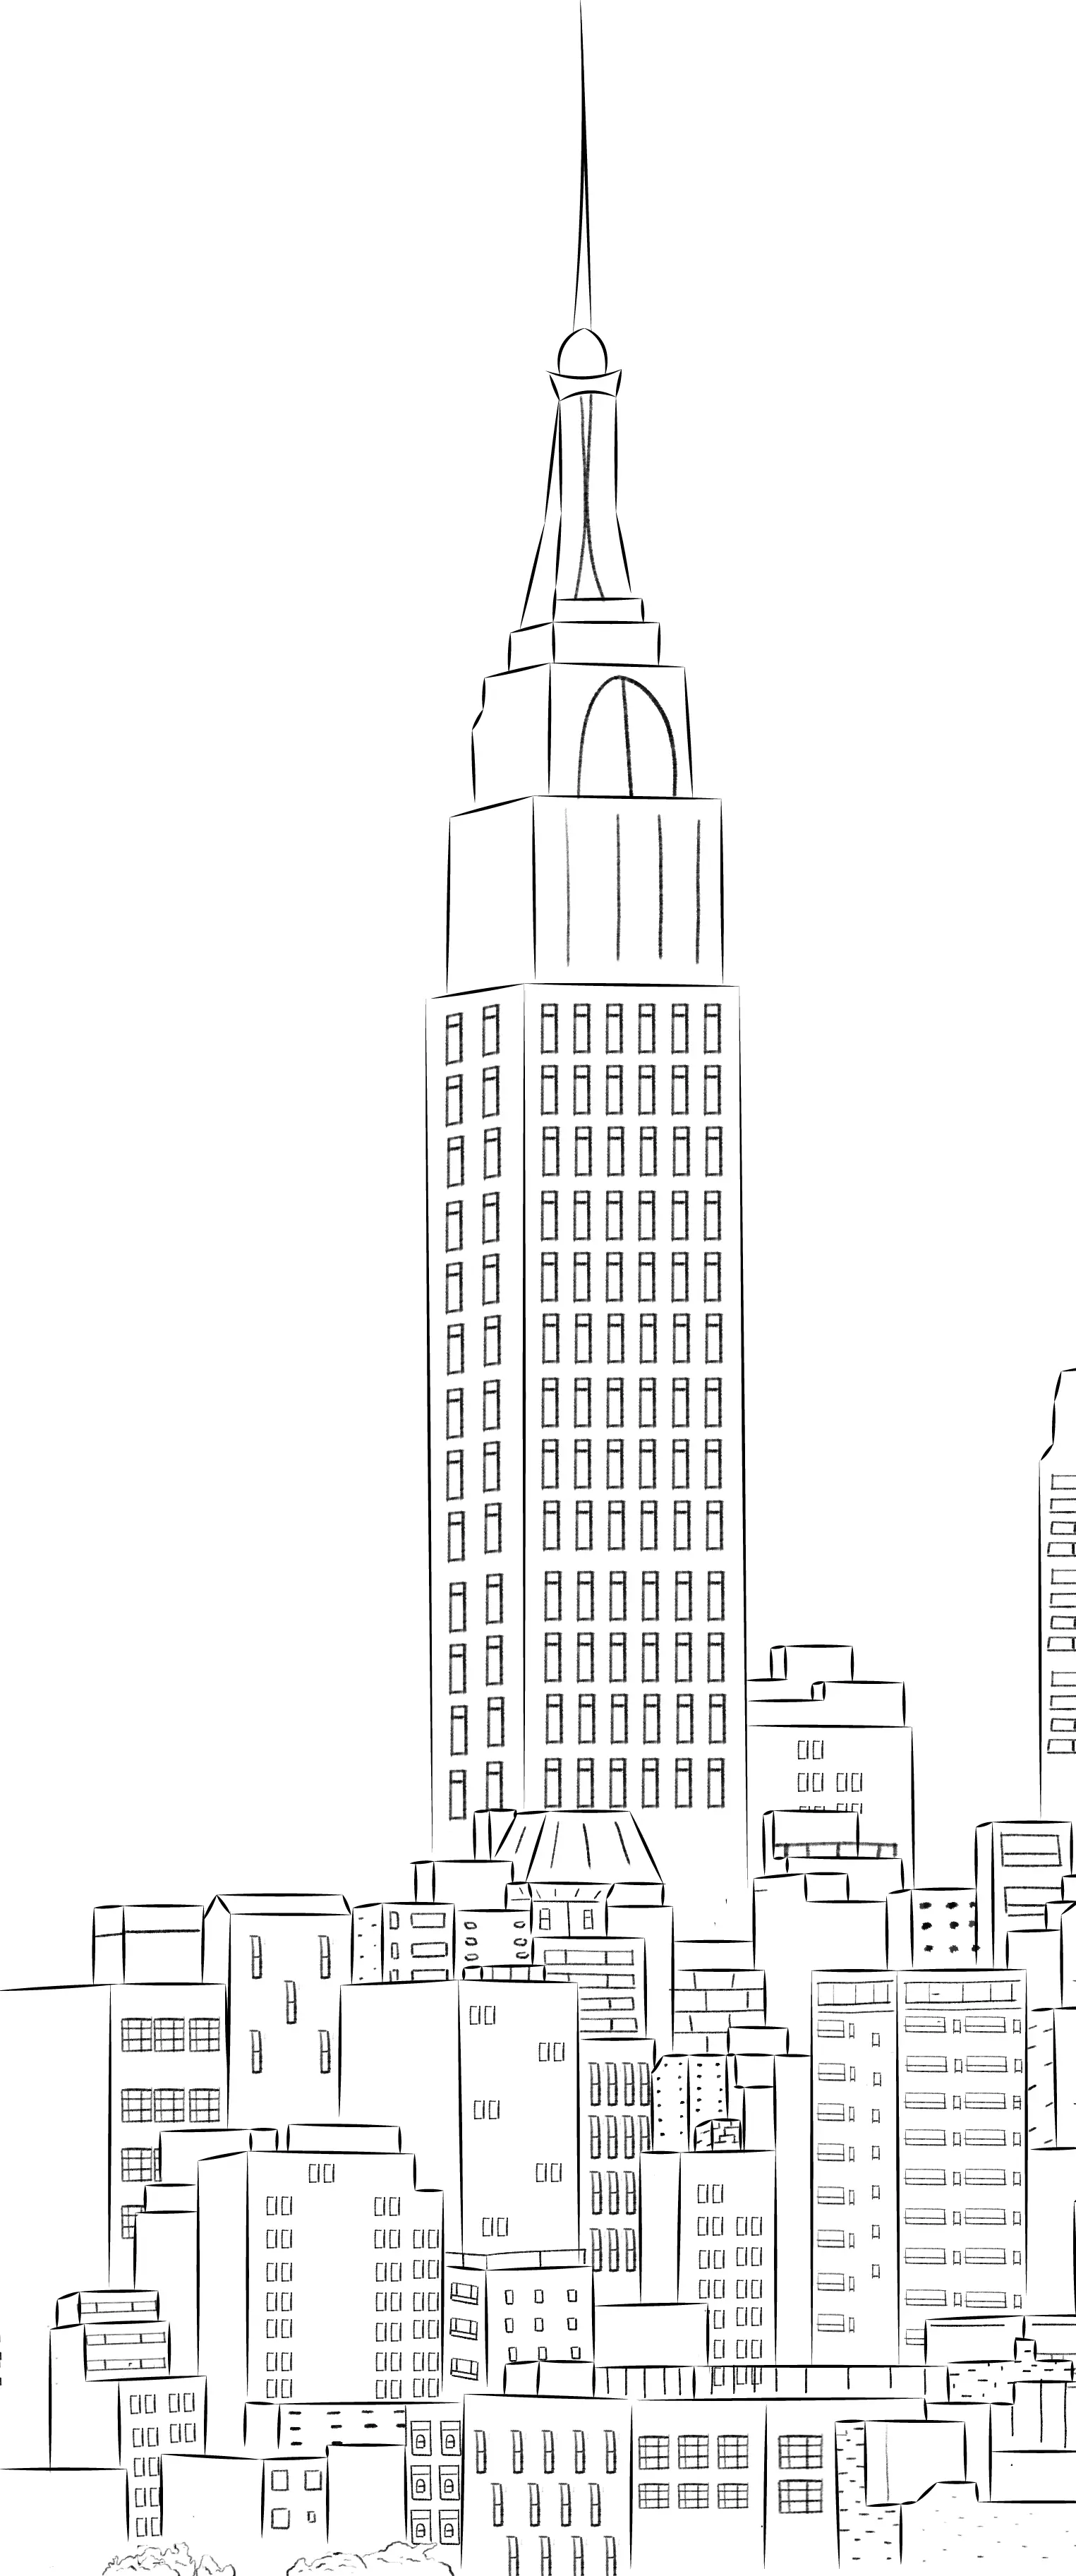
When all the details are in place, decide on the direction of the light: then you can move on to coloring.
Adding color to the drawing
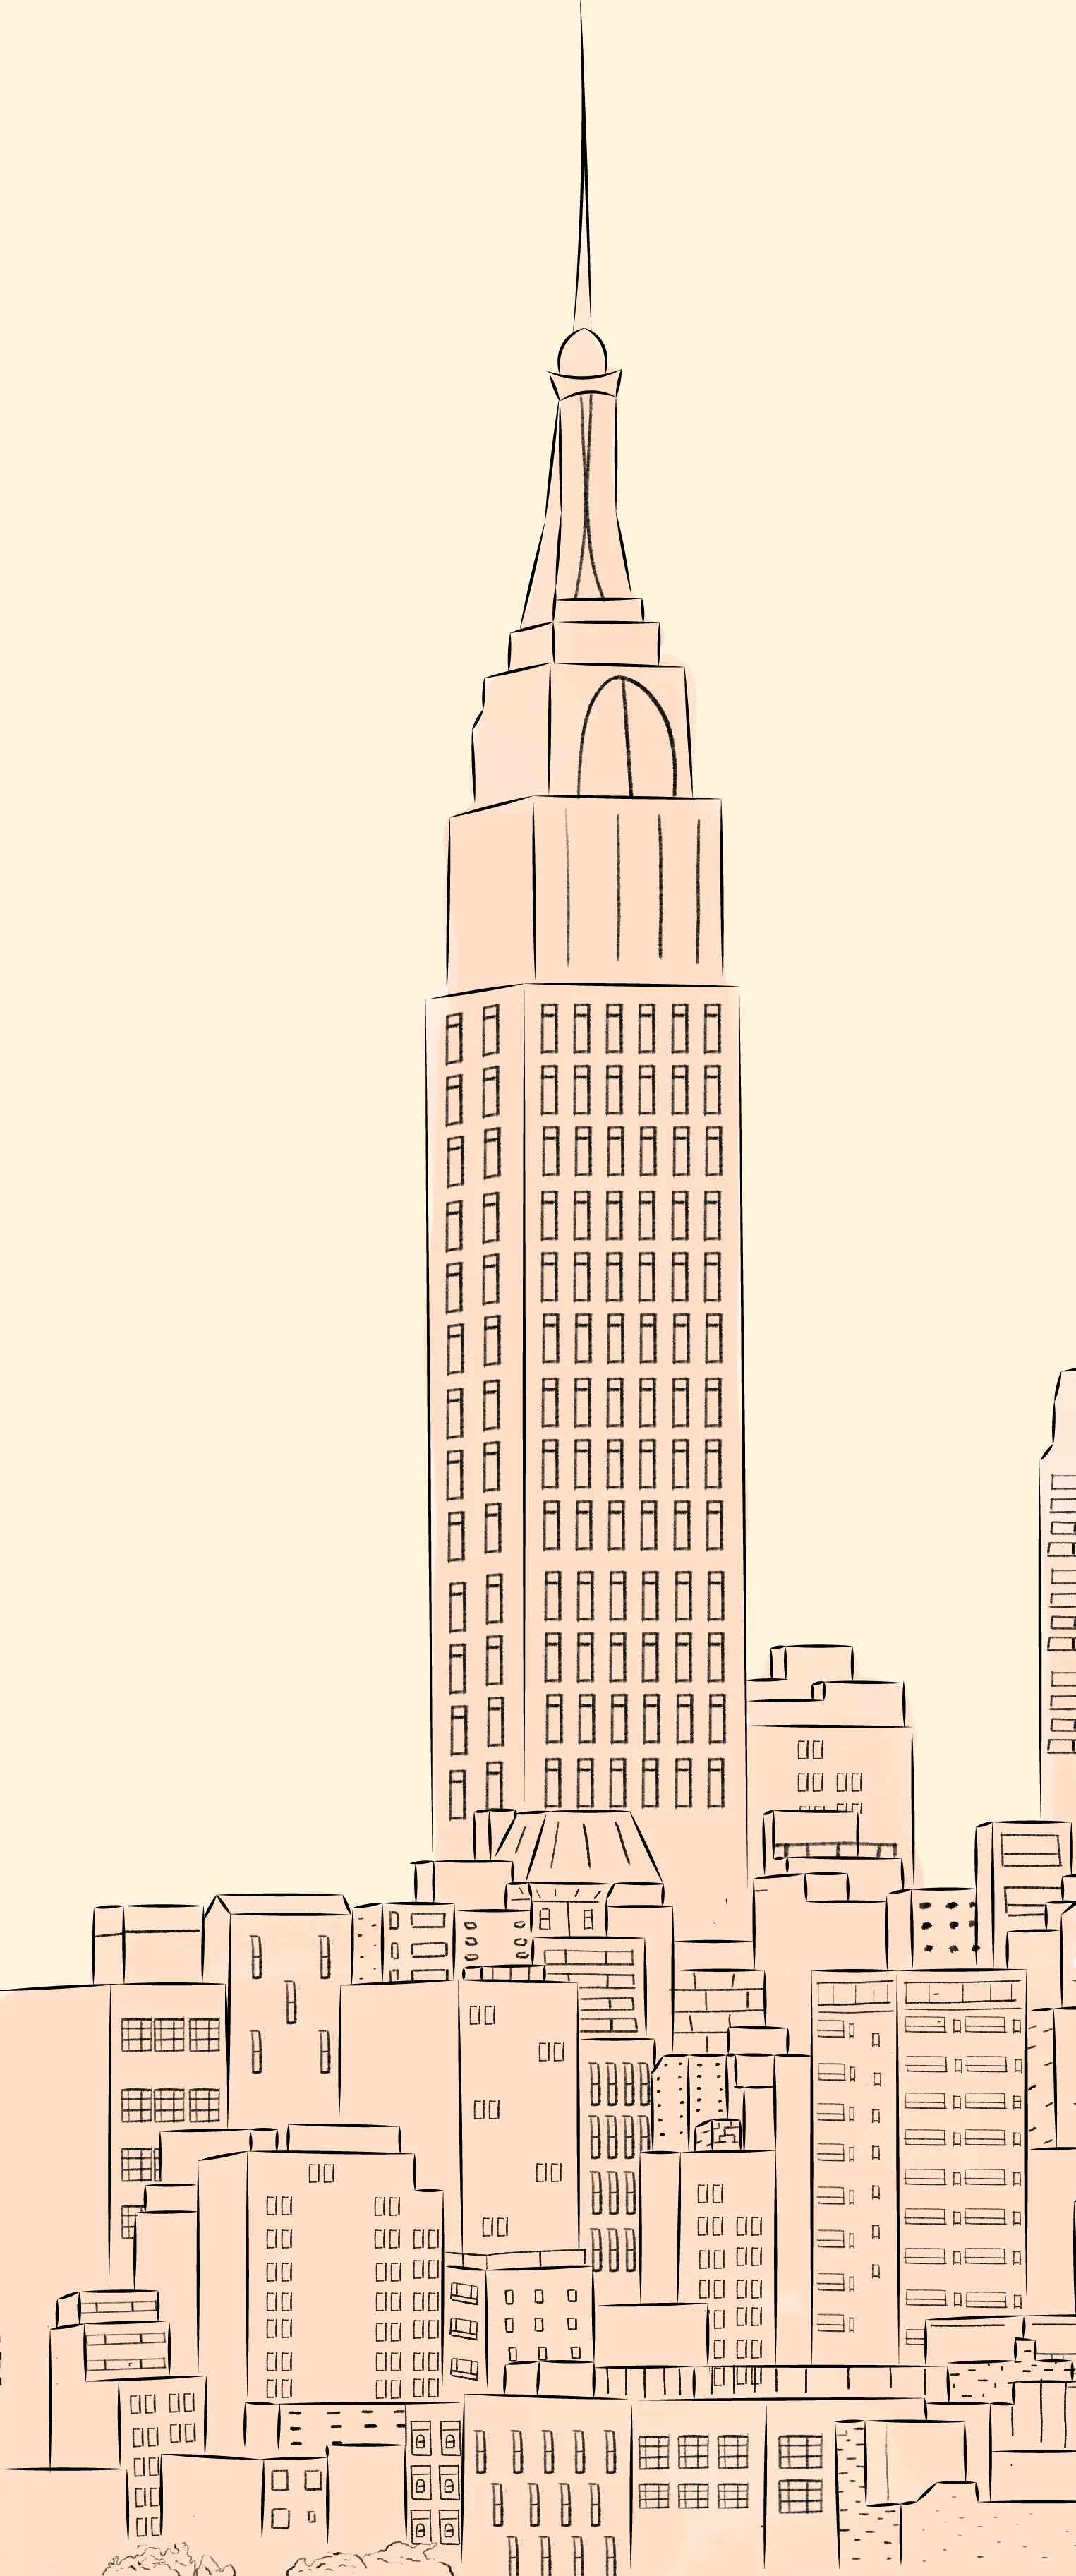
Color the sky with an even shade and apply a darker color to the city. This will create contrast and help you define the shadows.

In this example, the light comes from the right. Therefore, color the shaded areas with a darker tone. To give depth to the windows, use a different shade but within the same color range. This way, you can play with contrasts in each part of the drawing.
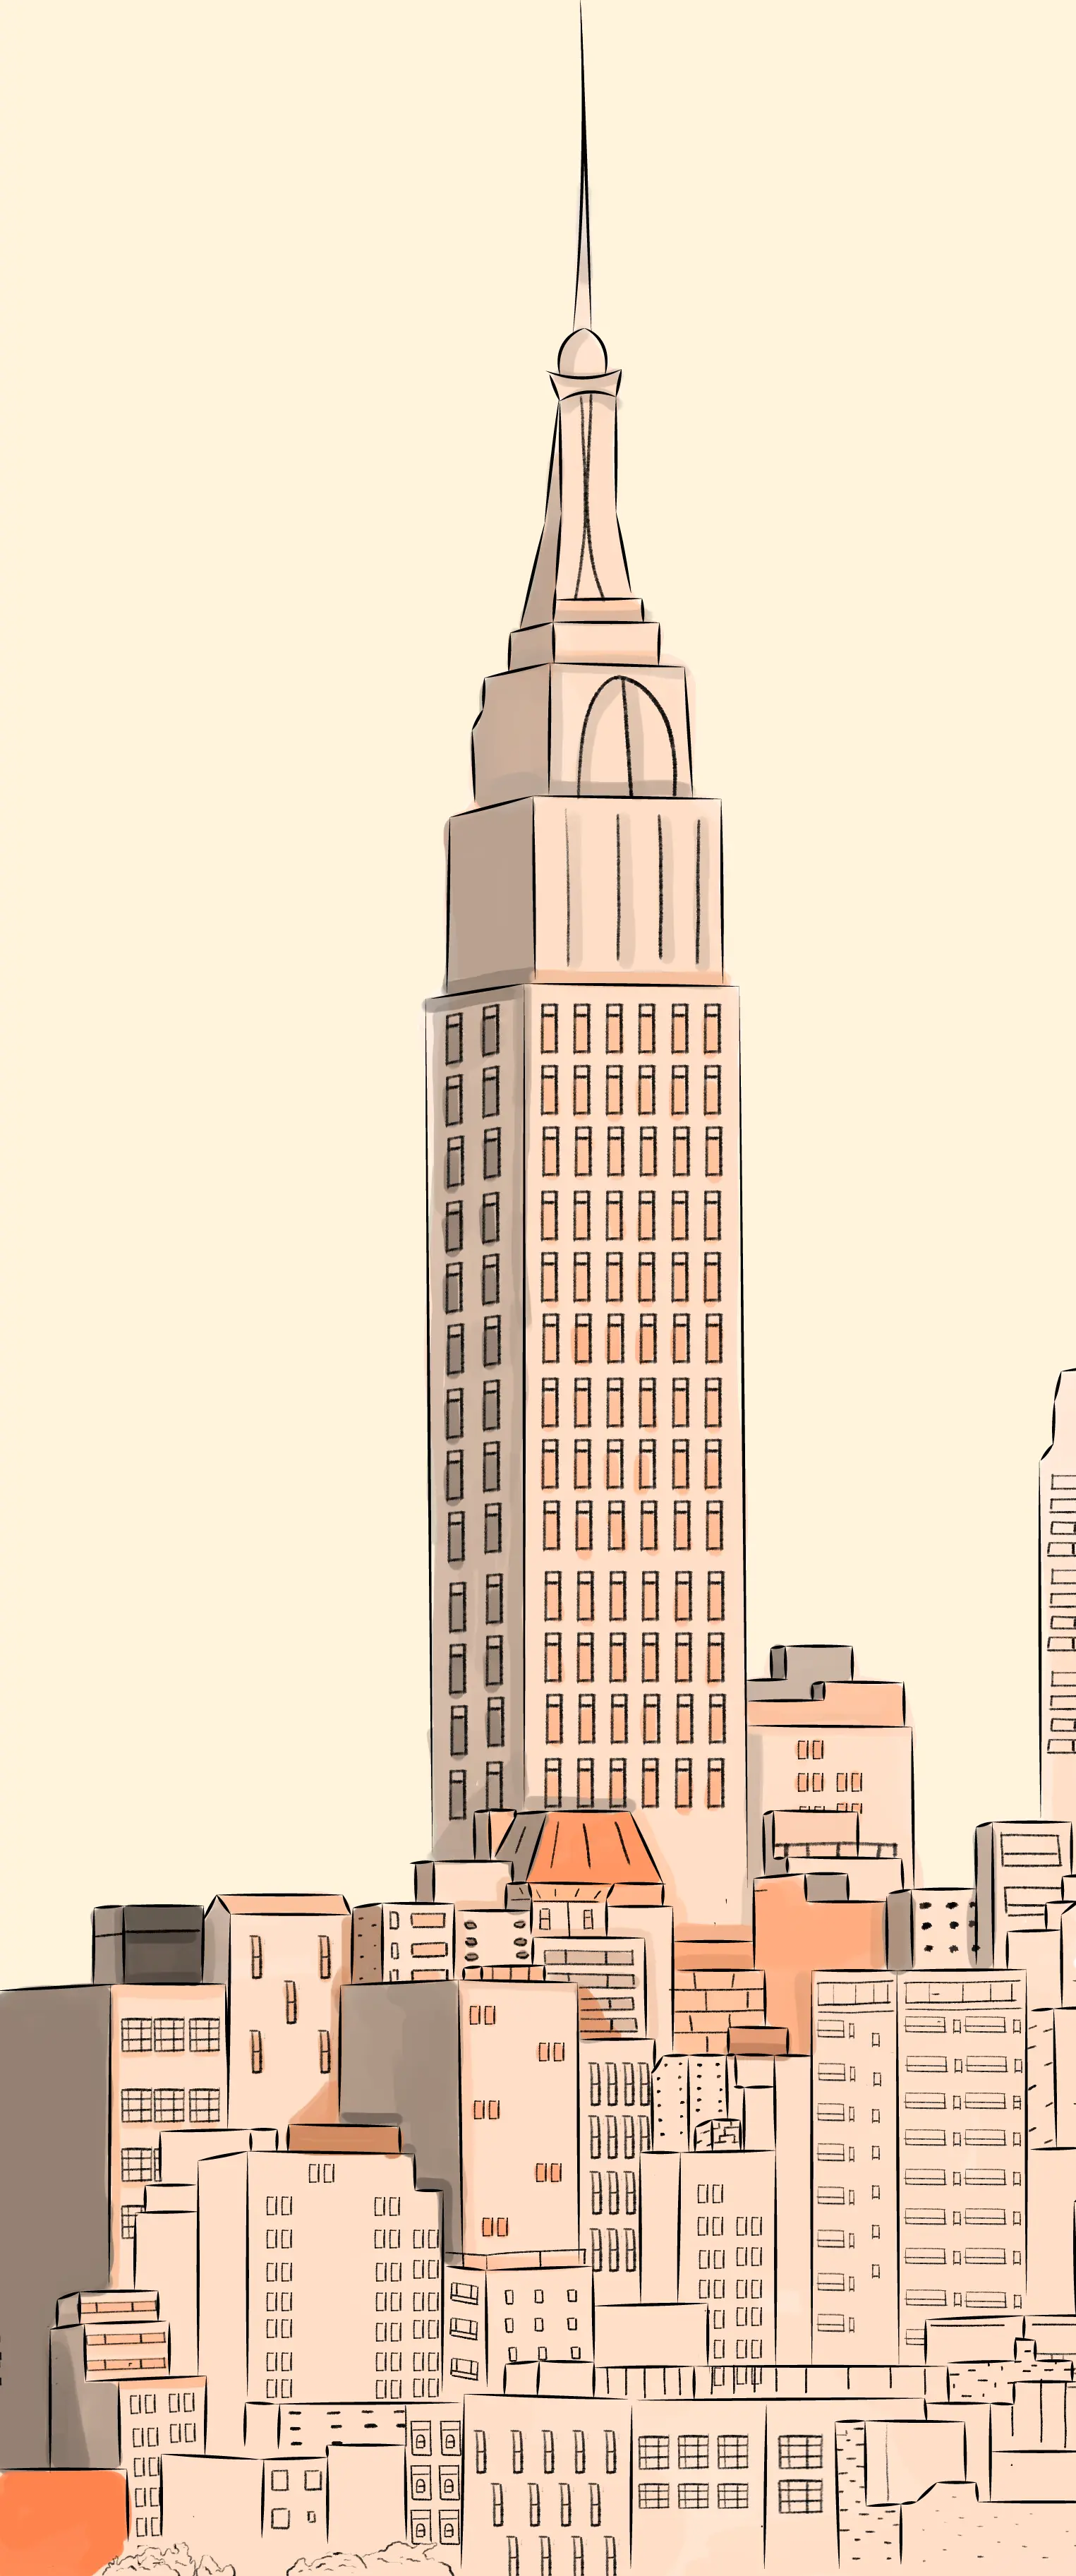
By using the direction of light, define the areas you want to highlight and those that will remain in shadow. For example, you can create small darker triangles where the buildings overlap, which will accentuate the depth and hierarchy between the volumes.

You then get a final drawing that highlights sizes, textures, and depth through the play of light. Carefully observe your reference image to achieve the best result.
Tips and tricks
1 - Practice regularly: over time, you will gain speed and confidence.
2 - Do not be afraid to experiment or test new ideas.
3 - Vary materials and techniques to enrich your textures and give more depth.
4 - Observe your real environment: every street is full of unique details to incorporate into your drawings.
5 - Don't be discouraged if it's not perfect. Drawing is also a game and a discovery.
Drawing a city is a creative, fun experience that is full of discovery. By following these steps and tips, you can create settings that reflect your style and vision of the world. Consider experimenting: each new illustration is an opportunity to make progress and enjoy creating even more.
Additional exercises
1 - Draw a city from different perspectives: aerial view, from a street corner, or through a window.
2 - Add characters, animals or scenes to bring life and movement to your decor.
3 - Invent a short story and draw several scenes that visually tell it.
Editor and illustrator: Valentina
Discussion
Thank you