How to Draw a Desert
The world offers an immense variety of landscapes, each unique in their own way. Some are extreme or exotic: such is the case with deserts, places known for their aridity, overwhelming heat, and almost total absence of fauna and flora.
Hello again! Today, we're going to venture among the dunes under a relentless sun. Join me in this tutorial that highlights the essential elements to consider when creating this type of landscape.

Drawing a desert step by step
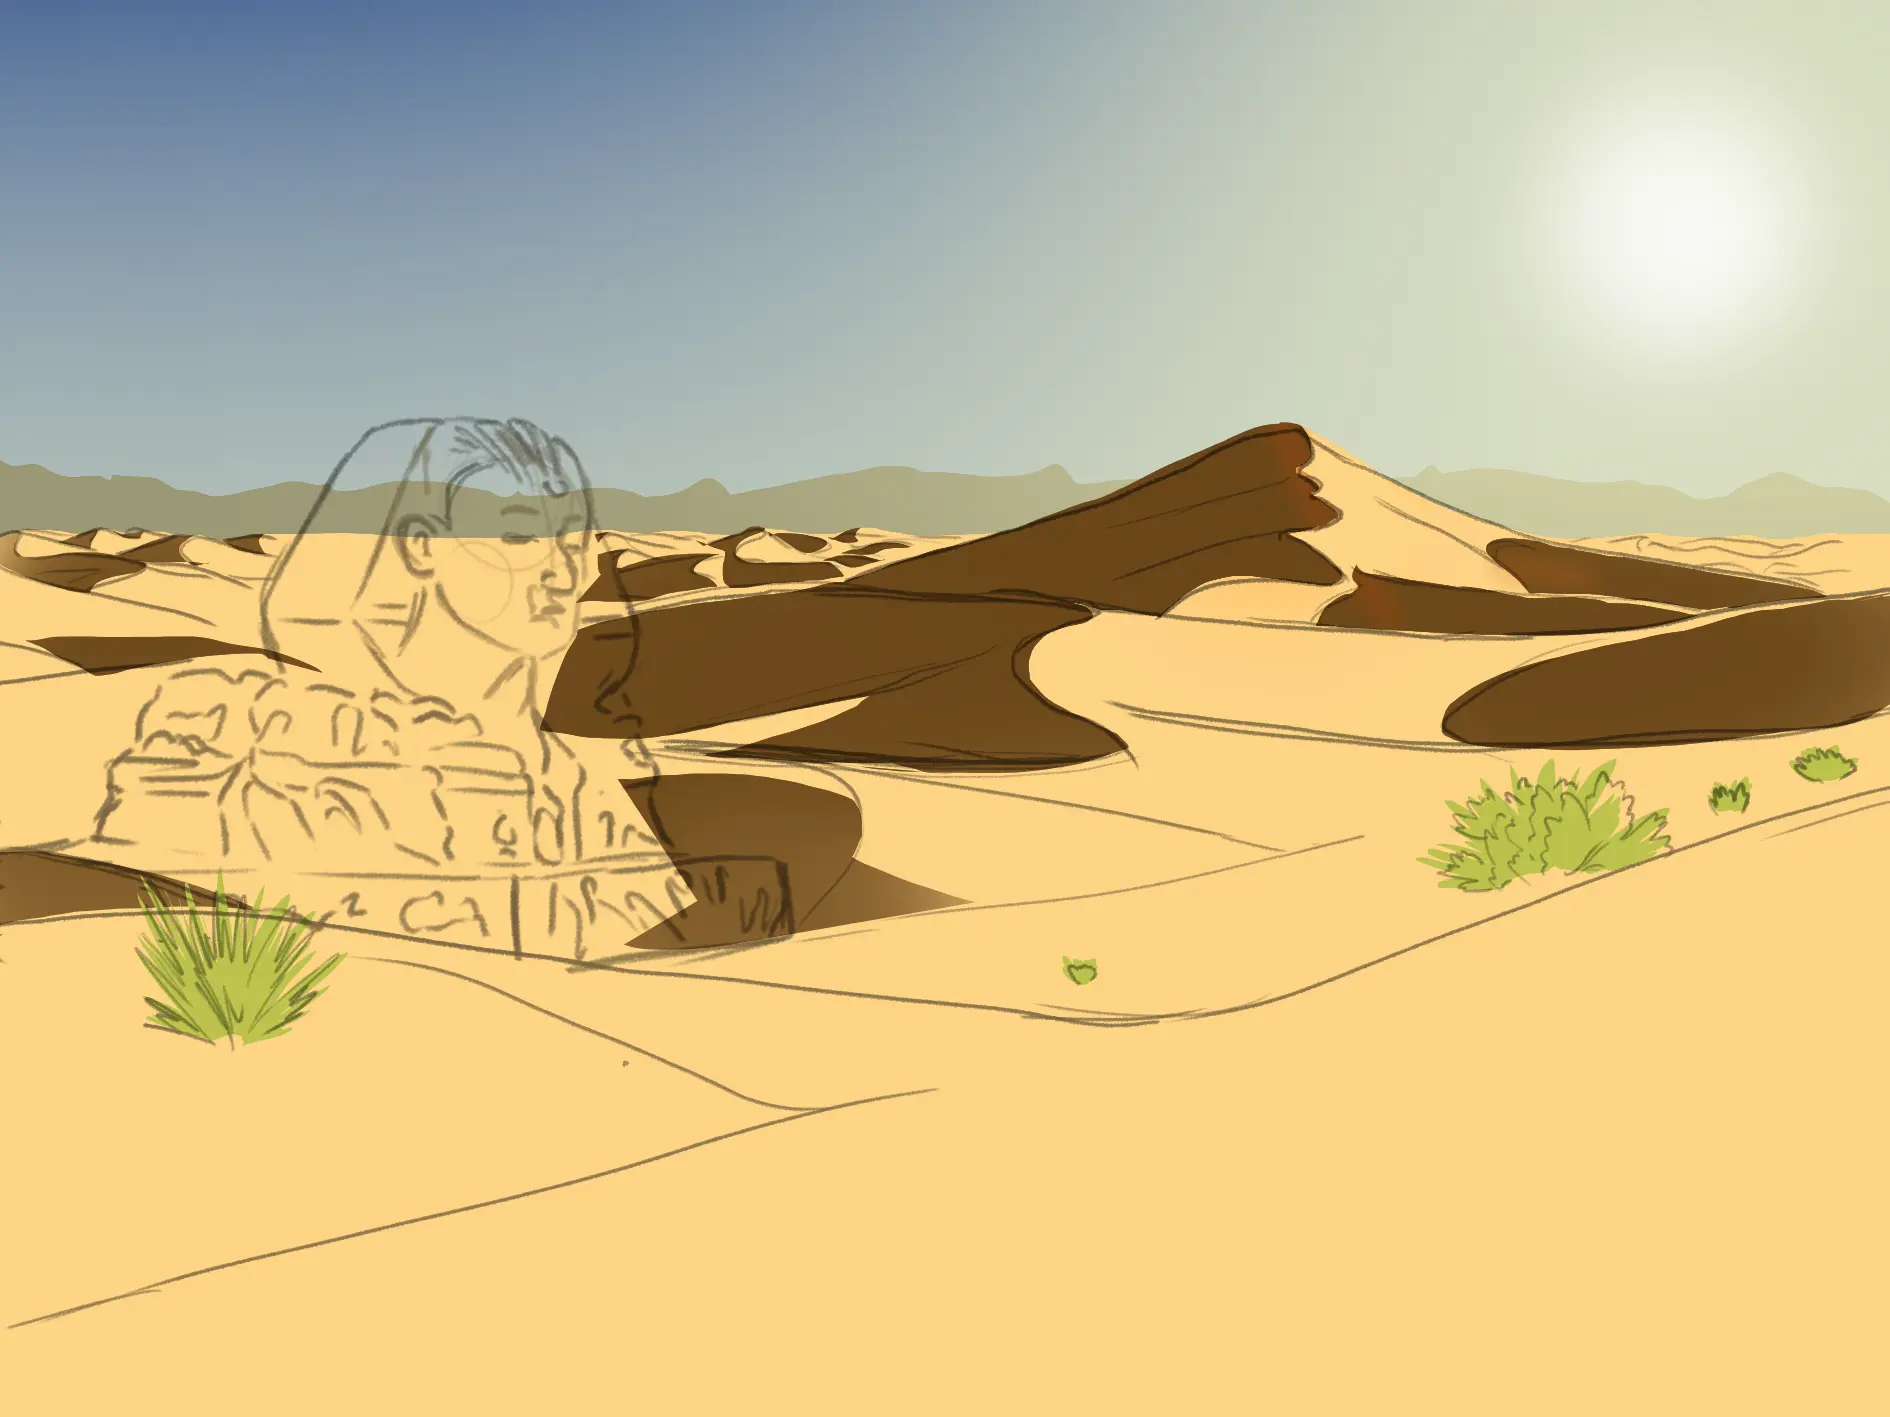
We will start our drawing by dividing the image into two large areas, based on the rule of thirds. According to this principle, the sky occupies one or two bands depending on the desired emphasis.
Here, we want to focus attention on the ground: therefore, we will only provide a strip for the sky. For the boundary, draw an irregular edge: it will later become the mountain range on the horizon.
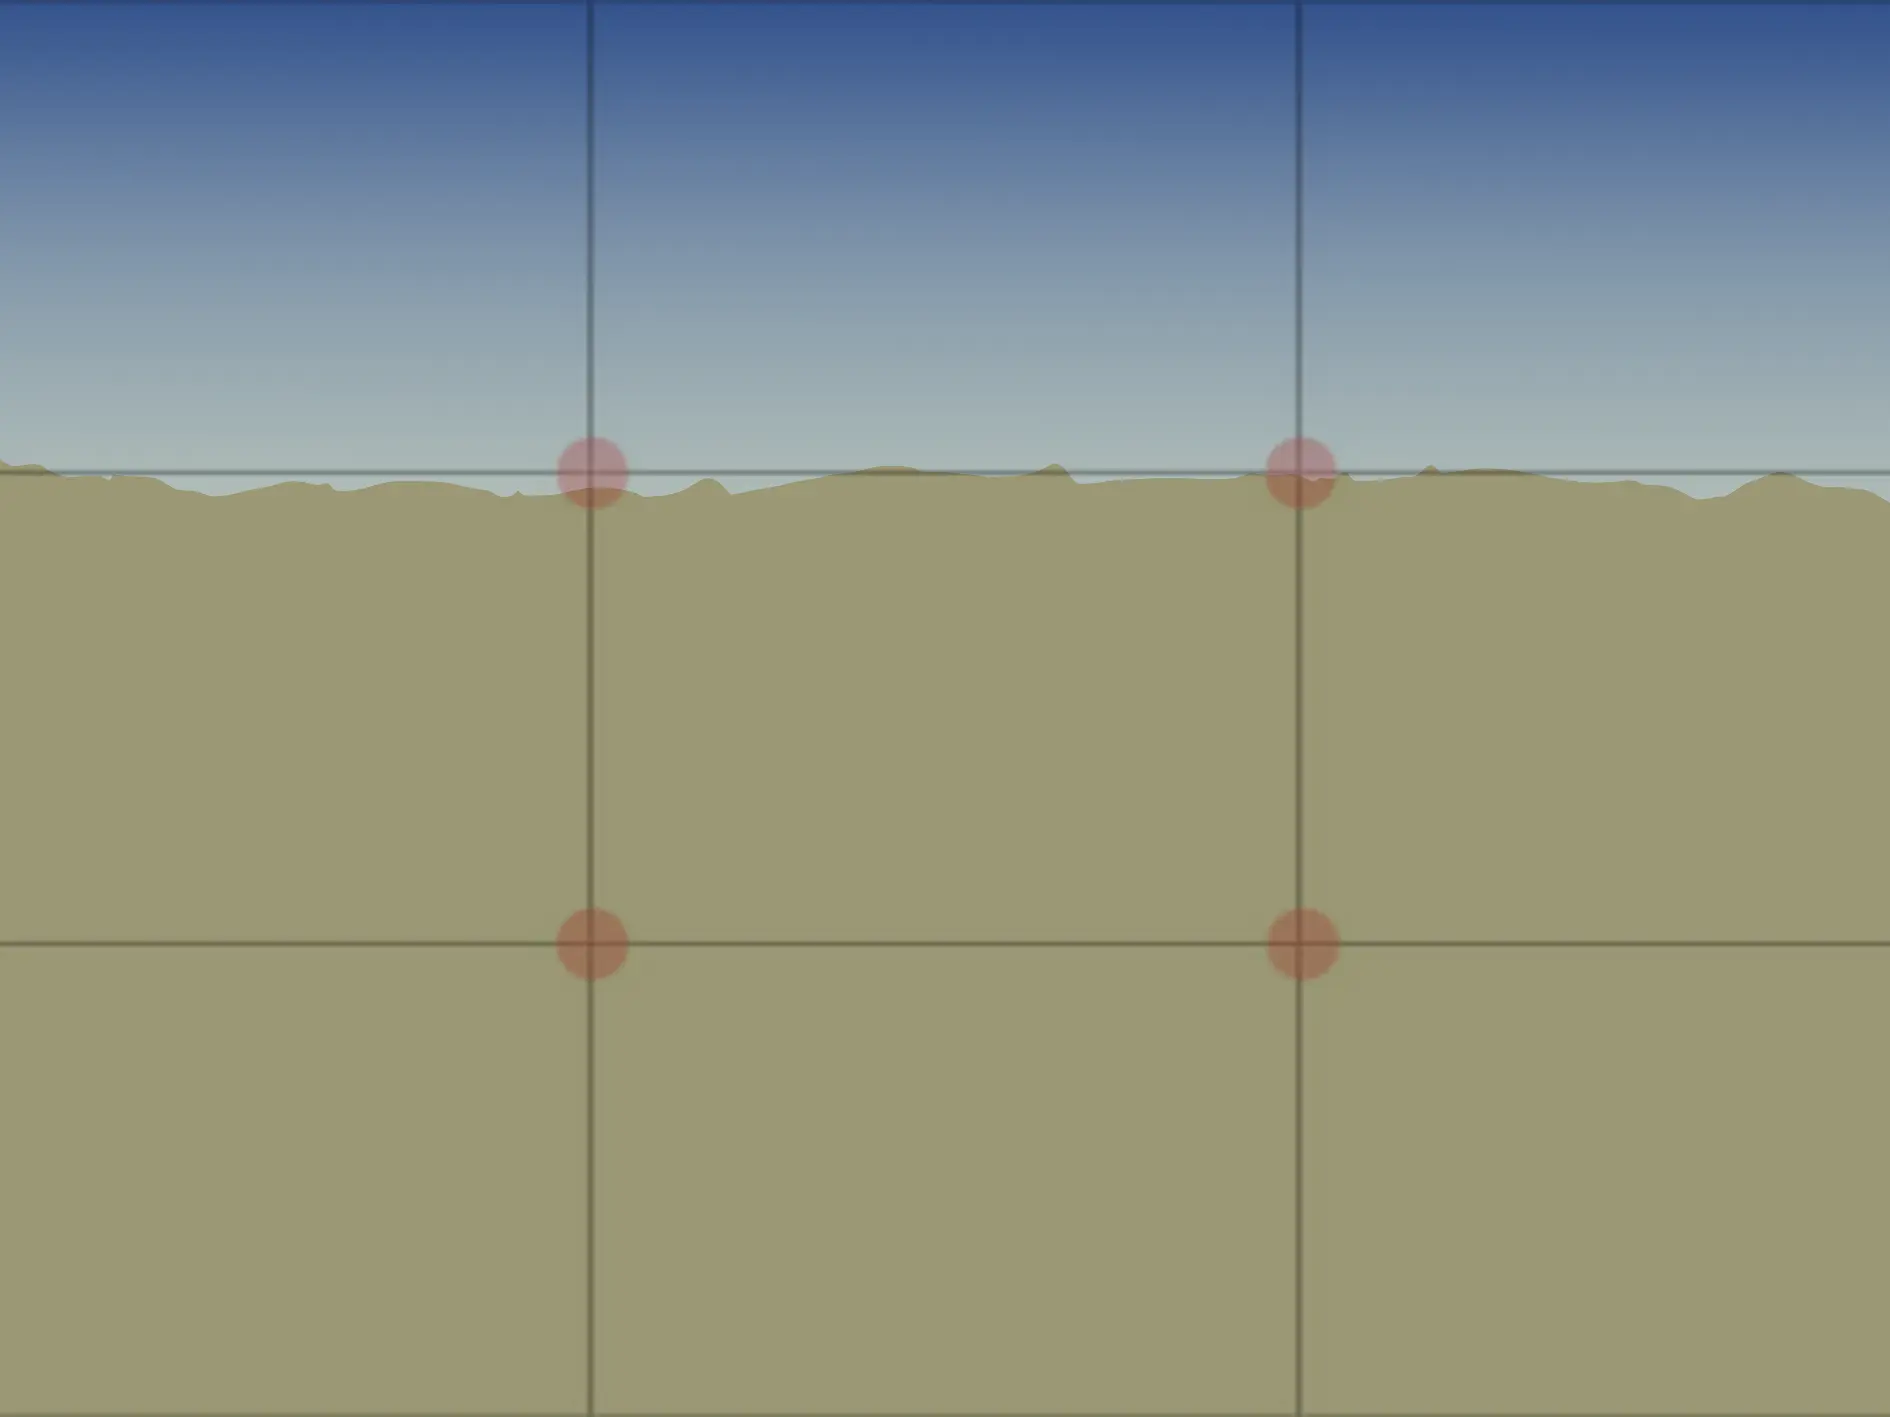
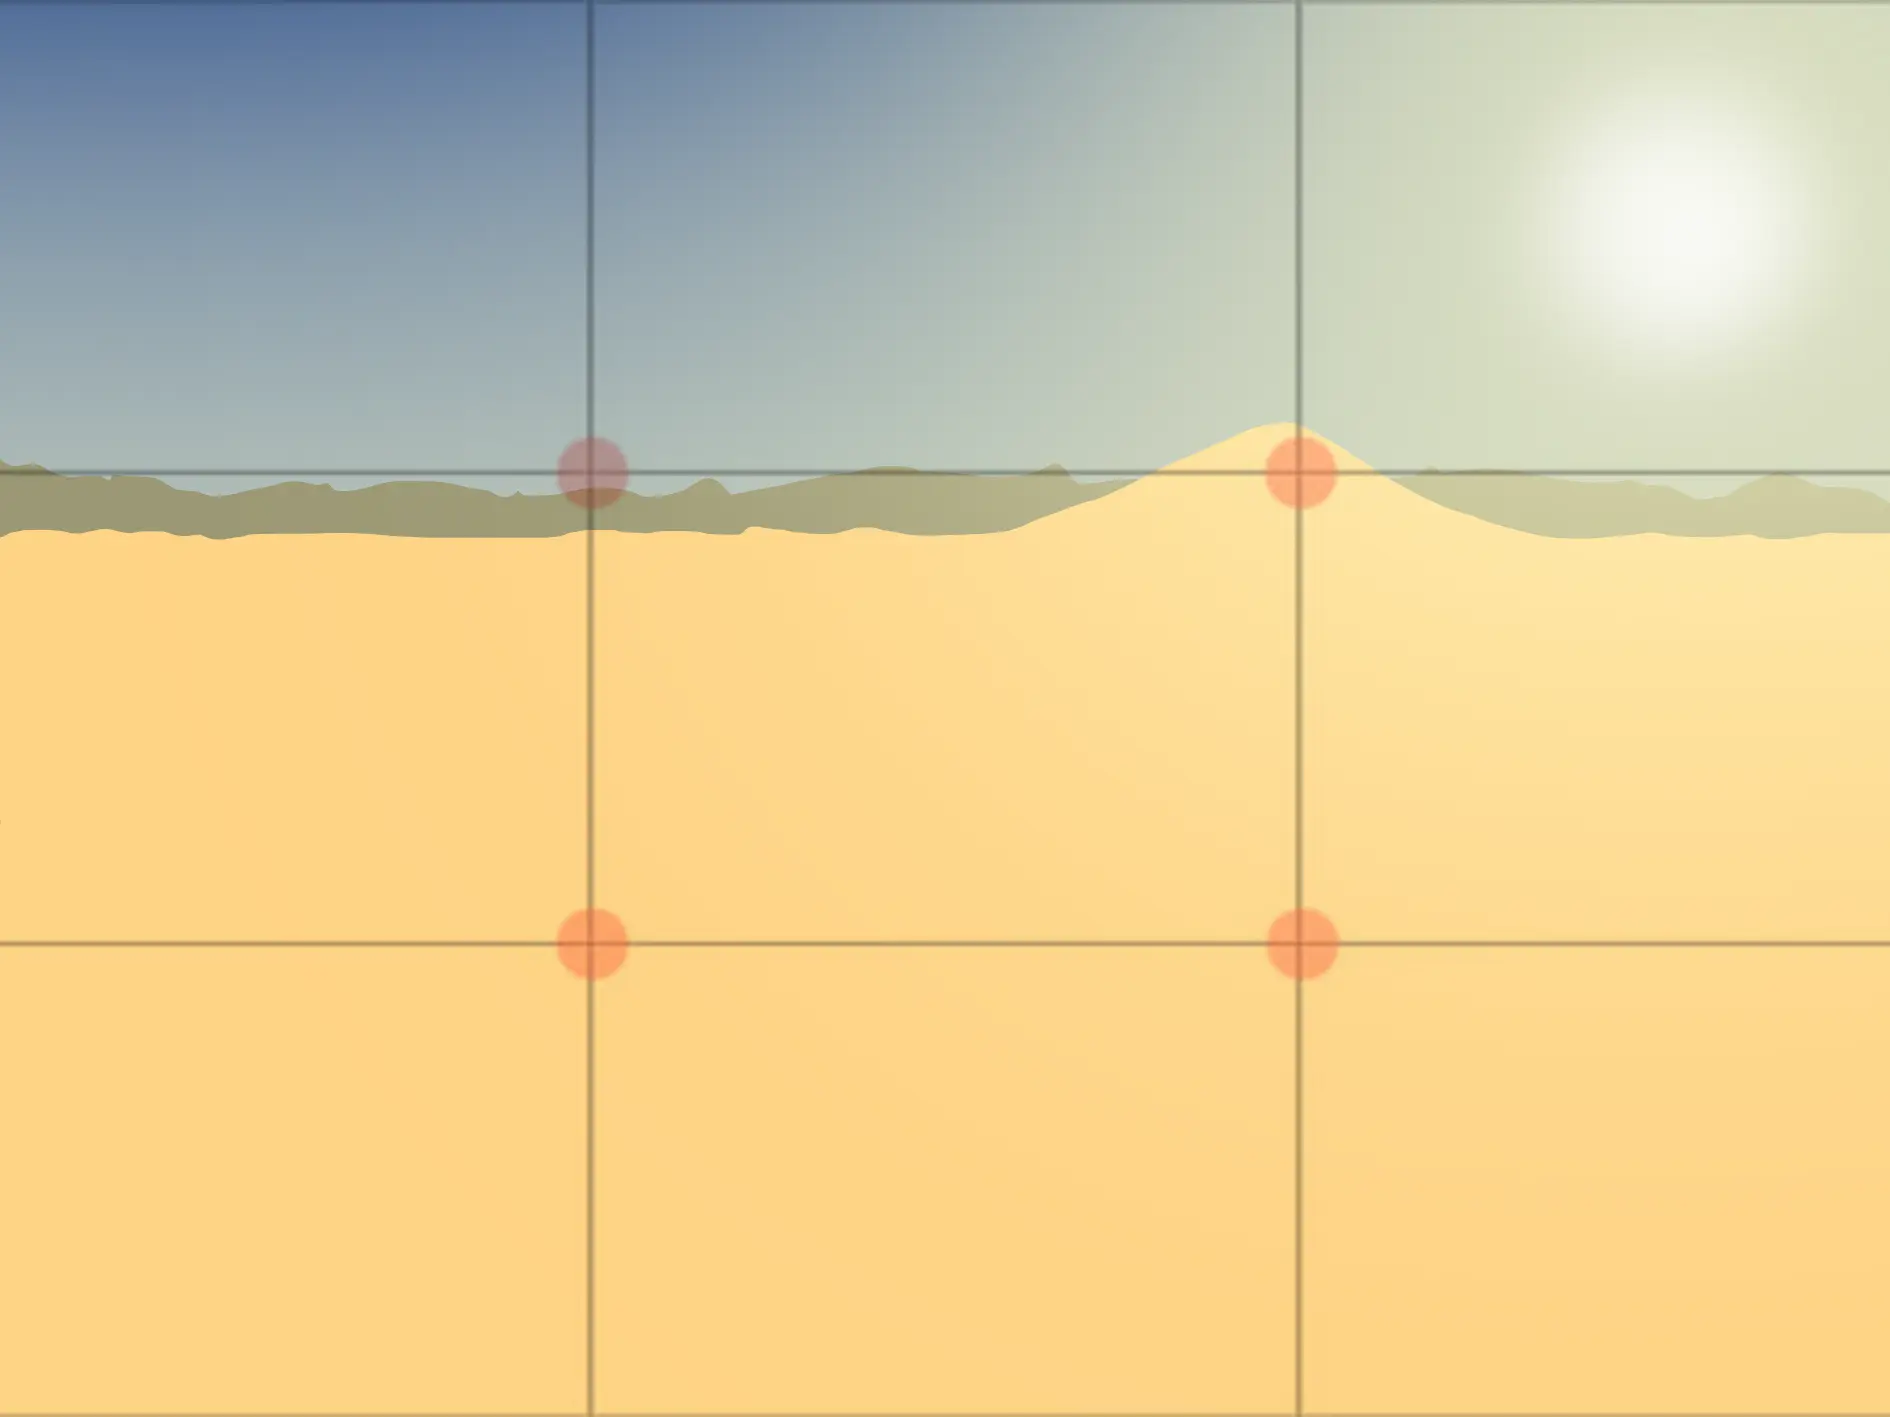
Let's draw the sun. And if you're wondering where the clouds are, in such an arid environment, the probability of rain is low, so no clouds.
Draw a new plane with the base color of sand, raising a large mound up to the strong point of your grid.
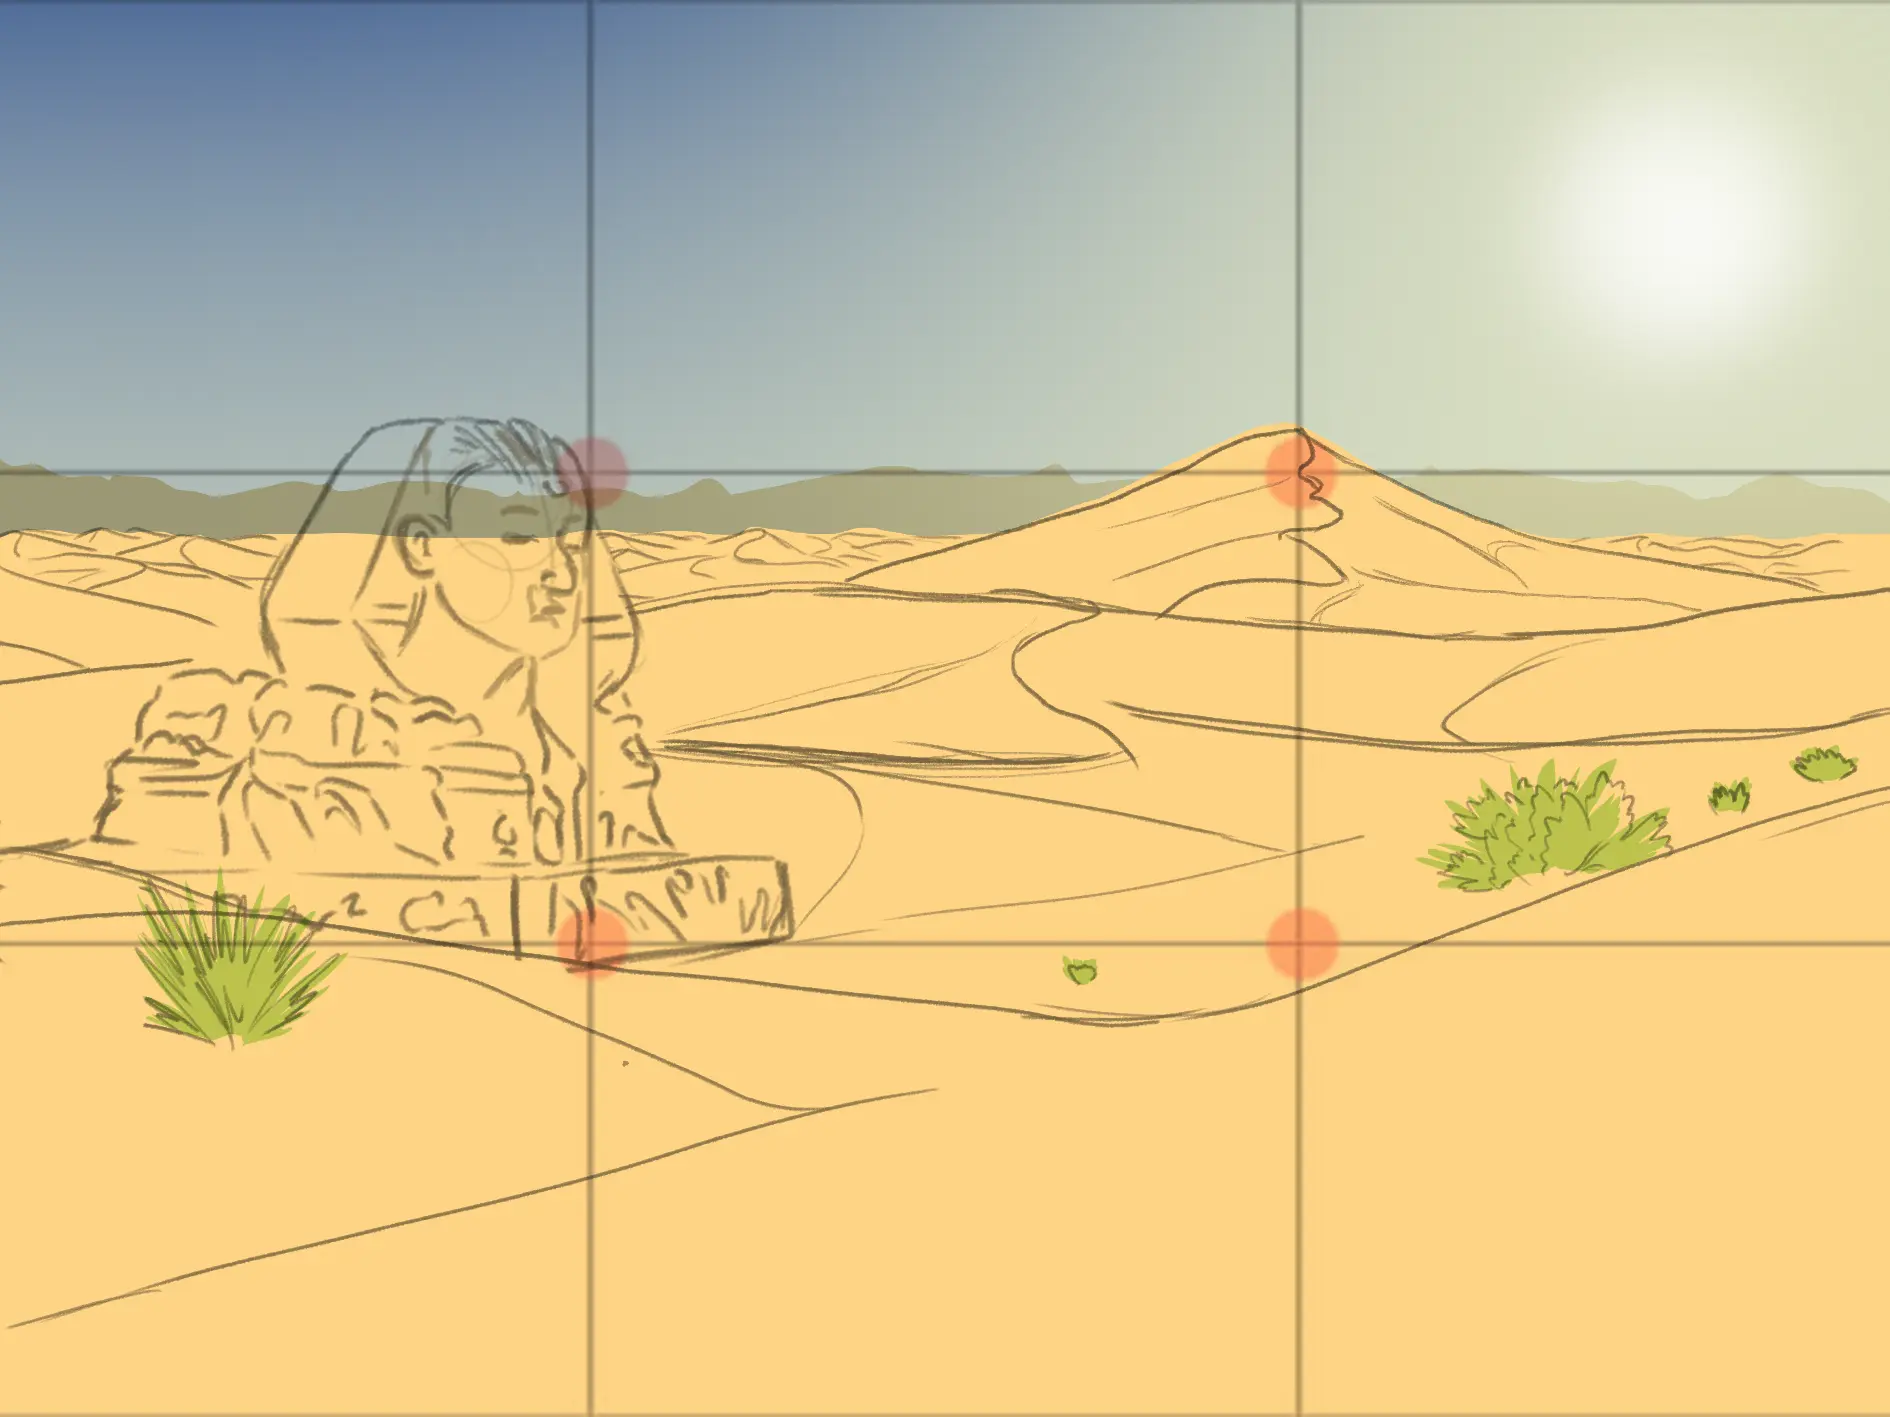
Once this base is laid, the sketch becomes simpler: draw several mounds separated by wavy lines, then create a visual path that starts from the sun, crosses the large dune, and leads to a ruined sculpture.
Add dunes to the drawing
Considering the position of the sun and the intensity of light, draw the shadows of the dunes. Choose a darker shade and paint the opposite side of the mounds: the stronger the light, the more marked the contrast should be.
Progress layer by layer starting from the nearest dune. On it, draw wavy and parallel furrows: on the edge, they fade; in the center, they remain sharper. To achieve this effect, create gradients that start from the crest of each furrow and blend smoothly.
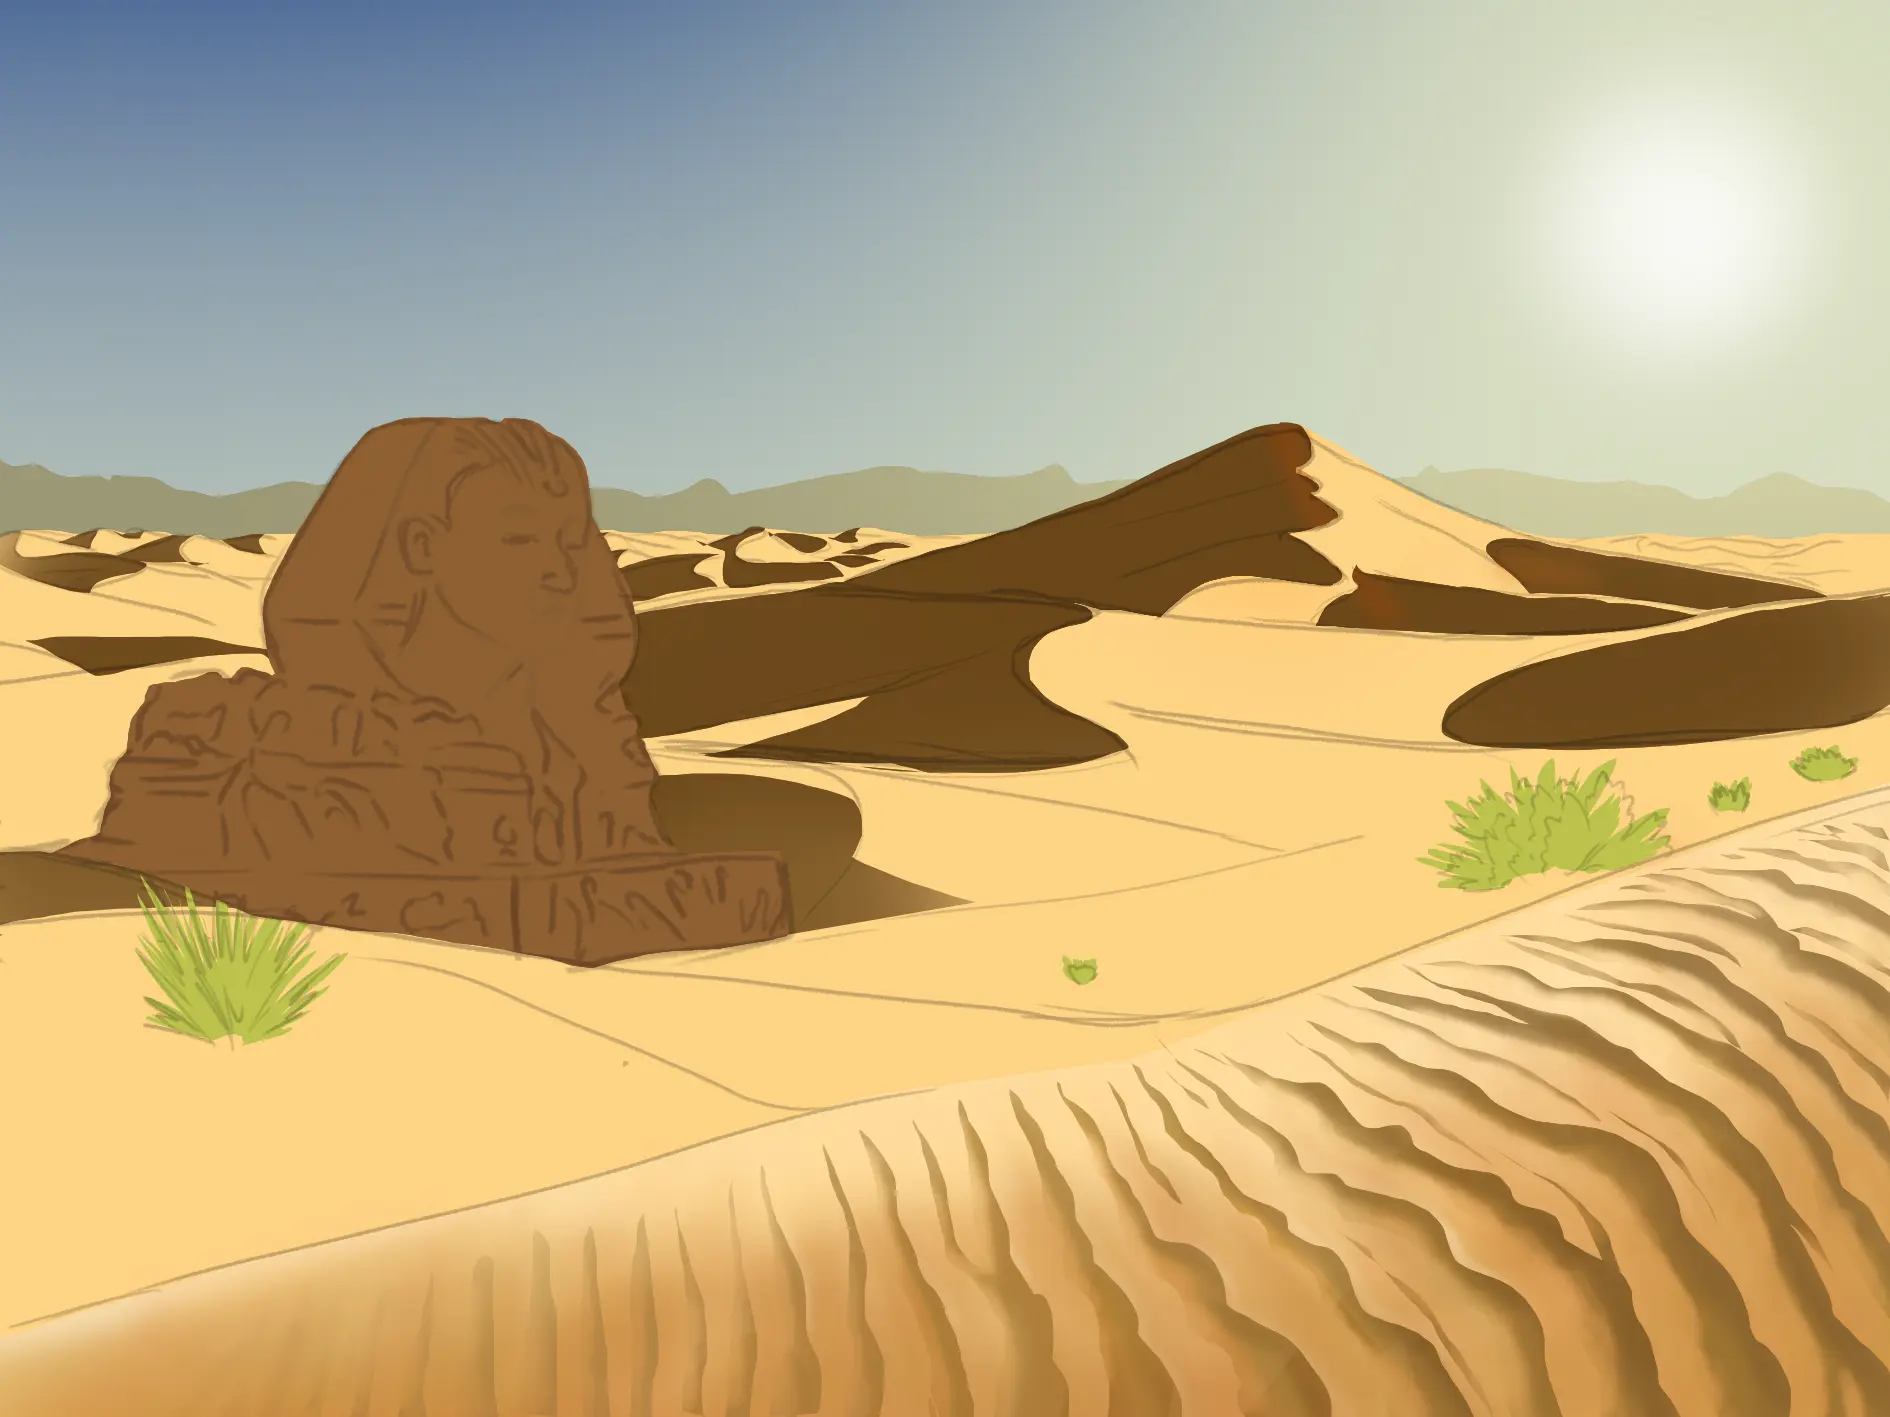
Move to the next plane, that of the more distant dunes. For aesthetic reasons, avoid furrows so that the whole image remains softer. Draw very subtle gradients that follow the movement of the undulations. Add a few small rocks to avoid a flat effect.
Then draw the Sphinx. This is an optional detail that adds weight to the composition. Respect the direction and intensity of the light. Details can remain vague: this reinforces the idea of weathering. Add irregular spots along the surface.
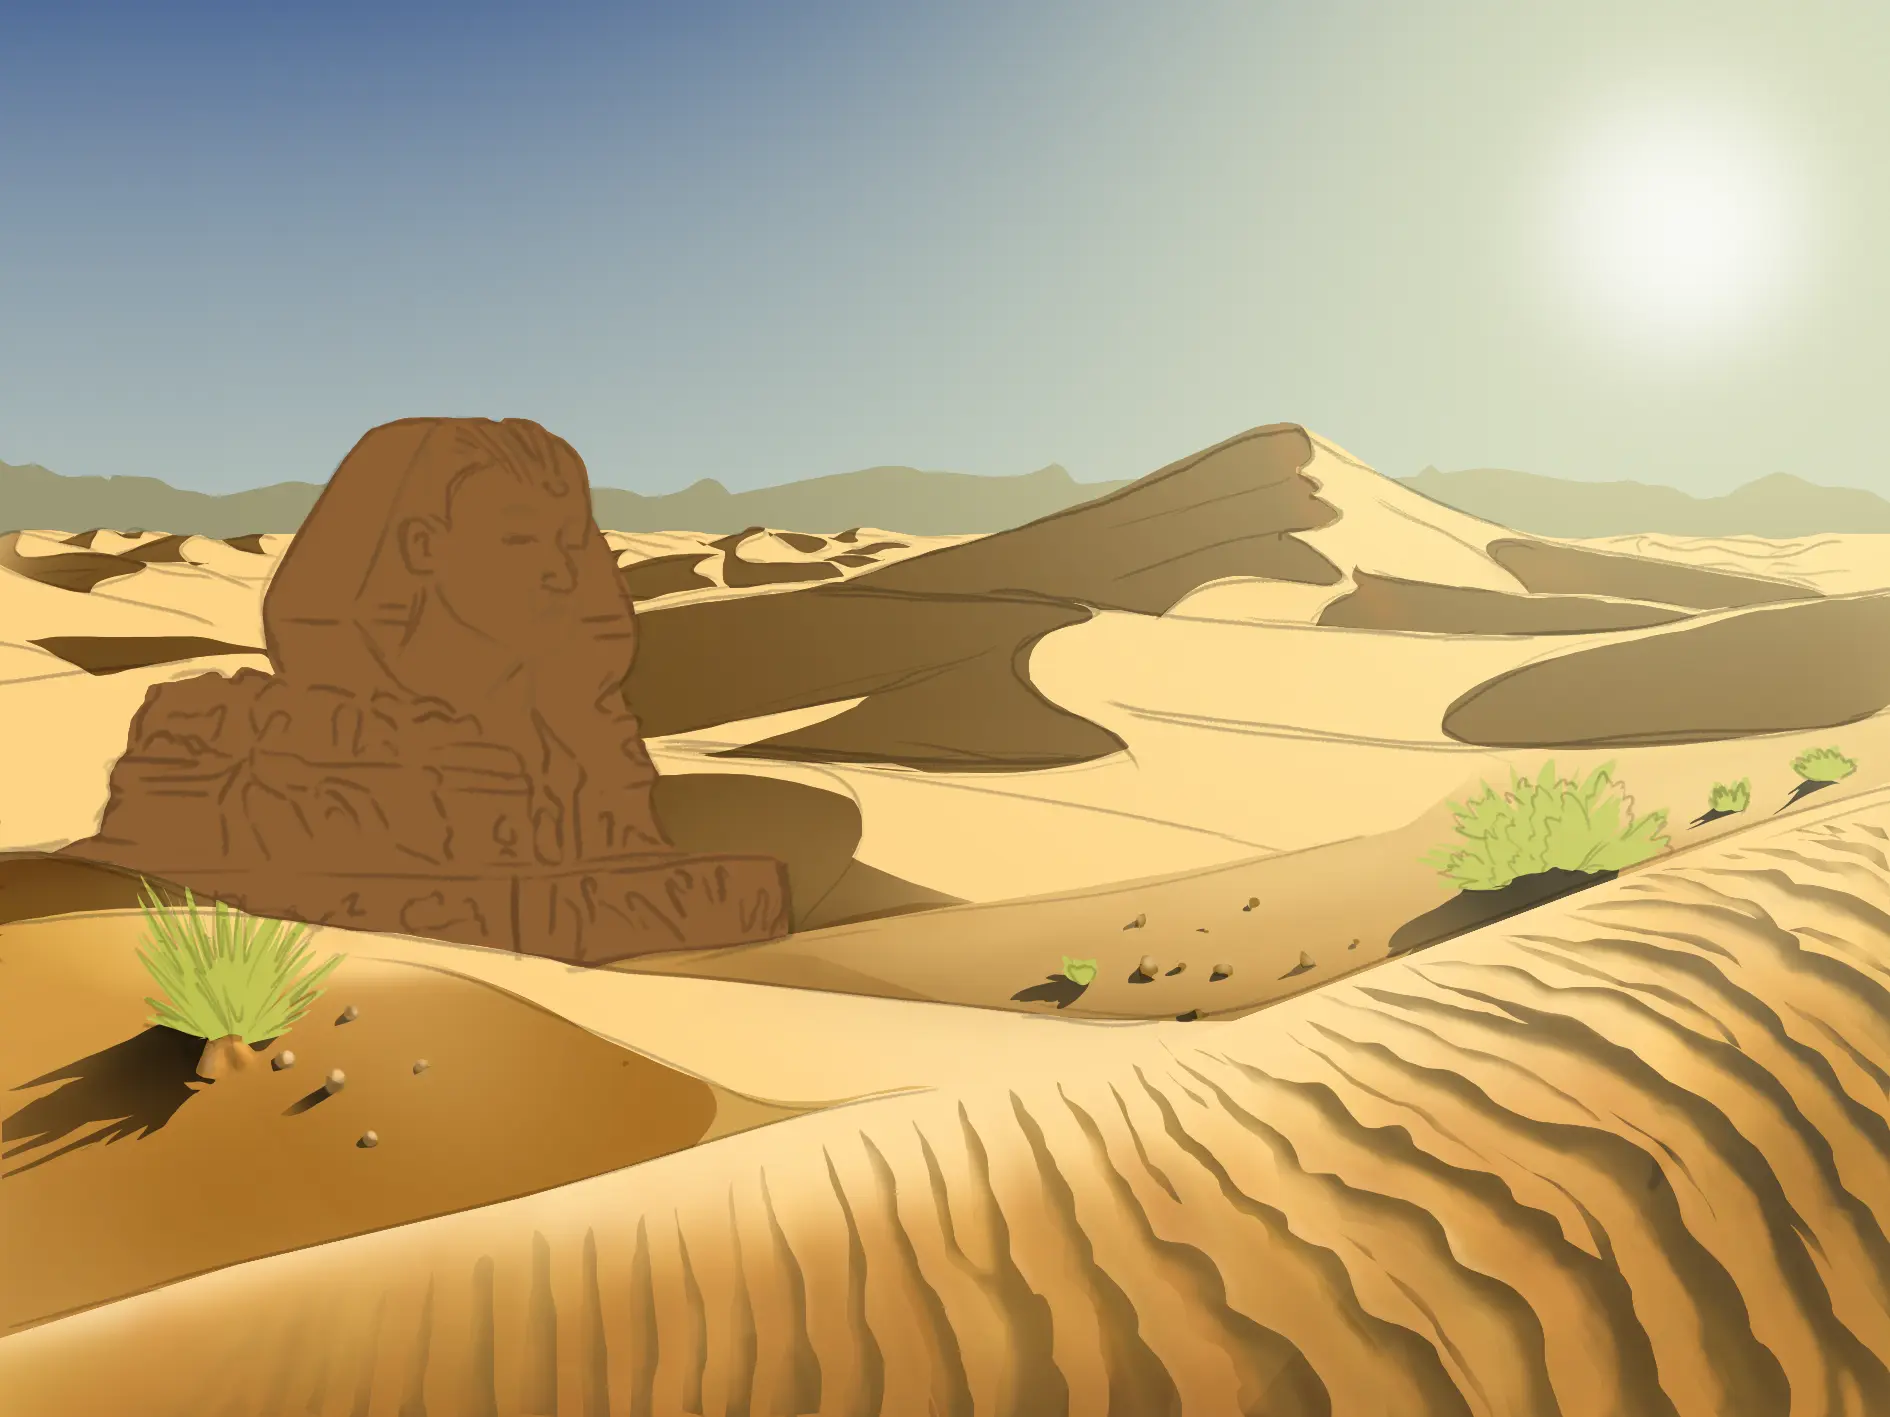
Moving further, the next layer of dunes shows more dynamic ripples and deeper shadows.
Warning: avoid the "flat" effect without adding excess detail. The challenge is to play around with very close saturations to show volume and form.
The time comes to draw the highest dune. The approach is similar, with very close tones and shades to illustrate the volume. Here, the direct sunlight dulls the palette even more: it will therefore be even more restricted.
Drawing the details of the desert
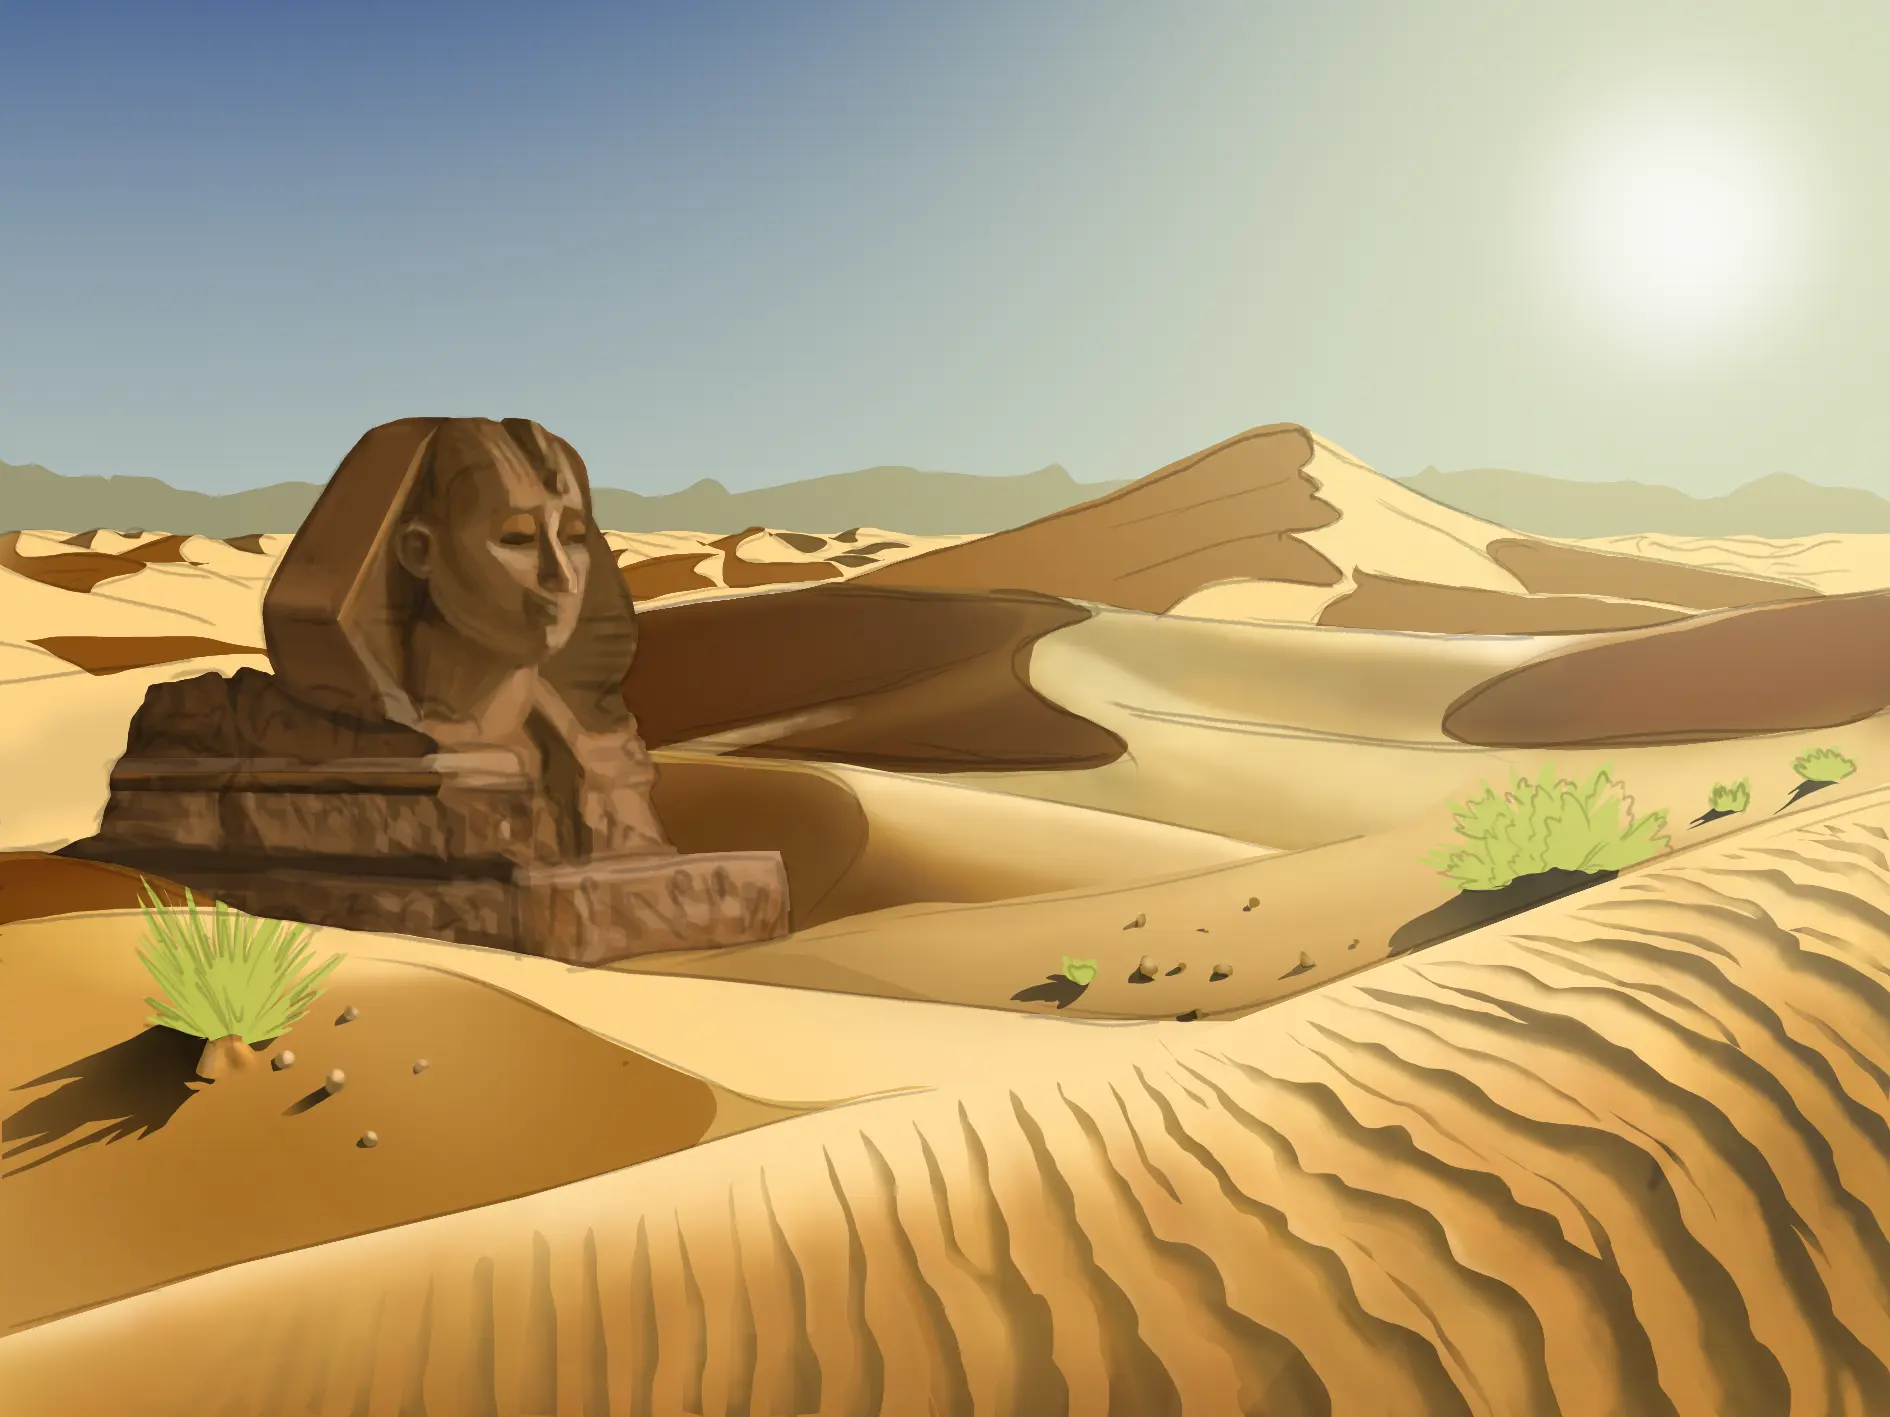
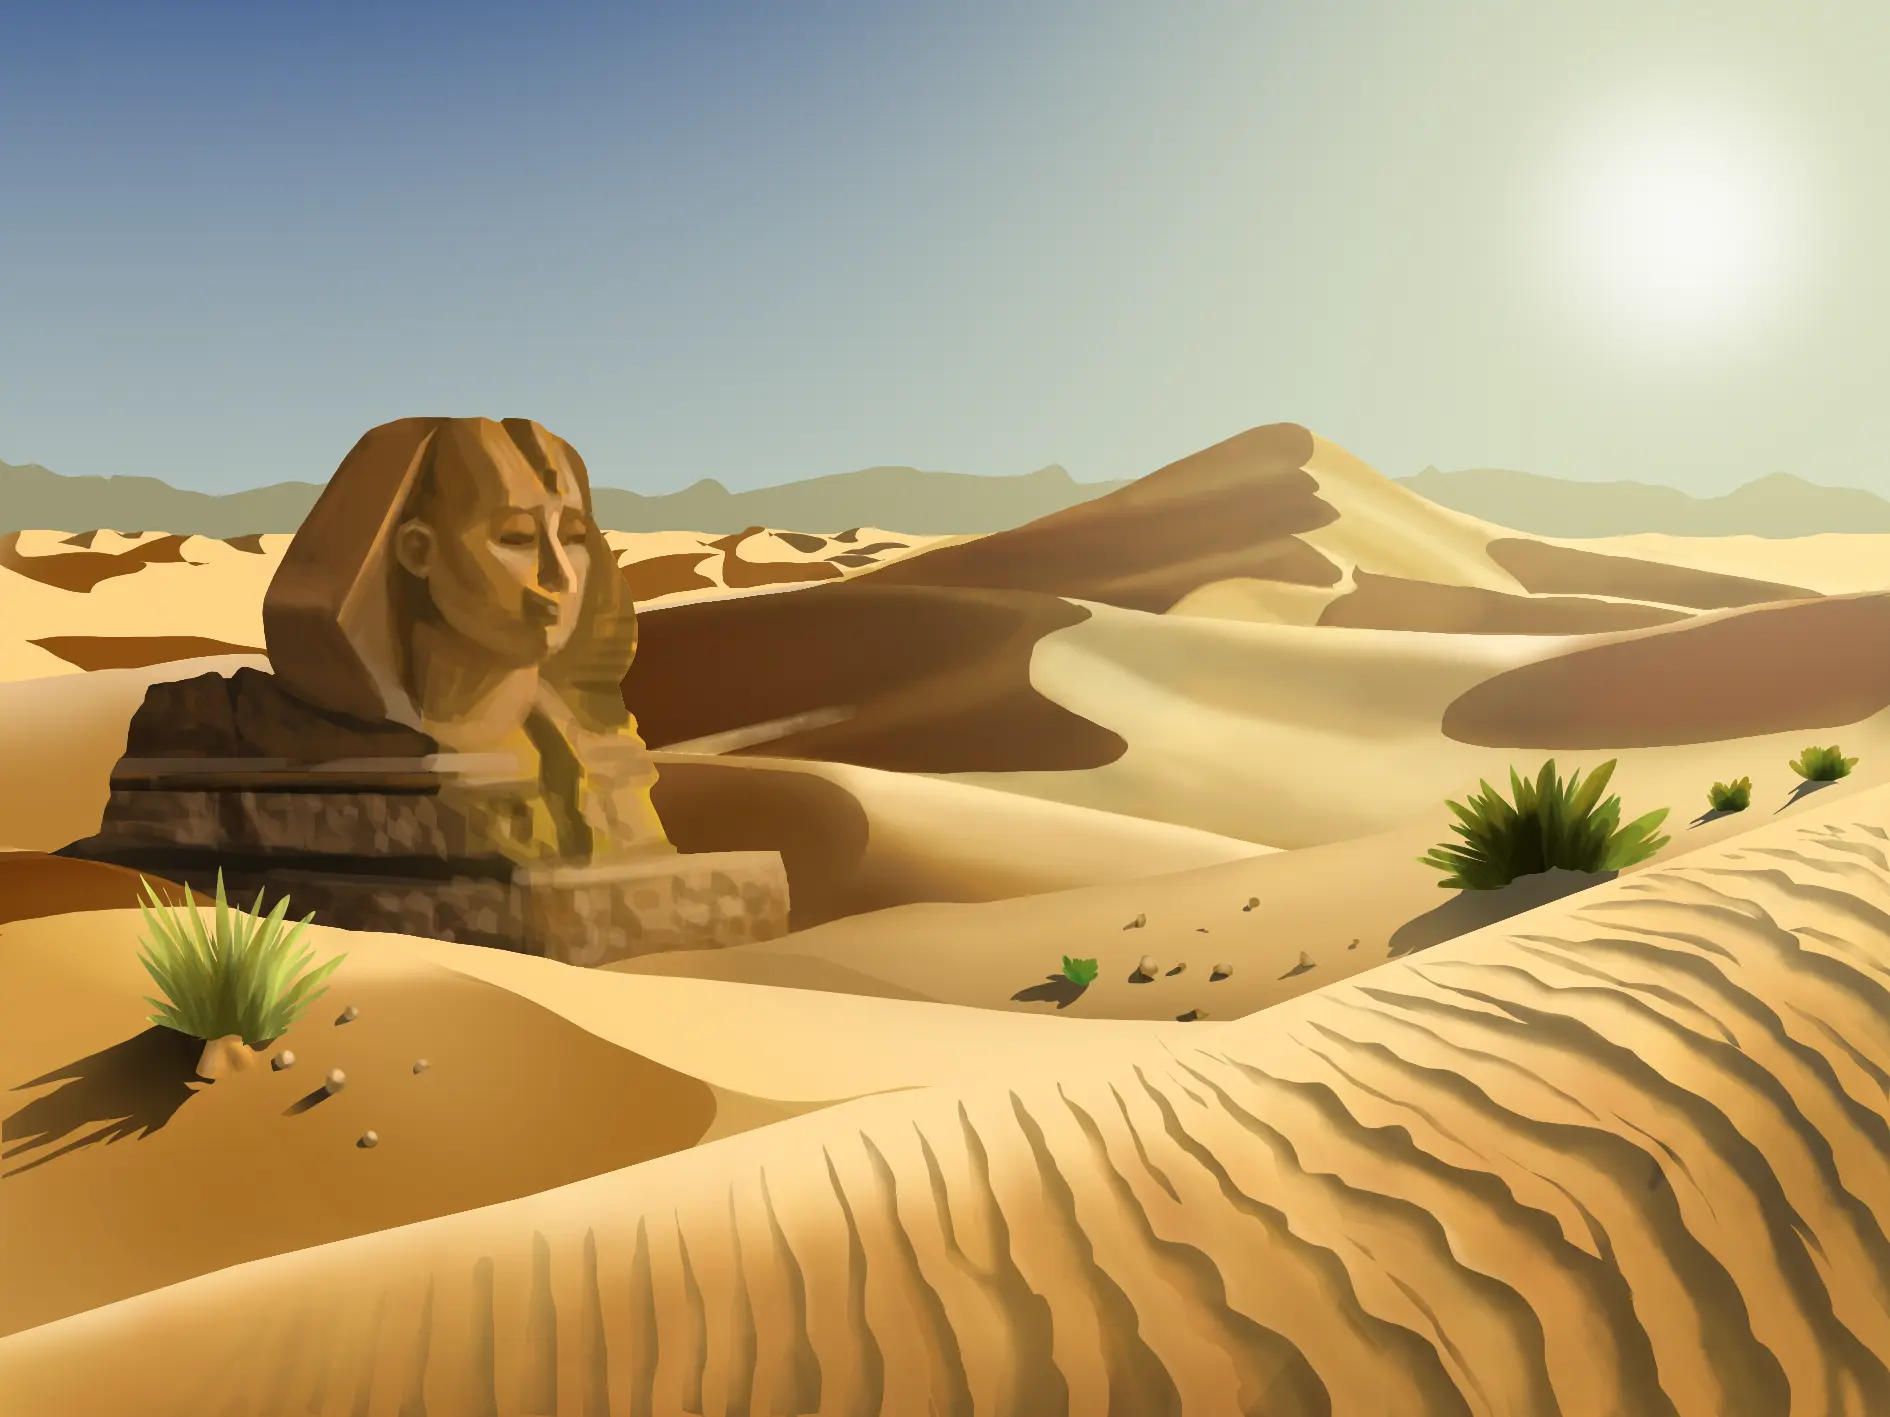
Finally, draw the background dunes with soft gradients and highlight their edge with a clear outline. Quickly repeat this principle on all the dunes opposite the sun. Those on the sunlit side will remain almost imperceptible: simply use a flat wash.
Finally, create a grainy effect by adding small dots all over the sandy floor.

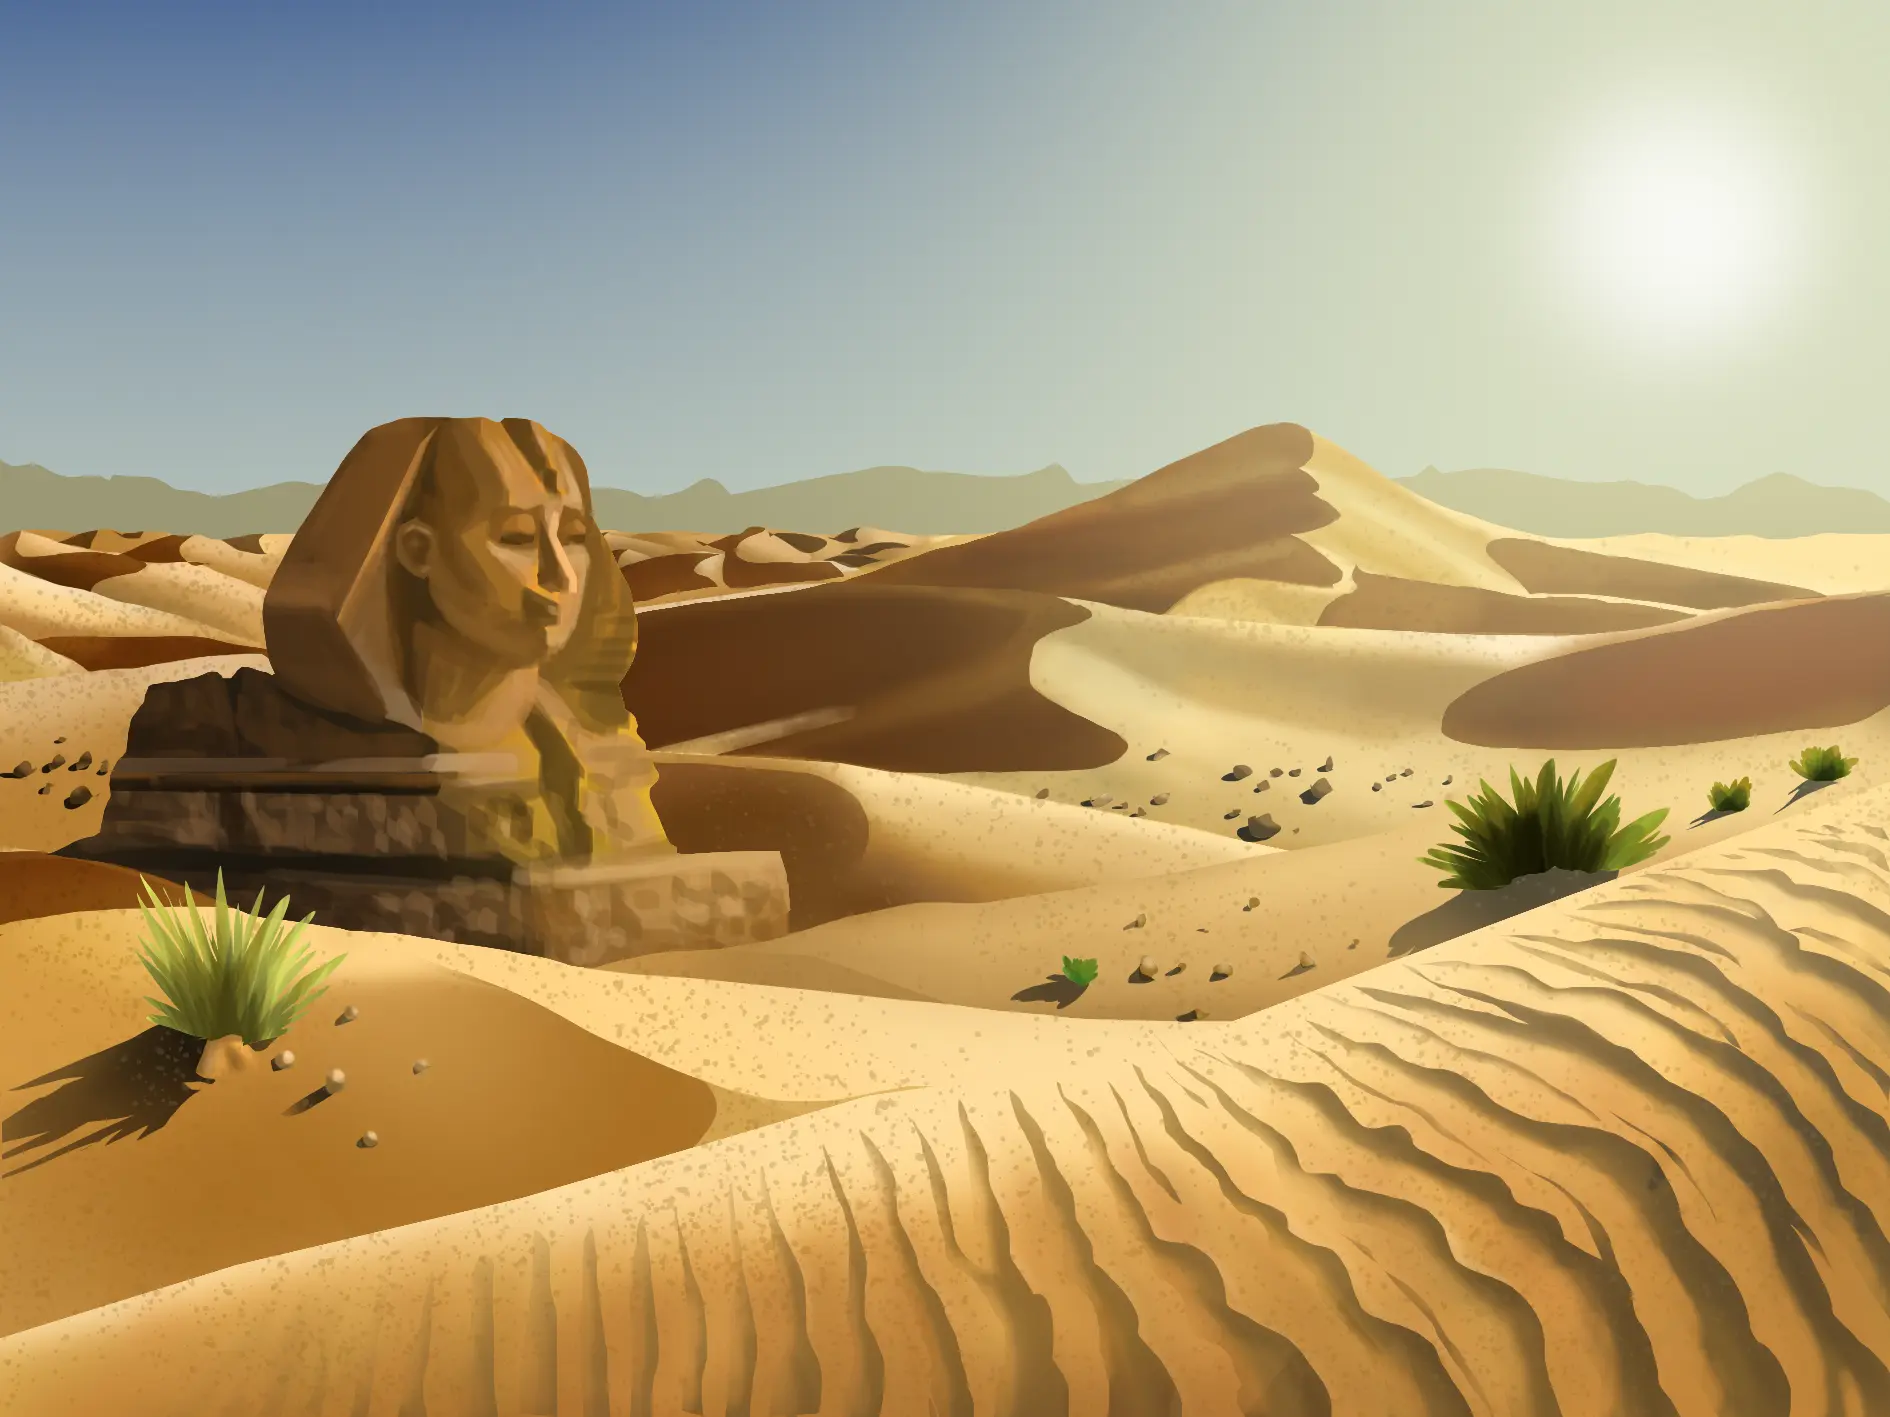
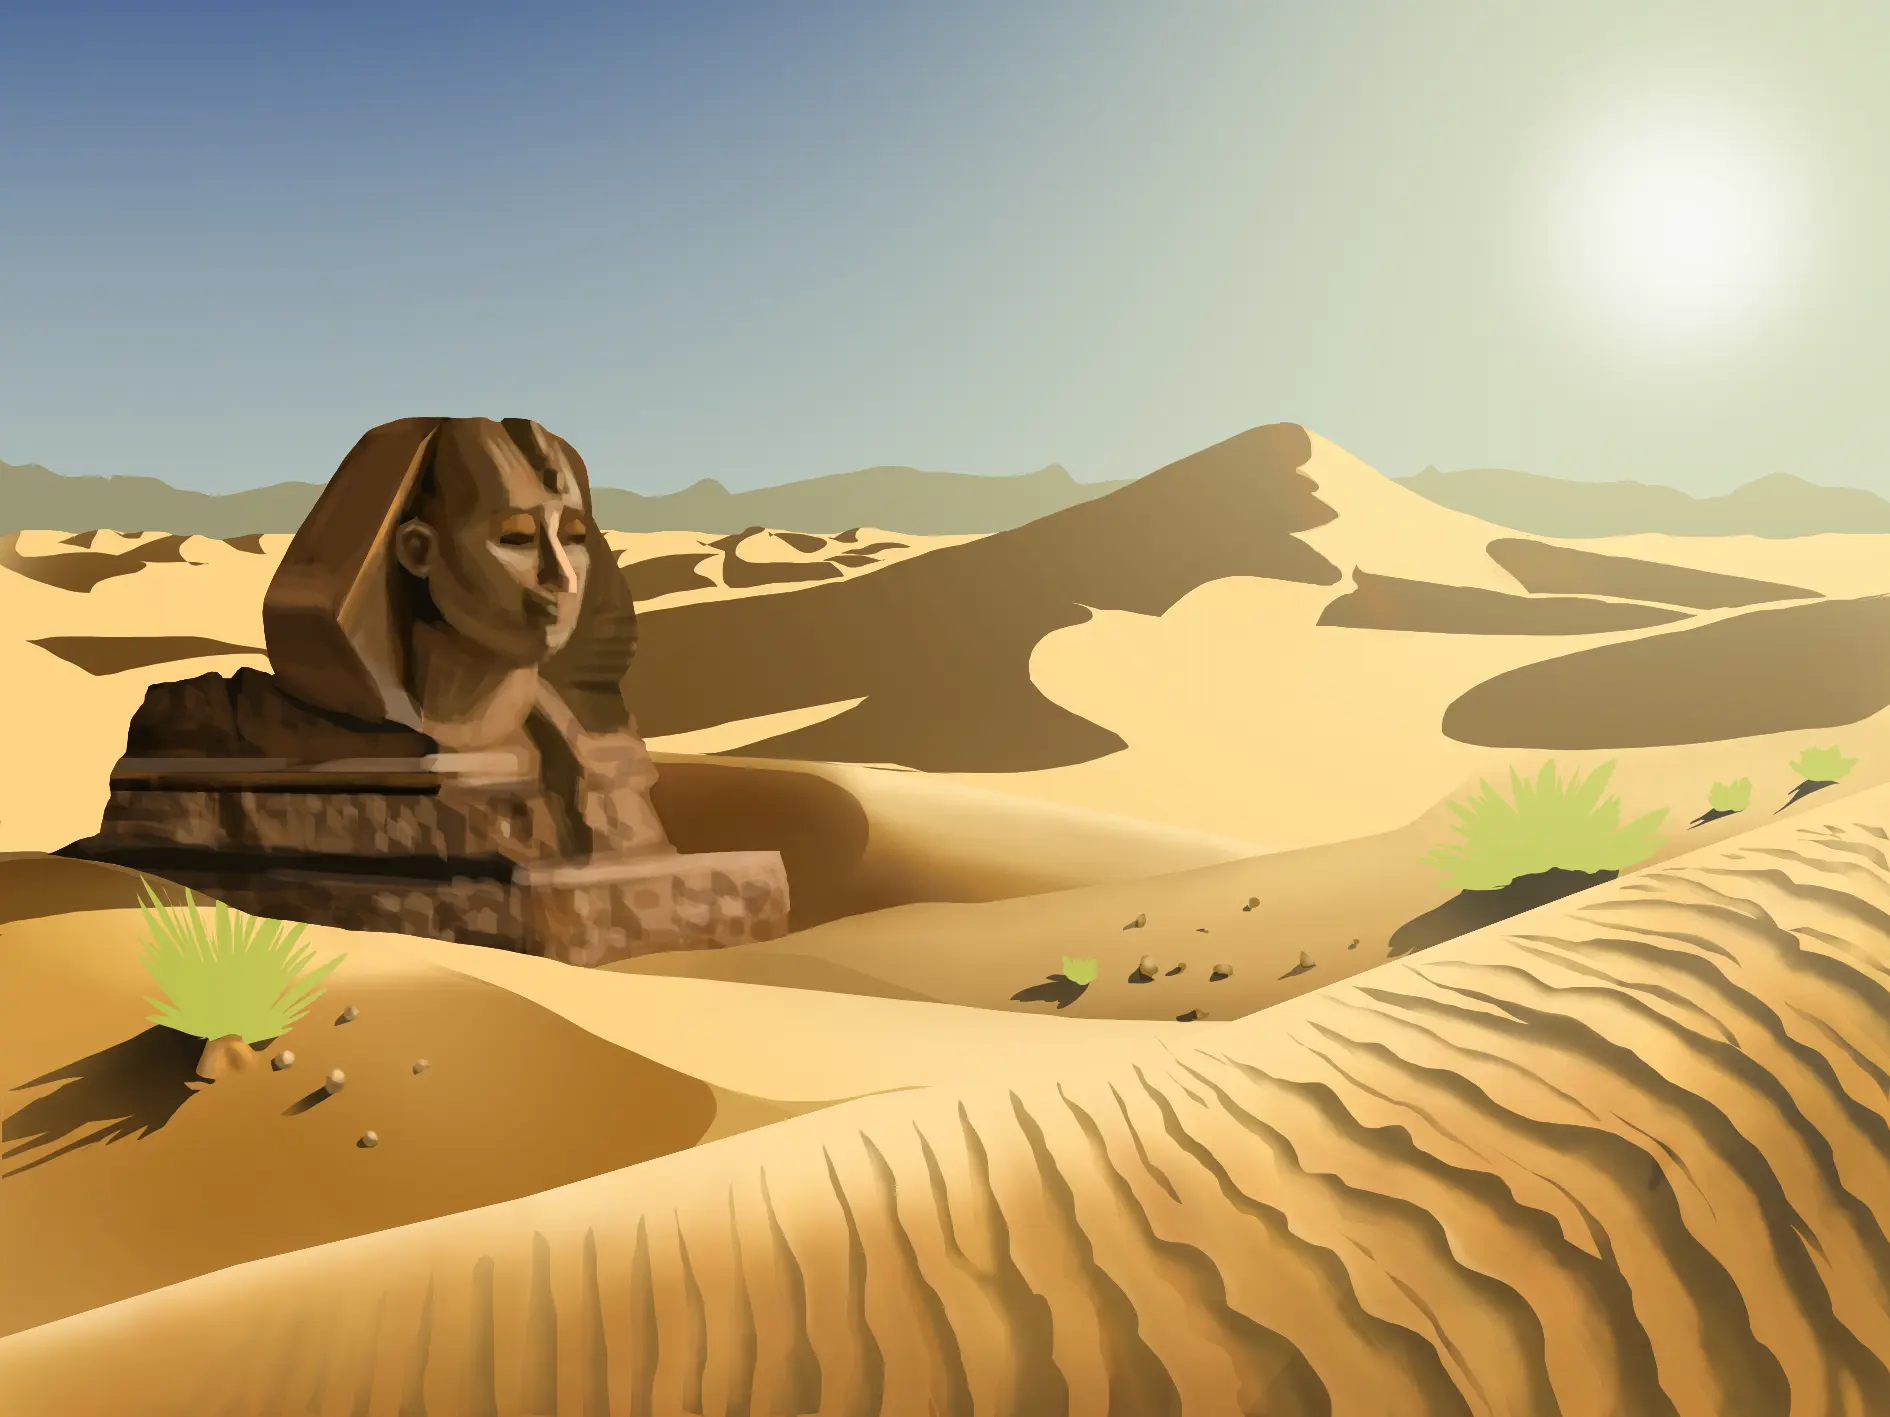
Here our sand desert is now complete. Your turn to have a go!
Remember the key points: subtle gradients for gentle dunes, well-defined contrasts, colors that lighten with distance, and precise outlines of undulations.
I hope this guide will be helpful to you going forward.
Discussion
No comments yet.