
How to Draw with a Fountain Pen
A fountain pen is a tool that we associate more with writing than drawing and yet, in the hands of an artist, it can be used for much more than calligraphy. In this tutorial, we explain how to use it, look after it and get the best out of it for your drawings.
Precautions to take before you start
Before getting started, here are a few essential points to keep in mind so as not to damage your pen:
Always use the correct ink. Indian ink or similar inks contain components that can accumulate in the nib, cause imperfections in the lines or directly damage the tool.
Keep the ink fresh. If you no longer use the nib, reseal it or remove excess ink to avoid lumps and residue.
Control the pressure or, better, avoid it almost completely. The nib system is designed to let the ink circulate in a controlled manner. Too much pressure will not change the line much, but could damage the tip.
The parts of a fountain pen and how they work
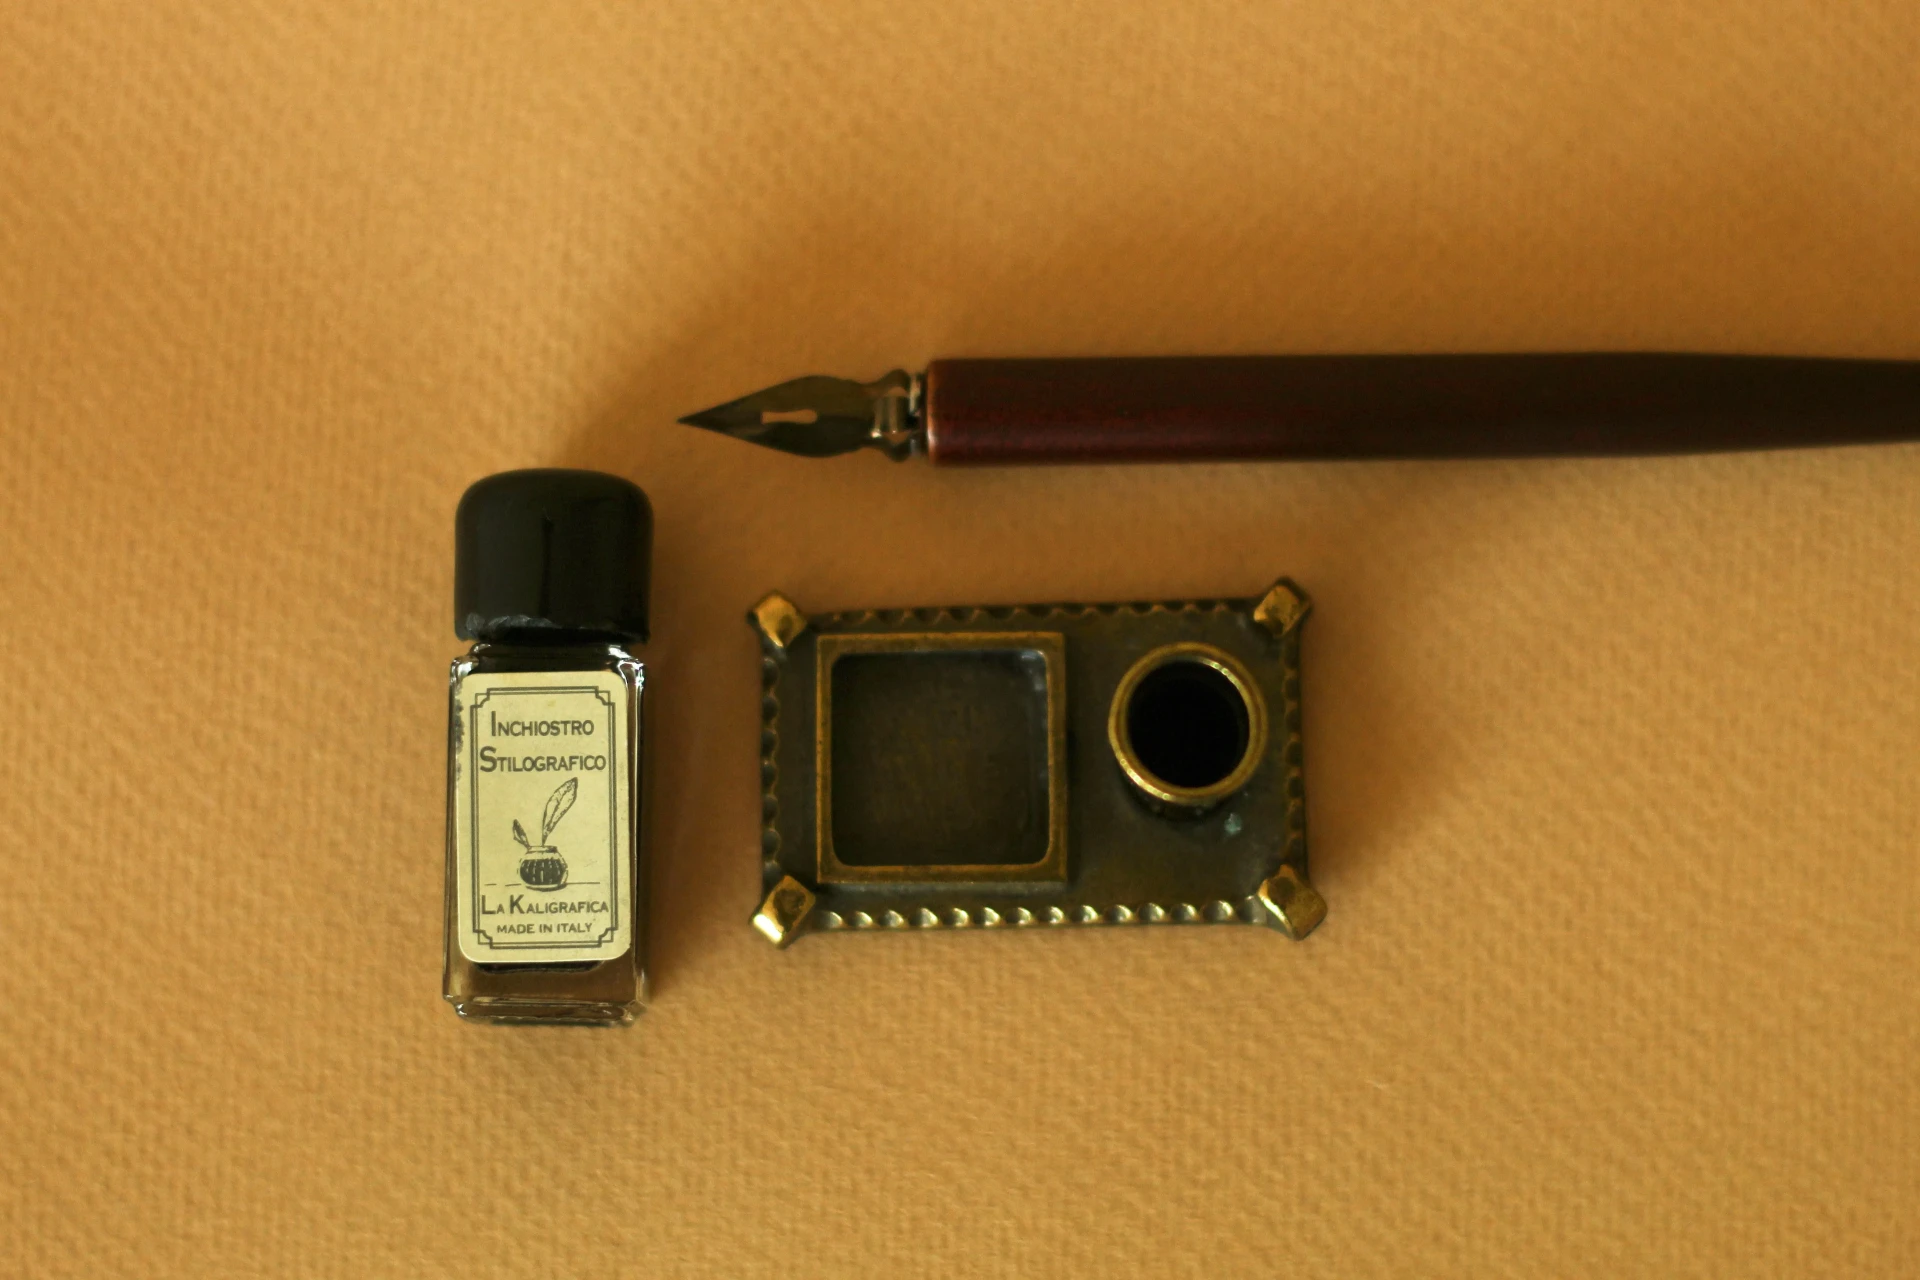
A fountain pen is made up of several elements. The tip, called a nib, is made of metal and has an elongated opening that channels the ink. Just below is the feeder, which supplies the necessary amount of ink. Next comes the grip area, then the body, the elongated piece that stores the ink. Finally, the cap helps keep the ink fresh and maintains the nib in optimal conditions.
The different types of nibs and their features
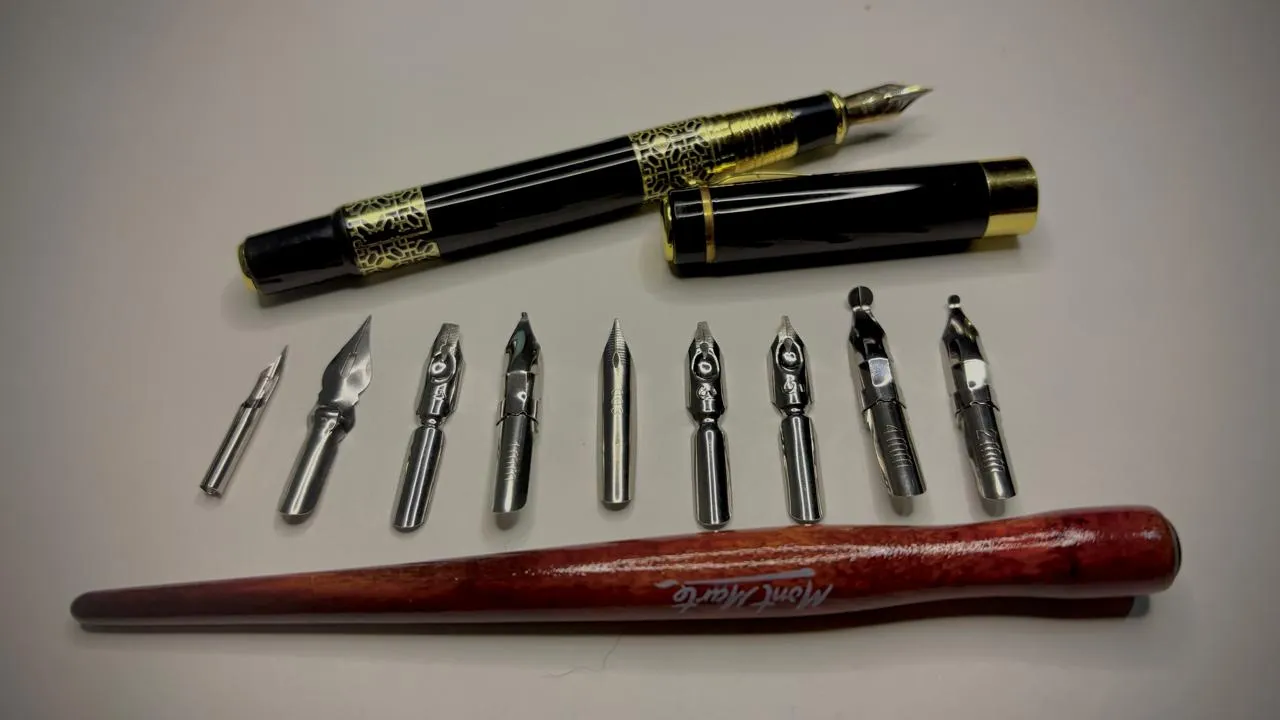
To vary the types of lines, different nibs are available: extra fine (EF), fine (F), medium (M), broad (B), double broad (BB), italic (Italic), stub and accented italic. Each tip produces a different line, it's up to you to choose according to the desired effect.
Learn to master lines with a fountain pen
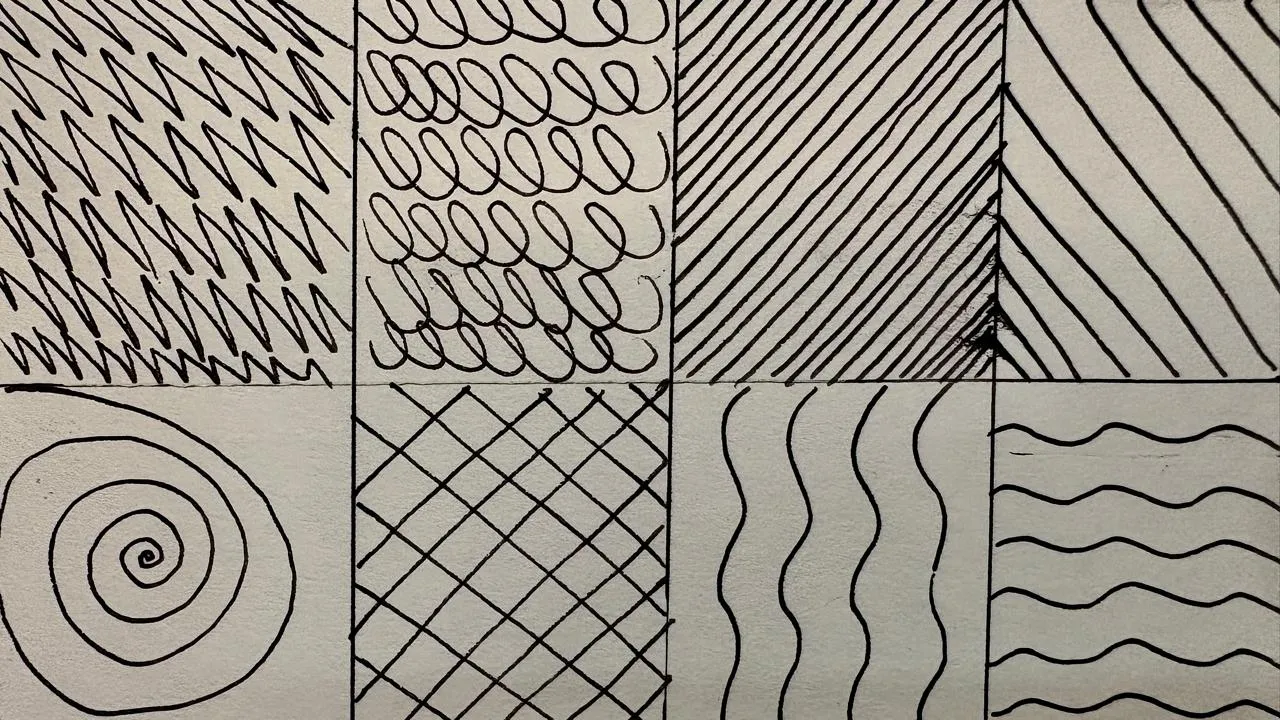
To start, there's nothing like a few tries to familiarize yourself with the line and understand how the pen reacts on the paper.
Start by making a grid and draw parallel lines in each section in different ways: straight horizontal or vertical lines, closer together or further apart, diagonal, crossed, curved, then more complex patterns. It's a great way to understand how a fountain pen works.
Create shadows and gradients
To add volume, it is essential to master the transitions from dark to light. The softer the gradient, the more realistic the rendering will be.
Exercise with line values
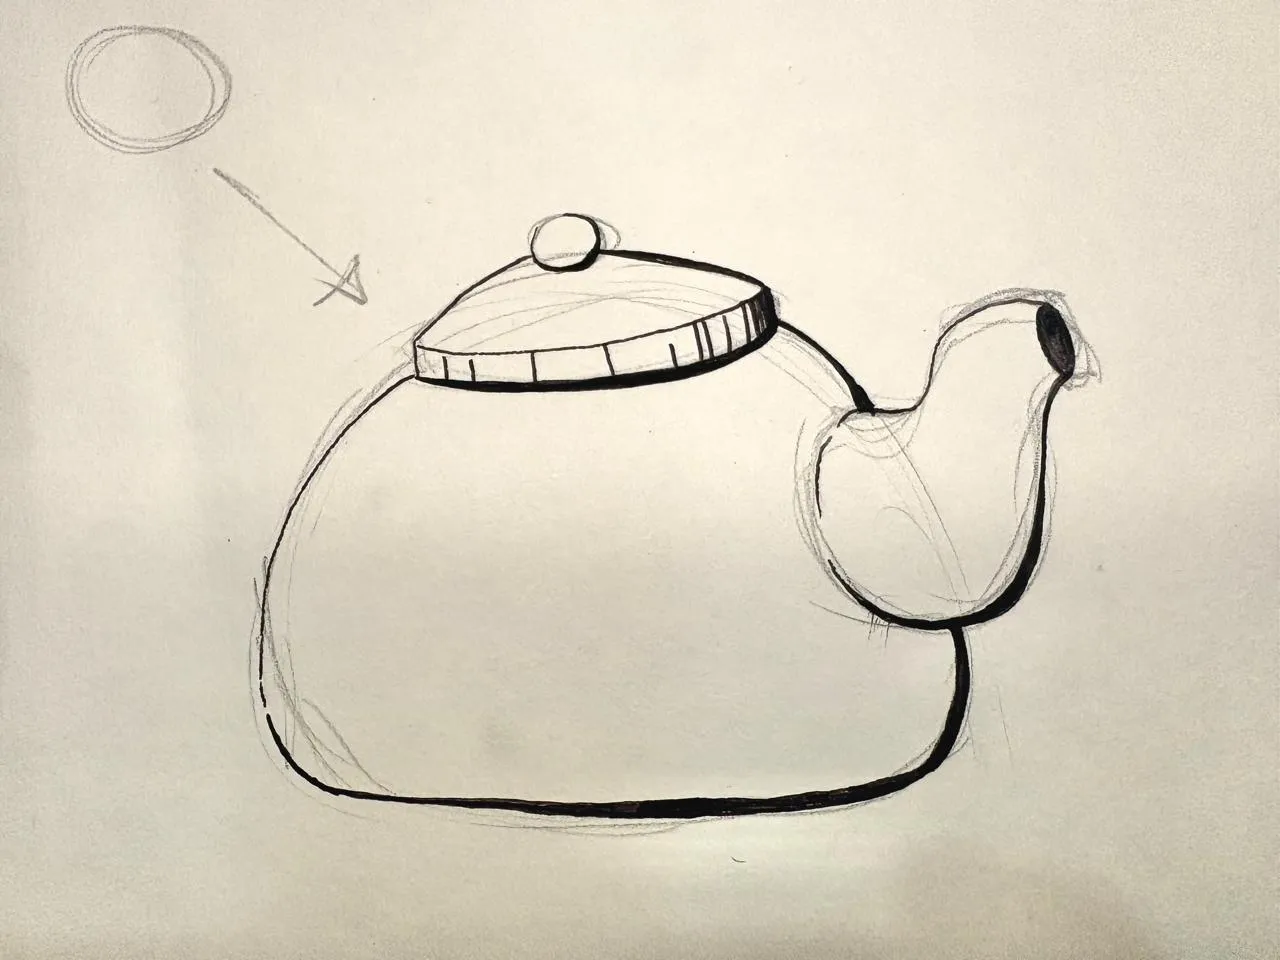
Take a simple form, a cube for example, determine a light source and draw fine lines in the areas that receive it directly. On the other side, draw increasingly thick lines in opposite areas, which will appear darker in comparison.
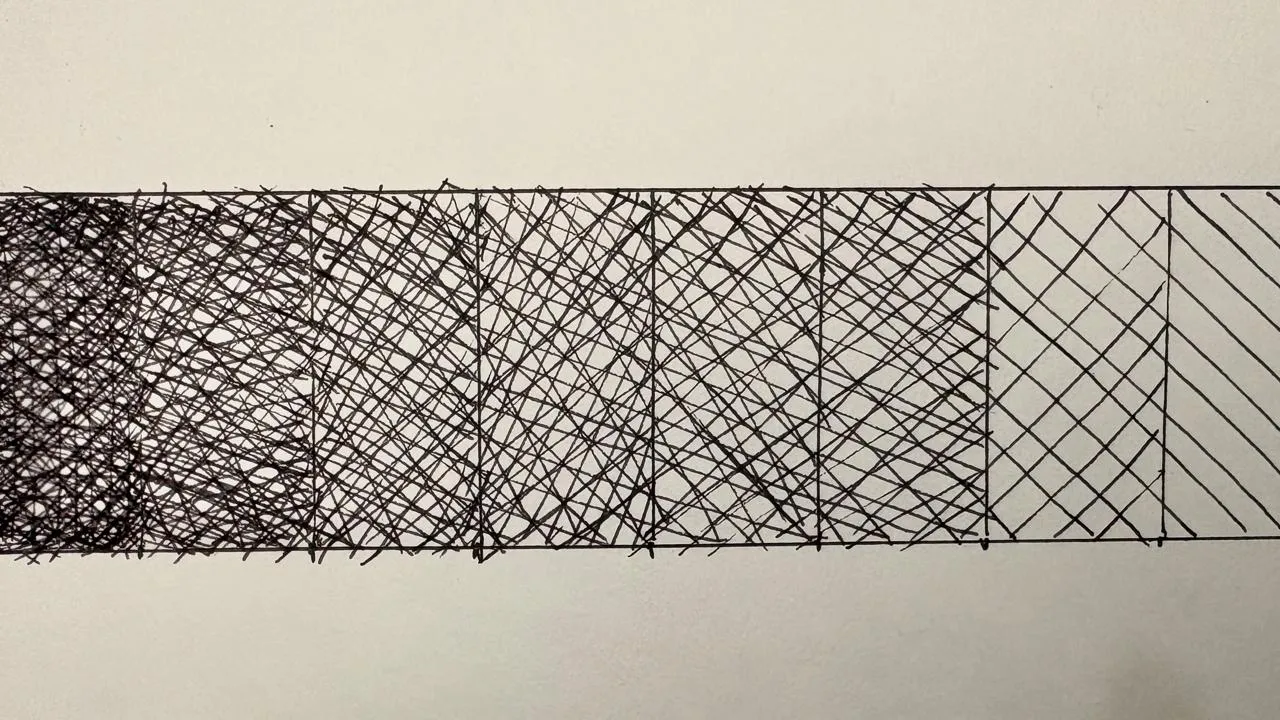
Crosshatching exercise
Crosshatching is essentially thin lines that overlap in layers, generating increasingly darker tones. Make a bar divided into sections, then draw diagonal lines at regular distances. Then repeat the process in another direction, but leaving the last box empty. Continue by repeating the exercise, omitting one box each time.
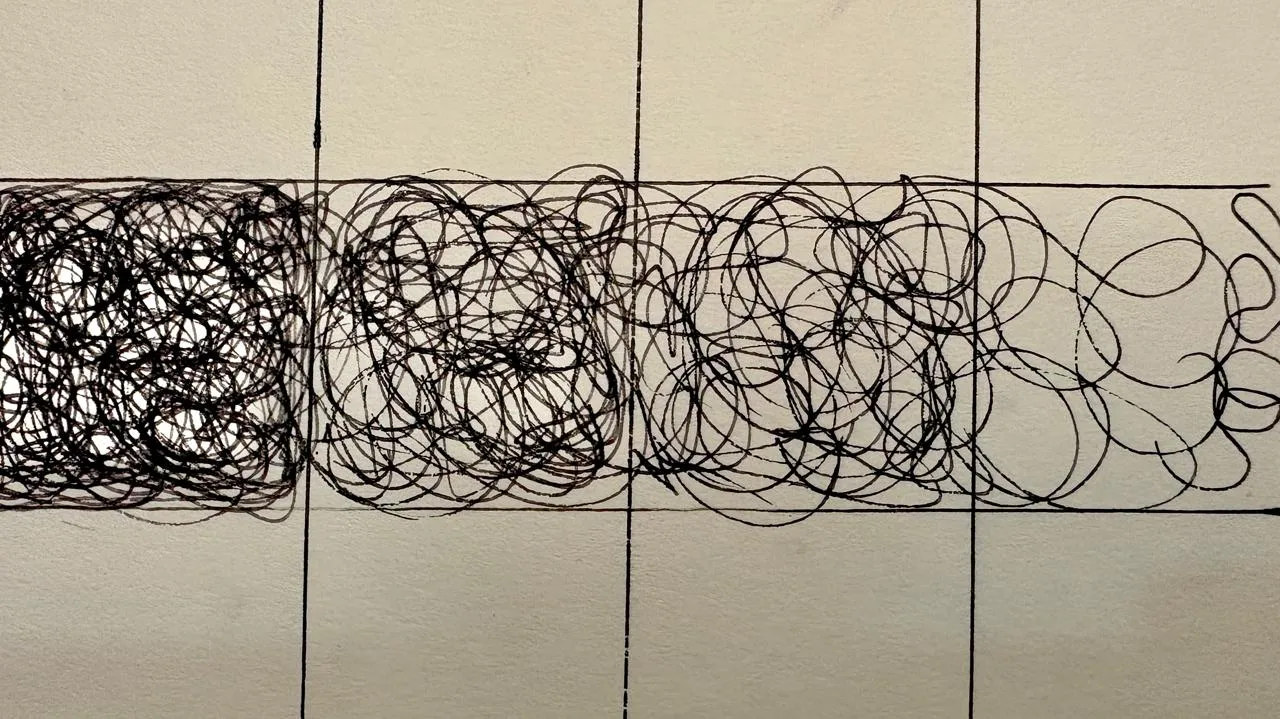
Hatching exercise
Hatching is another technique for creating shadows. Imagine a long strand of spaghetti that piles up to produce darker and darker tones. As in the previous exercise, create a bar. This time, draw a long, squiggly line that covers all the squares, then start gradually filling in the spaces, leaving one square aside at each step.
Fountain pen care and cleaning
Monthly cleaning is recommended to guarantee the quality of the line. If you change ink colors, cleaning is essential to avoid mixing.
To properly clean the nib, disassemble its different parts and rinse the elements that manage the ink flow with plenty of water. Repeat the process until the water comes out transparent, then let it air dry.
A practical example with a fountain pen: drawing in a neo-traditional style
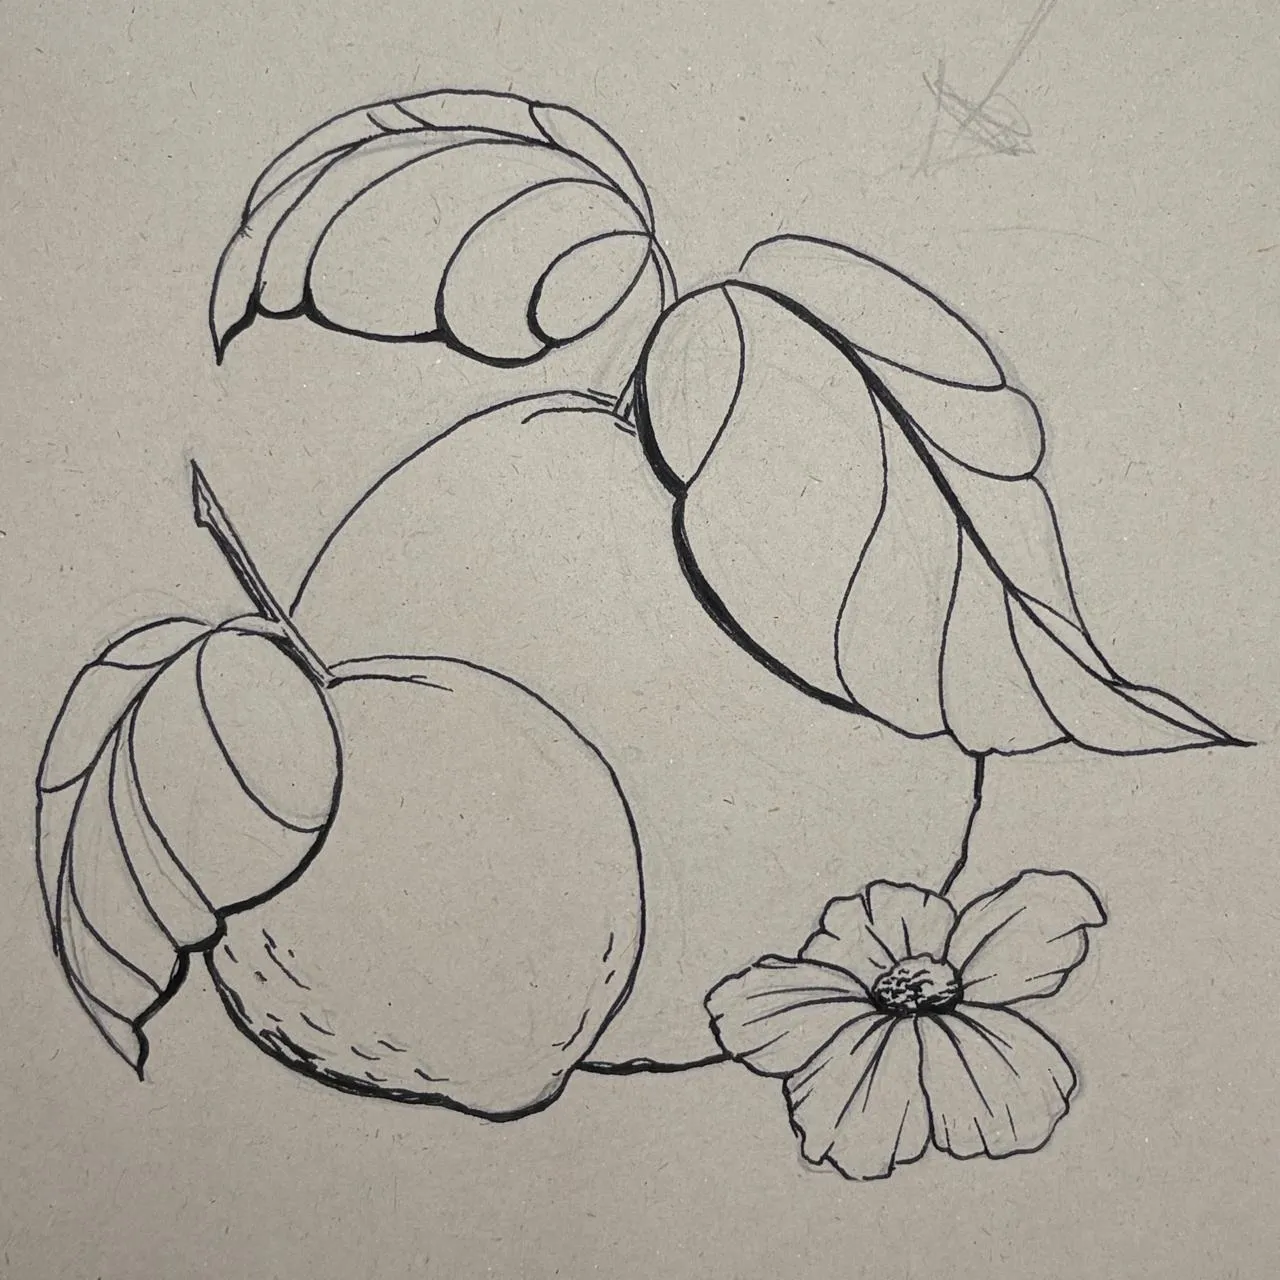
To illustrate the possibilities of the fountain pen, we are going to create a stylized rather than realistic drawing, inspired by the neo-traditional style of inking, a style that uses lines in a particularly expressive way.
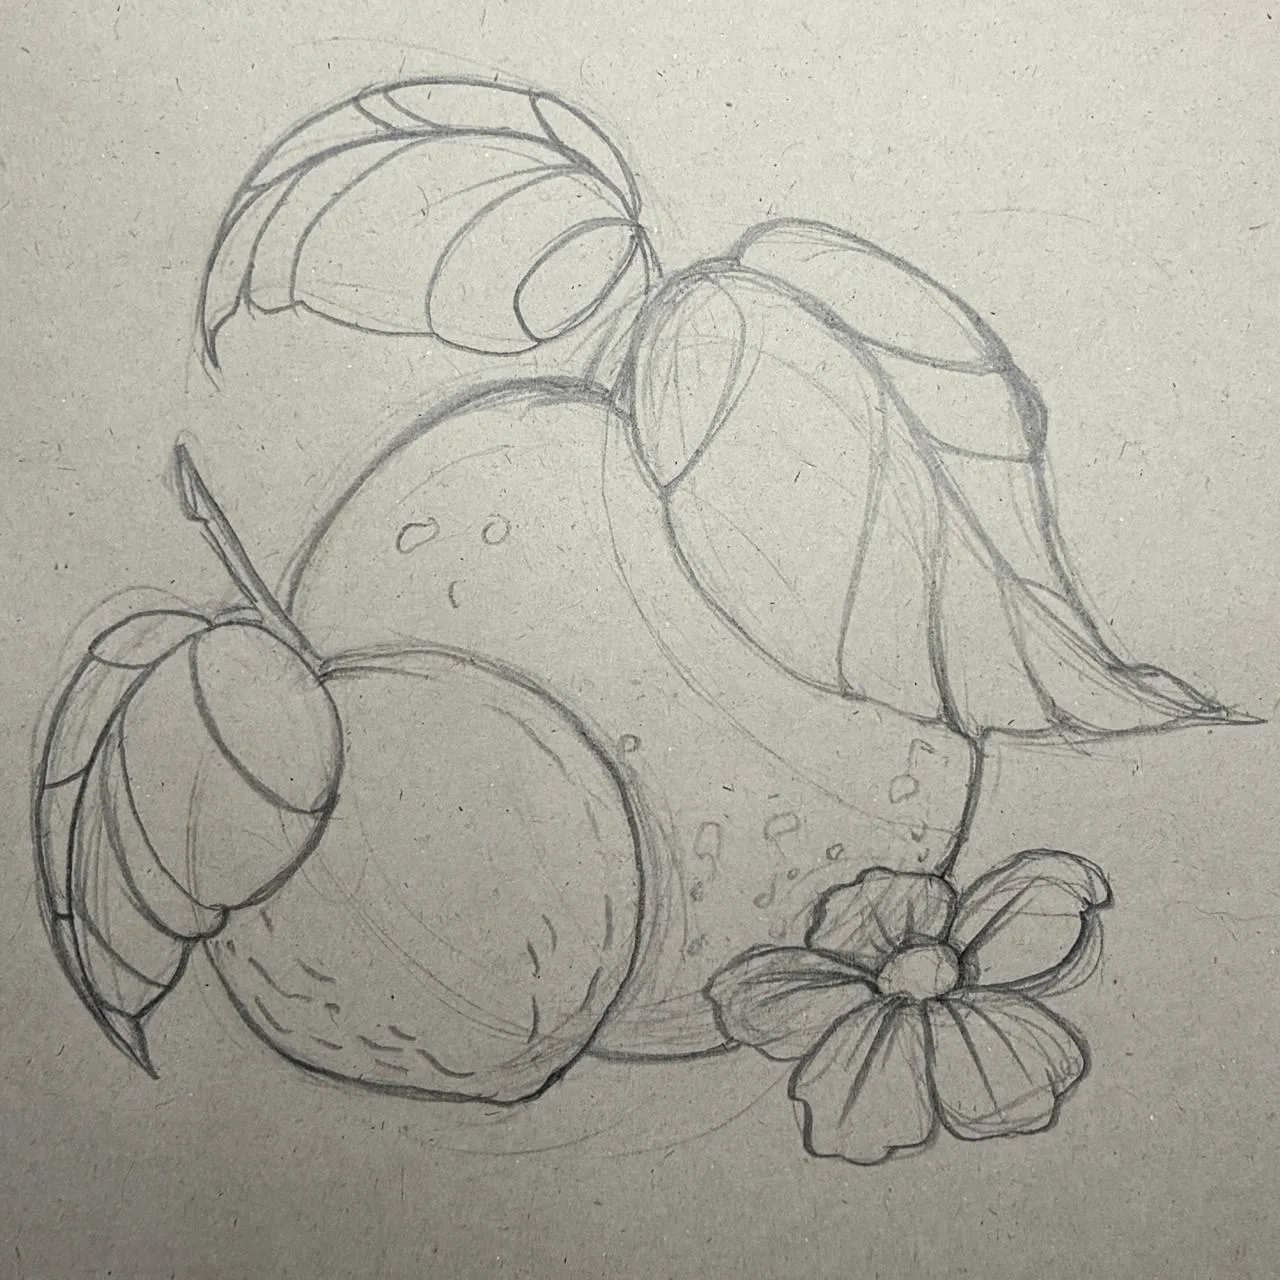
For line drawing, vary the types of tips to diversify the line values and bring more richness to the line.
Finish with crosshatching in areas that require volume, using the finest tip so that the line does not clutter the main lines.
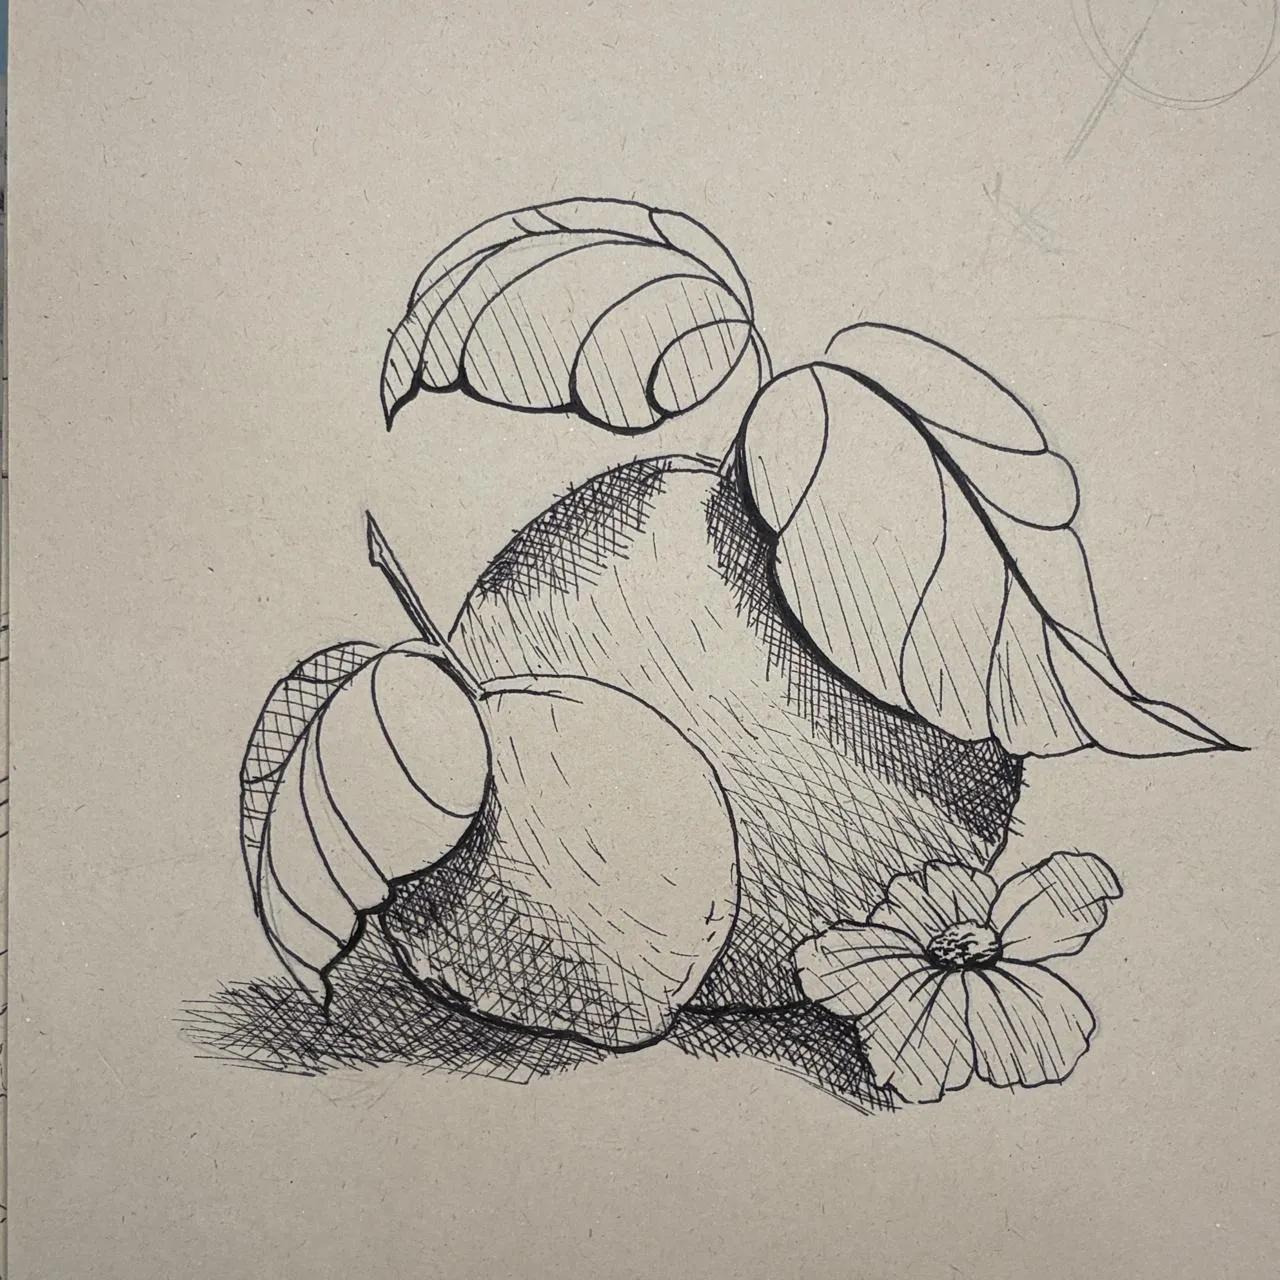
With a little practice, a fountain pen becomes really nice to use, especially because it enables you to give a lot of character to a drawing. A simple change of point or hatching can completely modify the rendering.
The best thing now is to take your own drawings as a testing ground and see what the pen can do for them. There's no real right or wrong way to do it: experiment a few times and keep what you like. This is often how we end up finding our own way of drawing with a fountain pen.
Discussion
No comments yet.