How to Draw a Glacier
When we think of snow, we often picture the white dunes of winter or the flakes that fall twirling down to the ground.
But what would you say if I described to you a vast wall of ice and compacted snow, slowly flowing like a frozen river at the heart of a valley or plain?
Yes, glaciers almost seem surreal, and today, I suggest we take on the challenge of drawing one together.
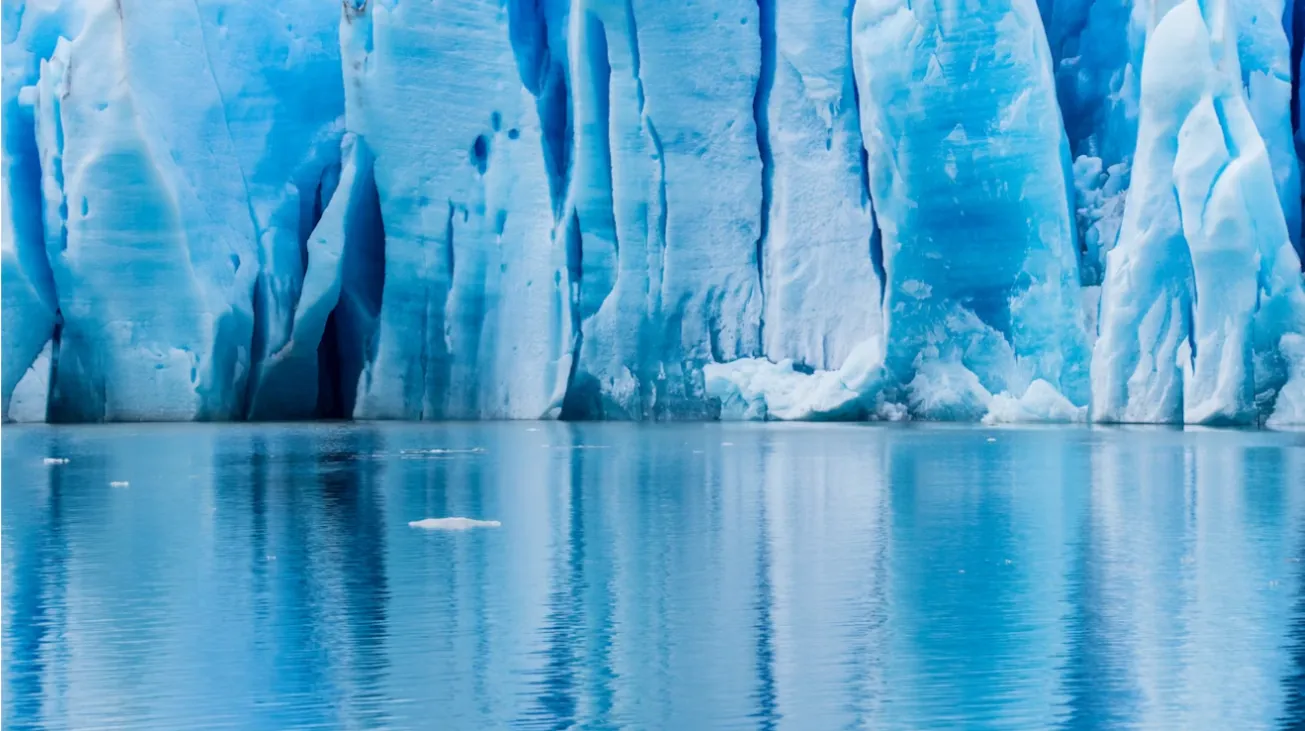
The texture of ice
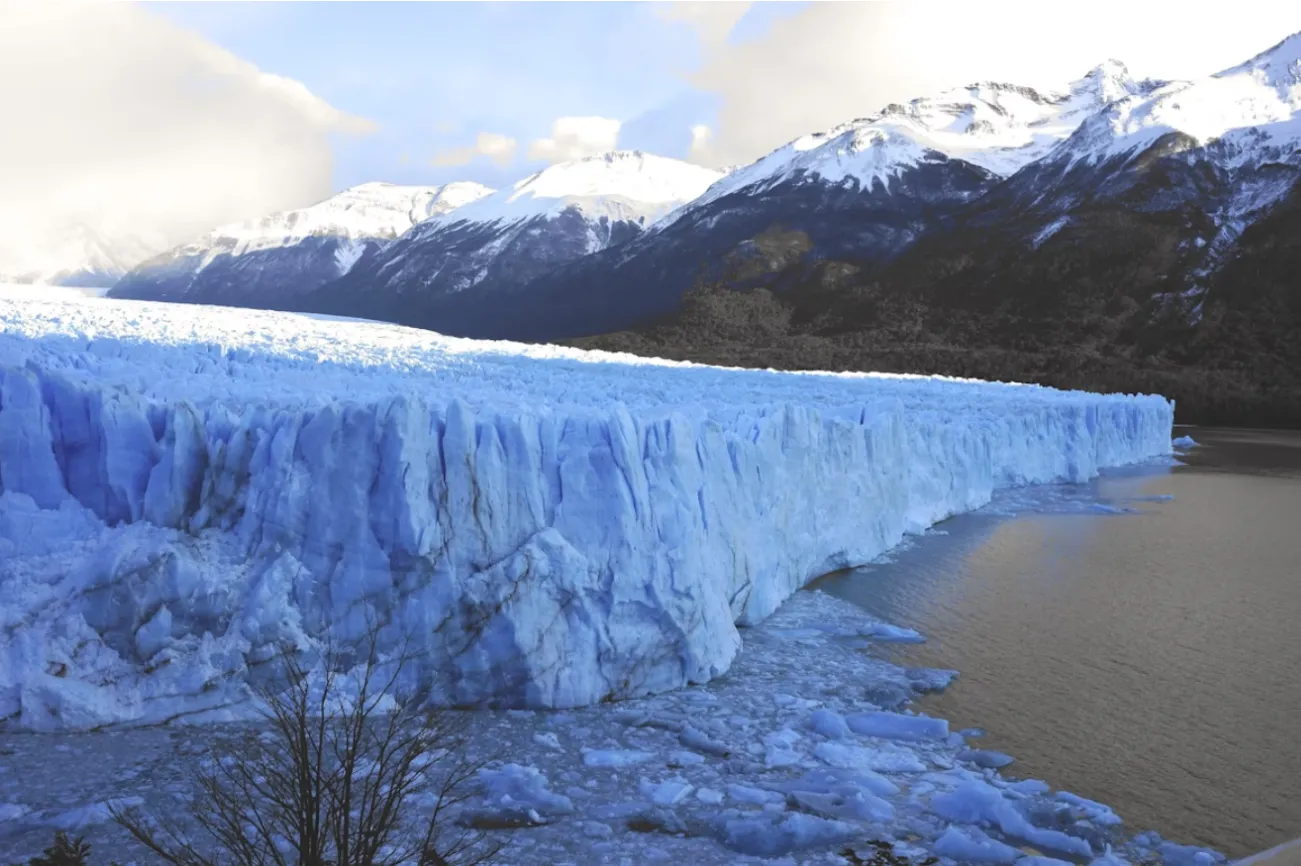
Before we begin, let's take a moment to observe our subject.
A glacier is a mass of ice and compacted snow, whose structure resembles that of a rock wall, while retaining the reflections and translucence that are characteristic of its original material.
Draw a glacier step by step
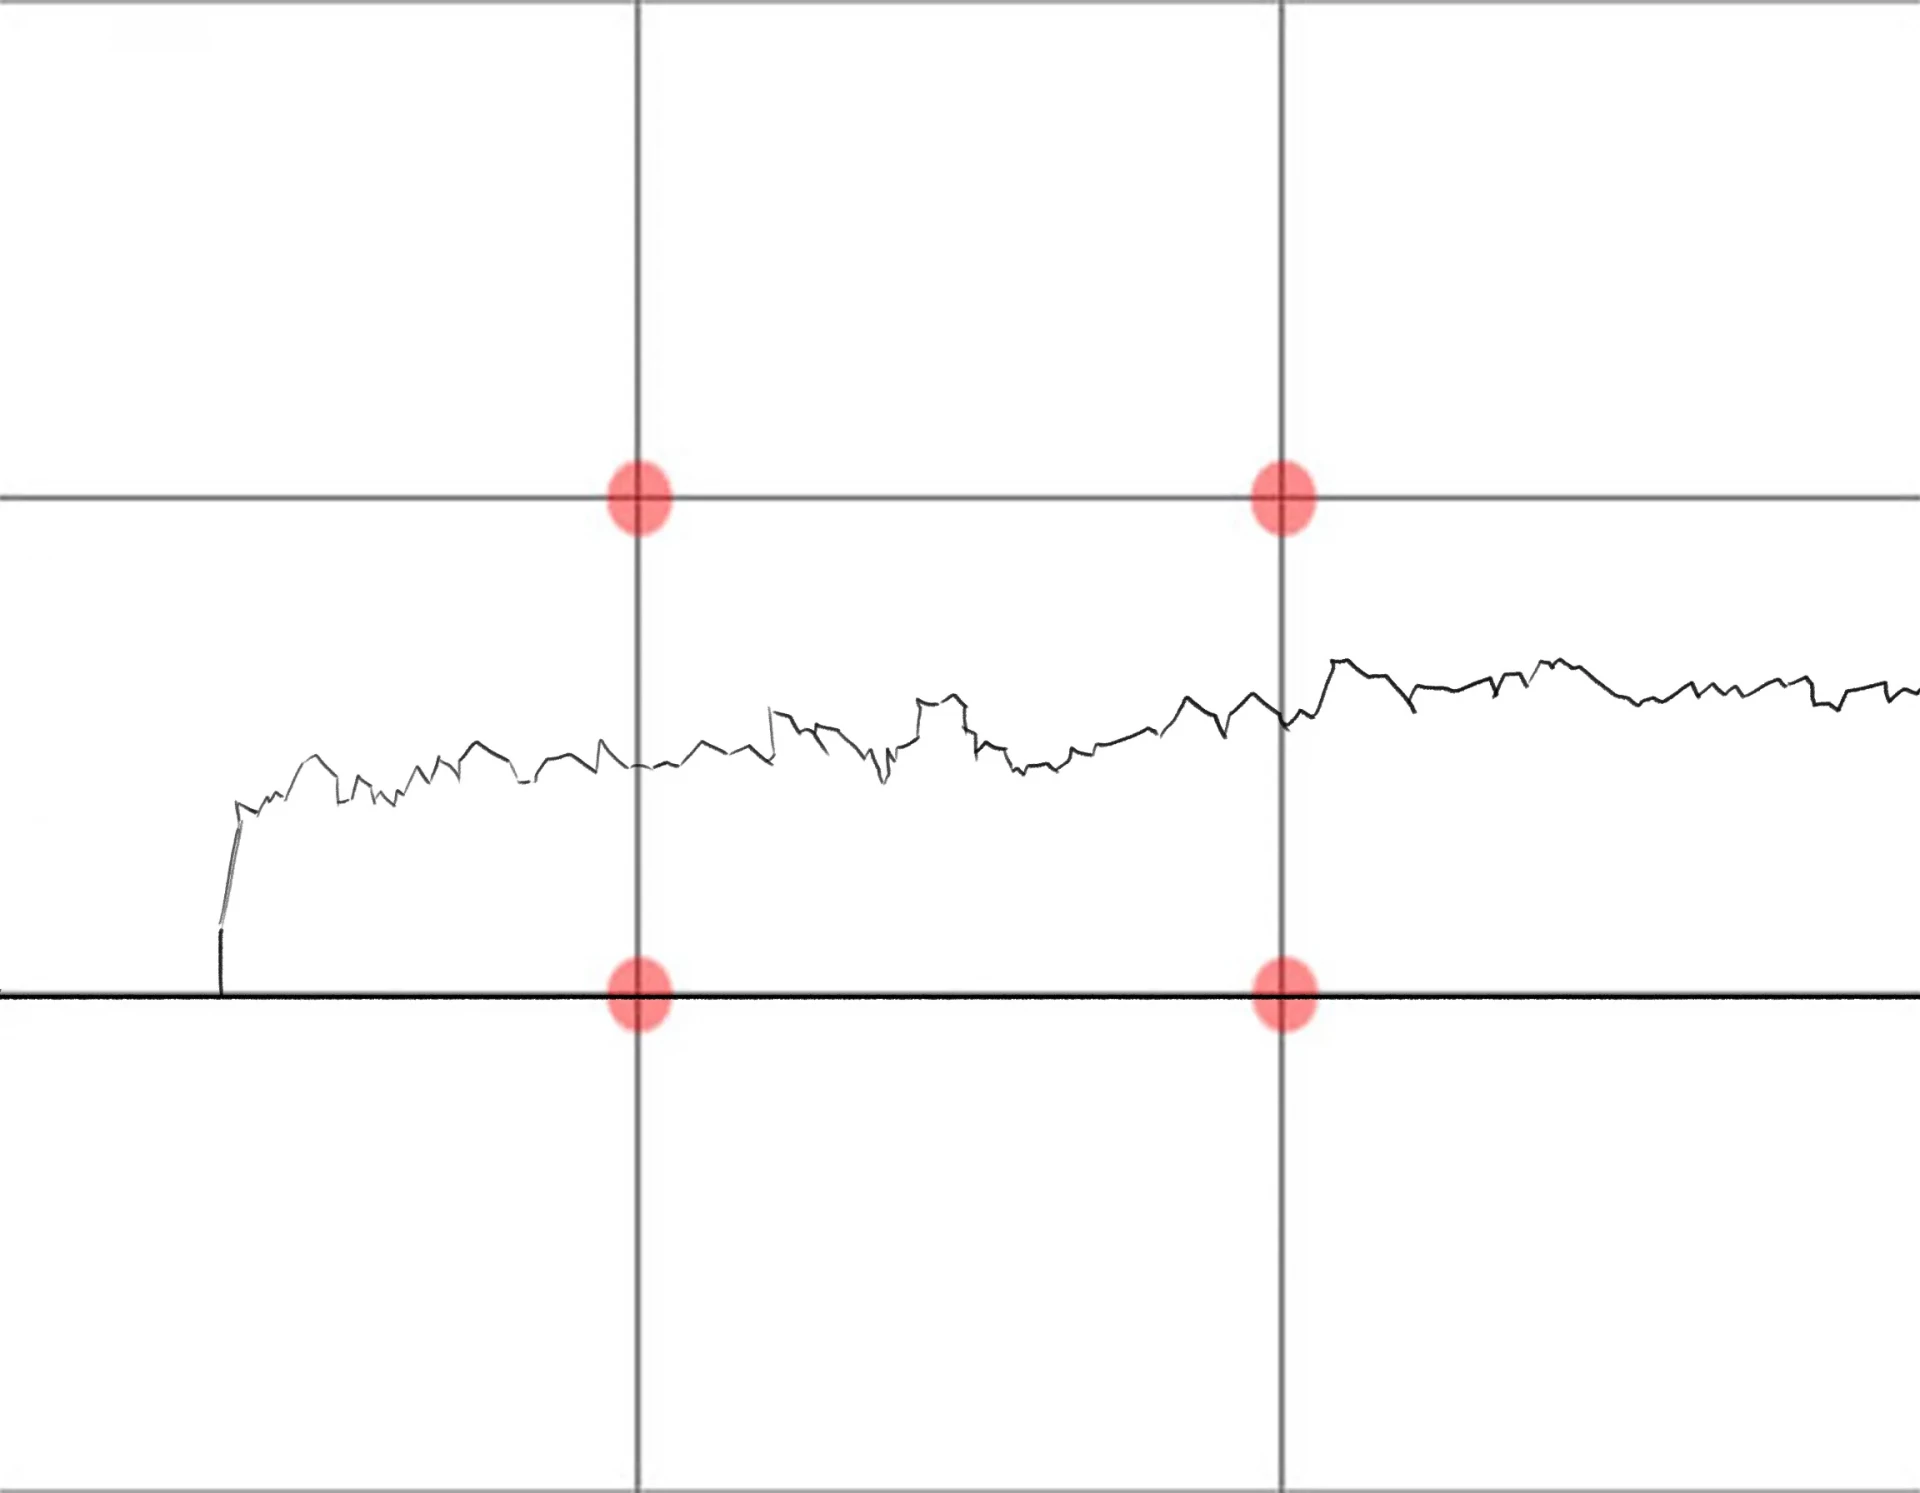
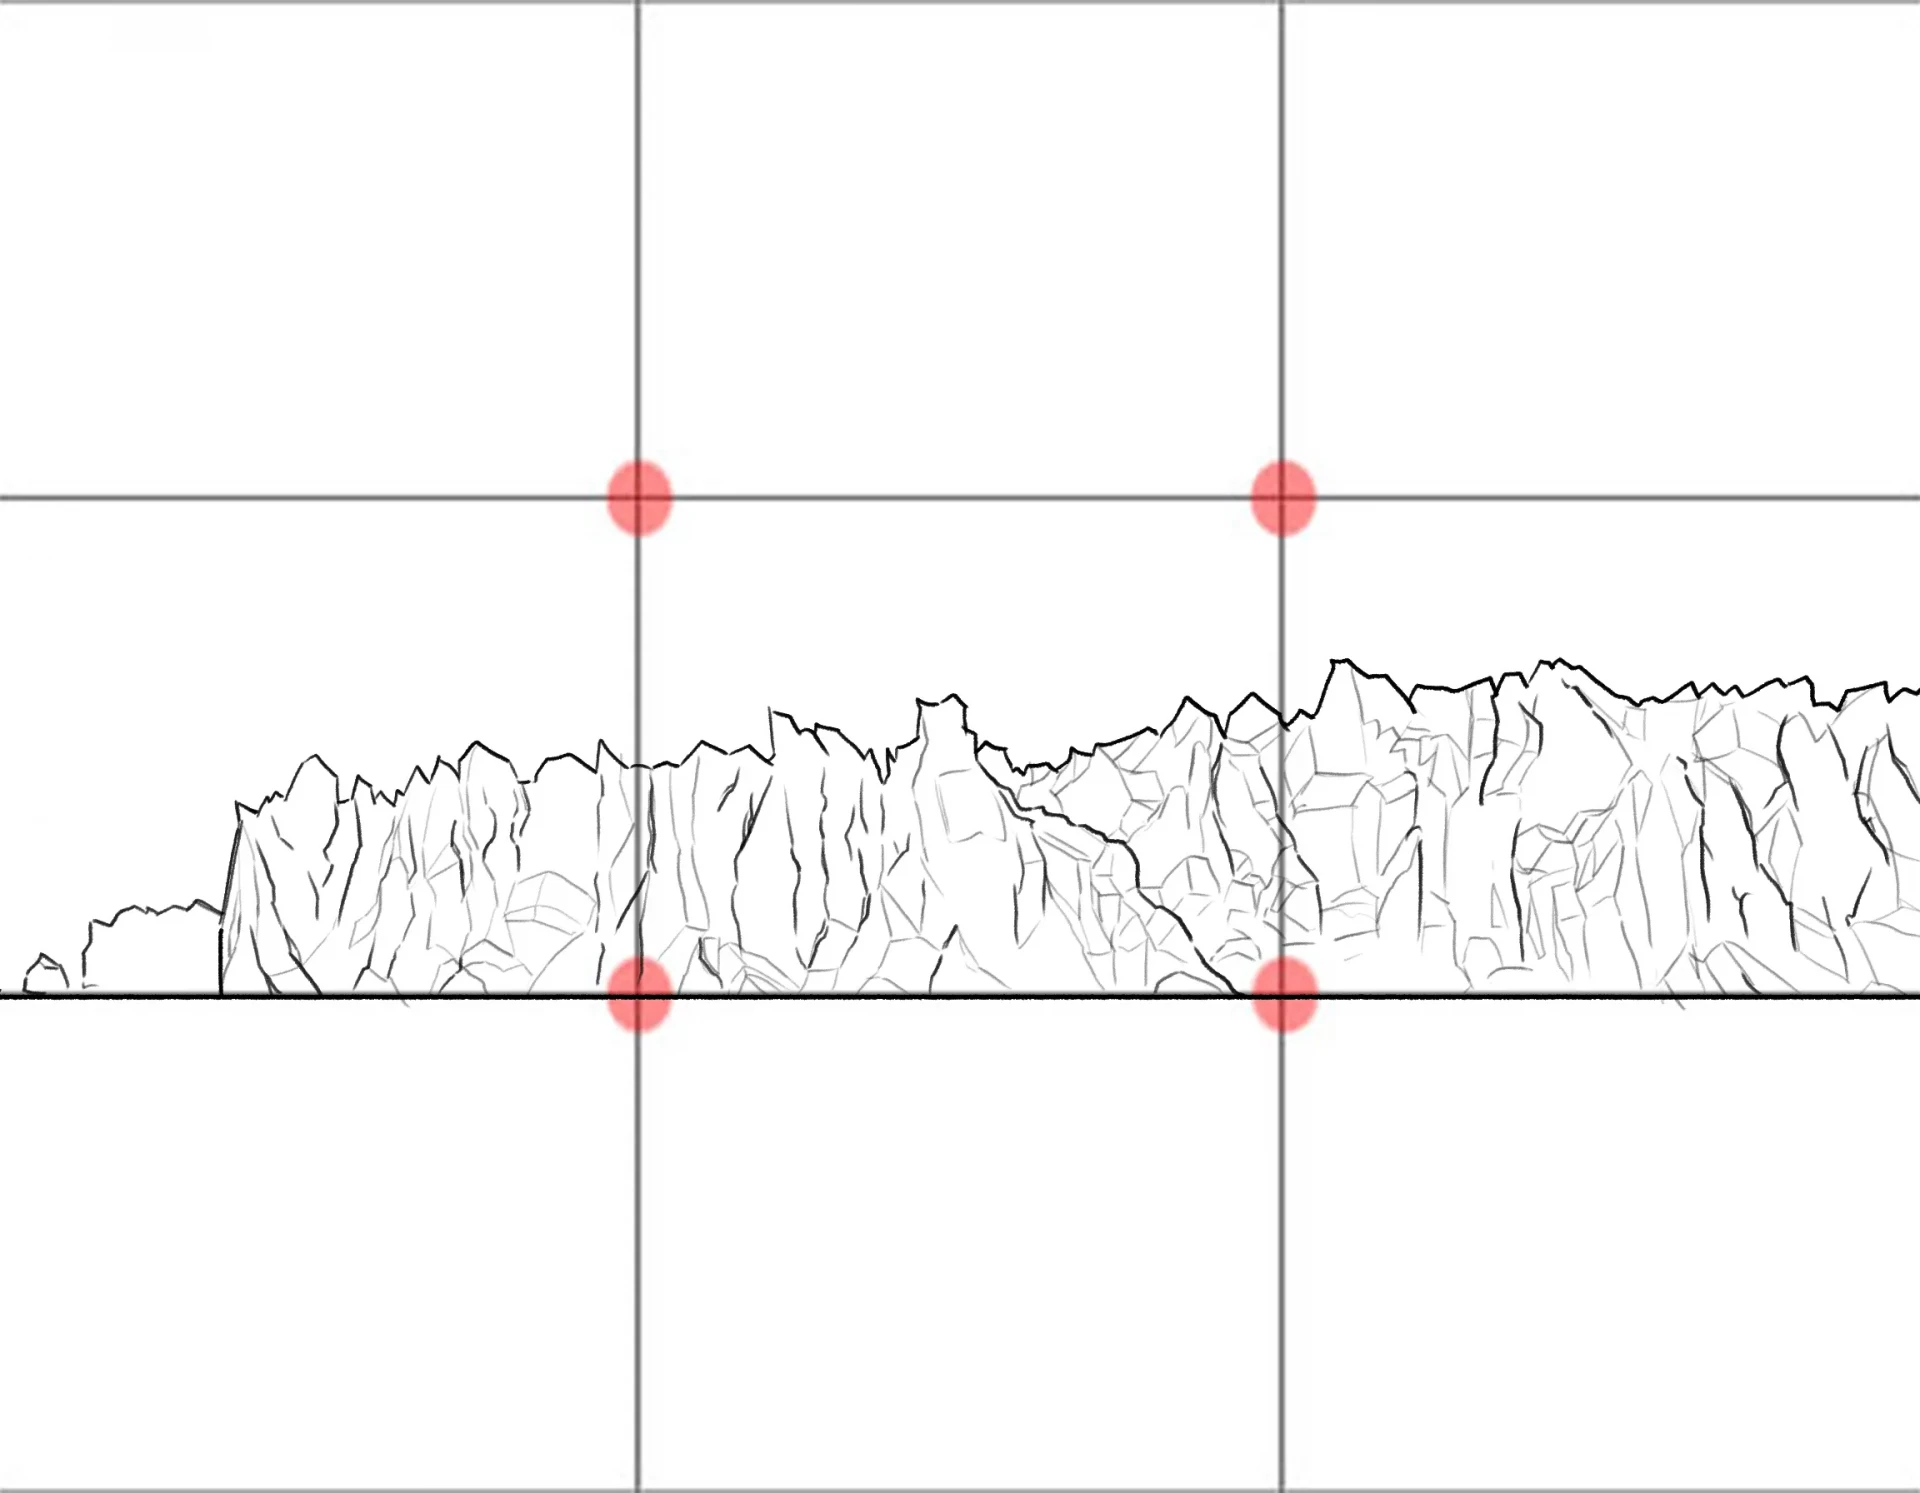
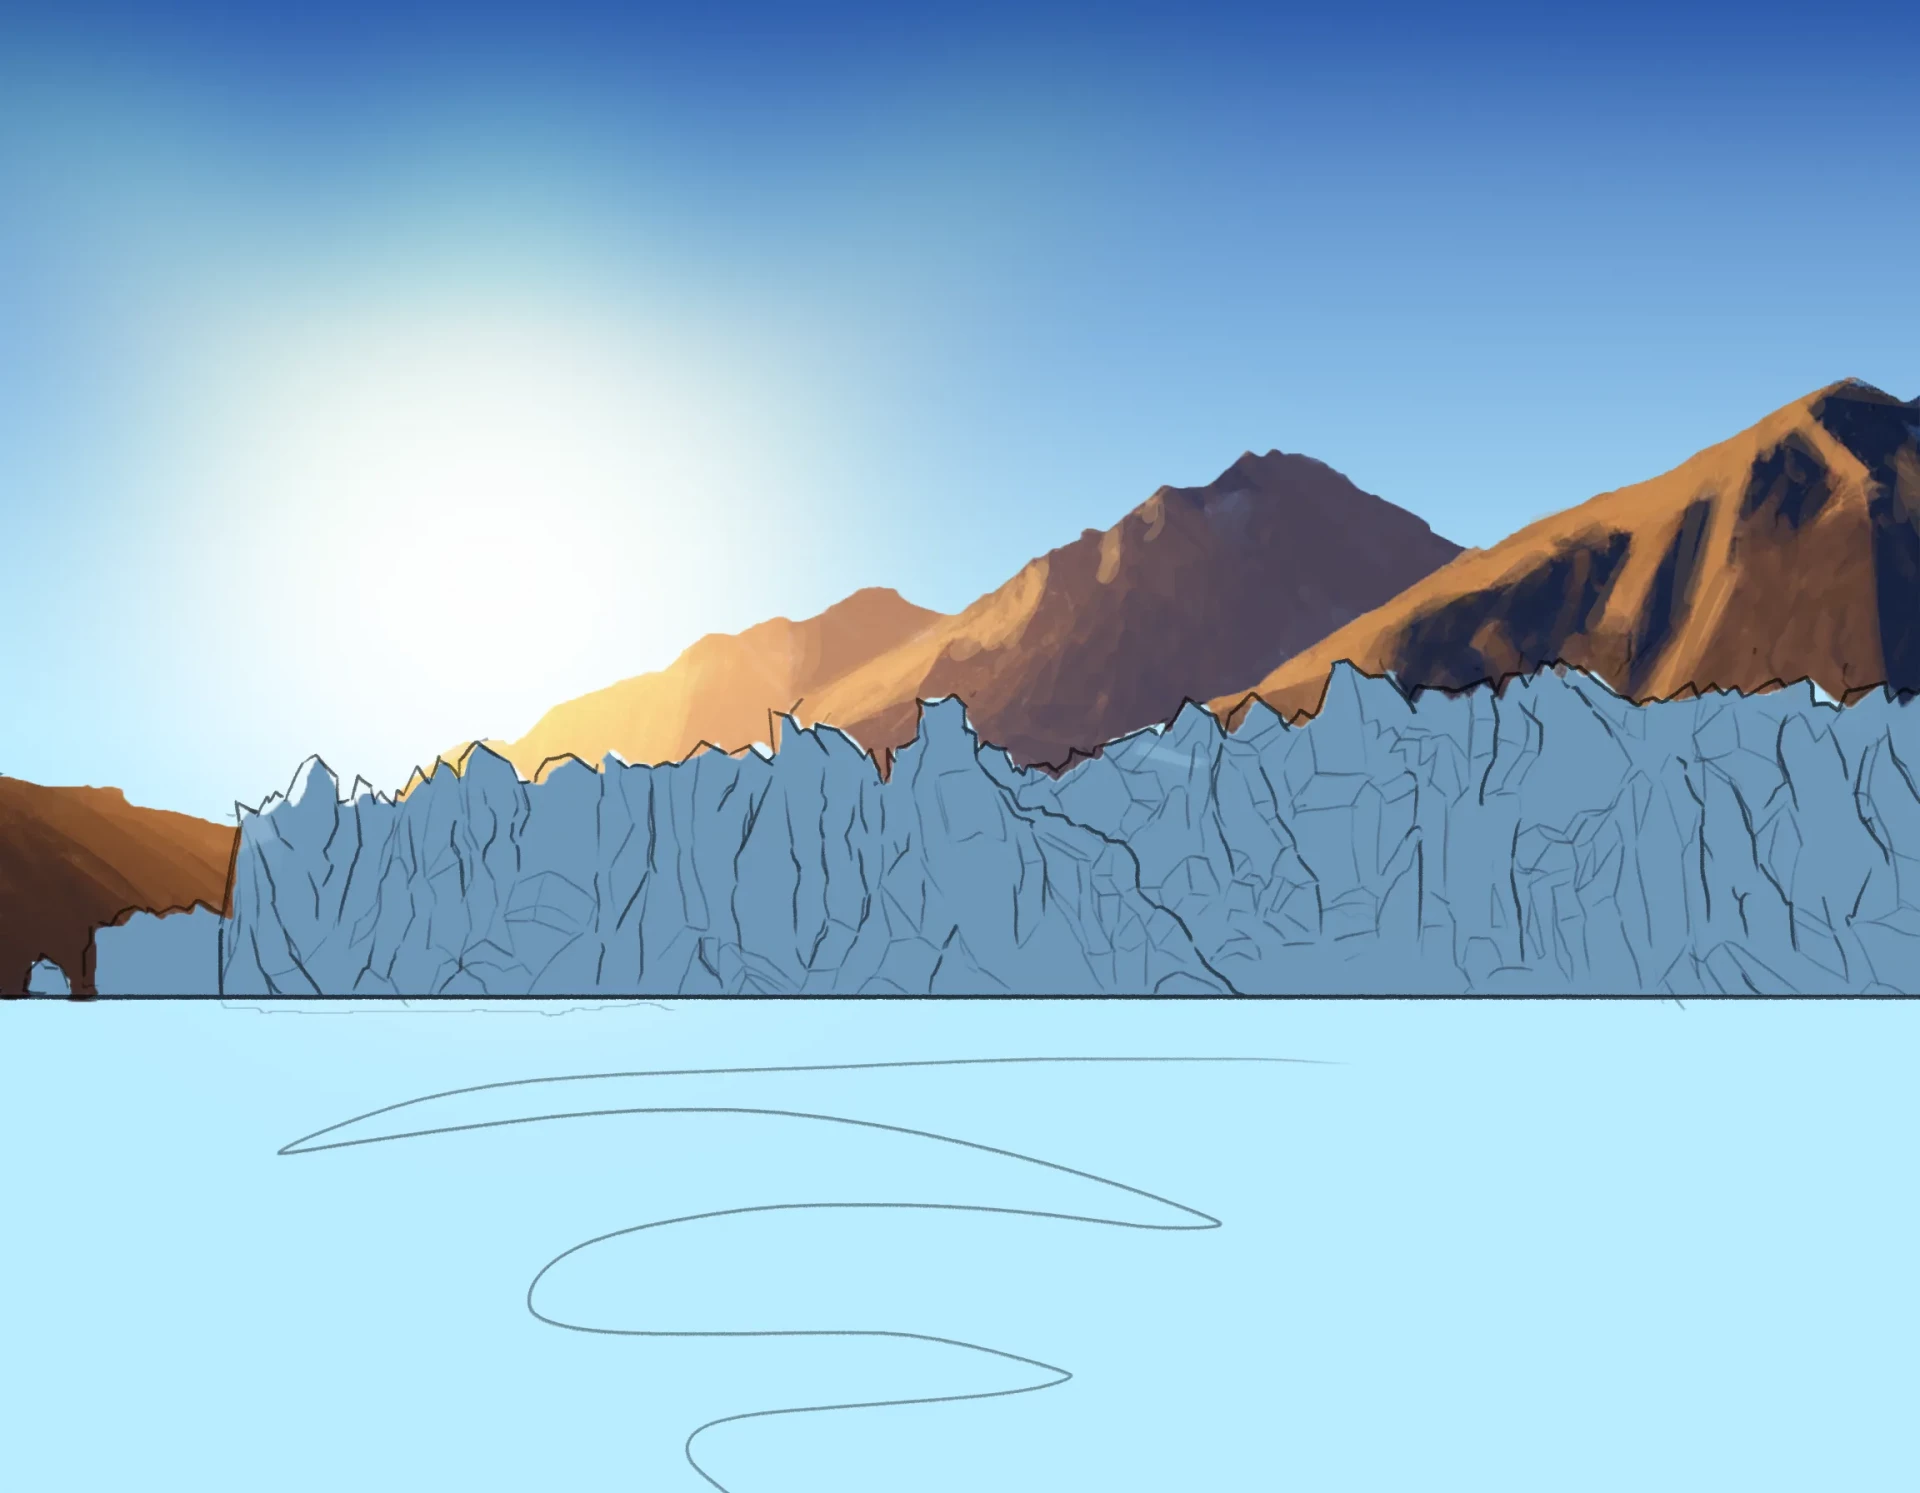
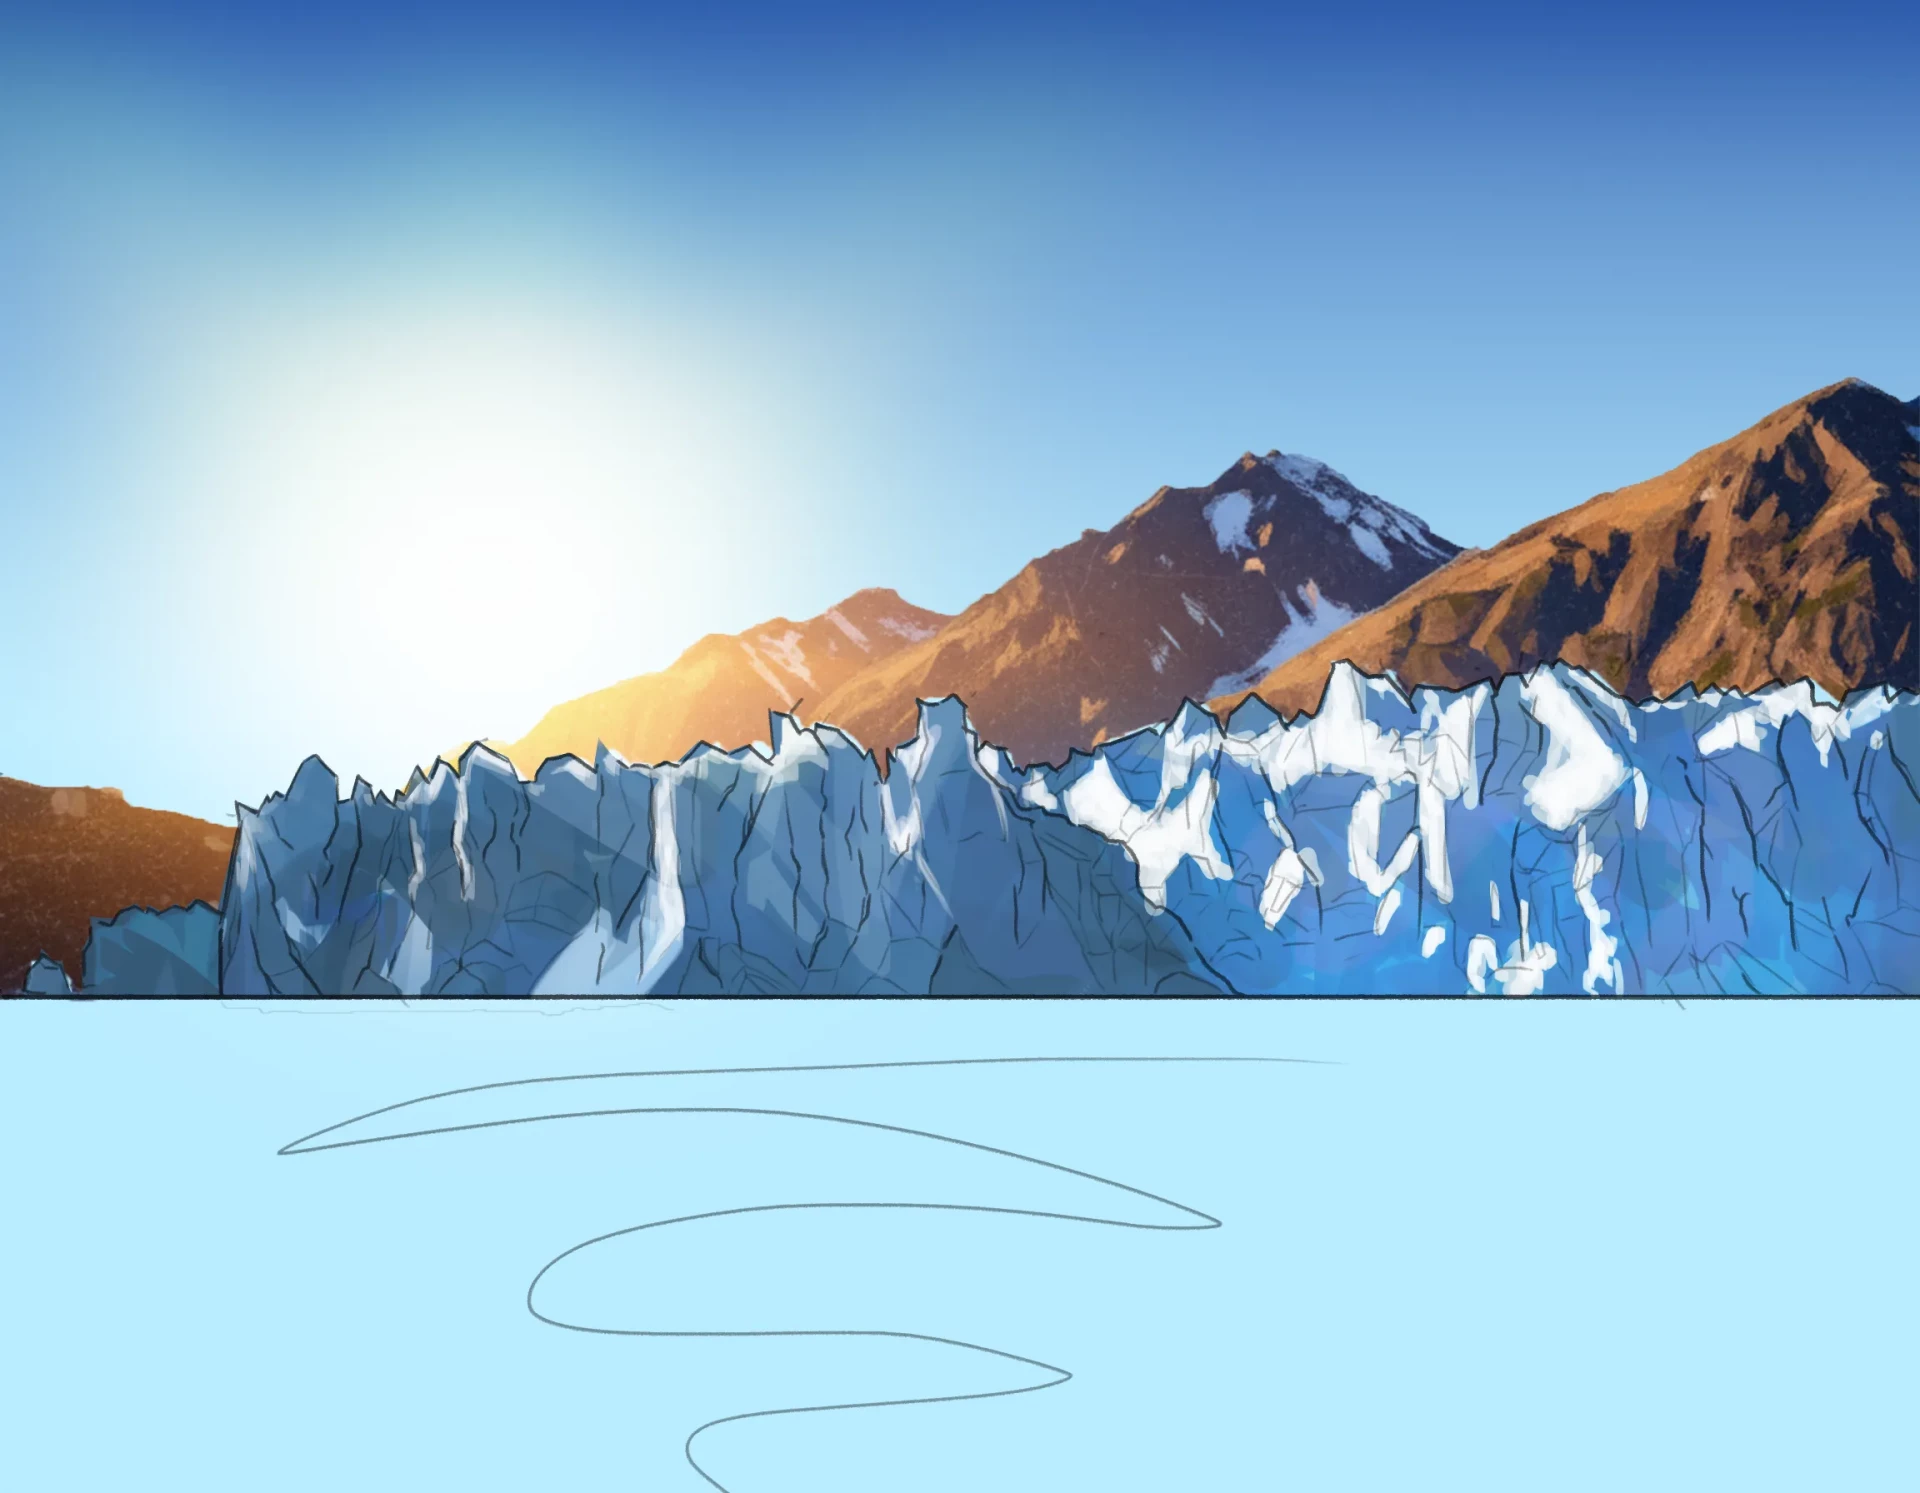
As usual, we'll start with a grid composition in thirds.
We will divide it in the following way:
the central area will contain the glacier and decorative elements, such as mountains,
the top strip will be reserved for the sky,
and the lower strip for the lake.
This layout provides balance and visual clarity, especially in a scene rich in texture and details.
Start by drawing a large block of ice, formed of straight and irregular peaks, varying their height and width.
Then add several vertical cracks across the entire surface: some short, others deeper or more spaced apart.
The goal is to create an organic look, with no hint of mechanical symmetry.

Finally, subdivide the block into angular faces, as if the ice were made up of irregular polygons.
For this, draw straight lines that cross the glacier, giving it the appearance of a carved and fragmented structure.
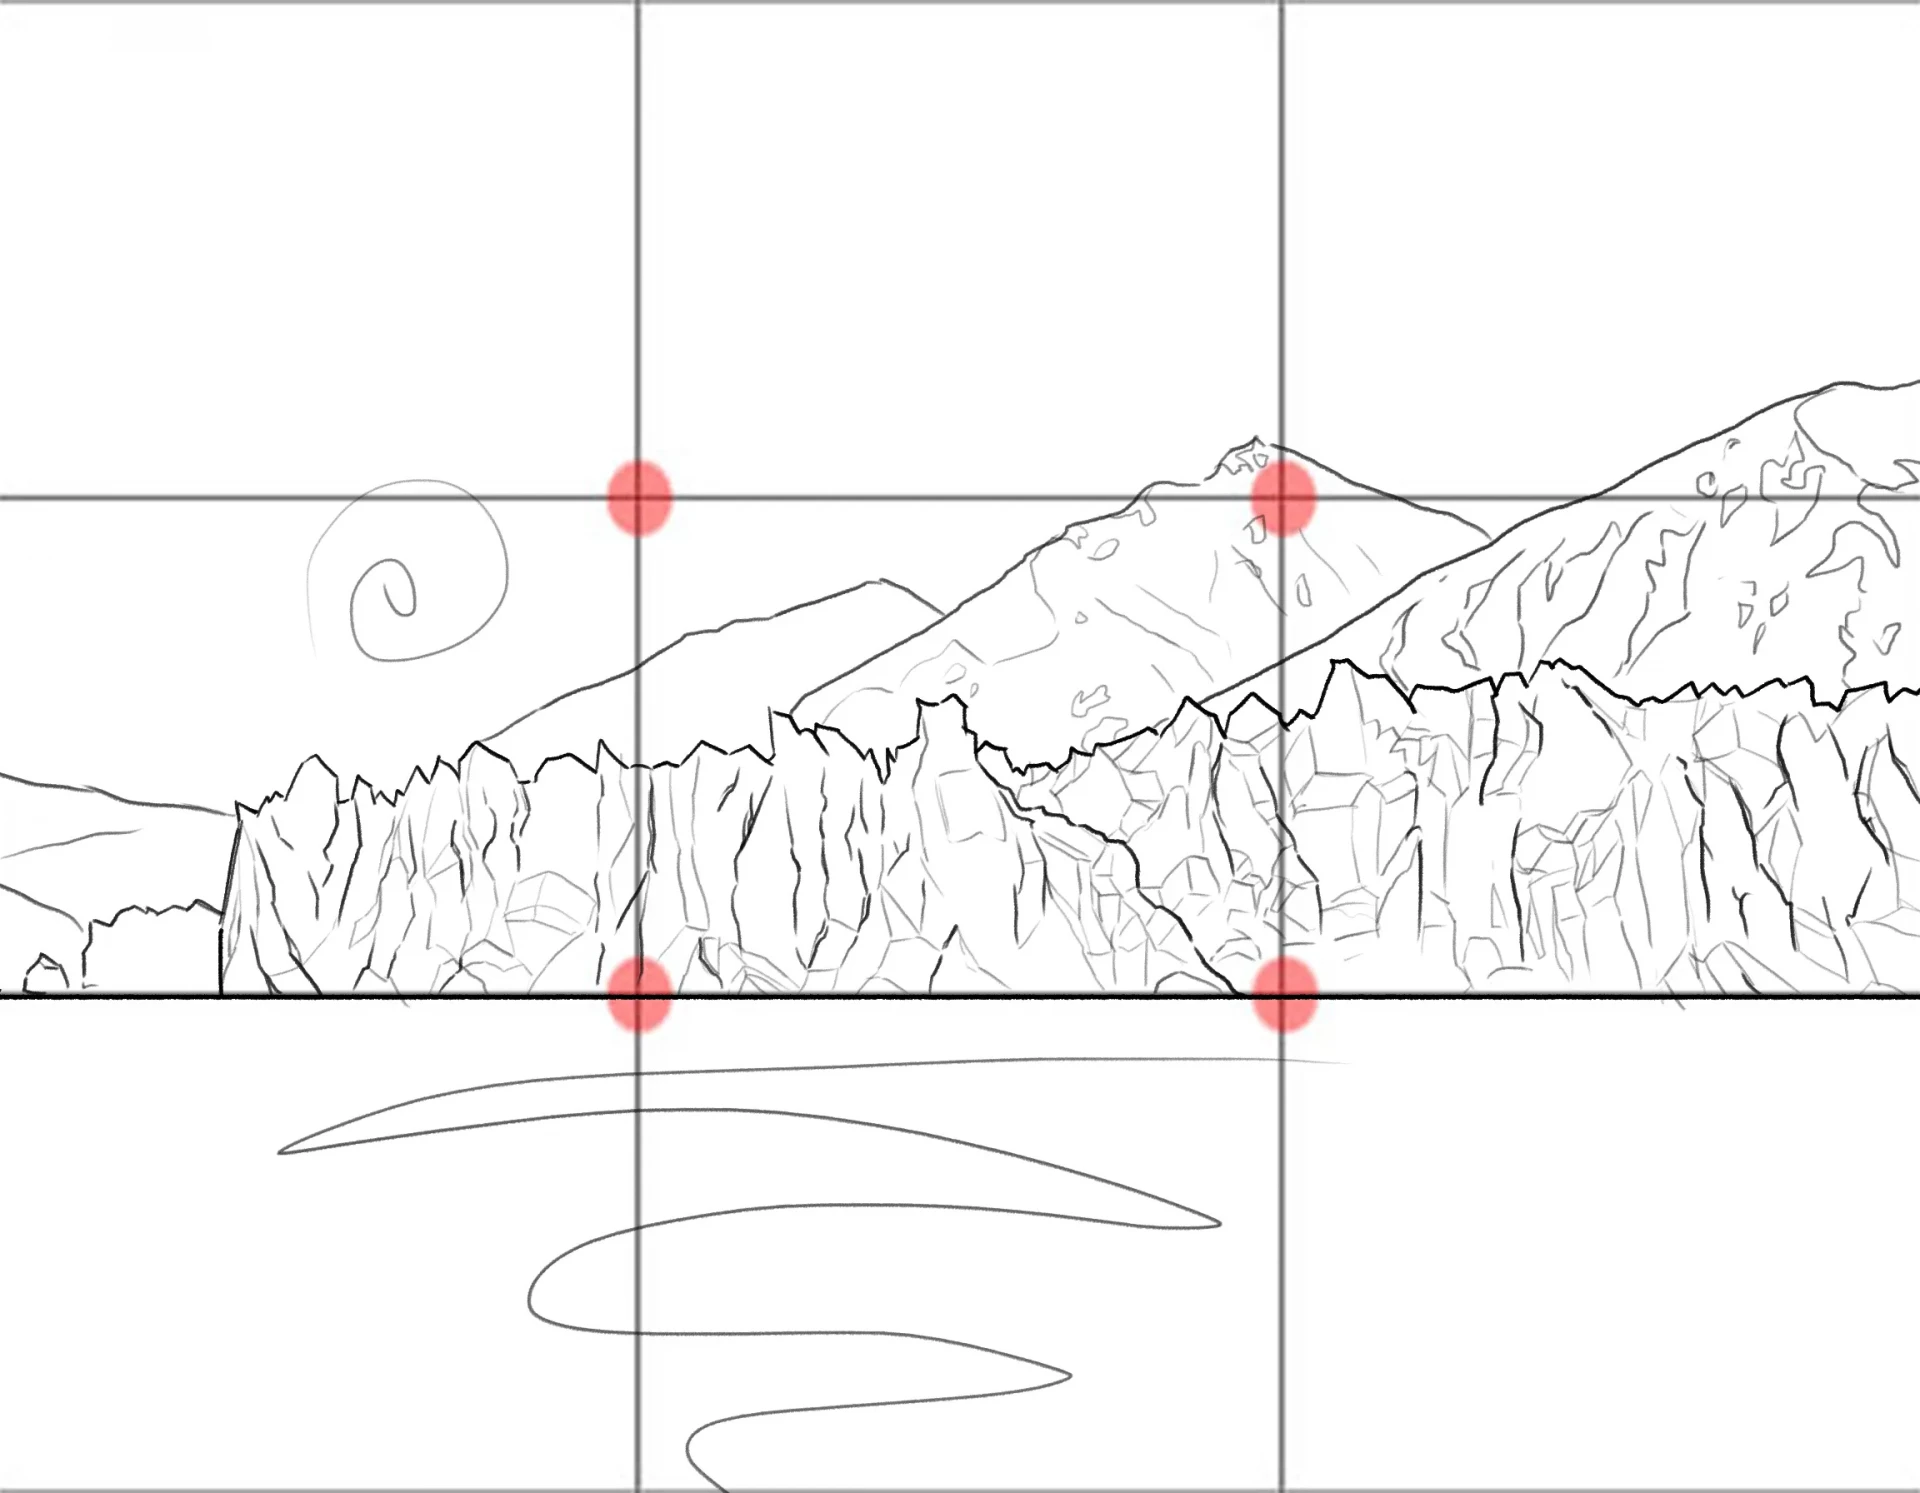
To enrich our drawing, draw three mountains on the right side, each slightly smaller than the last. This creates a graduated visual rhythm.
You might think that this arrangement on one side of the composition causes an imbalance, but to counter this, we will place the sun on the opposite side.
Apply color to the drawing
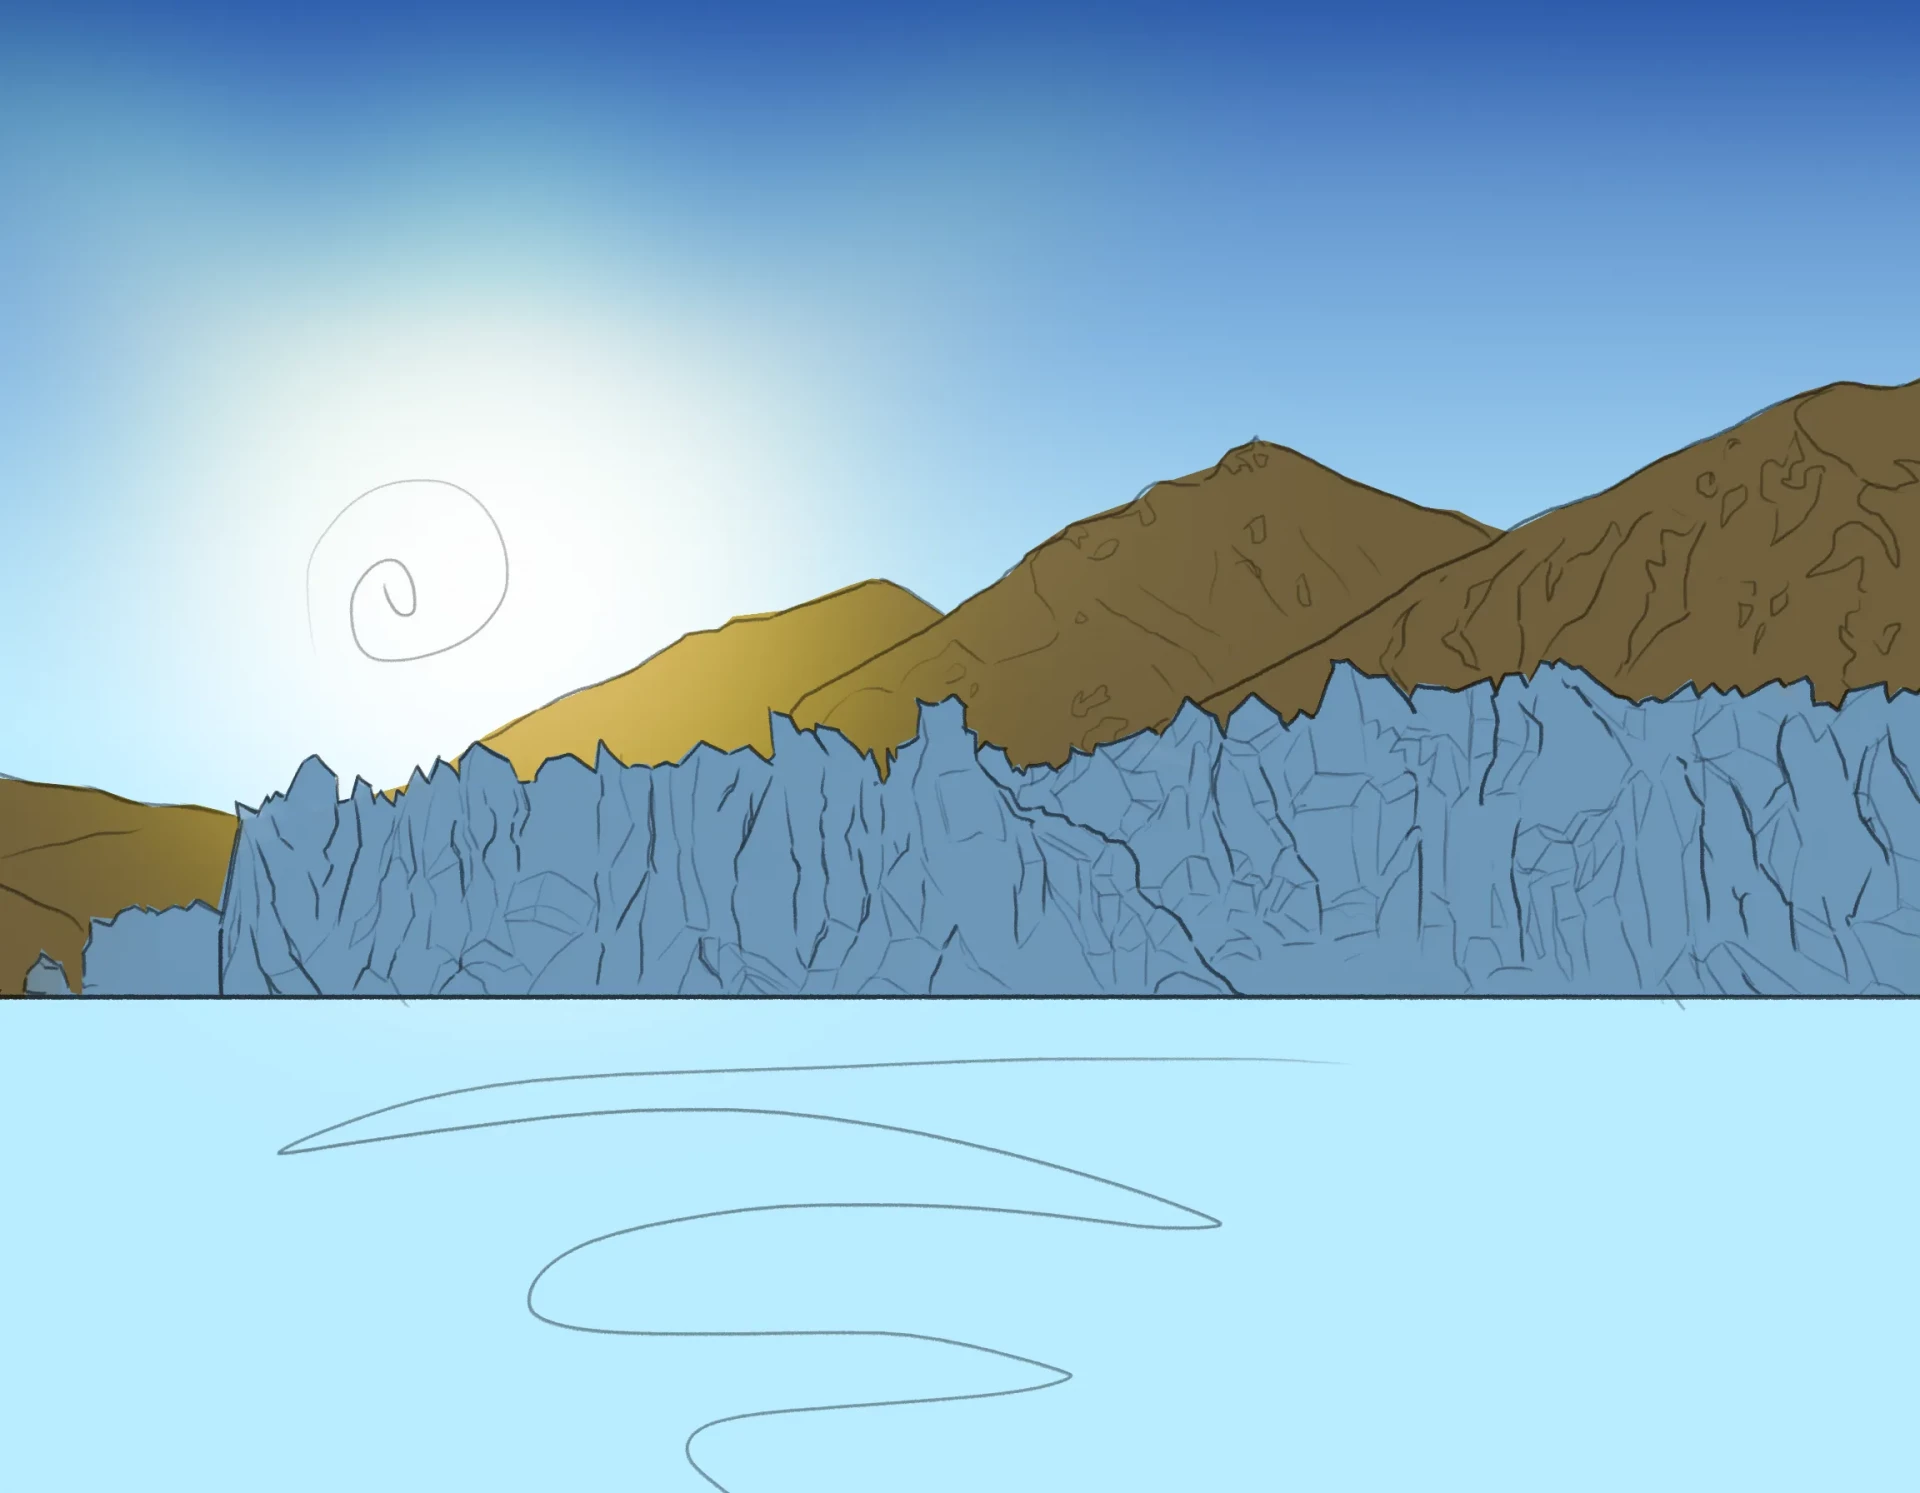
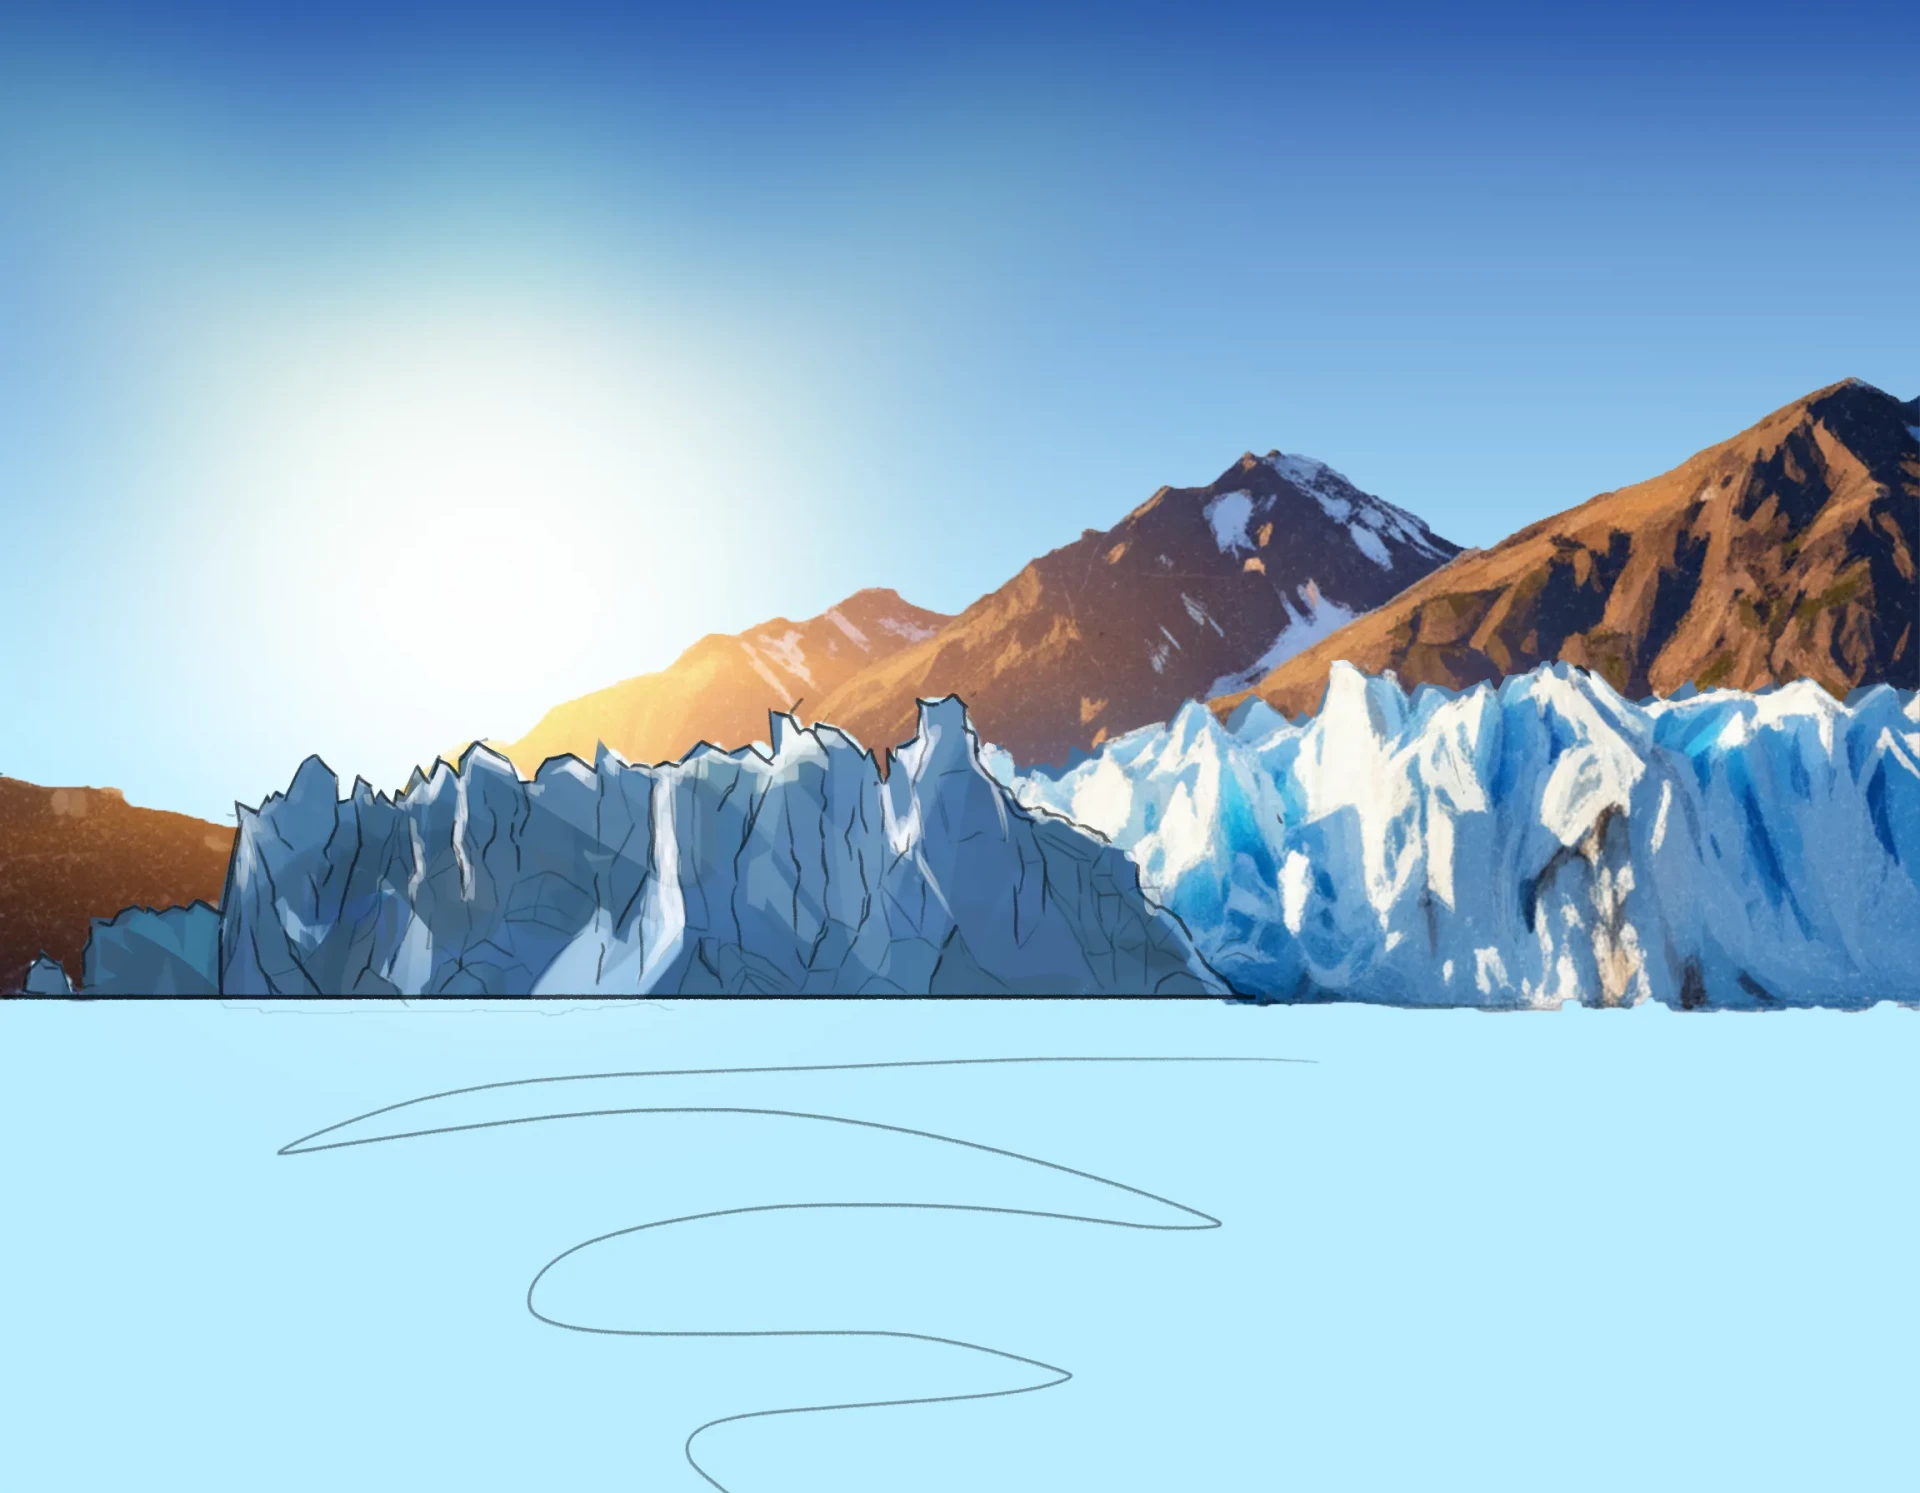
It's time to add some color. Let’s proceed element by element, observing how light interacts with the textures of rocks, ice, and water.
To start, apply a base color coat to distinguish each element of the scene. Clearly define the outlines of the mountains which sit above the glacier, which is itself above a lake. And to add a final touch, add some sunlight between the mountains.
Personally, I recommend adding a layer of texture to the elements before starting.
Using a coarse-grained tool, such as a sponge, apply different shades of brown to the mountains: this will naturally add volume by showing the different contours.
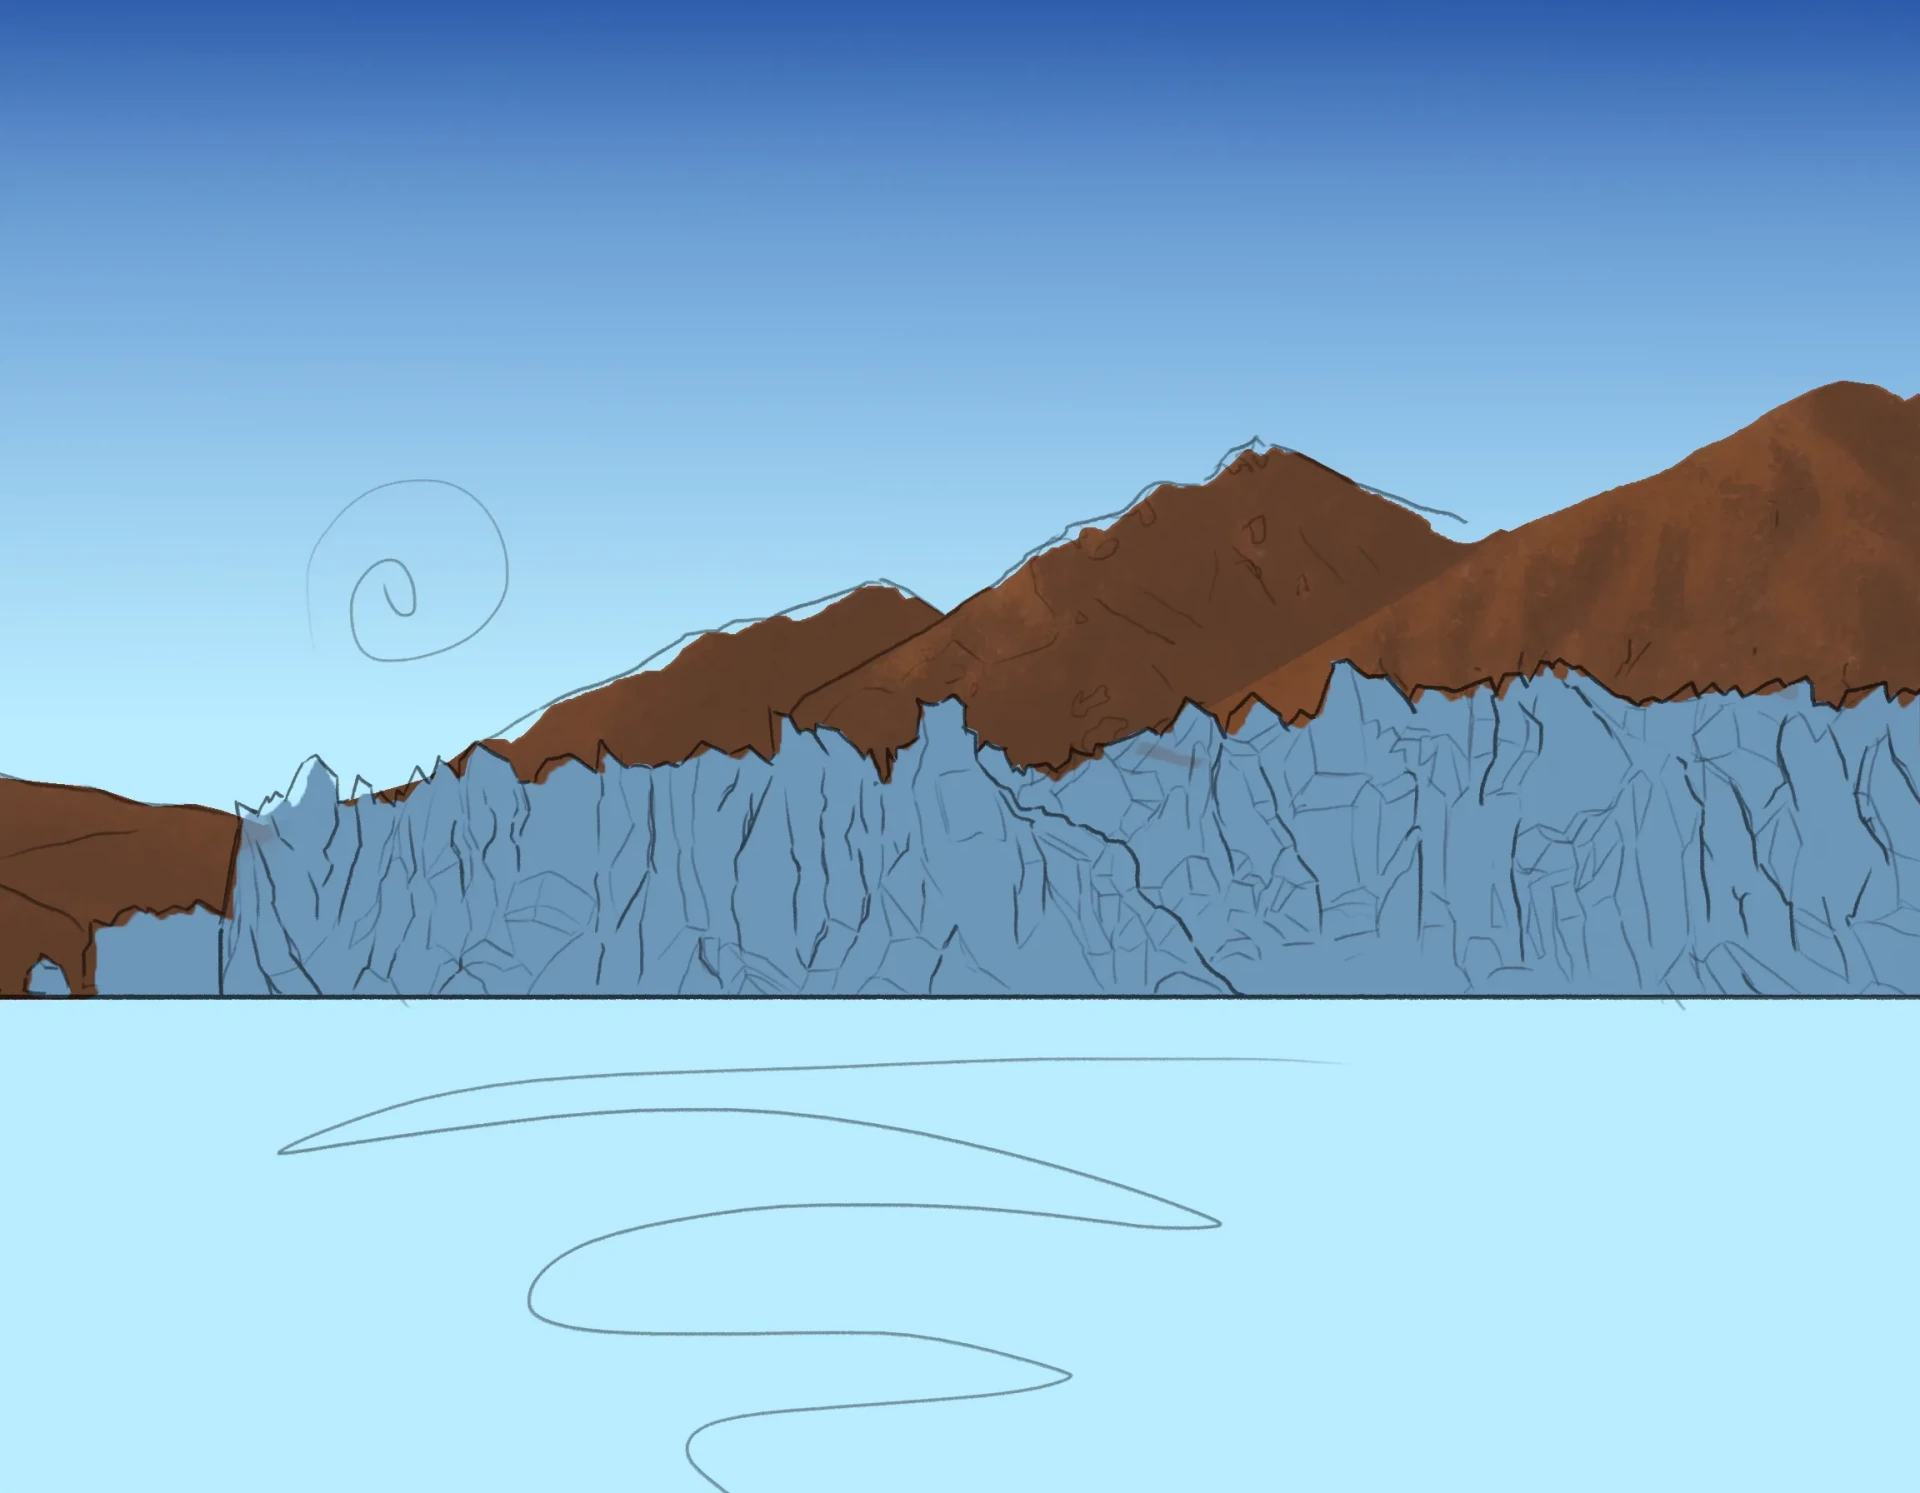
Now, while considering the effect of light, add some contrasting spots in shades of brown, as well as some touches of very dark blue or violet. You will see that the mountains farthest from the light source have a more pronounced contrast, while those near the light display tones much closer to each other.
We are now going to be much more meticulous. If you wish, use smaller strokes to add some highlights on the prominent volumes and some shadows in the recesses that appear. Finally, to give an icy touch, use a very light blue to paint some snow patches on the dark side of the mountain.
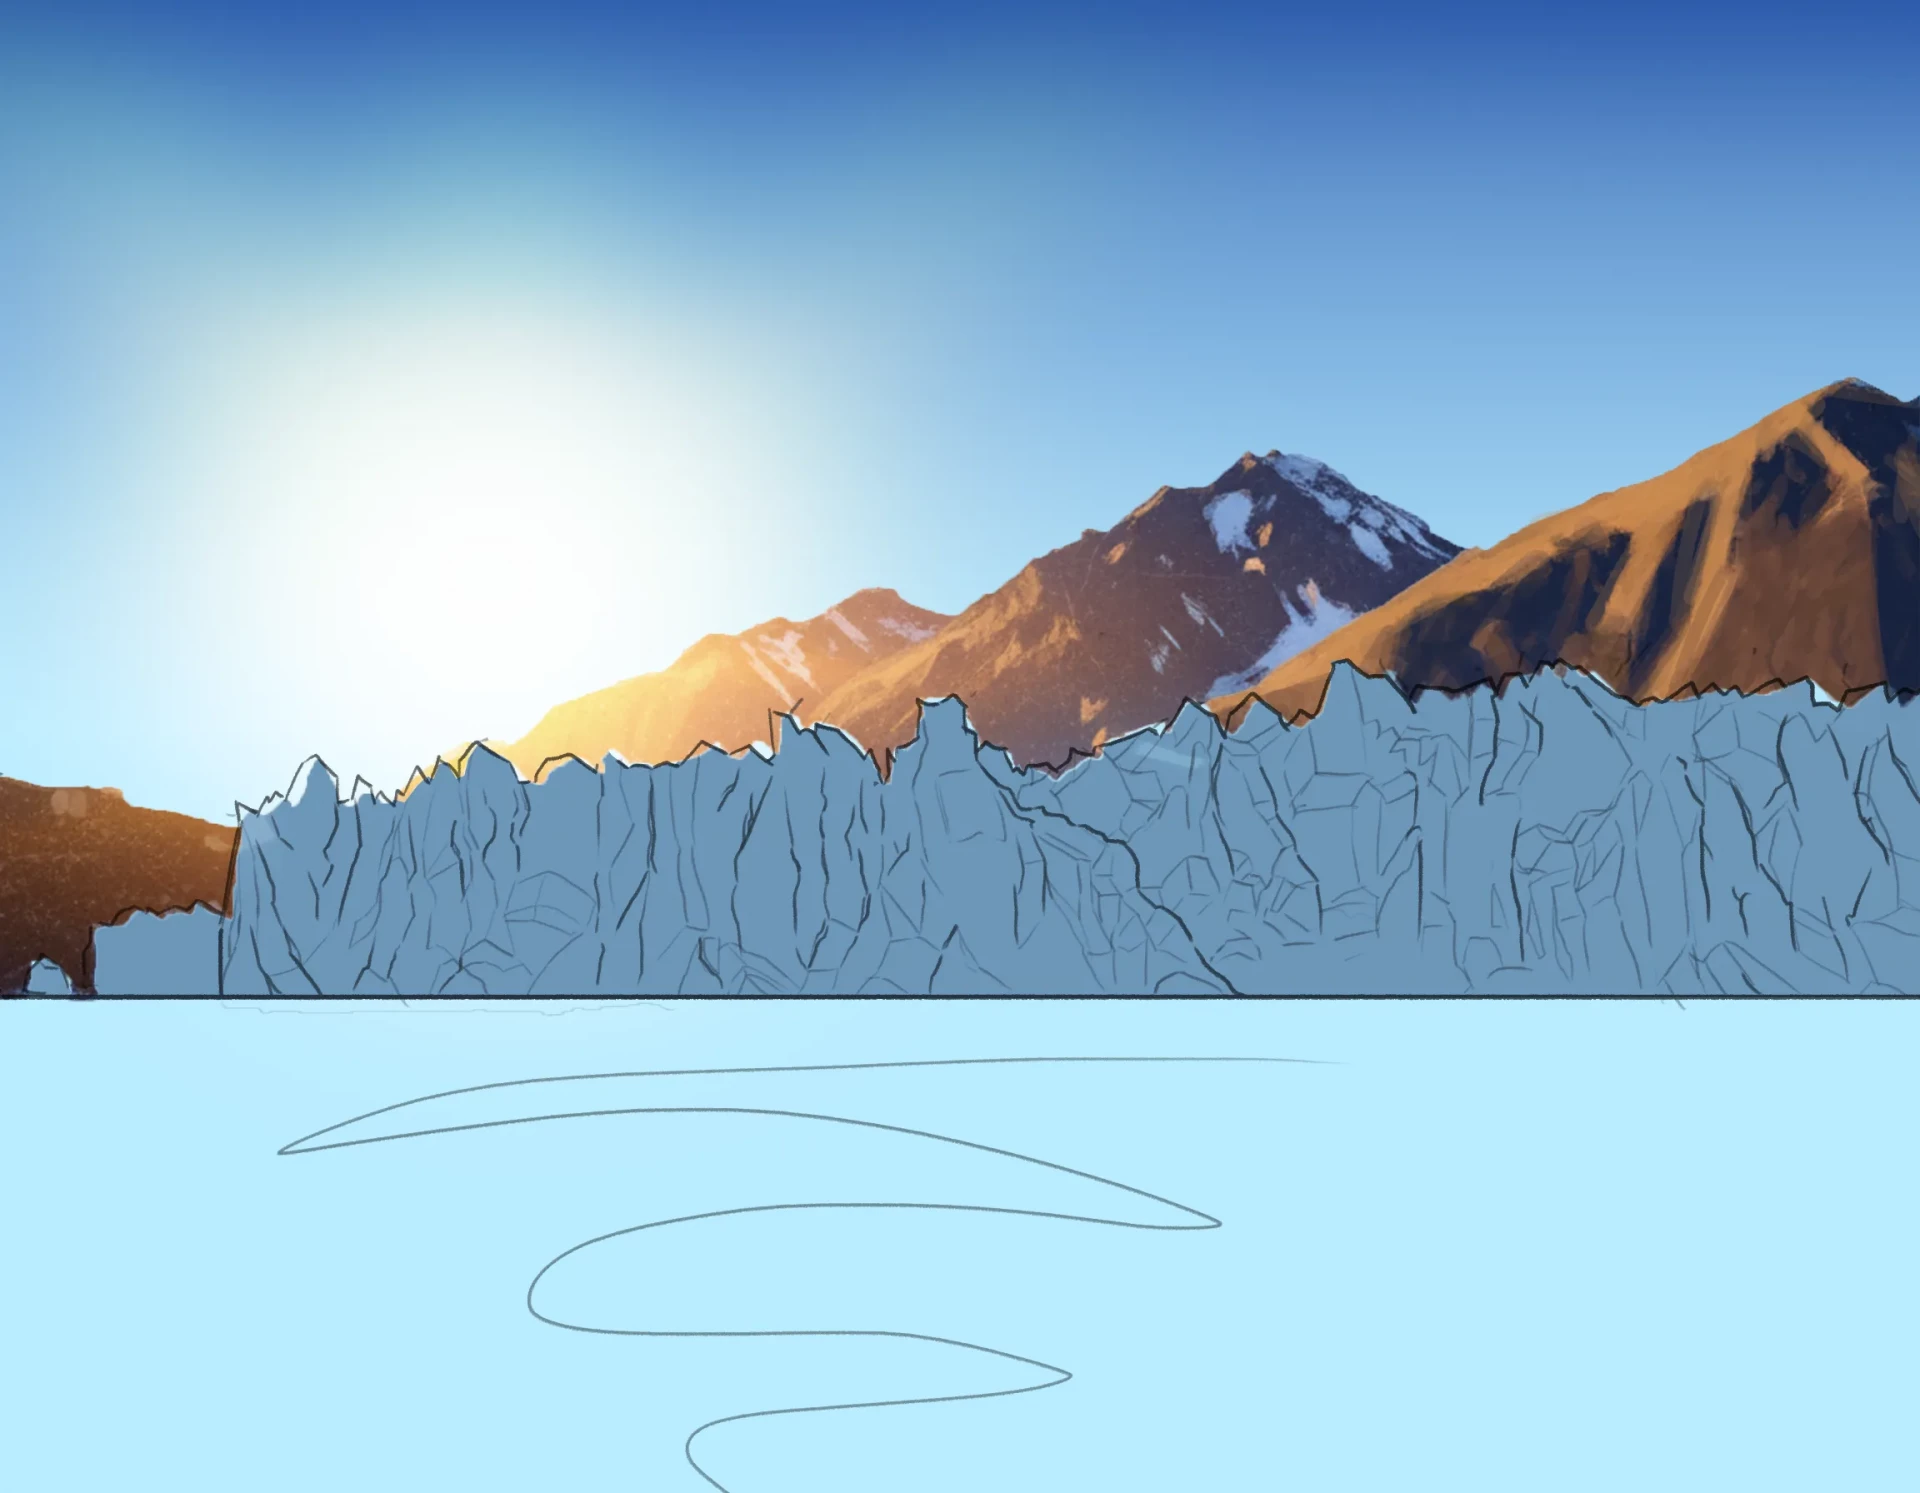
Finally, let's move on to the mountain that is closest to the viewer, where the influence of light is different. Observe the way the sun gently illuminates the rock. For this mountain, use firm and well-defined strokes in different shades of brown, add a few touches of ochre green, perhaps a bit of muted orange, and use dark blue for the shadows.
Add volume to the drawing
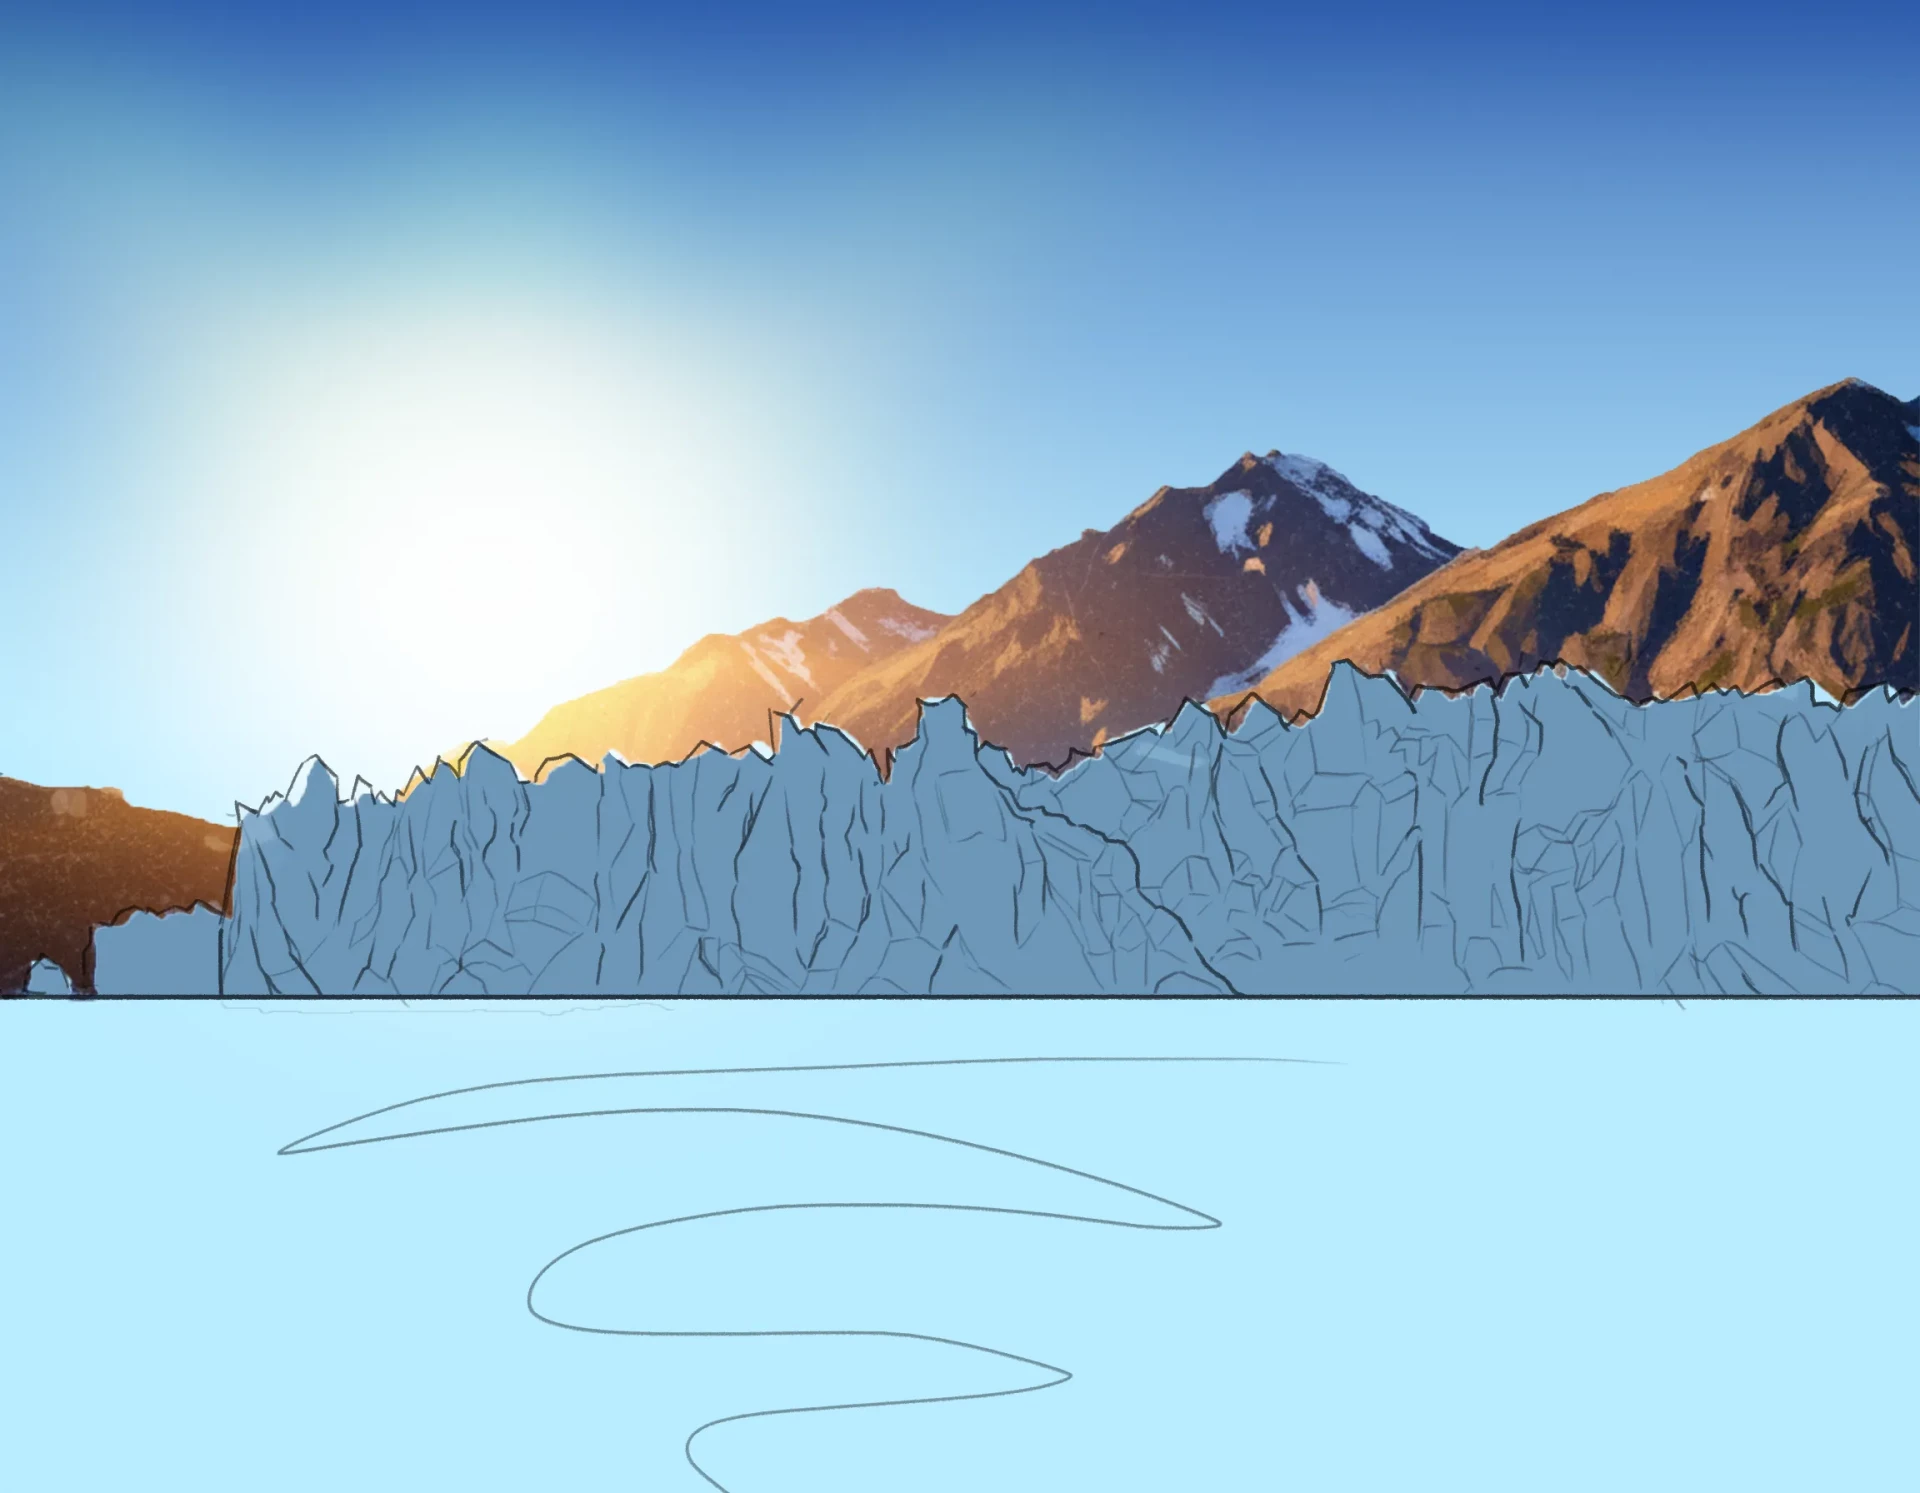
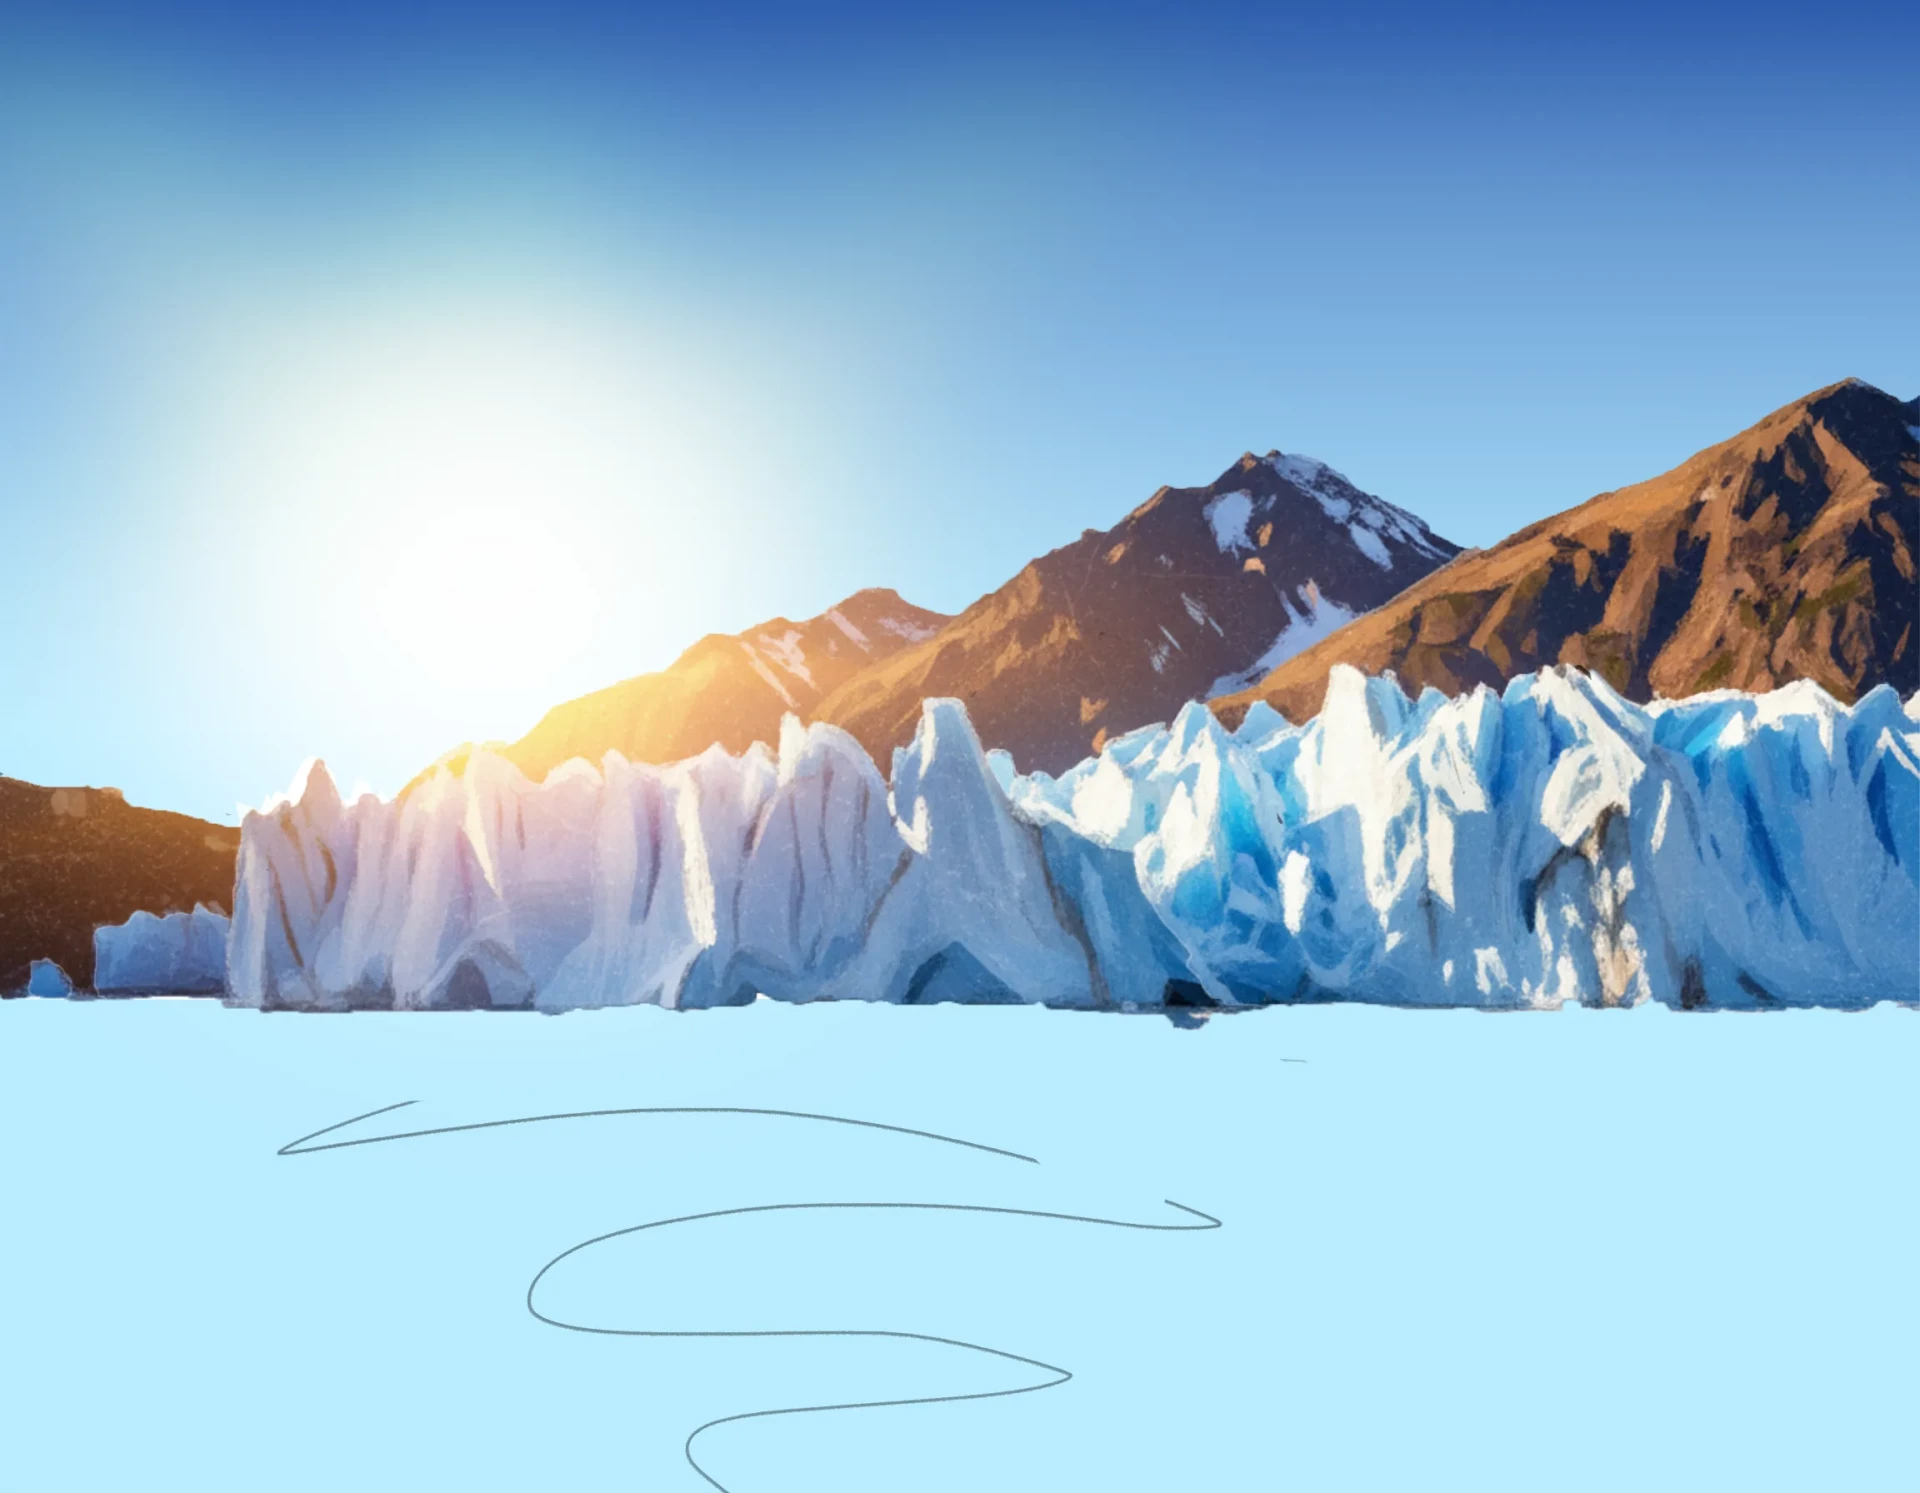
Begin by applying a layer of long, transparent strokes in different shades of blue. Observe how the texture creates areas that are denser and others that are brighter: this is how volume is naturally constructed, almost by accident, which then makes detailing work easier.
Now add some strokes in very light tones of blue and pure white. They will help form the surfaces directly exposed to sunlight, and you will immediately see the glacier take shape before your eyes.
Let's now move on to the details of the glacier in the background. As with the mountains, make much more precise lines in order to create the different shapes. Draw very straight and elongated shapes that overlap each other.
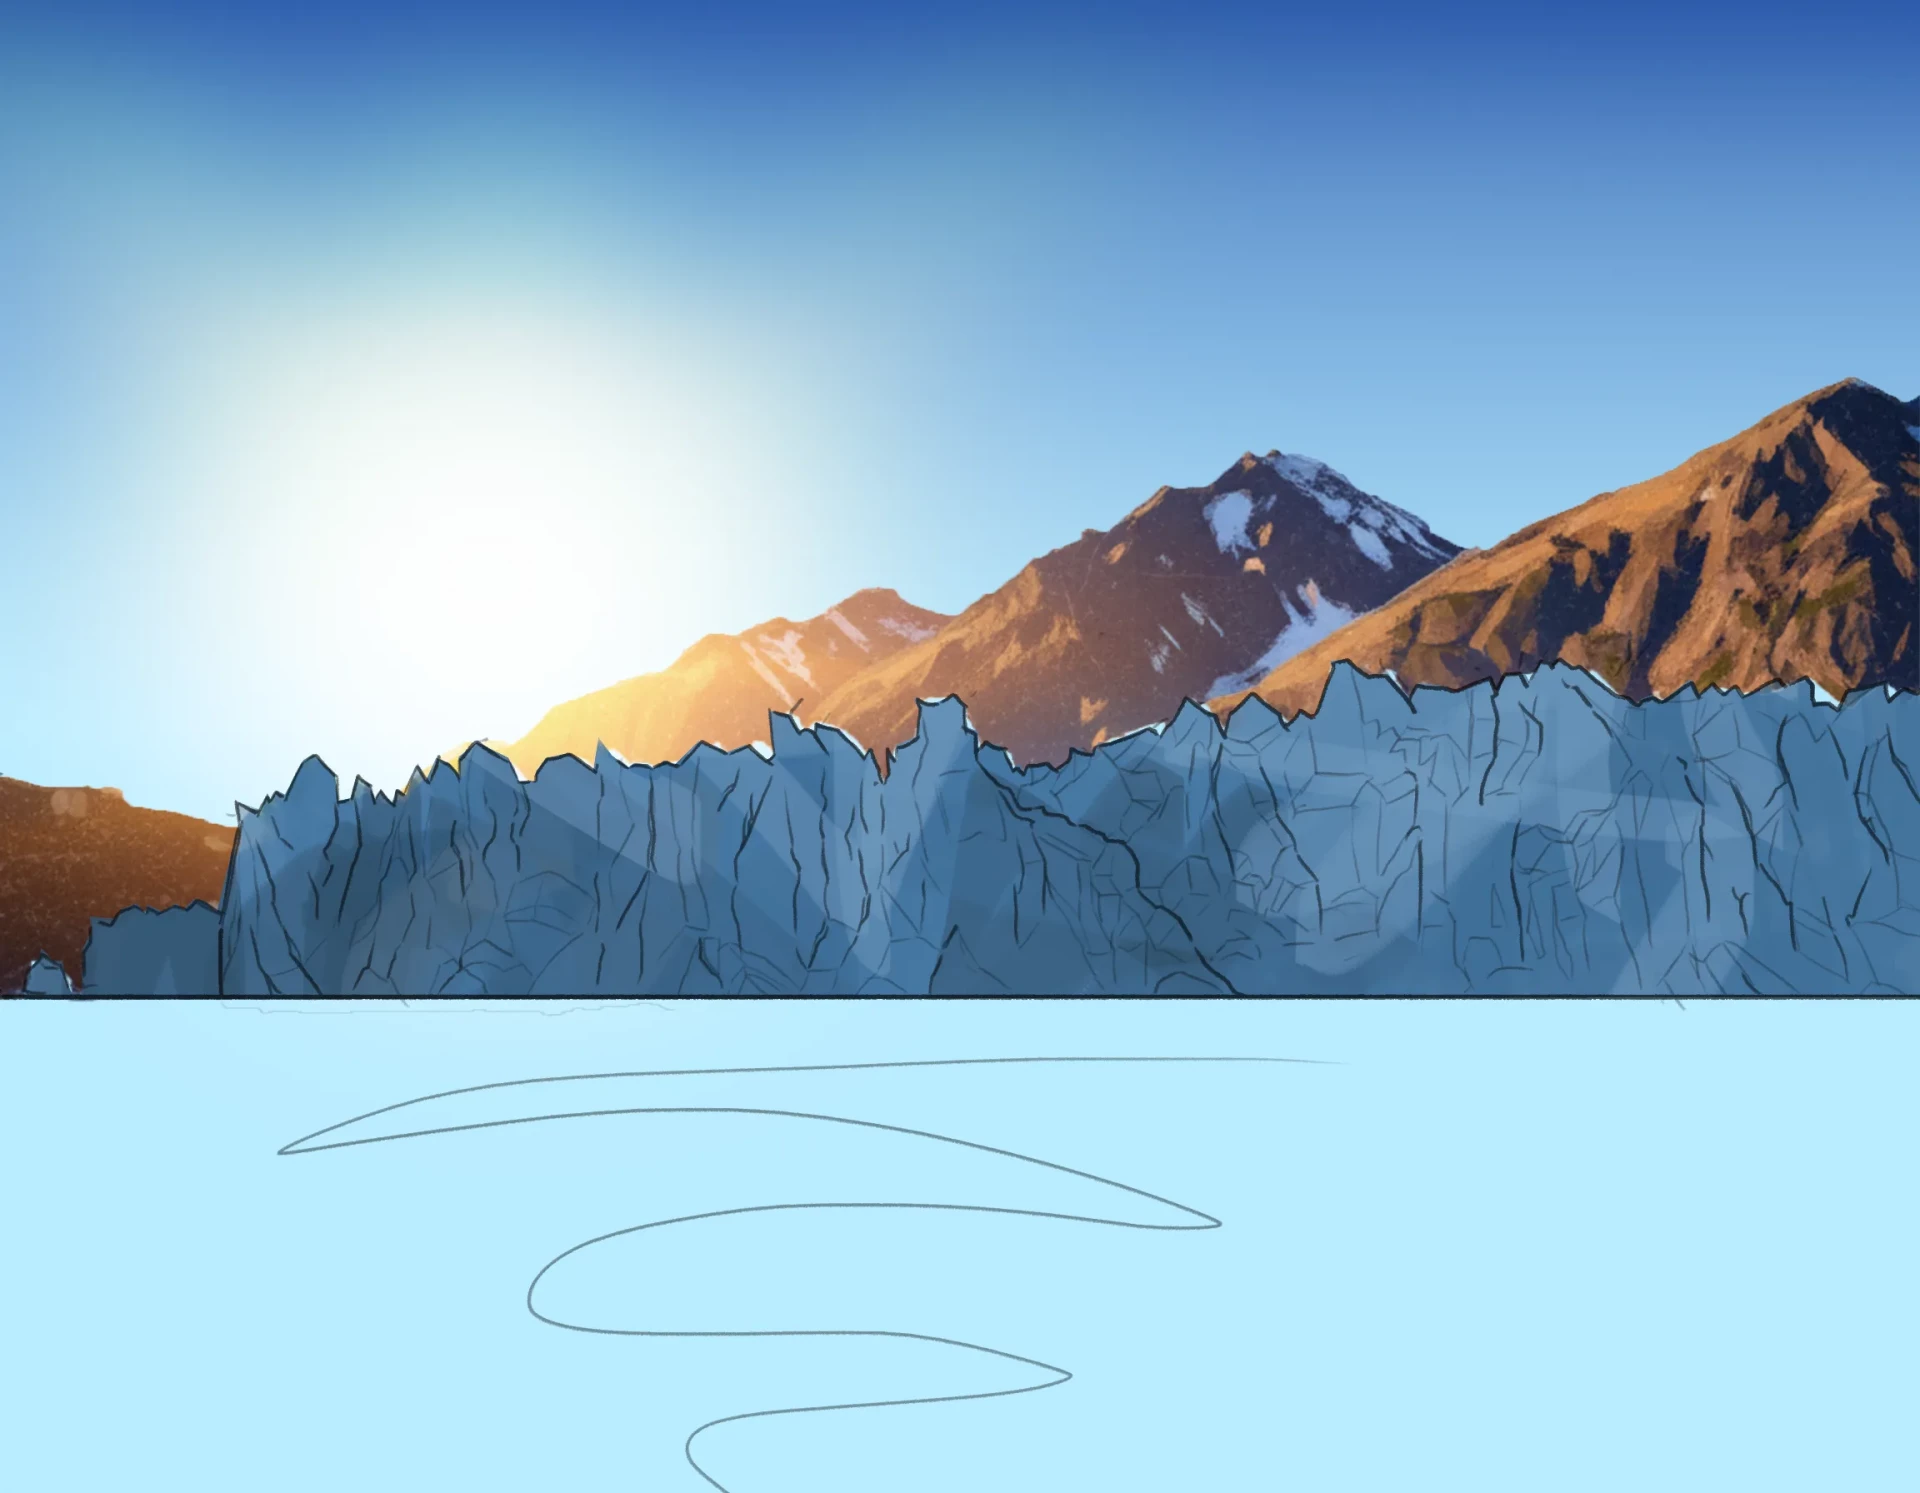
We will now draw the glacier located in the foreground. Notice that it is directly in the area where the light falls: this reduces the contrasts and makes it a bit muted visually. Therefore, use more opaque shades of blue and be sparing with reflections, in order to give it a more uniform and subtle appearance.
Draw the reflection of the water
The lake acts as a huge mirror: elements are reflected in it upside down, as in the example below. However, keep in mind that such a perfect reflection only exists on a completely calm water surface, so you need to add a bit of movement to suggest turbulence.
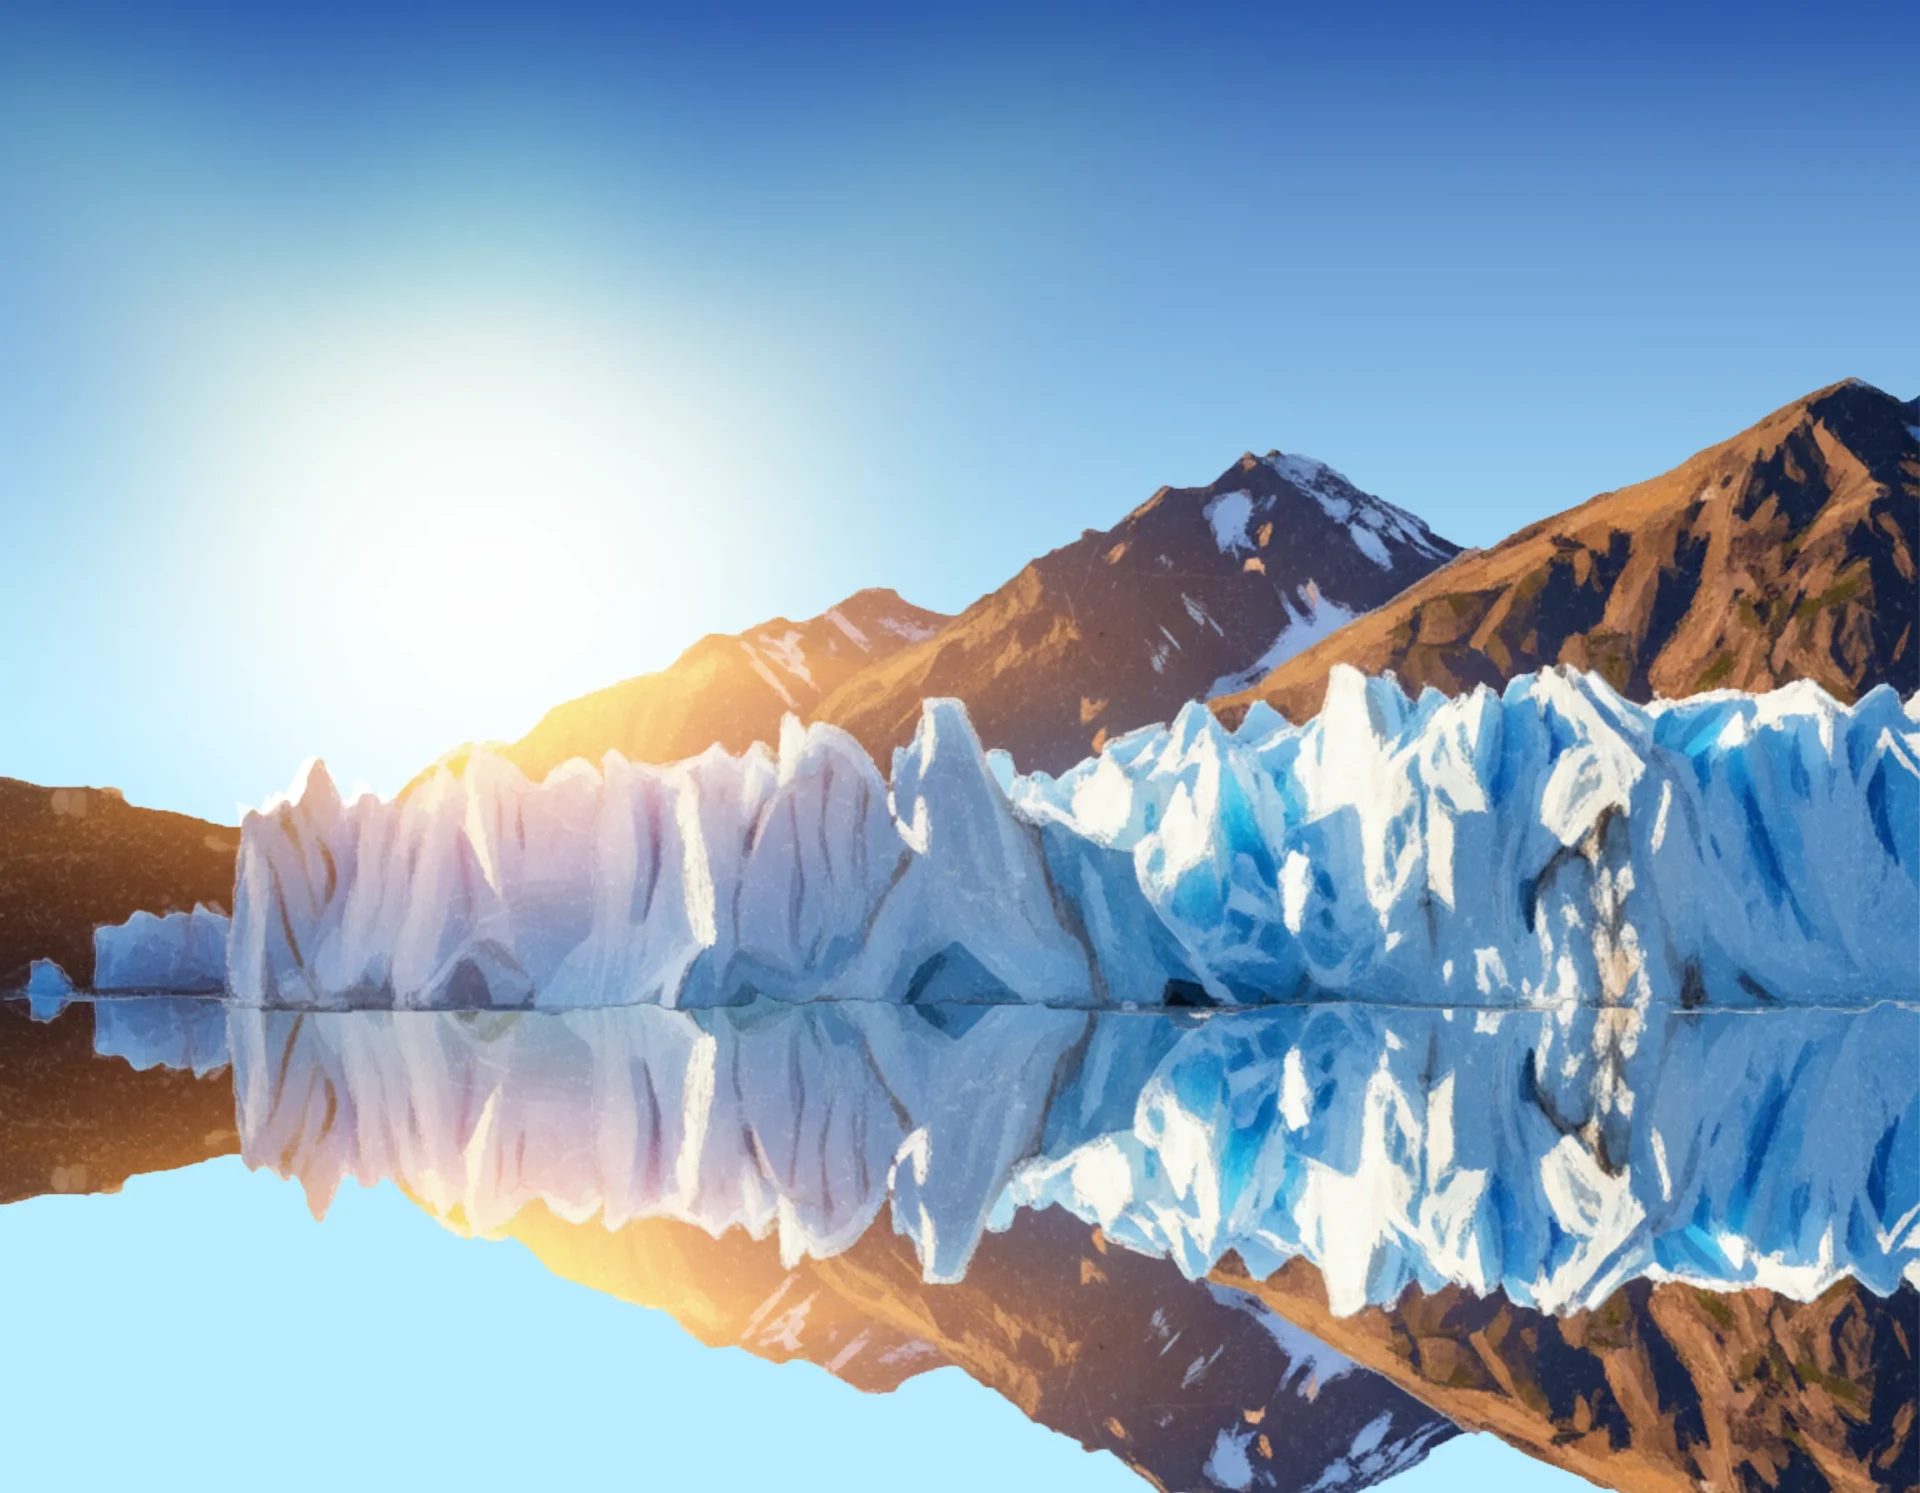
Here is a more realistic representation of a reflection: the colors change slightly, which you can replicate by applying a thin layer of opaque blue. Just be sure to keep the light in the same areas, without reducing its intensity too much. You will also notice that the drawing on the water is much less detailed and crossed with small horizontal lines on the edges, this is how we suggest the desired turbulence or ripples.
All that remains is to add a few pieces of floating ice on the surface of the lake. There's no need to follow a specific pattern: it's even better if they are irregular. At this stage, paint some near the viewer, then others, much smaller, near the glacier; those located in the distance can simply be suggested by small white spots.

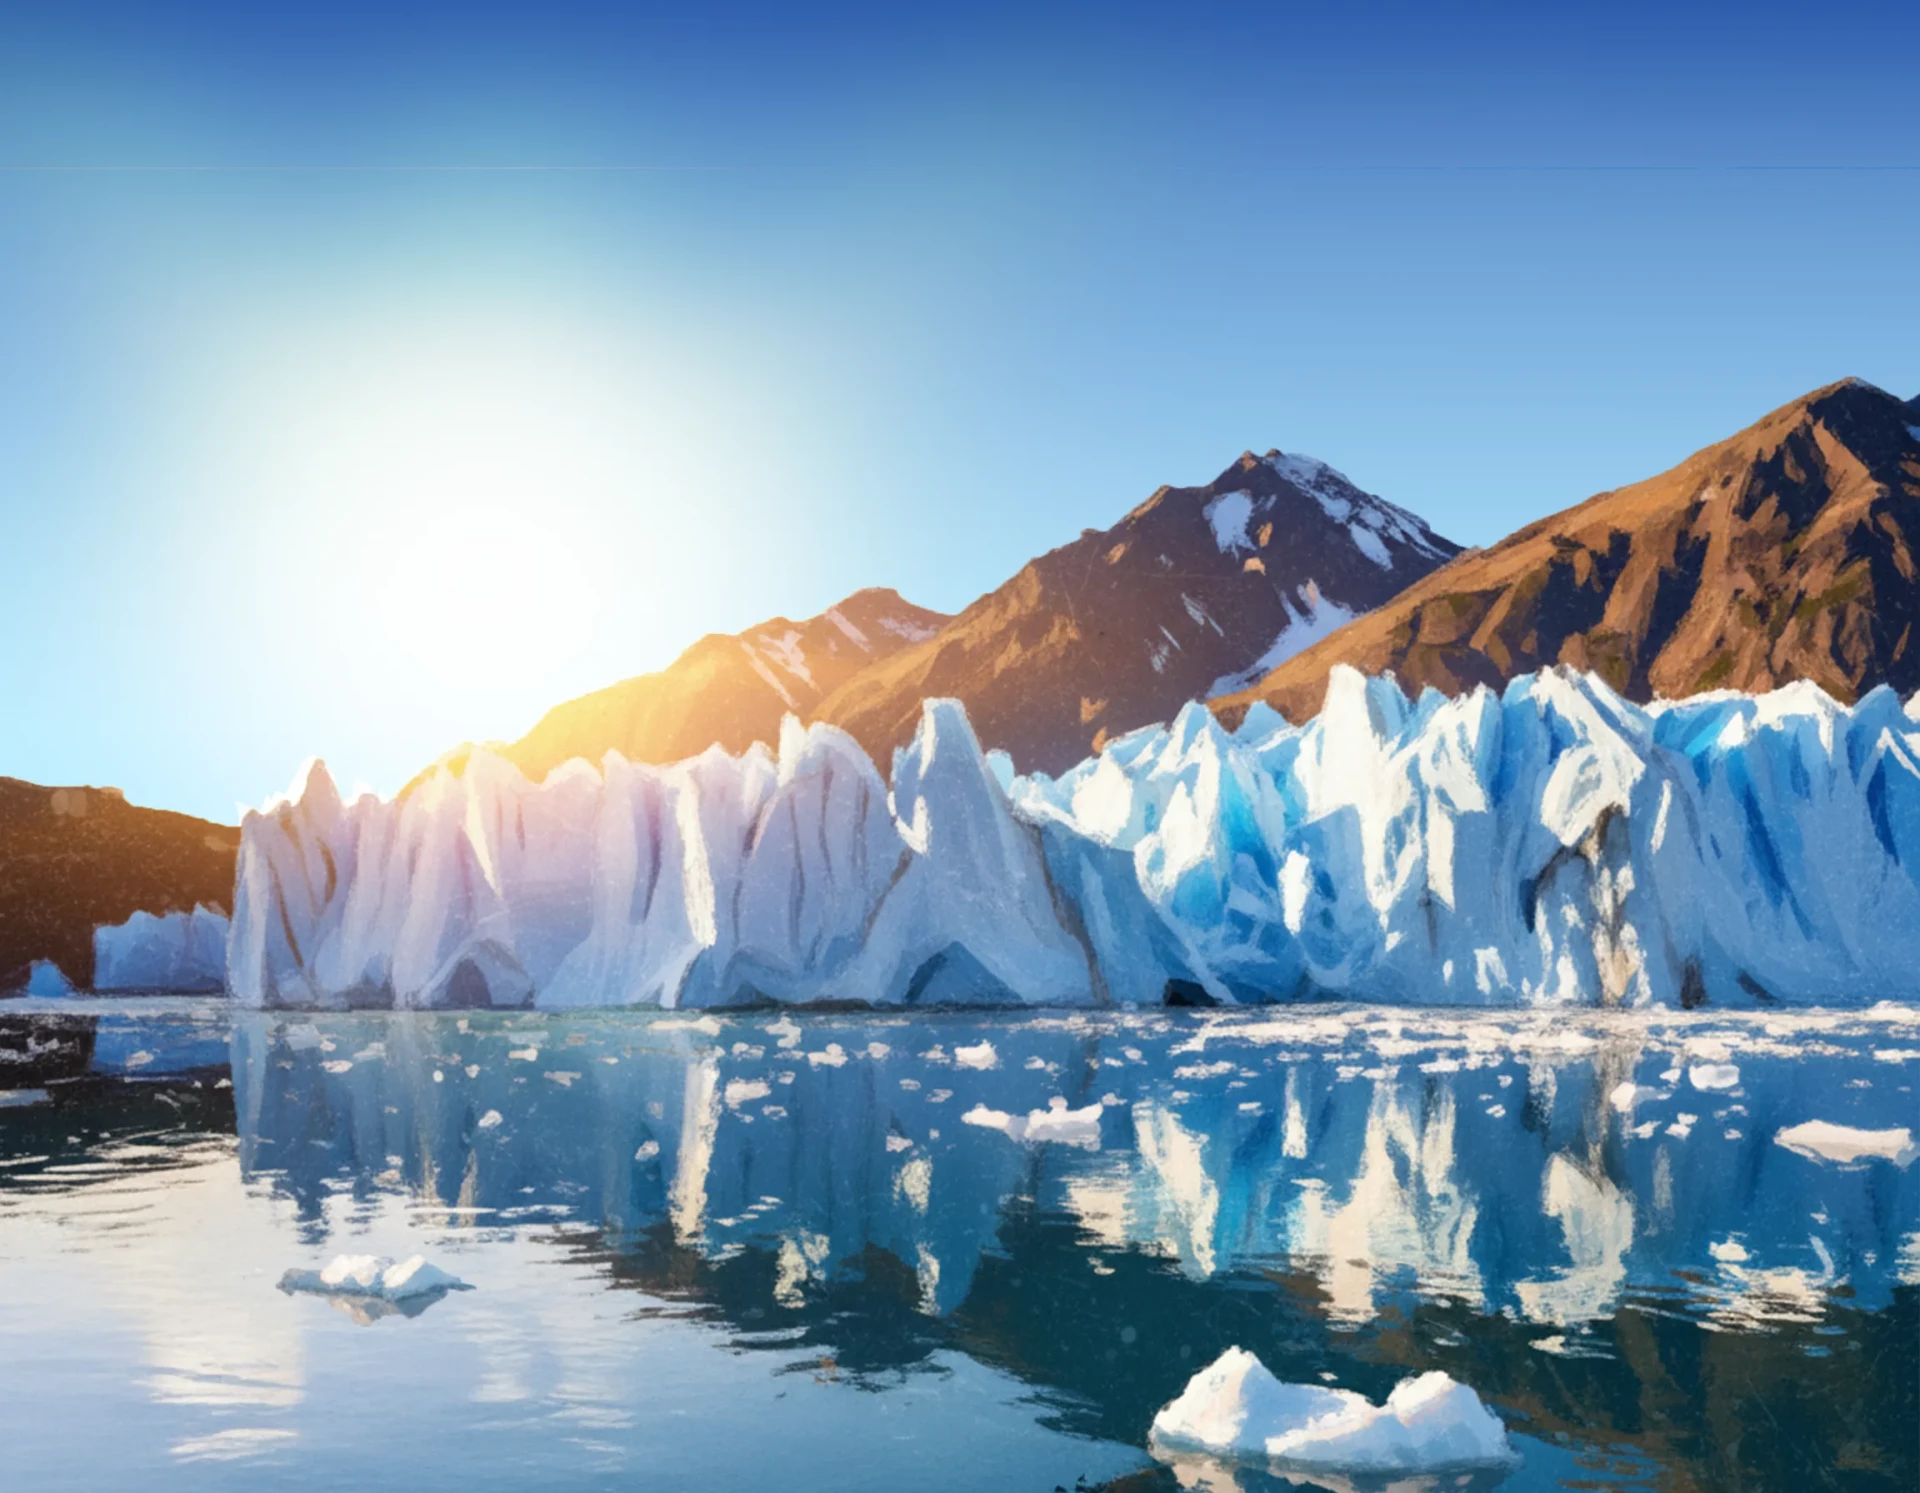
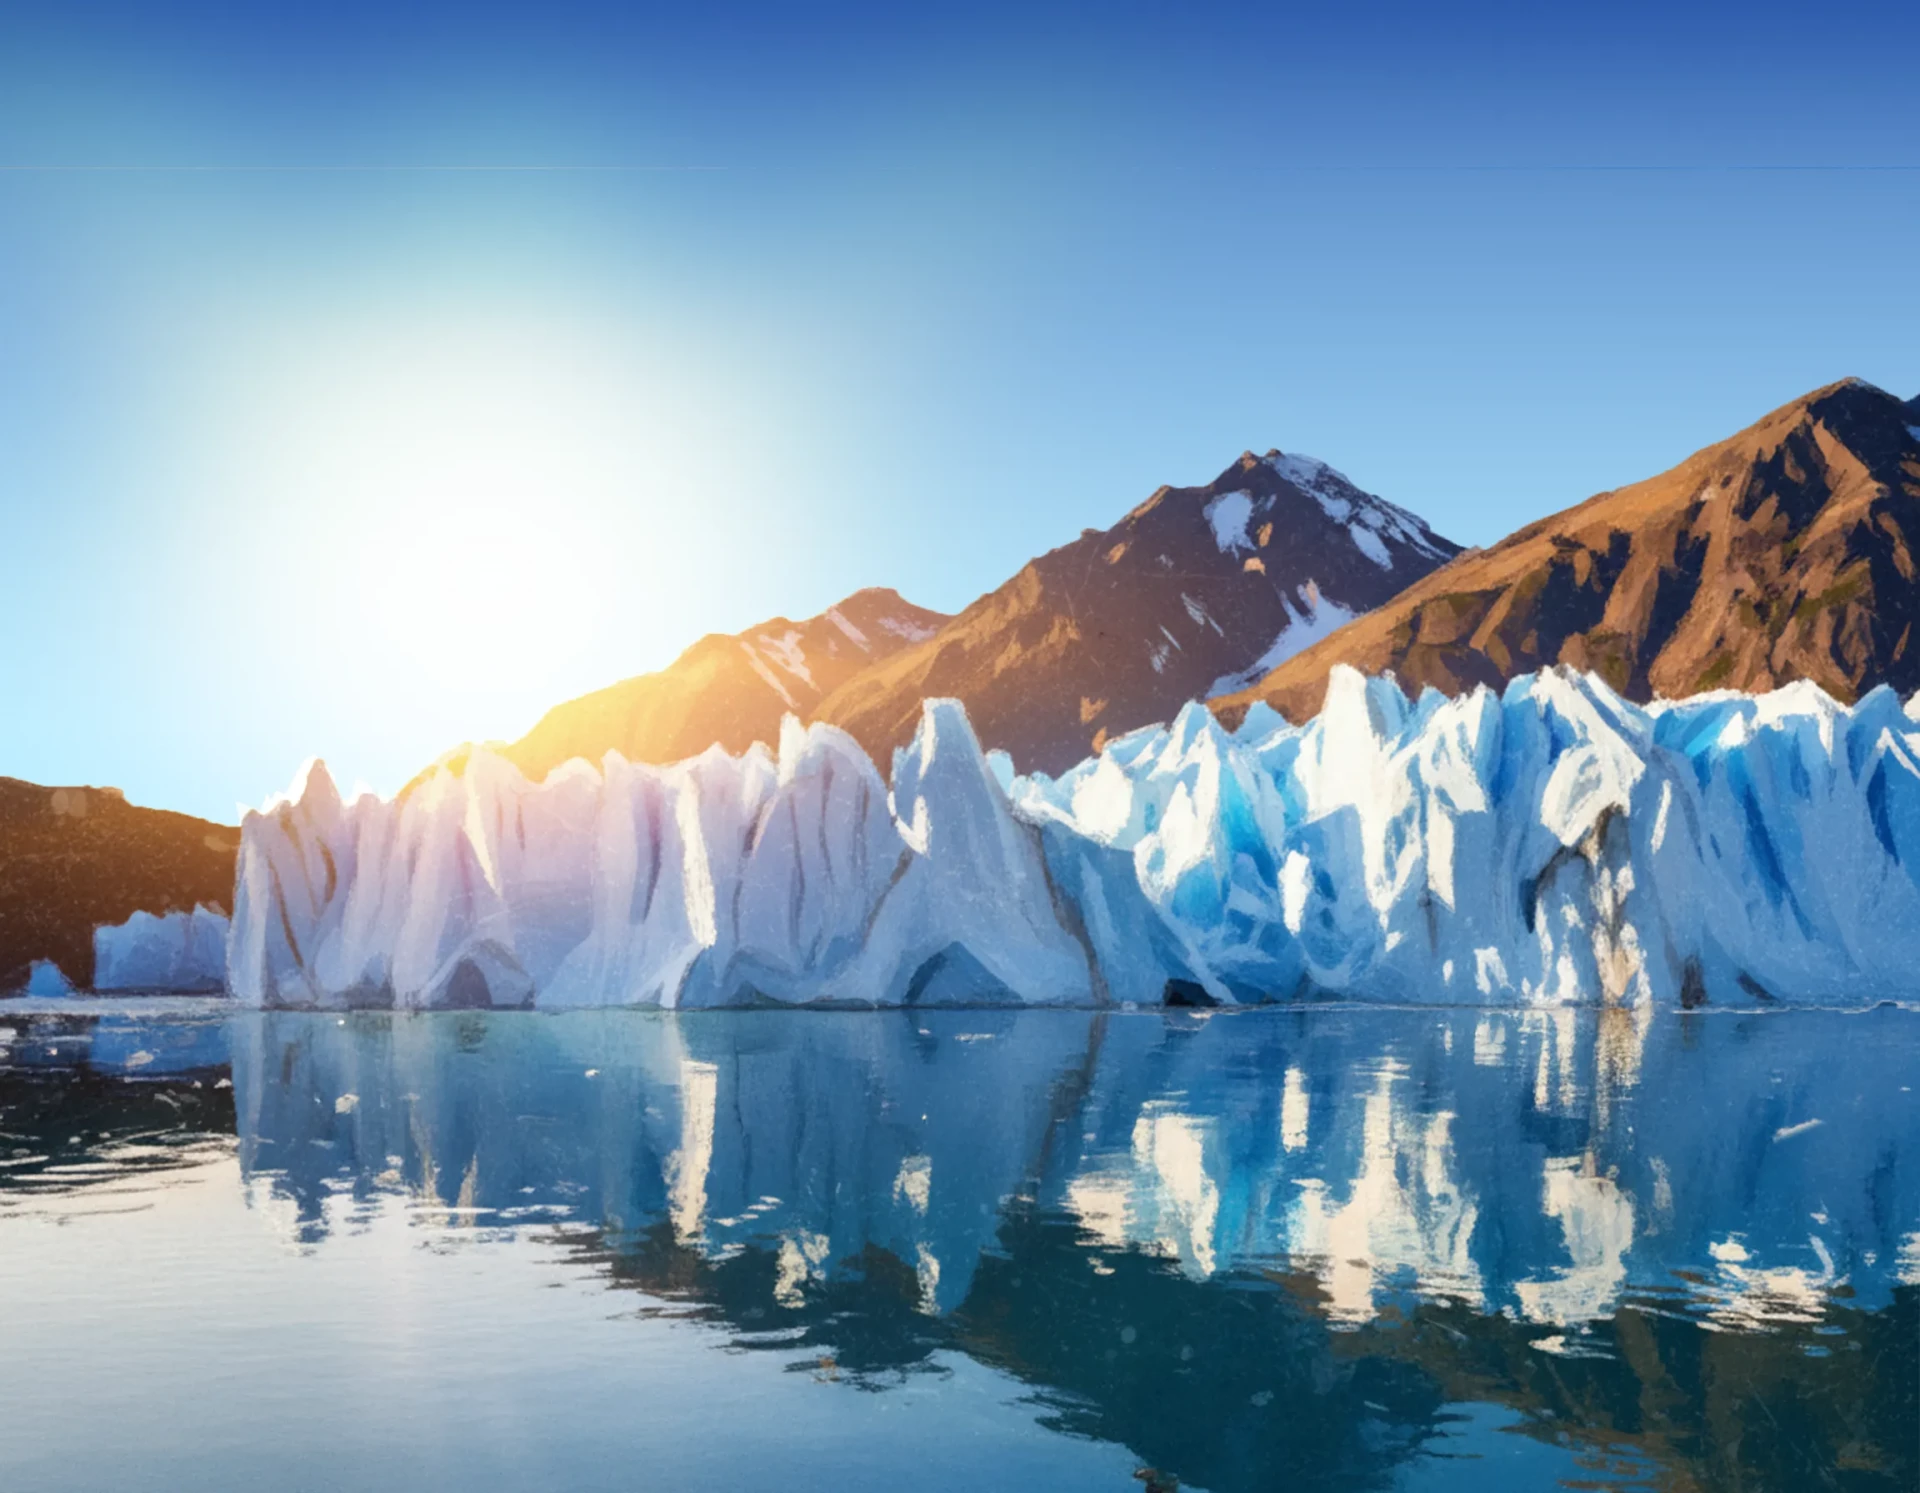
And here is the result! I hope you enjoyed this tutorial.
Writer and Illustrator: Bryam
Discussion
No comments yet.