
How to Draw a Heron

In the heart of wetland areas live particular fauna, adapted to an environment where land and water merge. Among these species, the heron stands out with an immediately recognizable silhouette that is slender, fine, and perfectly adapted for the patience required by fishing. In this tutorial, we will learn how to draw this symbol of calm and precision, from the initial sketch to coloring its white plumage.
A unique silhouette to observe before drawing
The heron is one of the easiest birds to identify: its slender silhouette leaves no doubt, which also makes it easier to draw. Some key characteristics to remember: a long bill, wide enough to swallow a fish in a single bite, a long neck and long legs that enable it to fish while standing upright in the water.
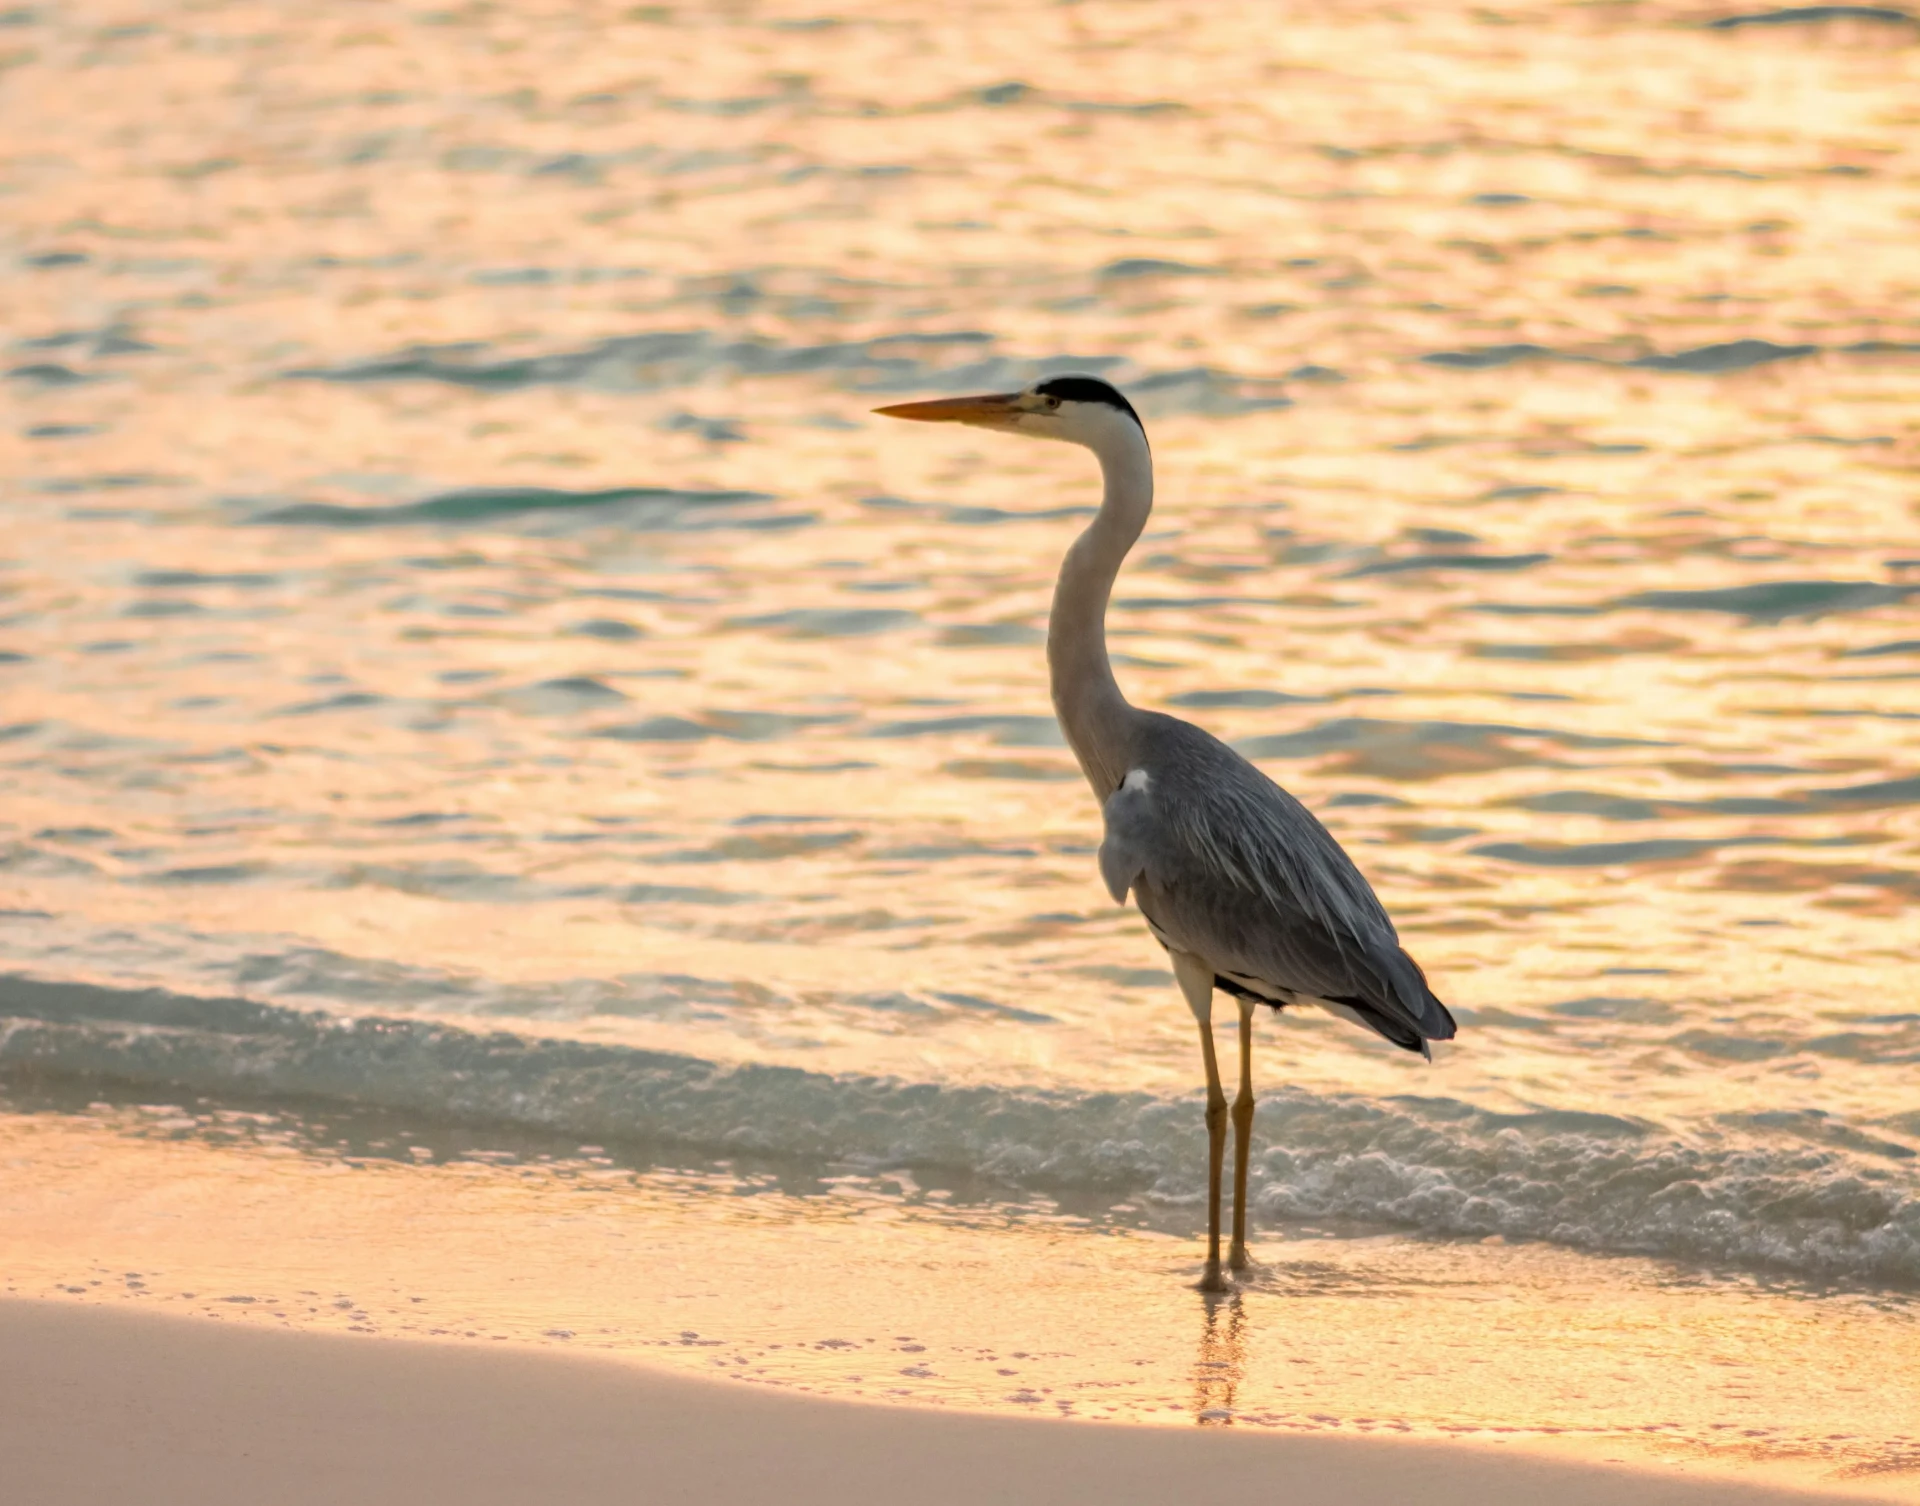
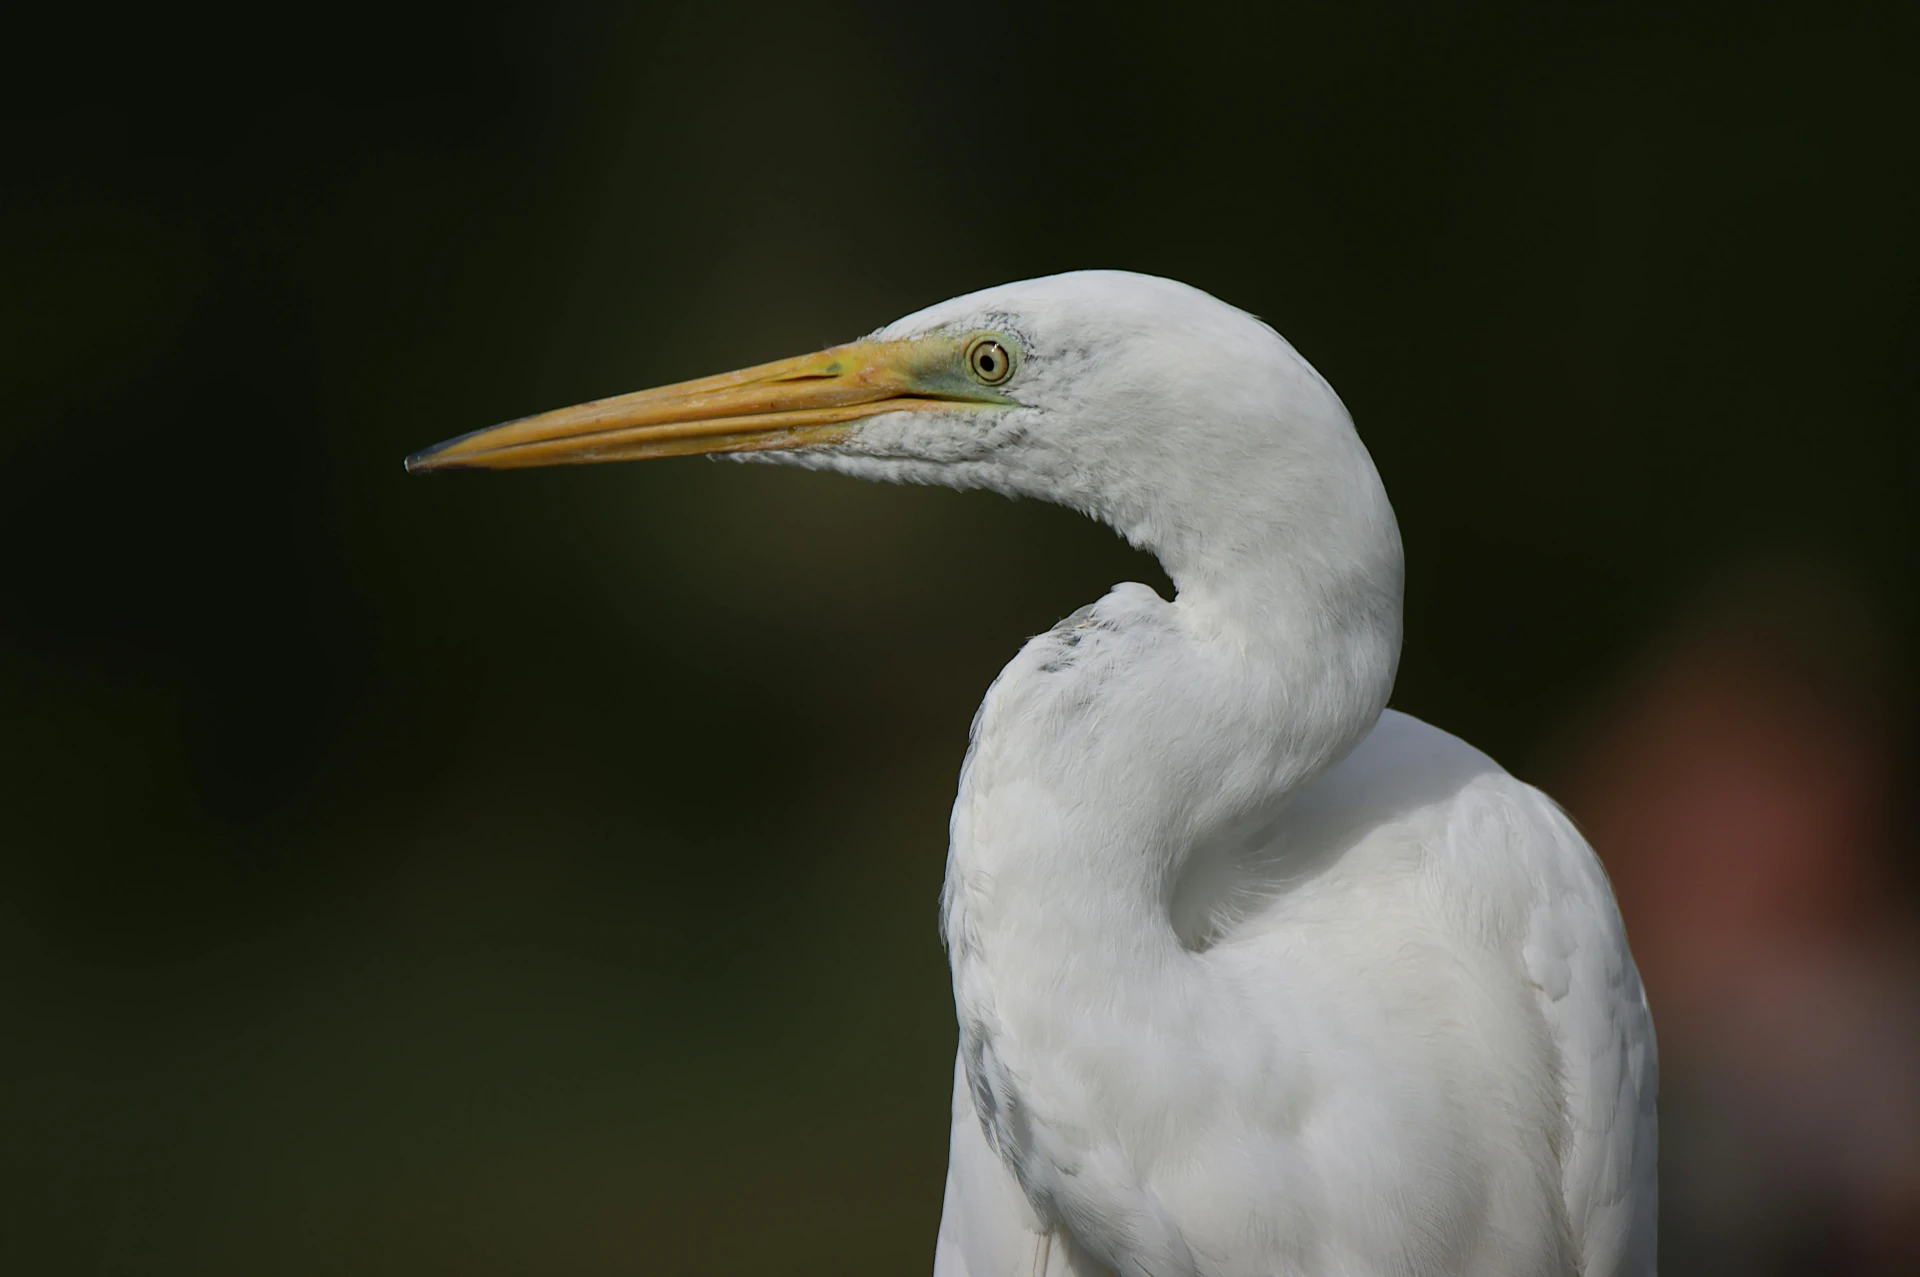
Our subject of the day is the white heron, one of the 70 species that make up this family. Although they all share common characteristics, the white heron is the ideal specimen to represent the entire species.
How to draw a heron step by step
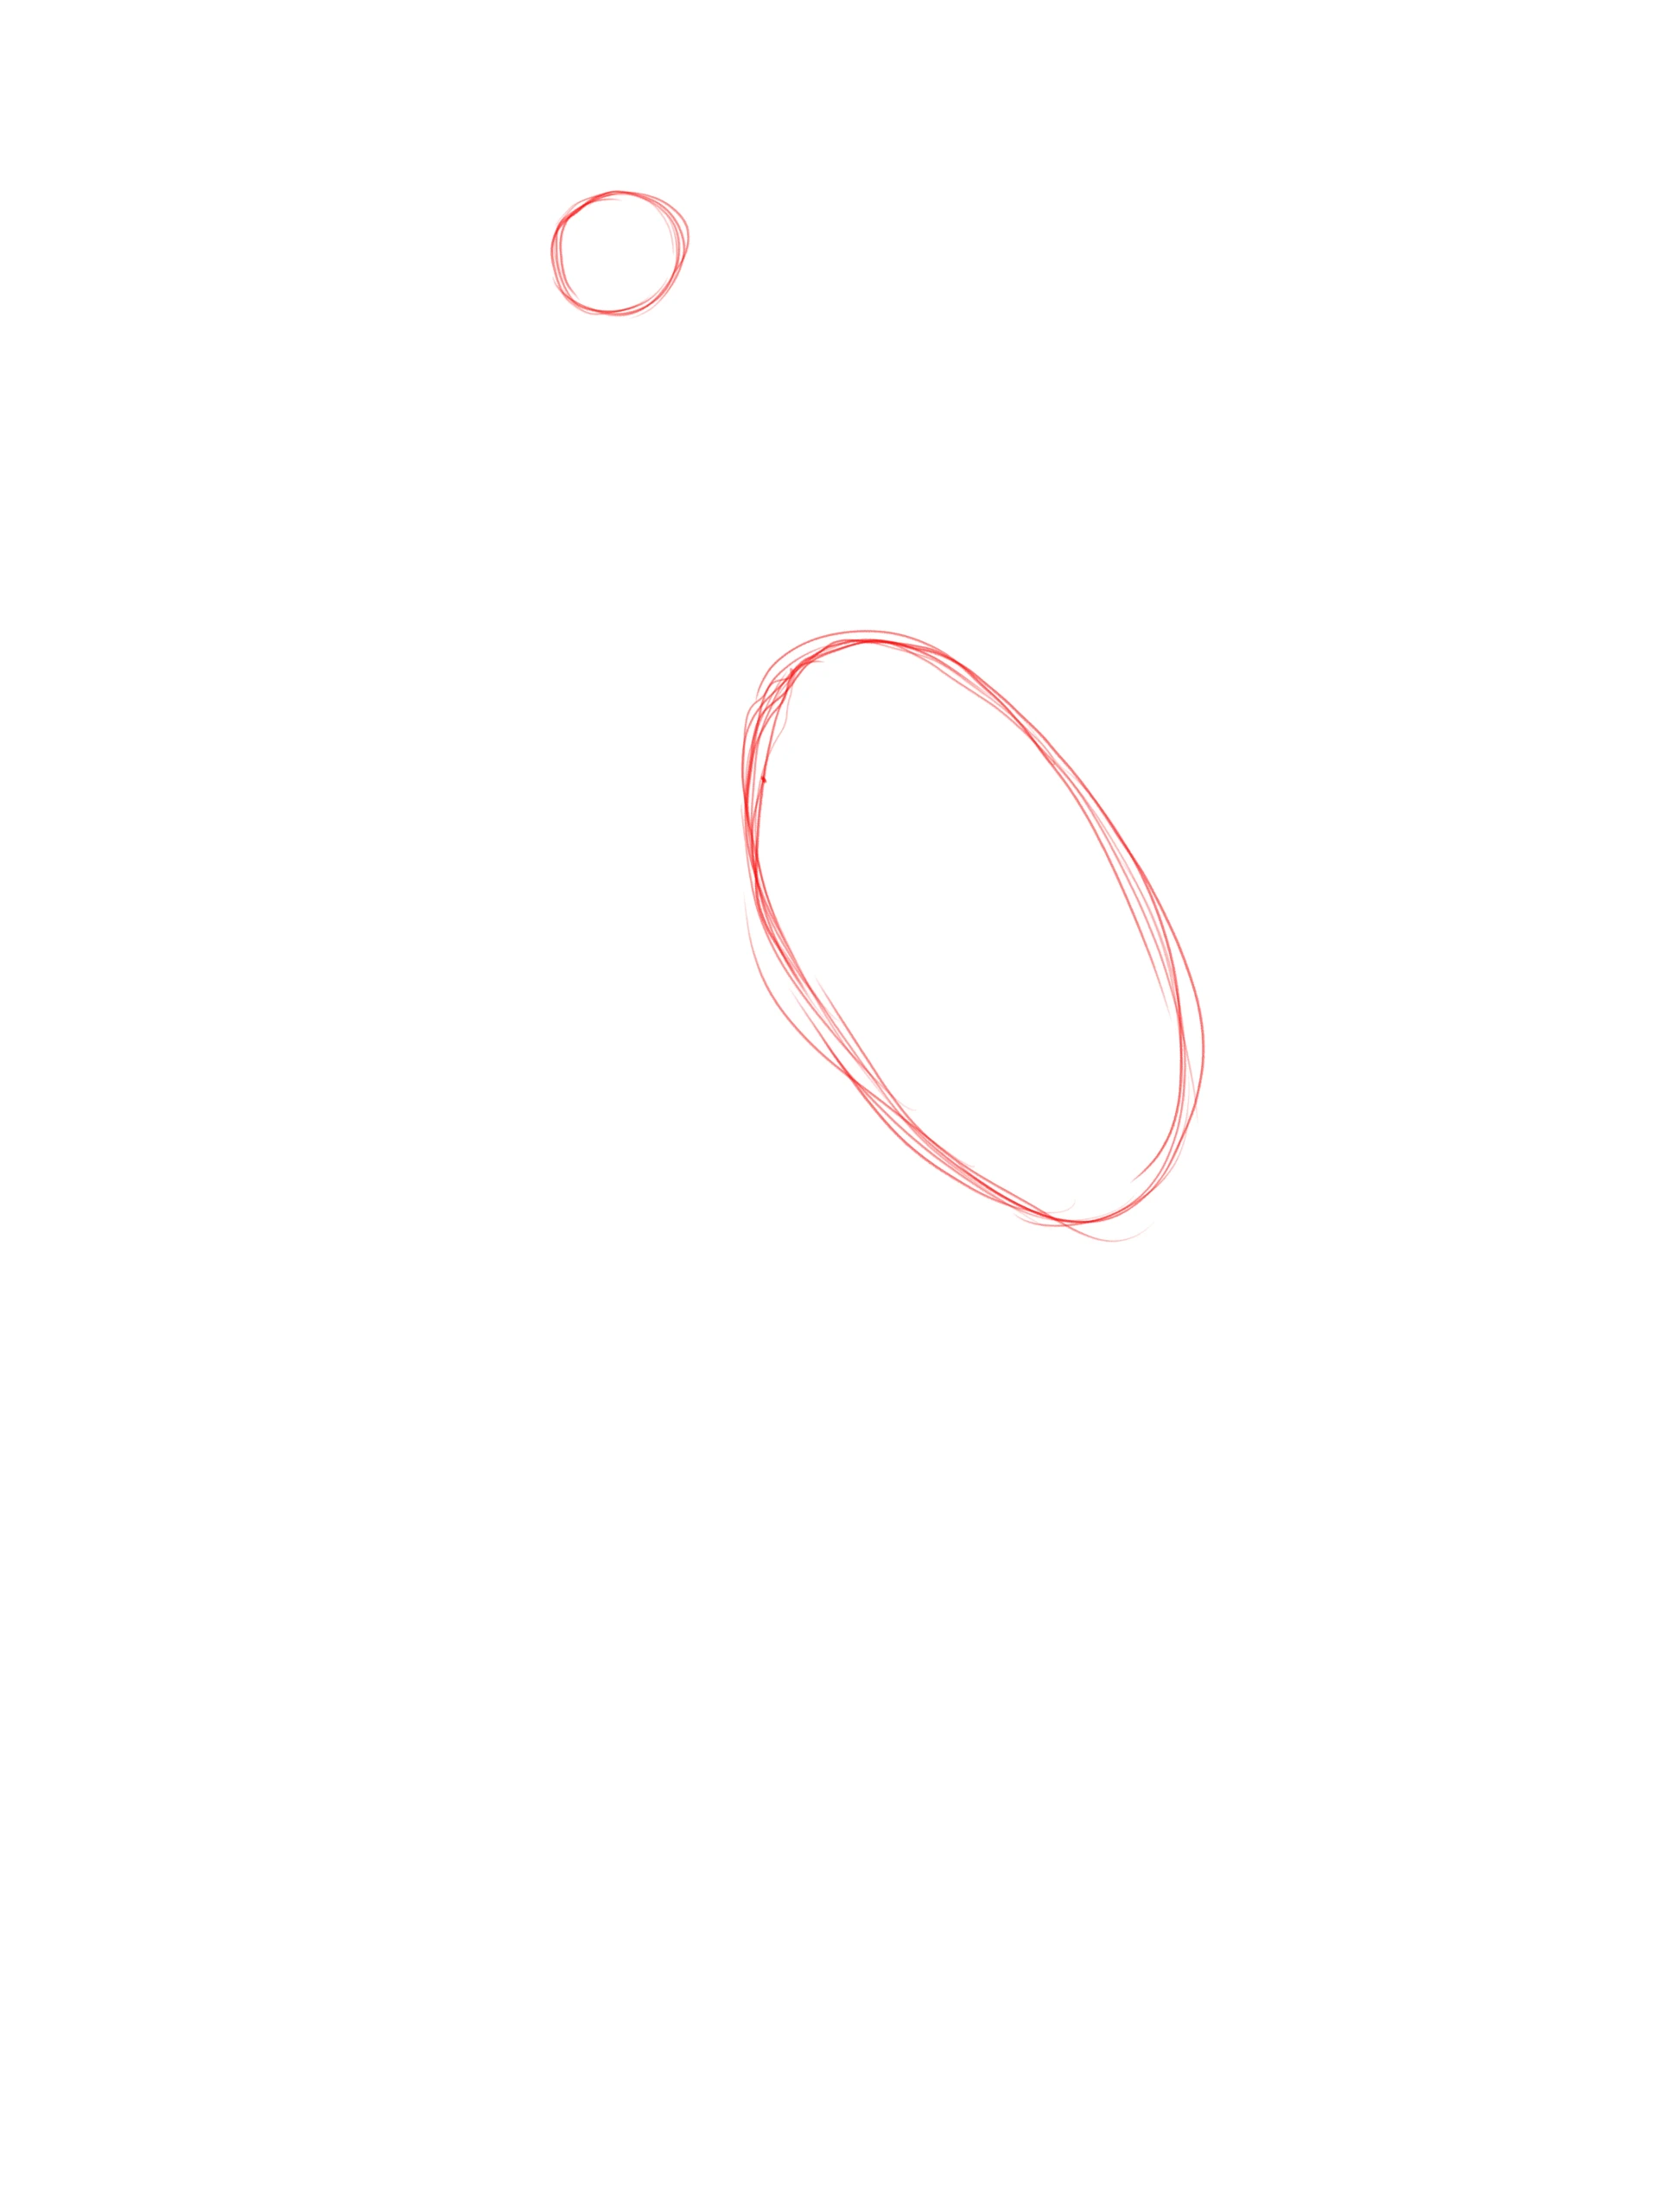
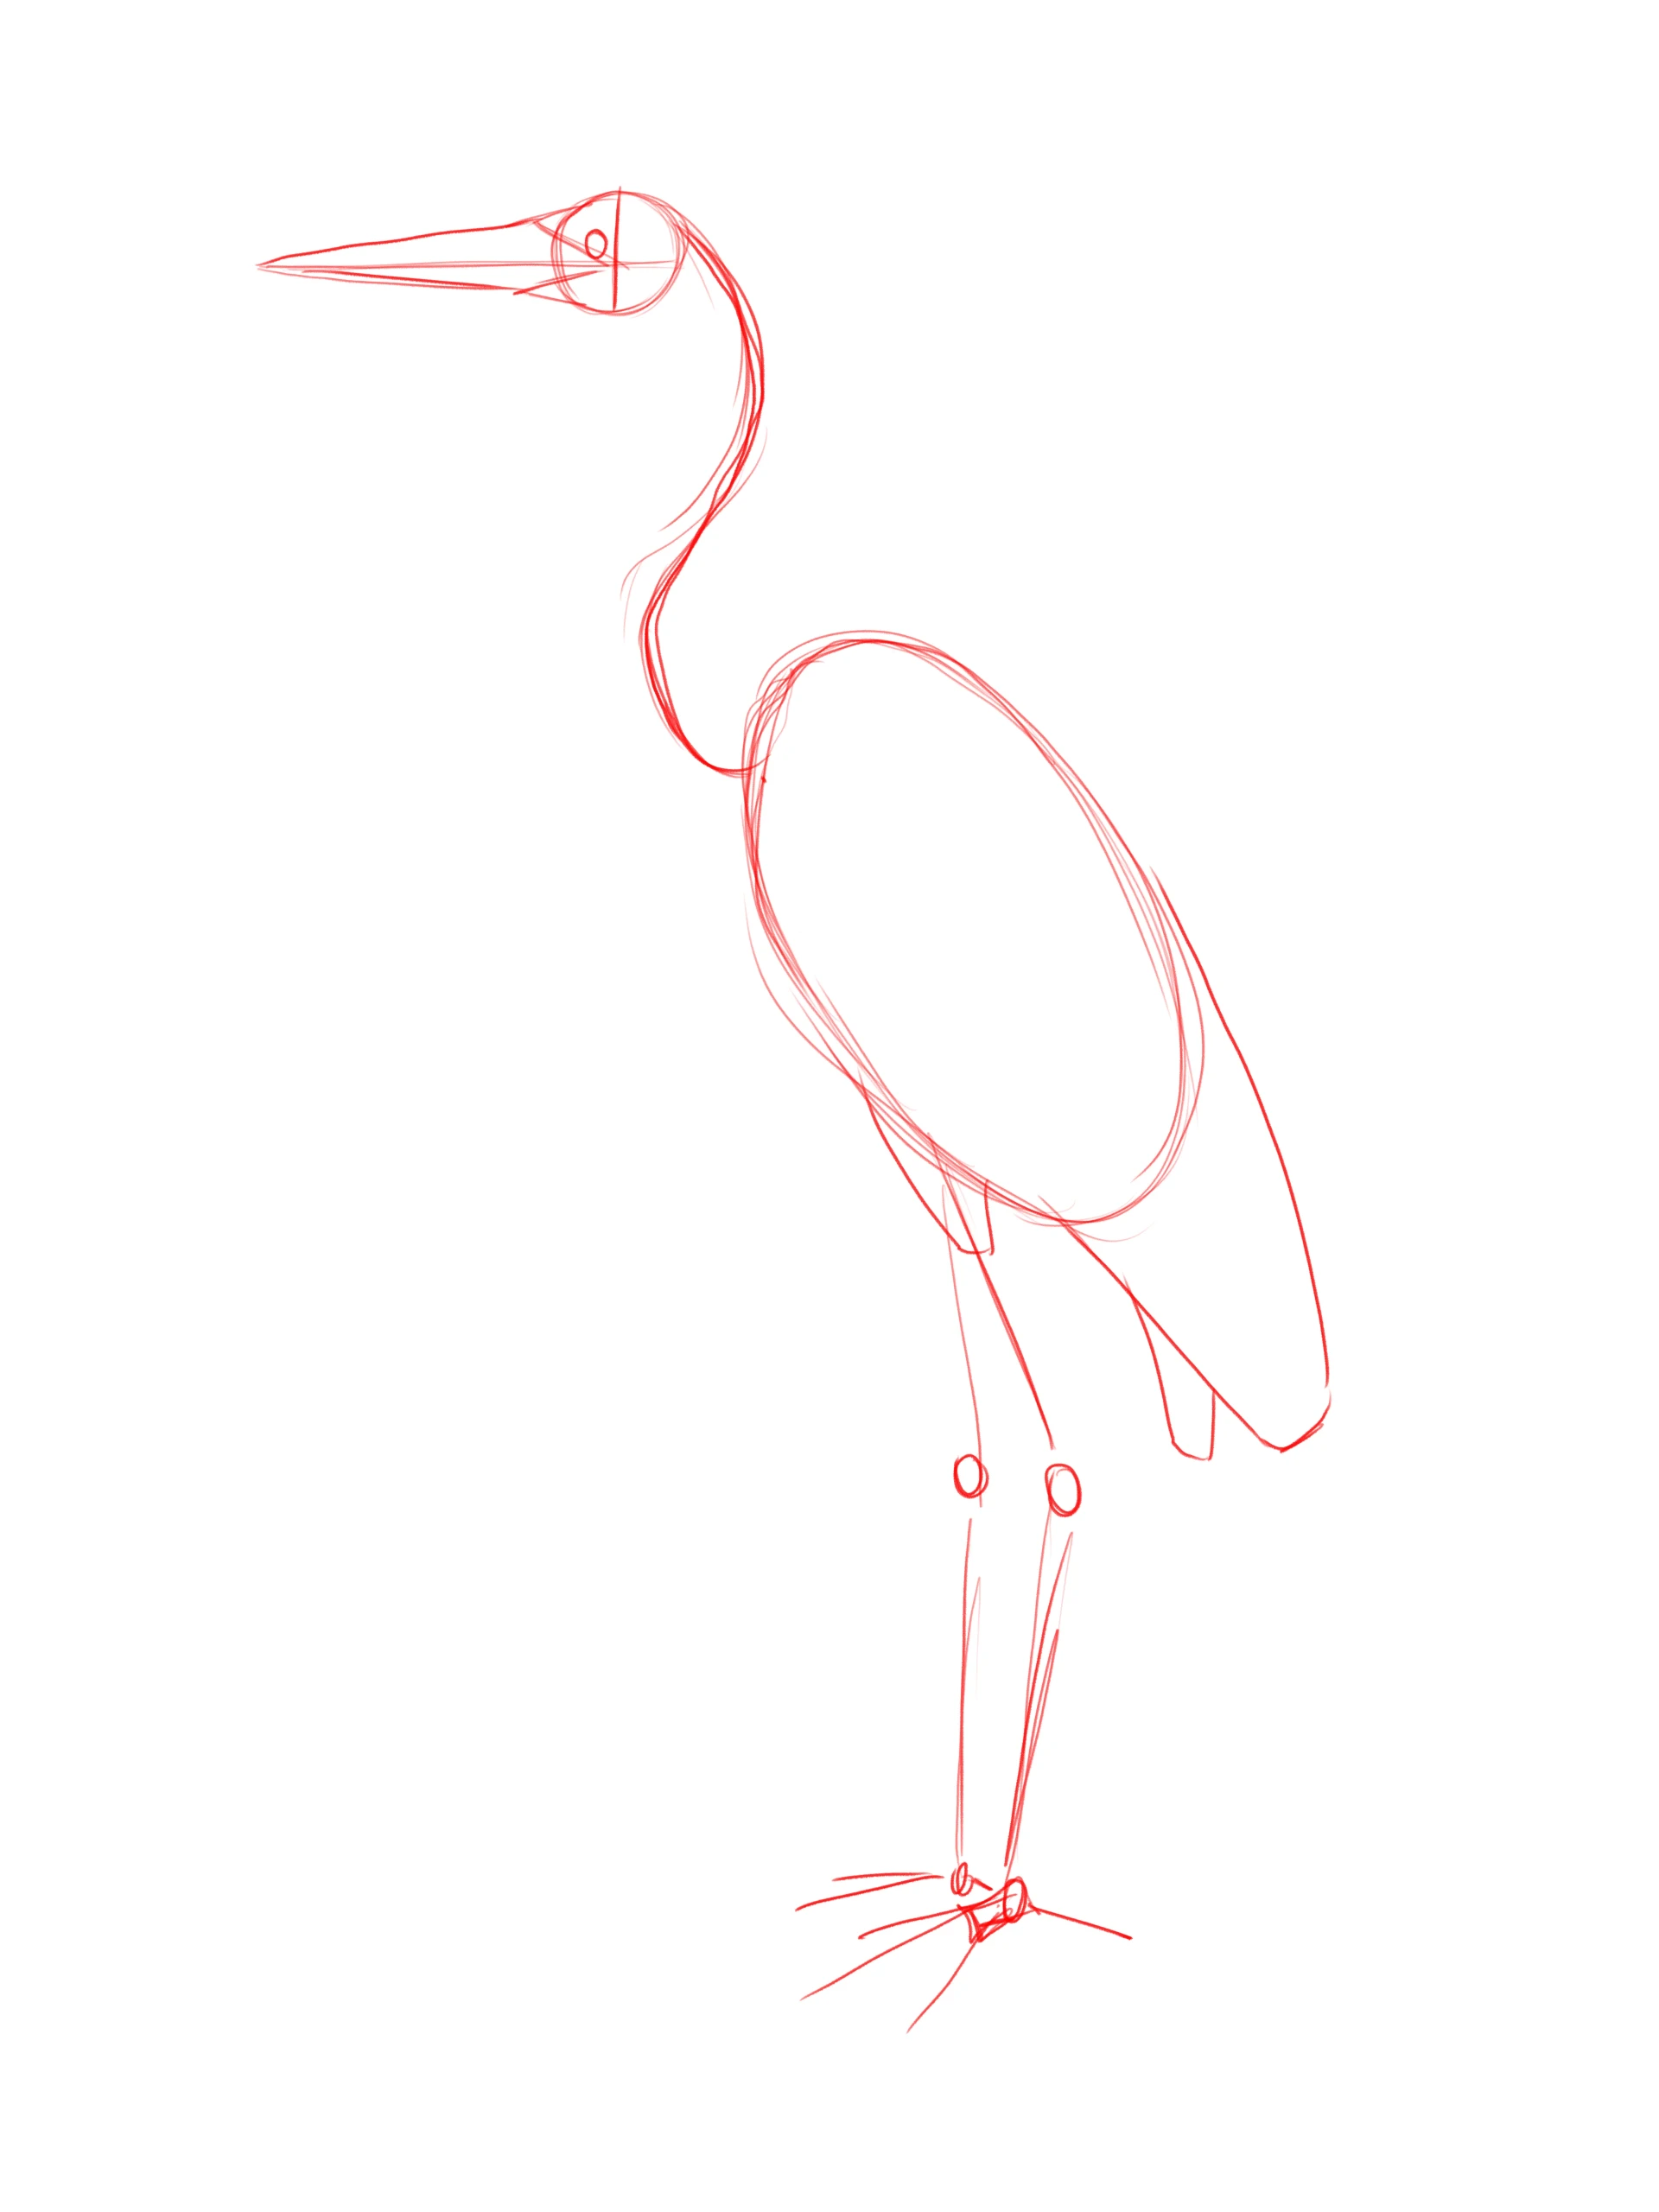
Start with two circles of different sizes to identify the head and torso. The larger circle represents the body, the smaller the head, placed far enough from the body to allow for the long neck that we will draw next.
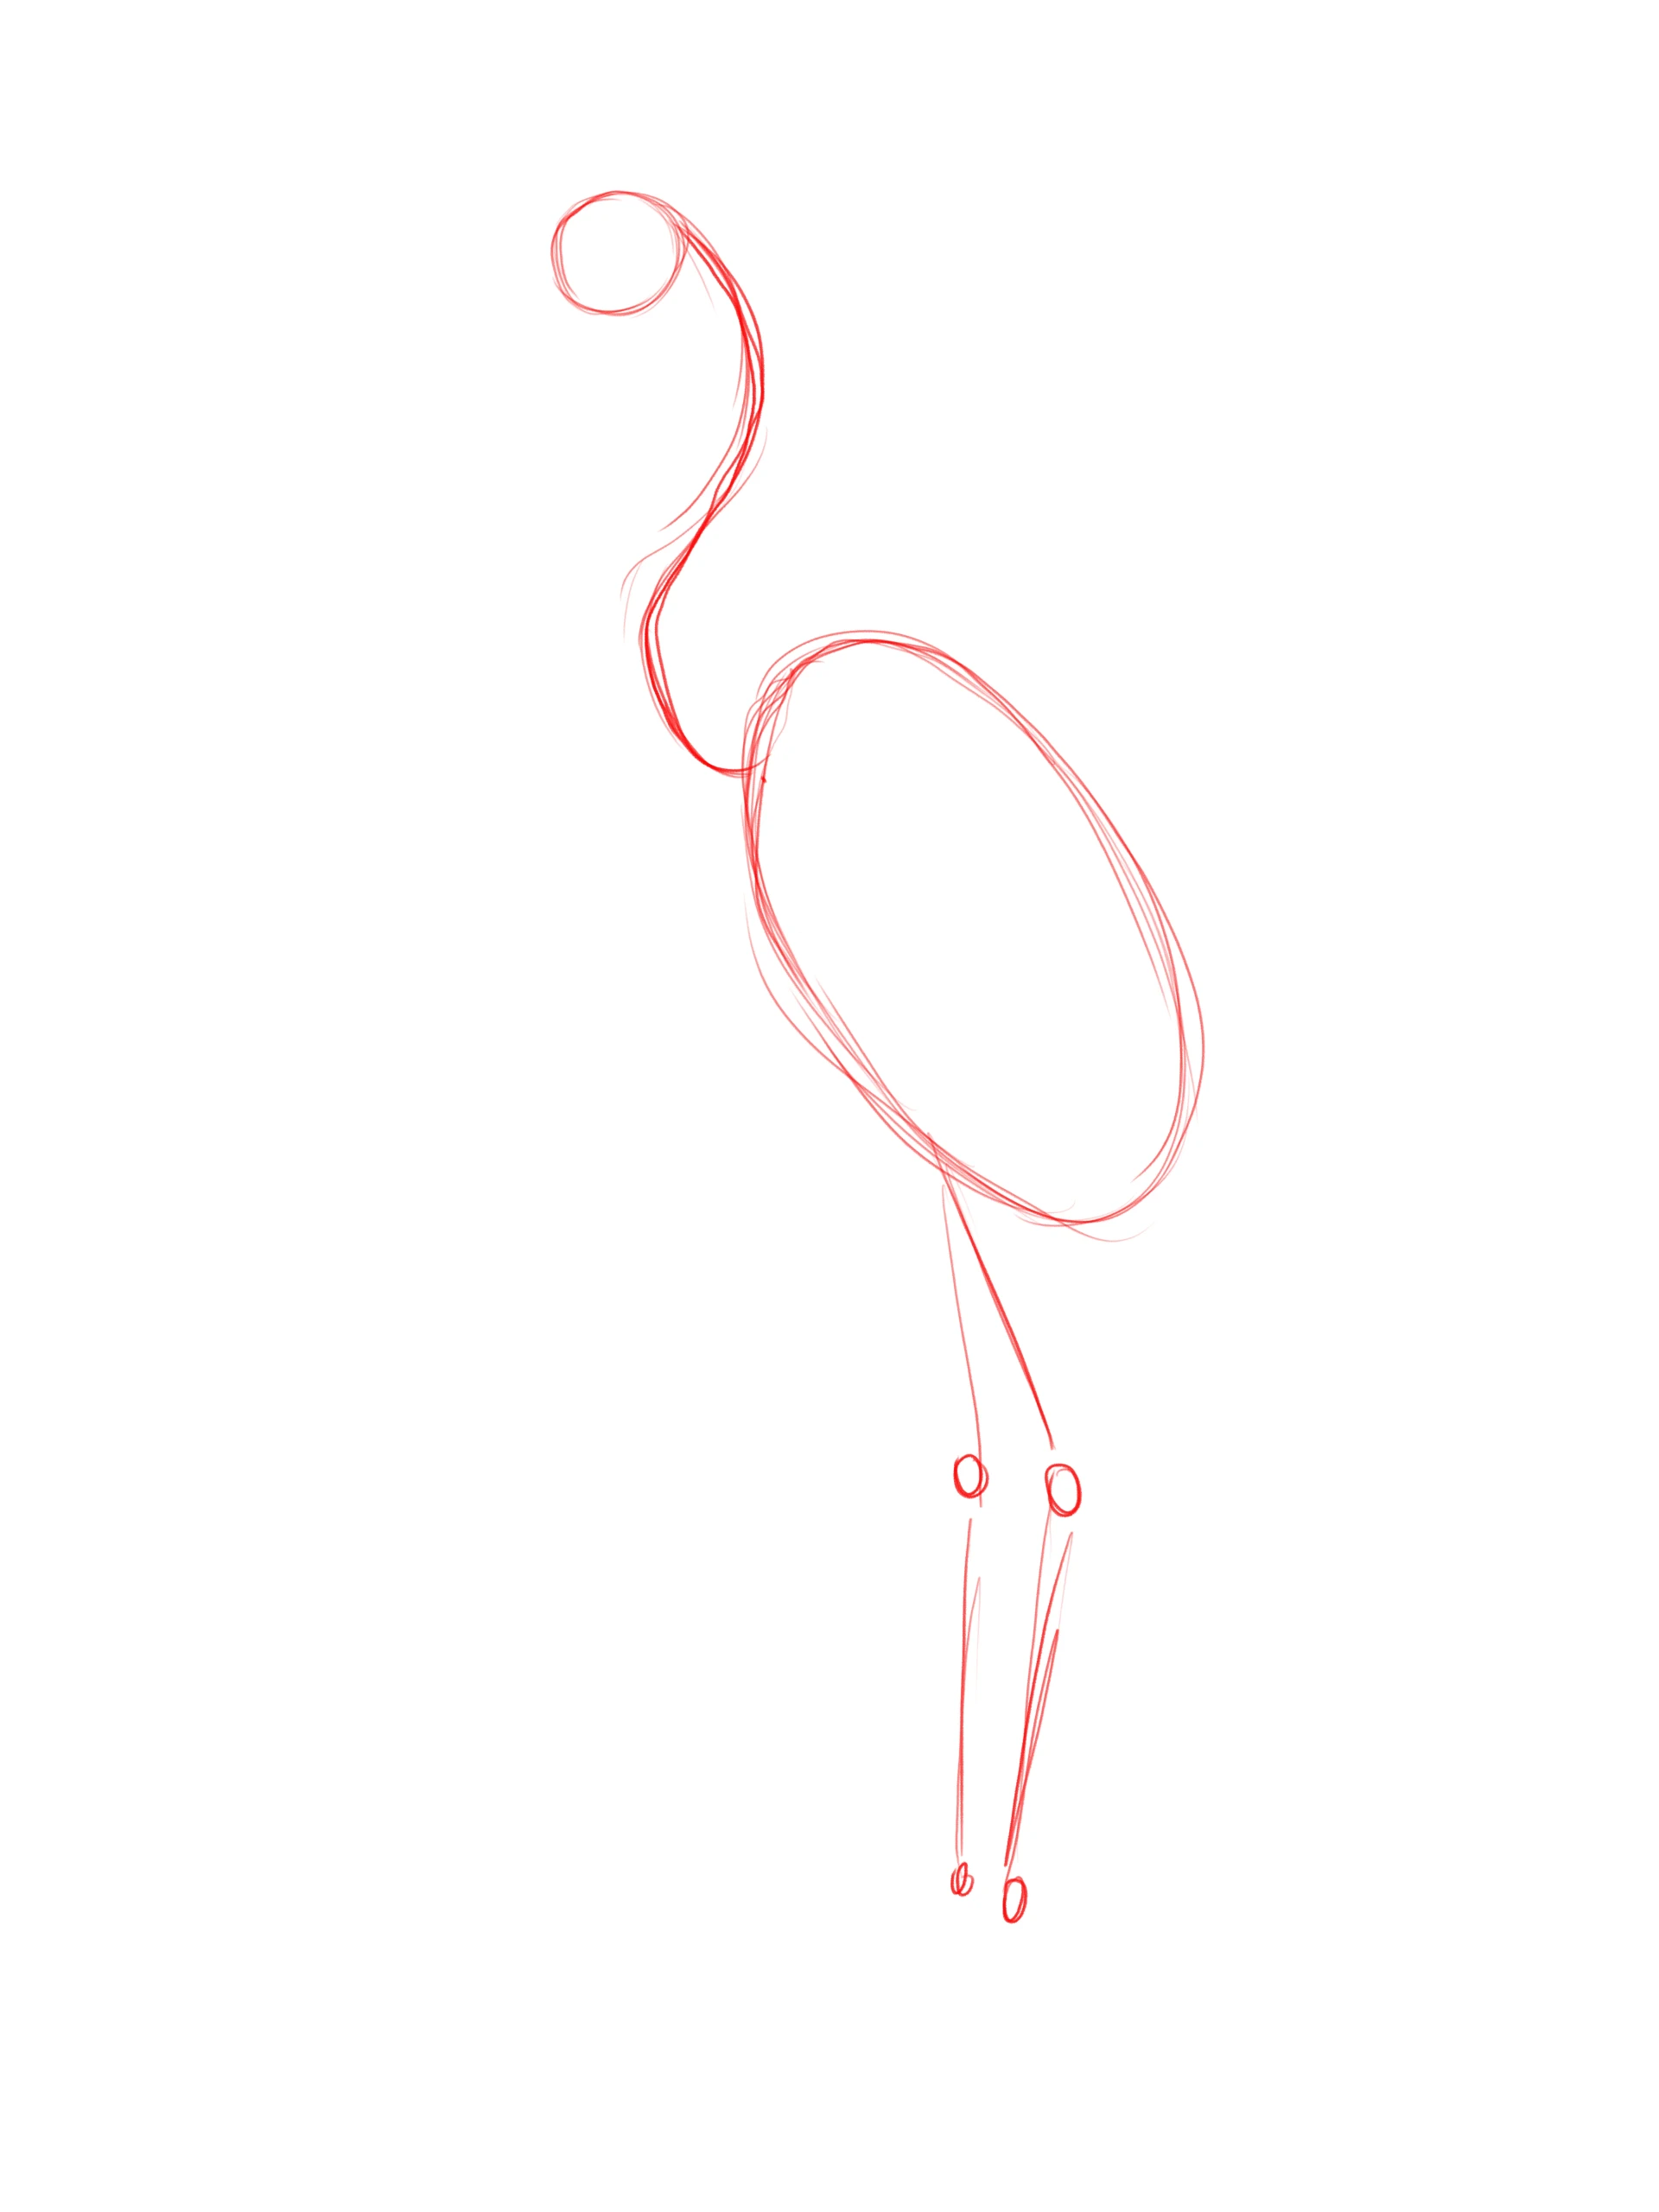
Connect the head to the body with a long curve that meets the top of the large circle. Imagine that this line follows the path of the cervical vertebrae.
Then identify the central axis of the body and start the legs from this point, tilted slightly backwards and bent from their large joints.
Divide the circle of the head along its two axes. Now draw the beak, using the intersection of these axes as a starting point: the width is almost equal to that of the head, and the length is about three additional heads.
Finally add the wing and tail plumage, using the leg joints as the lower limit.
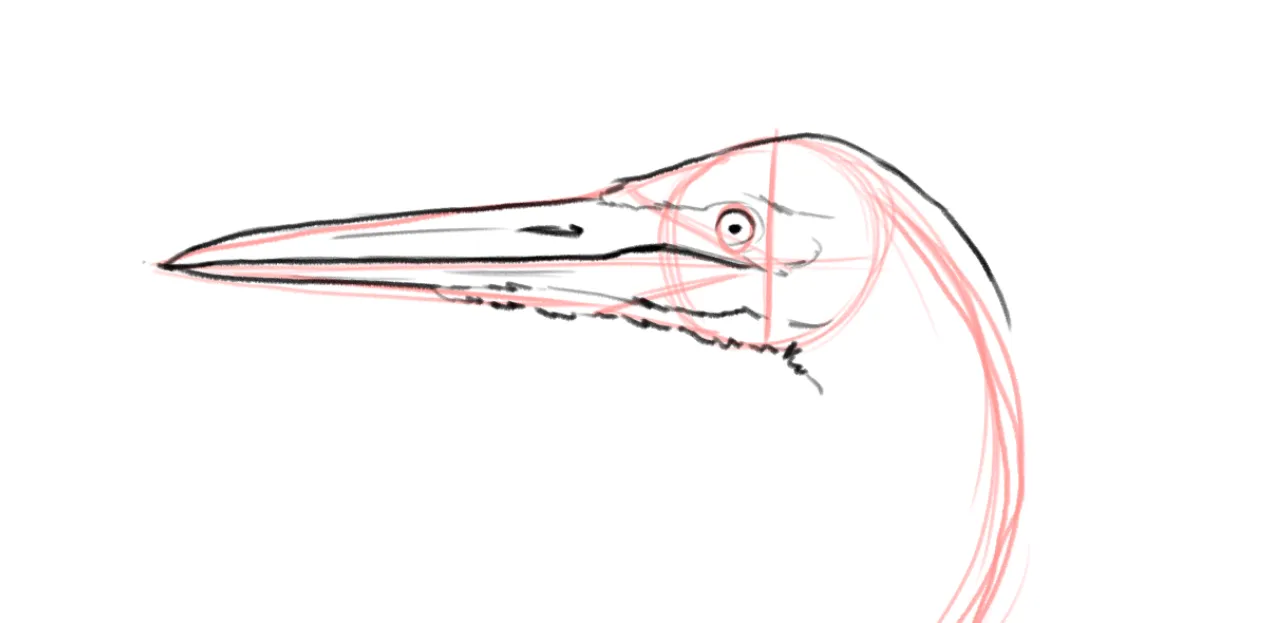
Start with a small round eye, below which we then place the beak joint. The bill initially curves upwards before continuing in a straight line. Surround these two elements with short feathers with a few fine strokes to create texture and volume.
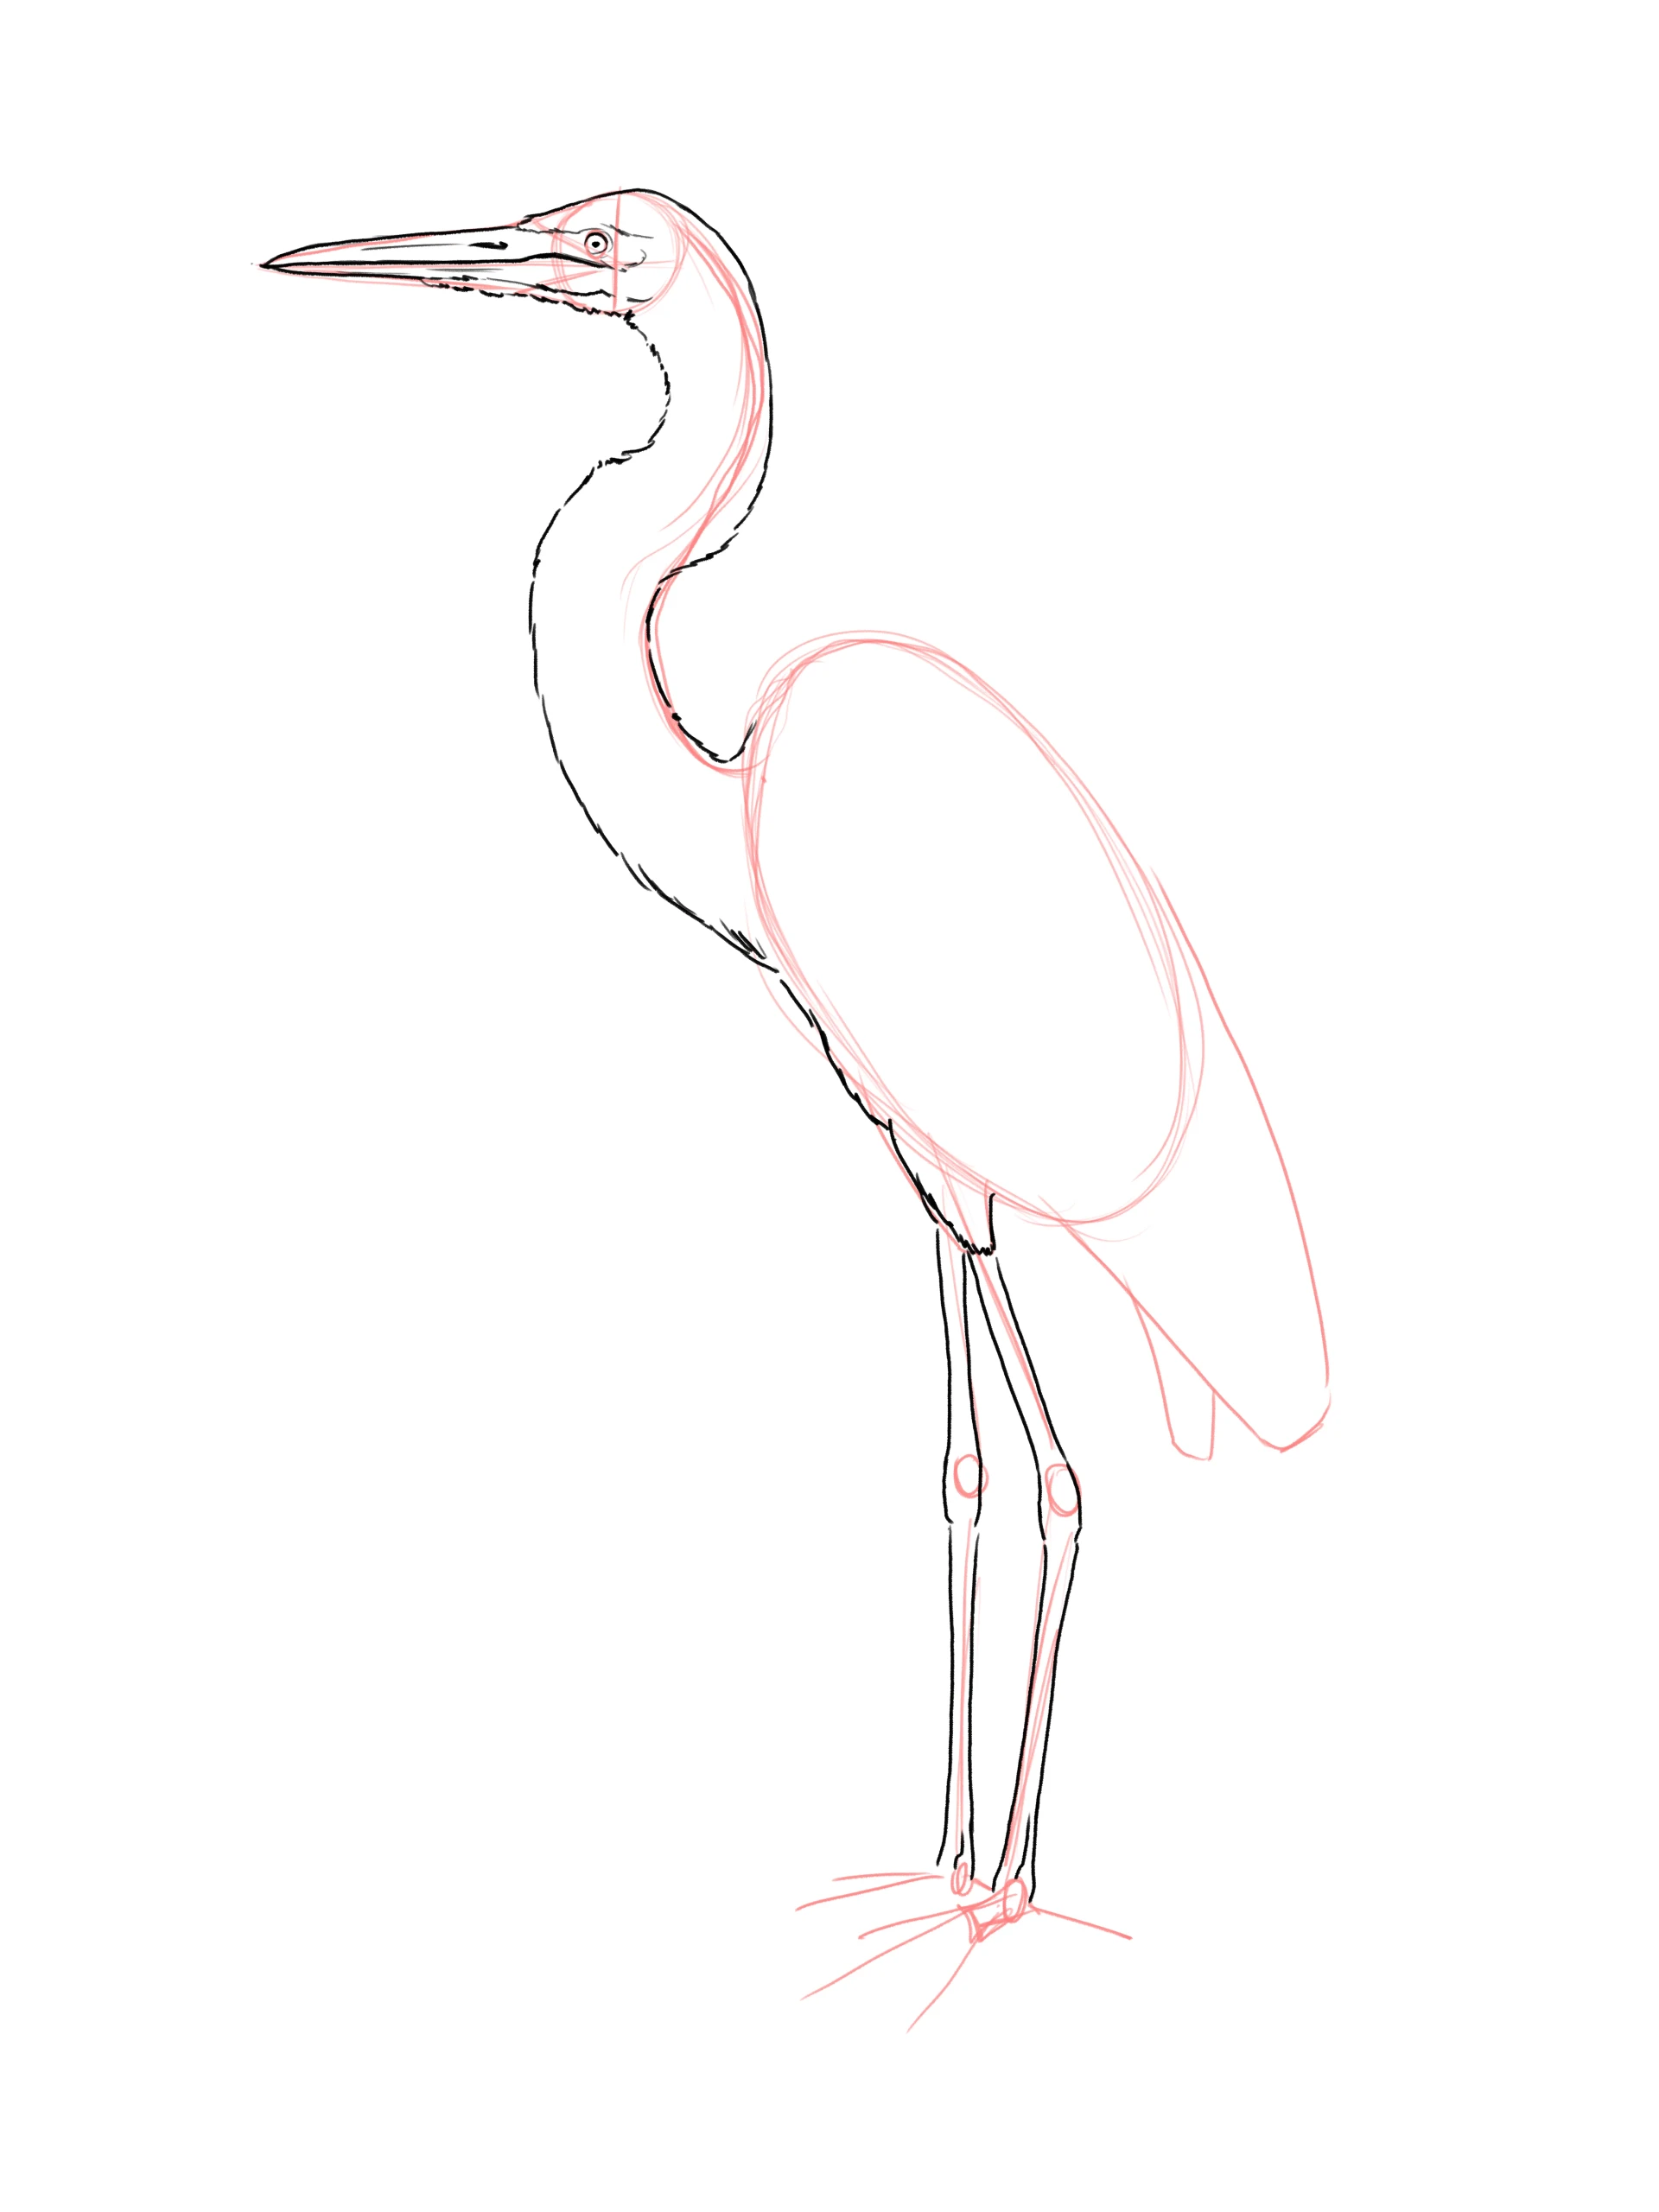
Continue with an intermittent line to give the feathered appearance of the long neck, maintaining the same thickness throughout. I recommend that you draw at a certain distance from the paper to better observe the shape of the line. For the legs, use long lines ensuring consistency in thickness, only the joints and ankles should stand out.
Now let's draw the torso by adding volume in the lower part, as if the bird were wearing a cape covering its back, complemented by some elongated feathers underneath.
For the feet, draw a triad of elongated, pointed toes, complemented by a backward-facing toe of the same size and shape.
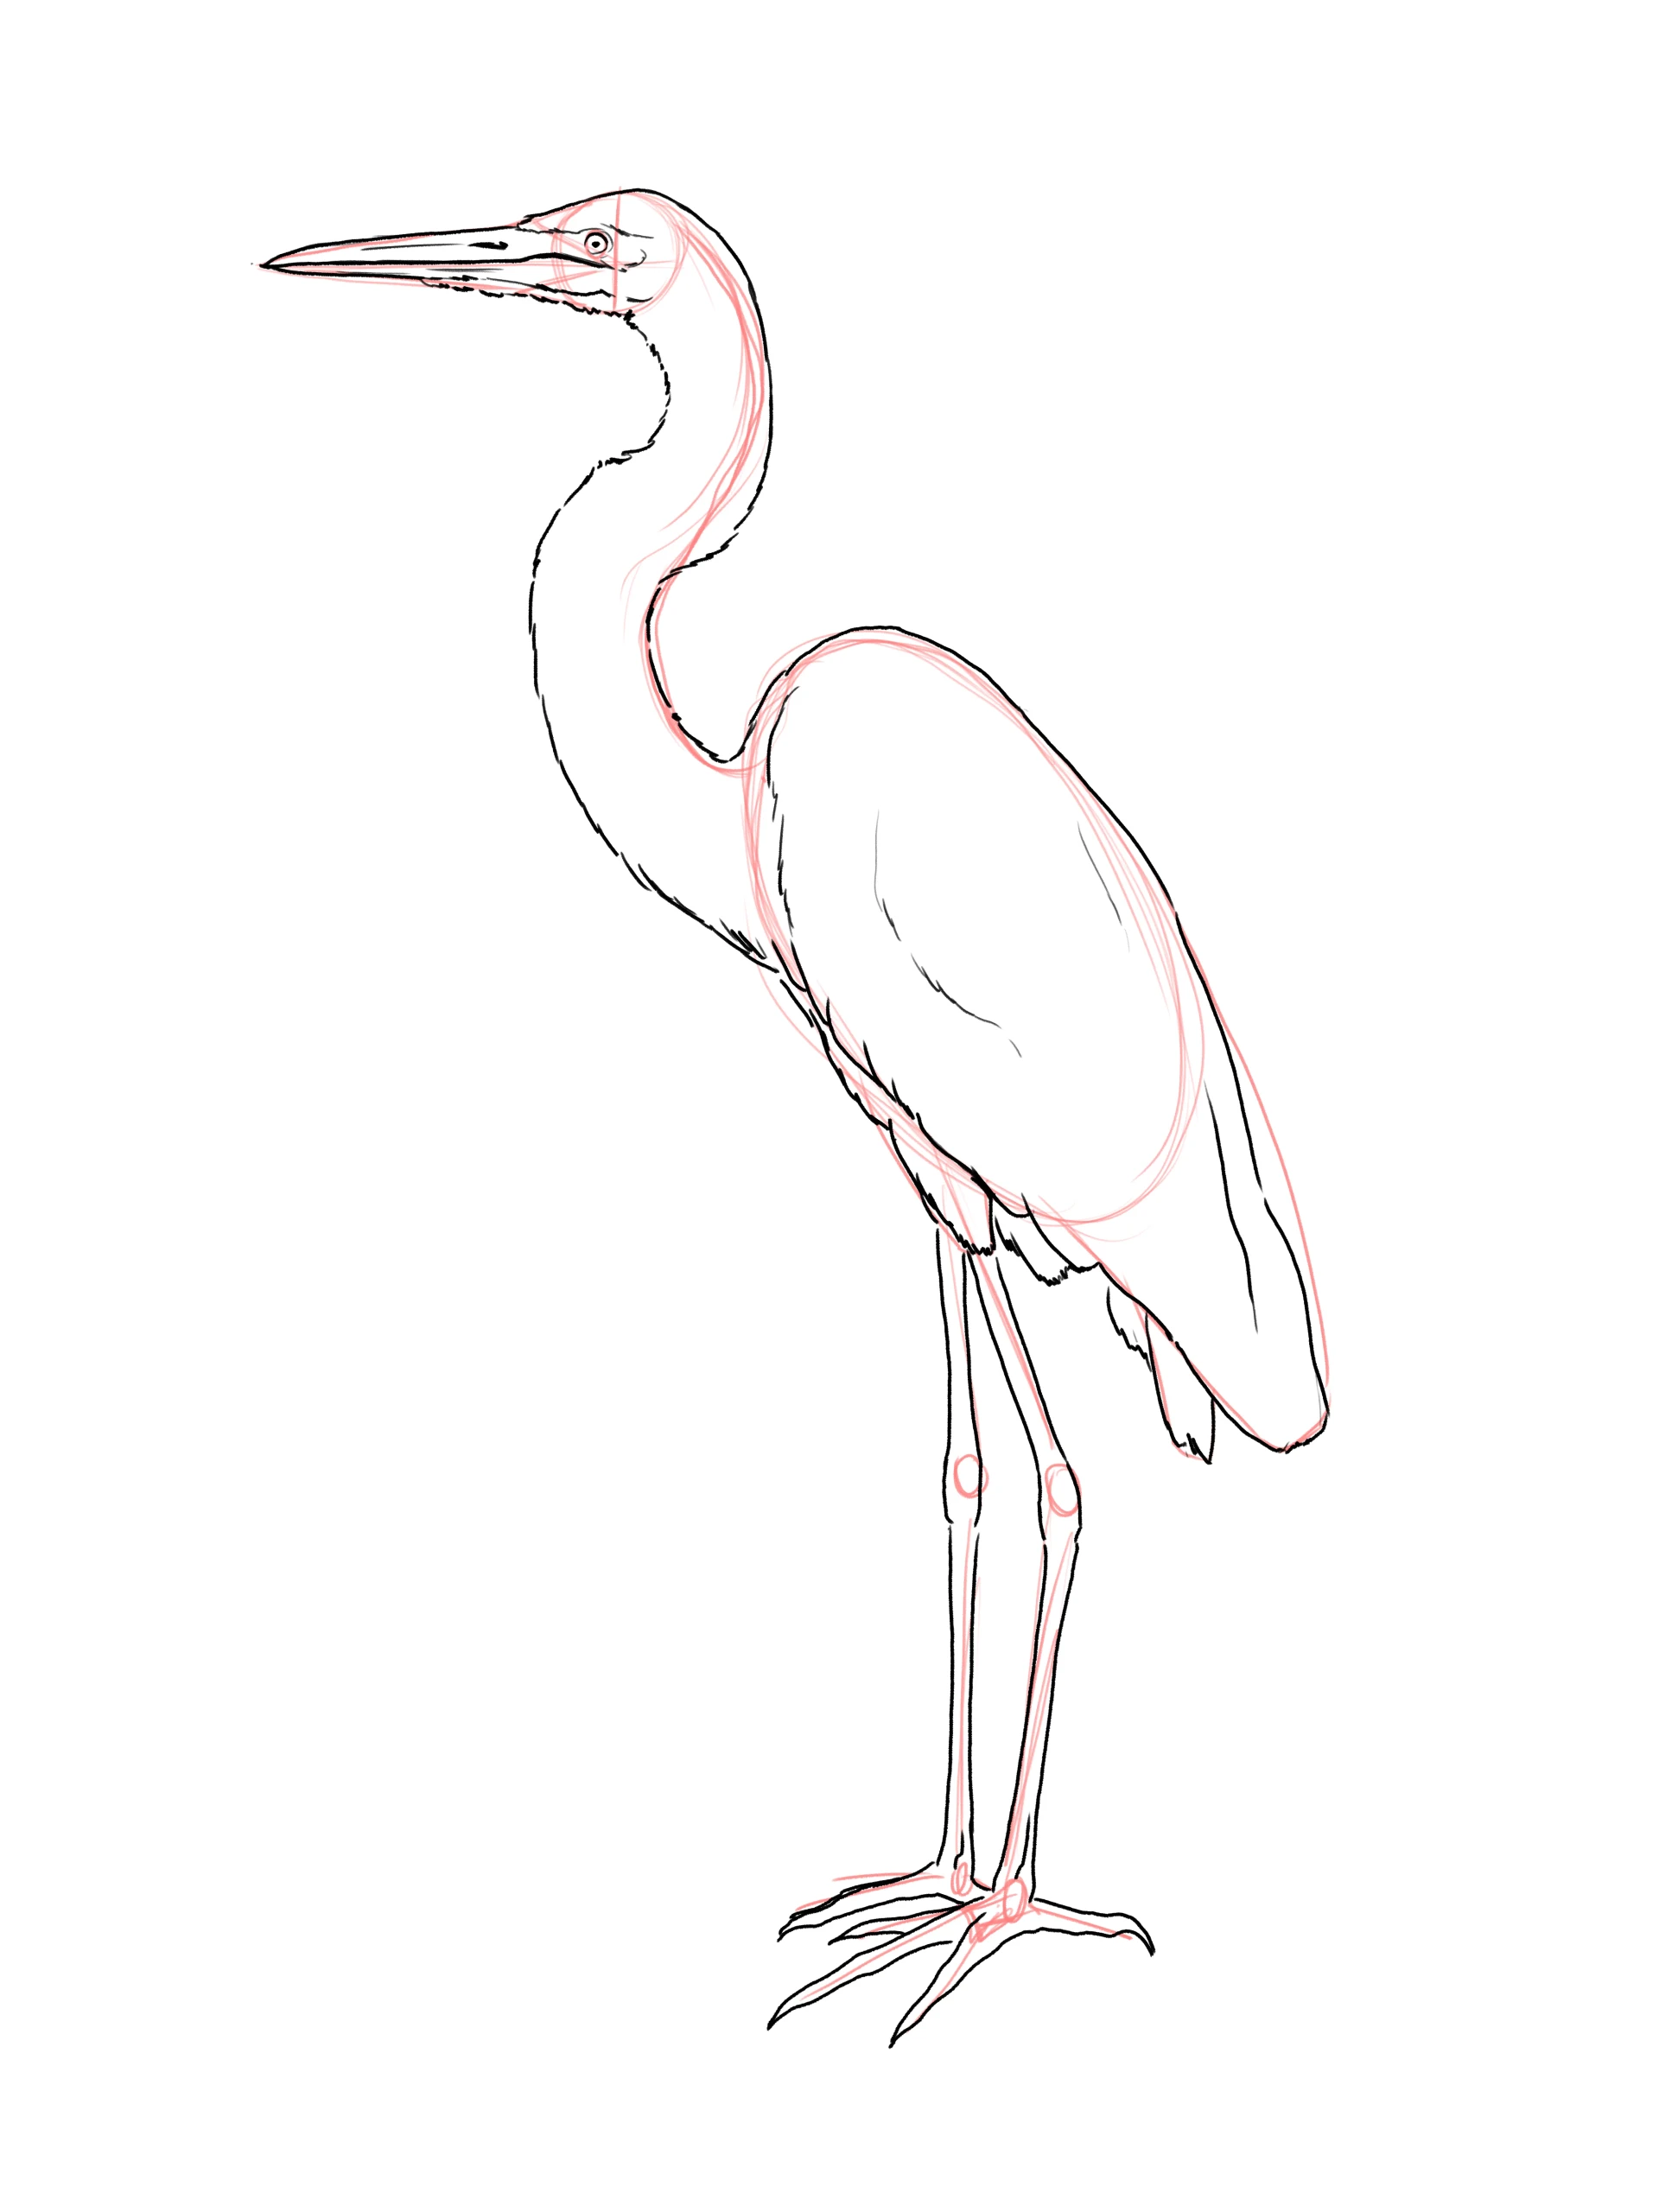
Once the line drawing is complete, erase the remains of the sketch to obtain a clean base before moving on to color, a step that is all the more important as we are working with white plumage.
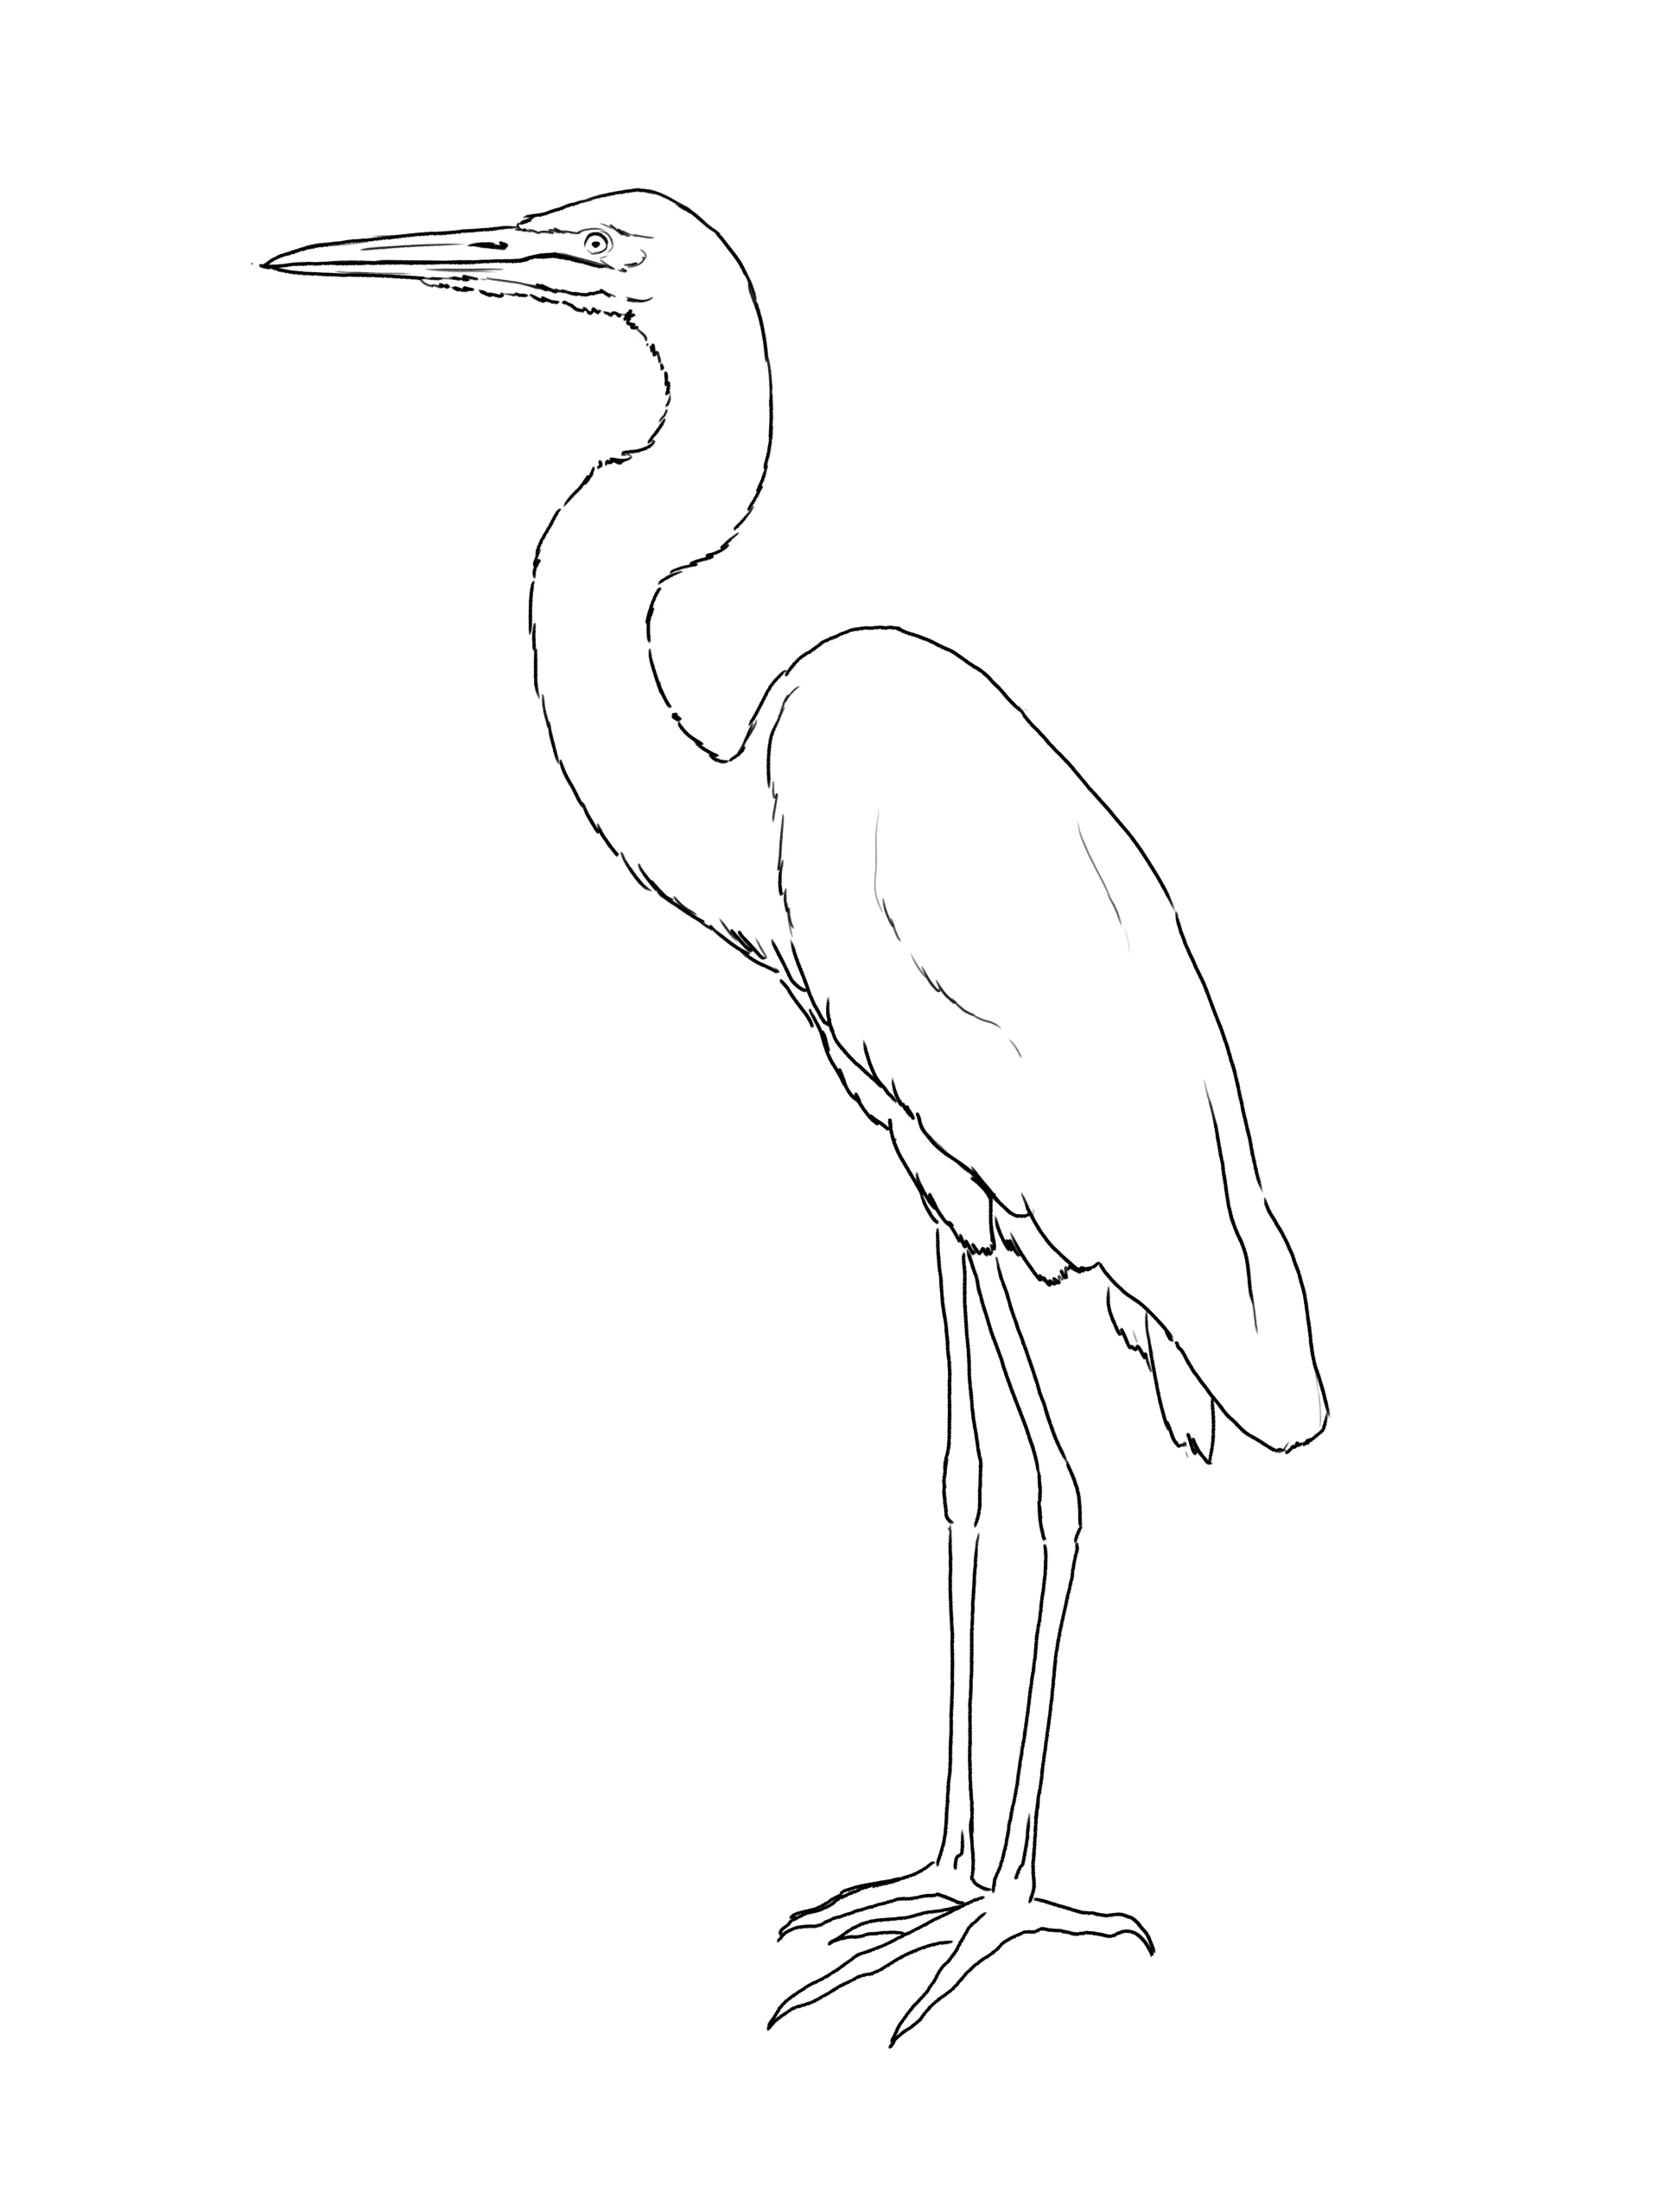
Add color to the drawing
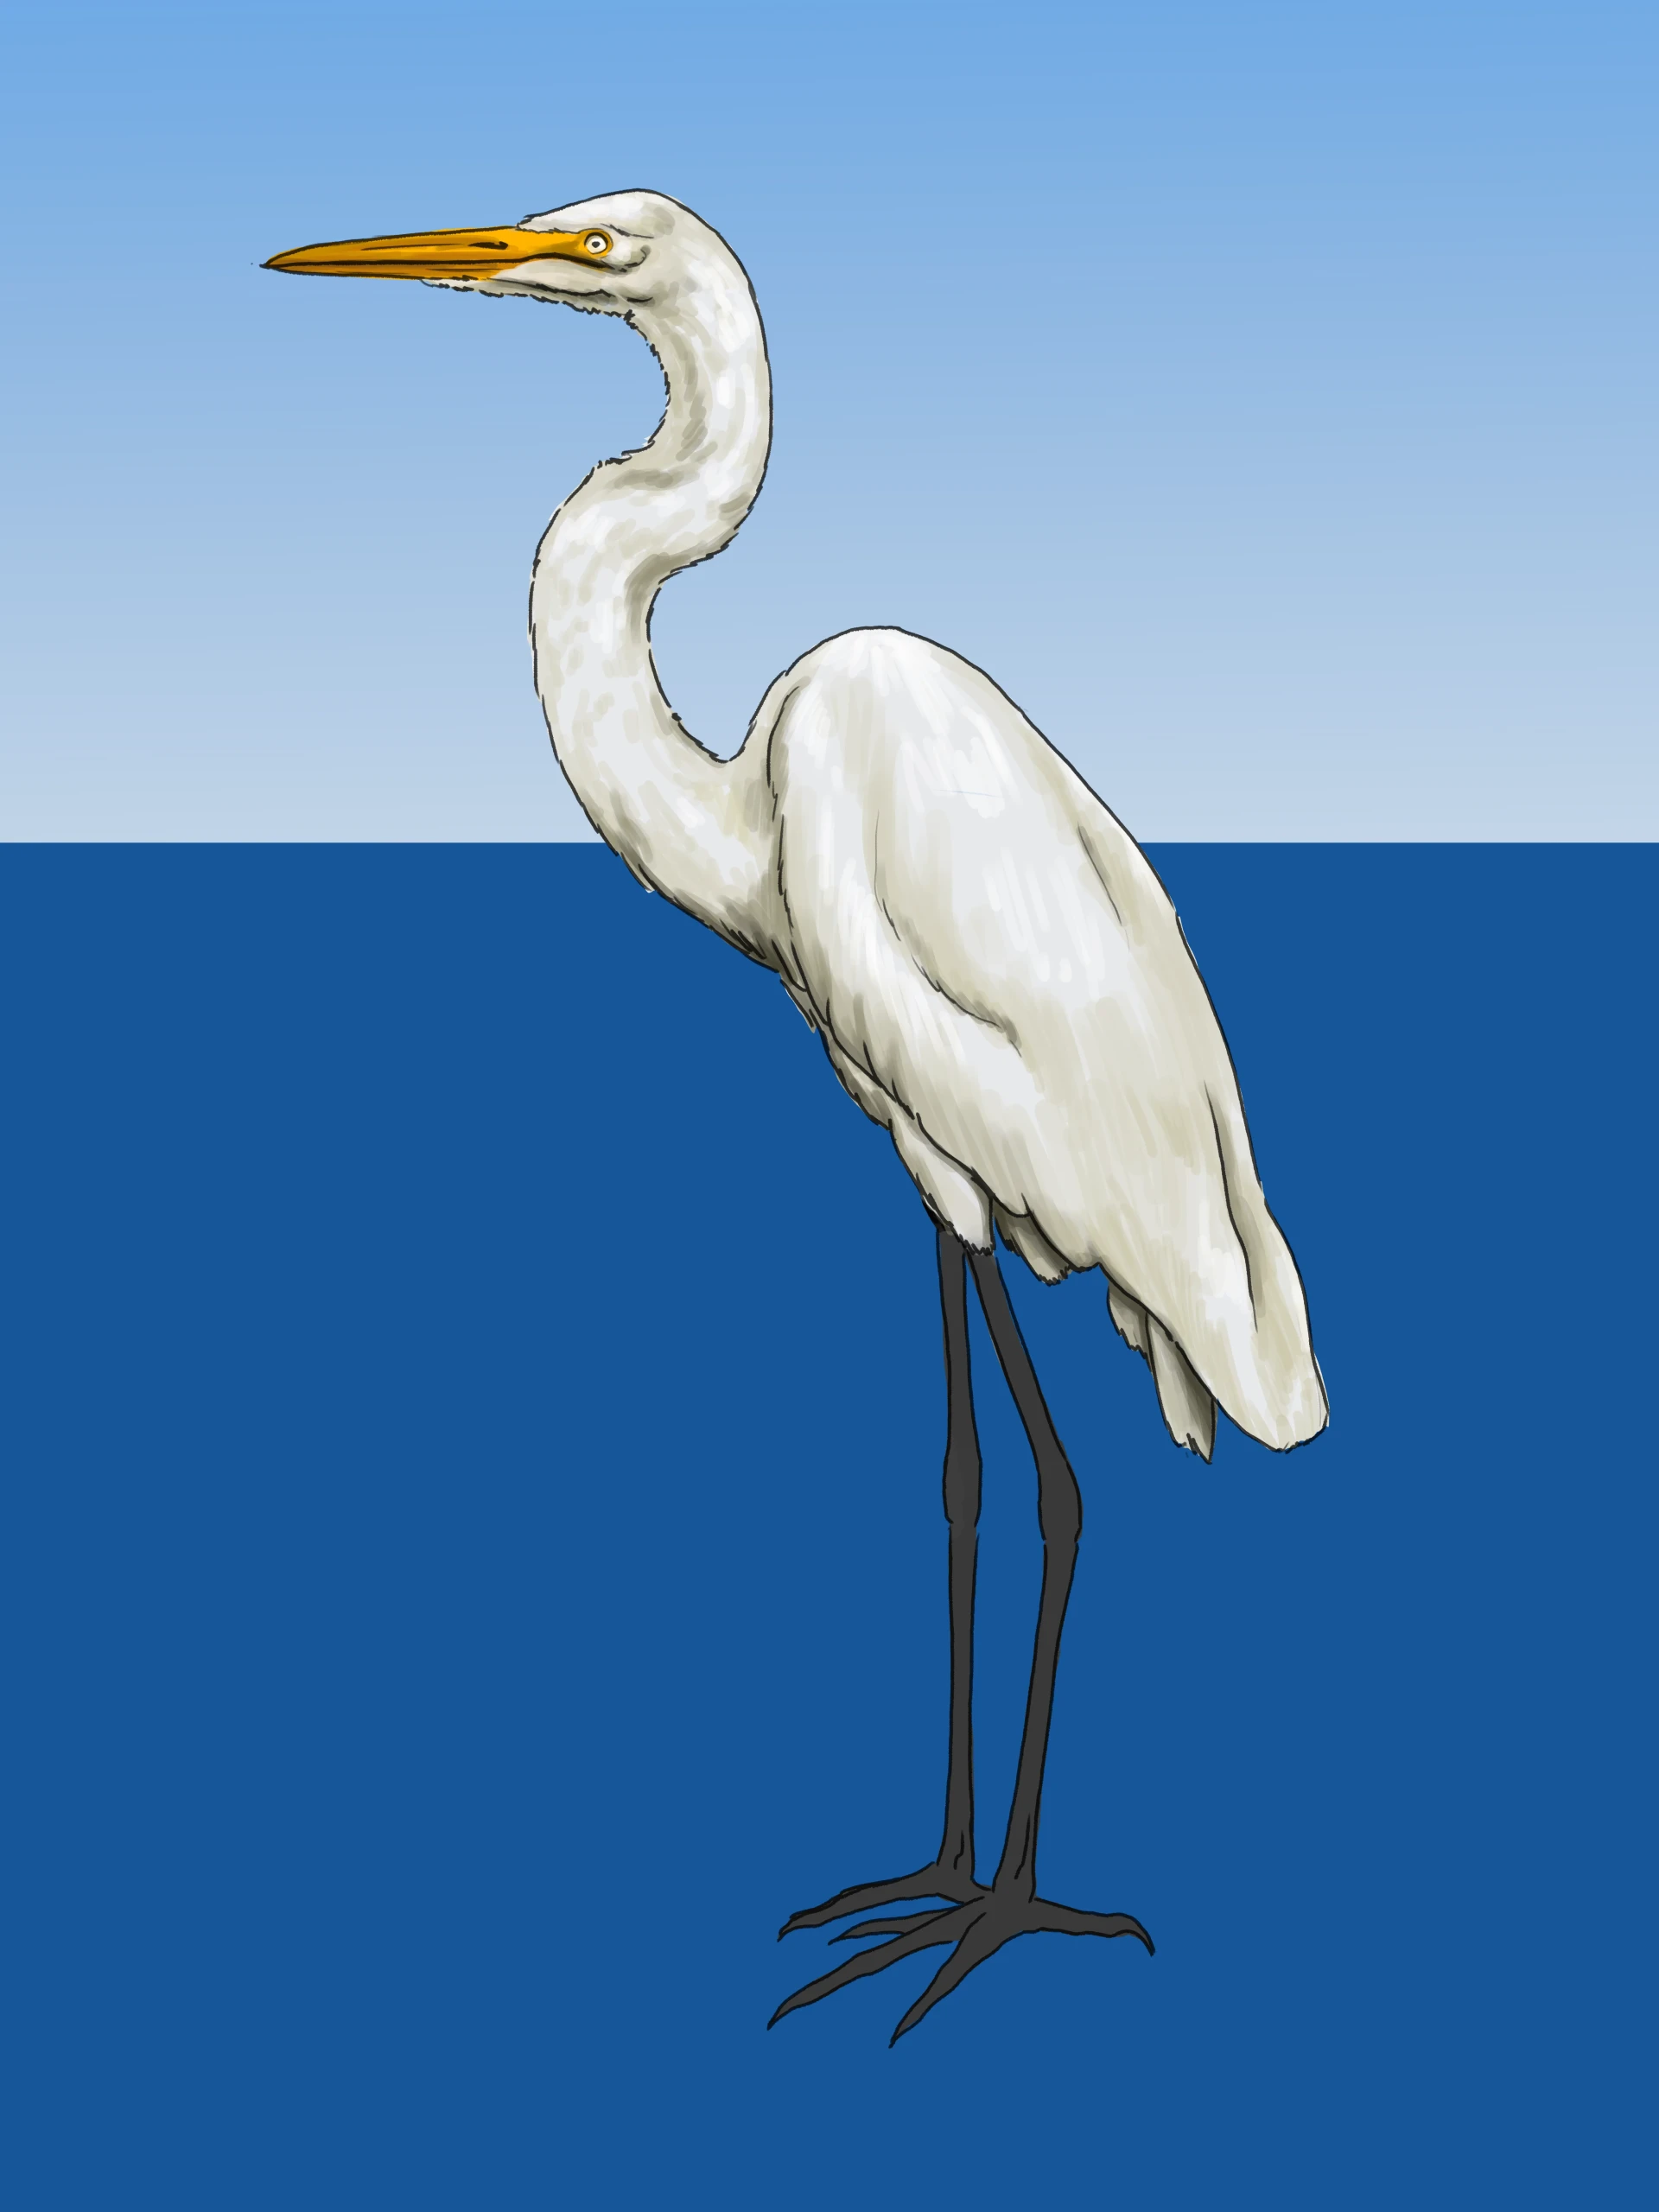
Painting white plumage requires a special approach. Start by laying out the background: a deep blue expanse of water and a gradient of light blue for the sky. It is important to preserve the white of the plumage by avoiding any chromatic contamination.
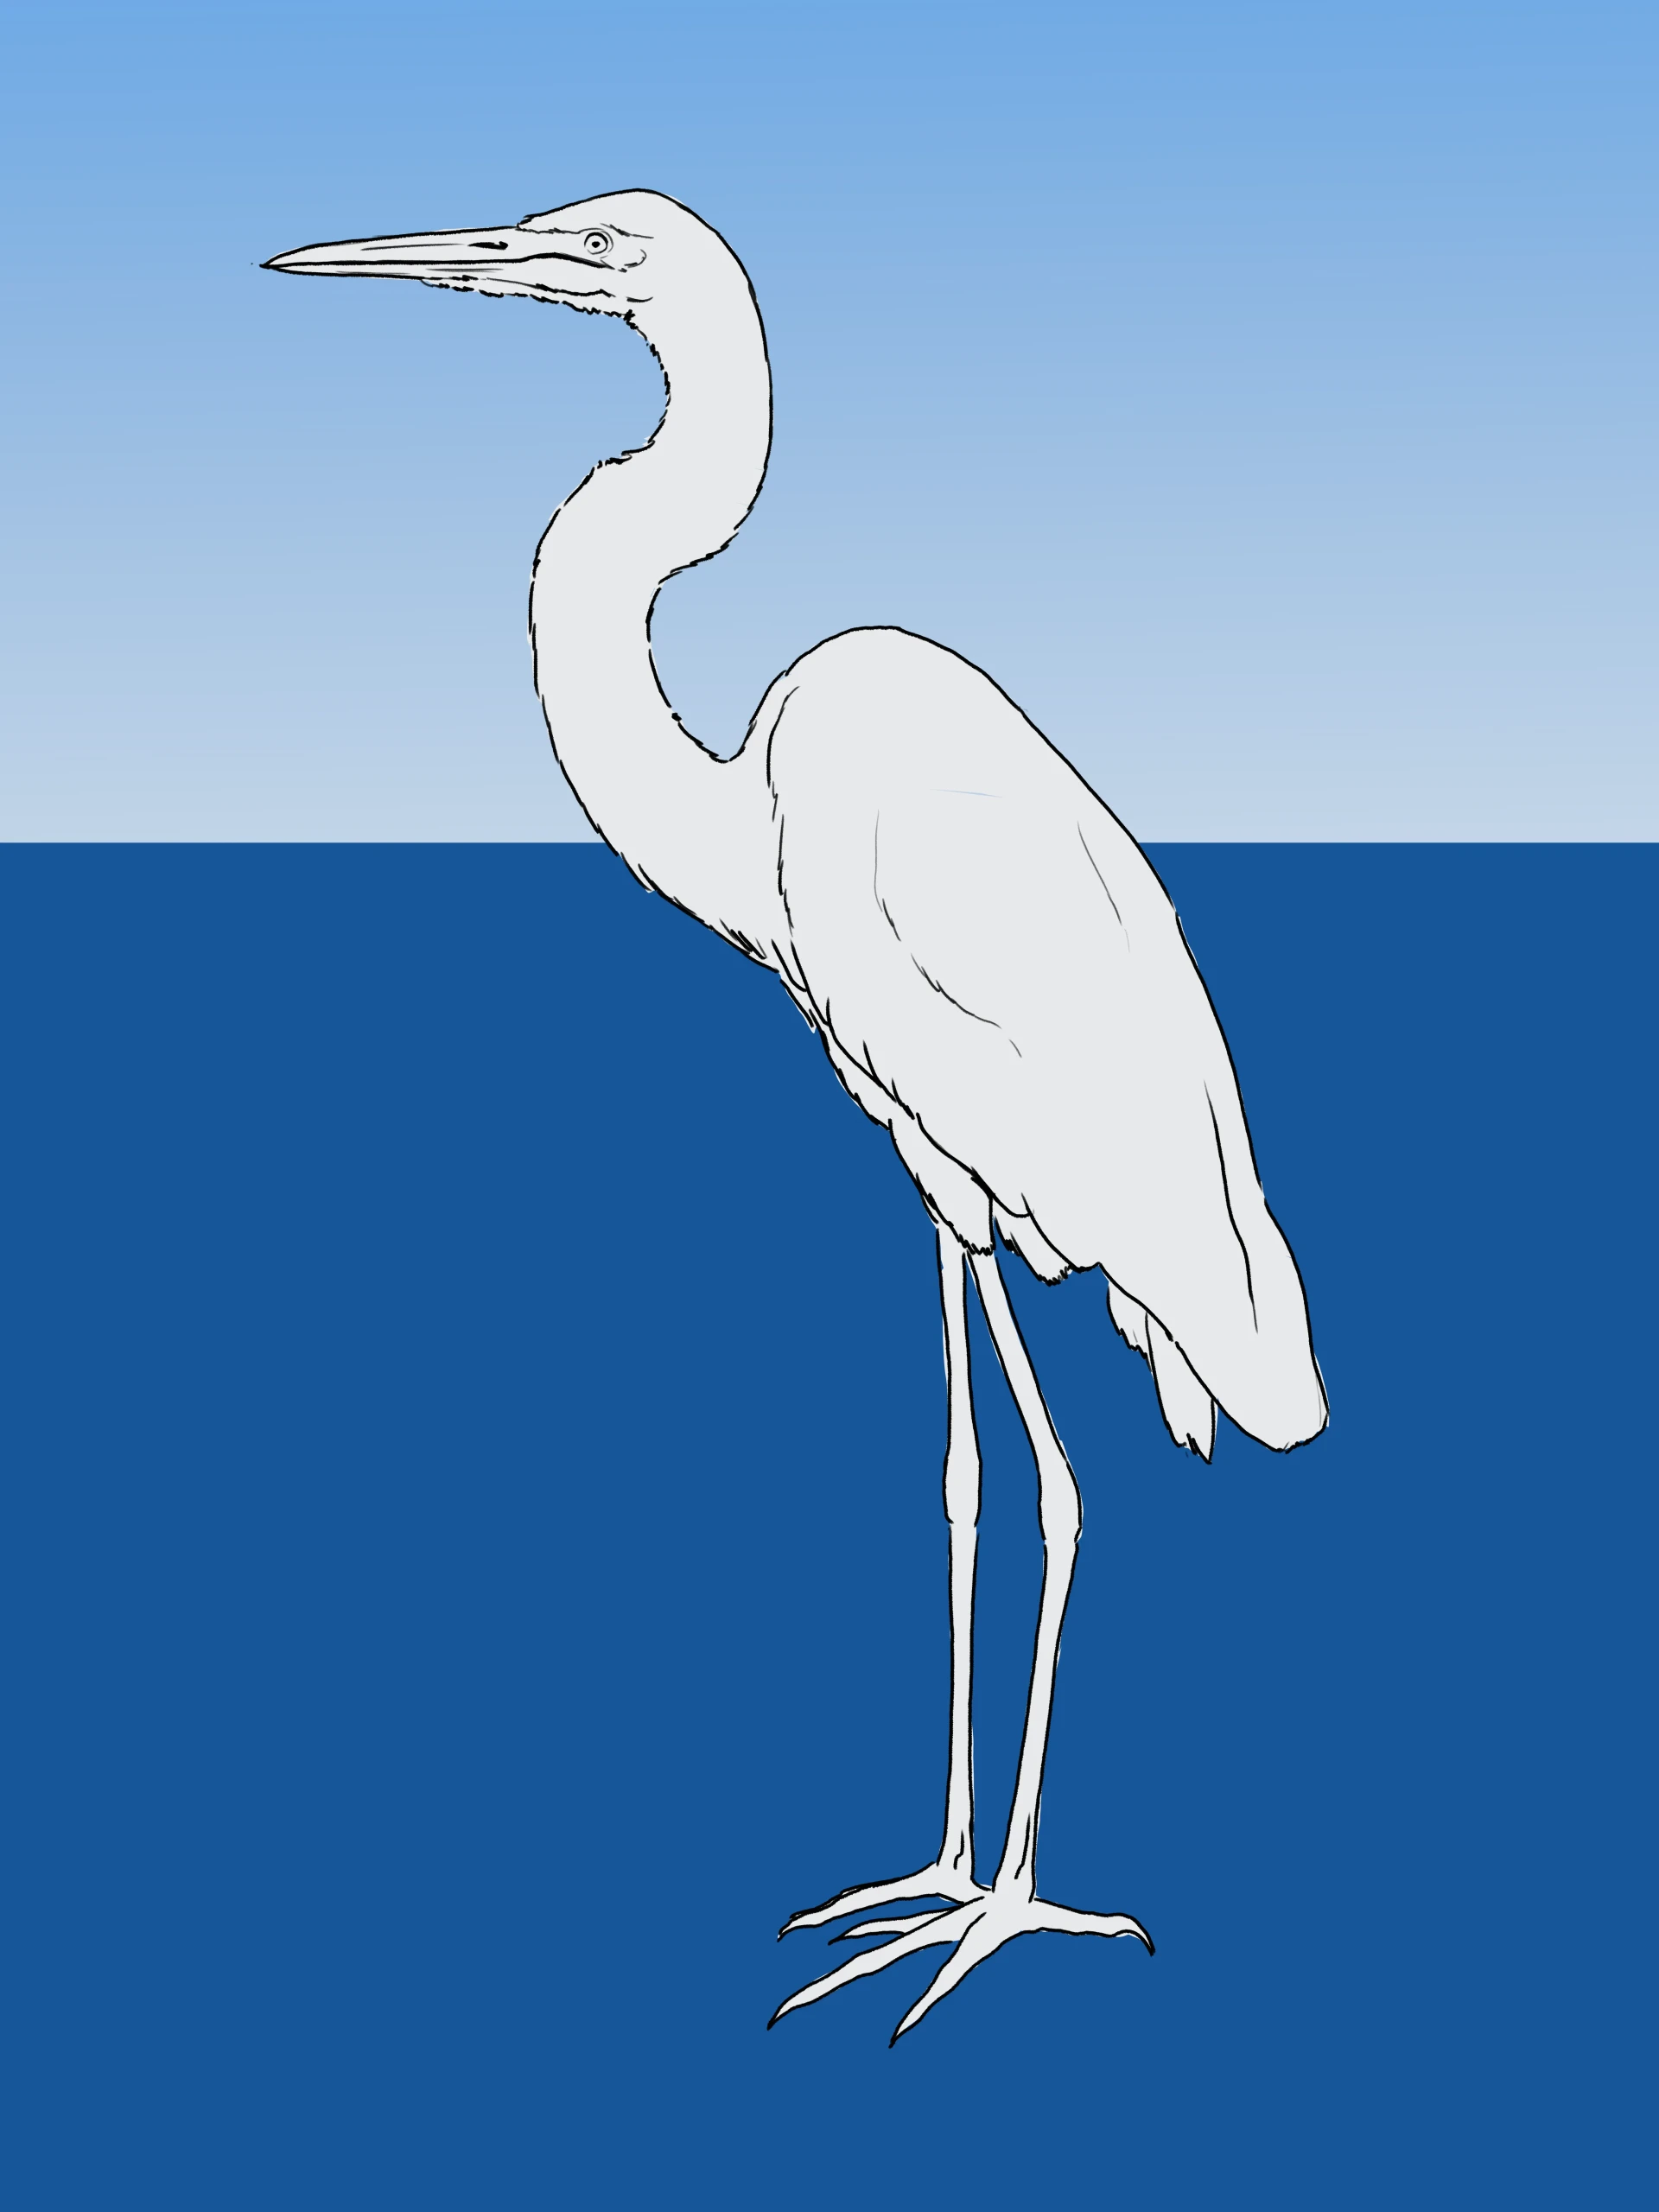
Go first to the most visible colors: a golden orange covers the beak and part of the face, up to the area surrounding the eye. Use a darker tone for the shadows, using the joints as a guide.
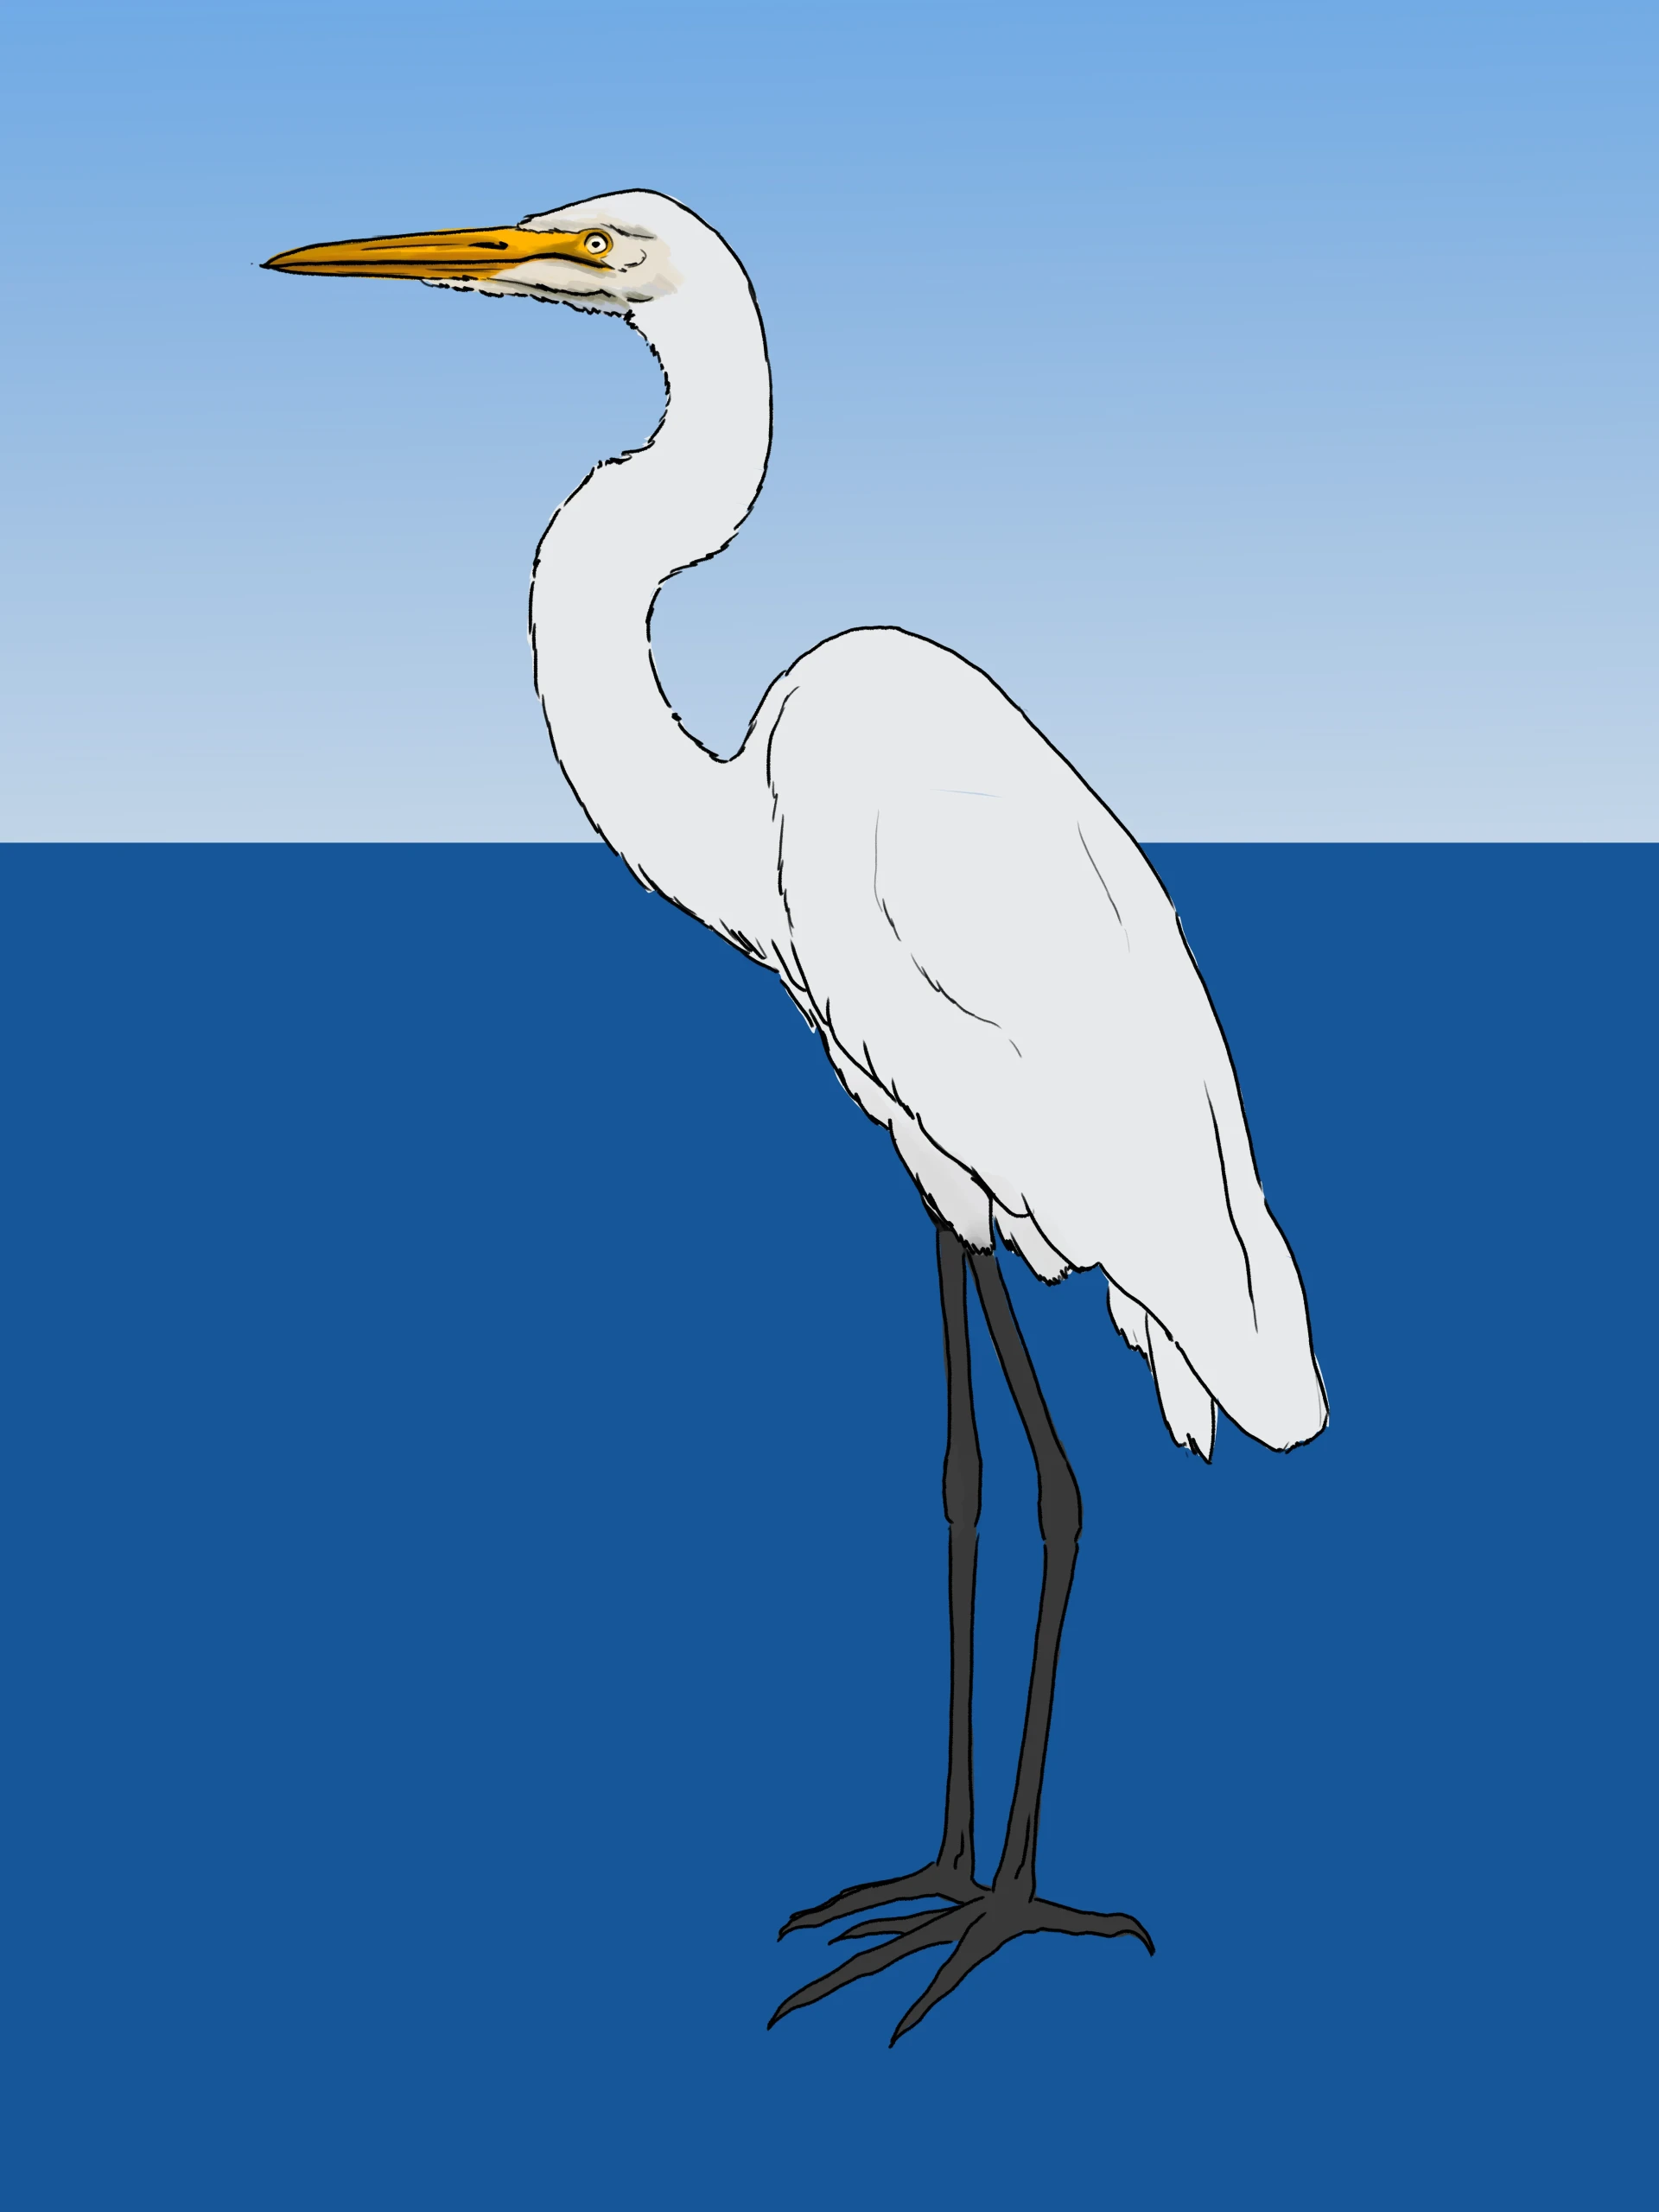
How to create shadows
Contrary to what intuition suggests, we don't use gray to shade white. Instead, opt for a very pastel yellow, or possibly a very soft blue. With this tone, make thick, messy strokes to create a first layer of downy plumage.
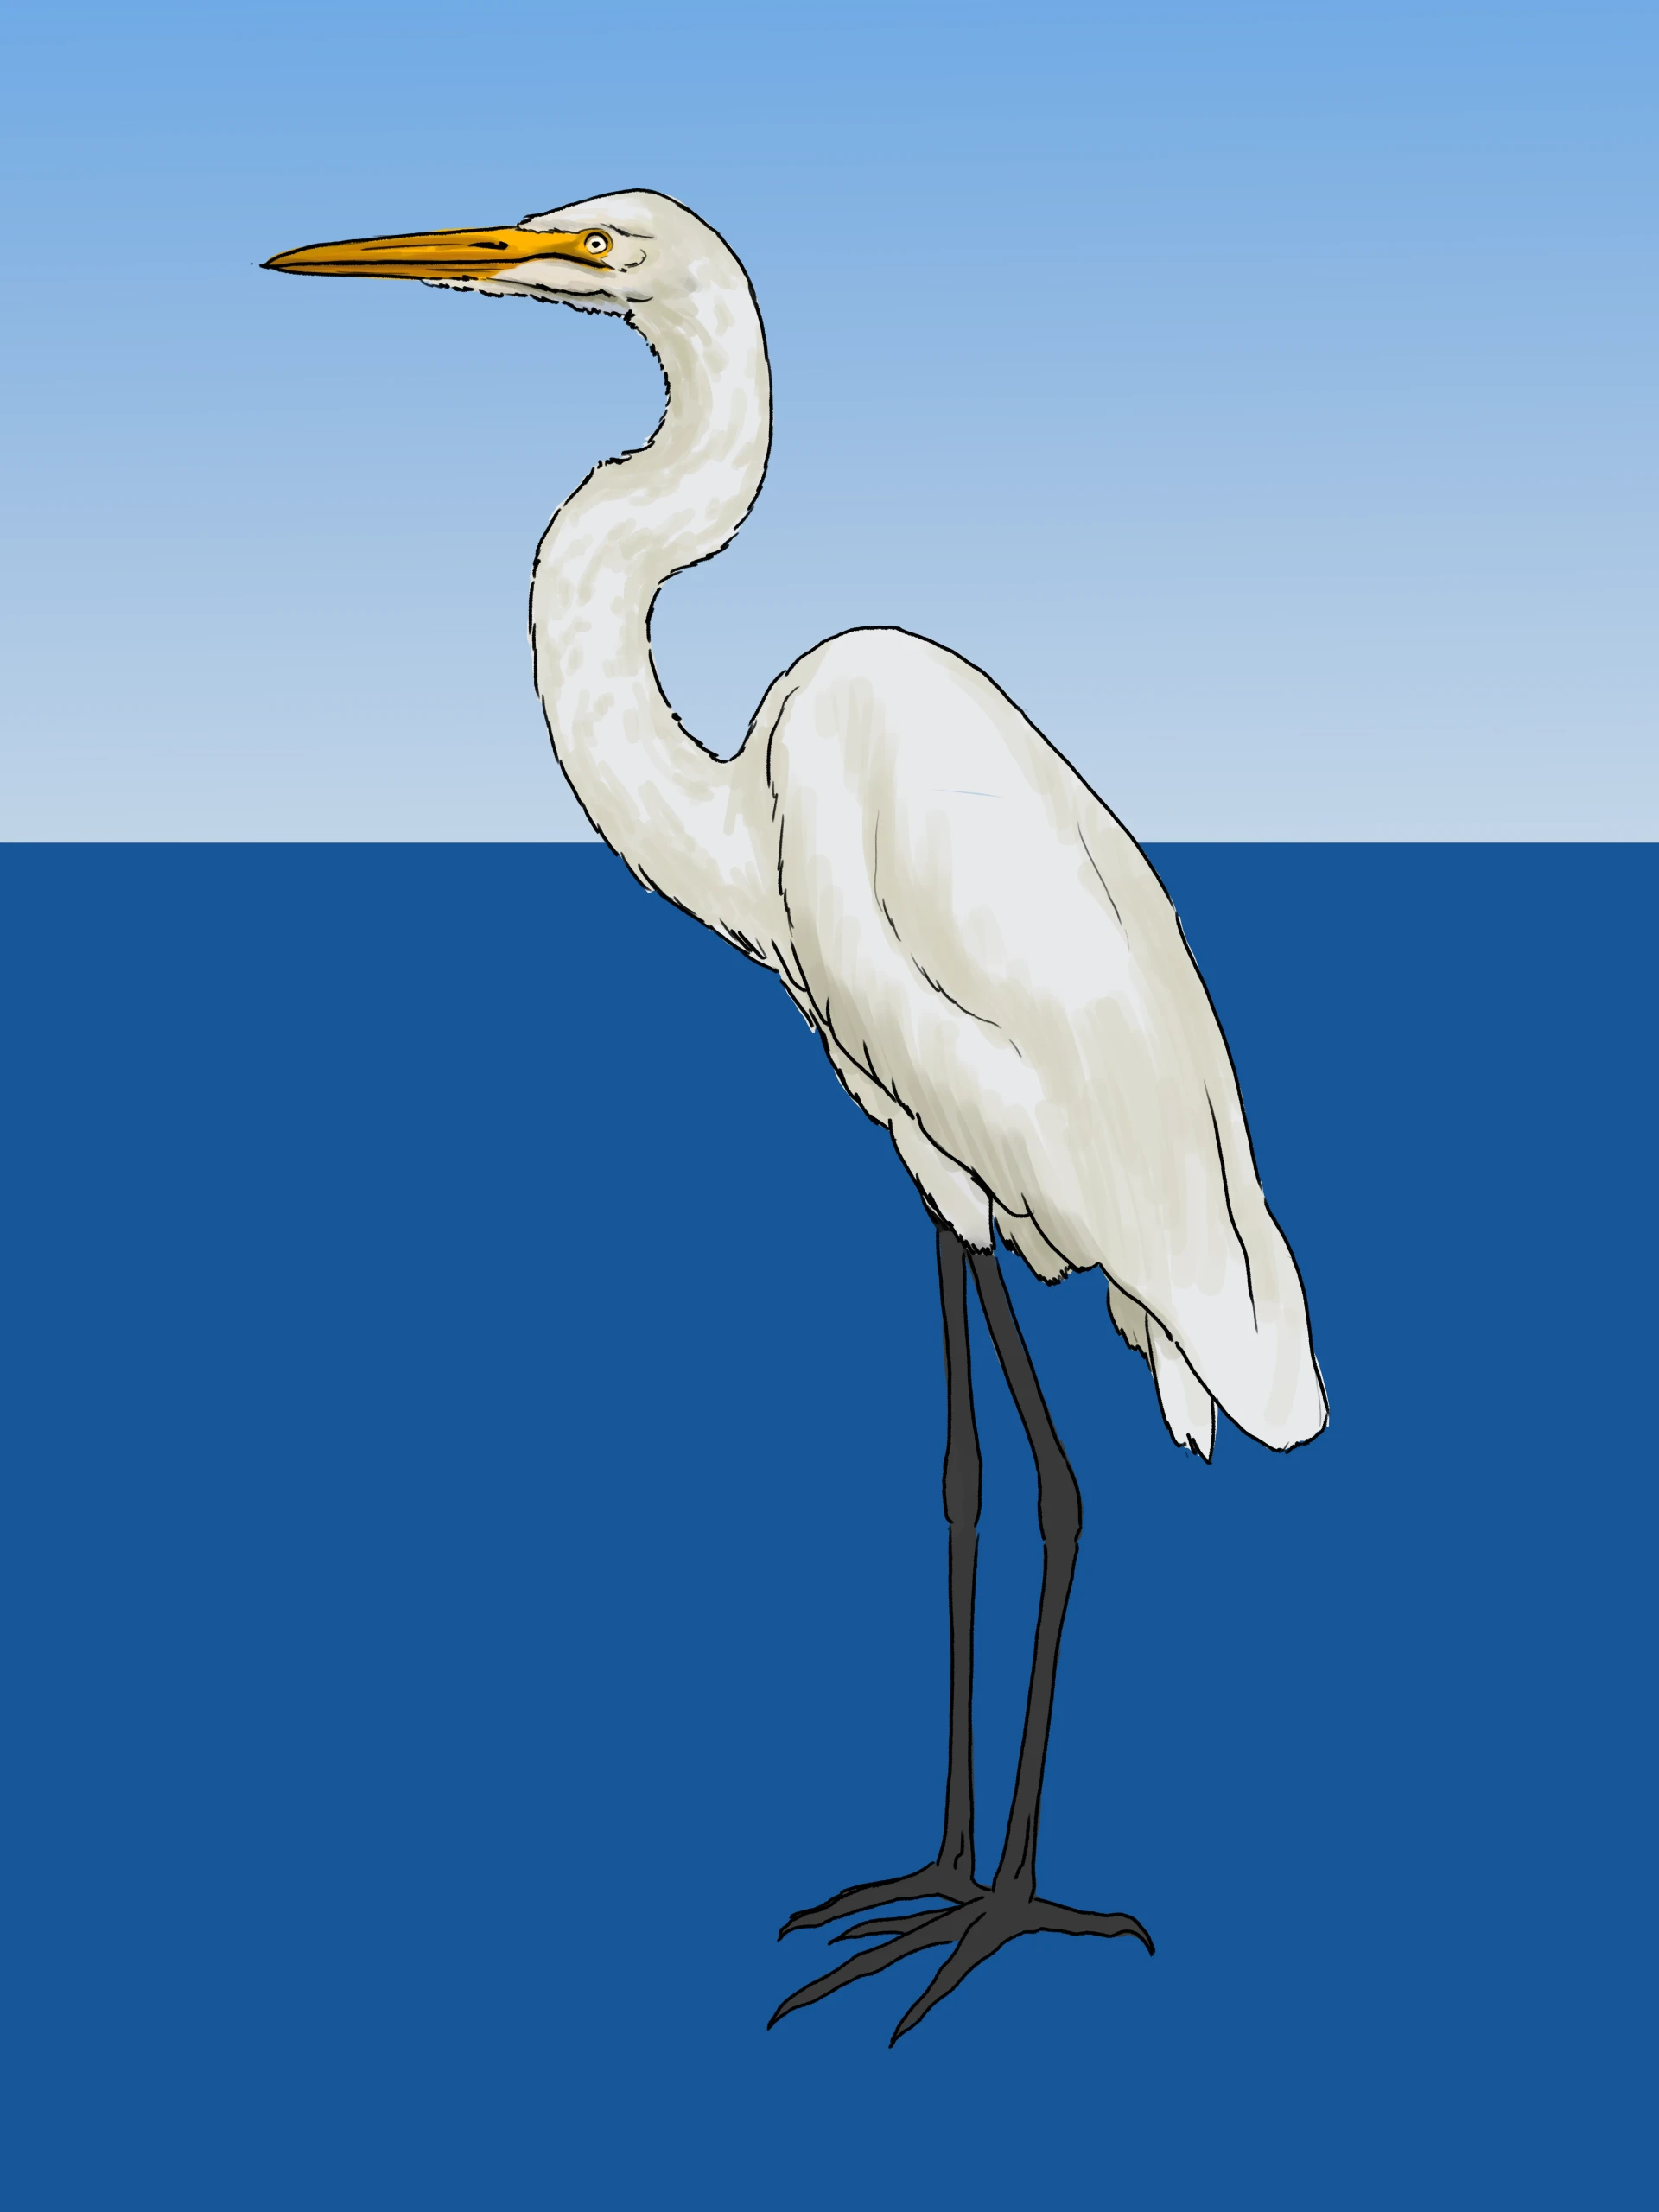
For deeper shadows, use a slightly darker version of this pastel yellow, achieved with a touch of purple or brown. Apply it to the darkest areas based on your model.
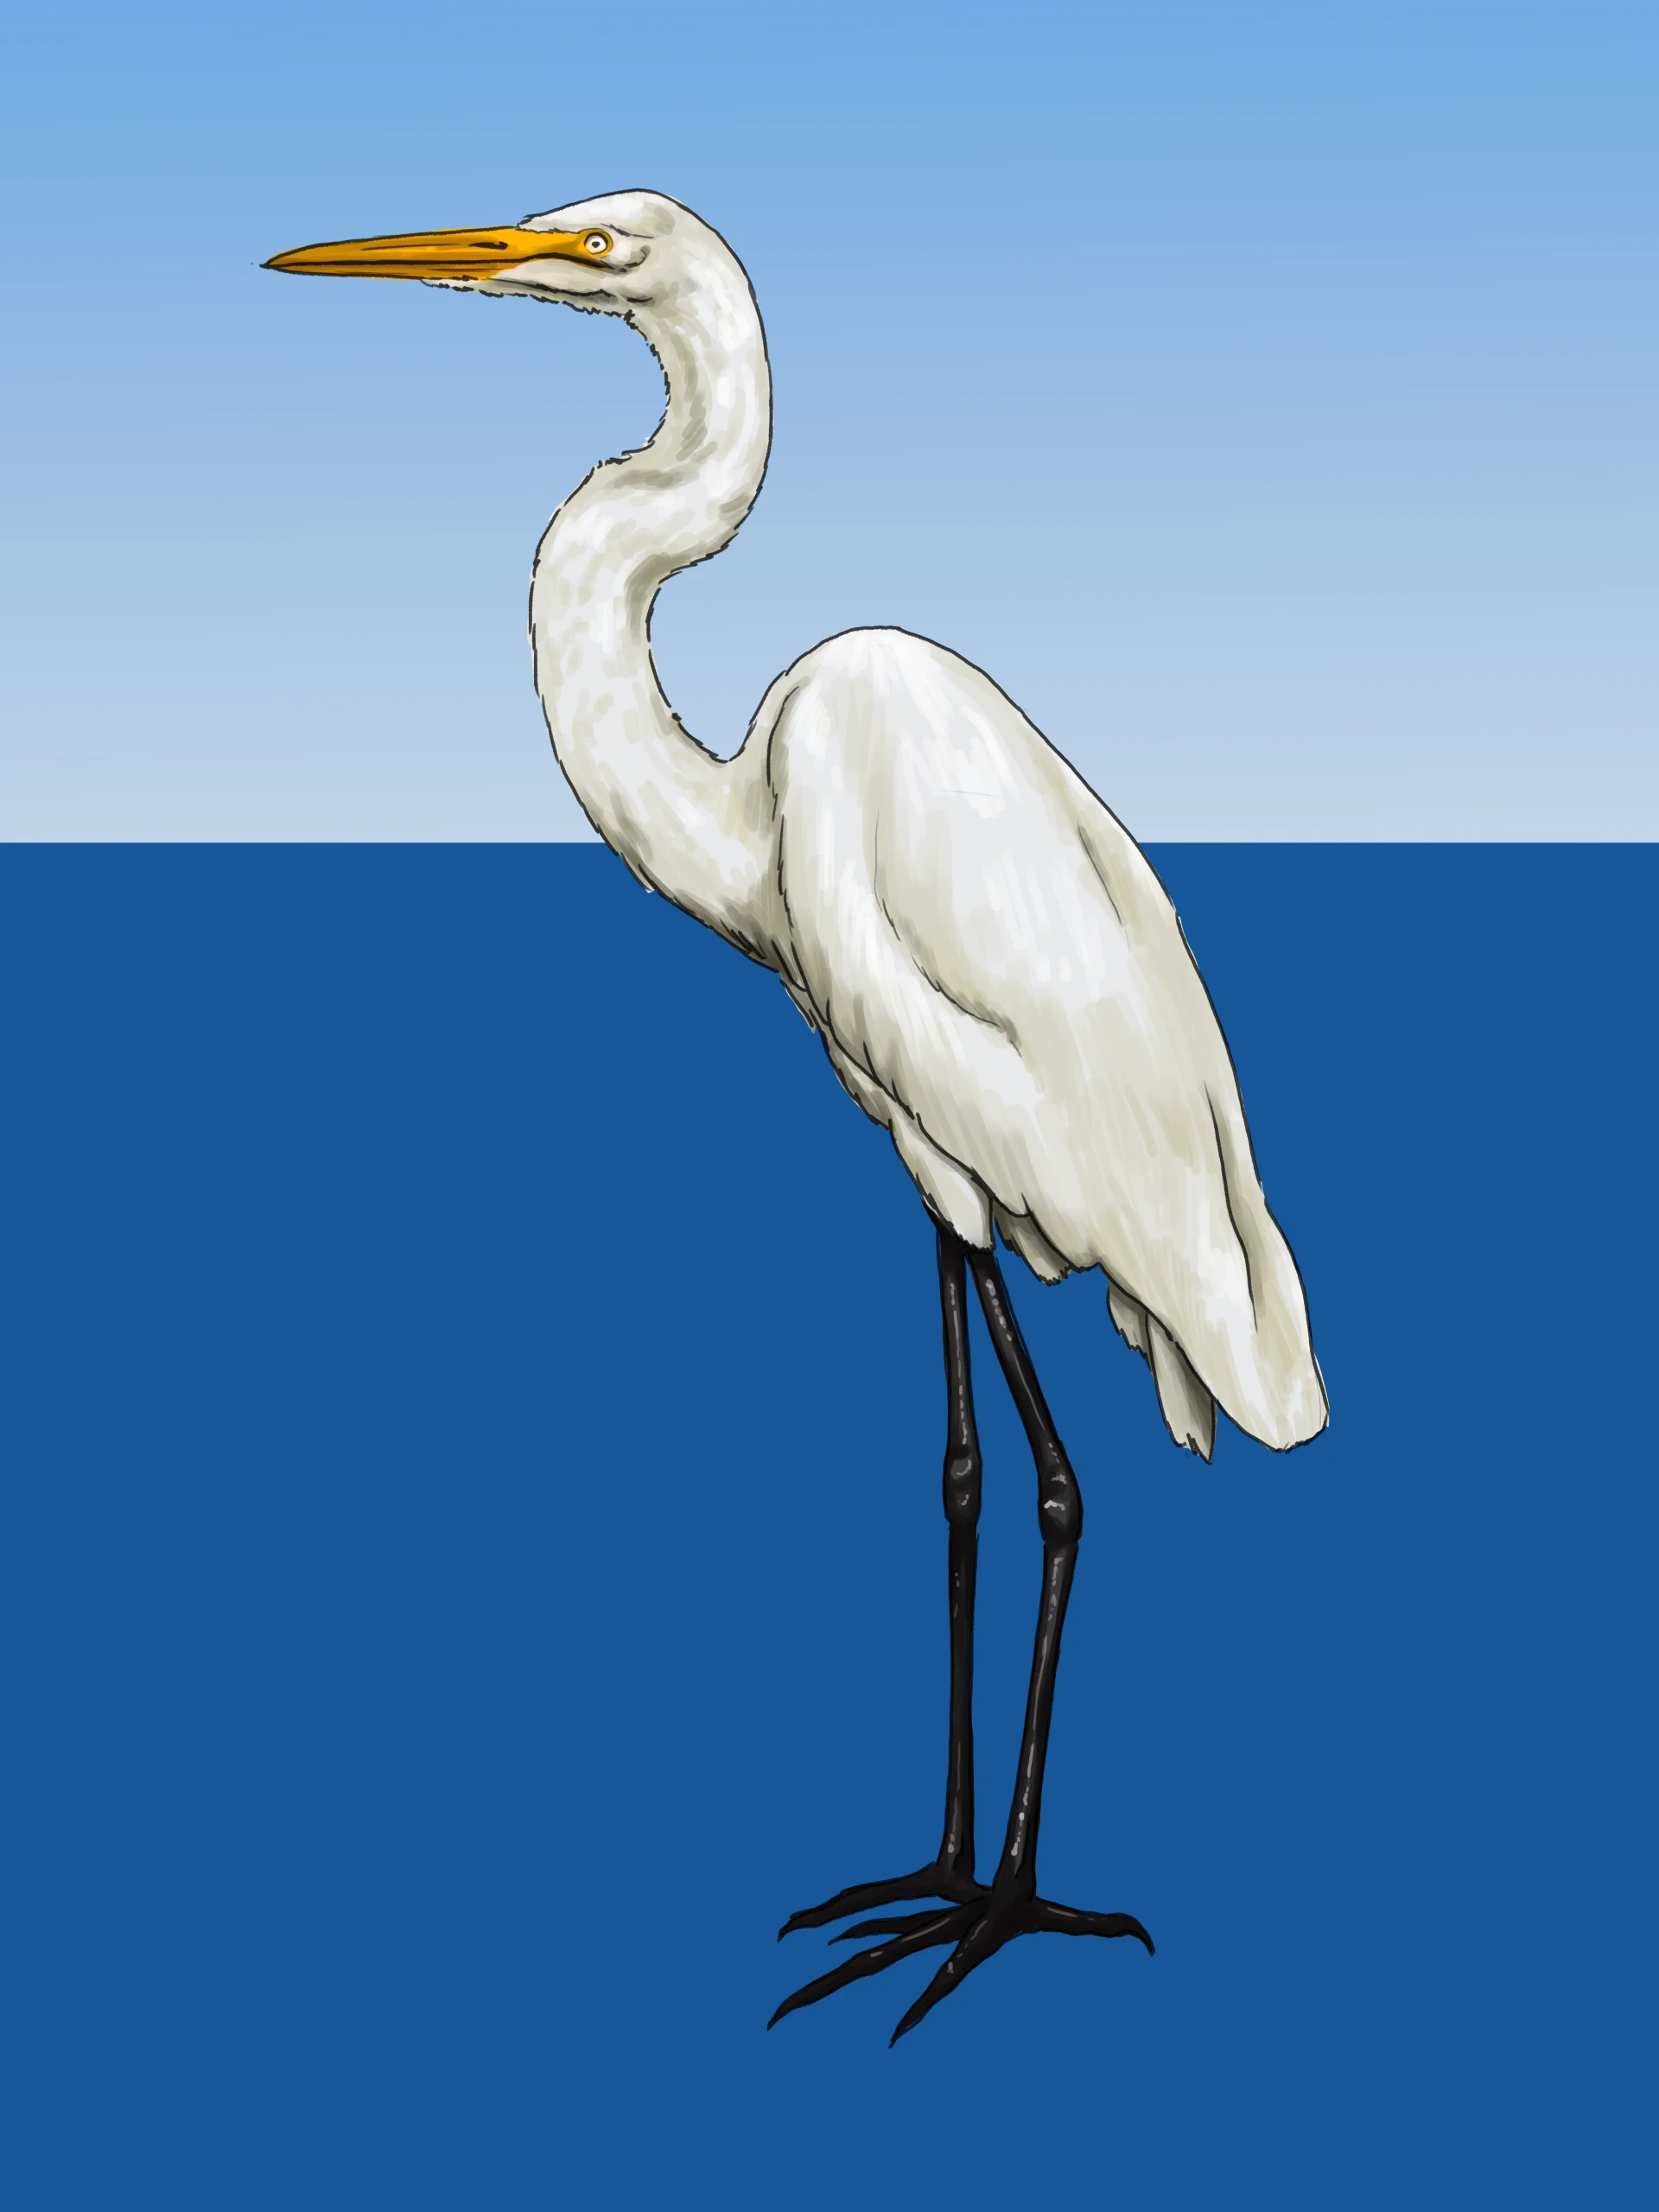
For the legs, add shadows with a very dark tone of deep blue, a mixture of orange and black will give the desired shade. On these dark tones, create volume from reflections of light with pure white, applied in small fine lines along the limb.
Finalize your heron drawing
Set your heron in its natural habitat: a body of water through which it walks with elegance. In this example, a forest in the background in dark tones creates a silhouette that contrasts with the pristine white of the bird. For the water, use several transparent tones of dull blue and green, over previously created silhouettes of algae and rocks. Finish with white waves and parallel shadows.
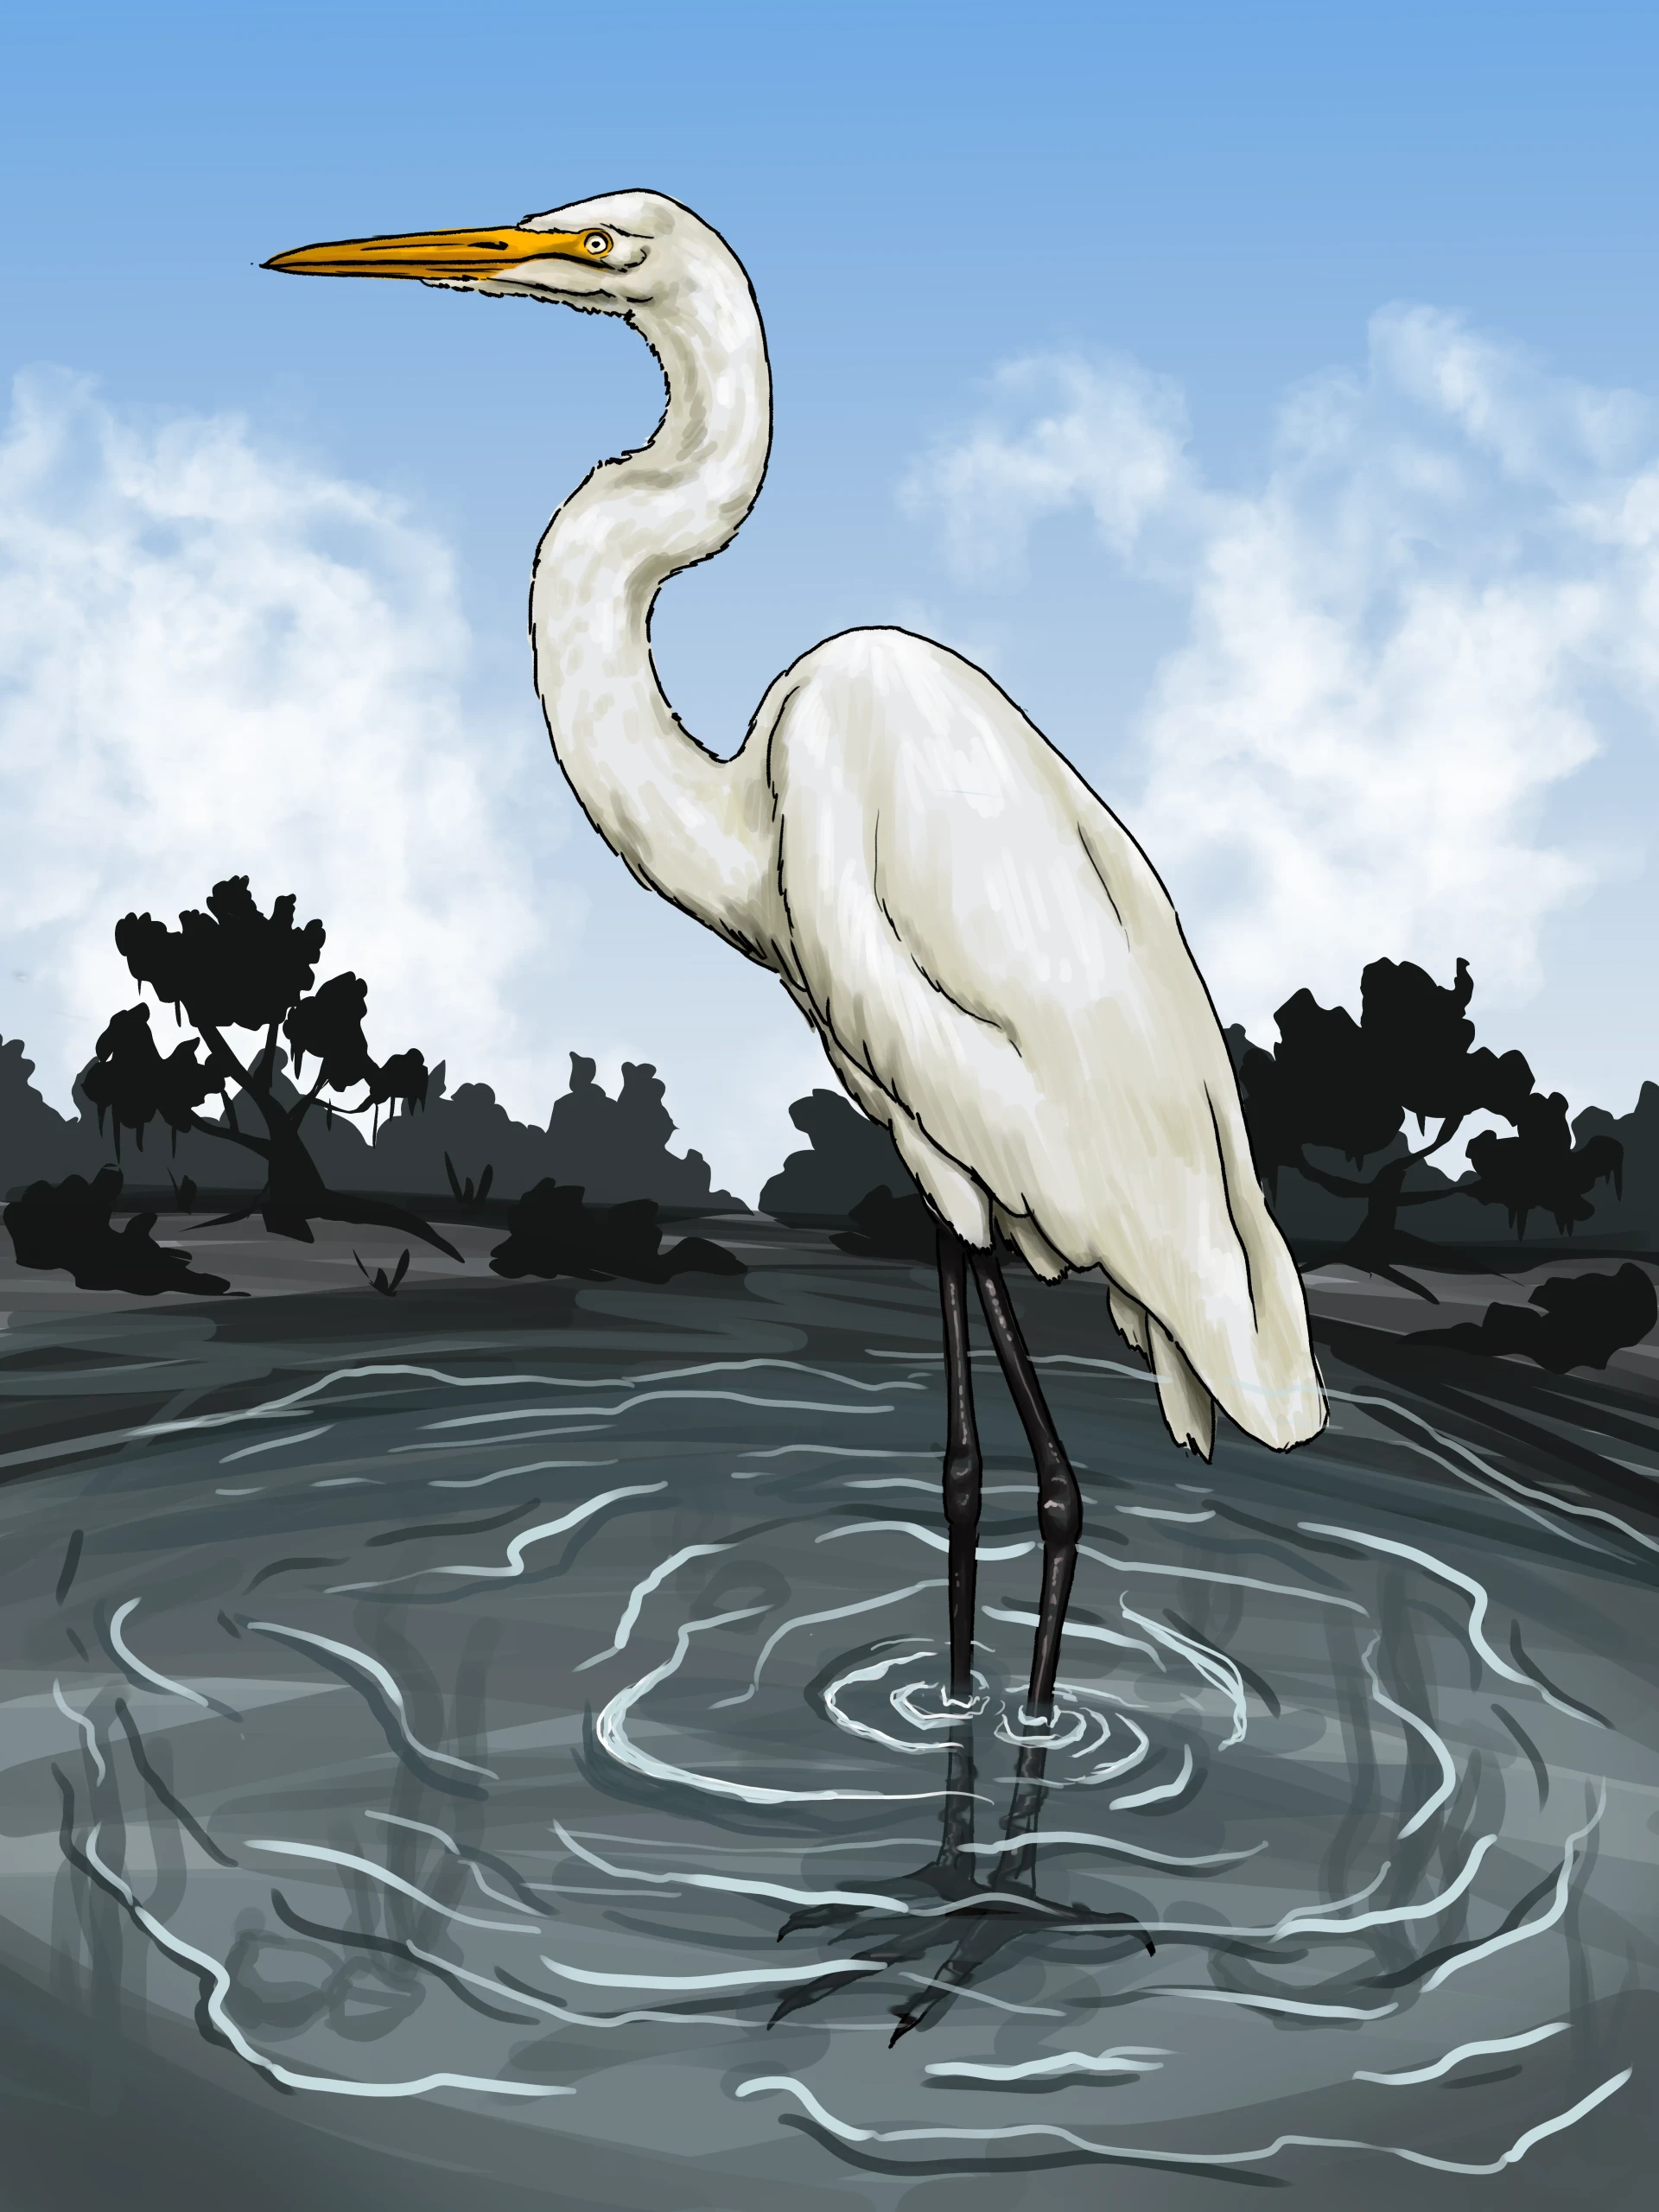
And that’s it for our heron drawing! I hope you liked it and it made you want to get started. The heron is a really interesting bird to draw, especially for learning how to master whites and soft shadows. This is a technique that will serve you well beyond this tutorial.
Discussion
I started painting with watercolors.
thank you for the tutorial