How to Draw an Iris
Today, we are going to draw an iris, an elegant and striking flower with bright colors and undulating petals that evoke the folds of a fine fabric.
Analysis of the shape of an iris
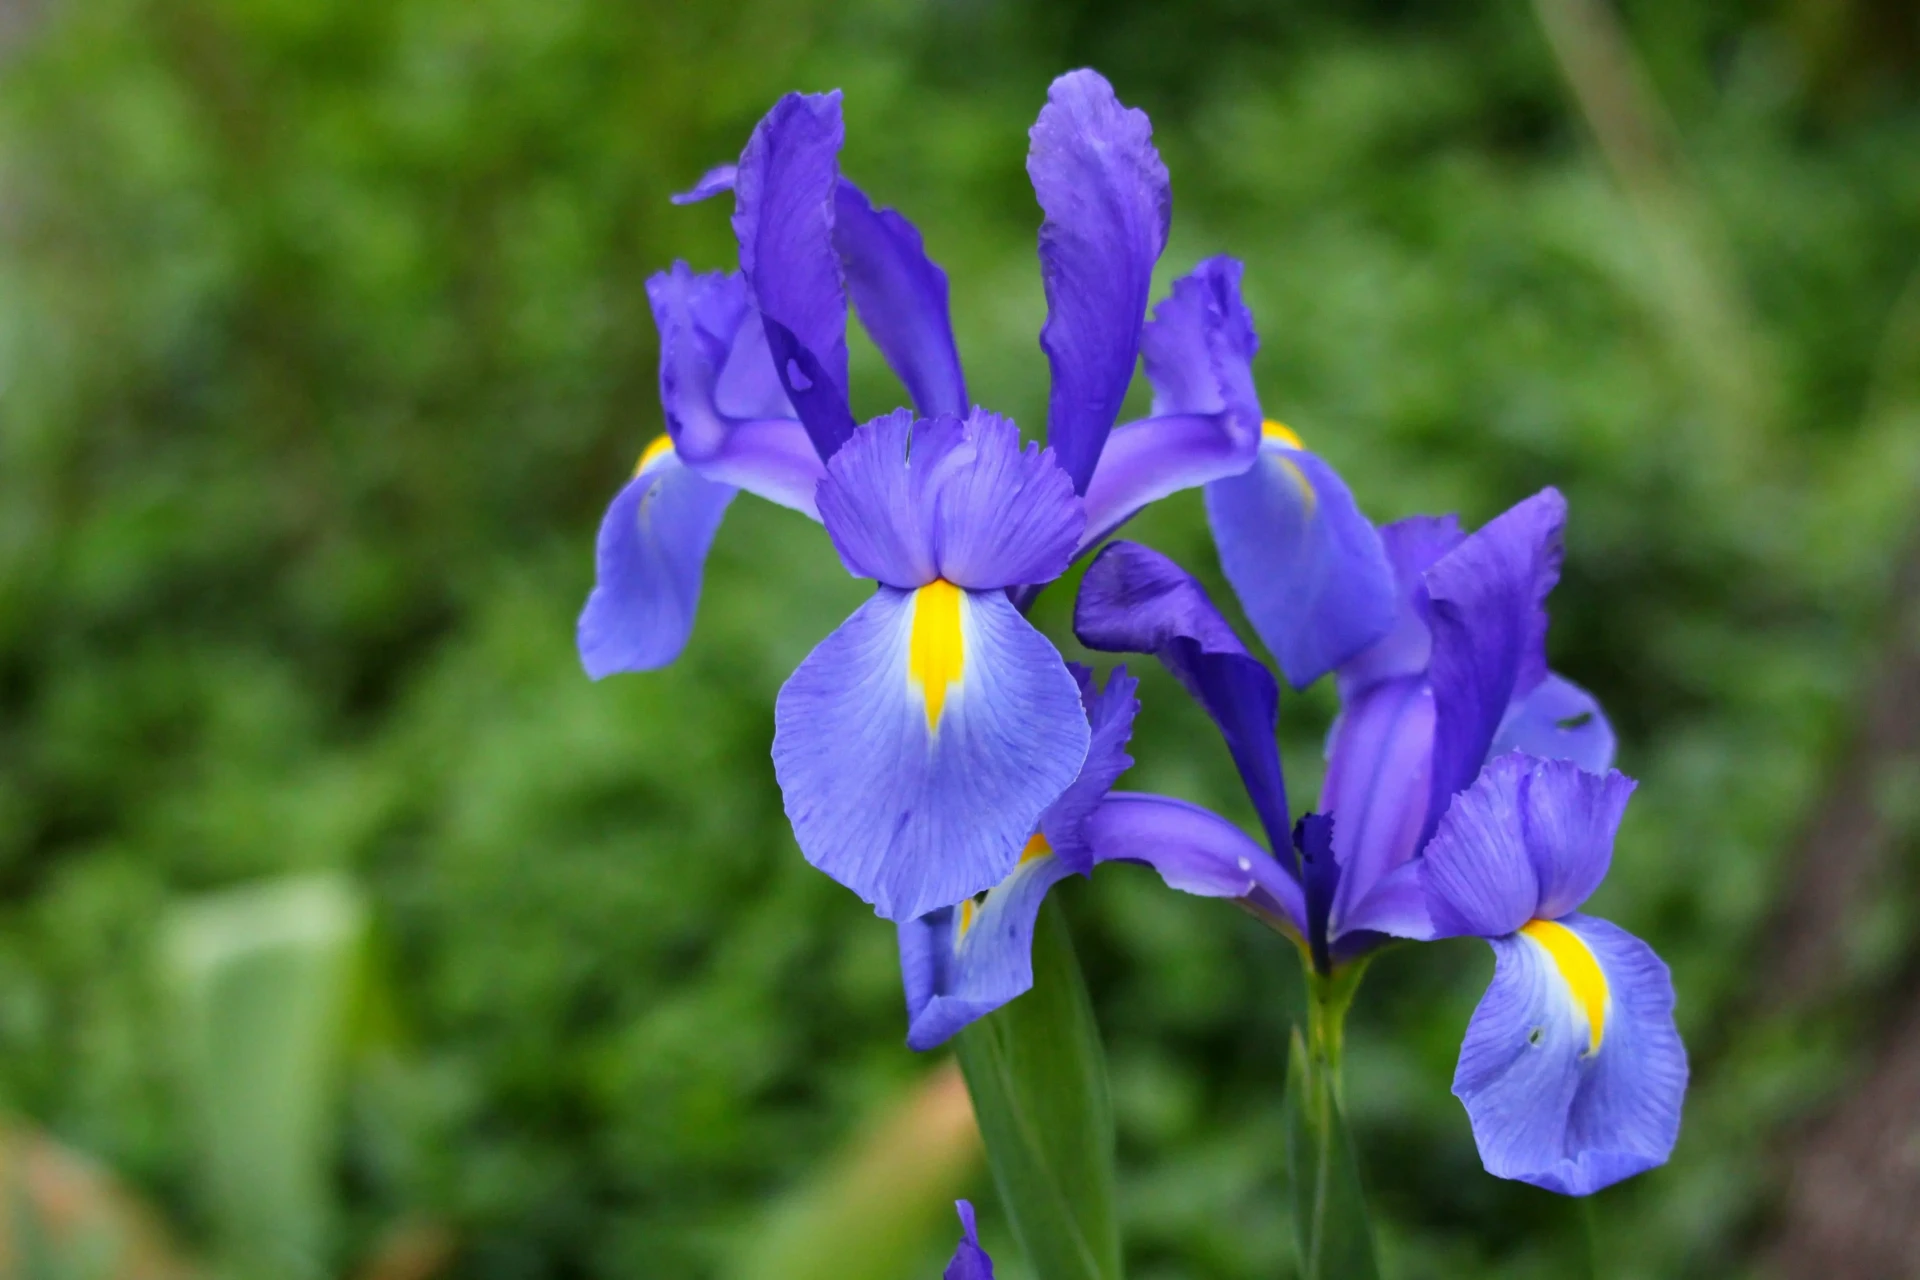
An iris is composed of six petals arranged in two distinct groups: three that rise delicately upwards, and three that fall downwards like the panels of an old-fashioned skirt. The examples shown here are violet, but irises exist in an impressive range of colors, from yellow to white, including deep blue and bright orange.
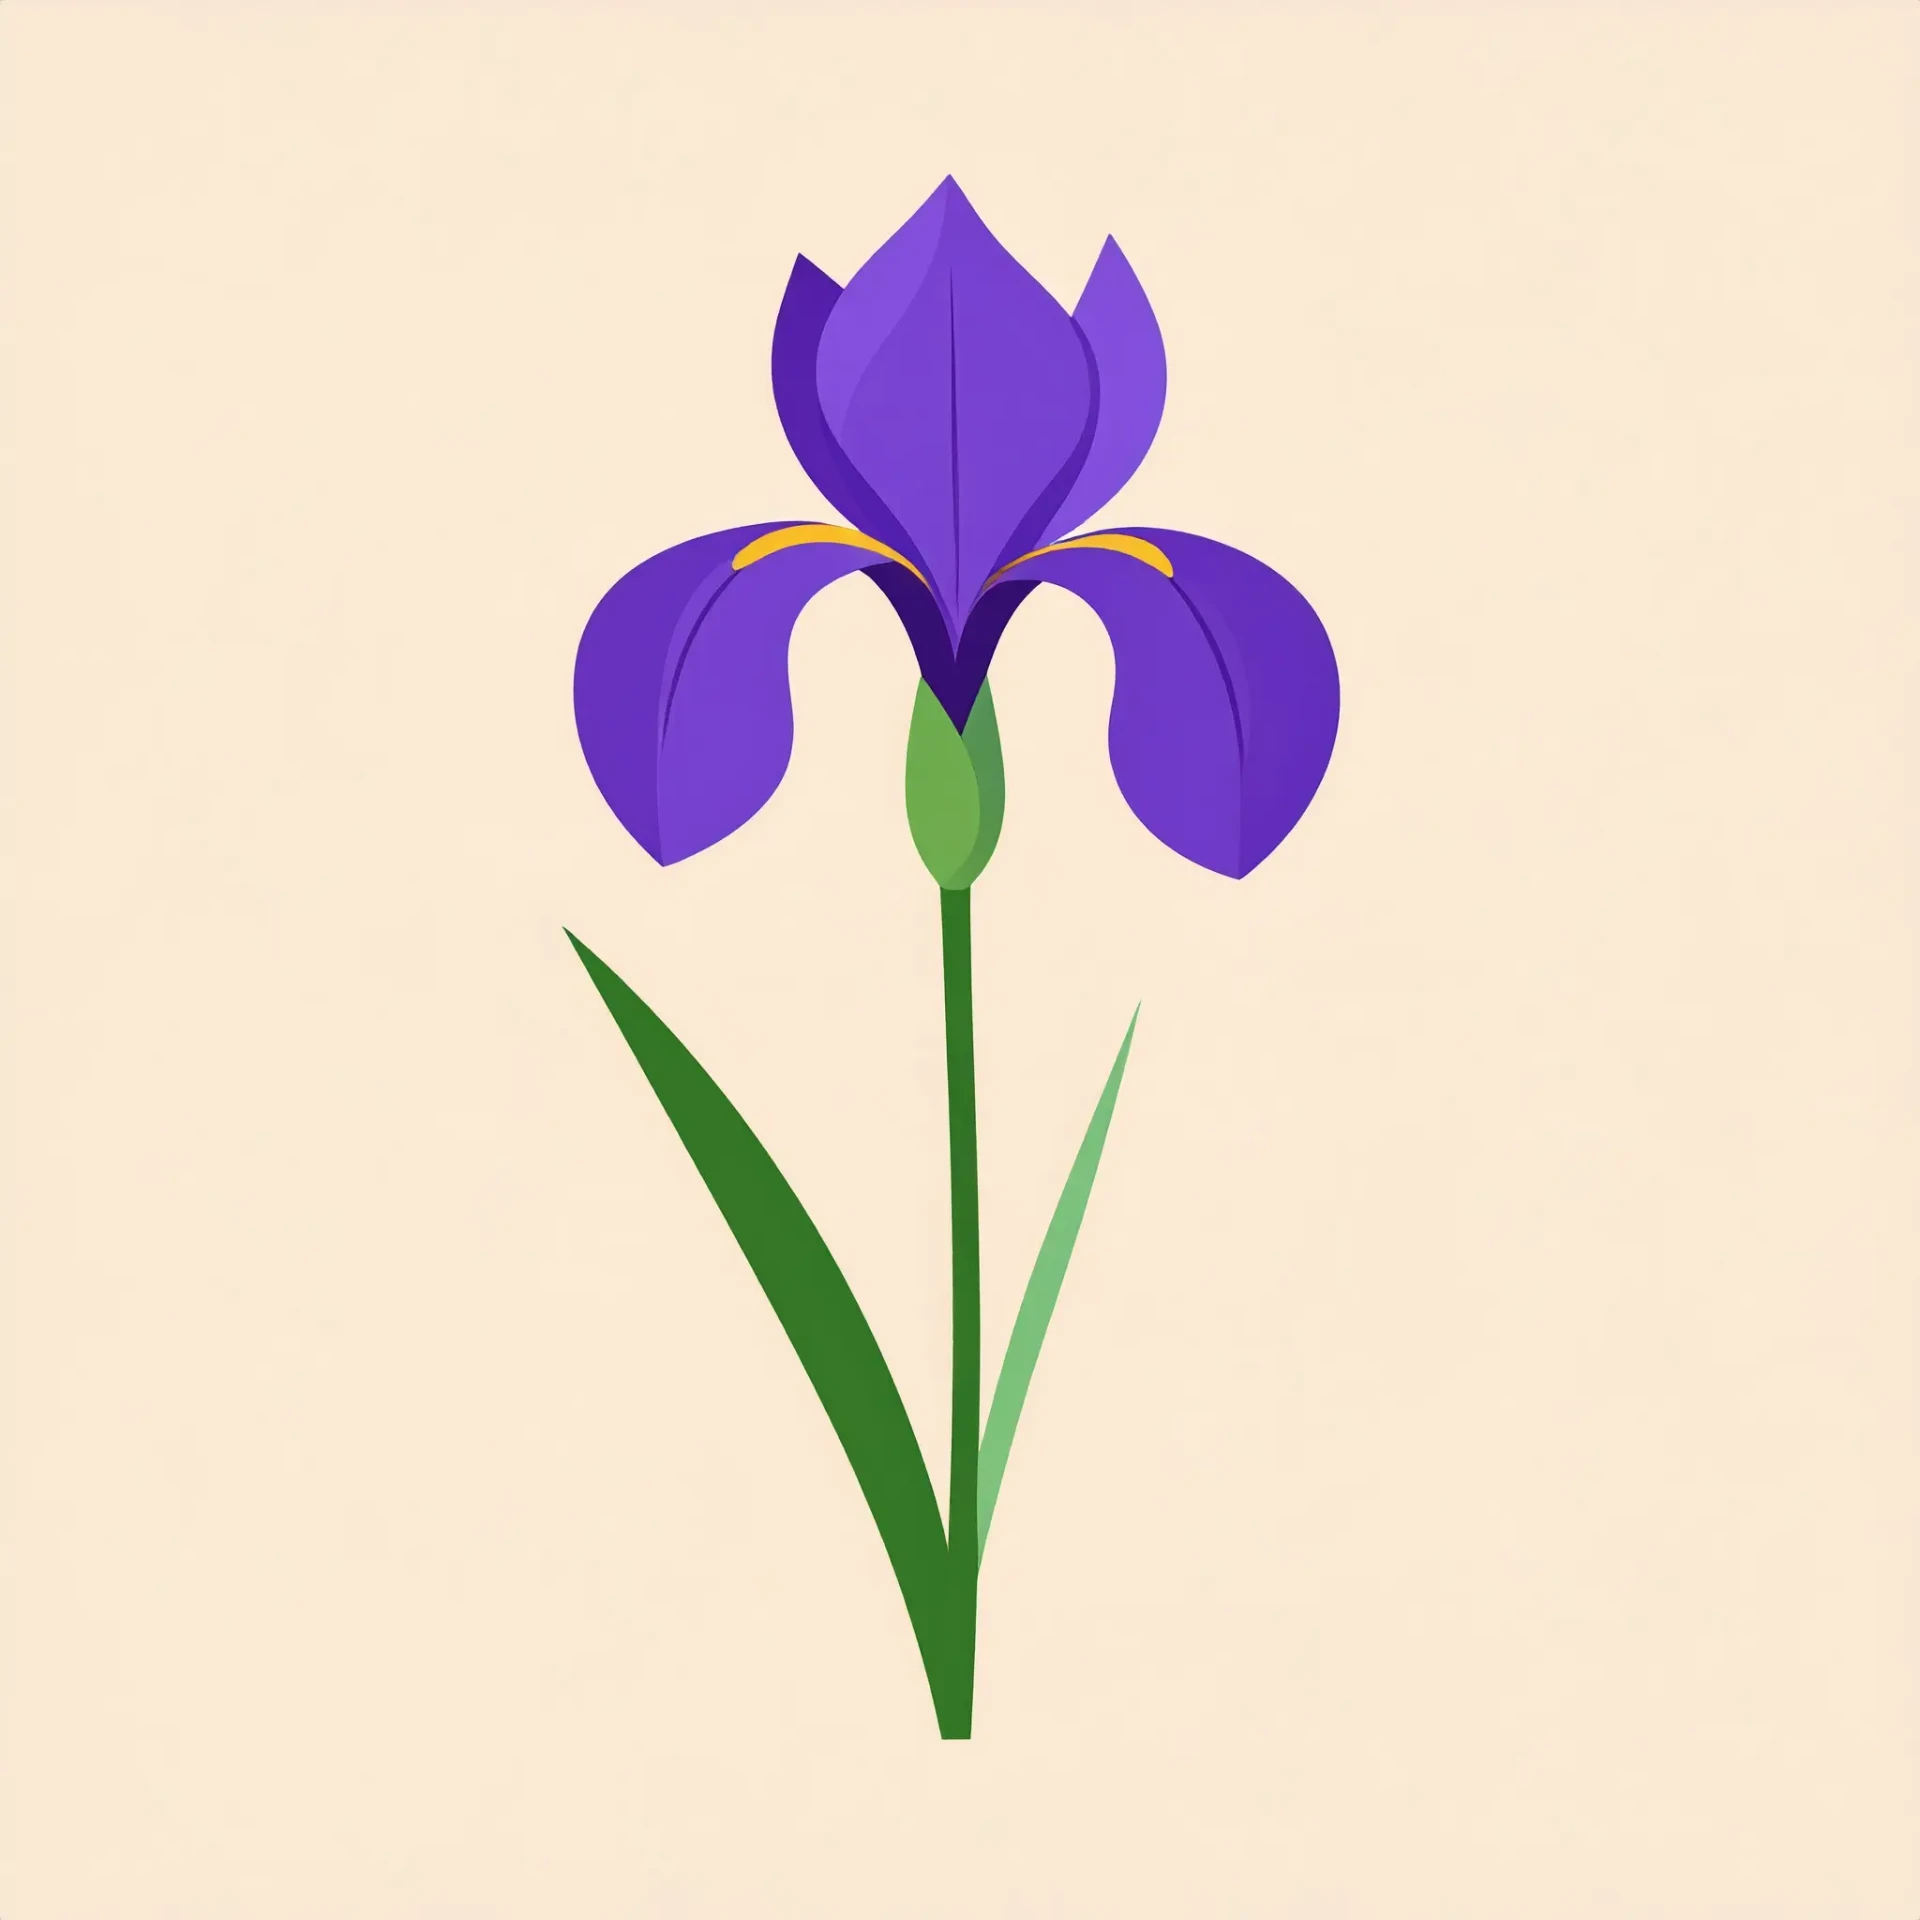
Before starting the drawing, take a few minutes to observe the shape in its simplest form. The goal is to have a clear vision of the overall structure, in order to sketch and color consistently. The vector illustration below is provided for this purpose.
How to draw an iris step by step
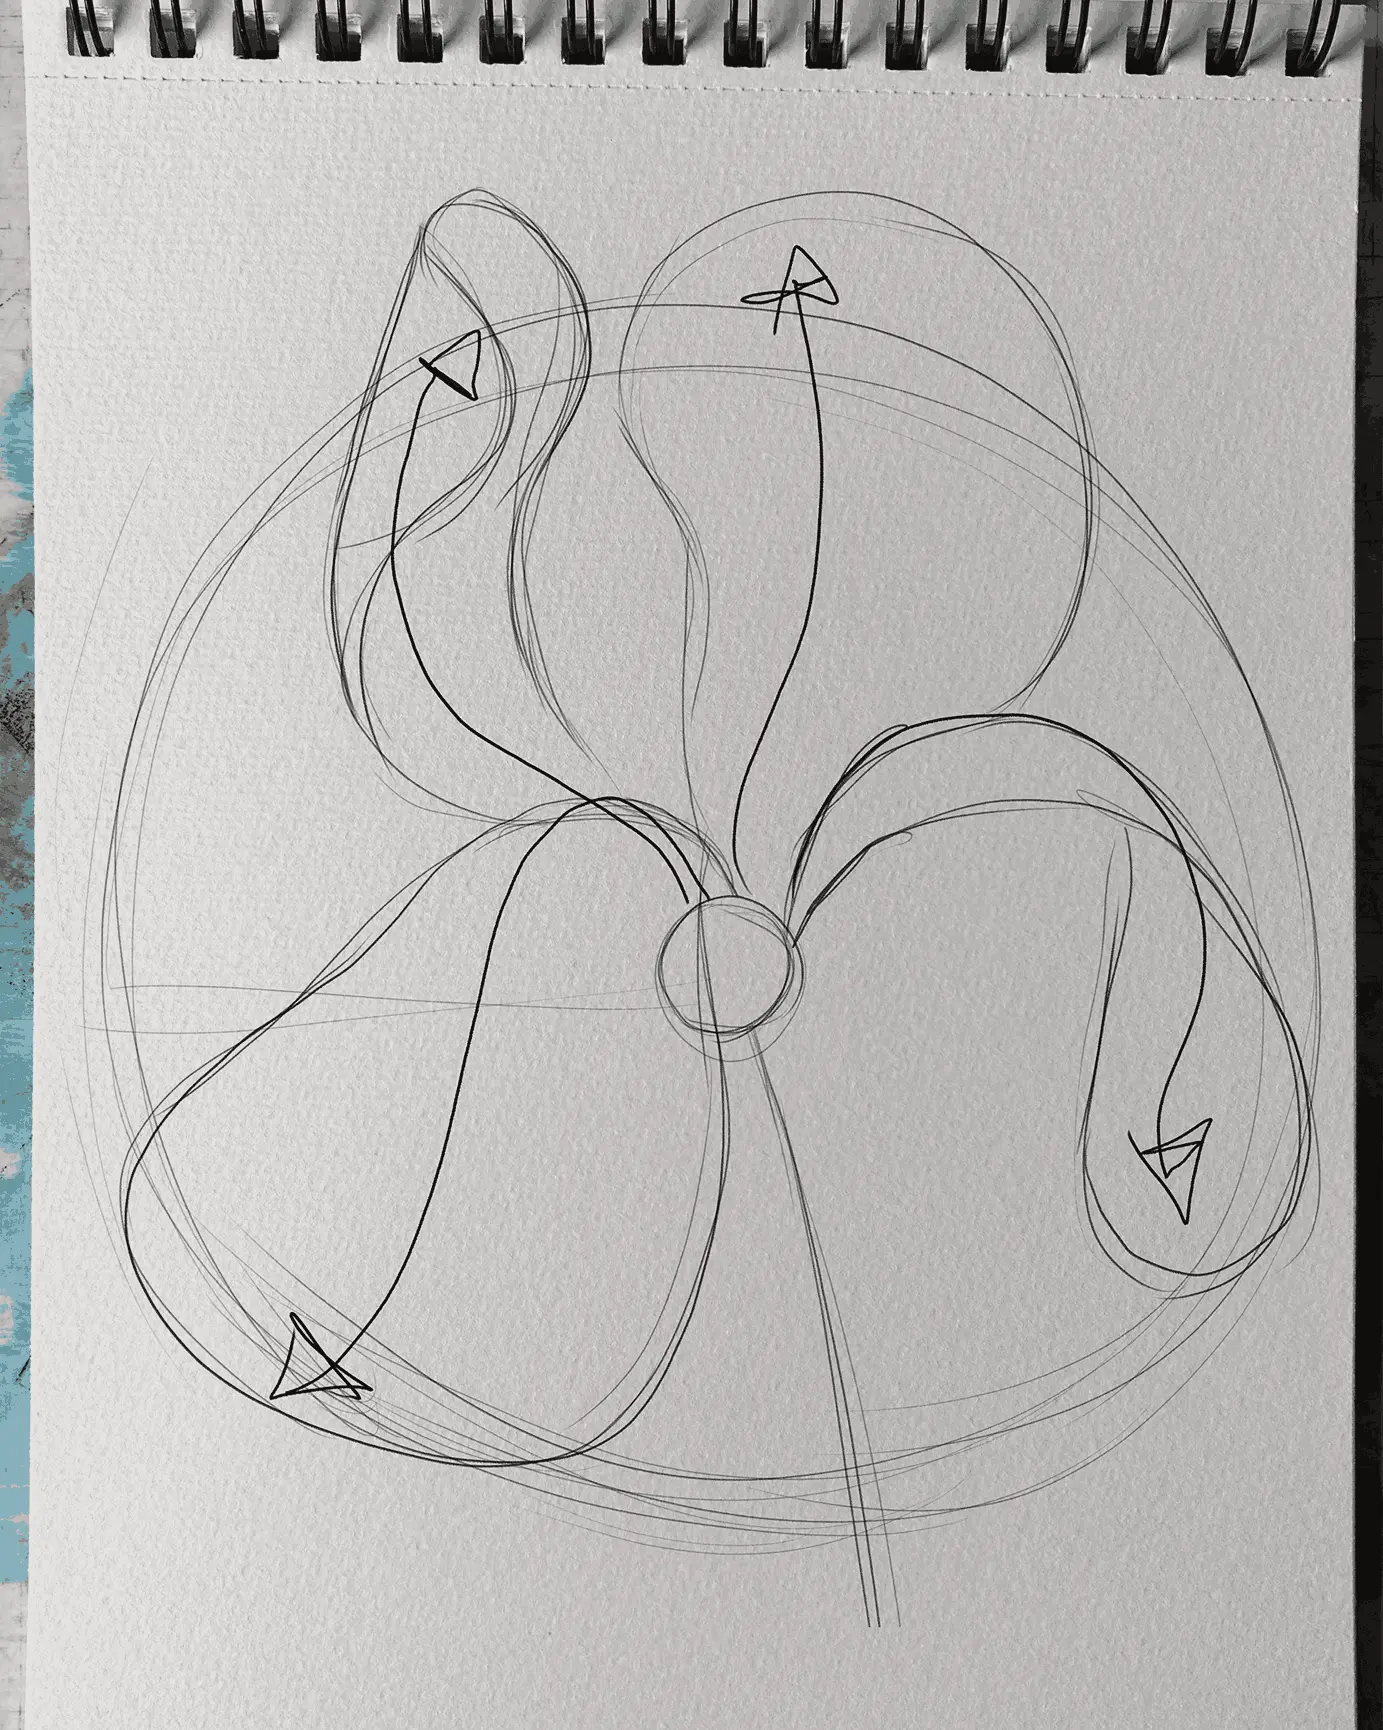
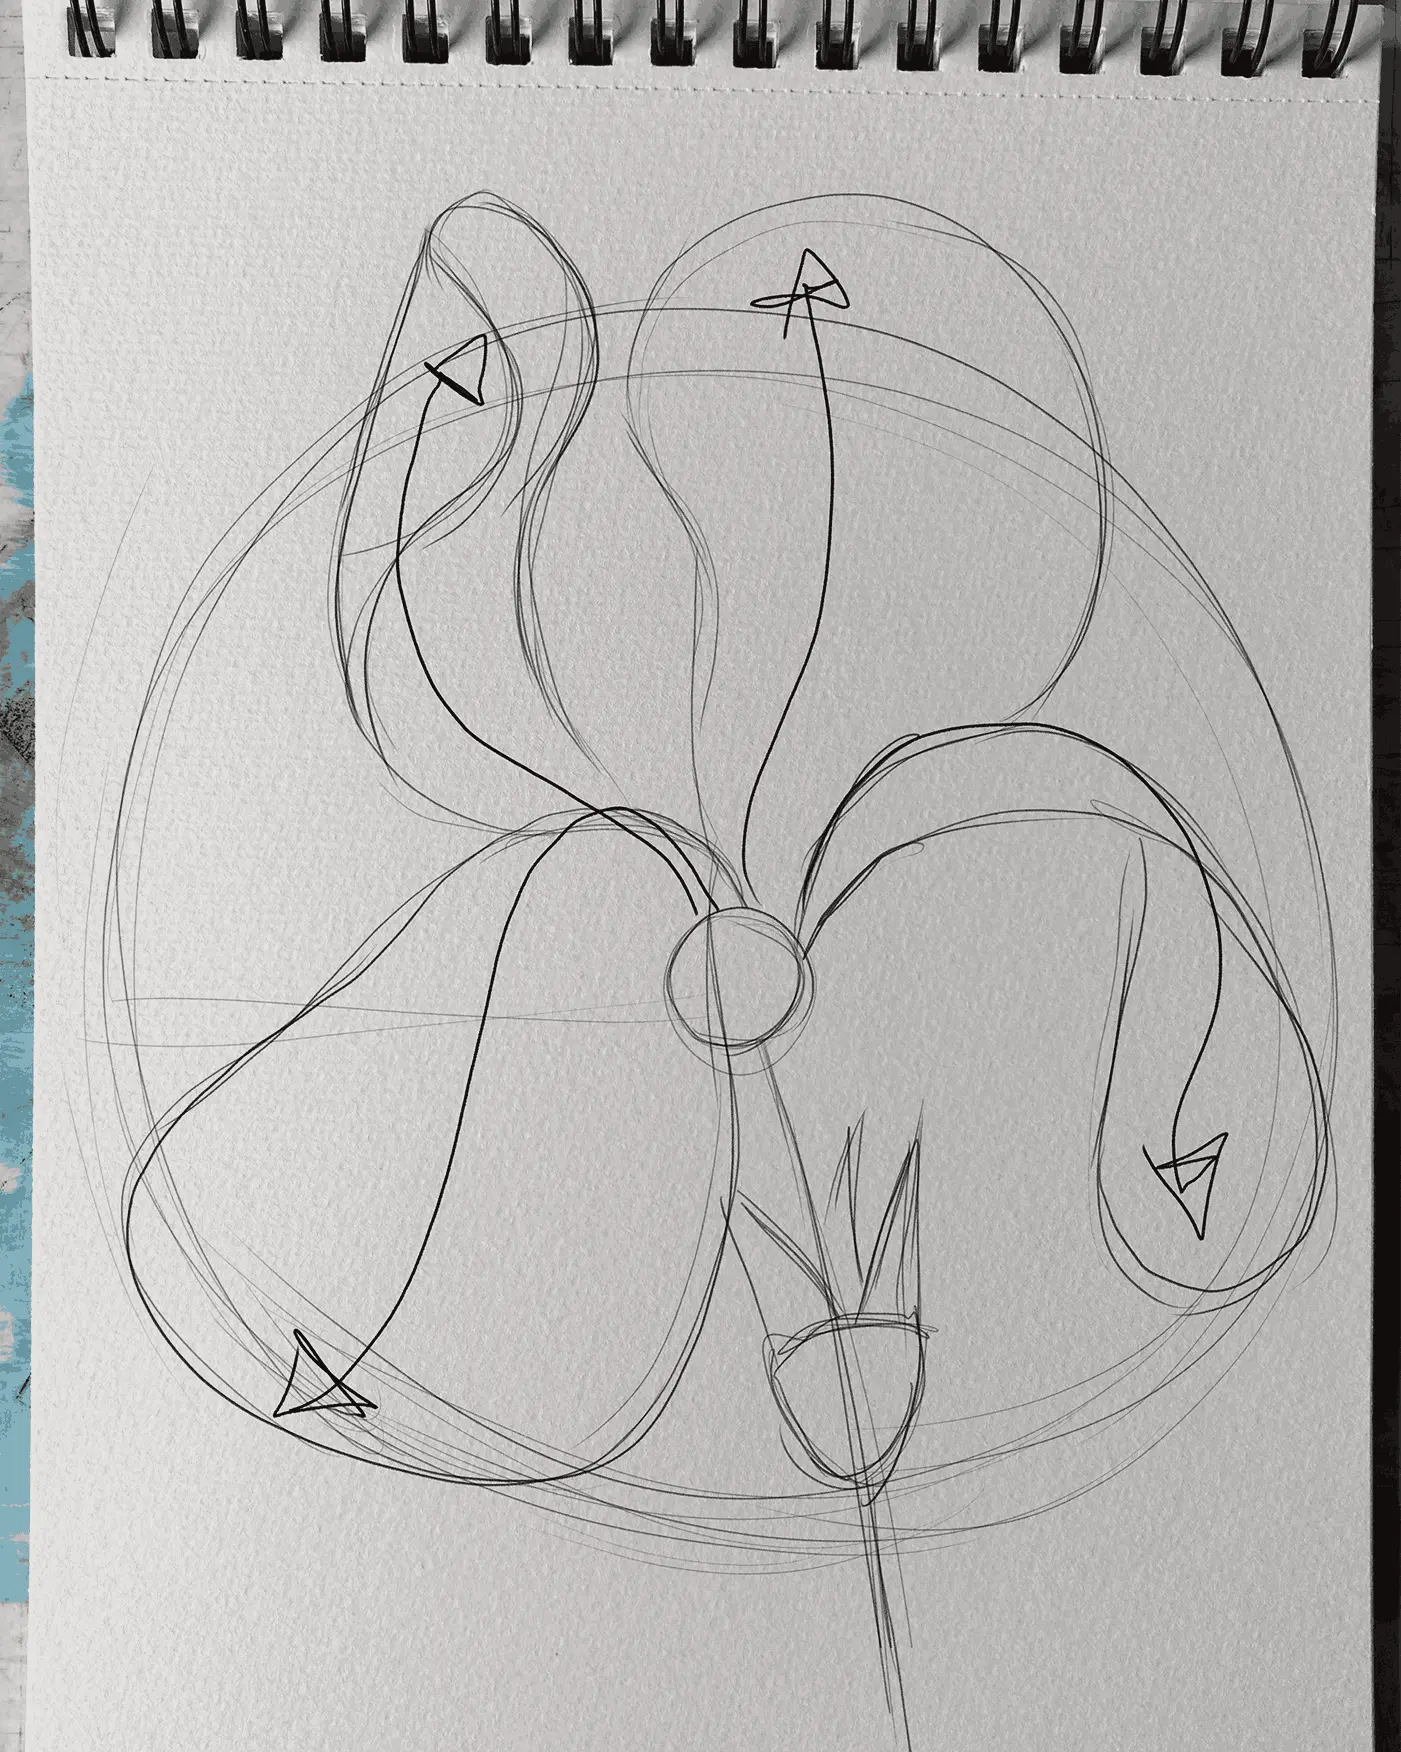
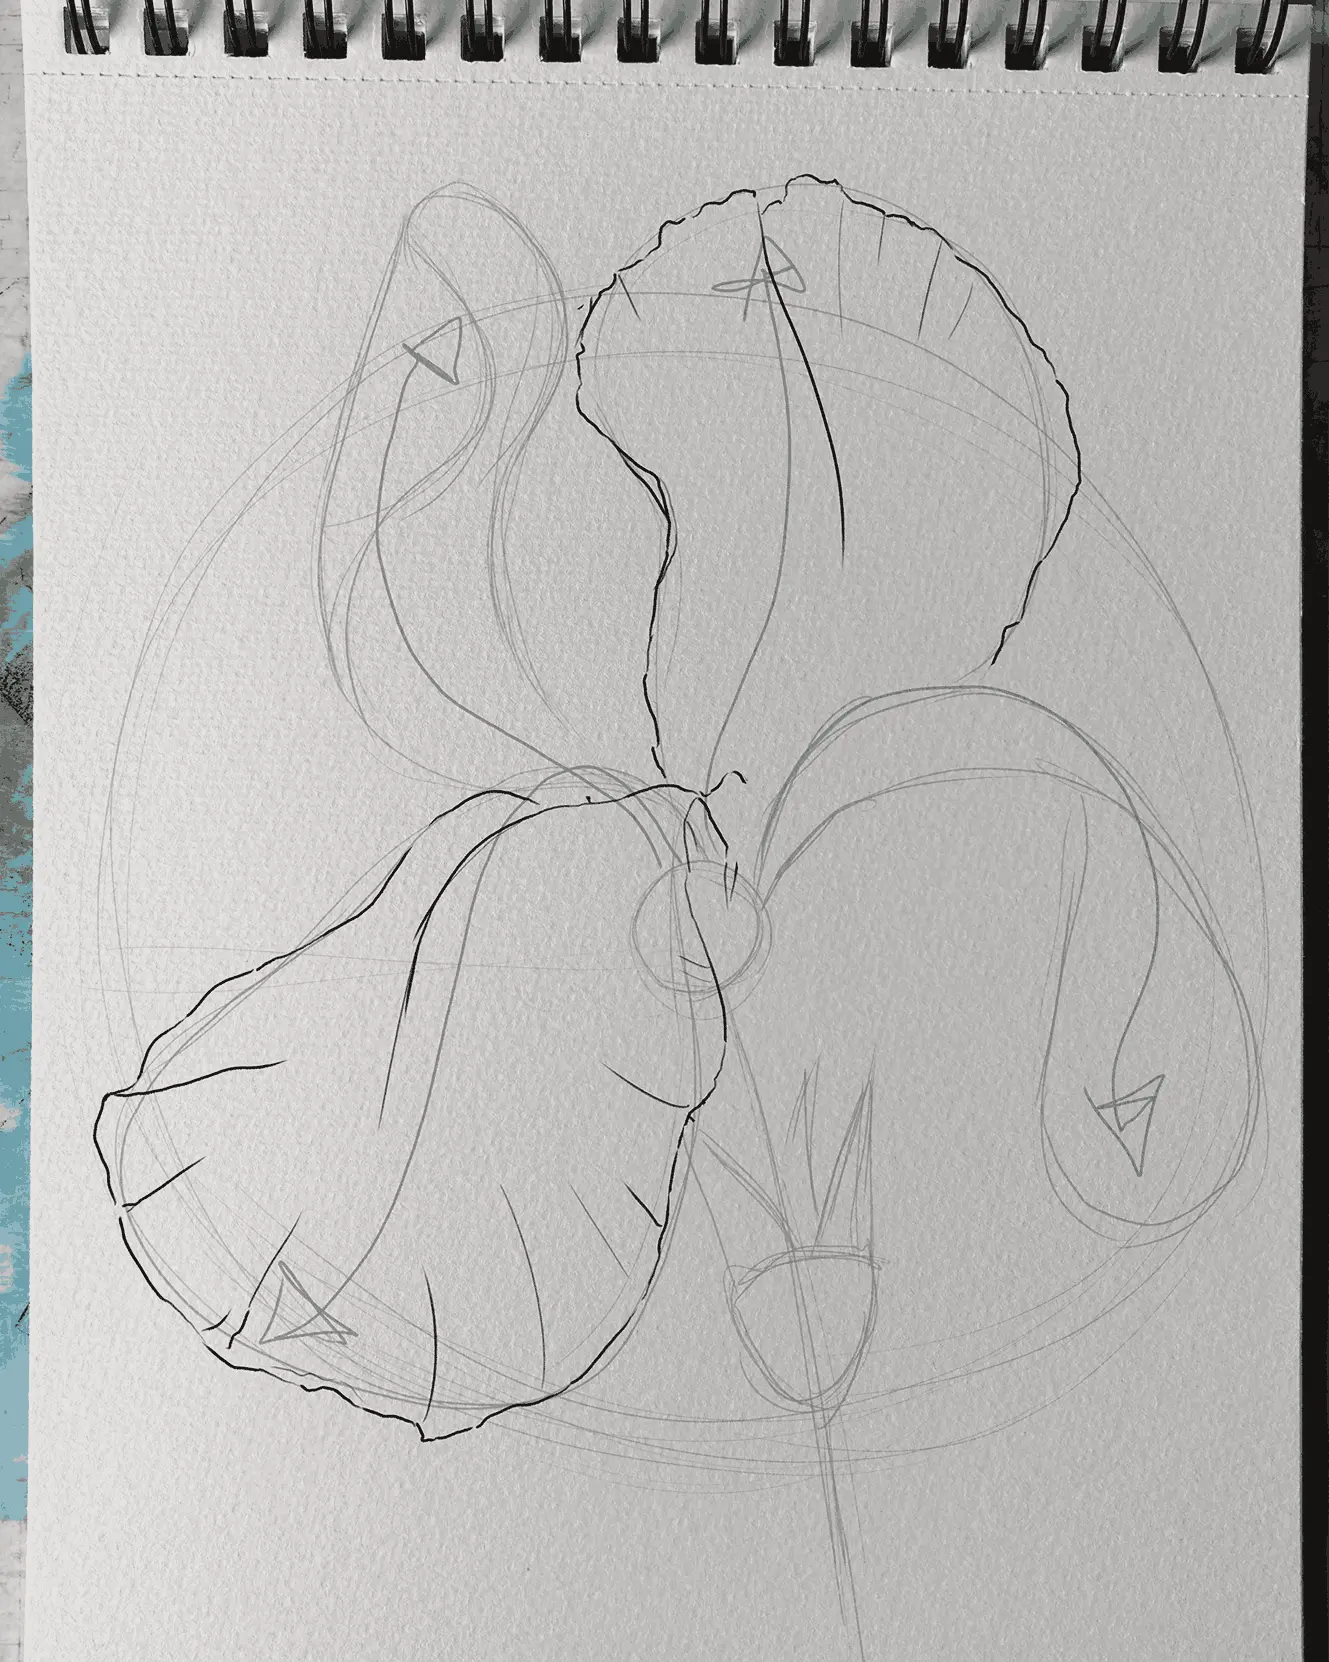
Start by drawing a large circle to define the overall space of the flower. Then, place a small circle in the center: this is the starting point for the petals and also the stem, which you will extend with a vertical line downwards.
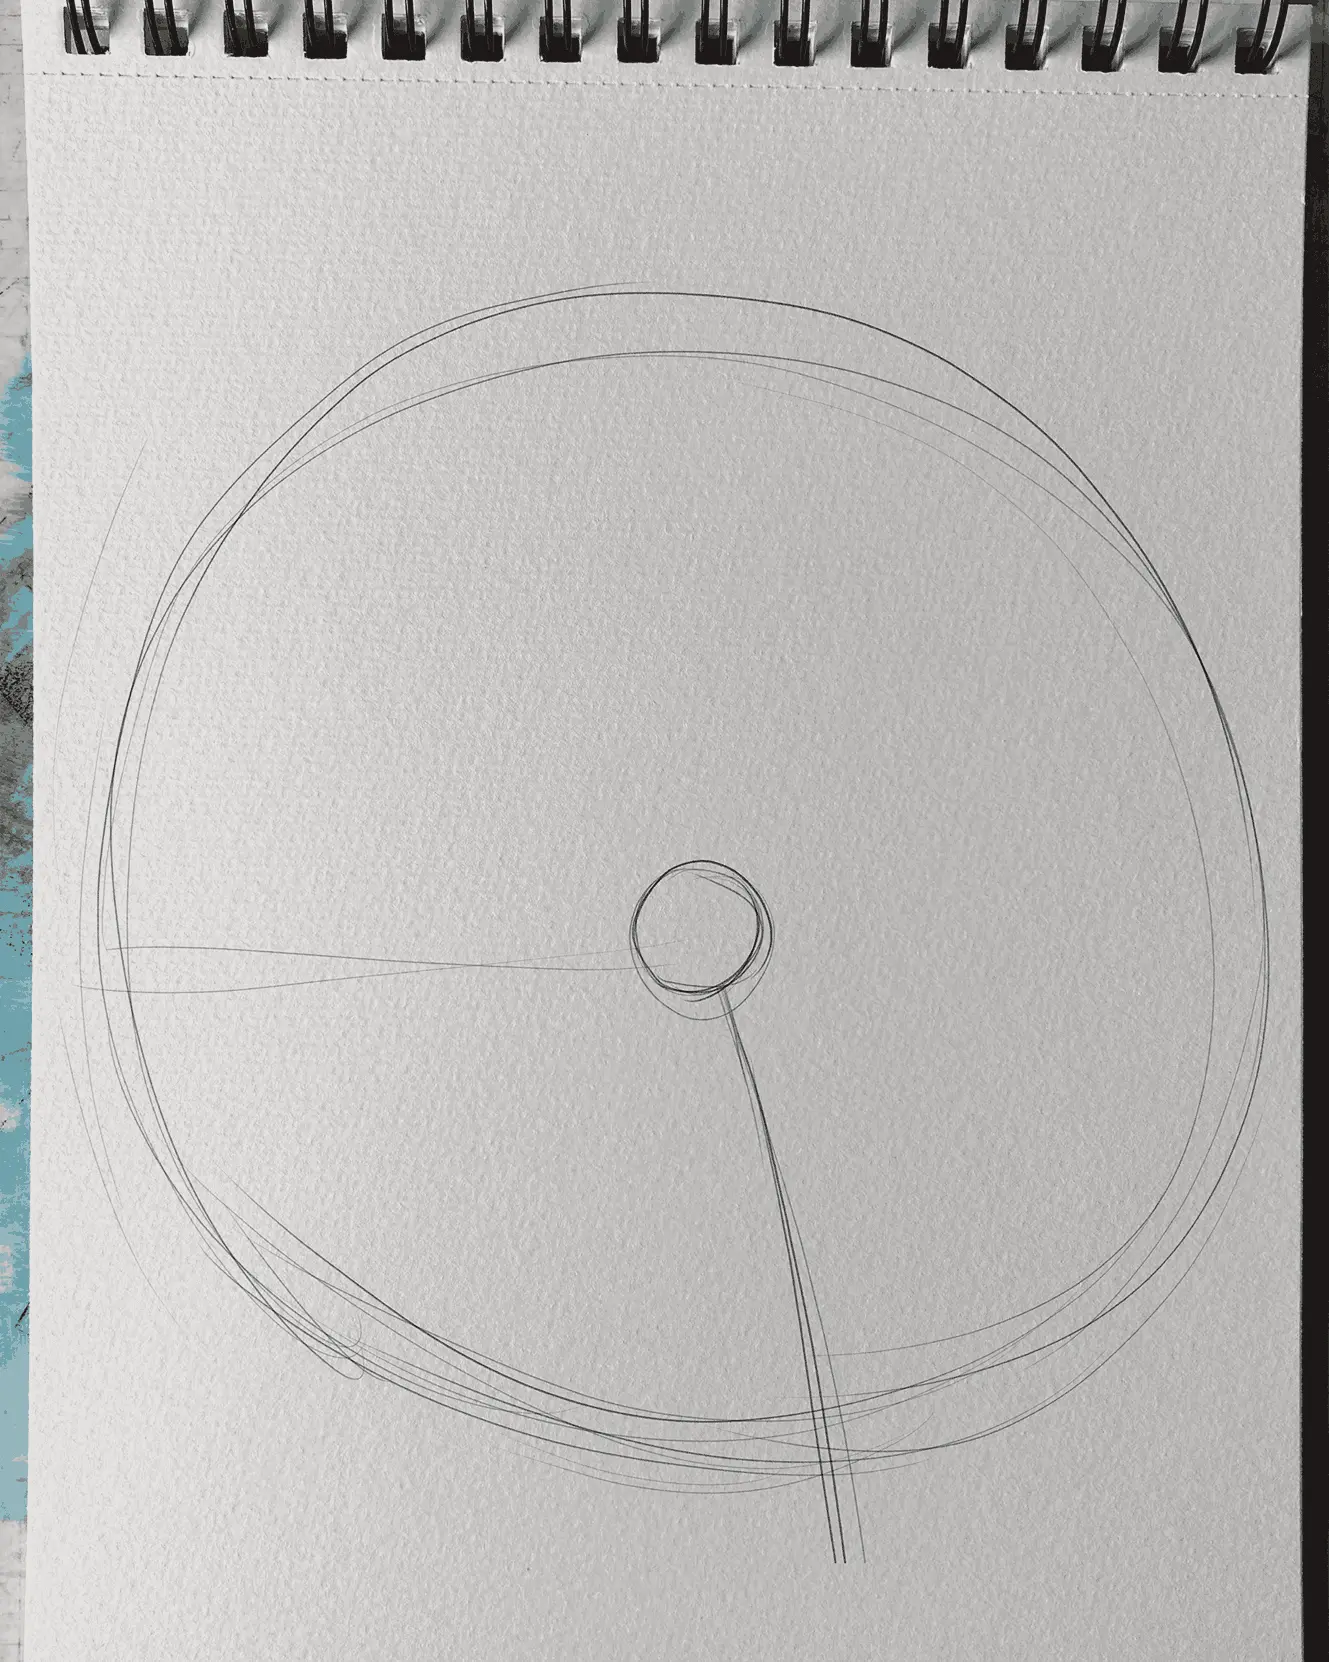
Next, draw four arrows outwards corresponding to the petals that are visible among the six the flower has in total. They serve as directional guides to maintain a balanced structure and prevent the petals from overlapping awkwardly.
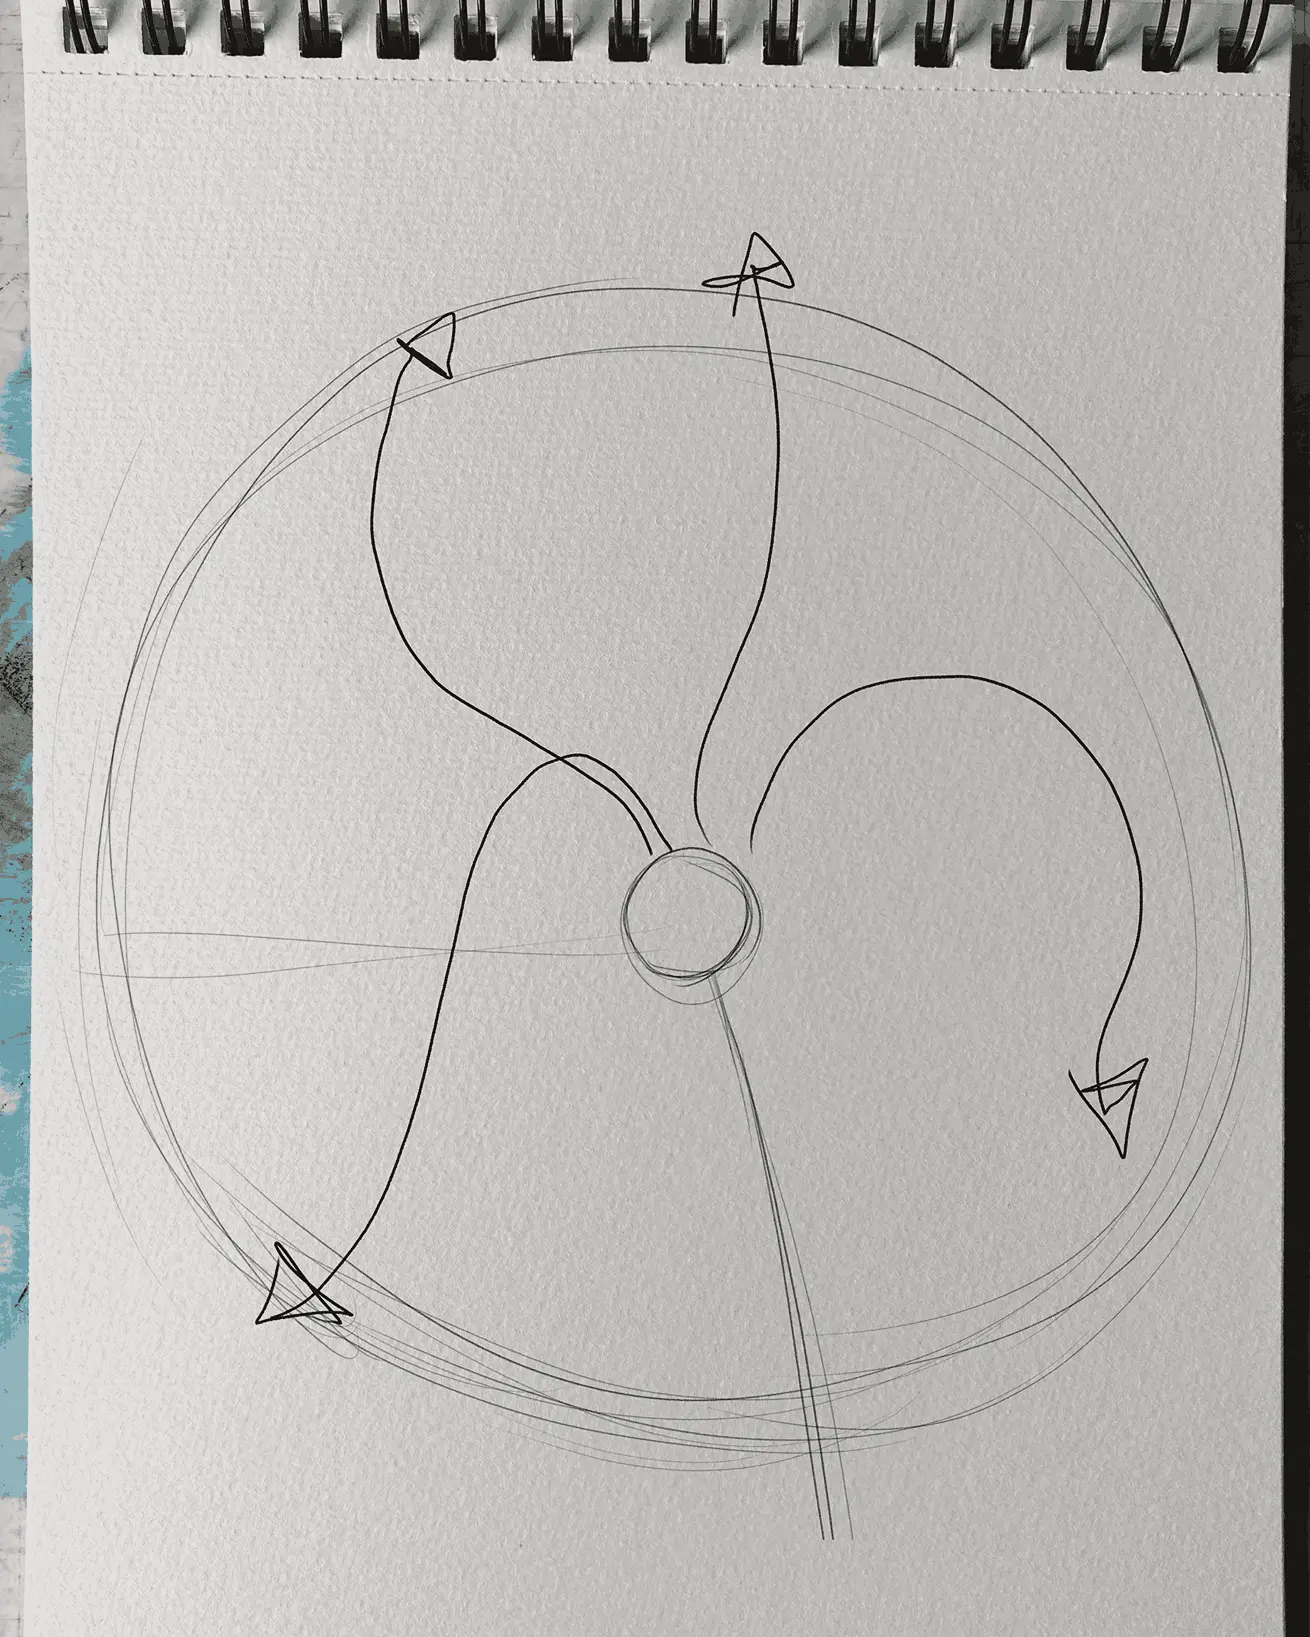
For the lower petals, draw shapes that naturally droop under their own weight: curved, sweeping lines, with a rounded, elongated shape, thinner at the base where it joins the center.
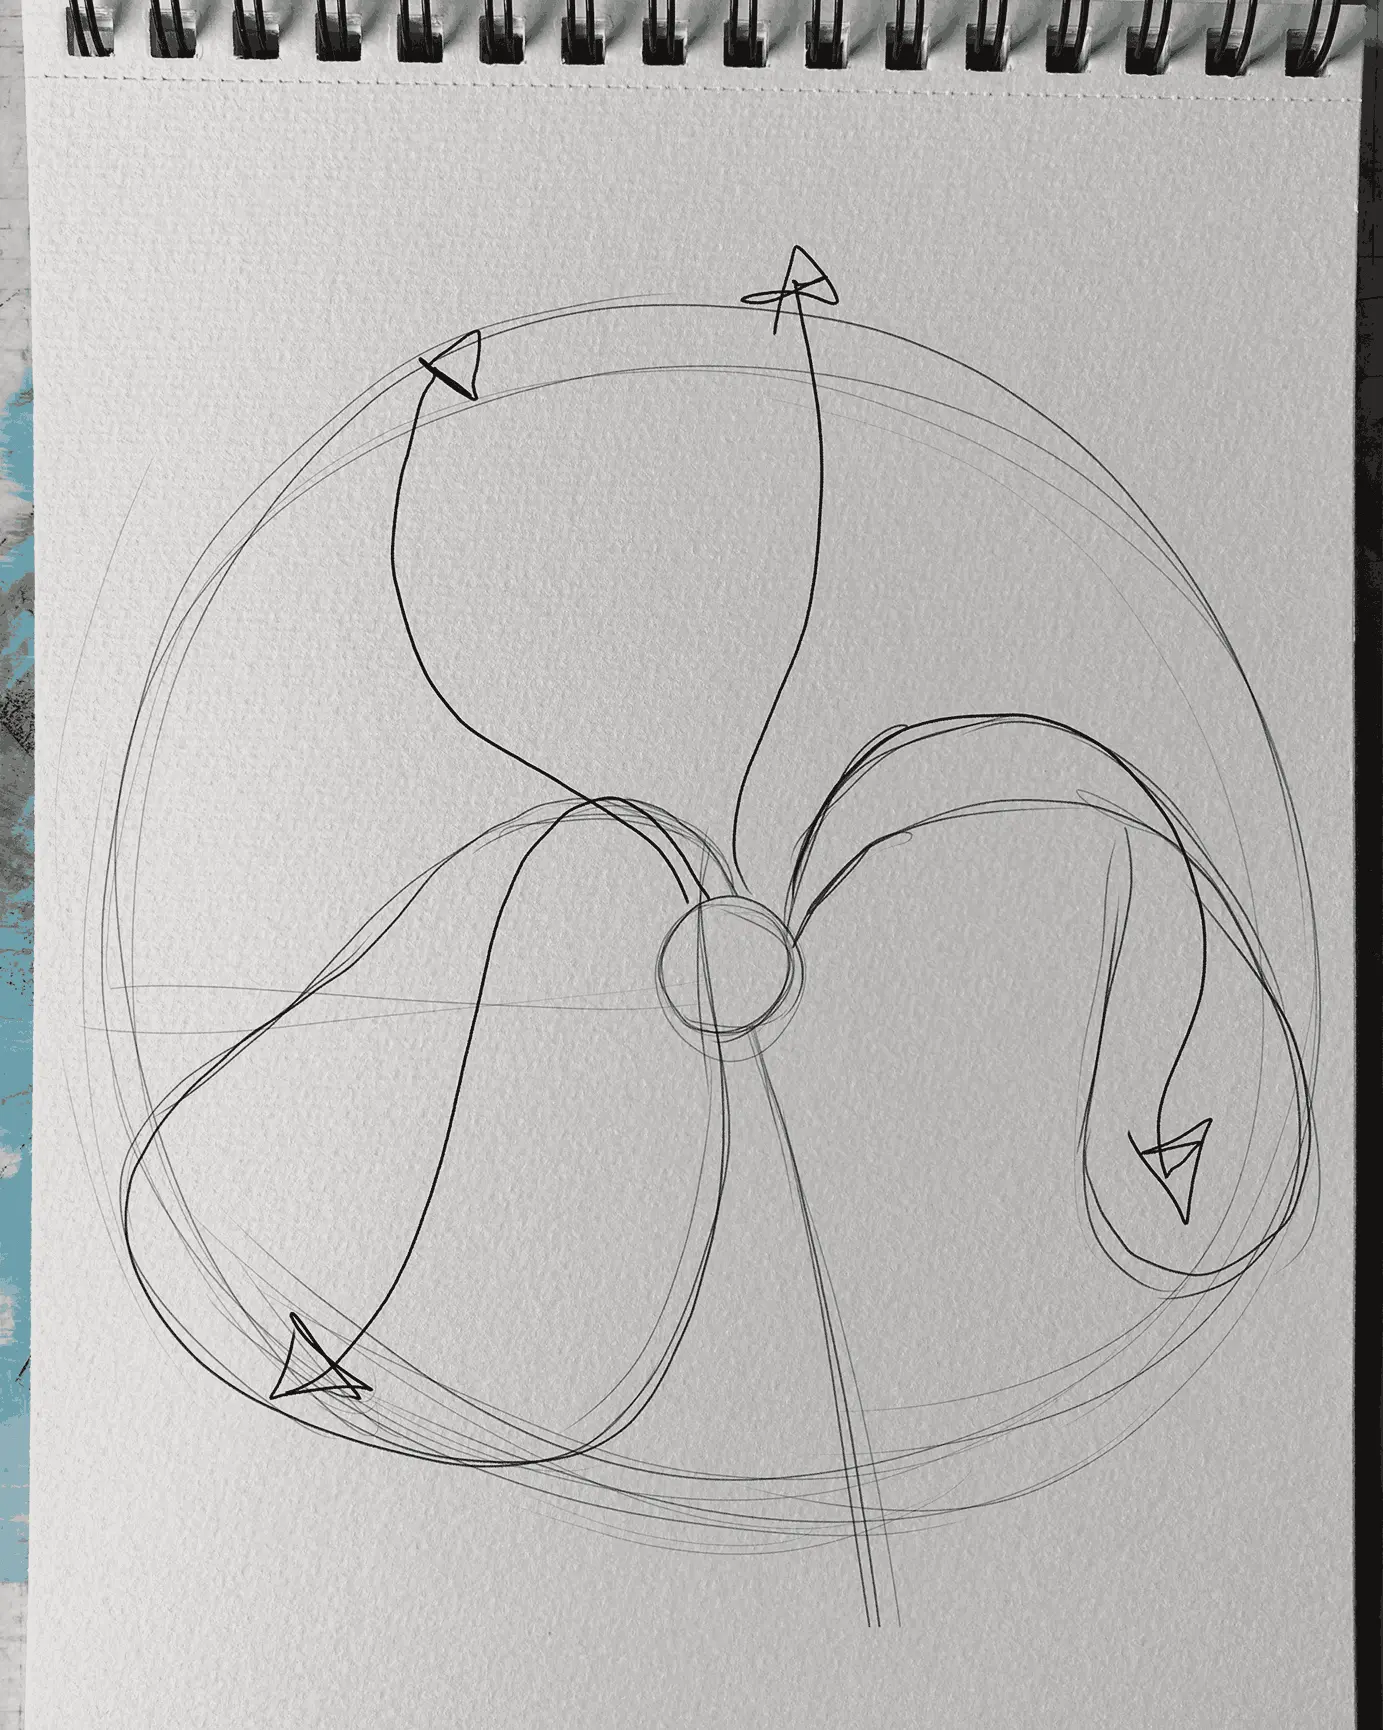
For the upper petals, follow the trajectories of the arrows. Vary how you place the petals: draw one petal fully open, another folded in a curve. This difference creates a more interesting visual impact and enriches the composition.
From sketch to final outline
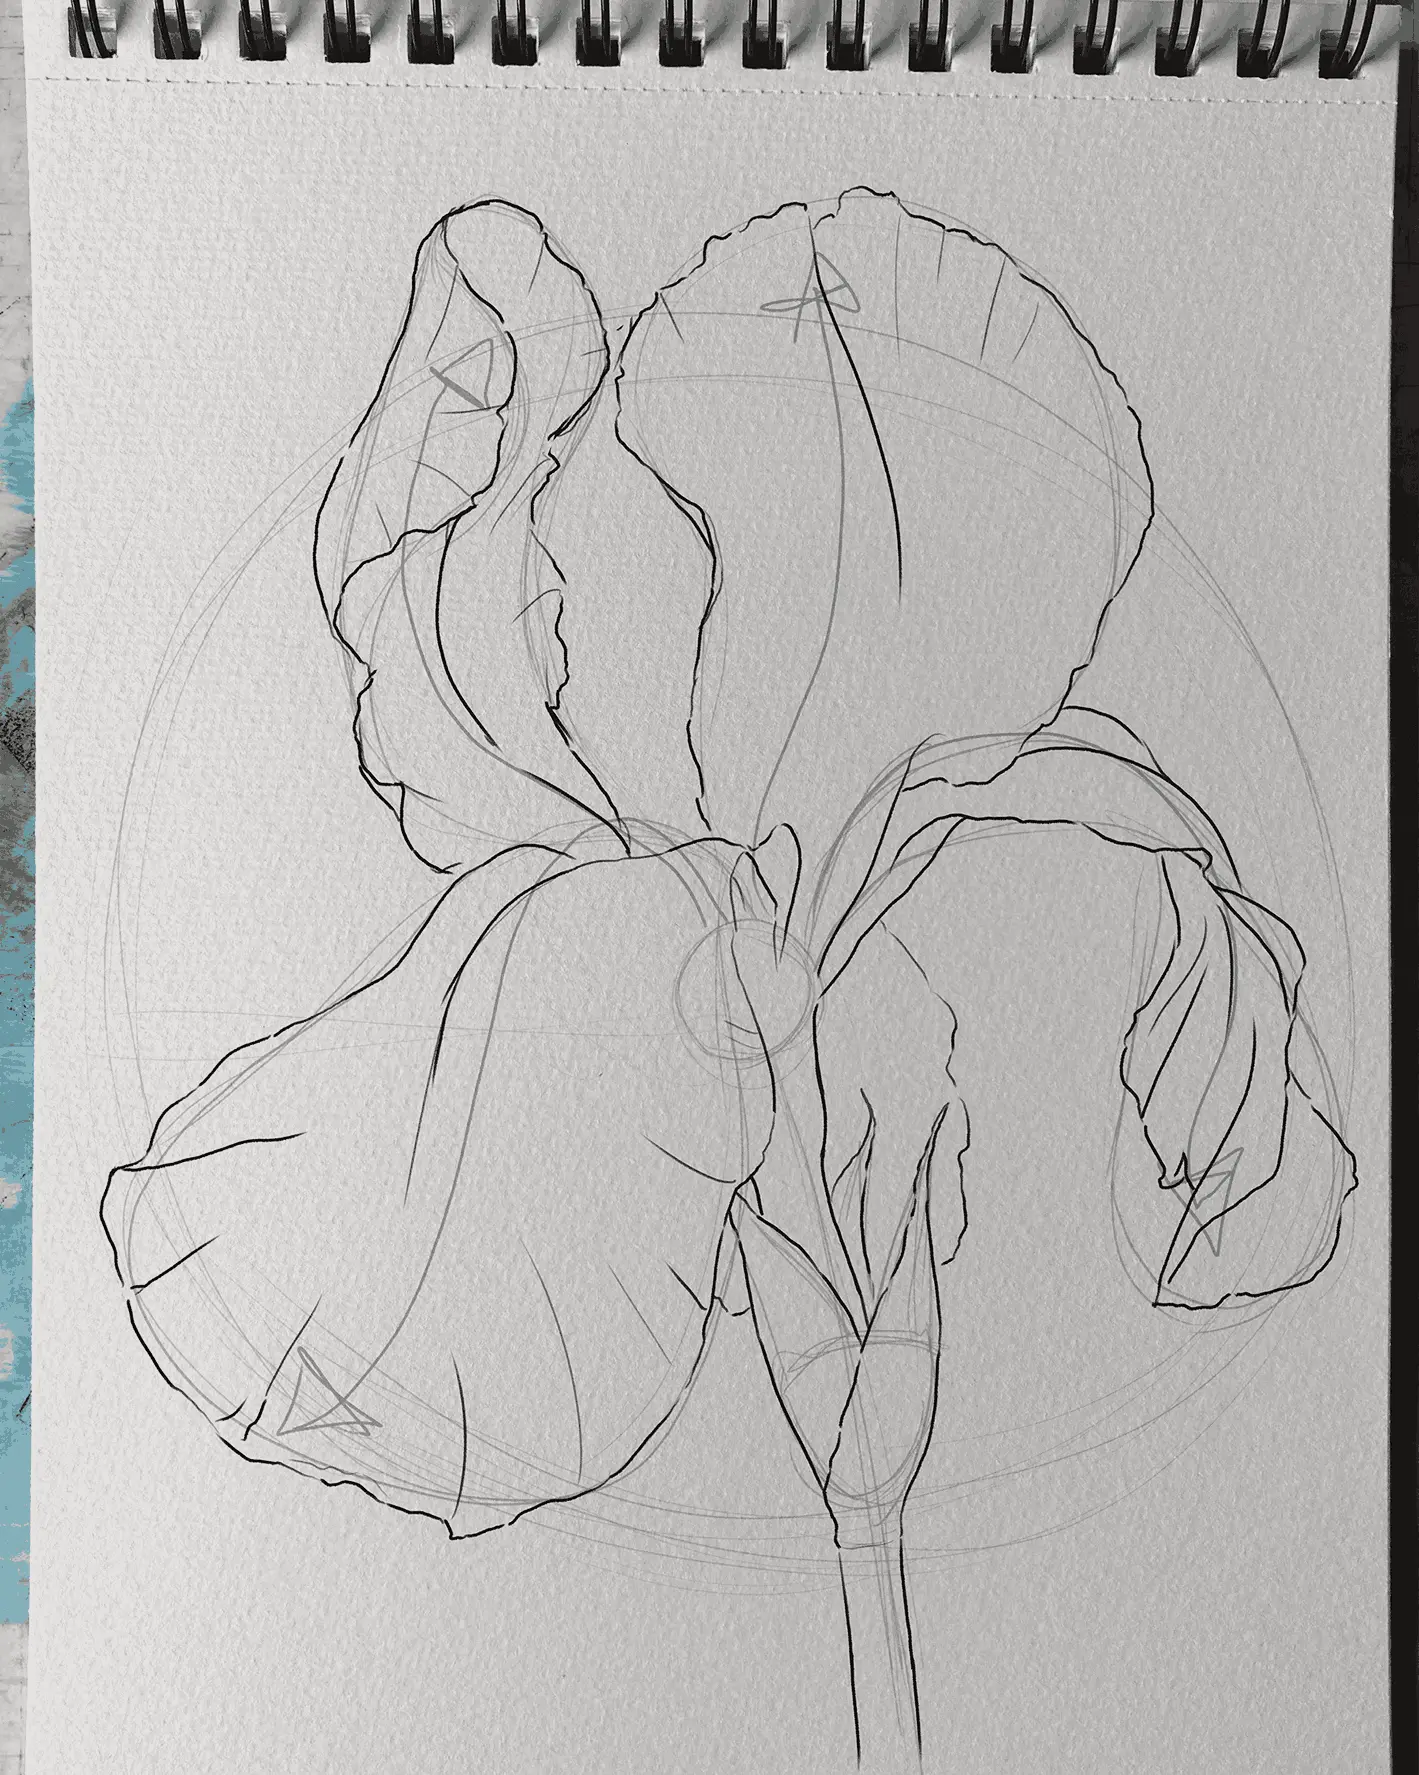
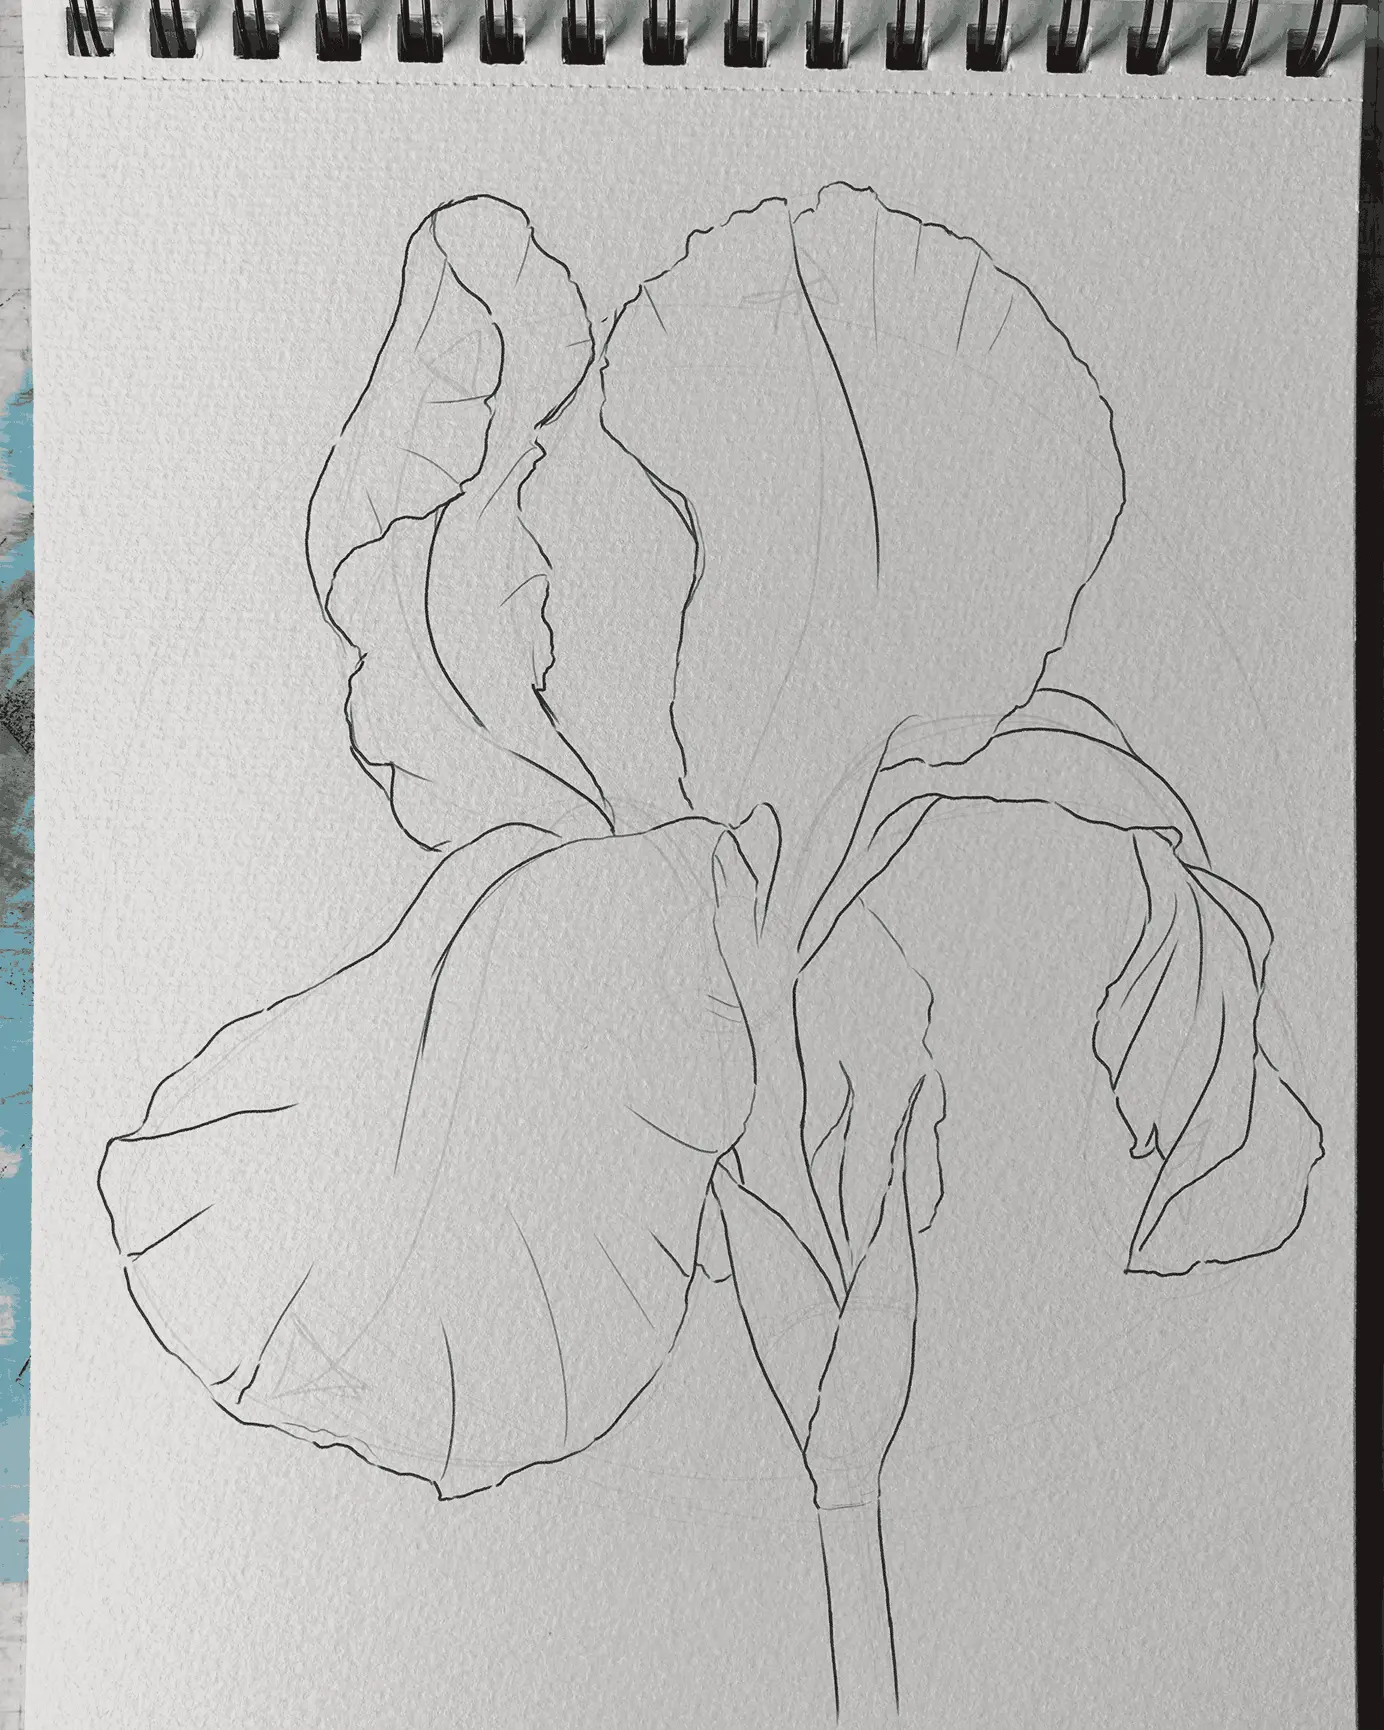
With the sketch complete, it’s time to move on to the final drawing. Start by blending the graphite, then remove any excess with your eraser so that the guide lines don’t interfere with your drawing.
First, work on the open petals. Draw small, curved lines along the outline to simulate a wrinkled texture, then add long and short fold lines, distributed irregularly for a more natural look.
For the folded petals, clearly identify the inner and outer sides, as this distinction will be important at the coloring stage. Apply the same technique of irregular outlining.
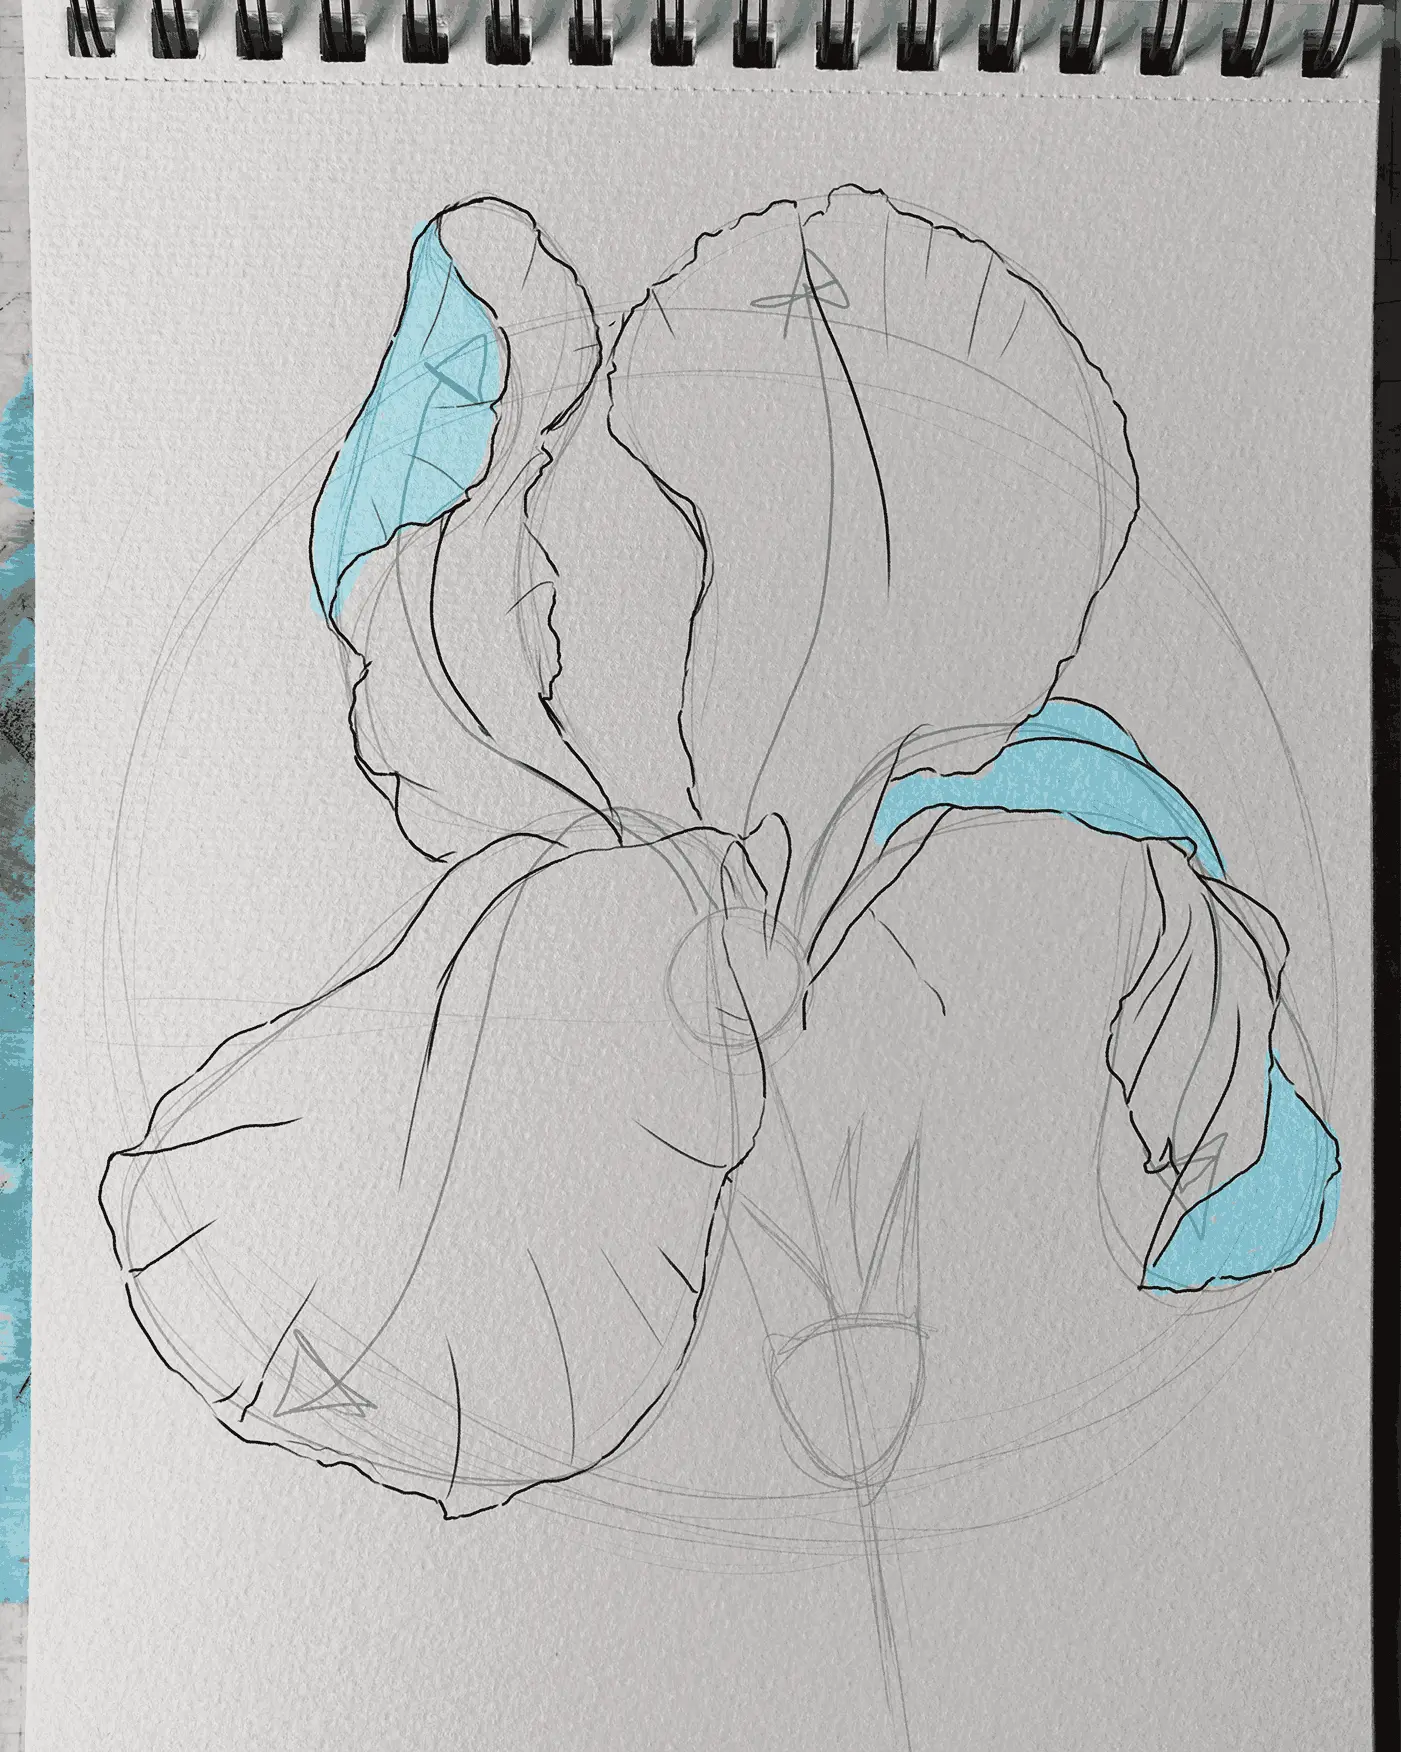
Finish with the stem. Draw the base of the petal, then the sepals, which slightly overlap and spread out in different directions.
Add color to the drawing
First of all, erase all remaining sketch marks. To avoid the risk of also erasing your final outline, use a tool that is resistant to erasing from the start, such as black chalk, a pen, or an ink pen.
First, apply a light layer over all the petals. On the inner surfaces, leave a white area at the base of the petal. For the outer surfaces, cover them completely.
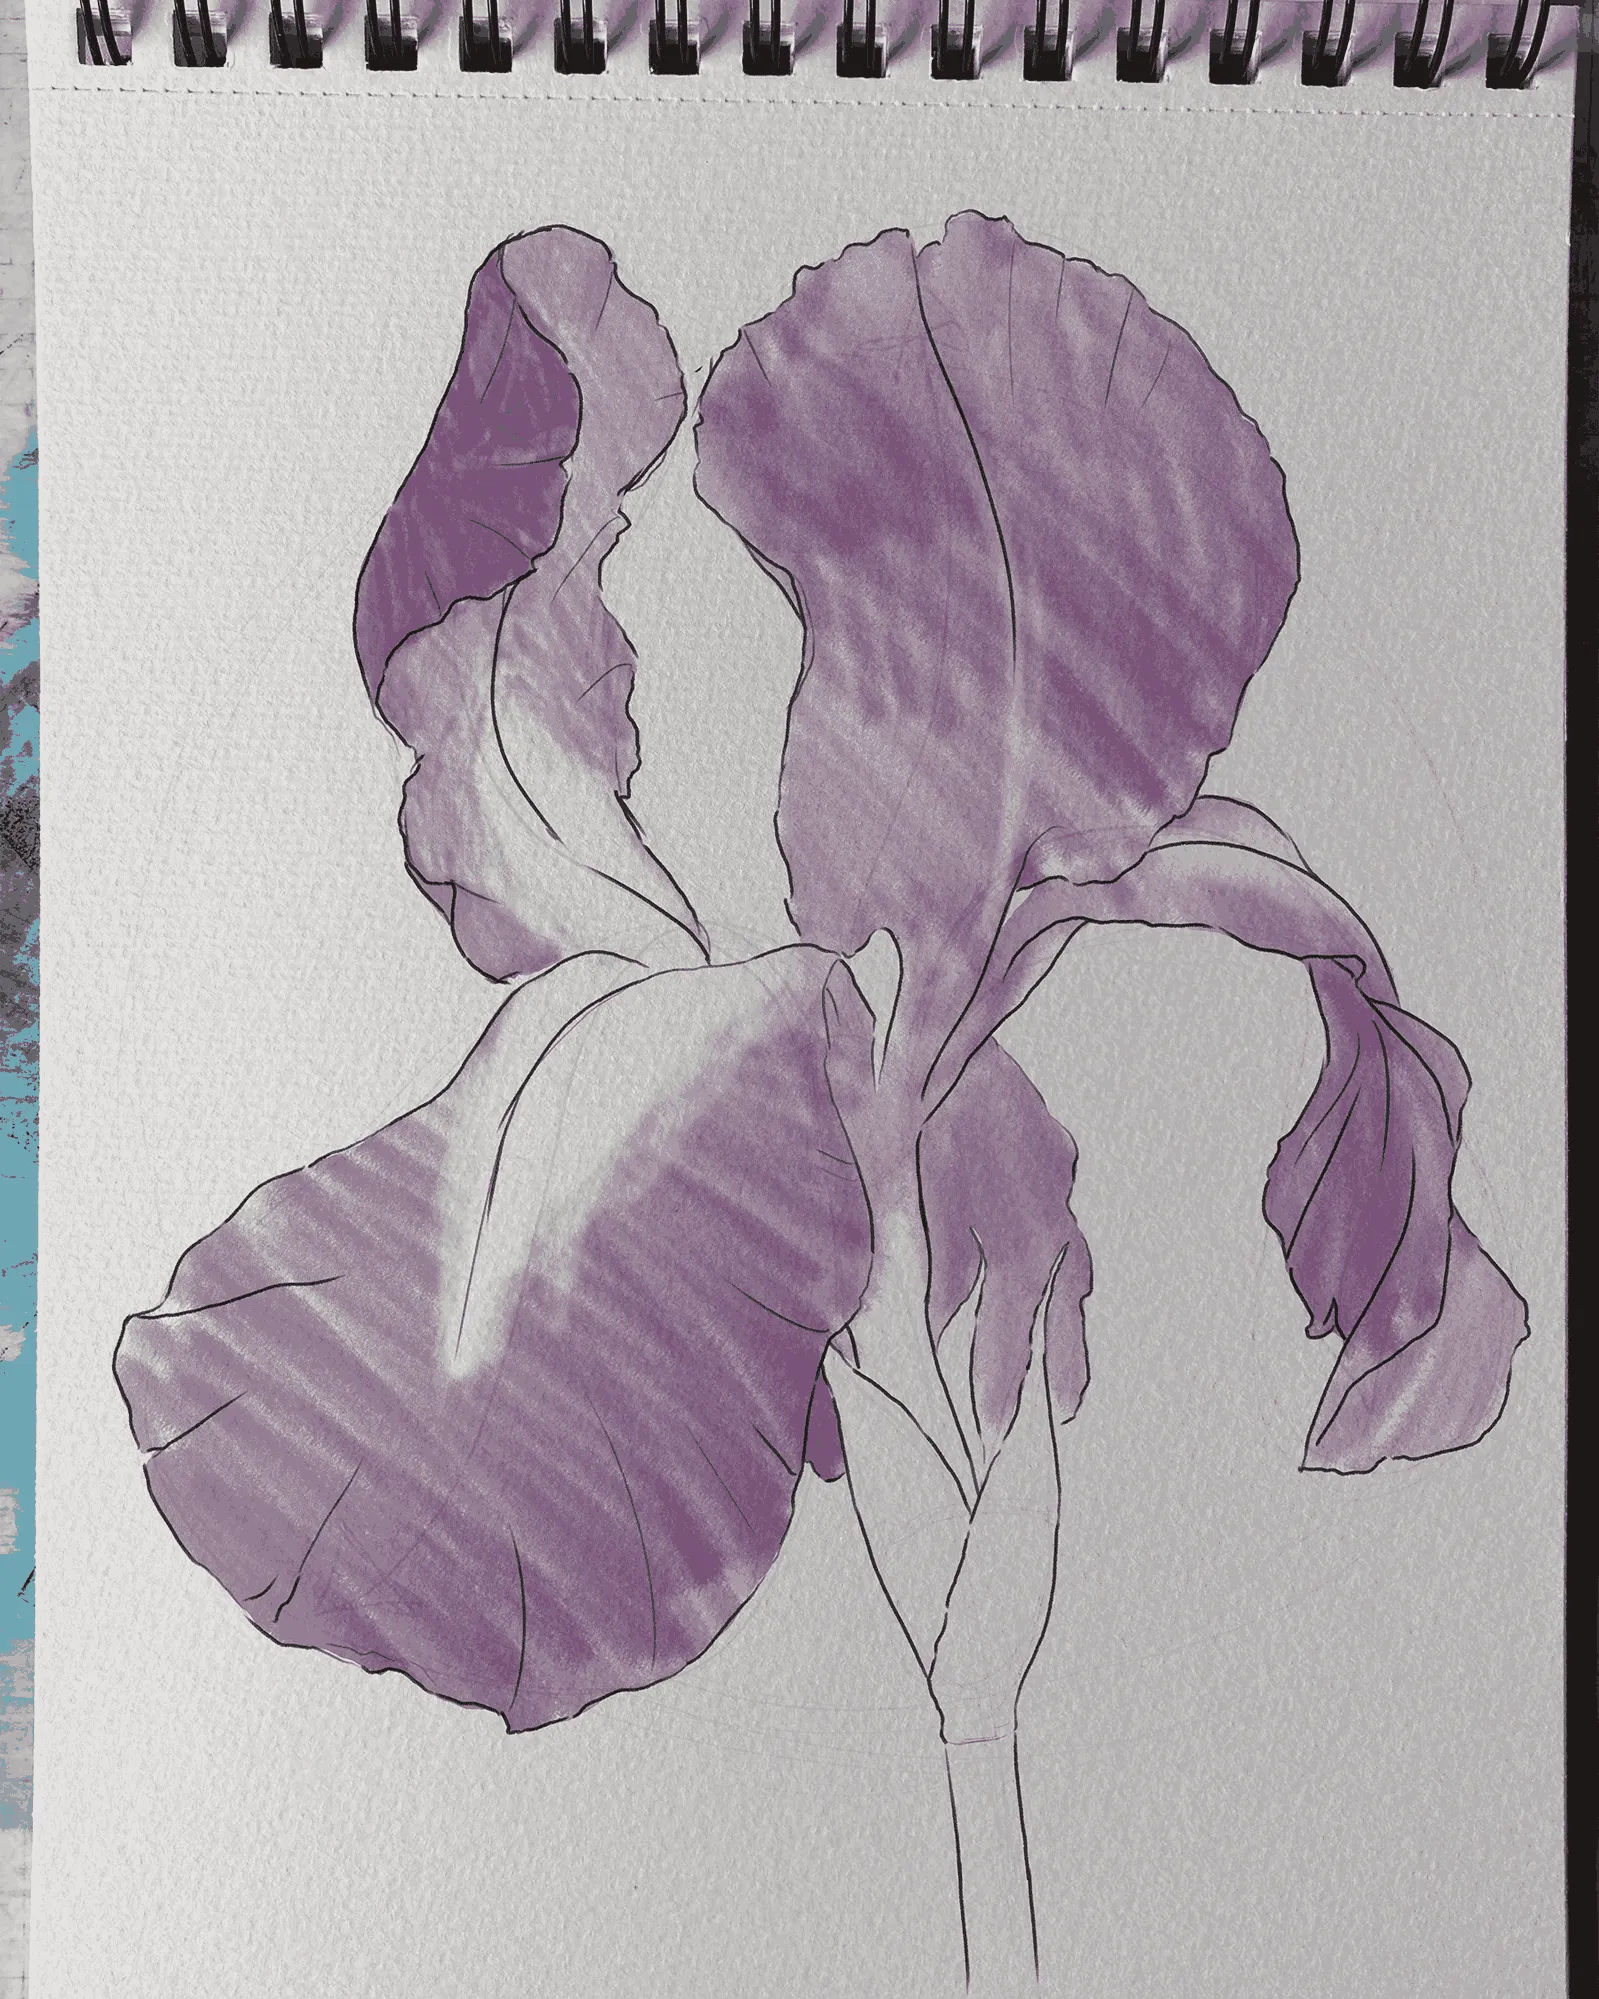
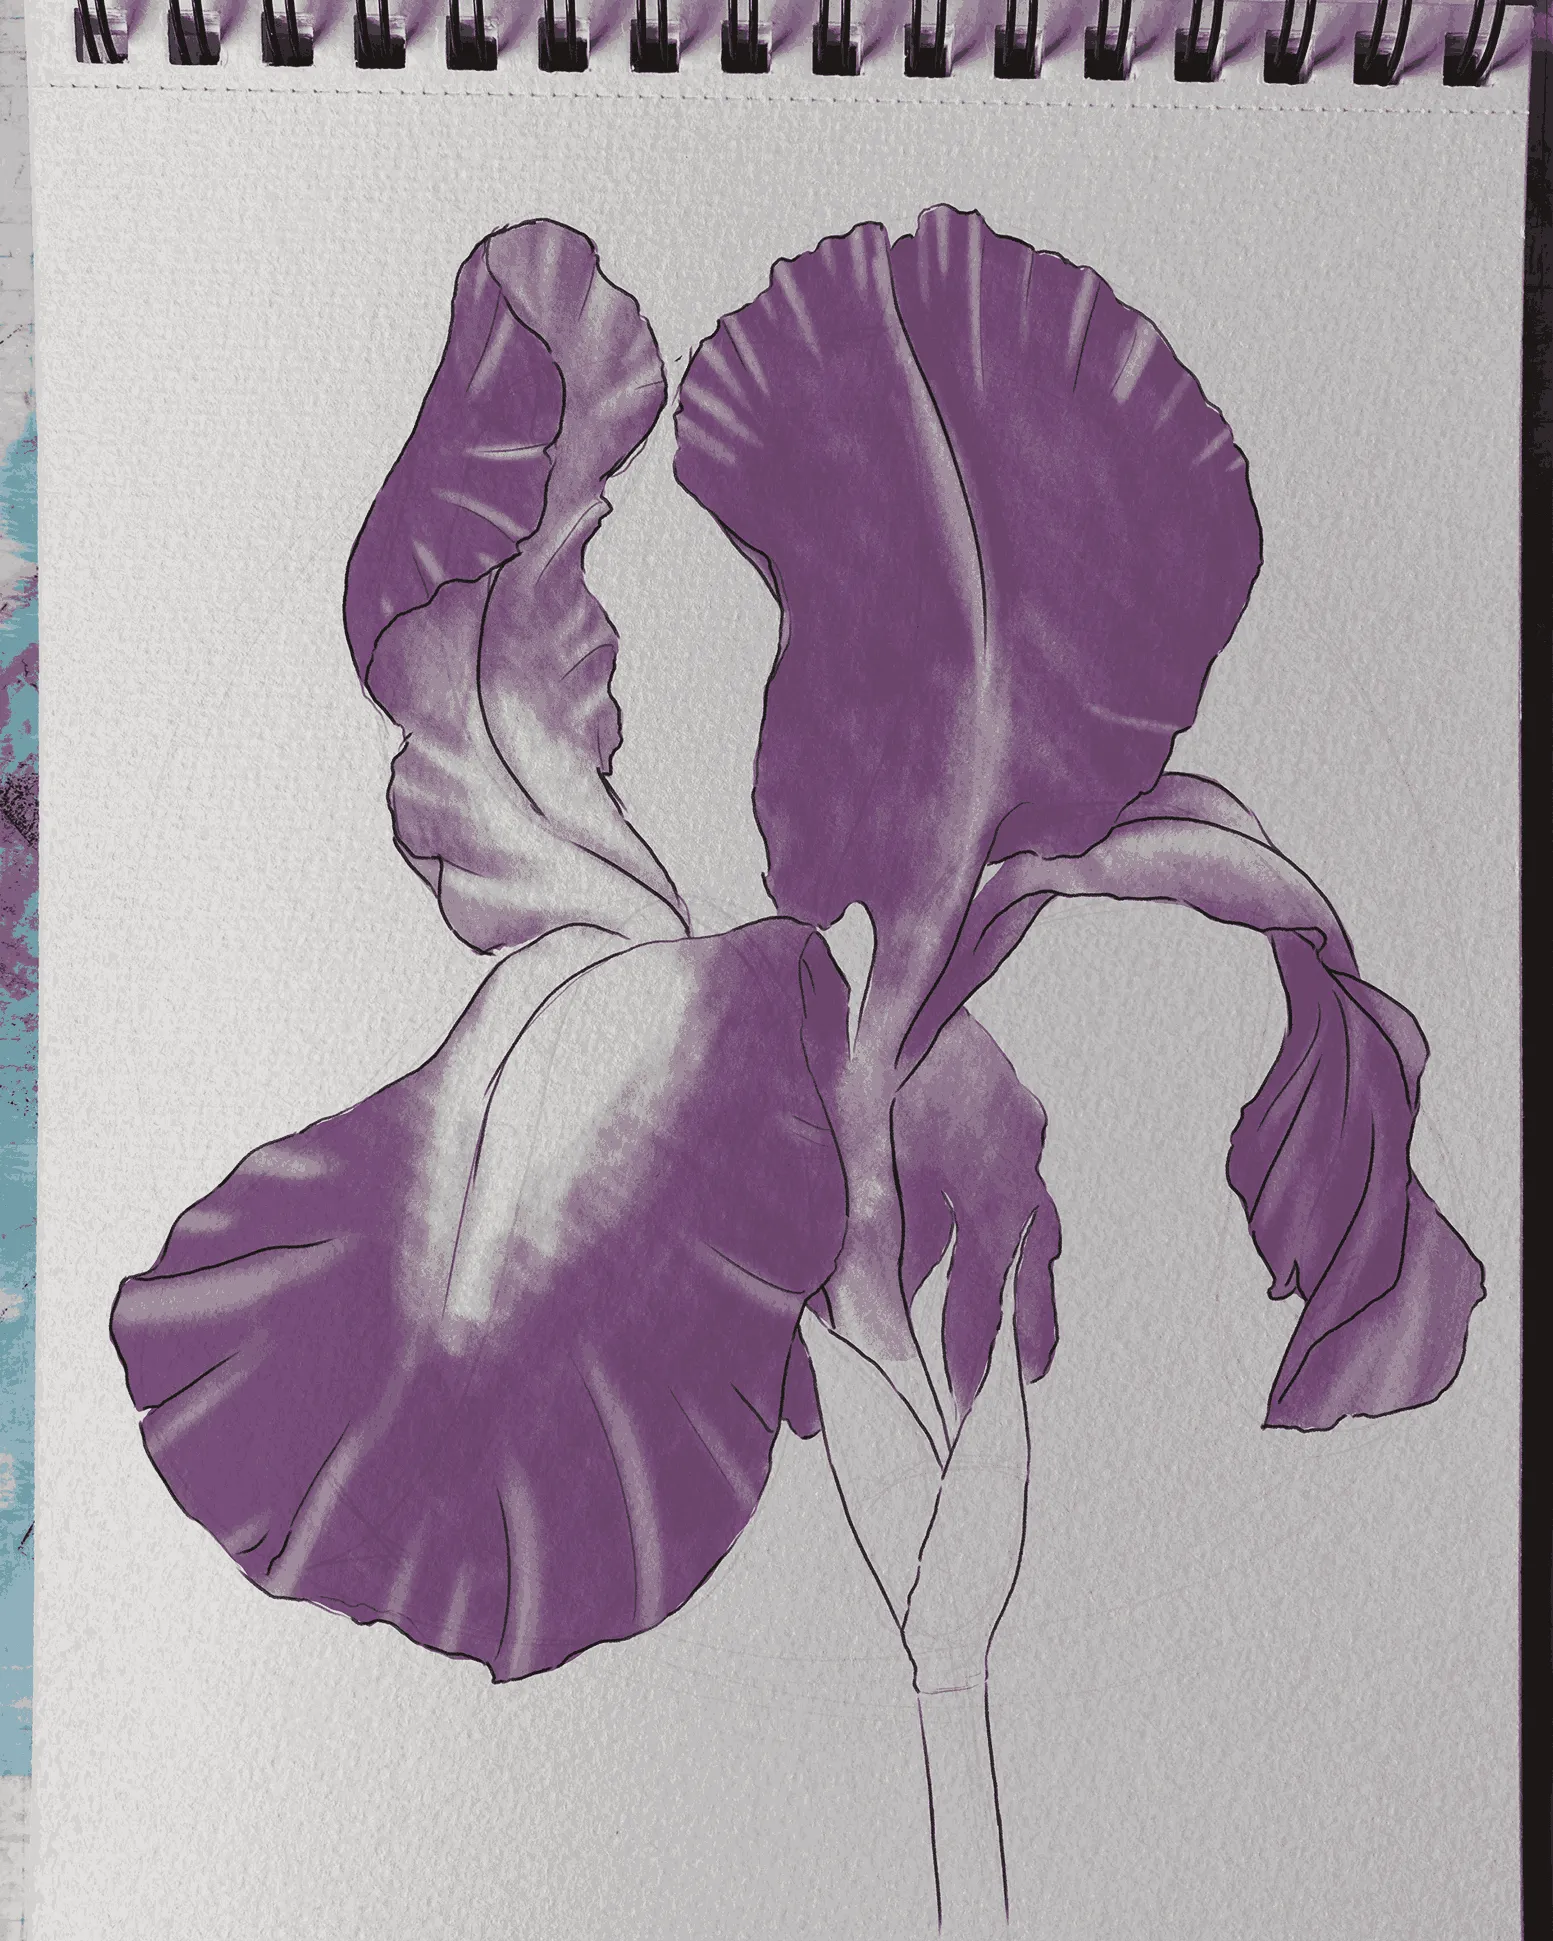
Next, enhance the color with a thicker layer, working with small, short, controlled strokes. Some folds should remain in the light tone; use the eraser if necessary to highlight them.
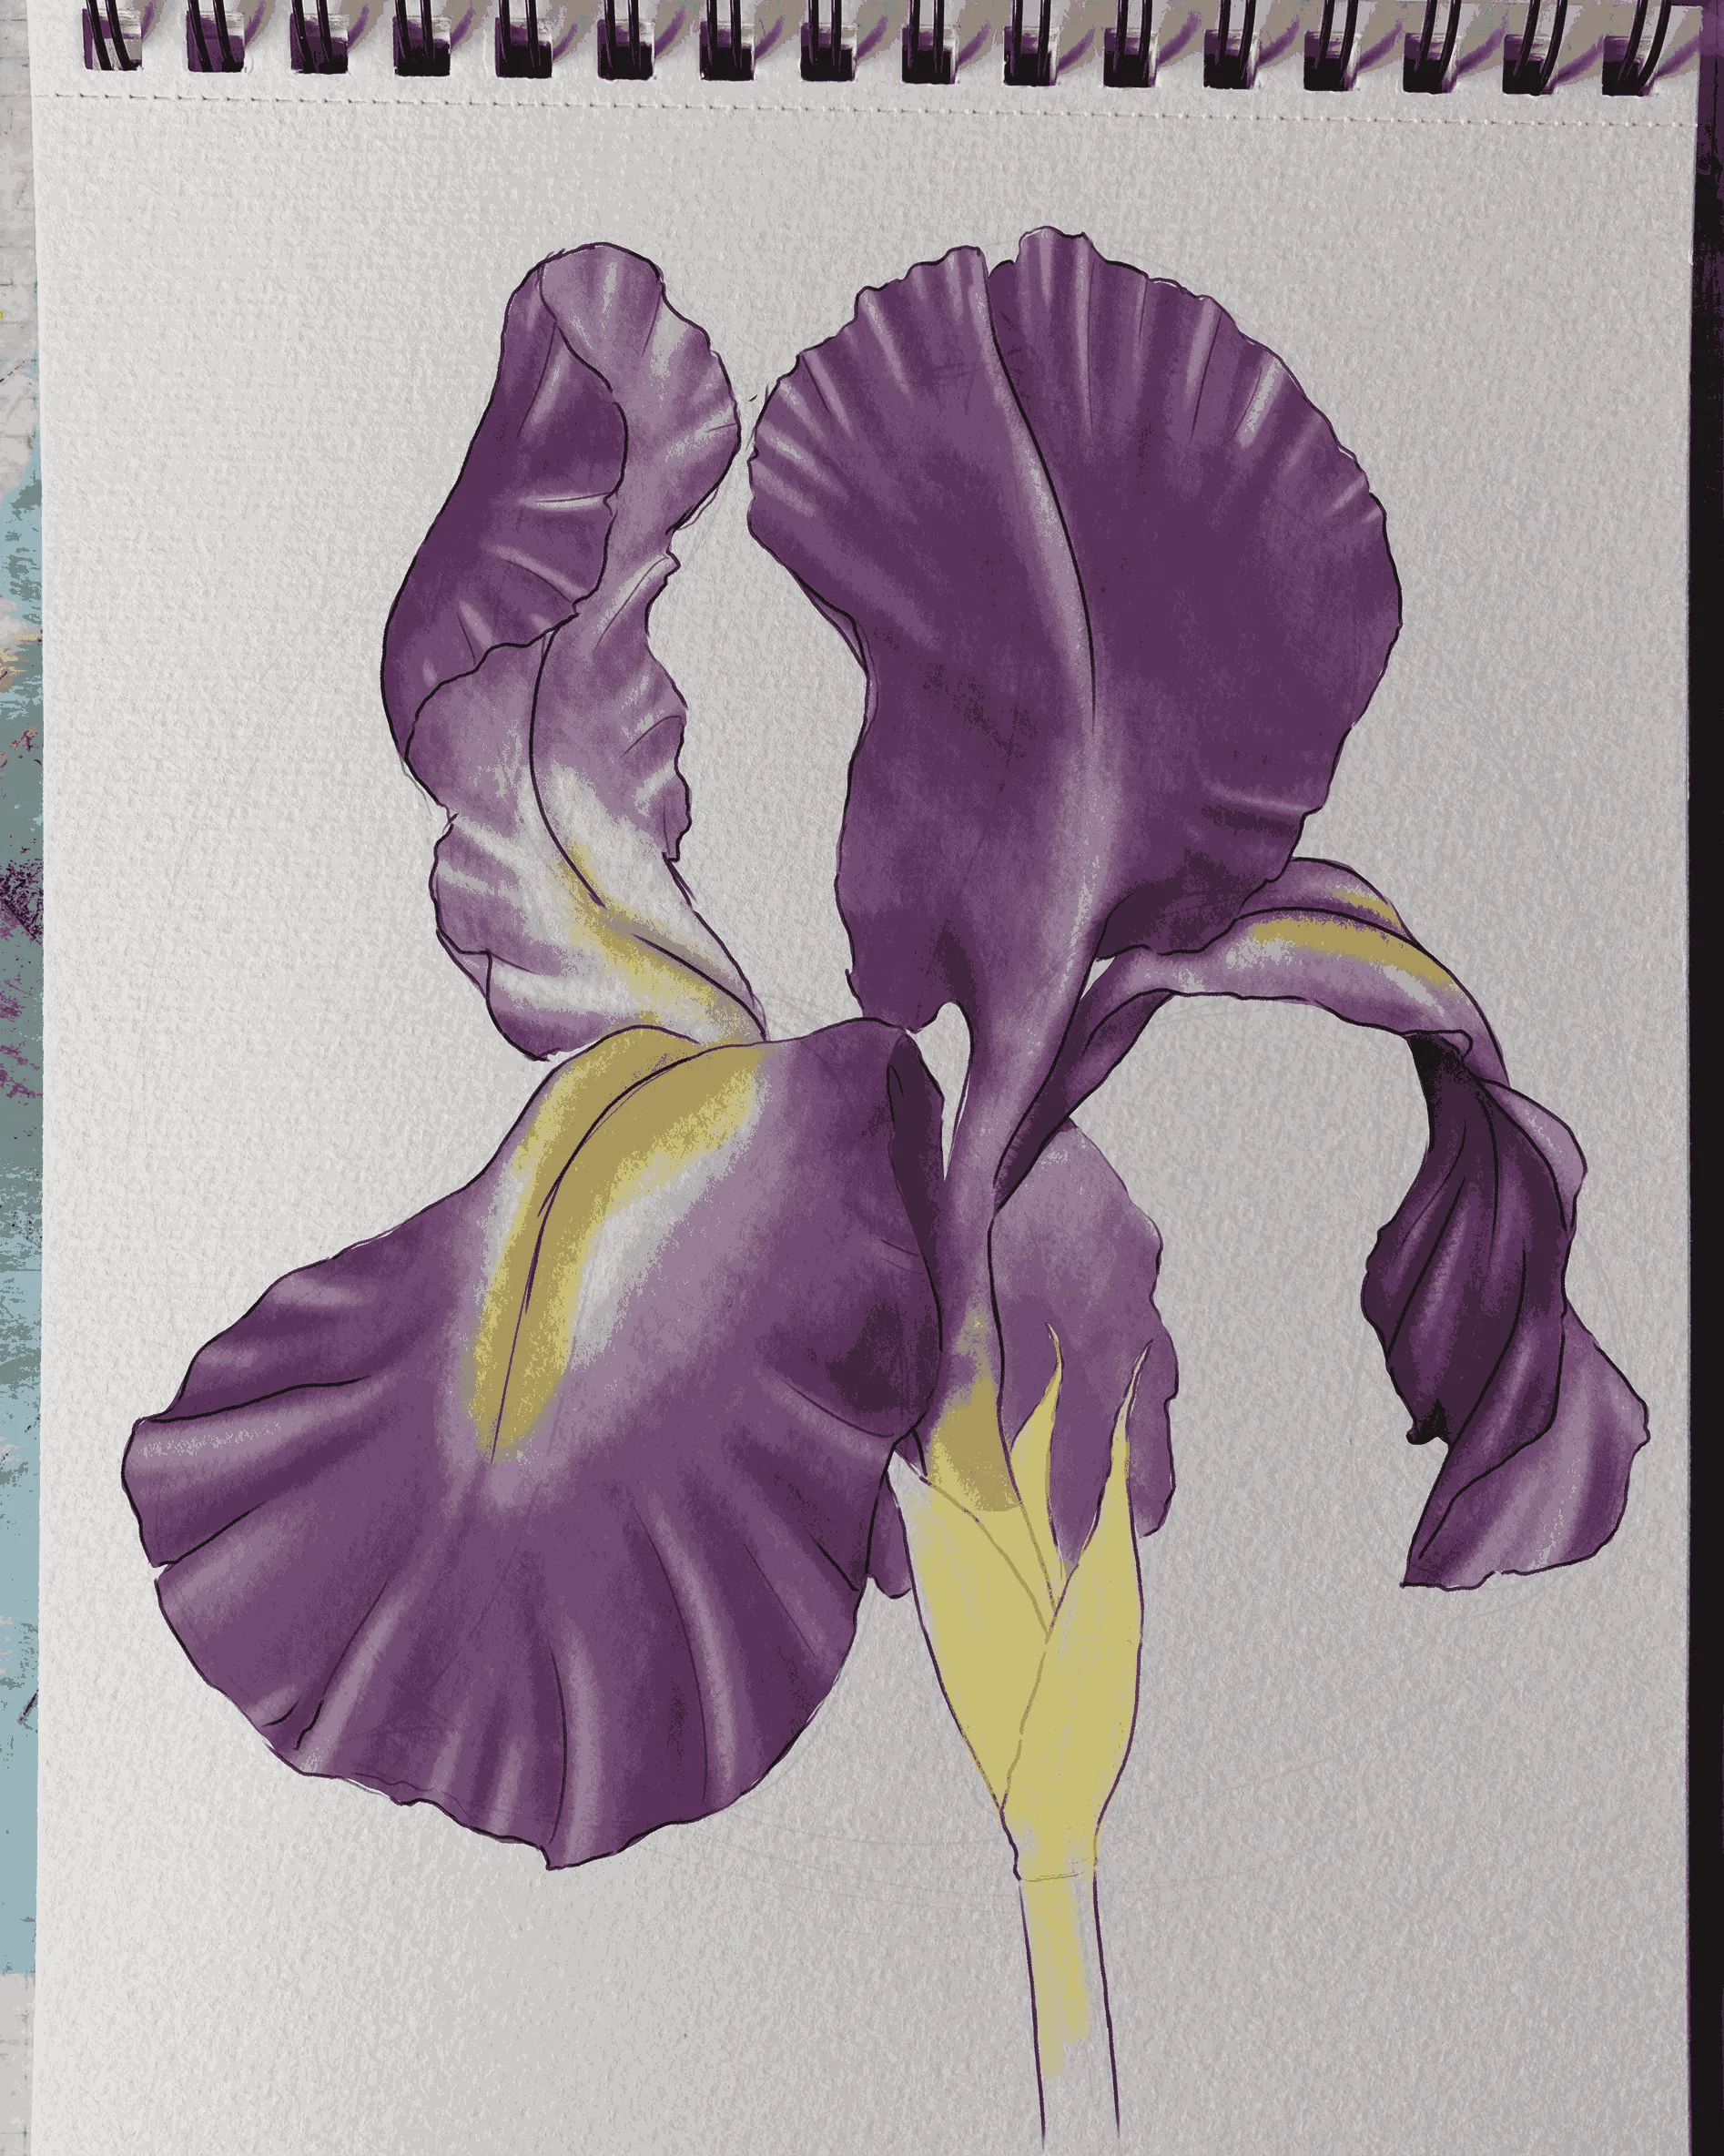
Add yellow to the center of the petals. This creates a gradient that starts intensely at the center and then fades before reaching the violet color, leaving a white band between the two colors.
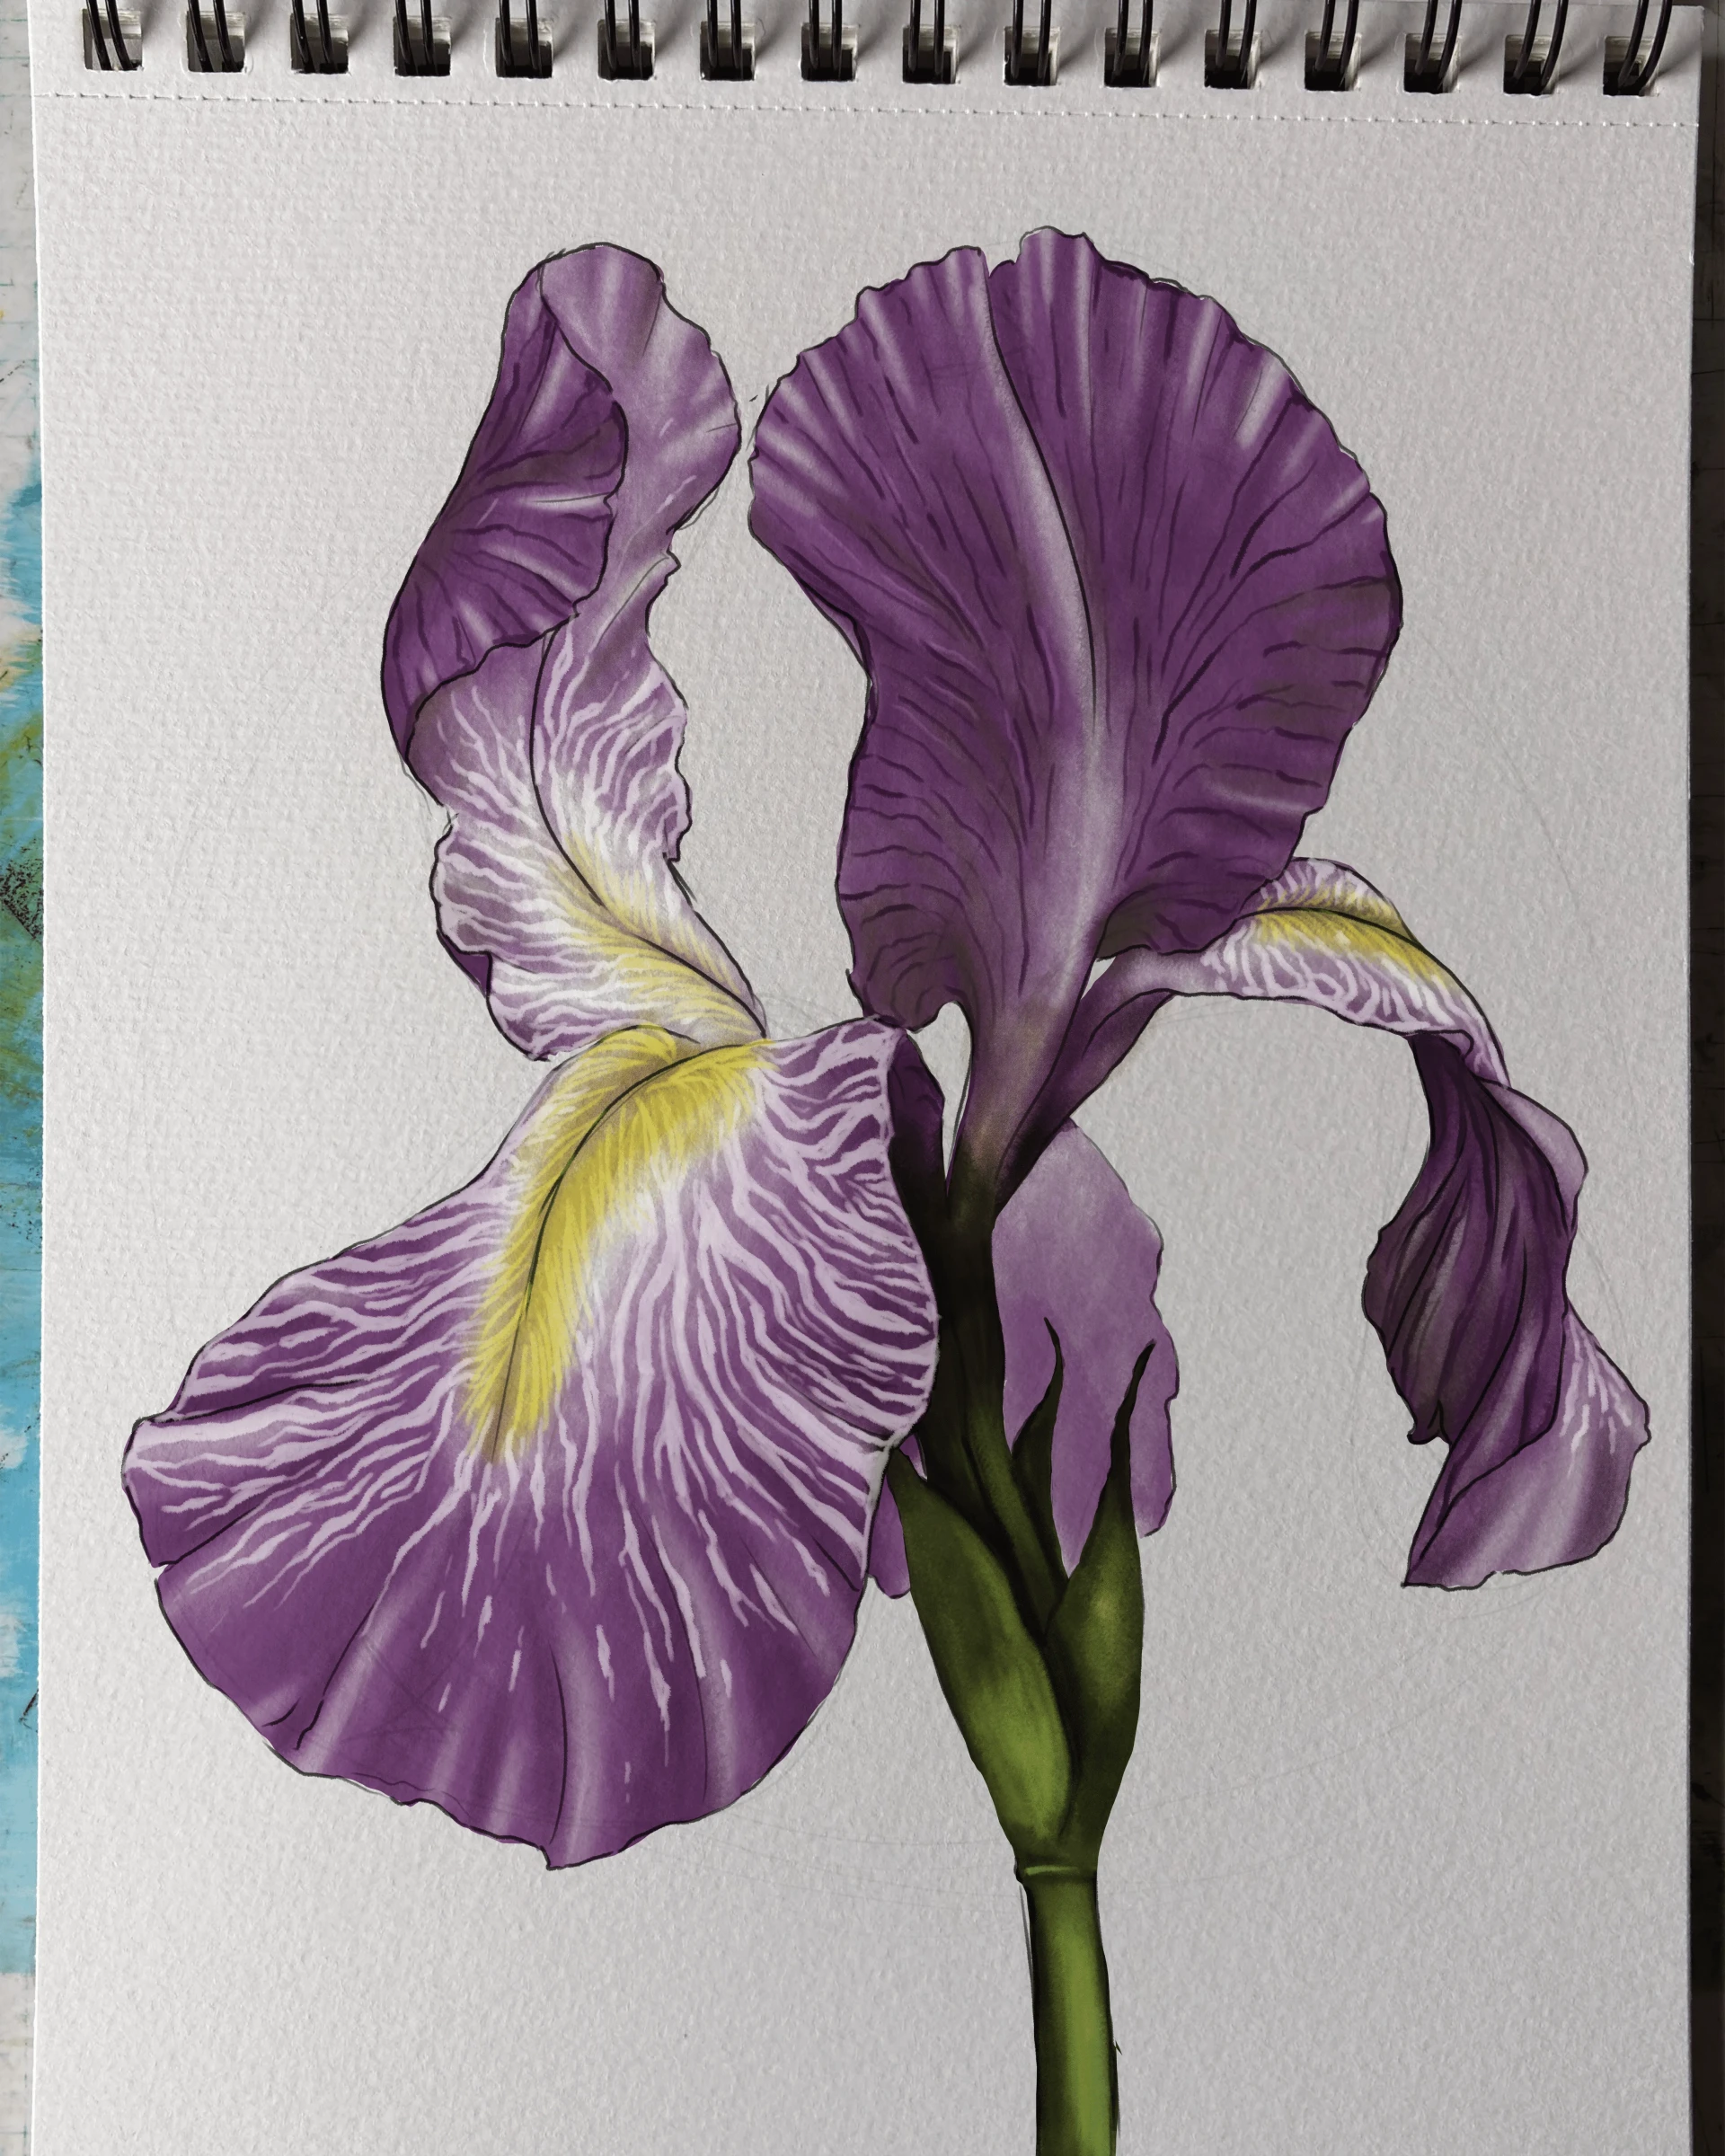
Finalize your iris drawing
For the streaks on the inner surfaces, you will need a material that allows you to work in white on dark tones, such as a gel pen, gouache, or acrylic. Draw thin lines that originate in the central white band and become lighter as they near the edges.
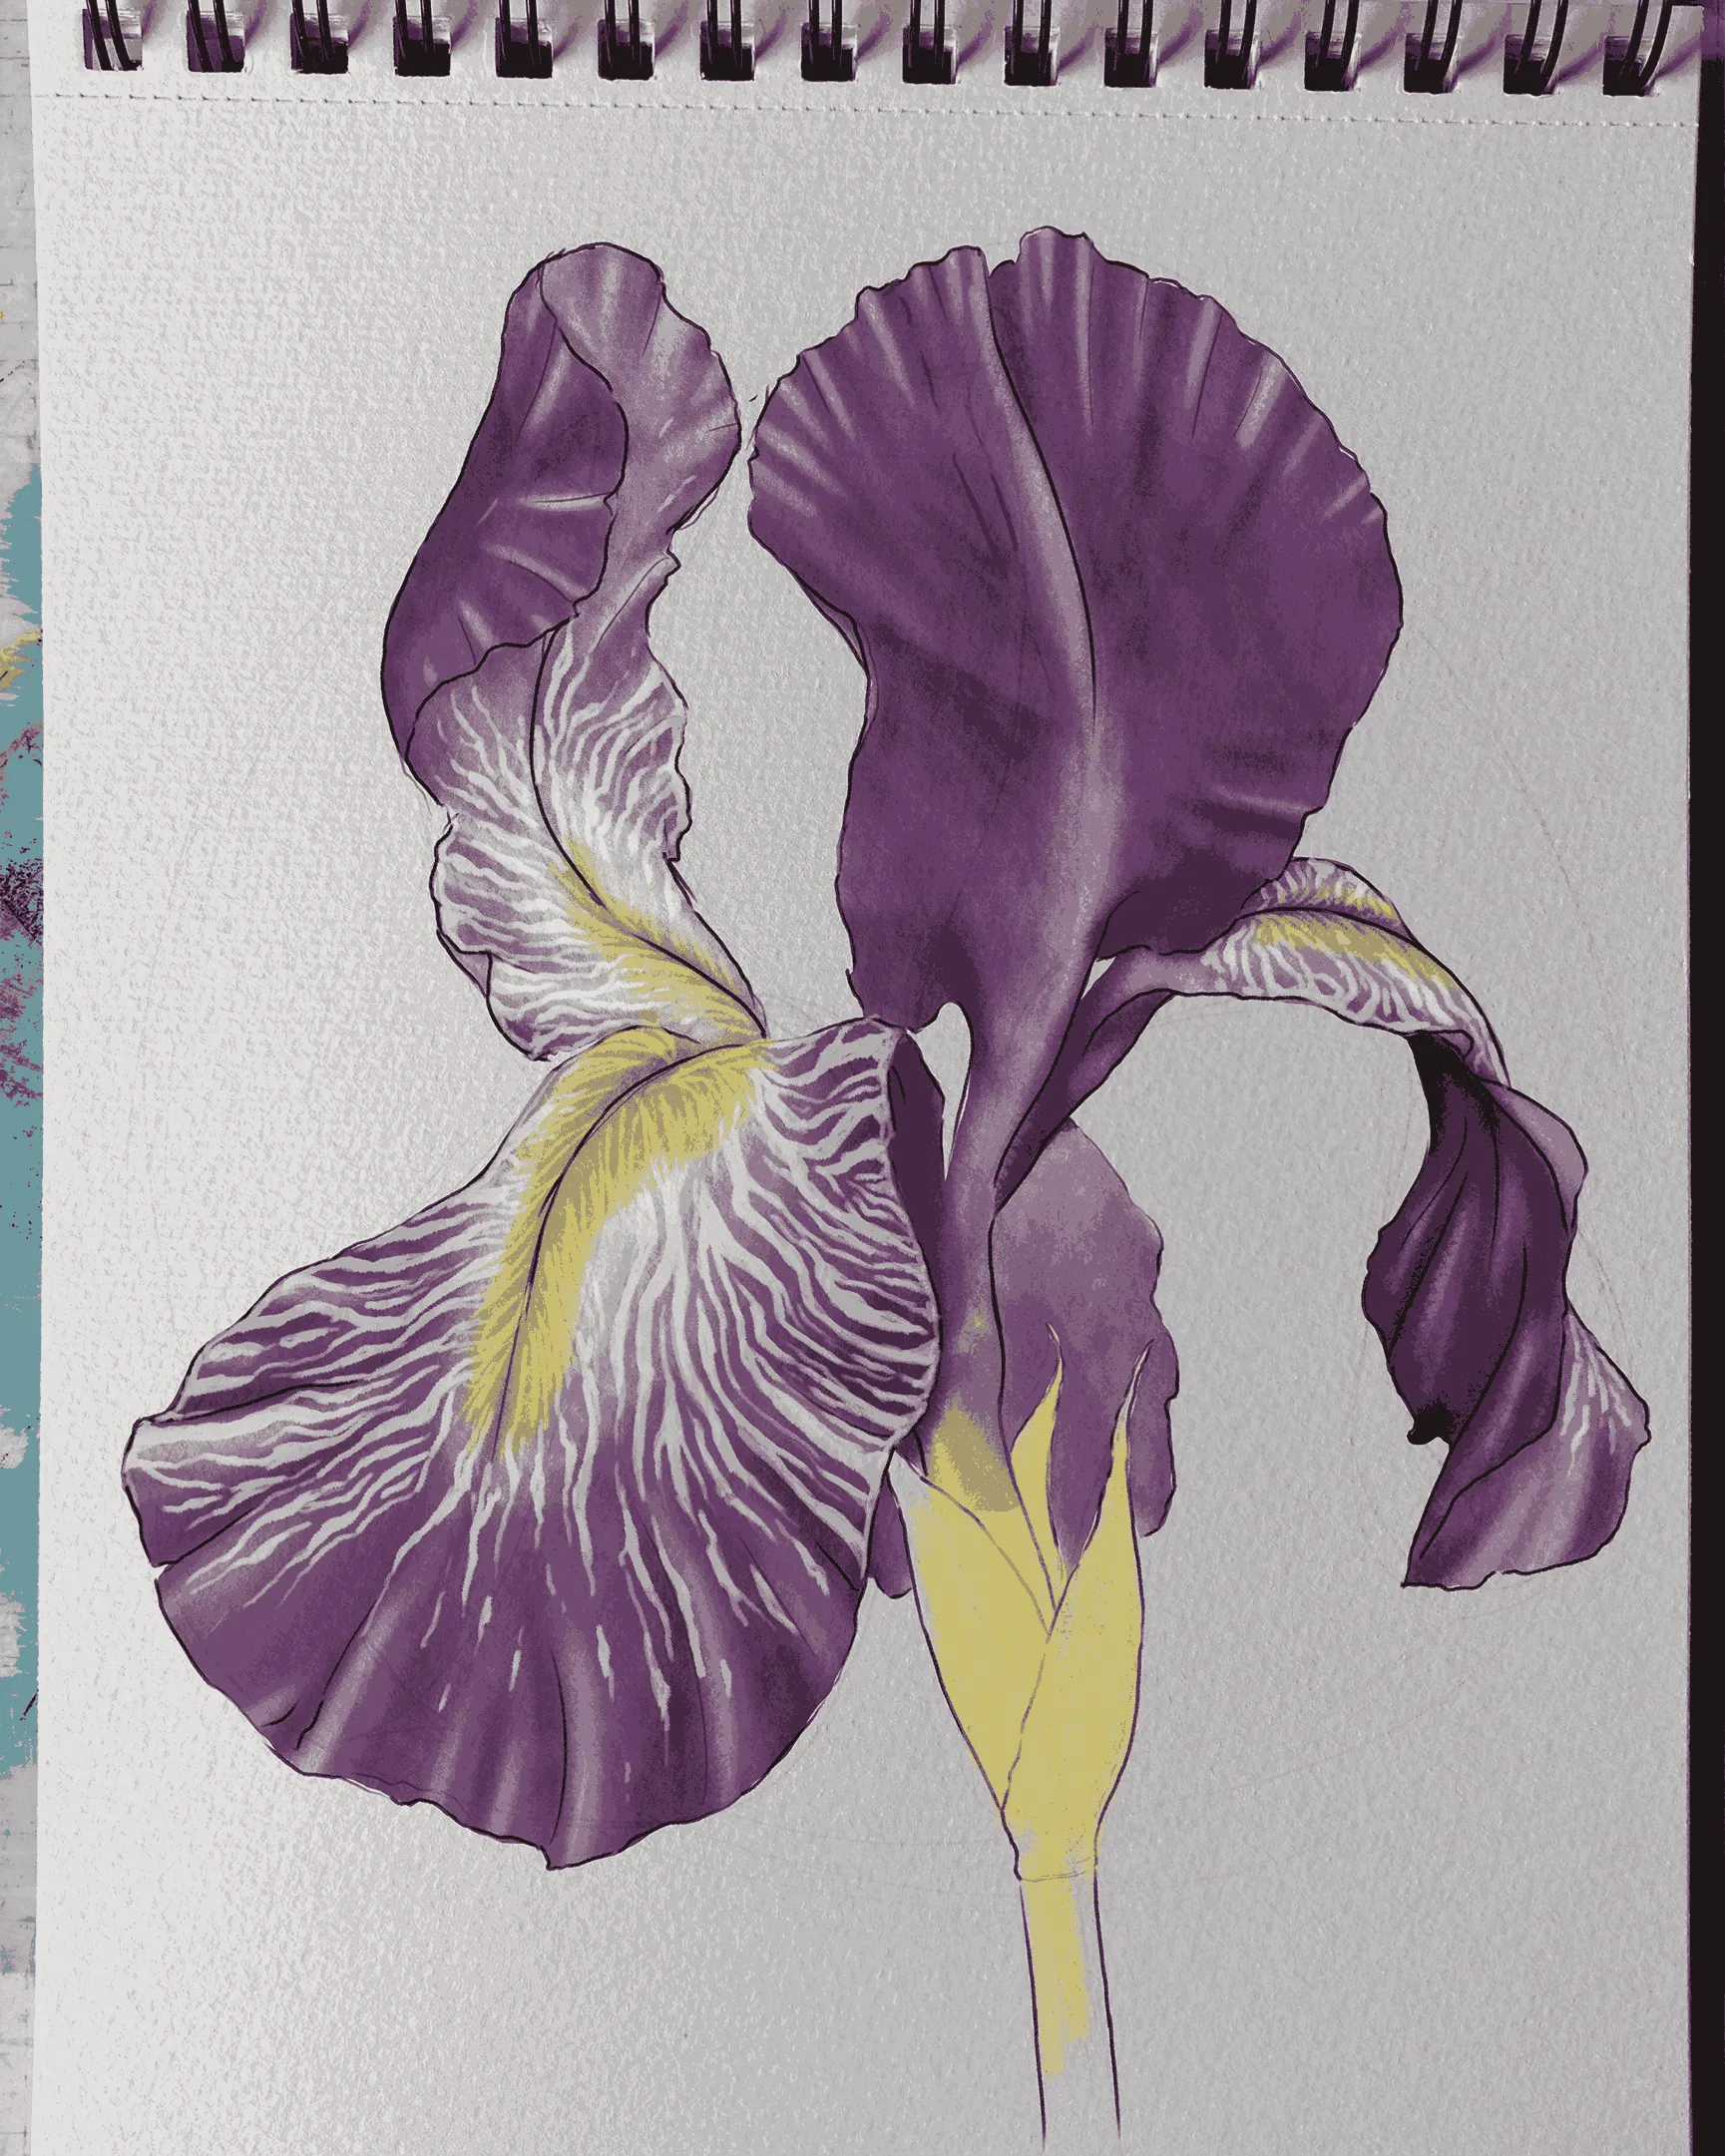
The previous step only applies to the inner surfaces. For the outer surfaces, however, we will use a dark tone to create wavy lines that will form folds. These lines are arranged along a trajectory that runs from the base of the petal to the edges.
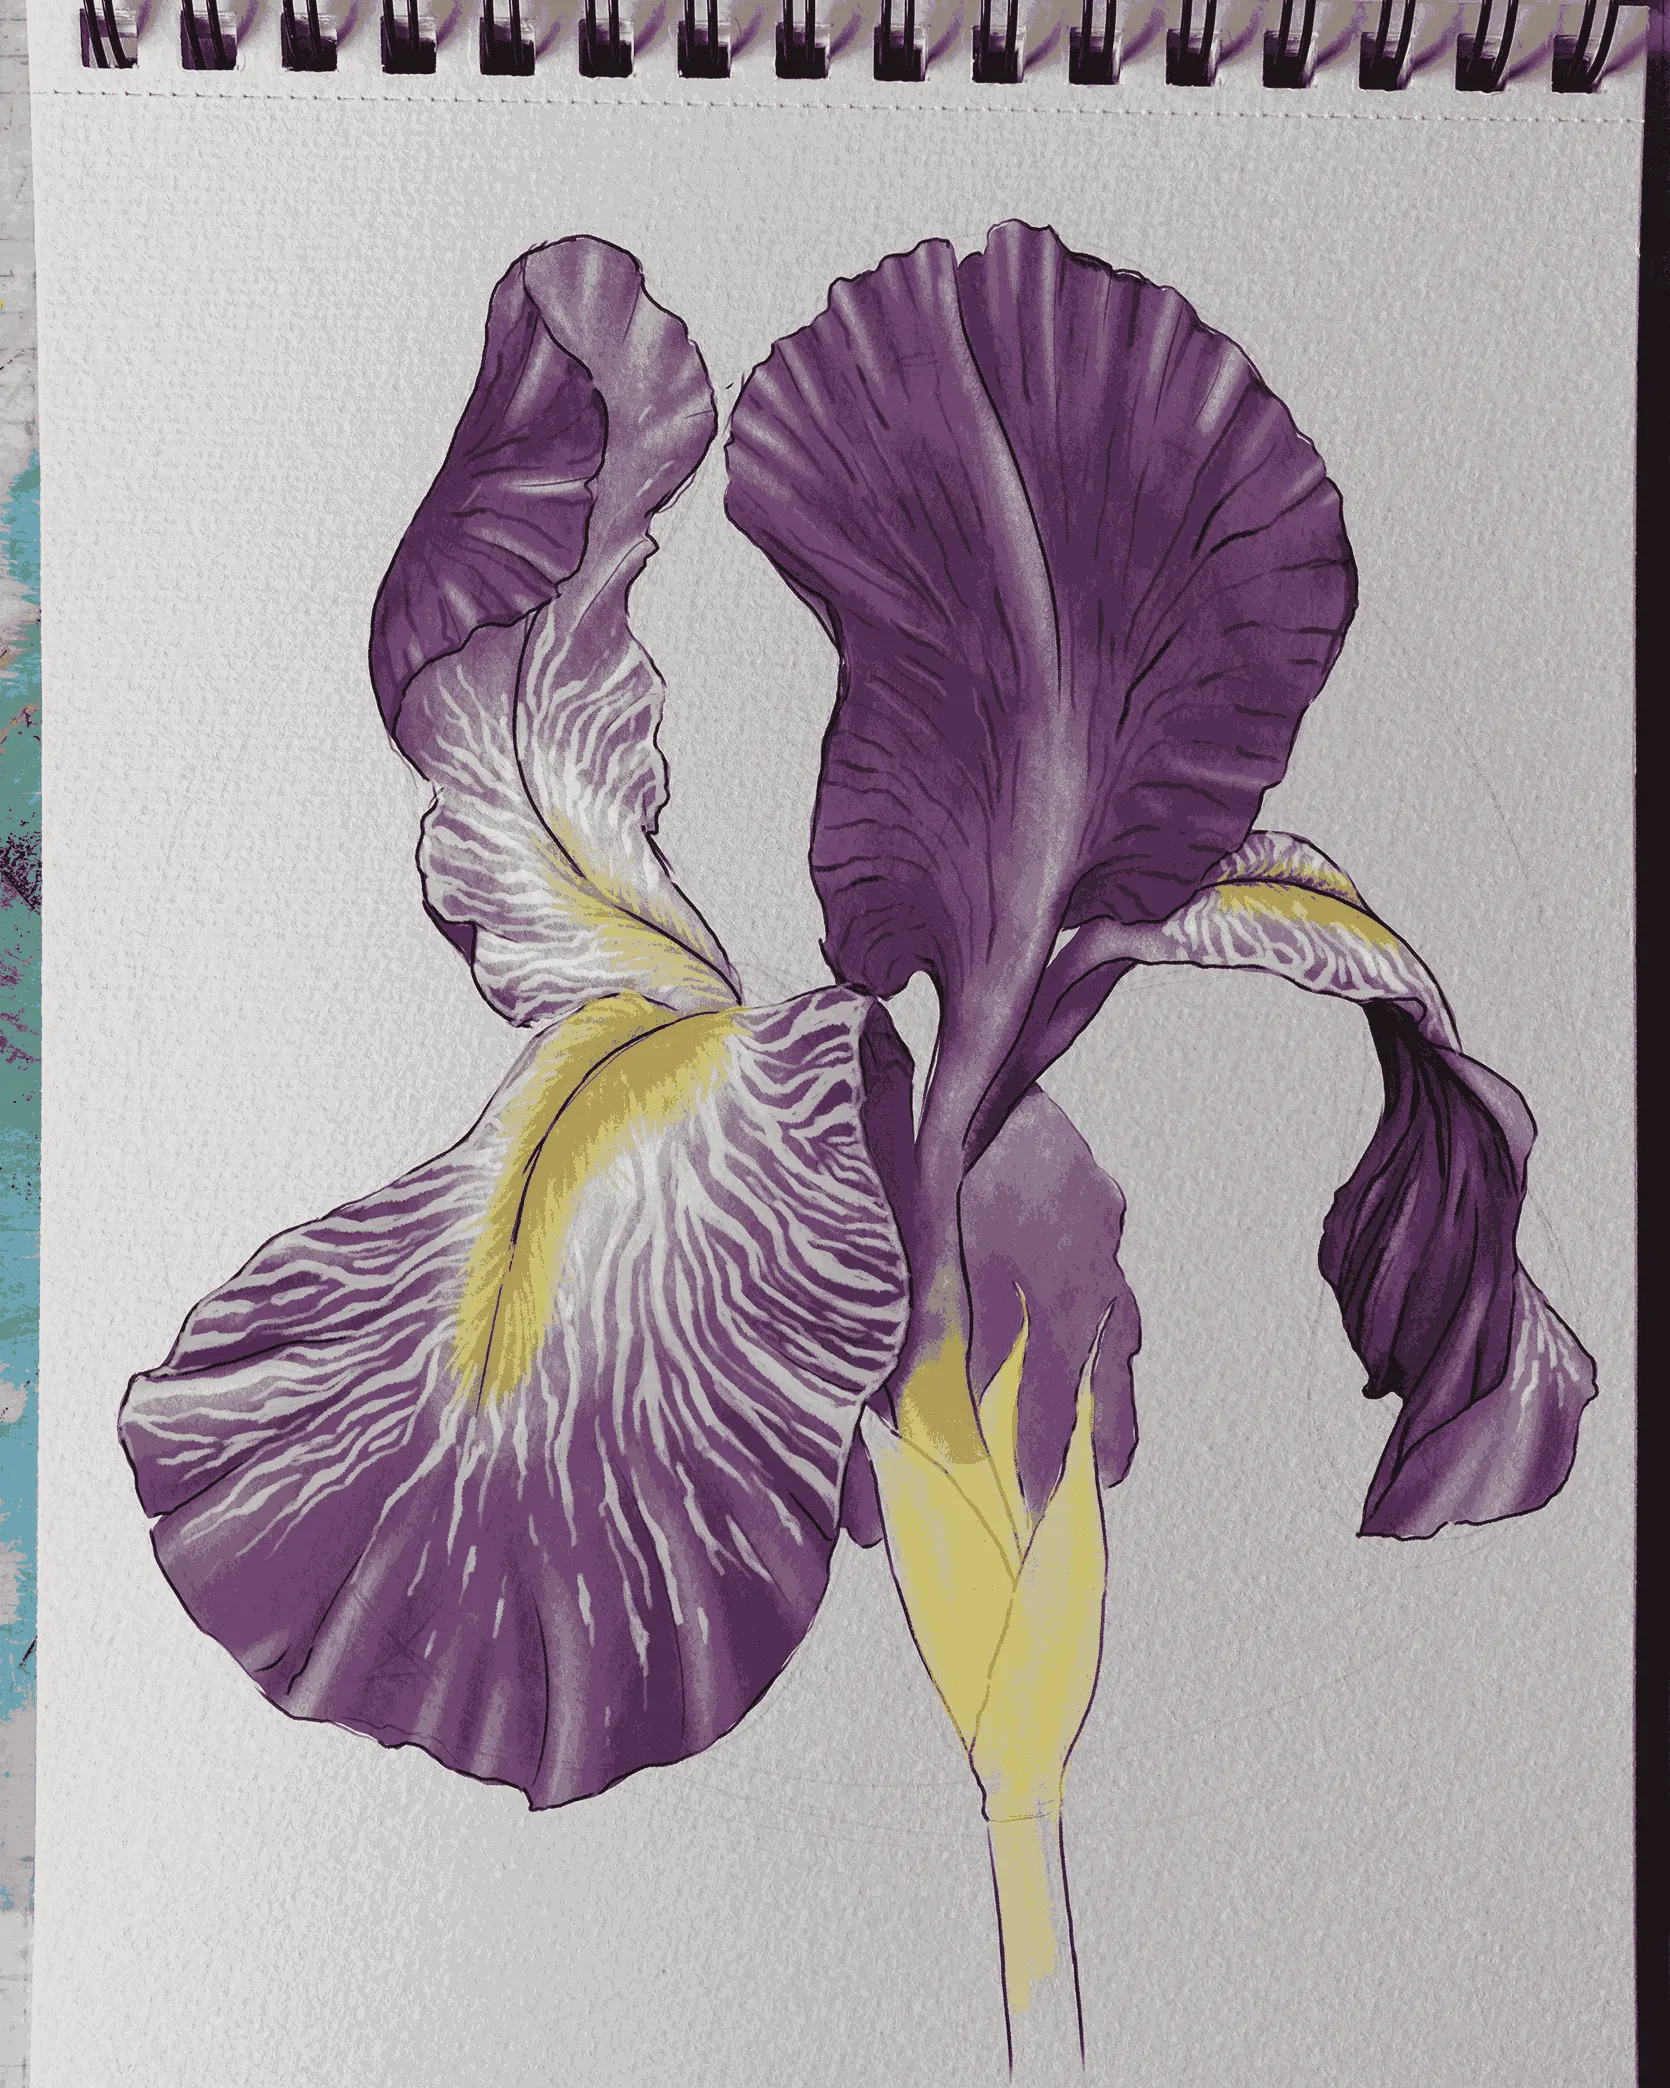
Finally, color the stem with opaque greens. Start with a yellow base and apply several layers to find the green that best complements your petals. The area just below the petals should be noticeably darker, almost black; achieve this shade by layering red, blue, and a touch of black.

And that’s it for this tutorial! This striking flower was certainly worthwhile spending some time on. If you want to continue exploring how to draw flowers, you can find other articles here. In the meantime, get your pencils out!
Discussion
Learning to draw an iris is an excellent tutorial for aspiring artists; to follow the steps without delay or download resources, one can ensure that your connection is perfect.
A very interesting little tutorial!
Irises are very beautiful flowers to reproduce, with magnificent colors. This small tutorial allows you to easily draw these flowers; try it quickly with different species. The result is really very pretty.
The iris is one of my favorite flowers because it has a multitude of colors; however, it’s not easy to draw, as I’ve already experienced. But I wasn’t very satisfied with the result. Here, the steps are well explained; I’m going to try again. Thank you.