Drawing a Landscape with Dry Pastels
Today, I'll guide you through the process of drawing a landscape using dry or soft pastels. I find that dry pastels are particularly well-suited for landscape work. The colors can be both soft and light or very saturated. Therefore, we can achieve a variety of effects and create diverse landscapes. Personally, I prefer creating natural landscapes, and that’s what we will explore in this article. I will explain everything to you. First, I’ll show you how to properly choose your paper and its color depending on the type of landscape you want to draw. Then, the type of dry pastels used, and finally, I will demonstrate how to create a landscape from A to Z using a reference.
CHOOSING THE LANDSCAPE YOU WANT TO CREATE
You can use references and try to recreate your photos as drawings.
First, you have to identify the main features of the landscape. What are the principal elements? Is it a landscape in perspective? What is the foreground and the background? How can we break down our landscape into simple shapes?
You can also improvise when you feel more comfortable. Often, when I go on vacation, I jot down my ideas on my phone, and then I try to recreate some landscapes from memory that I have already seen. I also mix different landscapes that I've visited. This opens up many possibilities.
CHOOSING YOUR TYPE OF PAPER
Before drawing with dry pastels, it is essential to first choose the type of paper to be used. Dry pastel requires heavyweight paper to support the different layers of color. You can also use textured paper.
There are several types of paper suitable for dry pastels.
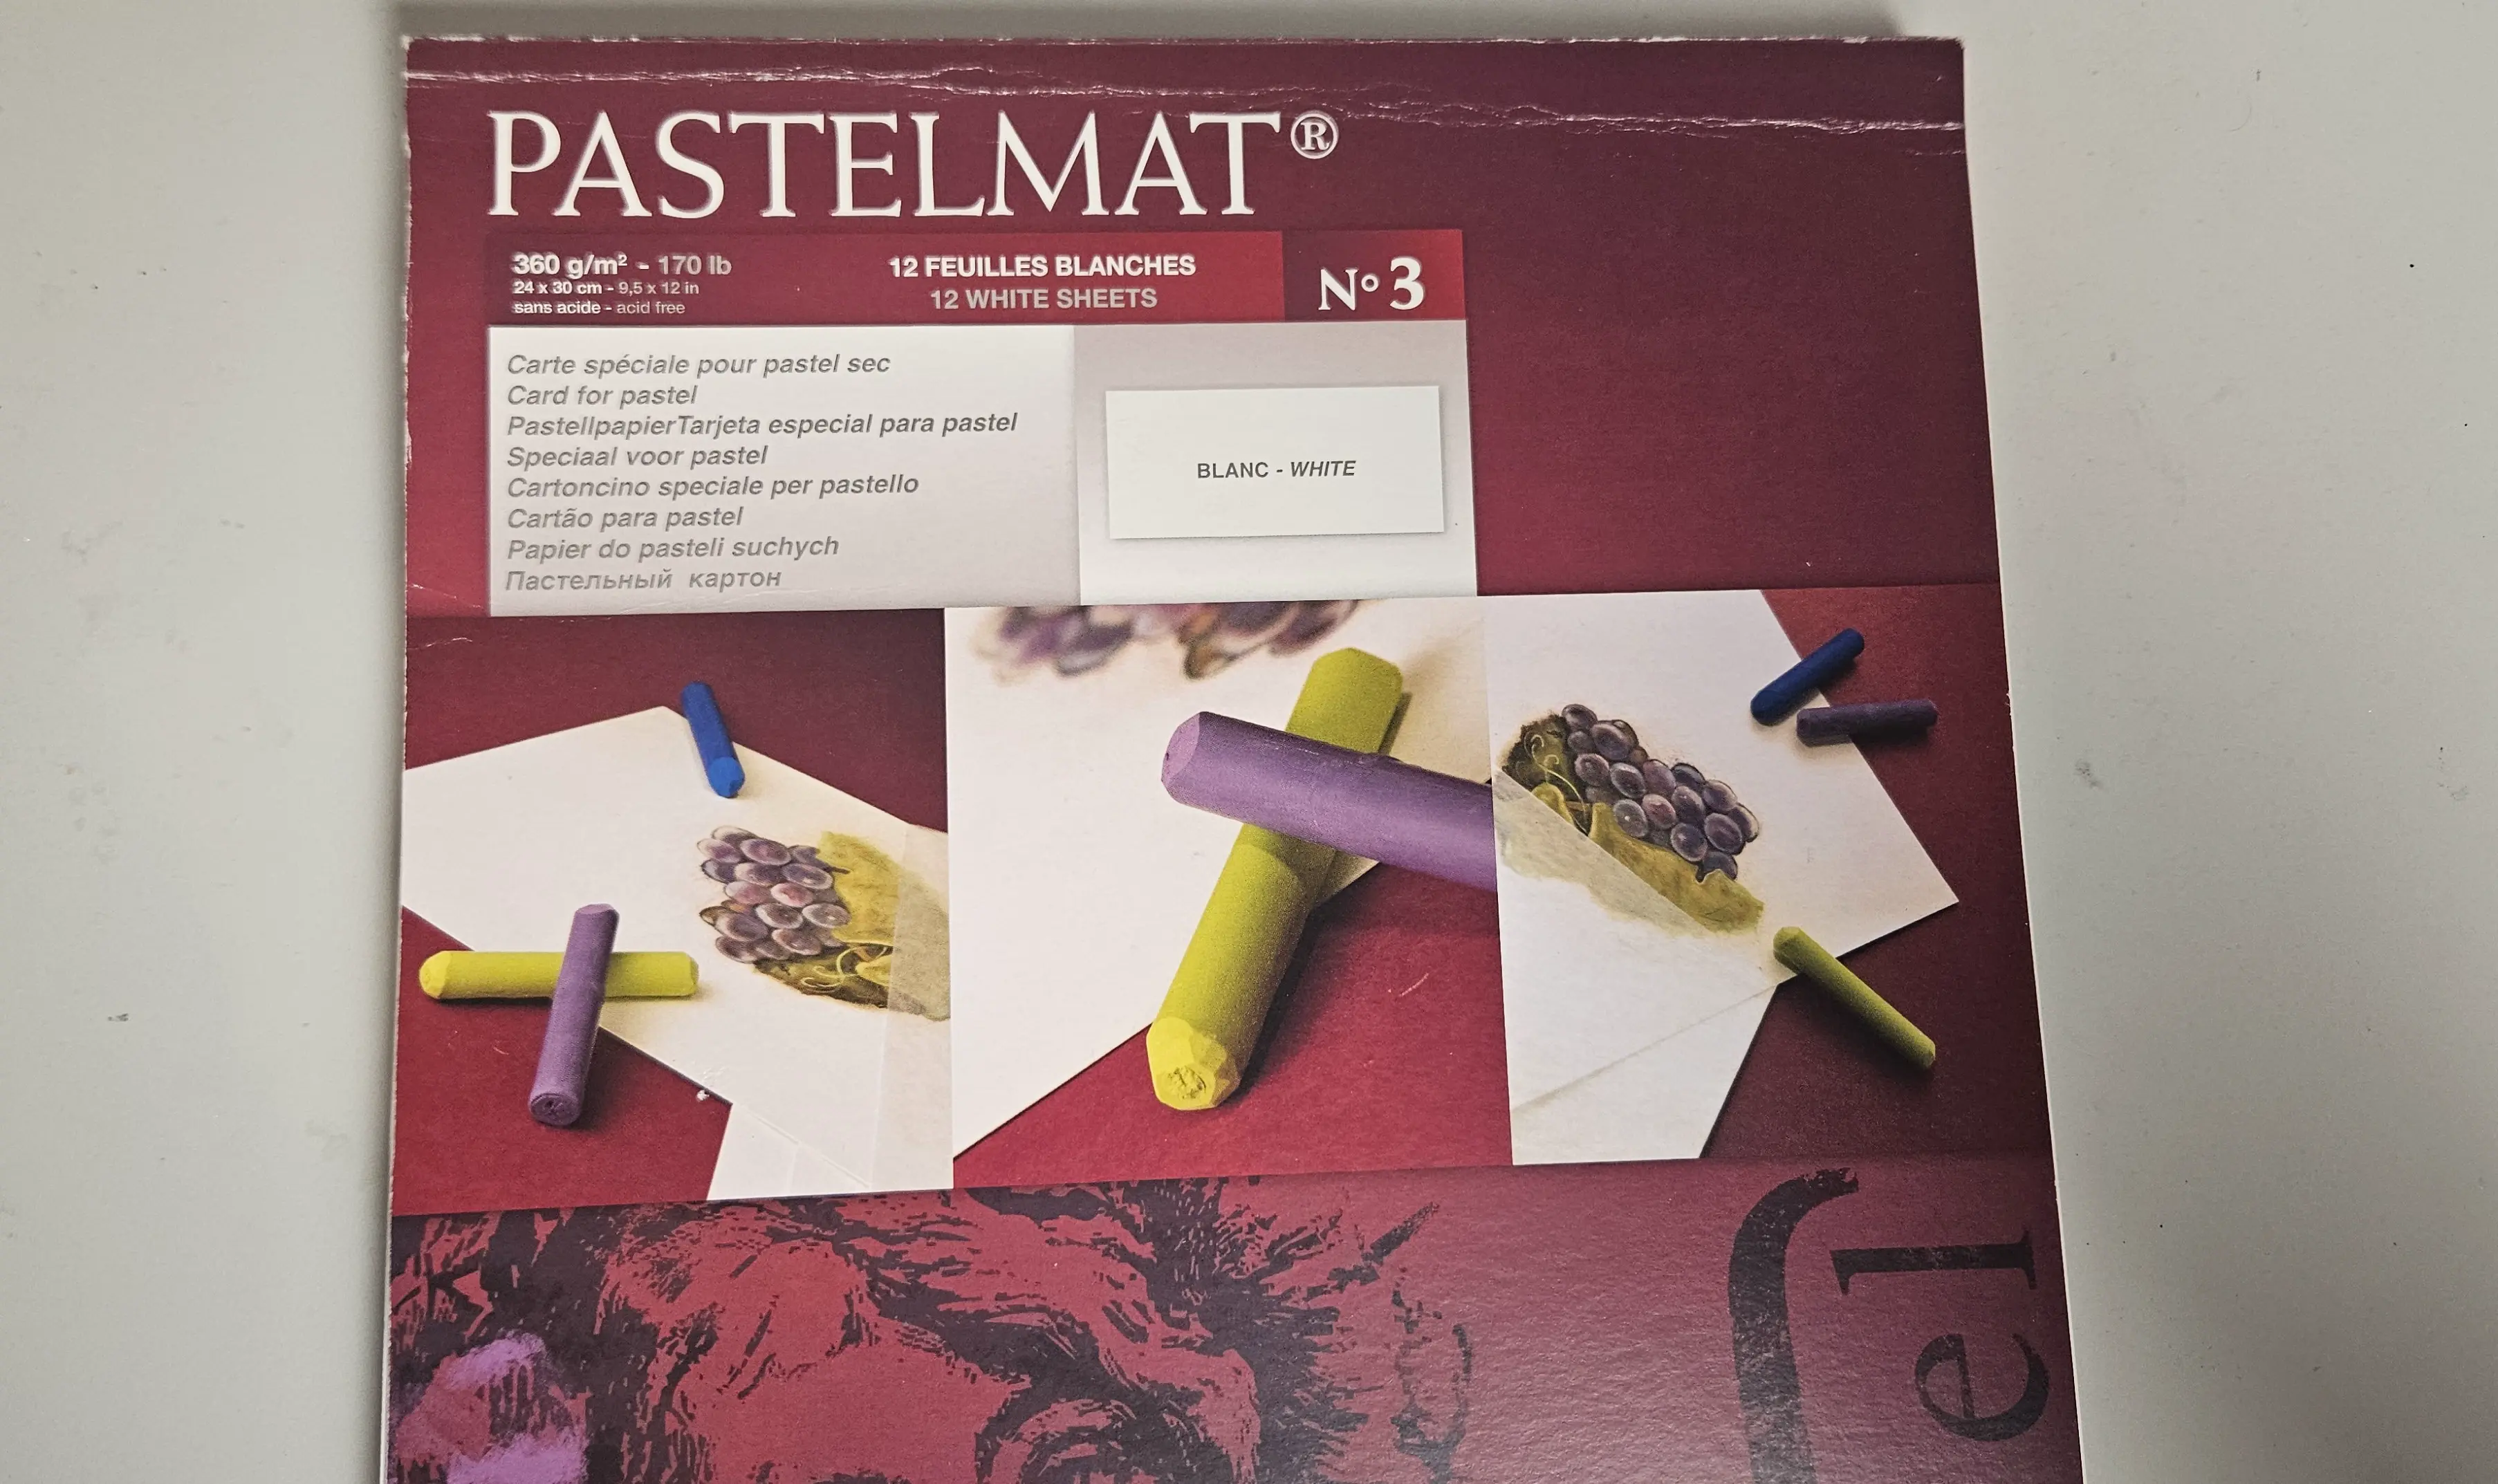
Pastelmat paper, for example, was specially designed for the use of dry pastel. It allows for easy layering and coloring.
You also have Pastelcard paper which comes in many colors. I really like this paper because it's thick, colorful, and pleasant to use.

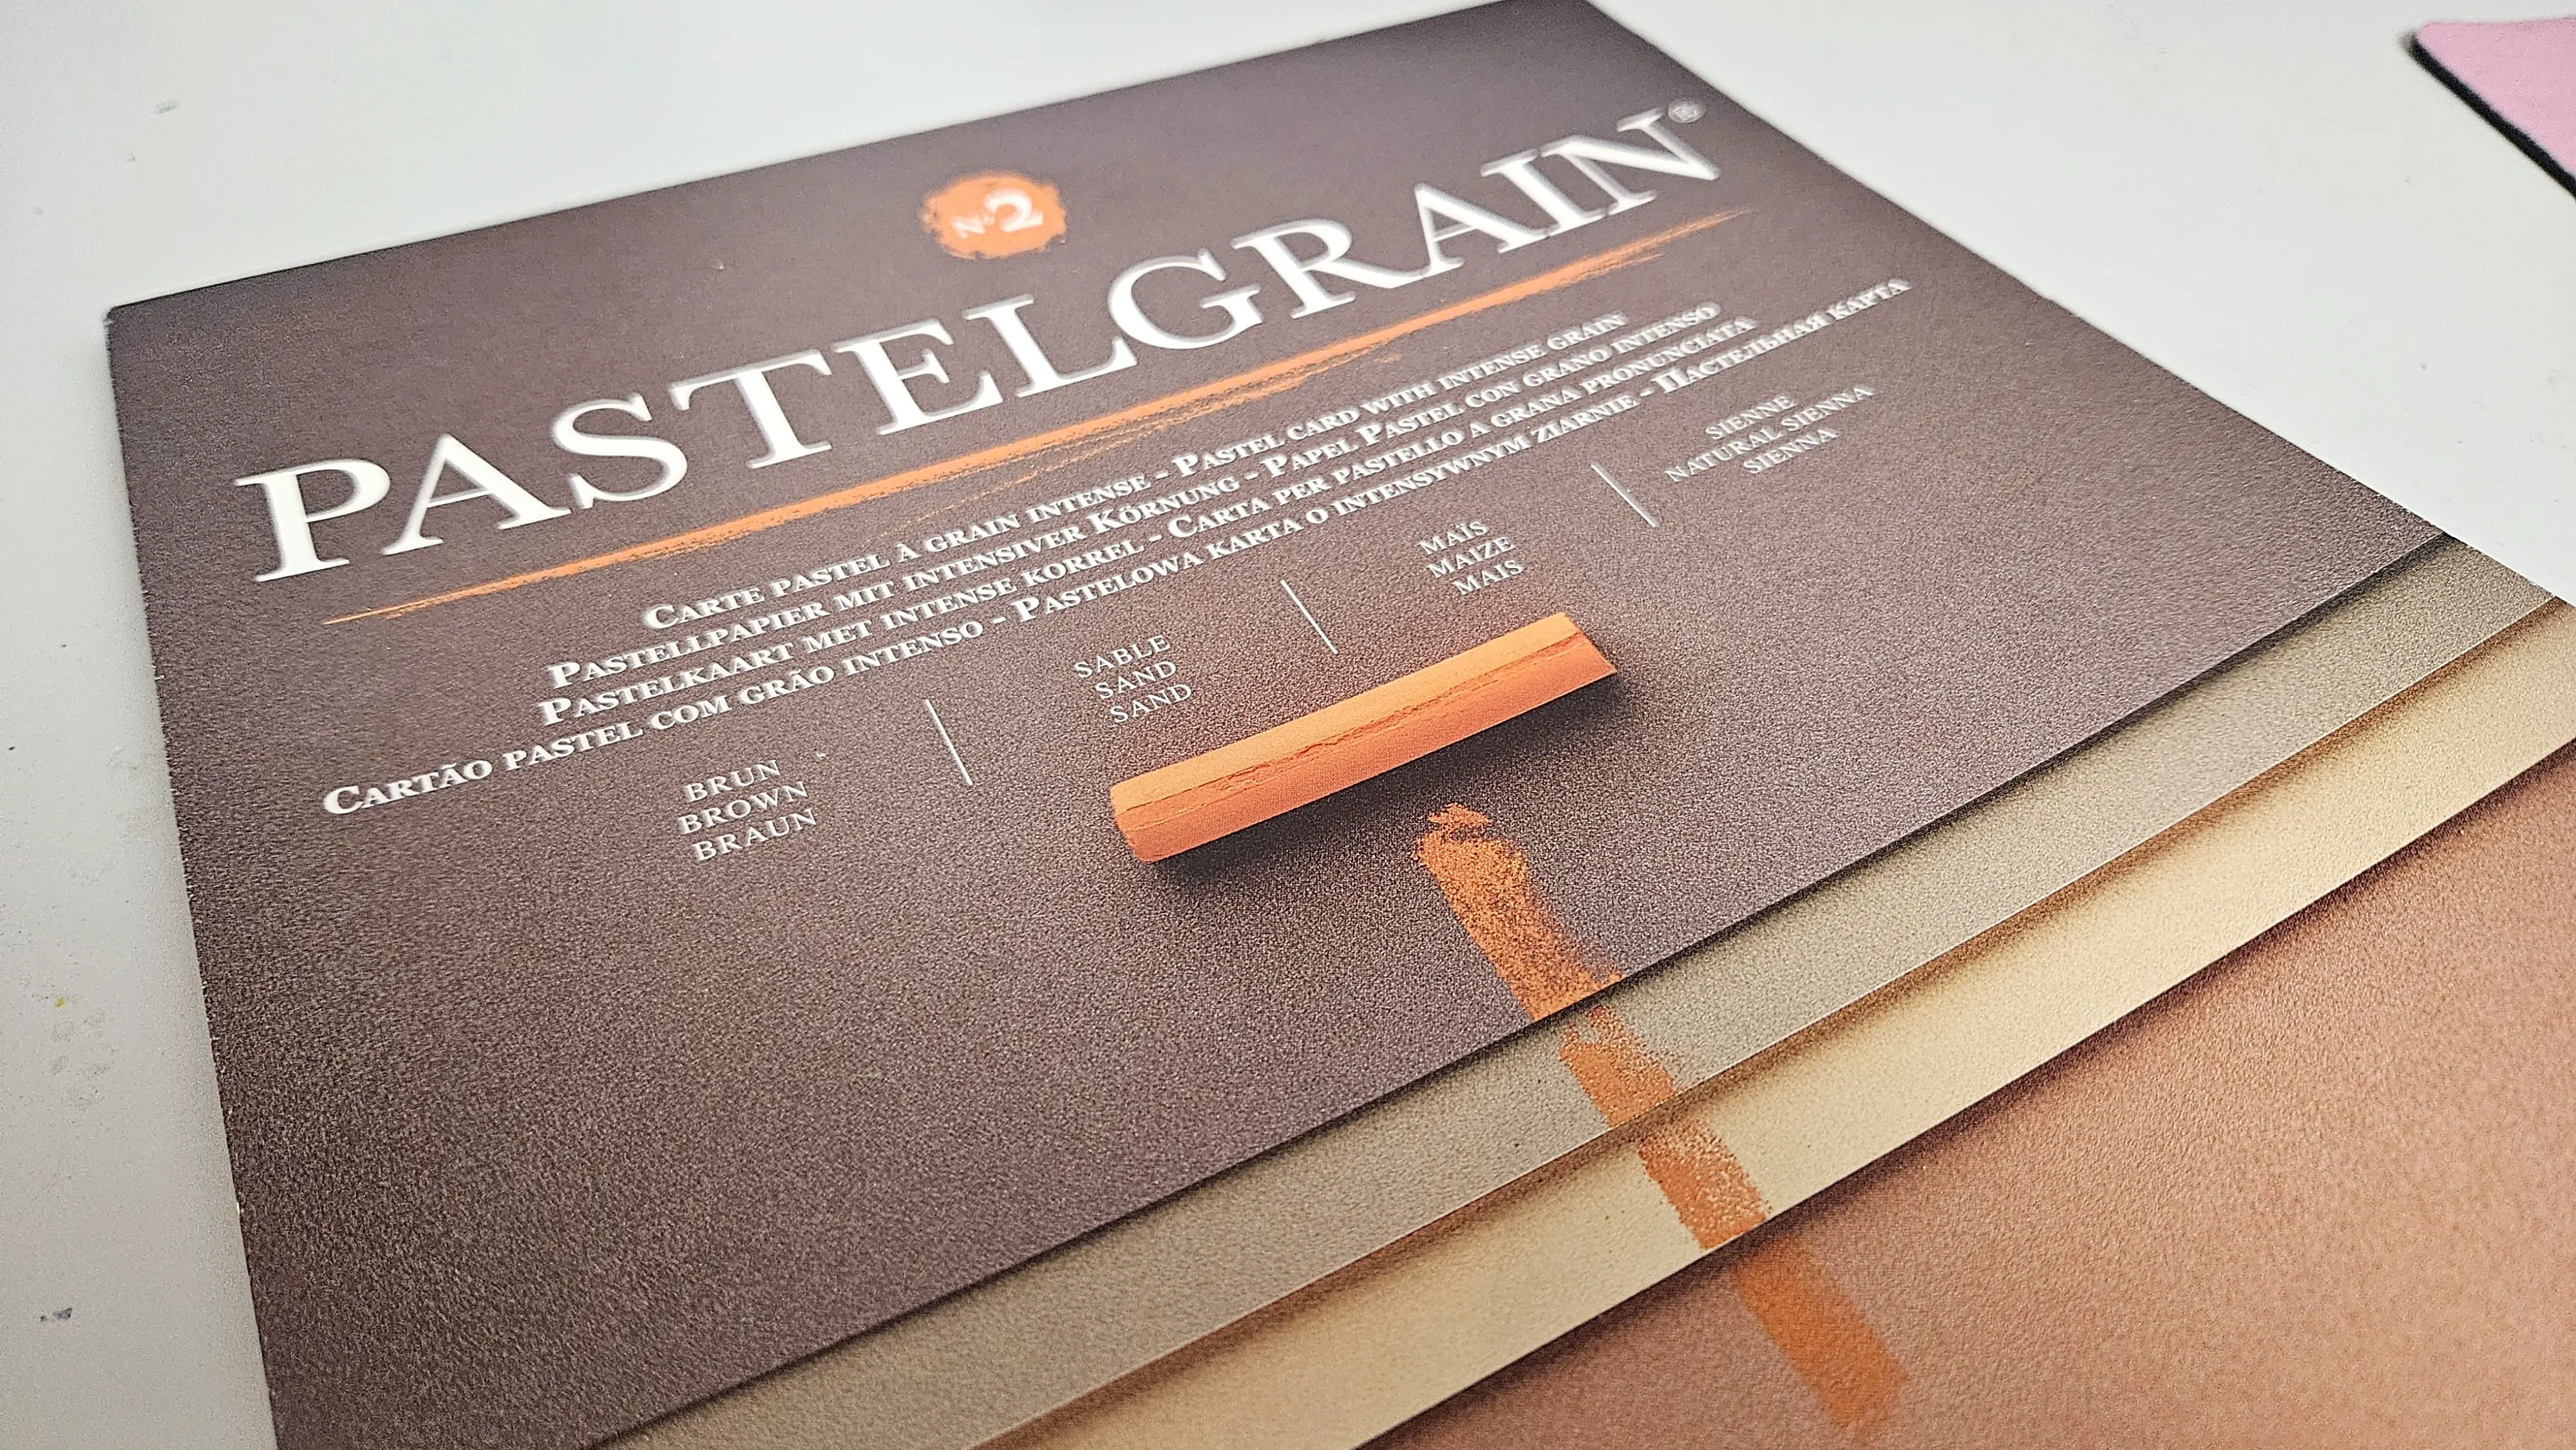
And finally, Pastelgrain paper, which is a bit more textured than the other papers.
For this article, I will use Pastelcard paper. It is in A5 format and allows for very quick results.
It is also important to know on what color paper you want to draw. Colored paper can create a certain ambiance. You can also use complementary colors to make the drawing stand out more.
With warm colored papers (yellow, brown, etc.), I recommend crafting natural landscapes (sunny landscapes, savannas, etc). Conversely, with cooler colored papers (blue, gray, etc.), aquatic and cold landscapes are much more suitable (glaciers, oceans, etc).
CHOOSING YOUR TYPE OF DRY PASTELS
There are also several types of dry pastels. To create a background, or a landscape, it's important to choose the ones that are most suitable. Each has its advantages and disadvantages.
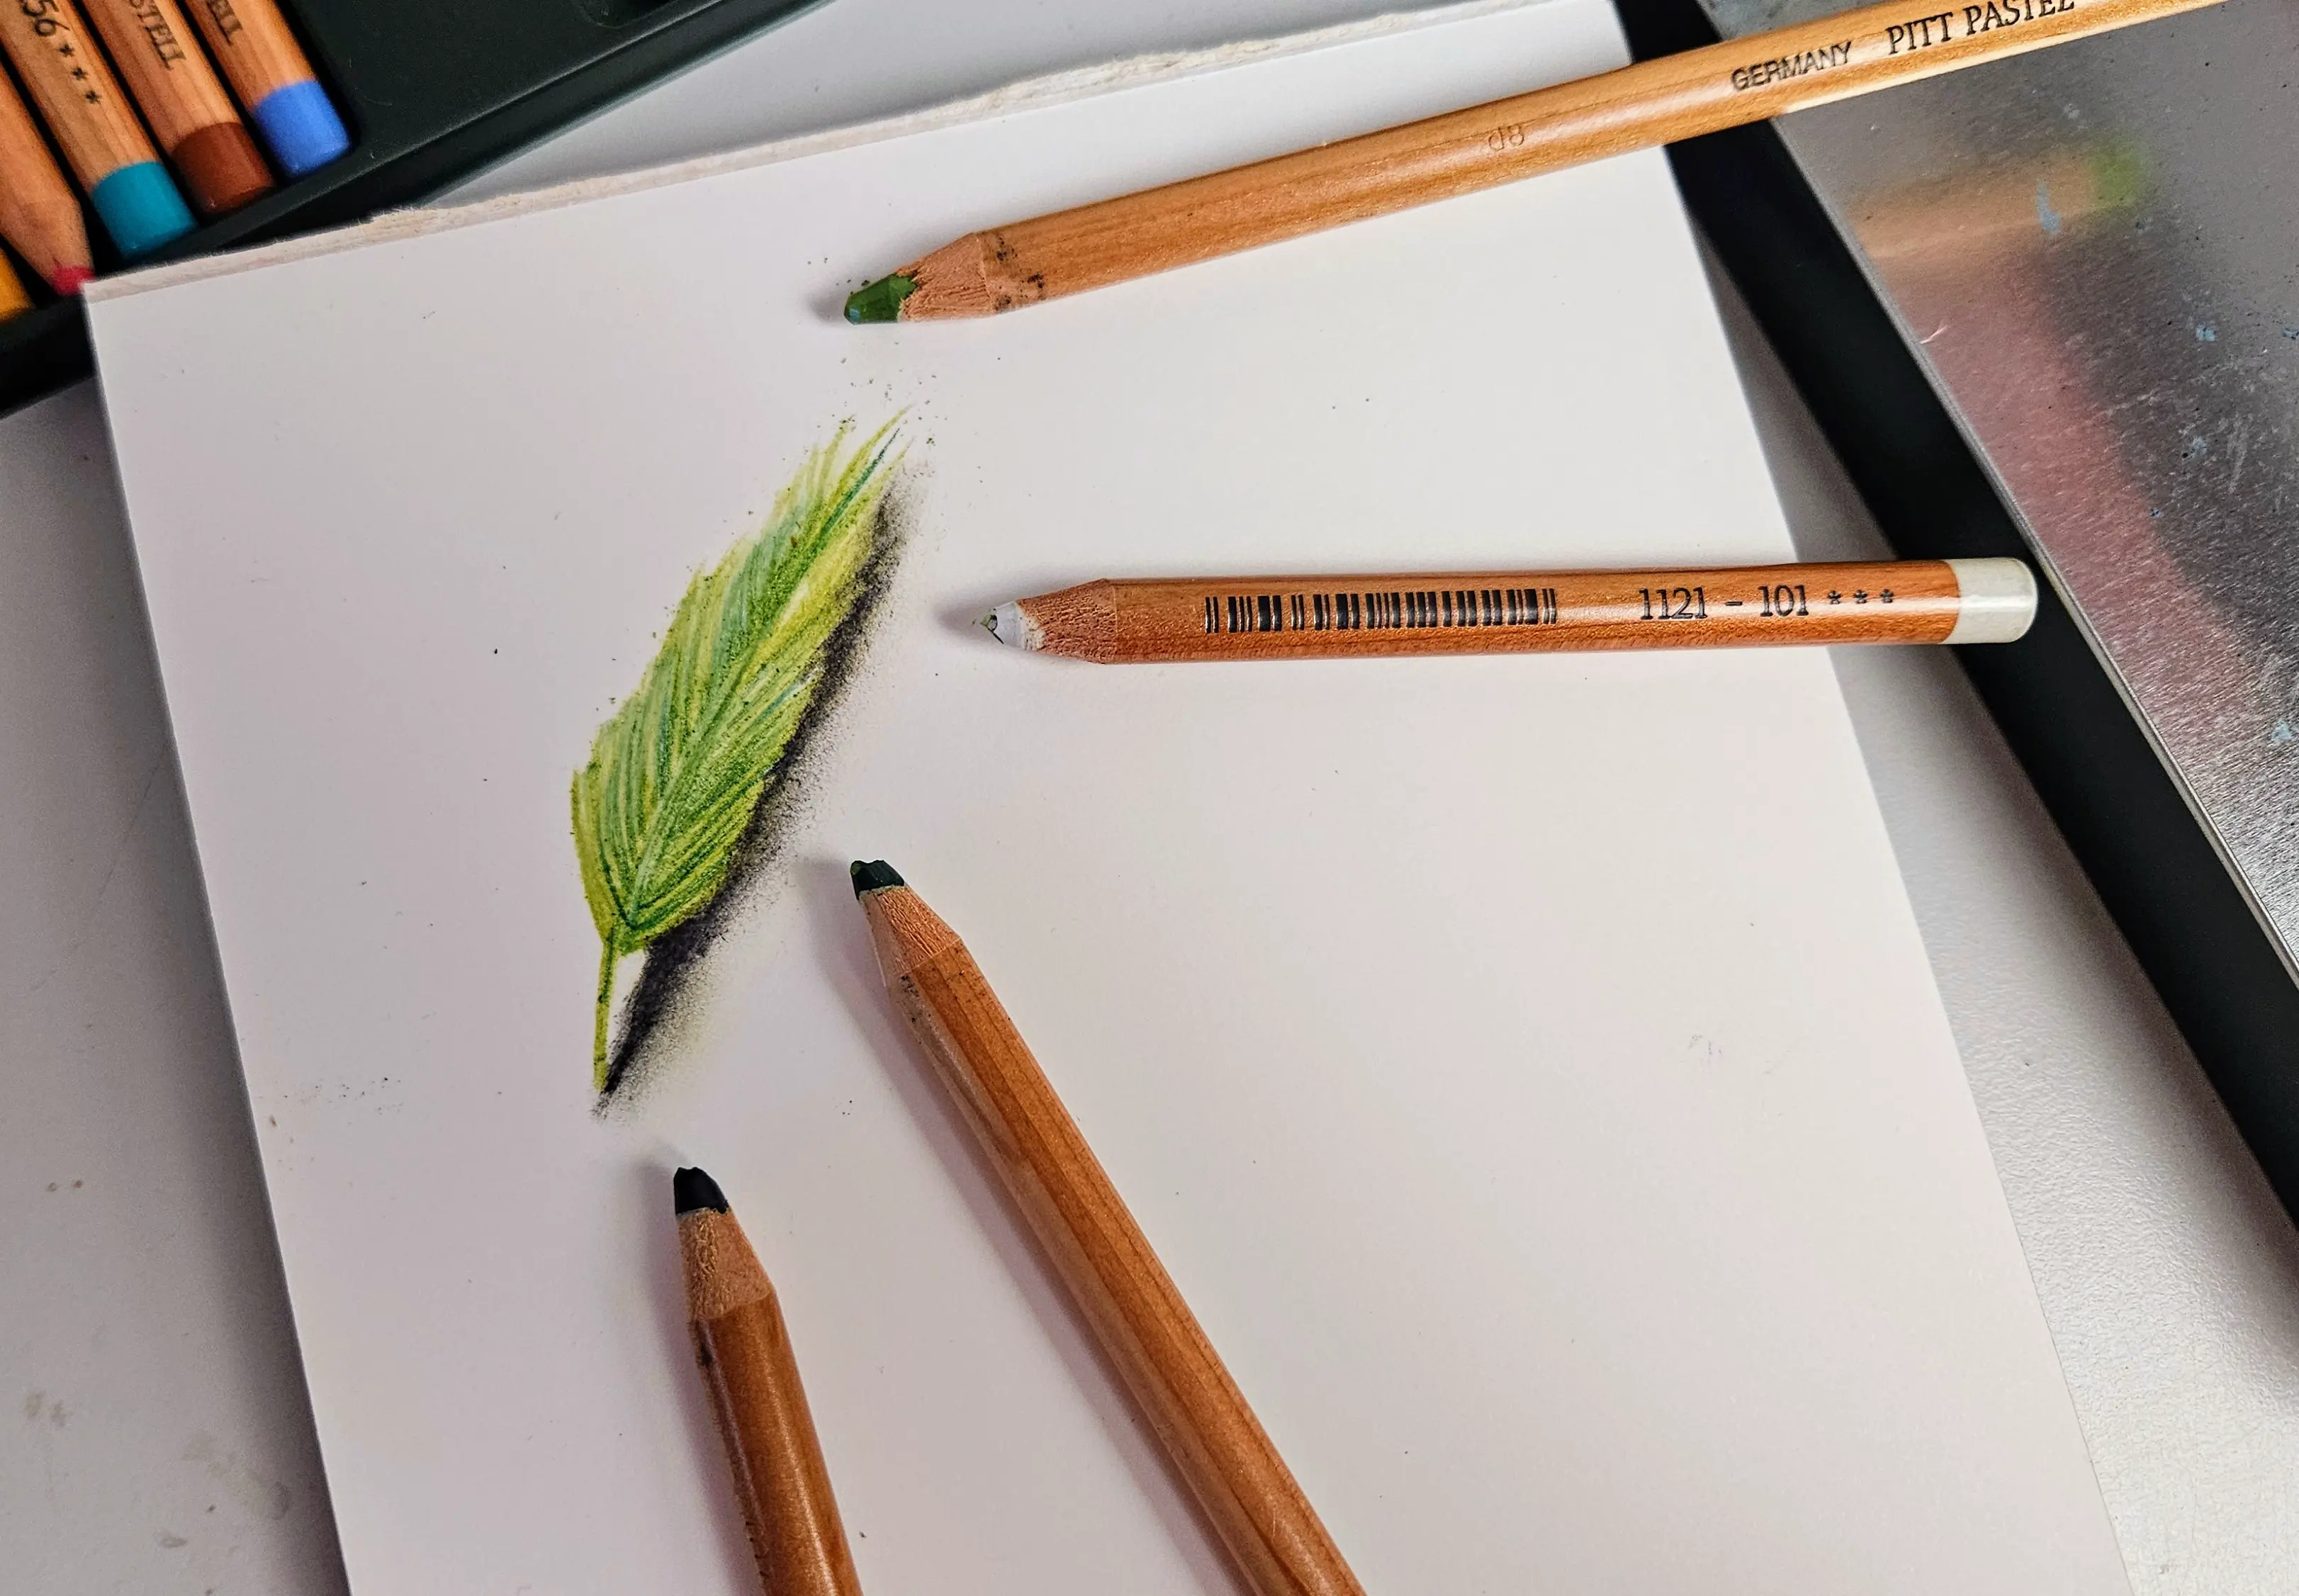
The most well-known are pencil pastels. I personally use Faber-Castell dry pastels.
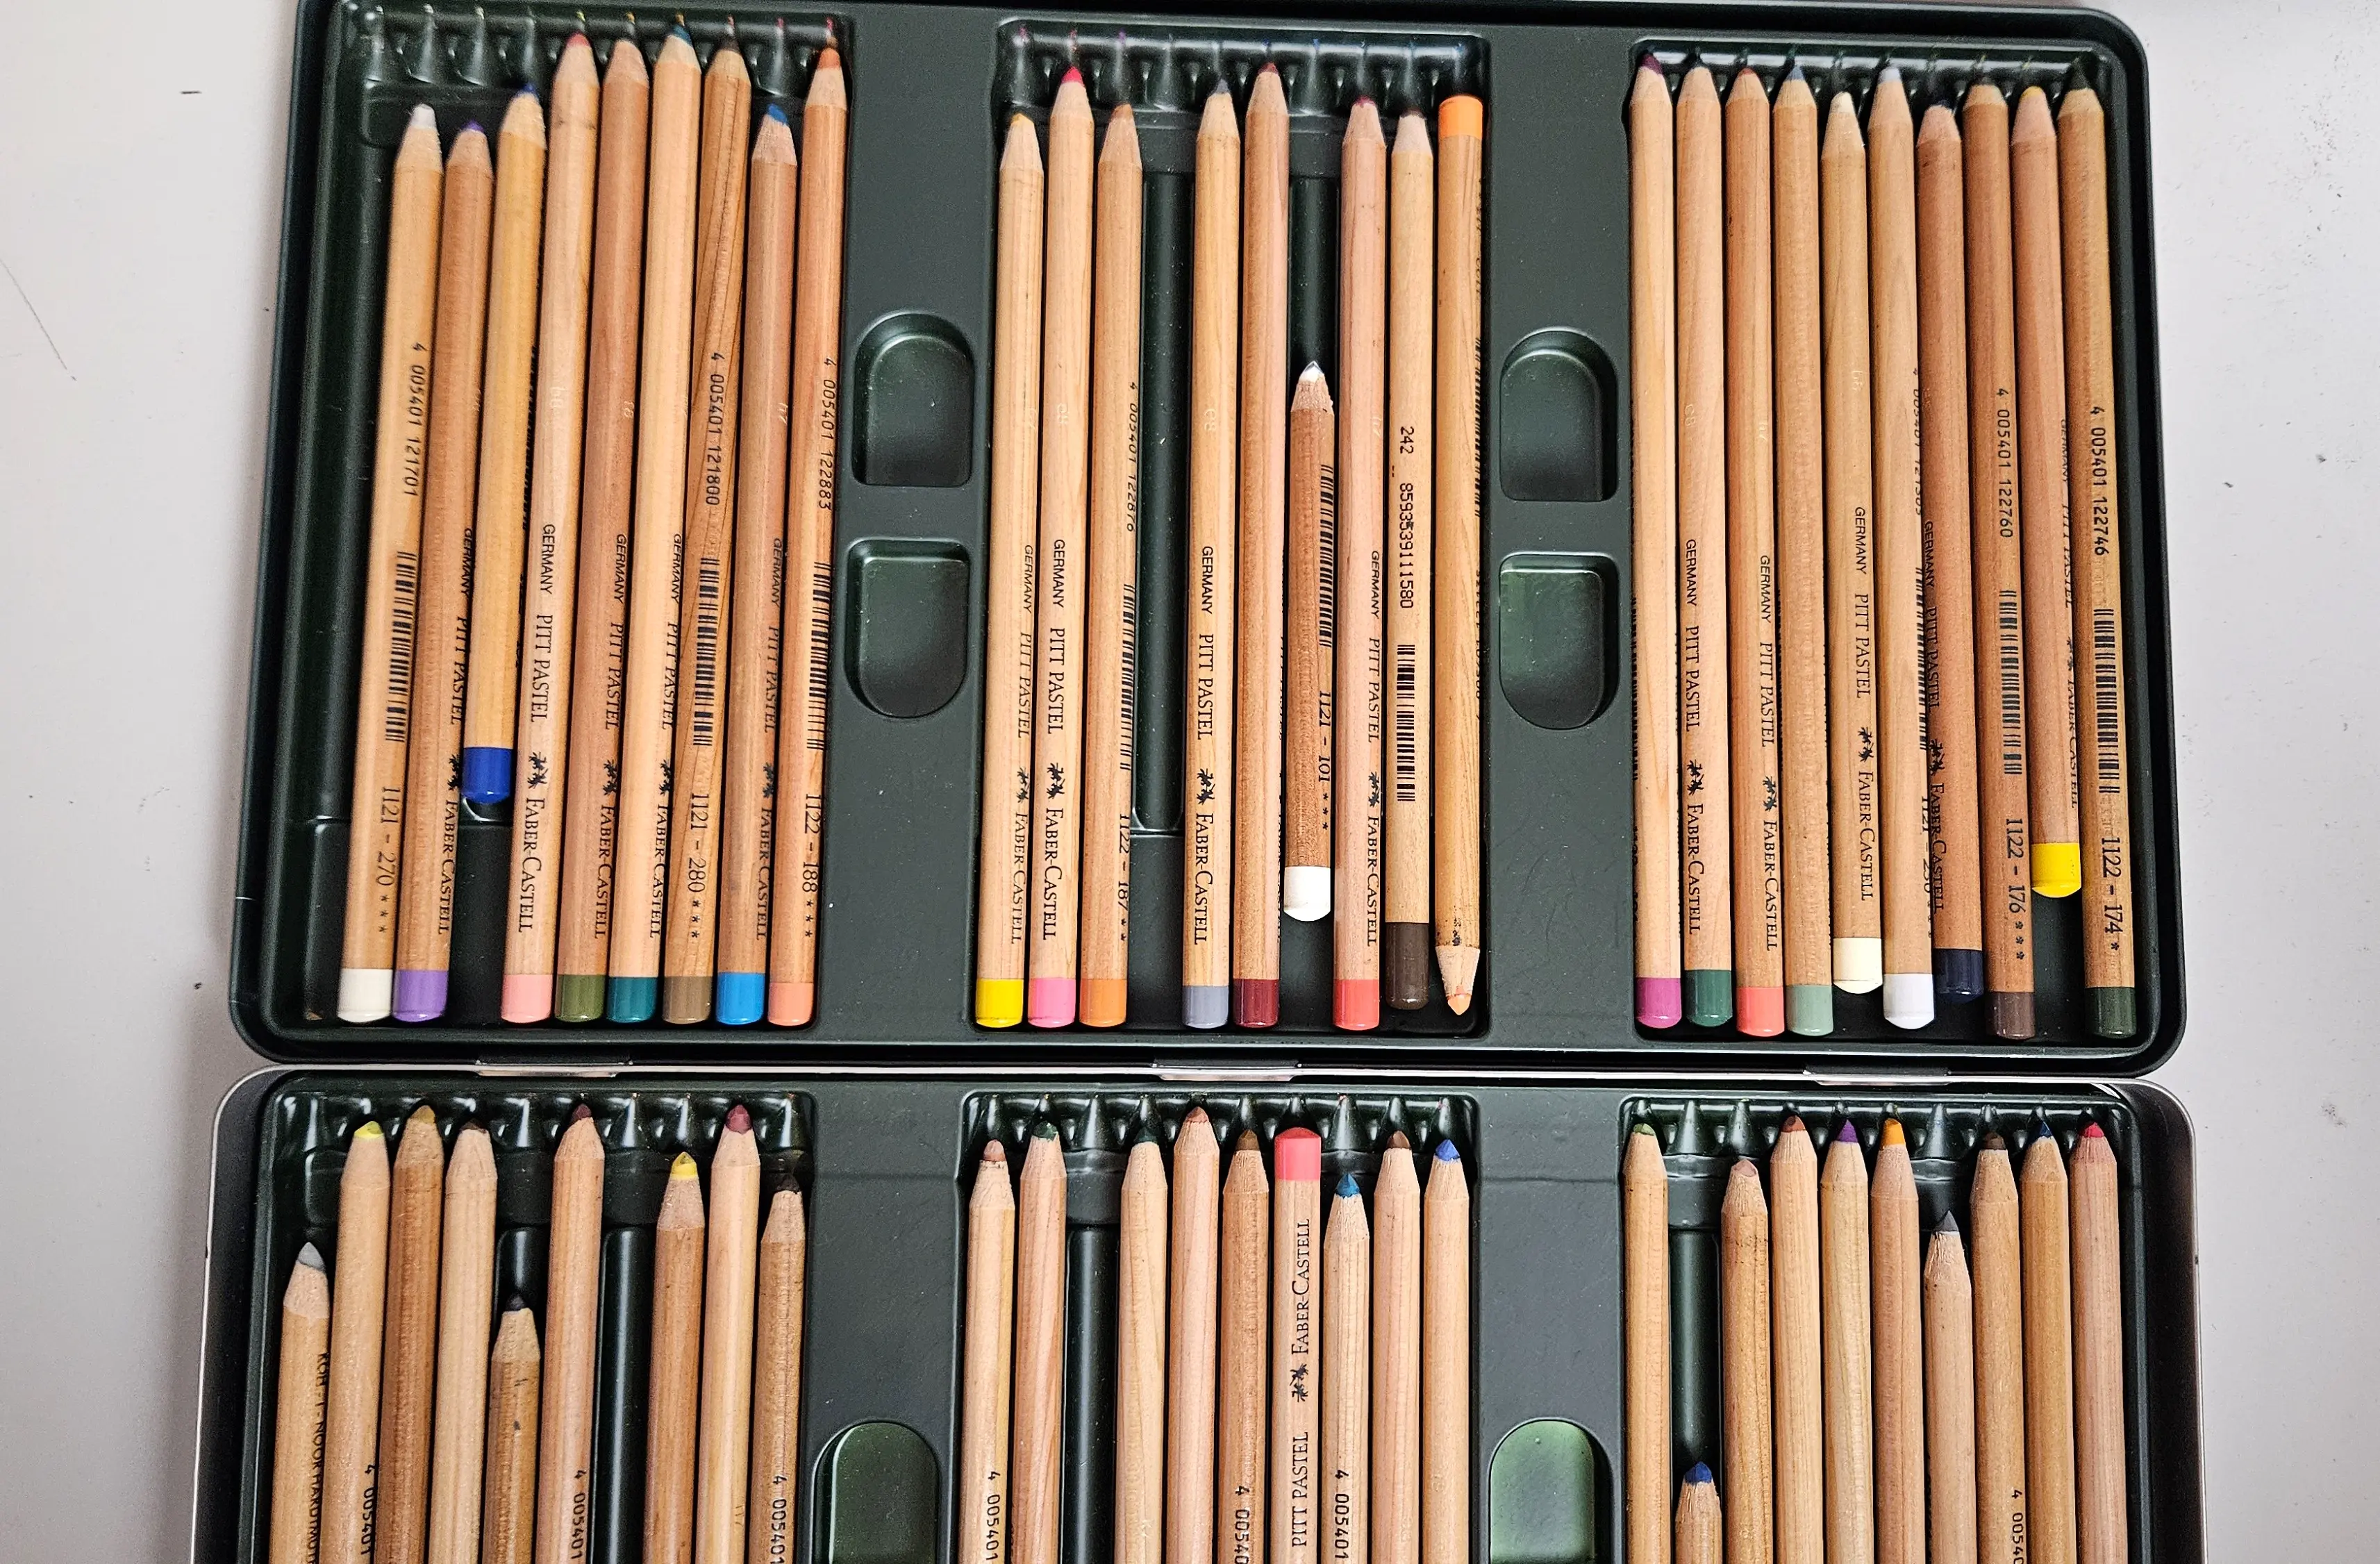
They are extremely useful, and enable you to create a lot of details (foliage, cities, textures, etc) thanks to their lead. Here is a quick example of a leaf with dry pastels.
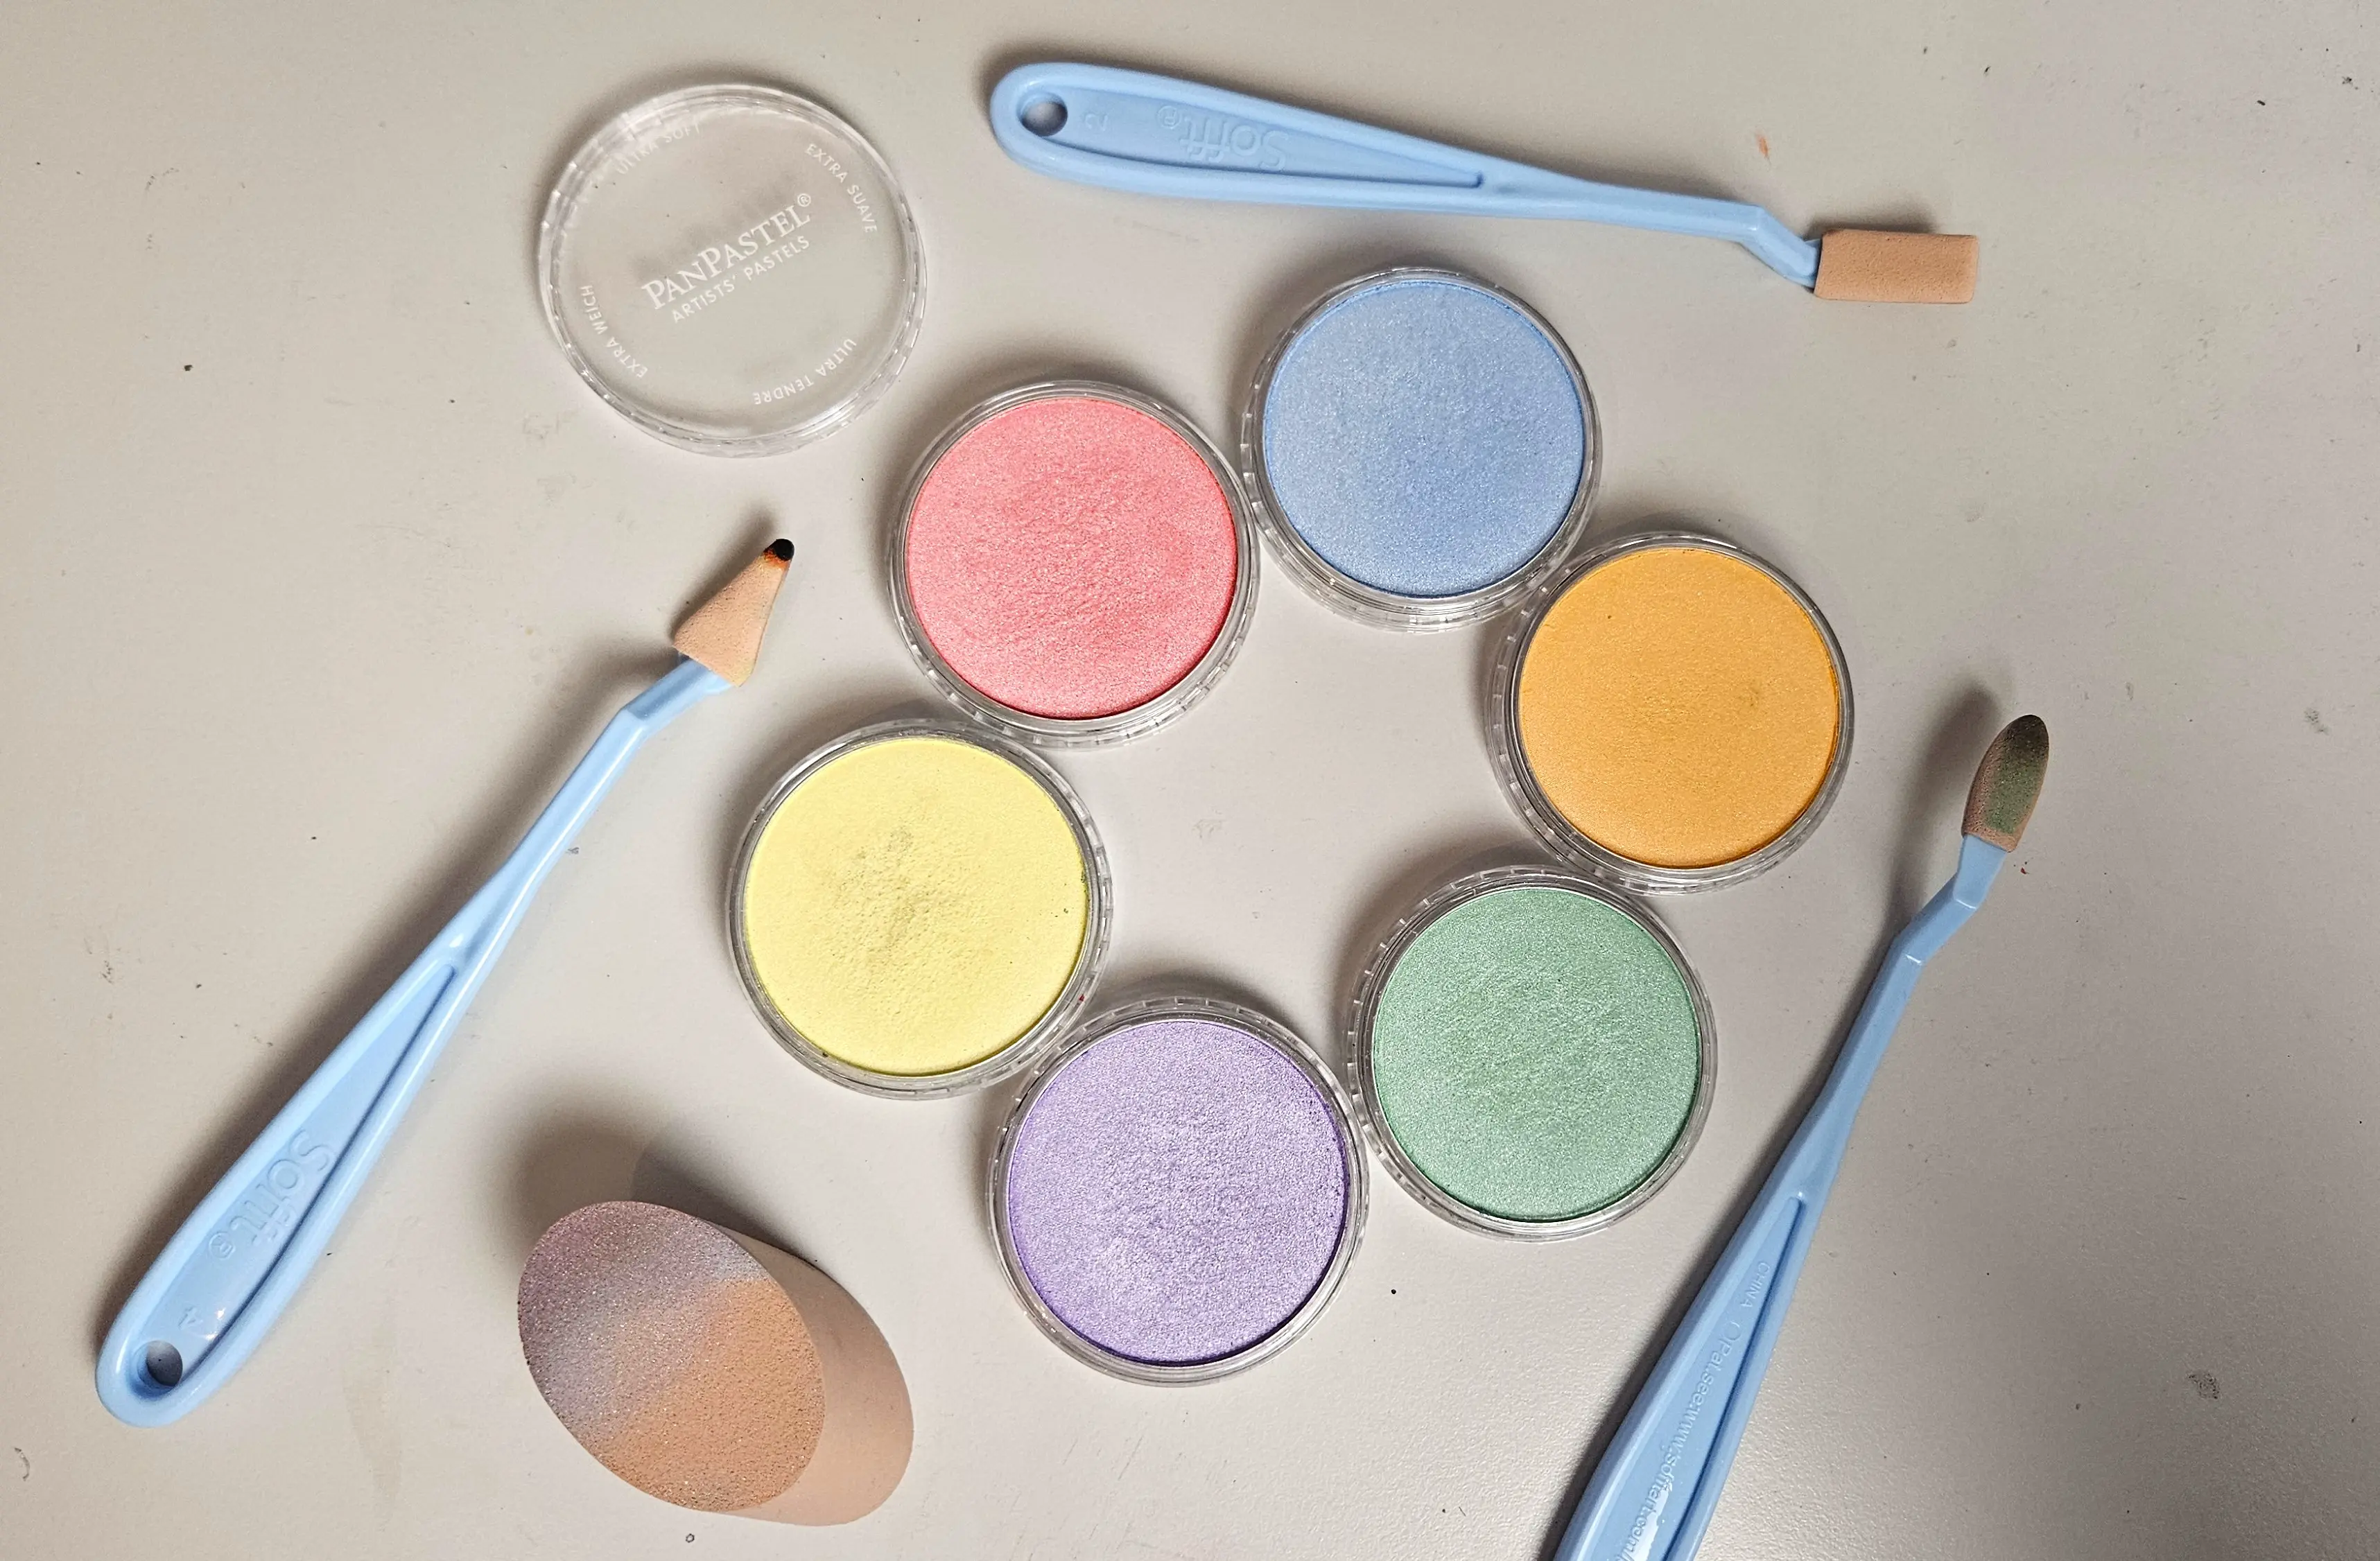
You also have PanPastels, which are used in the form of pans. They are applied on paper using a knife, sponges, and applicators. The colors are really super beautiful, and there are several dozens of them. However, this type of pastel is not very precise.
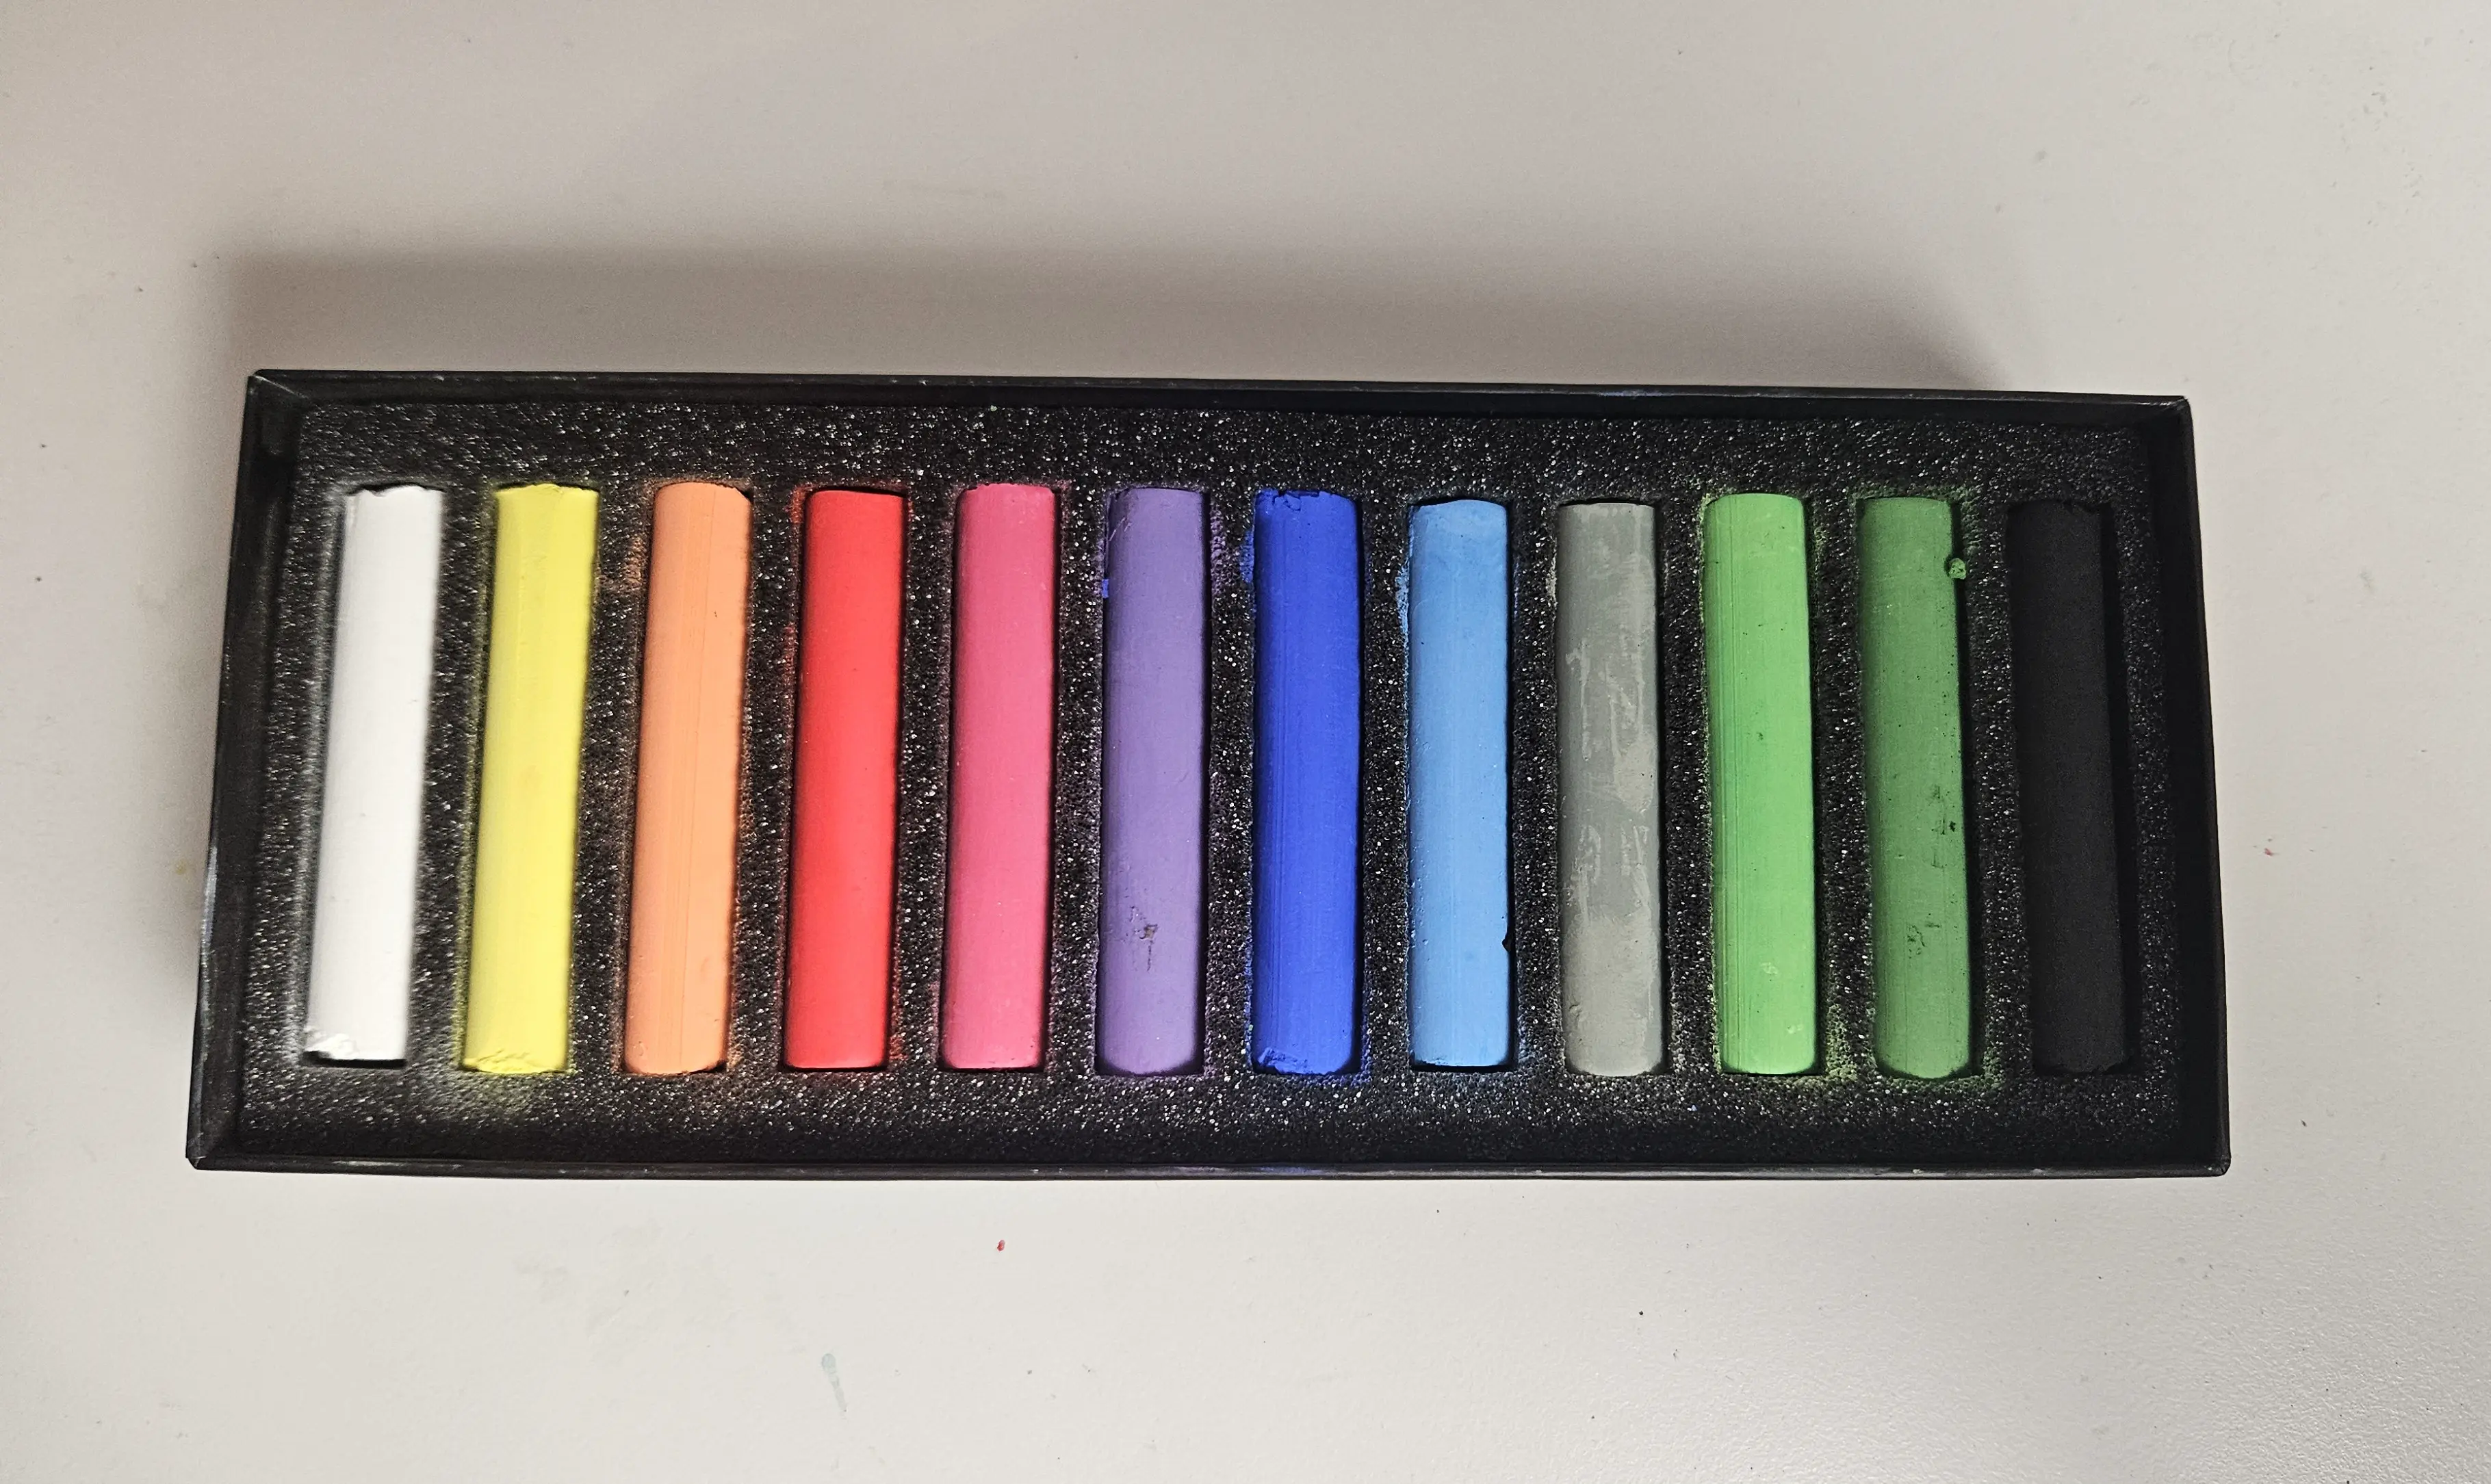
And finally, there are stick pastels. They are highly pigmented and very soft. I use Blockx.
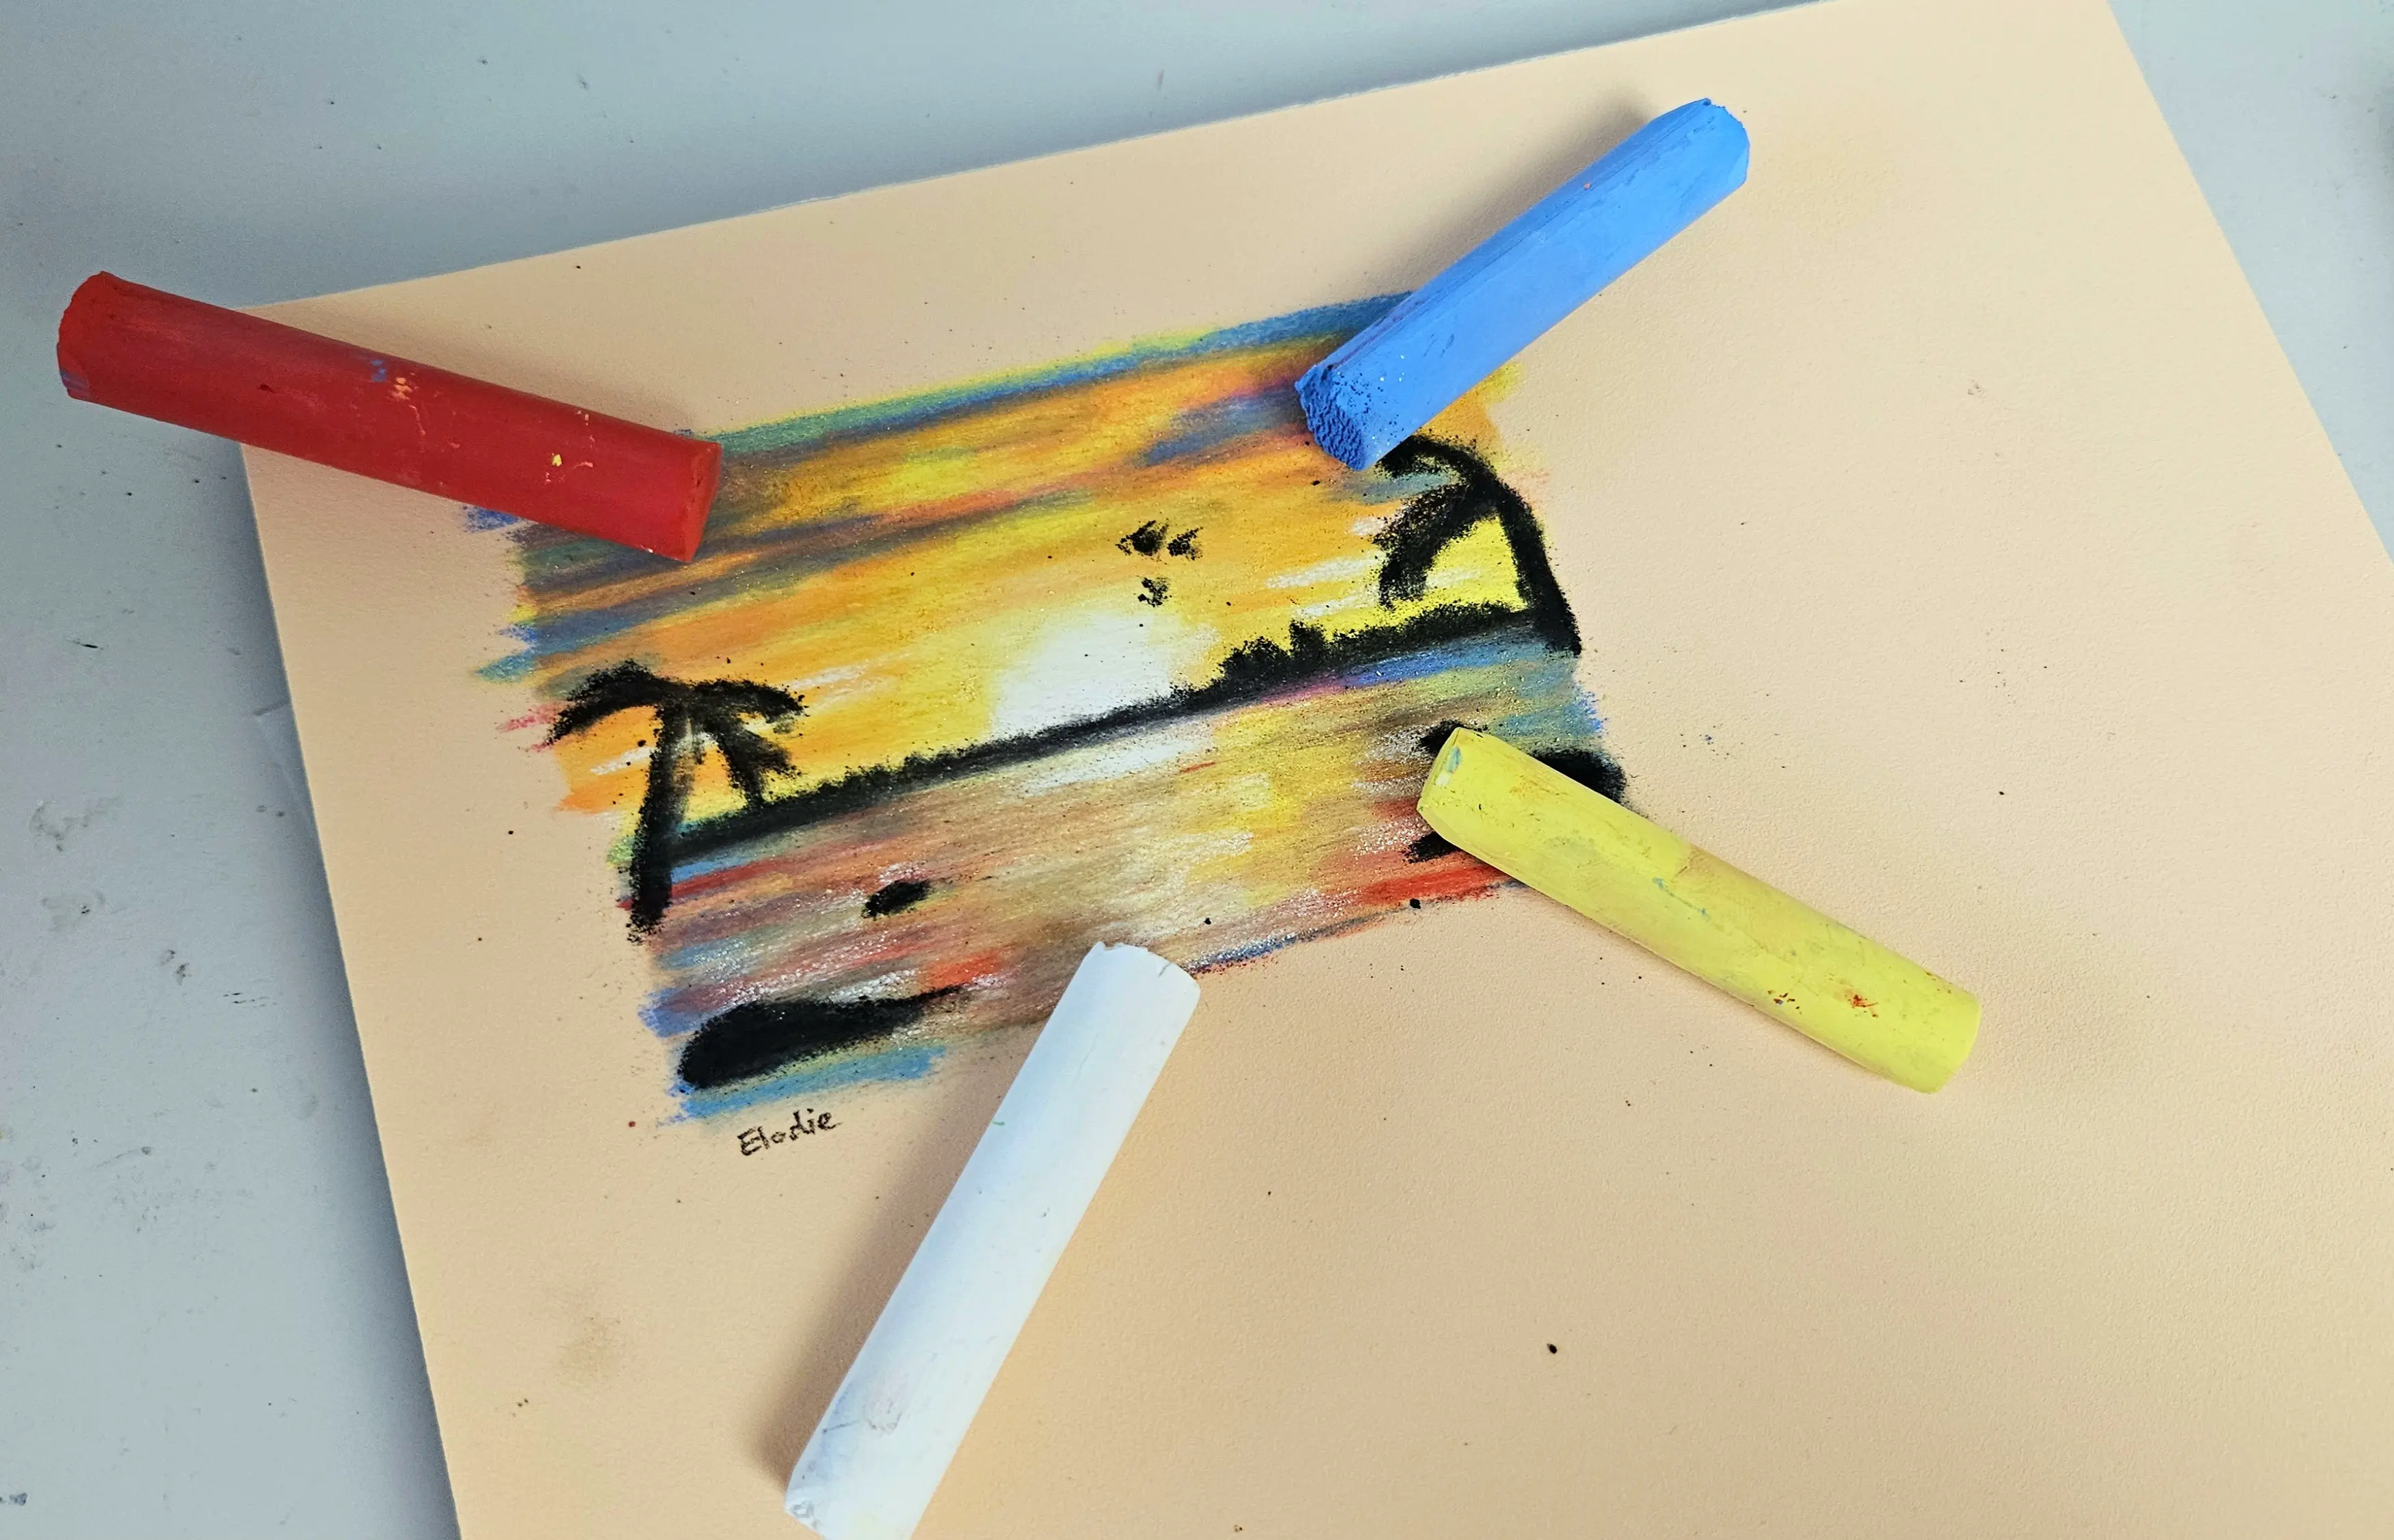
Moreover, the colors are intense as you can see in my sunset drawing below.
You can certainly mix different pastels, as in my drawing below where I used PanPastels and pencil-format pastels.

For this article, I will use pastel pencils which are the simplest for beginners.
CREATING YOUR LANDSCAPE DRAWING STEP BY STEP
In this last section, we will create a landscape together. I will explain each important step to you.
The first step is to find a reference that you like in order to reproduce it in a landscape. You can, of course, improvise your landscape, which I often do.
For the tutorial, for simplicity and copyright reasons, we will use an image I took two years ago when I went to Lugano, Switzerland. Once this image is found, we can try to break down our image into simple elements and basic shapes. Here is the landscape I chose, and how I broke it down:
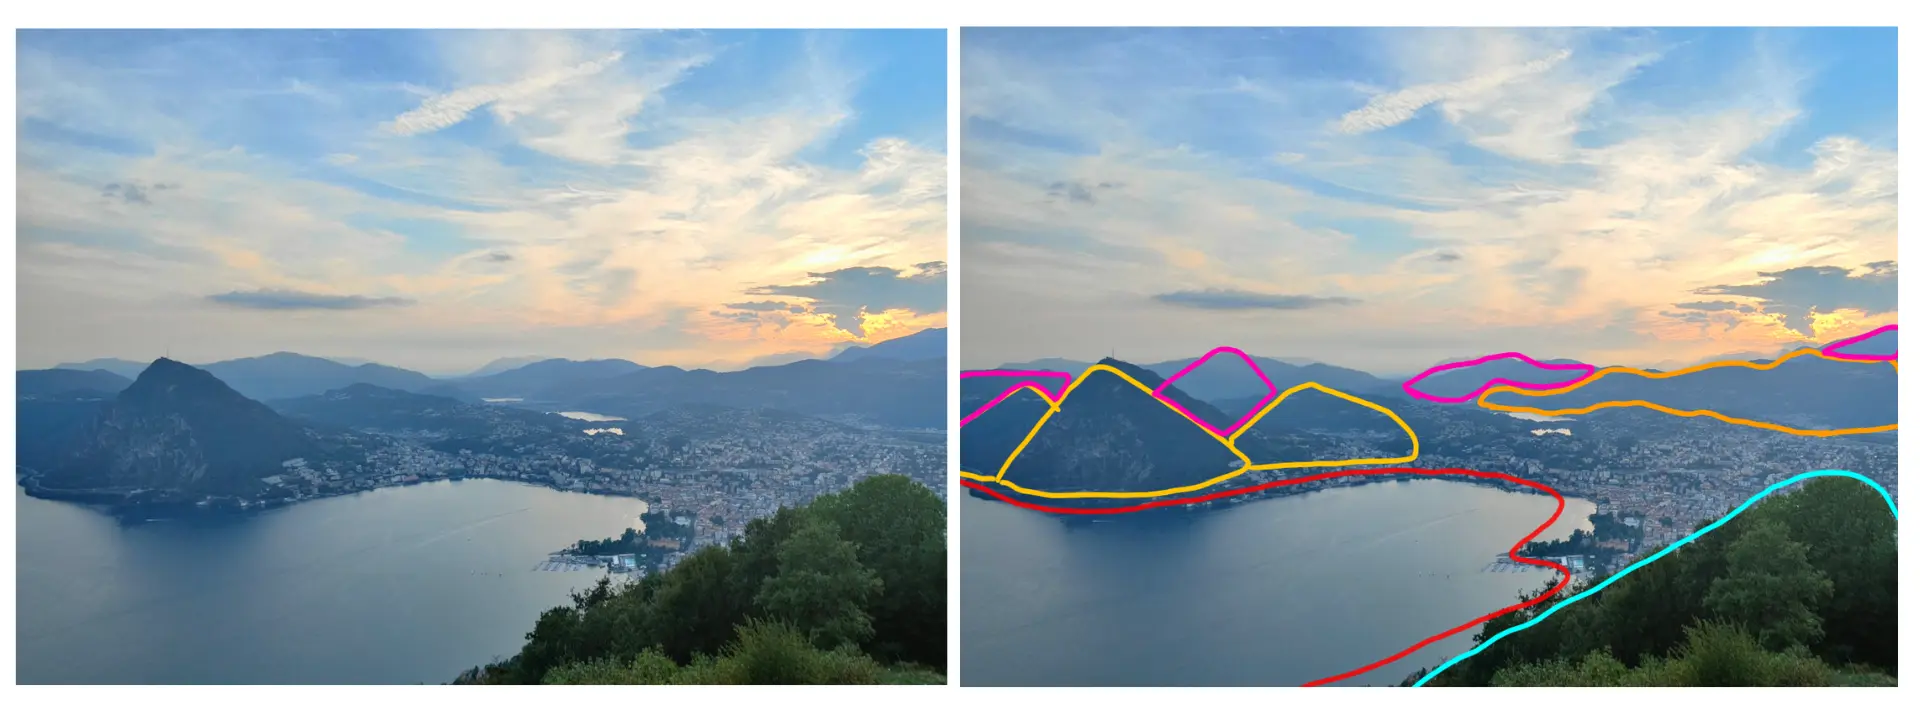
I have quickly made some colored frames for you. The blue is the foreground, where you can see foliage. The pink represents the background of the drawing, depicting the most distant mountains.
I then choose the color and type of paper most suitable for what I want to draw. Here, I take blue/gray colored paper from my Pastelcard sheet notebook. Indeed, the sunset has a slightly bluish atmosphere.
I chose to use Faber-Castell pencil format dry pastels for this drawing. Indeed, it will be easier to achieve some details and be a bit more precise, especially in terms of the city and the foliage in the foreground.
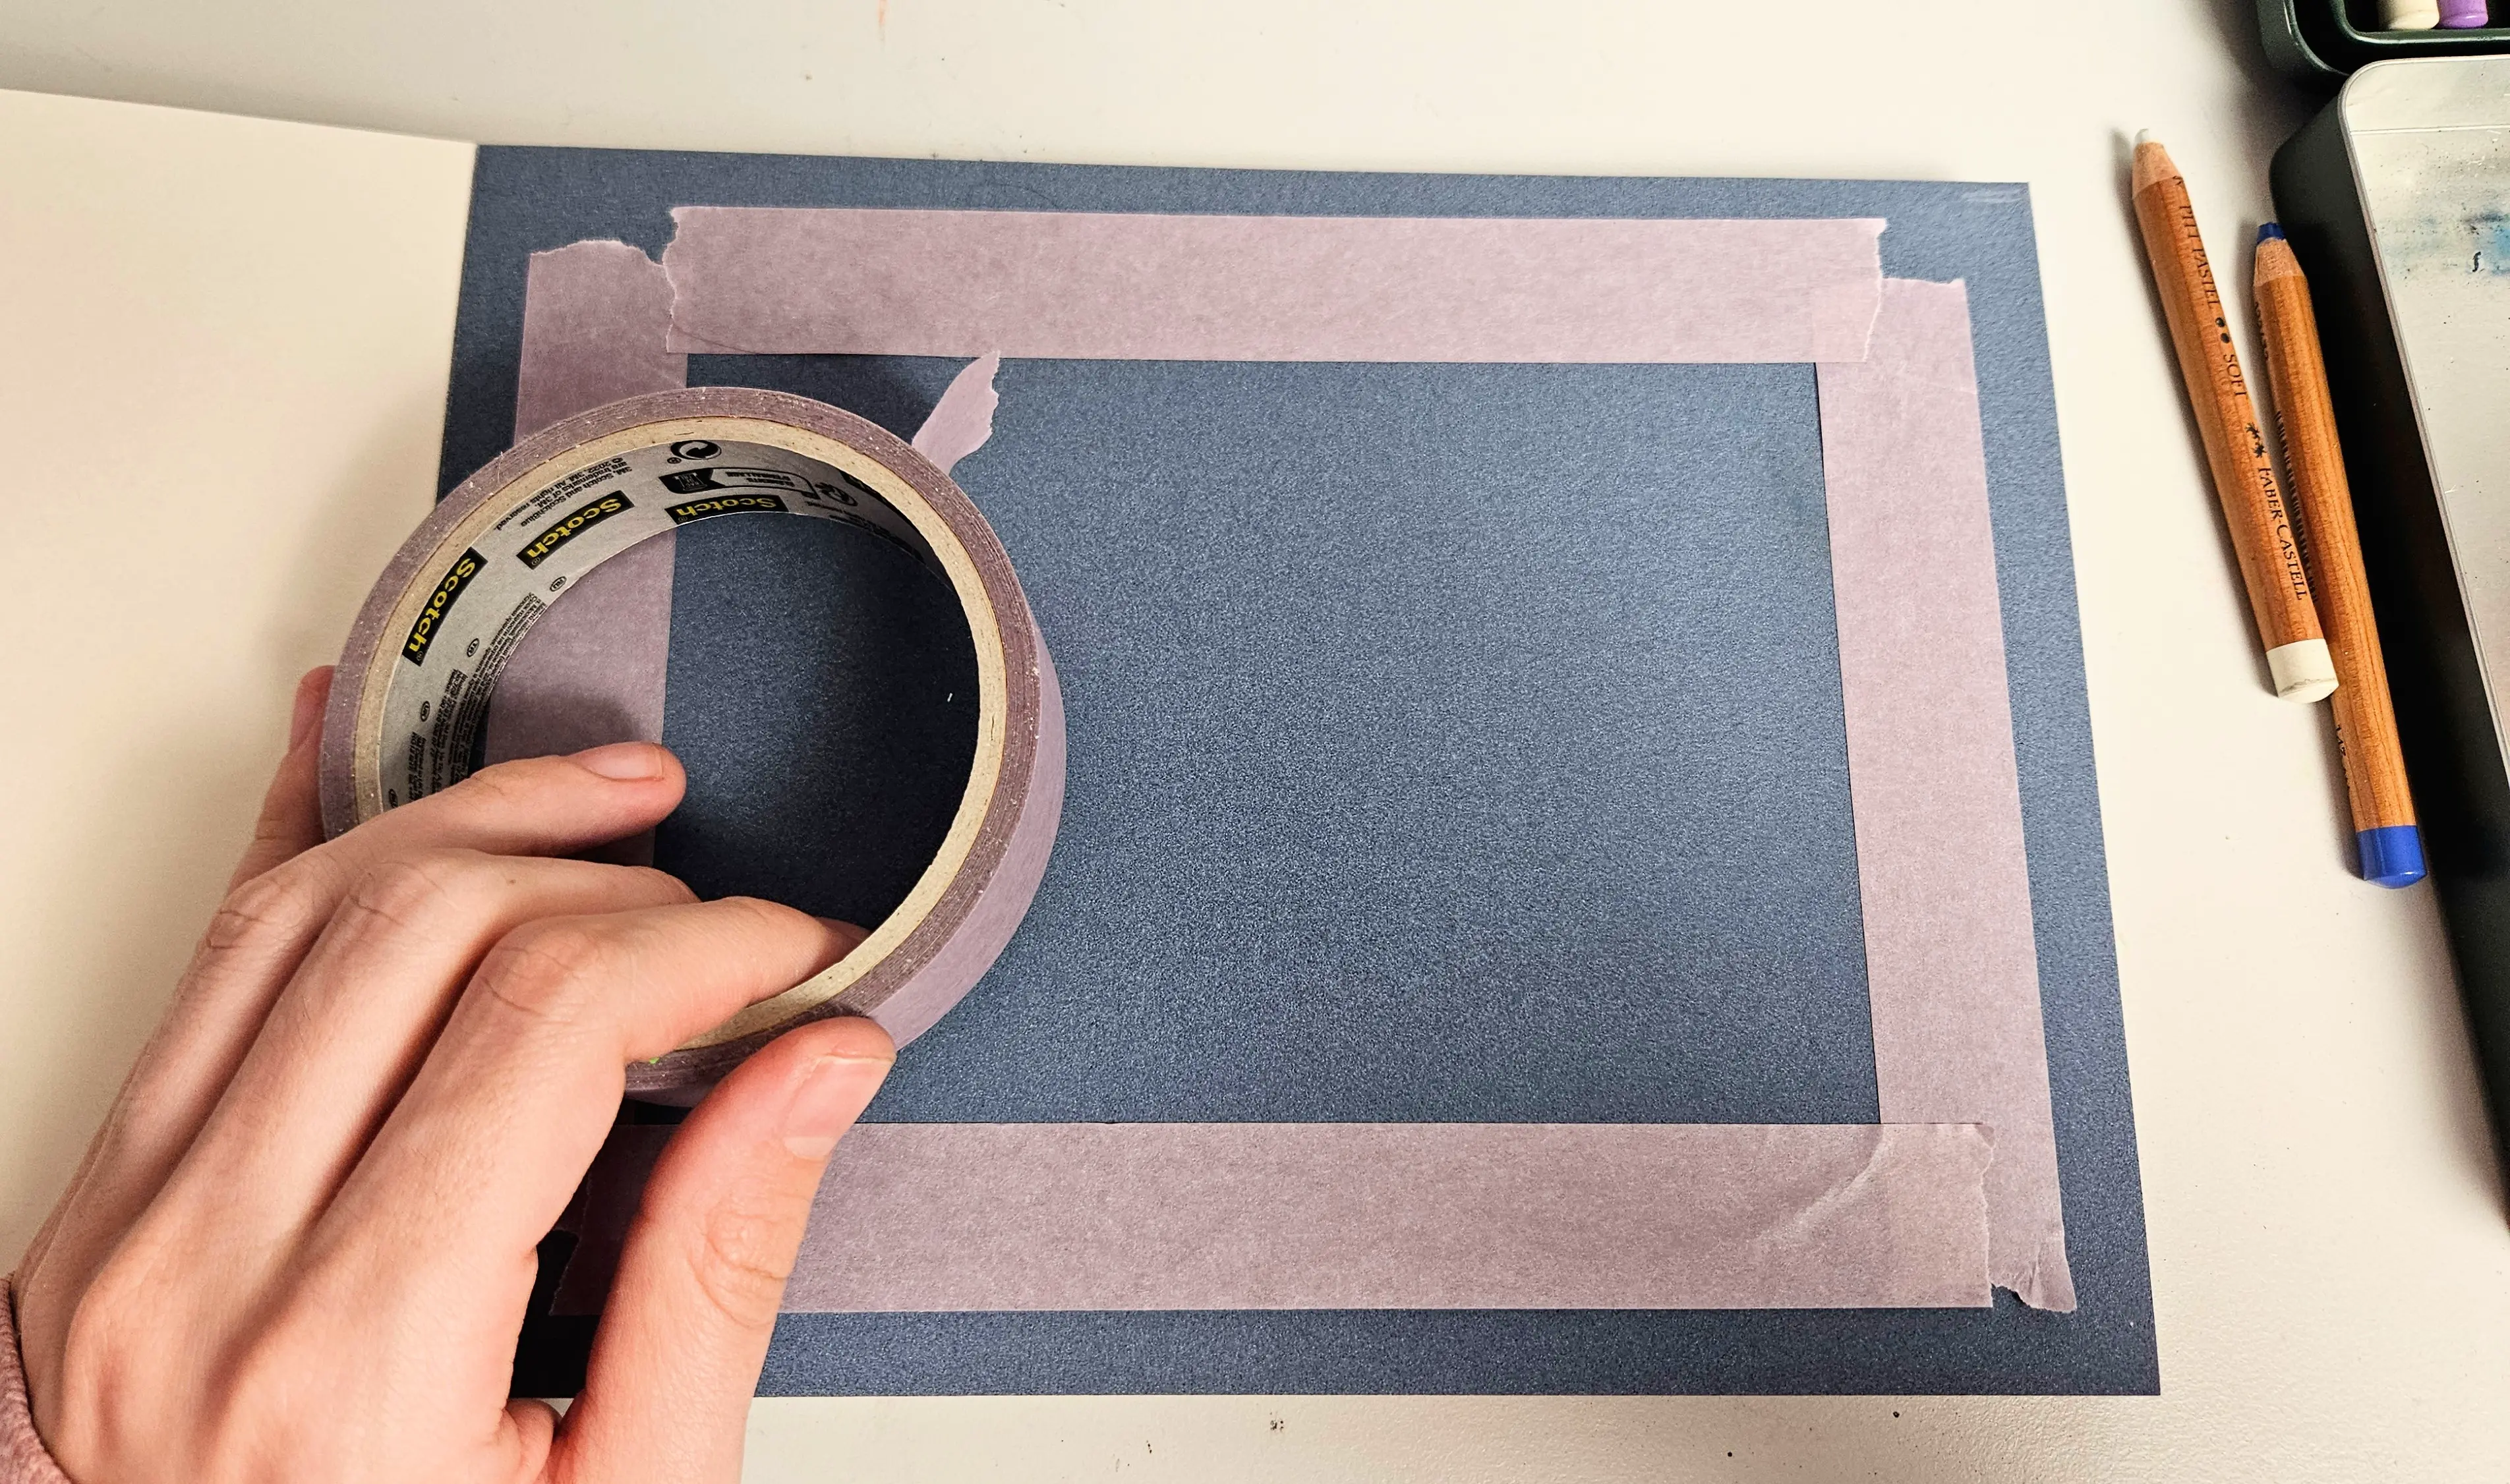
To start the drawing, I take masking tape, and I mask all the edges of the paper. This will enable us to have clean edges around the drawing.
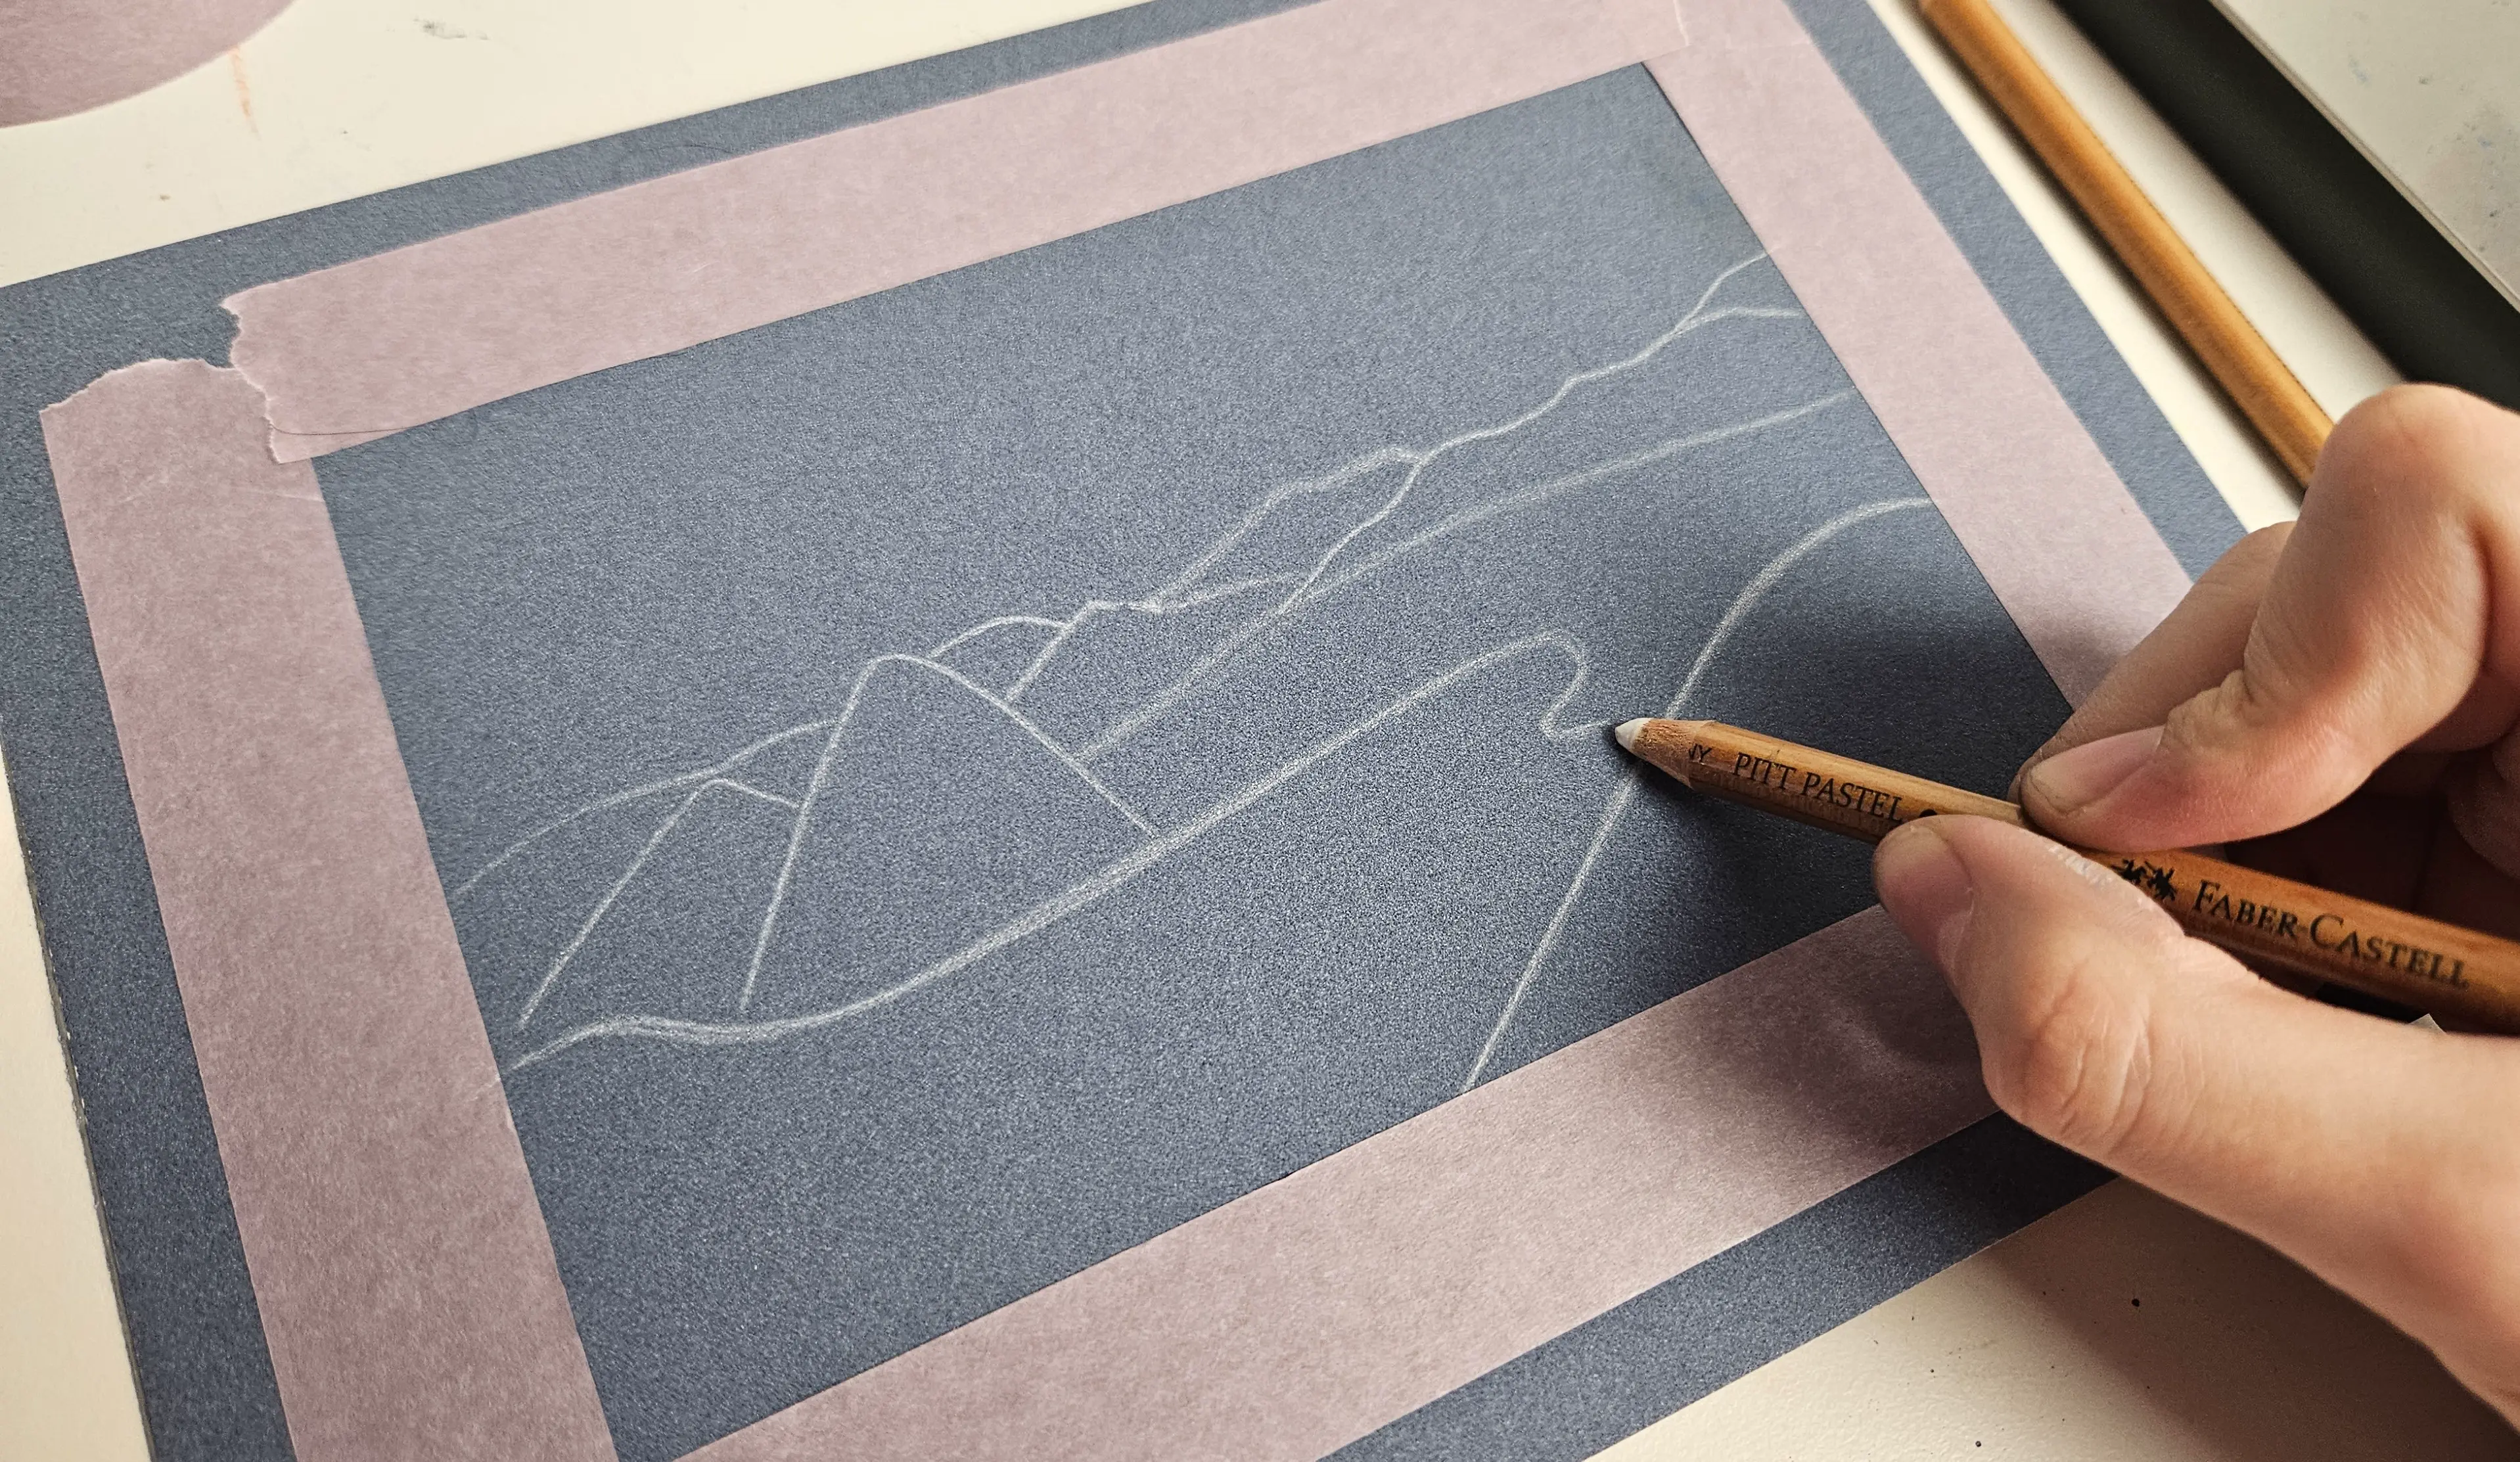
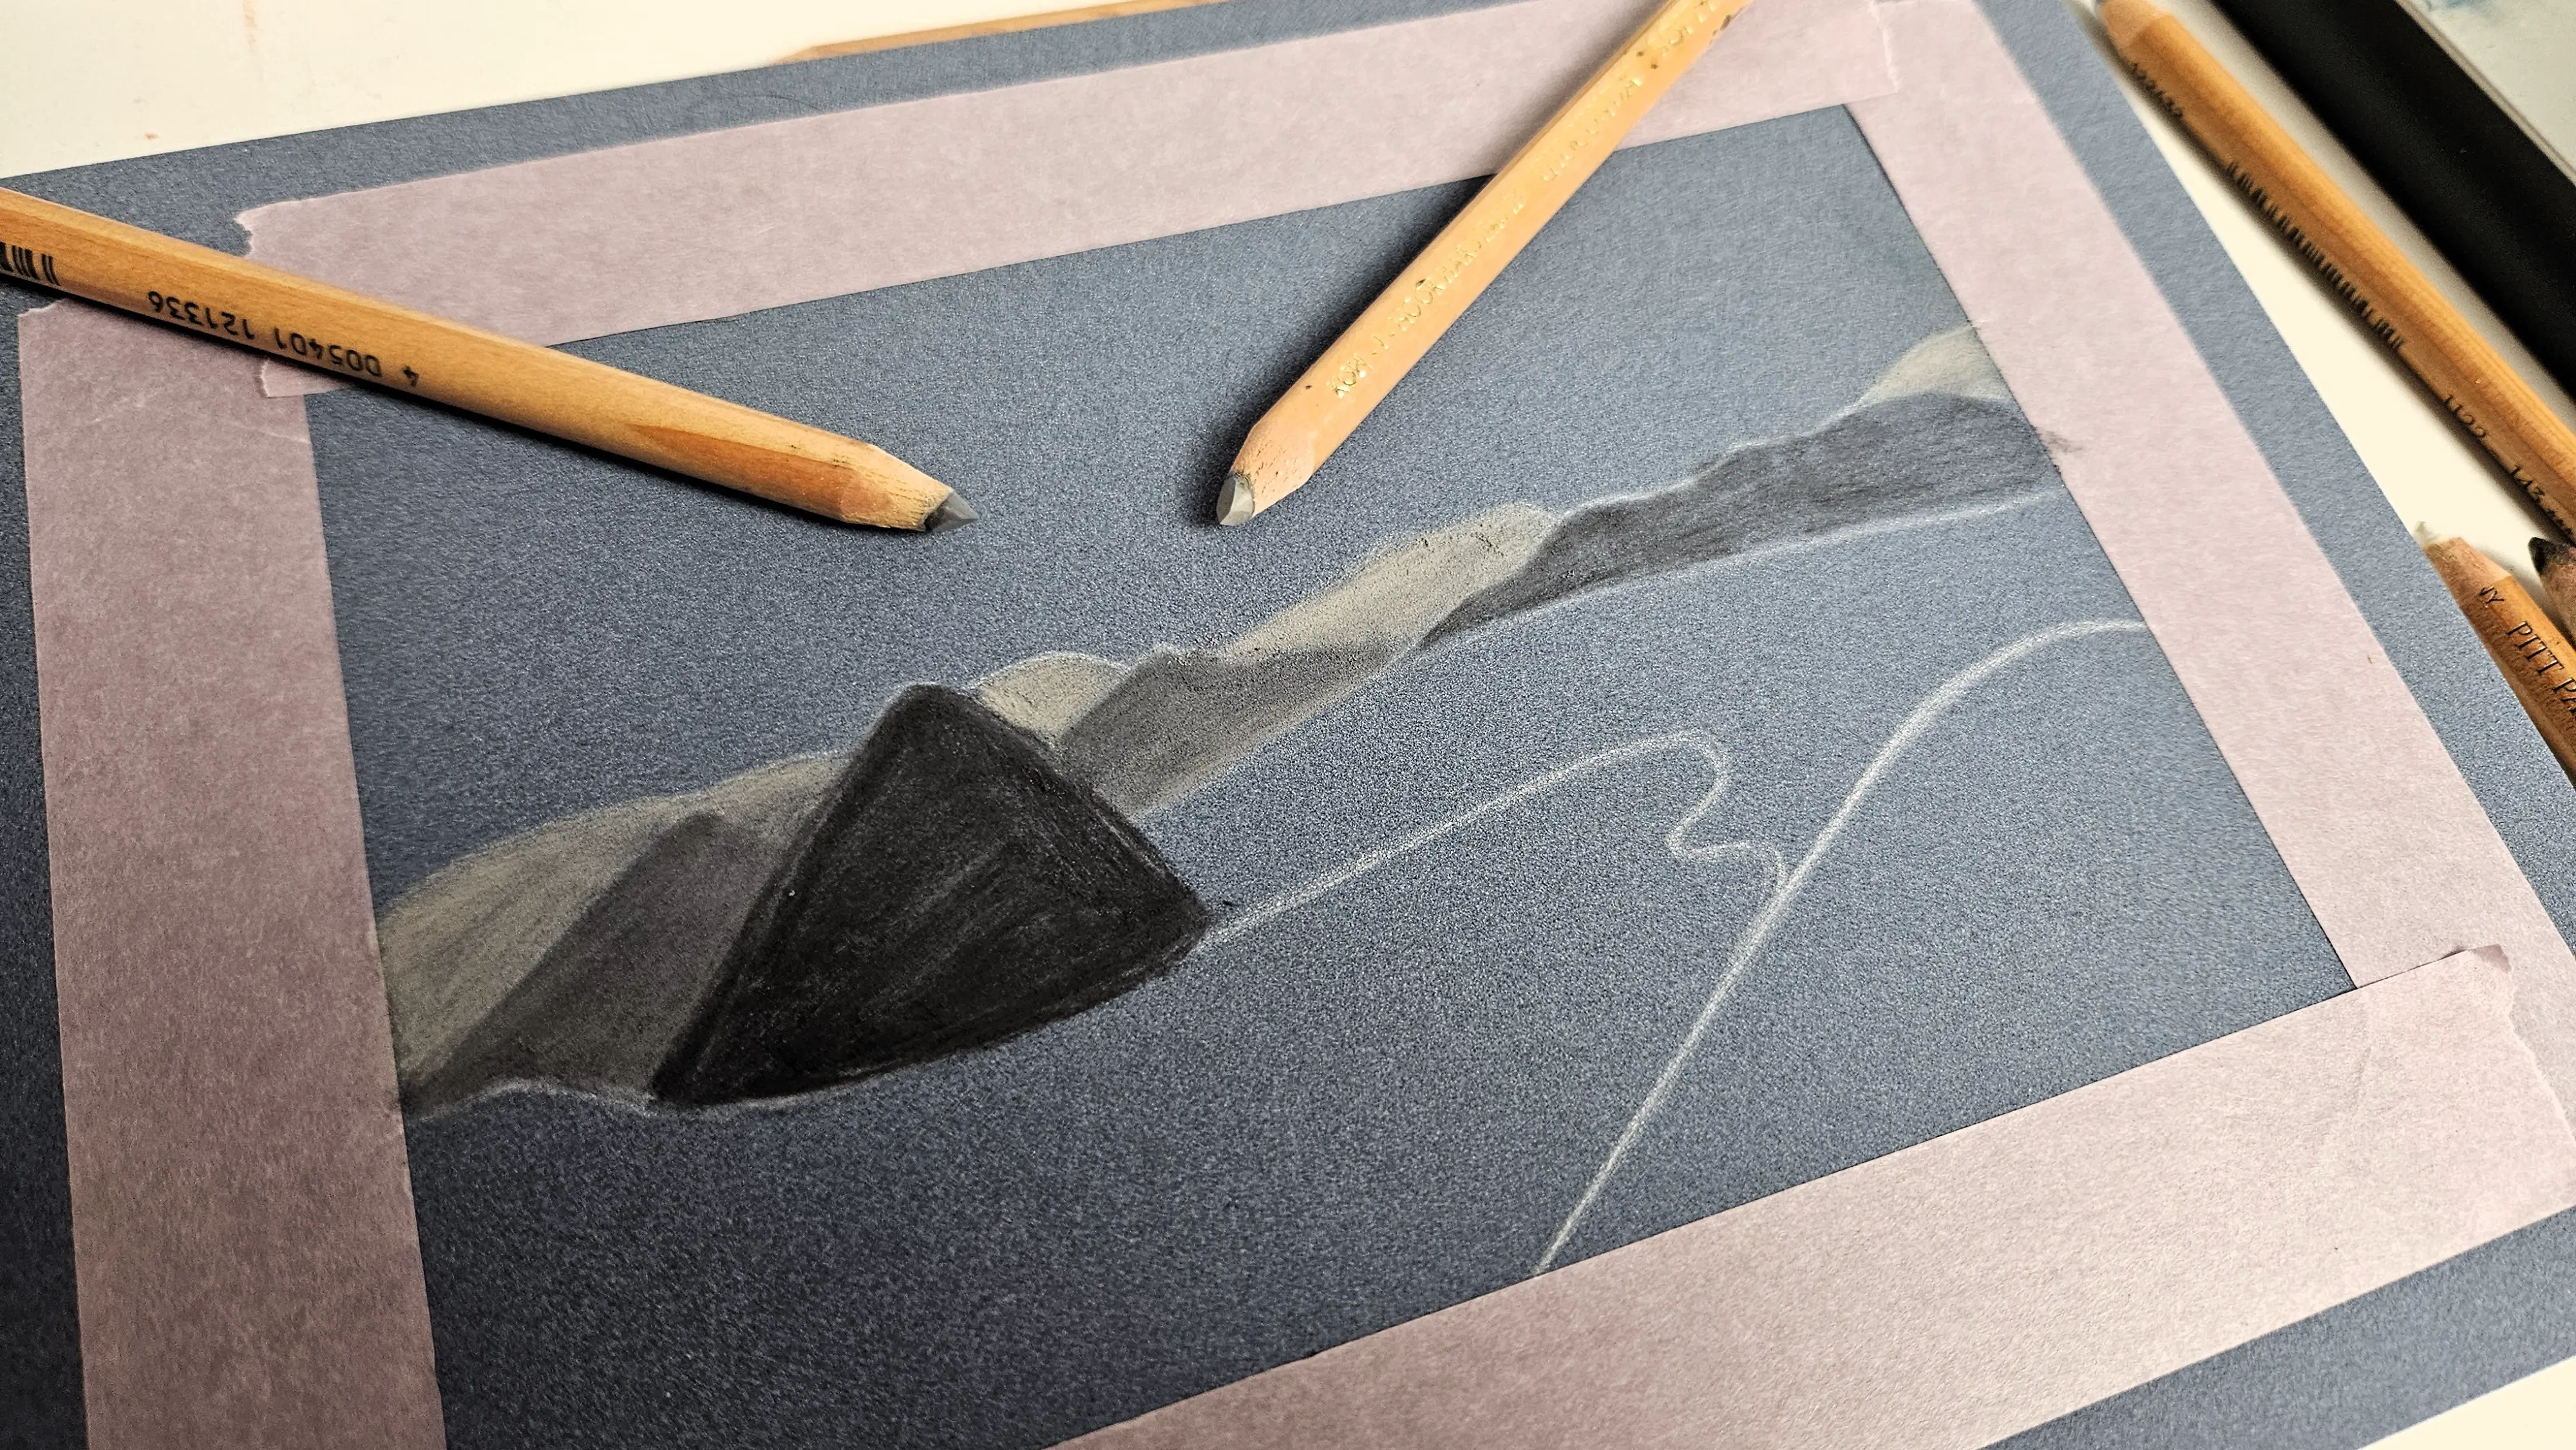
Then, generally, I outline the different planes of the landscape with my white pencil, or a light pencil. Here, I simply drew in white the colored lines that I showed you at the beginning of the paragraph. You can see the main elements to draw.
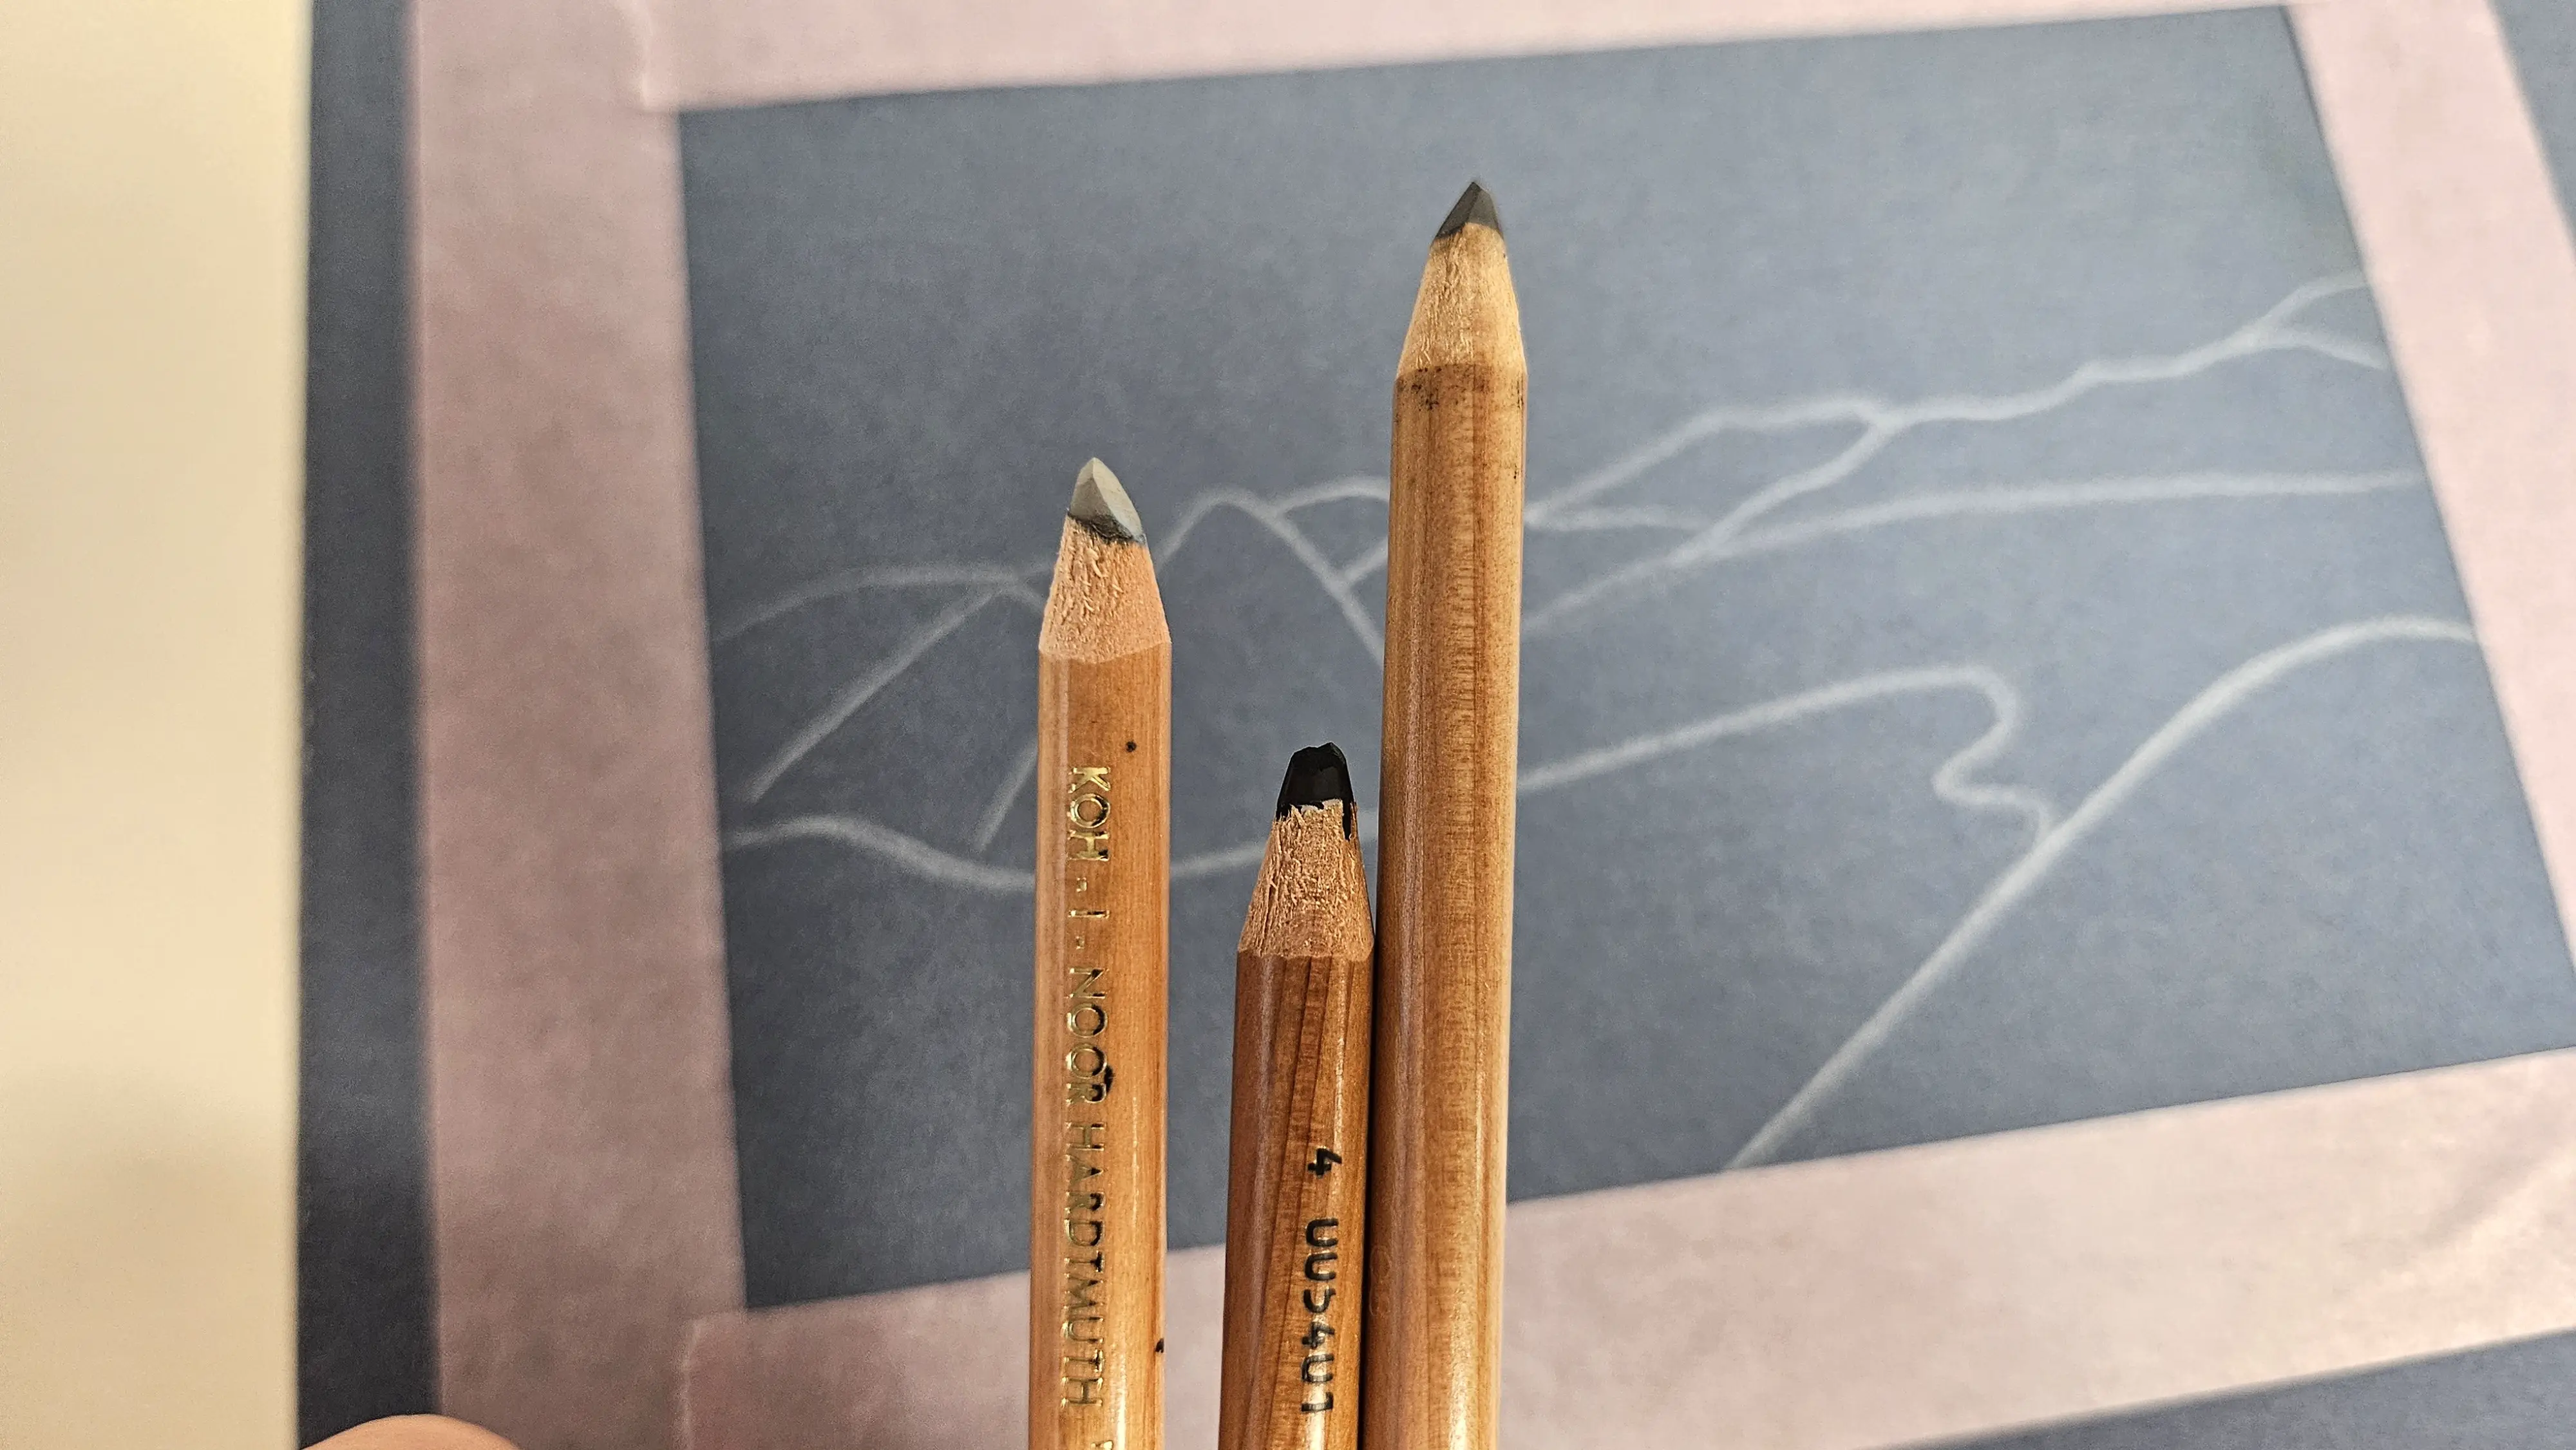
I used 3 shades of gray to create the different mountains in the background. The goal is to color in various shades to give a bit more relief.
At the beginning, I simply apply flat colors.
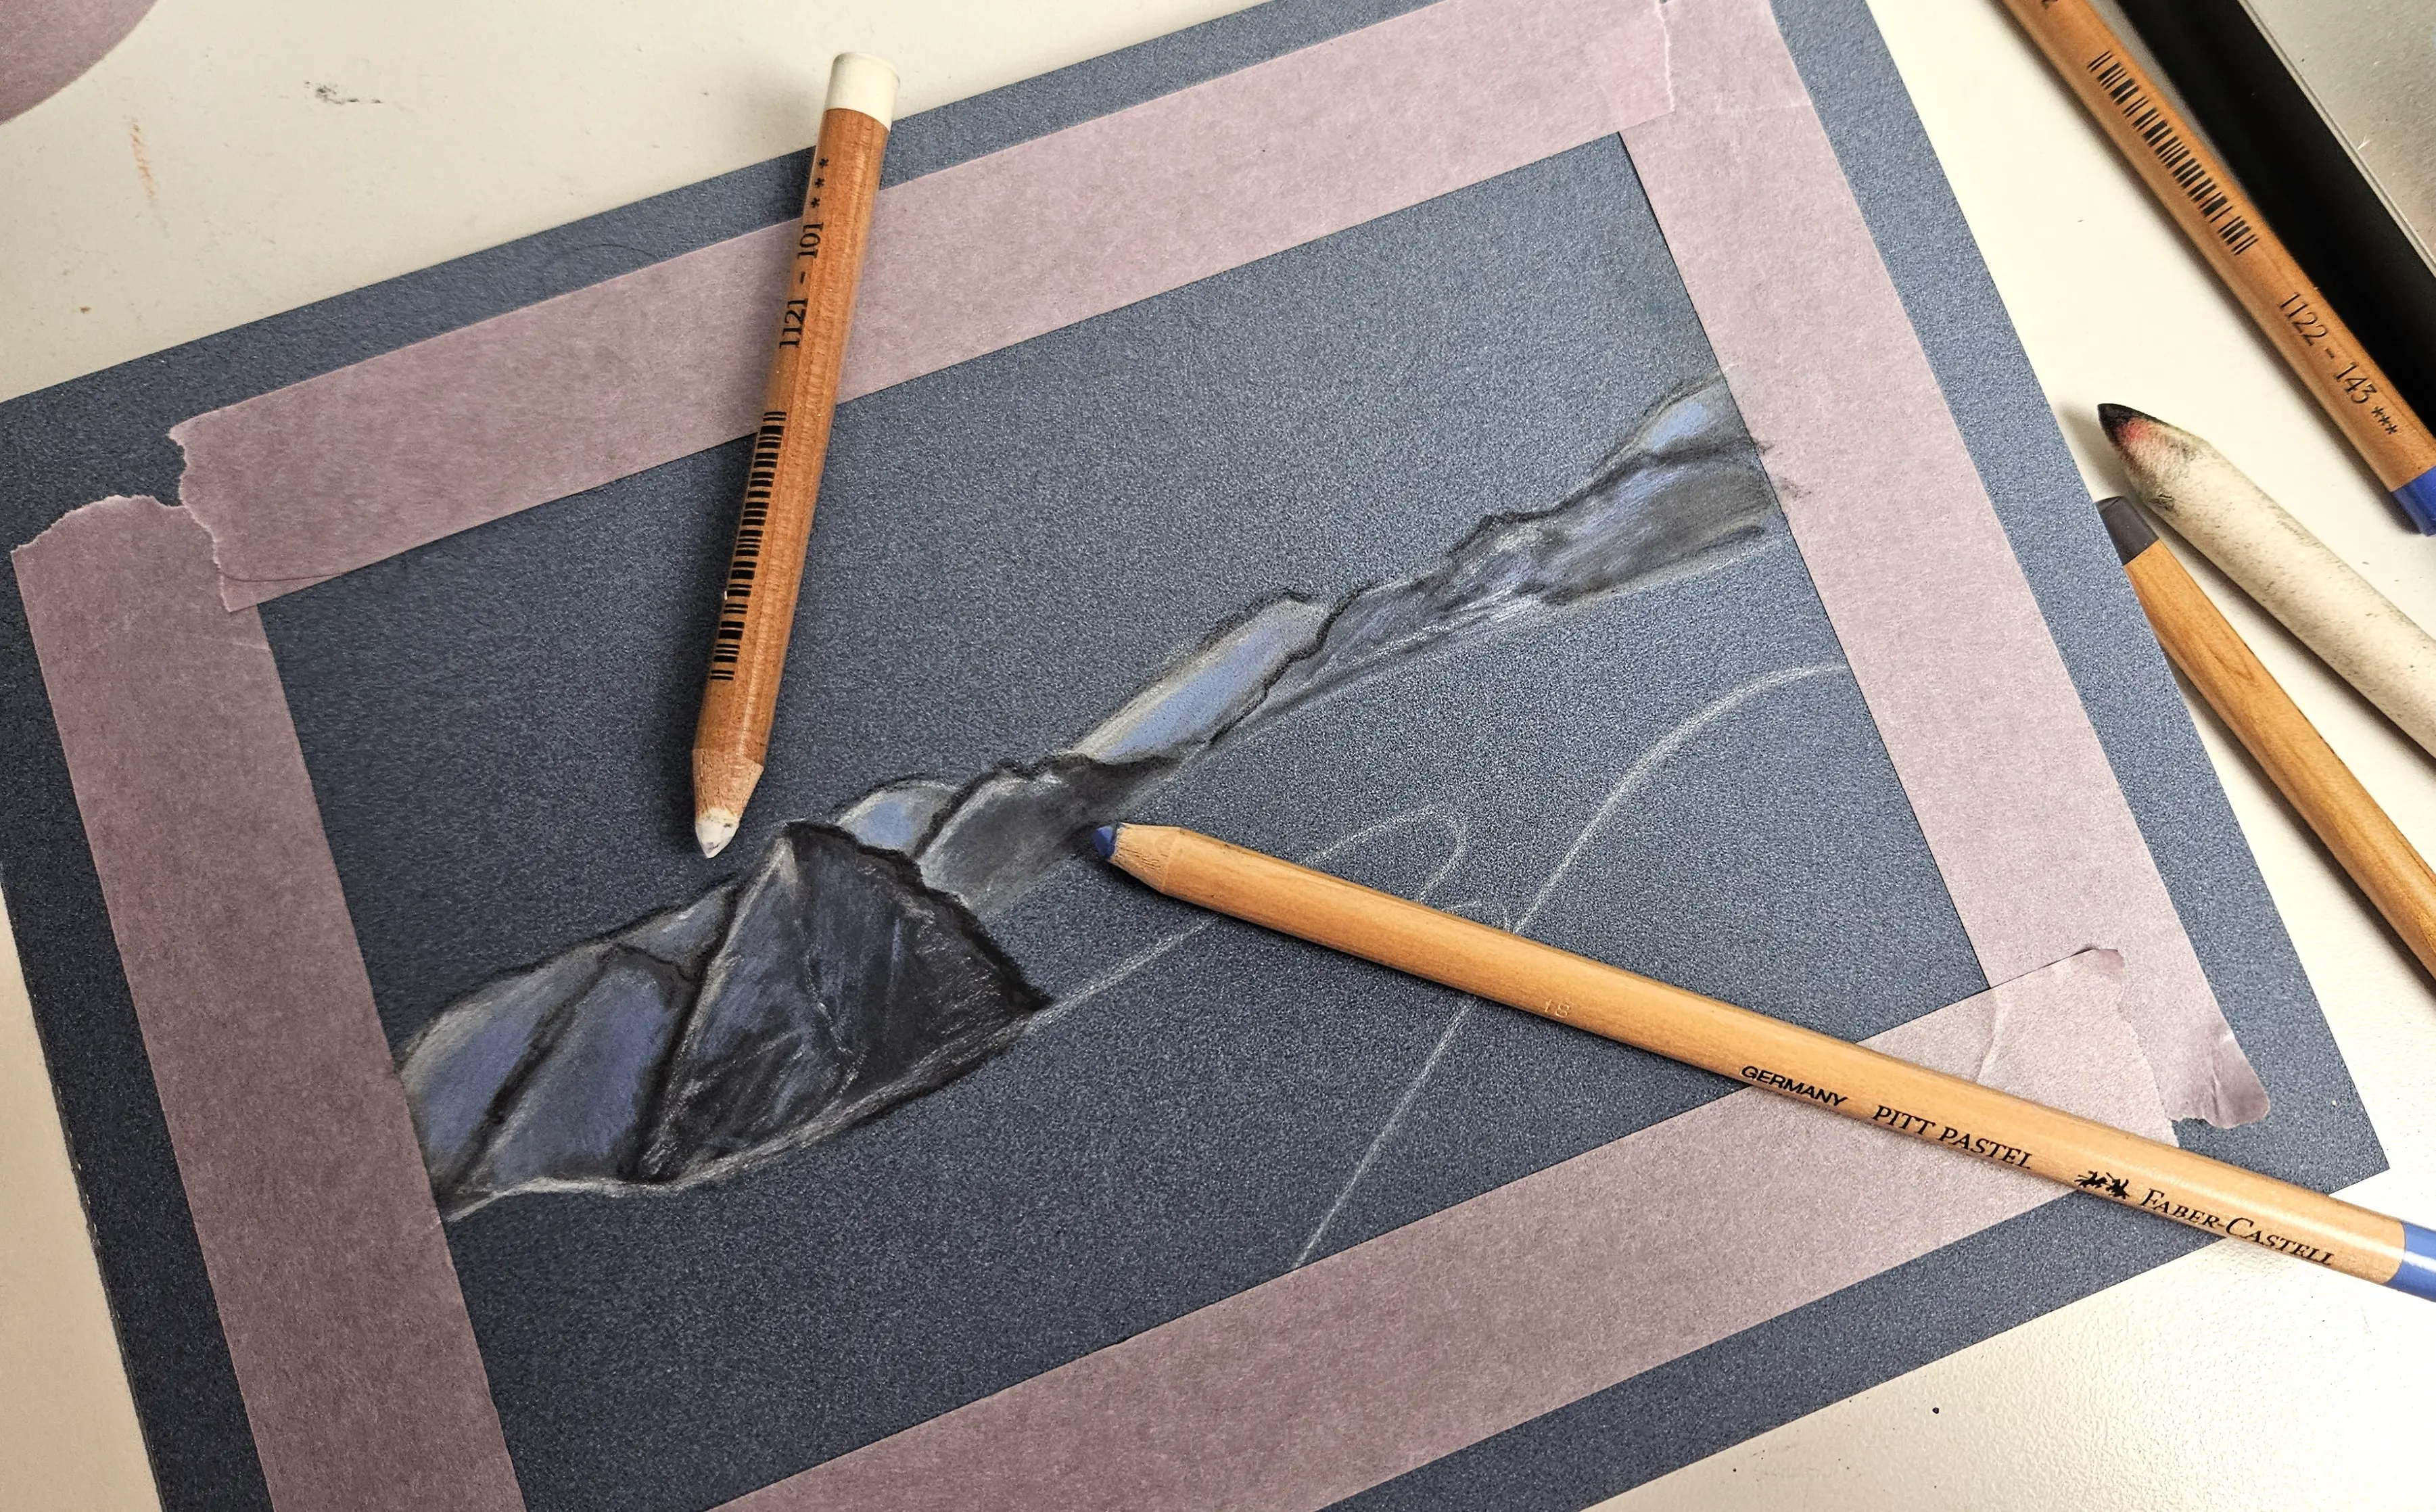
Then I use my white pencil to create the details. I scribble to simulate the snow and lights. I can also slightly accentuate the contours of the mountains with a dark gray or black.
Finally, I take a moderate blue and gently color all my mountains. This adds a bluish tint without altering the mountain contrasts too much.
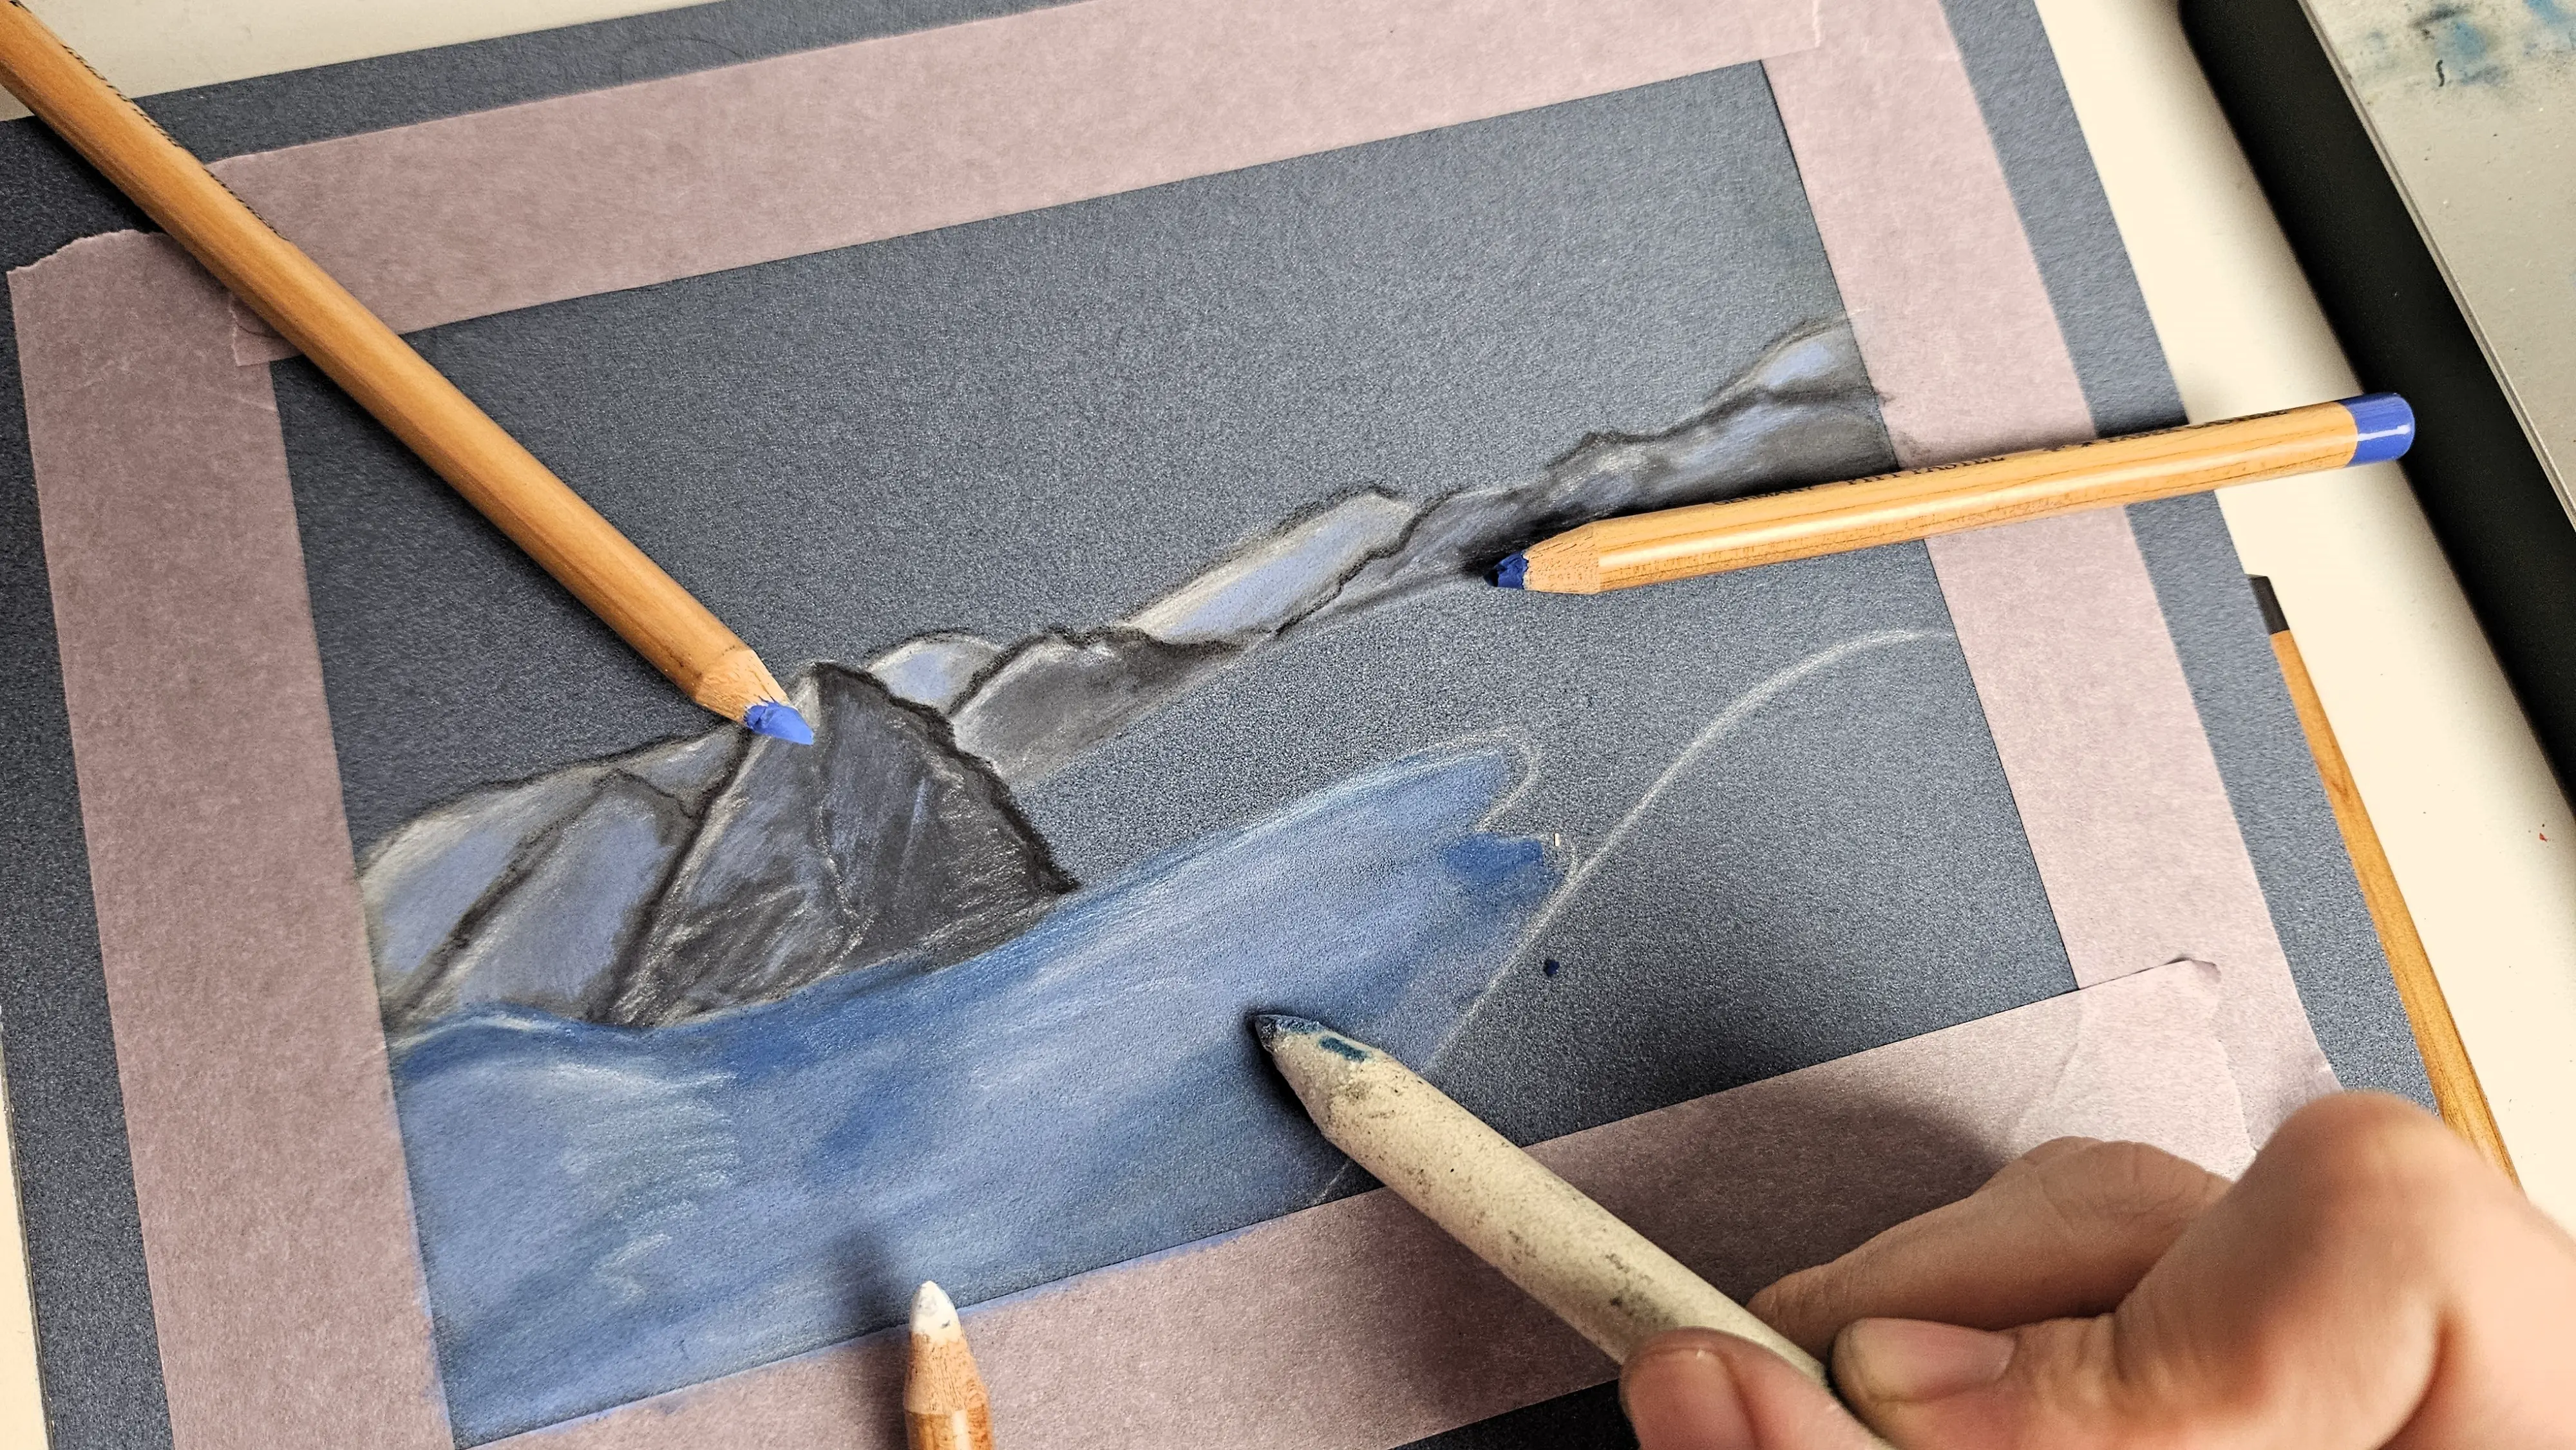
Then, I proceed to create the lake. I take a dark blue color and draw some contrasts in the water, especially around the mountains in the "foreground." I can also add some darker shades along the edges as well.
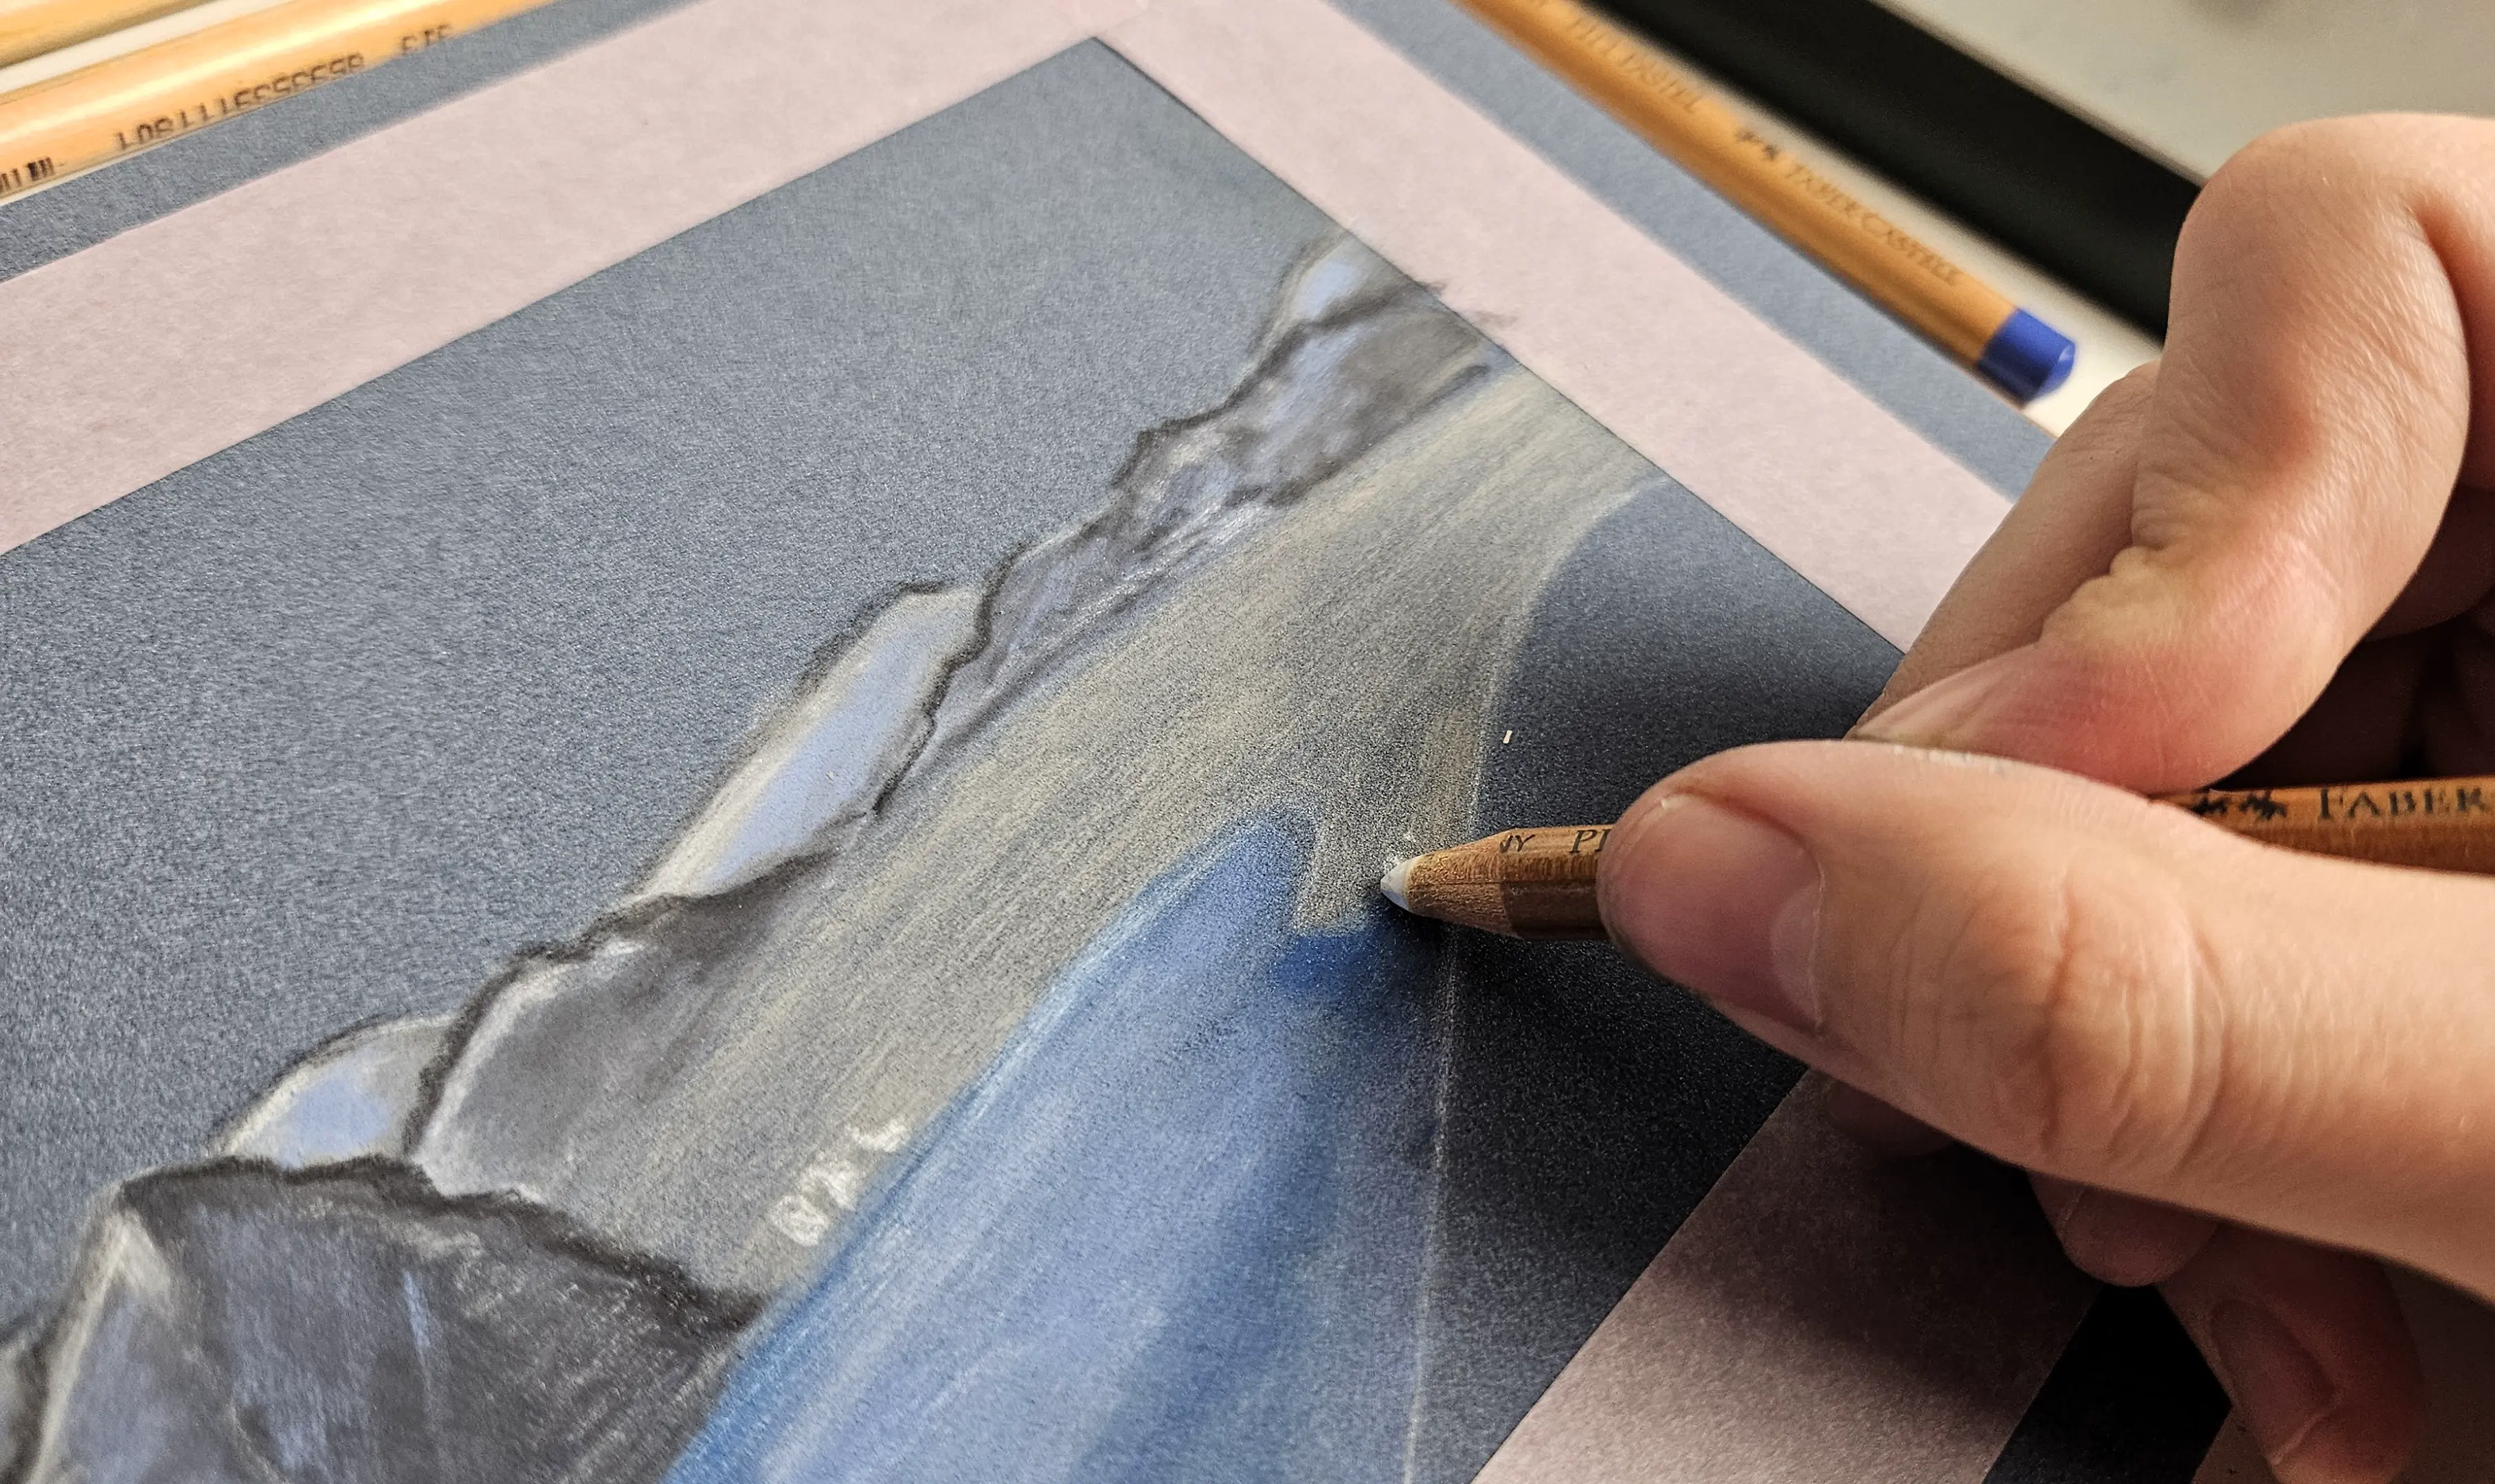
Then, I take a light blue and white and I can add some effects in the water. I also use my paper smudge tool to smooth everything out.
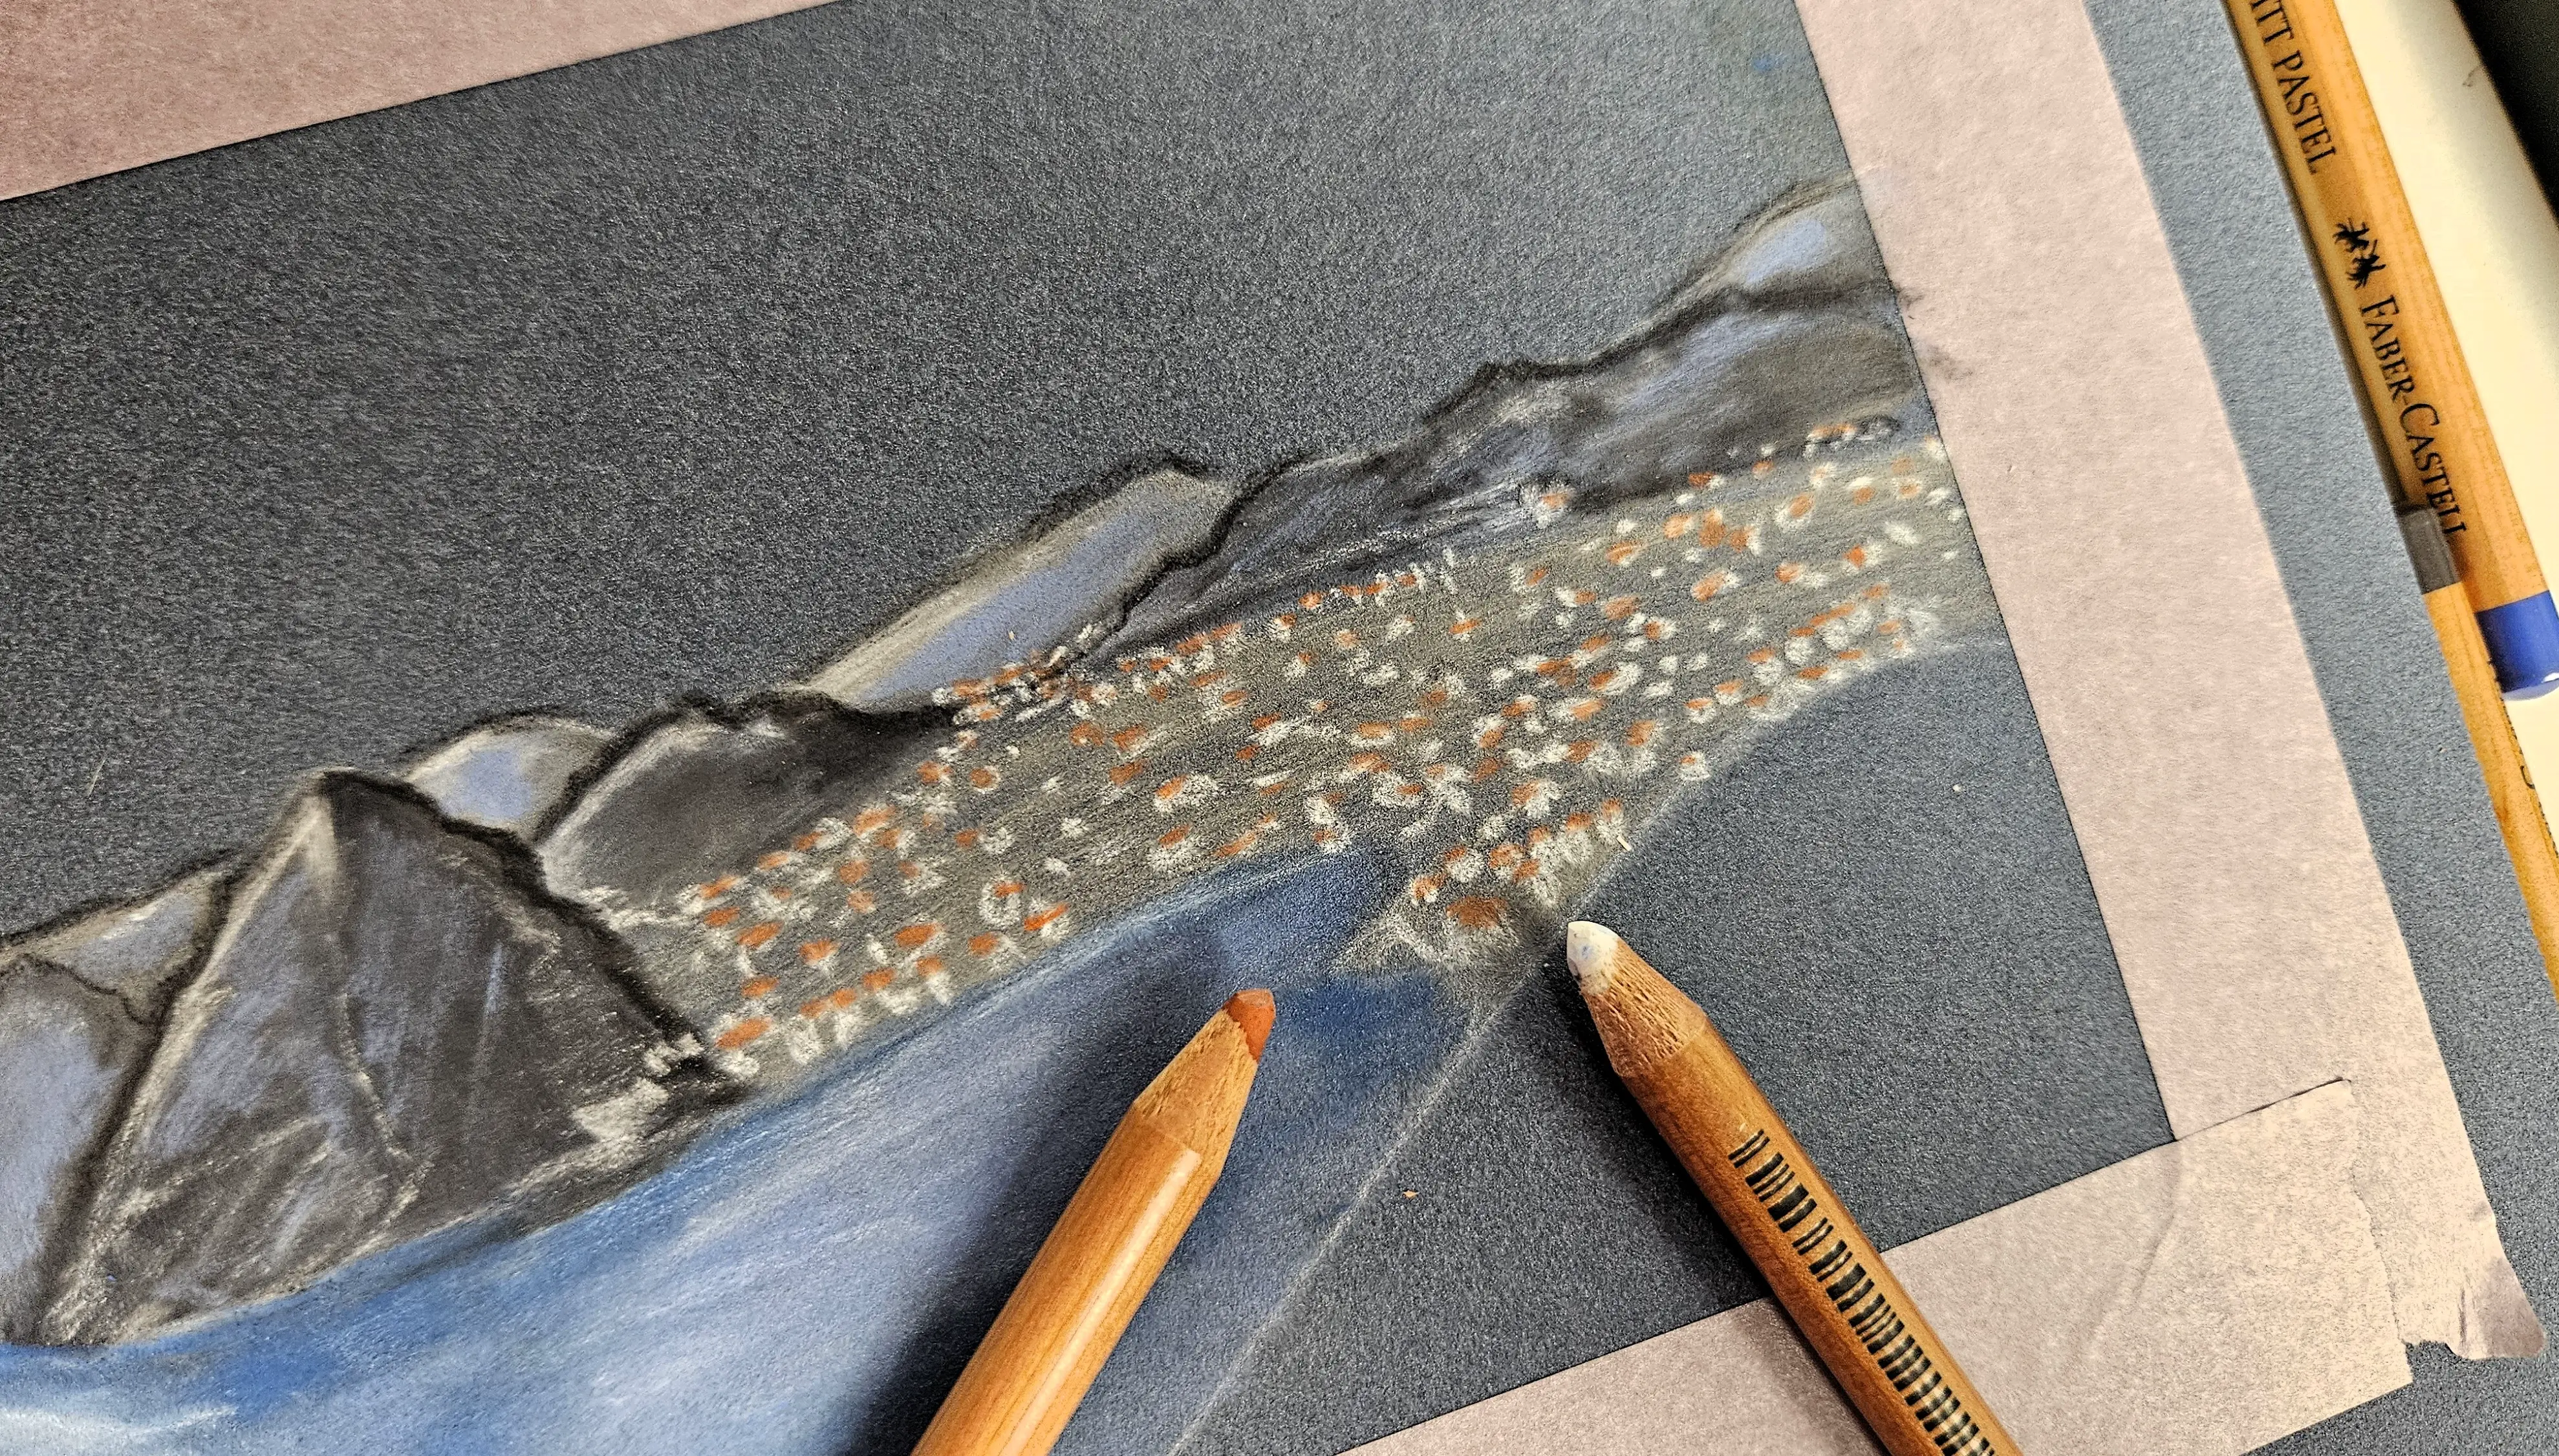
I can now add the houses. I take my white pencil and start to create a lot of geometric shapes on the land: mainly squares and rectangles to very simply represent the volume of a house.
I can then choose a brick-like color to represent the roofs of houses. A simple line or a small rectangle is enough. In my case, when I reproduce a landscape, I always try to break it down into simple shapes, and give a little "abstract" touch to what I draw, it's never too precise.
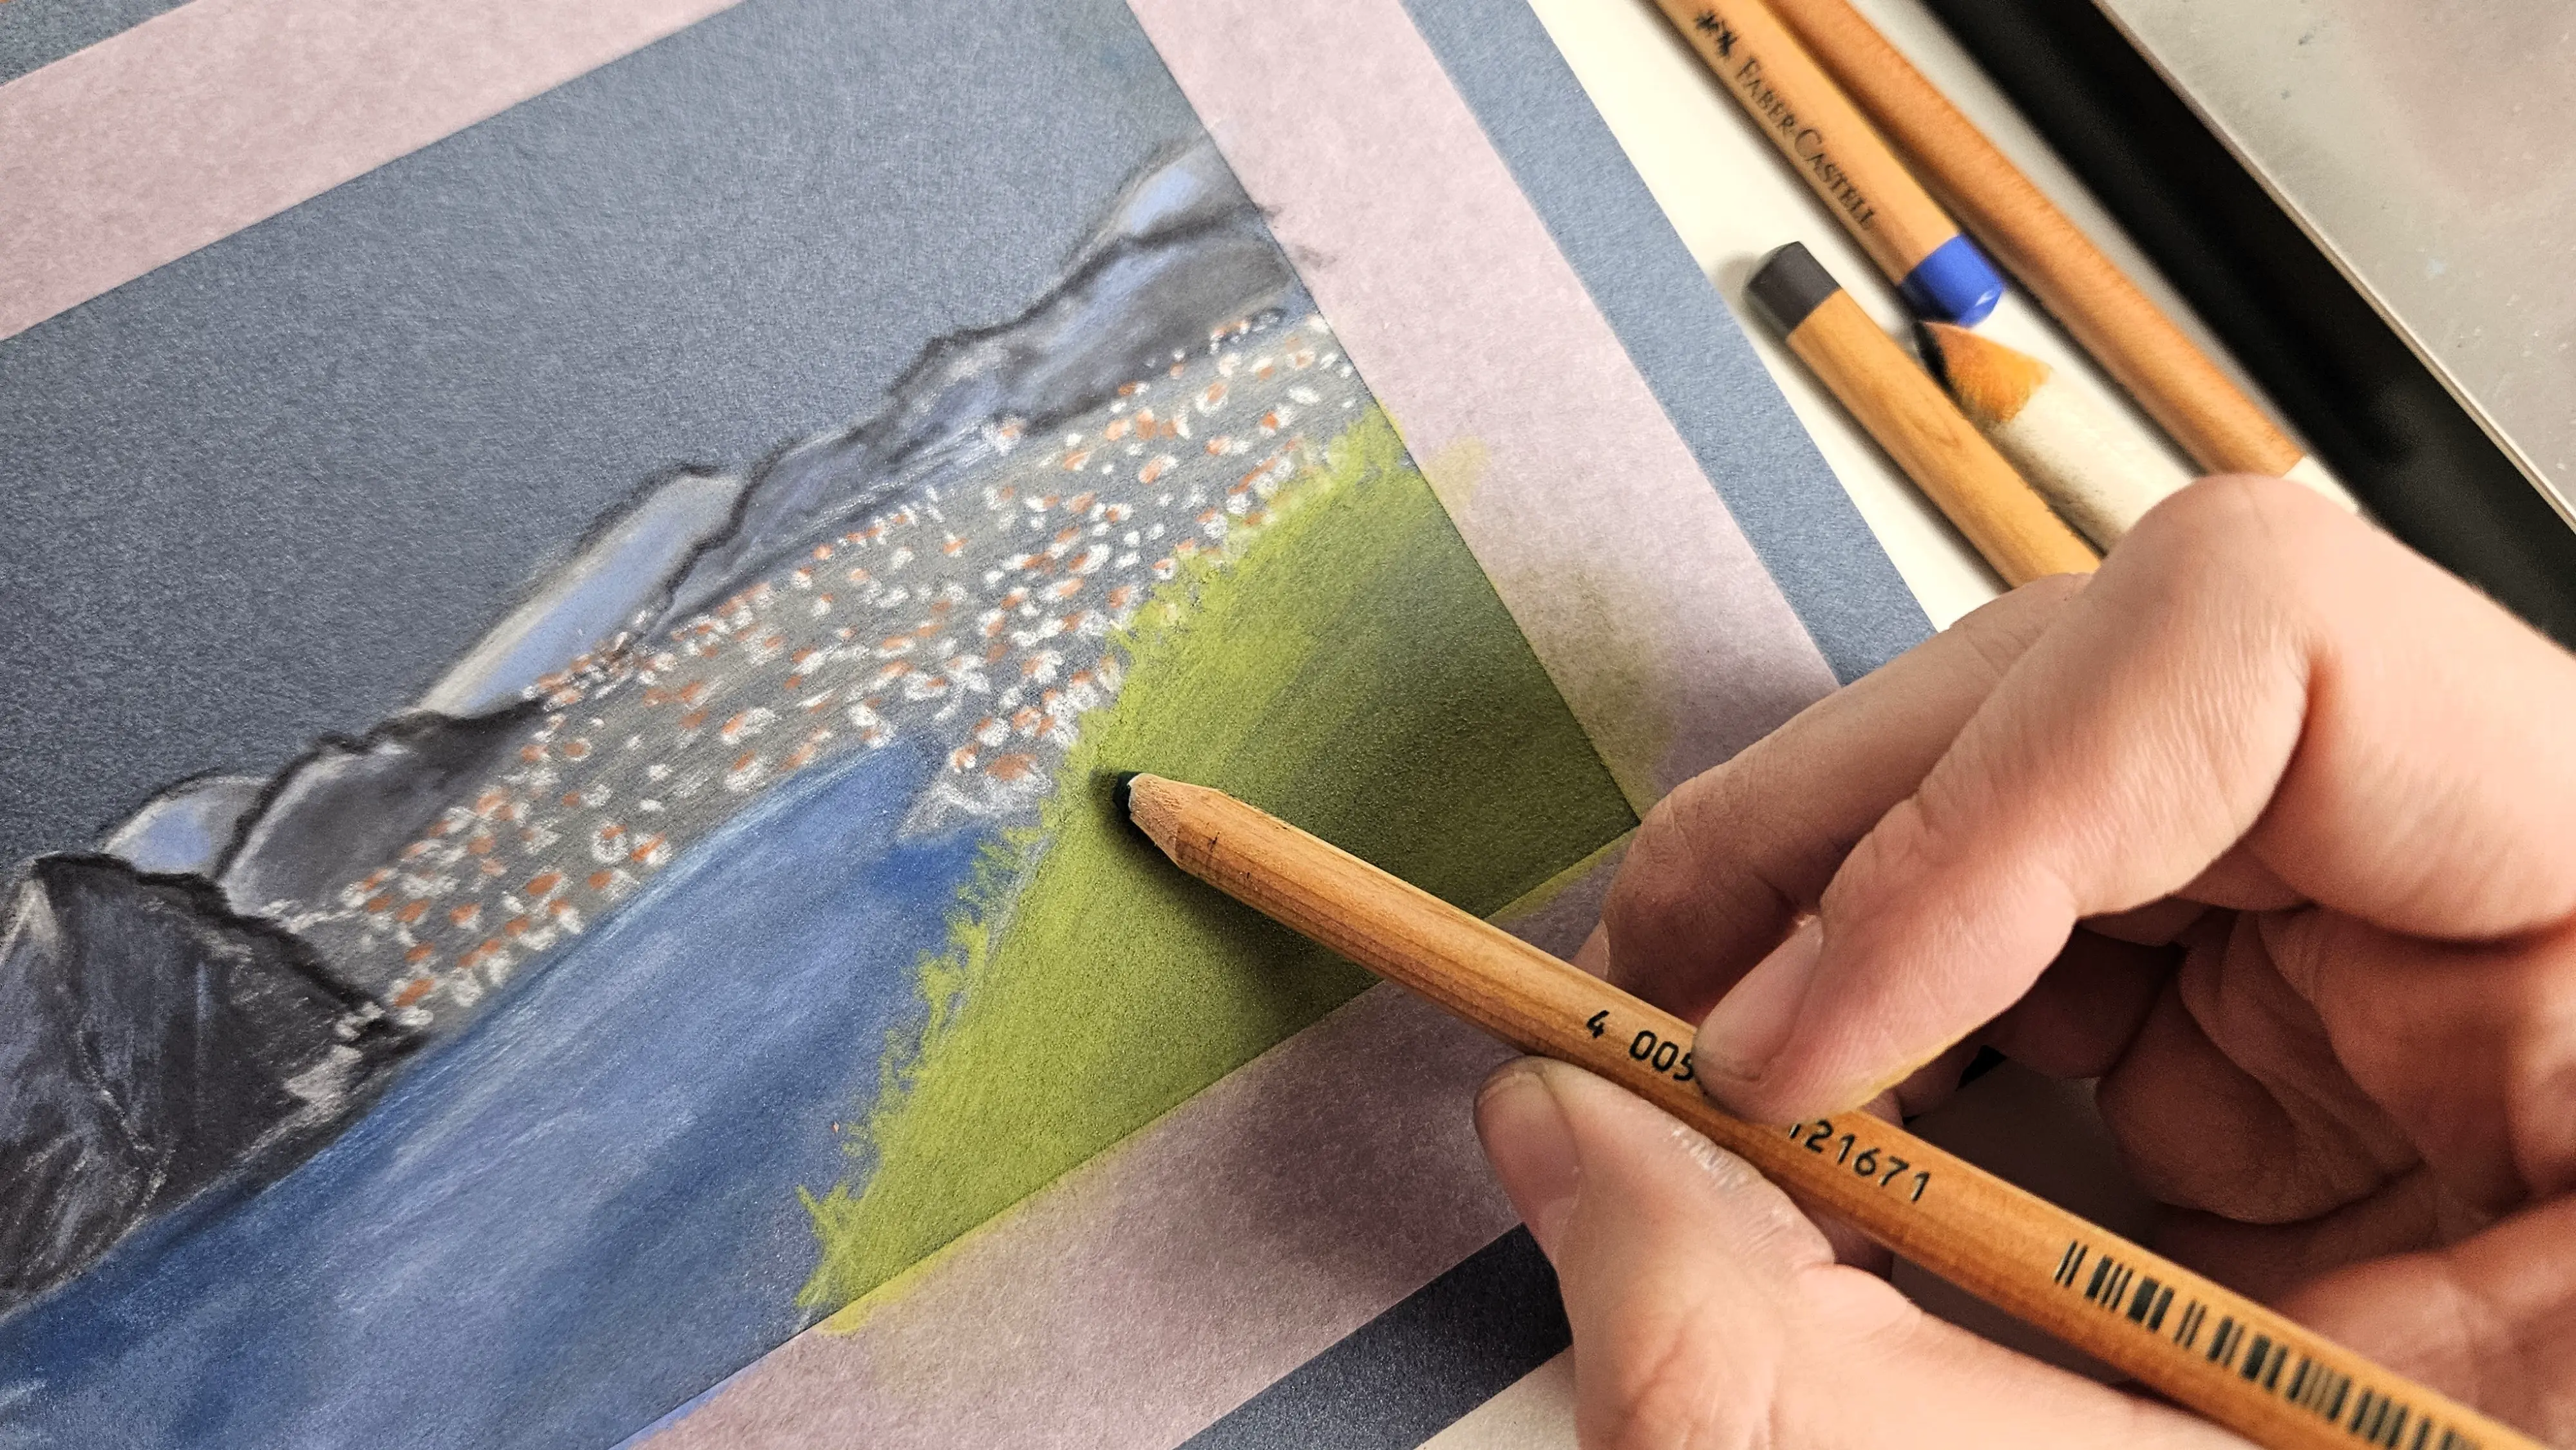
I then move on to the greenery in the foreground. First, I take my lightest green pastel pencil and color the entire area.
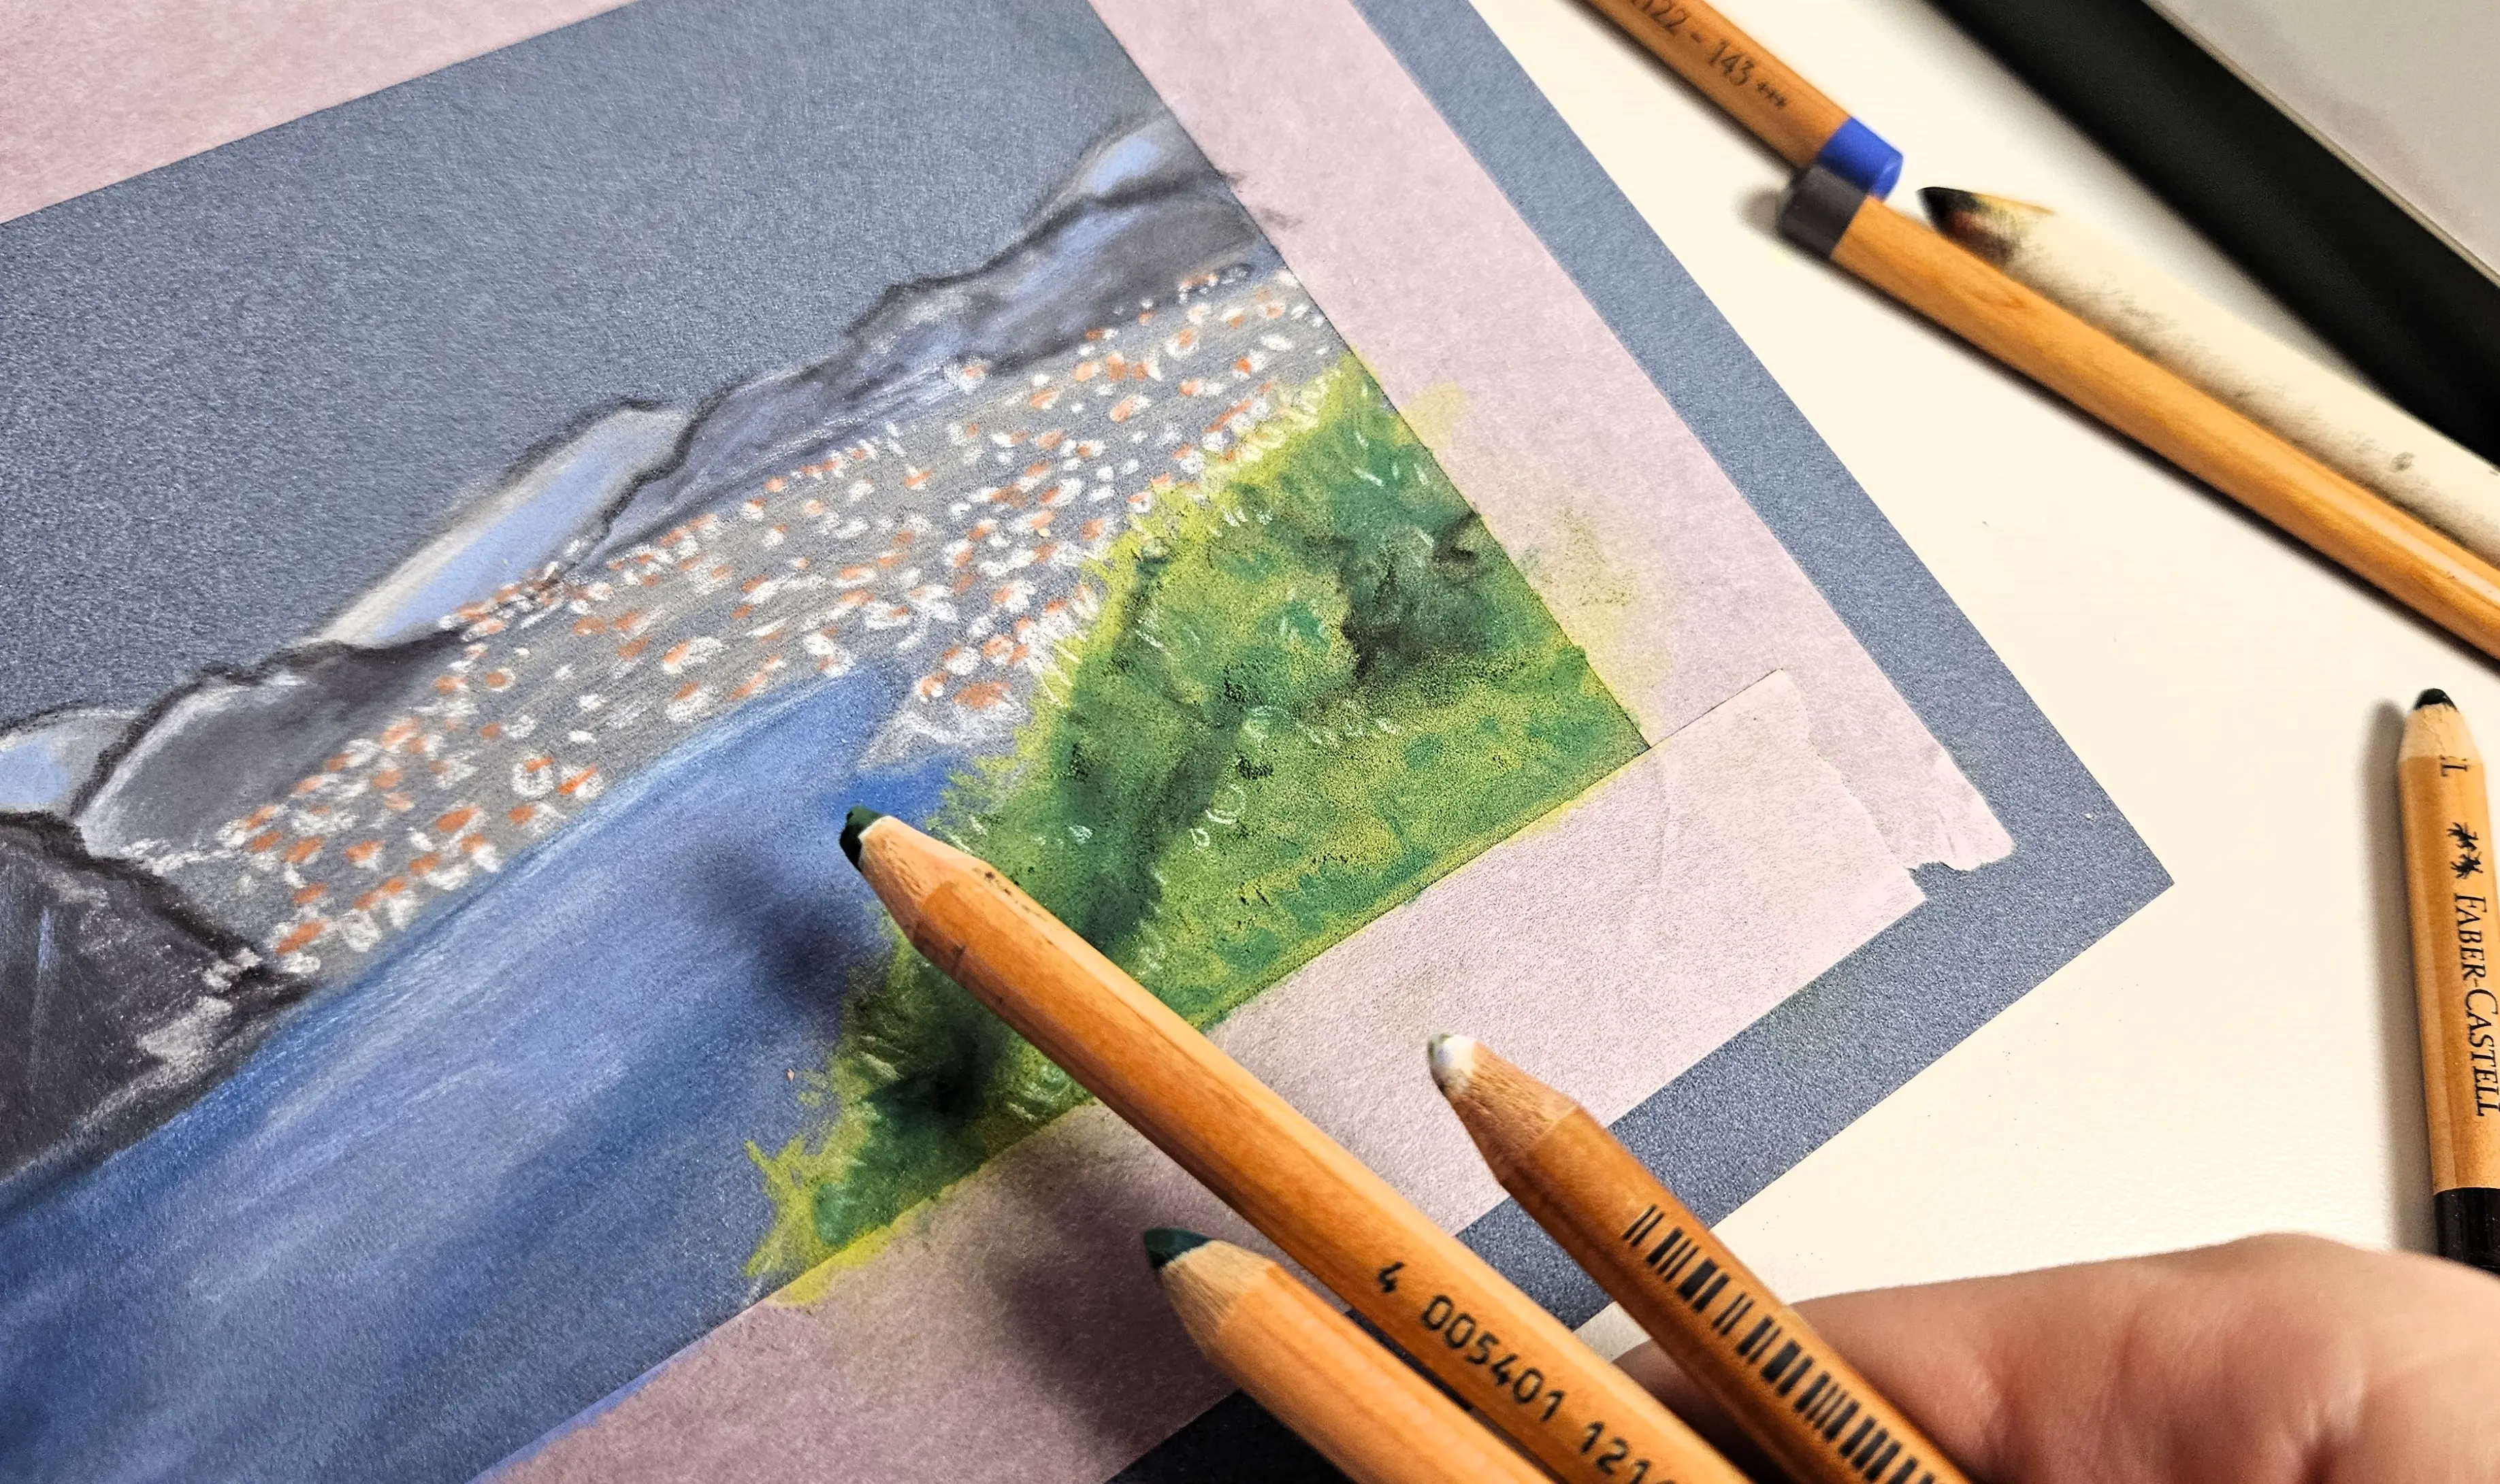
Then with a black pencil, I mark the darker foliage. Generally, these are the areas under the leaves, corresponding to the darkest part.
I then add a few touches with my dark green and white pencils. I can simulate the appearance of some leaves, to give a little more depth, especially since it's the foreground. I can add a few touches of white/yellow on top of the foliage.
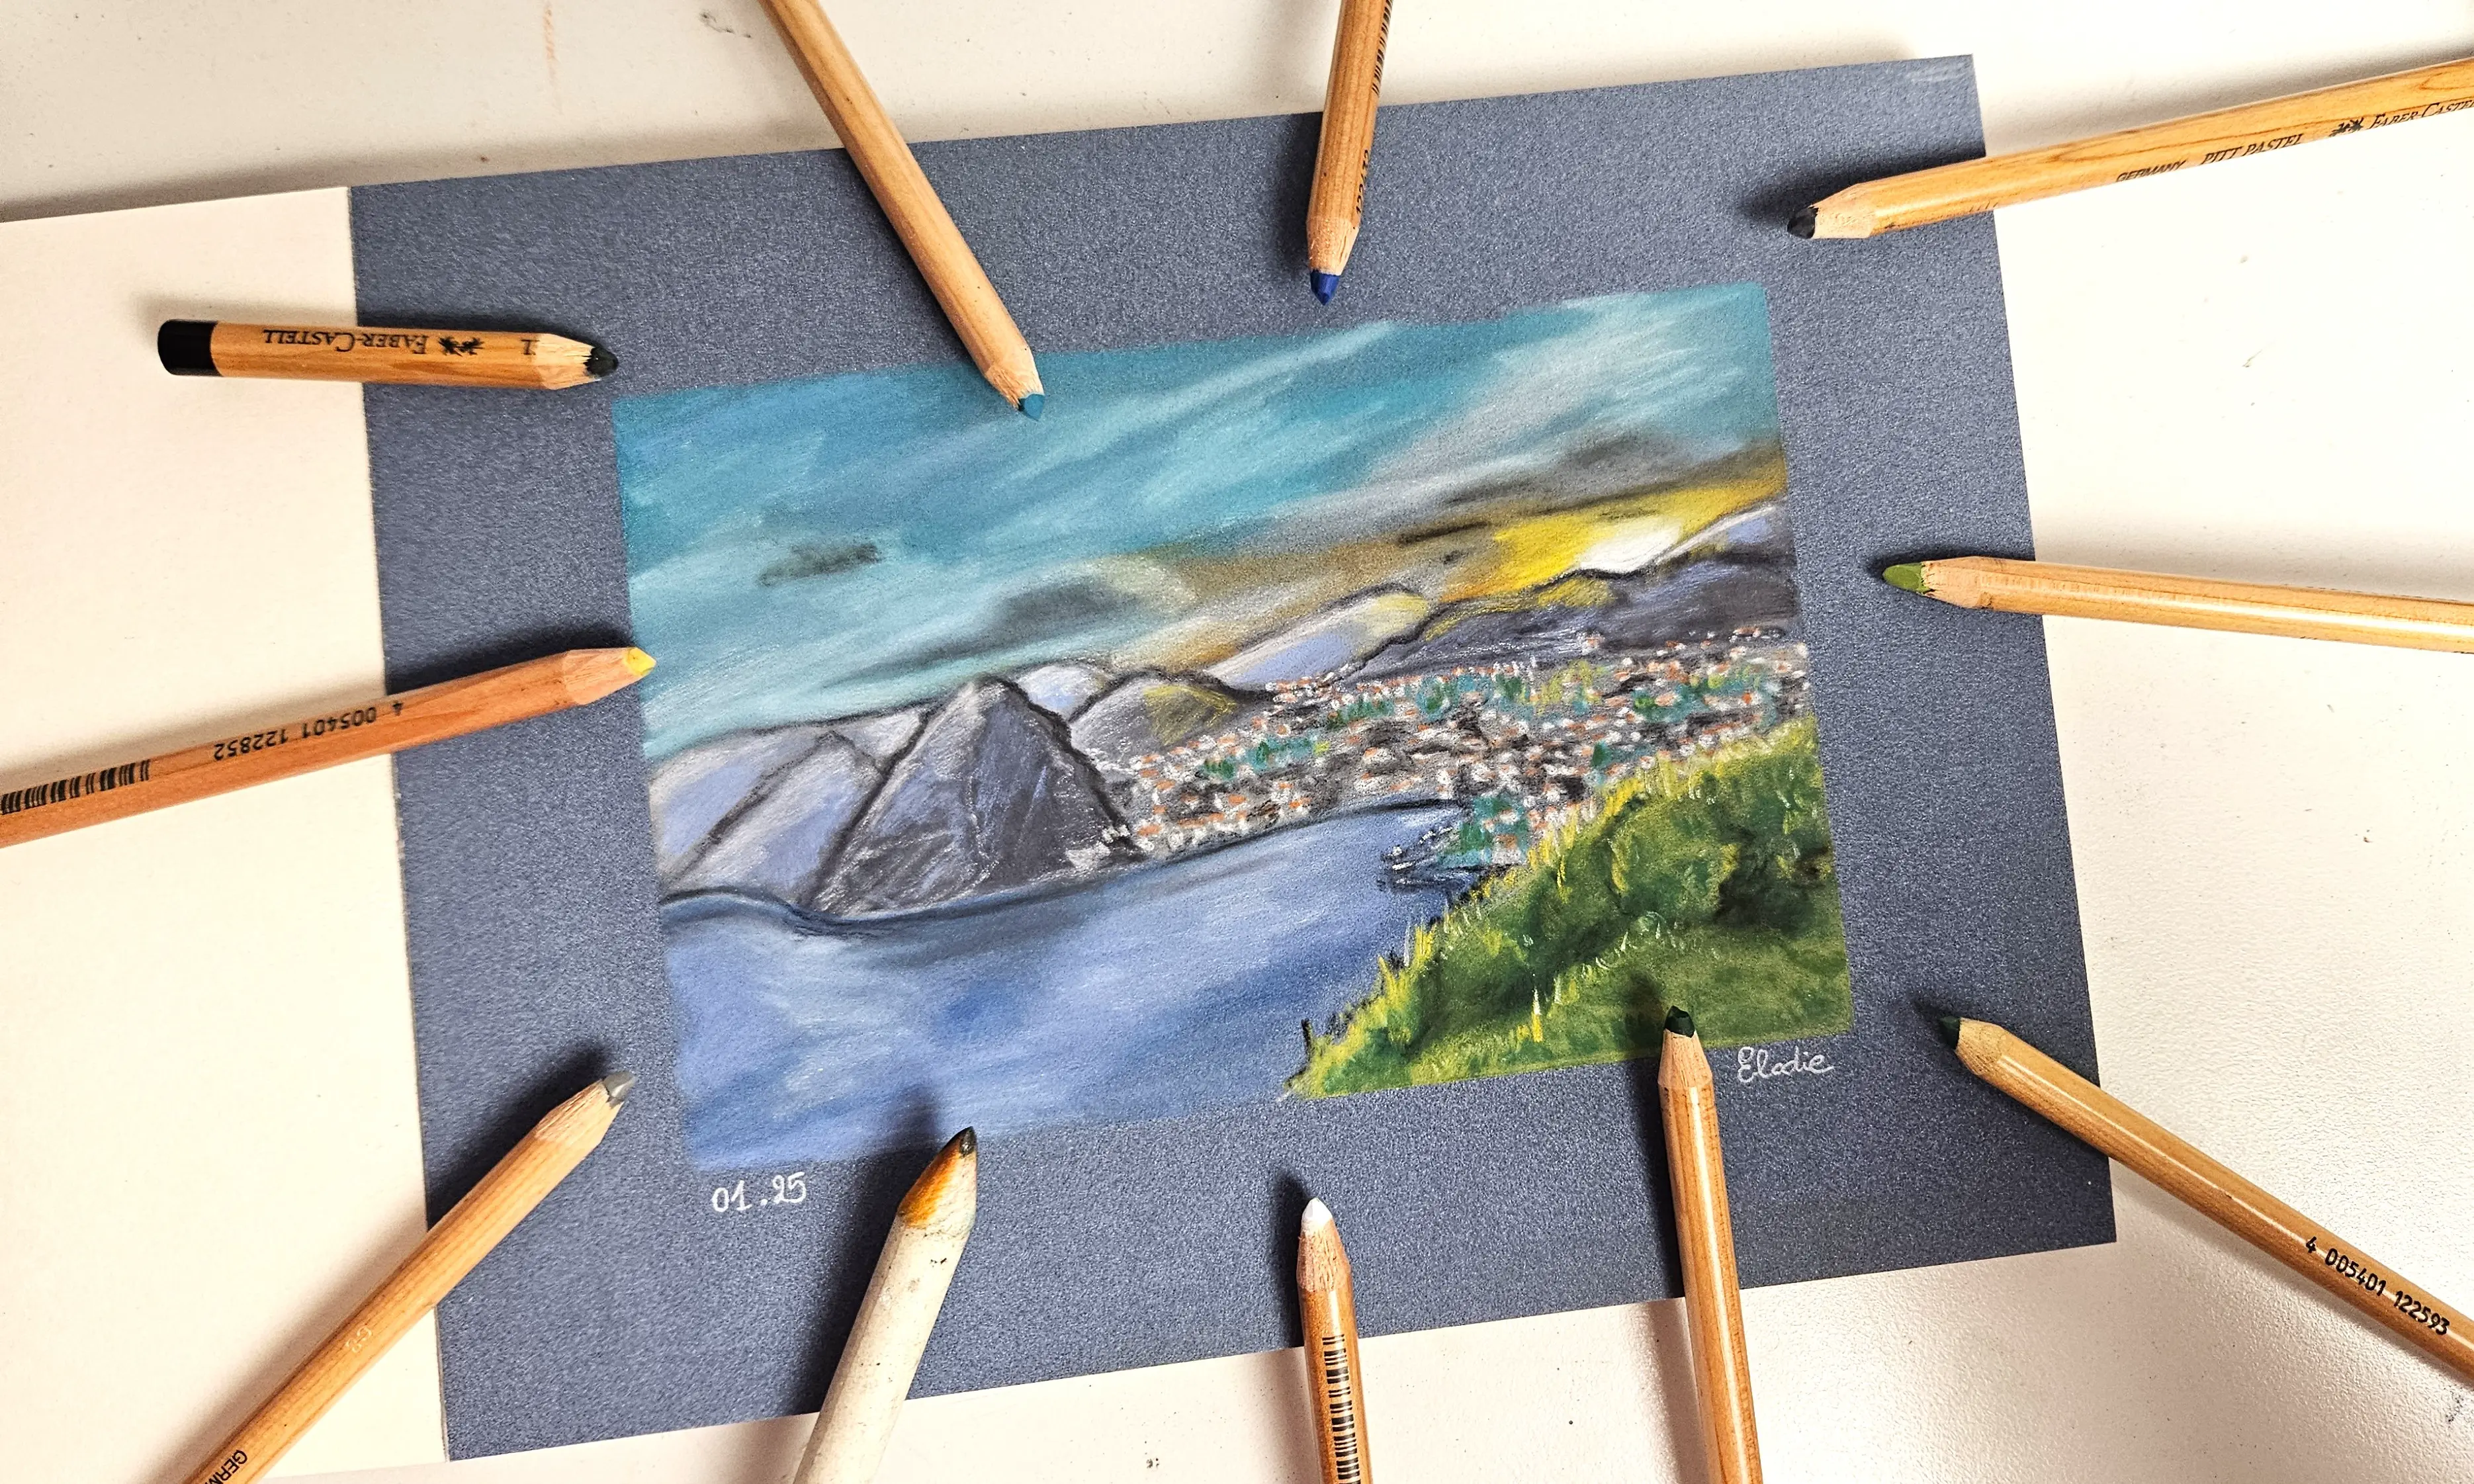
Then, for the sky, I start by painting a small sunset: a white circle, followed by yellow, and blue. I can add white and black to the sky to simulate some clouds. Once everything is finished, I carefully remove my masking tape.
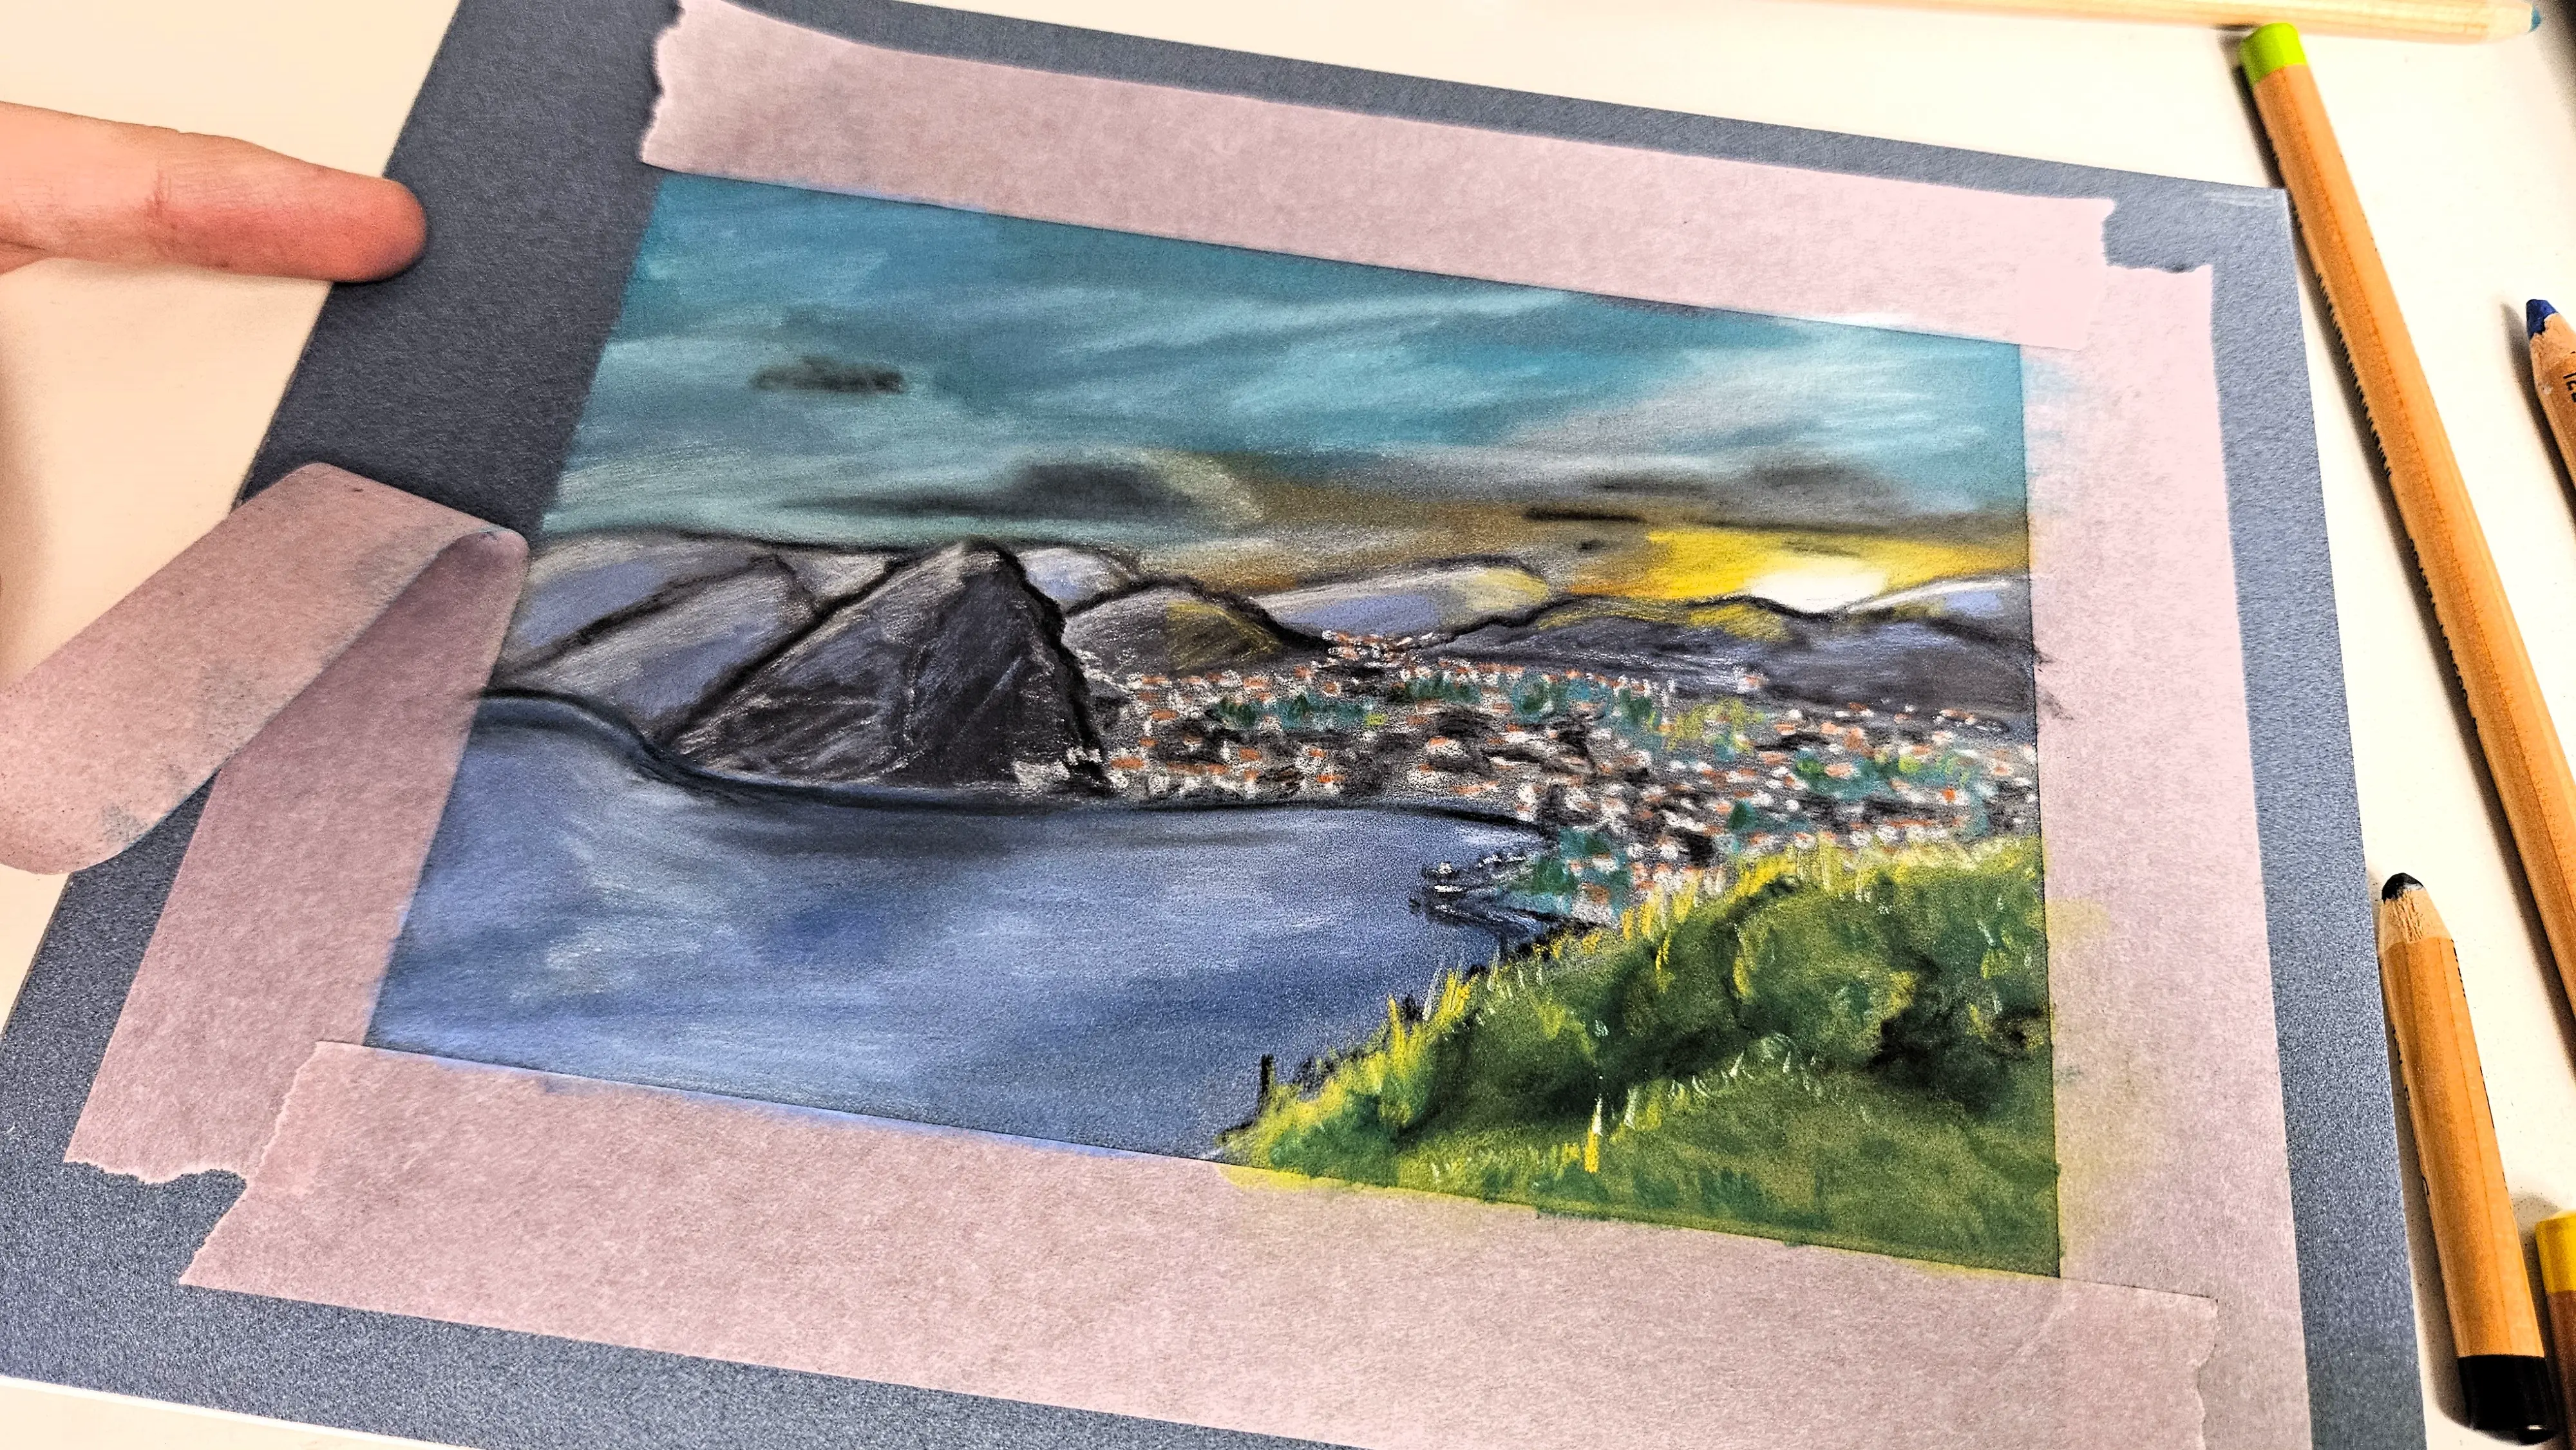
And here is the finished result, I add the date and sign it.

This article is now finished, I hope it has helped you learn a bit more about landscape drawing with pastels, including choosing the paper, dry pastels, and creating the landscape itself! First practice with your own photos, and then you can start drawing from your imagination!
Discussion
I have chosen to use Faber-Castell's dry pastel pencils for this drawing. Indeed, it will be easier to create some details and be a bit more precise, especially in the areas of the city and the foliage in the foreground.