
How to Draw a Landscape With a Pen

The ballpoint pen is not an instrument that one would immediately associate with drawing, and yet, in the right hands, it can be used to create pieces of remarkable precision. Fine lines, rich textures, deep contrasts: all these are possible with this everyday tool, provided that you master the pressure and have patience. In this tutorial, we will apply it to a landscape, paying particular attention to the textures and contrasts.
Tips before you start drawing with a pen
Before the invention of the ballpoint pen, there were already techniques that used the same principles to create textures, shadows, and lines with ink. This is particularly the case with aquatint, a printmaking technique in which mastery of the line is essential for obtaining images of very high quality.
The ballpoint pen requires discipline: creating an artwork requires time, patience, and many light layers. The key is to use its precision to create very fine lines capable of imitating gradients, contrasts, and textures. Here are some practical recommendations:
- Allow enough time, without rushing, and take several breaks during the process.
- Learn how to vary the pressure, as it determines the intensity of the line.
- Avoid touching the ink in the first few seconds after it is applied, as it is still wet.
- Draw in the direction of your writing so that your hand always rests on the white area, or slide a sheet of paper under your hand.
- Clean the tip regularly with a piece of paper or cloth.
Exercises to master penmanship with a ballpoint pen
If you haven’t used a ballpoint pen before, a few preliminary exercises are essential to understand how this tool works.
Explore the qualities of the line
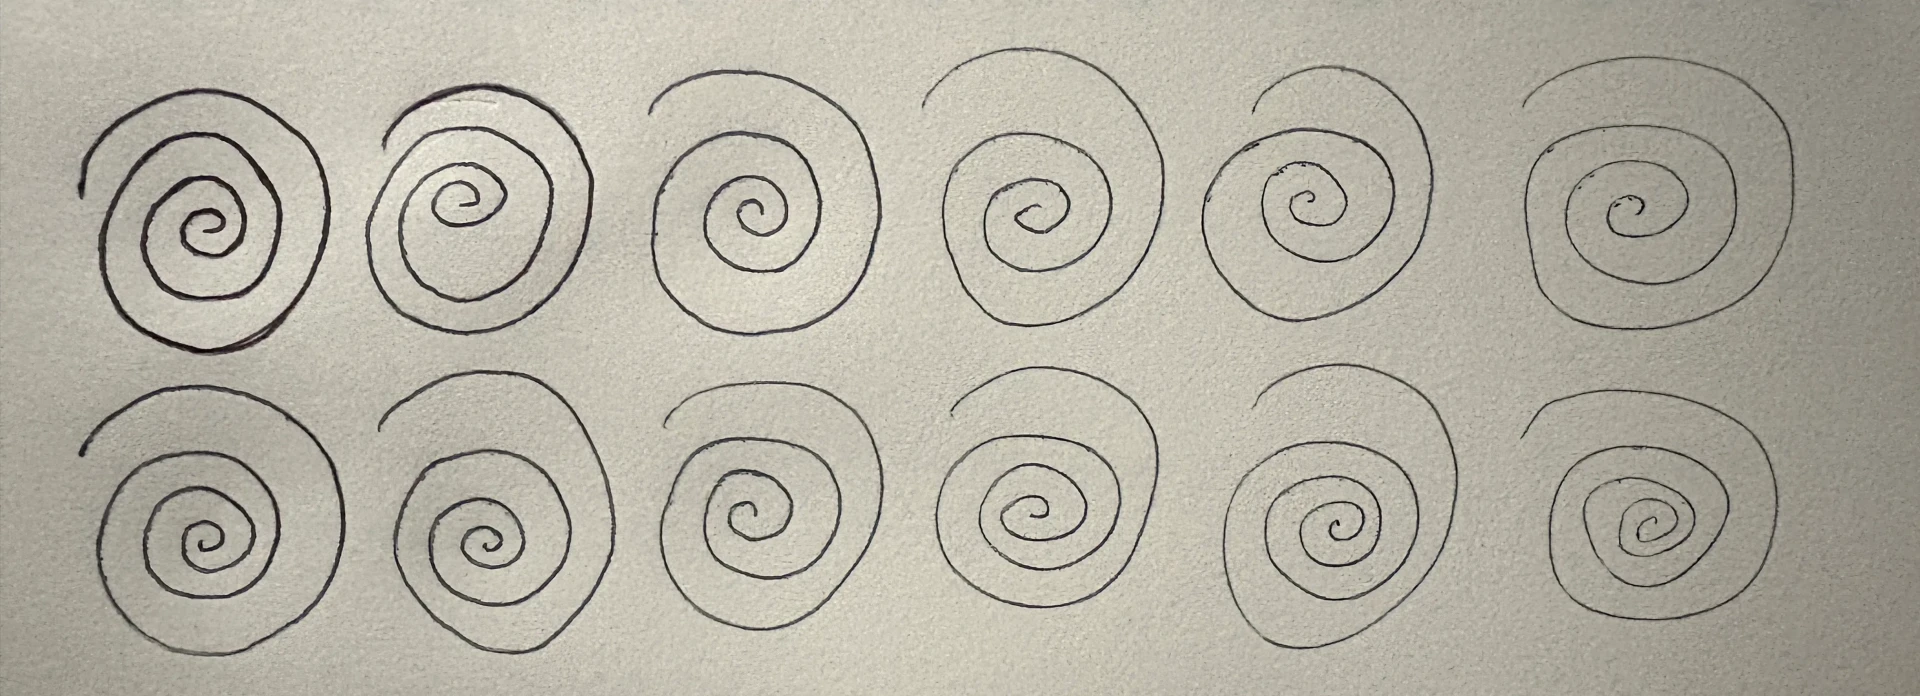
Draw spirals in different ways. Start by holding the pen firmly, more firmly than when you write. Repeat several times, gradually reducing the pressure with each new spiral, making sure to maintain the same dimensions.
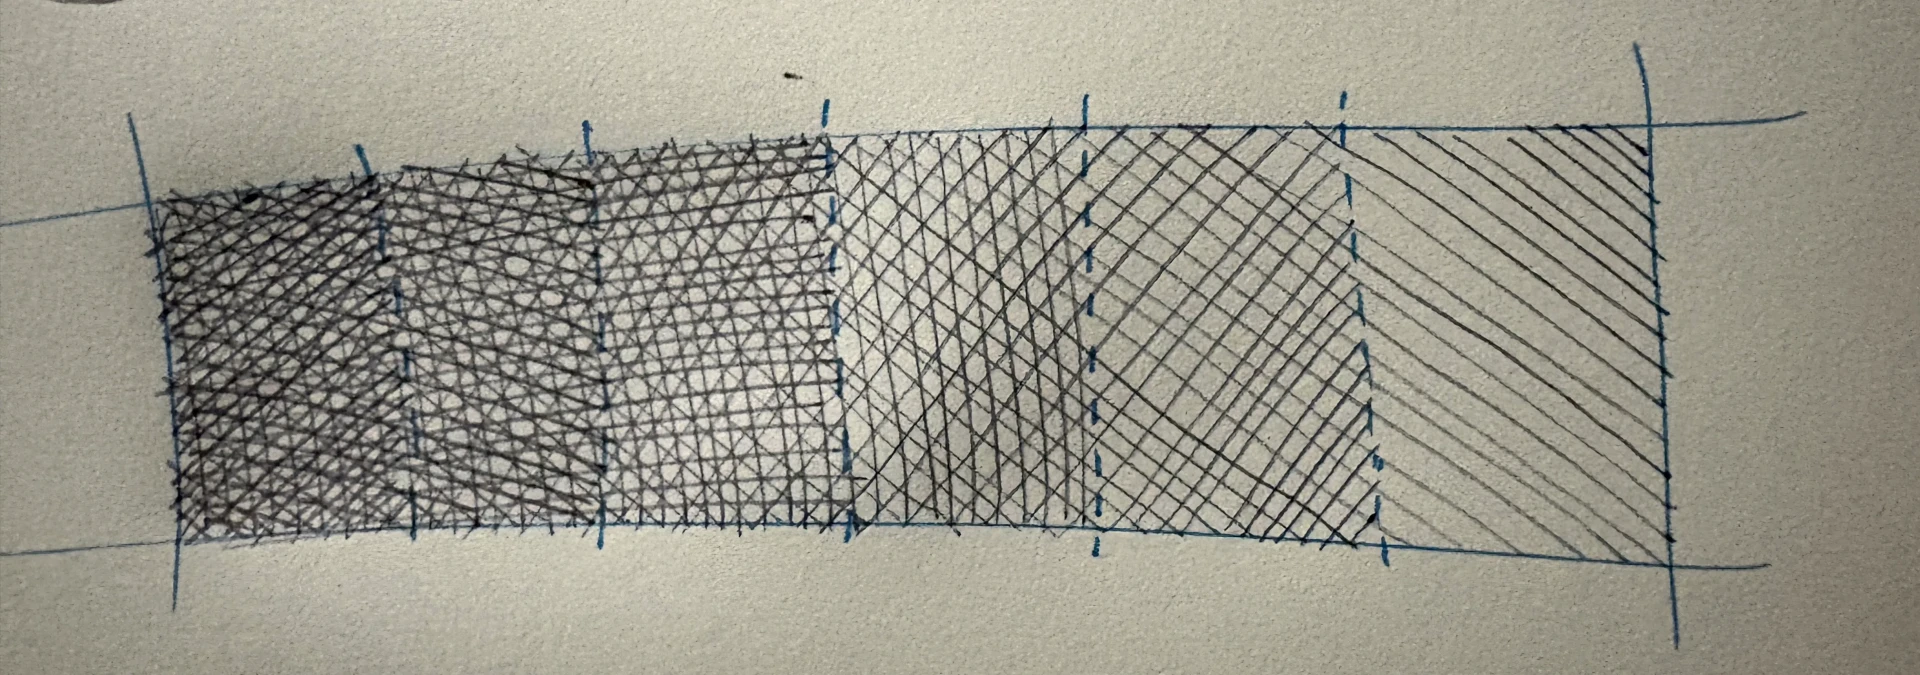
Cross-hatched lines and freeform lines
To create shading, draw parallel vertical lines to fill an area, then divide it and repeat, alternating the direction - horizontal, then diagonal. Each subdivision becomes darker.
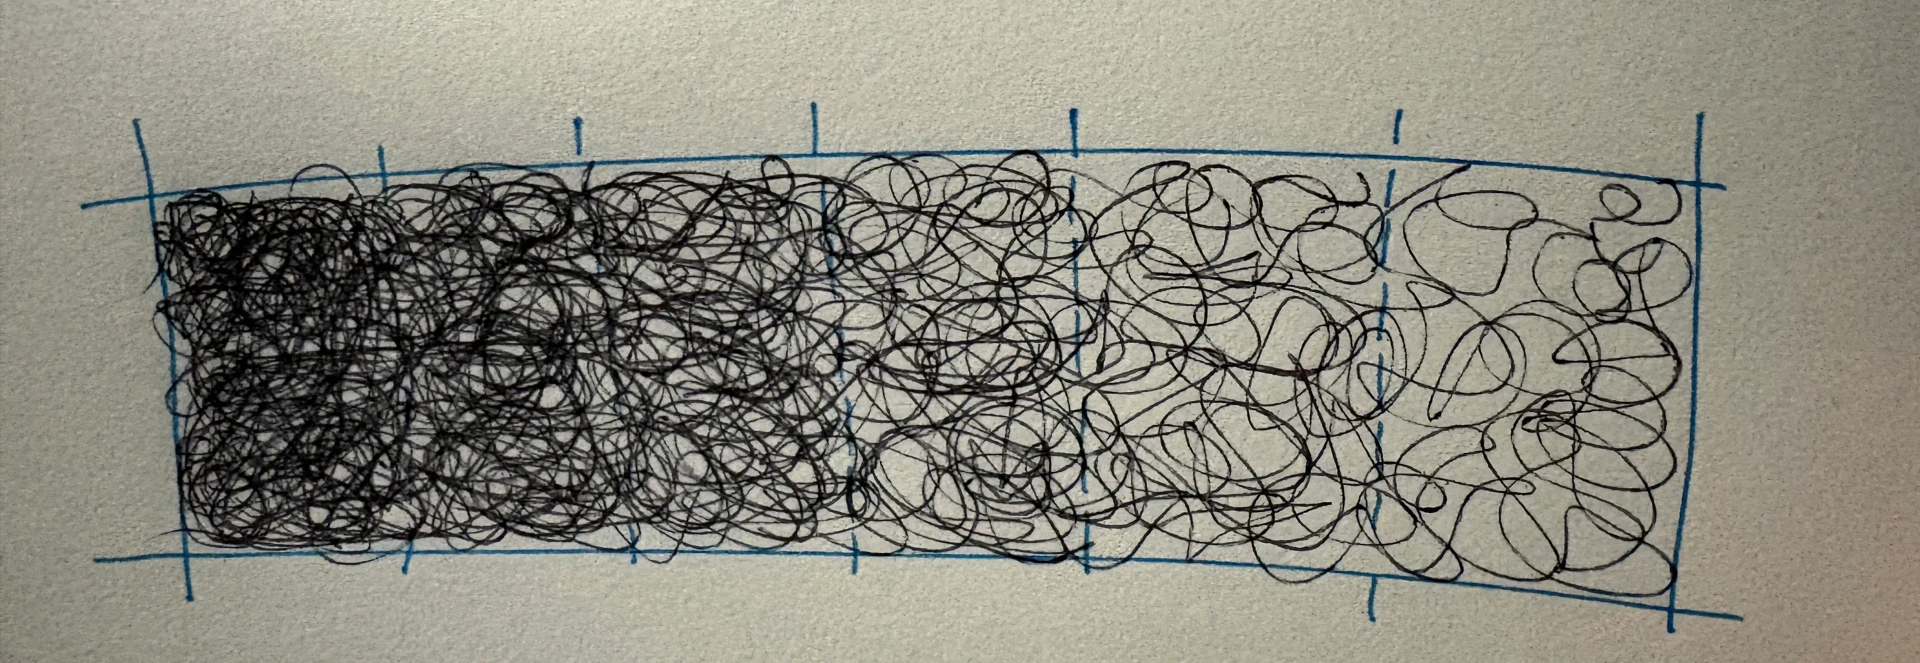
Freeform hatching follows the same approach, but with winding lines rather than straight ones.
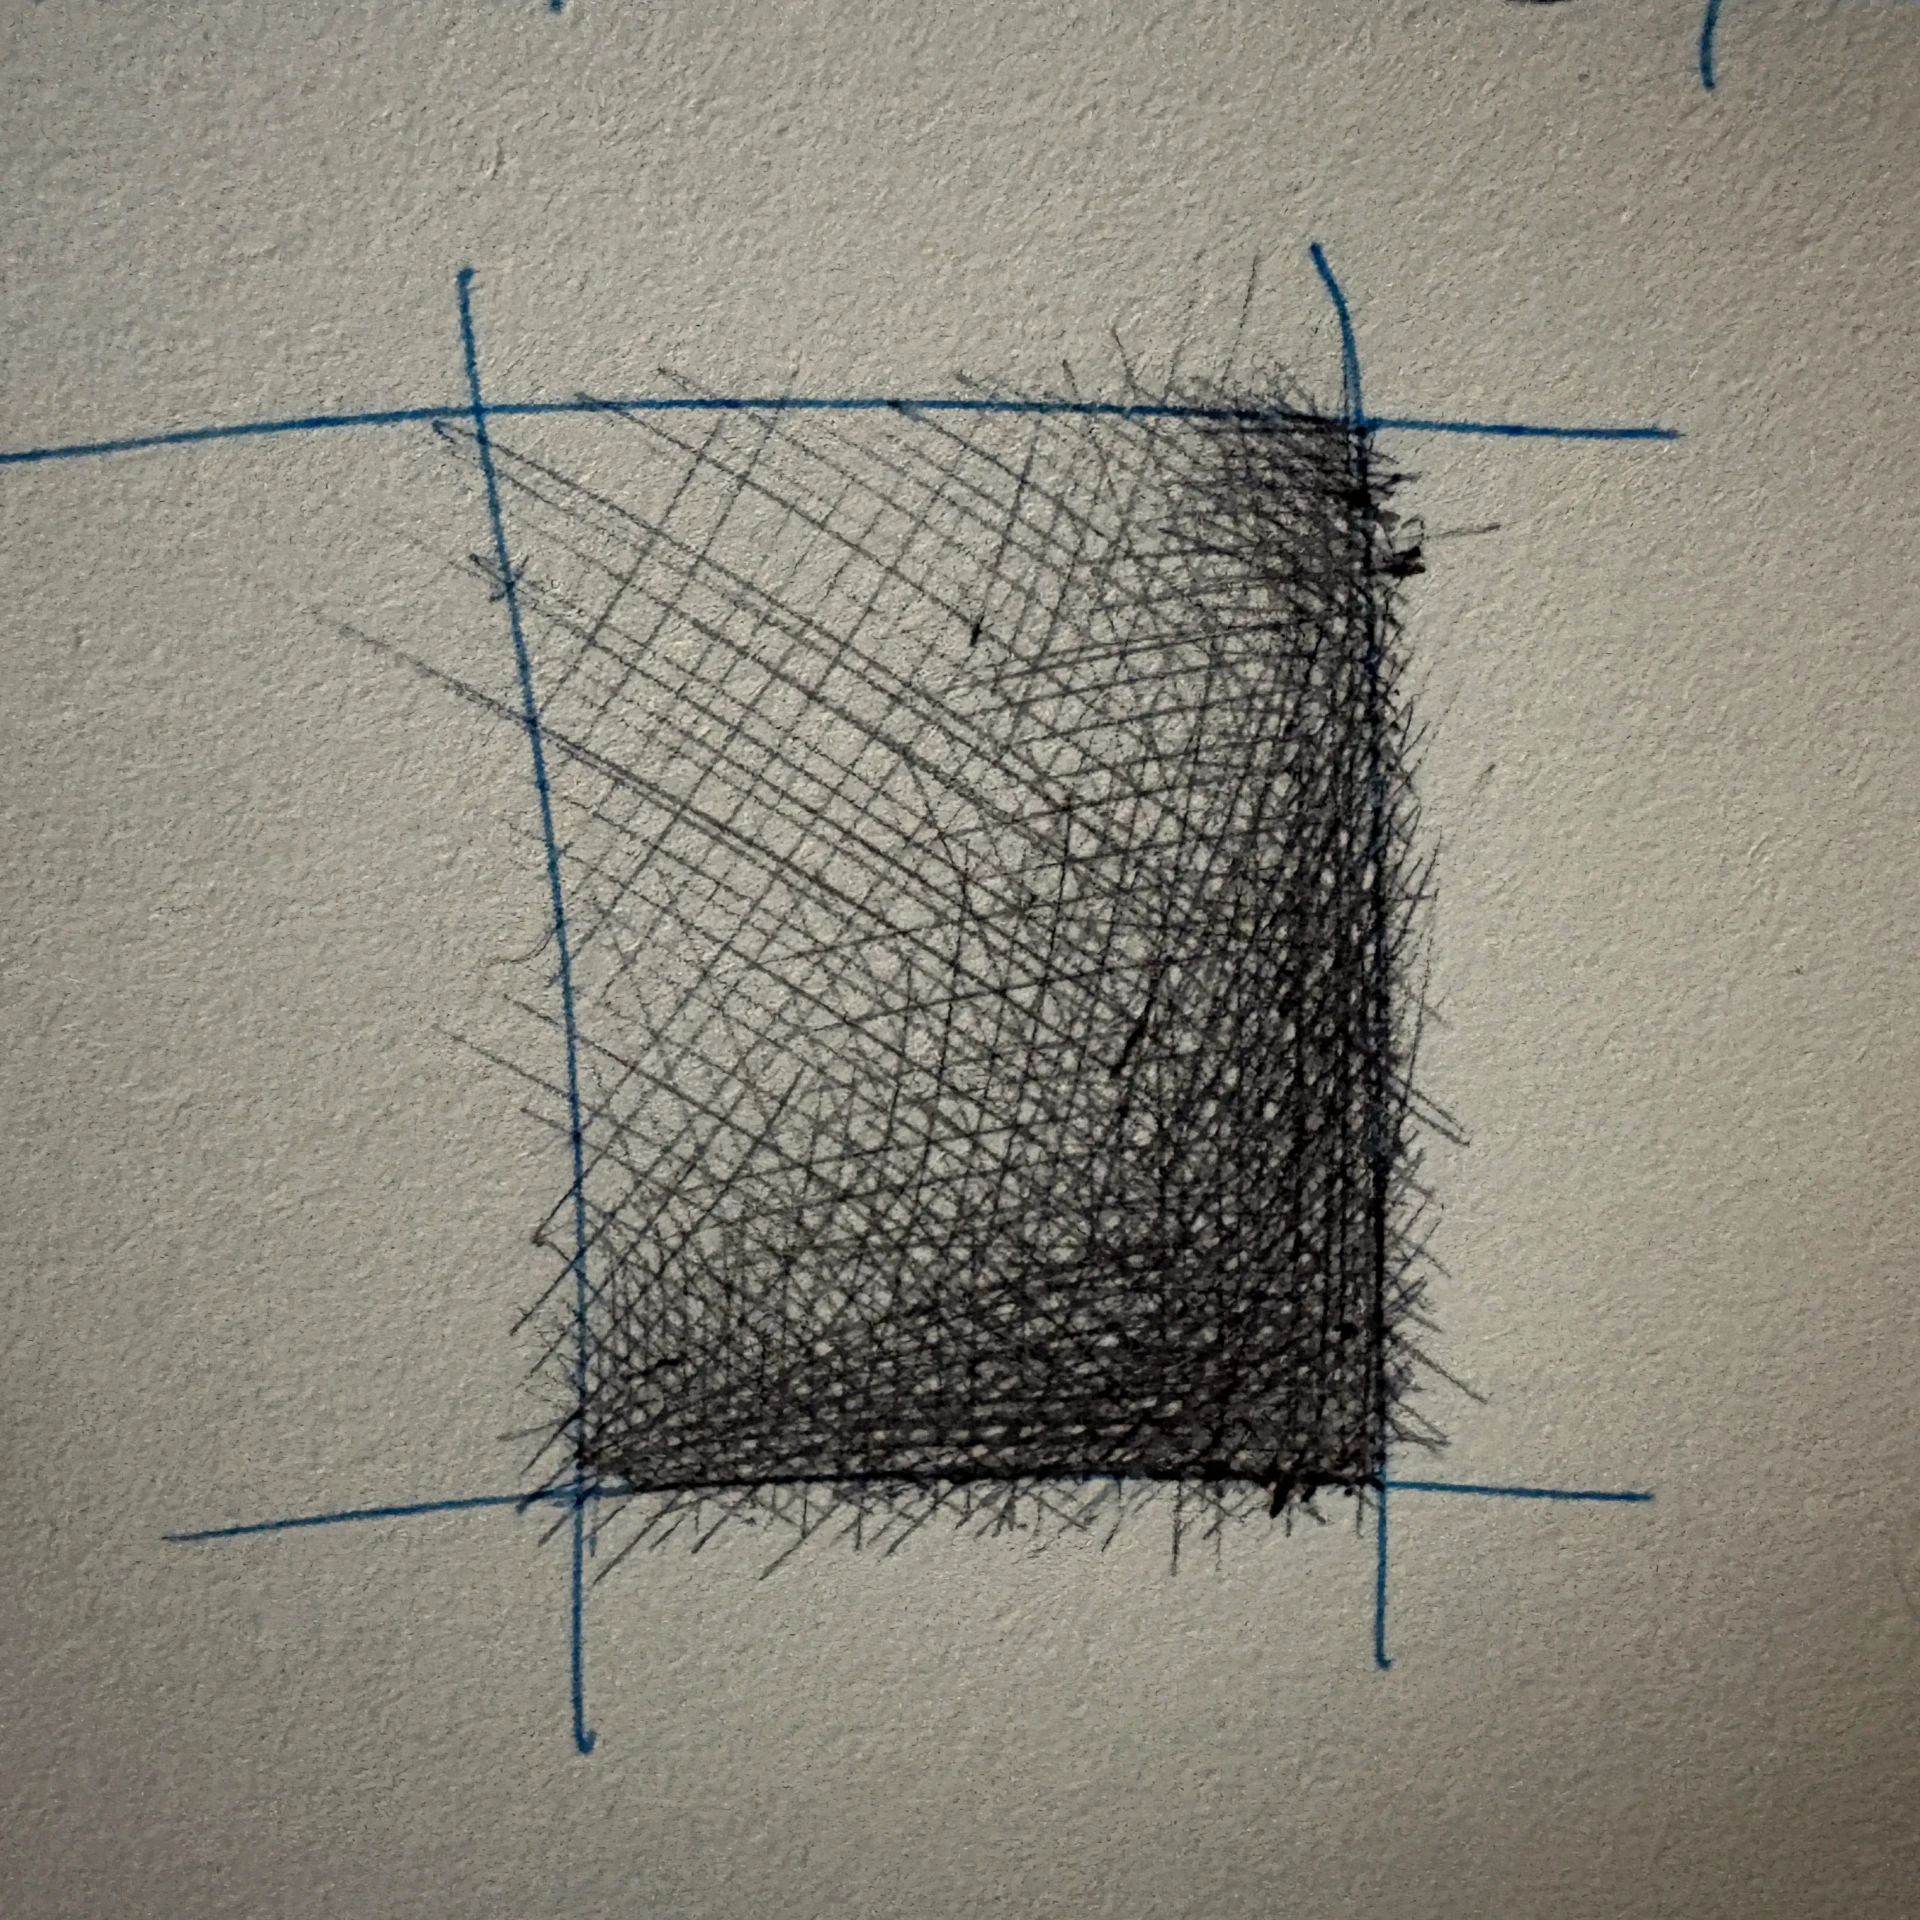
Fine mesh for shading
For a realistic result, gradually work towards creating a very fine mesh. Fine delicate patterns enable you to achieve such soft shading that it appears uniform.
Step-by-step guide to drawing a landscape with a pen
Before you begin, here are a few recommendations for choosing the subject: opt for elements with very different textures, spread them out across several clearly defined planes, and choose a landscape that you like.
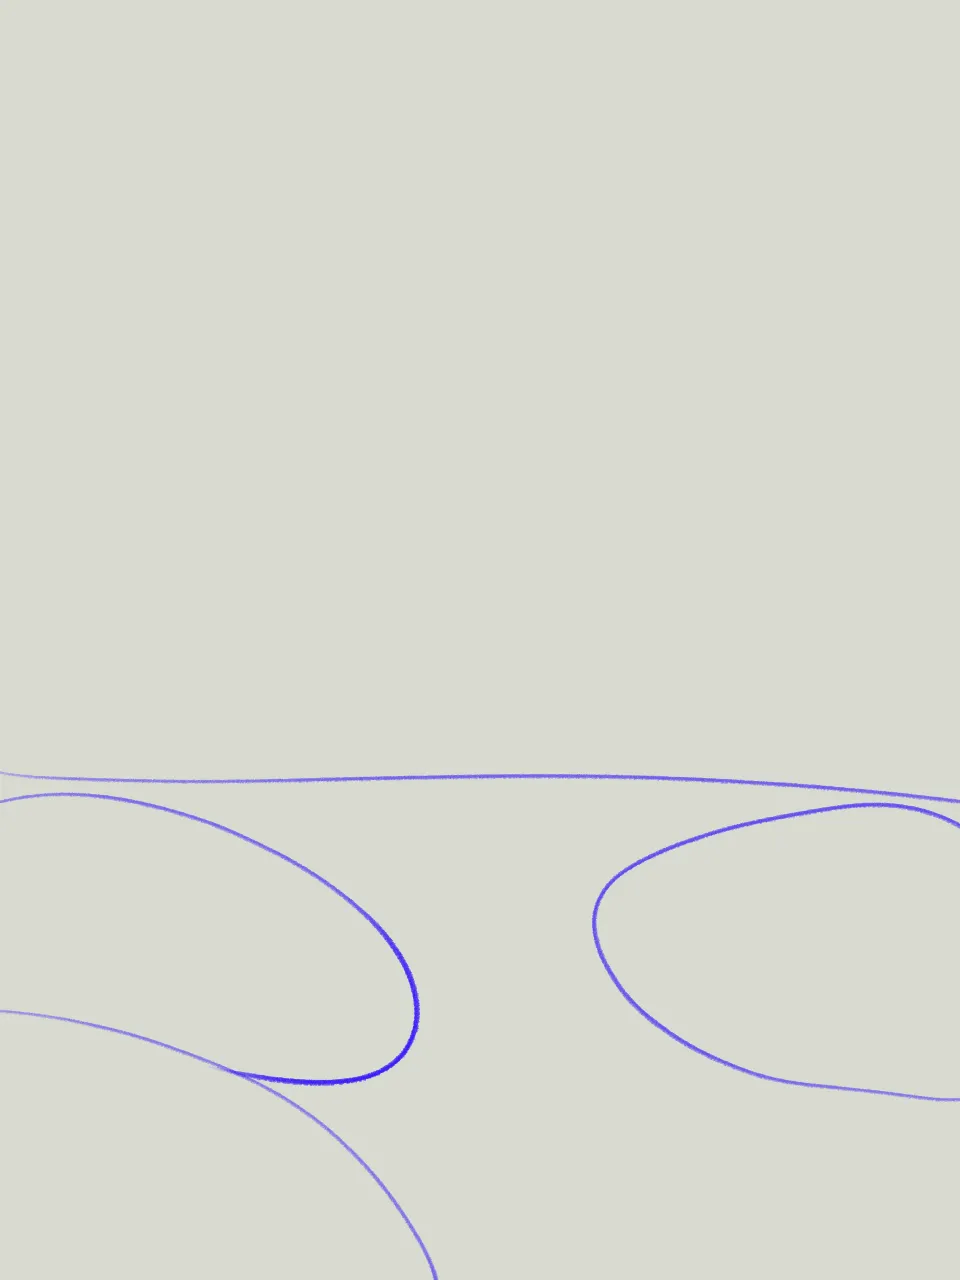
Draw a horizontal line from one edge to the other; this is the horizon. Add a few circles for the hills or islands, depending on what suits you best.
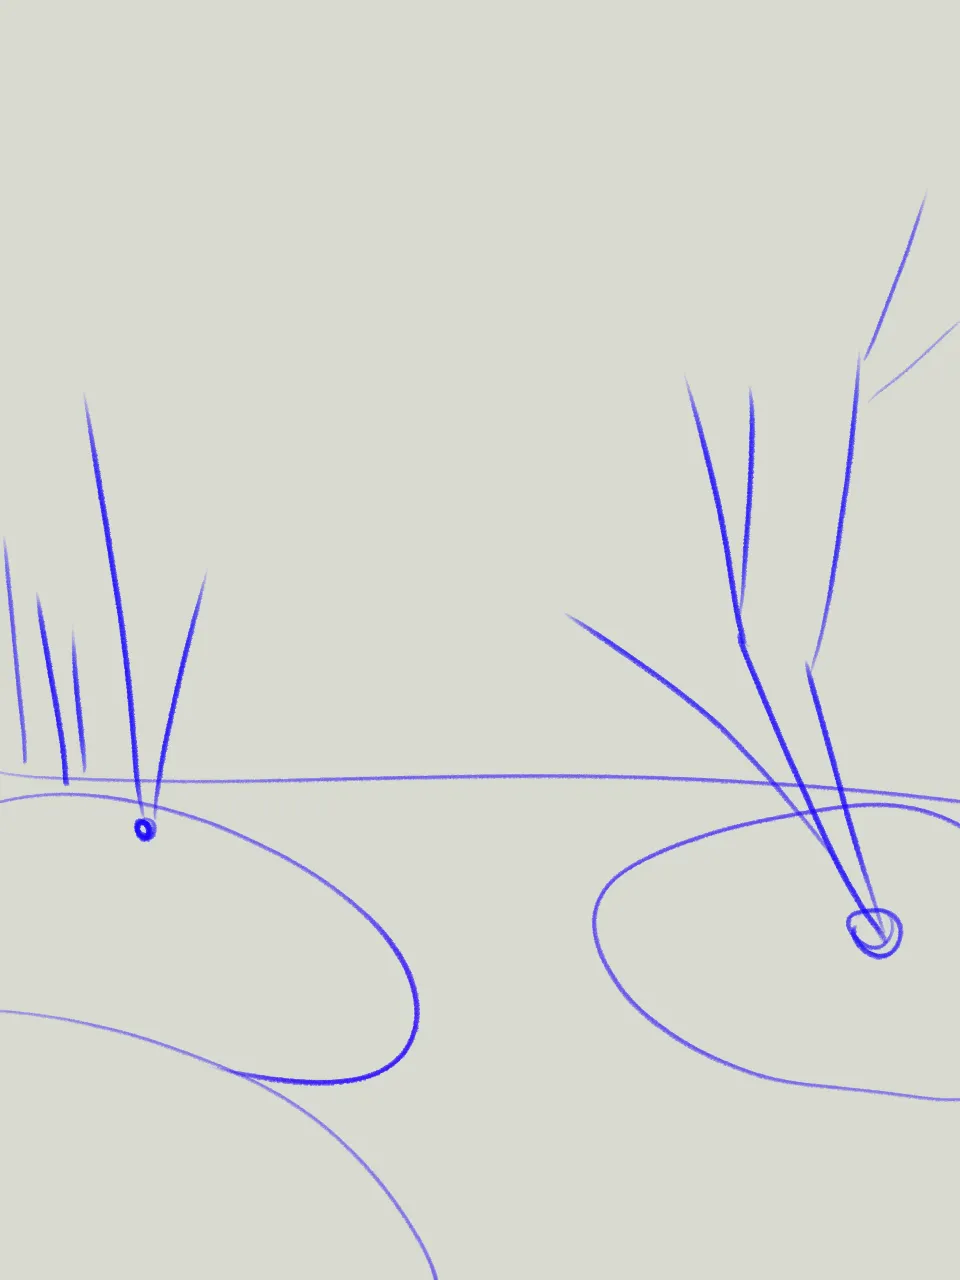
Then, use a few points on the ground to project slightly inclined vertical lines in different directions: this will create your trees. Draw a nearby tree with more lines and of a larger size, others further away with fewer details.
Depending on the type of tree, use zigzags or circles to create volume. In this example, there is a deciduous tree in the foreground and a few pine trees in the background.
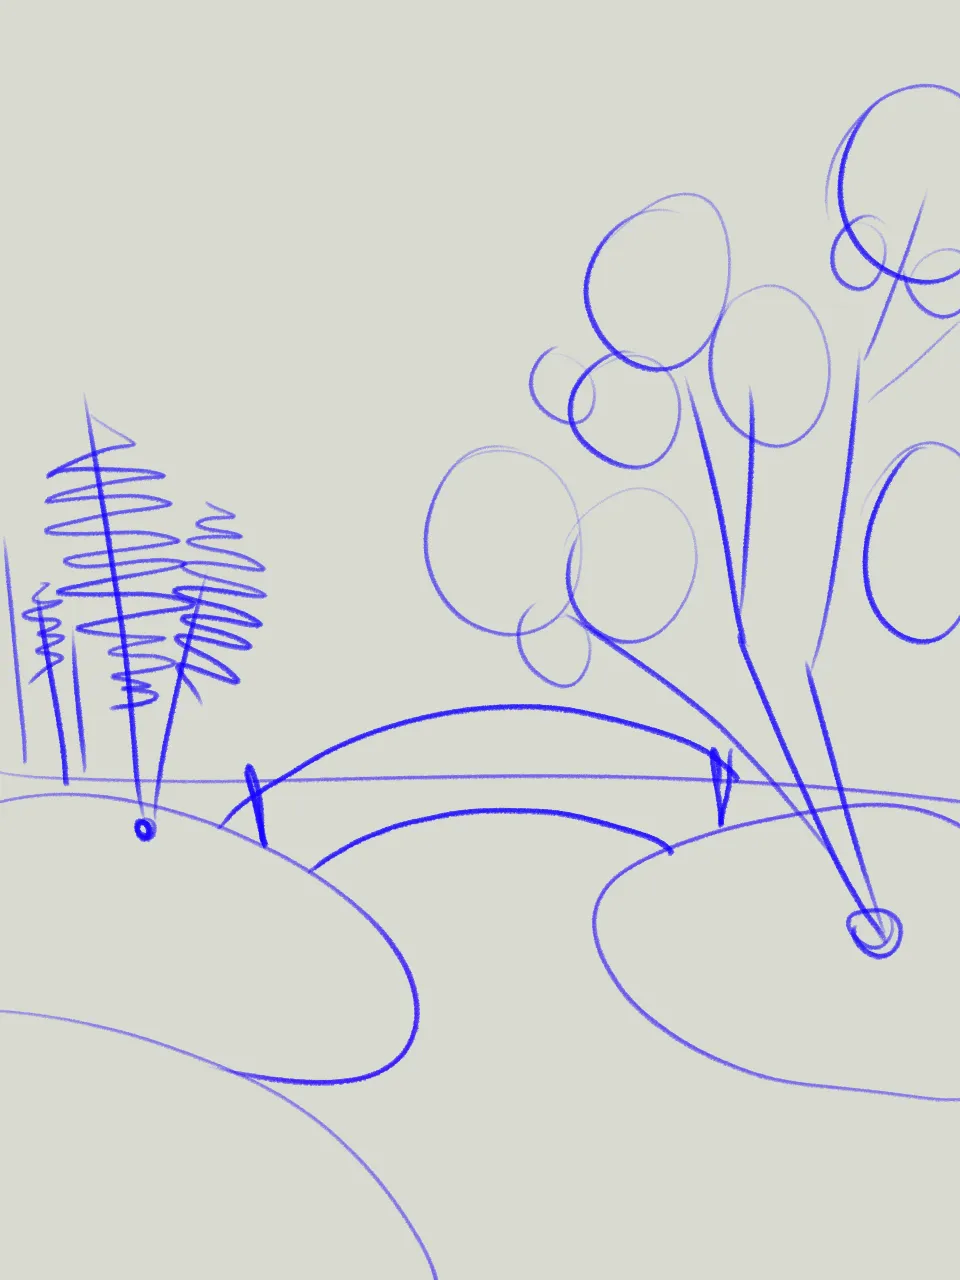
Based on these simple key features, move on to a more detailed drawing, without necessarily making it perfect. The guide points indicate where to draw the branches, leaves, and distant pine trees. Use free-flowing imprecise lines for more dynamism.
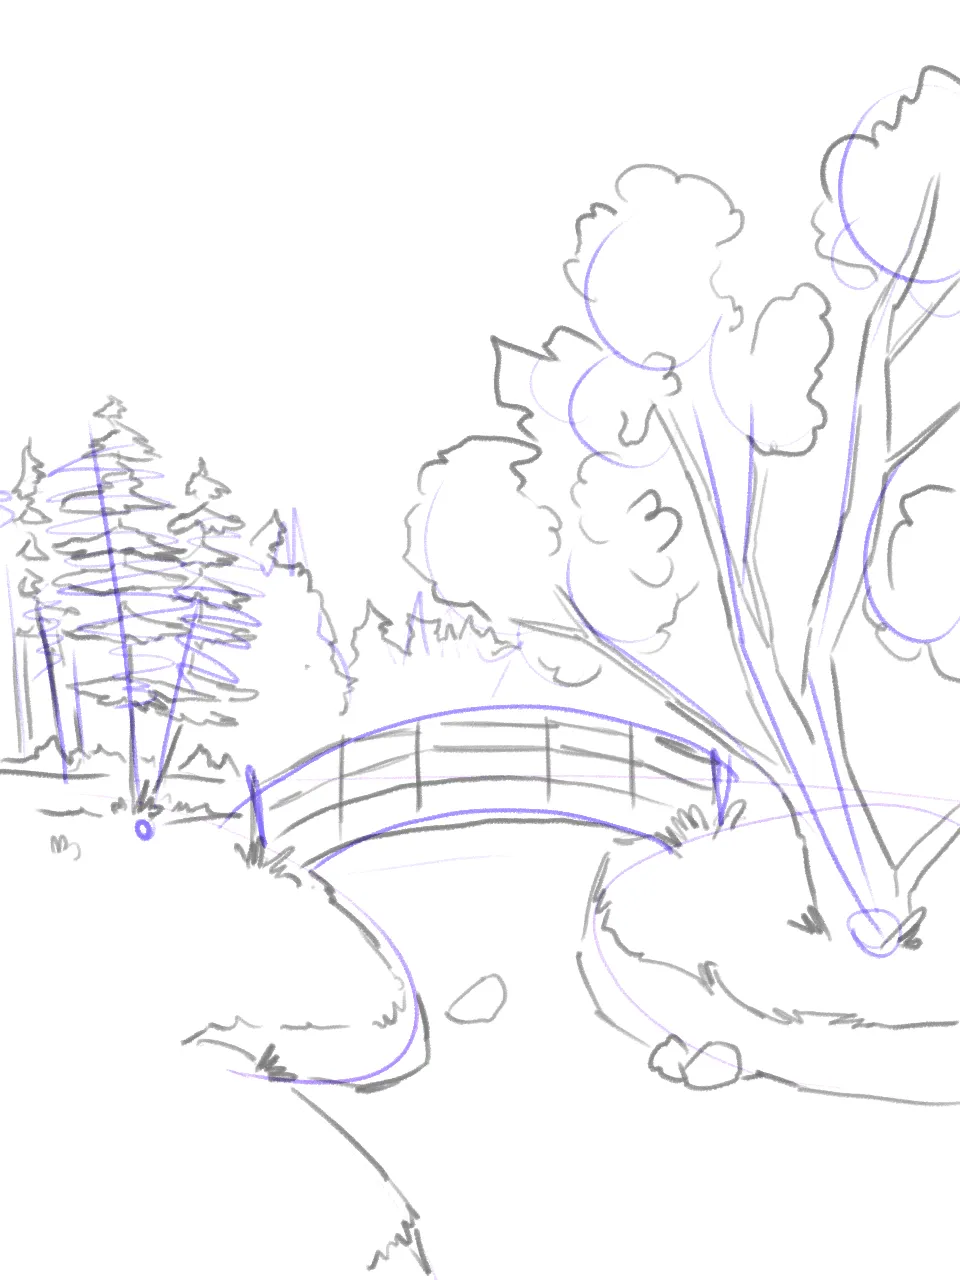
Next, transfer the sketch onto the final paper using carbon paper, or redraw it directly with a graphite pencil. The important thing is to have an organized base structure to work on.
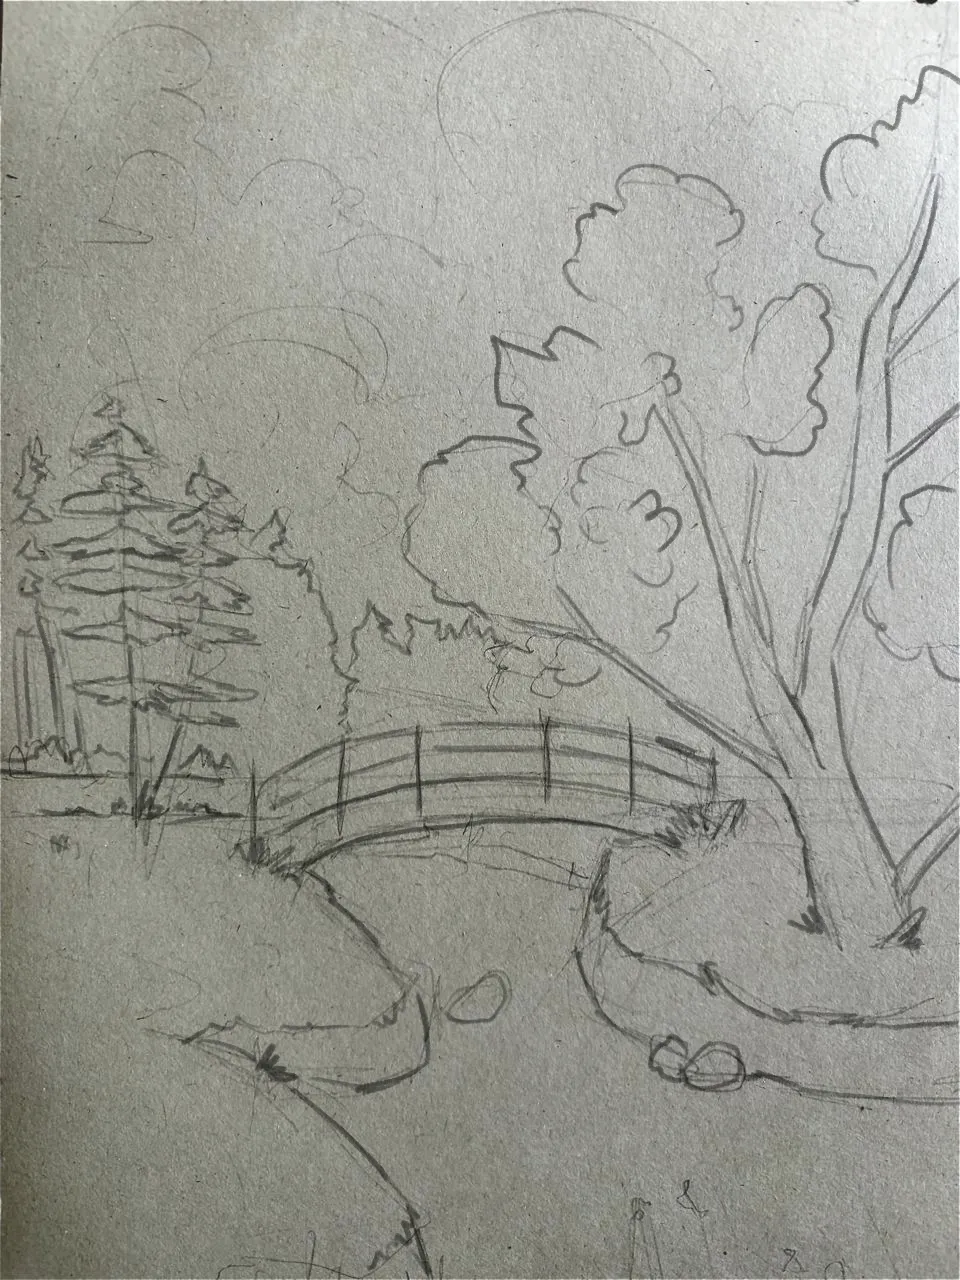
Ink your drawing
Start with the linework. Use long lines for the trunks and short lines for the foliage. A few white spaces are welcome; they give a more natural look. Observe the shape of the foliage to determine whether the leaves are rounded, oval, or pointed, and apply the same principles to the grass and other elements.
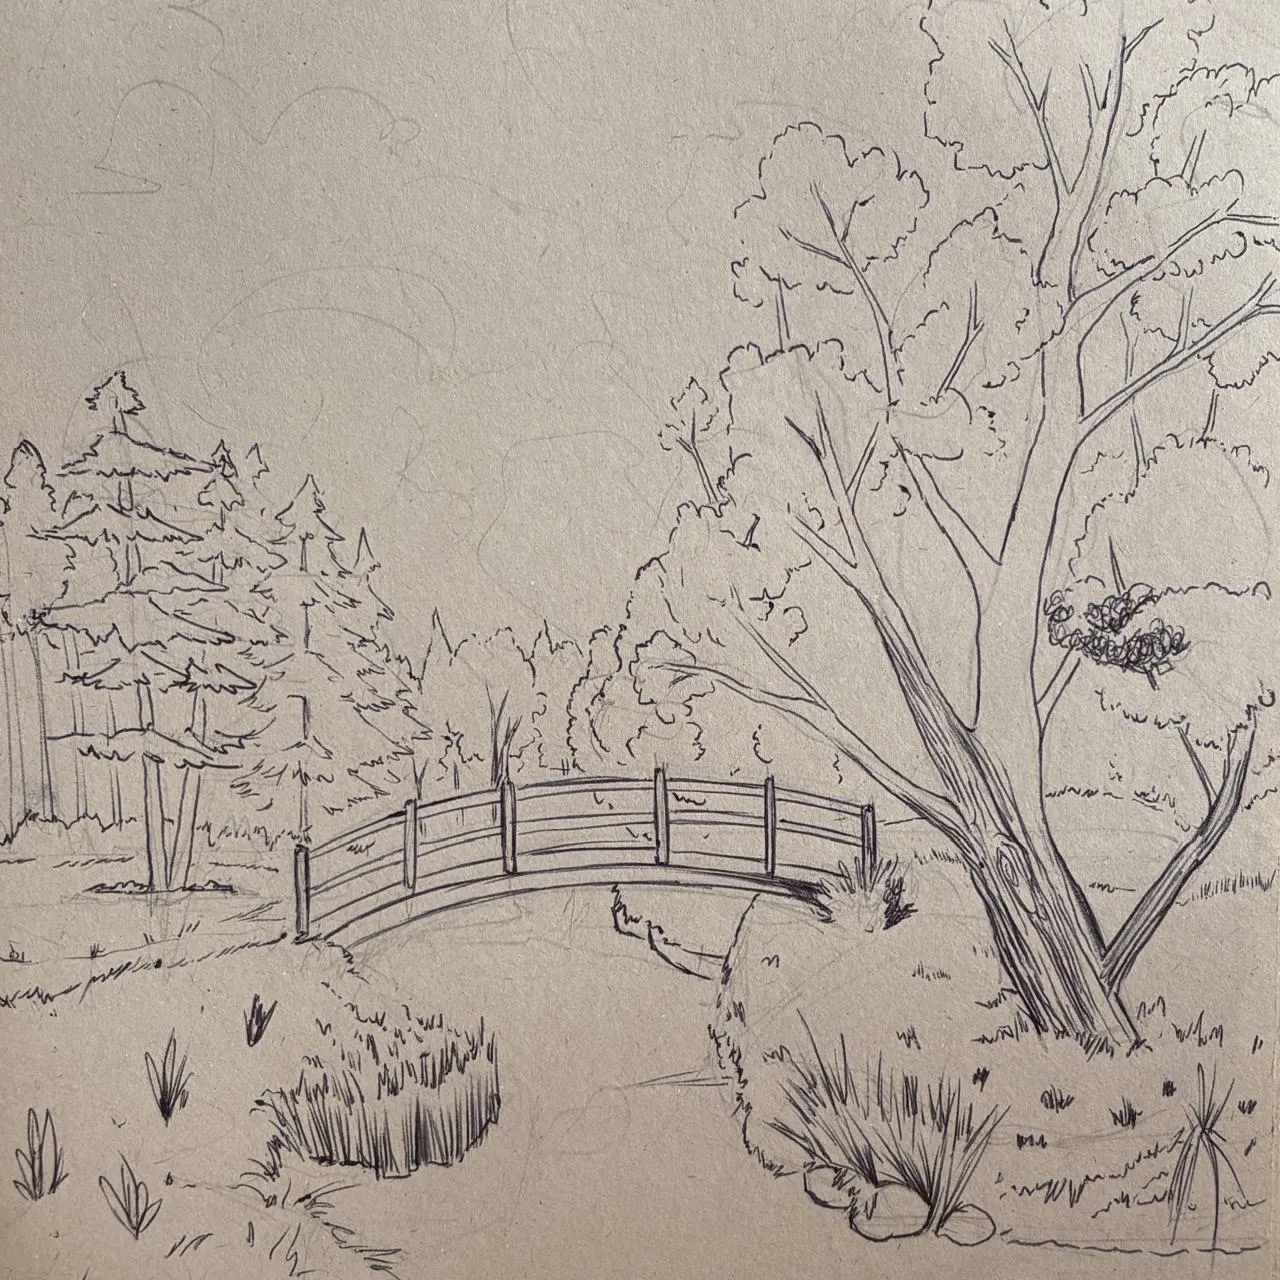
For the trunk, use long lines that go back and forth, leaving blank spaces, and draw more closer together in the shaded areas.
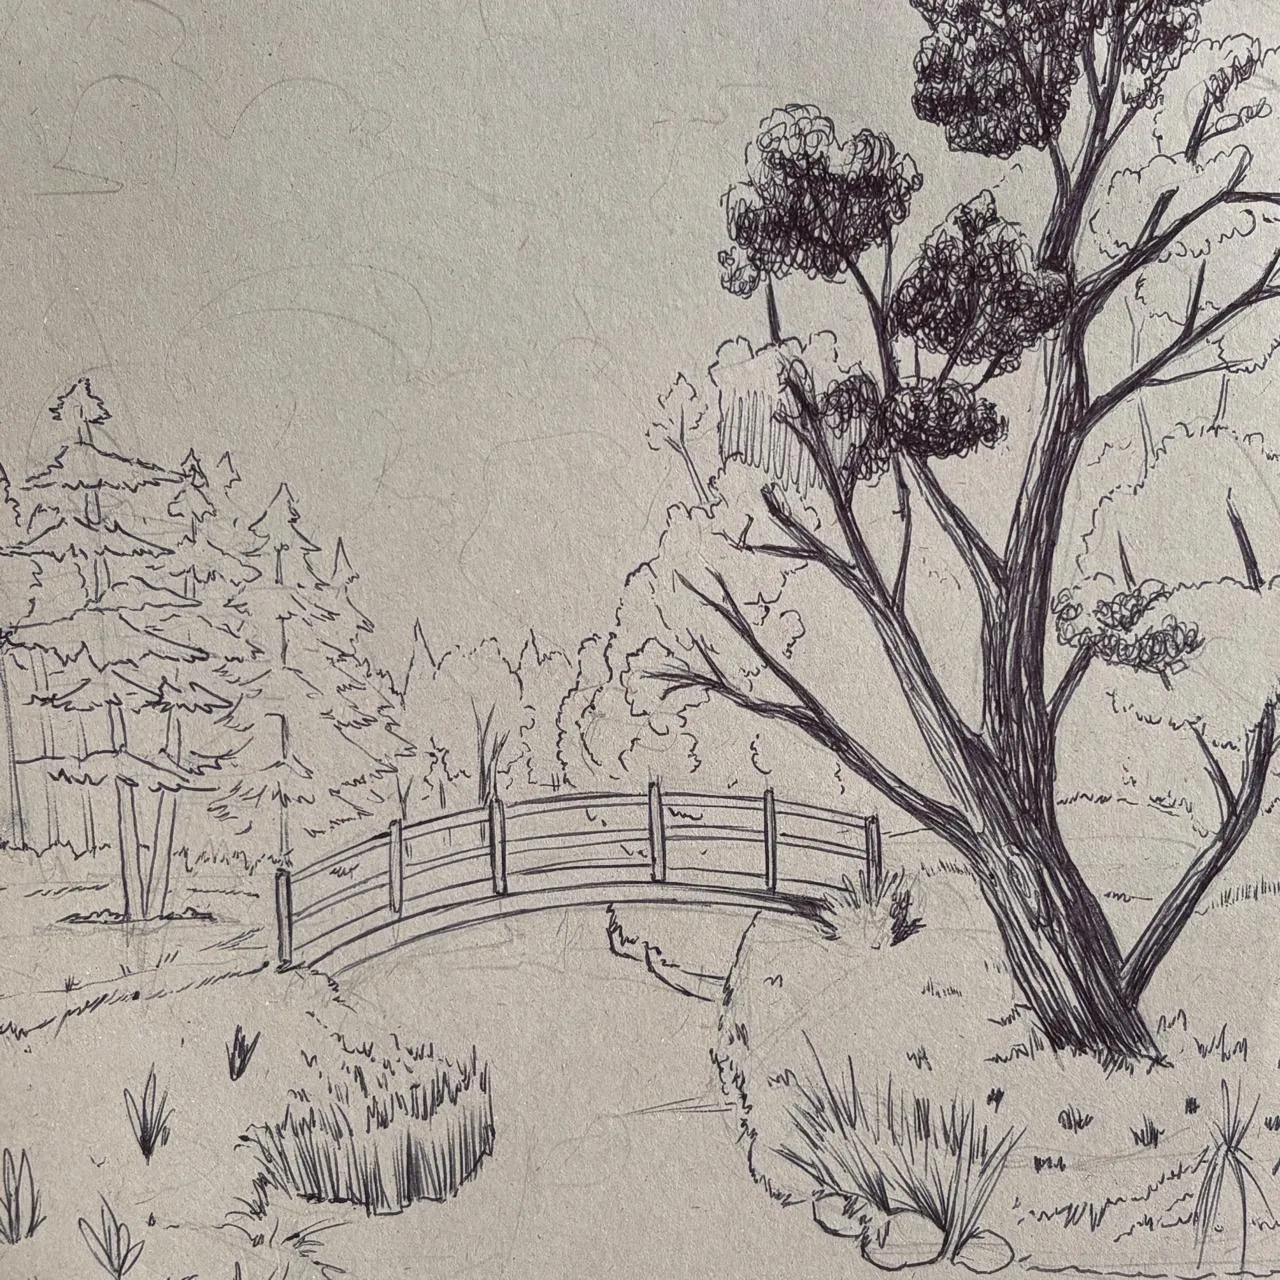
For the leaves, draw scribbles that resemble spaghetti, with a higher density in the lower part of the foliage. There’s no need to fill all the spaces; imagine small islands emerging from some of the branches.
A ballpoint pen enables you to achieve very deep blacks. Identify the areas that are almost or completely black and fill them in completely or partially. Small white spaces create a grainy effect similar to earth; lines create more of a grass-like effect.
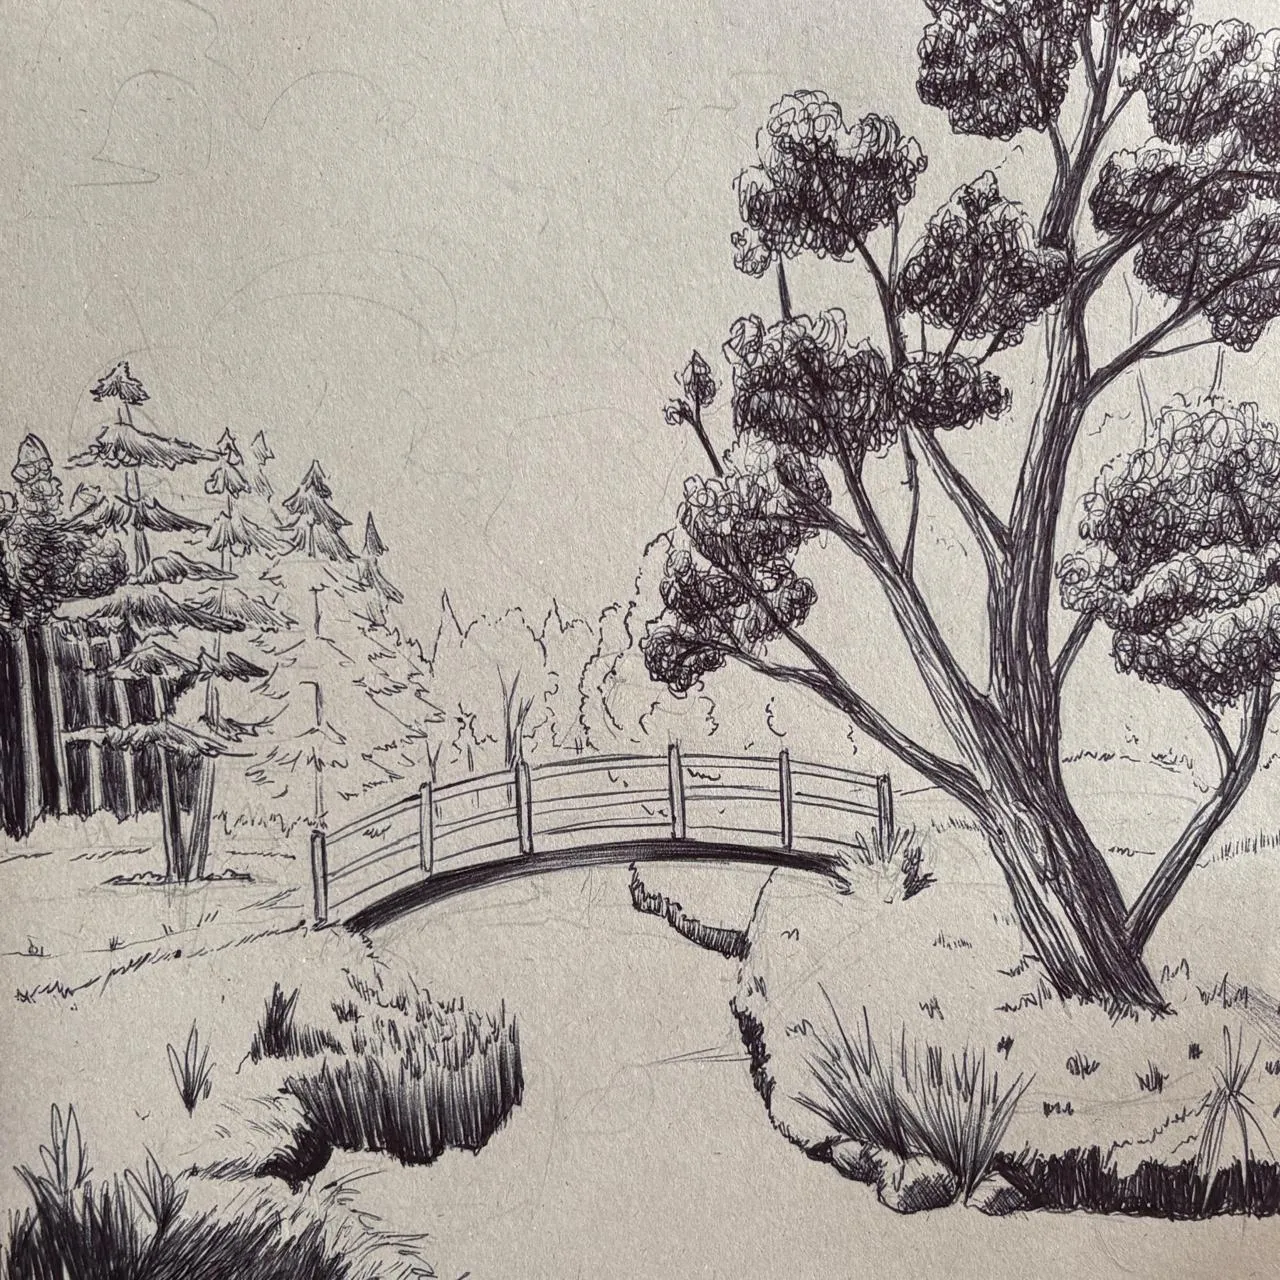
Reserve the most intense contrasts for the main elements. Use less intense tones for the background forest to define a clear visual hierarchy. Add a few shadows with light hatching, almost without touching the paper, and gradually increase the intensity to the desired level.
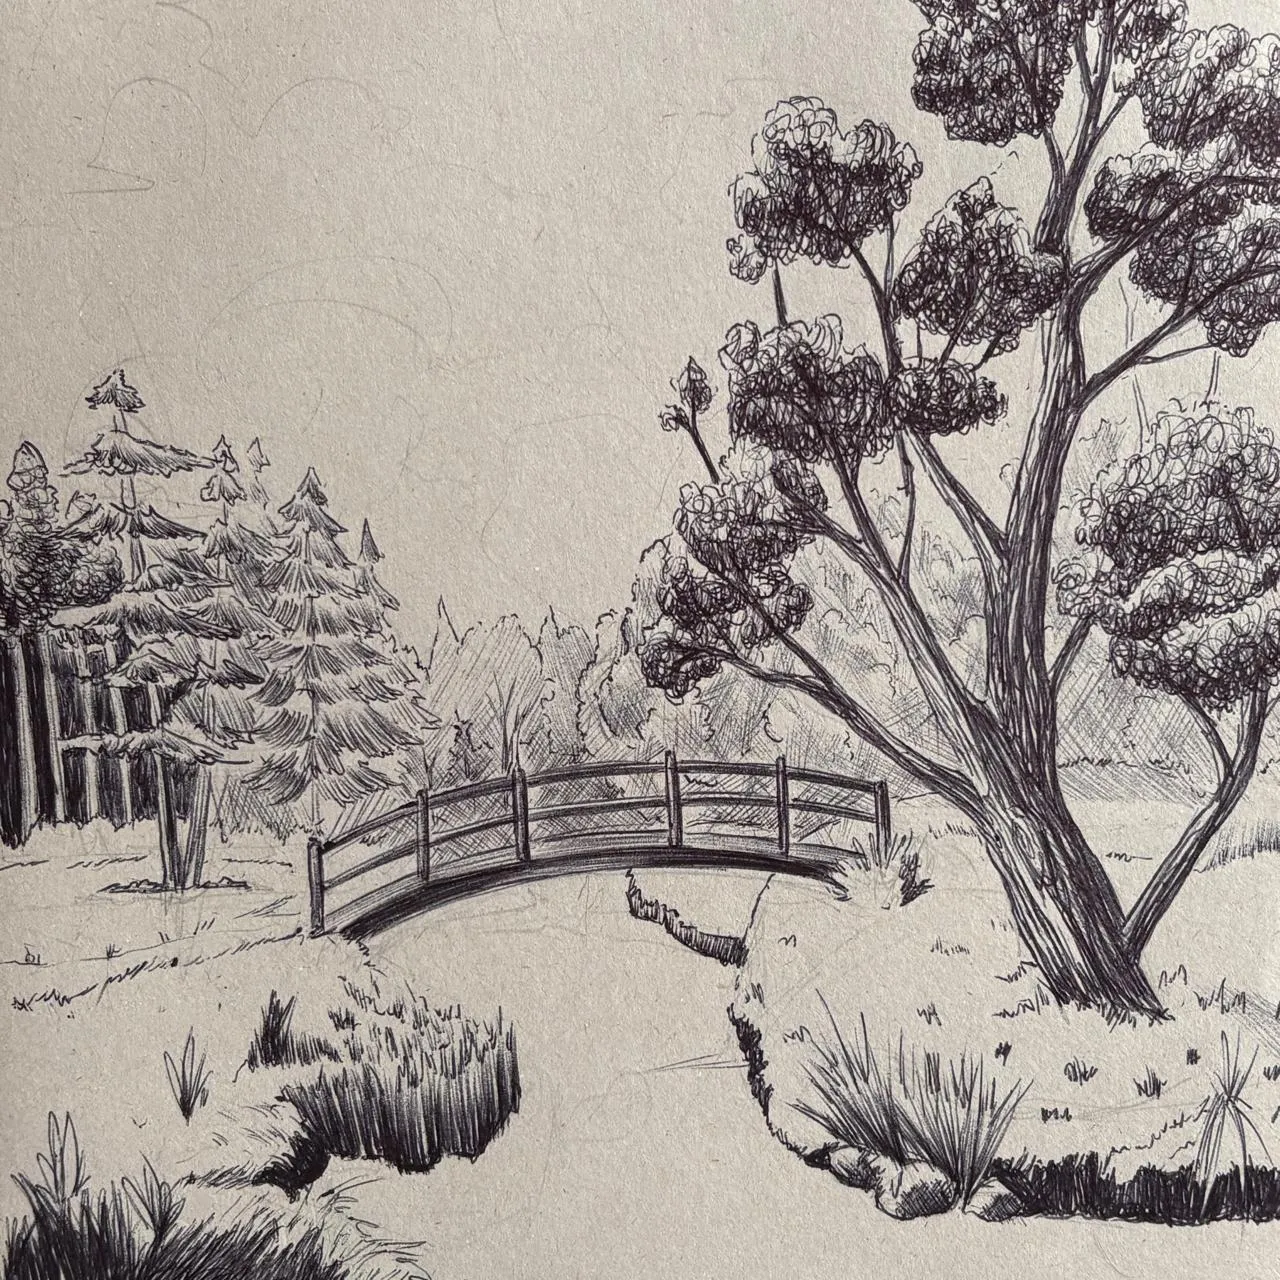
Add shadows to the drawing
All objects cast shadows. Once the textures have been applied, identify the areas to darken in order to give volume and realism to the scene: at the base of the main tree, under the bridge, on the ground, and the shadow reflections on the river.
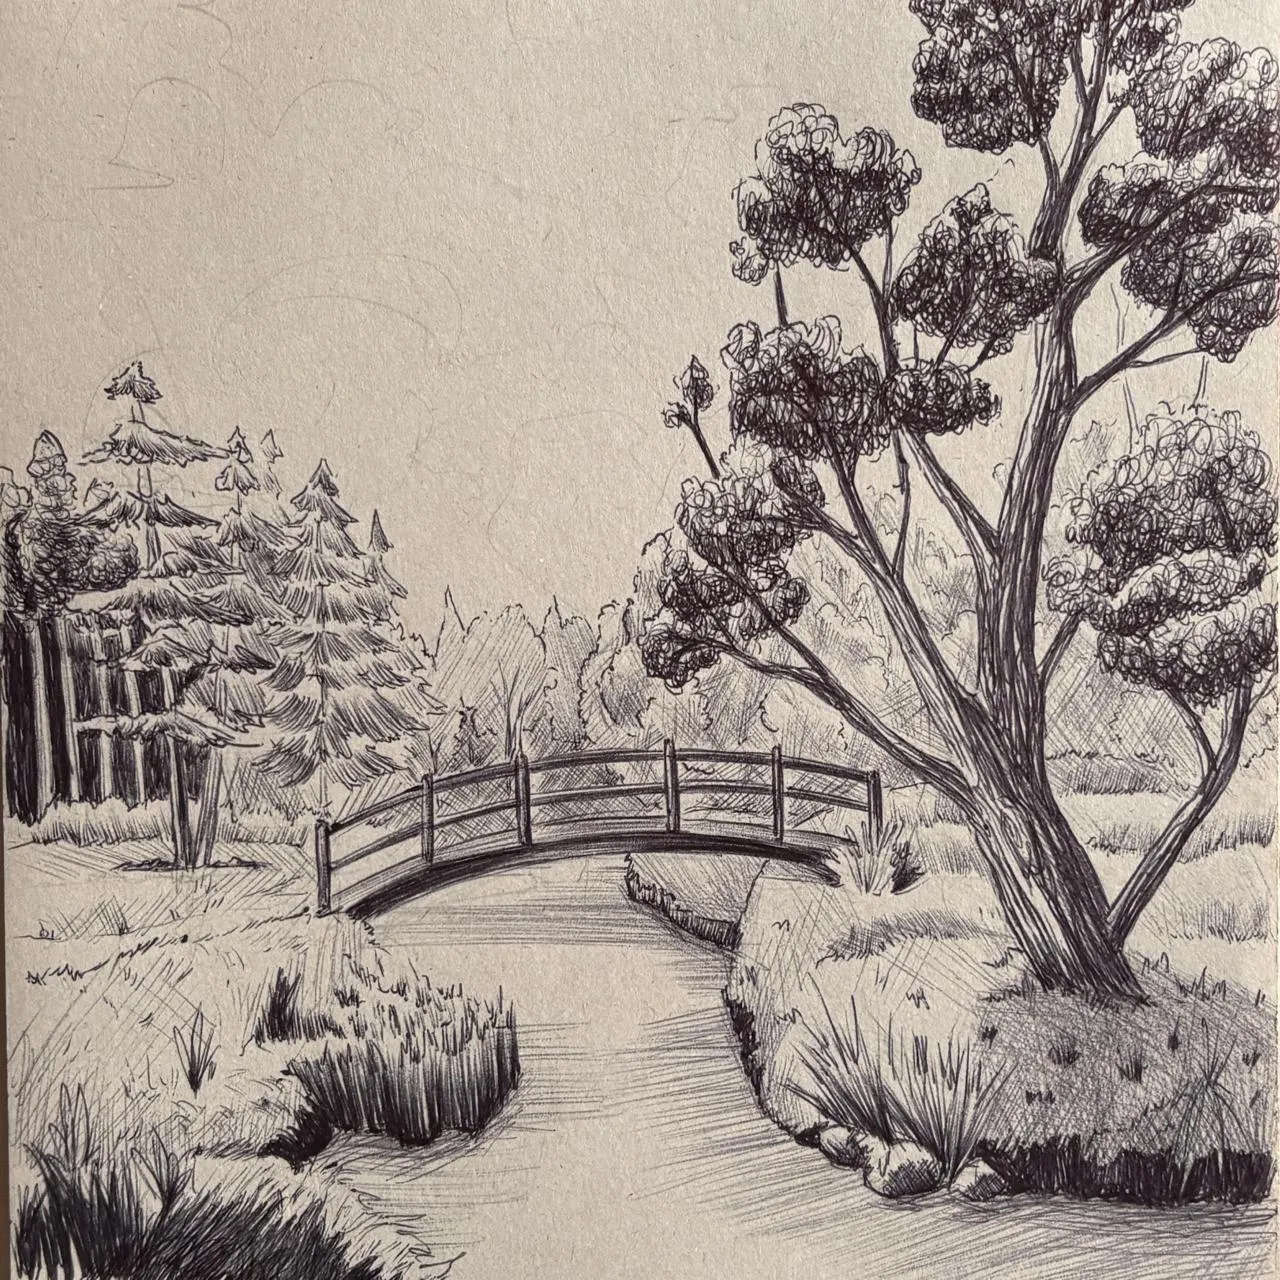
And that’s it for this tutorial! The ballpoint pen is a demanding tool, but the results it can produce are well worth the investment of time and patience. Now it’s up to you to create your own version and explore everything it has to offer. See you soon!
Discussion
No comments yet.