How to Draw the Moon?
In this article, we will learn how to draw the moon. This natural satellite, constantly stationed near Earth, has always fascinated mankind. Many draw it as merely a circle. However, it is more than that; it's a surface filled with reliefs and various shades.
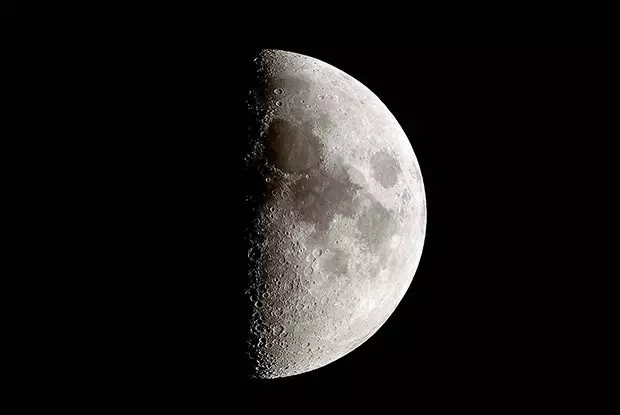
Its rocky texture and shades of gray are very interesting to reproduce.
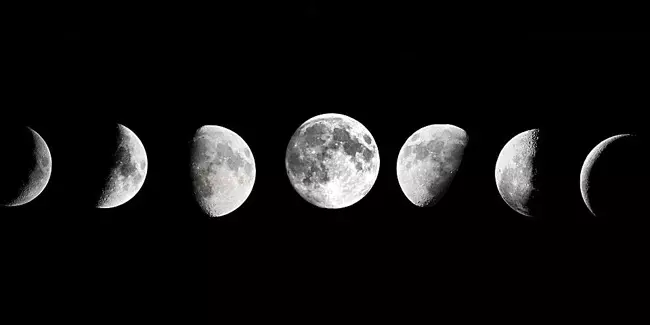
Moreover, it should not be forgotten that it can take different forms.
Before you start your drawing, do some research to find different views of the moon. Get as many references as possible, whether it's to replicate its appearance or shape.
CHOOSING THE REFERENCE FOR YOUR DRAWING
For my part, I chose these 2 references, one that shows different shapes and another that zooms in on its surface.
To make my drawing stand out, I'm going to do it on a black background.
If you're working digitally, set the background layer to black, and if you're working traditionally, you can easily find black paper in stores.
DRAWING A FULL MOON STEP BY STEP

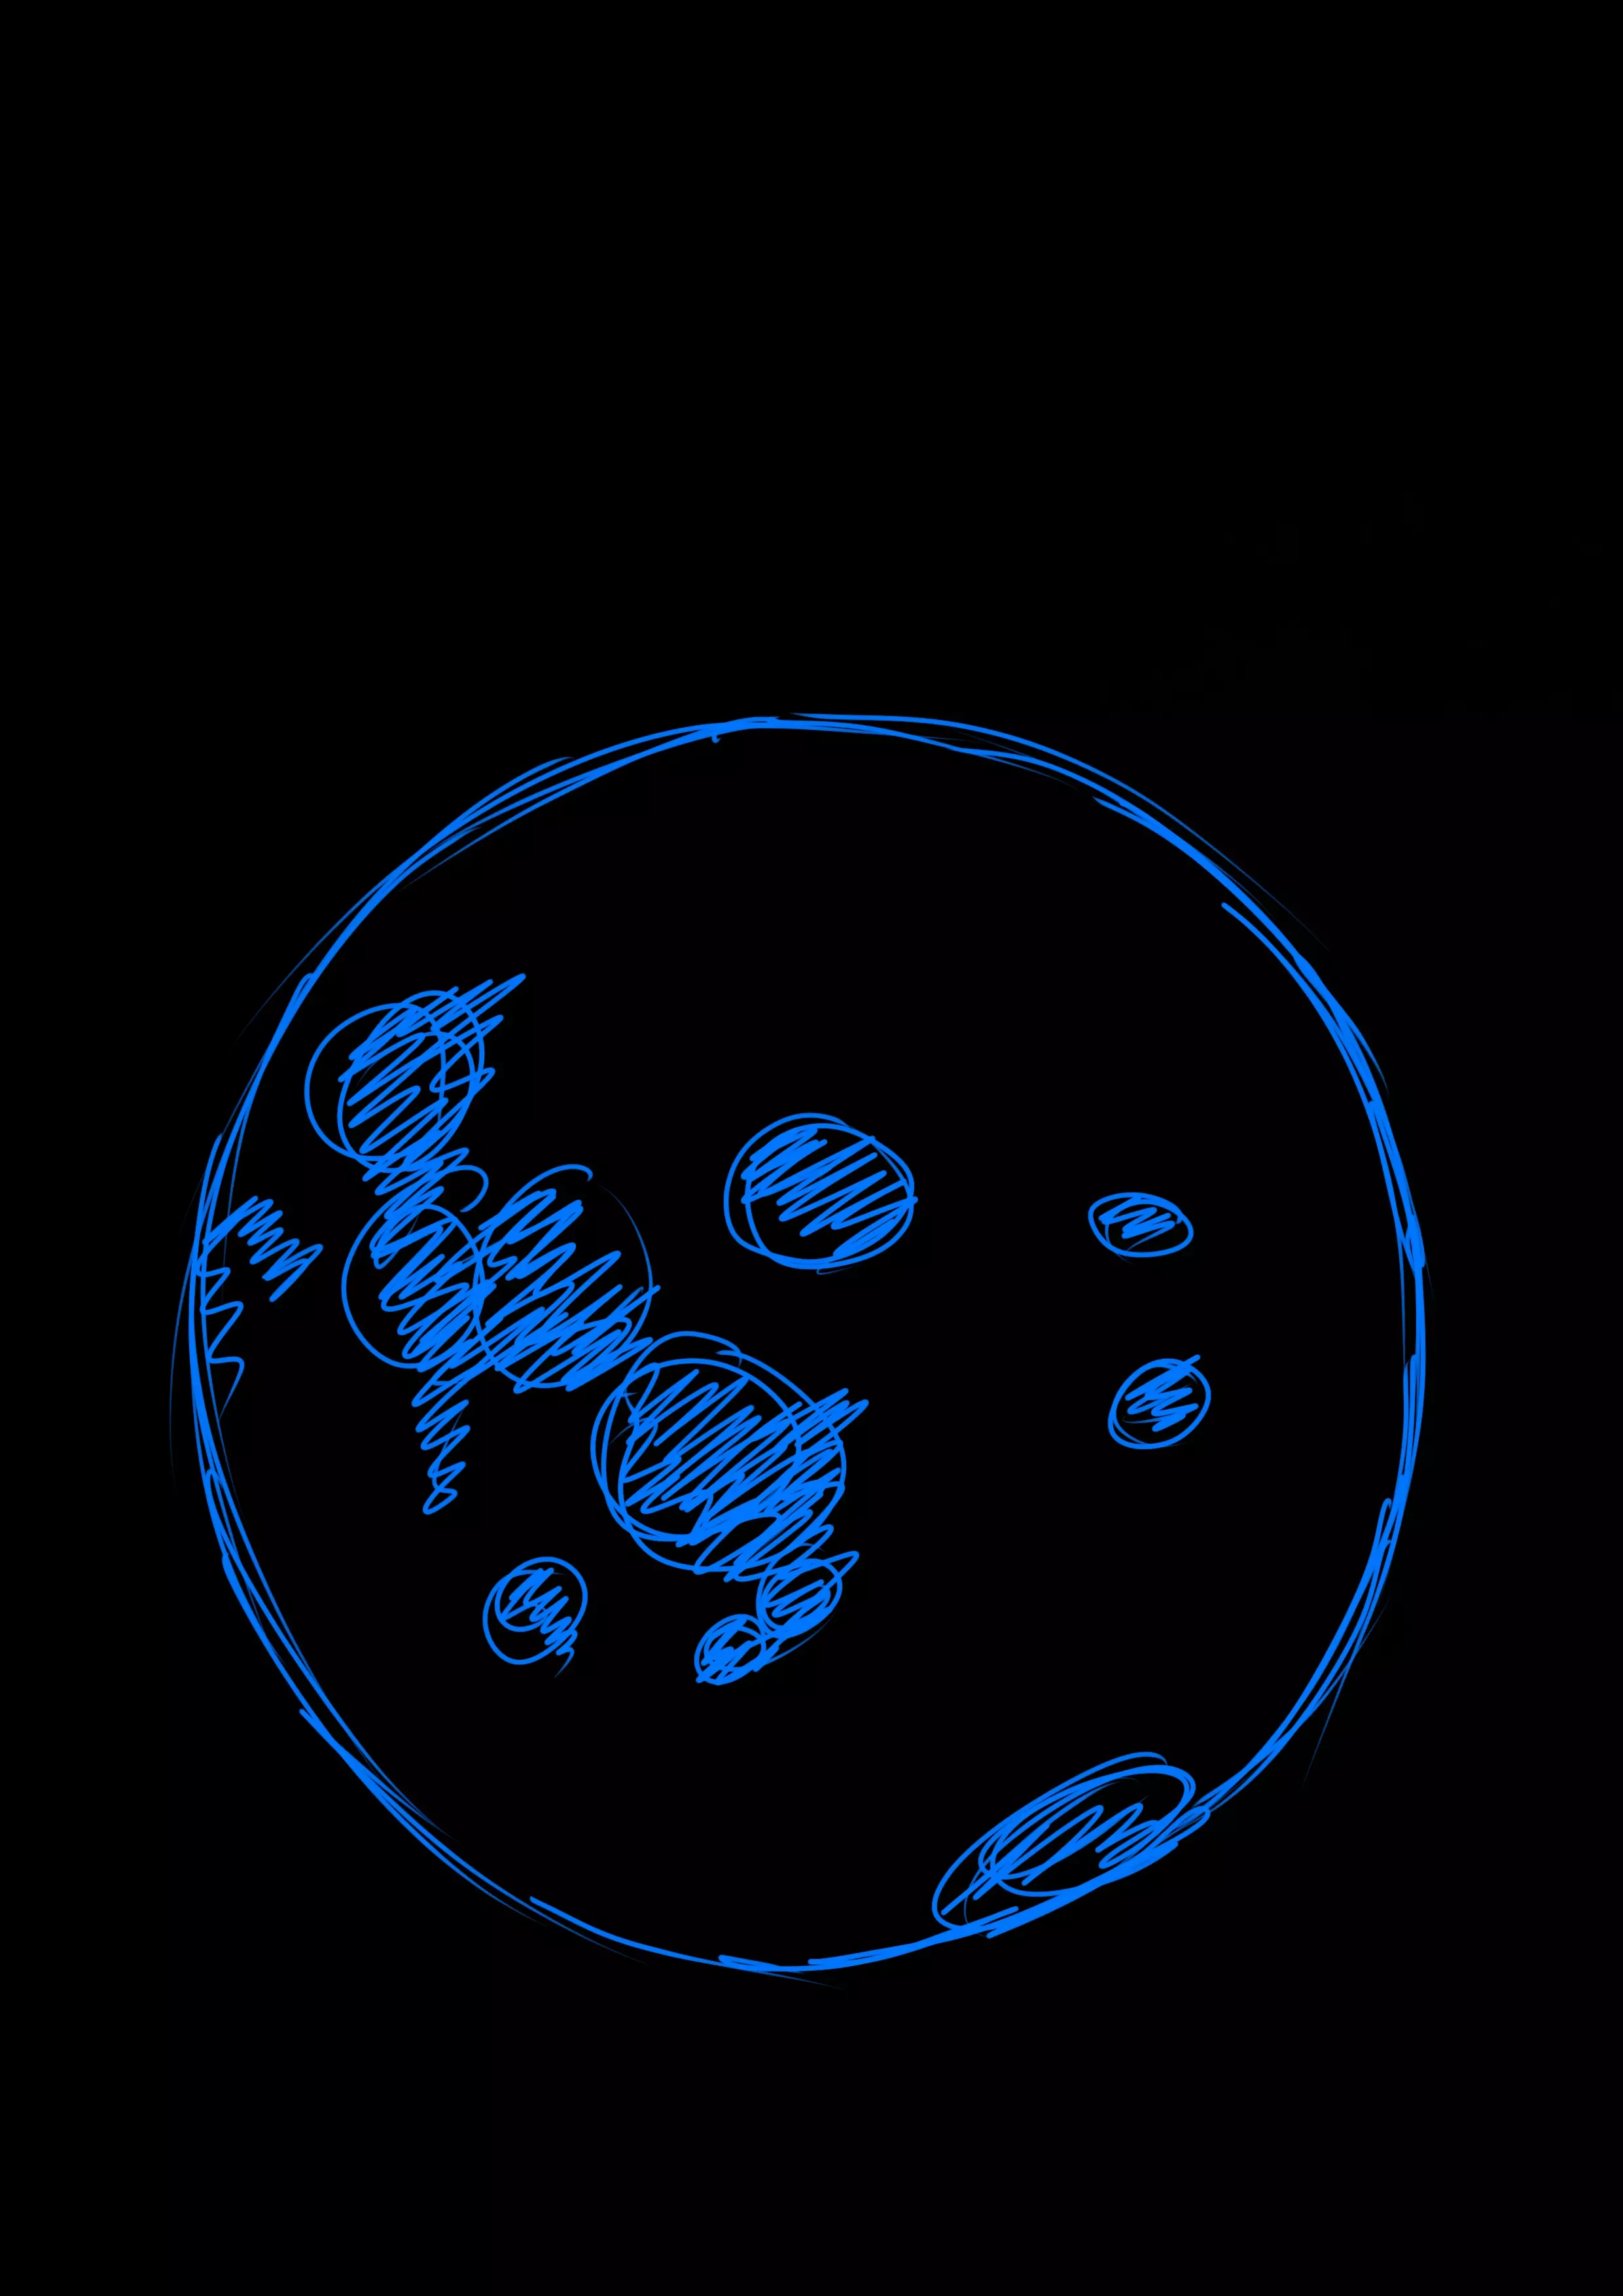
I start my sketch with a circle, one as simple as it gets.
If you do it with a pencil, be sure to press very lightly so that you can easily erase it later.
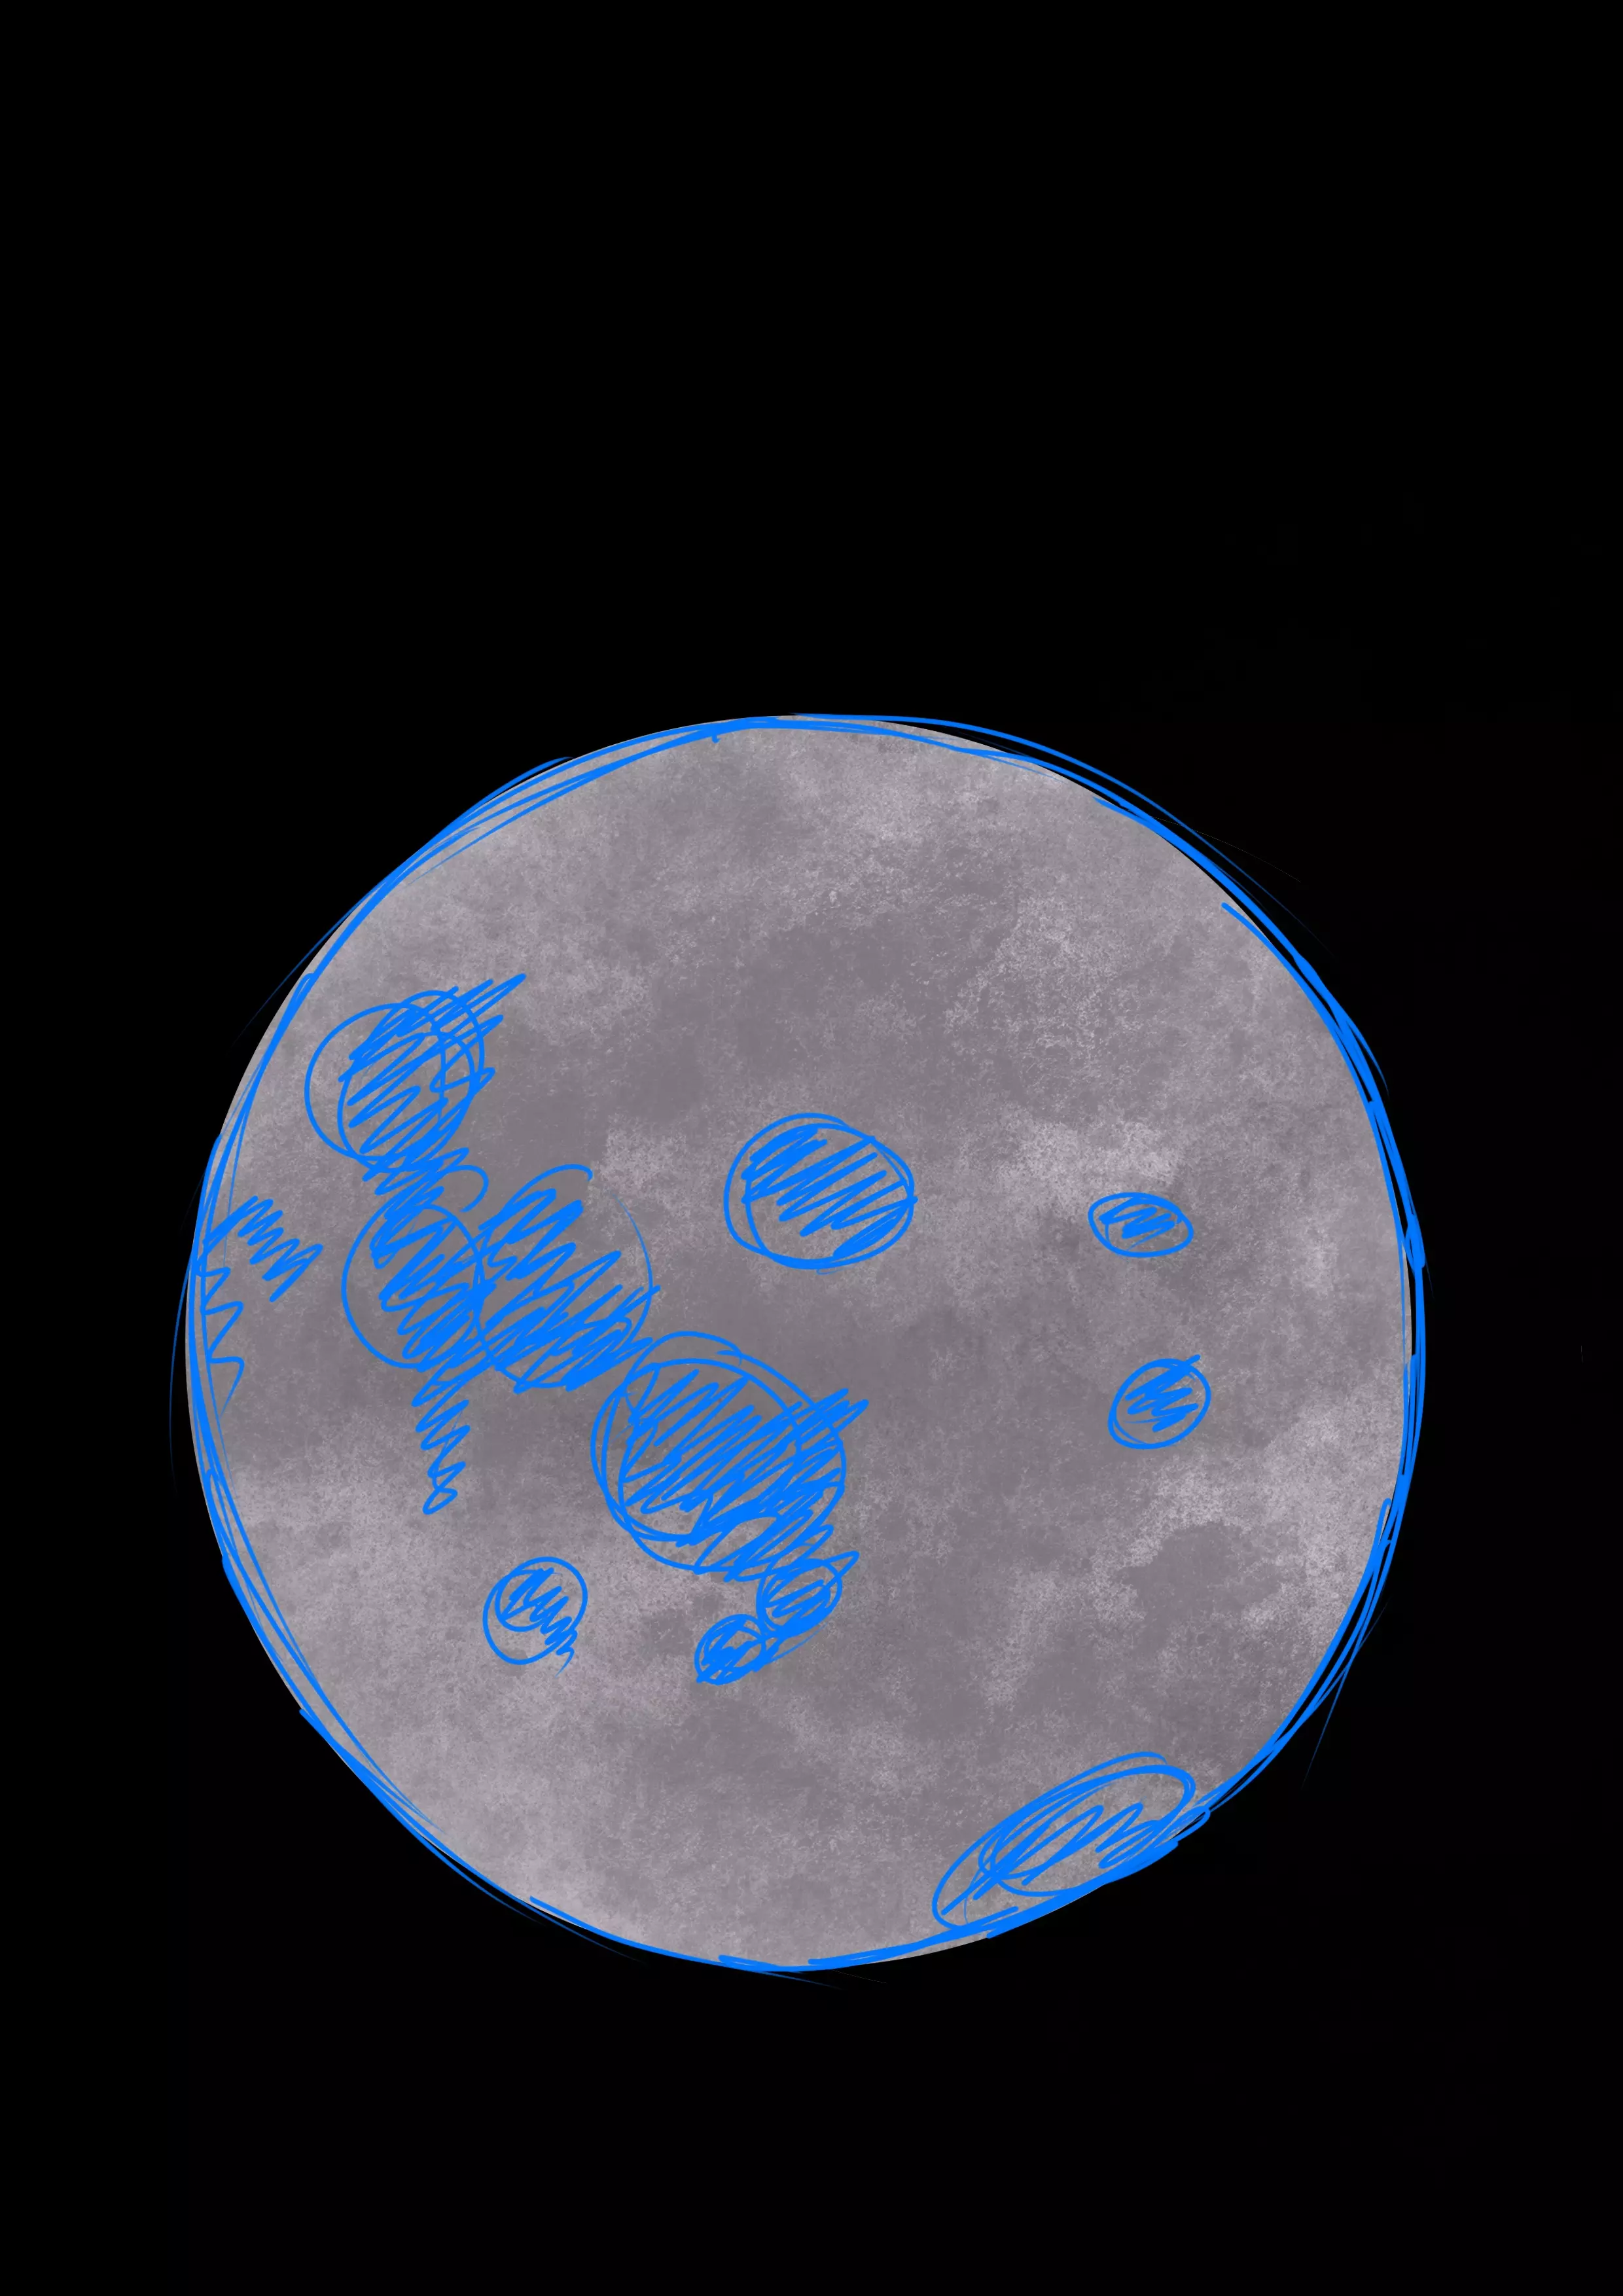
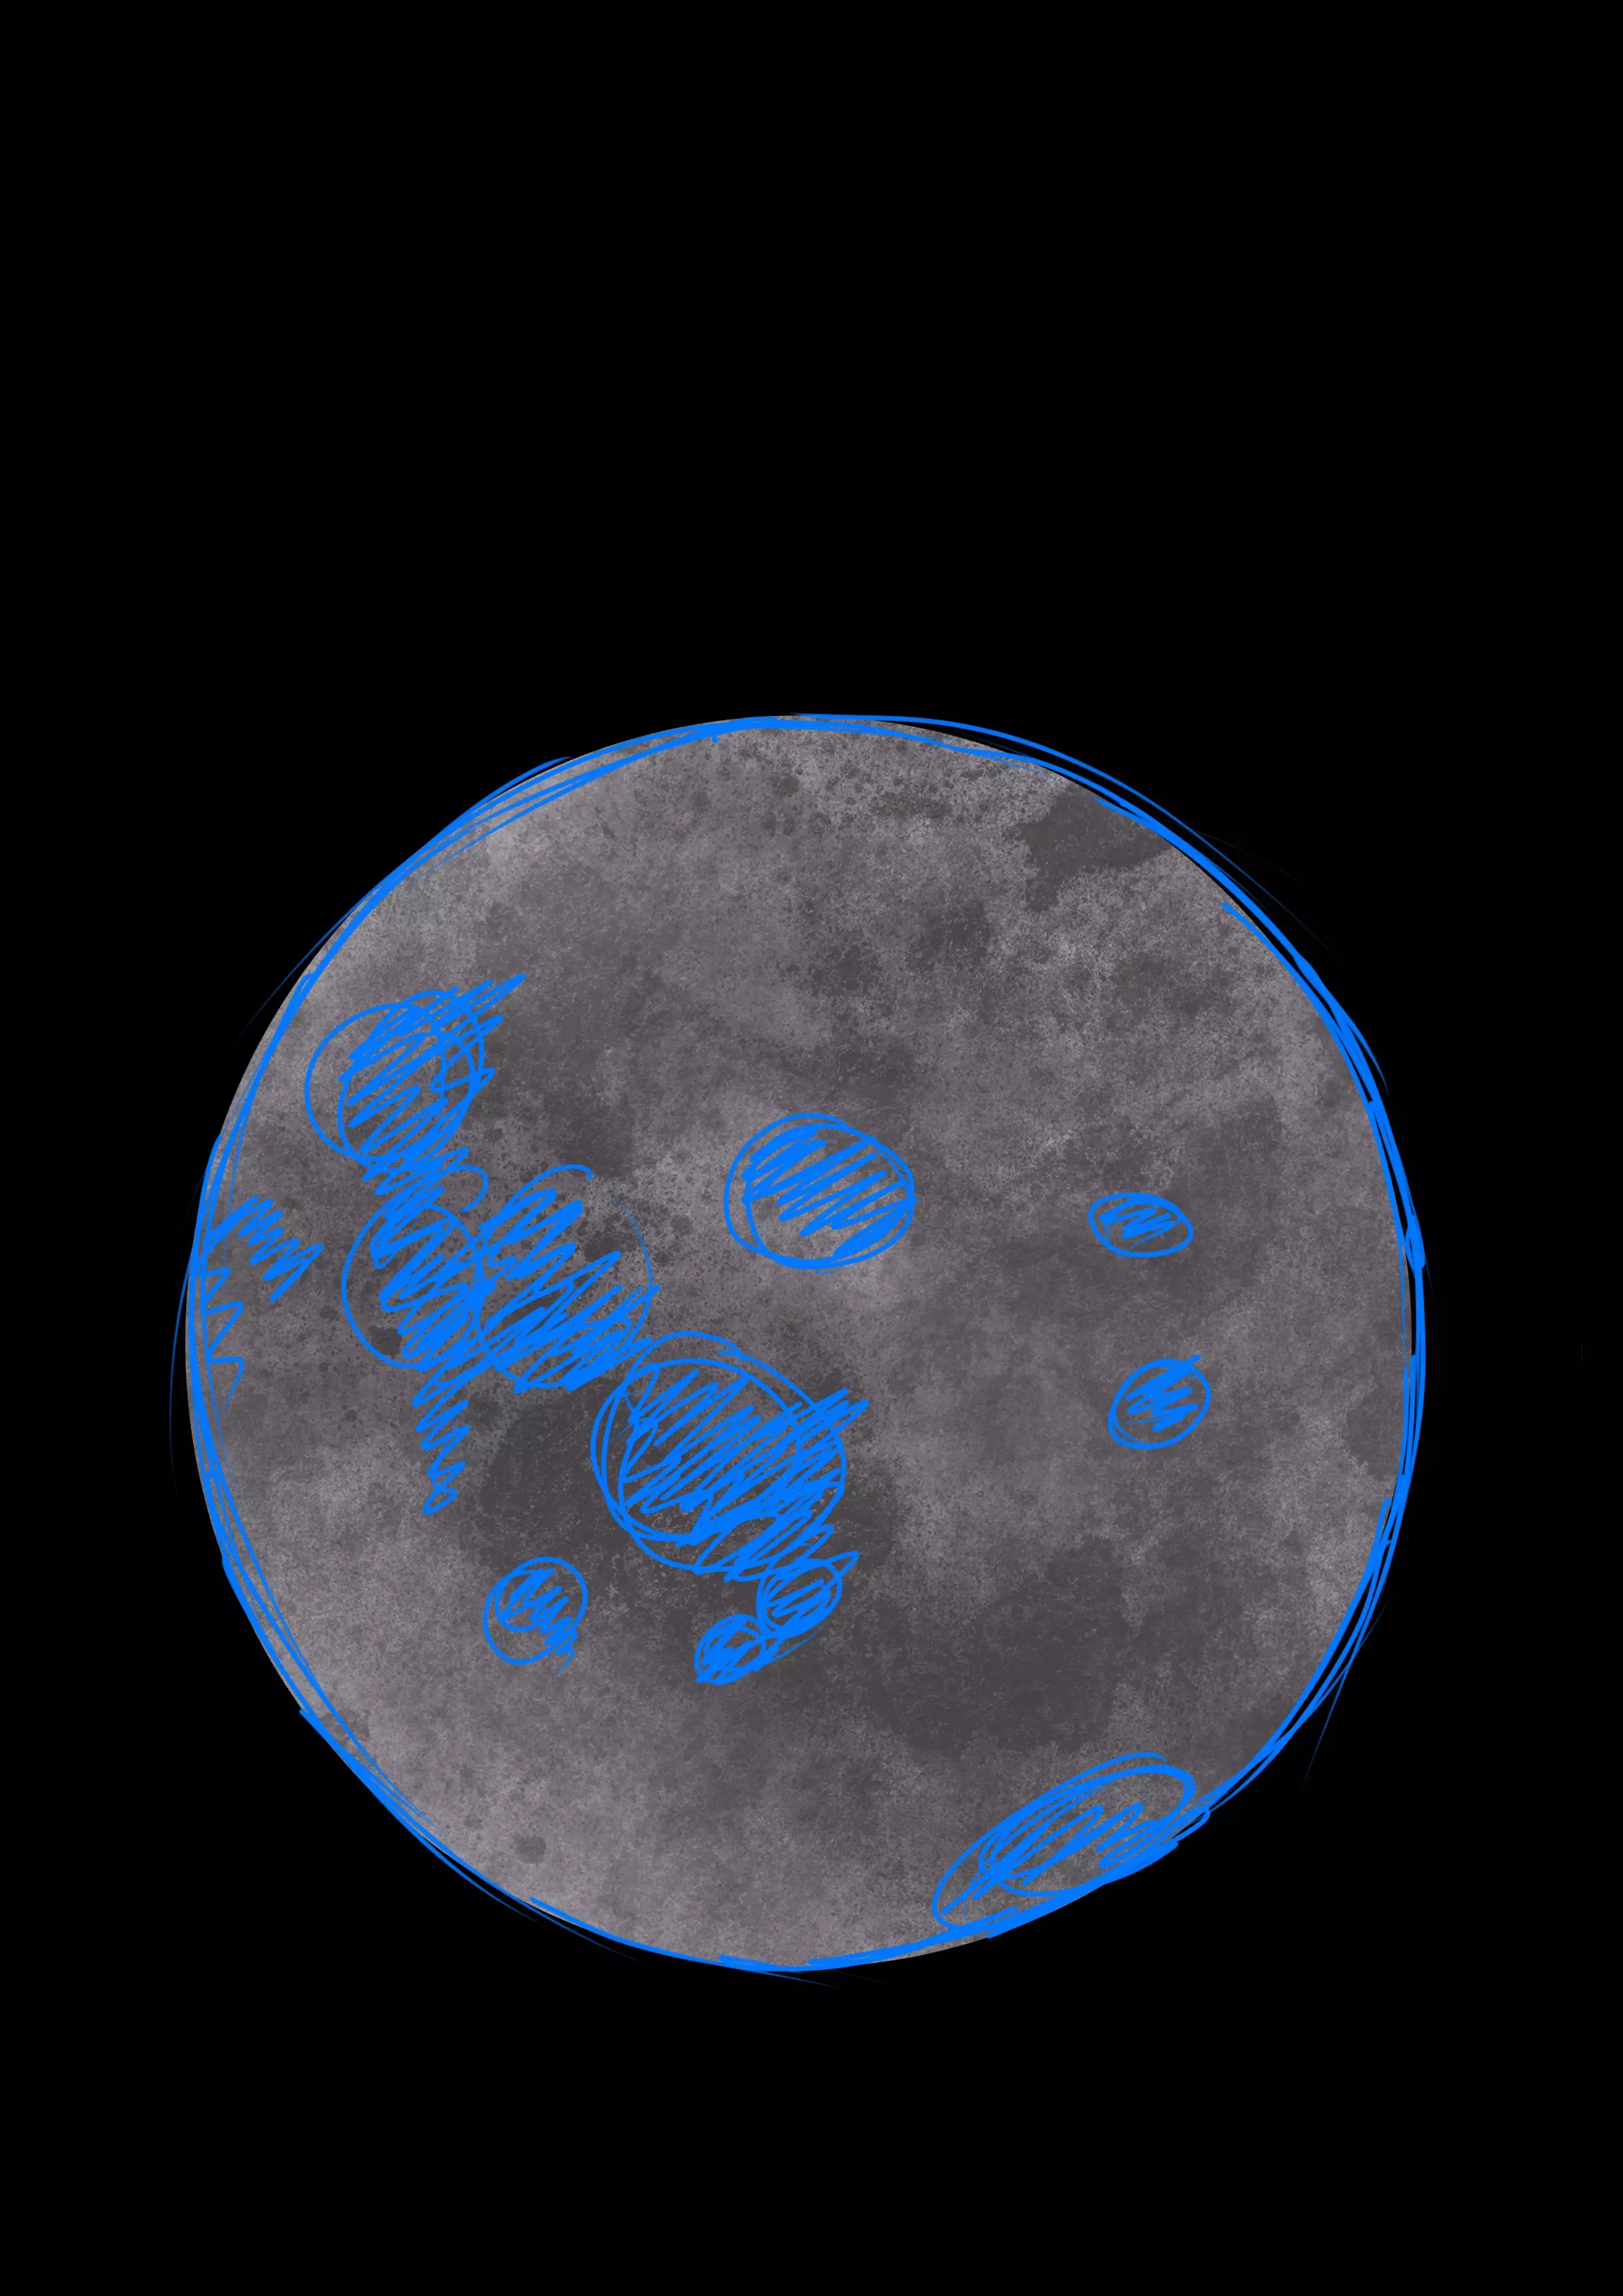
I continue my sketch by marking the places where I would like to make the deepest hollows.
These areas will be the darkest parts of the drawing, so don't overdo it, but try to distribute them fairly randomly.
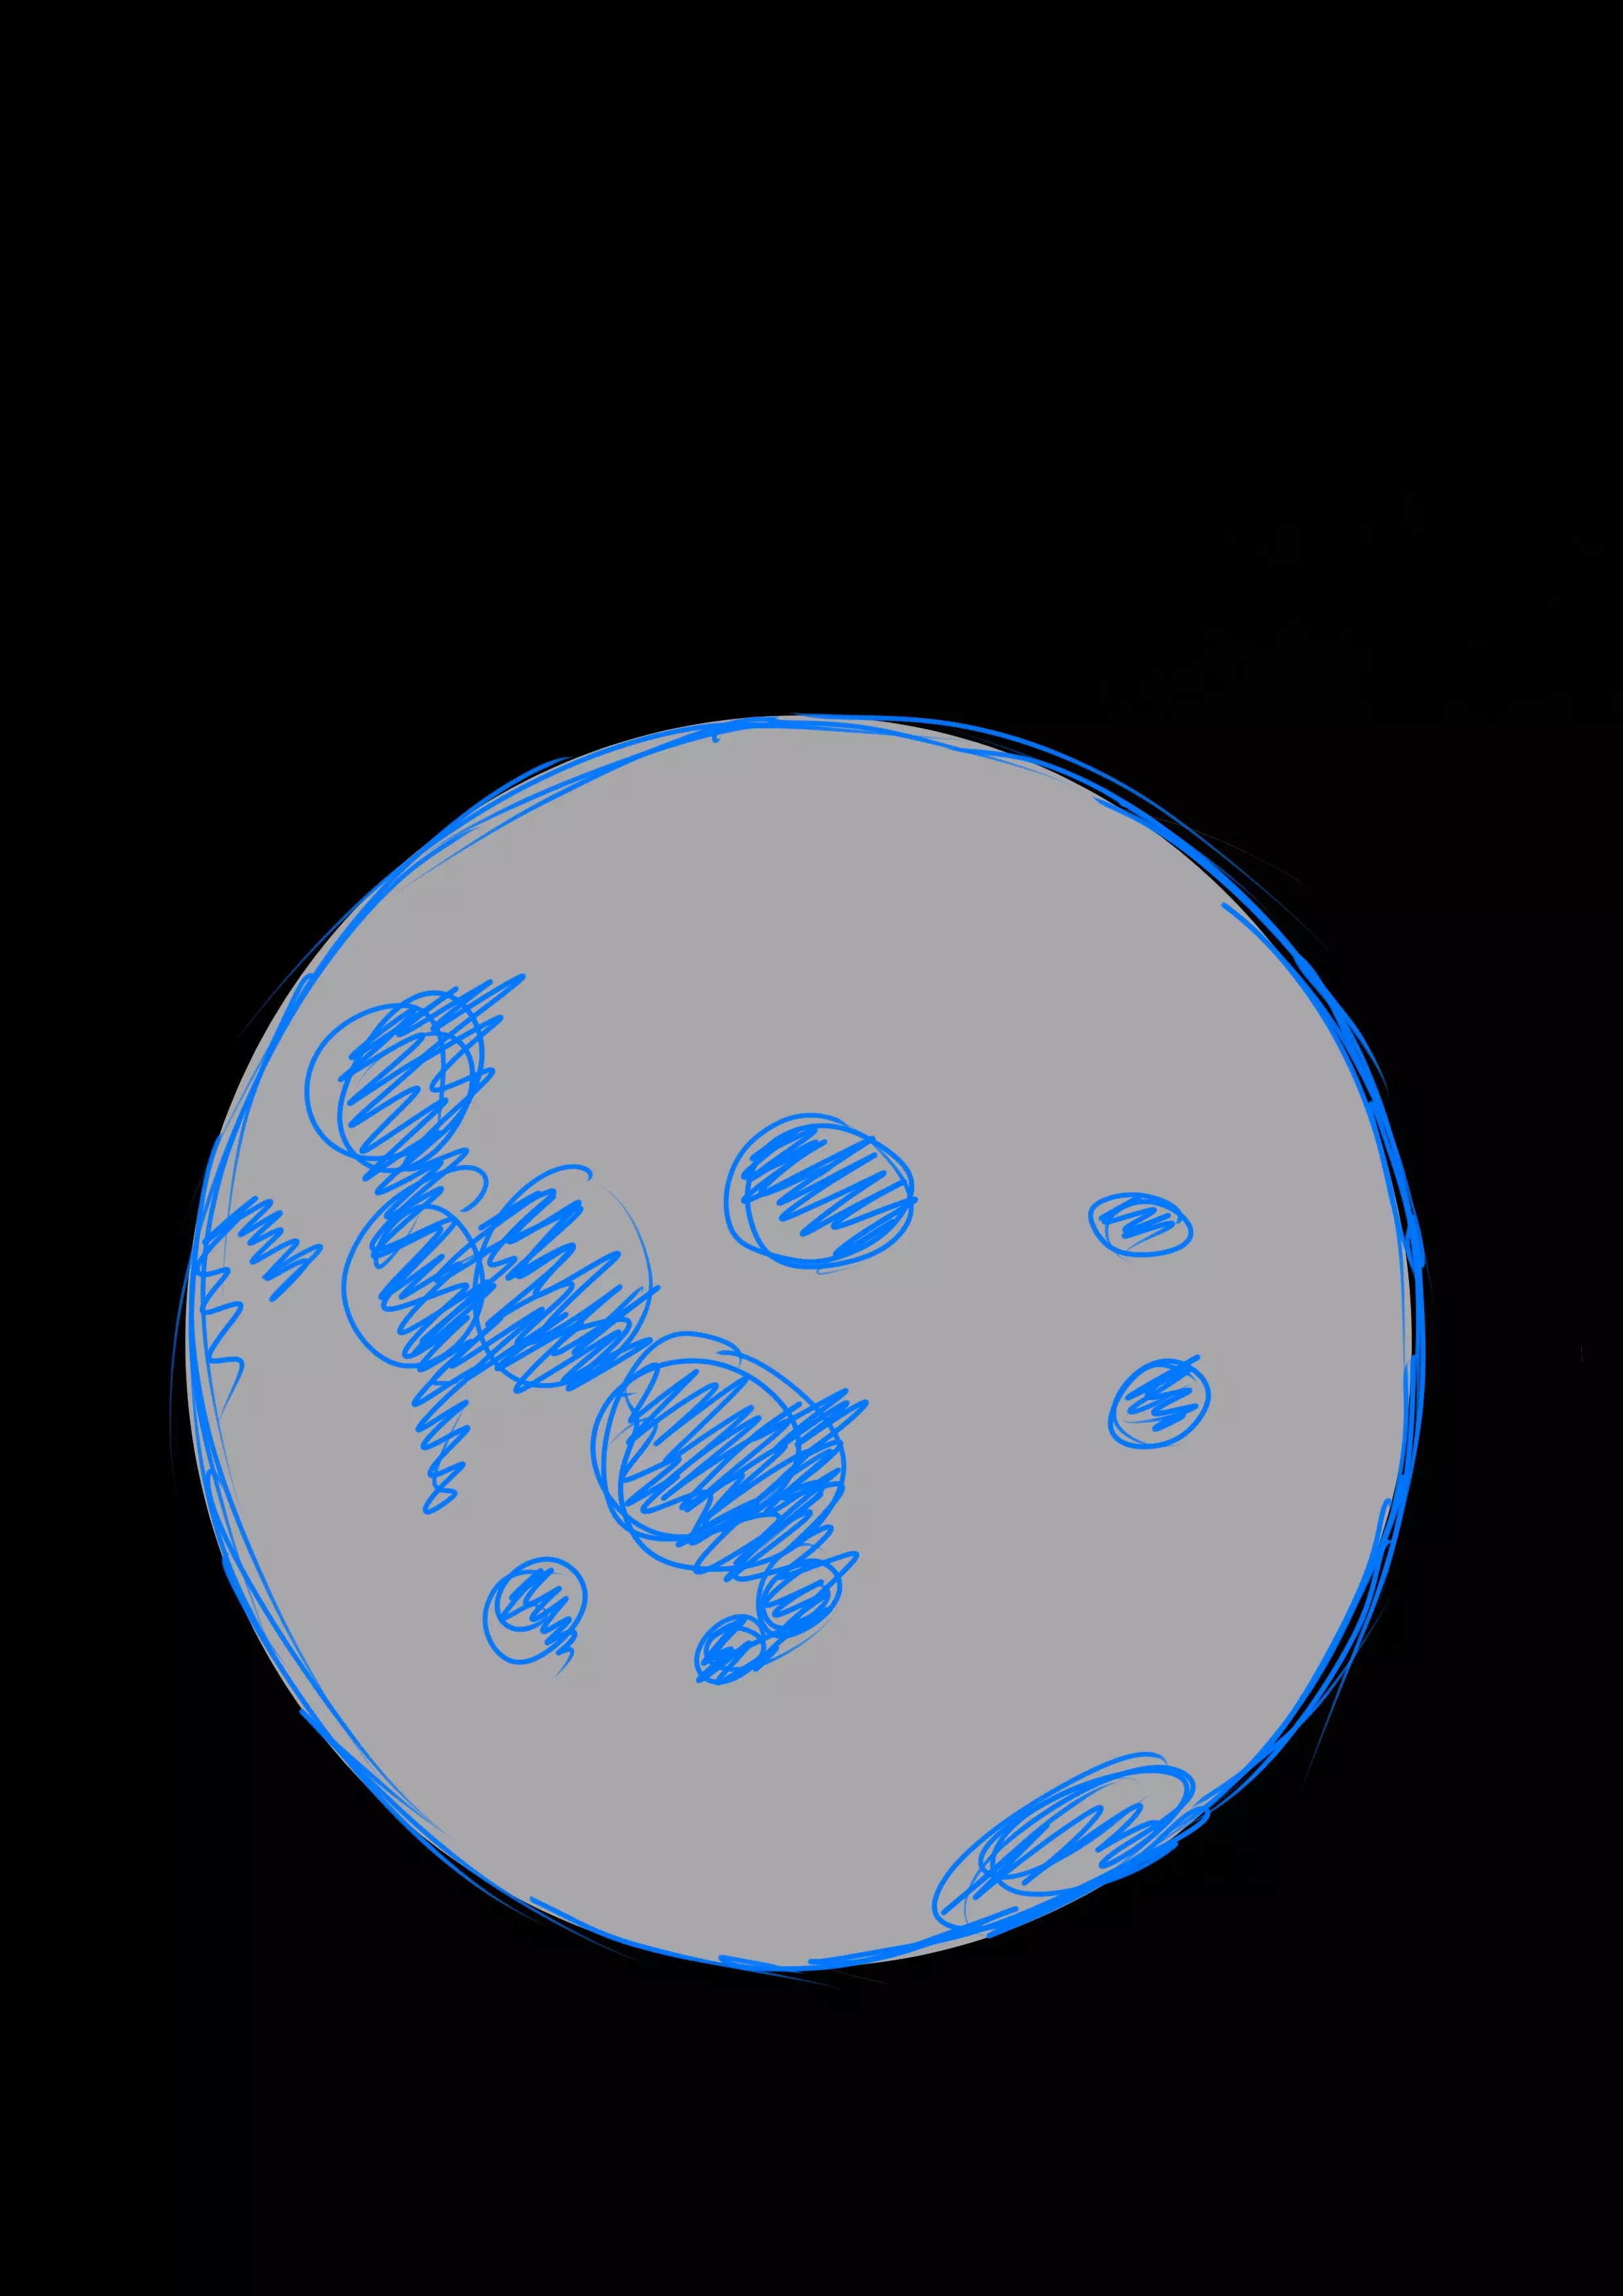
This is the moment where everything will come into play. By adding colors, we will be able to create different contrasts that give volume to the drawing.
I start by applying the base color: a medium gray. It must be neither too light to work on the highlights nor too dark to add shadows.
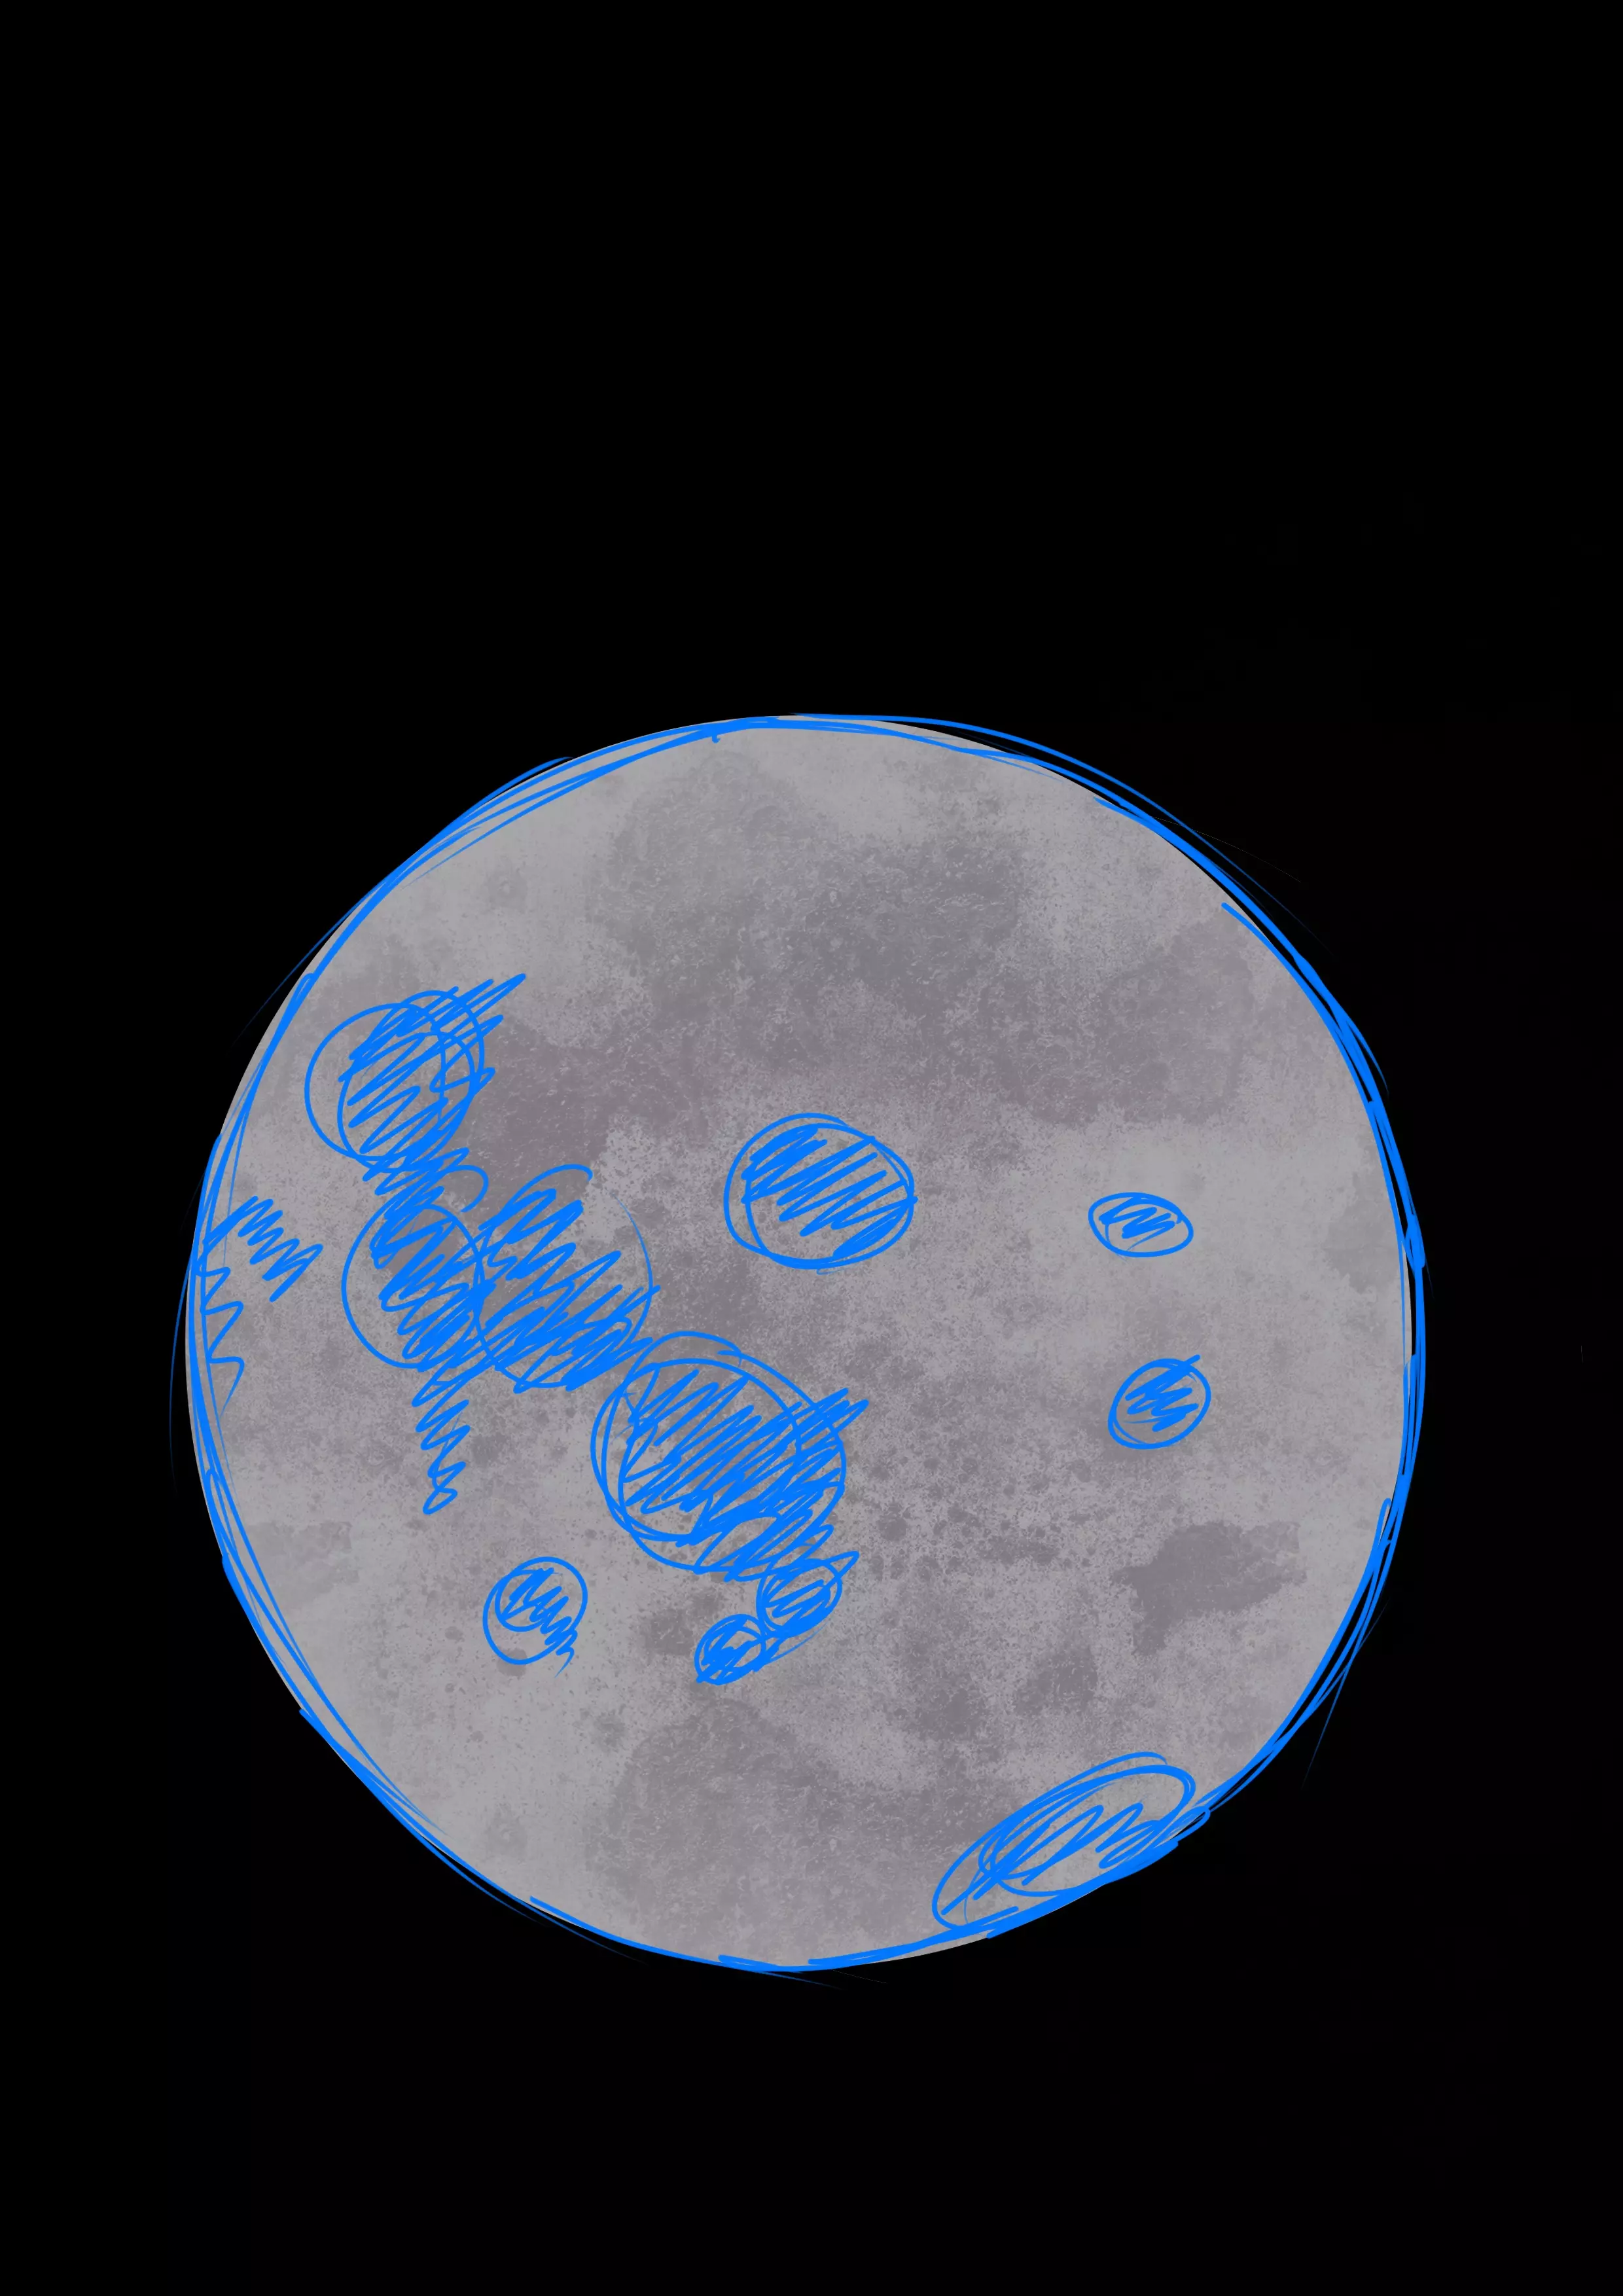
Now we will add the different shades of gray that will create depth and volume.
For those who are into digital media, you have textured brushes that will allow you to do something really cool.
For those who work traditionally, you can use charcoal, which can simulate a textured effect. The intensity of the color is created by pressing harder or lighter on the paper.
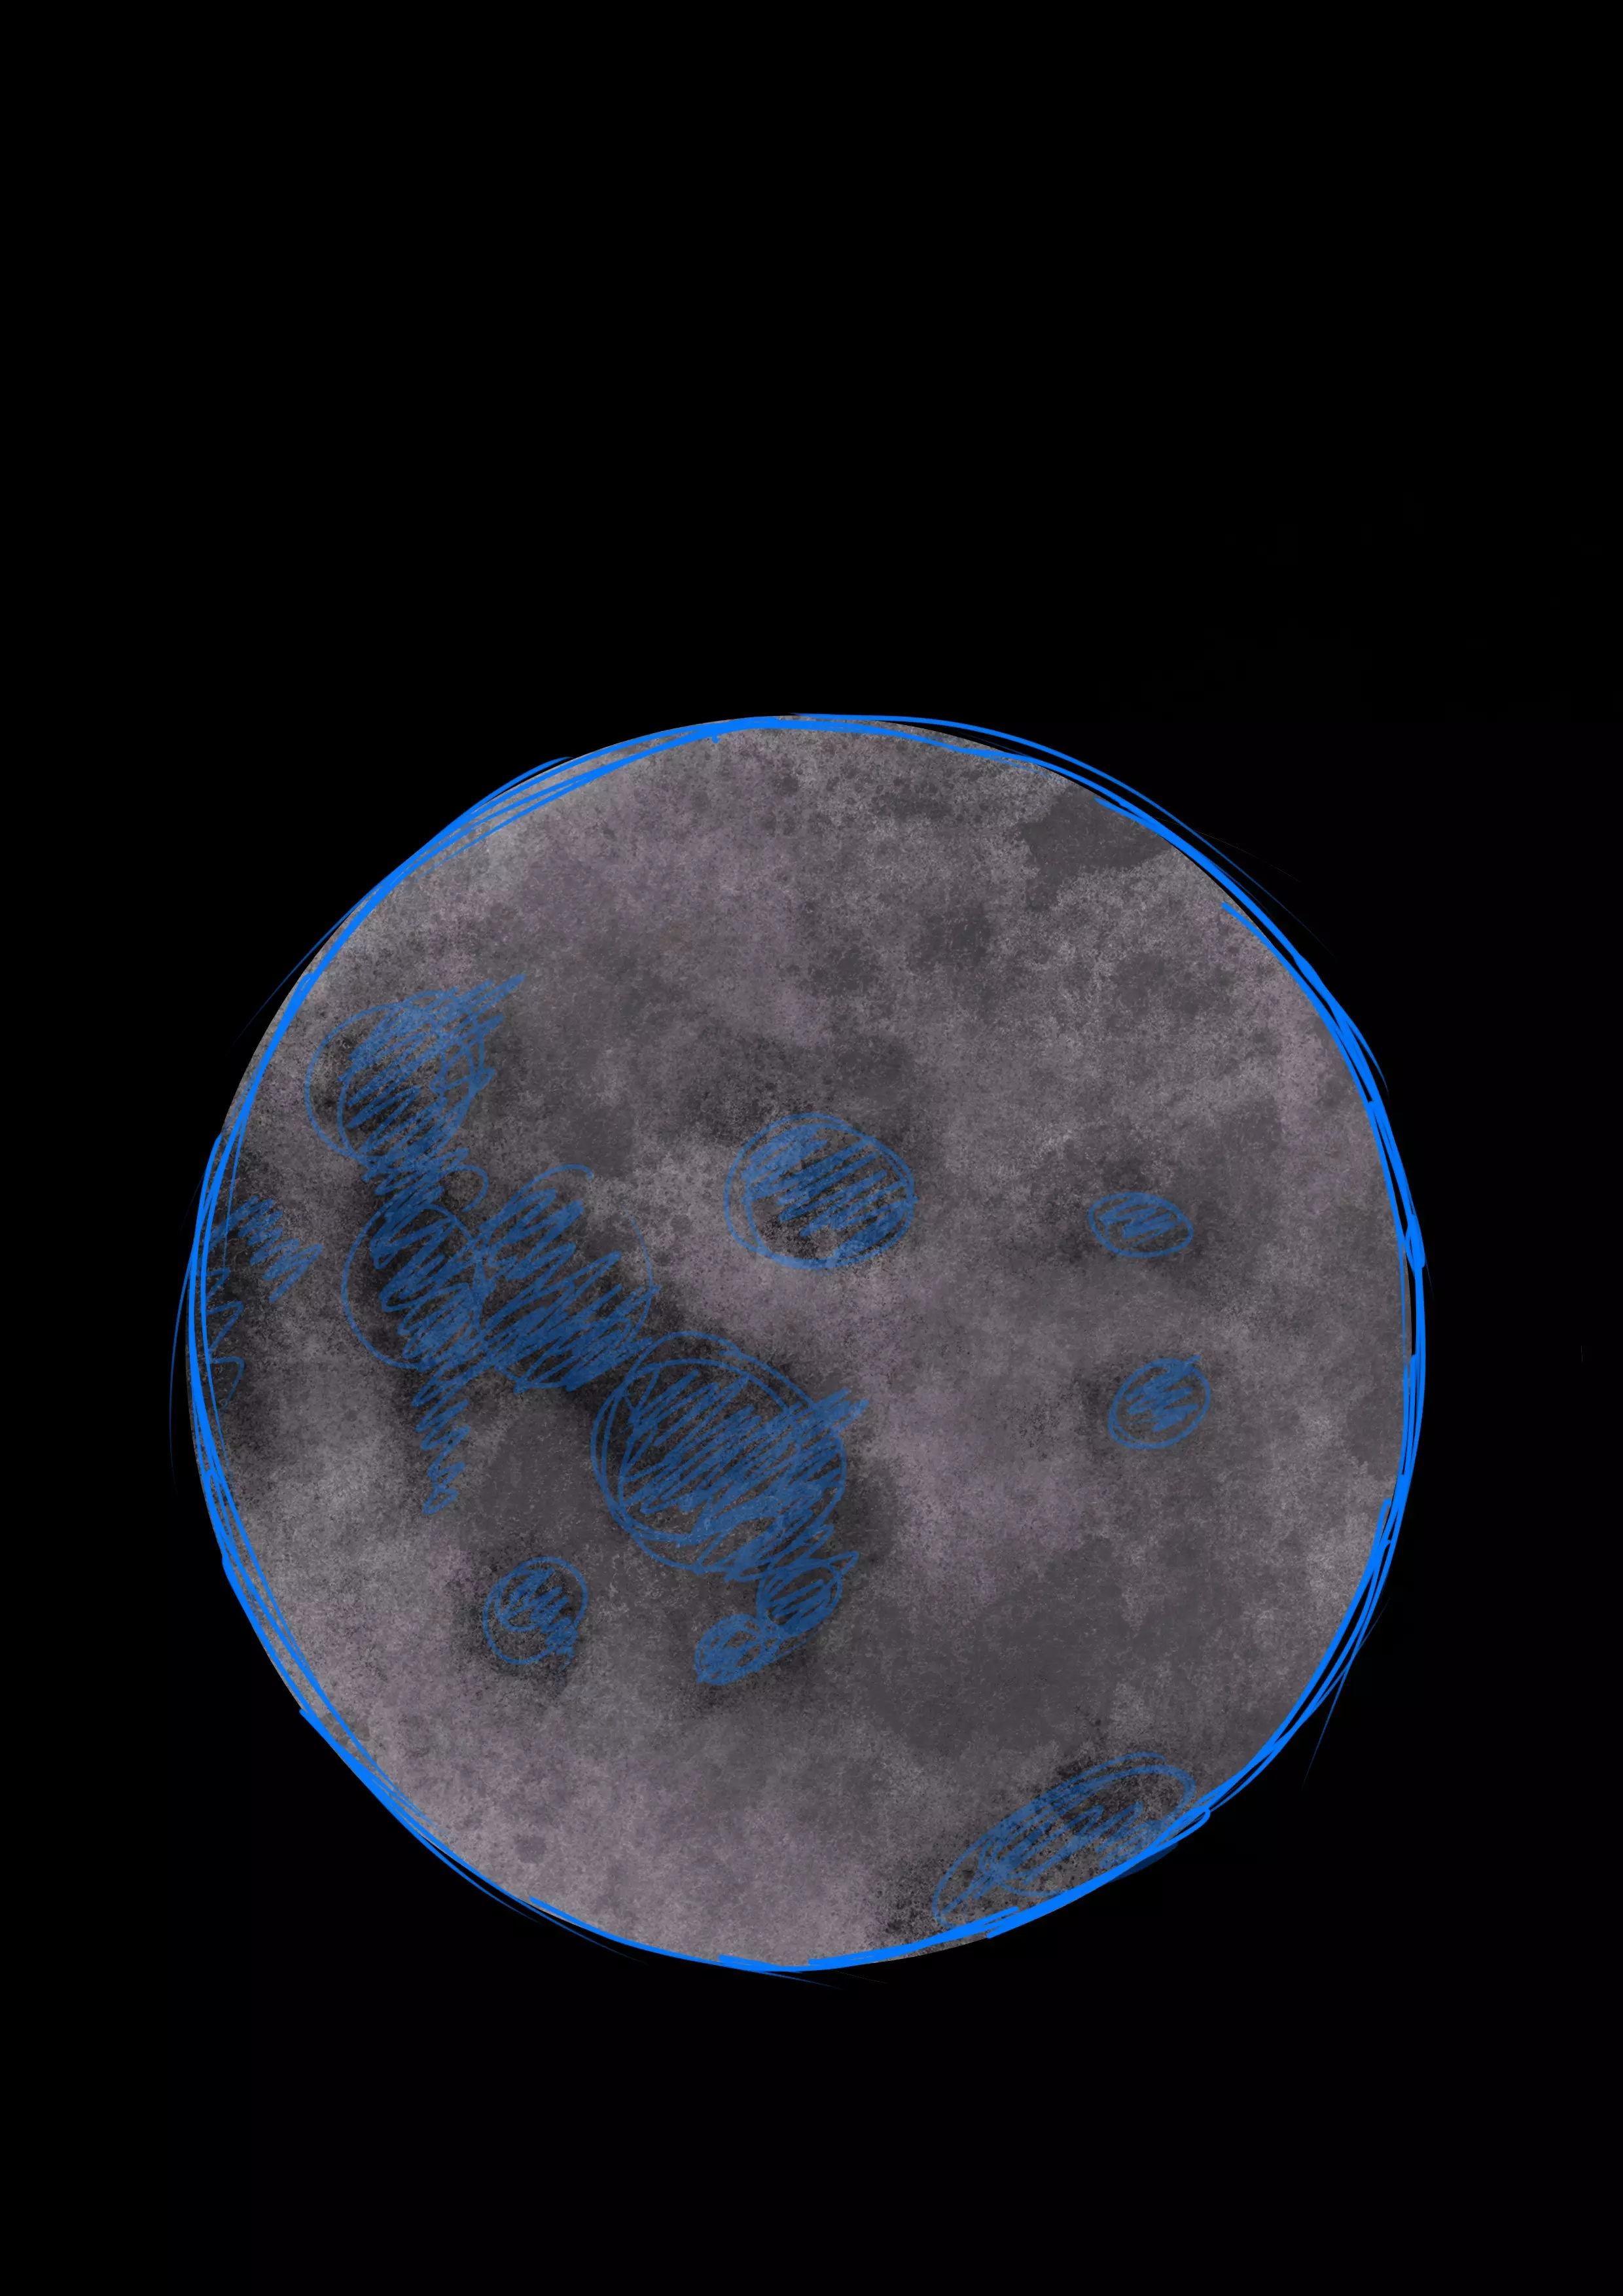
I start by adding grays that are slightly darker than my base gray. I place them randomly all over the surface of the moon.
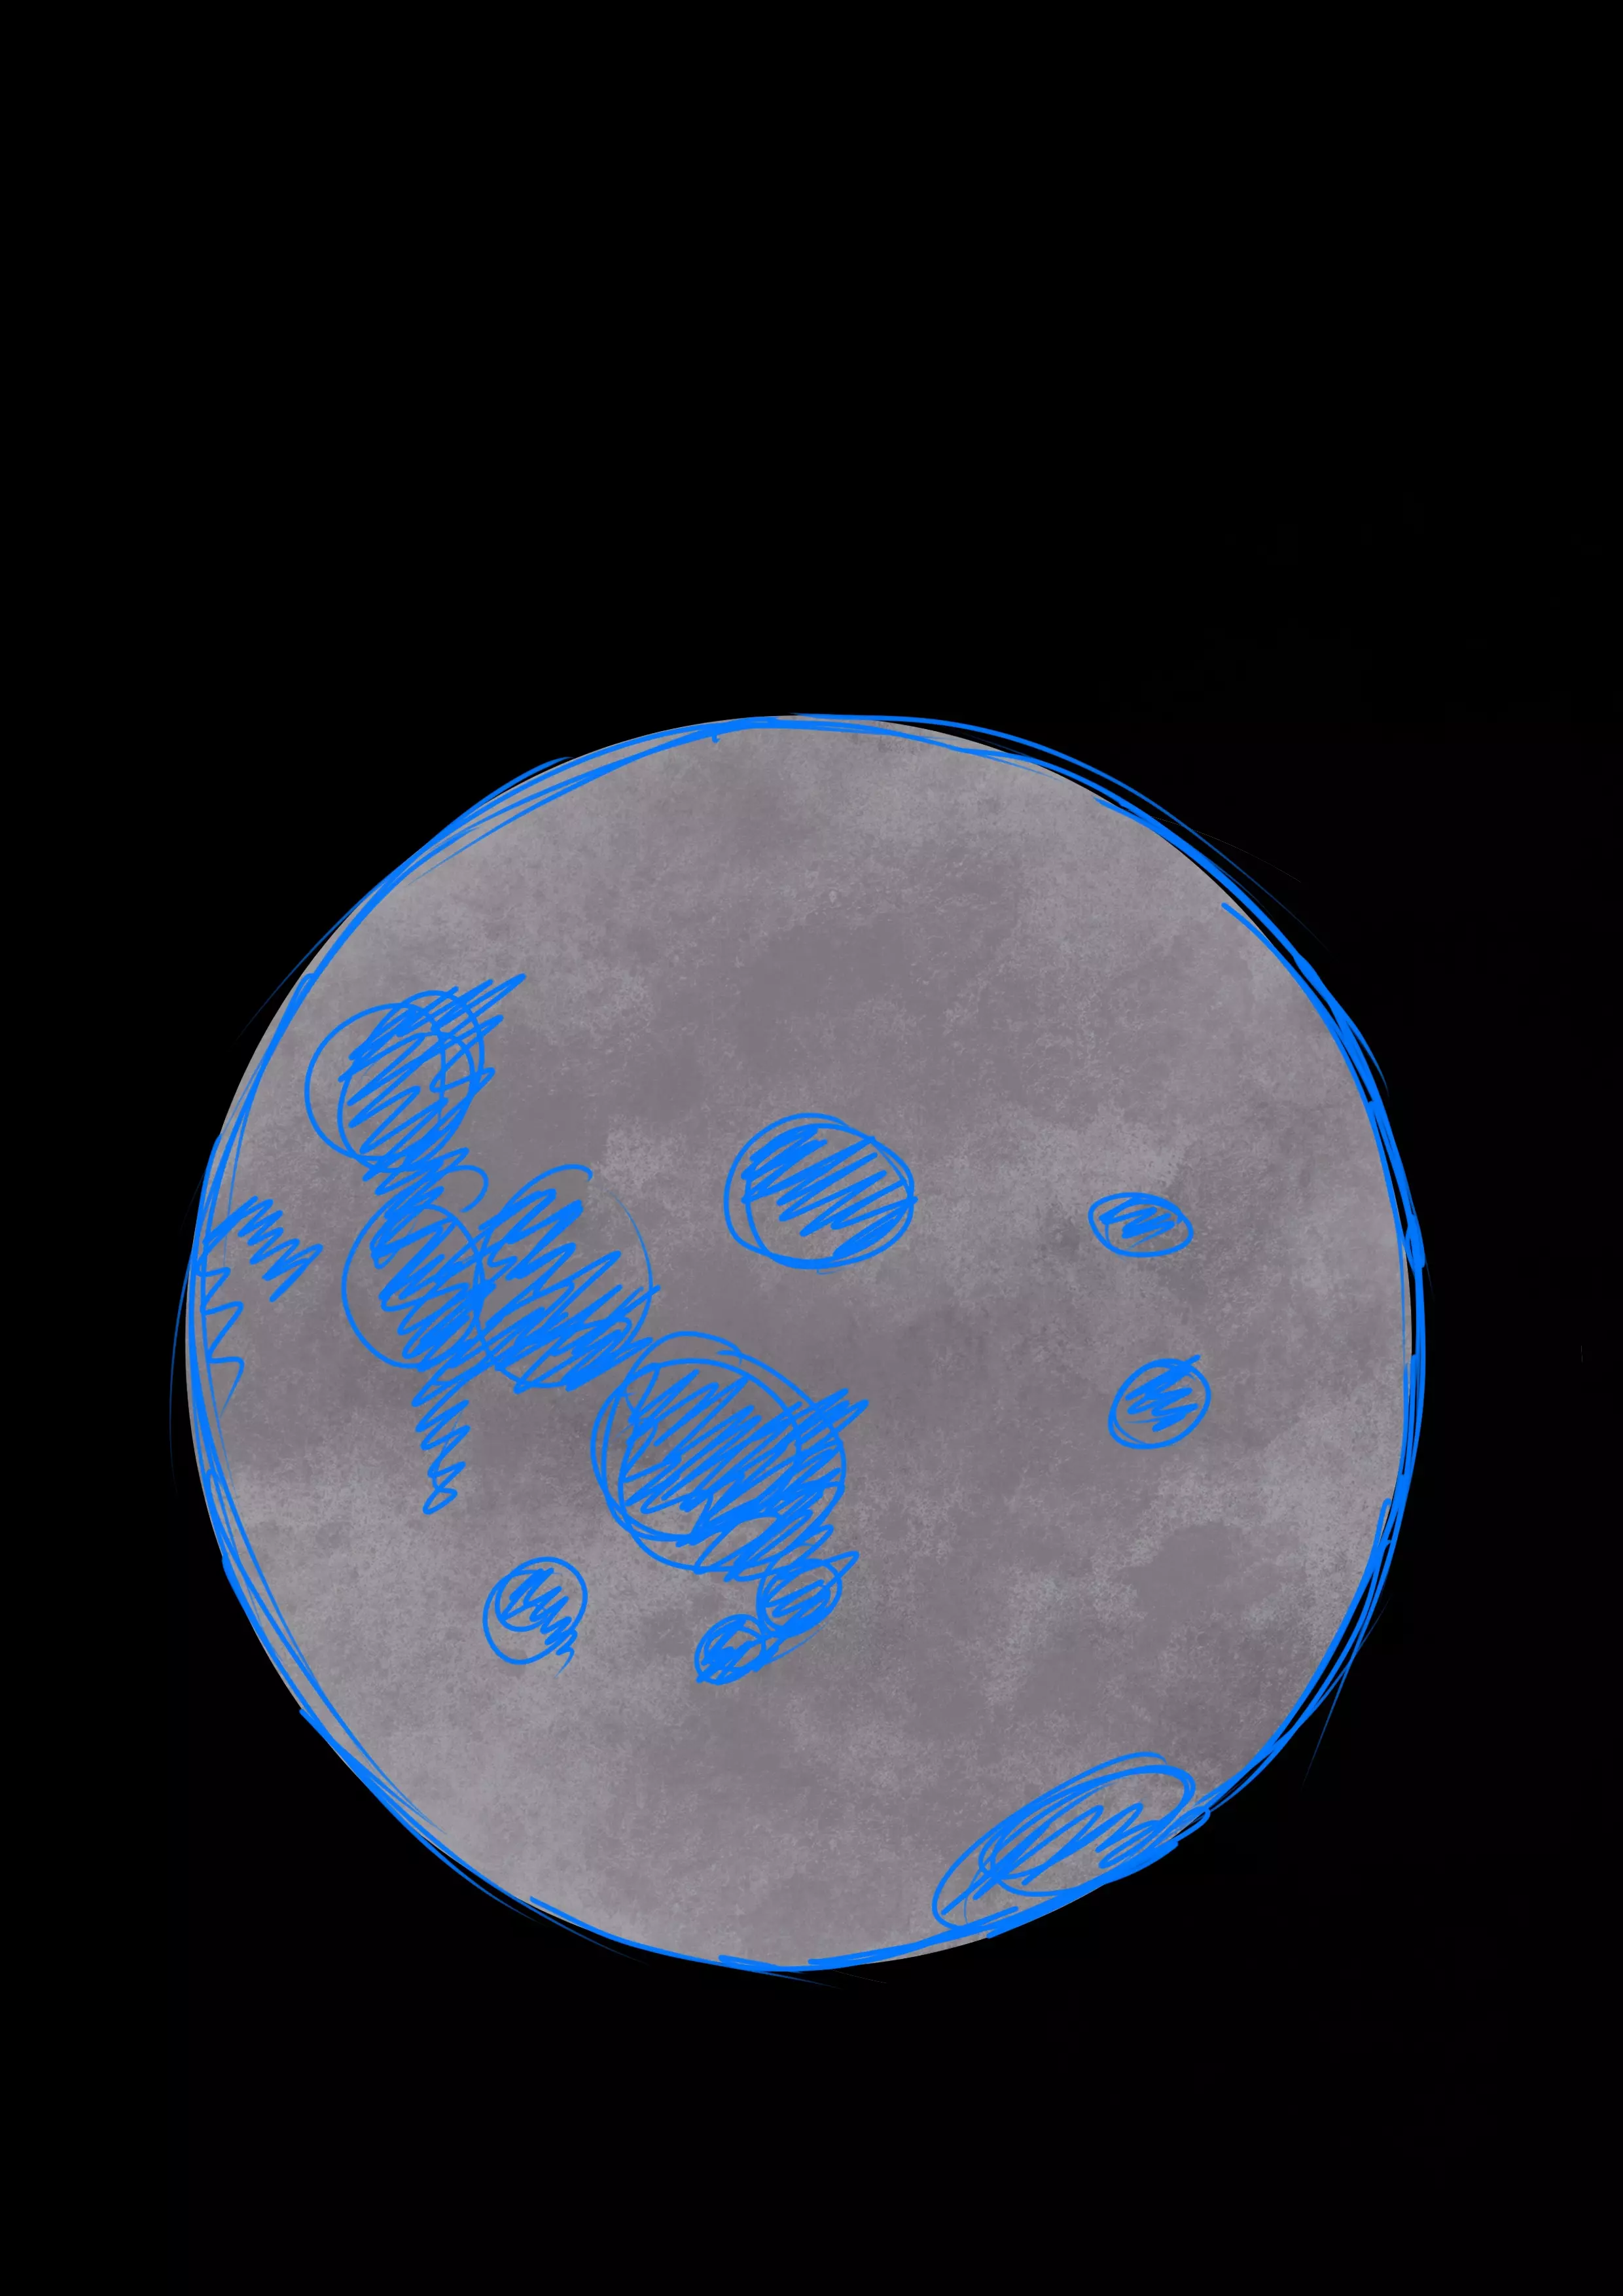
Once my grays are in place, I will add highlights with light gray.
For my part, I decided to make a fairly dark moon, but you can add more or less light gray according to your taste. It just needs to remain consistent with the rest of your drawing.
For people who work using traditional methods, you can add highlights in different ways, either by smudging what you've already done with an eraser (classic or kneaded, your choice) or with a light gray pencil.
Once the light touches are placed, I will finish my drawing by dealing with the really dark areas. We marked them during the sketching phase.
So I start by filling them with a gray slightly darker than the others, and I will accentuate everything with a very dark gray.
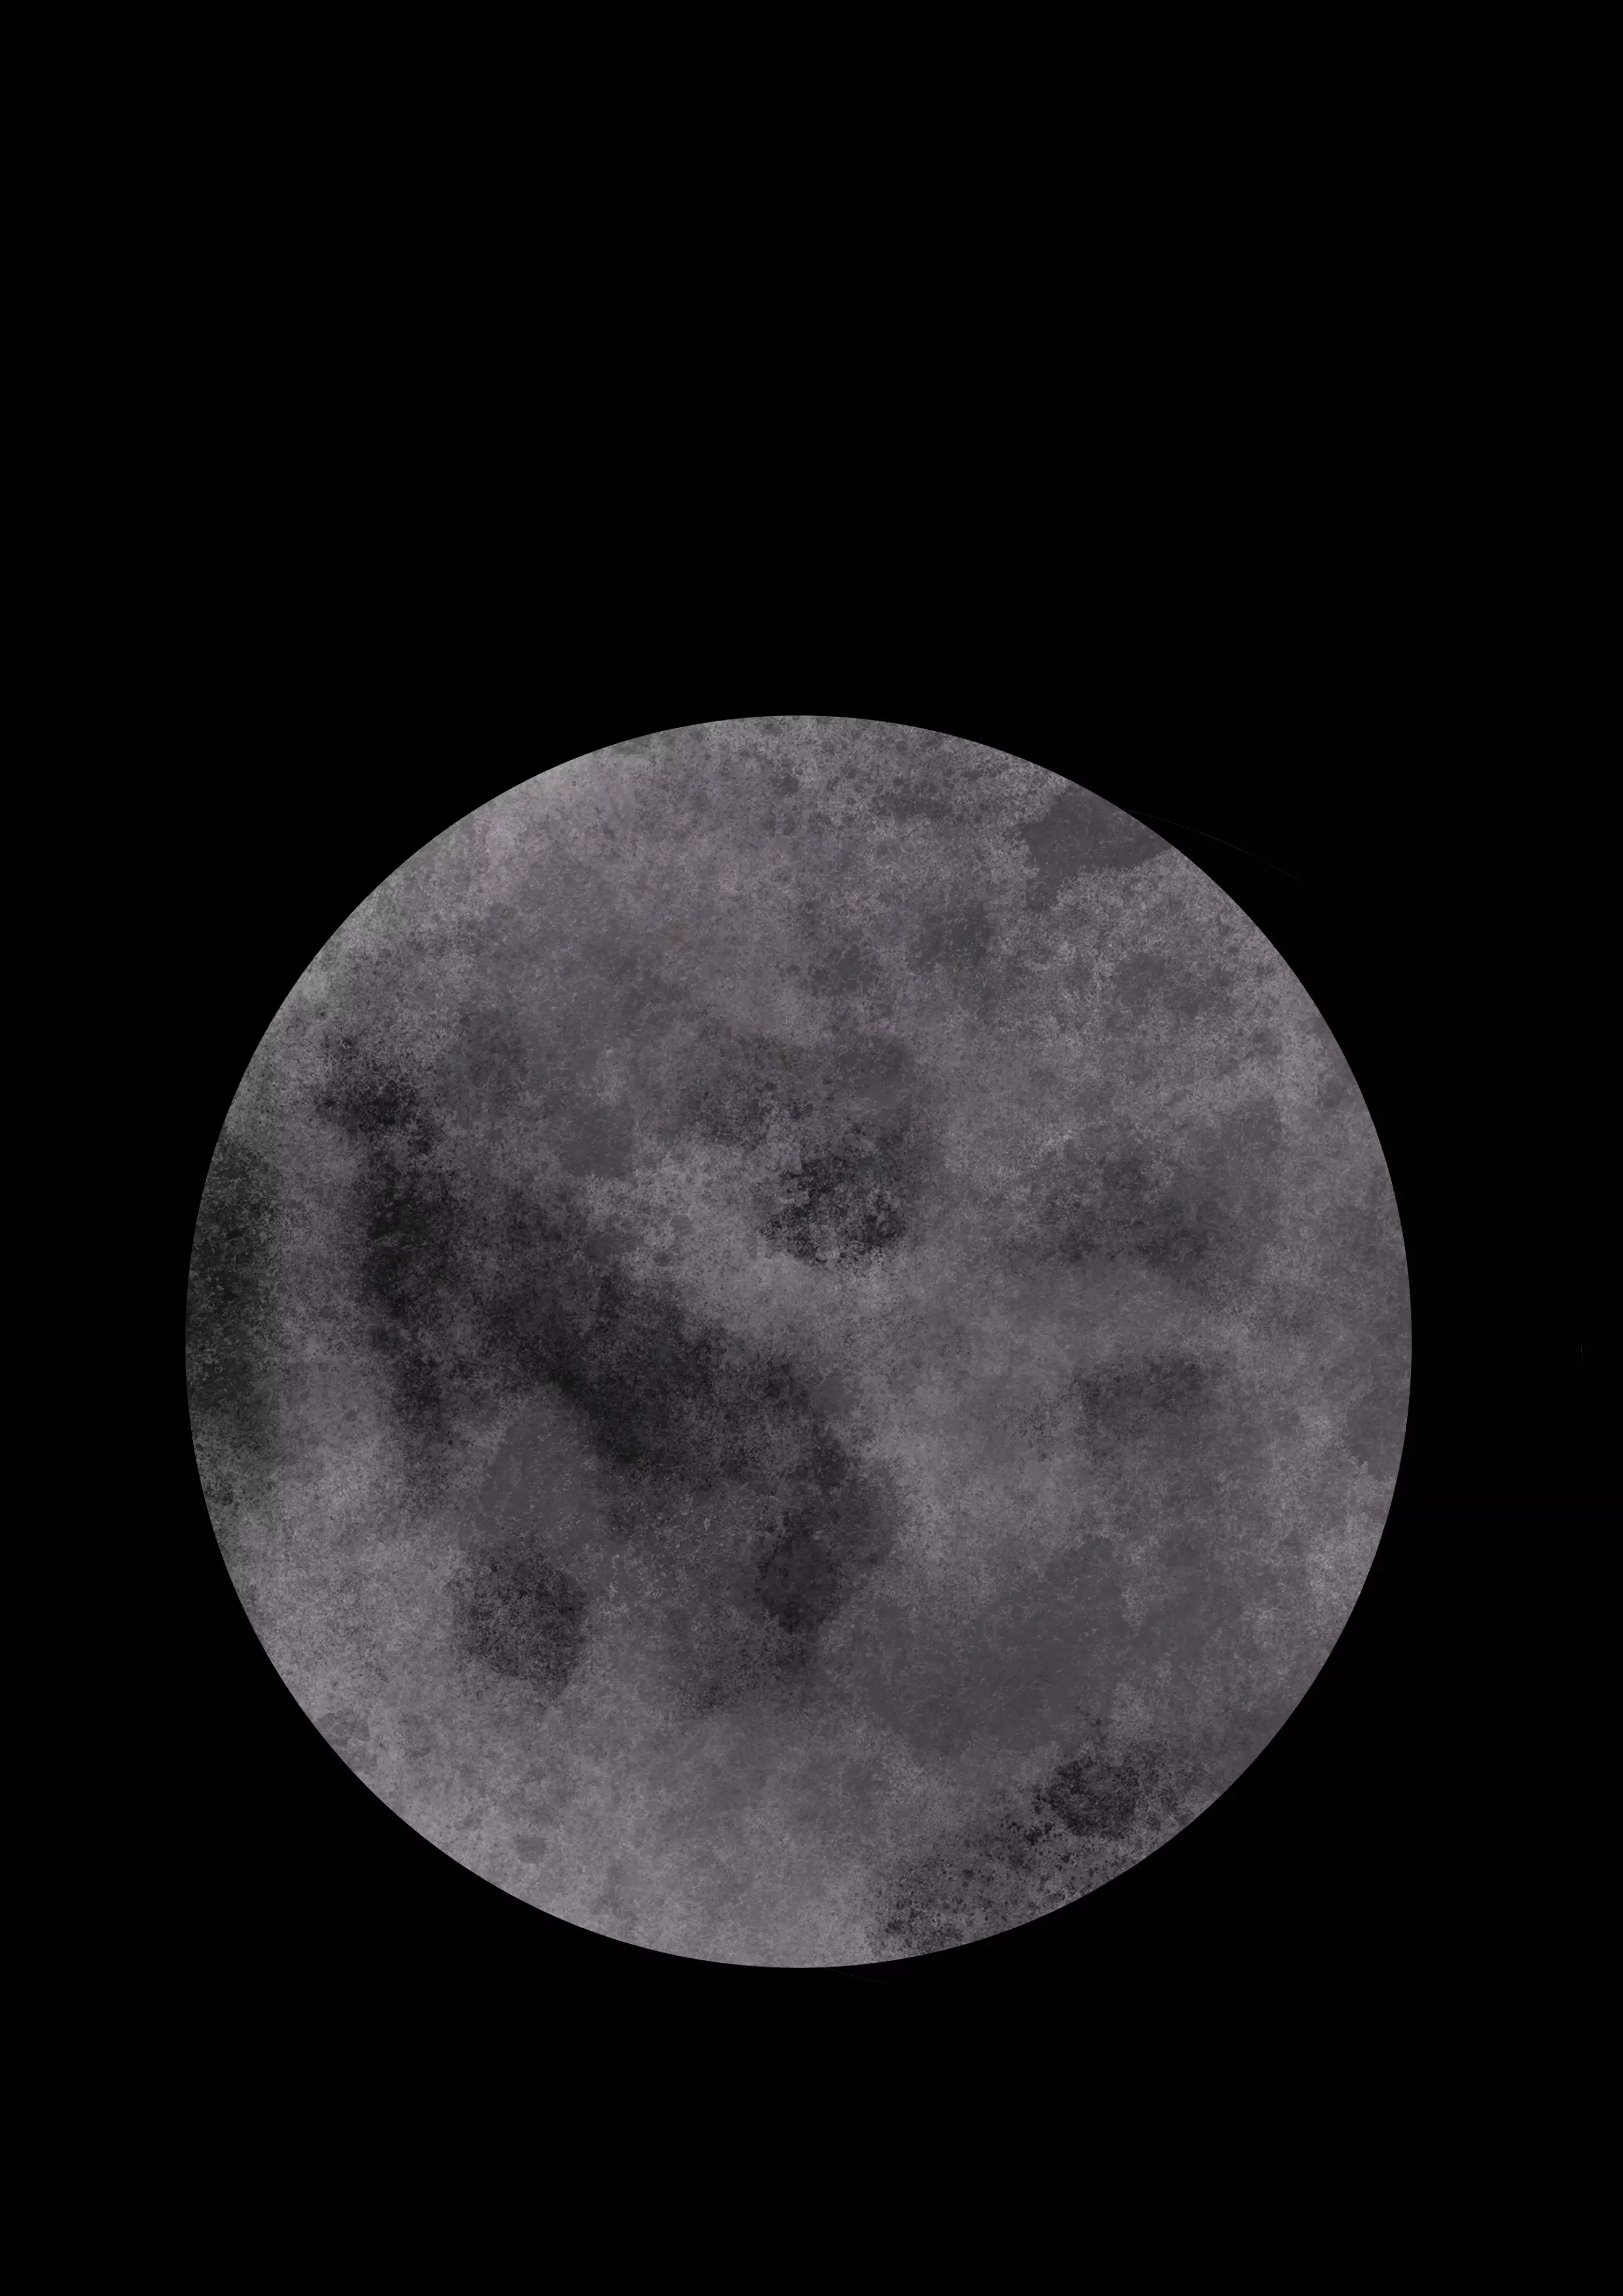
My moon is done, at least as far as the appearance is concerned.
Now you can choose either to stop here or to change its shape.
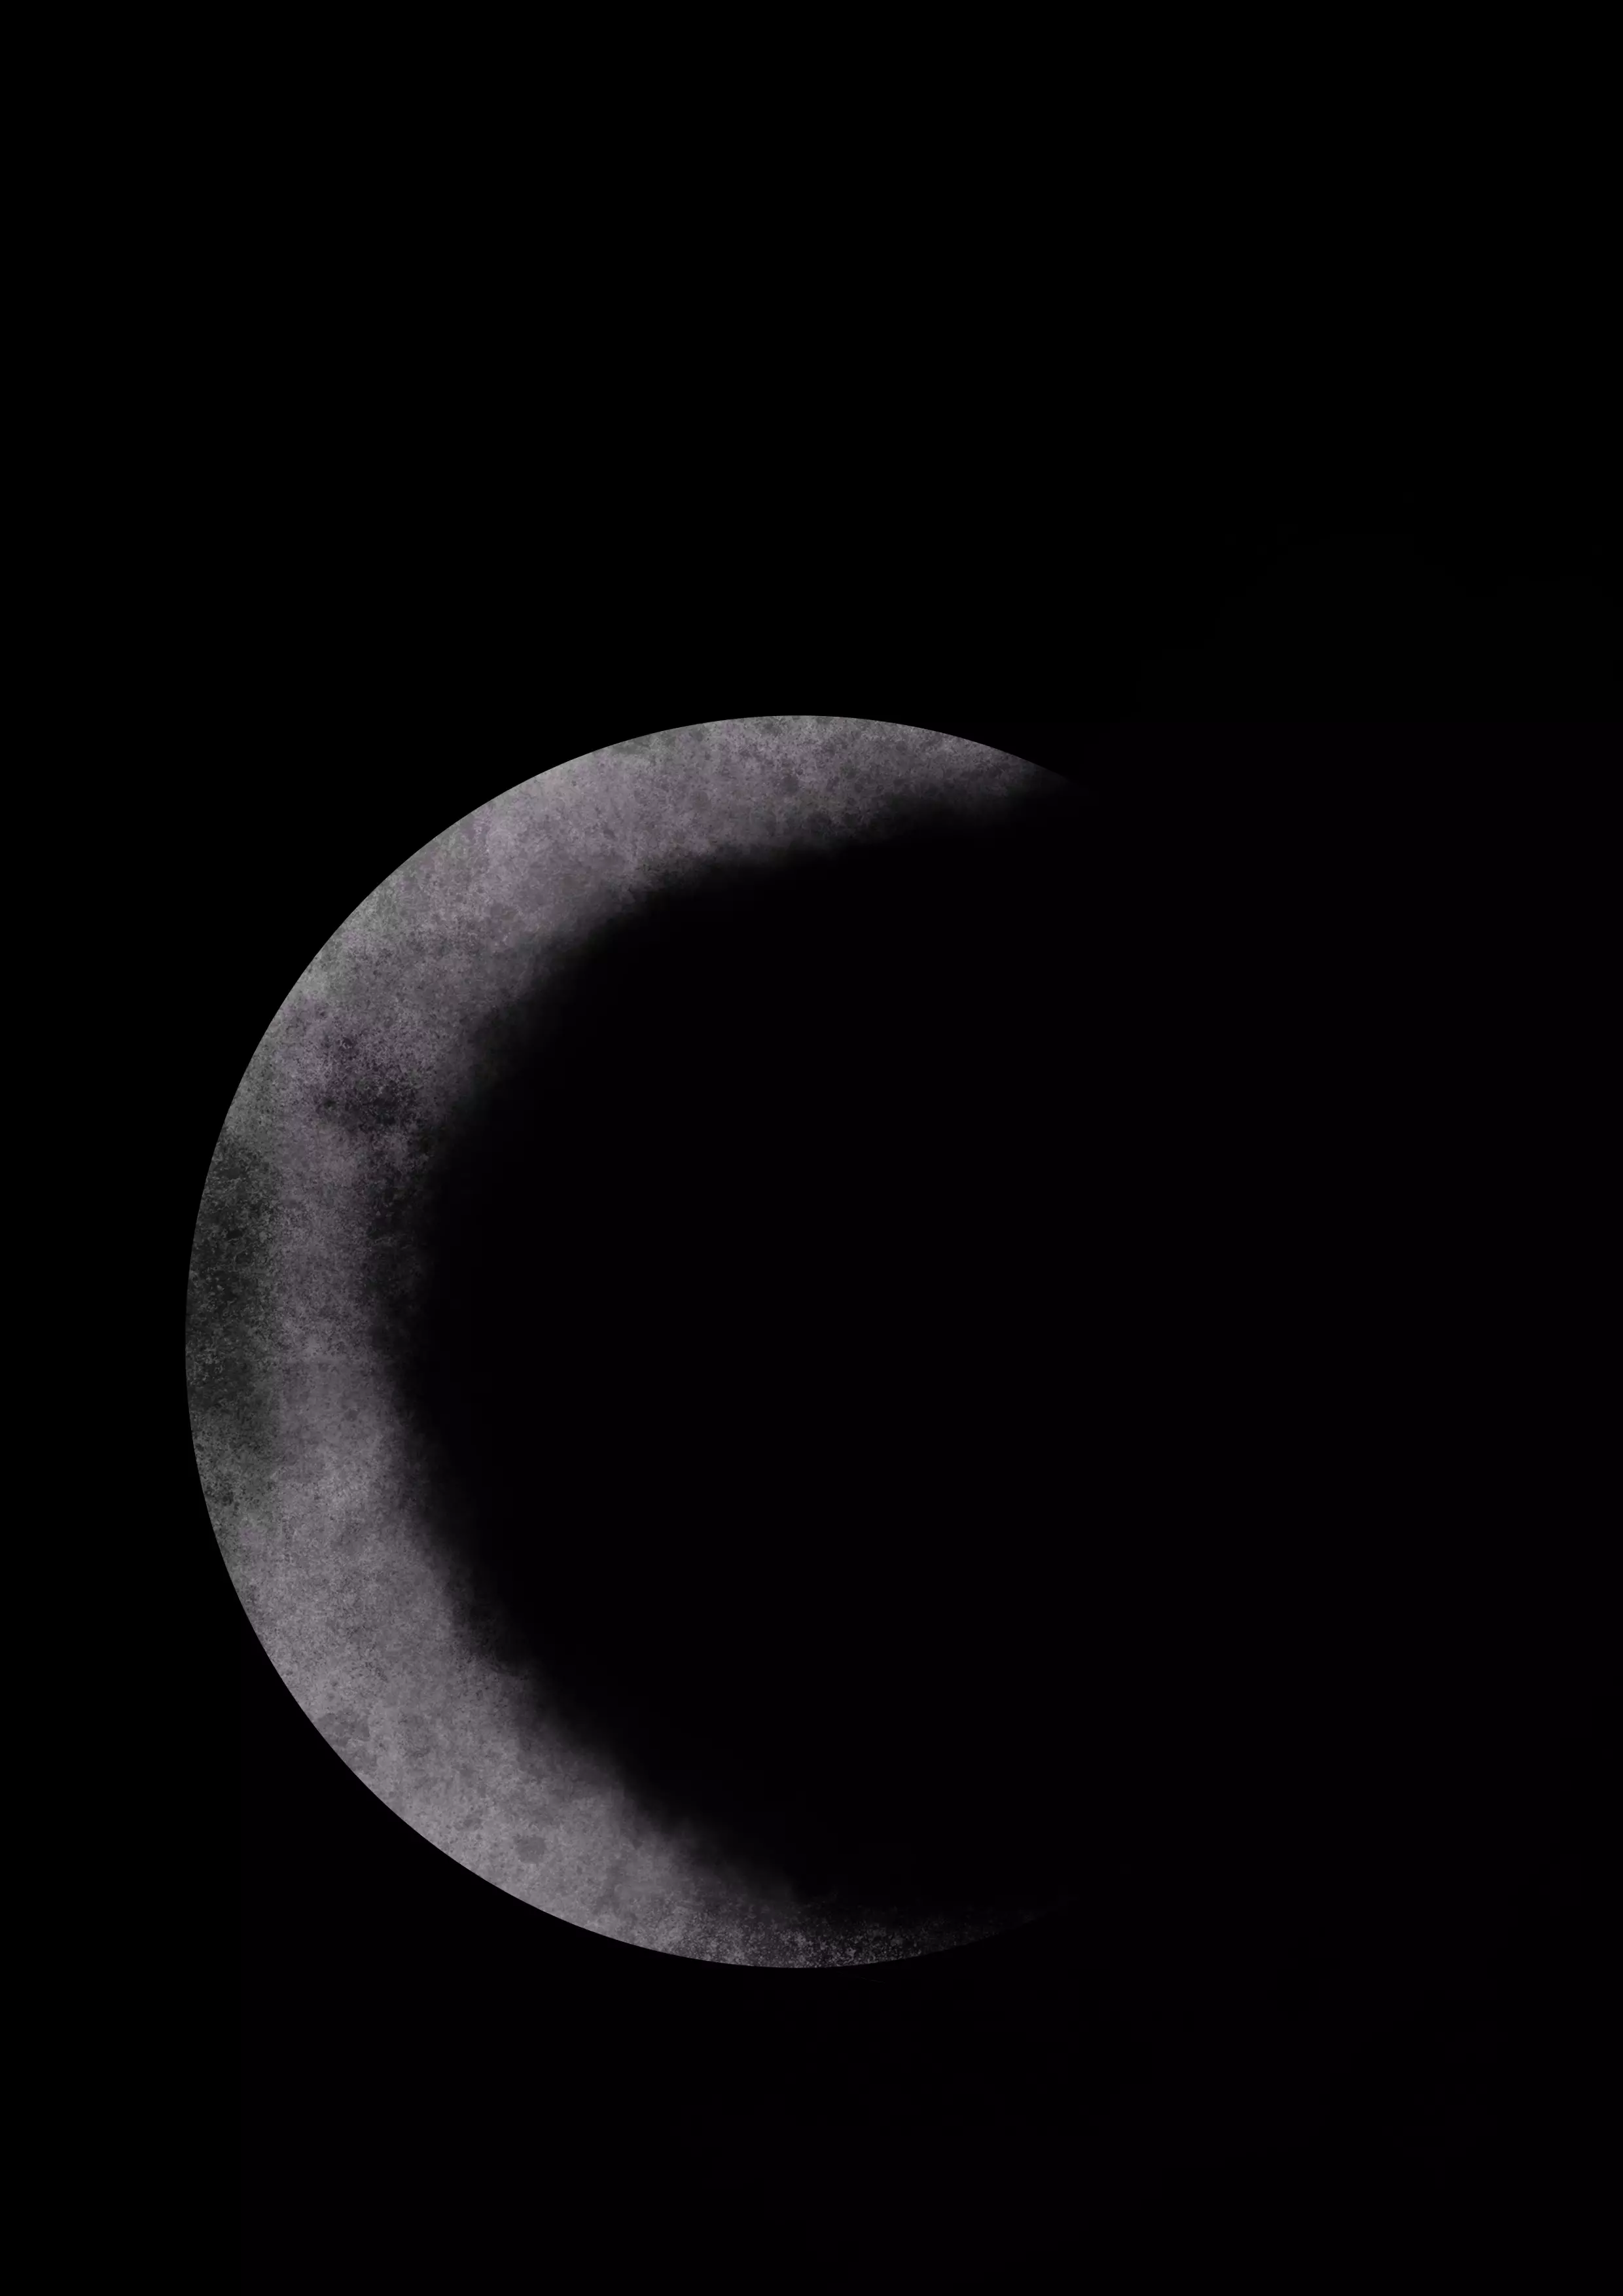
DRAWING A WANING MOON, A HALF MOON, AND A CRESCENT MOON
I chose a black background not only to make the moon stand out, but also, conversely, to successfully blend it in case I choose to change the shape.
You can choose to shape it as you like by covering the part to hide with black, and being careful not to make the edges too sharp, it has to look natural, so you need to blend the black into the moon's gray.
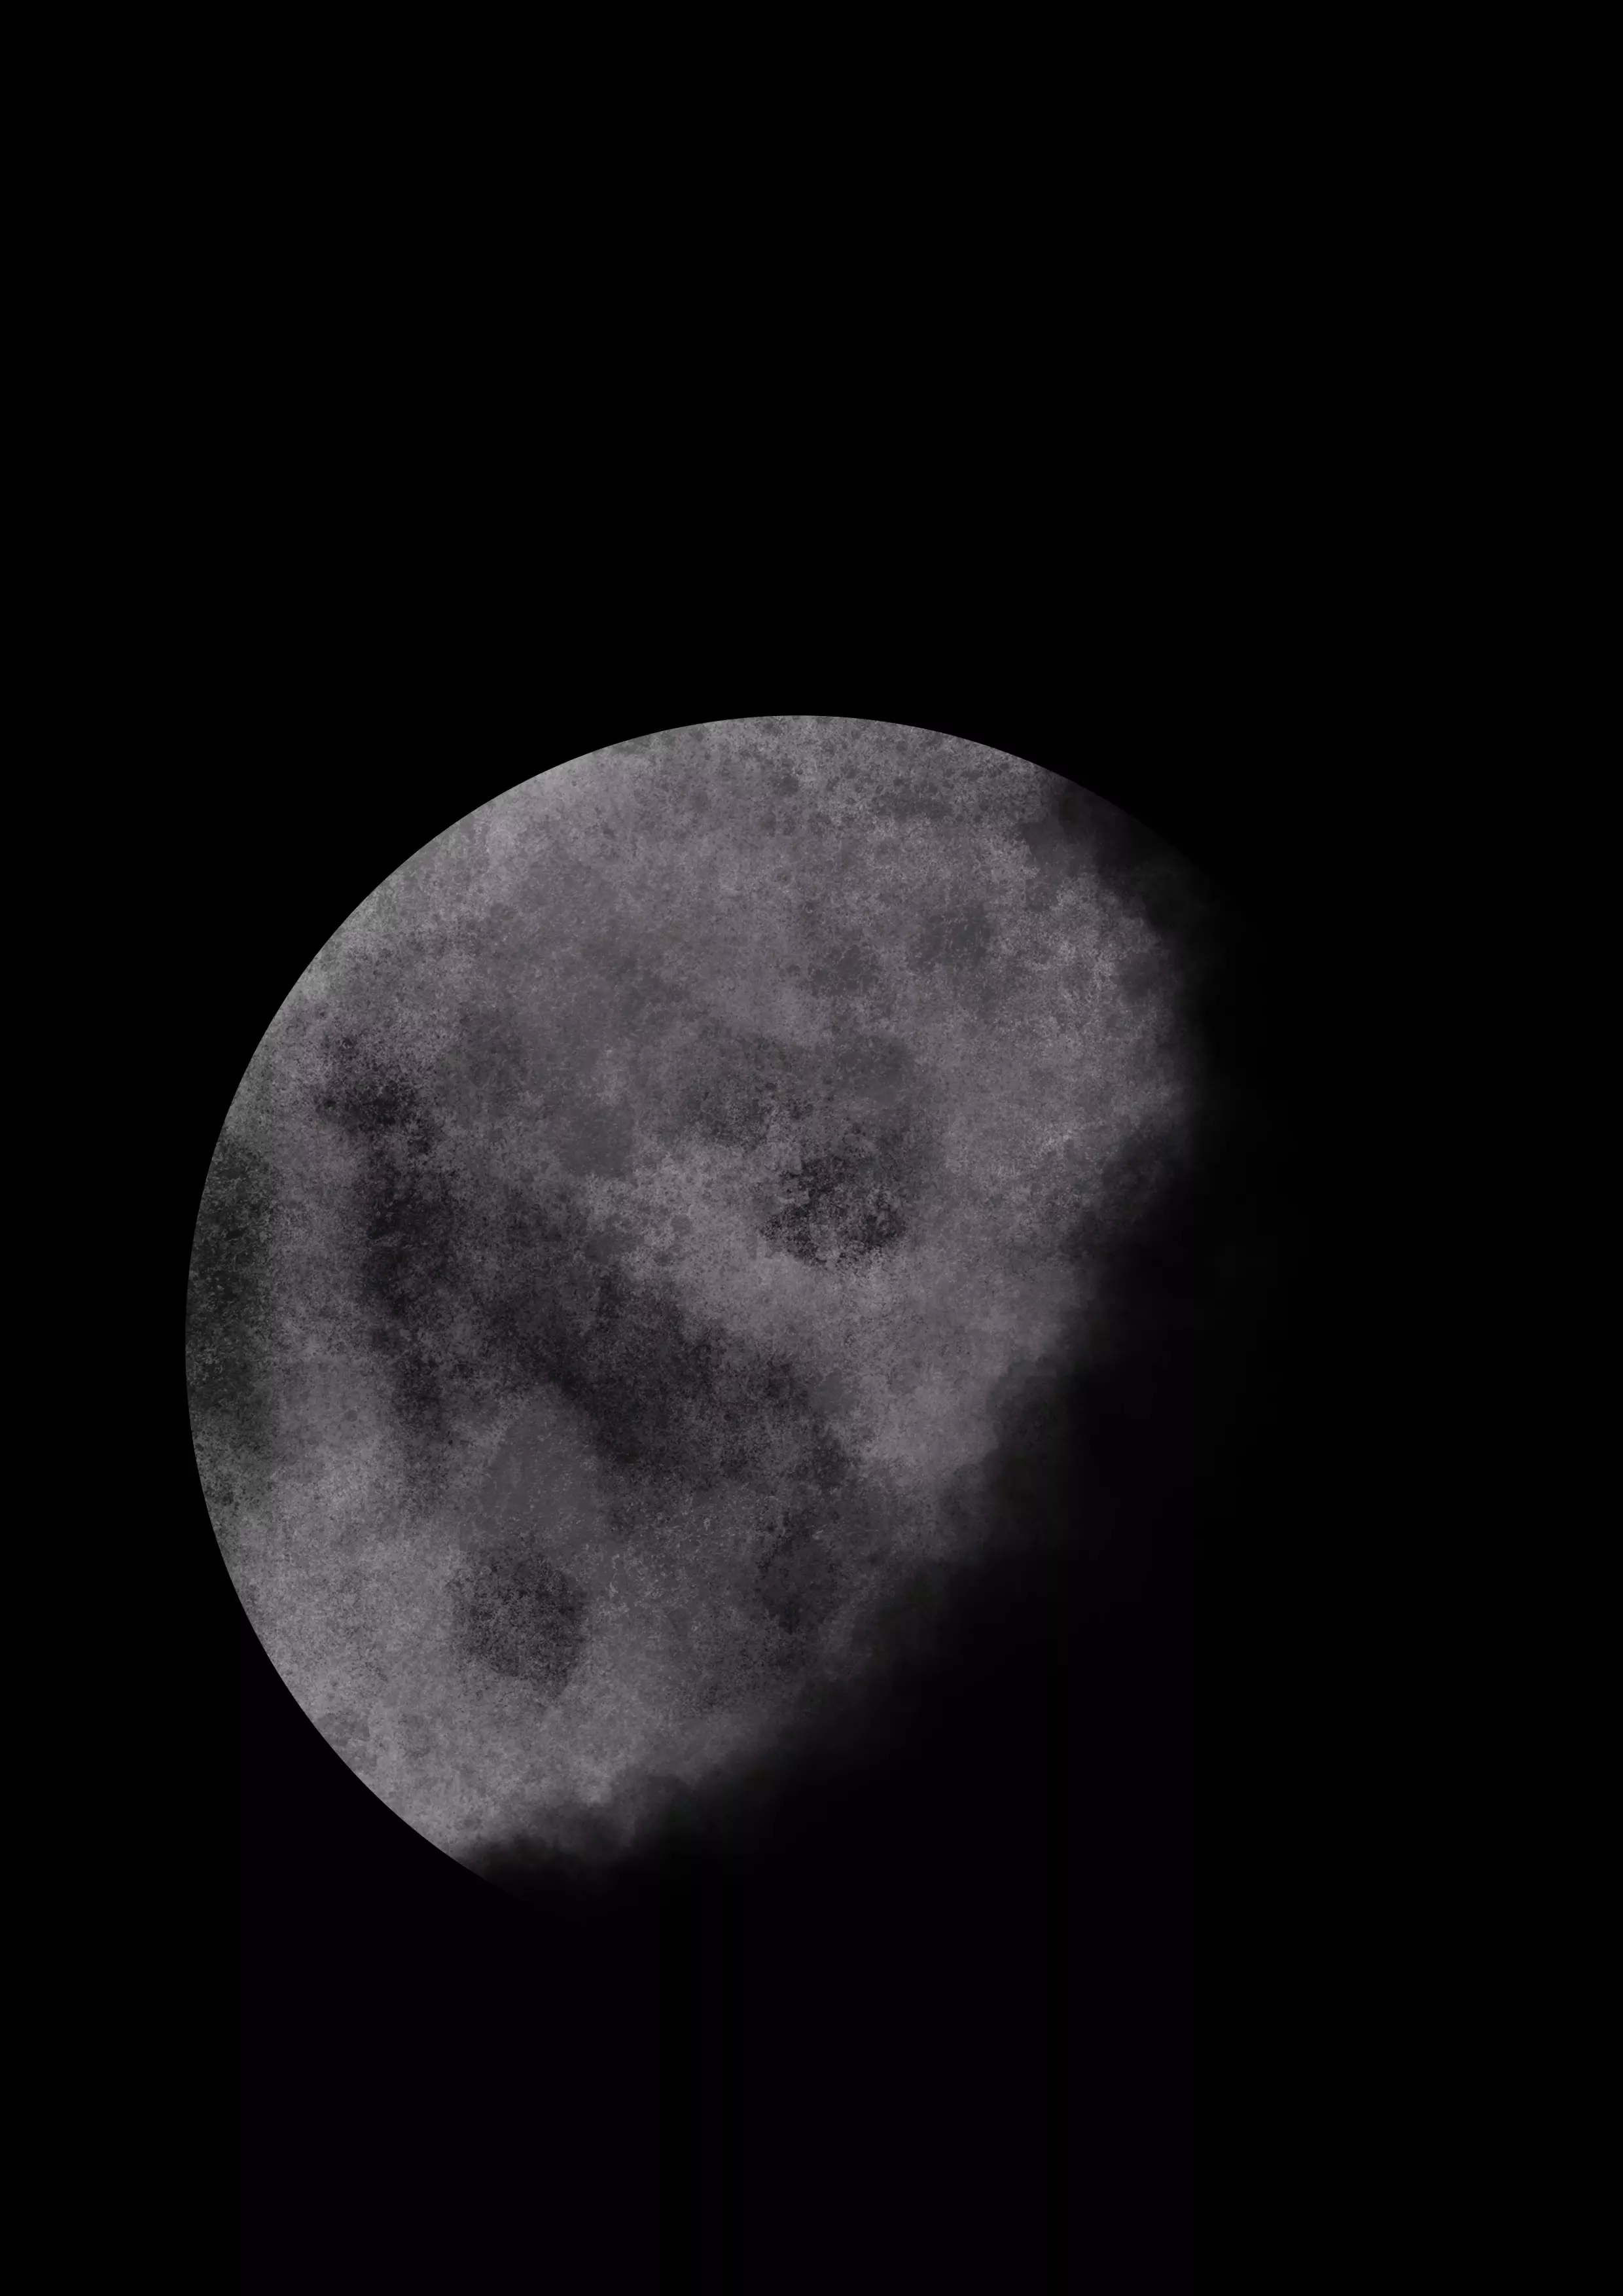
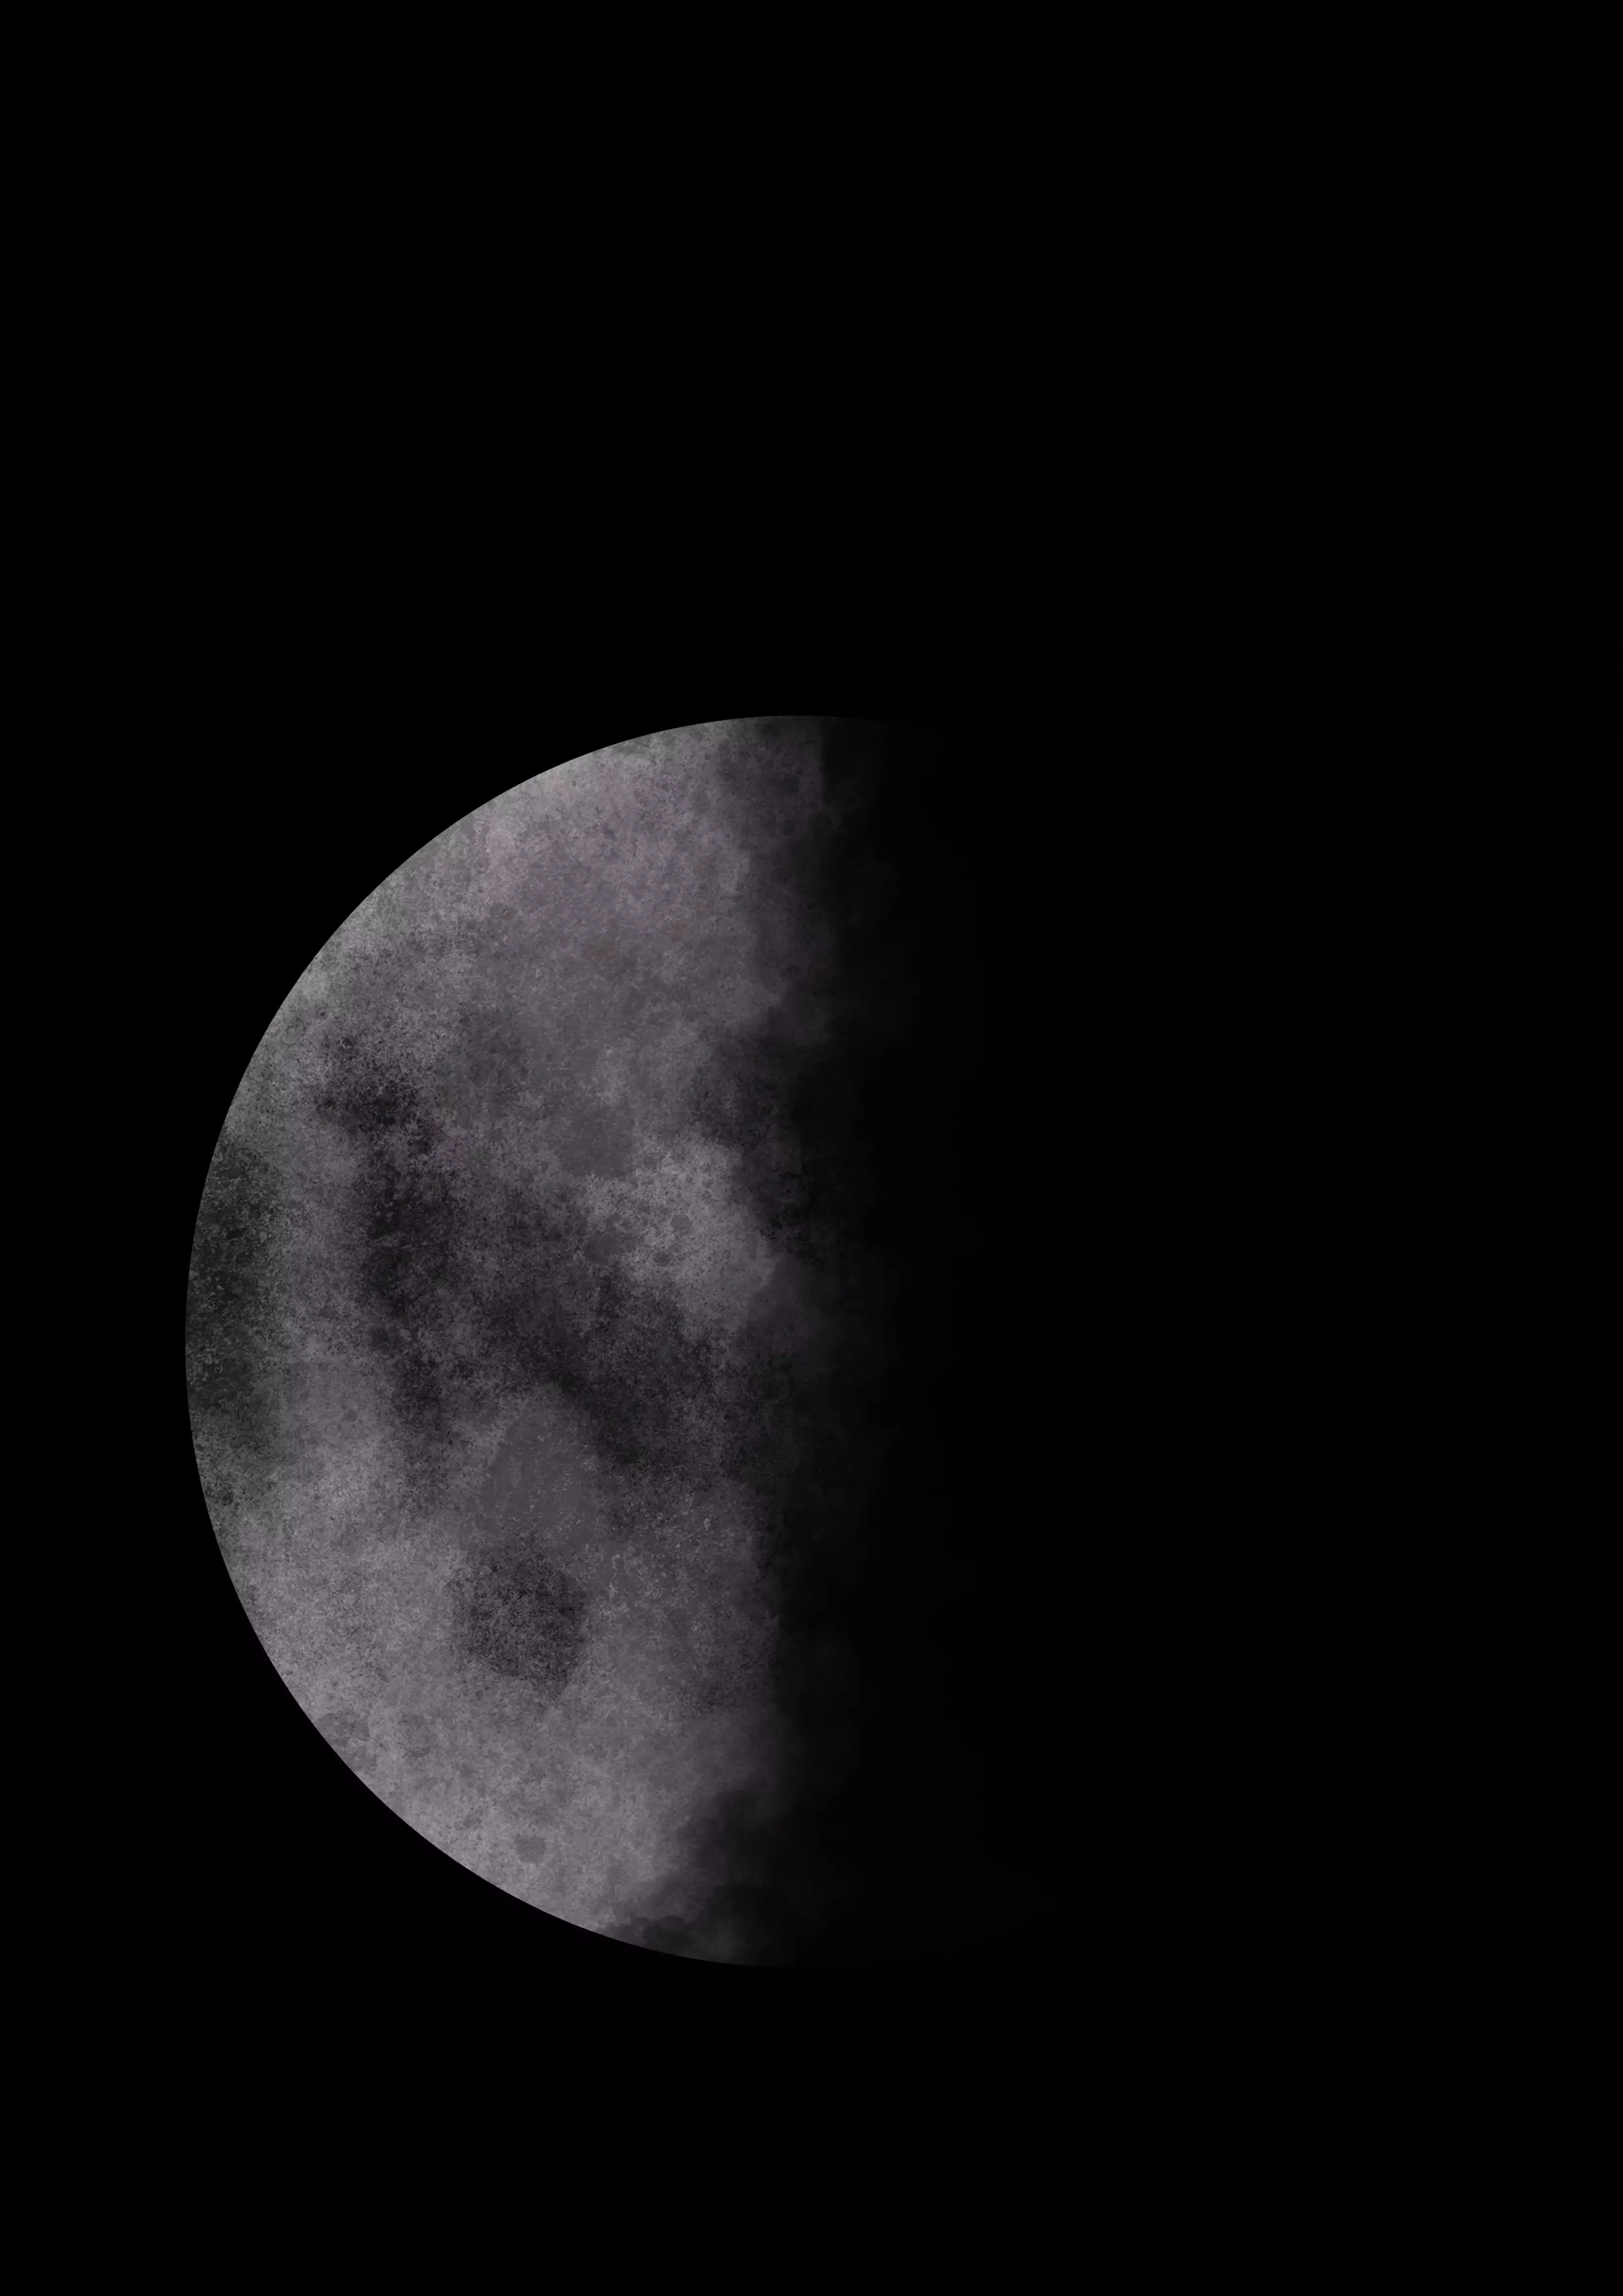

Our drawing is finished!
For this exercise, the ability to blend colors into each other is very important, as it helps to smooth out the composition to achieve a harmonious and soft drawing.
Do not hesitate to practice creating gradients before doing your drawing, learning to blend the different shades together. Practice with basic colors like black, white, and gray. These are the simplest, and if you can do it with these colors, you can reproduce the same thing with others ;)
Illustrator and writer: Coralie
Discussion
It's me again, I love the stars, the sky, the stars, I am often in the moon myself...
thank you