How to Draw a Mountain Cabin
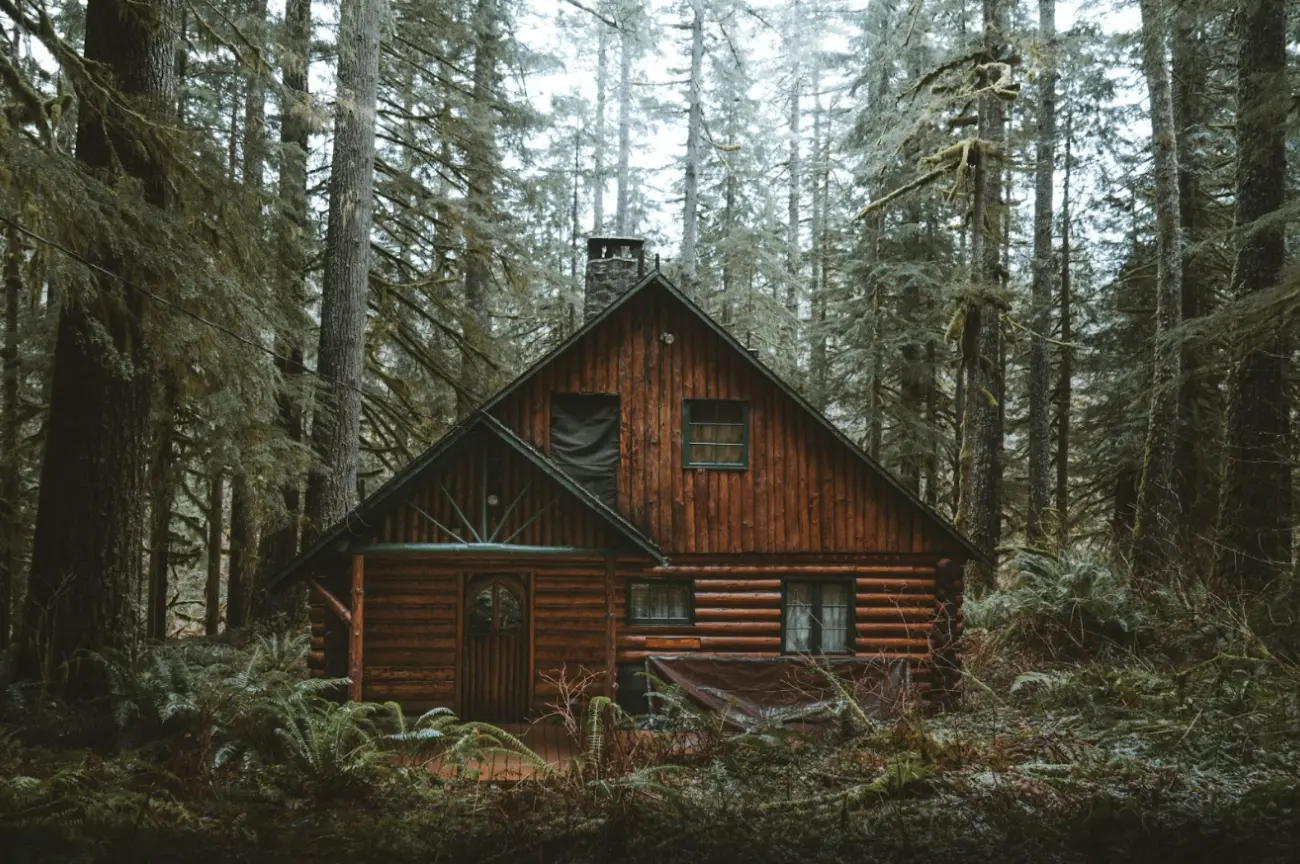
Escaping from the big city for a few days is a dream for many of us. We often imagine a peaceful and serene setting, depicted by a charming rustic cabin made of wooden logs, surrounded by abundant nature, with a breathtaking view of the mountains.
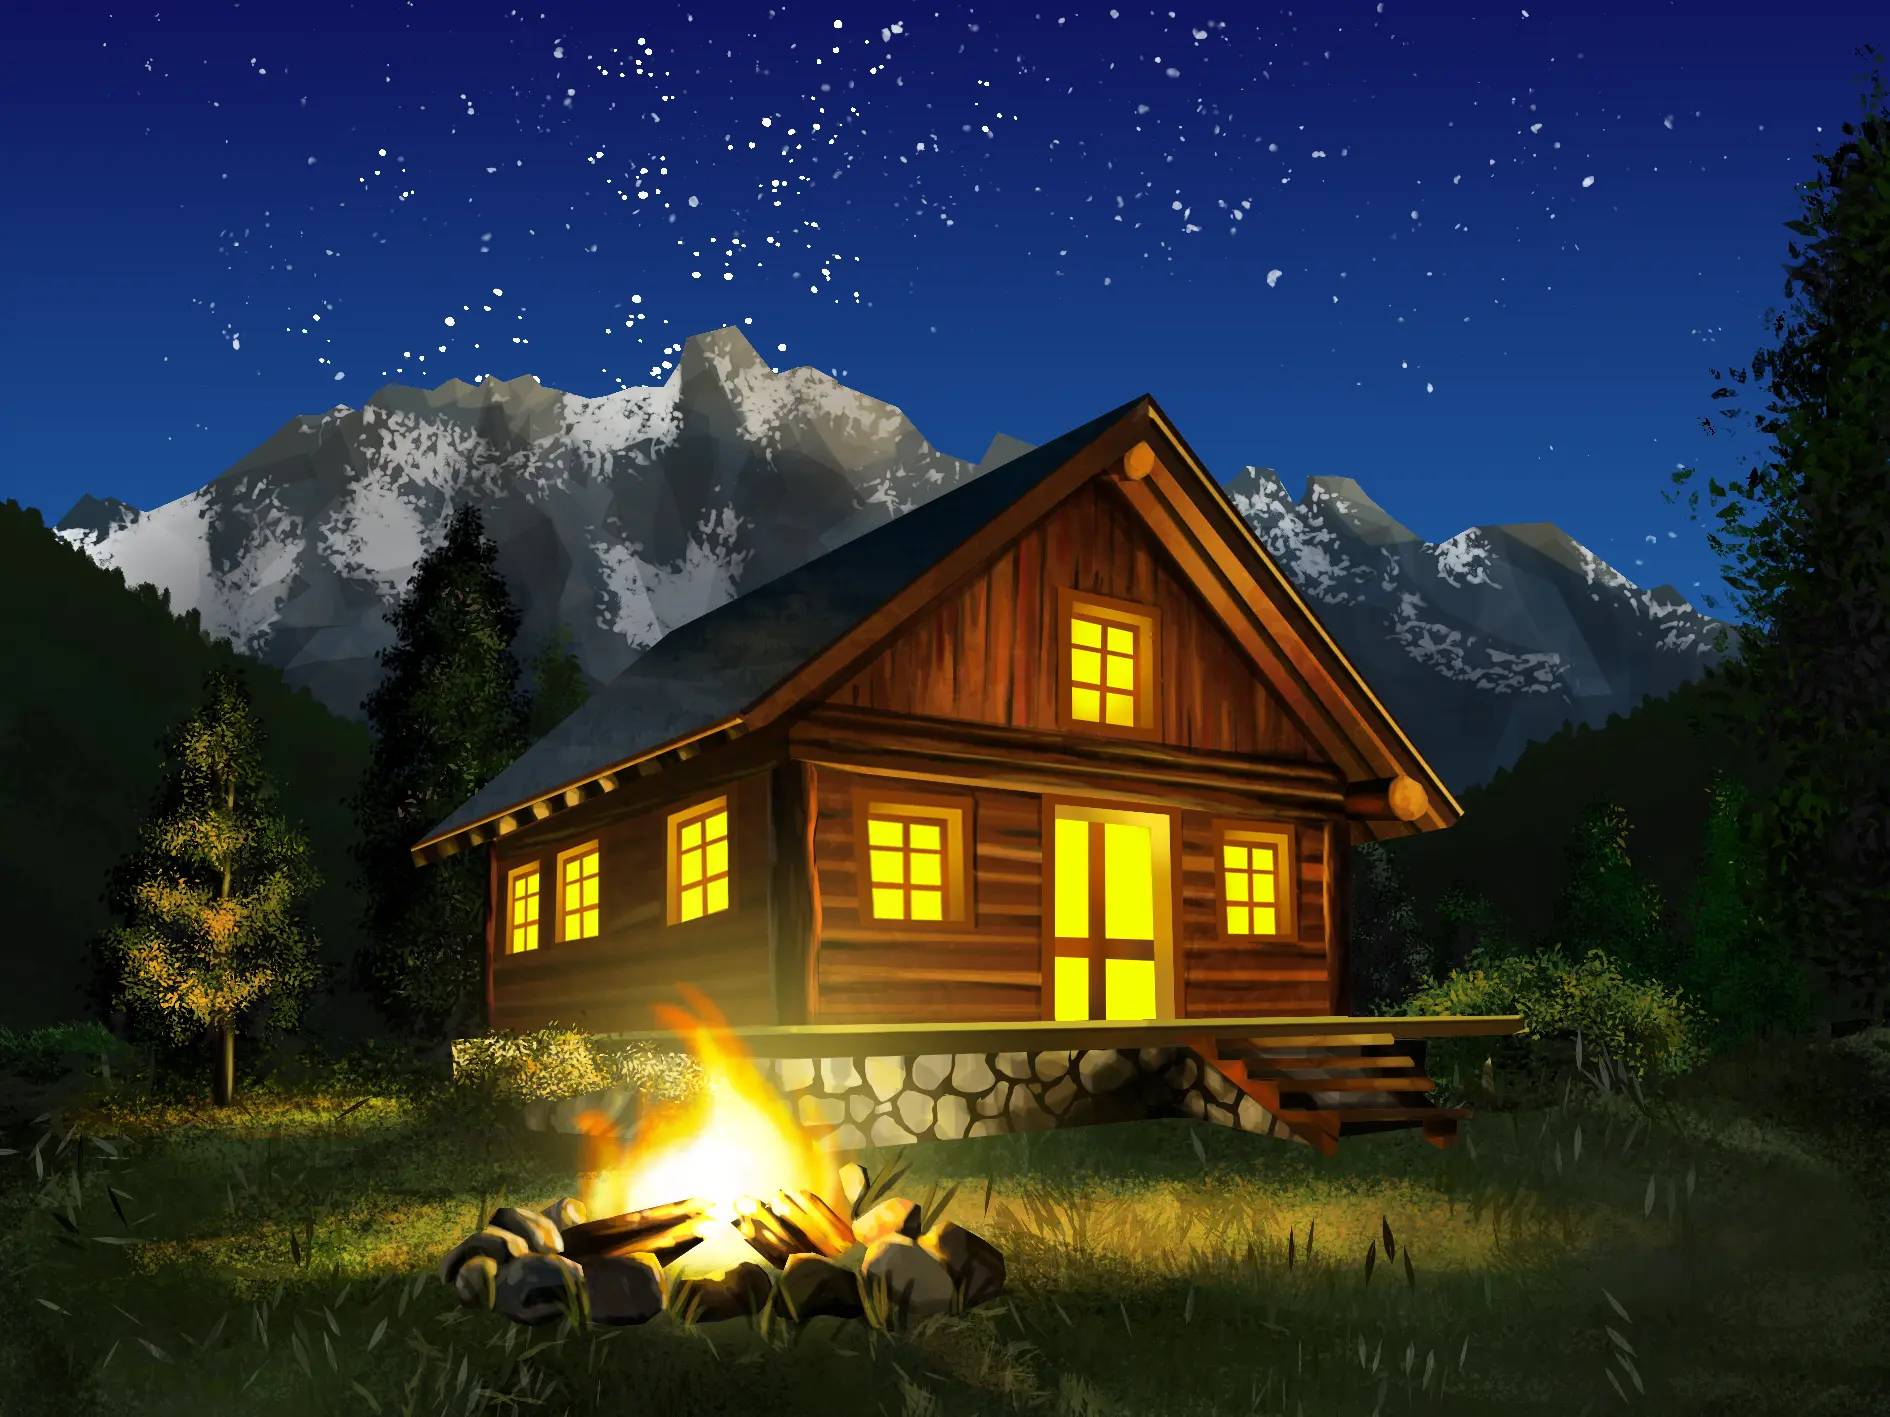
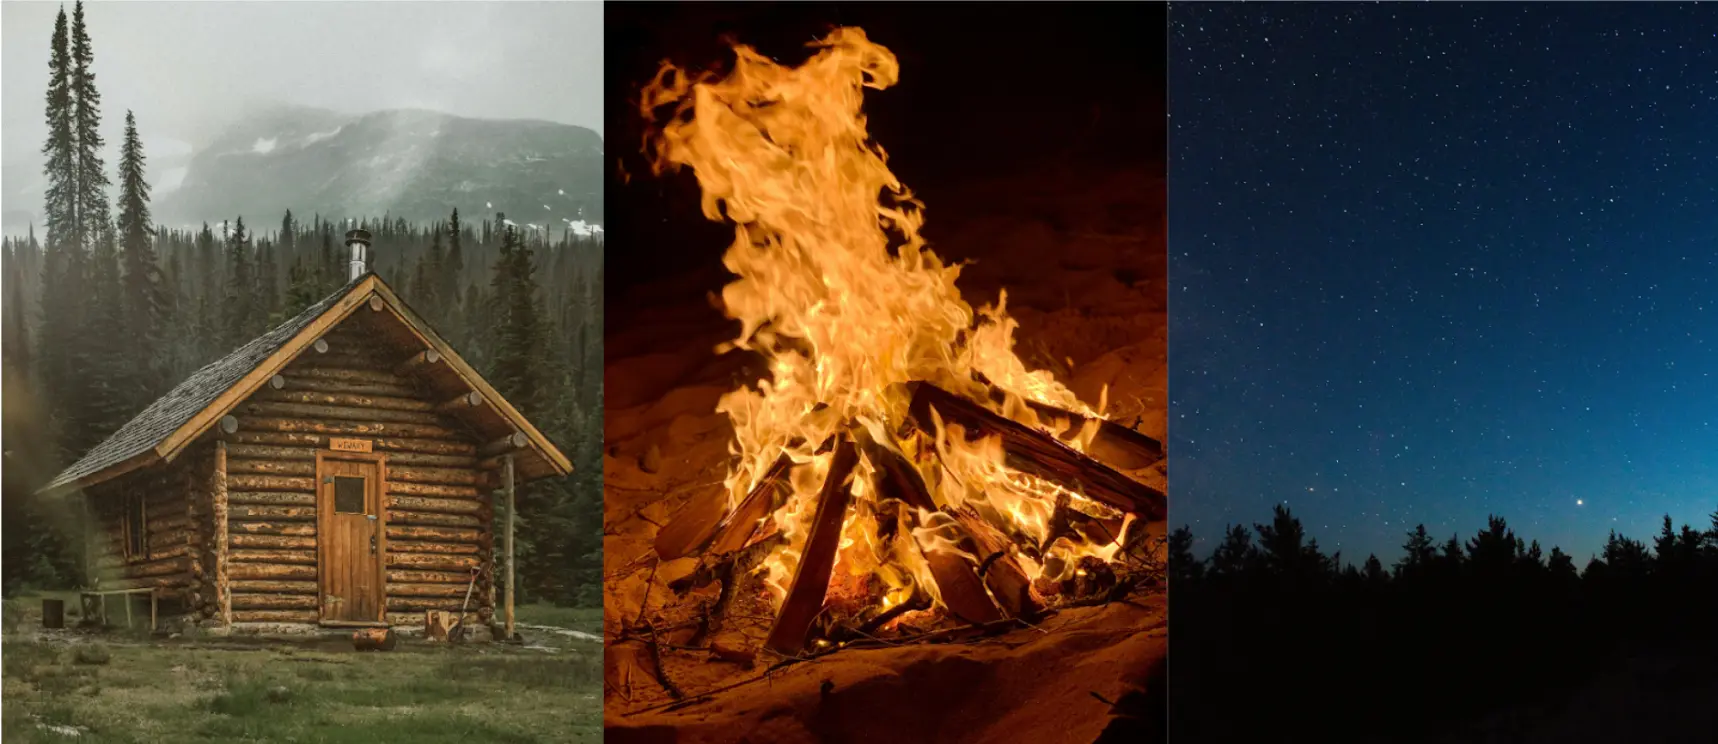
Today, we are going to take on the challenge of drawing a mountain cabin, but not just any cabin, we will give it an authentic touch to create a truly attractive image. For this, we will rely on several elements: first, a rustic cabin, of course, but this time set in a nighttime landscape illuminated by a campfire.
Draw the sketch of the mountain cabin step by step
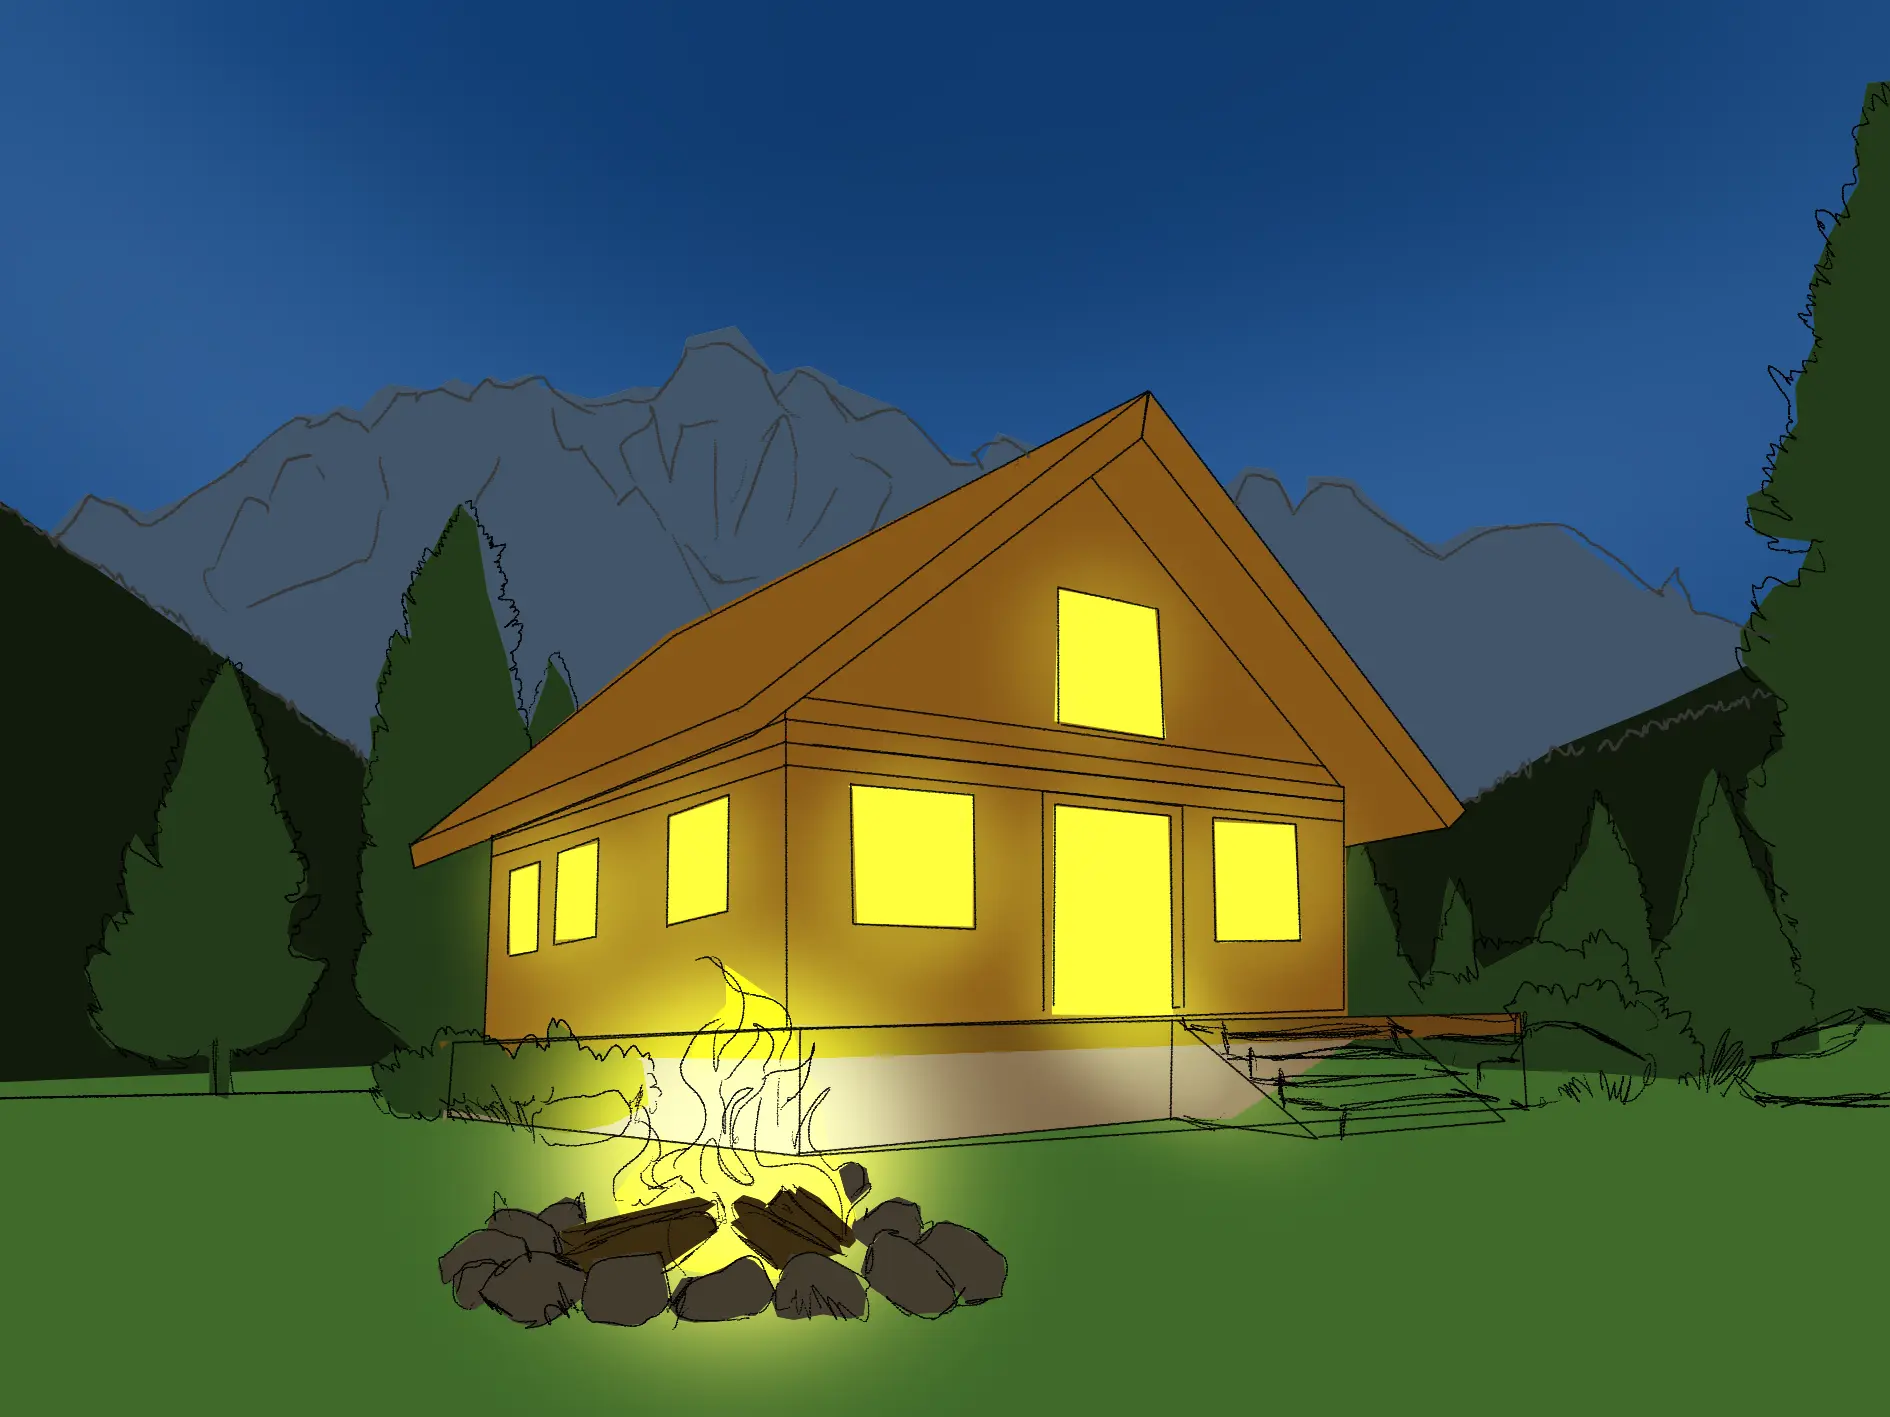
It is essential to organize our composition, so let's start with the main element: the cabin. For this, let's draw a cube that we will place on another, wider and flatter. This base will serve to represent the walls and foundations of the structure.
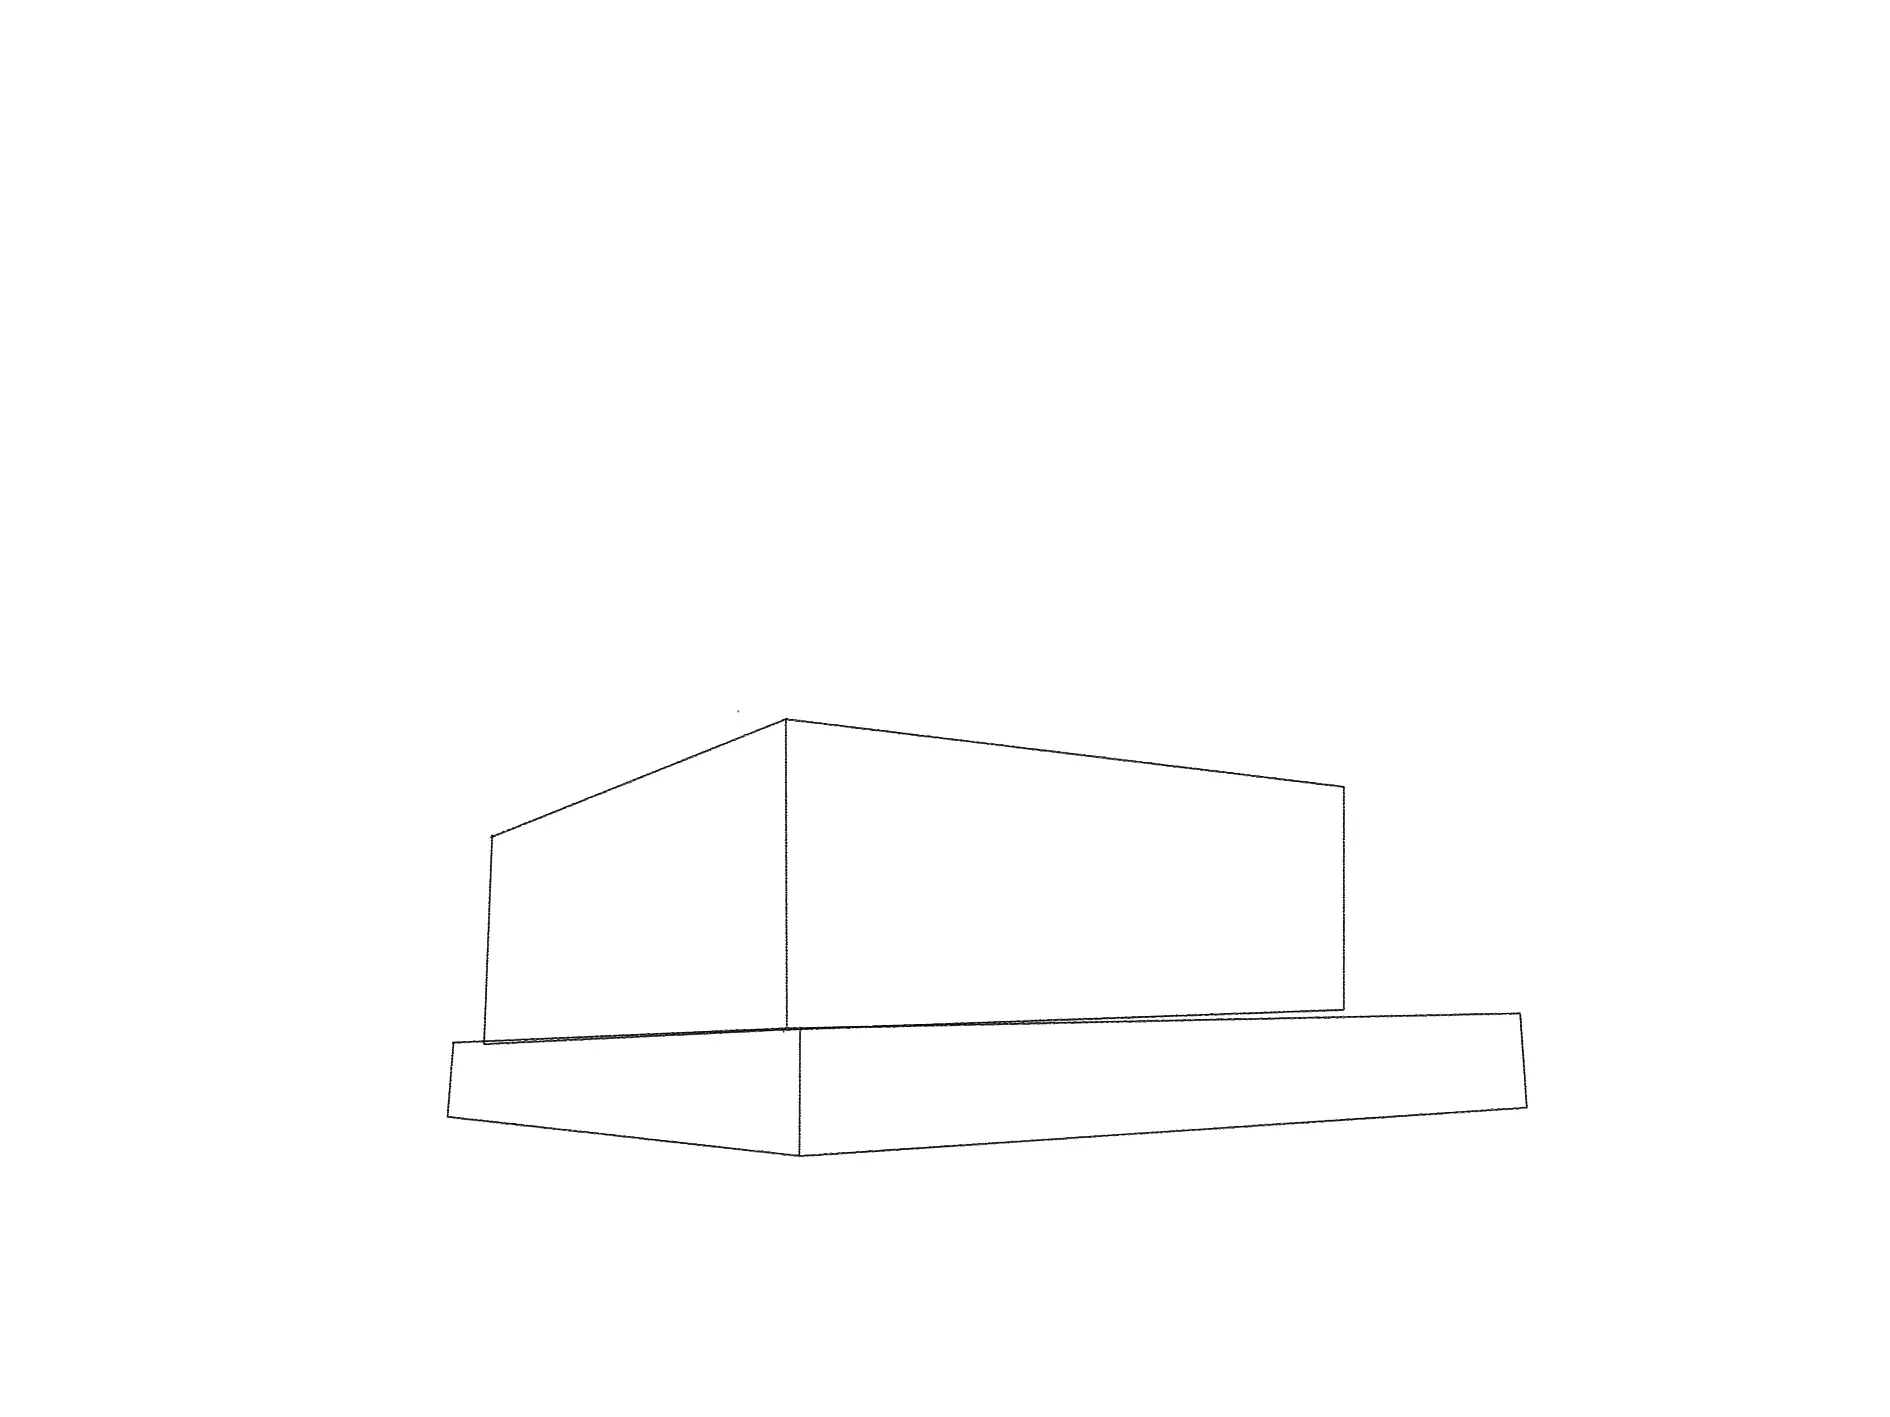
Next, let's add the triangular structure of the roof. Make sure it extends forward, but also on the sides of the initial cube. At this stage, we can also add a handrail at the base, which will serve us later to draw some steps.
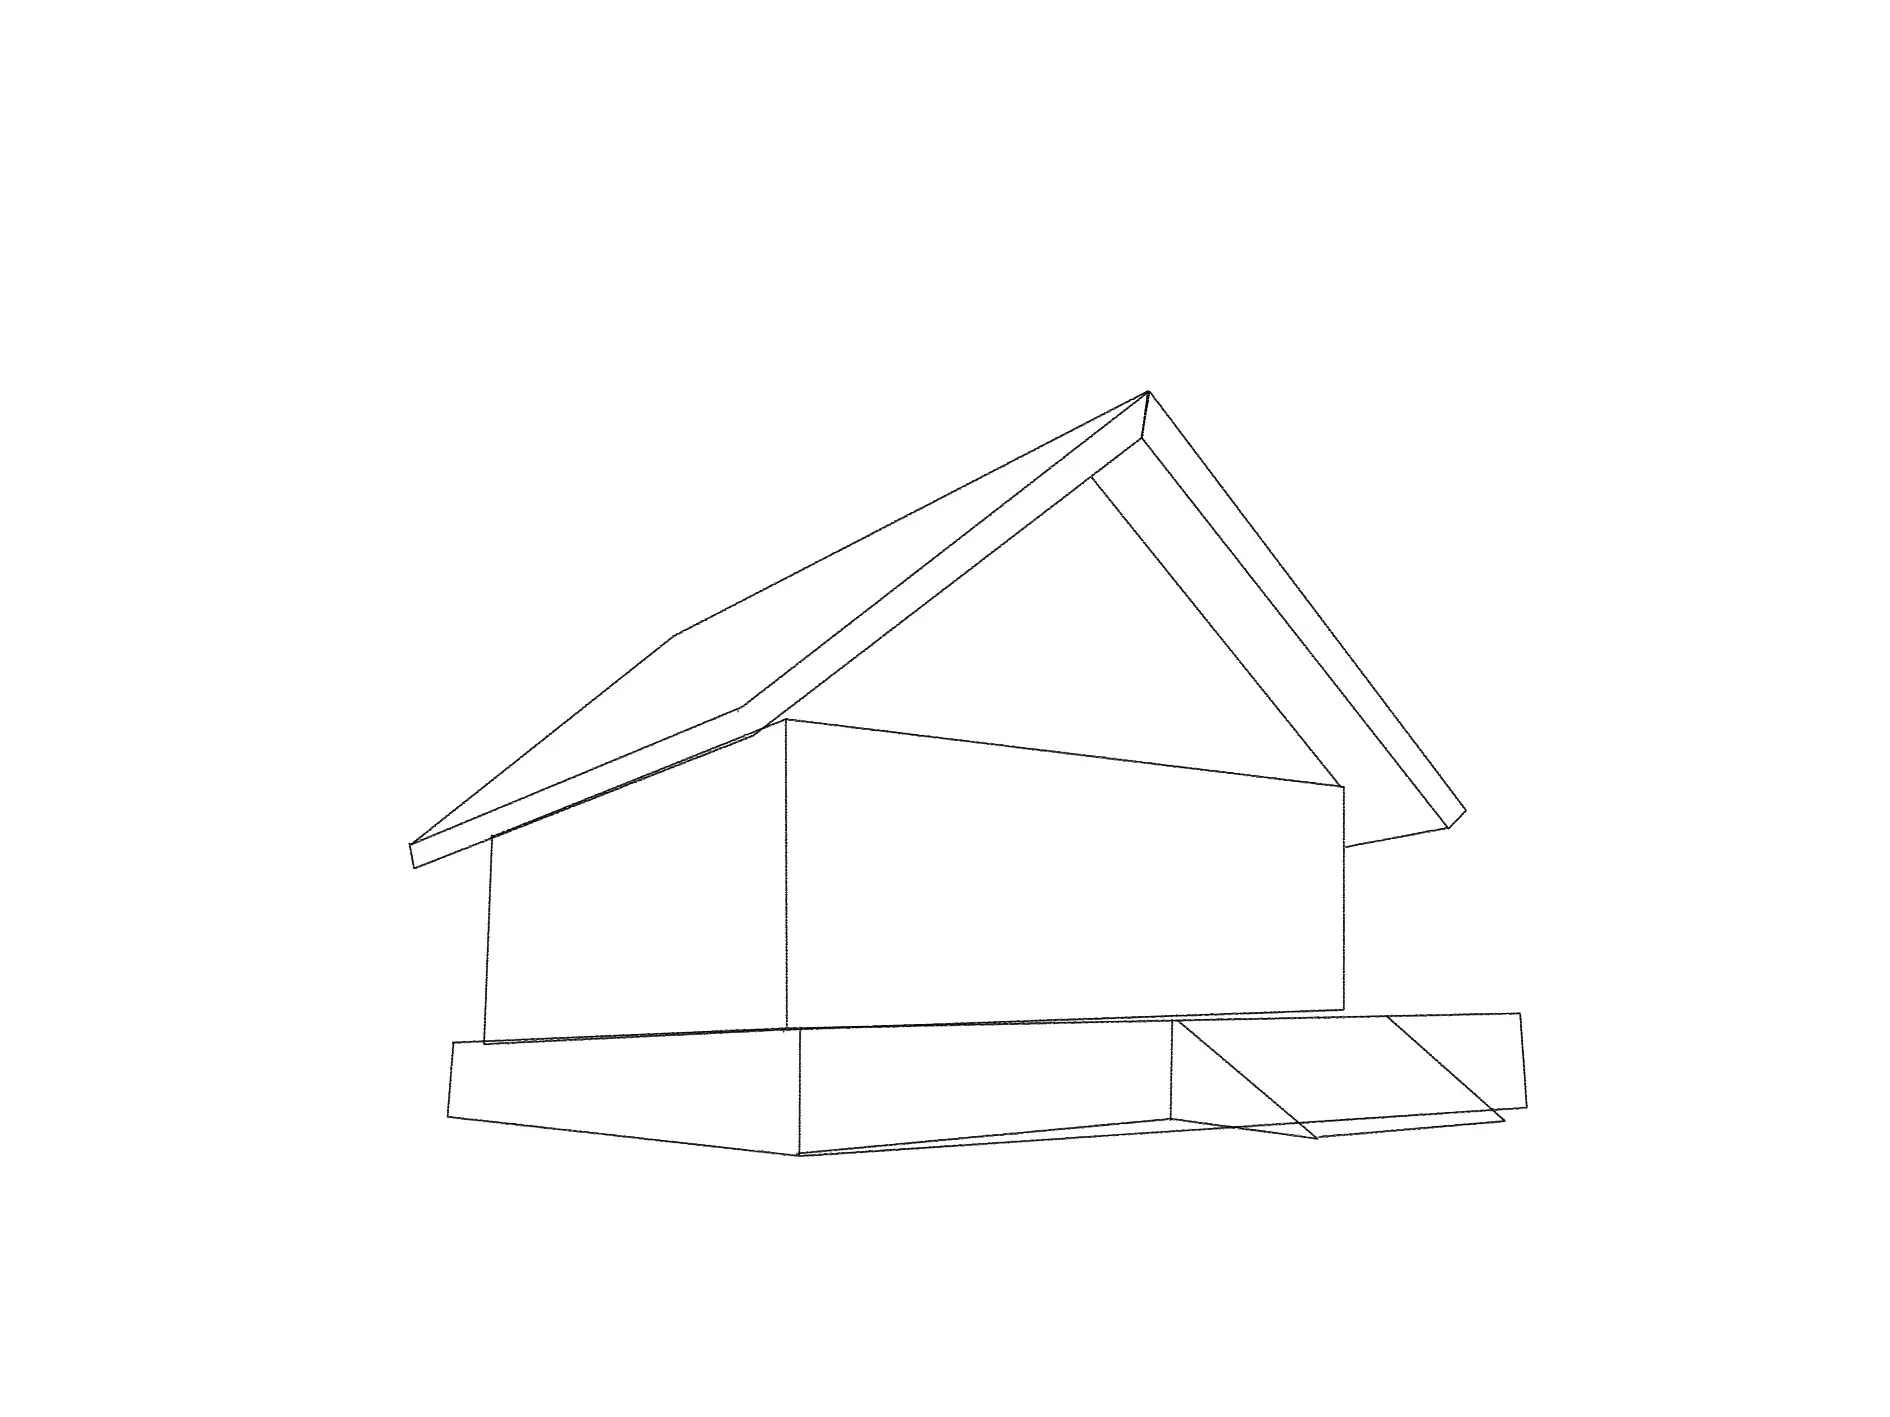
It's time to add other important elements: a door centered on the widest facade, as well as several windows at the same level to decorate the walls.
You can also draw an additional window in the upper part, between the two roof slopes, and indicate the separation between the floors using horizontally placed logs.

Draw the landscape around the mountain cabin
It's time now to organize the nature around the cabin. Let's start by adding some trees to the back of the cabin, preferably pines of various sizes, or a local species if you prefer.
You can also draw some rocks, you can never have too many. And finally, in the foreground, almost as a central element, add a campfire.
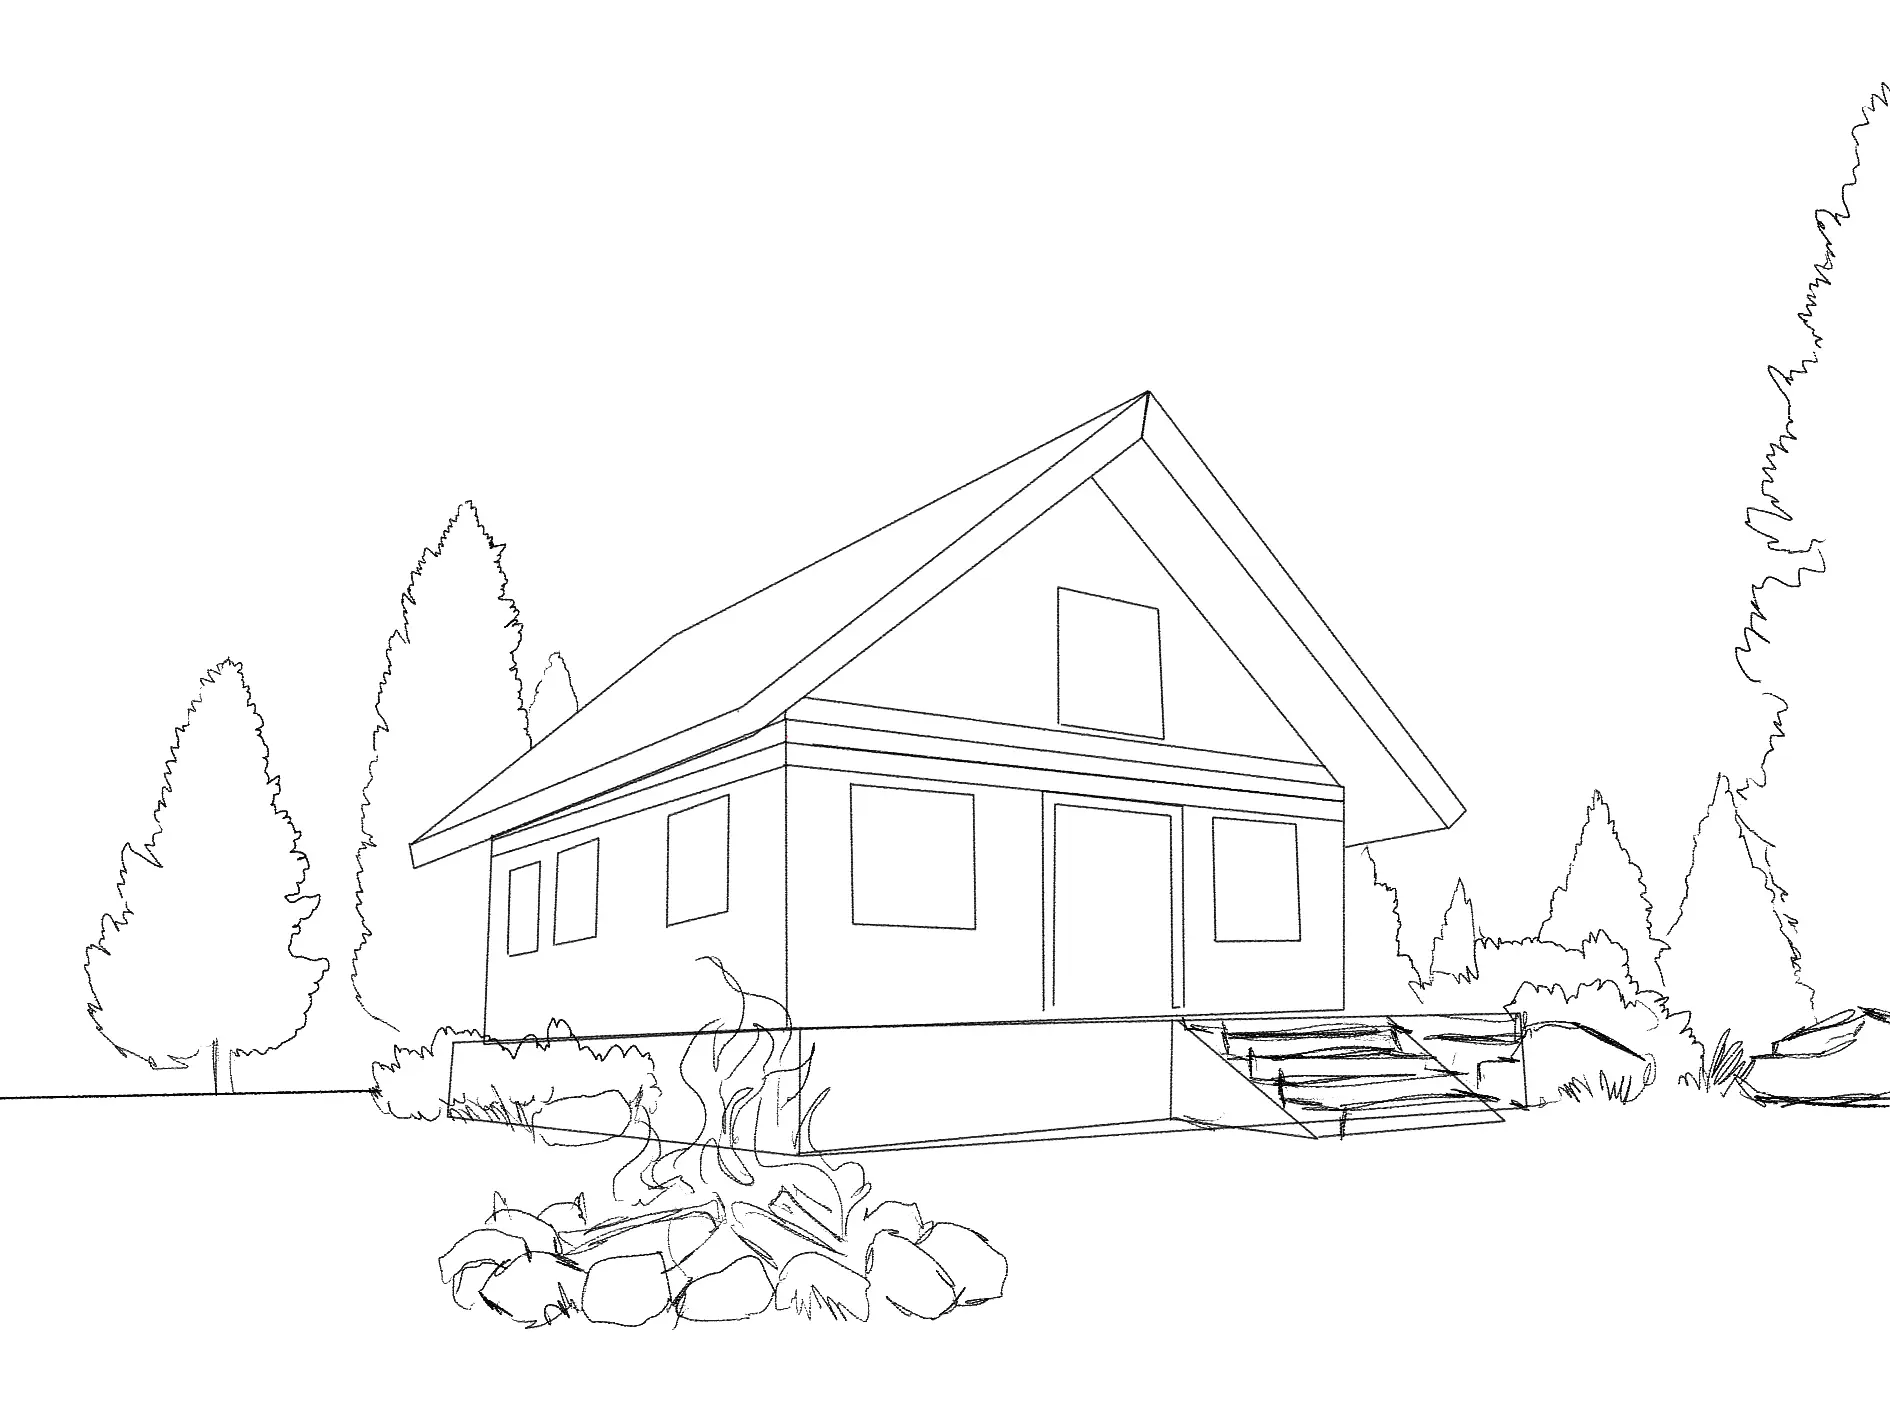
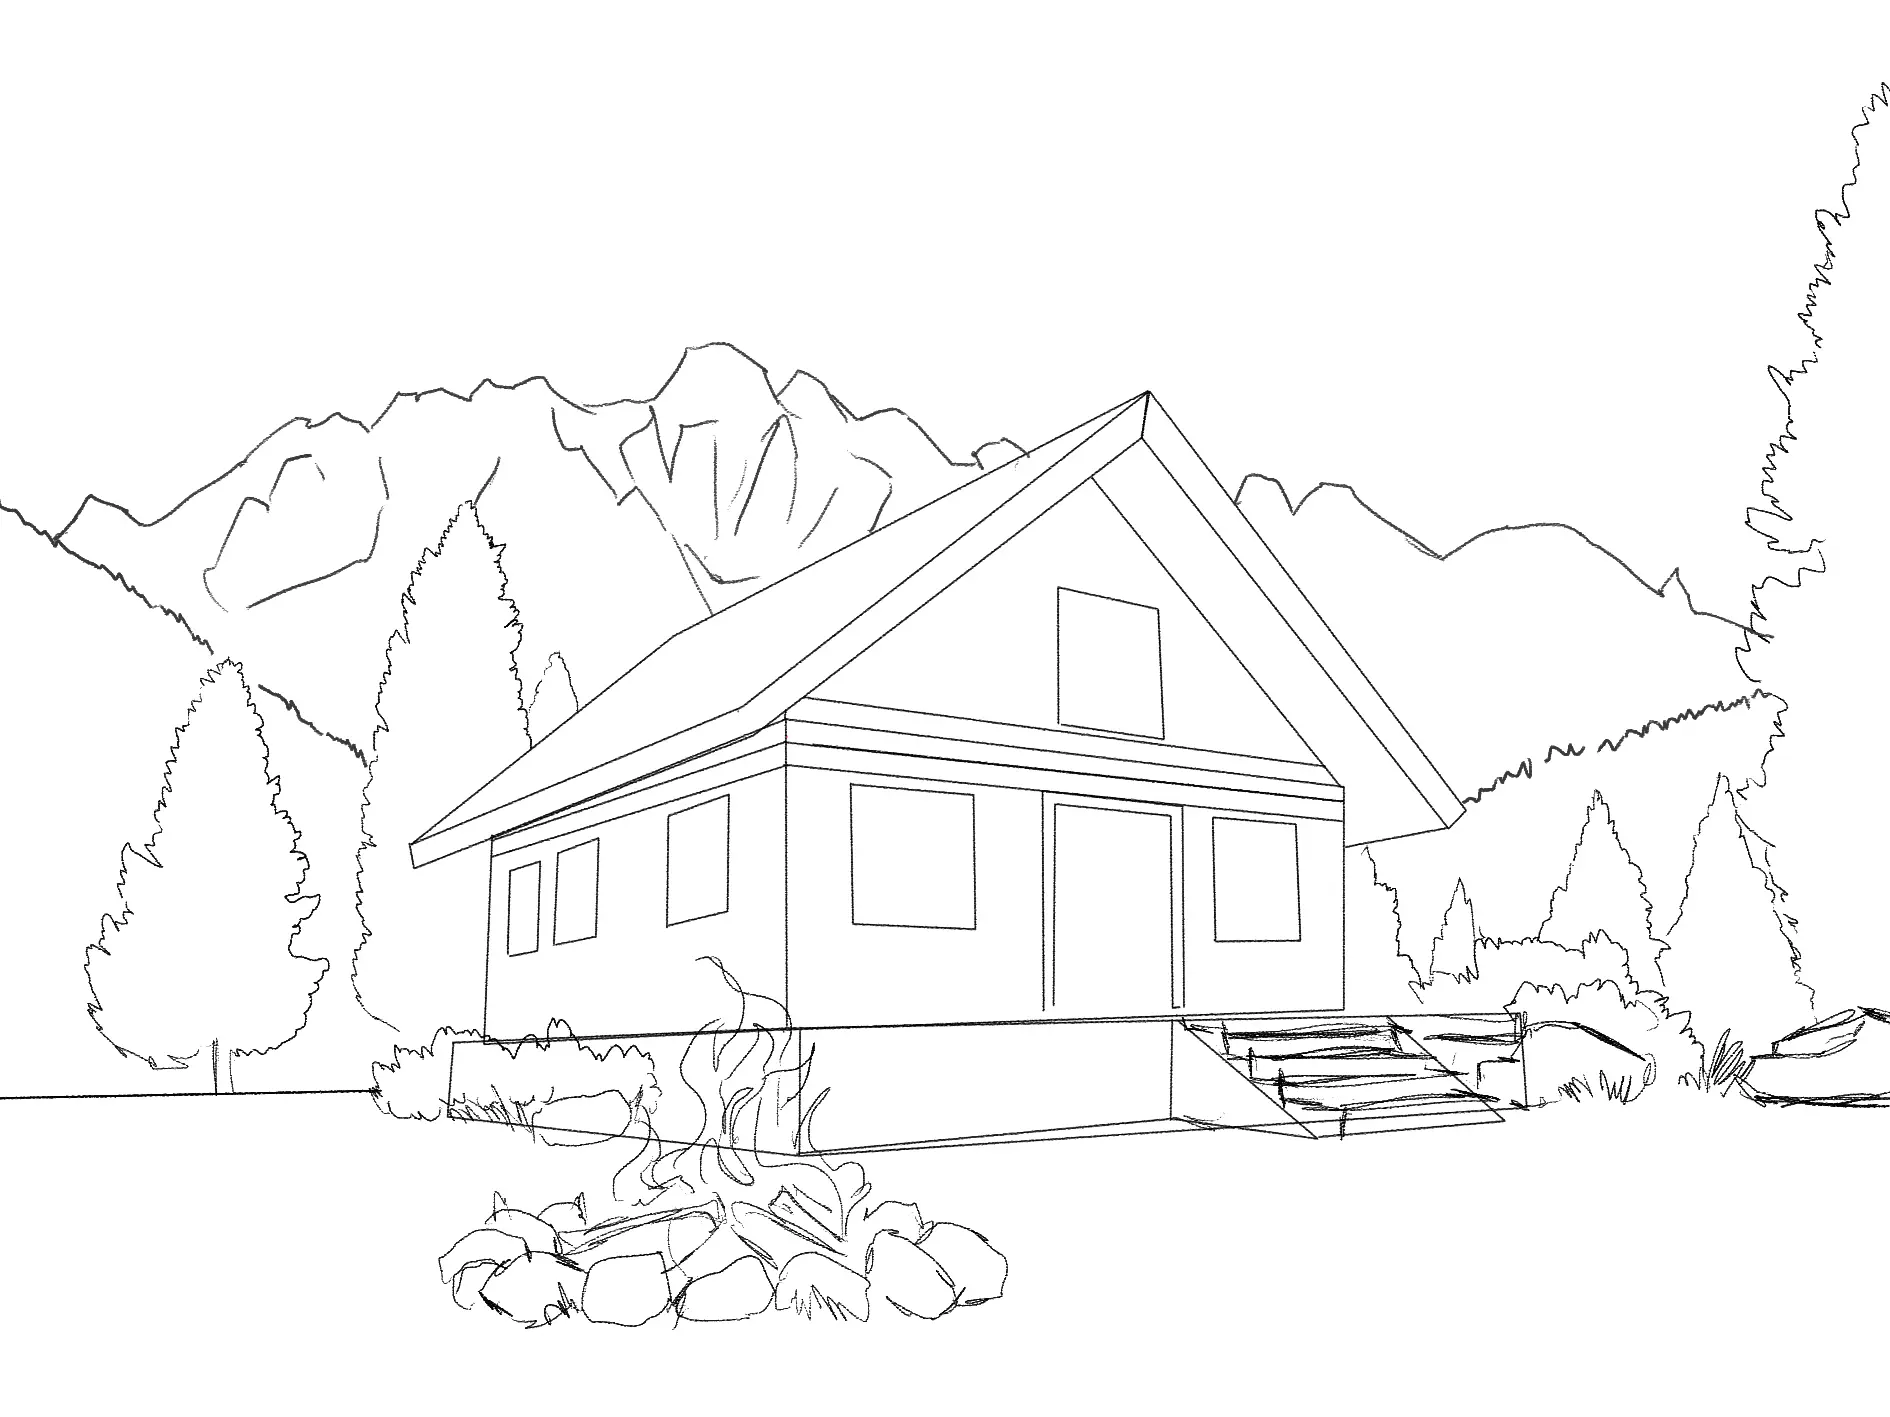
It's impossible to imagine a mountain cabin without this detail: in the background, draw two levels of mountains. Start with two green hills, lush with vegetation, then add snowy, rocky peaks at the top, representing the highest summits.
Add color to the mountain cabin
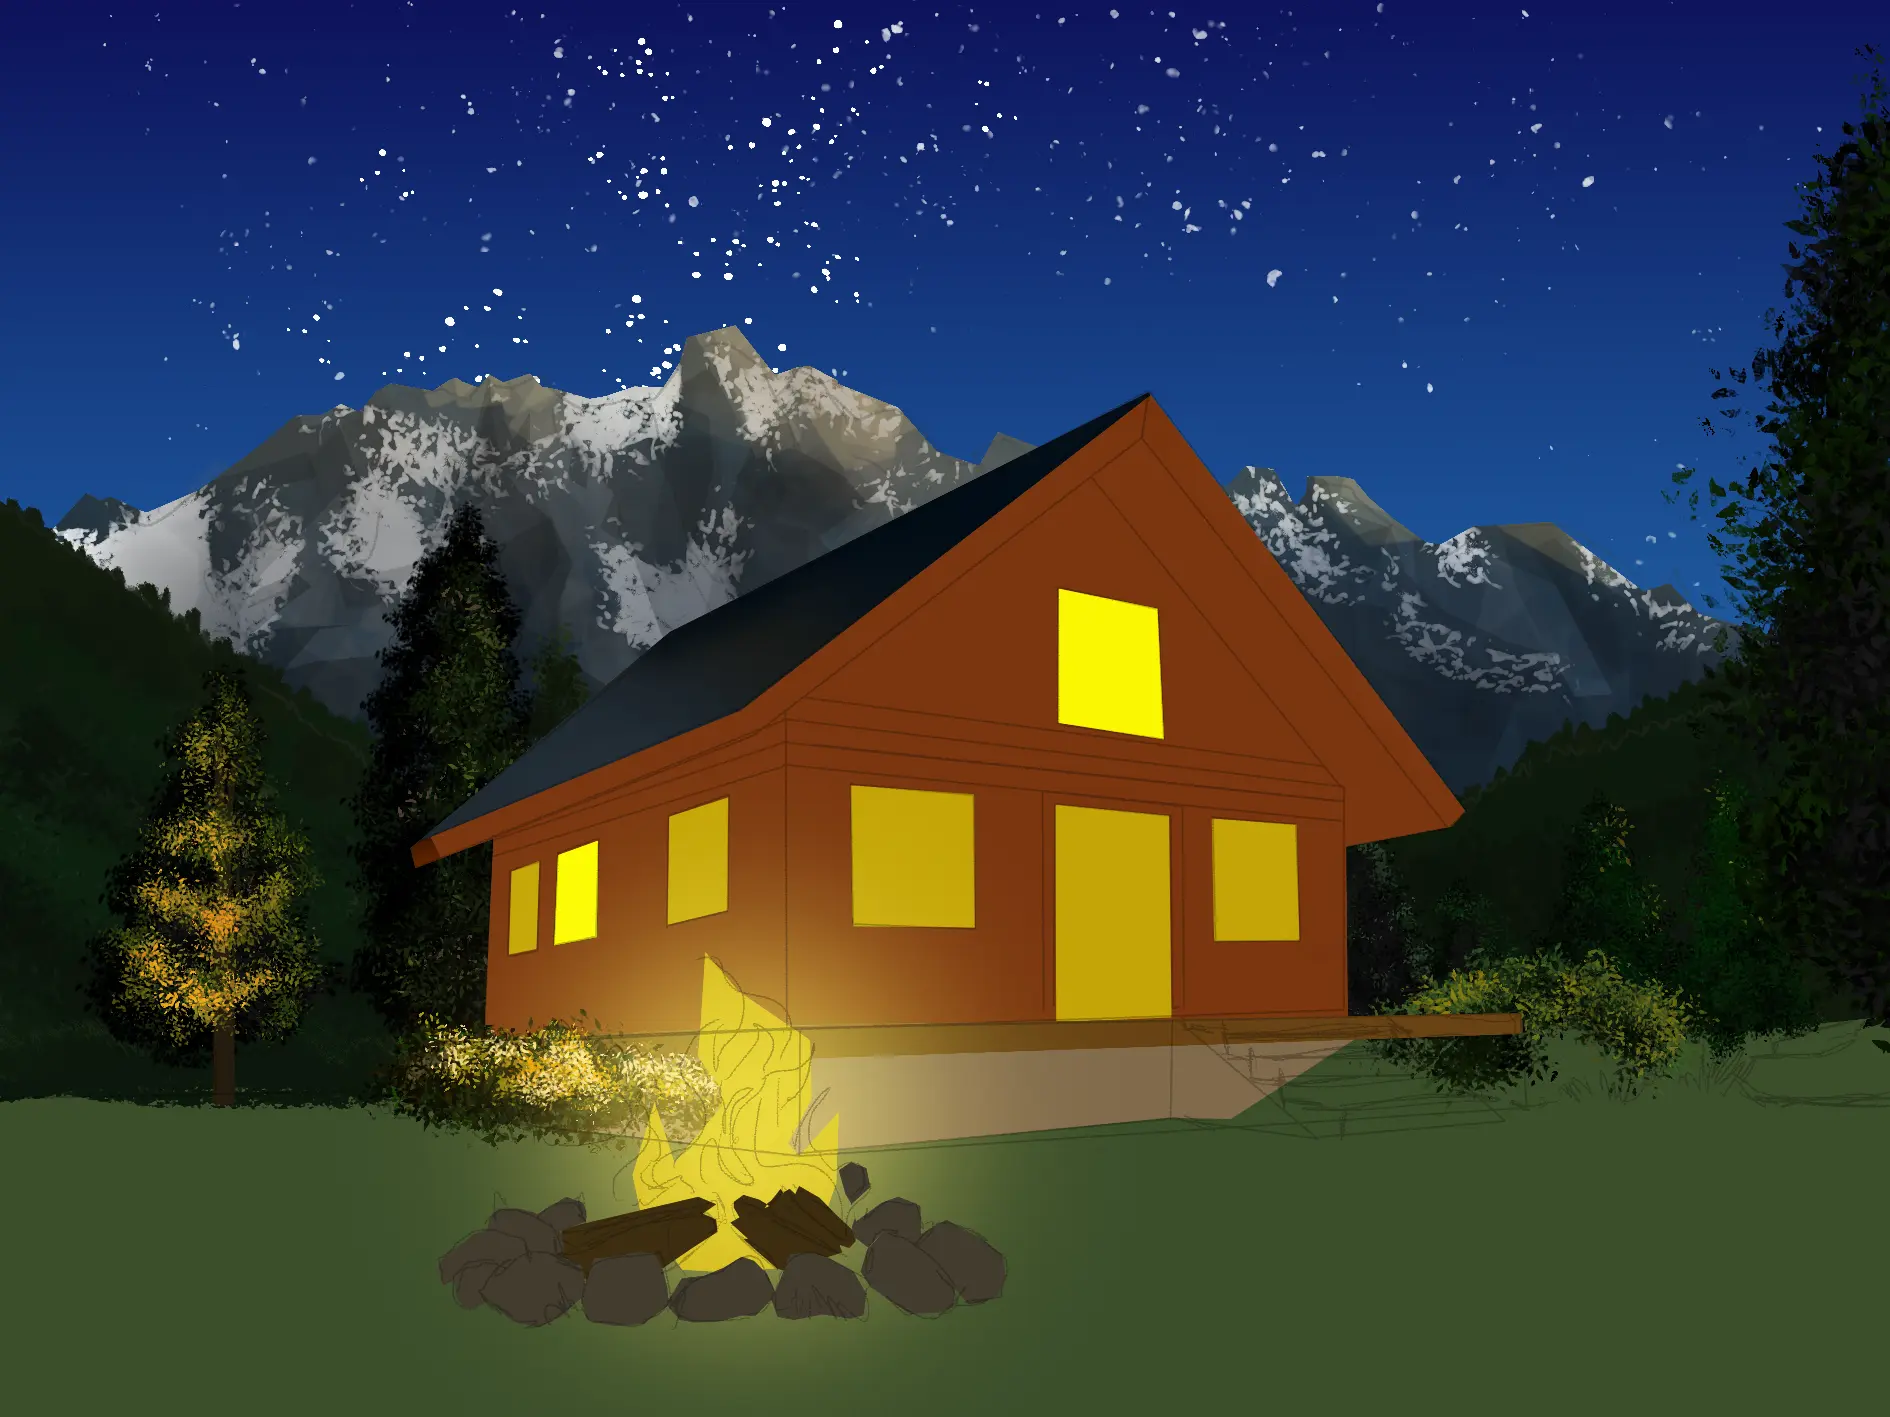
Before applying the base colors, let us remember that our scene takes place at night: therefore, we will use darker tones than usual. Let's start with the cabin and the garden, using dark greens and browns.
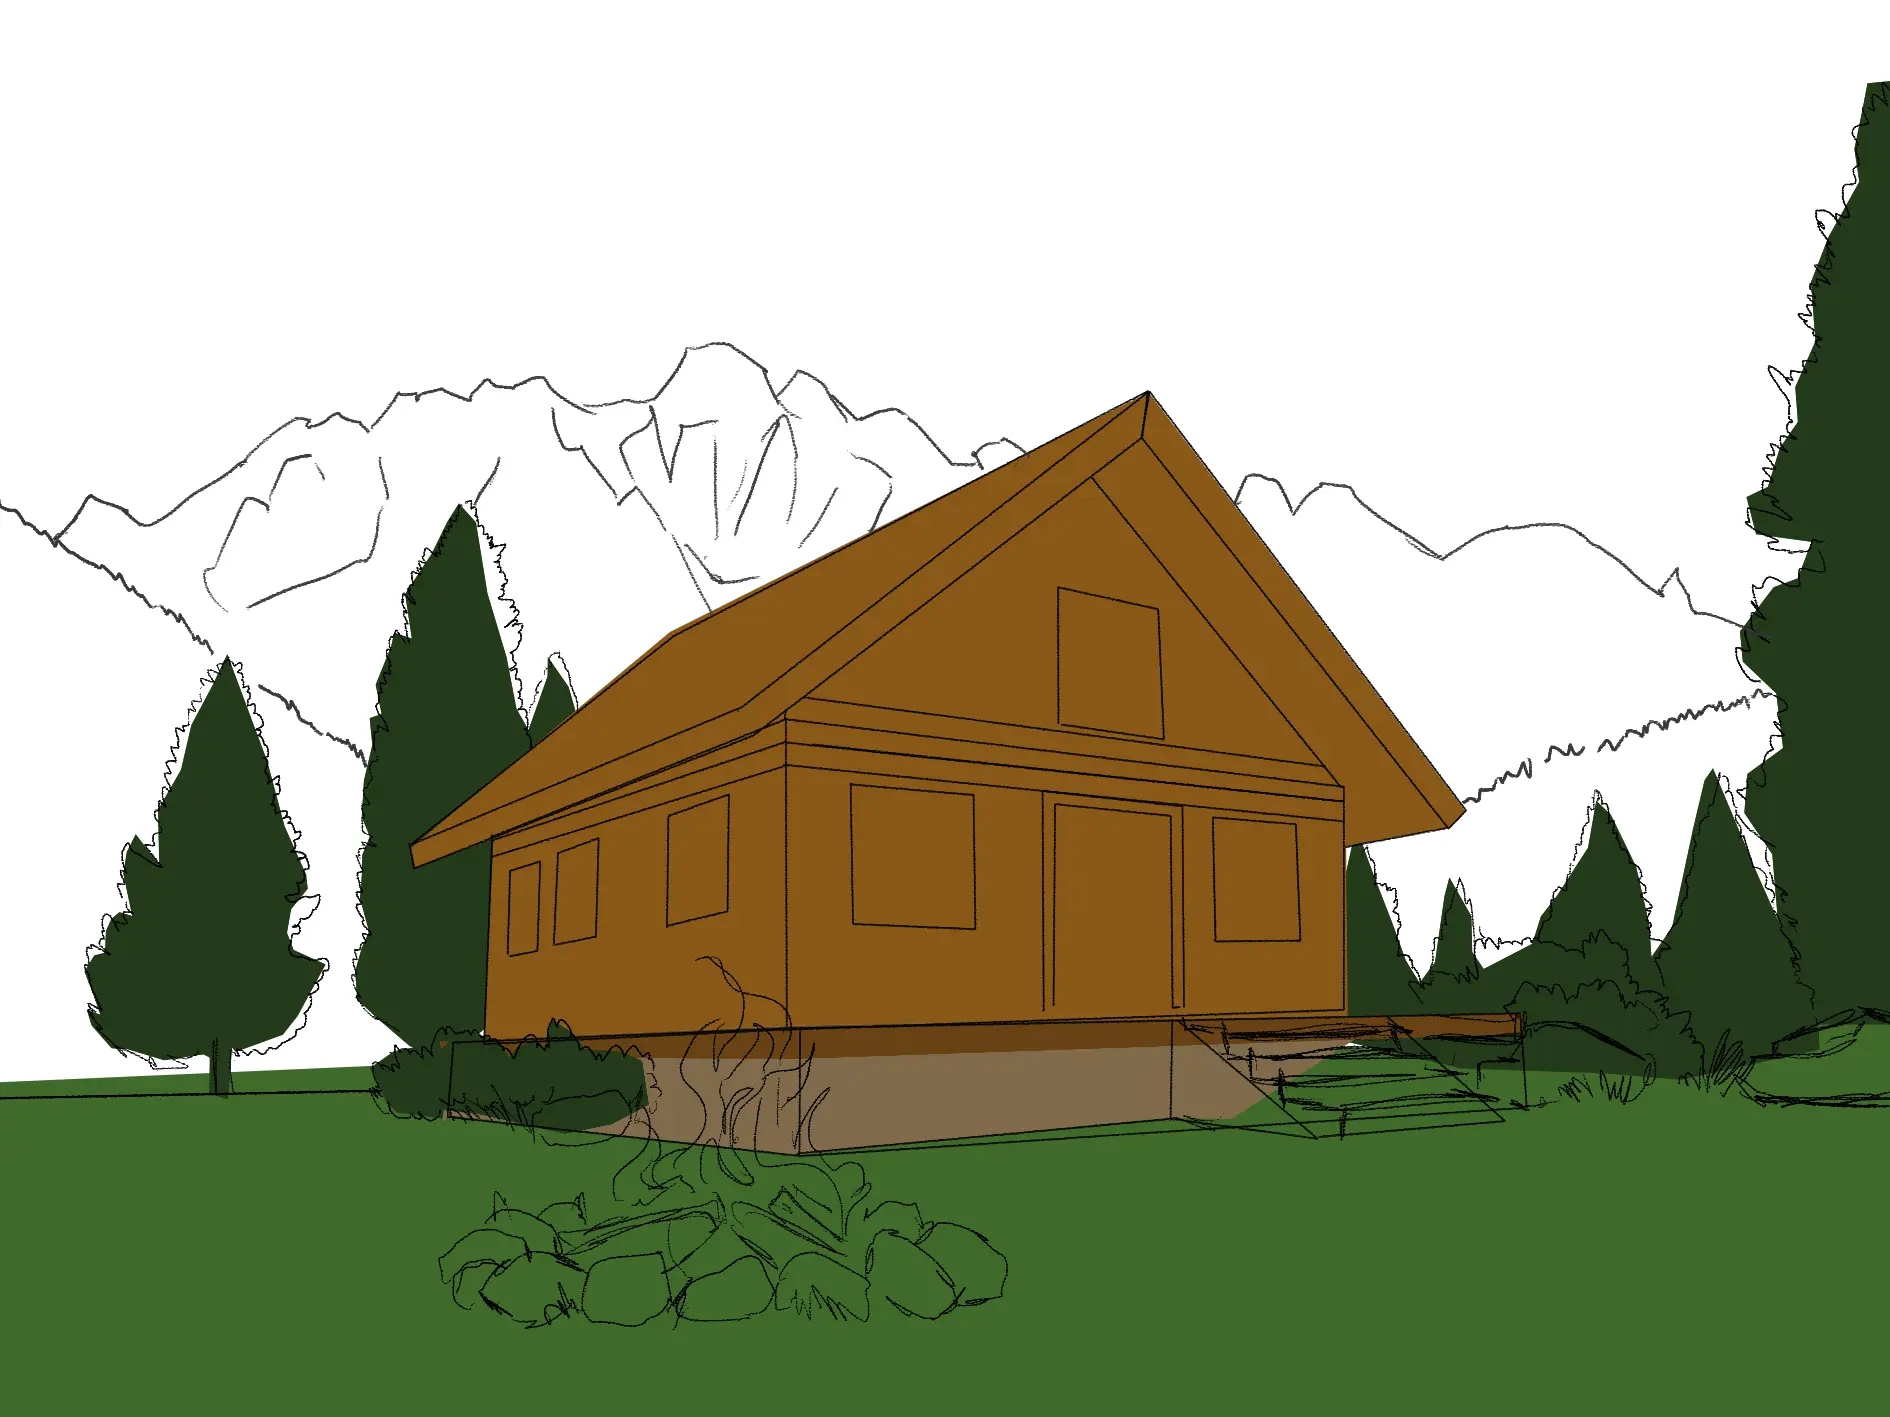
Following this logic, the mountains will be even darker. The hillsides will be almost black, while we will bring some light to the mountain peaks, a choice that is more aesthetic than realistic.

To complete this first step, paint gradients in both the night sky and around the scene's light sources, the campfire and the windows, using soft touches of light yellow.
Add the background to the drawing
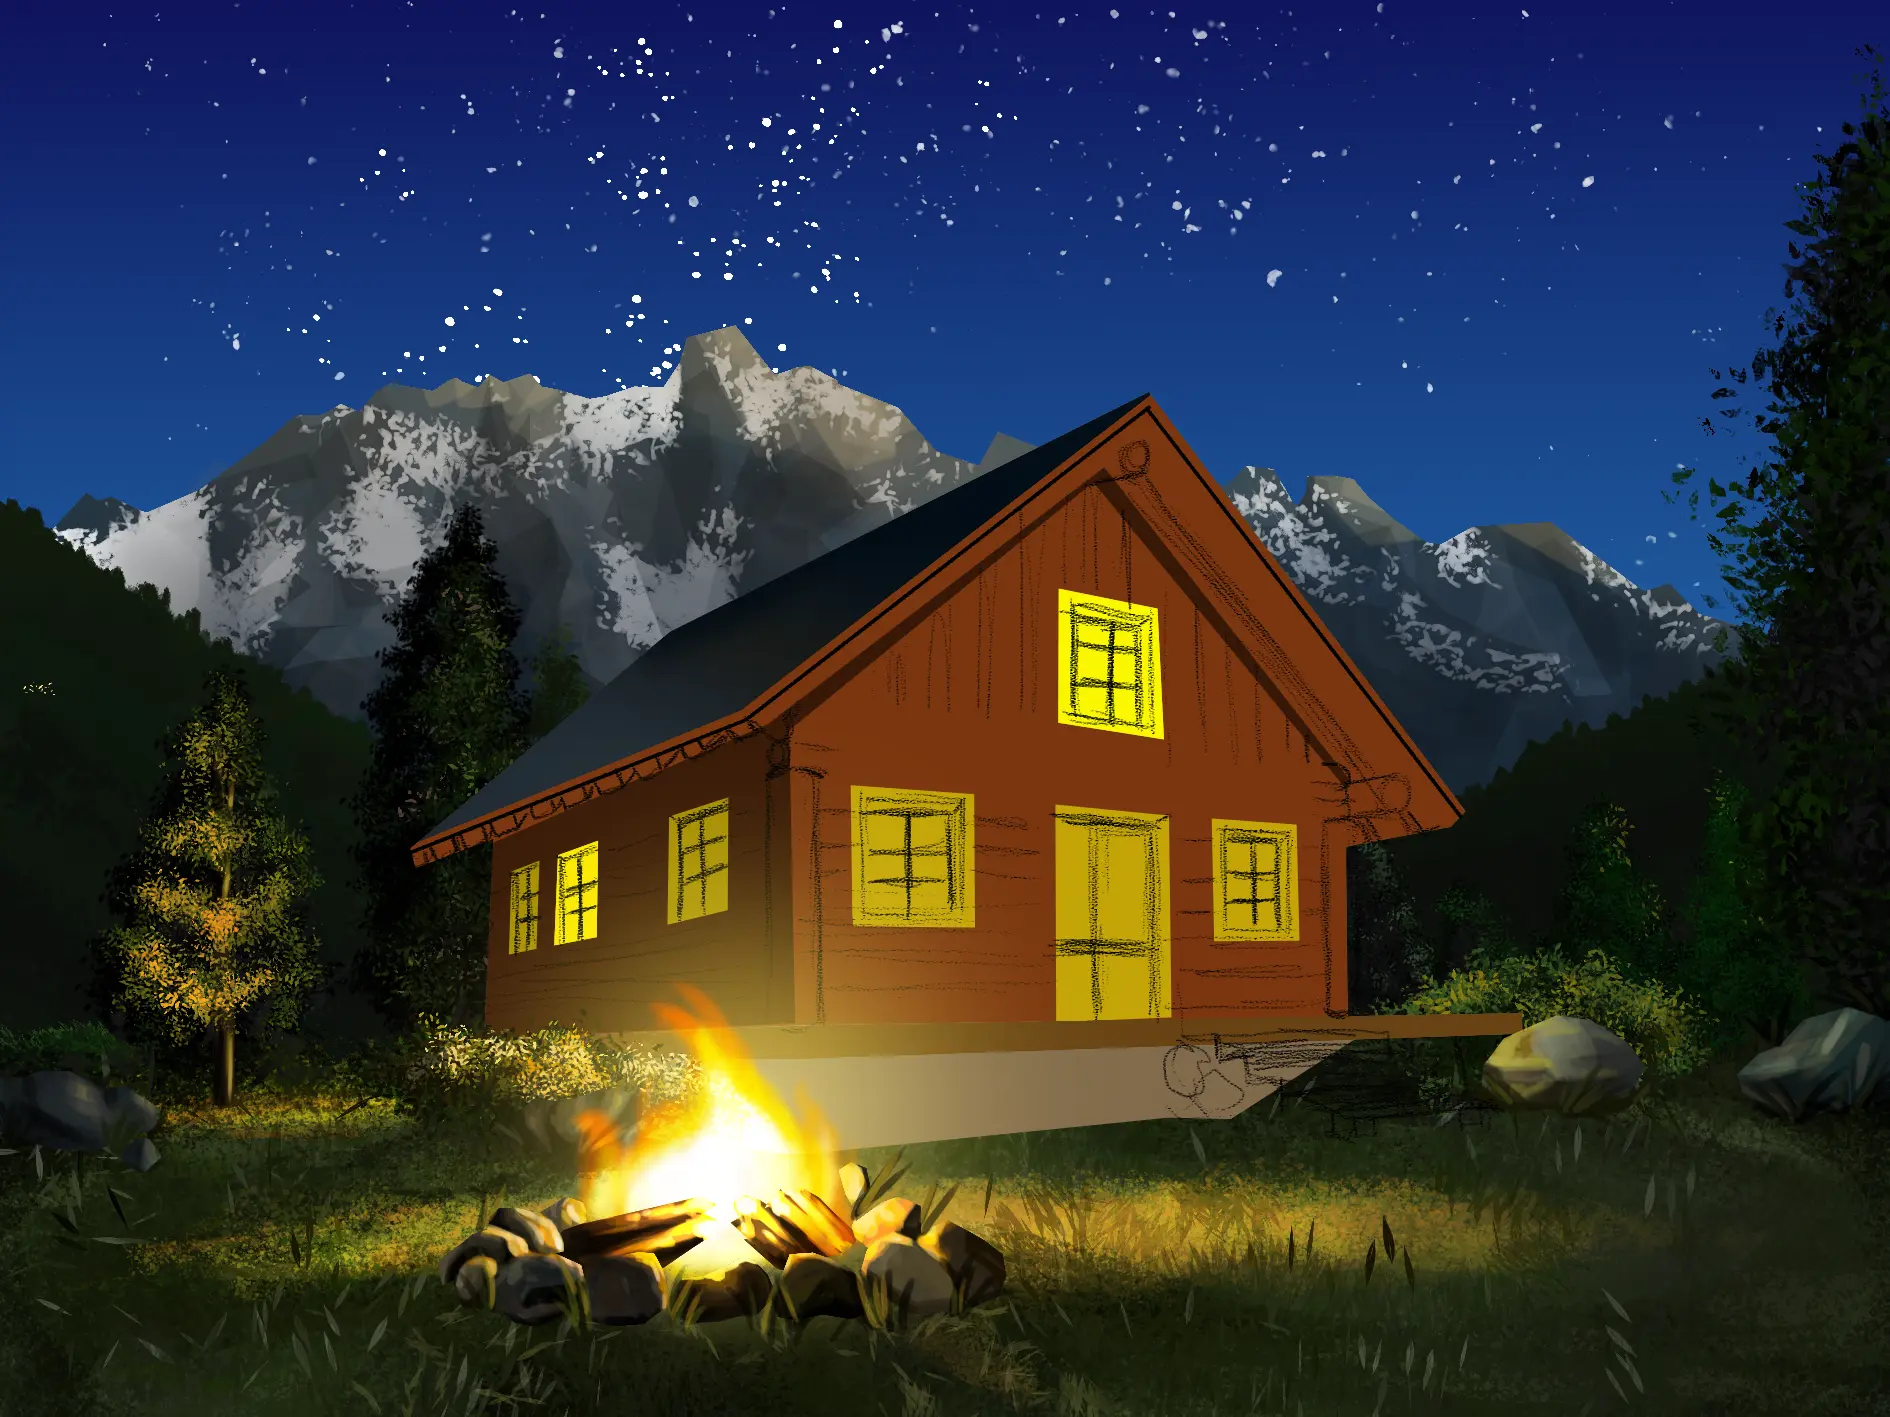
As usual, let’s start by texturing the background. We will work on three main elements: the wooded hills, the rocky mountains, and the starry sky.
Let's start with the sky: on the gradient prepared earlier, add random white dots, more concentrated in some areas. For the hills, add irregular textures in various shades of dark green. Finally, for the rocky mountains, use solid splotches with several splashes of white to simulate snow.

Let's move to the garden: add a few trees almost hidden in the shadows. Do not neglect them, their absence would be immediately noticeable. It is not necessary to detail them, except for those that are hit by the light. Those will receive layers of brightness extending to orange.
Next, draw the rocks and the grass. For the rocks, use a rough texture, similar to that of mountains. Consider their proximity to the light source to determine if they need to be illuminated. For the grass, apply an uneven texture also influenced by the firelight. Use strong contrasts. Add a few scattered blades of grass in the yard.
The campfire is the focal point of the scene. It stands out with intense light and sharp contrasts due to the proximity of elements to the flame. Thus, the rocks and wood will be tinted with both dark tones and intense yellows.
Draw the textures of the cabin
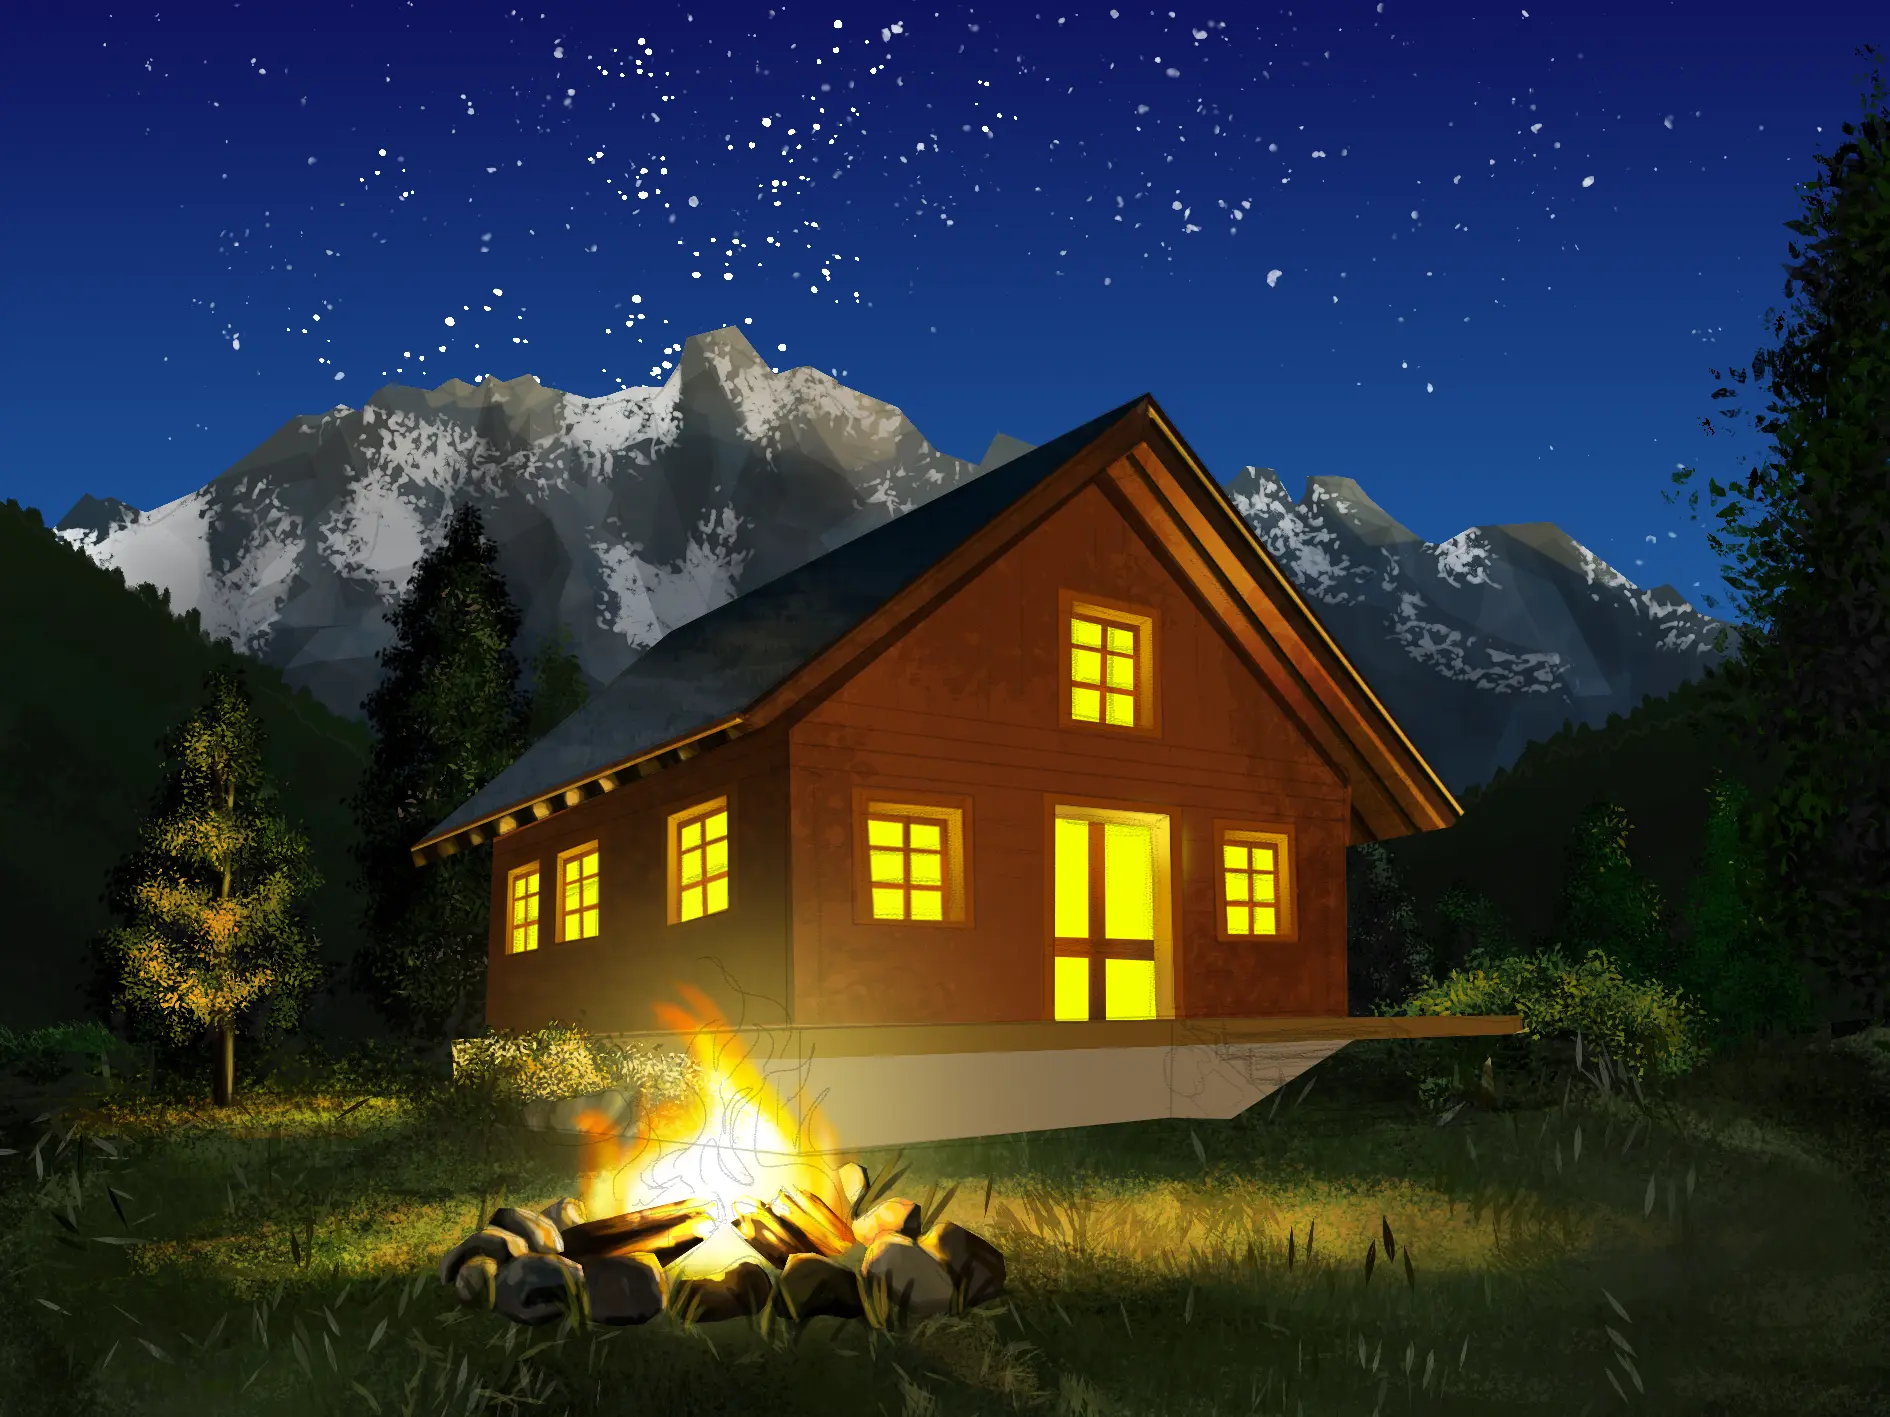
Let's now add a basic texture to the surface of the wood, which will give visual richness overall. This will also simplify the coloring work by avoiding the rendering from becoming too flat.

Let's then focus on the lighting under the roof. It's important to analyze the behavior of light: it diffuses partially and does not uniformly cover all objects.
It is therefore wise to light in a focused manner, intentionally leaving darker areas. Wooden boards can be used to create marked shadow zones, which will enhance visual interest.
Add details to the drawing
Since this is a wooden construction, it is realistic to add some exposed logs. This will accentuate the rustic side of the cabin while adding a certain architectural complexity. Don't forget to imitate the texture of the fibers: elongated, slightly trembled lines, typical of wood.

Cladding is simpler than it seems. Simply draw multiple parallel lines across the walls. Alternate between dark browns and ocher or yellow reflections due to the light. For more realism, avoid lighting uniformly: vary the intensity and length of the lines.

Finish the drawing
Finally, let's draw the base of the cabin: draw rocks at its foundation. Start with a dark base, then add adjacent spots like a puzzle. Vary the shades between gray, brown, and yellow, to harmonize everything with the rest of the landscape.

Our drawing is now finished!
Remember to always work in layers, and hide certain elements in the shadows without omitting them entirely: their mere presence contributes to the balance of the scene.
It's now your turn: take what you just learned and put it into practice!
Discussion
No comments yet.