How to Draw a Profile Portrait
In this article, we will explore how to create a profile portrait using a technique that combines the precision of drawing and the subtlety of color. To achieve a realistic result, we will focus on correctly positioning features, studying the proportions of the face, and mastering light and shadow.
Although this work is done in a digital format, we will apply the principles of traditional painting, working on a single layer, in order to reproduce the sensation of pigment on canvas.
Some examples of portraits
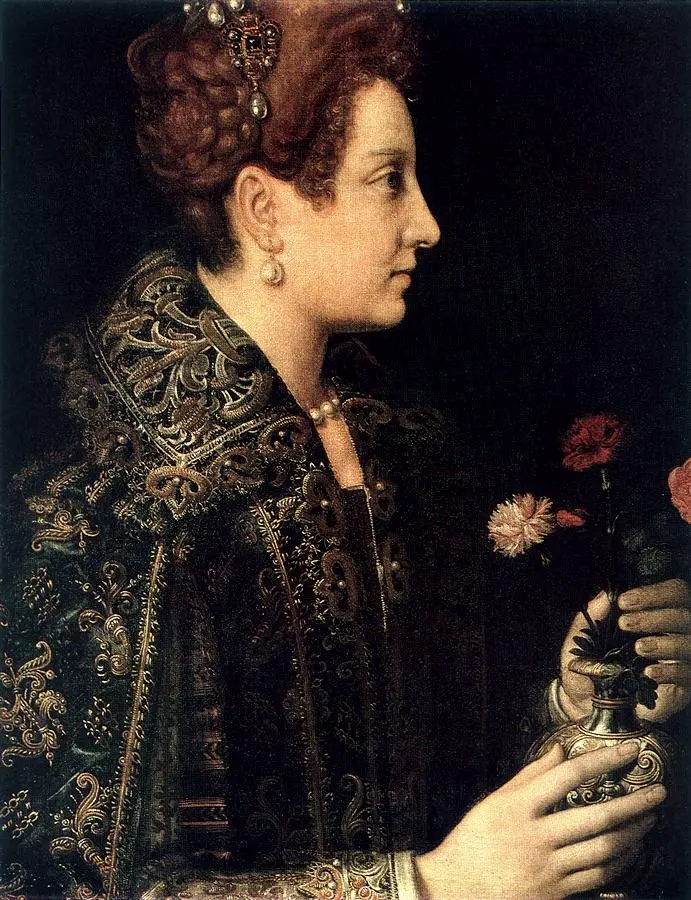
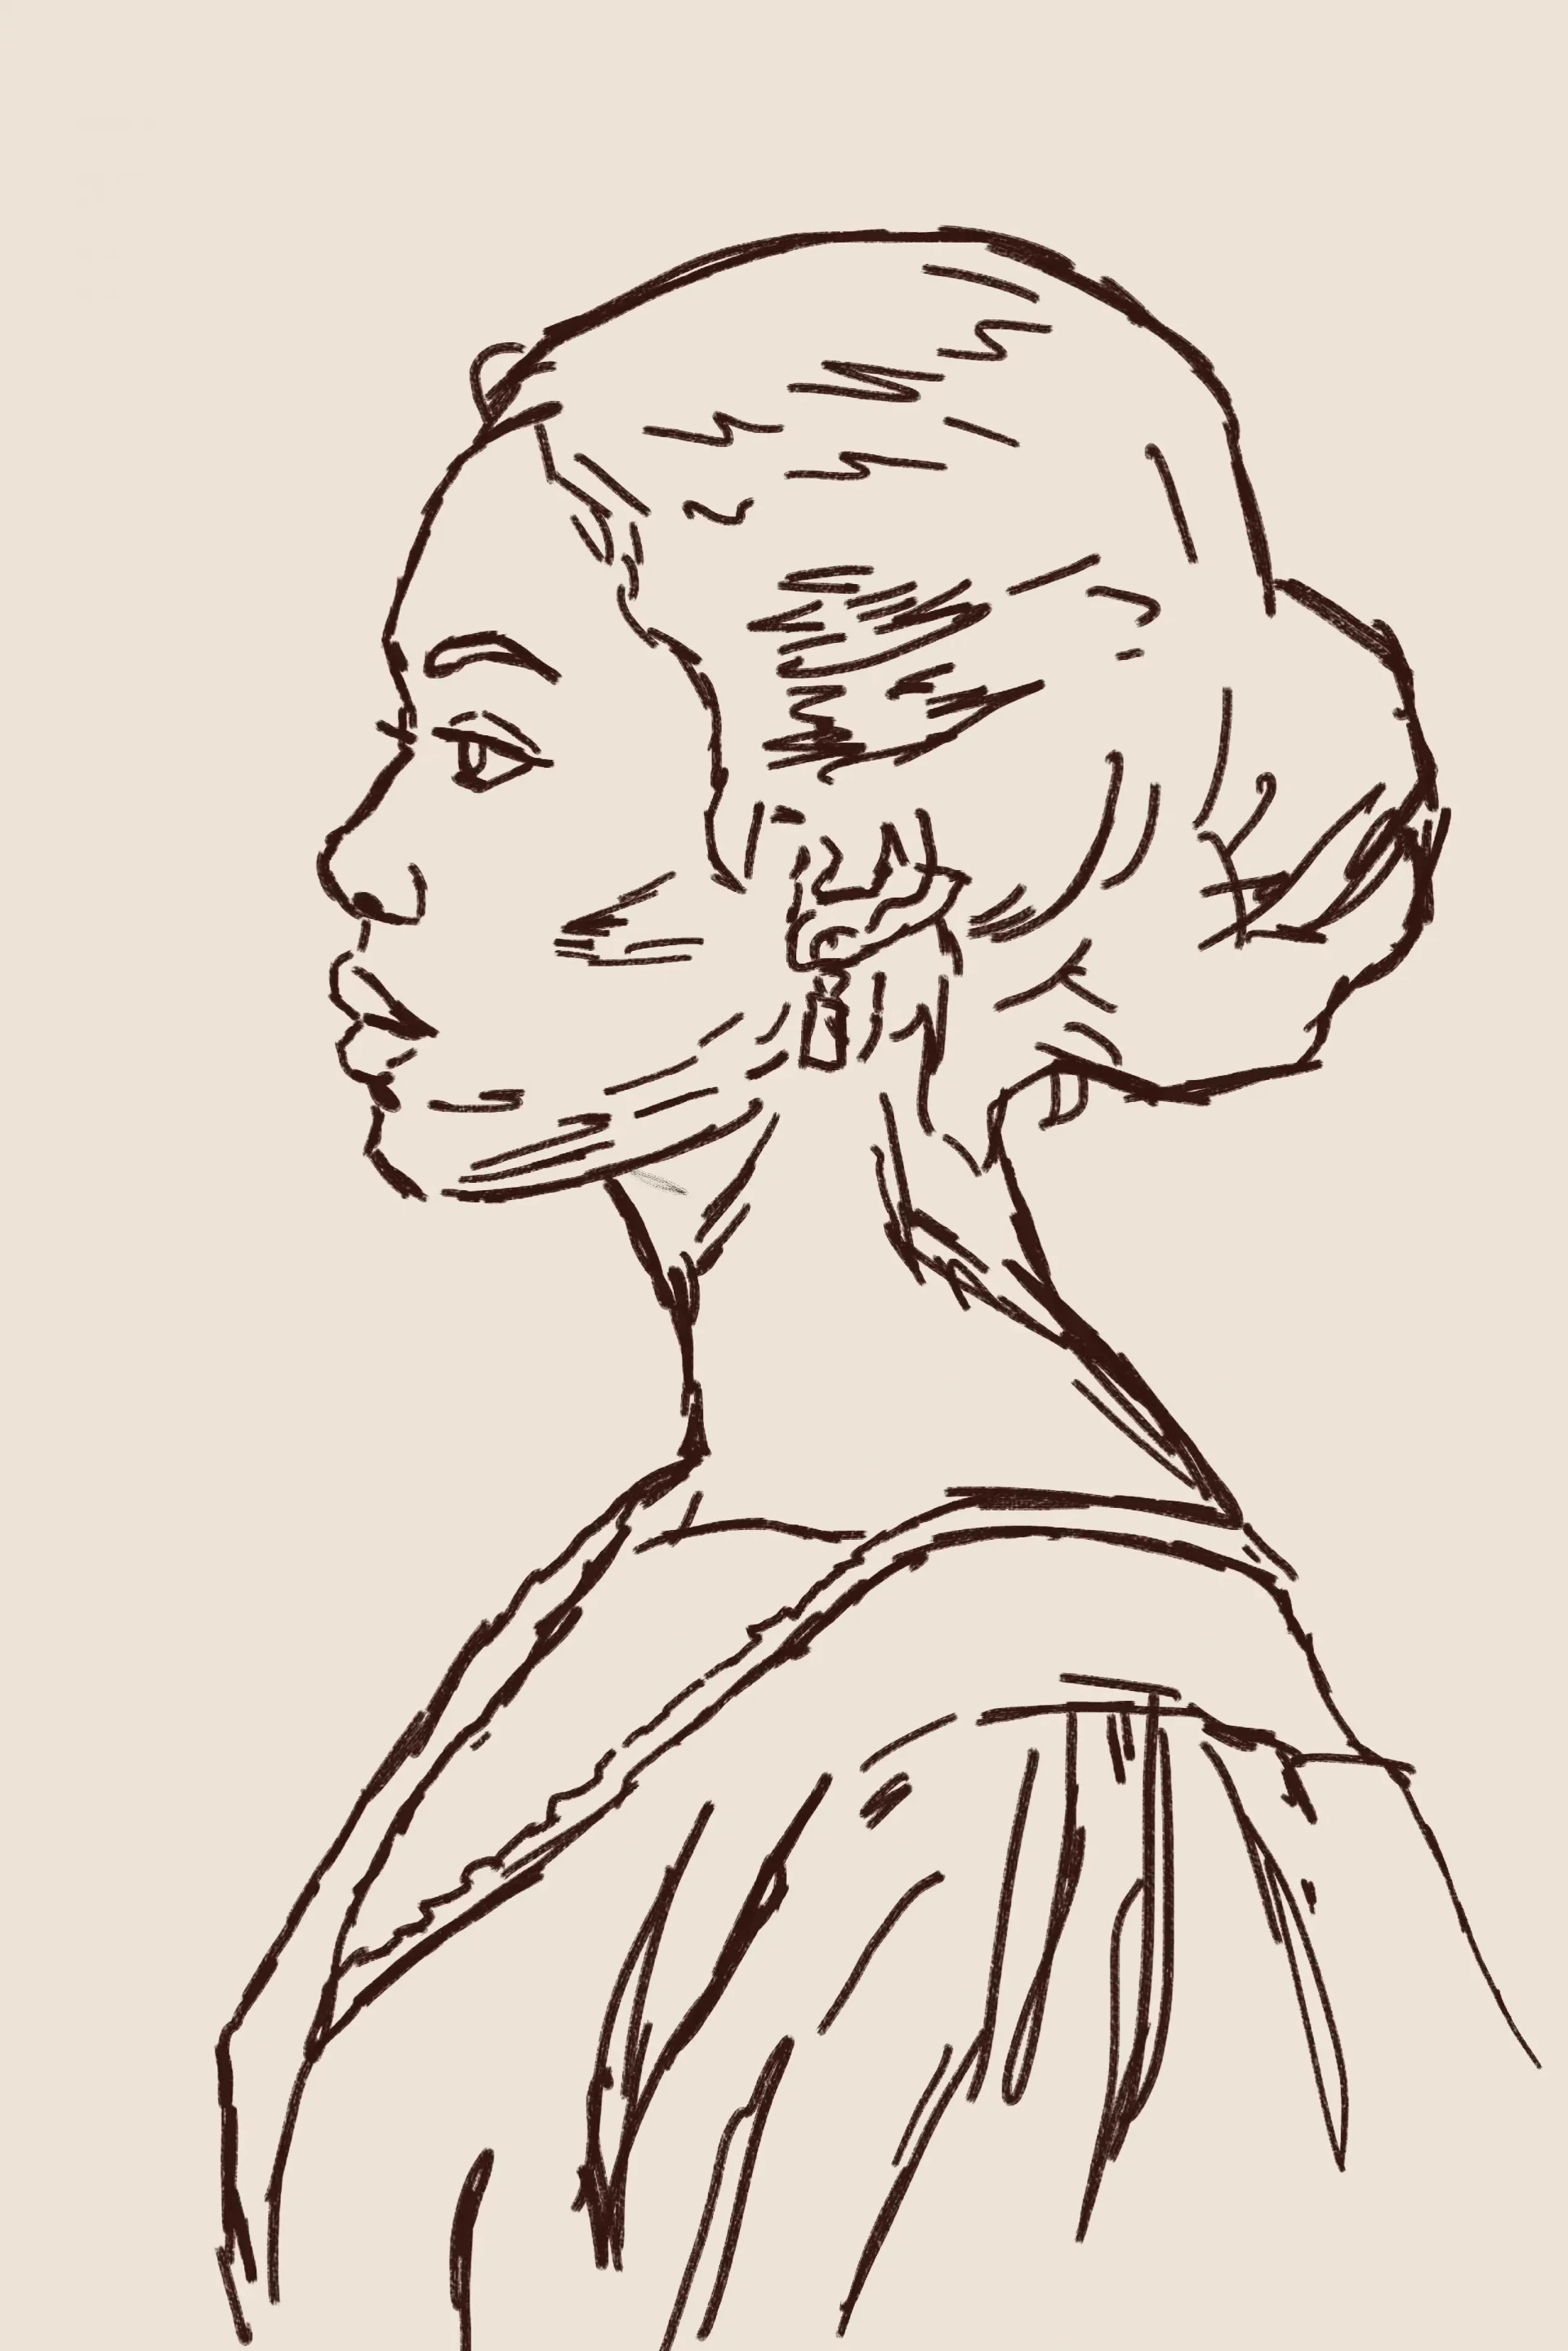
The painting Profile Portrait of a Young Woman (16th century) by Sofonisba Anguissola perfectly illustrates this type of portrait: a precise and serene representation where anatomical proportions, light simulation, and balanced contrast between the background and the figure come together.
The clean outline construction, the softness of shadow transitions, and the integration of the hair with the background make it an ideal technical reference for understanding how to approach sketching, volumes, and contrasts in a female profile portrait.
Useful reference for analyzing side lighting and the continuity from the neck to the shoulder; it helps to illustrate the light transitions on the cheek and jaw in a "head and shoulders" frame.
How to draw a profile portrait step by step
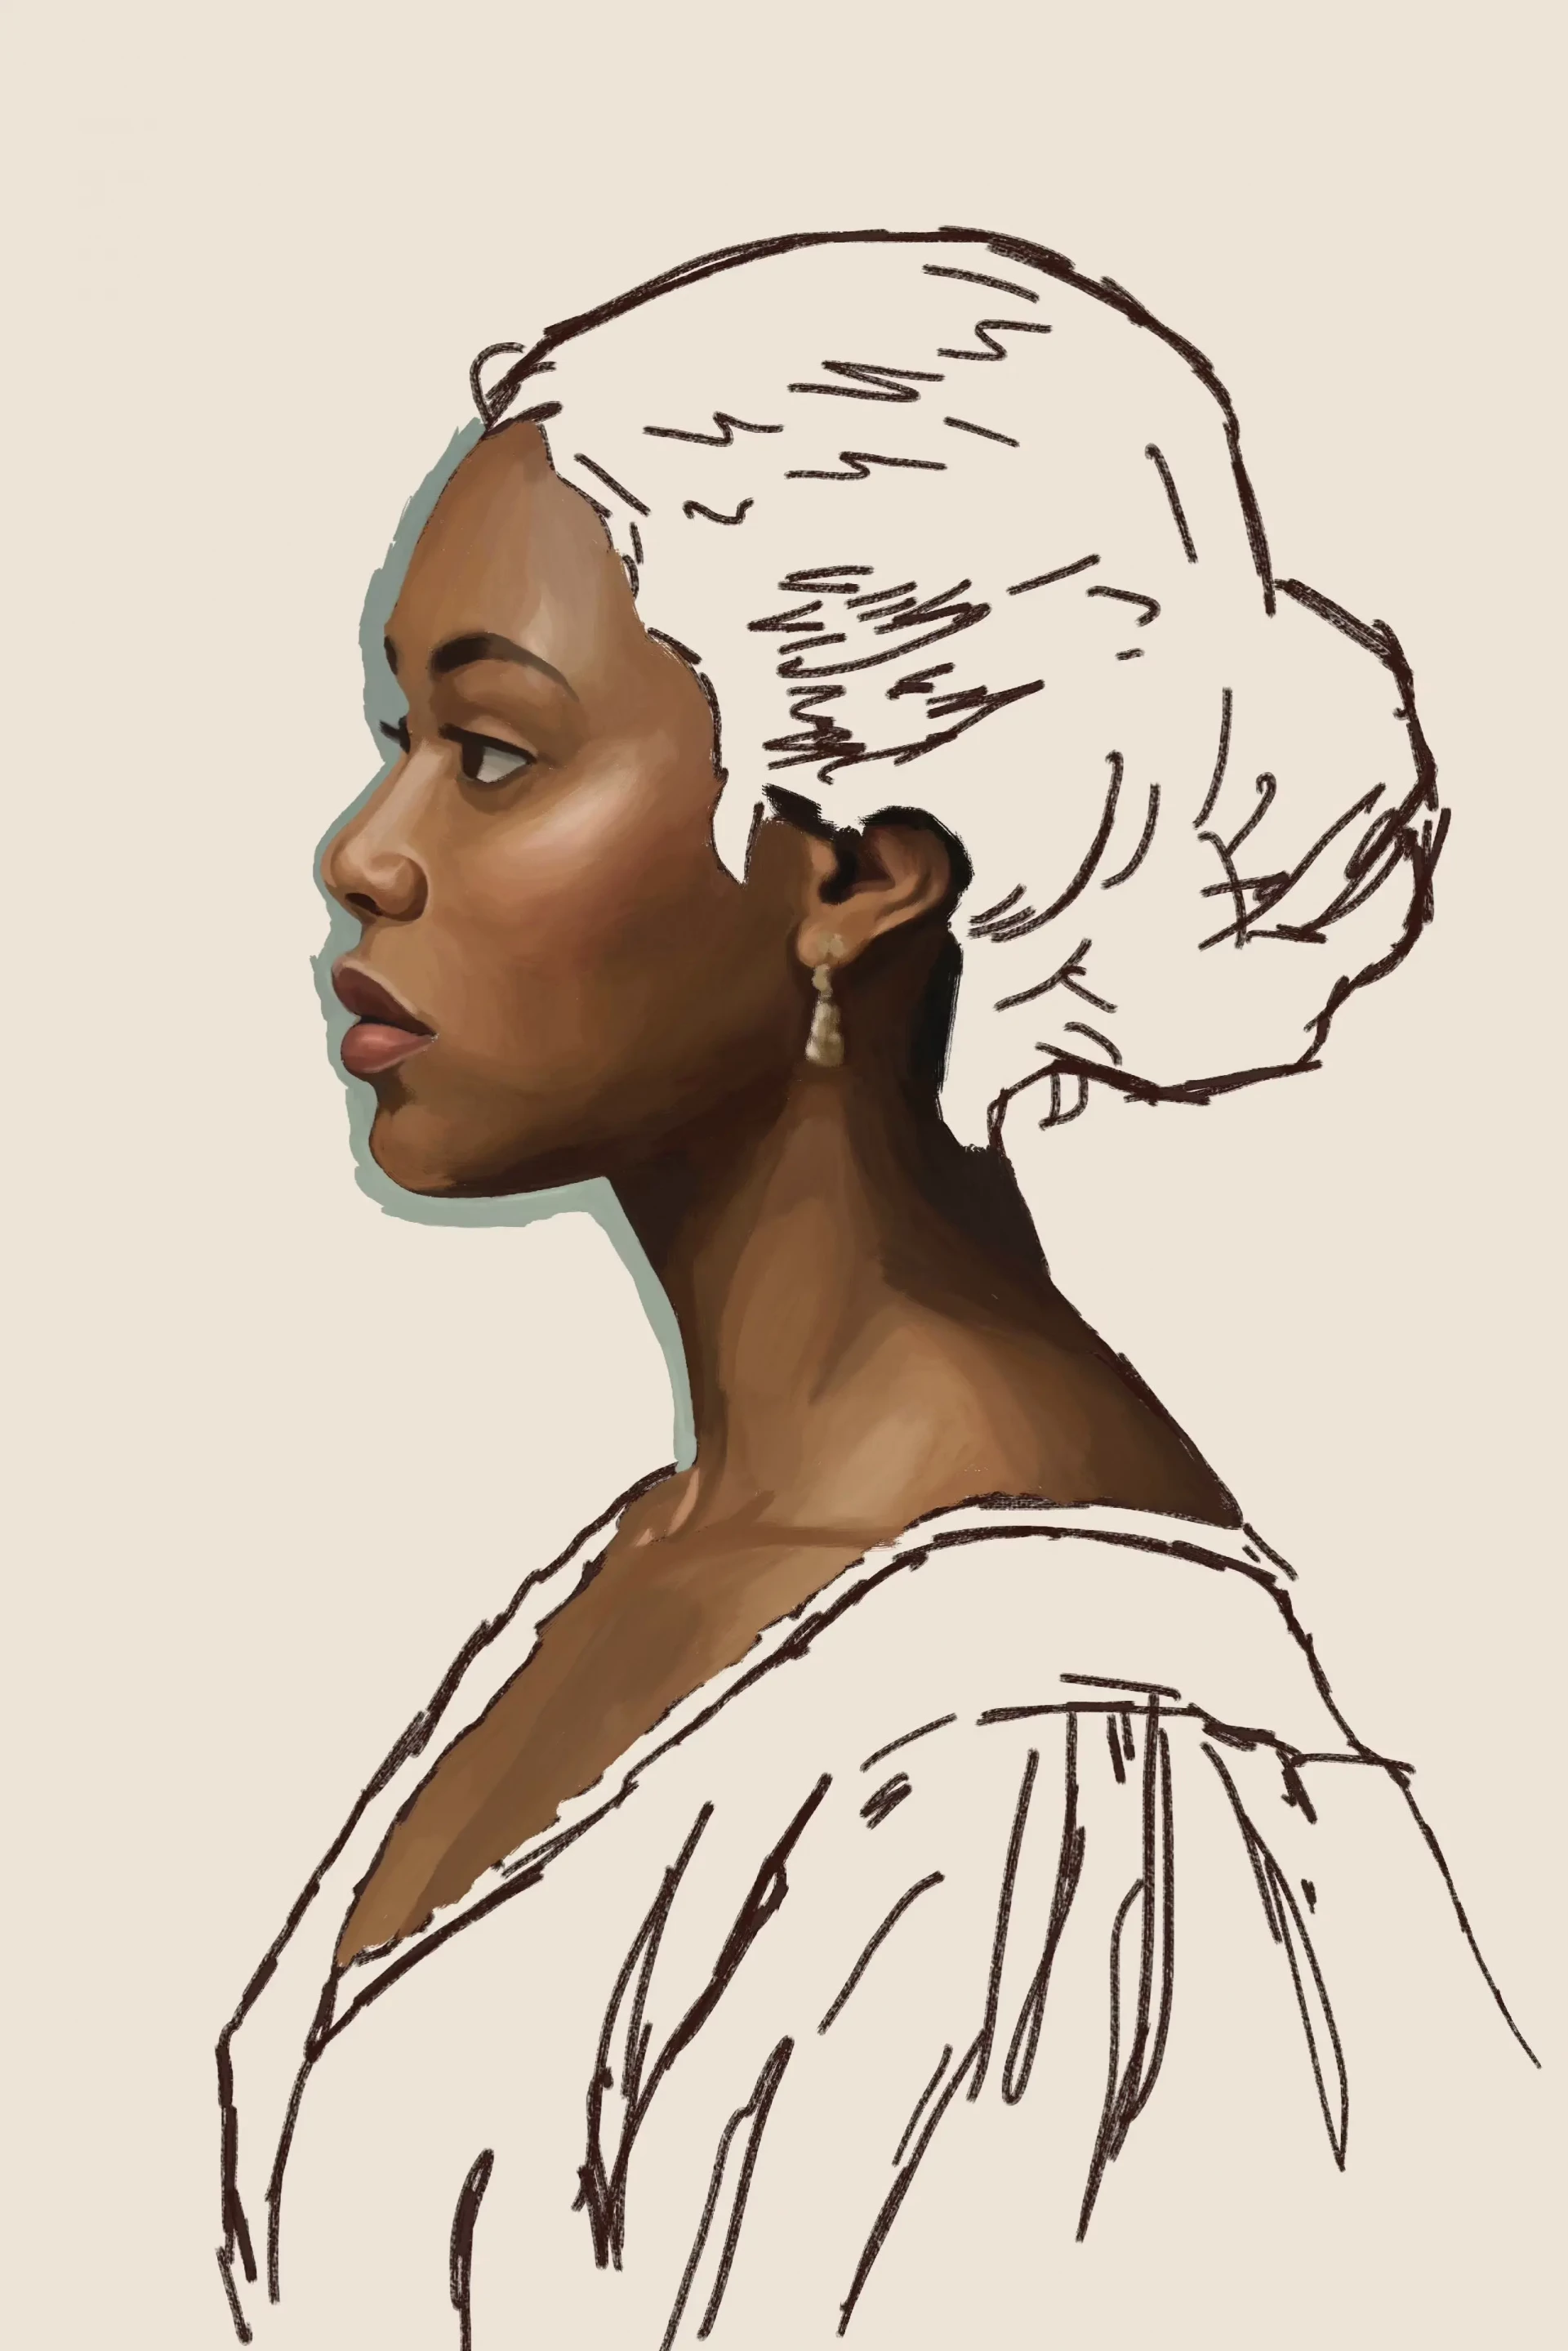
Let's begin with our profile portrait. We mark the main structural points of the face by identifying the proportions and relationships between the eyes, the nose, the mouth, and the chin. These landmarks enable us to define the profile's silhouette accurately and ensure that the composition is coherent with the direction of the light and the angle of the pose.
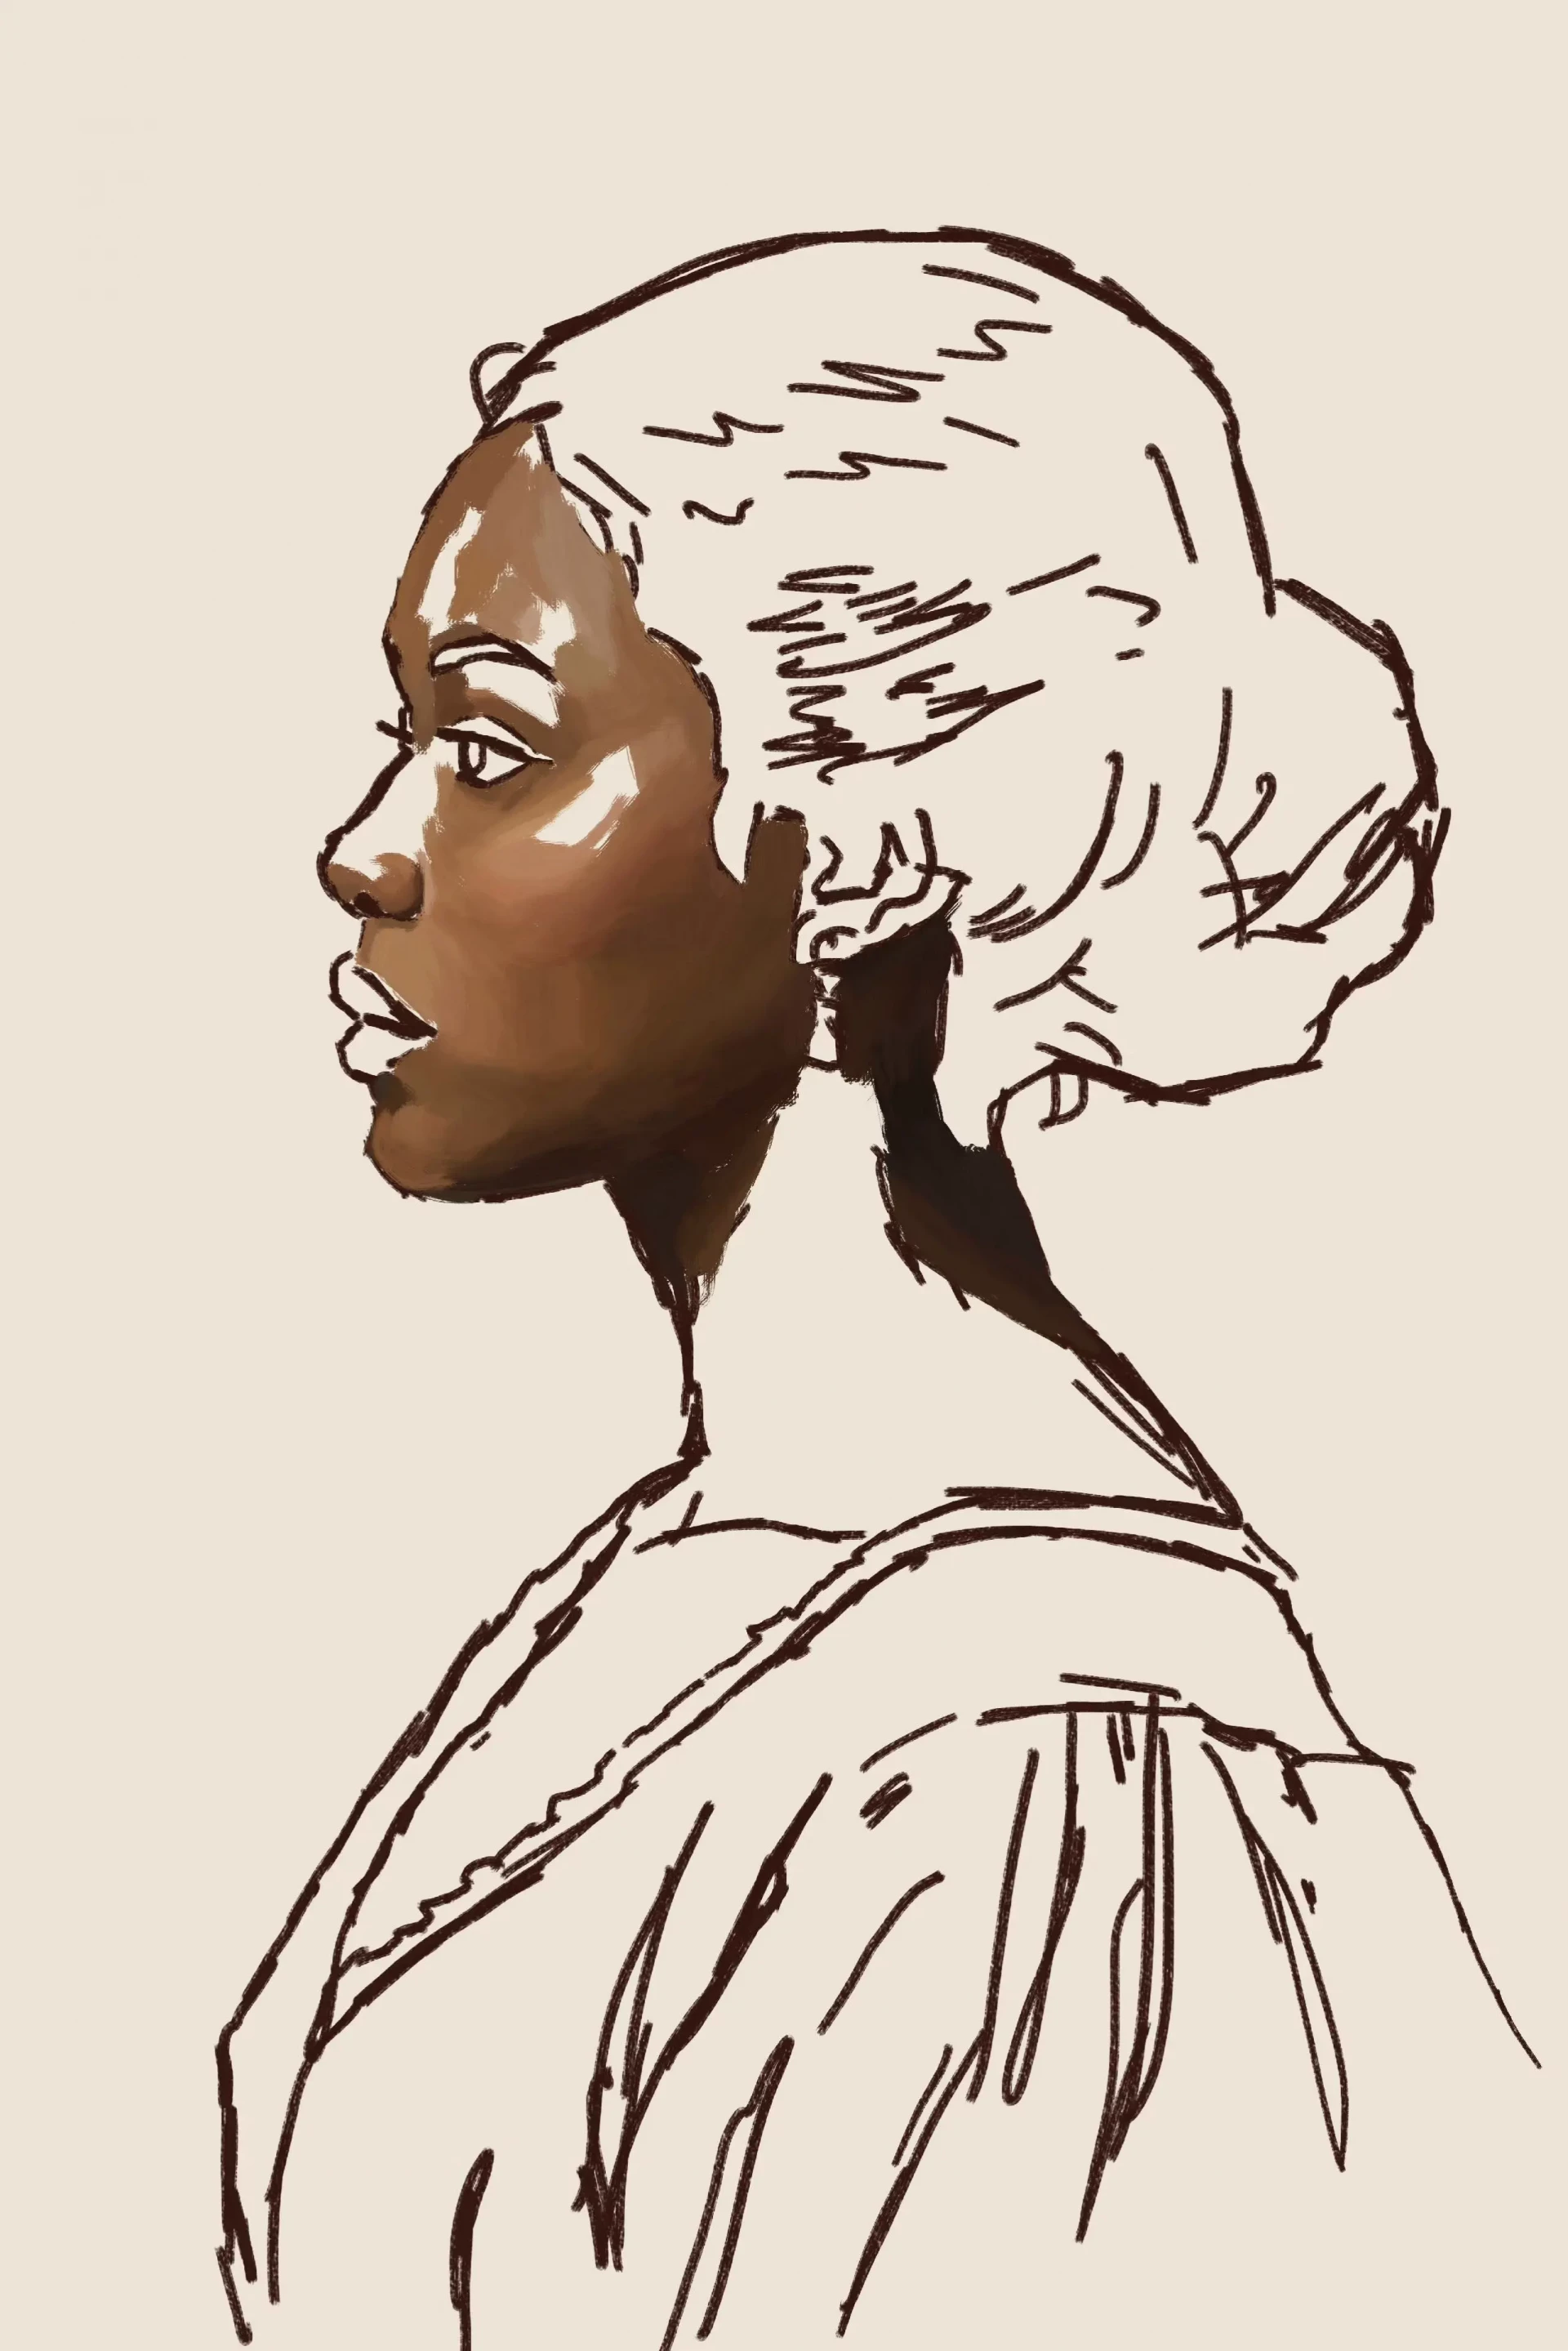
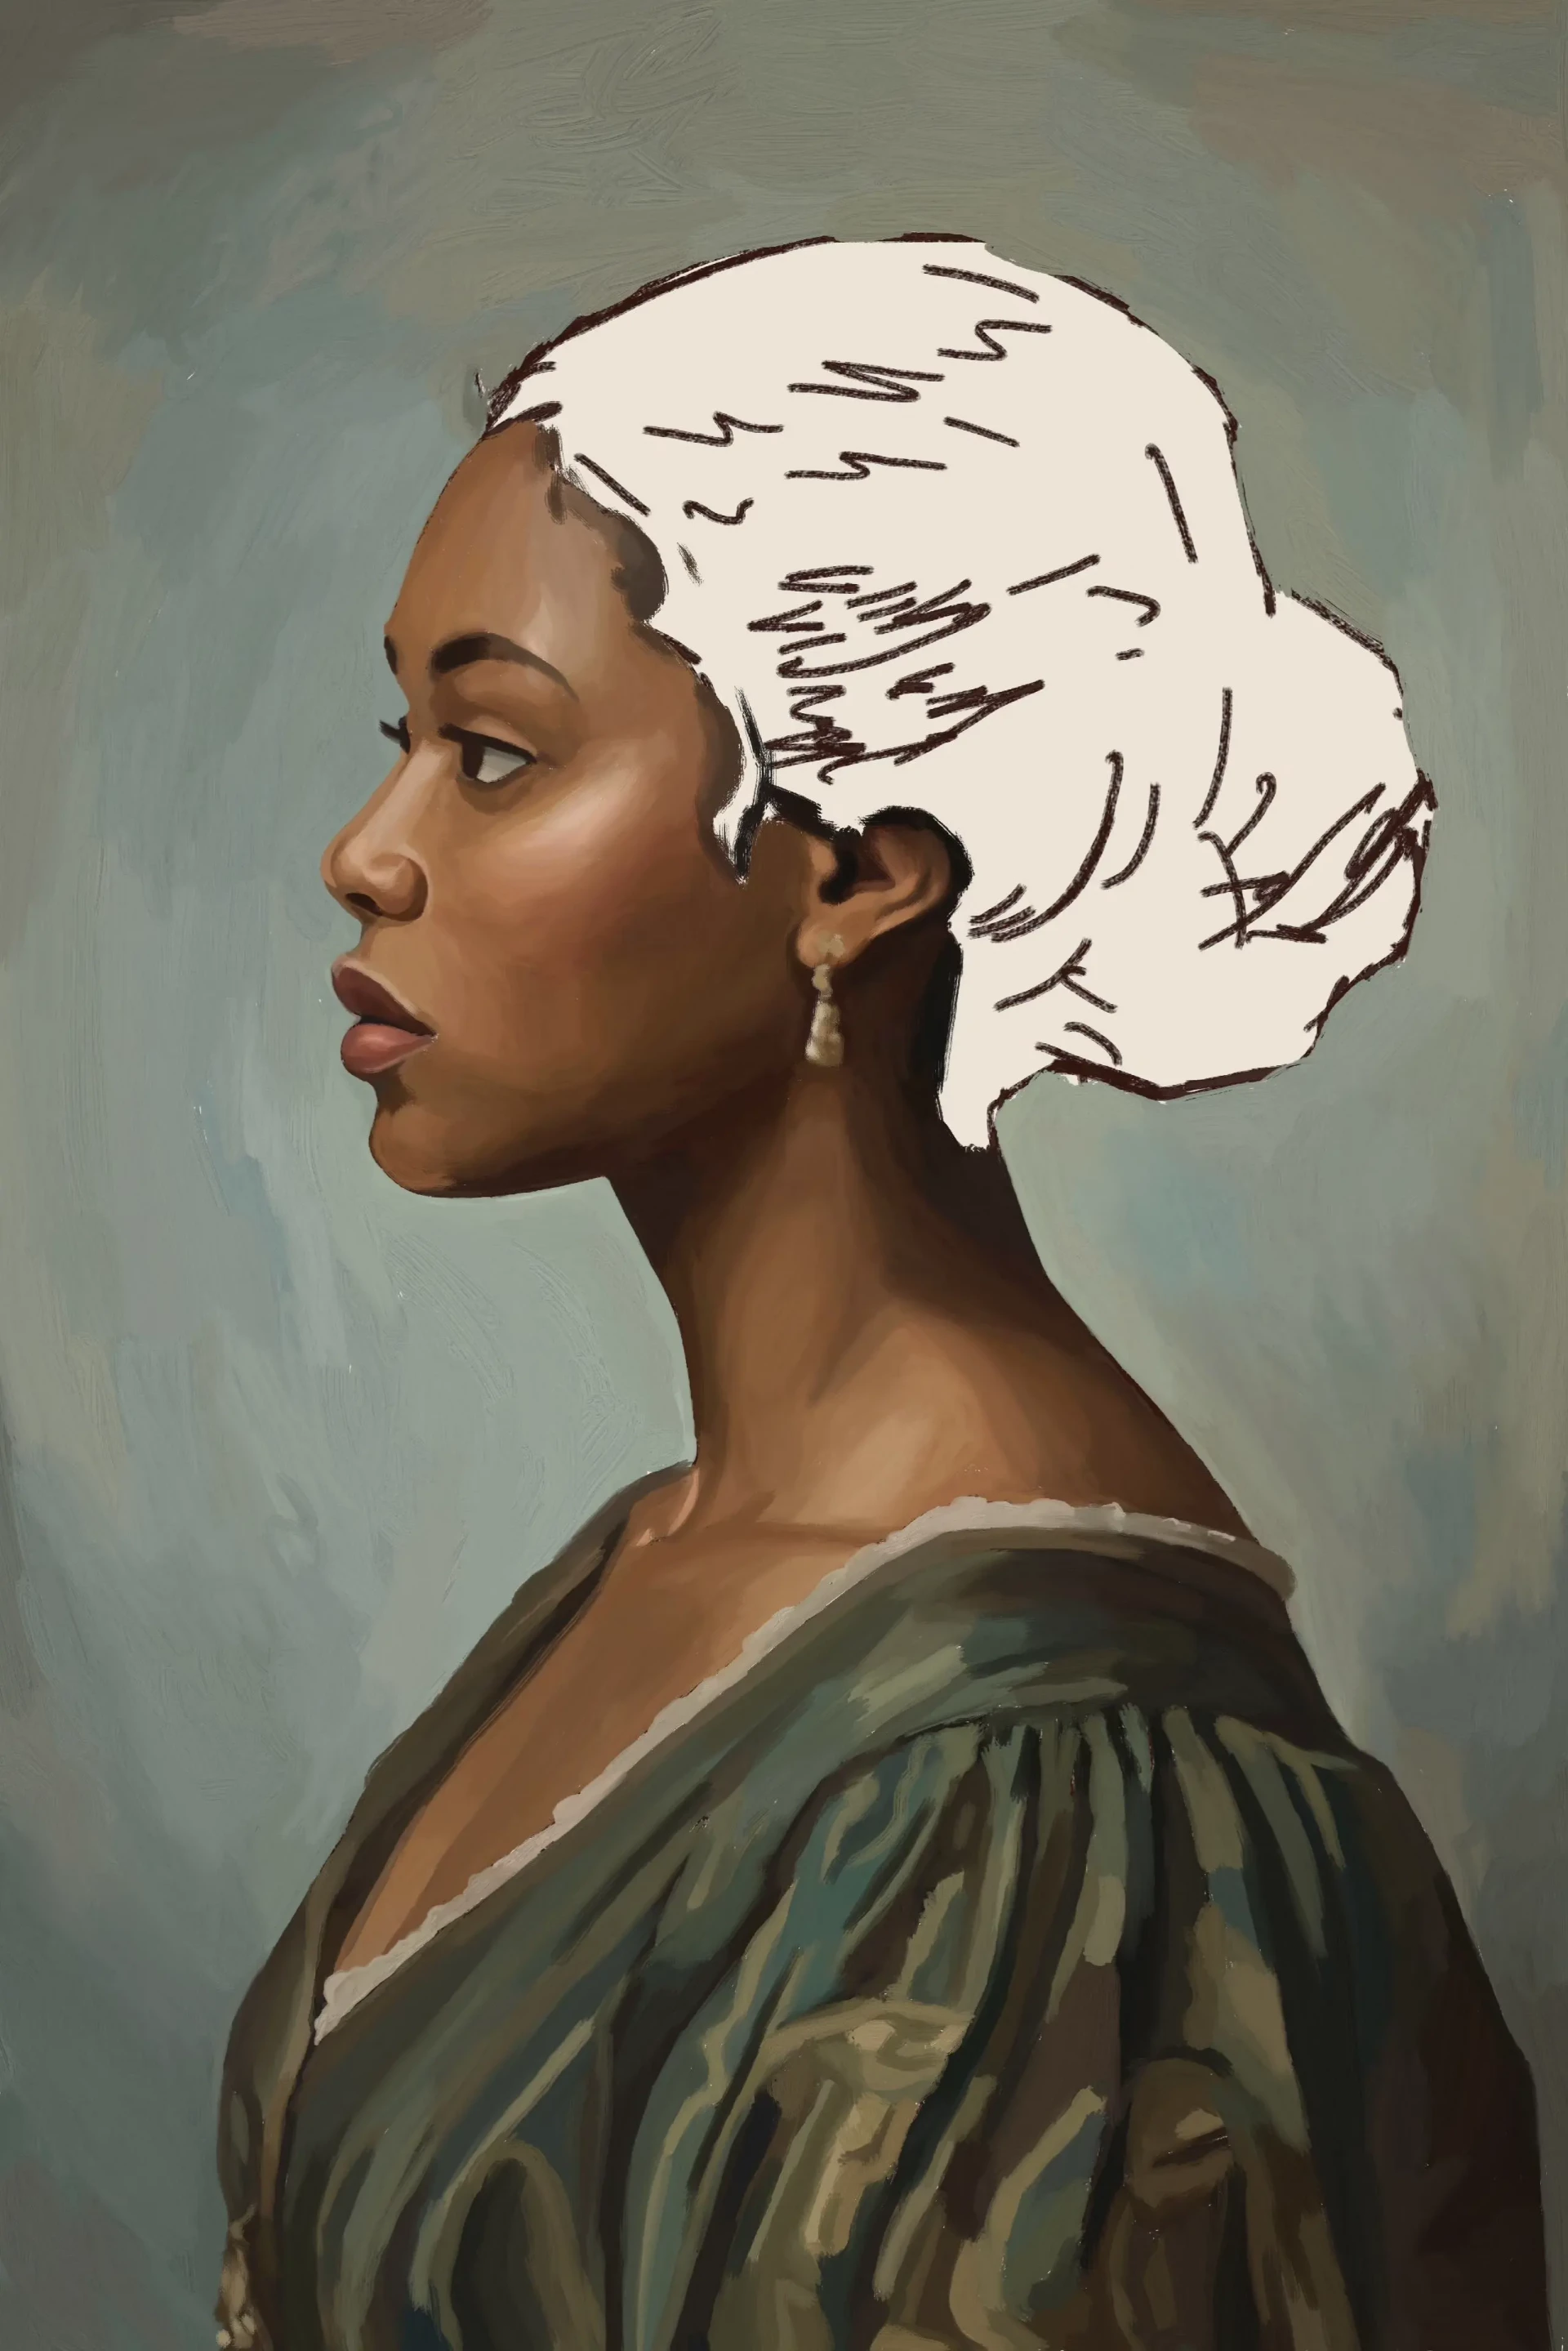
We refine the sketch to further outline the model. At this stage, it's about capturing the essence of the features and the general proportions of the head. The line remains quick, but its accuracy is essential to facilitate later painting.
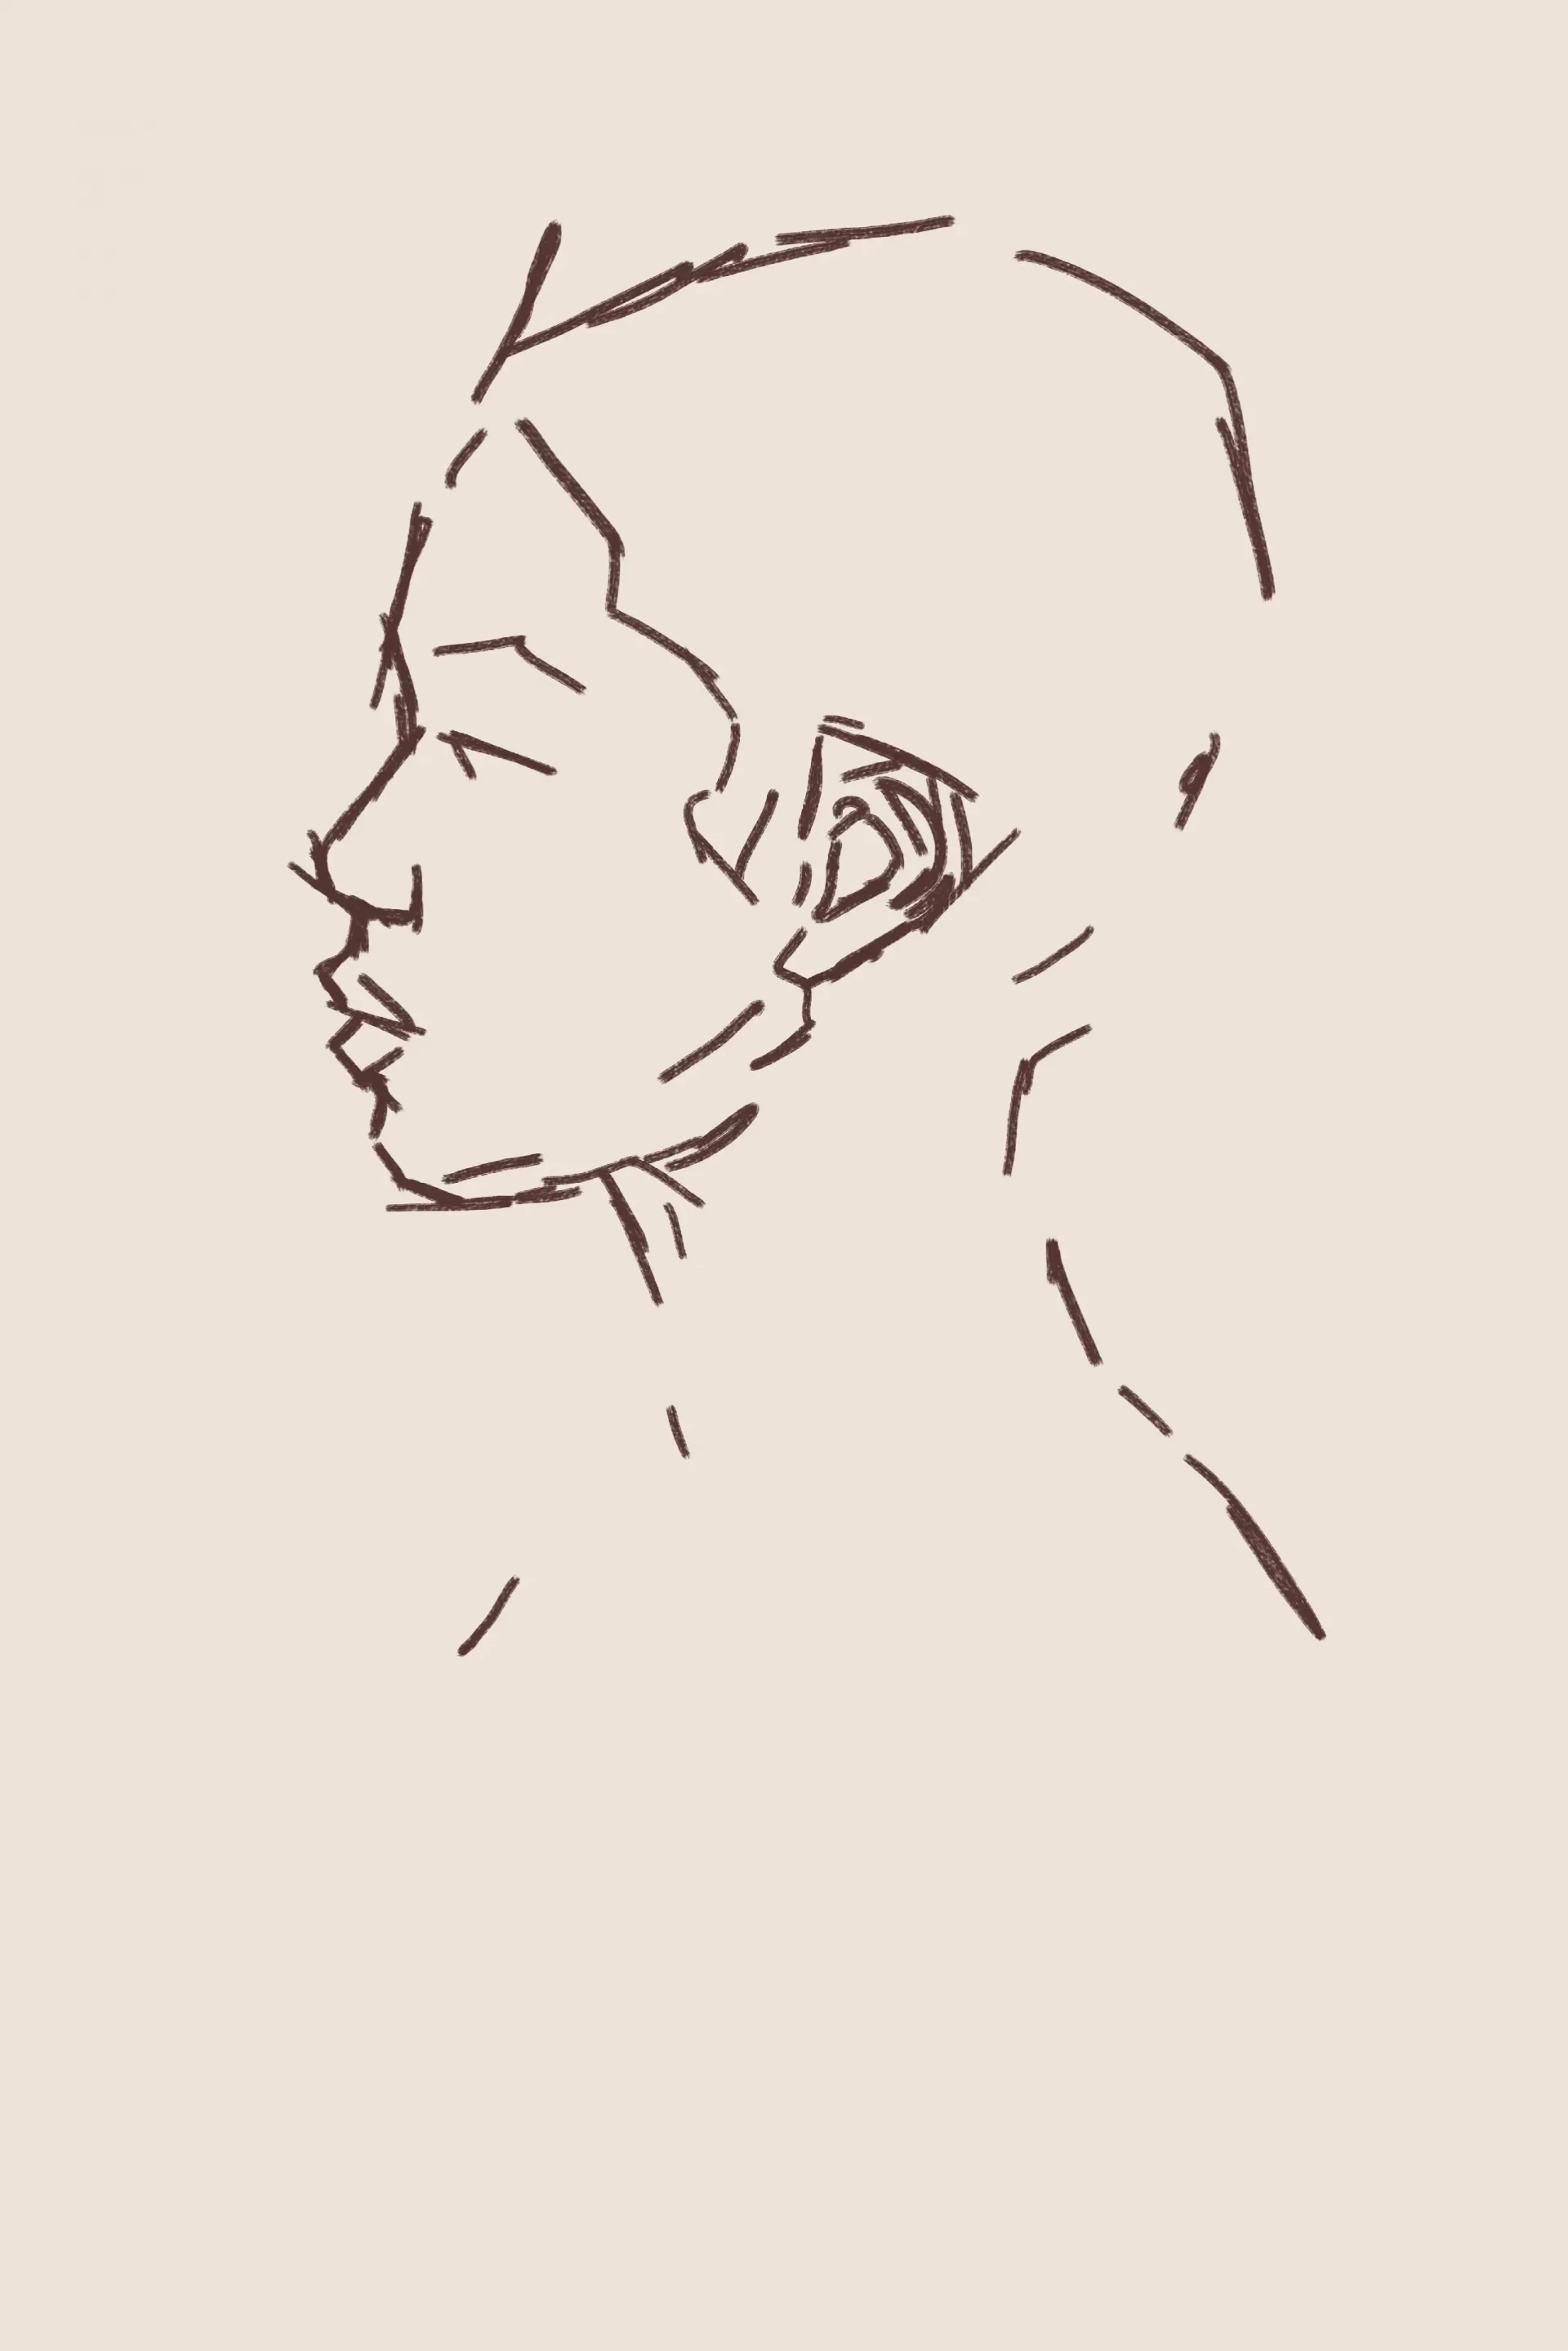
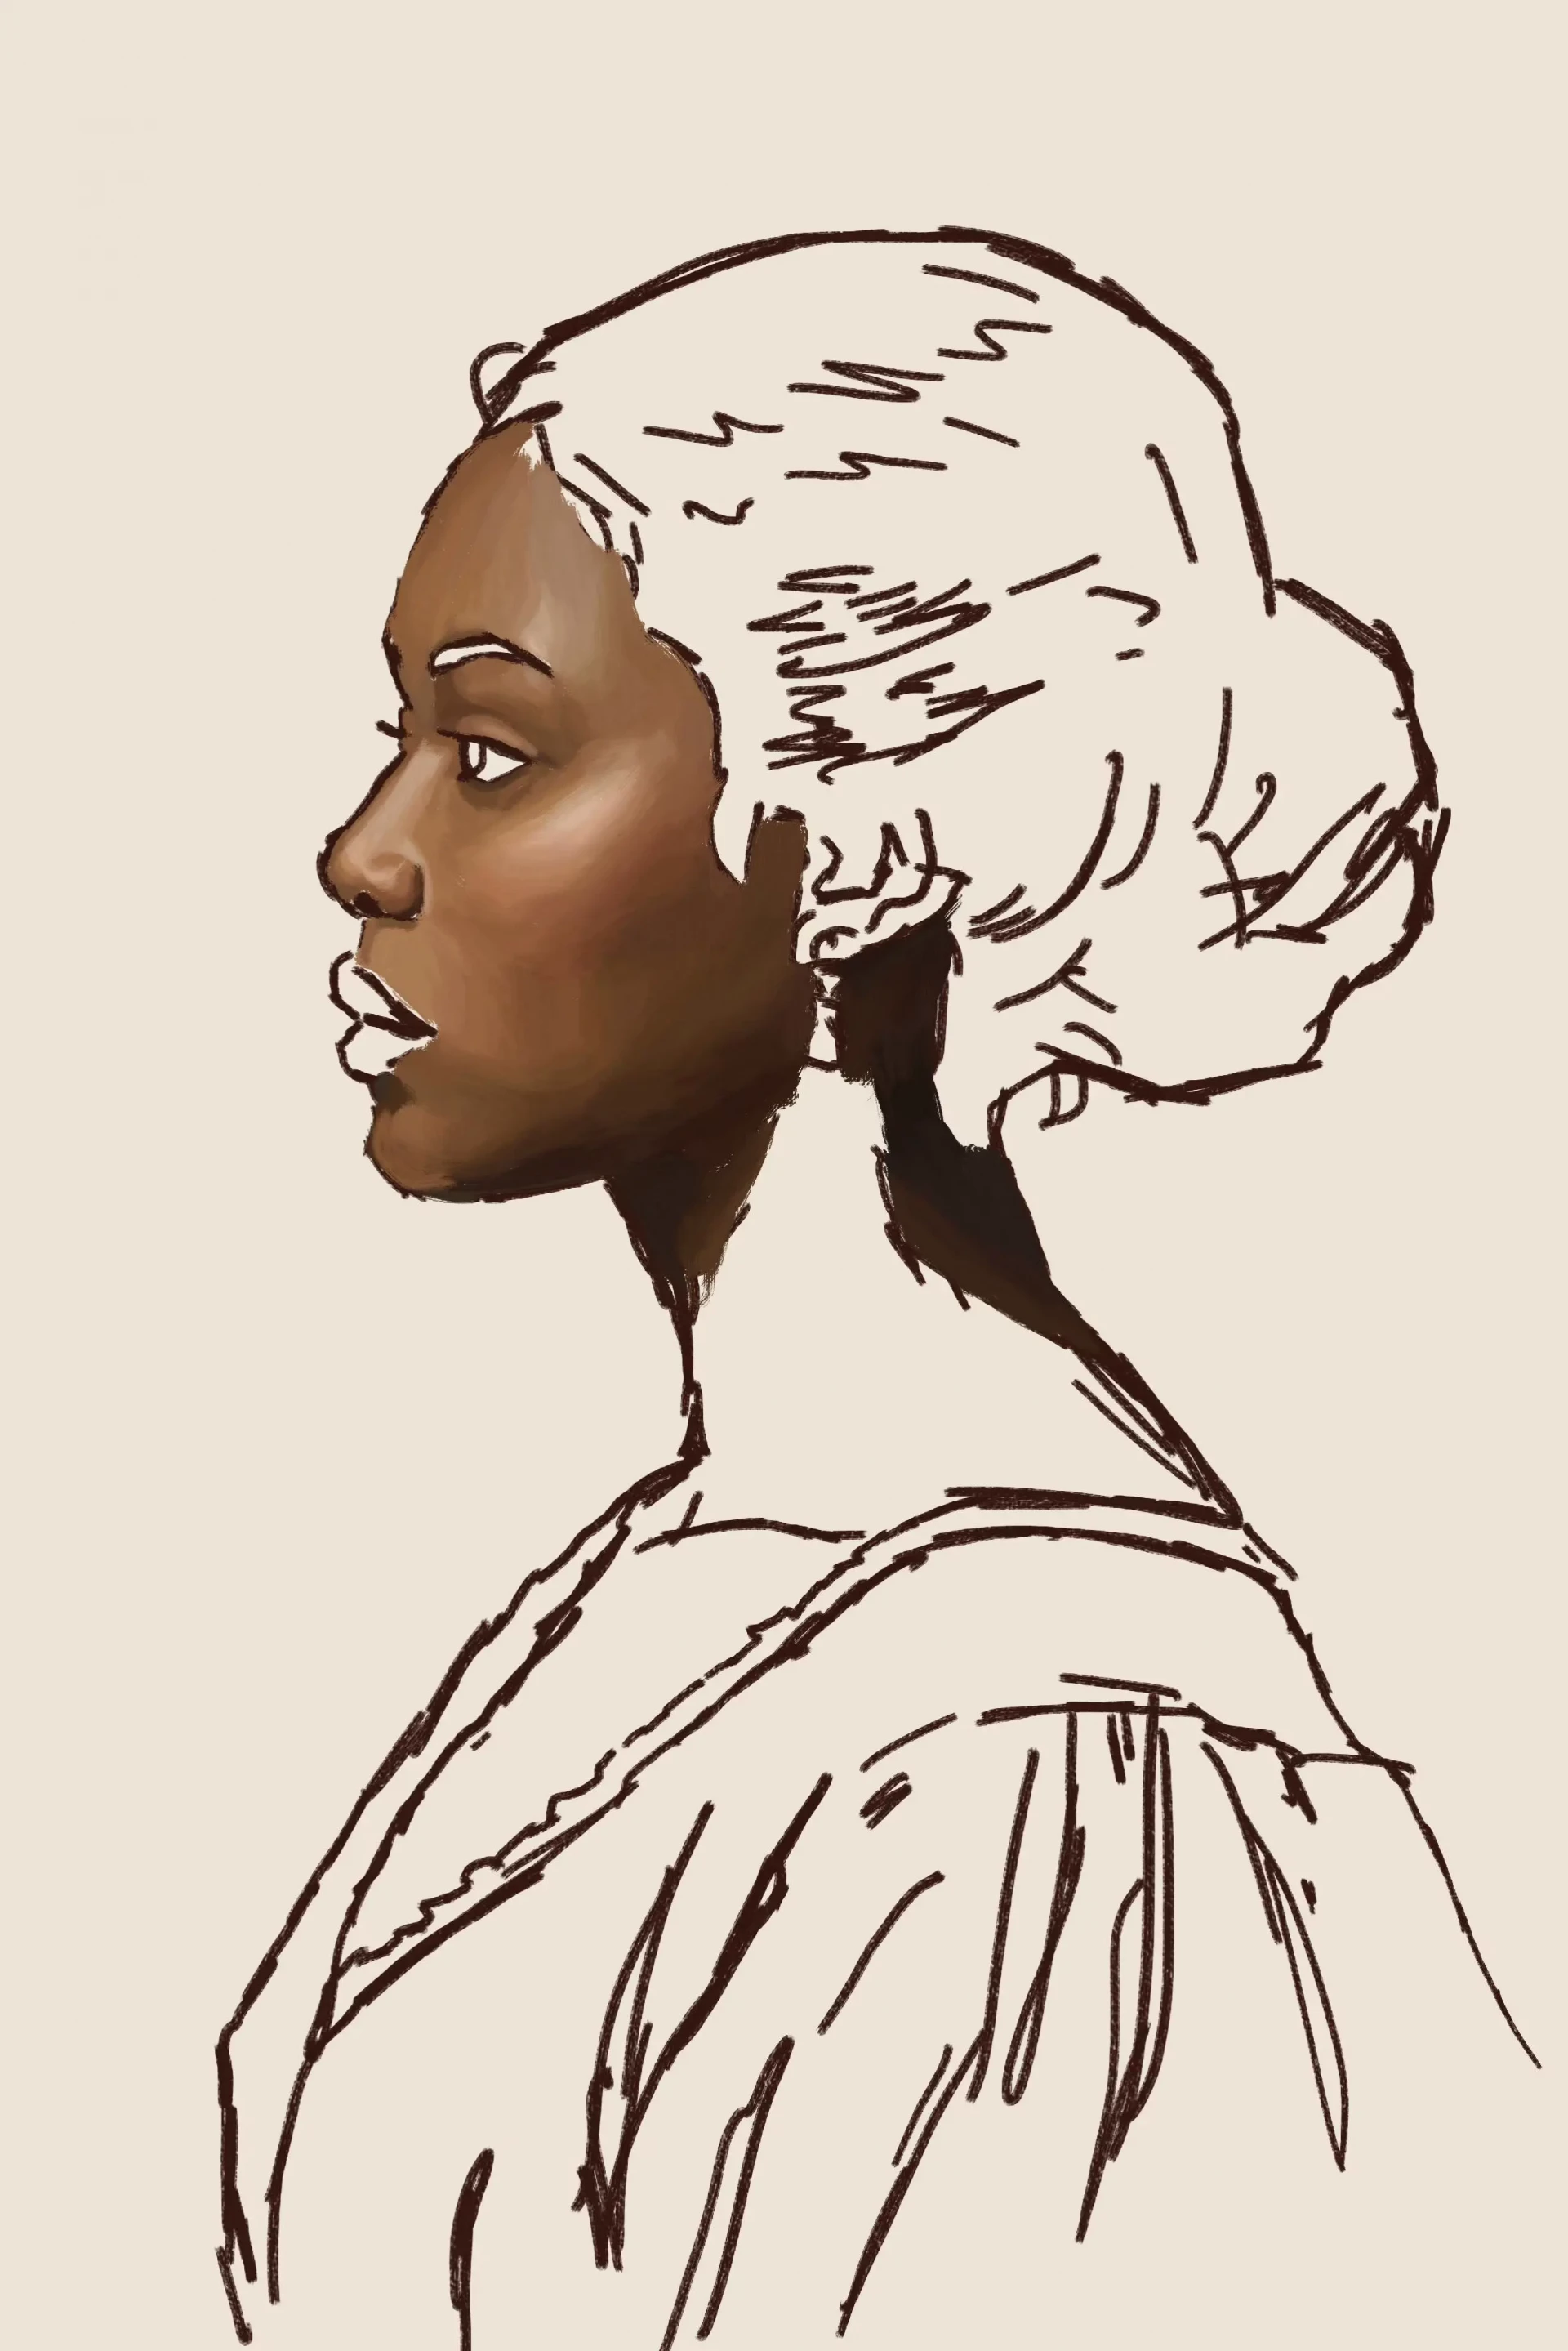
We define the main lines of the face without overloading the drawing with unnecessary details. The aim is to create a clear outline, in order to have a simple and clean base for adding color.
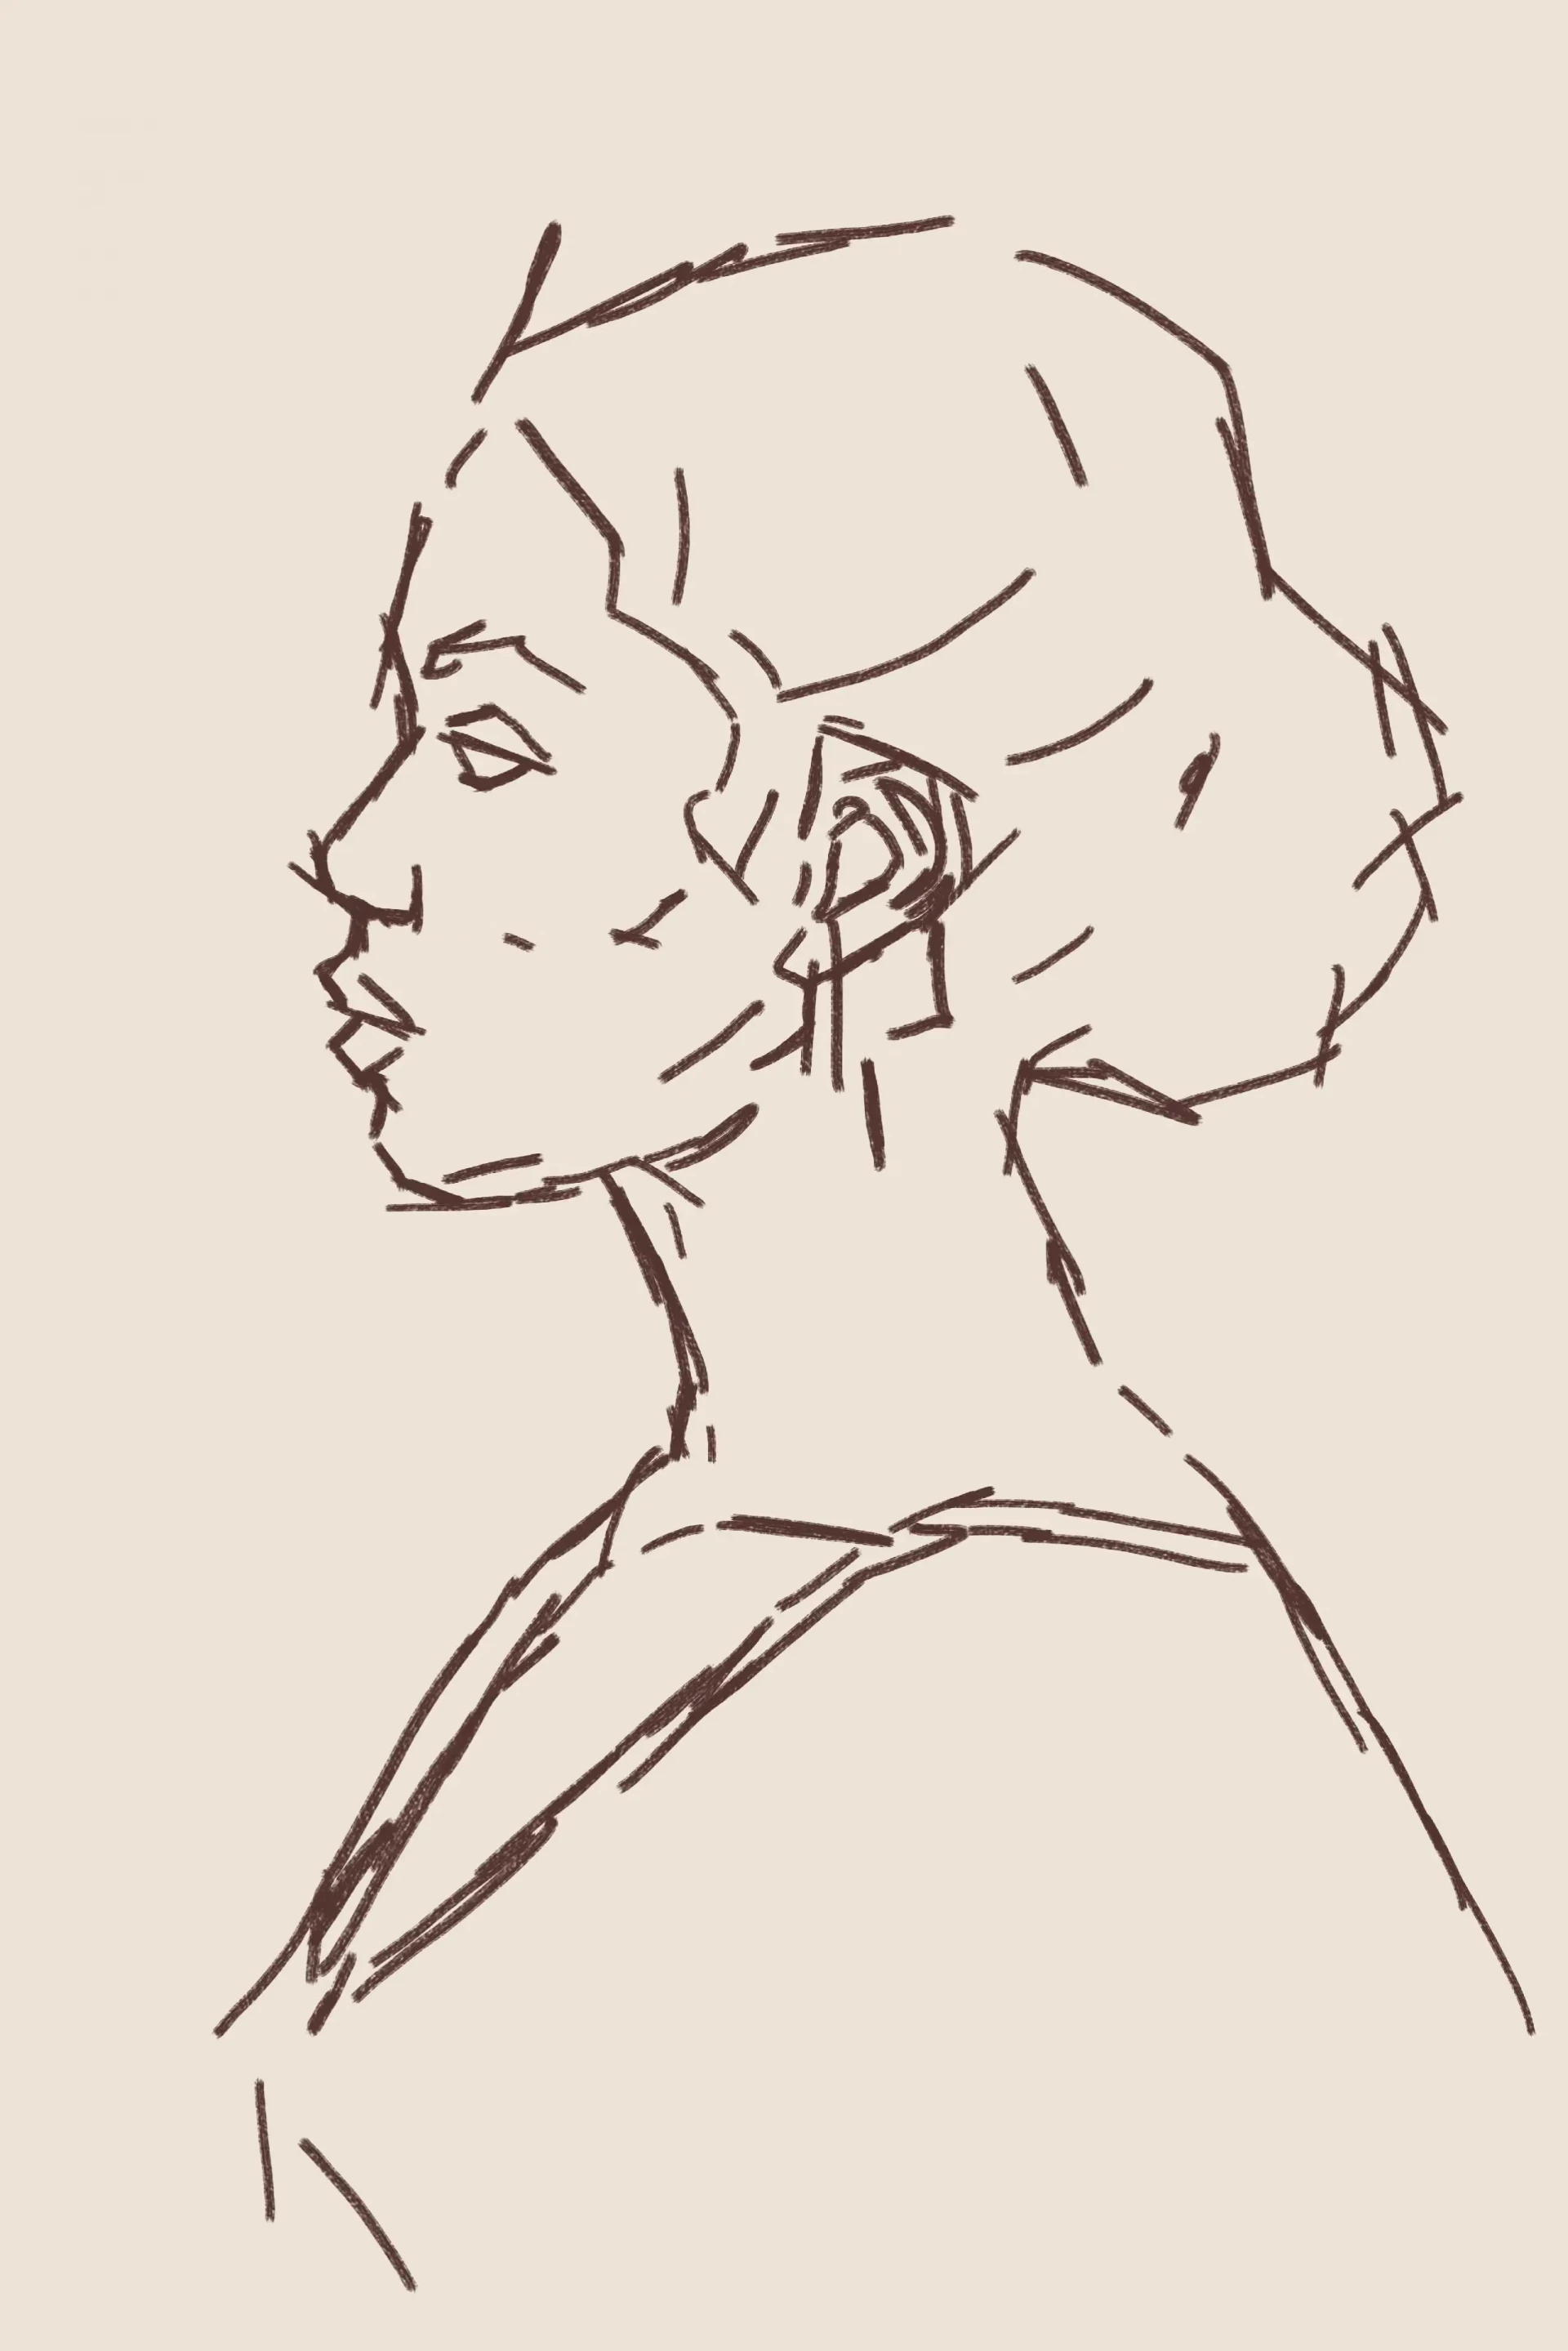
We go over the drawing with a slightly darker shade, avoiding pure black so as not to harden the outline. We then erase the unnecessary guide lines to achieve a clean drawing that will serve as the final structure for the portrait.
Add color to the drawing
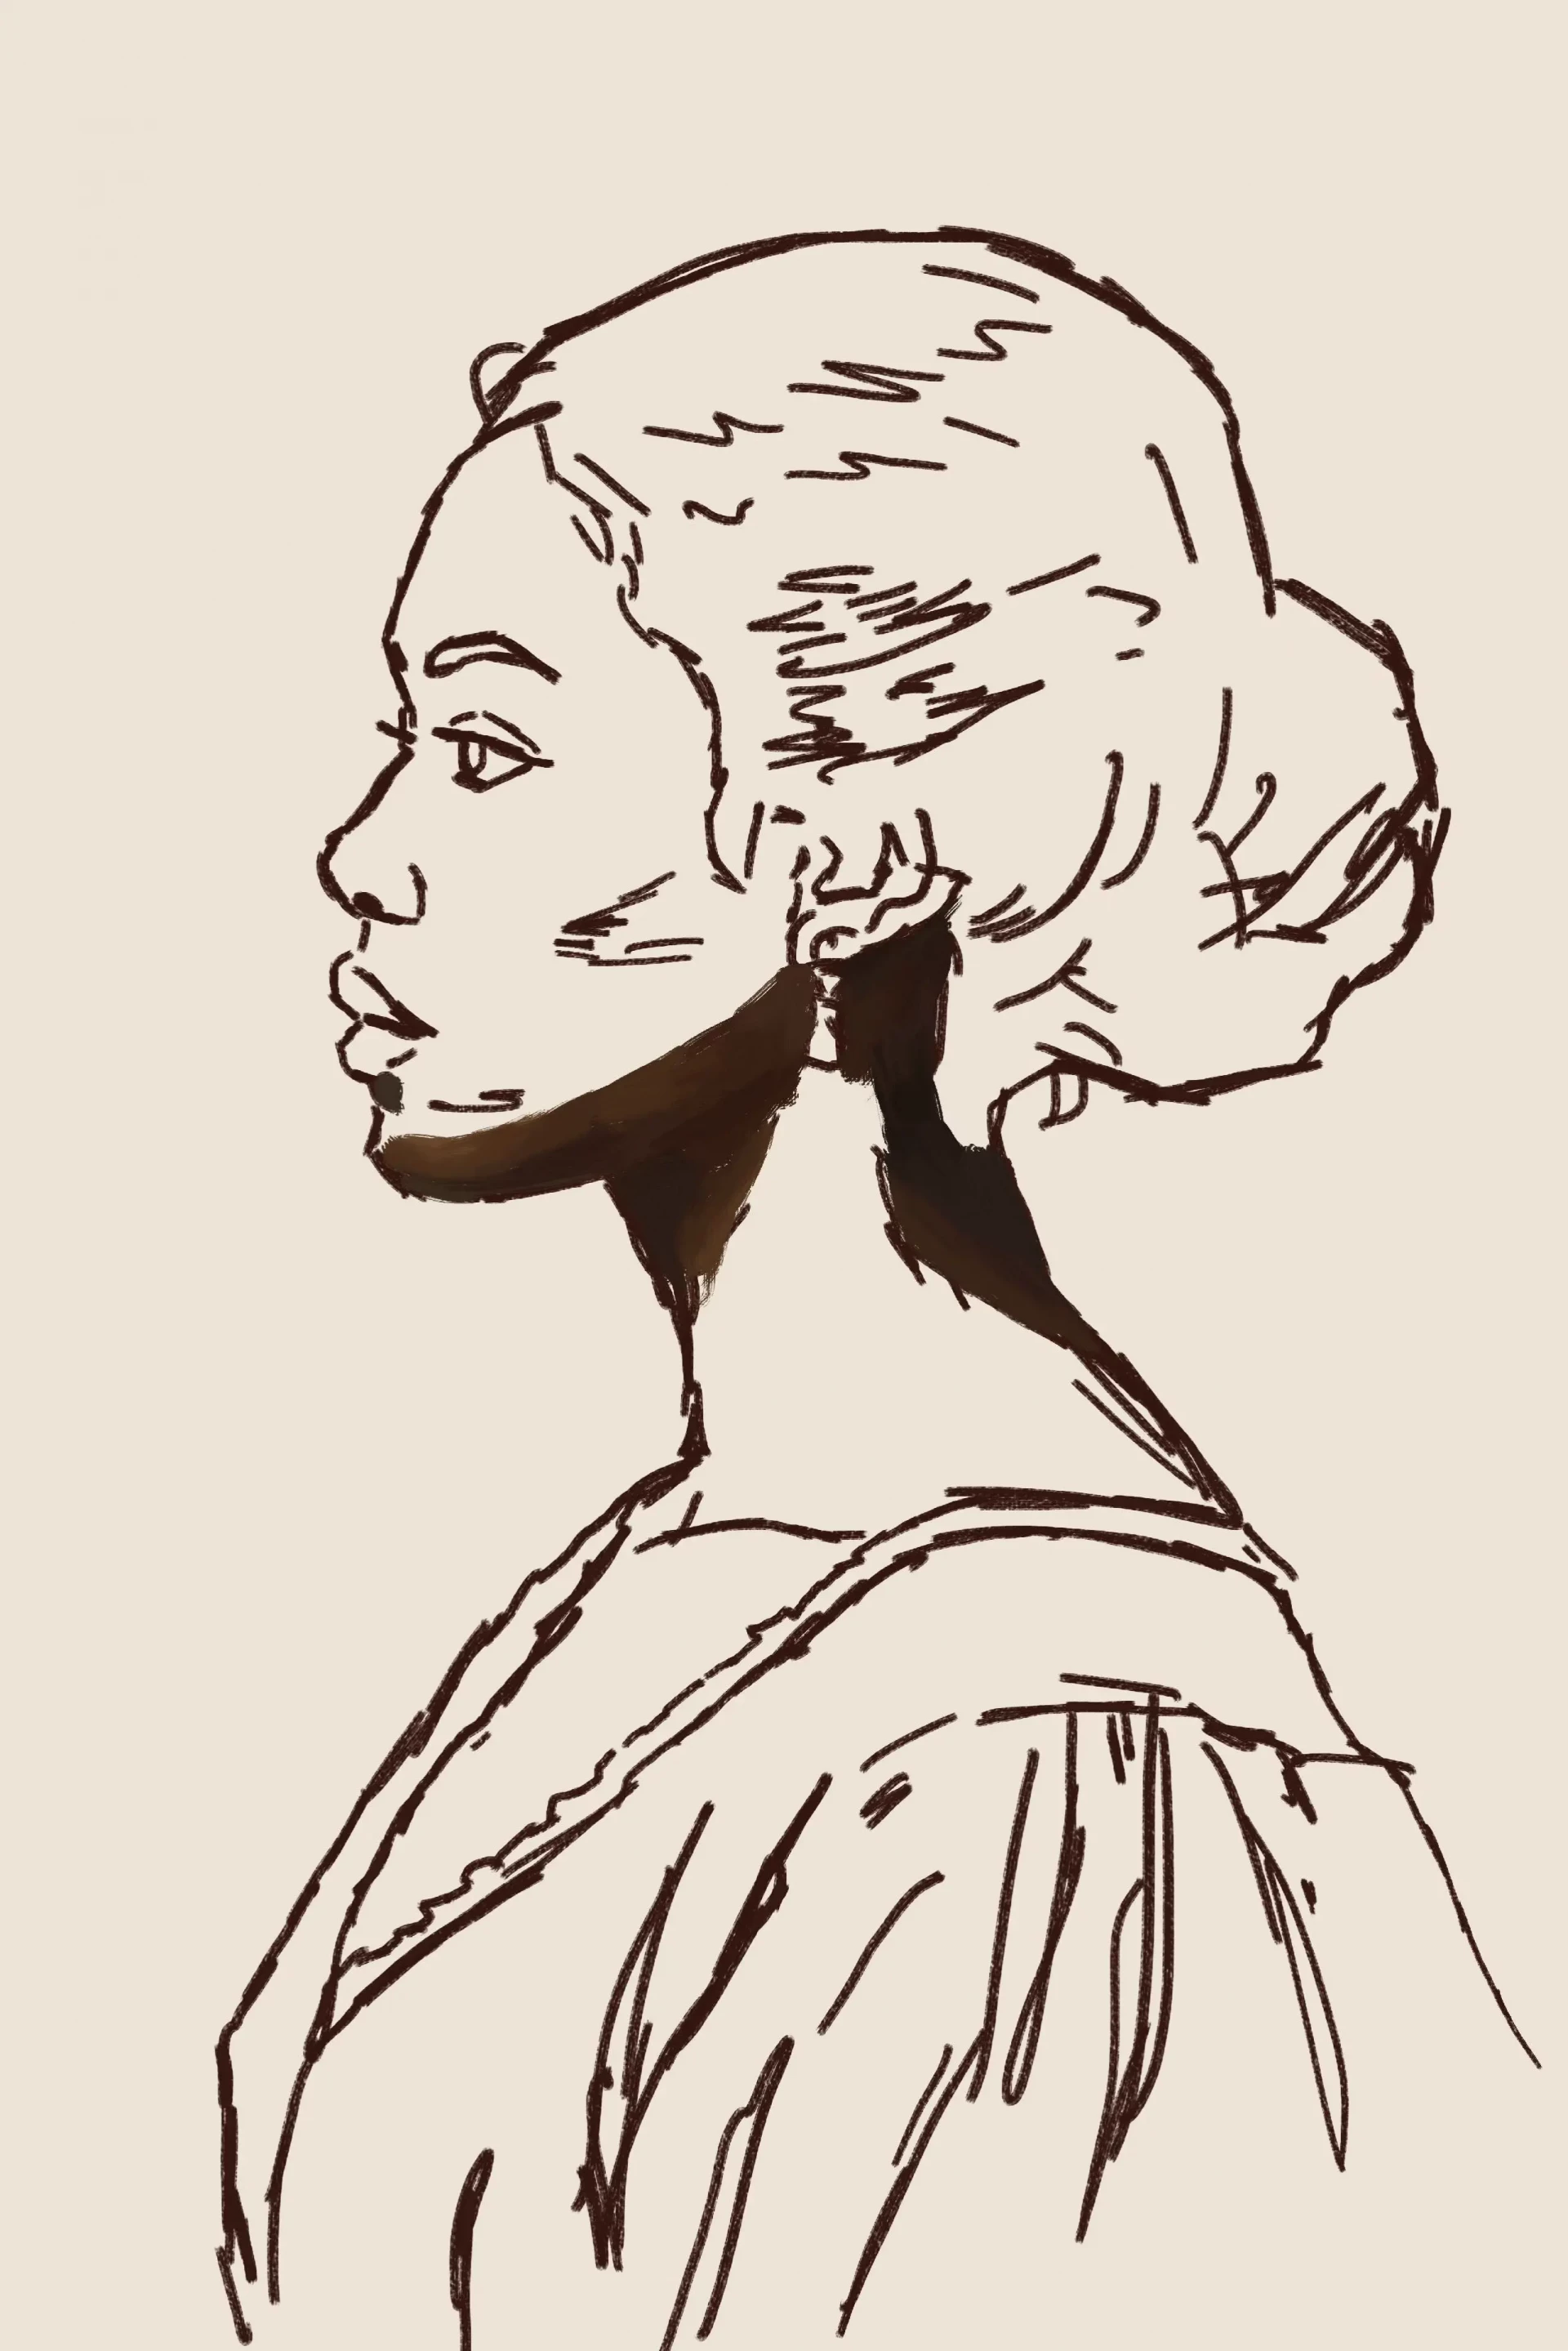
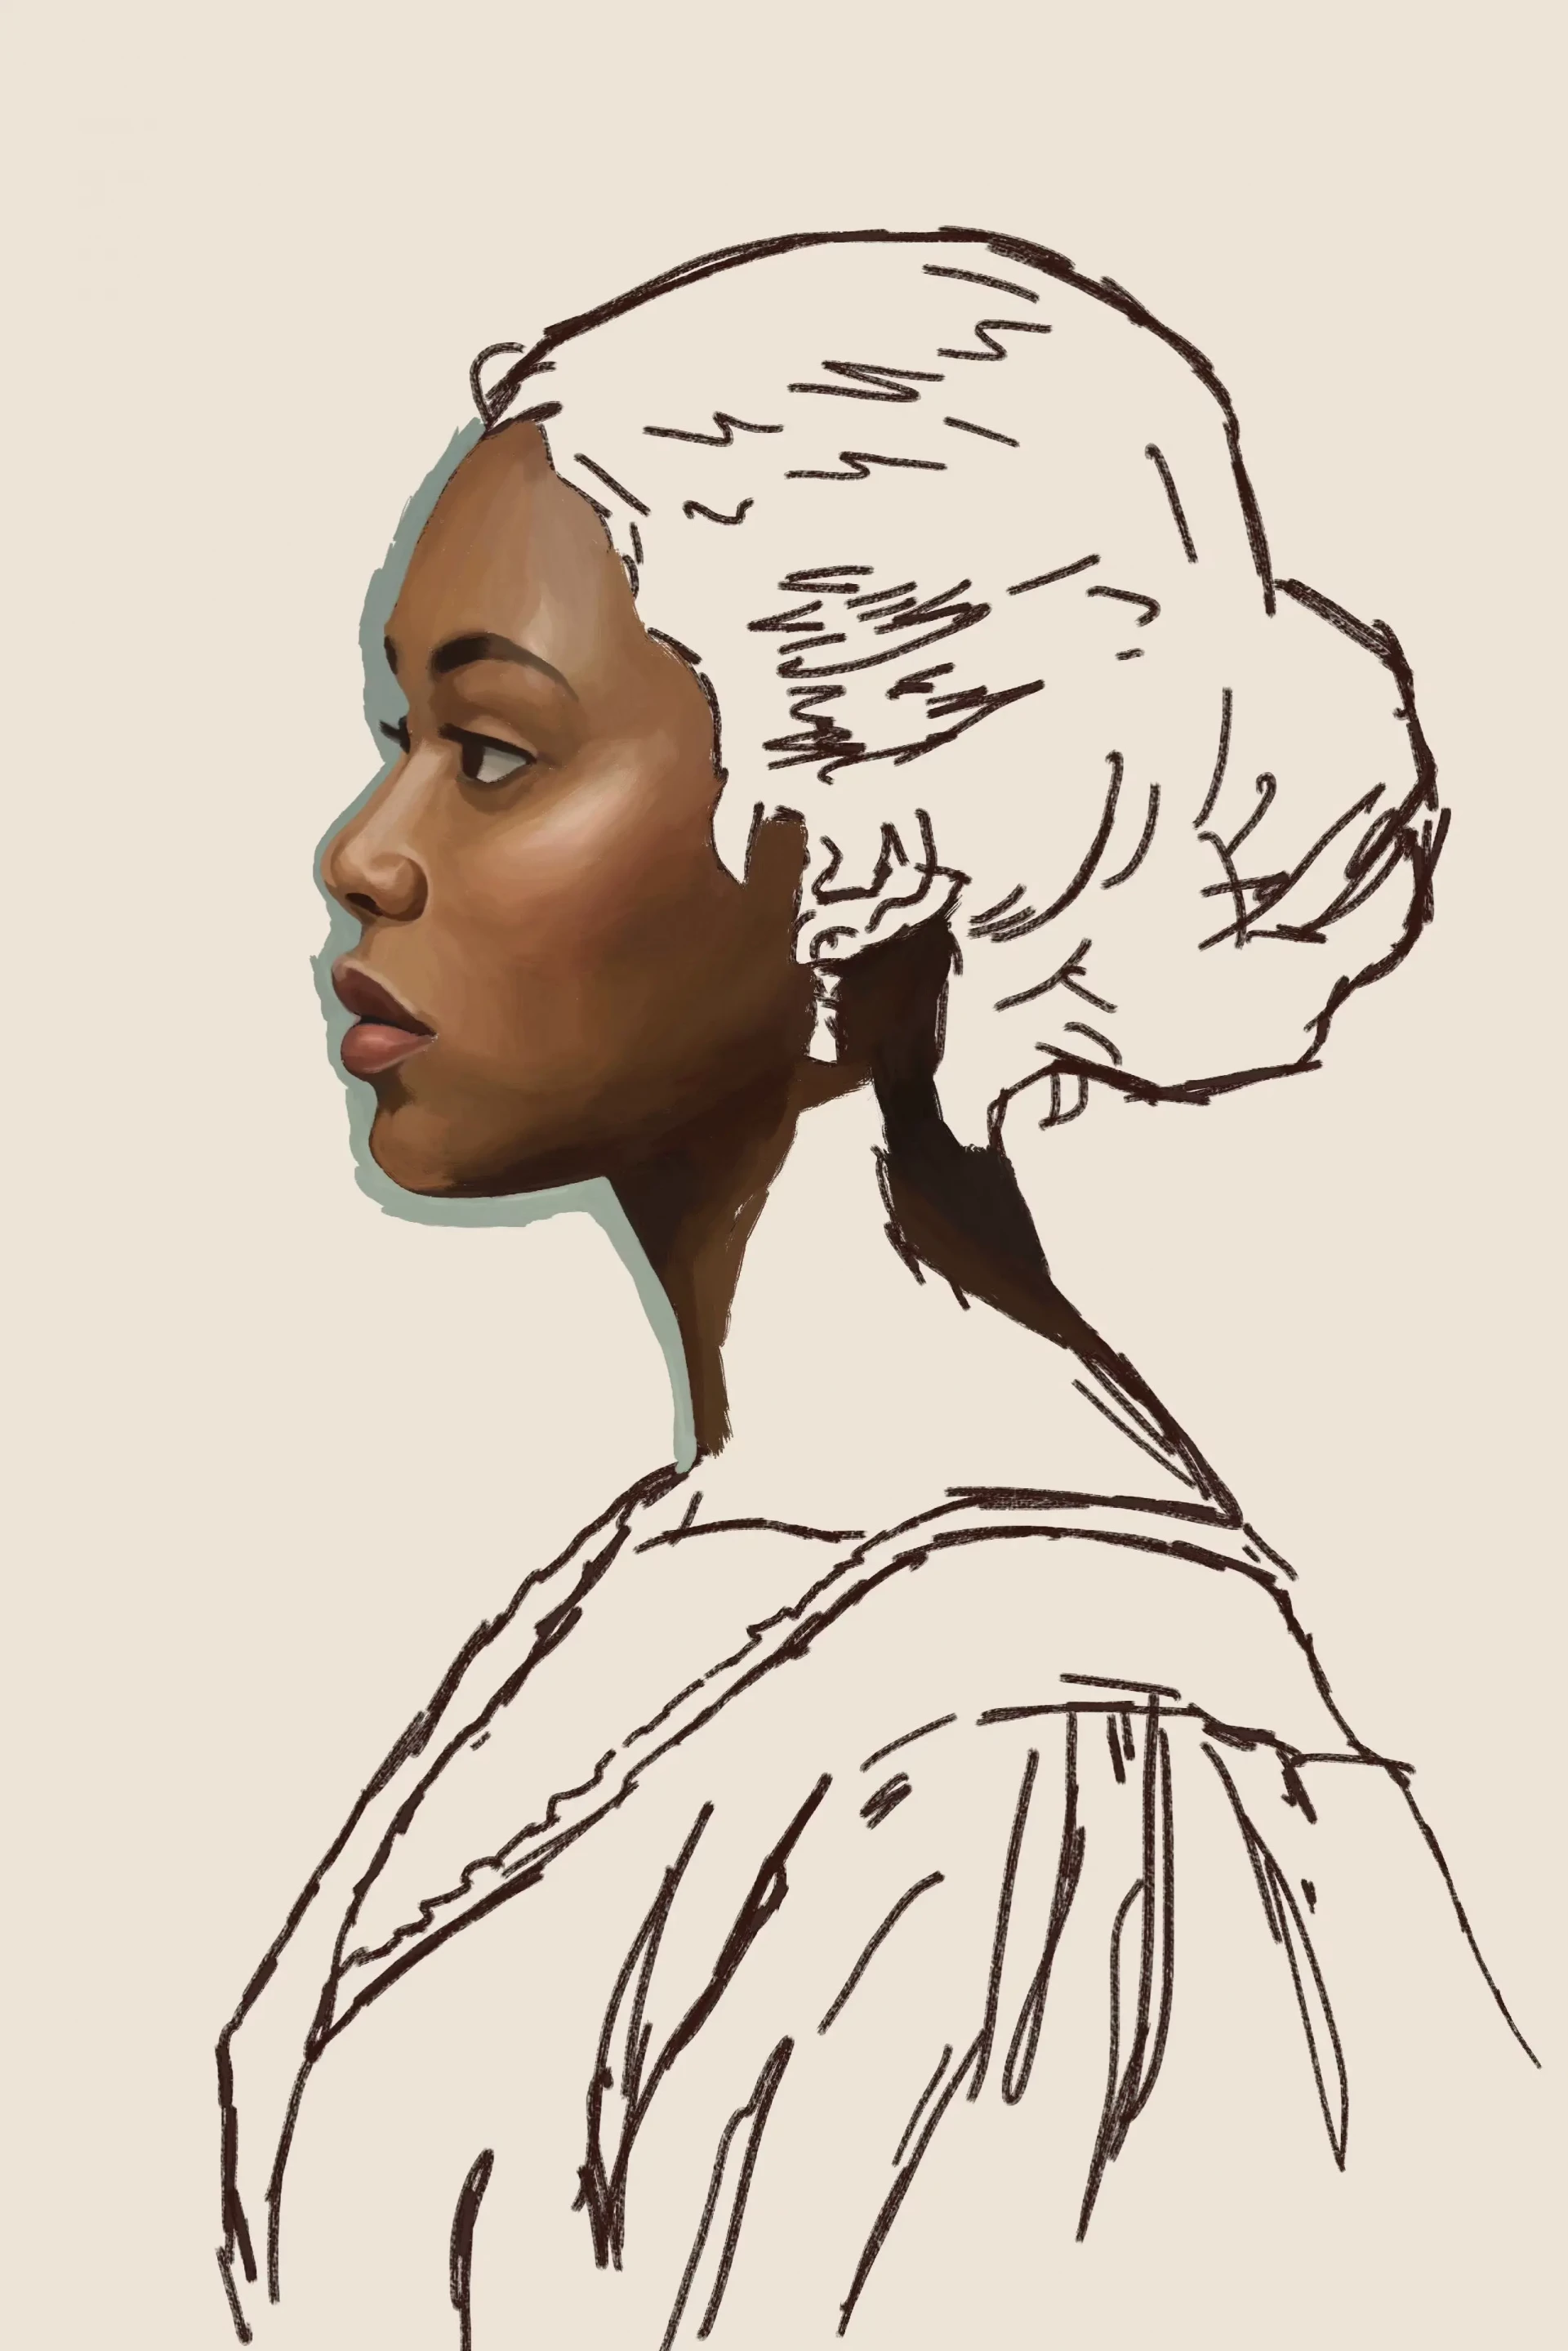
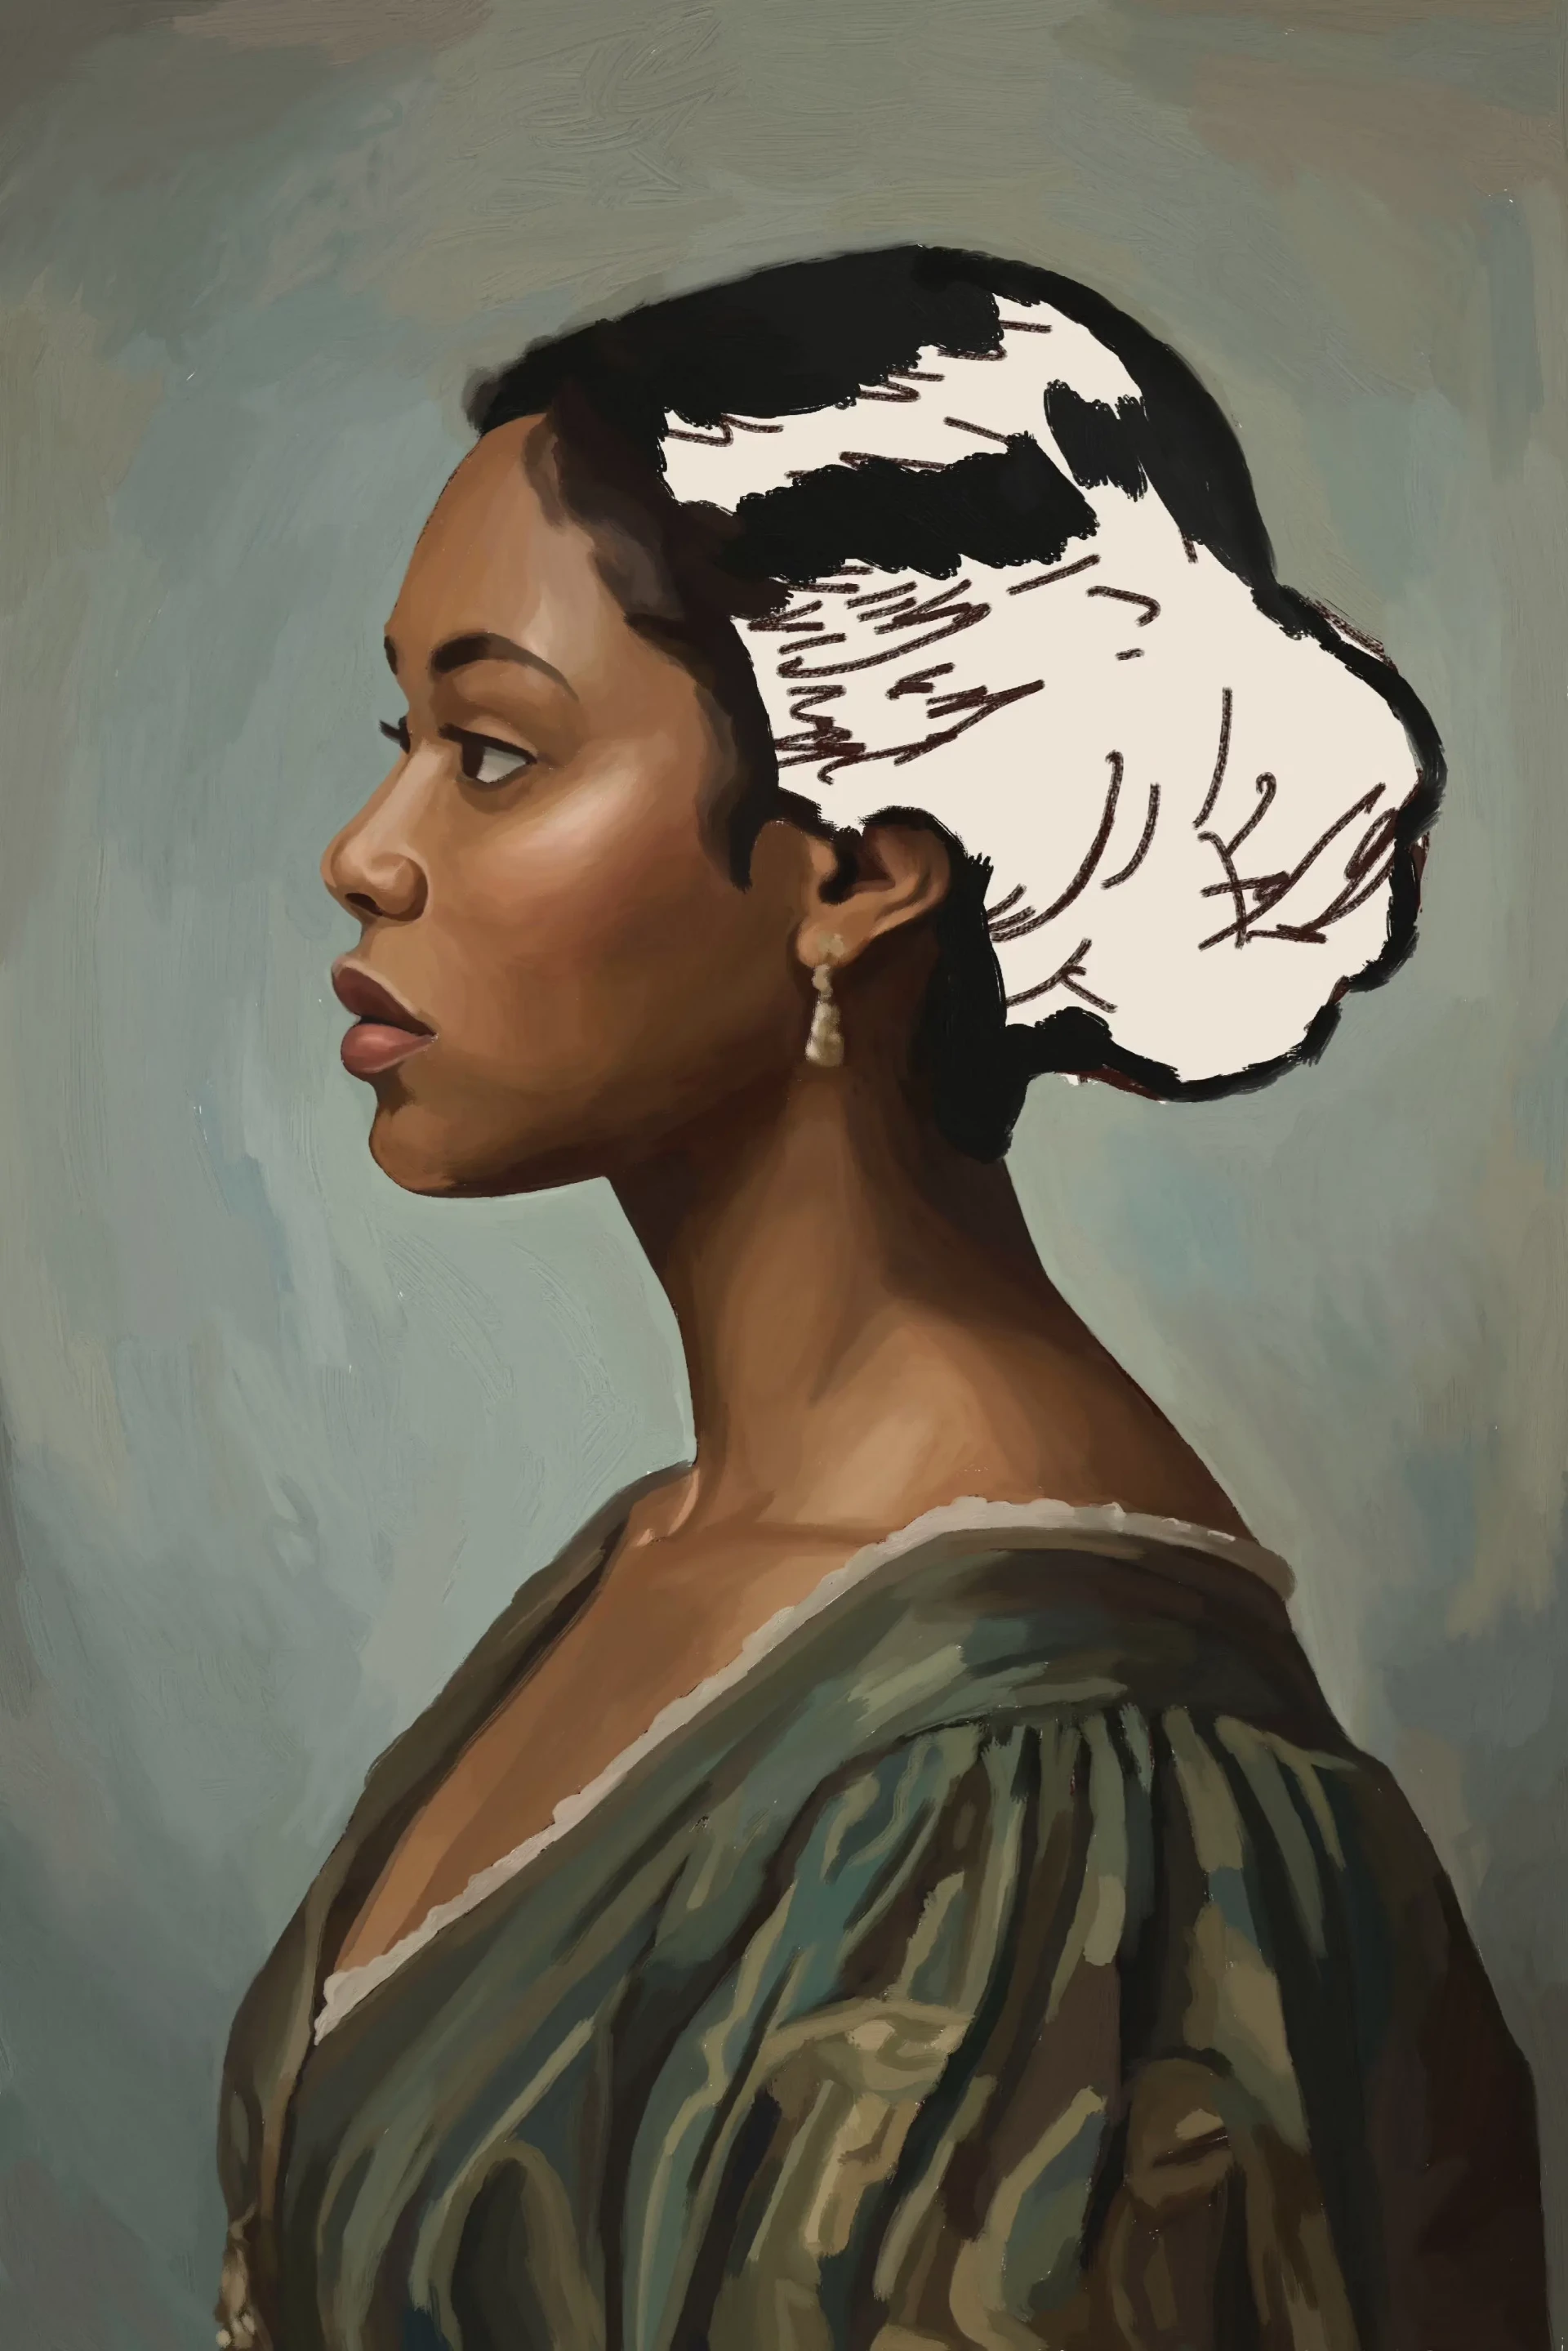
We start by applying color to the darkest areas of the skin, without using black. We use a deep earthy tone or dark brown, which enables soft initial contours to be created. This first layer defines the base of the main shadows and creates a reference point for future light areas.
We apply a lighter and warmer tonal value to shape the intermediate areas. For the brightest parts, we lighten the base hue even further and slightly increase the saturation.
This creates a direct light effect that enhances volume and realism. Care is taken to blend the transitions to avoid overly sharp changes in color or tone.
We work on the cheek and nose with tones similar to those of the previous light areas, adjusting the intensity according to the direction of the light.
The aim is to achieve a smooth transition between shadows, mid-tones, and lit areas.
For the lips, we mix skin tones with a rosier shade. We highlight the upper edge with a slight shimmer, while the lower base receives a more pronounced shadow. This contrast enhances the natural look, especially on darker skin tones.

Add facial details and expression to the portrait
With tones complementary to the skin, we redefine the contour of the face to distinguish it from the background and clothing.
The eyebrows are painted with a grayish base enhanced by a darker tone. For the eyes, light and neutral values are used for the sclera, and almost pure black for the eyelashes and pupil.
Shadows and light areas are drawn on the neck and shoulders, using the same approach as for the face. The values must remain consistent: the main light comes from the upper left side, creating a smooth transition between the face, neck, and body.
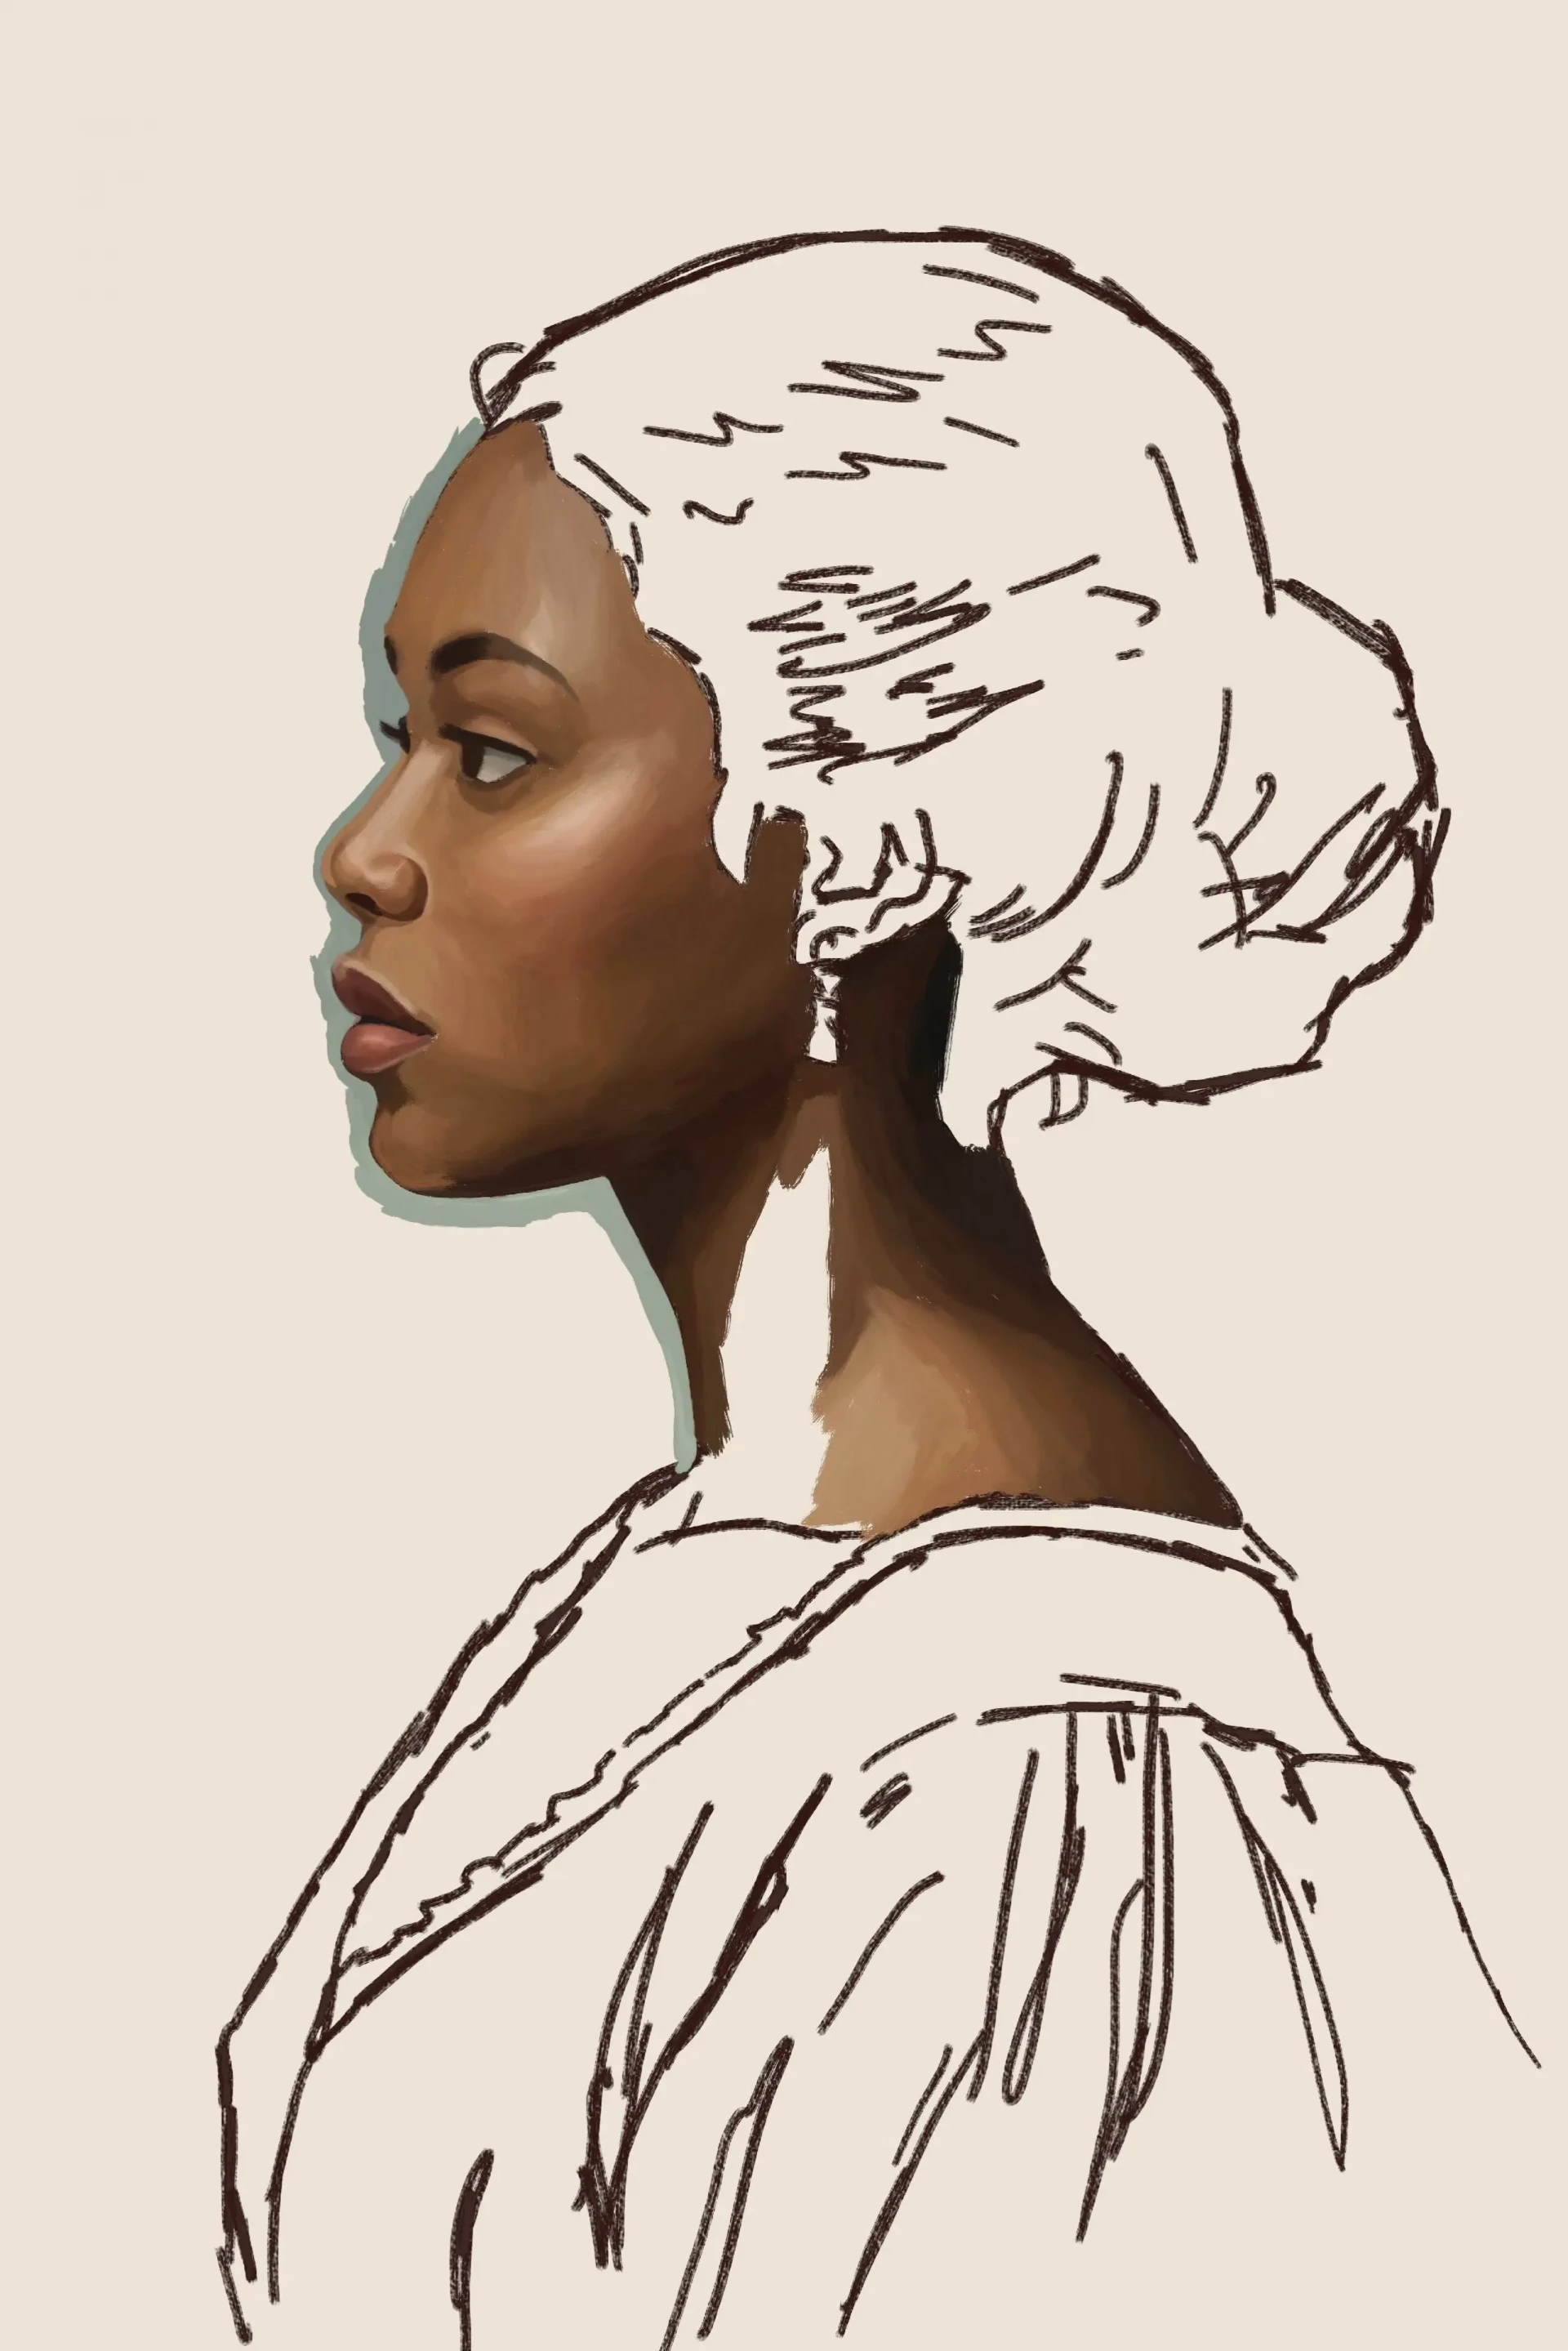
We soften the transitions of the neck and shoulders for a more organic rendering. The ear is painted following the direction of the light: lit areas on the left, more pronounced shadows on the right. We add a golden pendant whose hue, close to the skin tone, blends harmoniously with the rest of the painting.
Add the background and contrasts
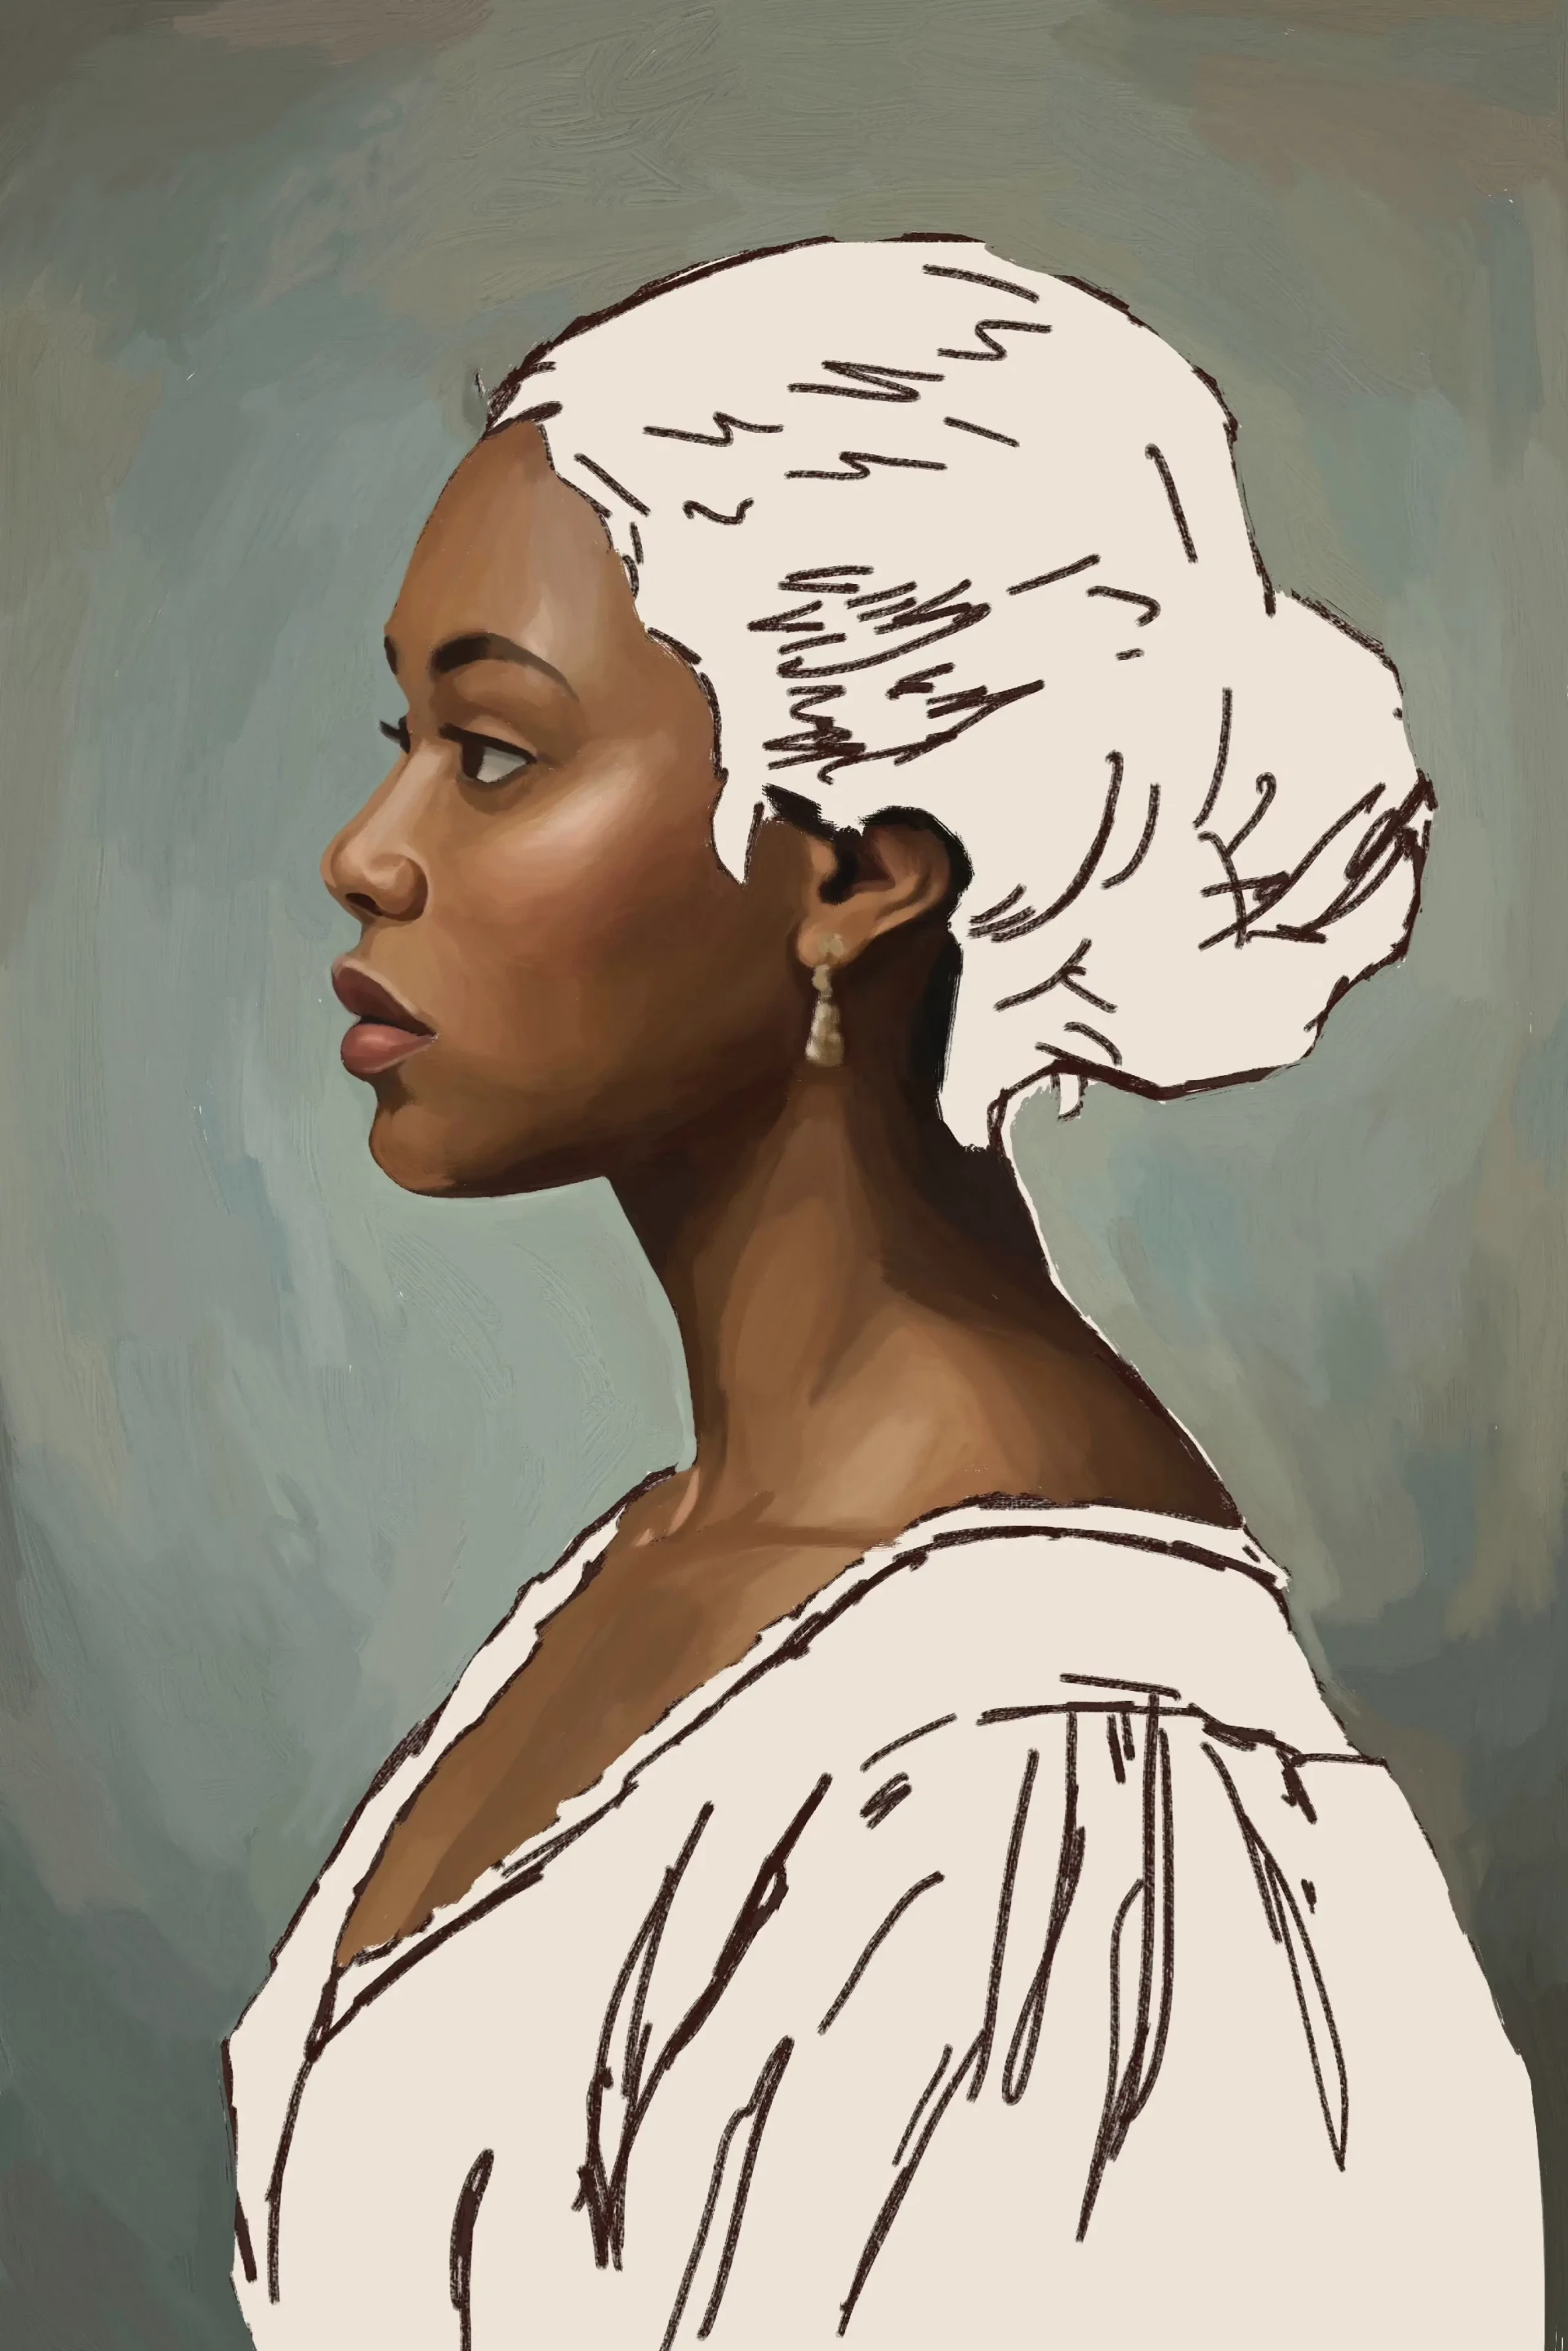
We start the background with a slightly darker neutral tone than the skin. The further from the face, the more intense the color becomes, creating a focal contrast effect that draws the eye to the main subject.
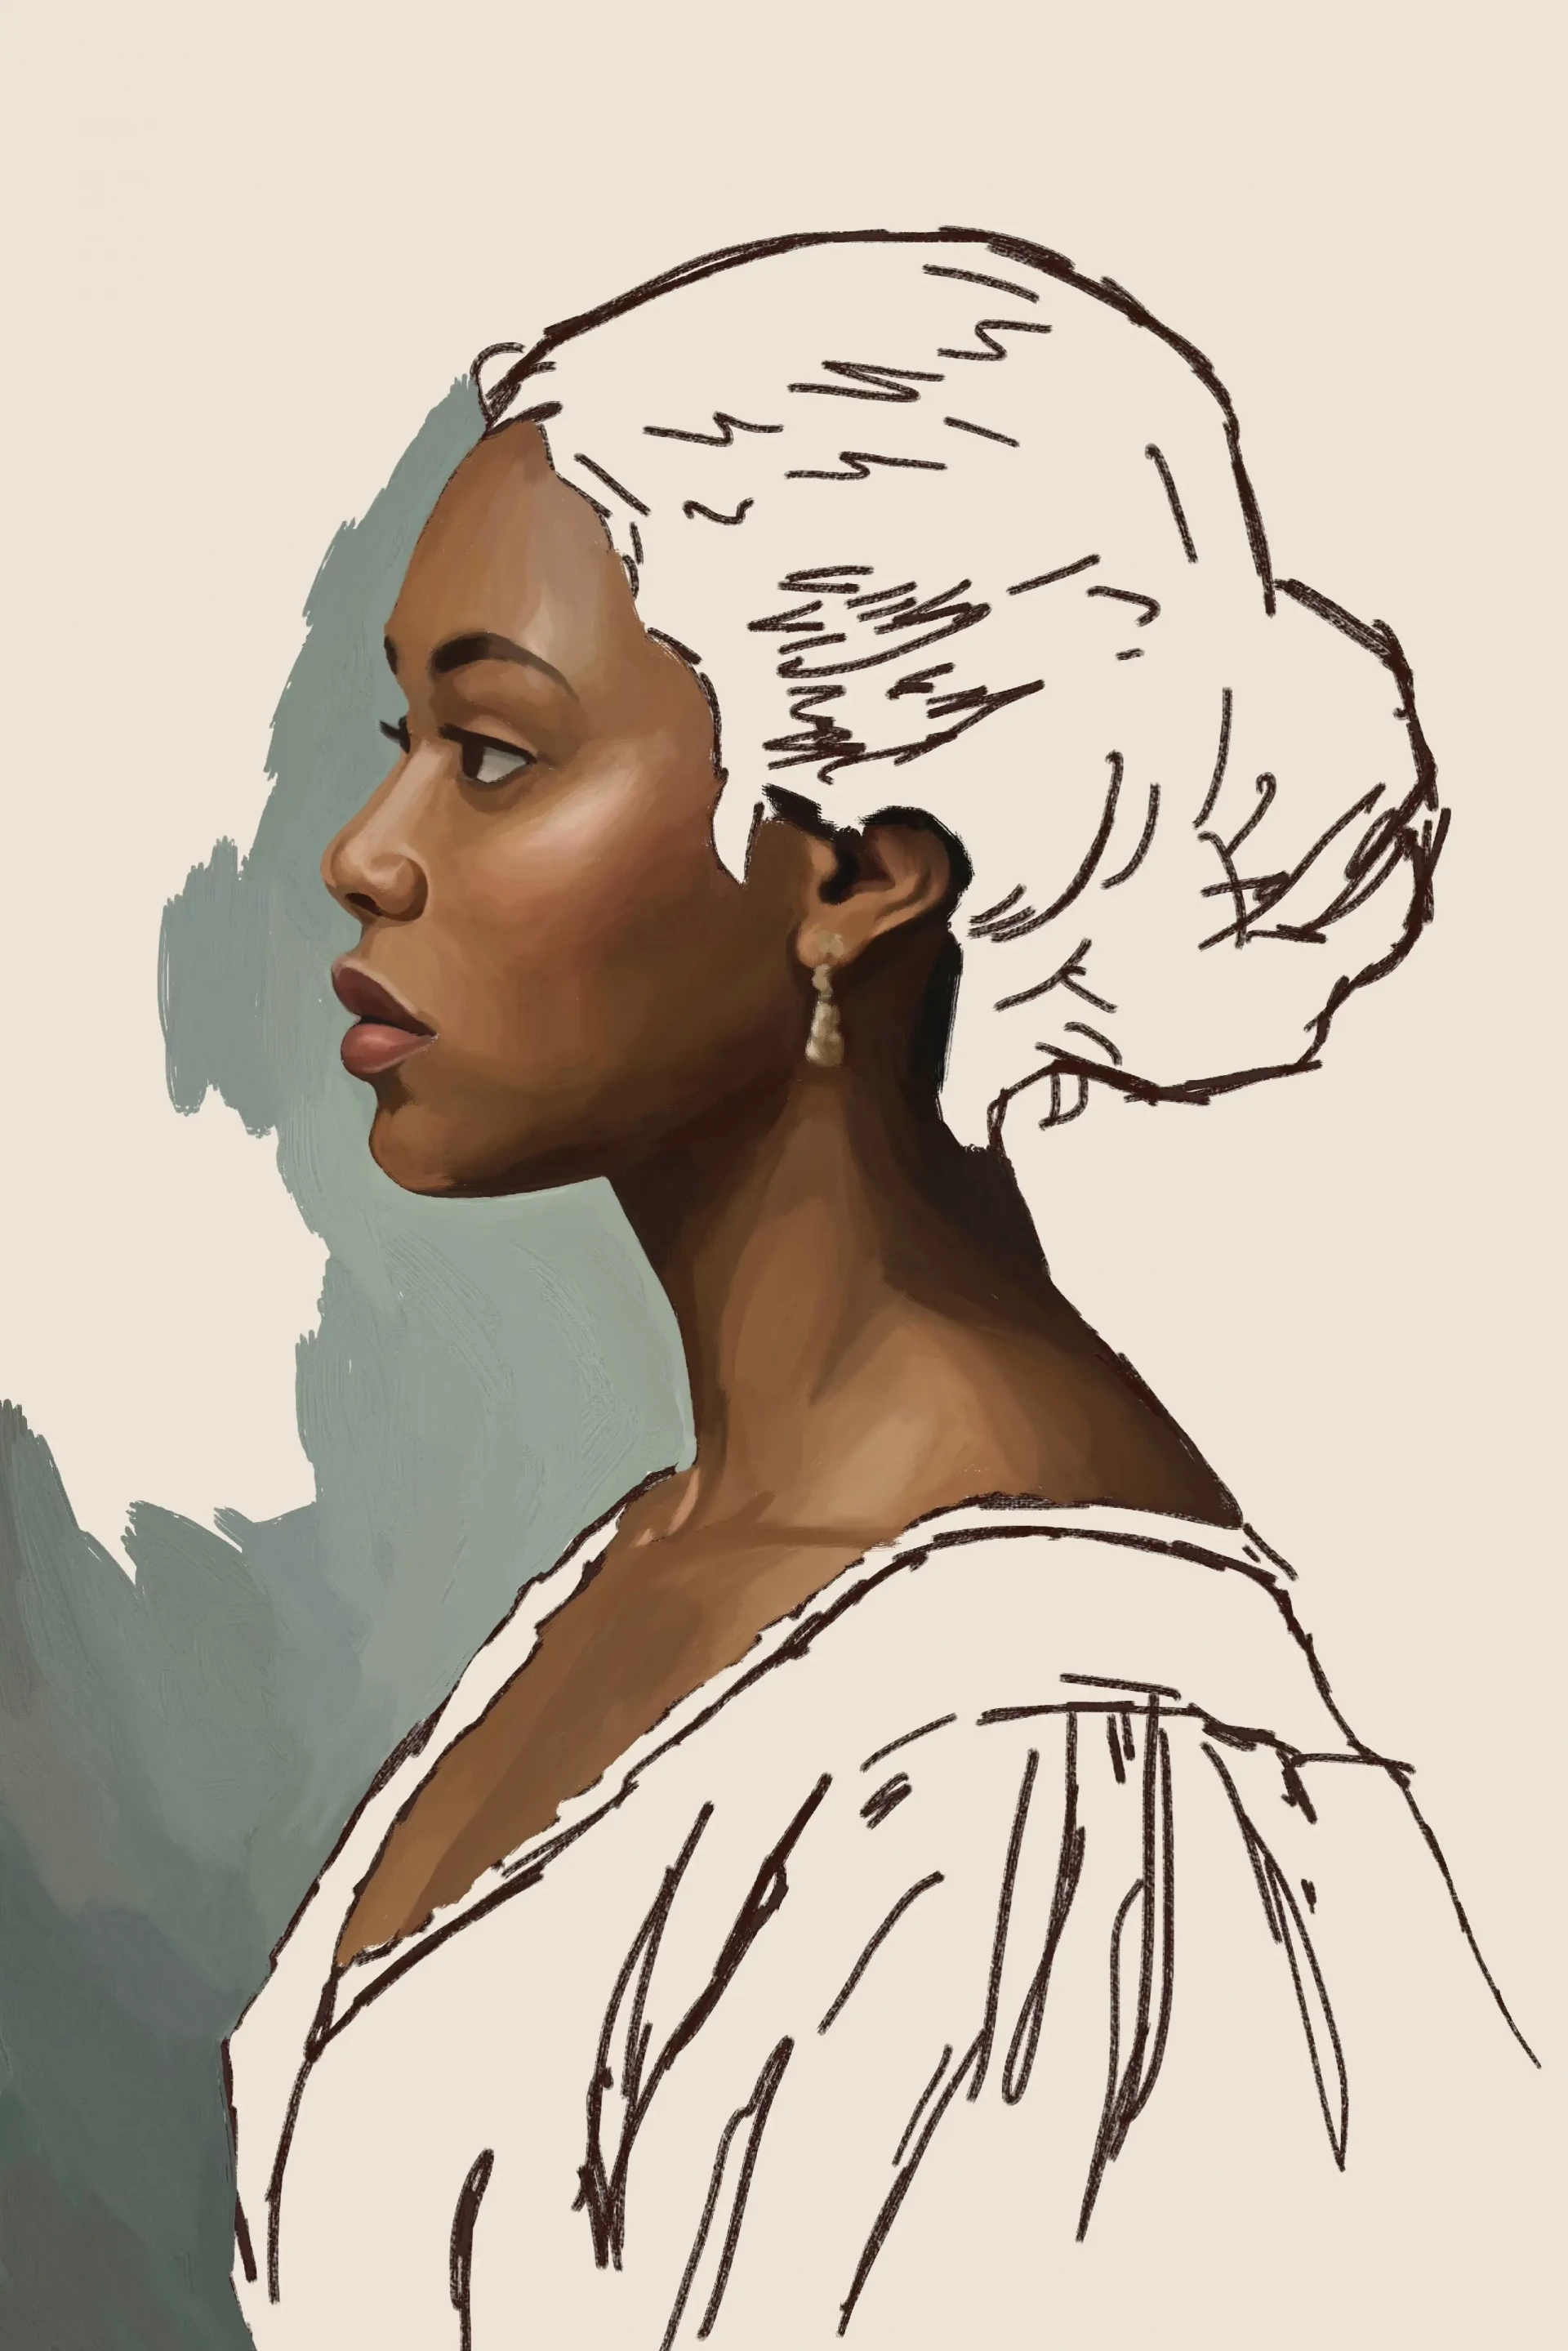
The background should not be uniform: it incorporates shades from the portrait to maintain chromatic unity. Slightly darken behind the head to enhance spatial depth and soften transitions.
Add clothes and textures to the profile portrait
We paint the shadow areas of the garment with deep black, perfect for marking the folds and contours of the fabric. We blend background and skin tones to create a consistent color base, so that the outfit blends in without dominating the portrait.
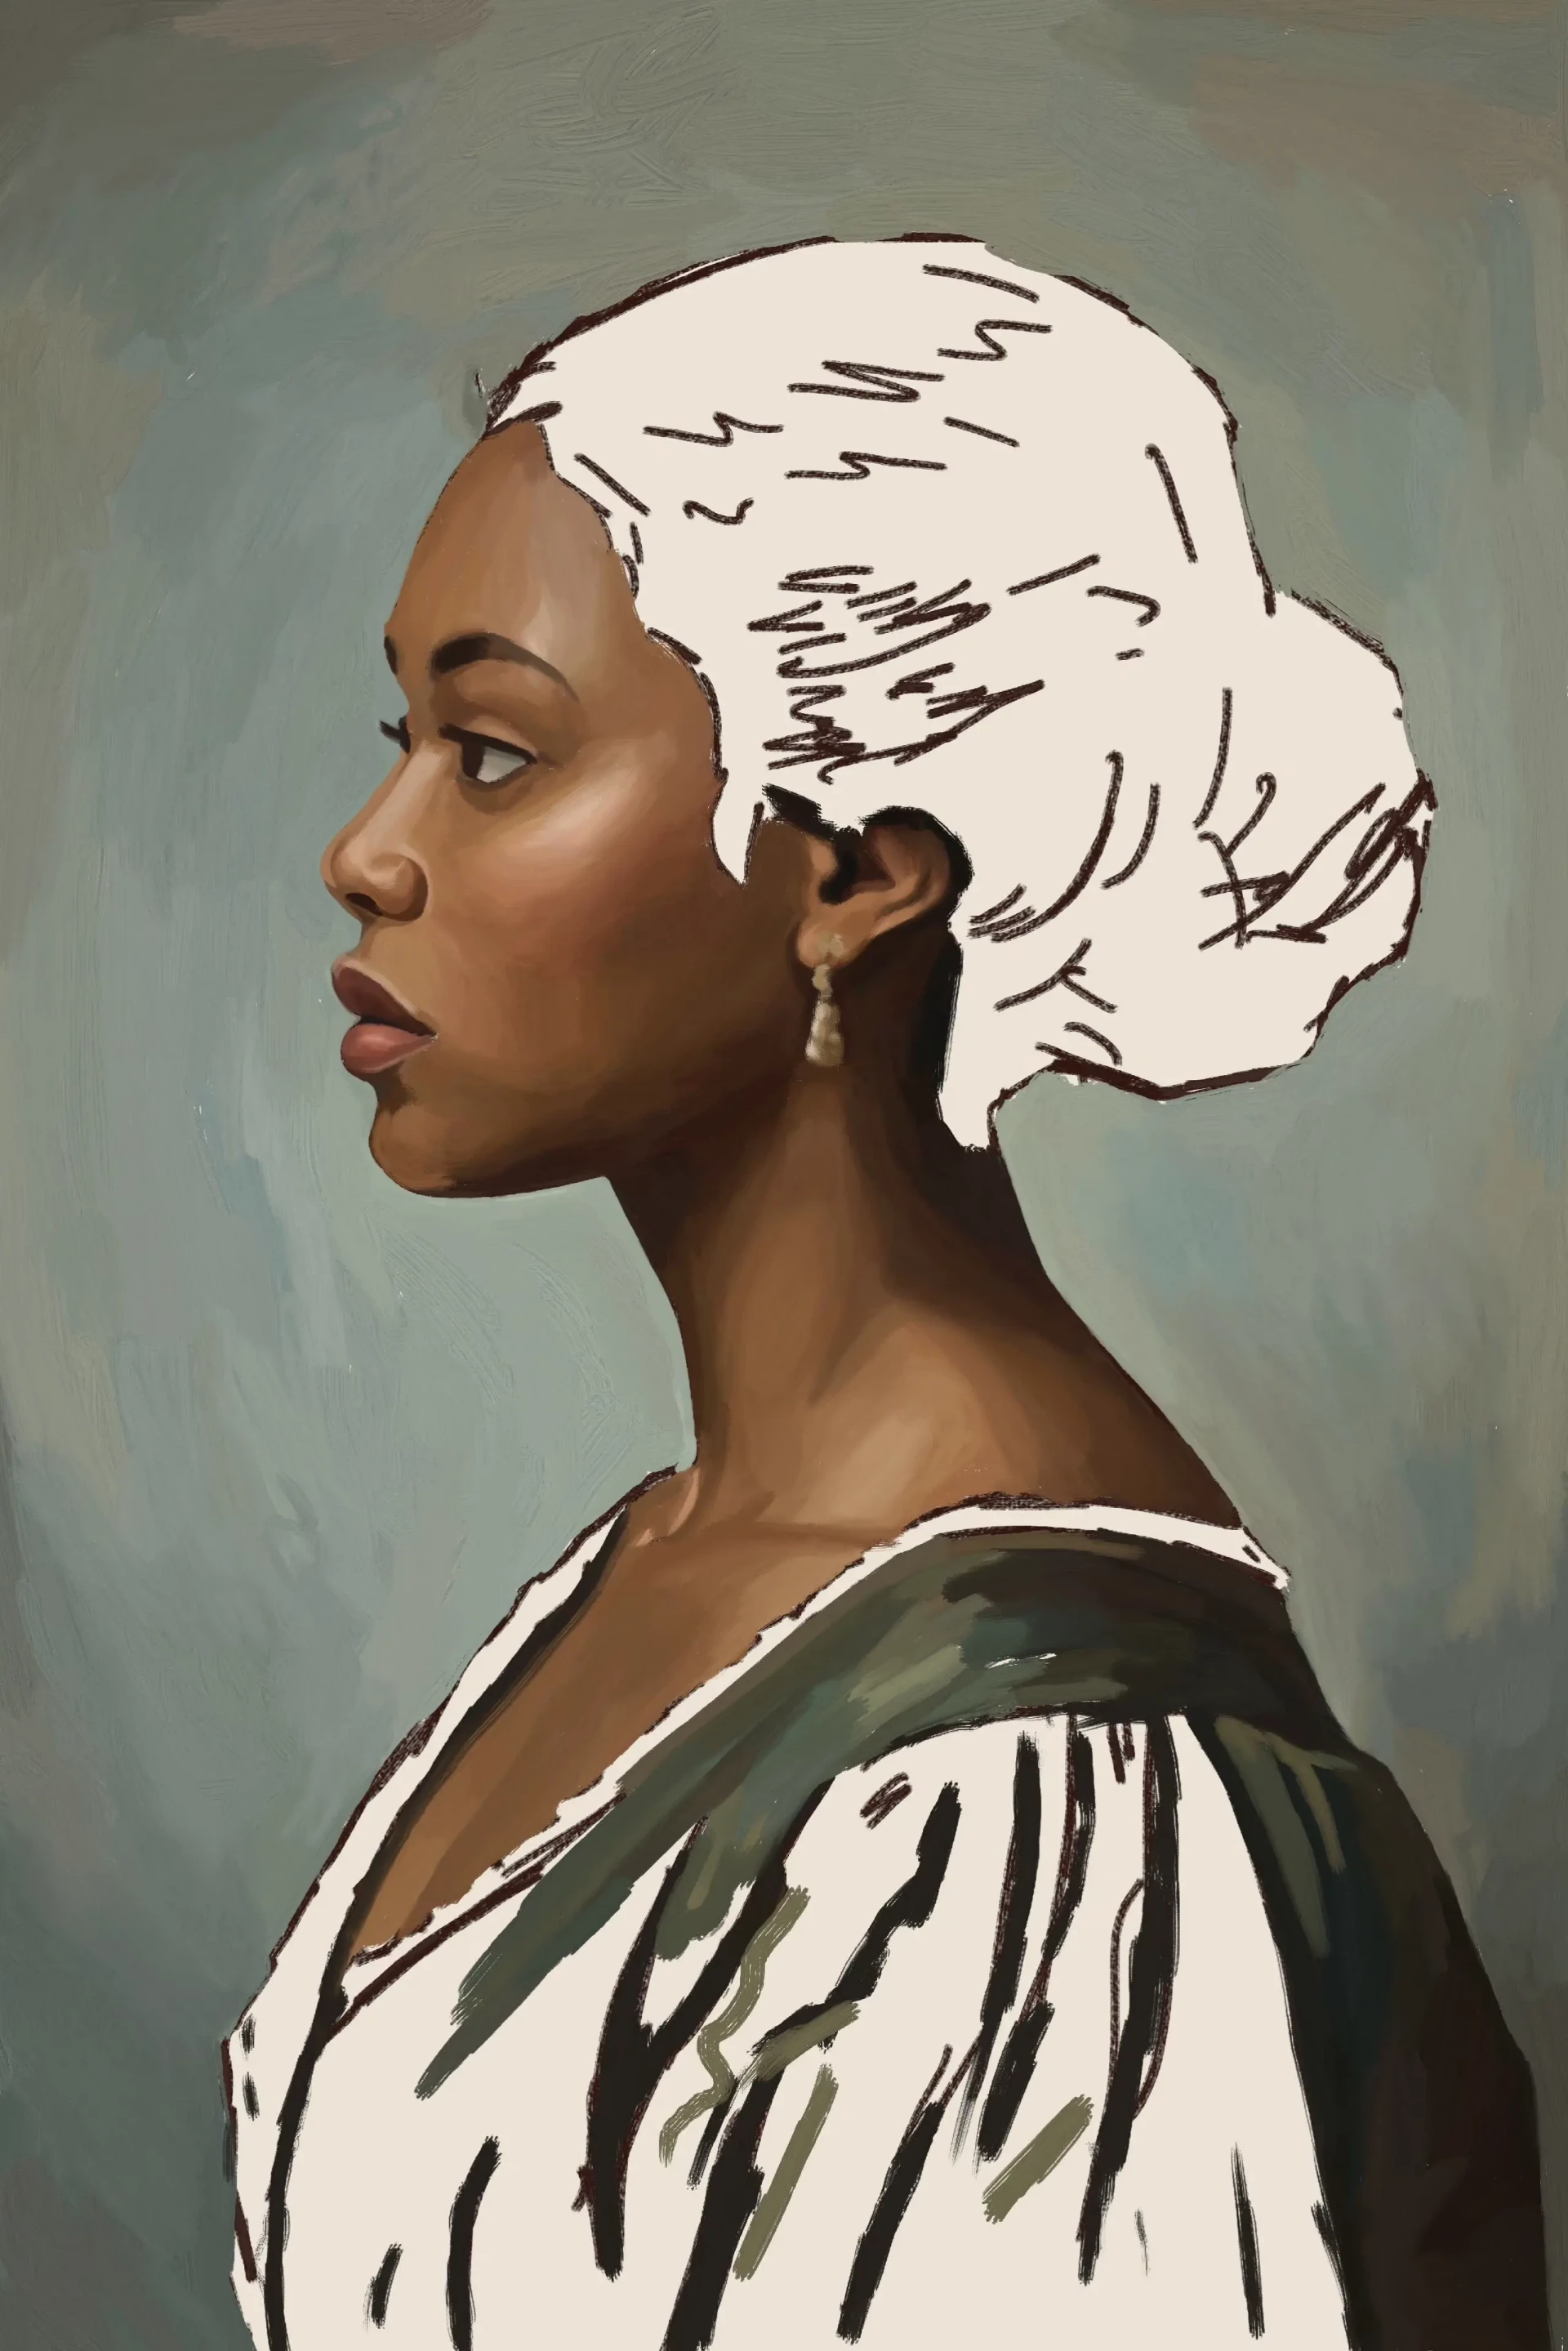
We add a few irregular brush strokes to suggest a textile pattern. Flat areas and light details must balance each other so that the garment complements the composition without drawing attention away from the face.
Finish your drawing
A dark base is applied on the hair, similar to the shades used for the lashes and pupils. Care is taken to clearly define the forehead outline, while leaving areas reserved for highlights to maintain a bright contrast.
We slightly lighten the base to paint the main highlights of the hair, blending the transitions for a realistic rendering. Finally, we add a backlight line along the neck, which reinforces the separation between the silhouette and the background.

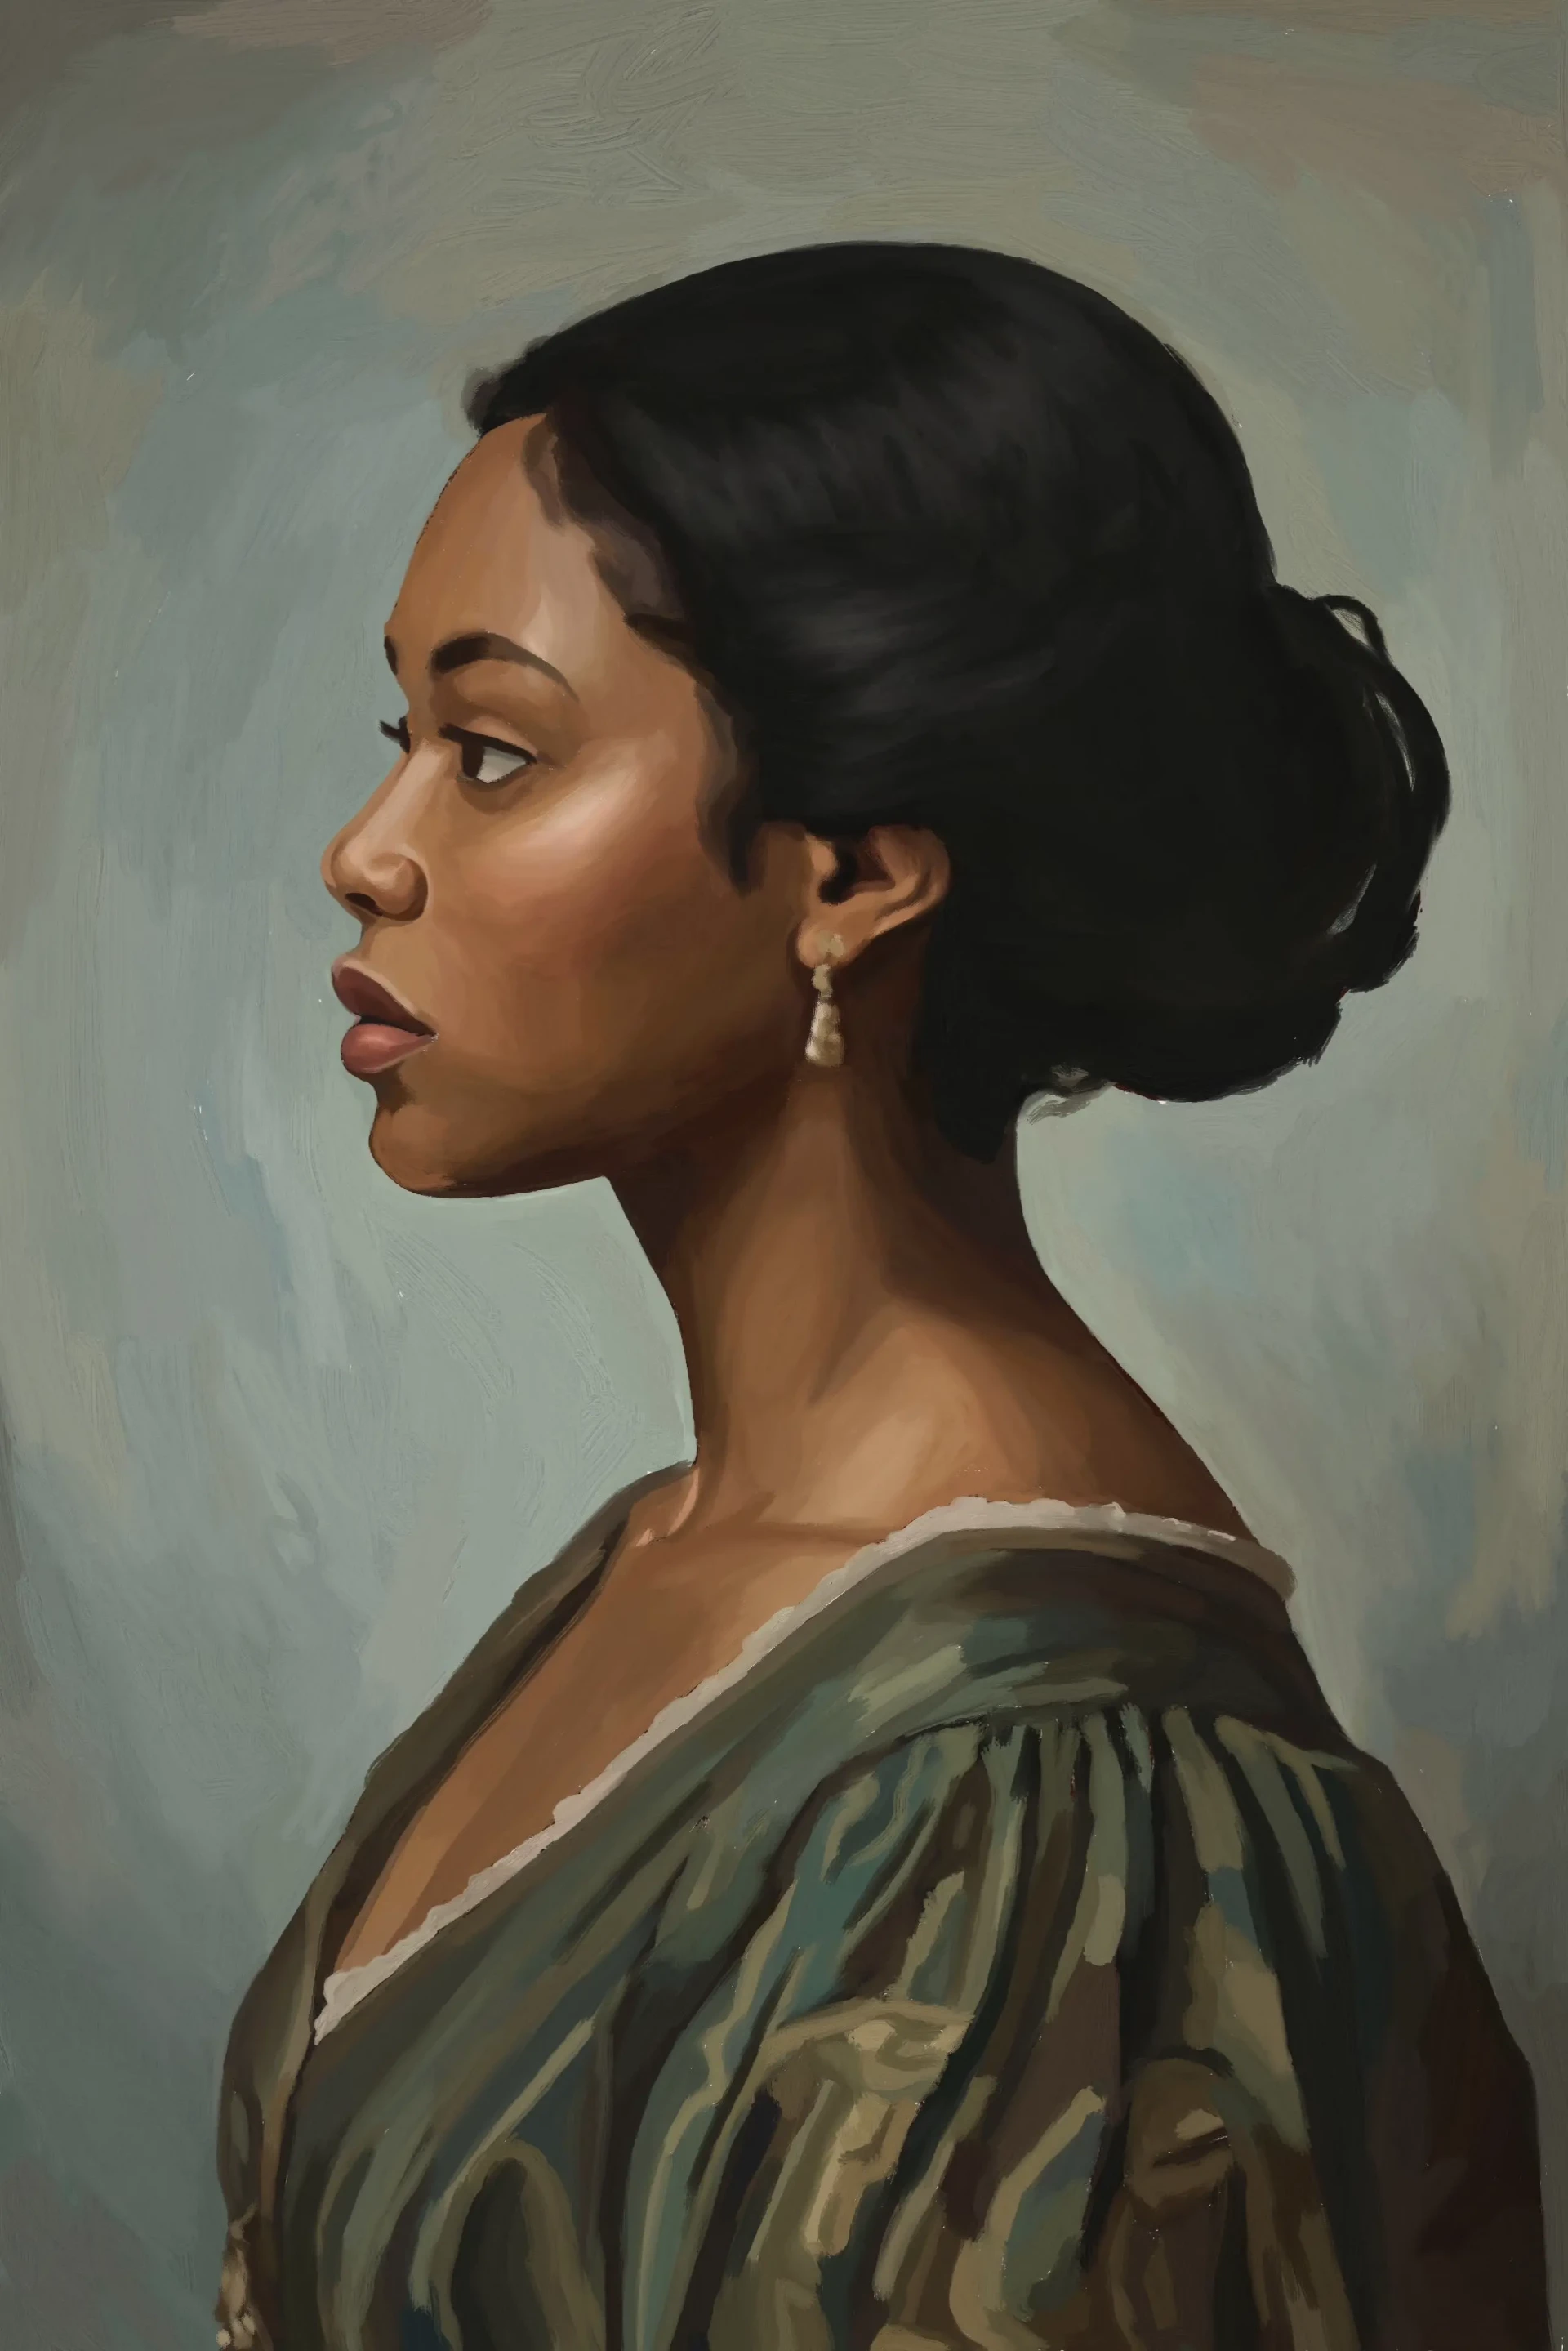
Here is our finished profile portrait! This process illustrates a clear method for constructing a profile portrait:
- Start by setting out the proportions with an accurate sketch.
- Then define the values and color temperatures.
- Gradually shape the volumes of the face, neck, and ear.
- Finish by working on the hair, the background, and the final details.
Discussion
No comments yet.