
How to Draw a Robin
We’ve all encountered one at least once in a garden or park: that small, roundish bird with its instantly recognizable orange breast. The robin is a very good subject to draw, especially because its shape and appearance are easy to recognize. So, we’ll take the time to observe it and look at how to capture its shapes and colors on paper. Let’s get started, we’re going to draw a little robin!
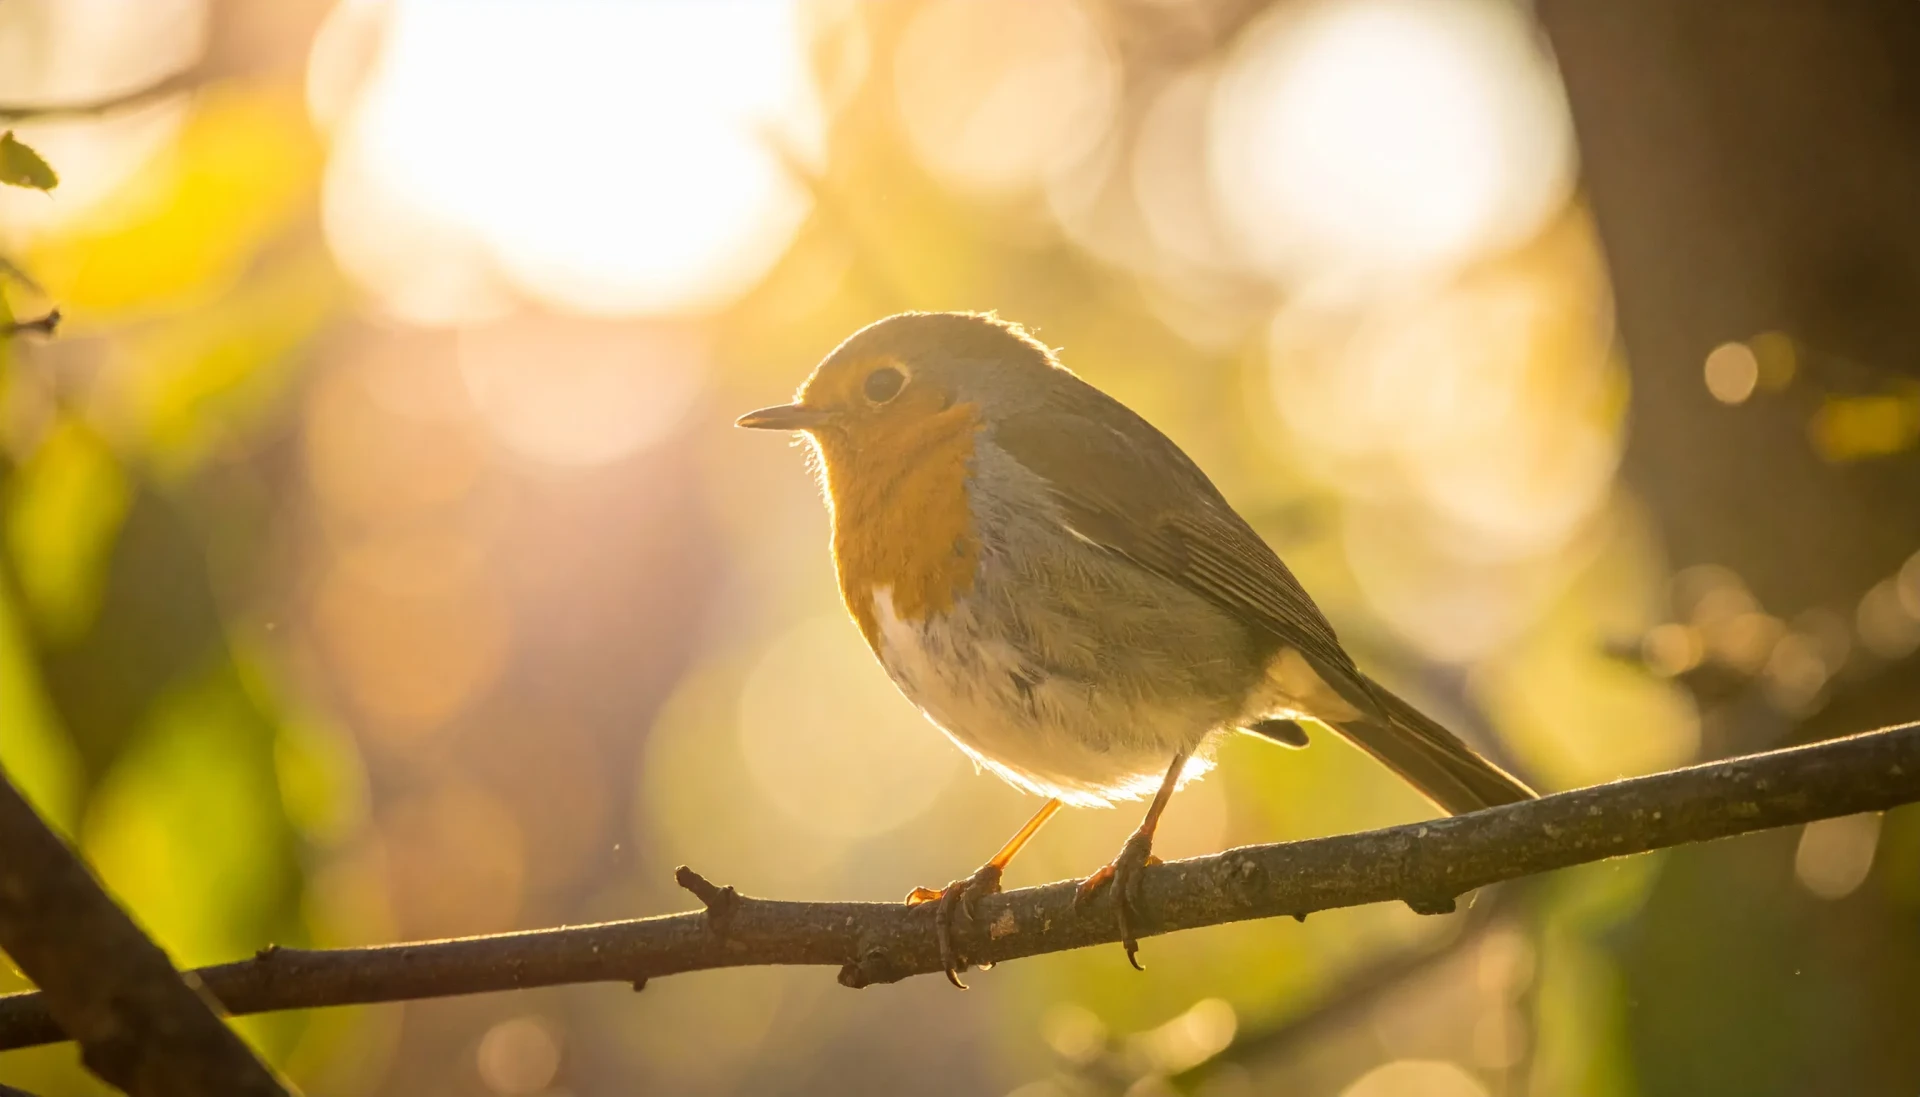
Observe the robin before drawing
Before we begin, let’s take the time to analyze a robin. Its silhouette is round, its chest is broad, and its wings are neatly folded. The tail is rather short and thin, and the eyes are round, slightly small, and completely black. It is this combination of simple shapes and precise details that gives the robin its unique charm.
How to draw a robin step by step
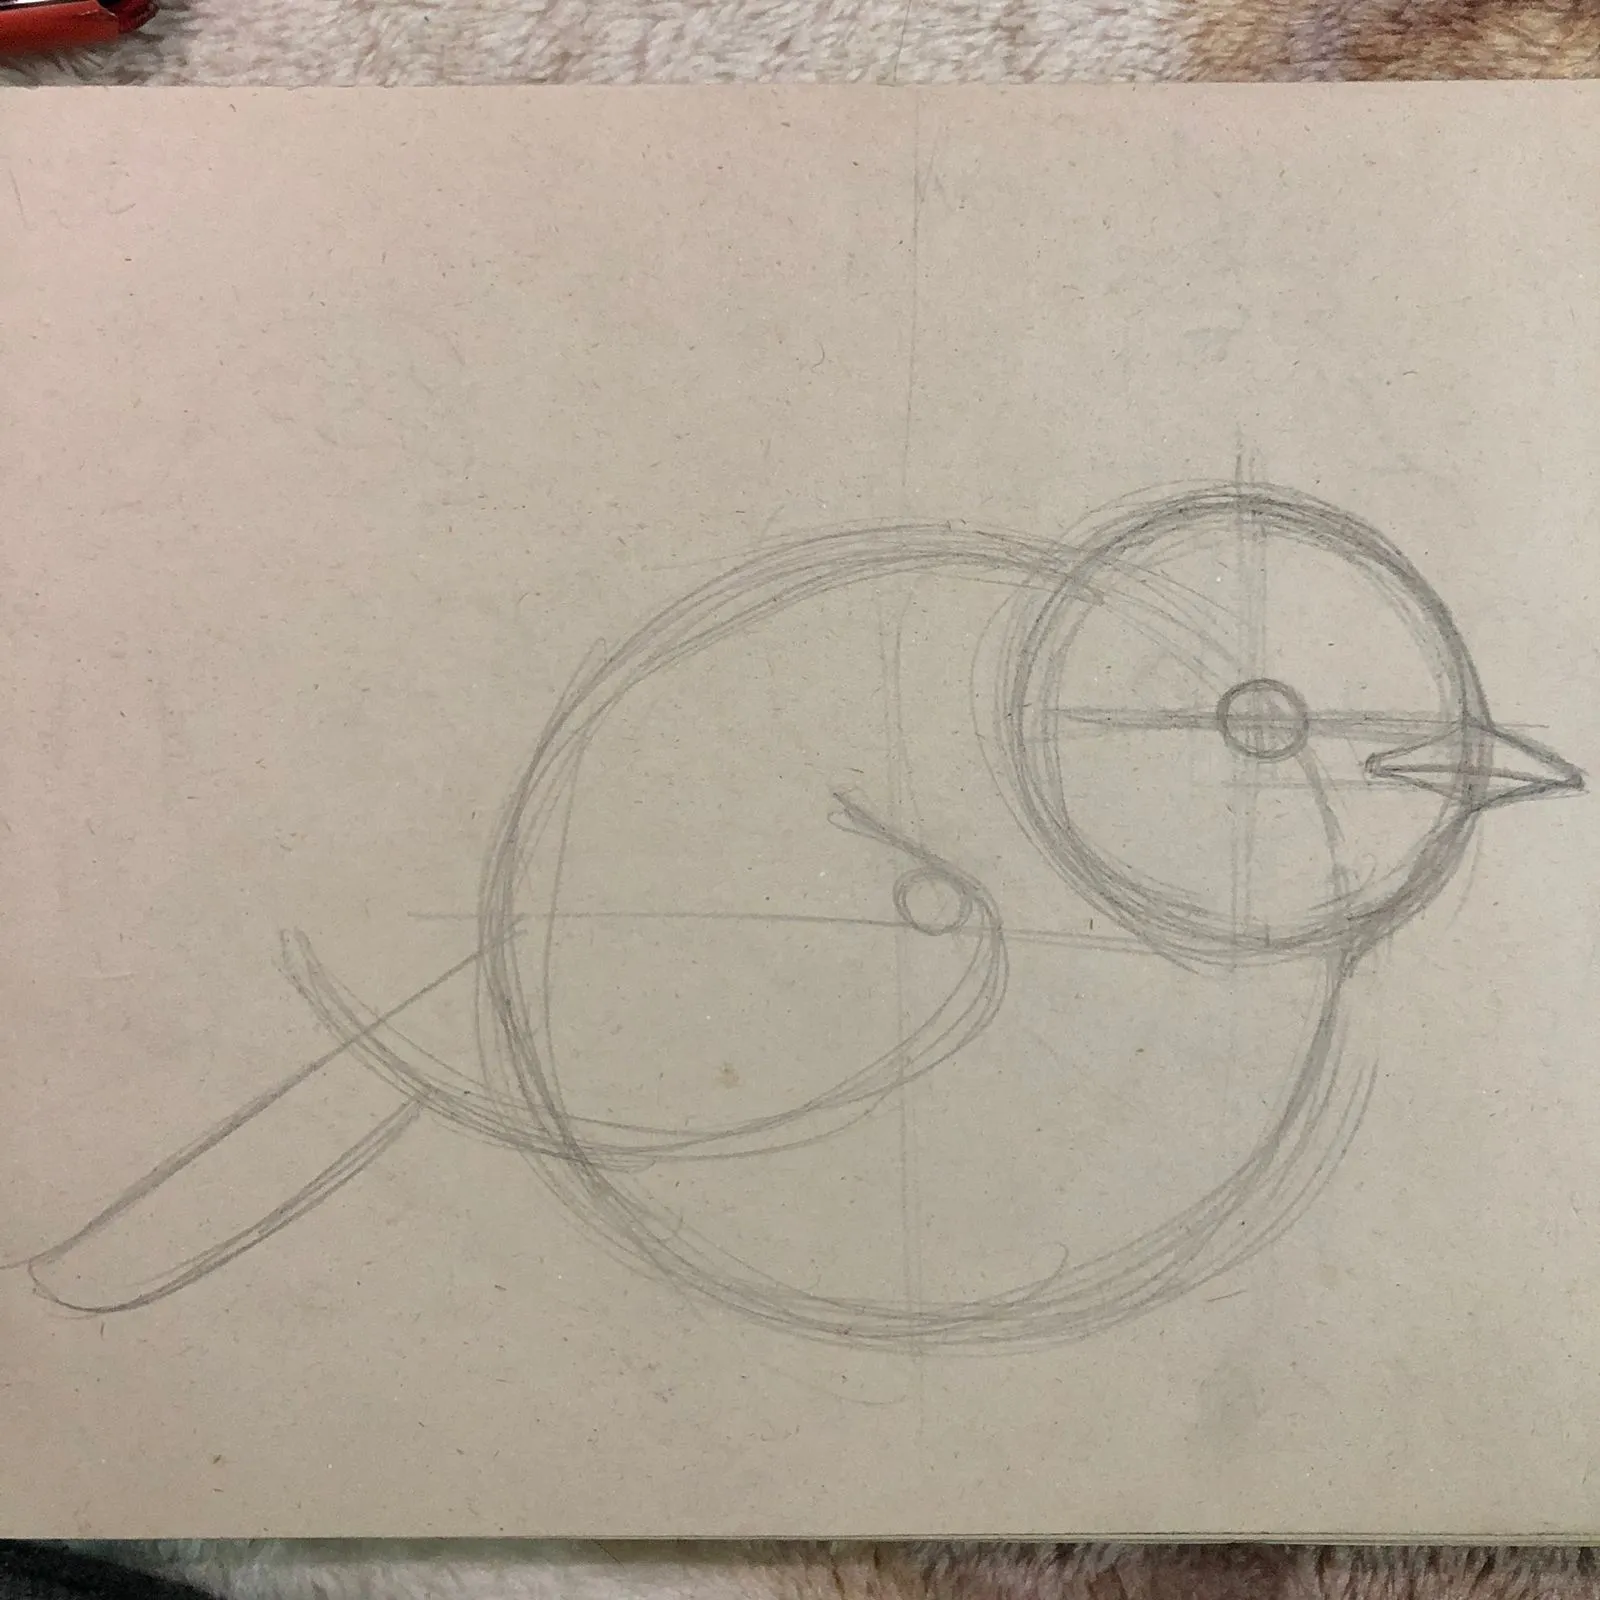
Start with two circles. First, draw a large circle in the middle of the paper and divide it along its two axes. Then, place a smaller circle in the upper right section, slightly overlapping it; this will be the bird’s head. The position is not strict, but it shouldn’t be exaggerated.
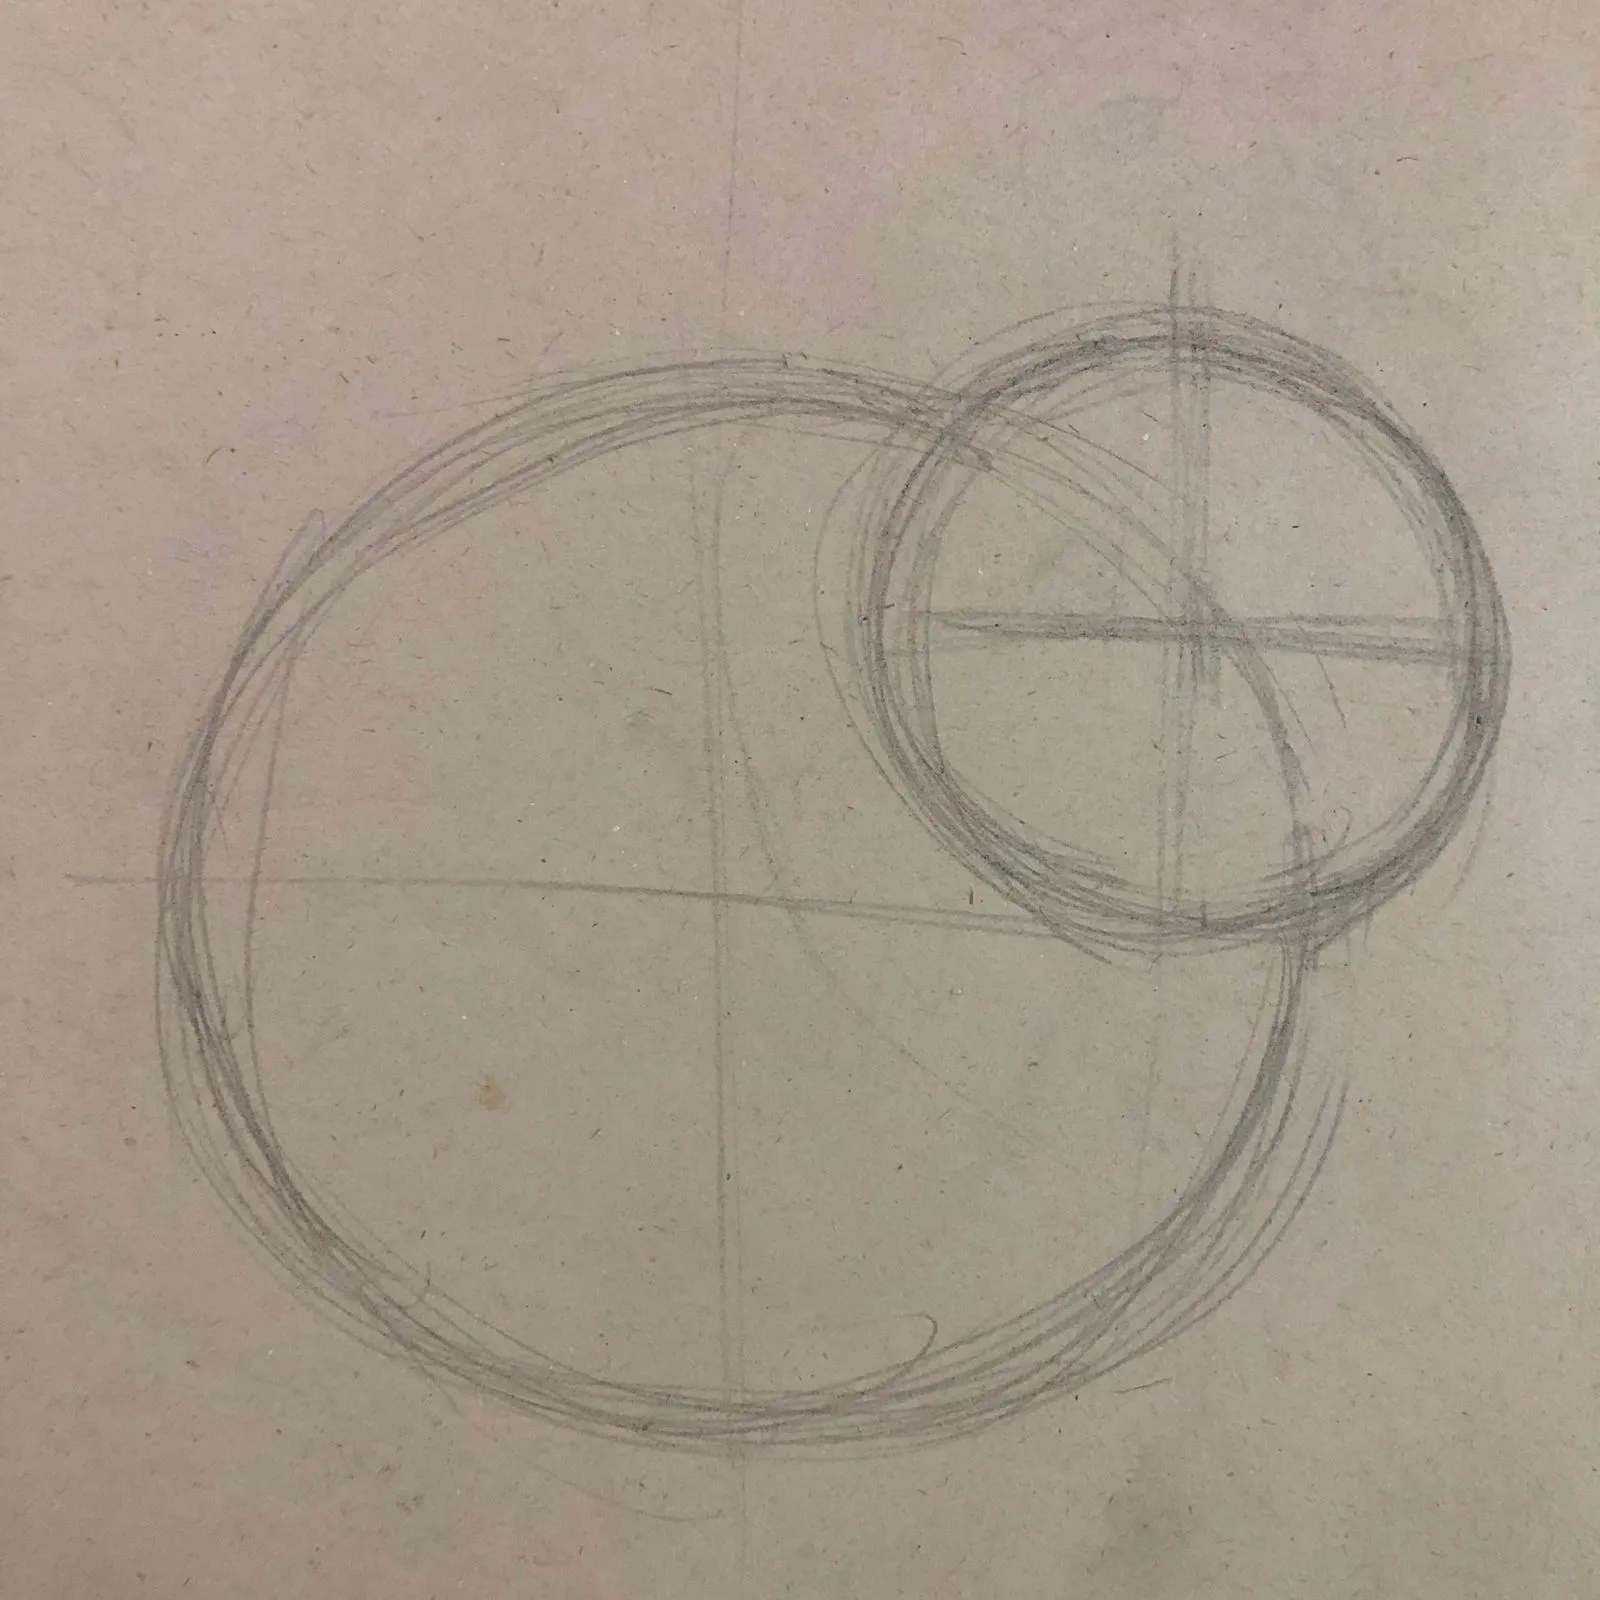
In this second circle, also draw a dividing line along its two axes. Place a small circle at the intersection to define the eye, and use the horizontal axis as a guide to draw the beak.
On the body, the fold of the wing is also located at the intersection of the two axes. Use this point as a reference to draw the curve of the wing.
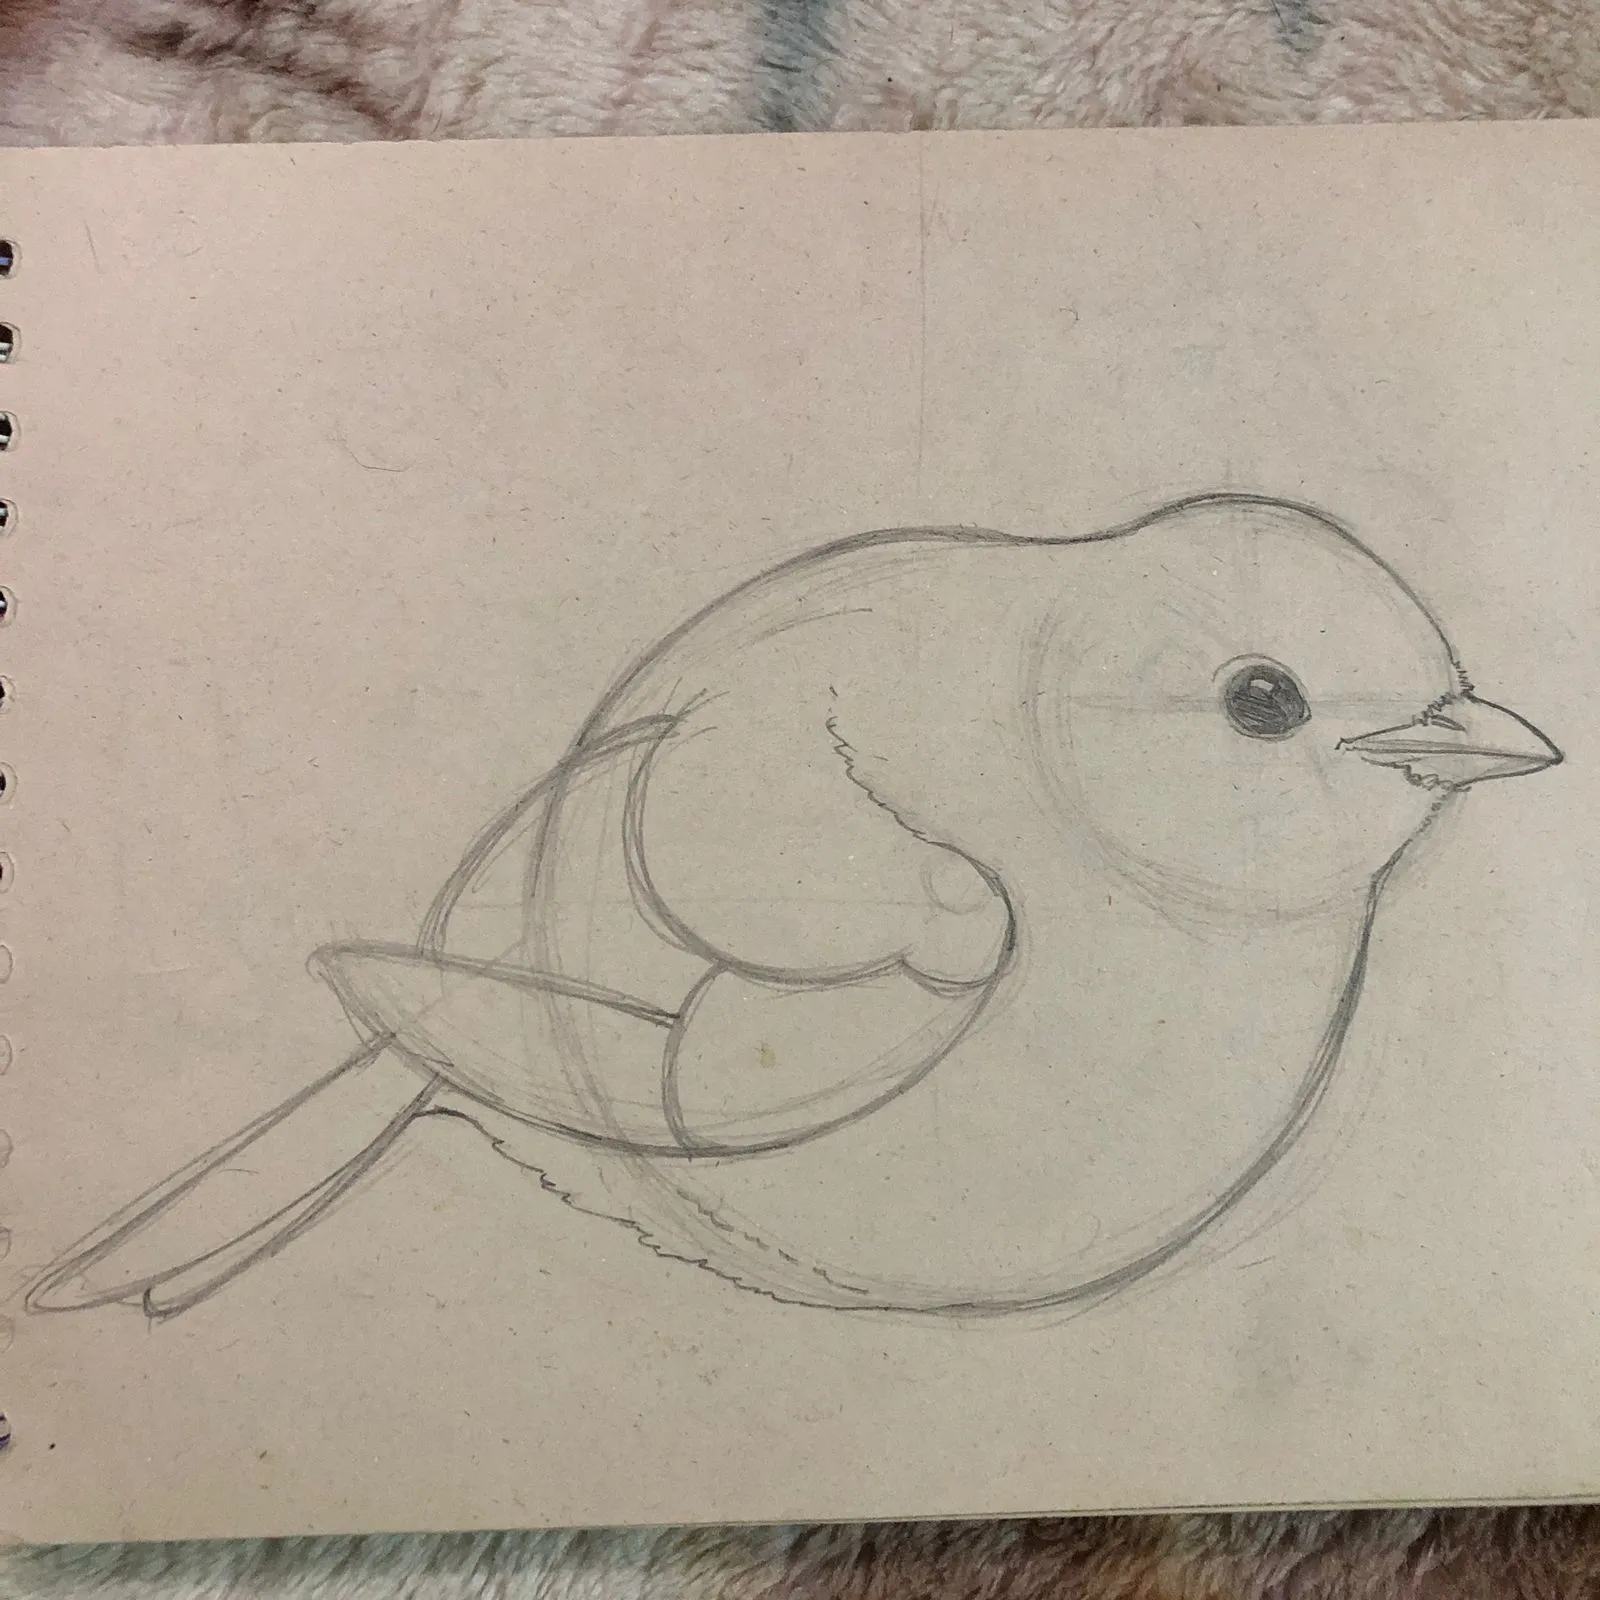
Lightly smudge the outline with an eraser, without completely erasing it, then trace over the sketch with a firmer, almost definitive line.
Start with the facial features: an eye shaped like a seed, completely black with a small white reflection, then the beak surrounded by small feathers suggested by a dotted line.
For the wing, divide it into four sections. The first goes from the torso to the fold. The second is a semicircle that starts at the fold and extends along the contour. The third is an elongated section to the end of the wing. The fourth connects this elongated section to the torso.
Draw the feather pattern
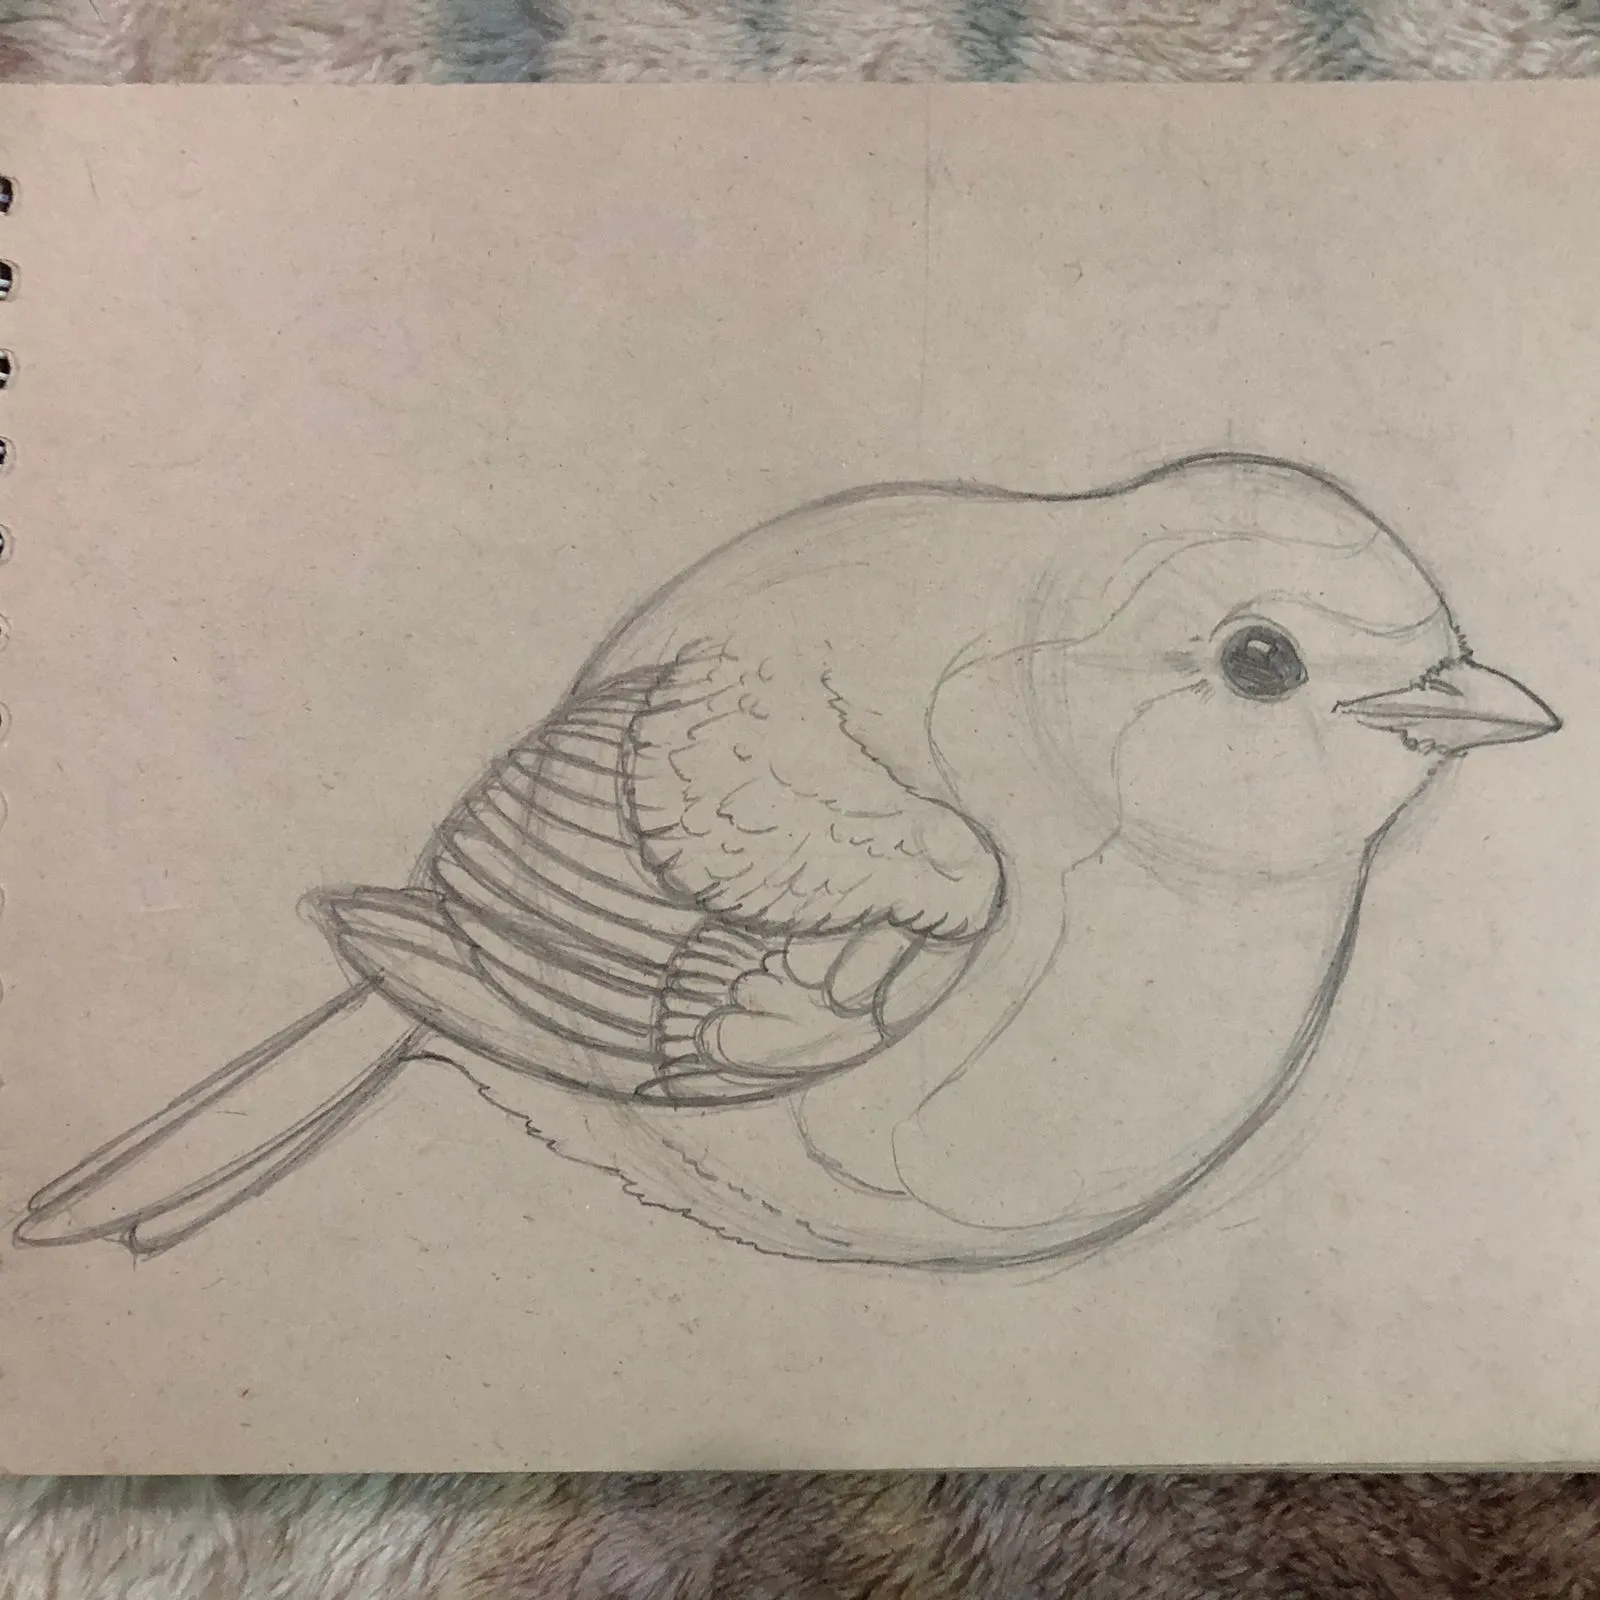
Each section of the wing has its own feathers; here’s how to do it:
- In the first section, draw small feathers with uneven, wavy lines that look more like fur than an orderly pattern.
- In the second one, the feathers are a little larger and rounder, similar to the scales of a fish.
- The third and fourth parts have long, clustered feathers, the main difference being in the direction they take.
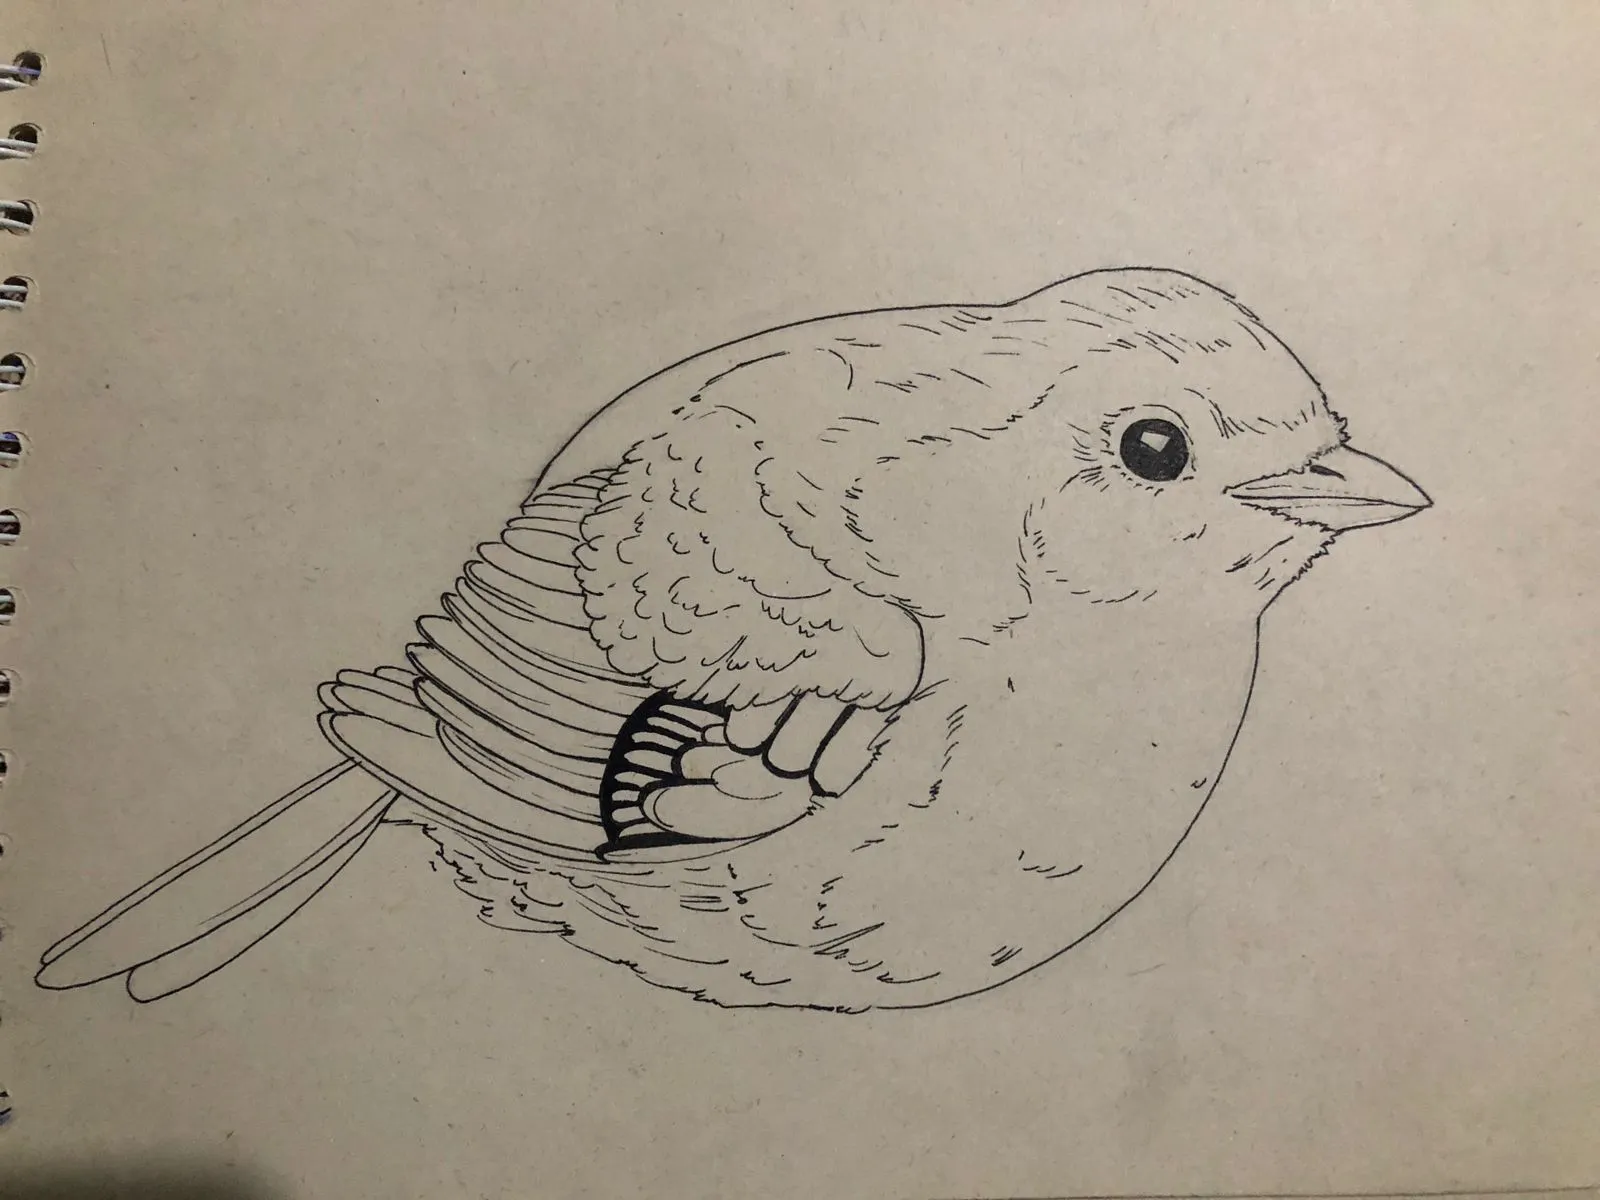
Take a pen, fountain pen, or the outlining tool of your choice, and then go over the lines of the entire drawing. Vary the types of lines to create soft contours as well as more pronounced lines.
Add texture with small, delicate lines that run along the body; these lines should follow the spherical shape of the bird to create volume.
Add color to the drawing
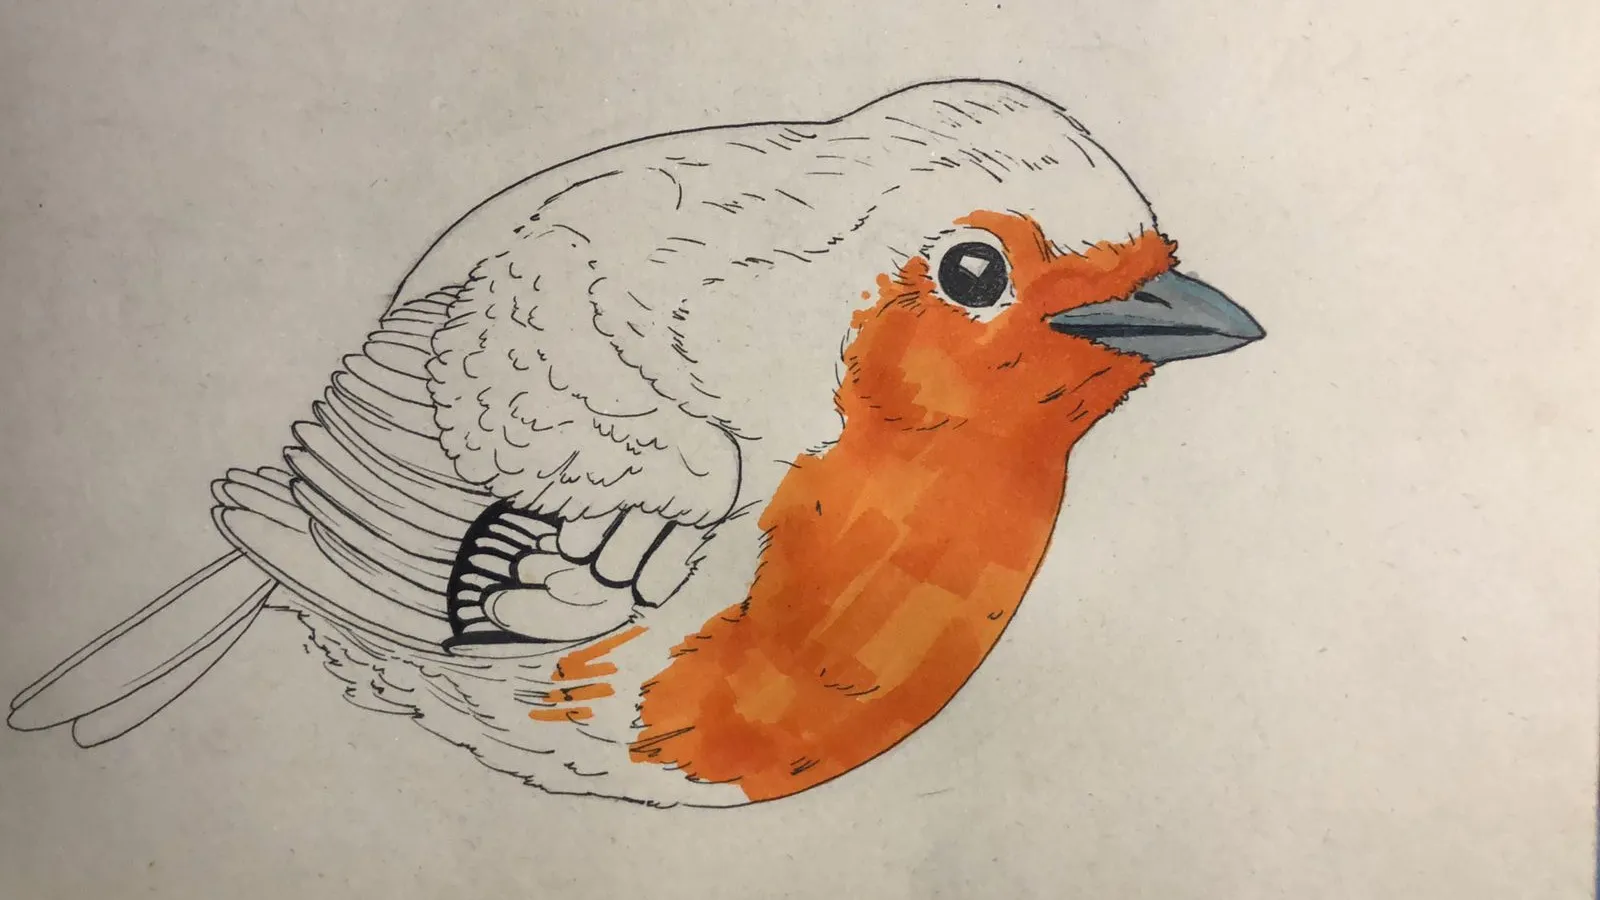
Start with the most distinctive feature of this bird: its intense orange breast. Apply a bright orange as a uniform base tone on the face and neck; whether using markers, colored pencils, or watercolors, the principle remains the same.
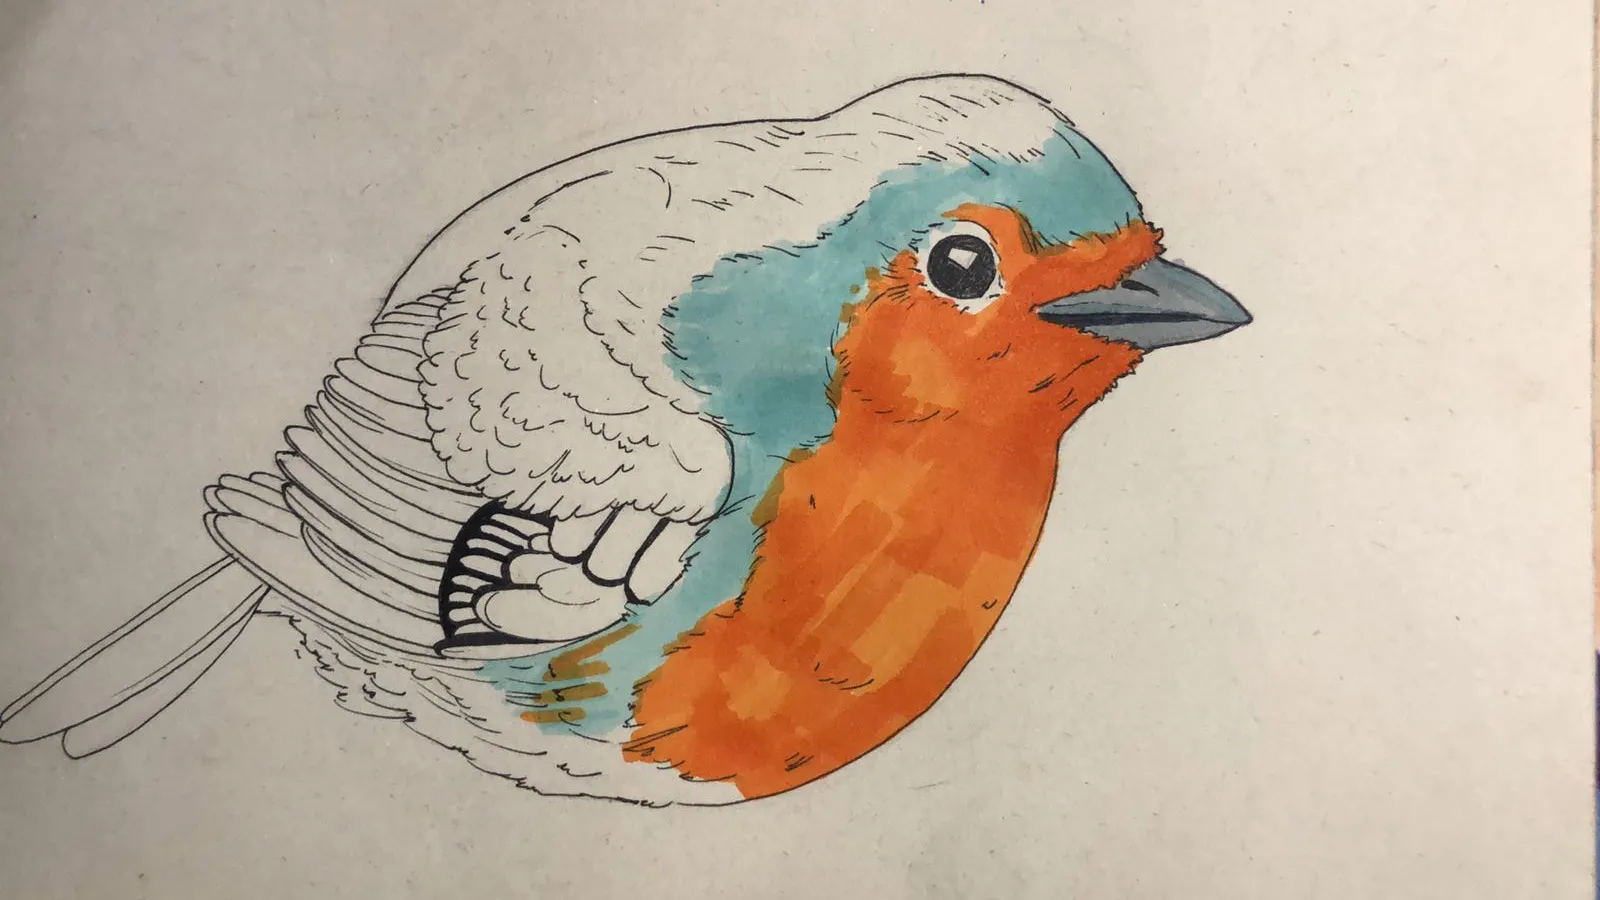
The adjoining band on our bird plays an important optical role: in a light blue hue, it further enhances the orange through chromatic contrast. Apply it with a fairly light tone; this light value will be useful for the following steps.
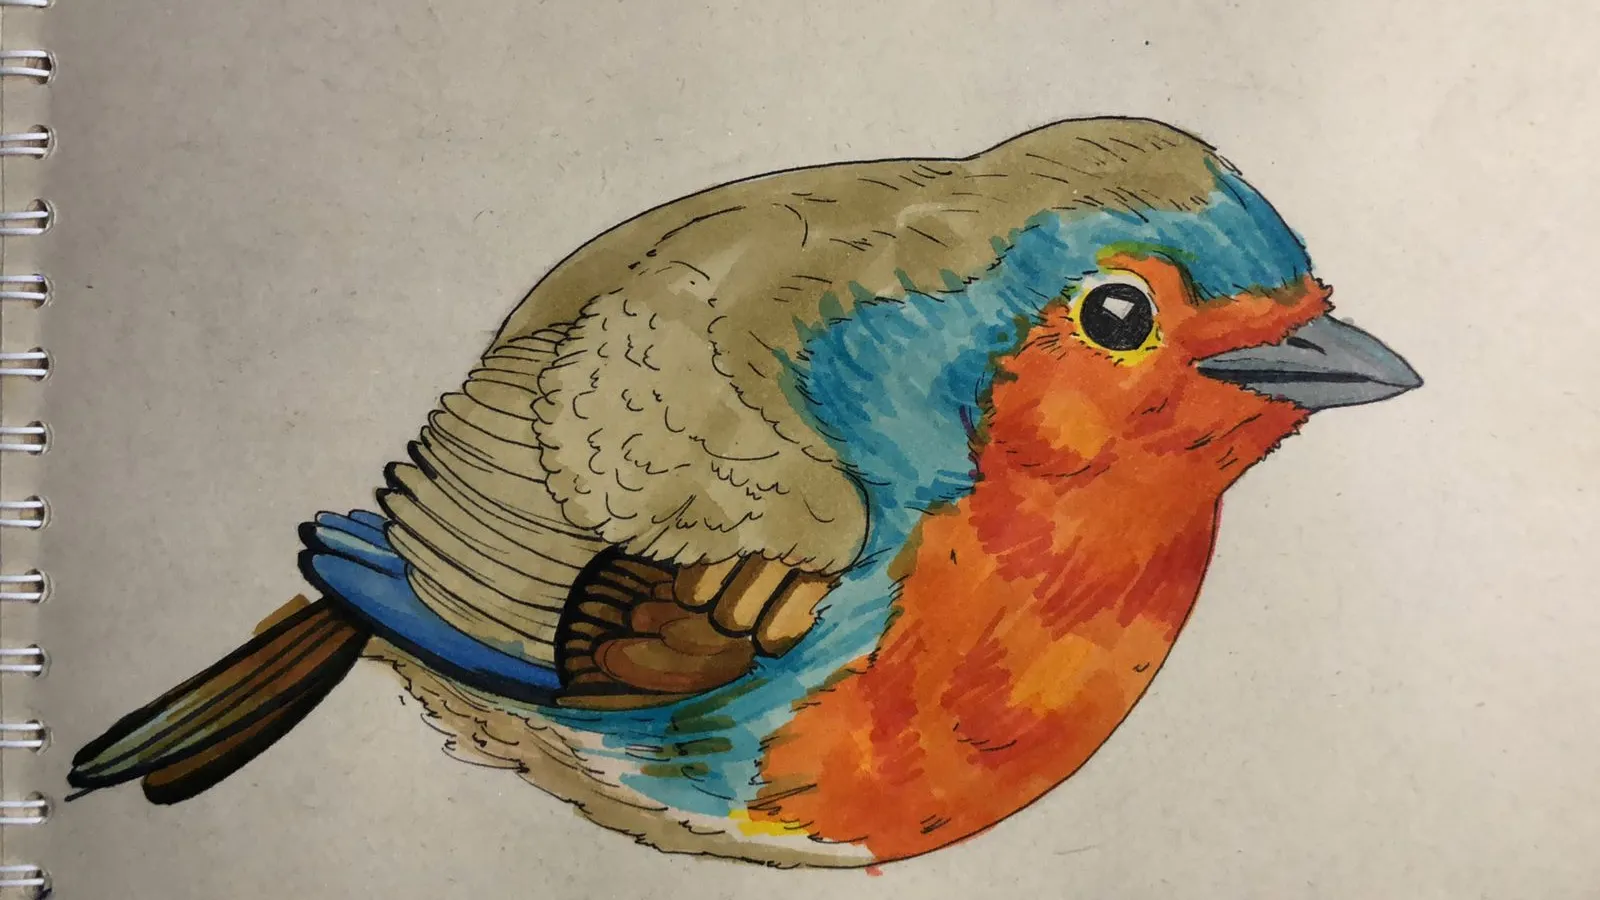
The rest of the bird has neutral brown plumage, sometimes perceived within the spectrum of chromatic grays. Choose a very light brown, even pastel or transparent; this is your brightest tone, from which you will gradually darken.
Add the color gradients
Start by looking for colors that are closest to the base tones we have applied. For example, use yellows, oranges, and reds for the chest, different shades of blue and turquoise for the transition area, and then ocher, brown, yellow tones, and a few touches of green for the rest of the plumage.
Now you will add small, curved lines, like small strands, to vary the shades and gradually enhance the darkest areas. This will create natural shadows while maintaining bright plumage.
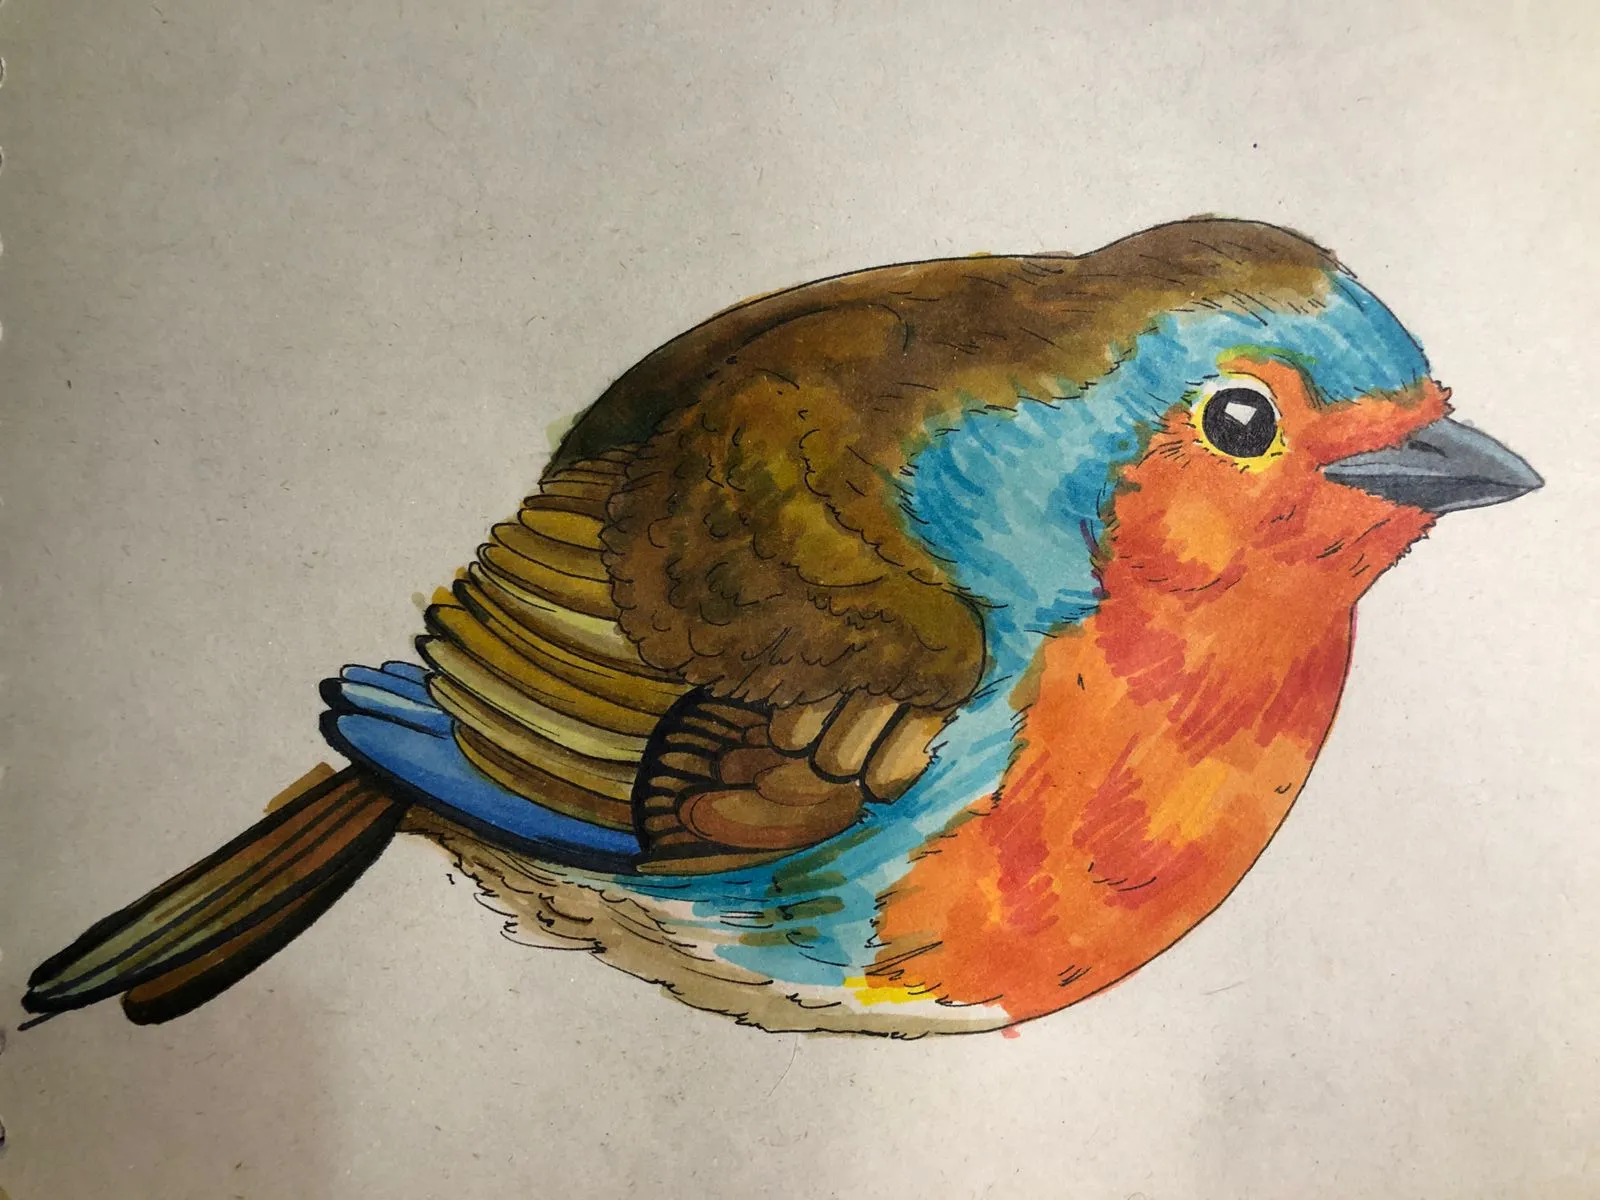
Once this first layer of shades has been applied, choose darker tones and start adding much finer and shorter strokes in certain areas.
This will gradually increase the volume of the plumage and give more definition to the entire robin.
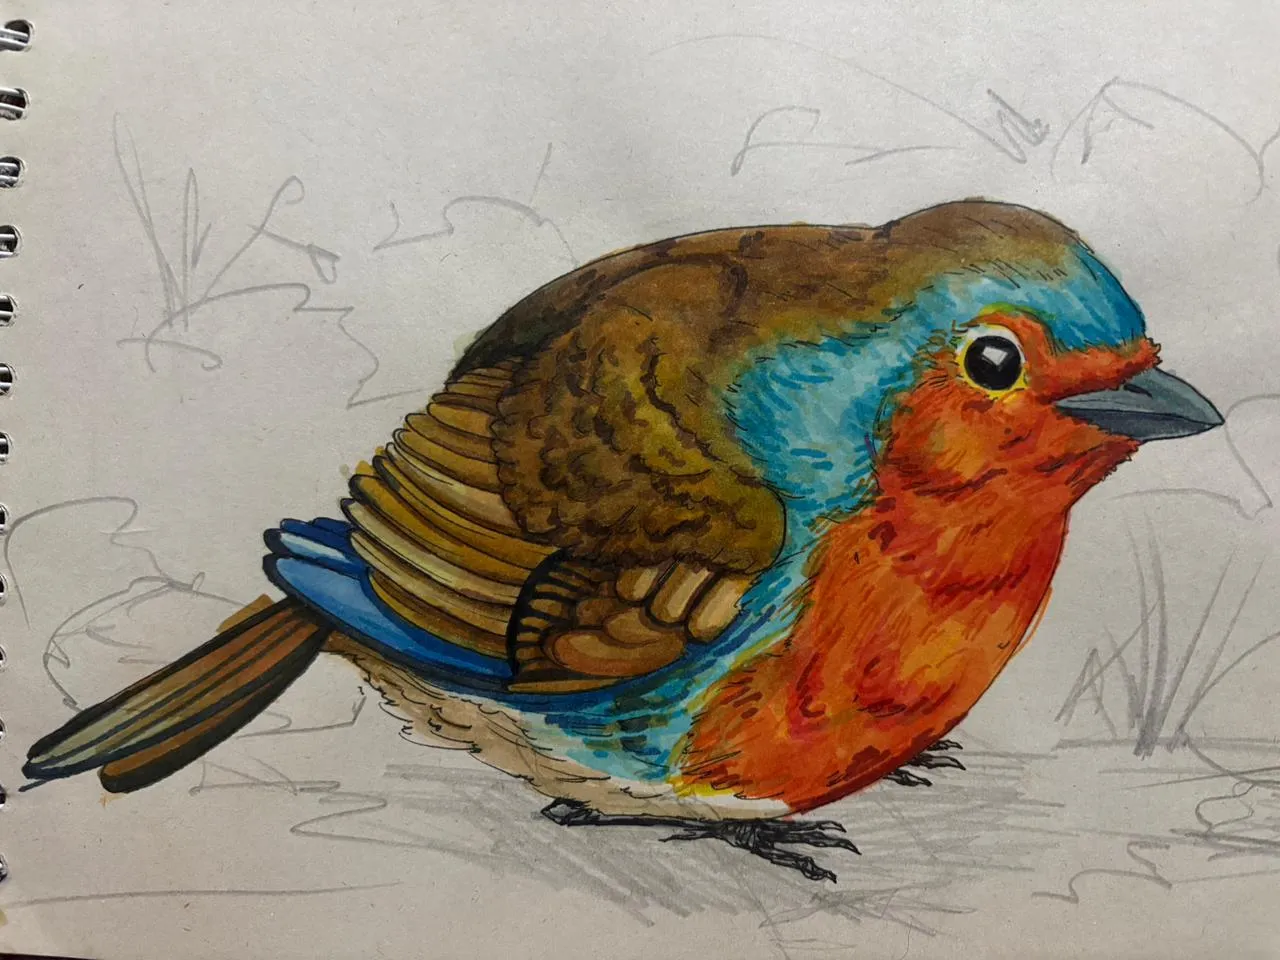
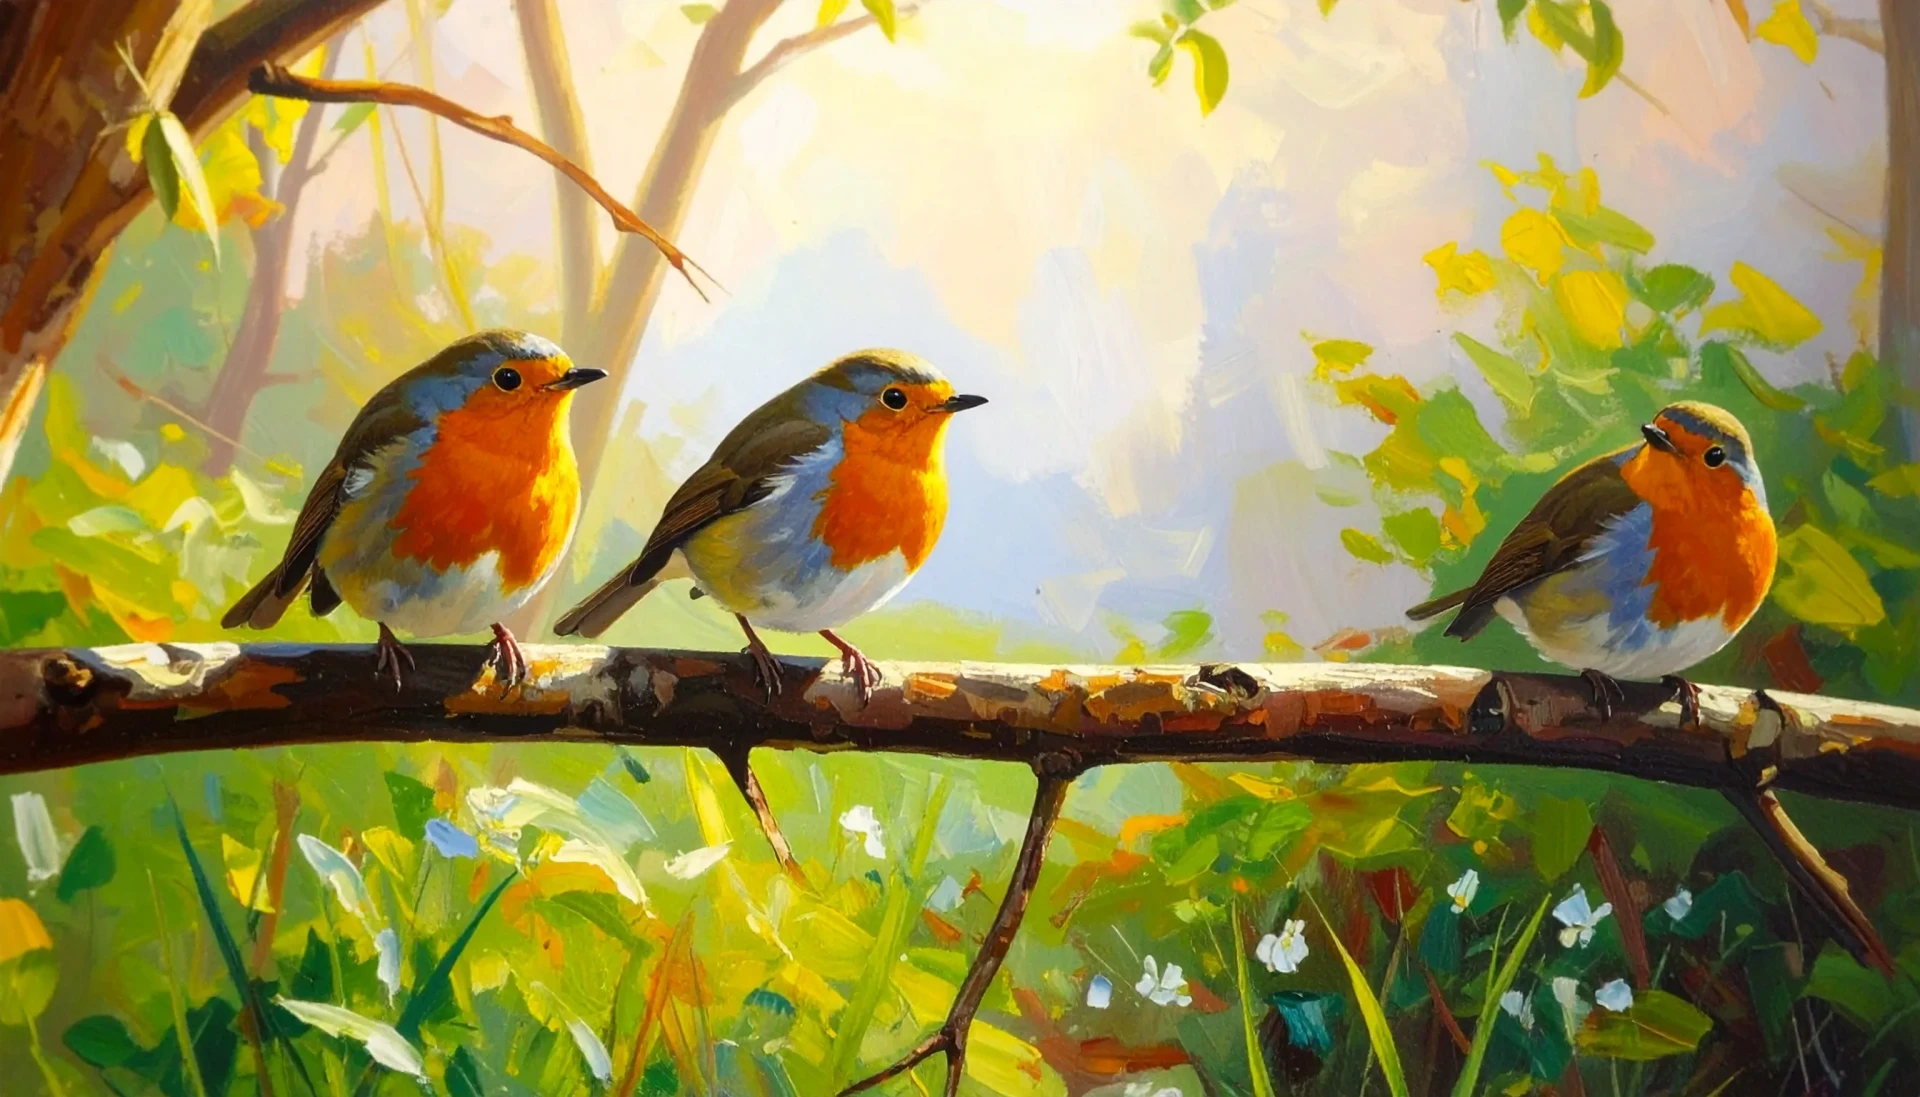
And there you have it, this exercise dedicated to drawing a robin is coming to an end! As you can see, it is easier to construct the bird by breaking down each part and using a few geometric shapes to correctly place the proportions.
Now it’s your turn to create your own robin by following the different steps in this tutorial. Don’t hesitate to add some variations to give it your own style!
Discussion
Merci😄
my favorite bird, thank you for this lesson.
super thanks!
Thank you for this tutorial, it’s a shame I didn’t have it before, because I just painted a robin and it would have made things much easier, especially when it comes to the colors. Very interesting for approaching the subject.