How to Draw a Sword
Swords are fascinating weapons and are found in many cultures around the world. Easily recognizable by their distinctive shape and great versatility, they are also essential elements in tales of fantasy, chivalry, and magic.
Today, I have the pleasure of showing you how to draw this iconic weapon step by step, and I give some tips to help you create a successful rendering.
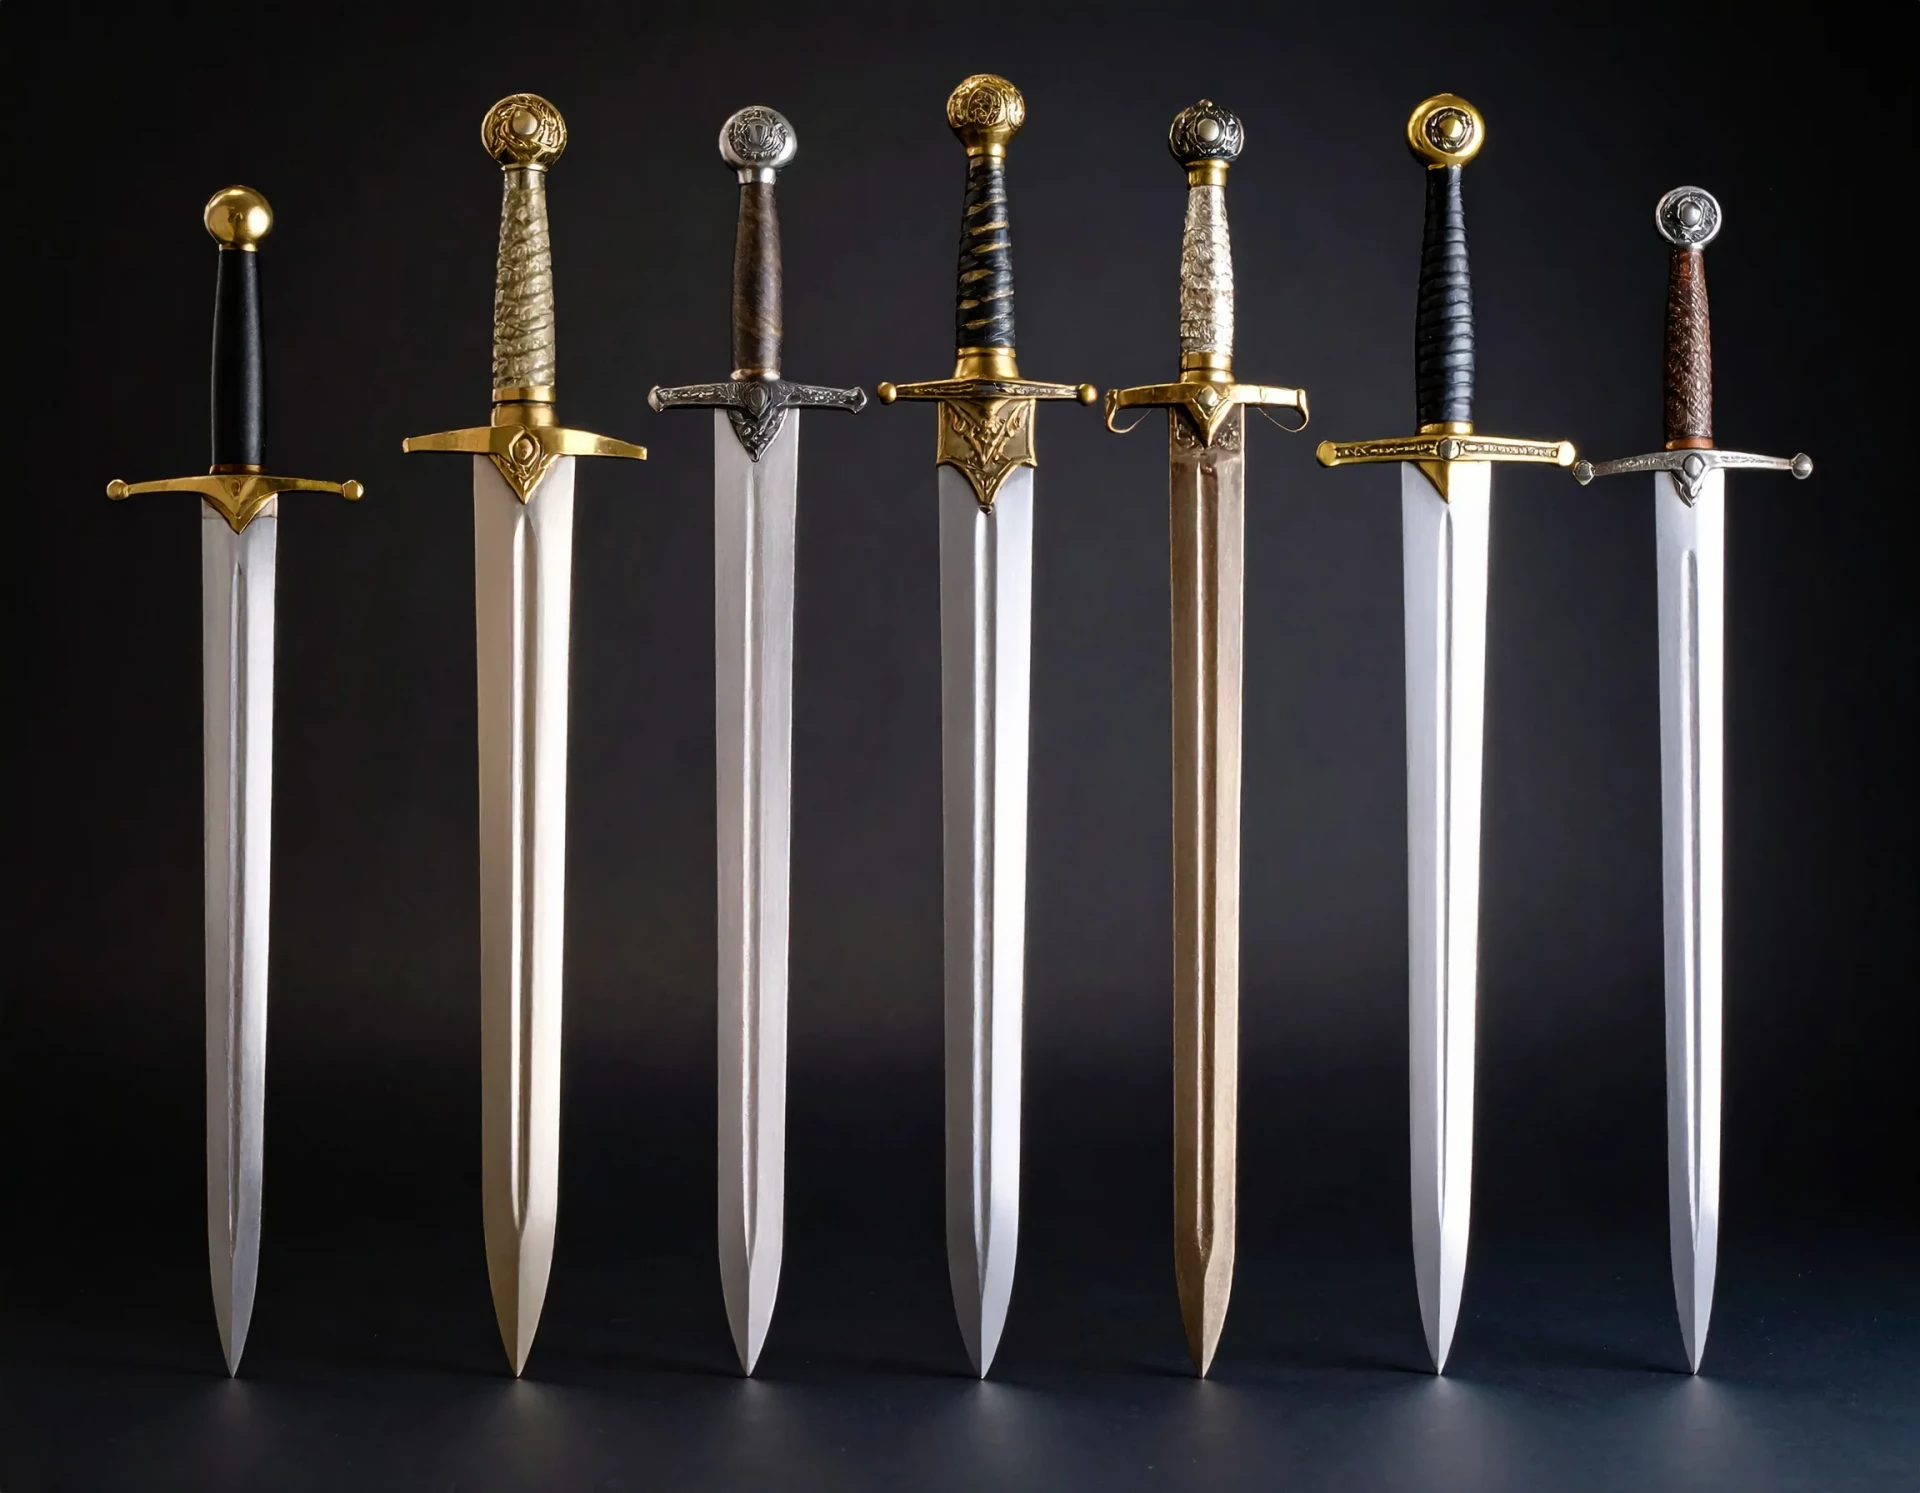
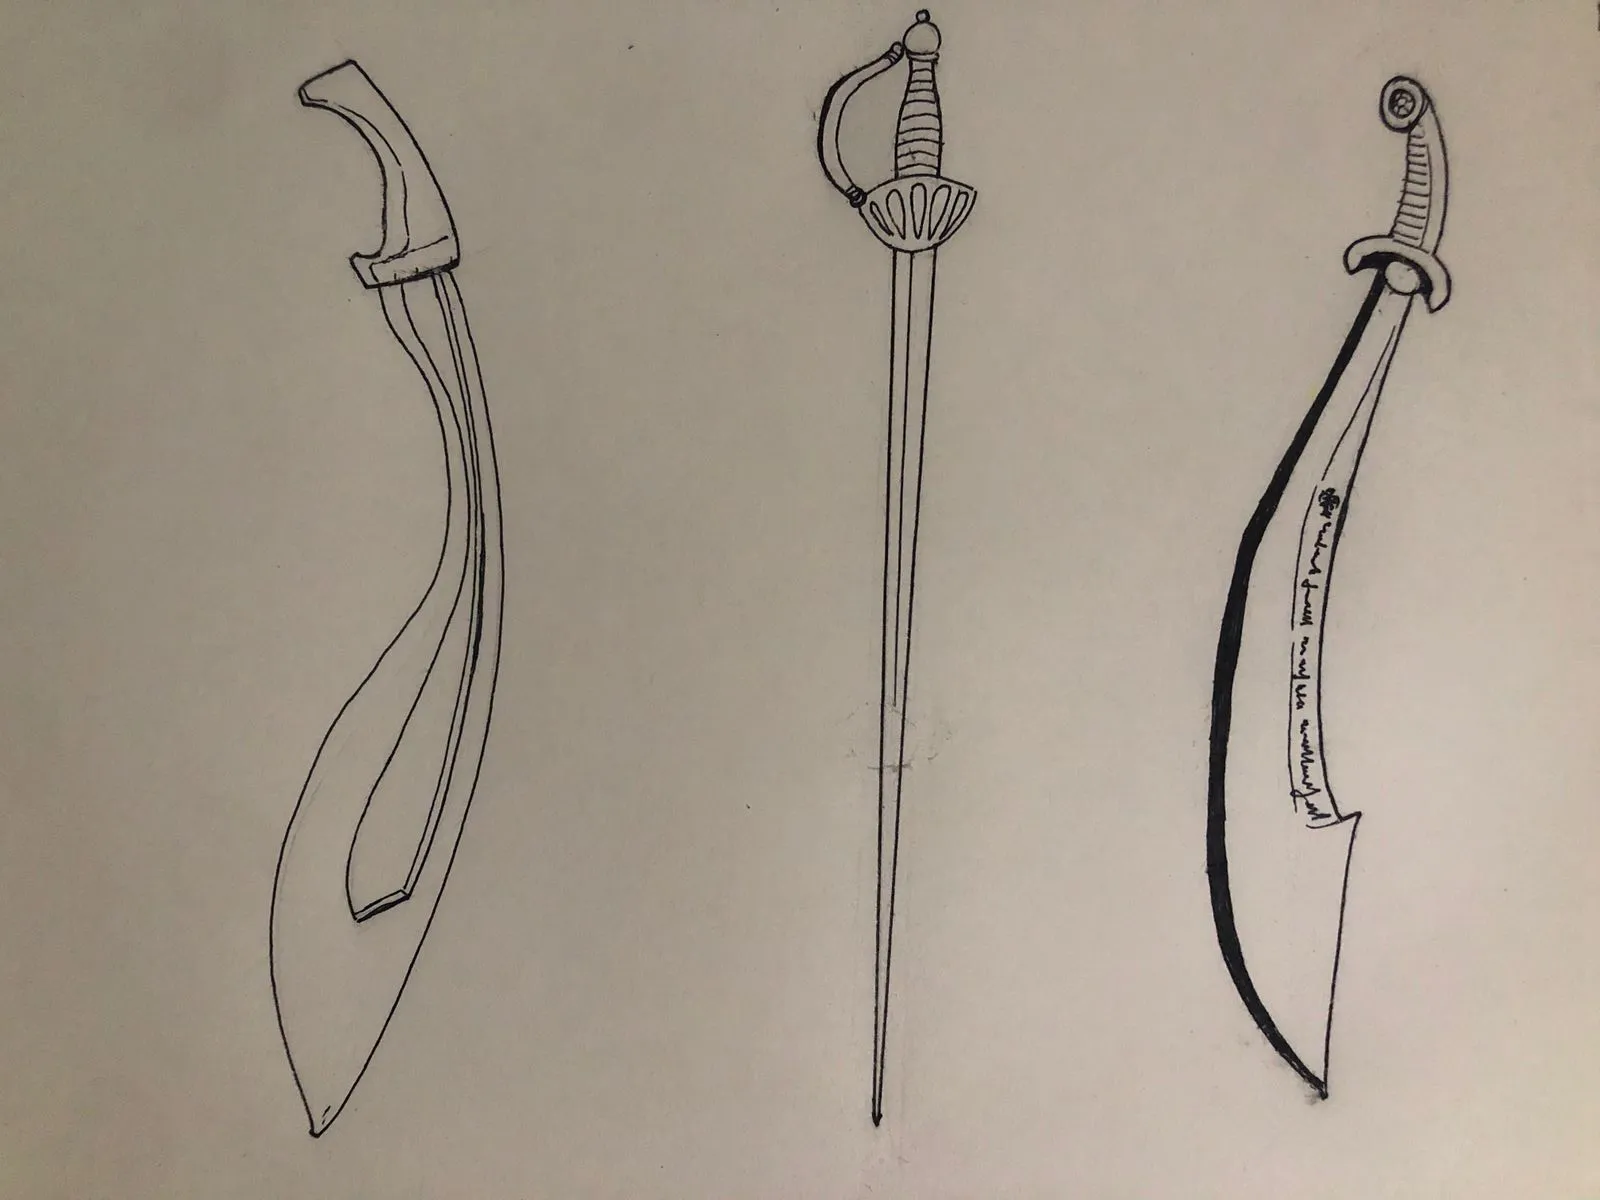
Examples of different sword models
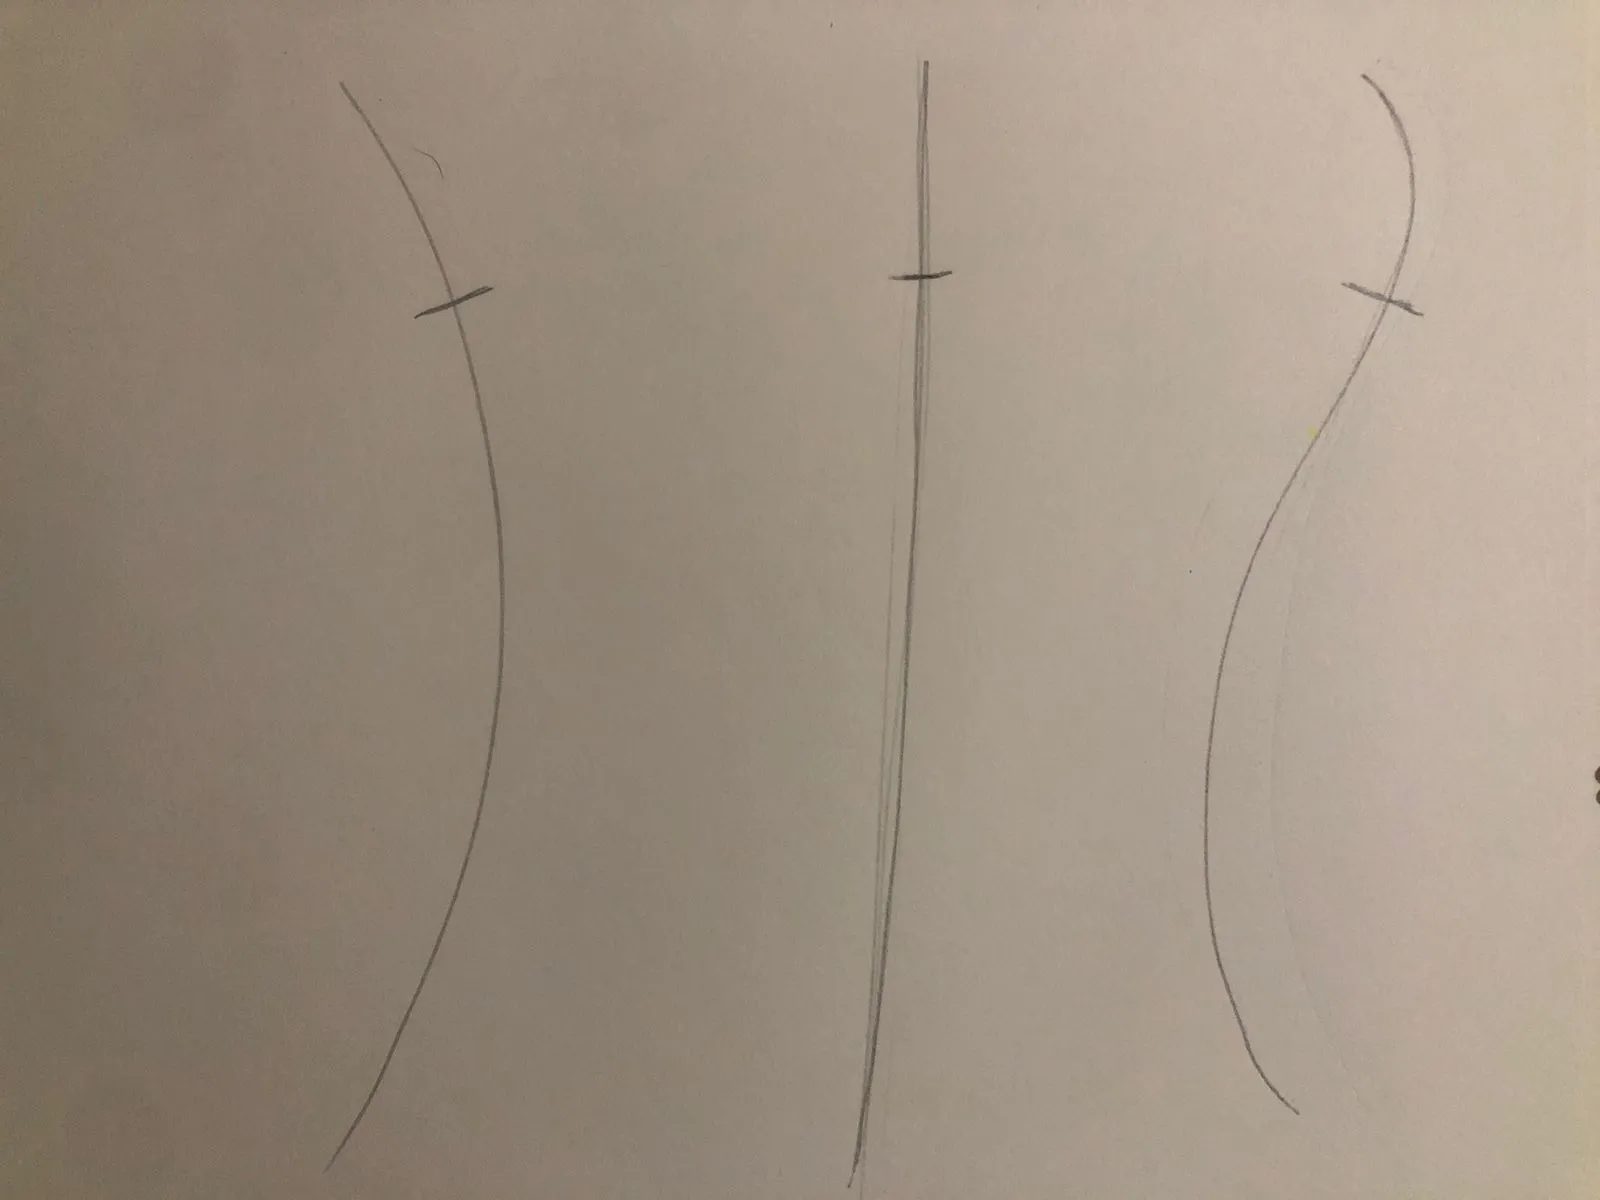
To draw various types of swords, first draw the main line: straight, curved, or slightly inclined, depending on the style of each model. Then add a small horizontal line at the top to mark the separation between the handle and the blade.
Look for reference models: almost all ancient civilizations developed their own sword style.
Observe the different shapes, widths, and types of handles — here are a few examples to inspire you.
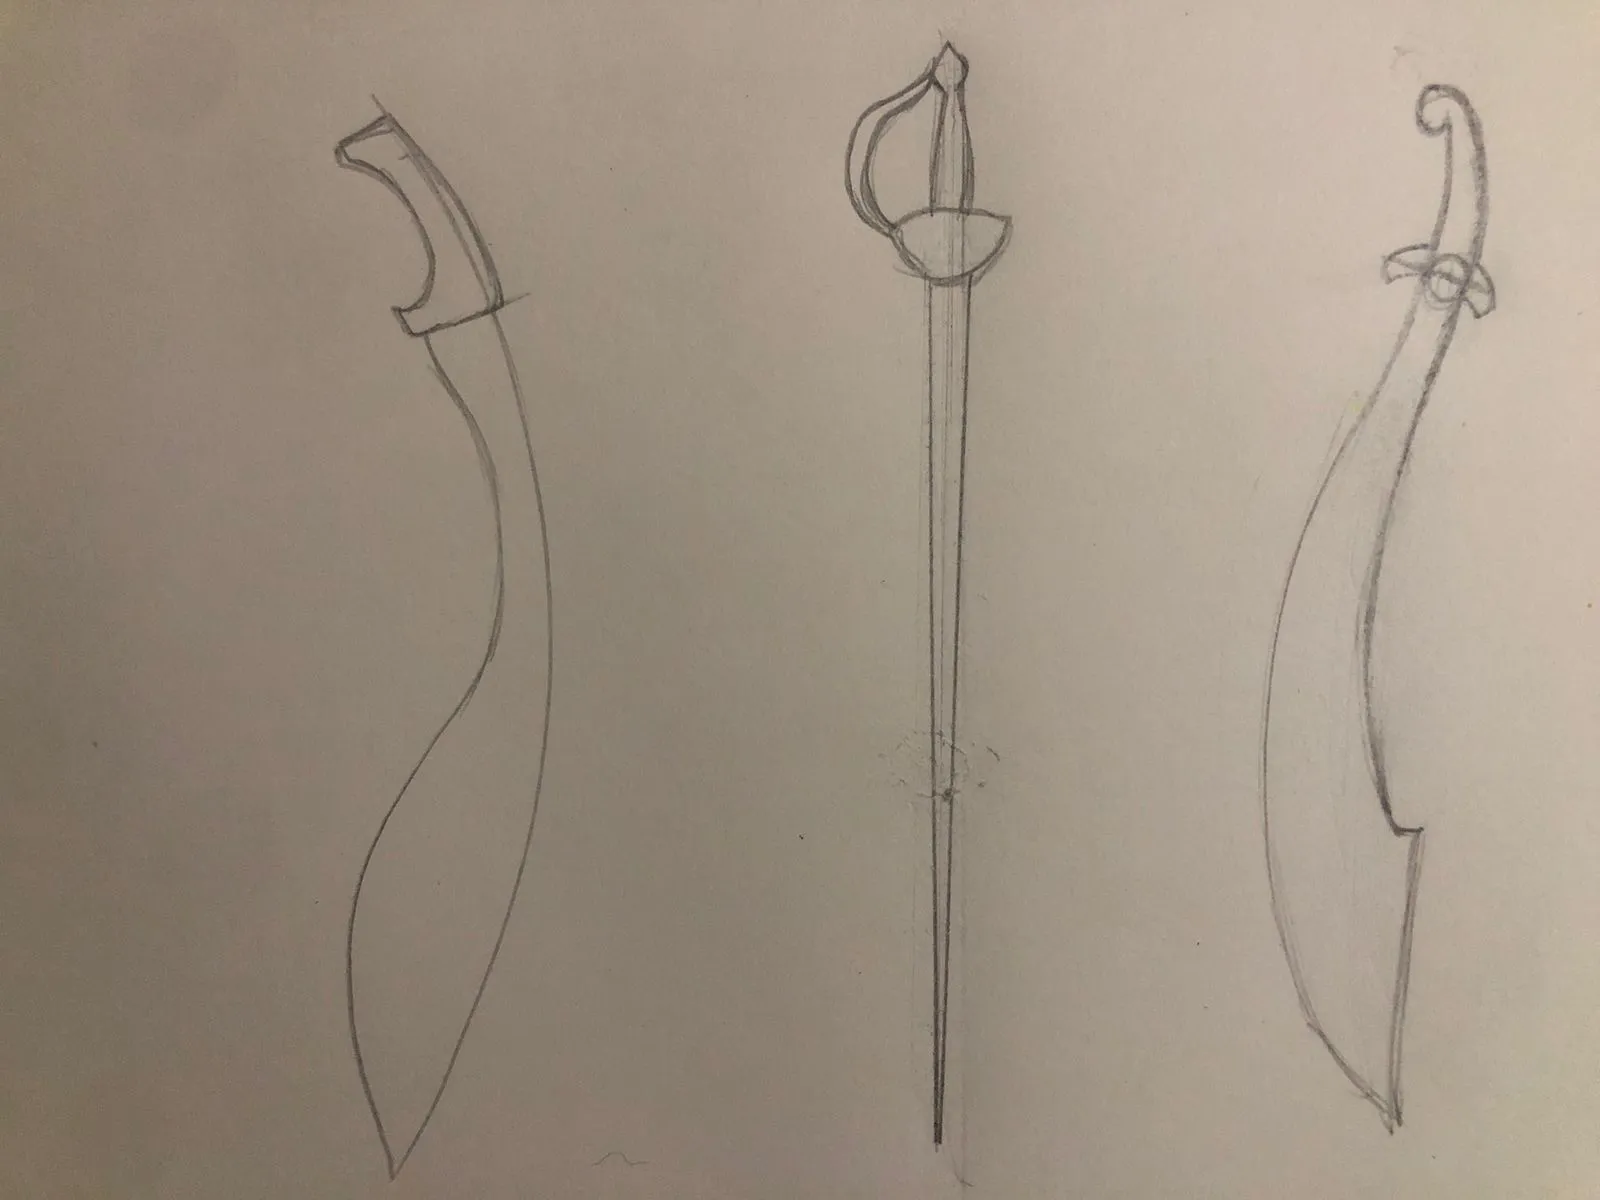
Once you've chosen a shape, move on to drawing the outline.
Then add details: horizontal lines on the handle to simulate leather texture, ornaments, jewels, engravings... these elements will give character to your drawing.
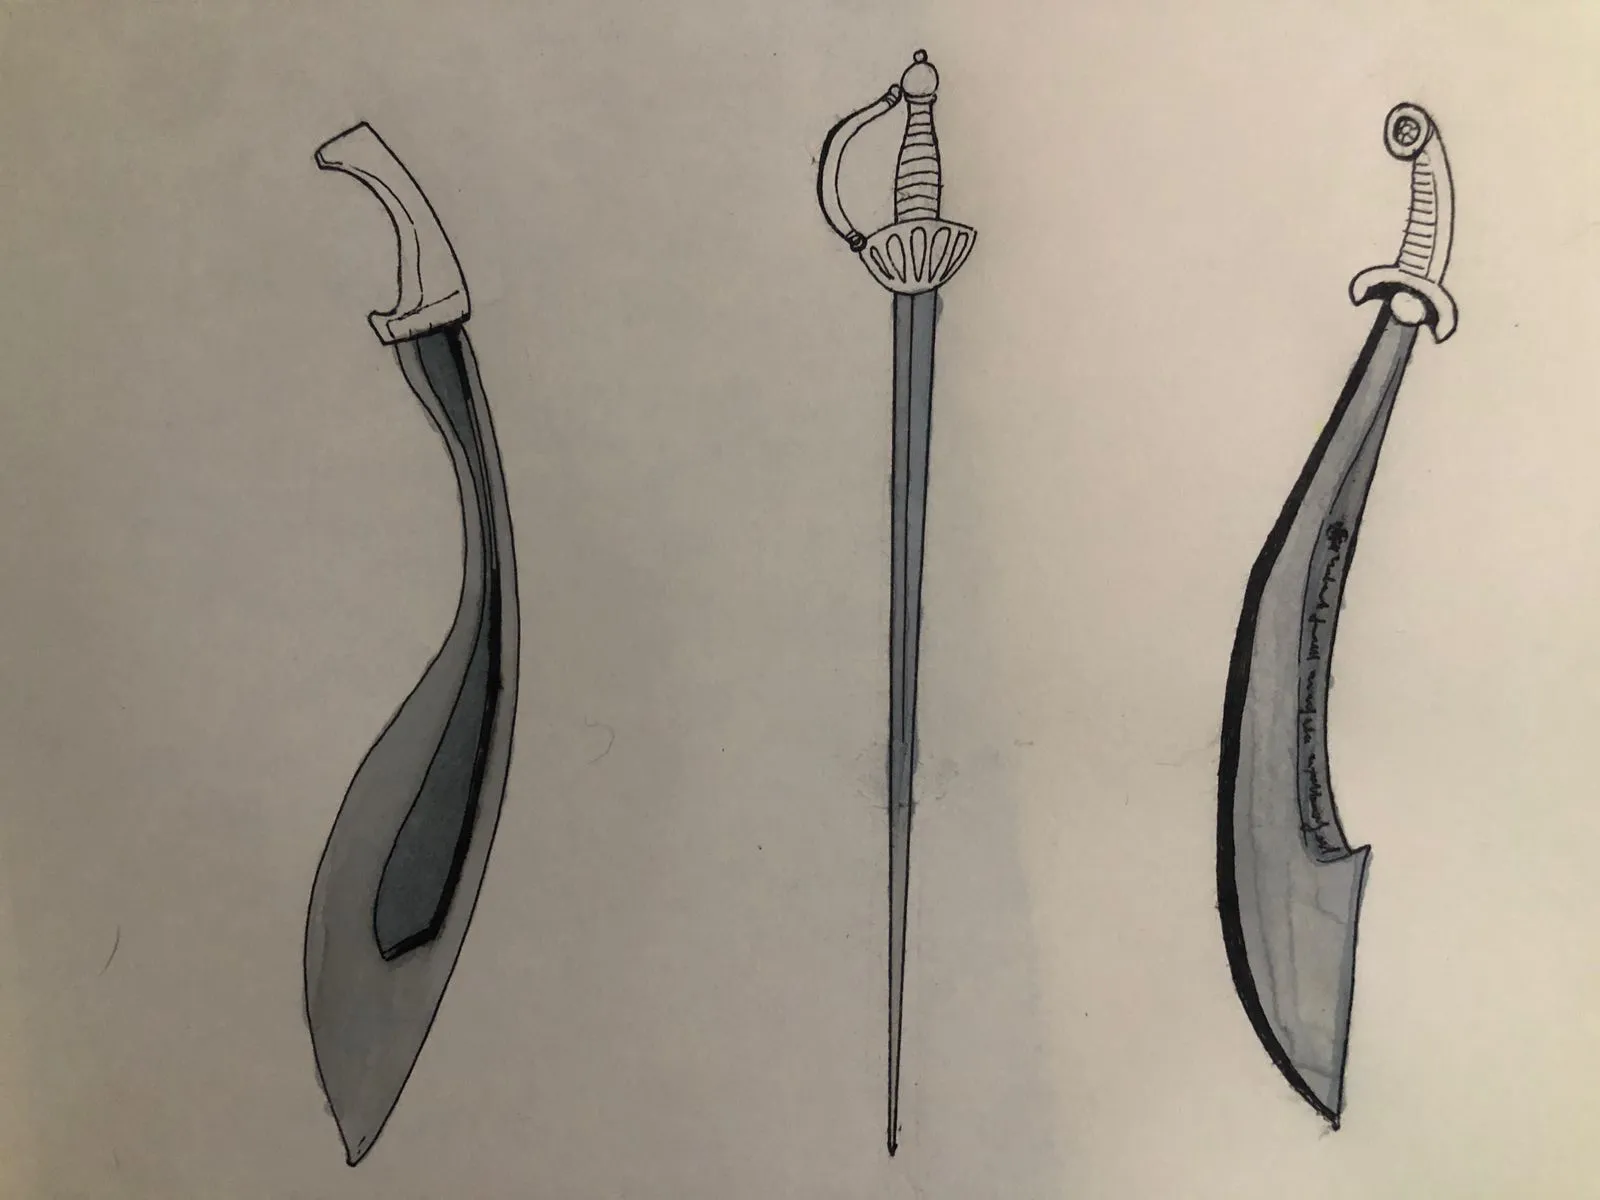
When it comes to applying color, use several shades of gray, bearing in mind that the blade is generally made of metal.
Work on strong contrasts and add some white highlights to simulate polished metal glints.
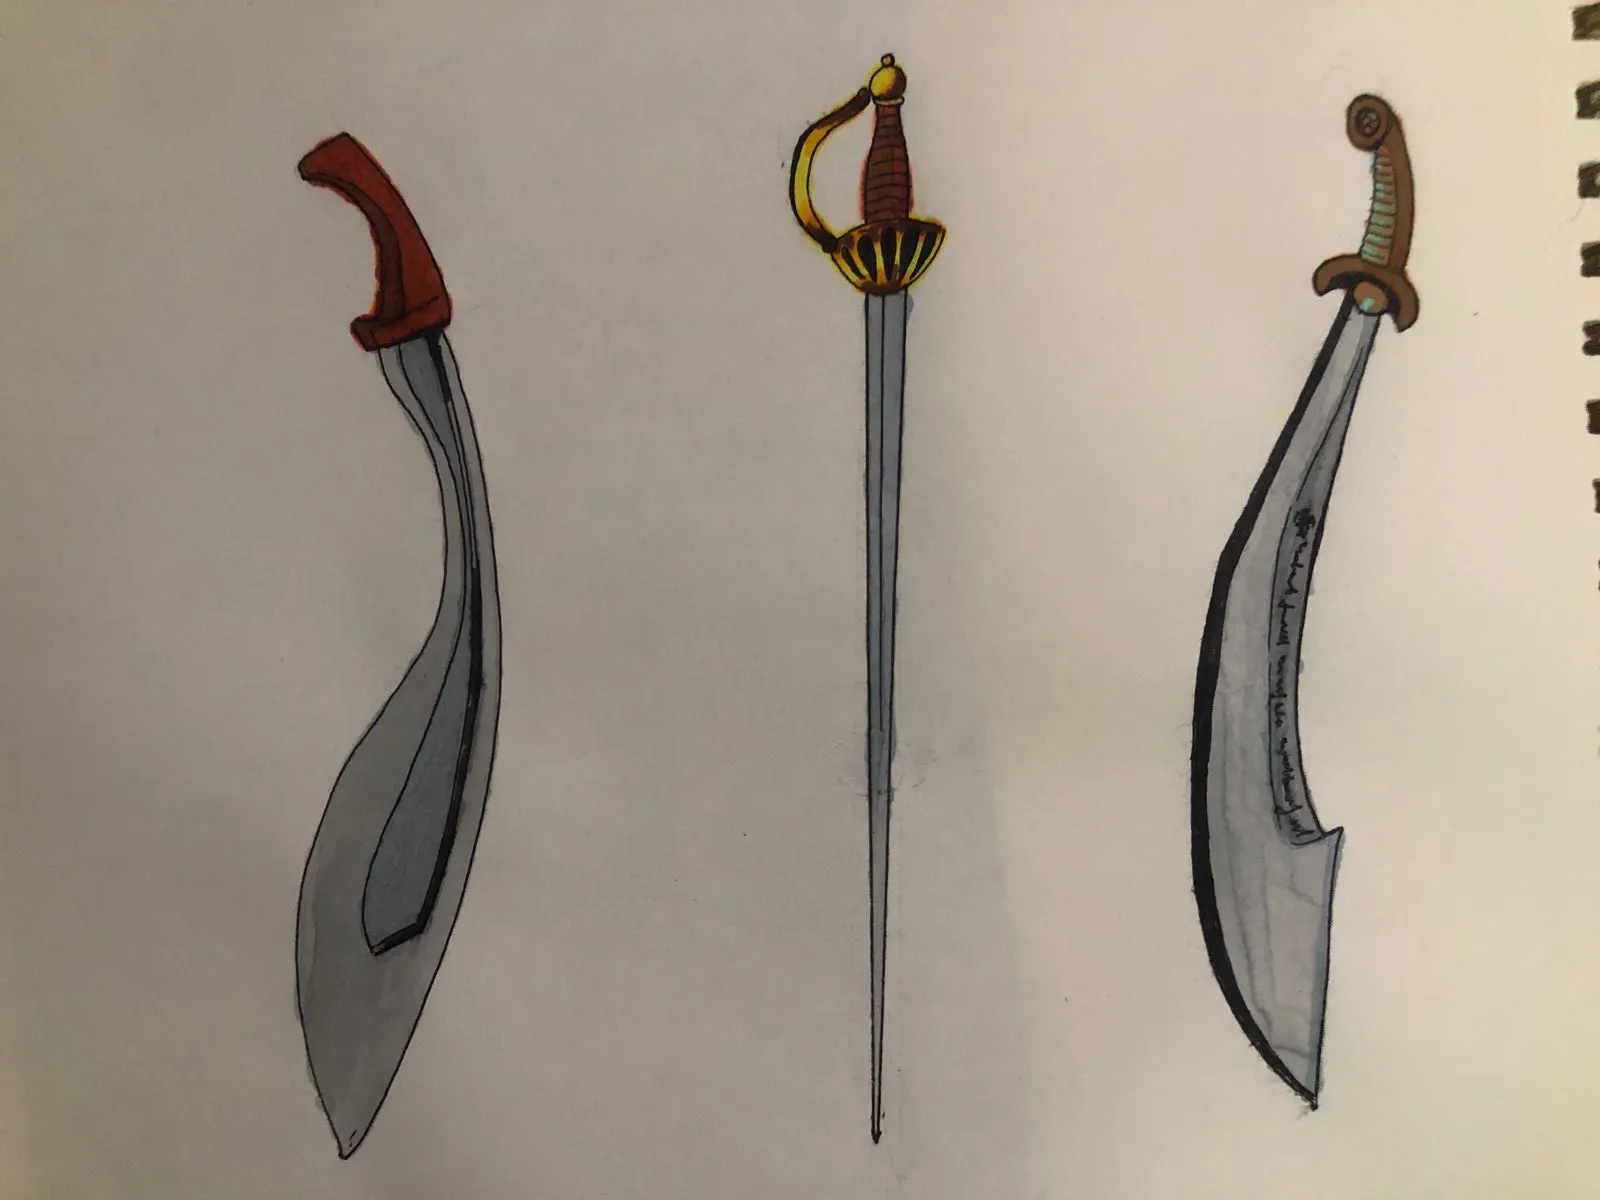
Finally, color the handle, which can be made of leather, wood, or refined metal. Opt for earthy or metallic shades, depending on the desired style.
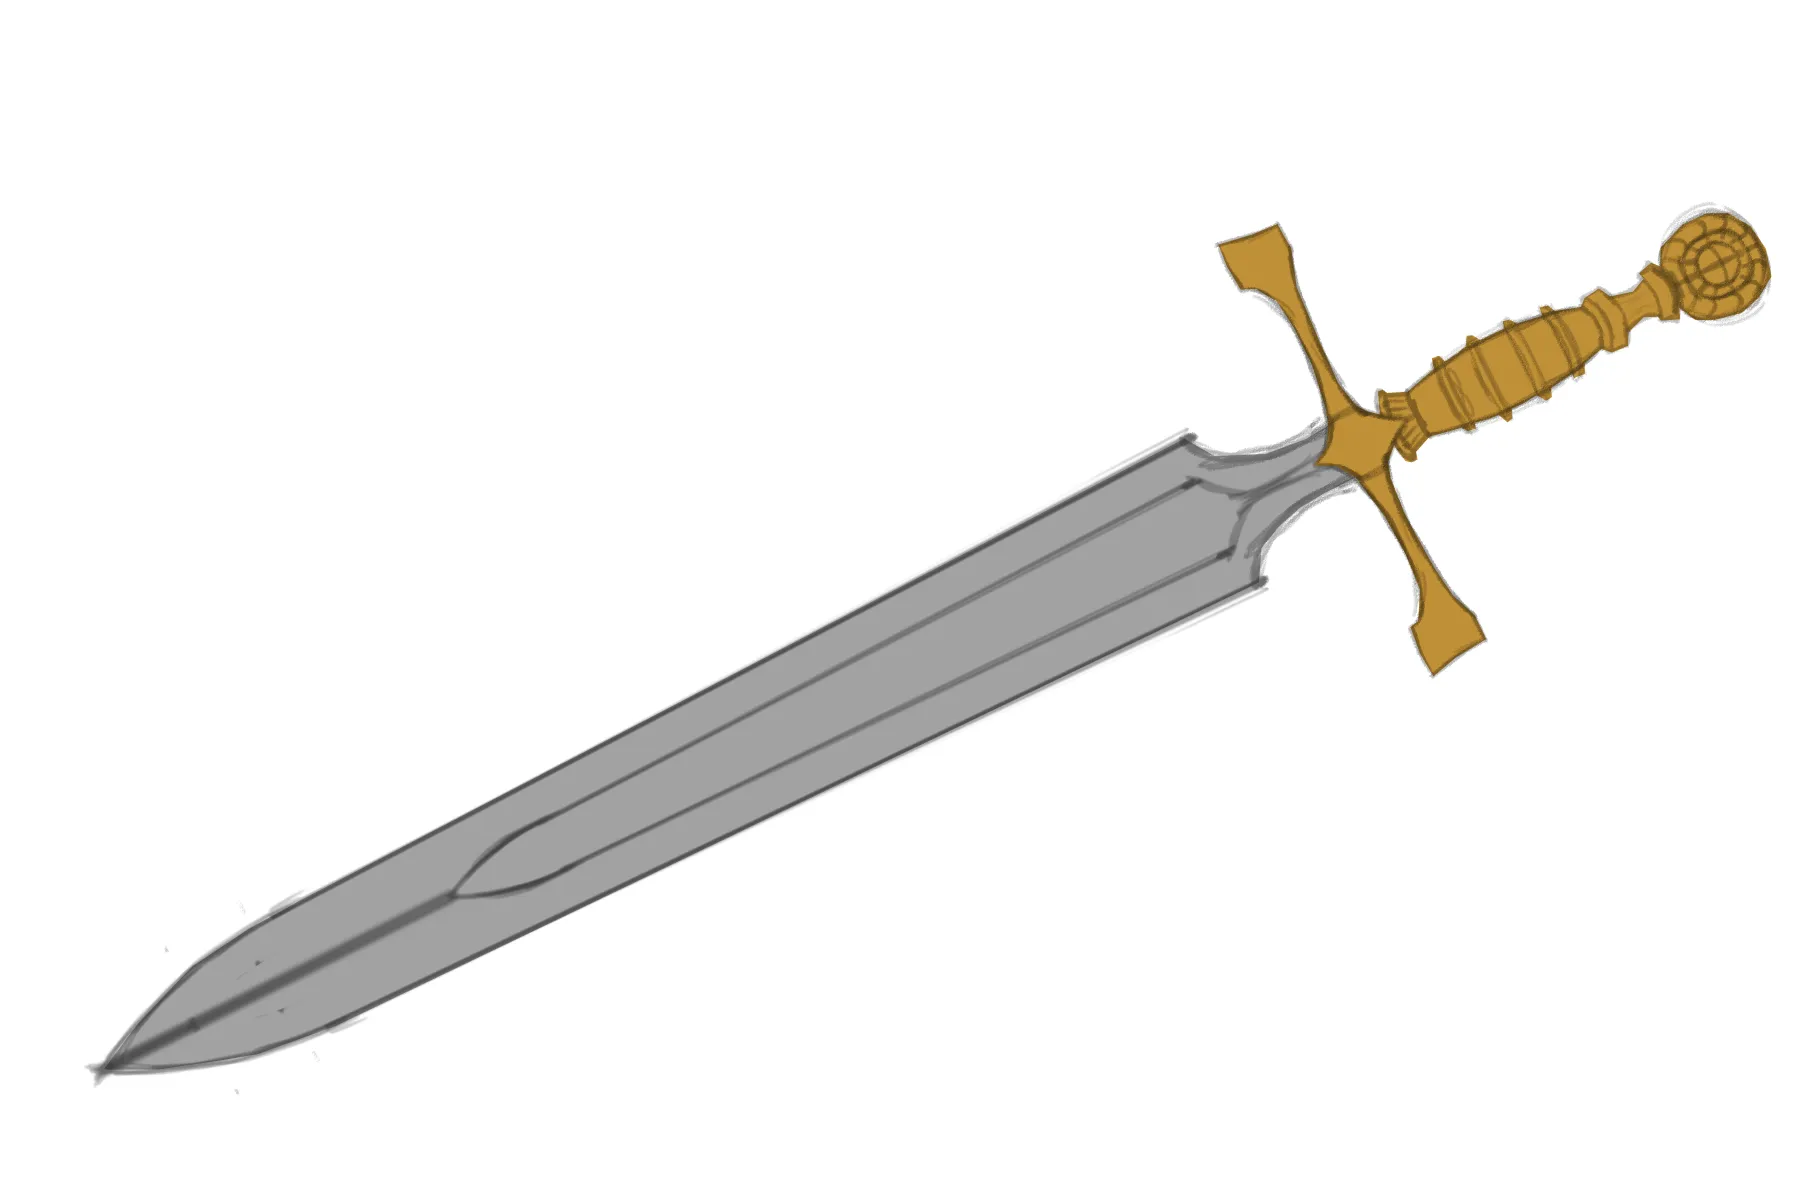
Draw a sword step by step
Let's start with the basic structure. We will take a classic Western sword as an example, leaving aside katanas, spathas, and others for another time. For this model, draw a cross, the dimensions of which you can choose based on the style of sword you want to create.

Let's start by drawing the handle: to do this, draw a series of rings along it. In addition to adding a decorative touch, they enhance the grip. Then add a kind of clasp as an extra detail on this part.
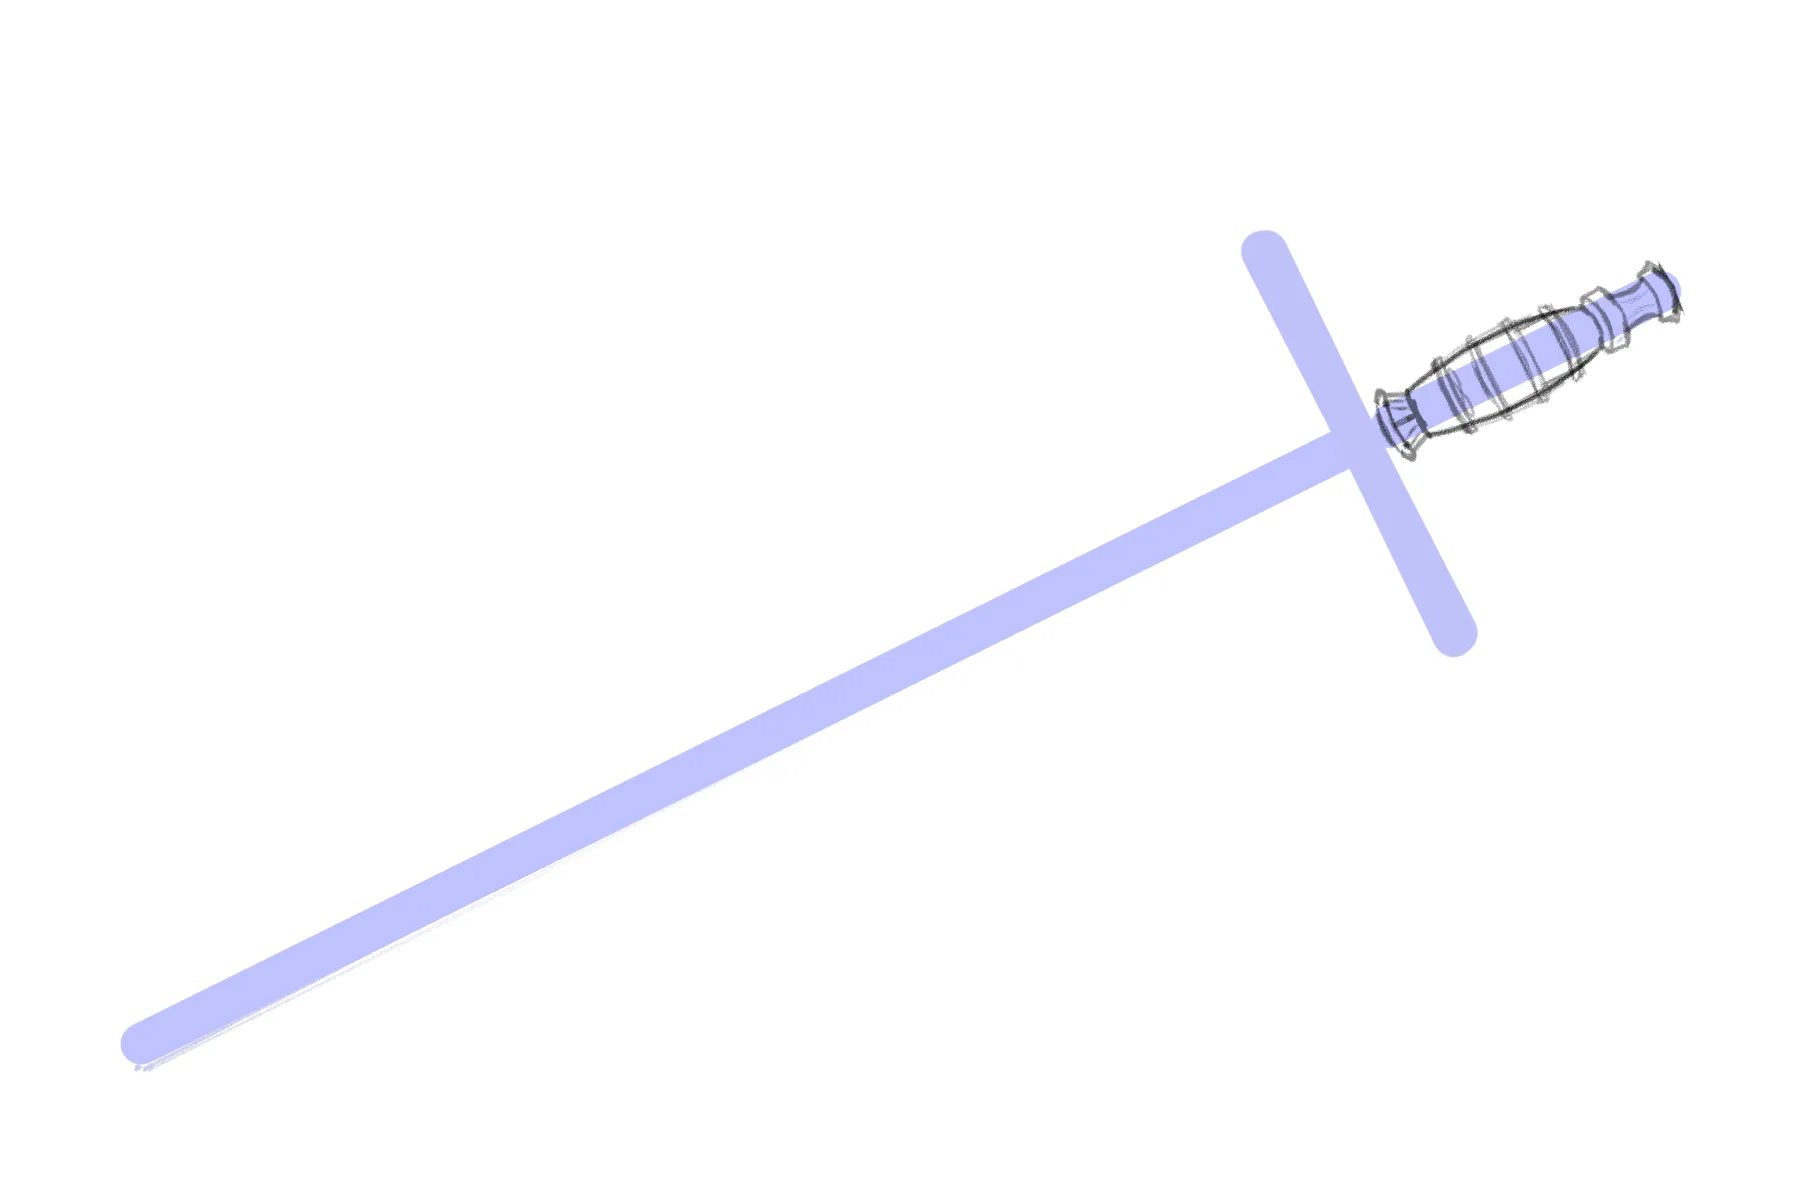
The pommel is the rounded part located at the end, often adorned with a stone, emblem, or decoration. So, draw a circle with decorative grooves running through it. In the center, place a small gem connected by fine lines, to give a more refined appearance.
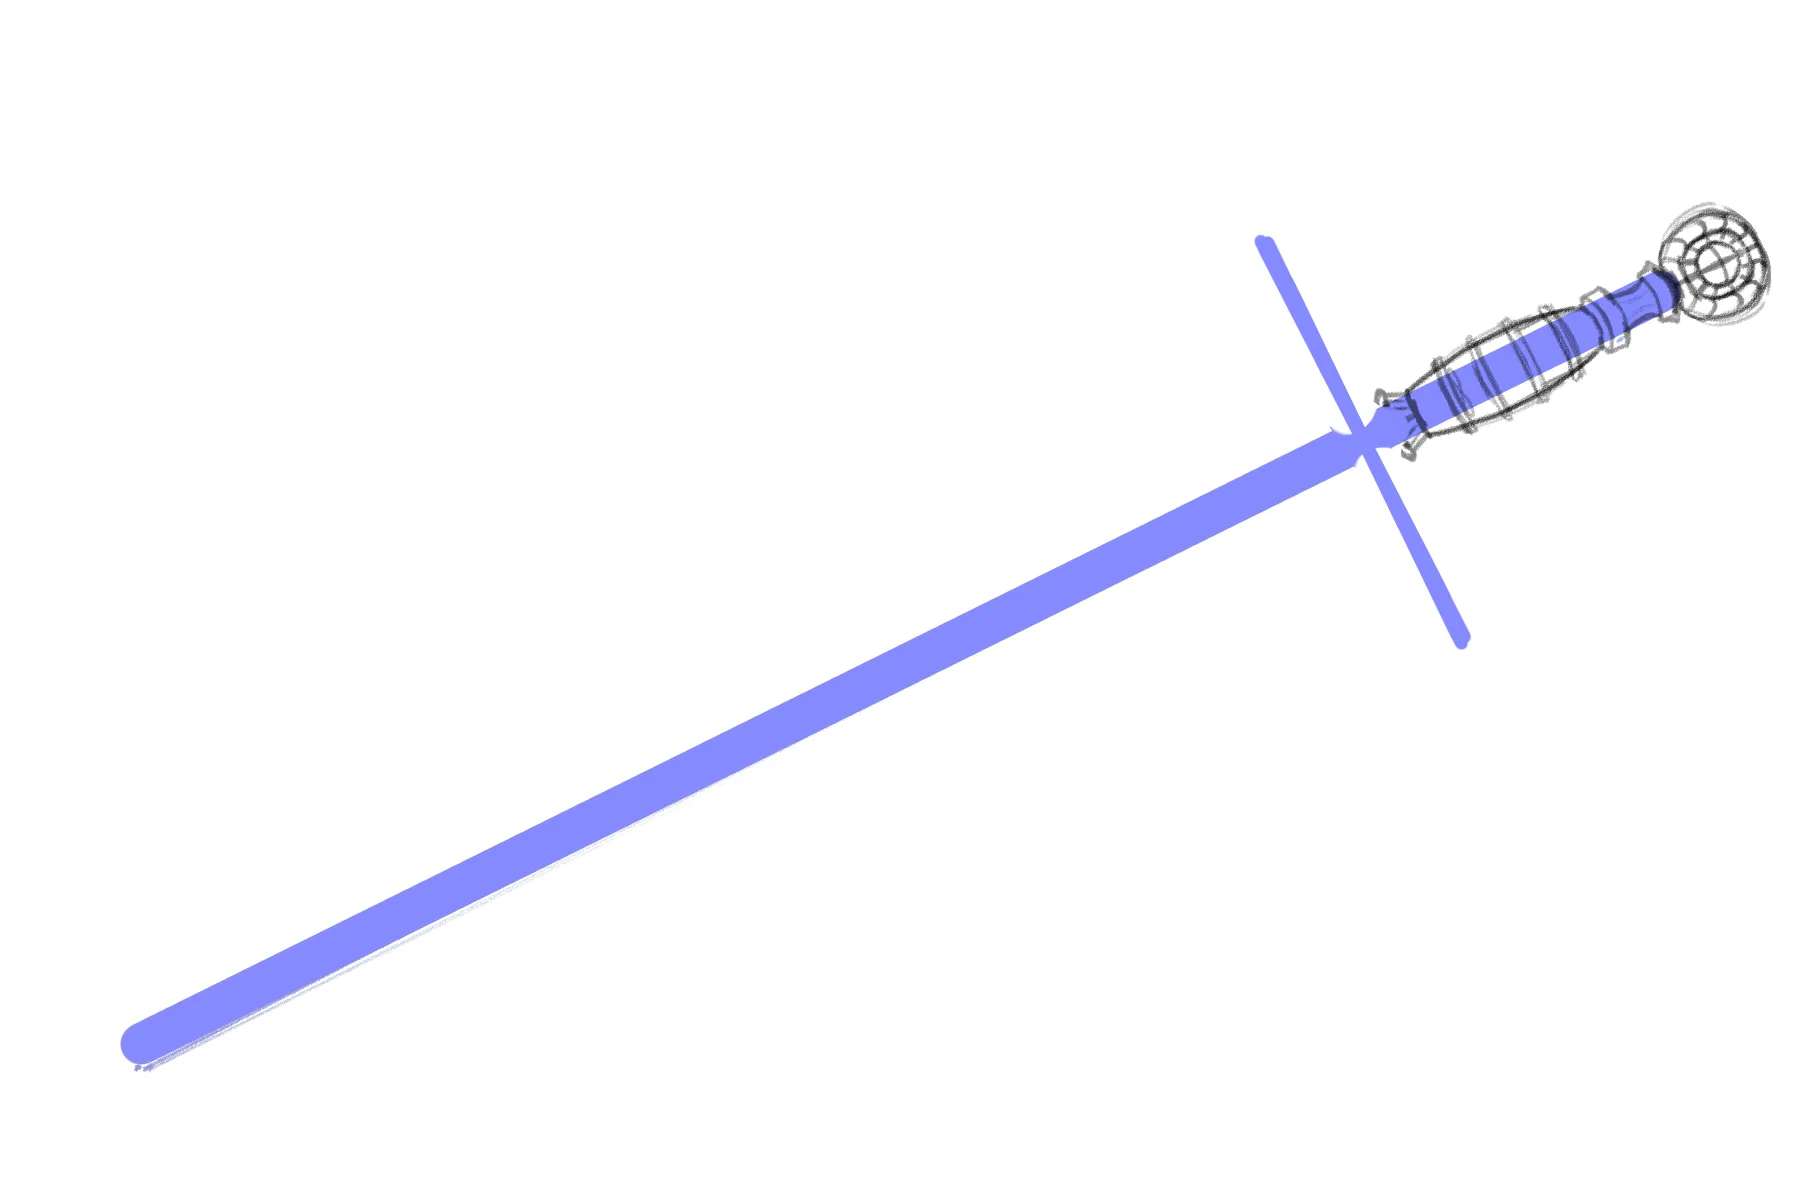
To complete the handle, let's add the guard: it separates the blade from the handle and mainly serves to protect the hands. In our example, I'm drawing a long and simple guard, so that it looks elegant and understated. Of course, you can give it the character that best matches the look you're aiming for.
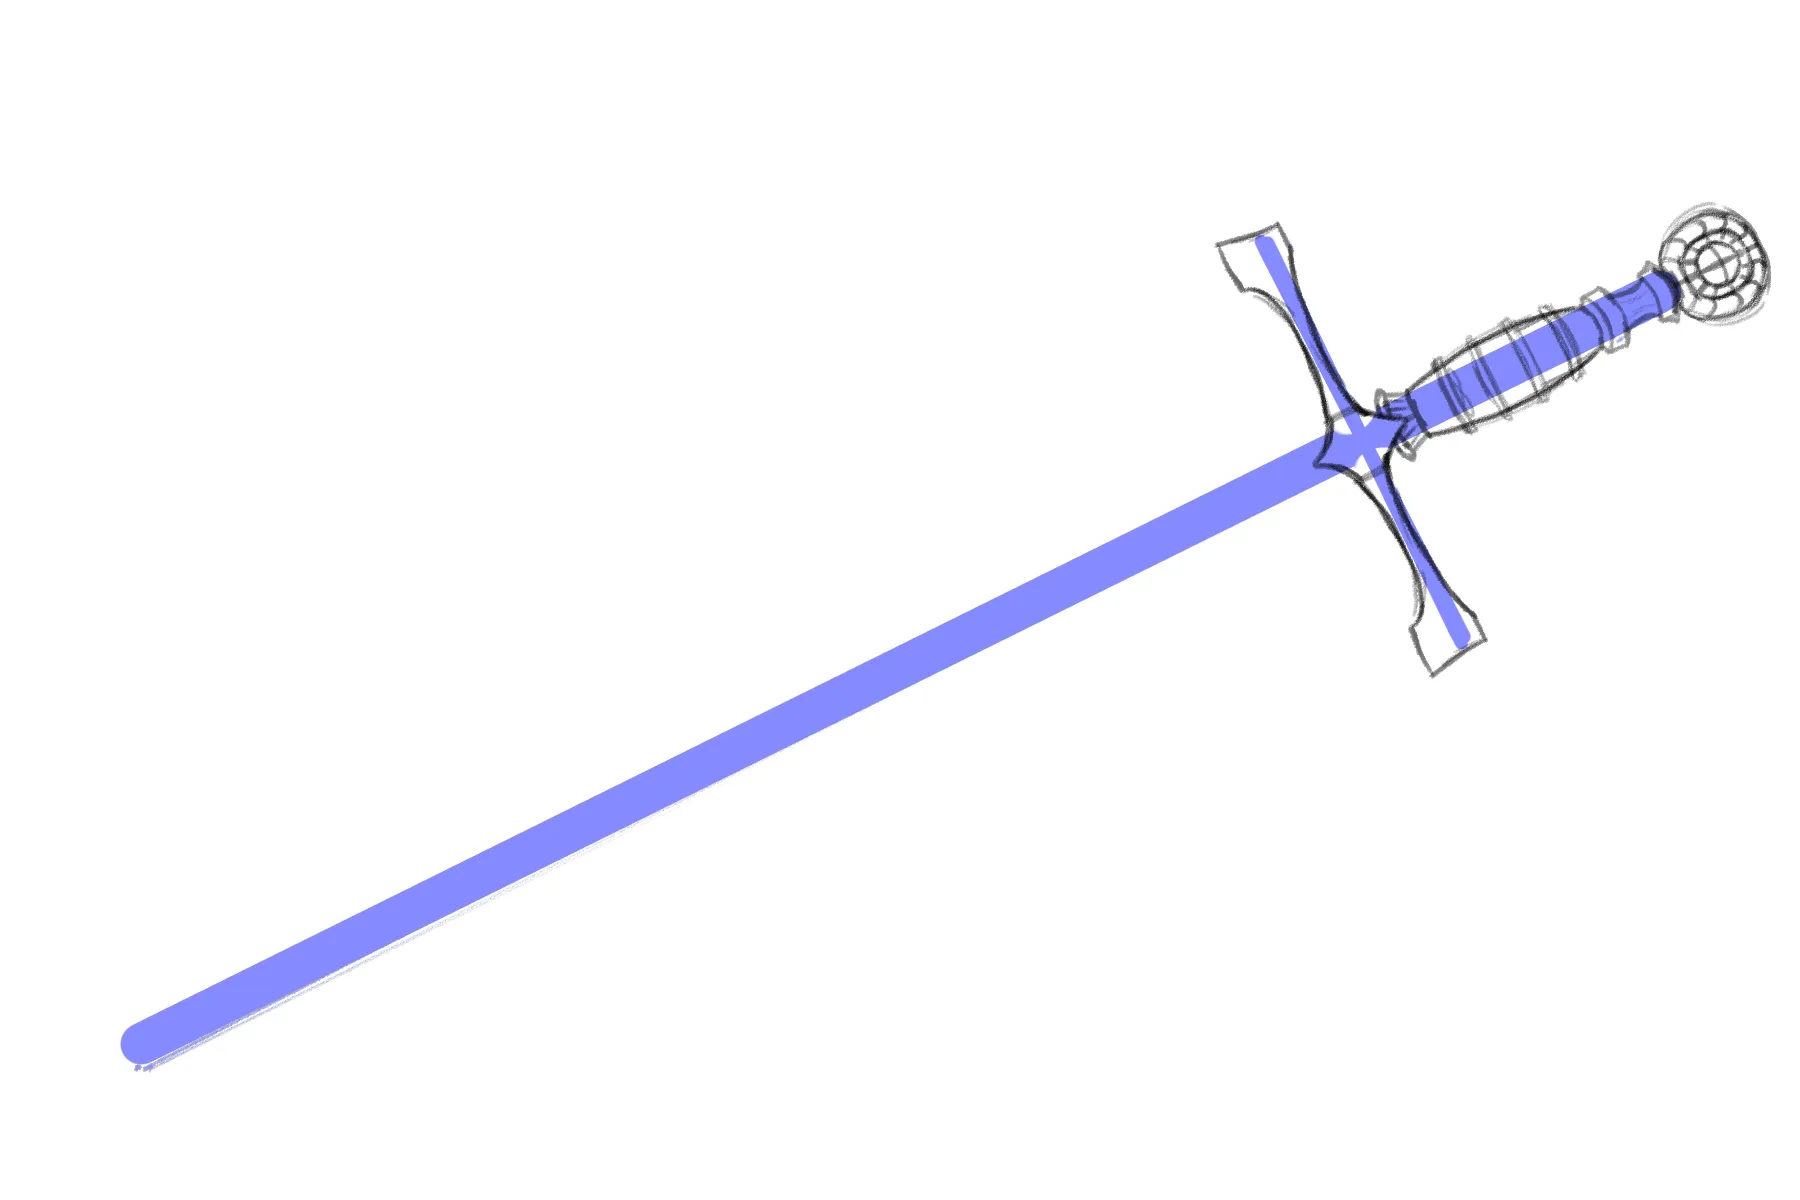
We can now move on to the blade. It can come in various shapes, from the most extravagant to the most understated. Here, we will opt for a middle-ground model: a blade with a bit of movement. Start with a narrow base that widens to form the edges, which come together at a point that is not too sharp.
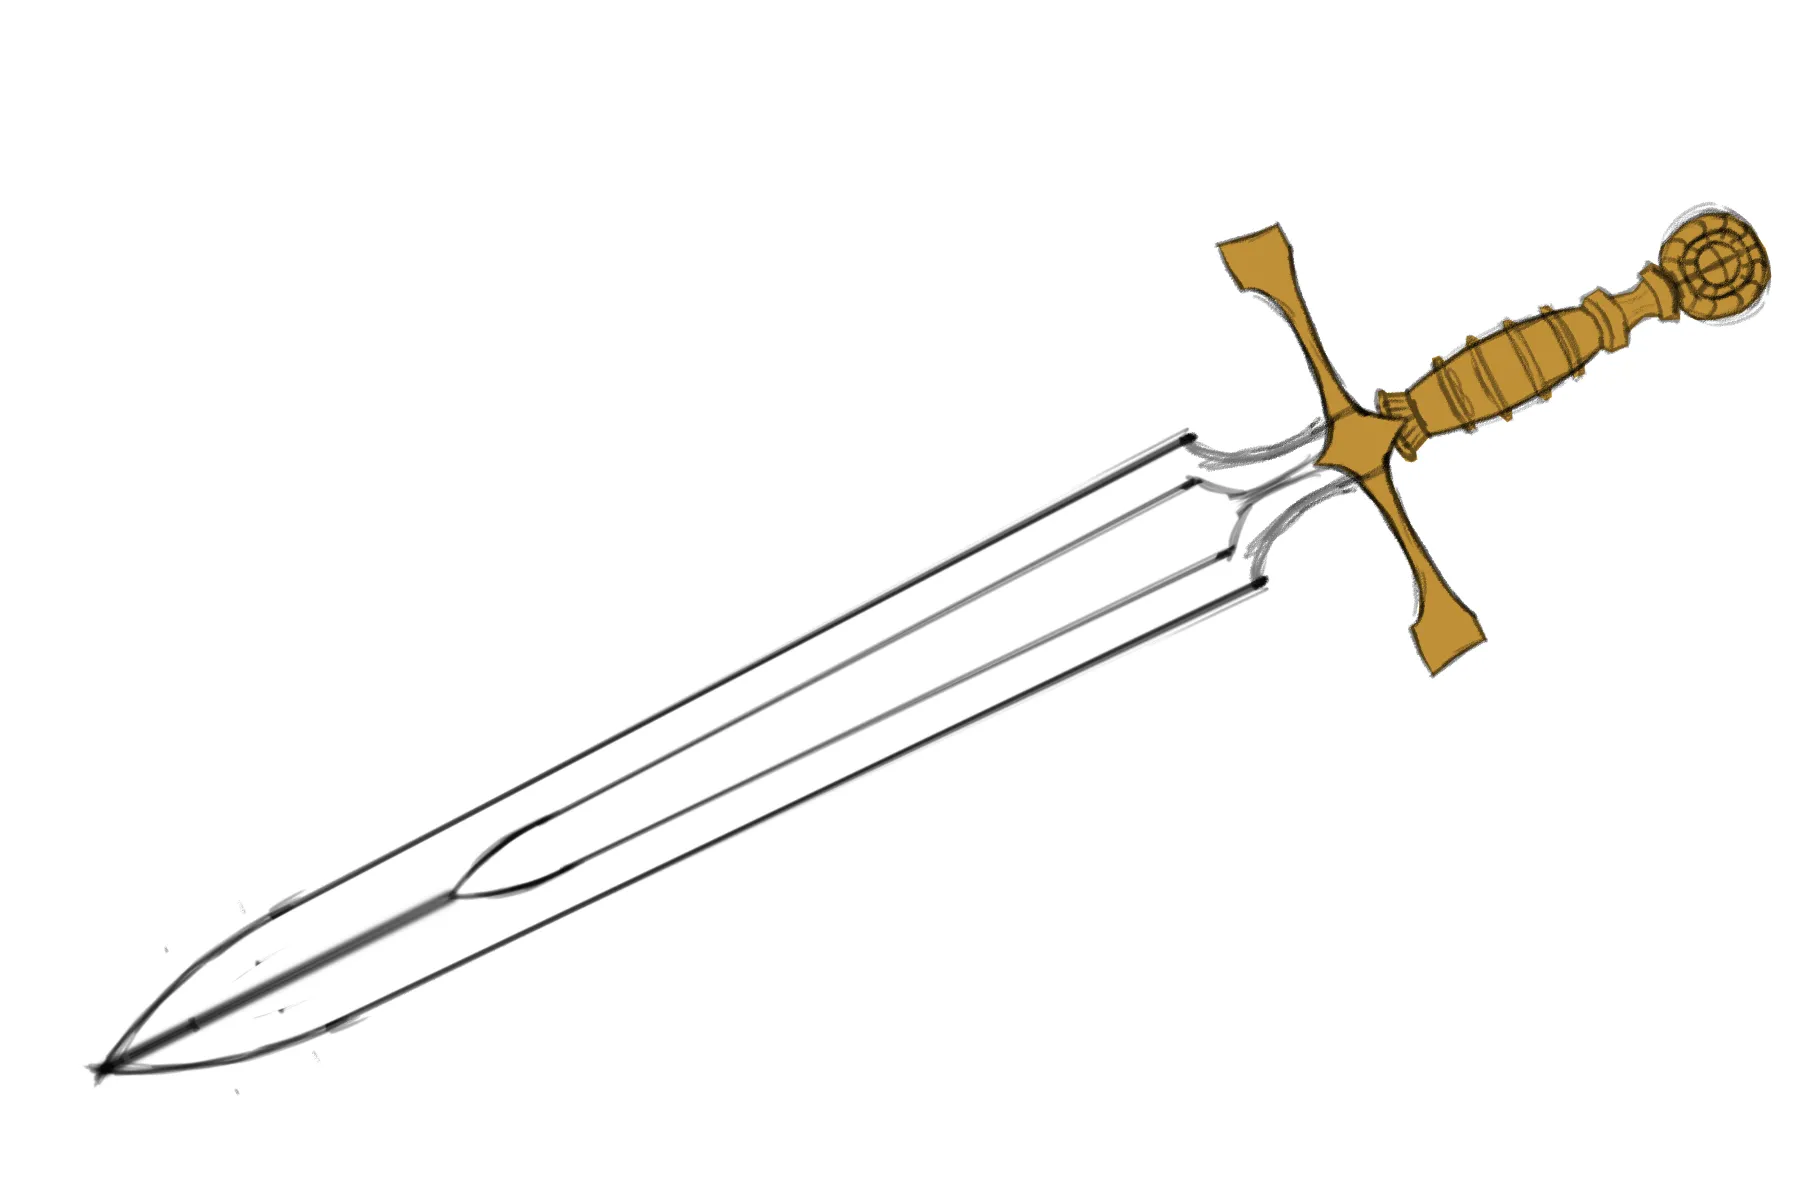
A completely flat blade would be both boring and fragile. To give it strength, replicate its shape inside and connect it to the tip with a central line.
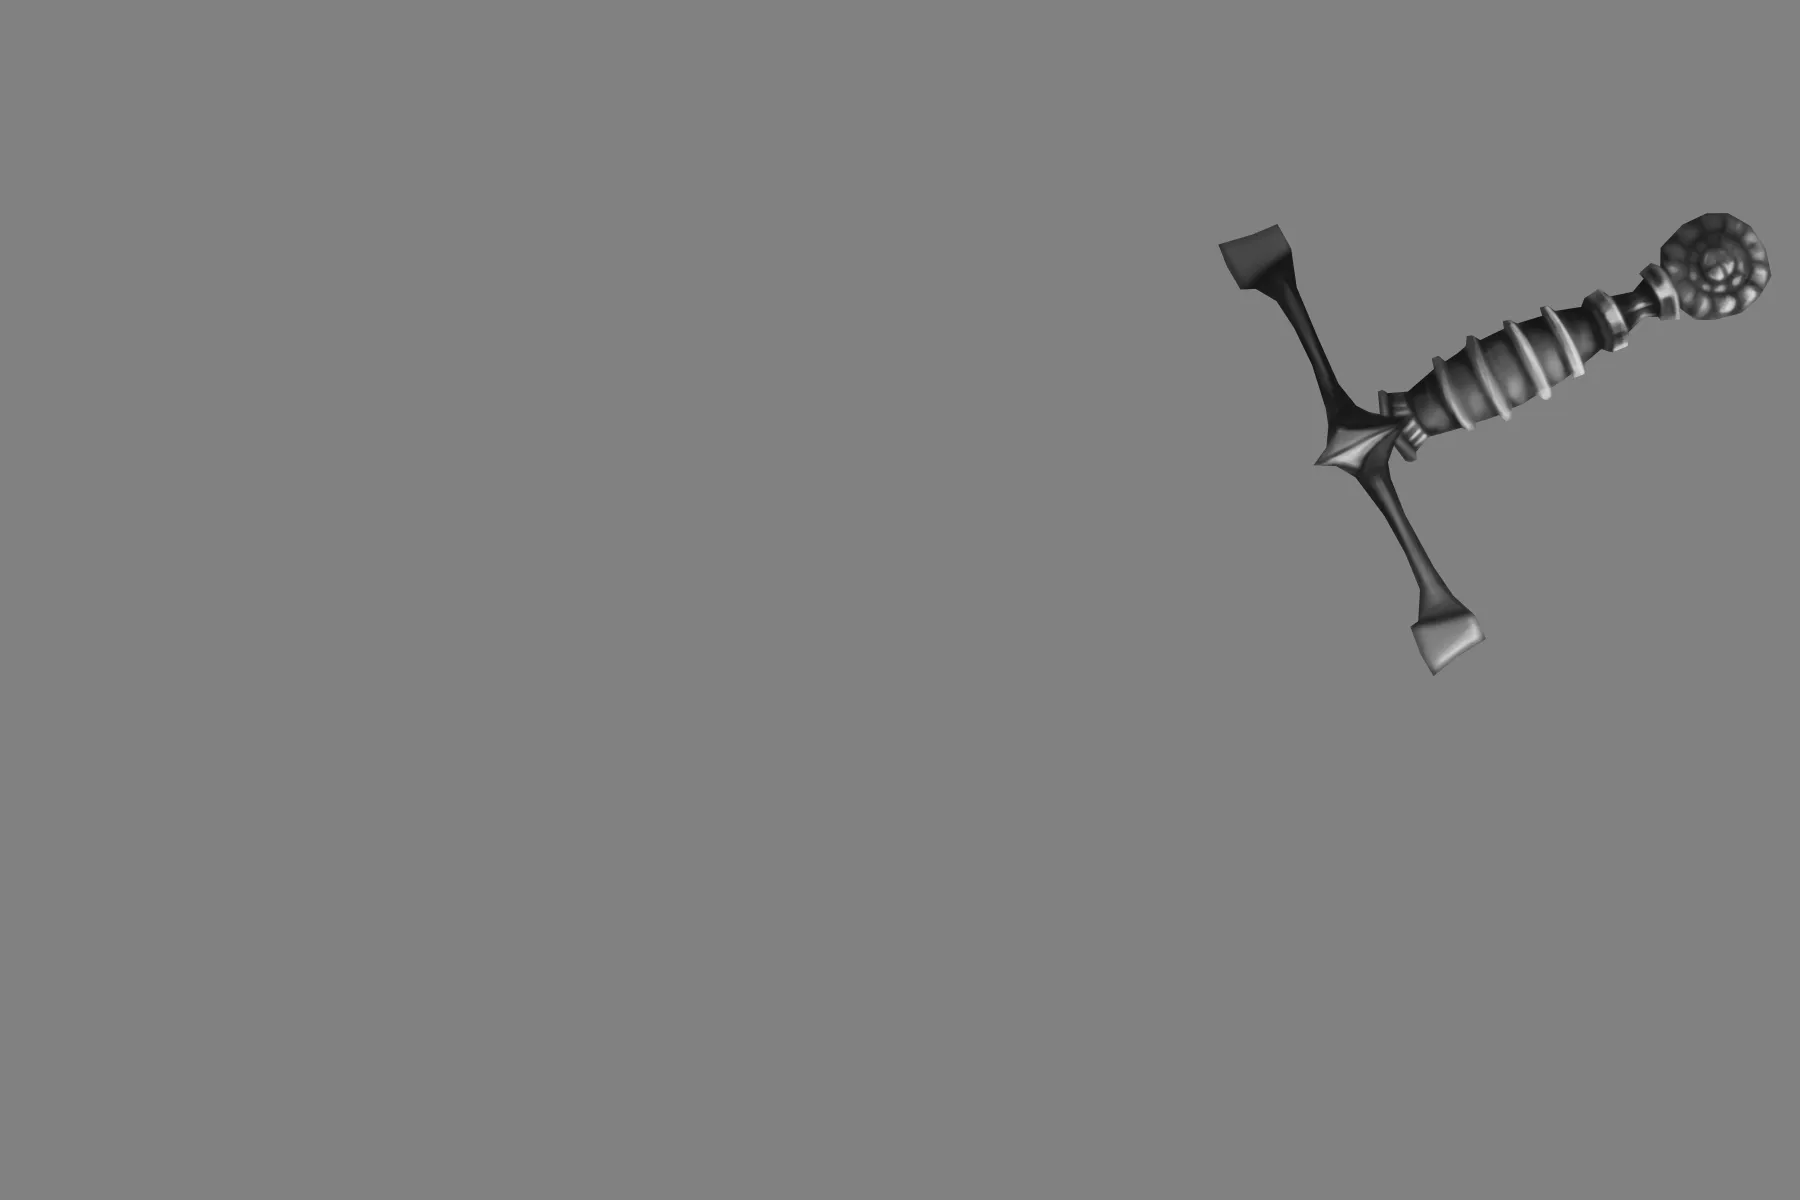
Add volume and shadows to the drawing
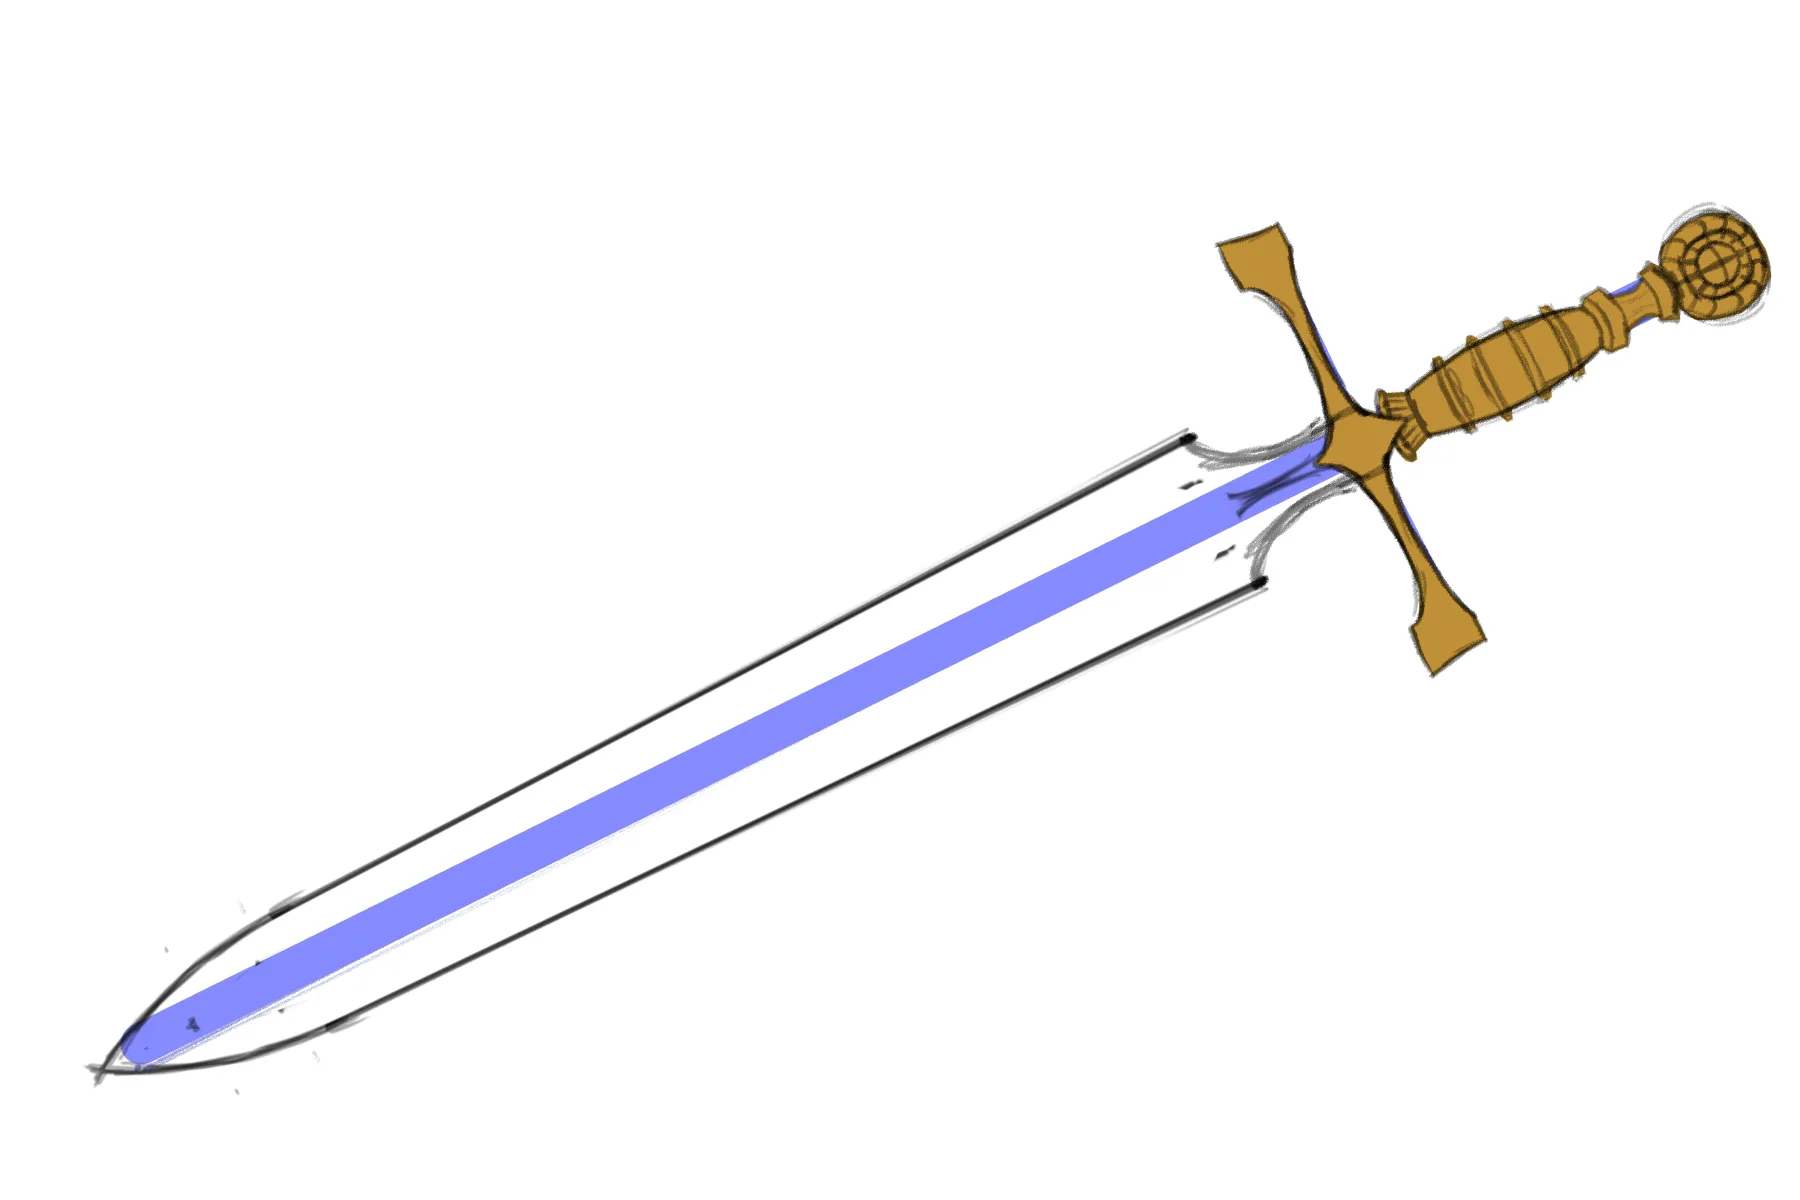
At this stage, you can add a base color to see the sword better, although this is not essential.
It's time to draw the shadows. Start by identifying the darkest parts of the handle, then add depth to the blade. The goal is to sketch out an initial shadow effect.

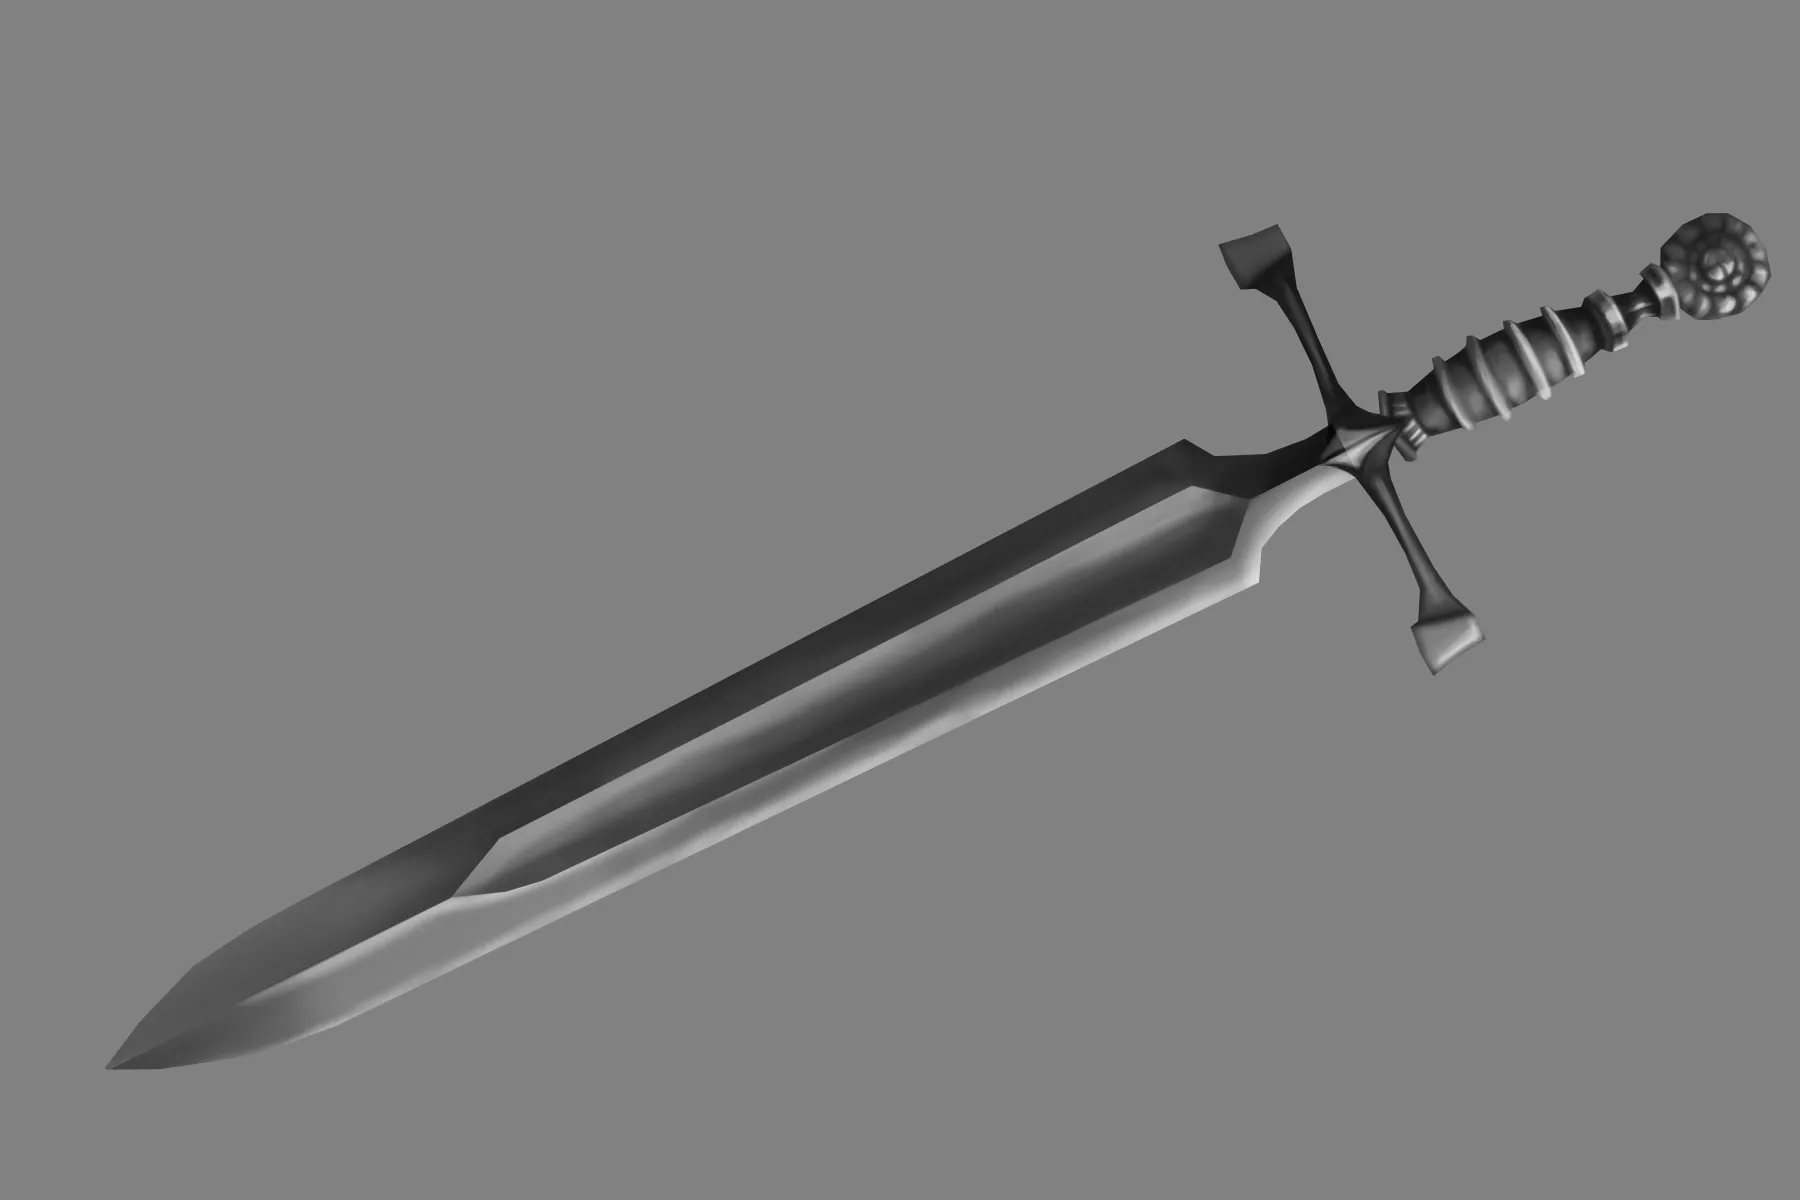
Next comes the creation of volume by using light. I recommend using a neutral background: this will help you more clearly distinguish the interplay between shadows and light. Darken one side of the sword, and for more realism, slightly vary the light intensity. You can then draw some reflections, but only in specific areas, without overdoing it.
The blade, on the other hand, requires a different approach: it needs to have hard-edged lighting effects, since metal is a smooth and highly reflective material. Sharp contrasts between dark areas and almost white areas are essential to achieve a convincing metallic effect. Don't hesitate to emphasize deep blacks.
Add texture to the sword drawing
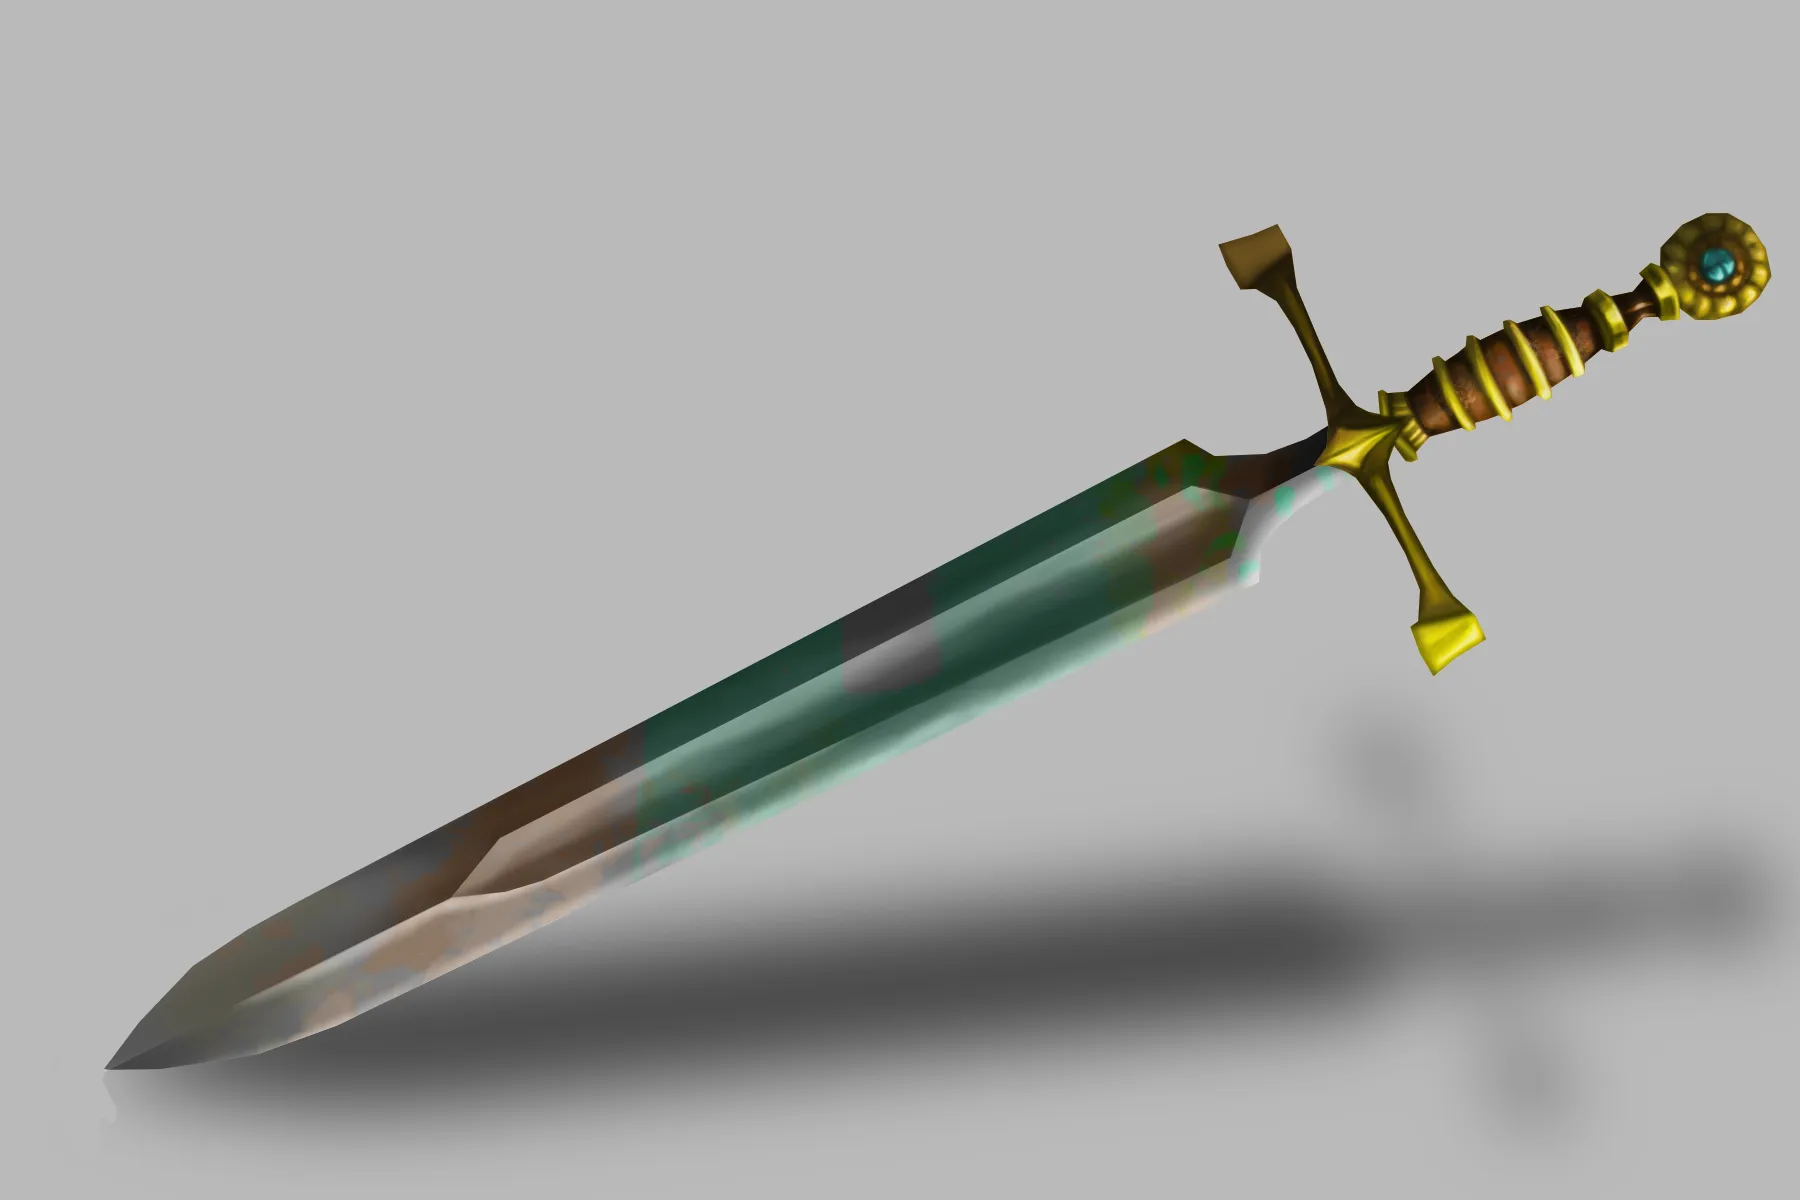
Once volume and lighting have been added, all that remains is to apply the final colors that will differentiate the materials. Draw most of the handle in gold, leaving some areas between the rings.
As for the gem of the pommel, opt for a turquoise blue that will add a striking contrast. To enrich the composition, use multiple shades of yellow, brown, and blue.
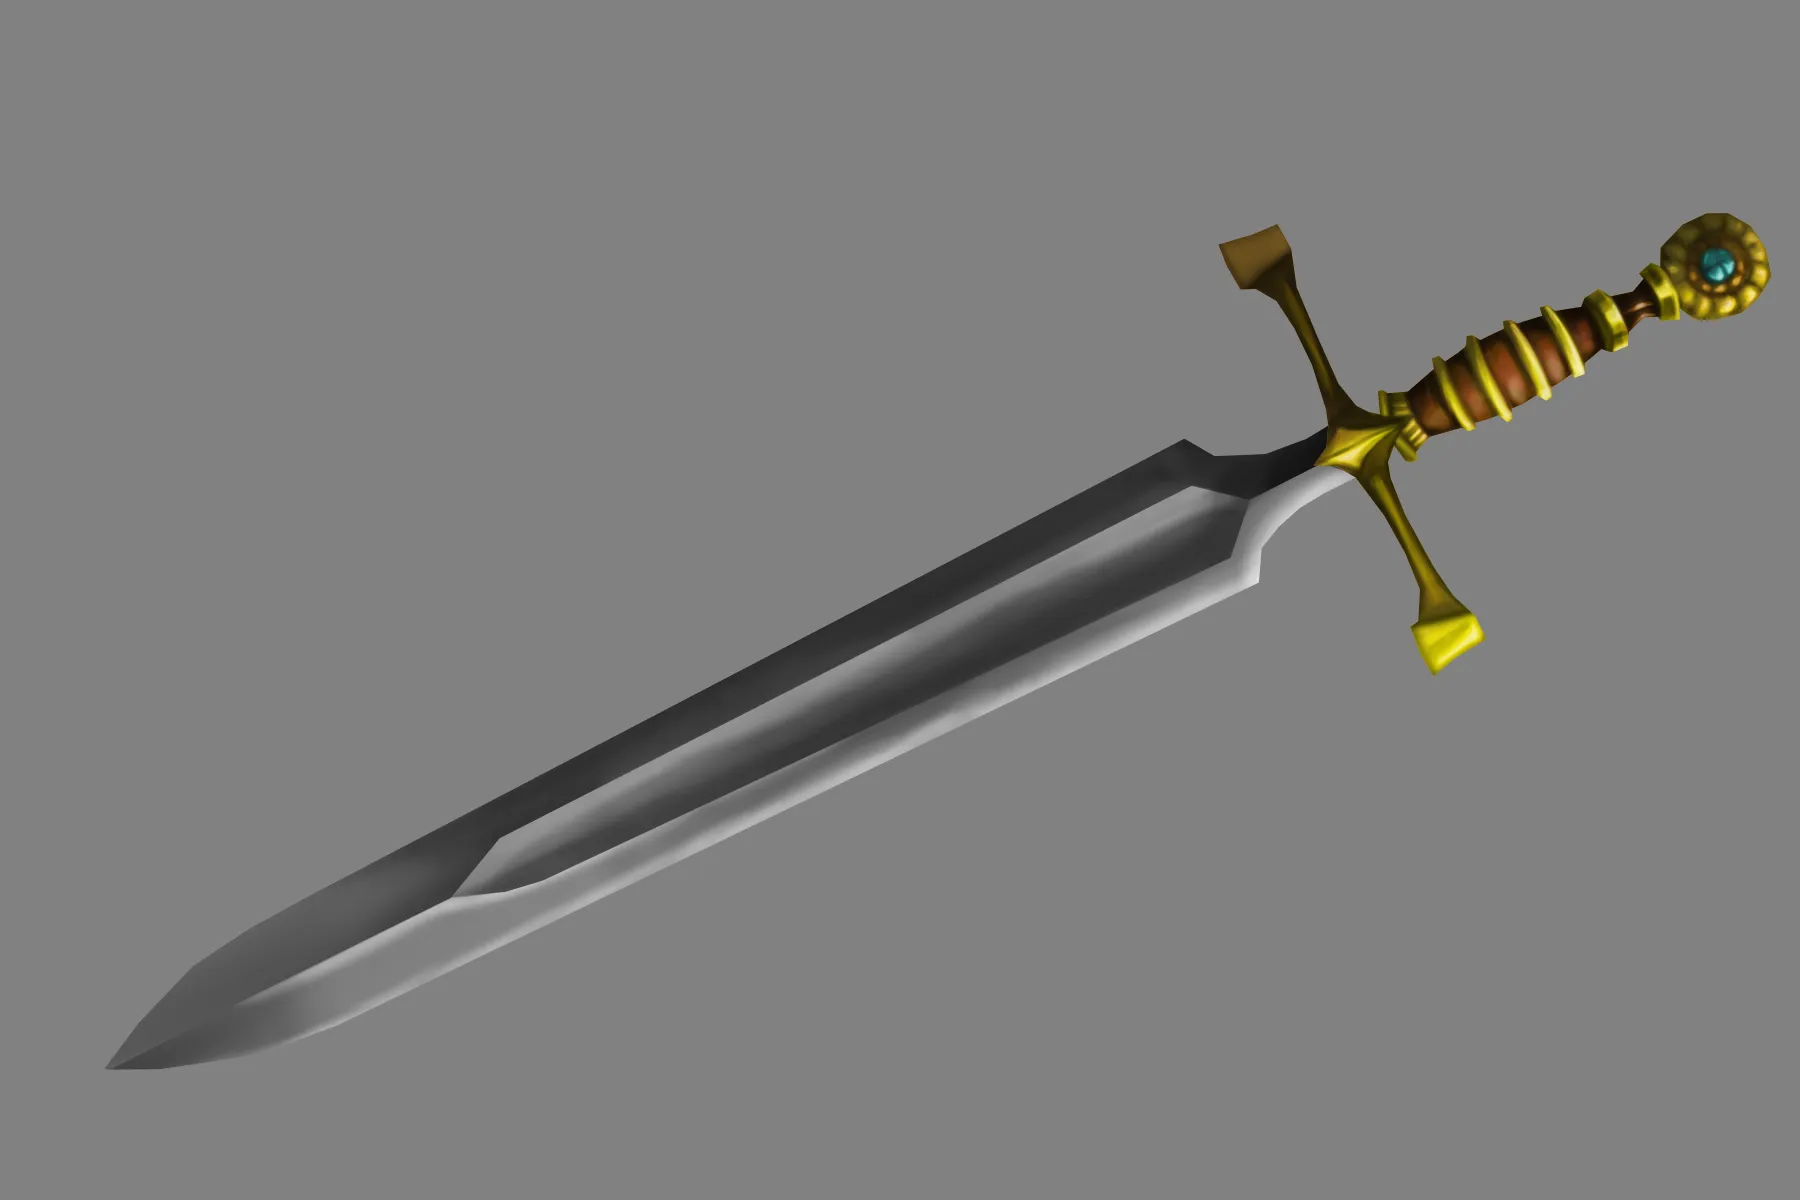
At this point, the sword could be considered finished. However, I recommend adding a bit of wear: dirt, rust, scratches, or even small imperfections on the edge. To do this, add simple textures by drawing patches on the blade and the leather of the handle.
Finally, add a drop shadow in perspective to enhance the depth.

I hope this tutorial has inspired you and made you want to draw your own sword. I suggest you look around for references: you will probably find ideas in your favorite characters from TV shows or video games.
Consider sketching your sword by sections and playing with strong contrasts of light and shadow to recreate the illusion of metal.
Discussion
I really like it, I will try it. Thank you for this lesson.