
How to Draw Using the Continuous Line Technique
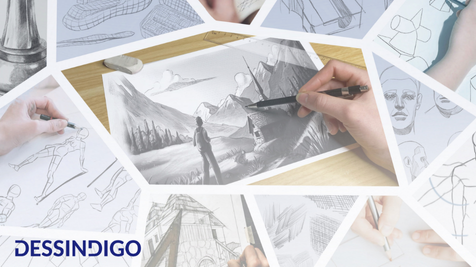
Drawing relies on a few fundamental categories: shadow, proportion, and line. The latter is the first one we discover, well before the other two, and yet, we rarely work on it in the conscious way it deserves. This is exactly what the continuous line technique practices: drawing without lifting the pencil, to strengthen control over the movement and gain expressiveness.
Origin and foundations of the continuous line technique
It is difficult to assign a precise date to the origin of this technique. However, we find the continuous line as an exercise in the drawing academies of the last century, under the influence of the explorations of some avant-garde artists.
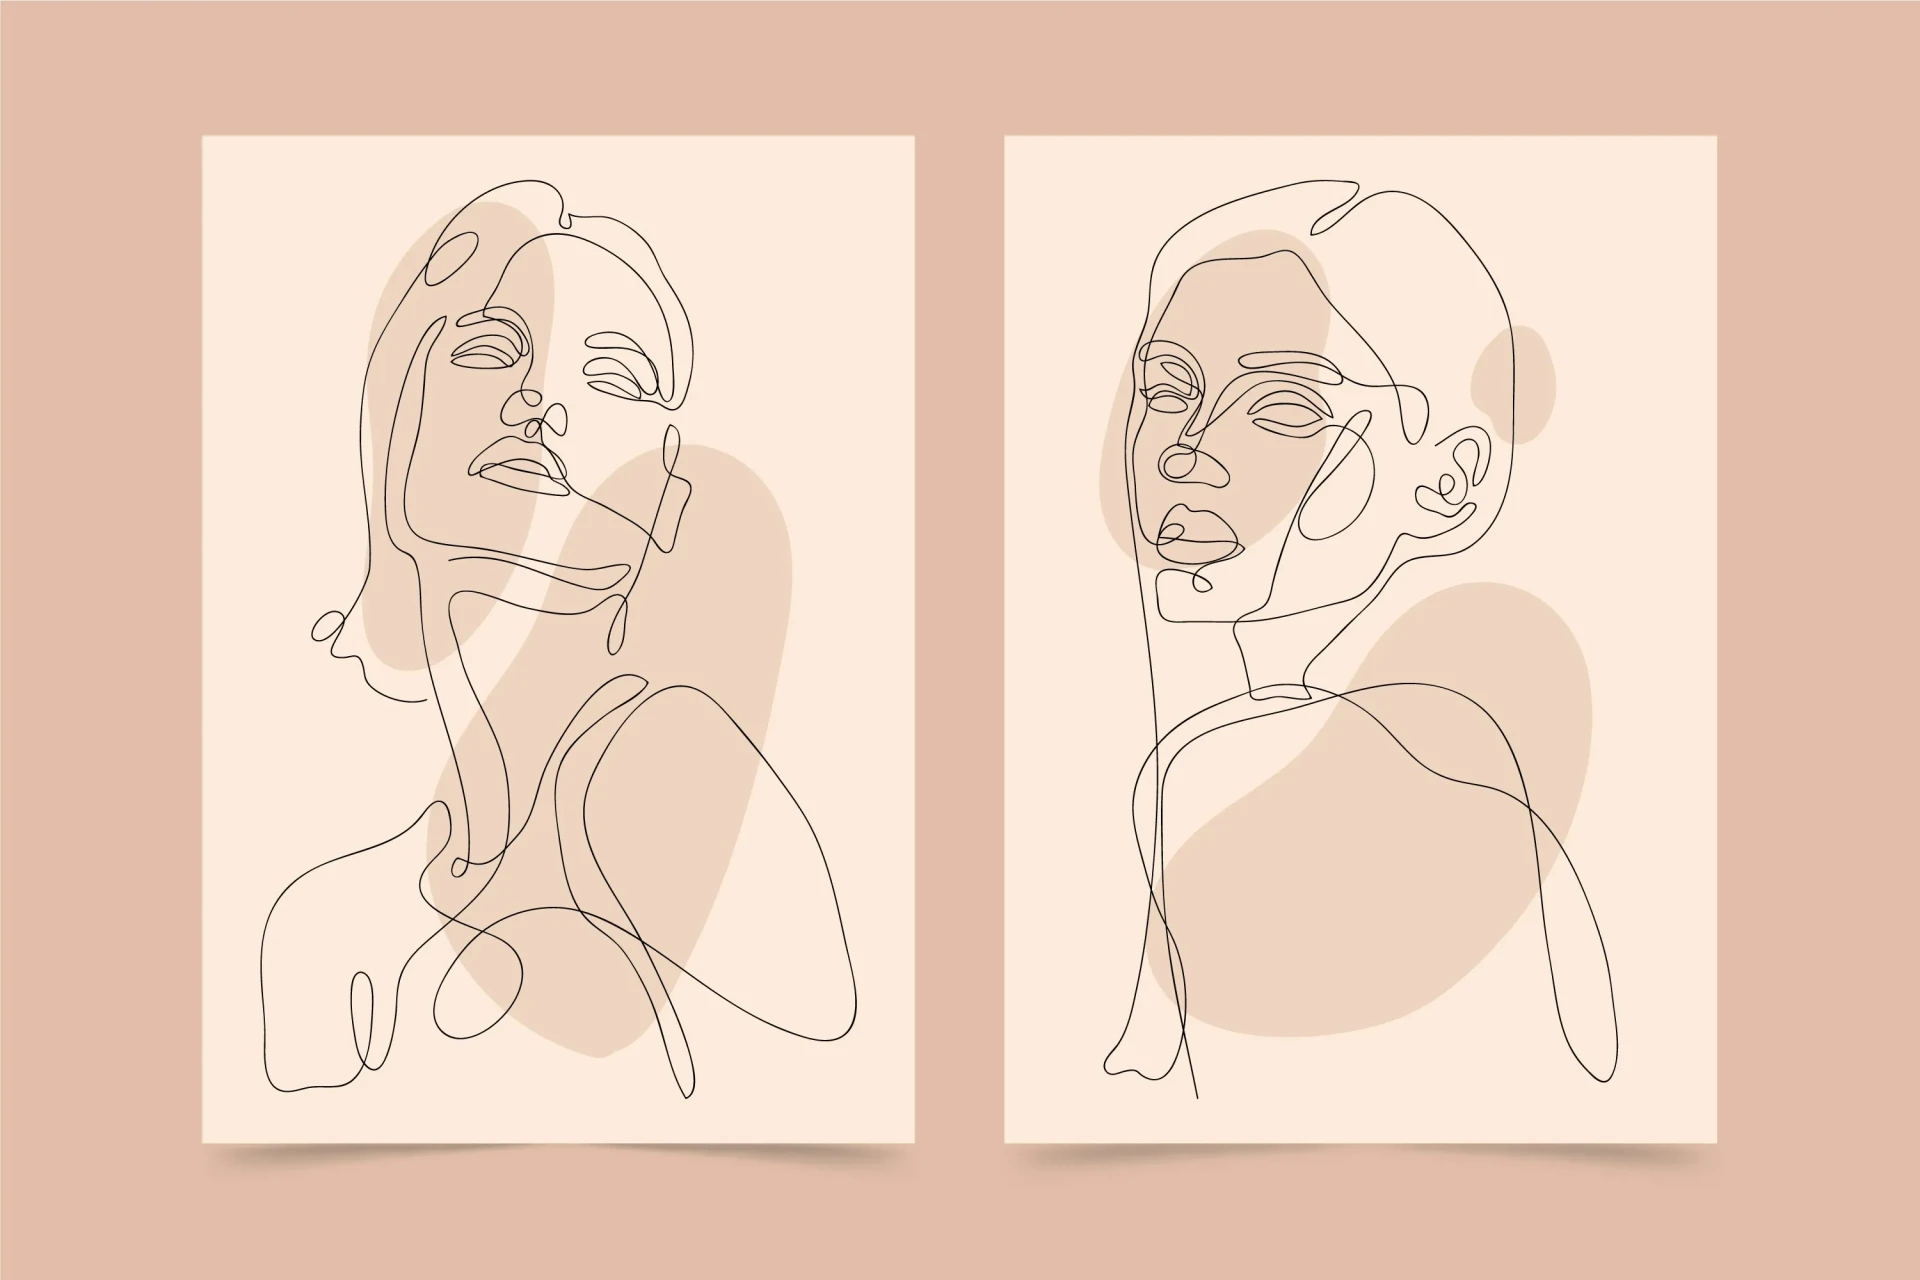
The principle is simple: create a drawing with a single line, without lifting the pencil or other tool until the piece is finished. It is this constraint that makes the exercise so effective.
The skills that this technique develops
Practicing continuous line drawing regularly means imposing a rigorous training regimen that improves essential drawing skills.
First, we develop fine observation skills, which are necessary to assess the drawing and adjust the smallest details. We also improve our hand-eye coordination, because each stroke requires immediate decisions based on what we see. And we gain fluidity and confidence: without being able to lift the pencil, we learn to draw with more precision and commitment.
What’s interesting about this exercise is that it’s not limited to the continuous line technique itself. The progress made is noticeable in all other drawing exercises. An artist who regularly practices continuous line drawing develops confidence in their movements, which then manifests in their portraits, observational sketches, or illustrations. It’s a bit like doing scales in music: seemingly repetitive, but fundamental for making progress.
Here are a few important principles to keep in mind when tackling this exercise:
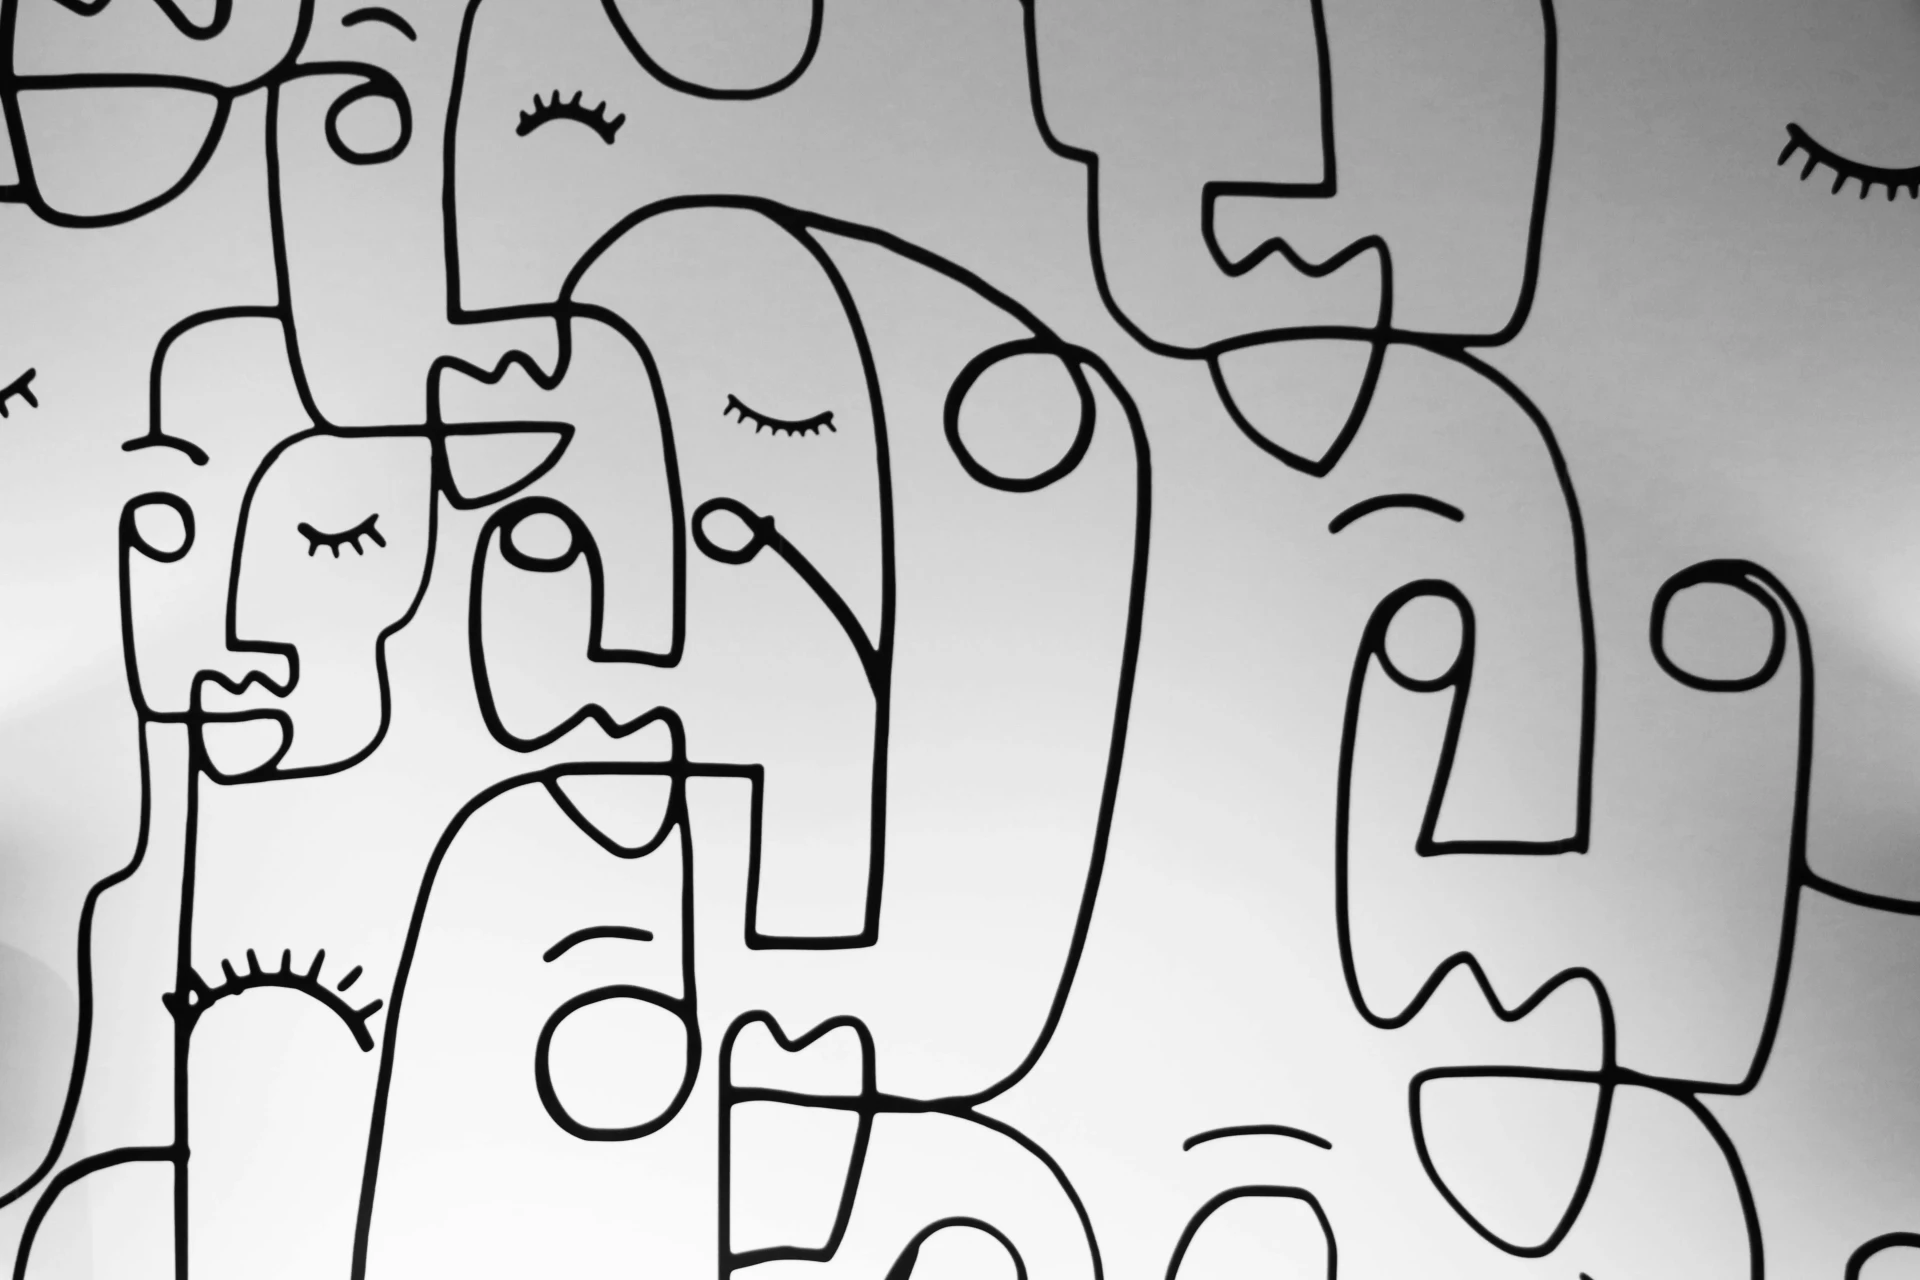
The strength and qualities of the line are what will give expression and identity to your work. Alternate between soft and bold strokes, depending on what you want to express - depth, lightness, texture.
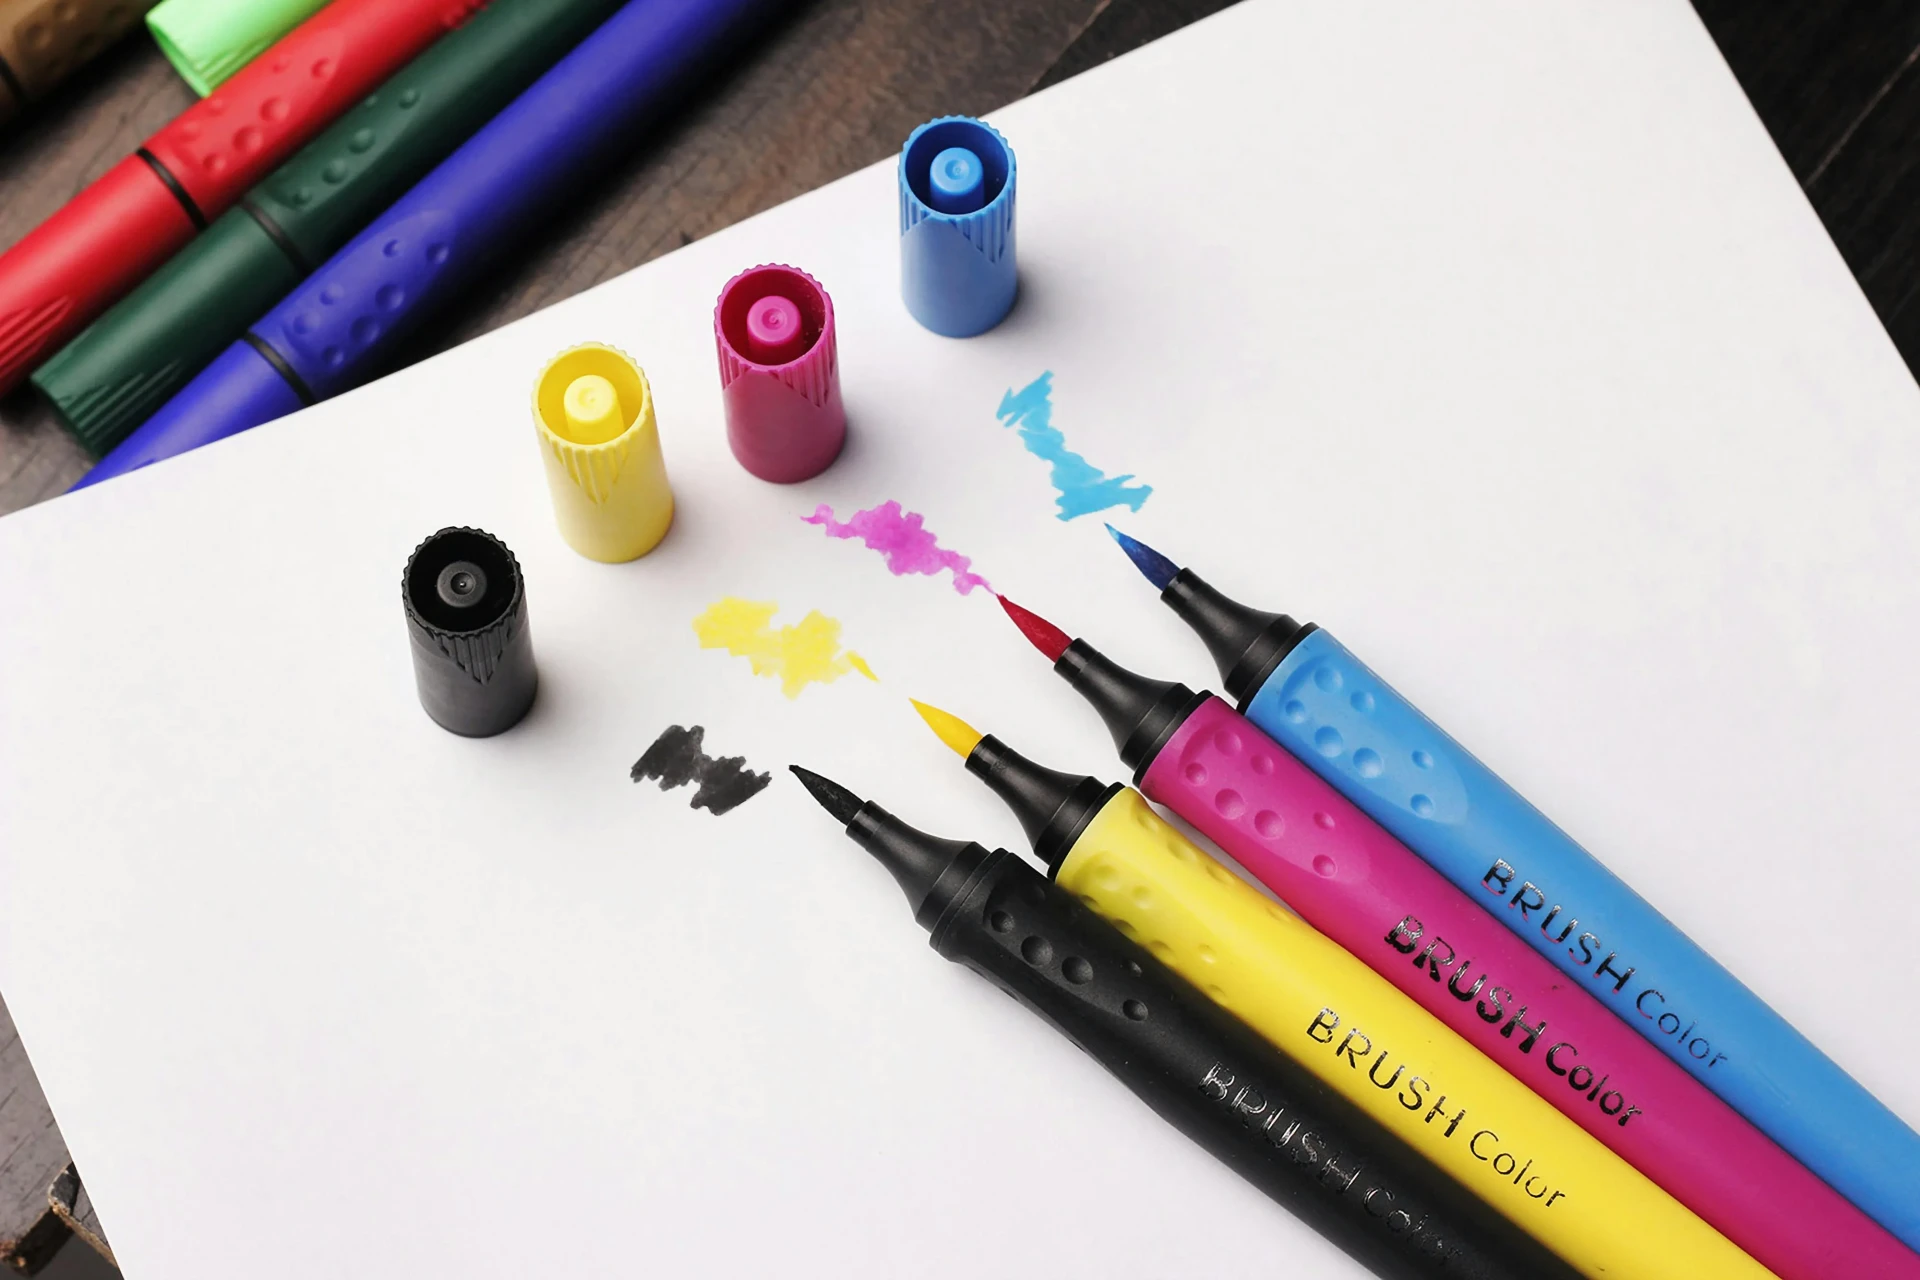
Choose an appropriate tool: a ballpoint pen or marker is preferable. A brush may run out of ink at any time, and a dry pencil can hinder creative flow.
The quality of the technique takes precedence over speed. Take the time to appreciate the stroke and learn from it, rather than striving for perfection.
What mistakes should be avoided?
Here are the most common mistakes when you start using this technique:
Going too fast
The temptation is great to want to finish quickly, especially when you can’t correct. Resist this: a slow deliberate stroke will always yield better results than a hasty one.
Seeking perfection
The continuous line is not a technique for precision. It is a technique for expression. Slight imperfections are part of the result and give it its character.
Using the wrong tool
An instrument that skips, bleeds, or runs out of ink mid-stroke can ruin the exercise. Test your tool on a piece of scrap paper before you begin.
Artists who have used the technique effectively
Several artists have inspired art teachers to encourage this exercise. Picasso, with his studies of animal anatomy in his distinctive style, is the most famous example. We can also mention Egon Schiele and his fascinating self-portraits, where light lines dominate the space with remarkable intensity.
Beyond Picasso and Schiele, other artists have explored this technique with very different results. Henri Matisse, for example, is famous for his drawings with lines of disarming fluidity, where just a few lines are enough to capture the essence of a face or a body. These artists remind us that the apparent simplicity of the continuous line can lead to results of great expressive power.
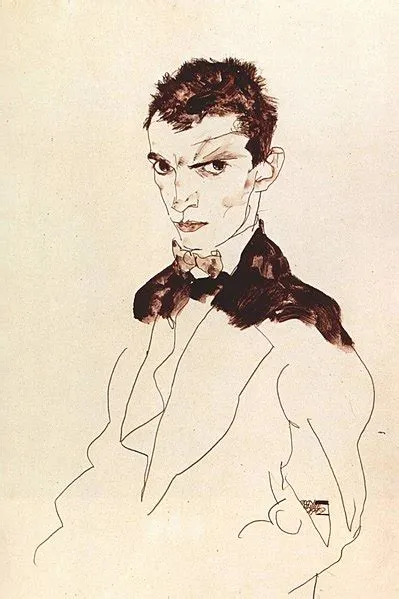
Self-portrait (1912) Egon Schiele
How to draw a portrait using continuous line on watercolor
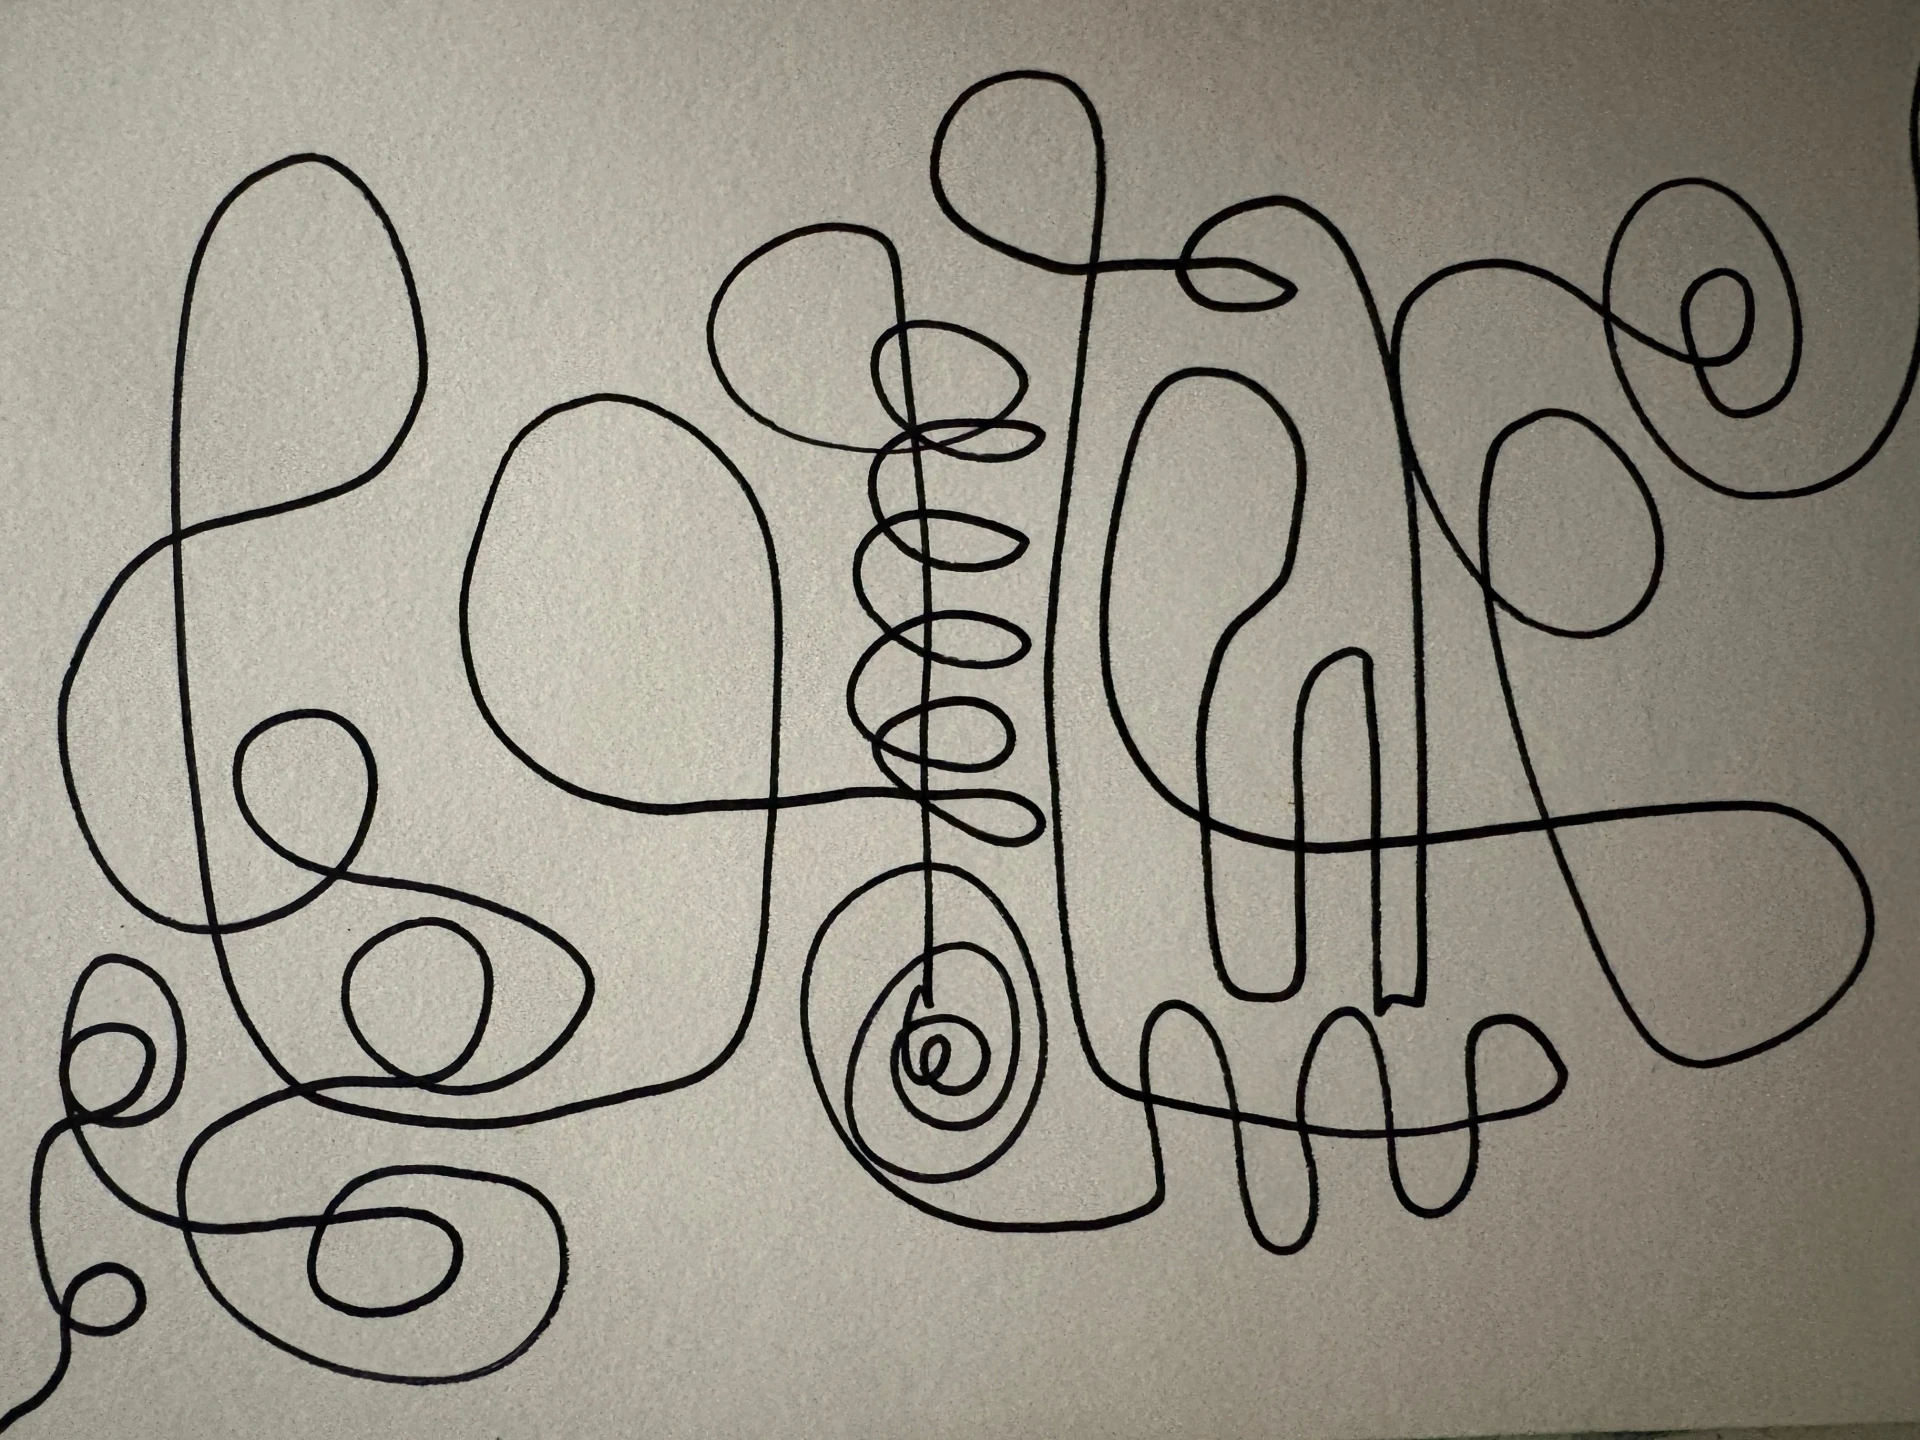
Before starting on a complete drawing, take a blank sheet of paper and freely draw a line from one corner to the other. Explore different types of lines, wide and short curves, straight lines, to familiarize yourself with the continuous movement.
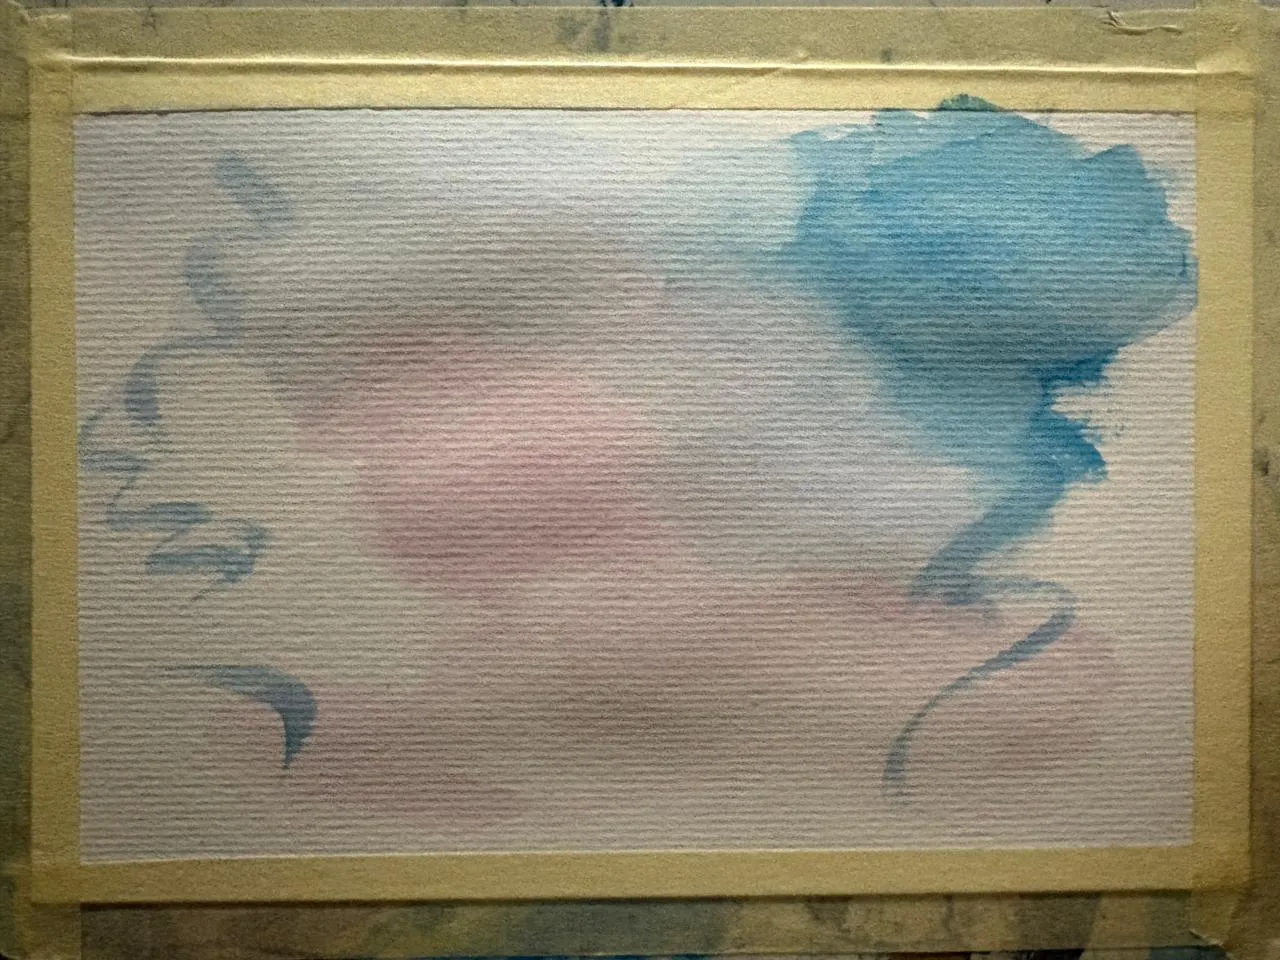
To add a touch of color to this exercise, we will create a continuous-line portrait on a watercolor base. Start by creating abstract shapes with intense colors and beautiful gradients. Once the result is satisfactory, let it dry completely before starting the portrait.
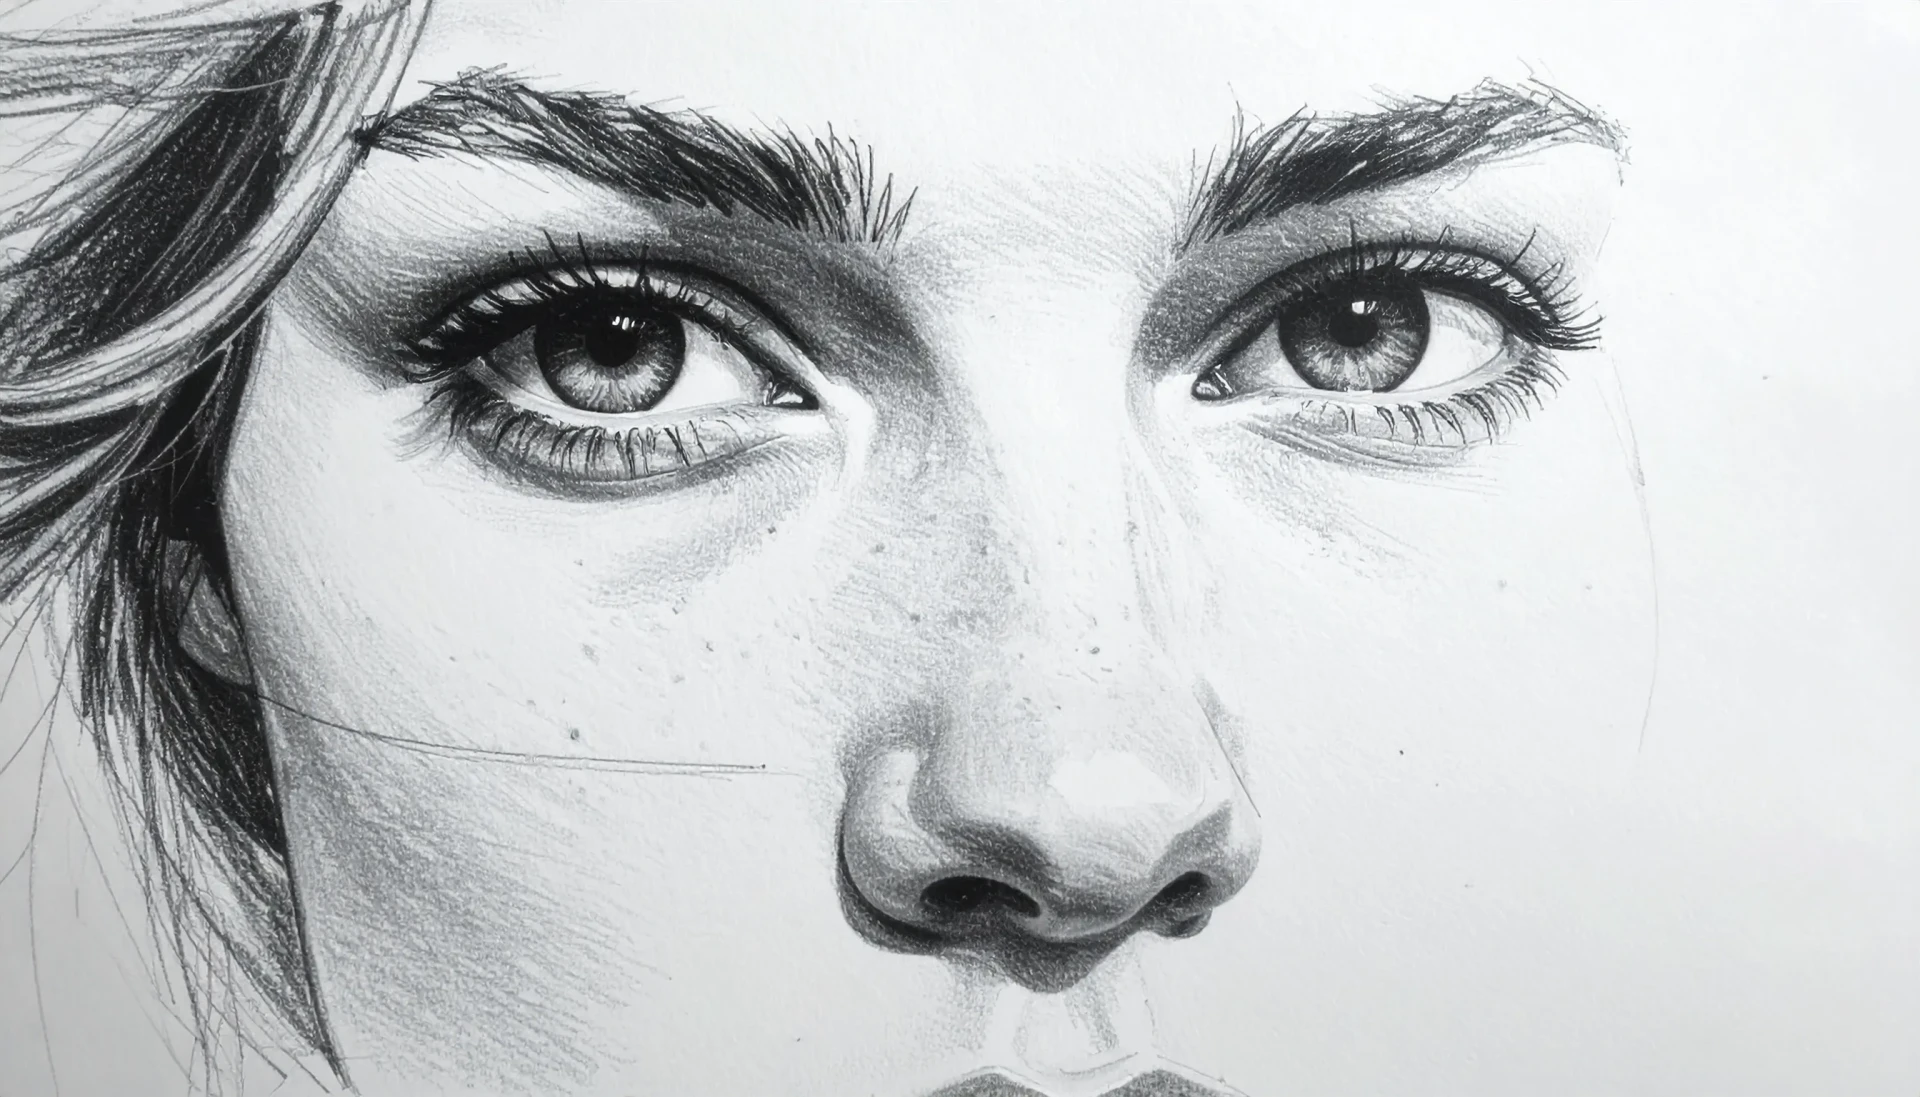
You can use a reference image to structure the exercise, or you can let your intuition guide you; both approaches work. Start with the part of the face that you are most familiar with: the eyes or the outline of the face, for example.
Next, take a marker, a ballpoint pen, or a piece of black chalk and start your line without lifting it from the paper. Vary the thickness and intensity according to the depth and importance of each line: make the lines thicker for the outlines and thinner for the folds, wrinkles, or secondary lines.
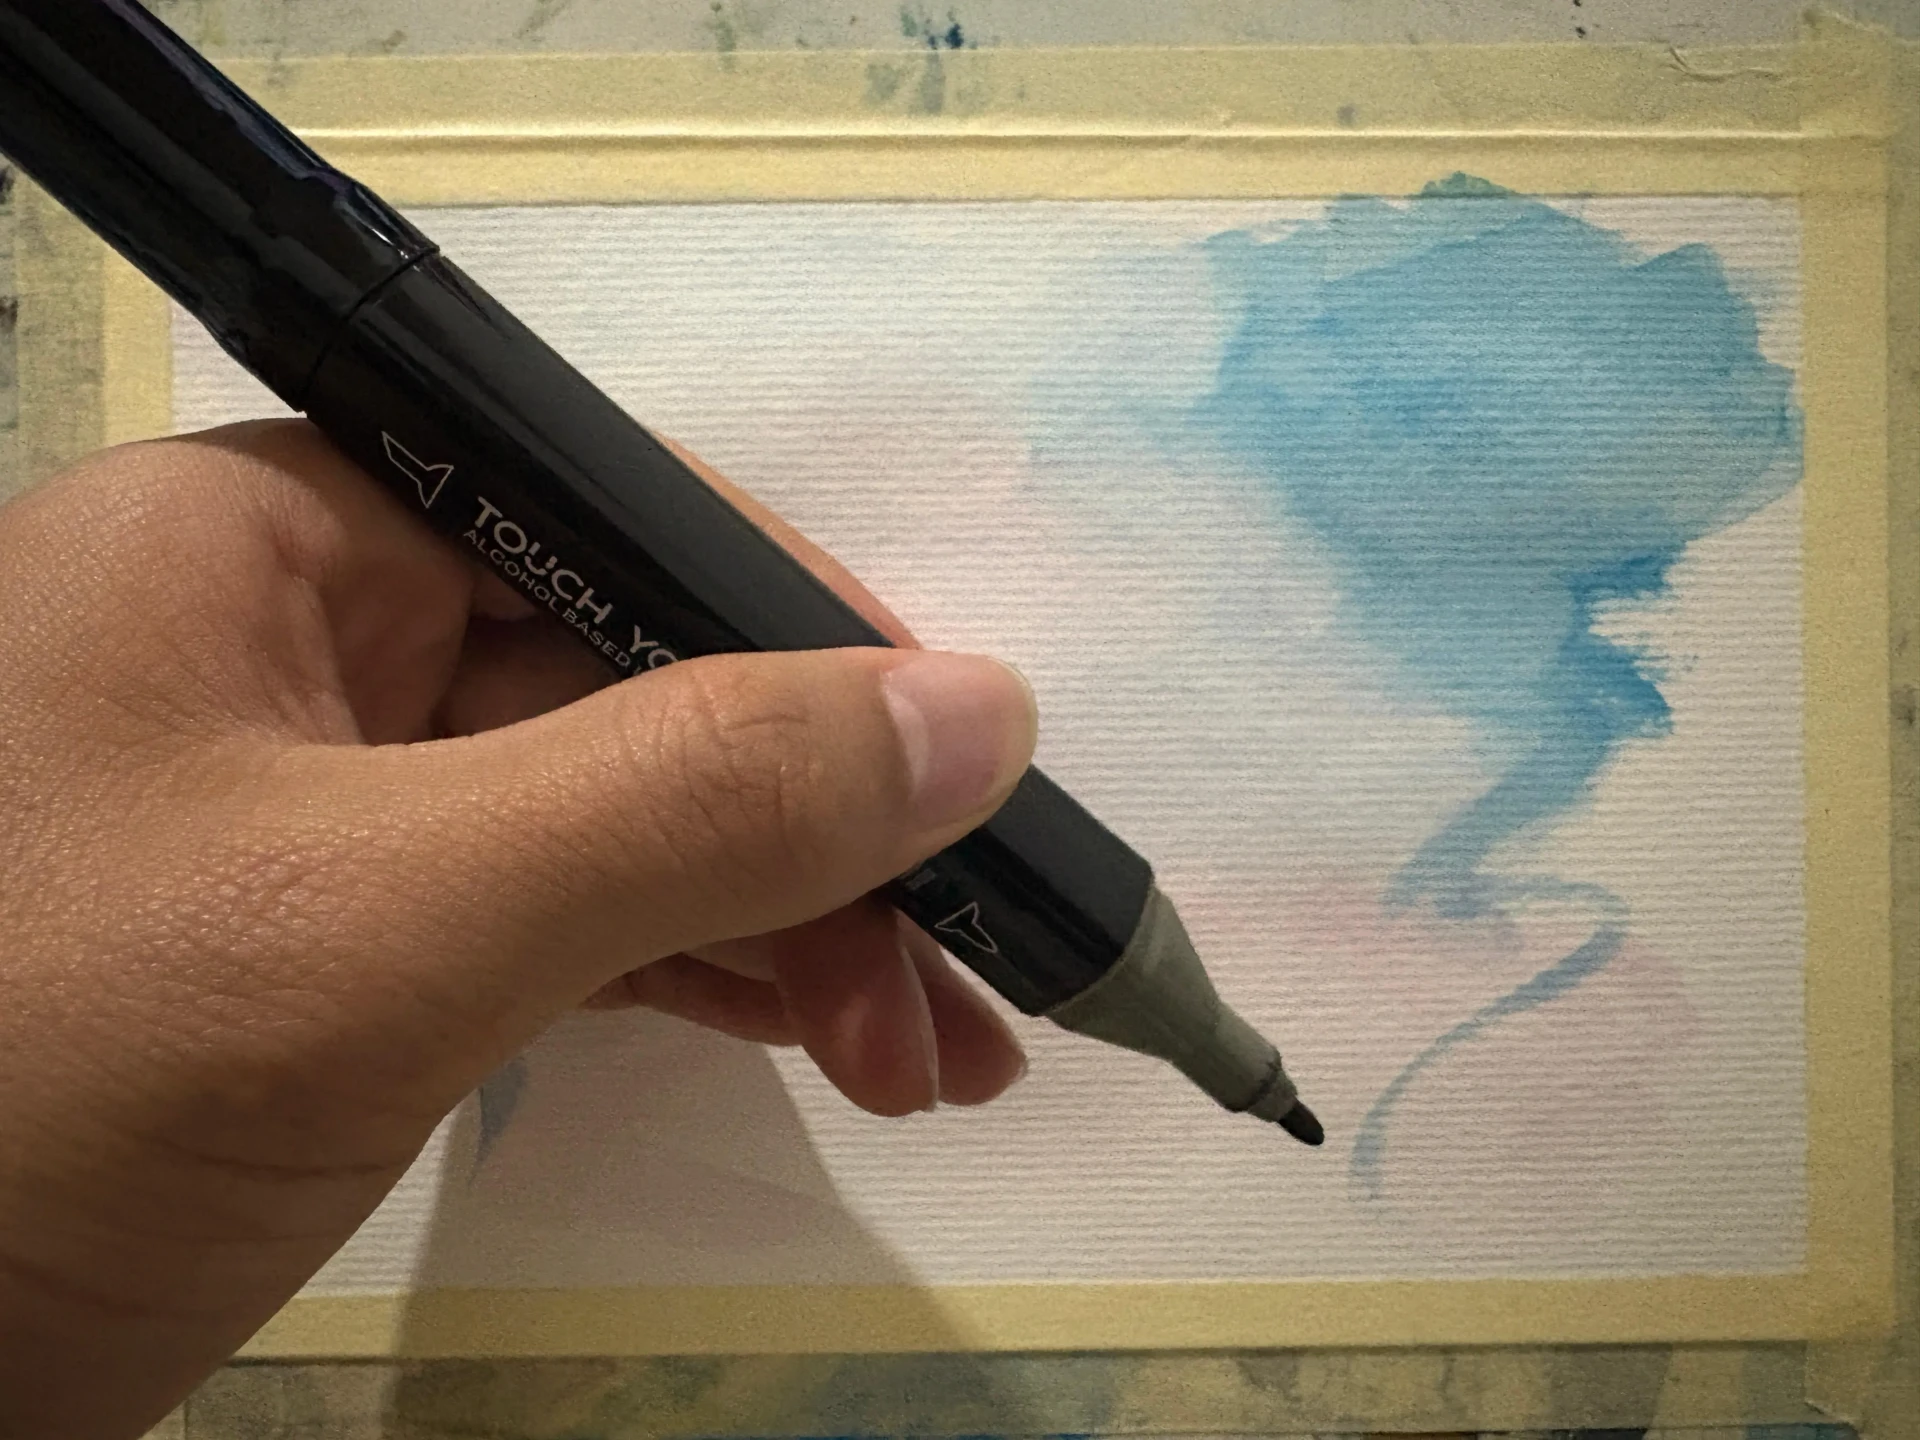
Let your hand express itself freely until you achieve a result that you're happy with.
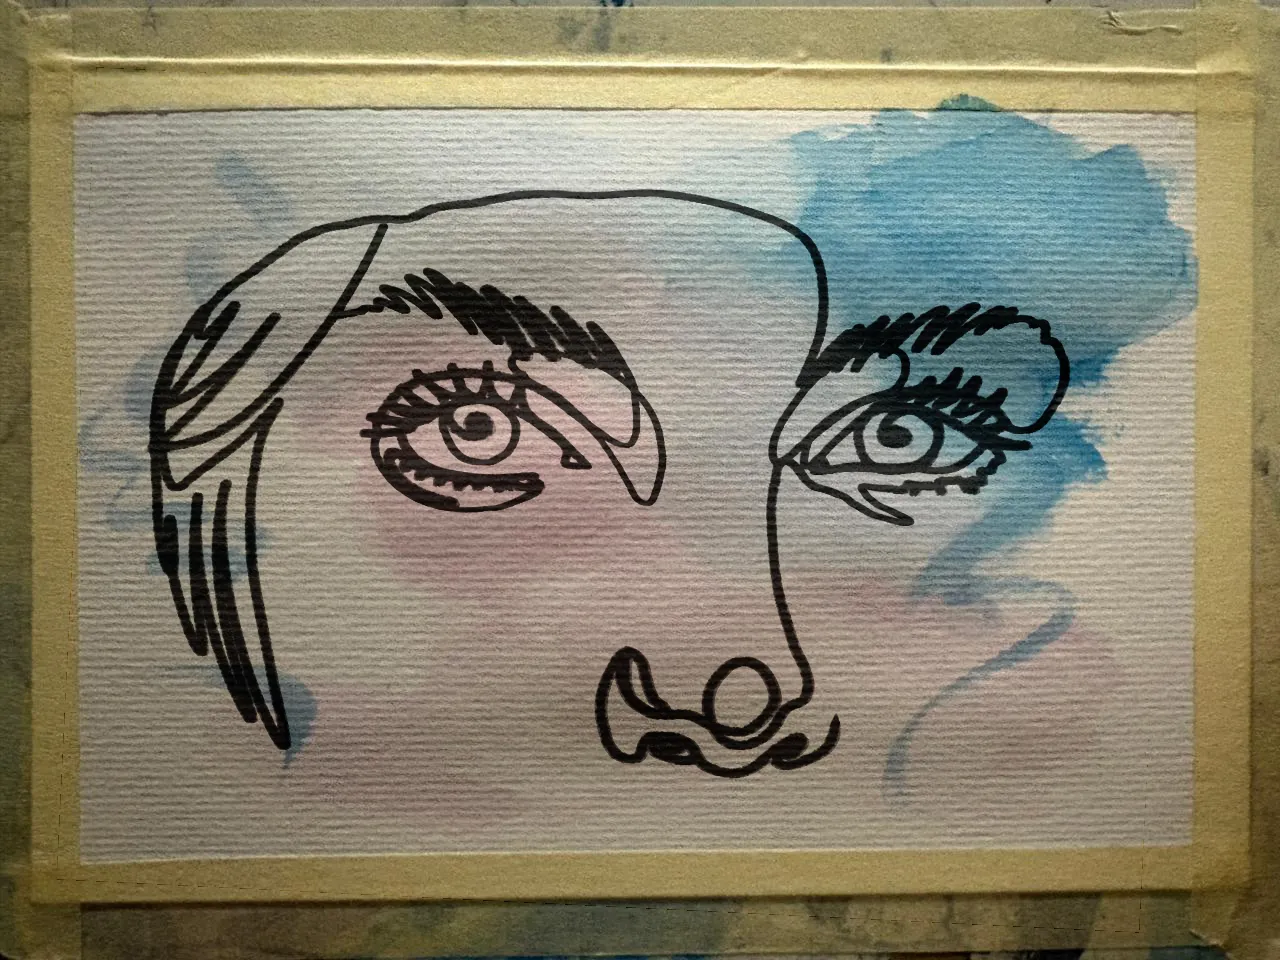
We often underestimate this exercise because it seems too simple to be truly useful. And yet, this is exactly the kind of practice that makes a difference in the long run. By forcing yourself to never lift the pencil, you learn to trust your hand, and this trust then translates into all your other drawings.
Discussion
No comments yet.