How to Draw a Portrait in Manga Style

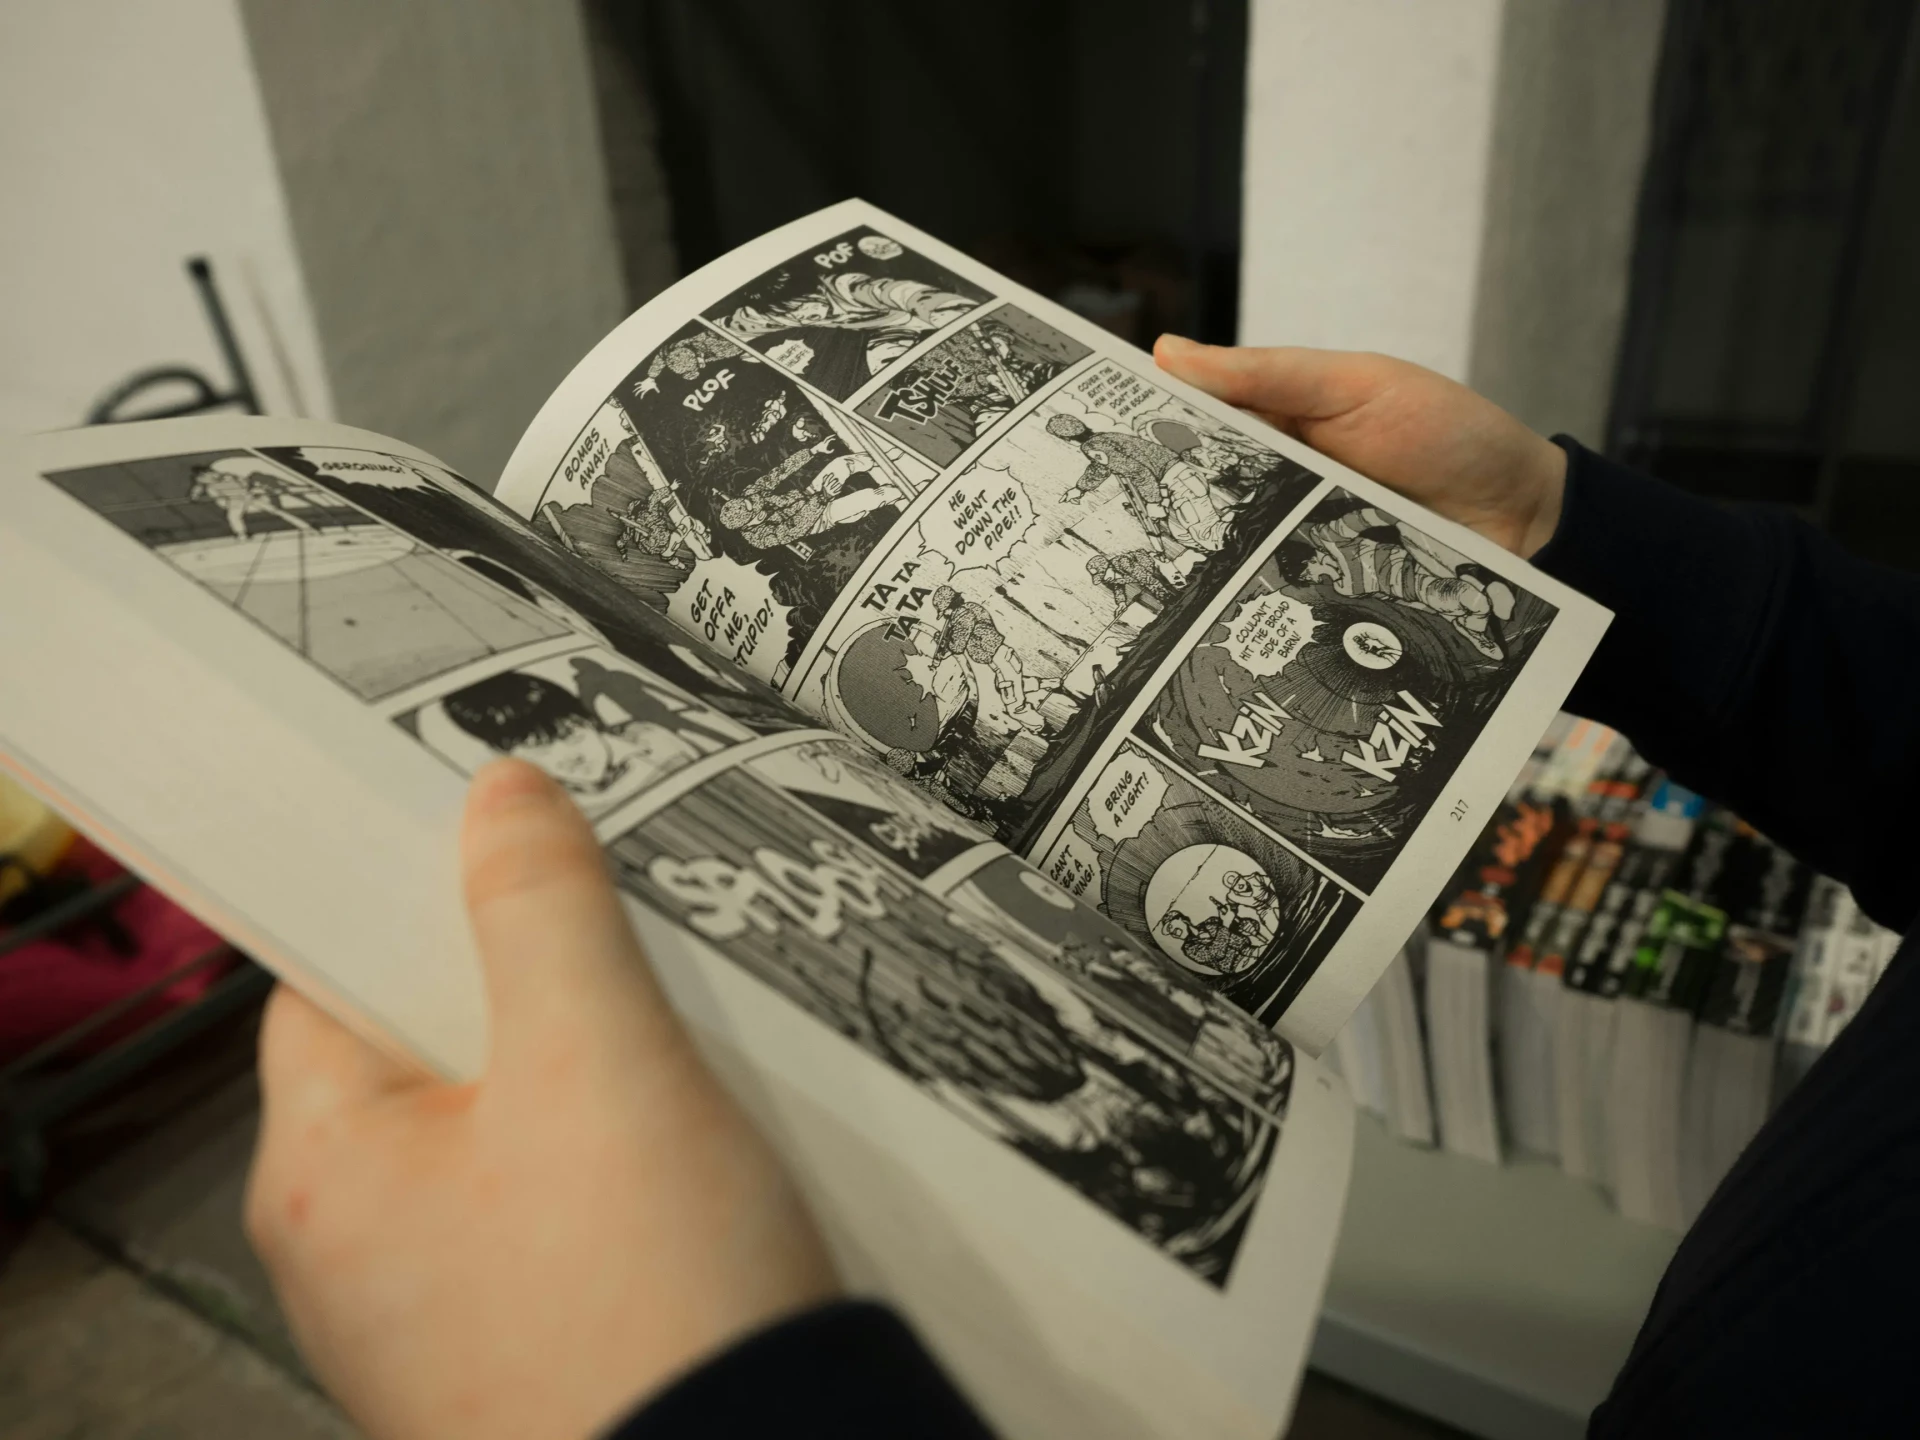
Manga has developed an increasingly high profile in recent years, significantly influencing the visual culture not only in Japan and its neighboring countries but in almost every country in the modern world.
Today, I'd like to welcome you to this tutorial in which we will learn to draw a portrait while adhering to this very representative style.
Understanding the characteristics of manga style
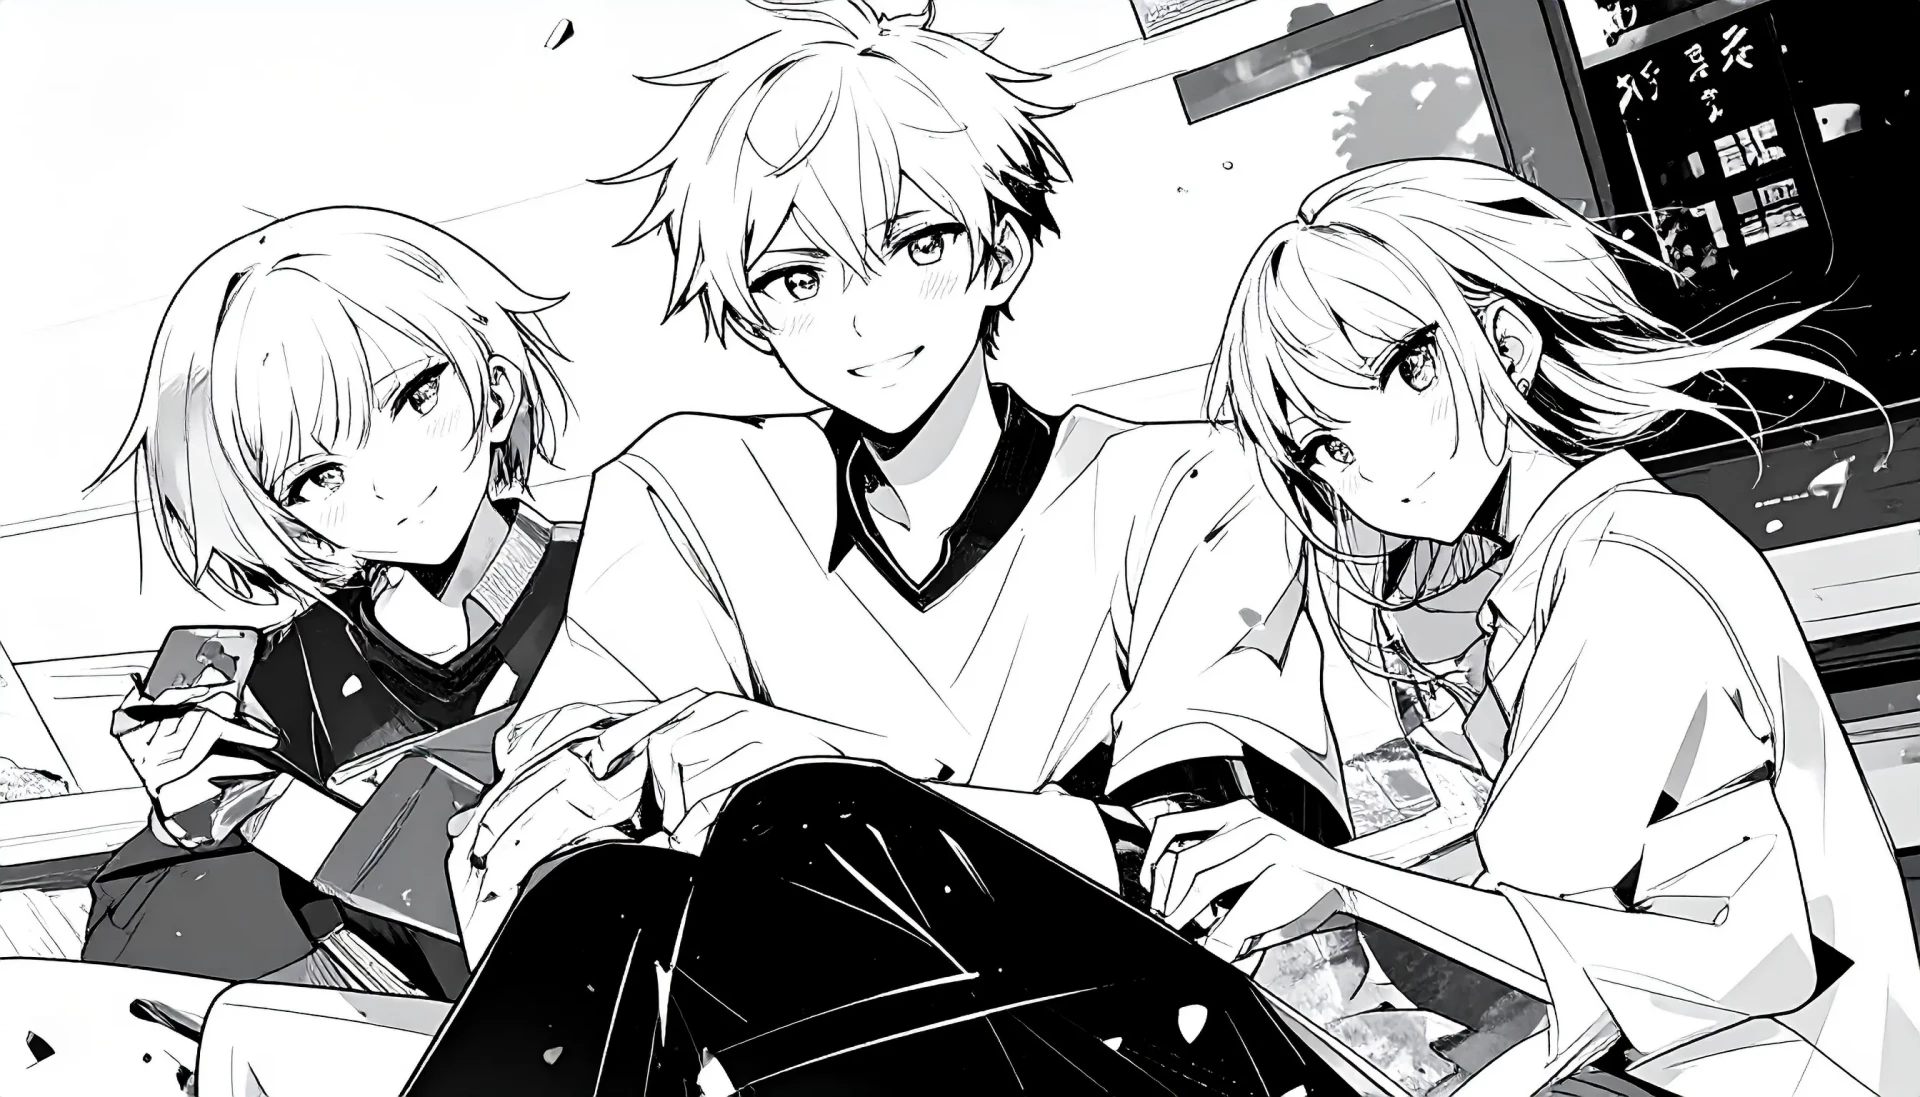
To begin this exercise, we should consider what makes this style so unique. Let's start by analyzing its most characteristic features.
- Eyes: generally large and expressive, with stylized eyelashes that bear little resemblance to a realistic style.
- Nose: small or almost absent, often drawn with a simple line.
- Mouth: simple and flexible design; often a small curved line suggesting a slight smile but can drastically change to express great emotion.
- Hair: in its numerous forms, it diverges radically from realism, with strands arranged in an inorganic but stylized manner.
Choosing materials for drawing manga style
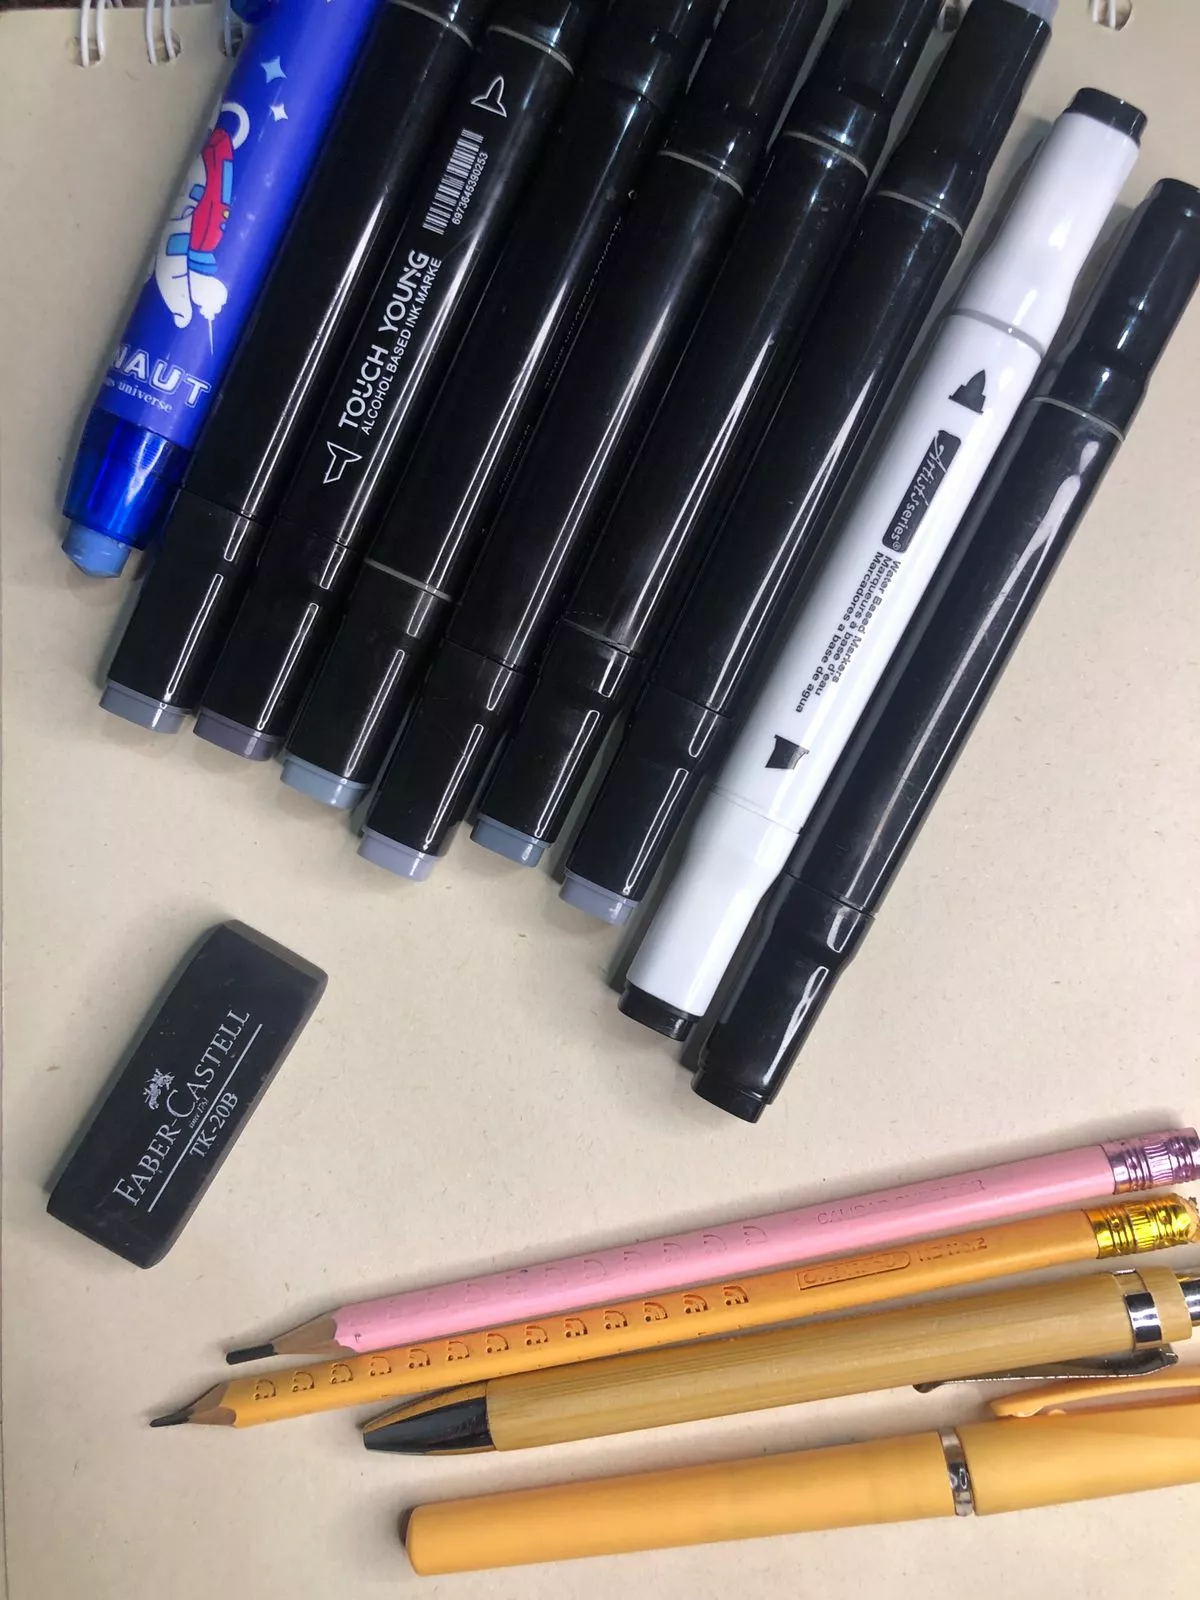
Today, I have prepared an article for you on analog drawing, with the intention of paying tribute to the traditional technique of inking. So, let's prepare some good paper, graphite pencils, an eraser or cleaning putty, a pen or stylograph, and gray tone markers.
Drawing a manga portrait step by step
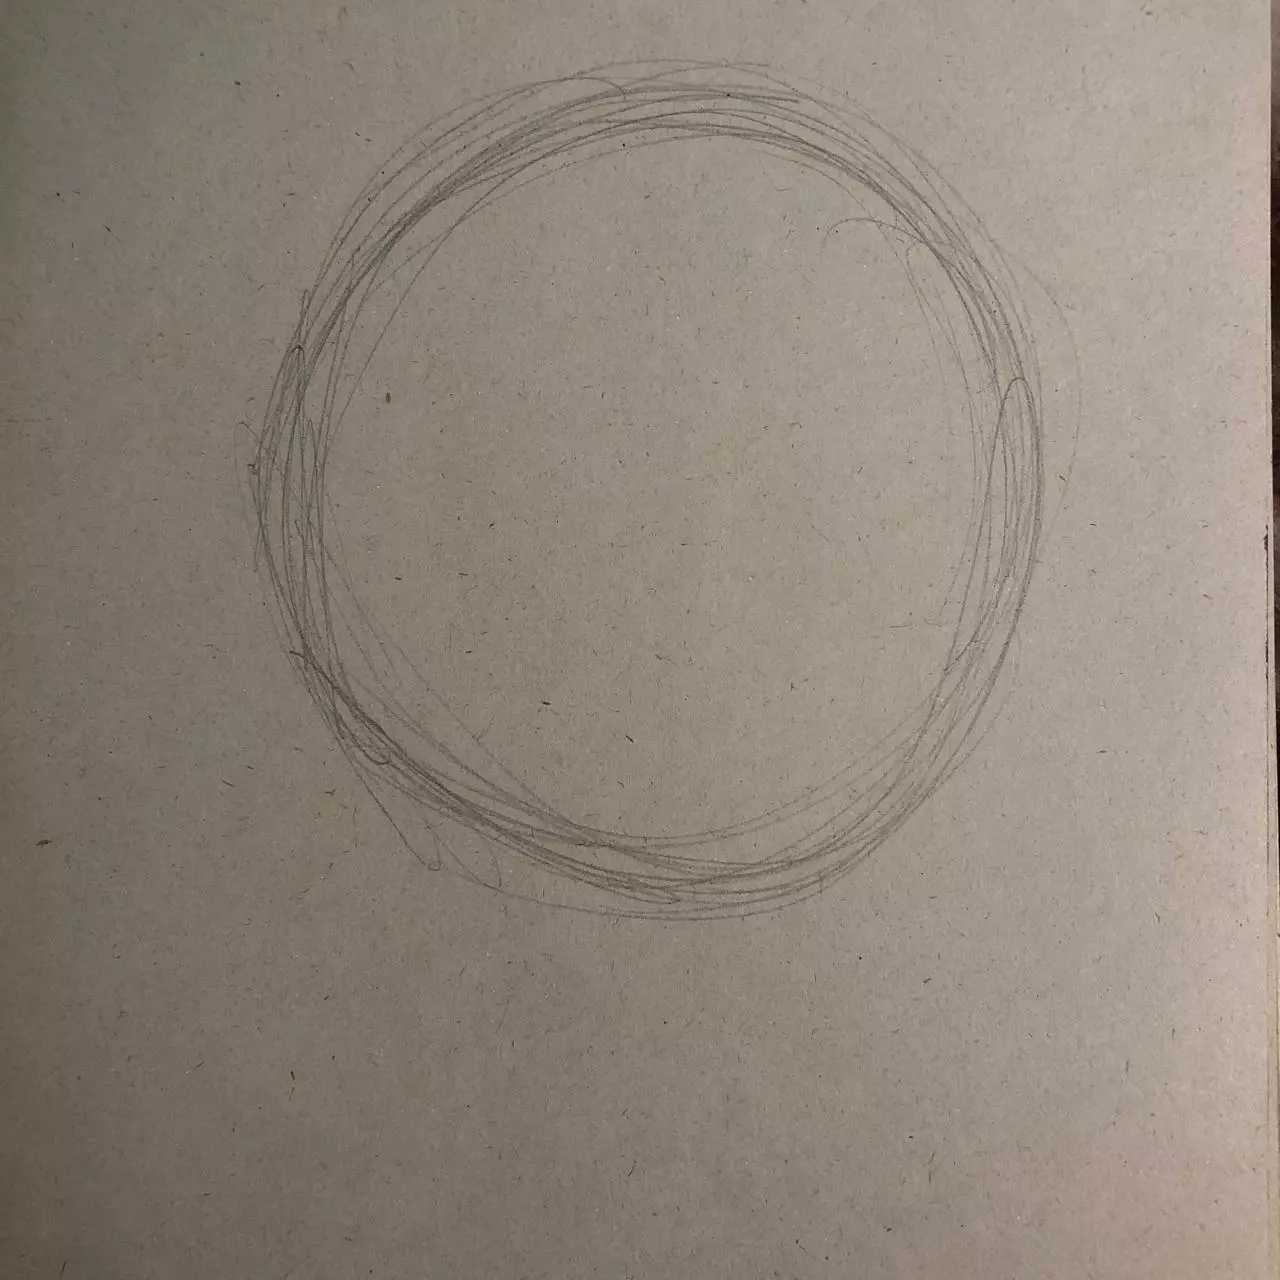
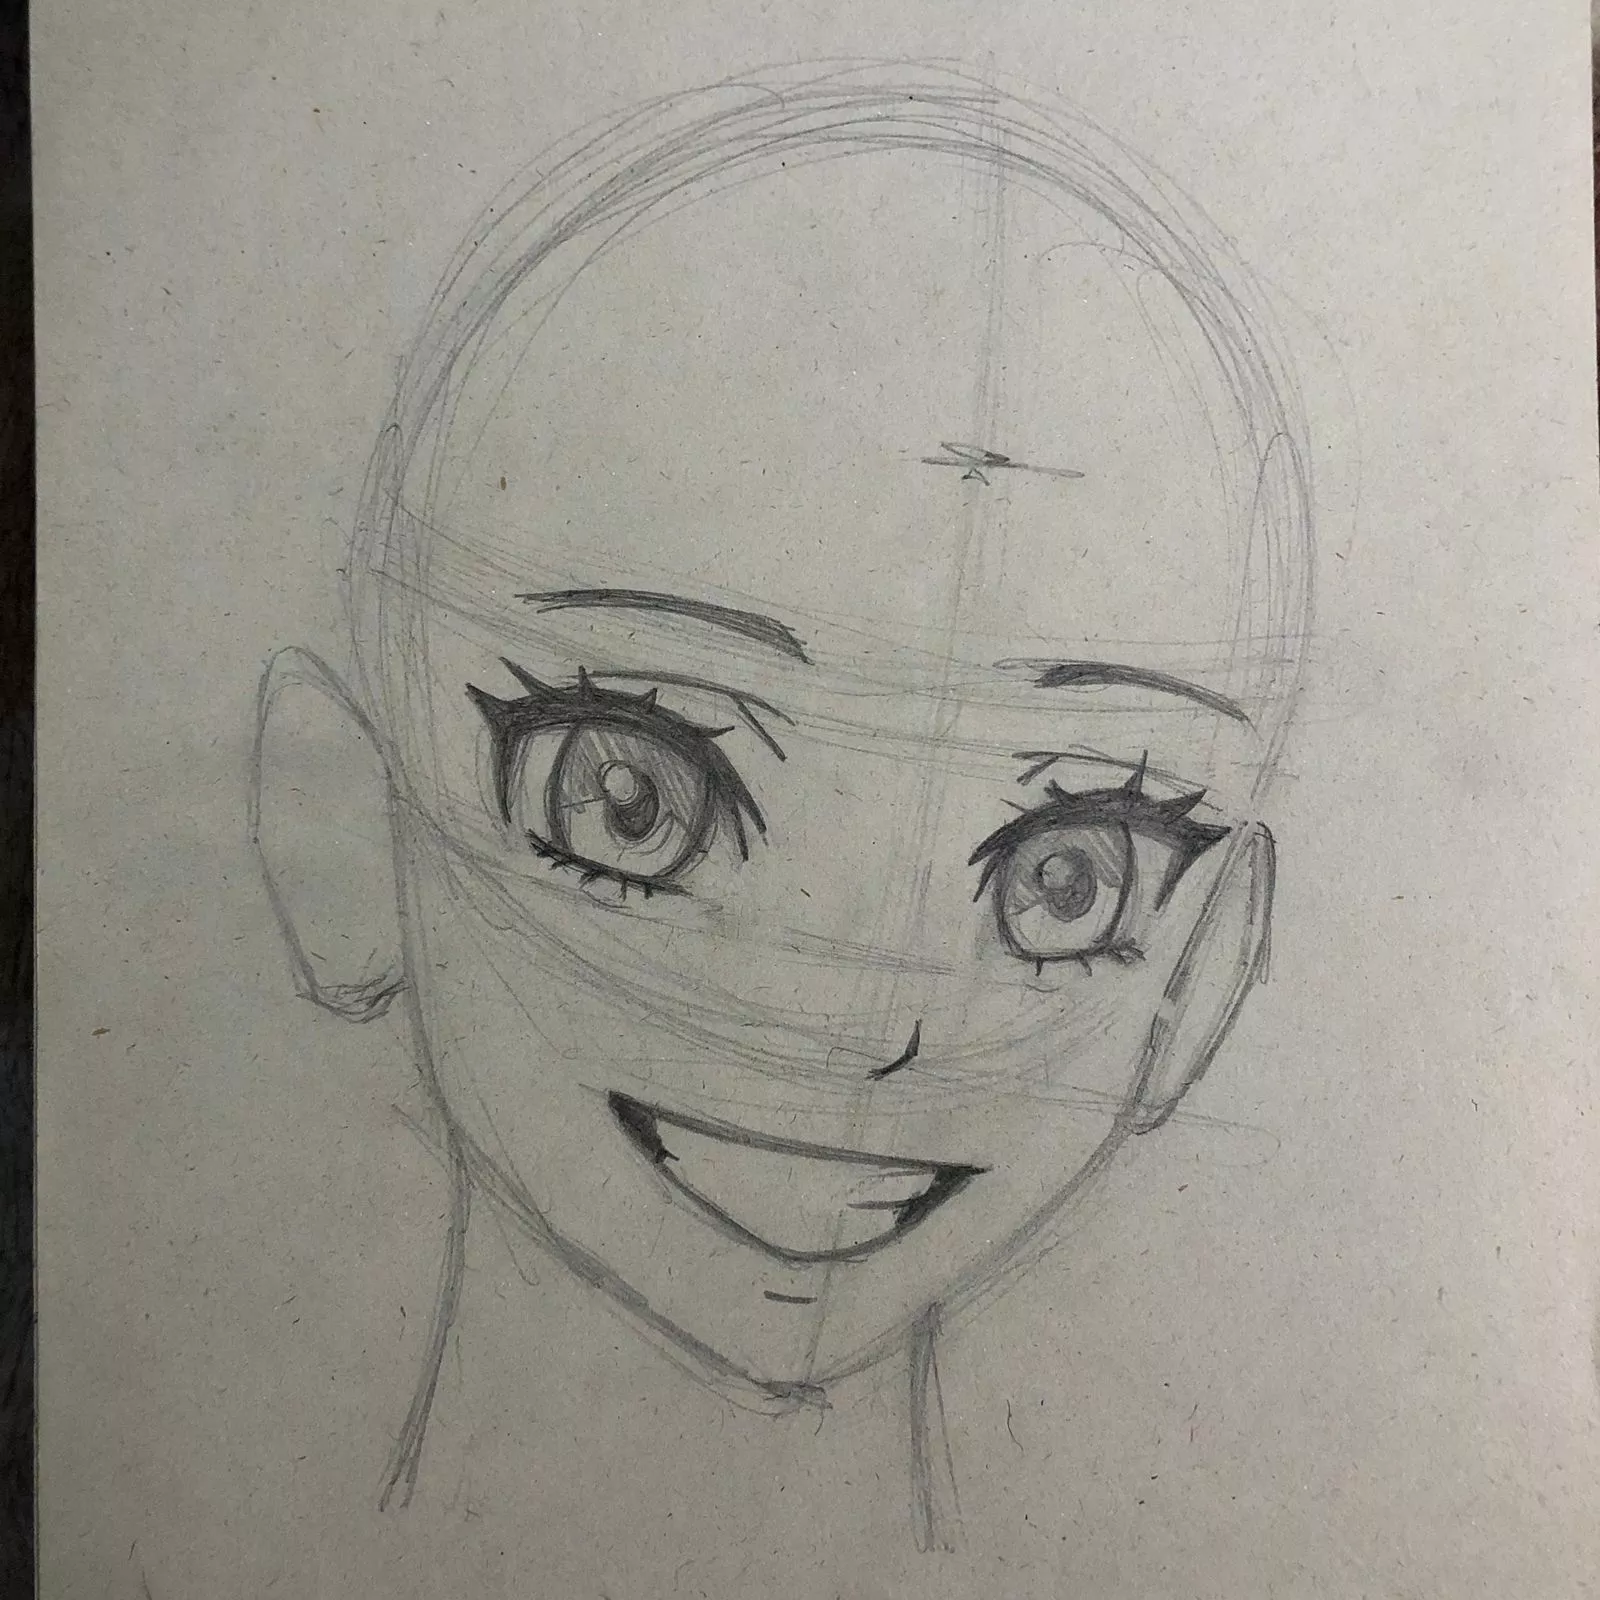
Draw a large circle: as you can imagine, this will be the base of our head. Make sure it is large and spacious, to better distribute the facial features.
Draw a horizontal line across the middle of the circle; it helps us determine the tilt of the head. Now, draw another line, this time vertical, to form a cross. Make sure that the horizontal line extends from the circle by an equal distance to the one separating the edge from the center.
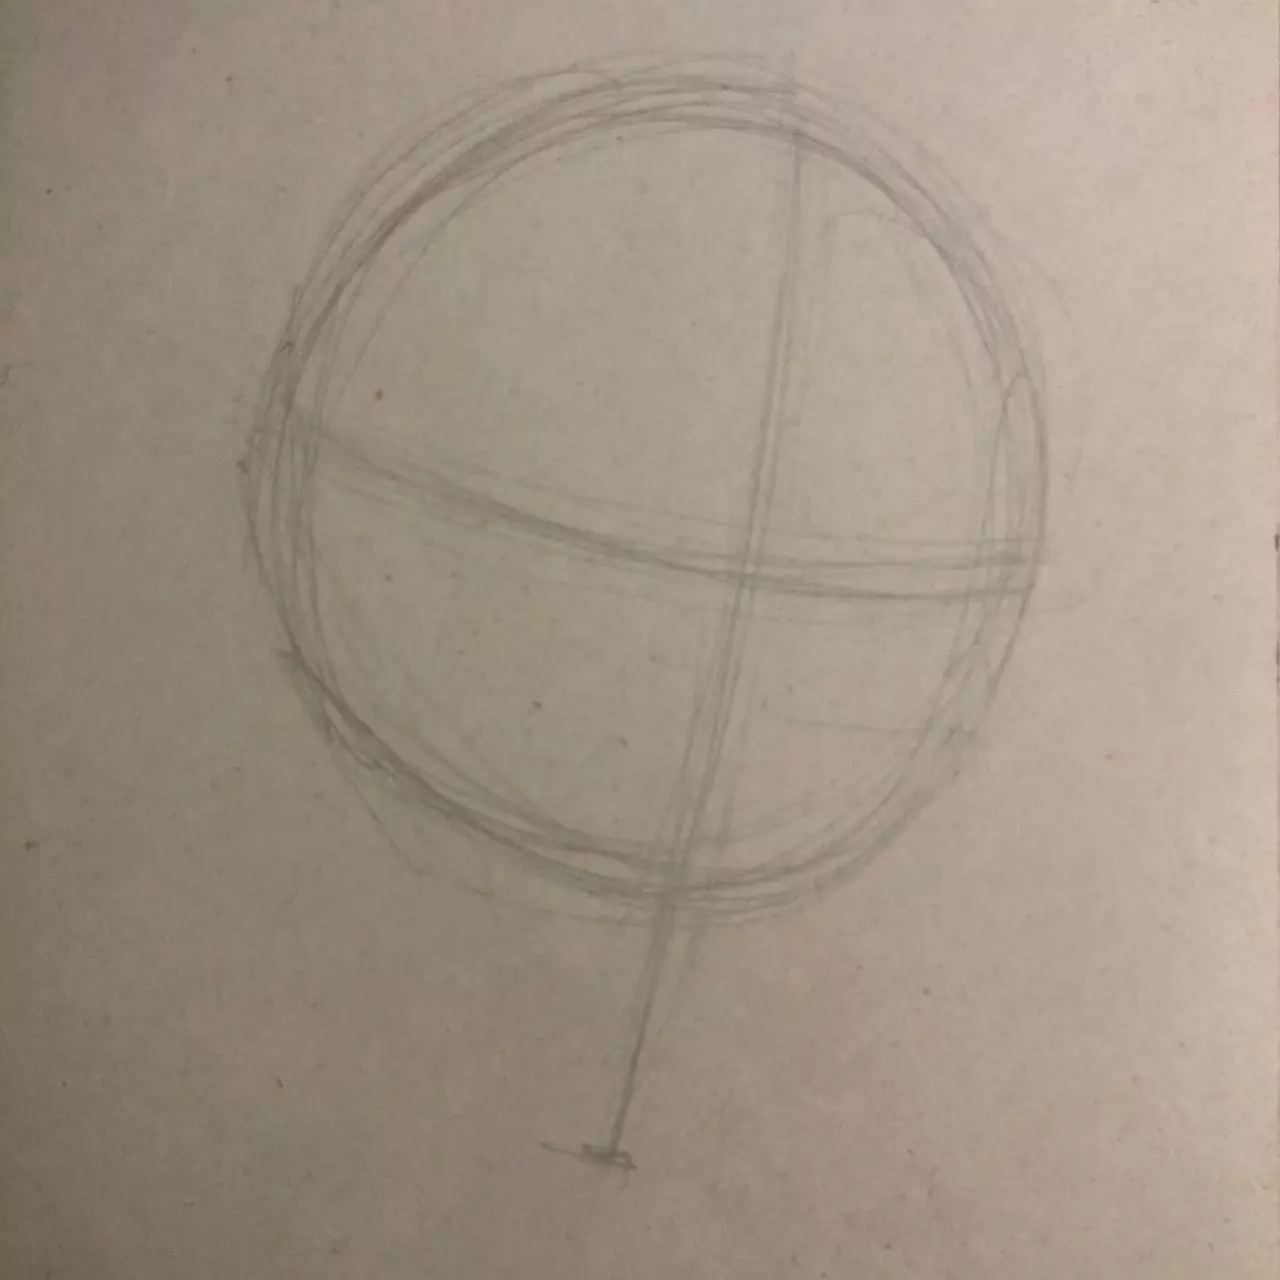
From the sides of the circle, draw a line downwards to the halfway point and towards the middle to draw the jaw; repeat on the other side.
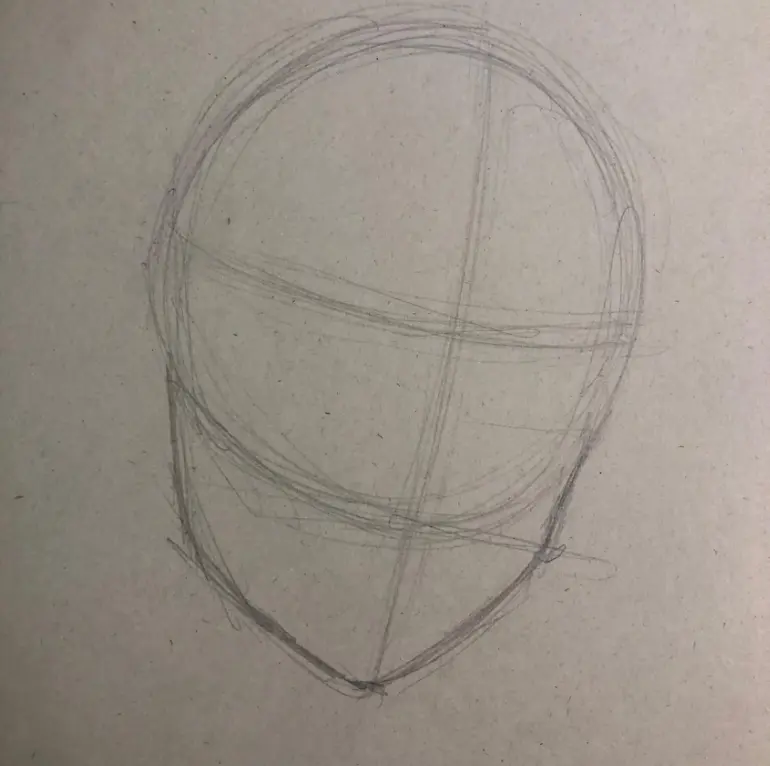
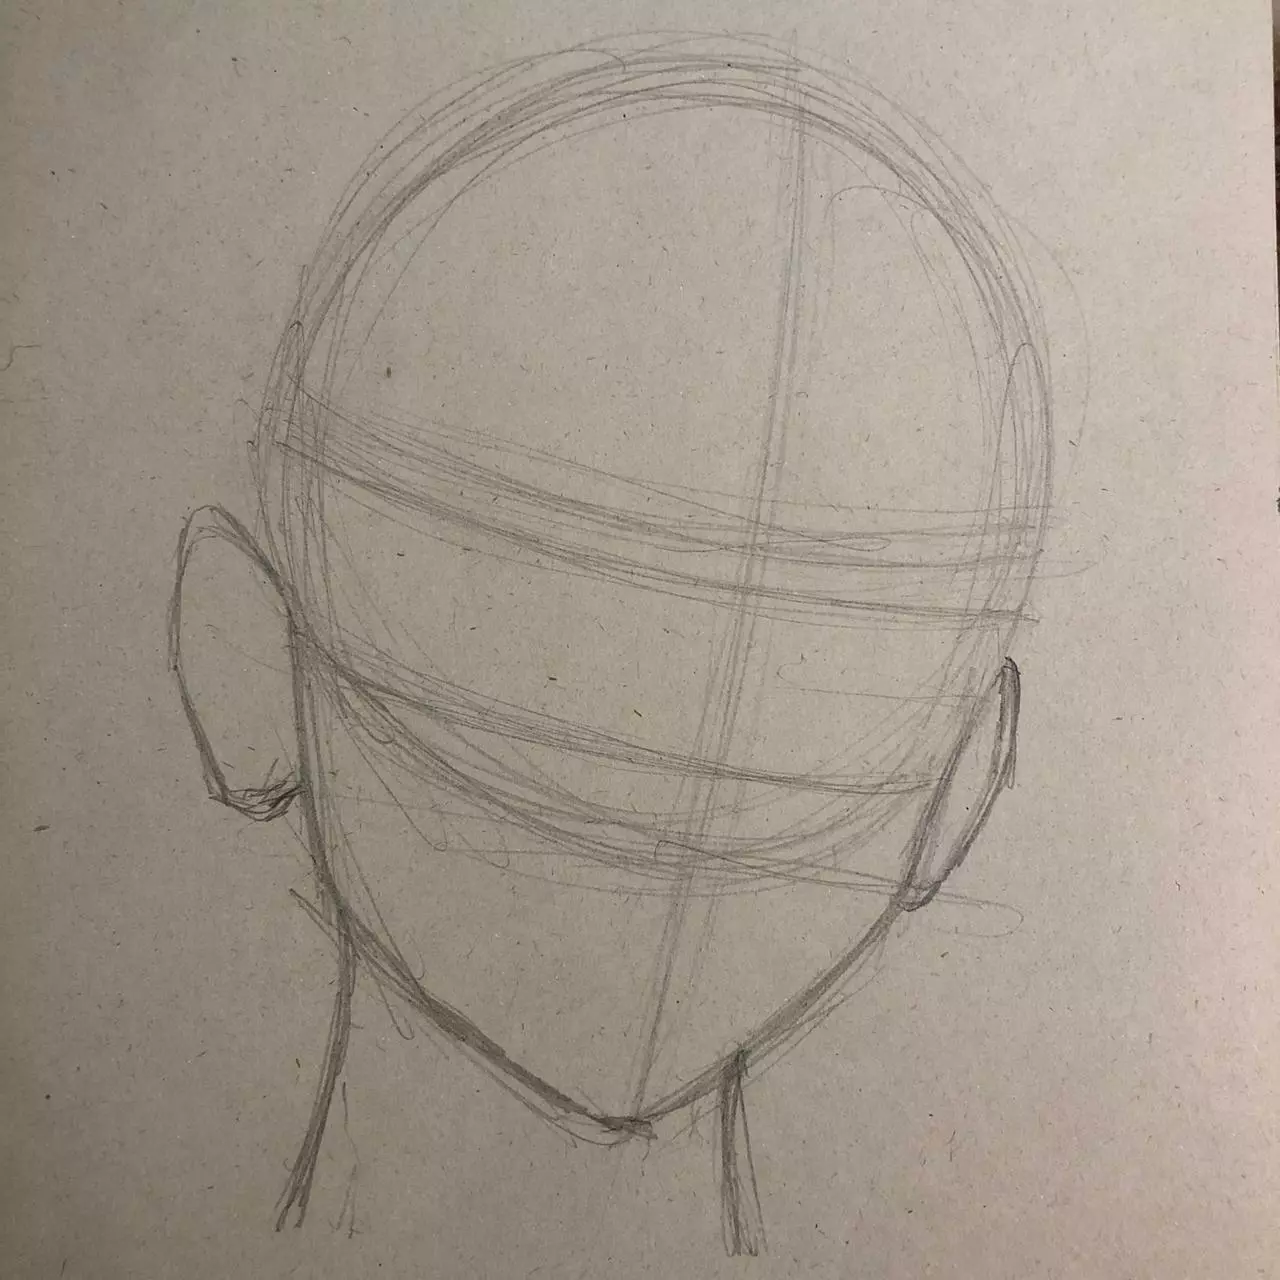
Finish with the neck, which will have almost the same thickness as the head: be careful not to draw it too thin, which is a common mistake. Draw the ears using the intersection between the circle and the jaw as a reference point.
Draw facial features
From the intersection we have drawn, mark a horizontal line; this will create a strip that we can use as a guide for placing the eyes in our portrait. Don't forget to leave a space between the two eyes, usually equivalent to the width of an eye, as a reference point.
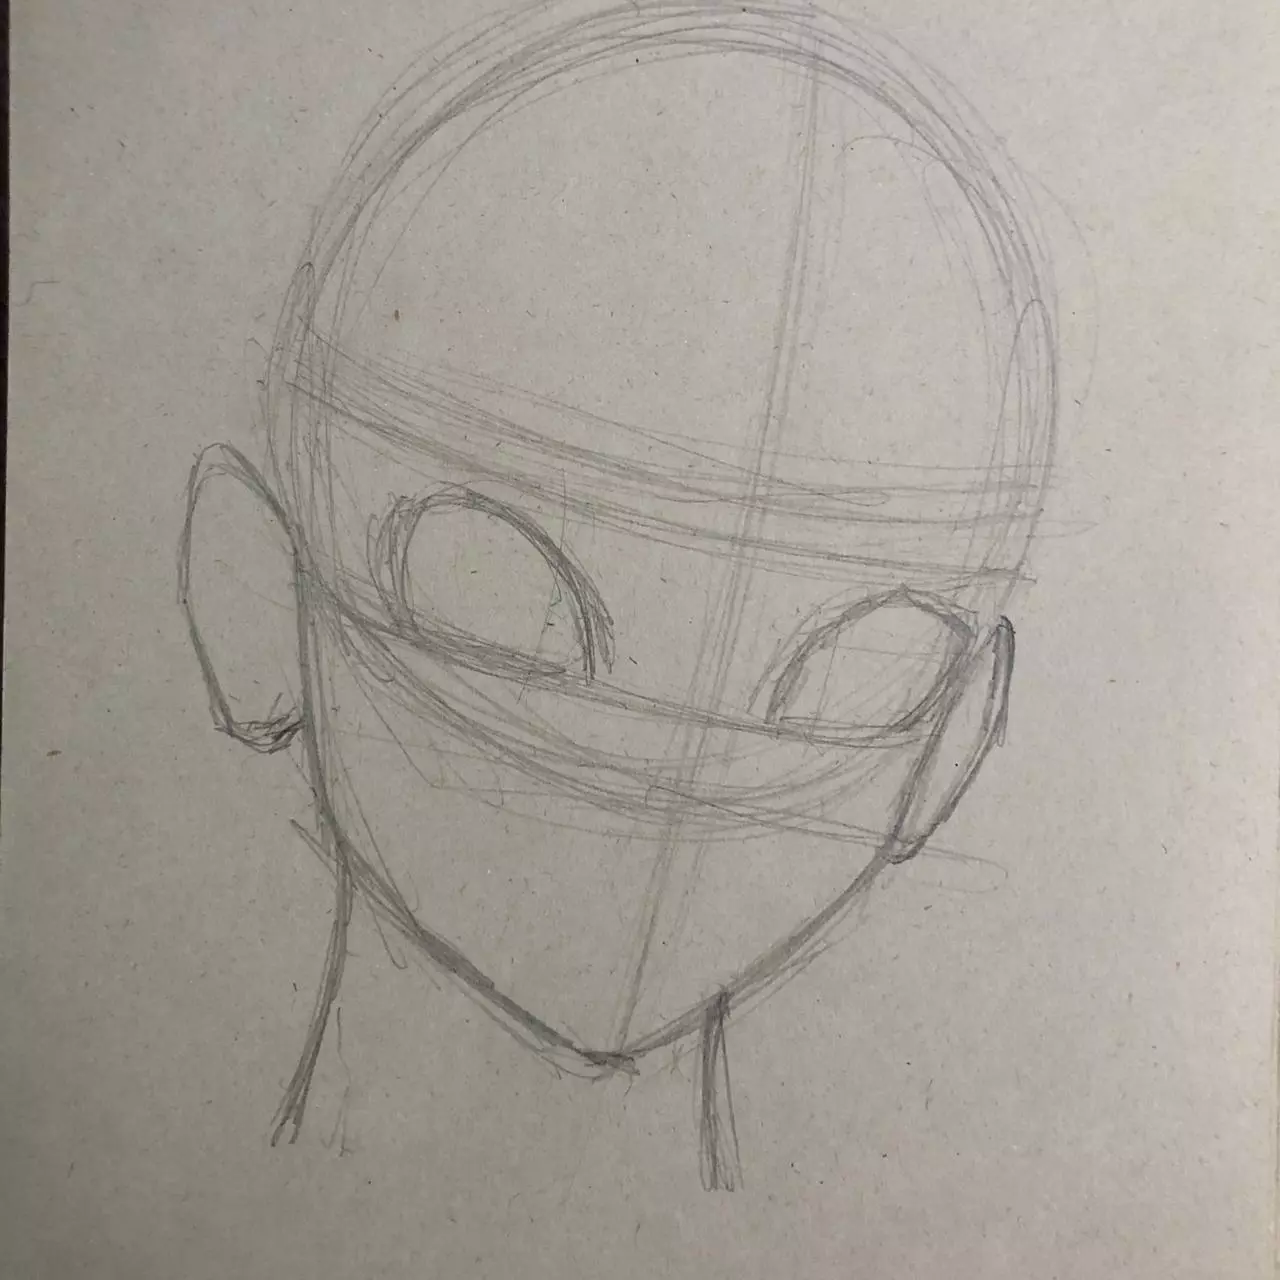
Place a small line at the intersection of the center line and the circle: as you can imagine, this corresponds to the nose. Below this line, draw a triangular smile as in the example.

Now let's move on to the details of the eyes: draw large circles for the irises with their pupils, and outline the upper edge of the eyes to define the eyelashes. Finally, place the eyebrows on the central line, a reasonable distance apart.

Let's continue to style and add details, like a few spikes to the eyelashes to give it a more feminine look. For the mouth, fill the space between the teeth and the join of the lips with black.
Draw hair in manga style
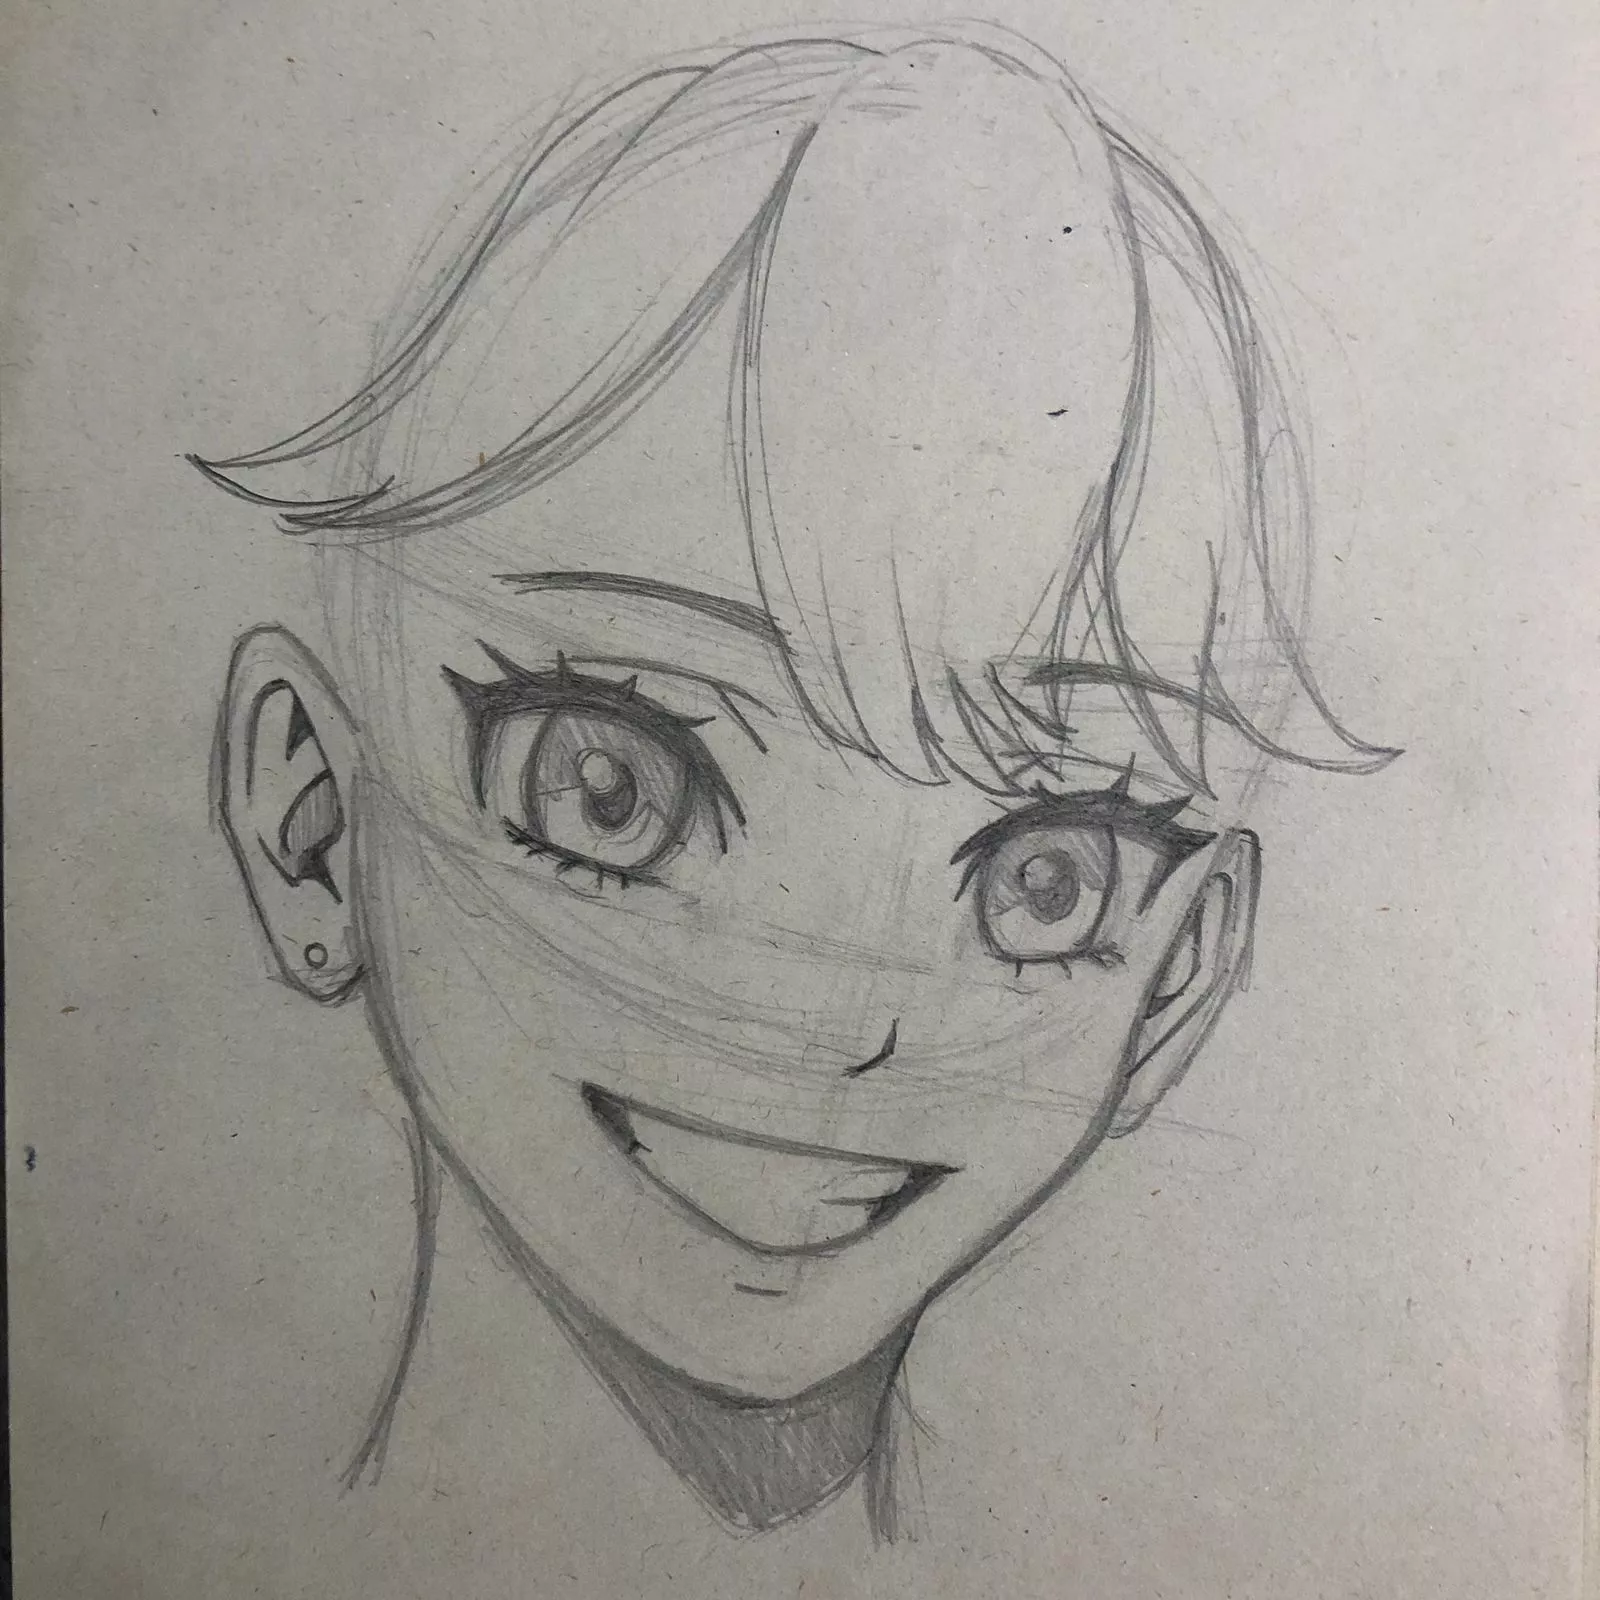
We will now draw the hair, one of the most demanding and attractive elements of this style. Generally, keep in mind that you can draw wide strands, which you will then divide, adding finer strands on top.
Start with the fringe: for this style, we will draw it in three parts: one in the center, down to eyebrow level, flanked by two side locks that tilt towards the ears.
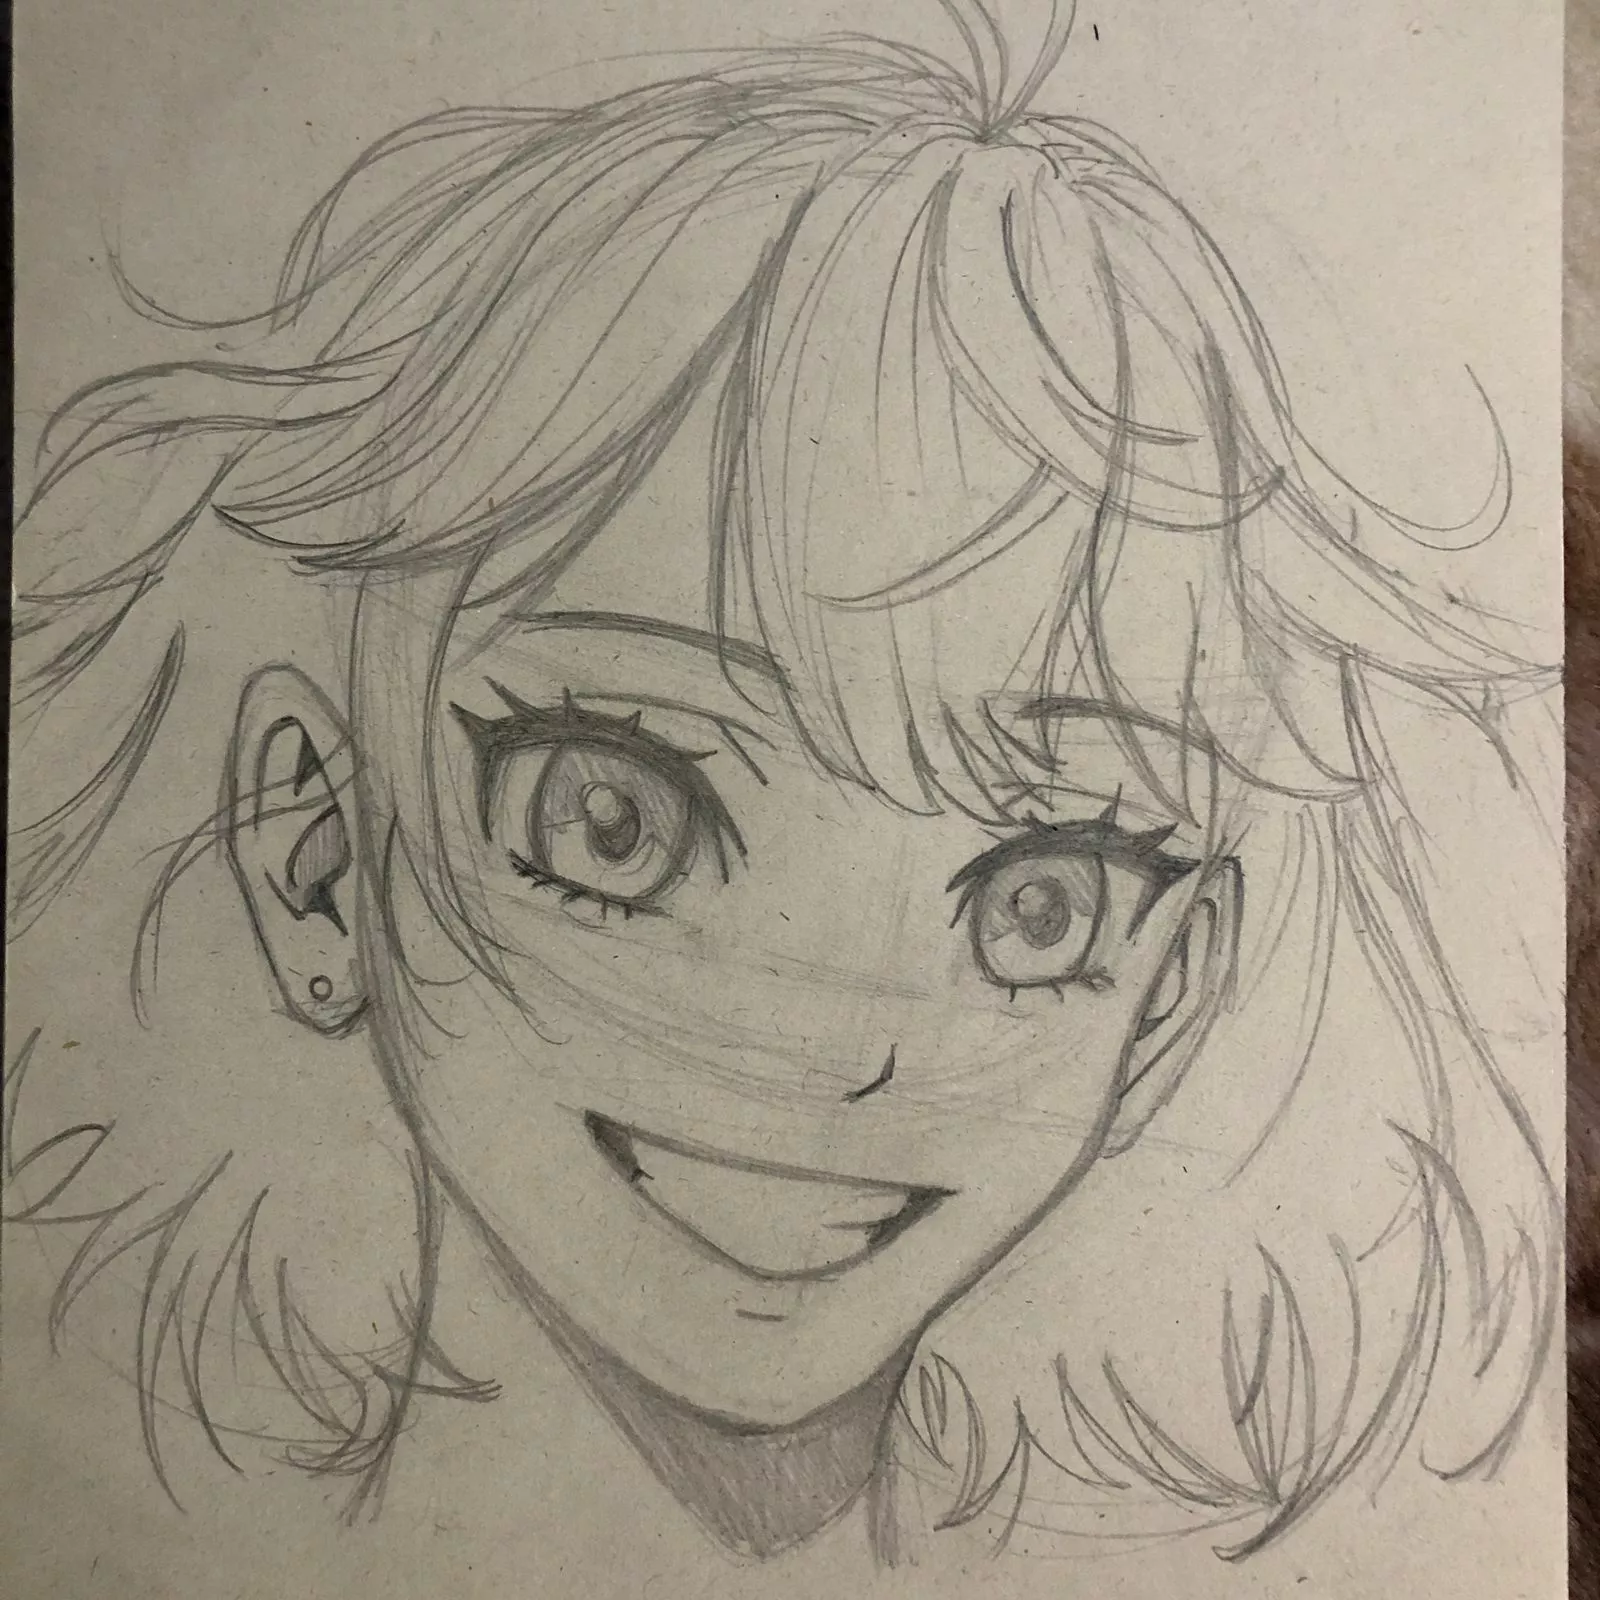
Then, for the rest of the hair: draw a faint line slightly above the shoulder line; it will help us to avoid a "crooked cut" look. Use this guide line to draw curved spikes for the strands, in various shapes.

Add finer strands crossing or parallel to the wider strands: this will give a more natural and dynamic look.
Ink and shade the portrait
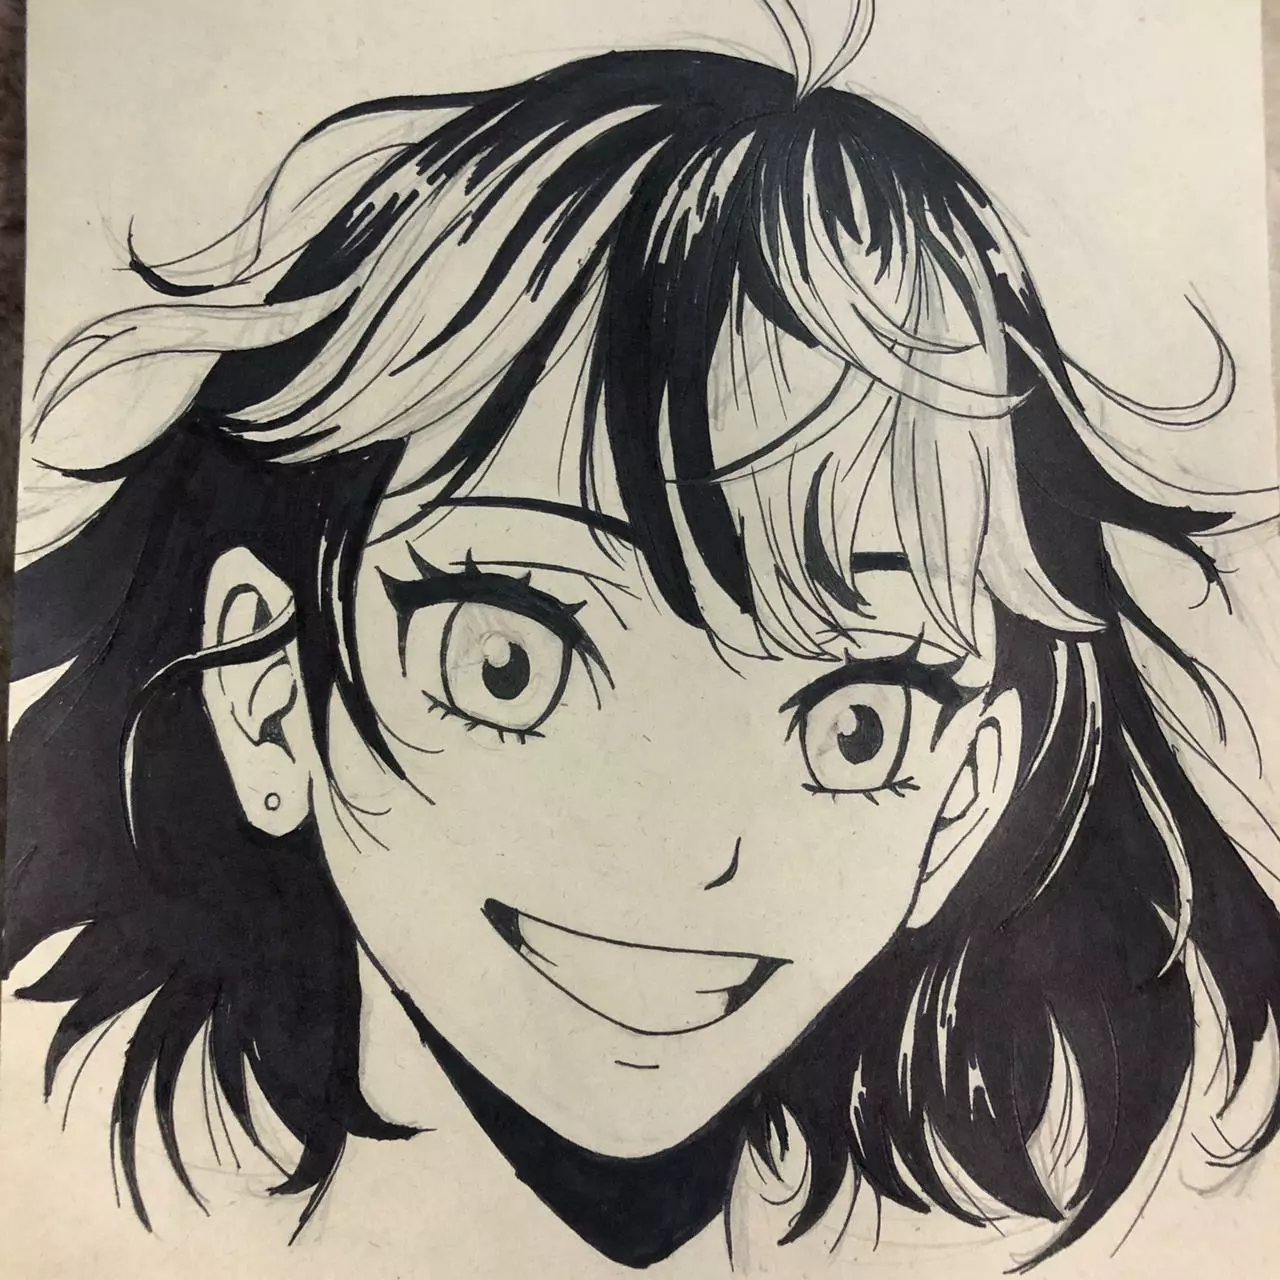
Take your pen, quill or stylograph, and start going over the lines of the drawing, varying the line thickness for a stylized effect.
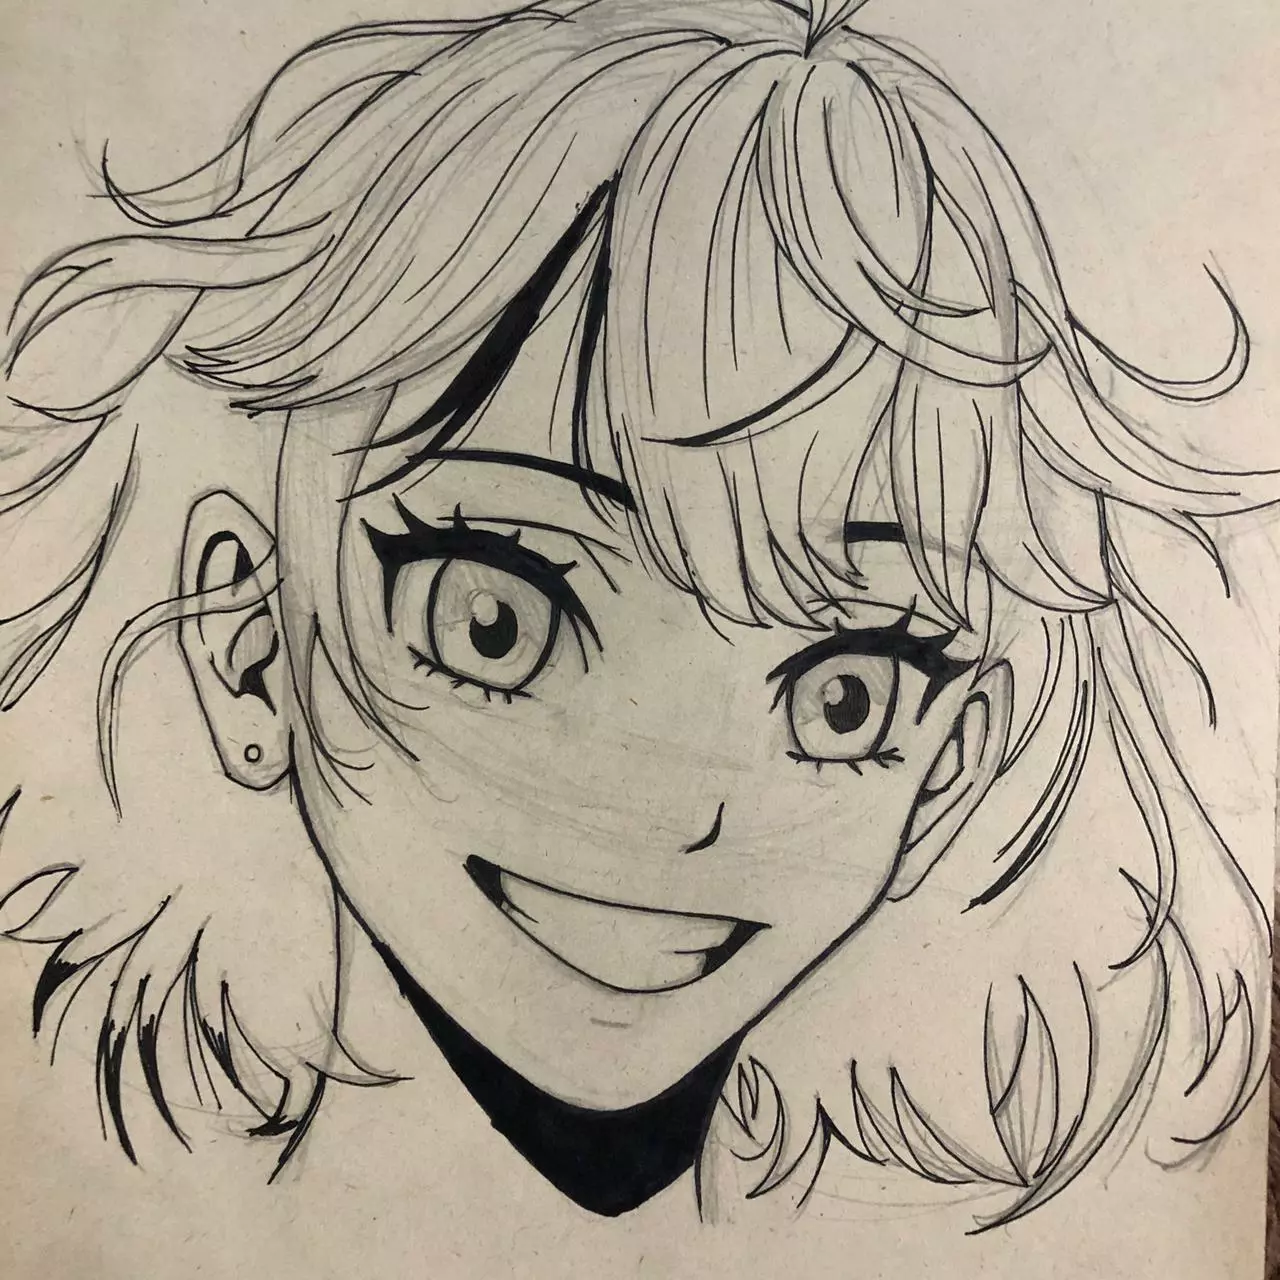
Black is essential: deep contrast is a central element of this style. Use a black marker to fill in parts of the hair or significant shadow areas.
Use a medium gray marker to color the shadow areas like the iris, some strands of hair, the neck, parts of the ear, or other areas according to your choice.
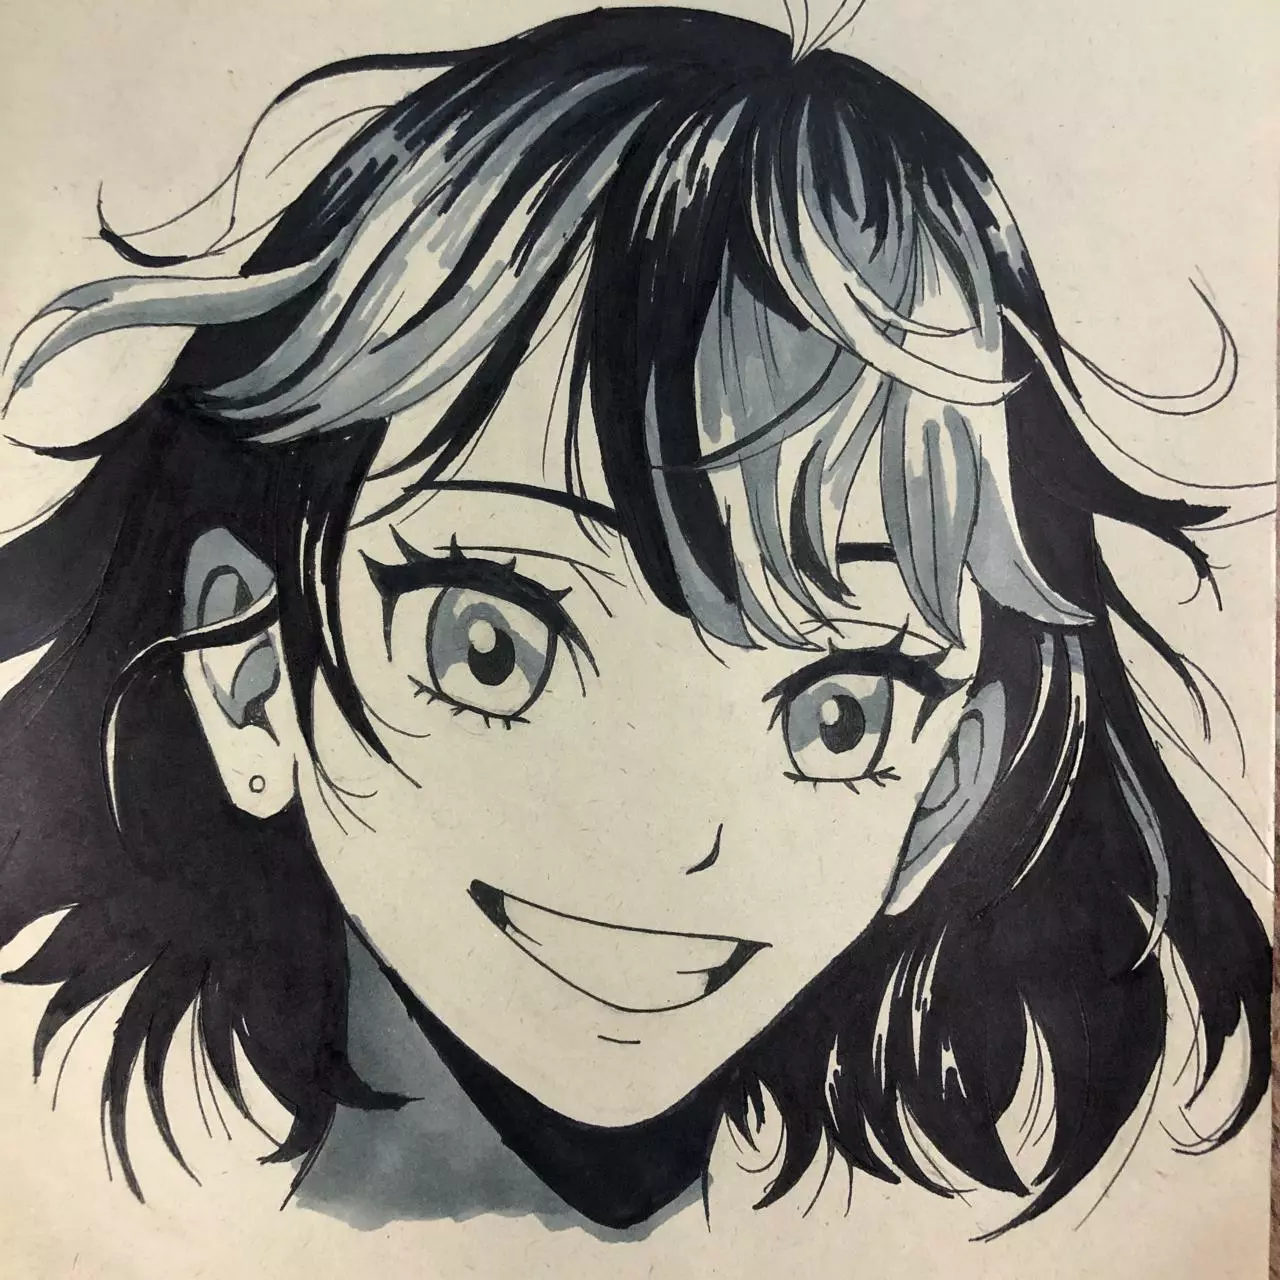
The final step: take a darker shade than the previous gray to bridge the gap between this gray and black. If you wish, you can use a white marker or other materials to enhance the reflected light or shine.

And there you have it: today's tutorial is finished. I hope, as always, that it inspires you to create your own version, applying the tips we've discussed.
Discussion
Super very useful stuff thanks
Very interesting, I'll take note.
I love reading mangas with my sister and my cousin!!
Very useful article. The method is easy and fun. The step-by-step is logical and appealing for discovering this drawing style.
Very useful article. The method is easy and fun. The step-by-step is logical and appealing for discovering this drawing style.