How to Draw a Portrait in Indian Ink
Today, we are going to explore one of humanity's oldest drawing tools. Originating in China over 2,500 years ago, Indian ink was primarily used for handwriting. Very quickly, the lines drawn with this tool became the basis for representations of everyday life scenes, particularly landscapes.
The first creations of this type were called Sumi-e, monochrome compositions made mostly by Zen monks.
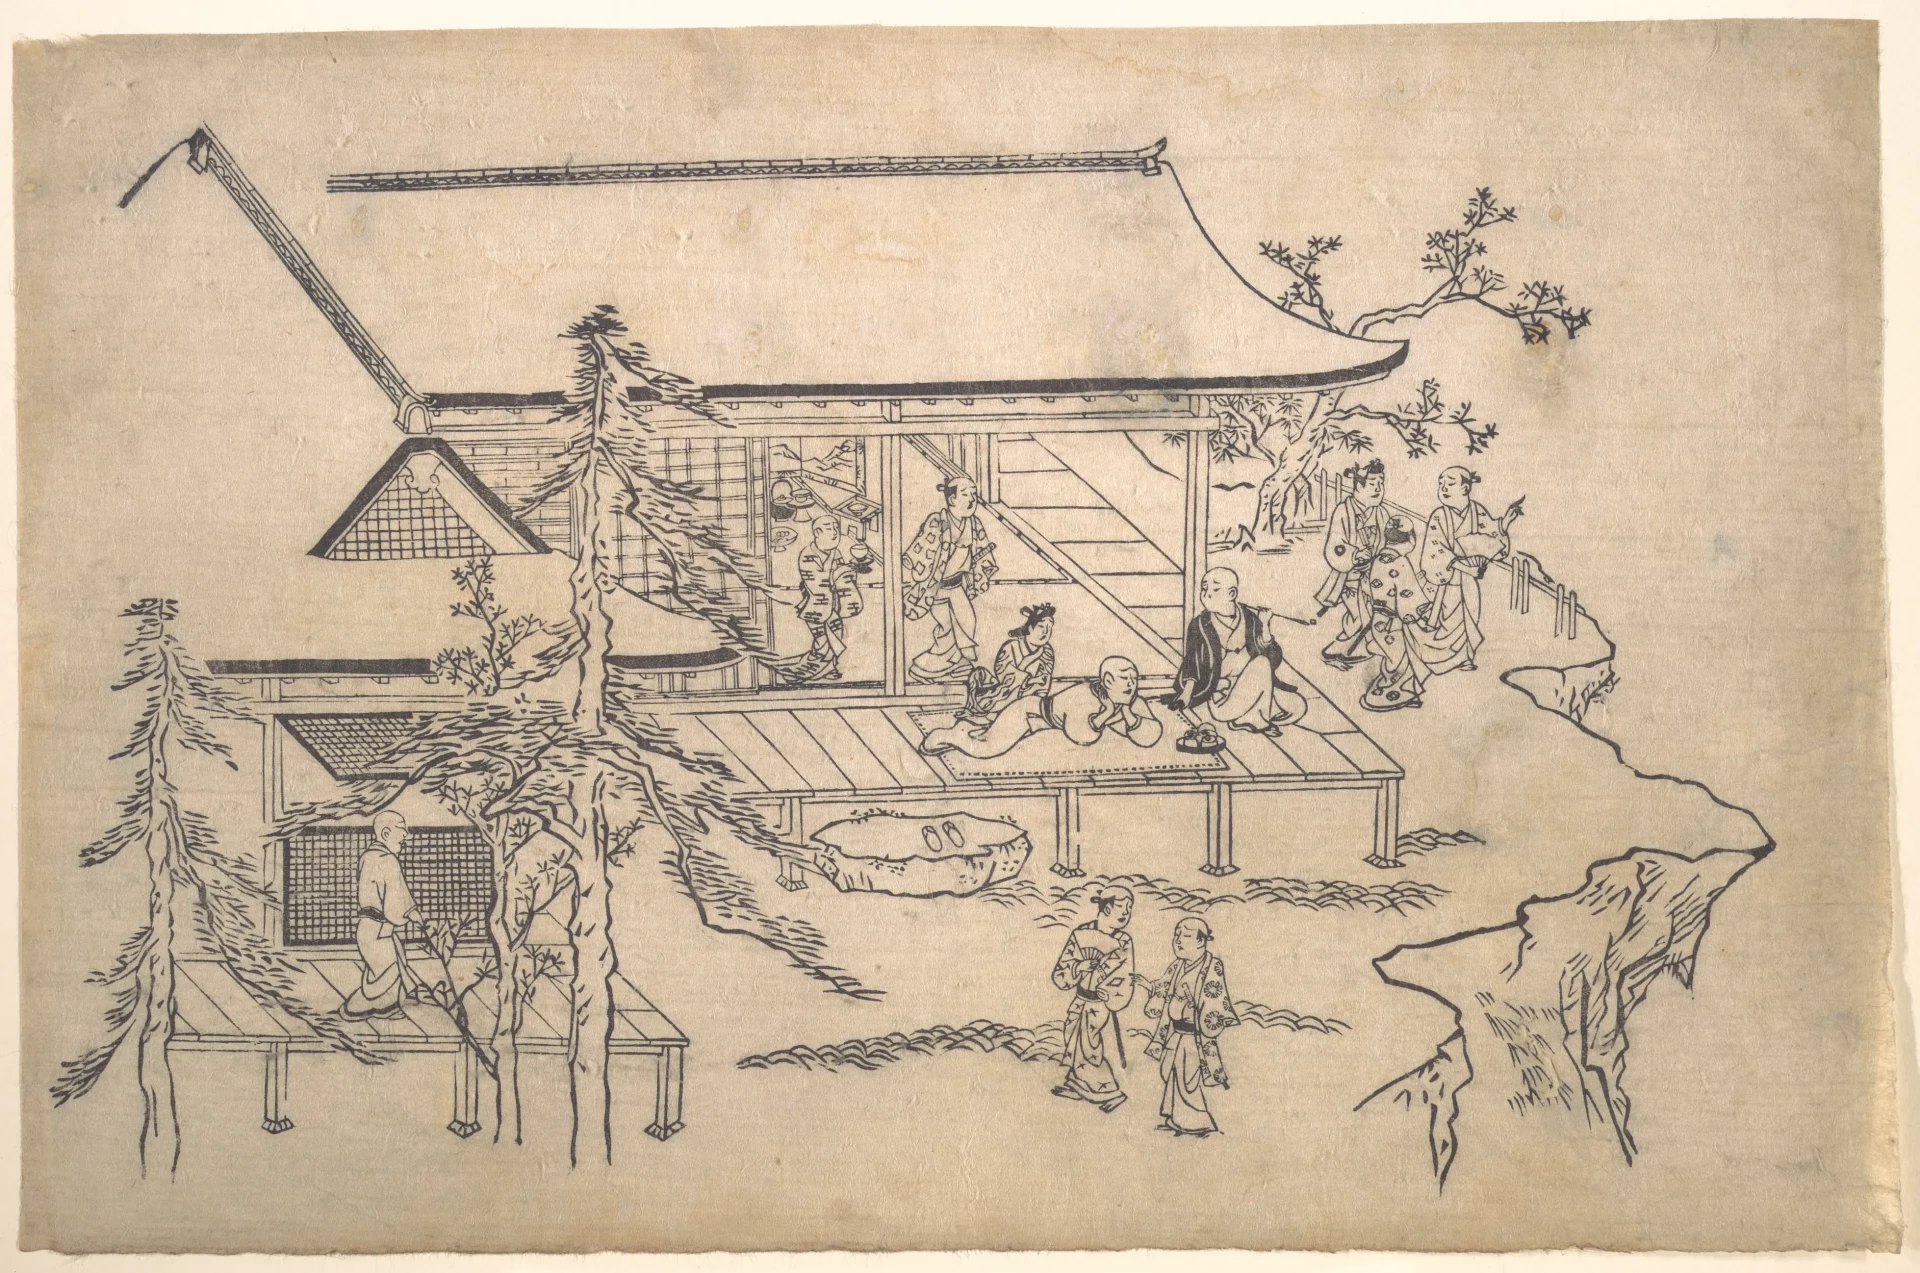
Illustrated Book in the Style of Katsushika (Ehon Katsushika-buri) - Katsushika Hokusai
Indian ink is made from soot, water, and binder. Today, it is mainly found in liquid form, but in the past, it came in sticks to be dissolved in water.
Surprising fact: this same mixture was once used to engrave symbols on skulls or on the skin, similar to tattoo practices. Even orbital bones marked with Indian ink have been found. These materials came from animals, such as oxen or turtle shells, which were cracked by fire; each crack was then interpreted as a prediction of the future.
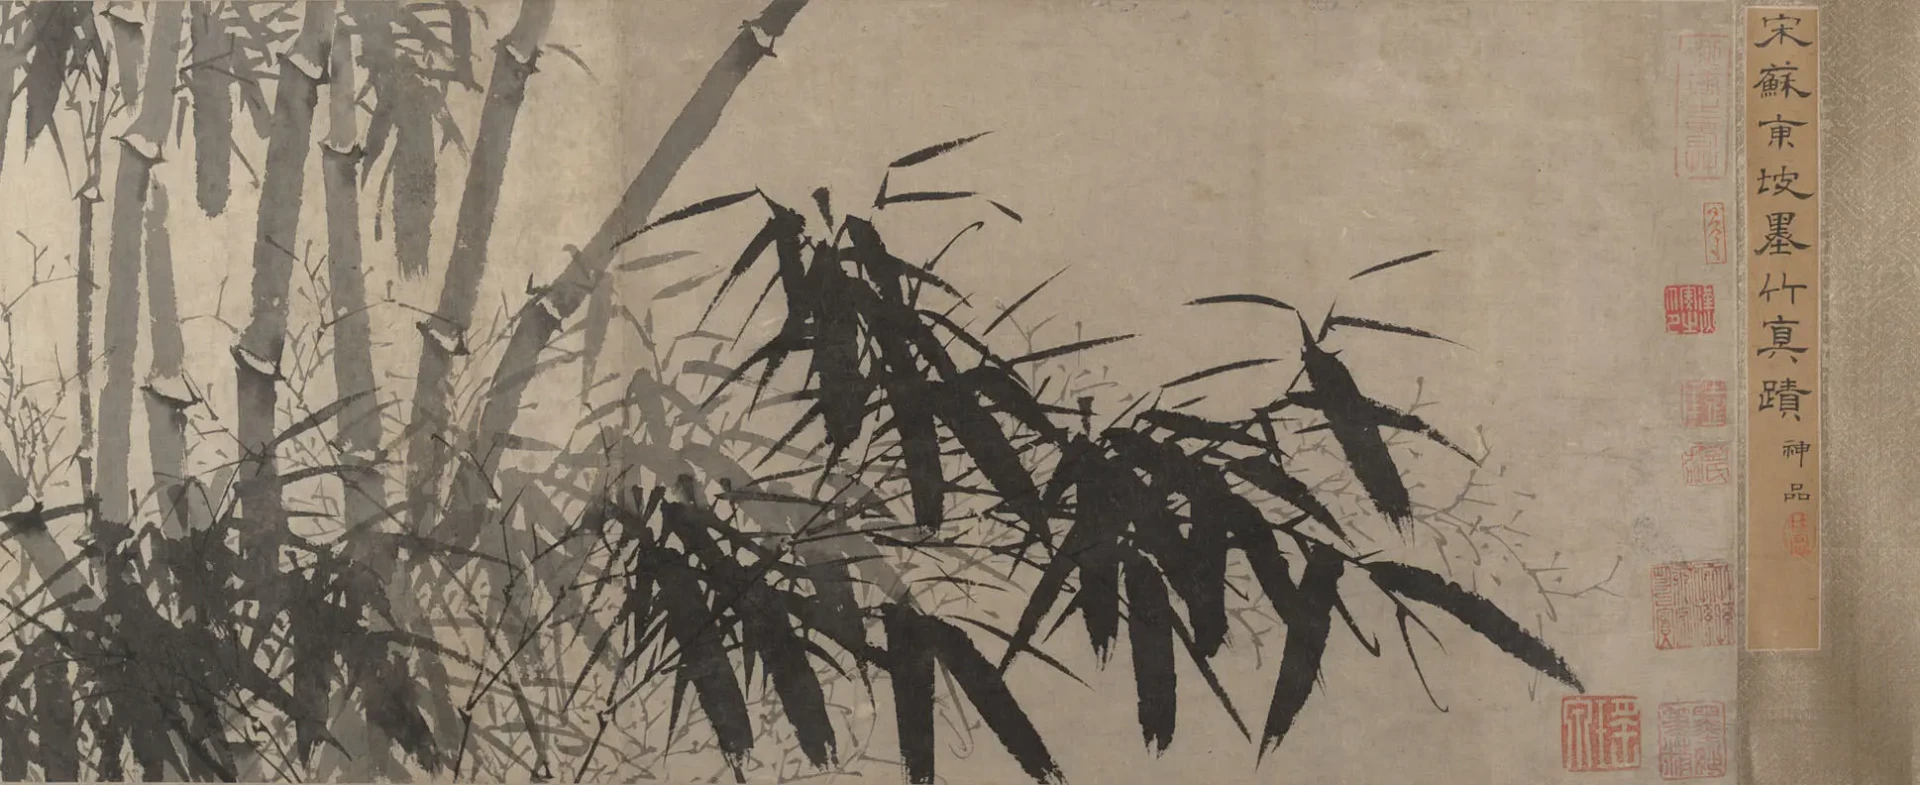
Bamboo
Unidentified artist; Su Shi
Today, Indian ink is mainly used to explore contrasts between shadow and light, but also to work on hatching, texture, and plays of spots.
In this guide, we will show you step by step how to create a portrait using this ancient technique. Let's start by gathering the necessary materials:
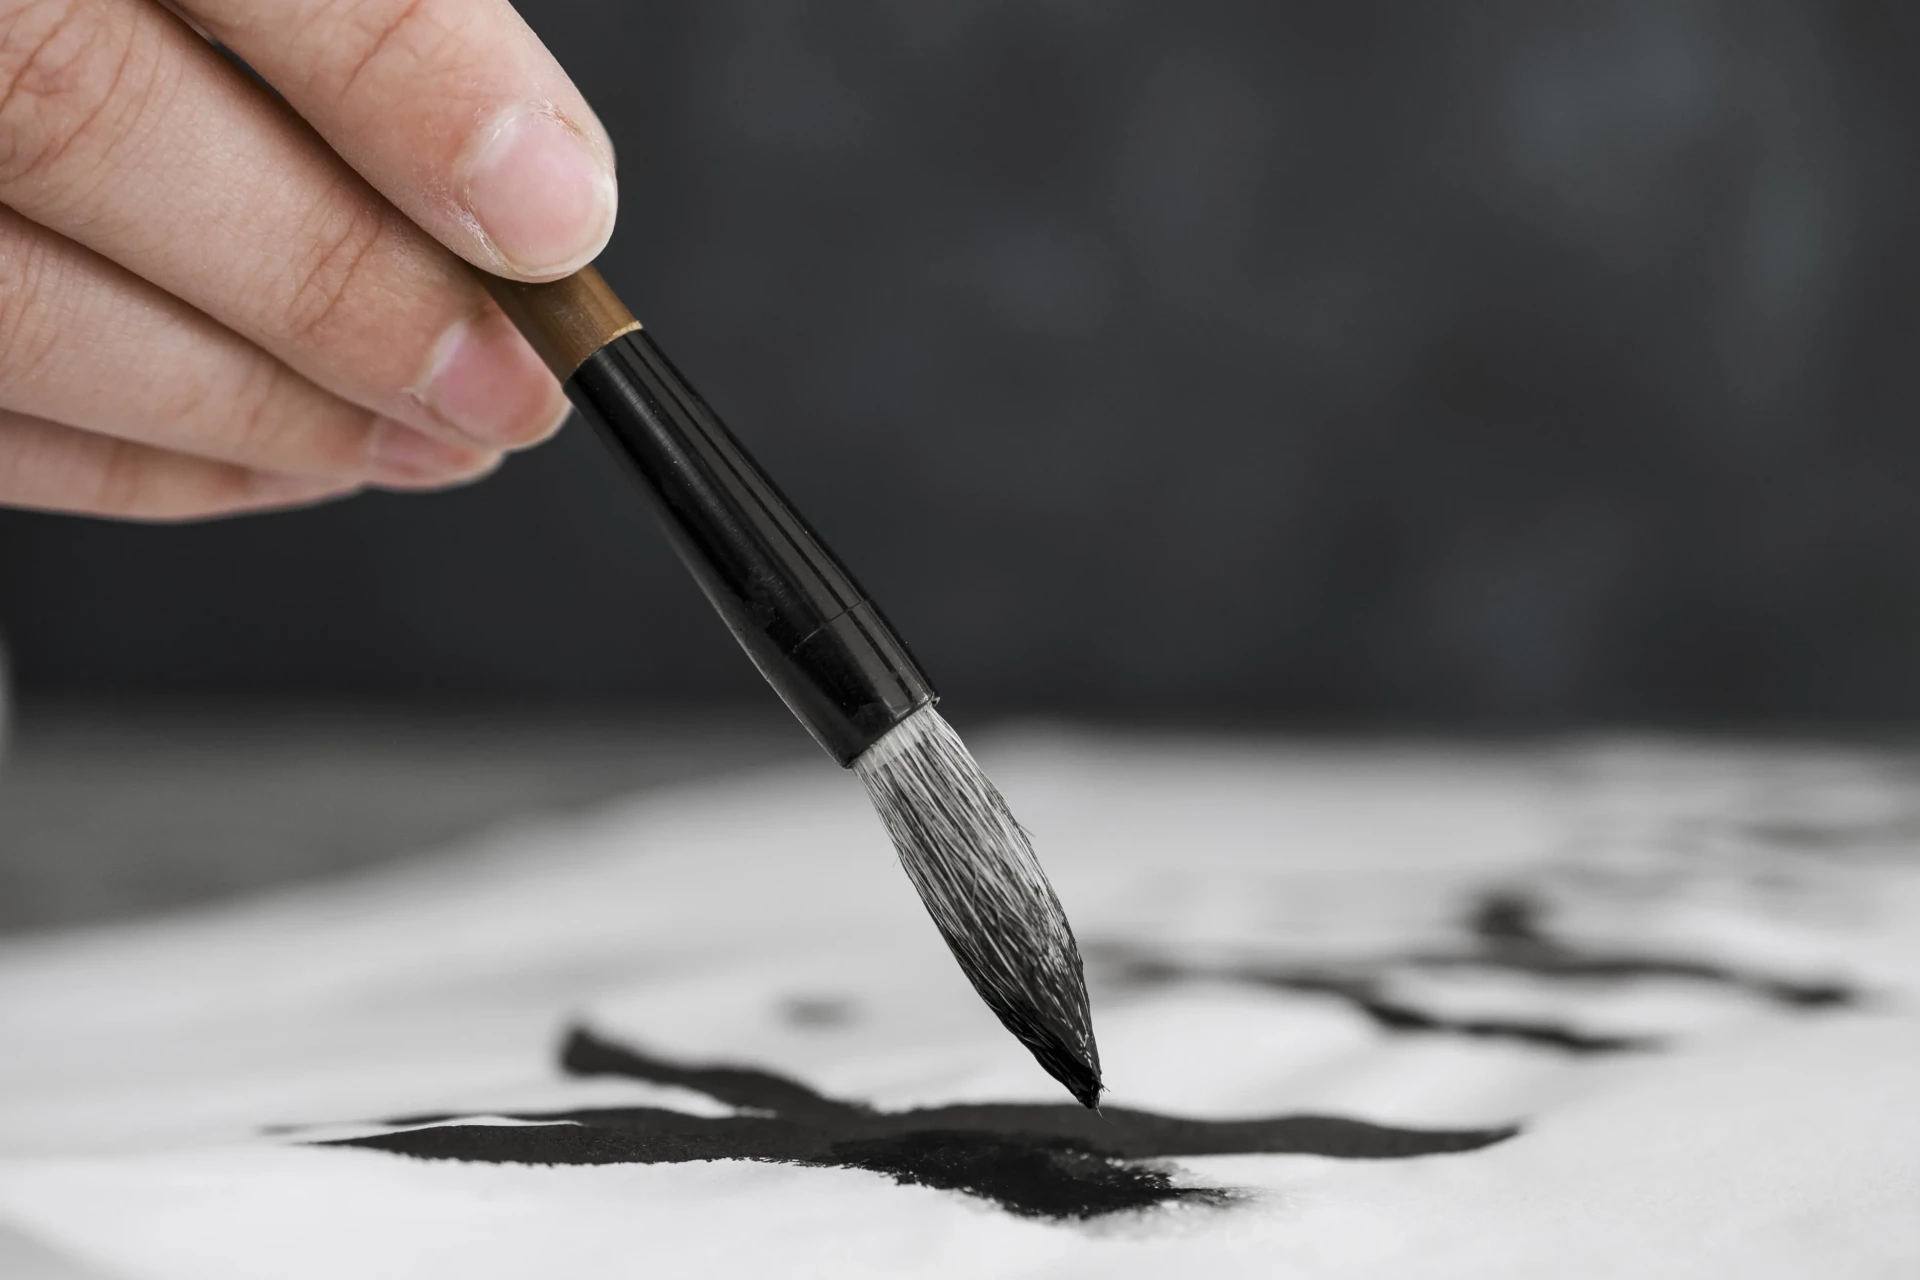
Indian ink
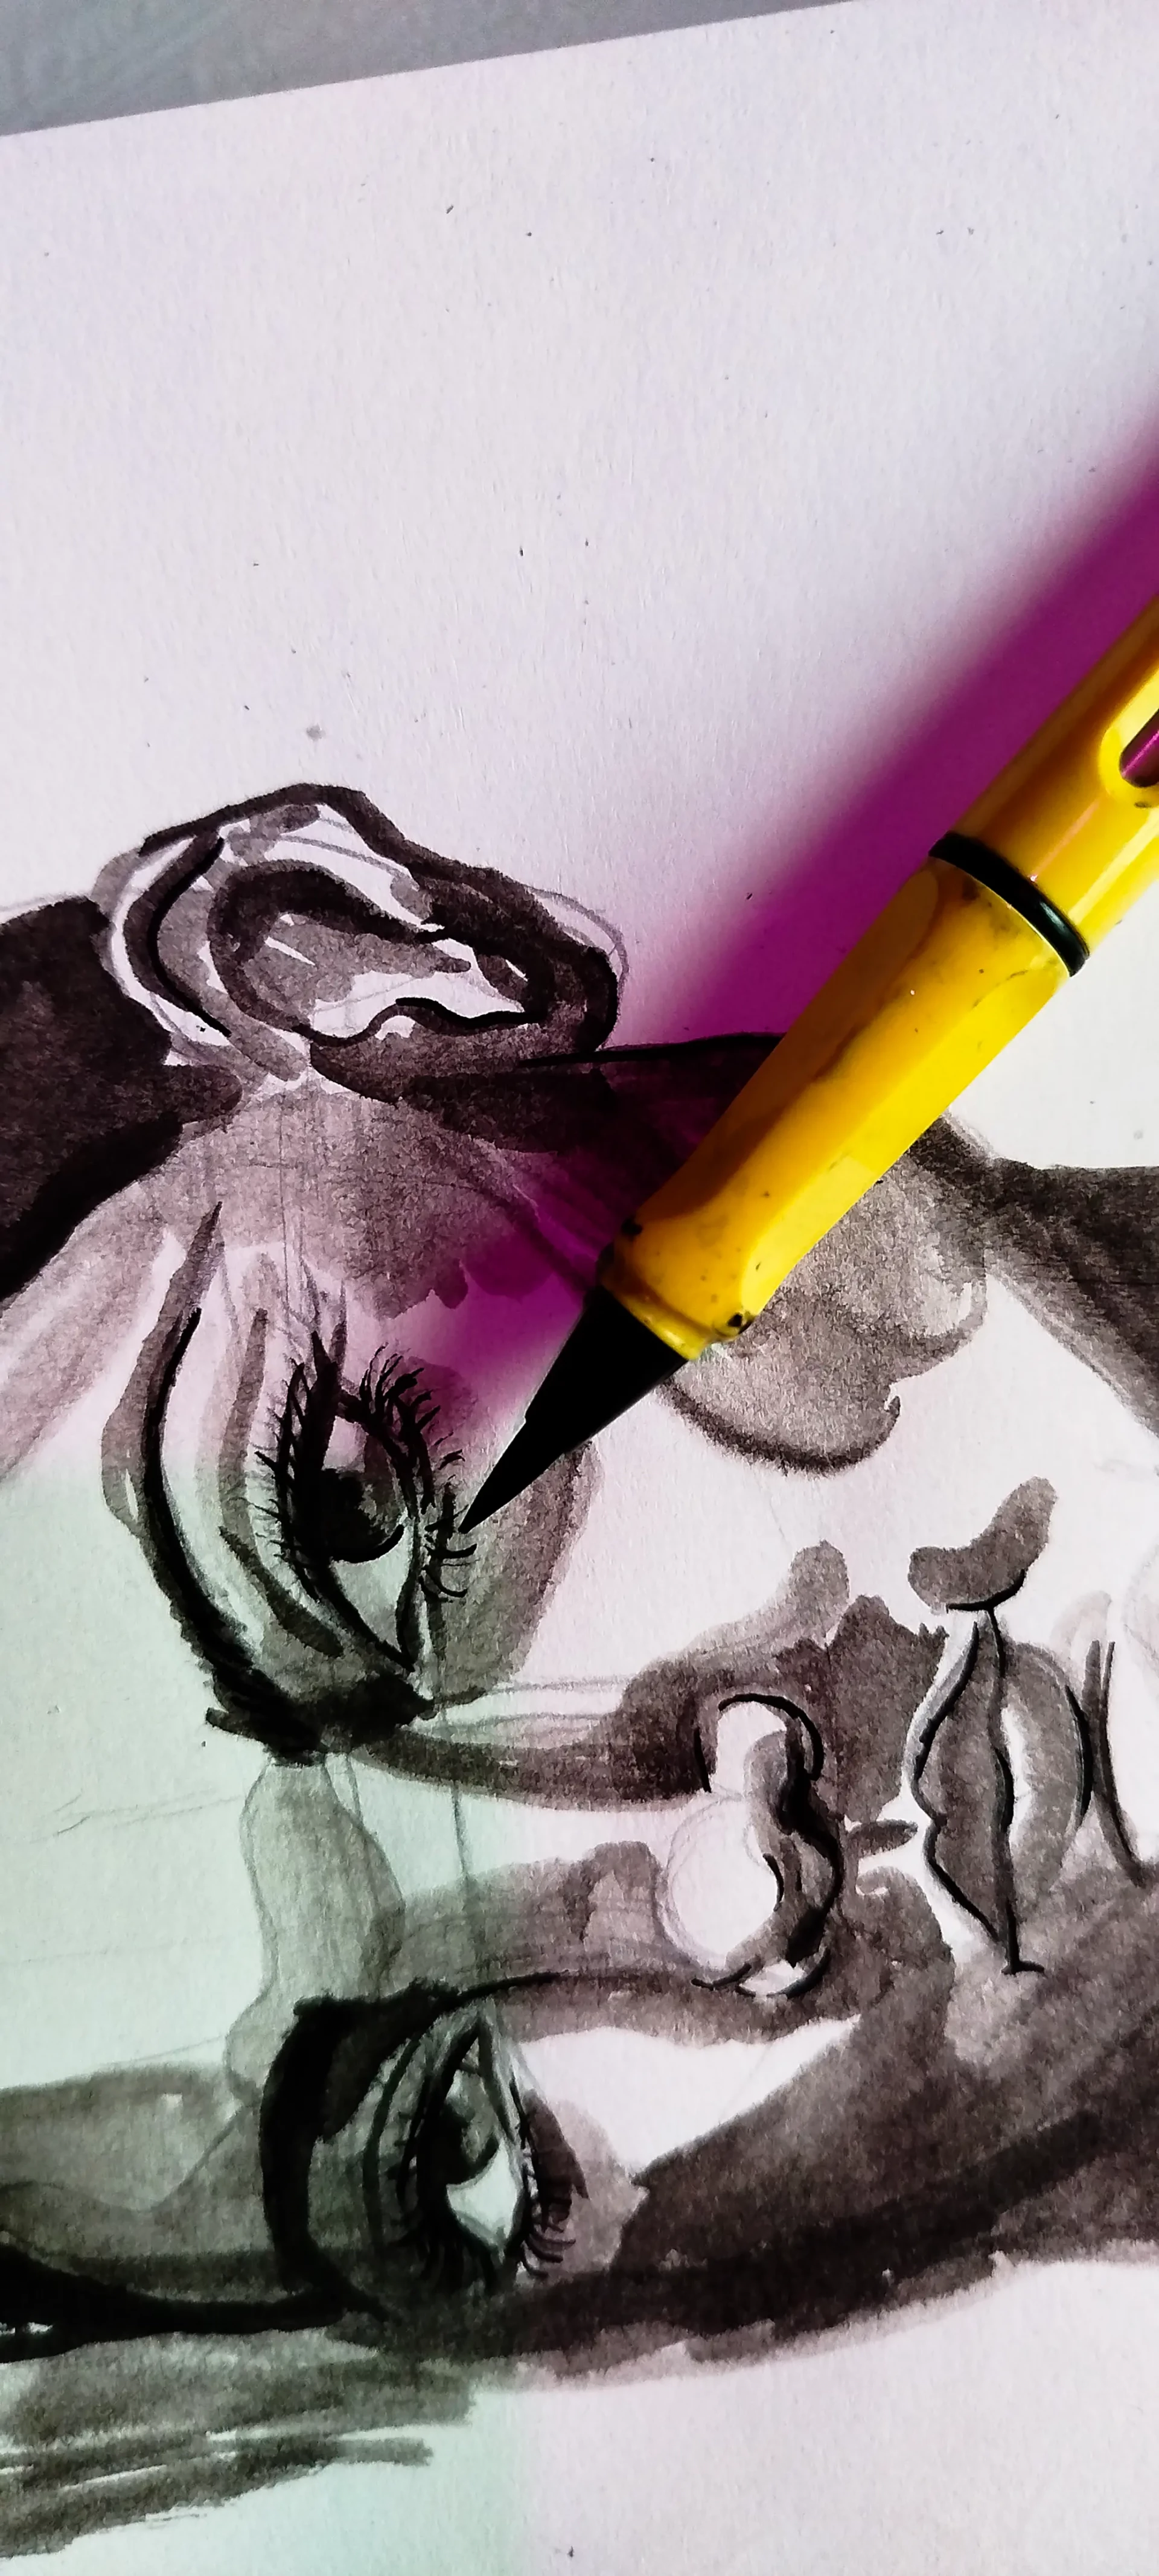
Dip pen (single or various sizes)
Brush or special pen for Indian ink
Suitable thick paper (watercolor paper or special ink paper)
Light and shadow with Indian ink
Before beginning, it is essential to thoroughly understand the concept of a mark. Working with Indian ink relies on the balance between light, shadow, and intermediate tones.
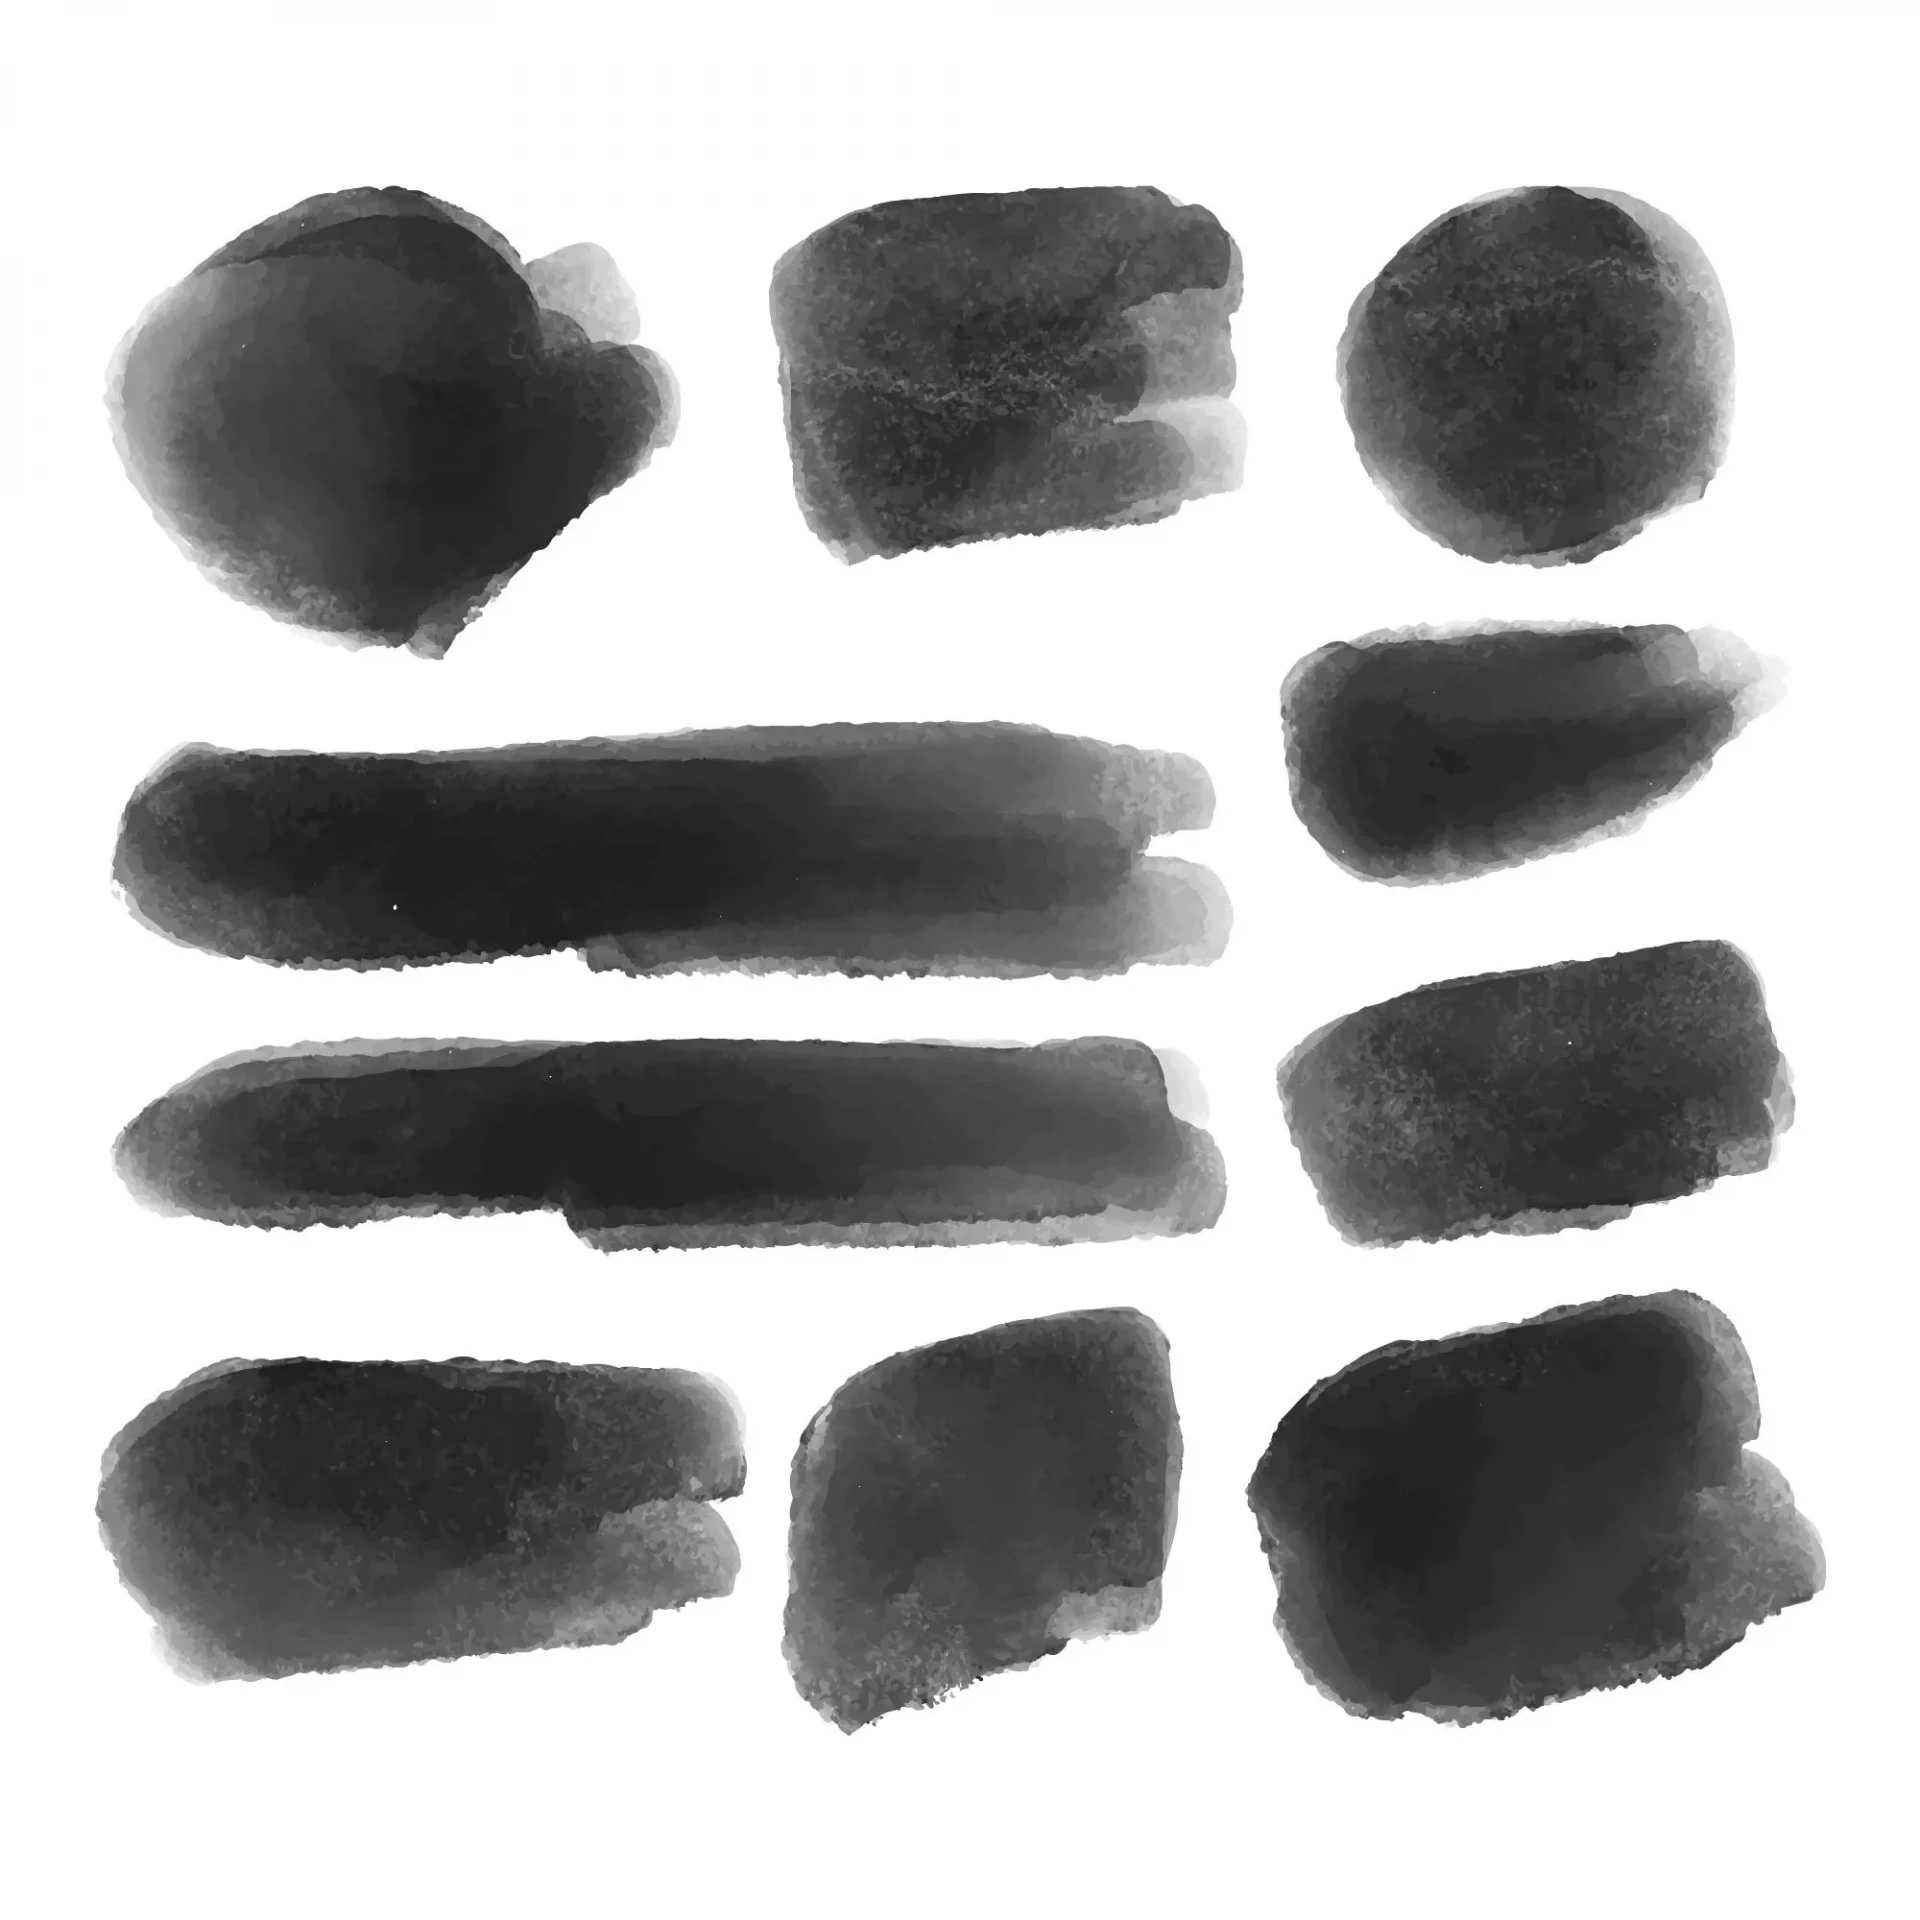
To become familiar with it, do a small preparatory exercise: on a sheet of paper, use your dip pen or brush to create gradient spots. Start with pure ink, then gradually dilute it by adding water, for instance with the help of a dropper.
Hatching
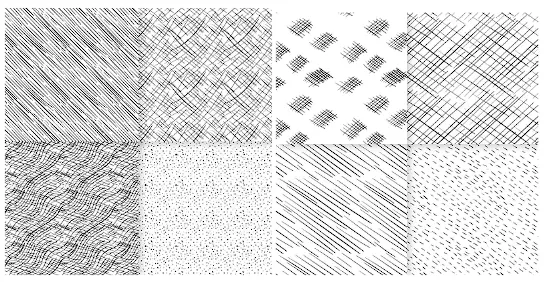
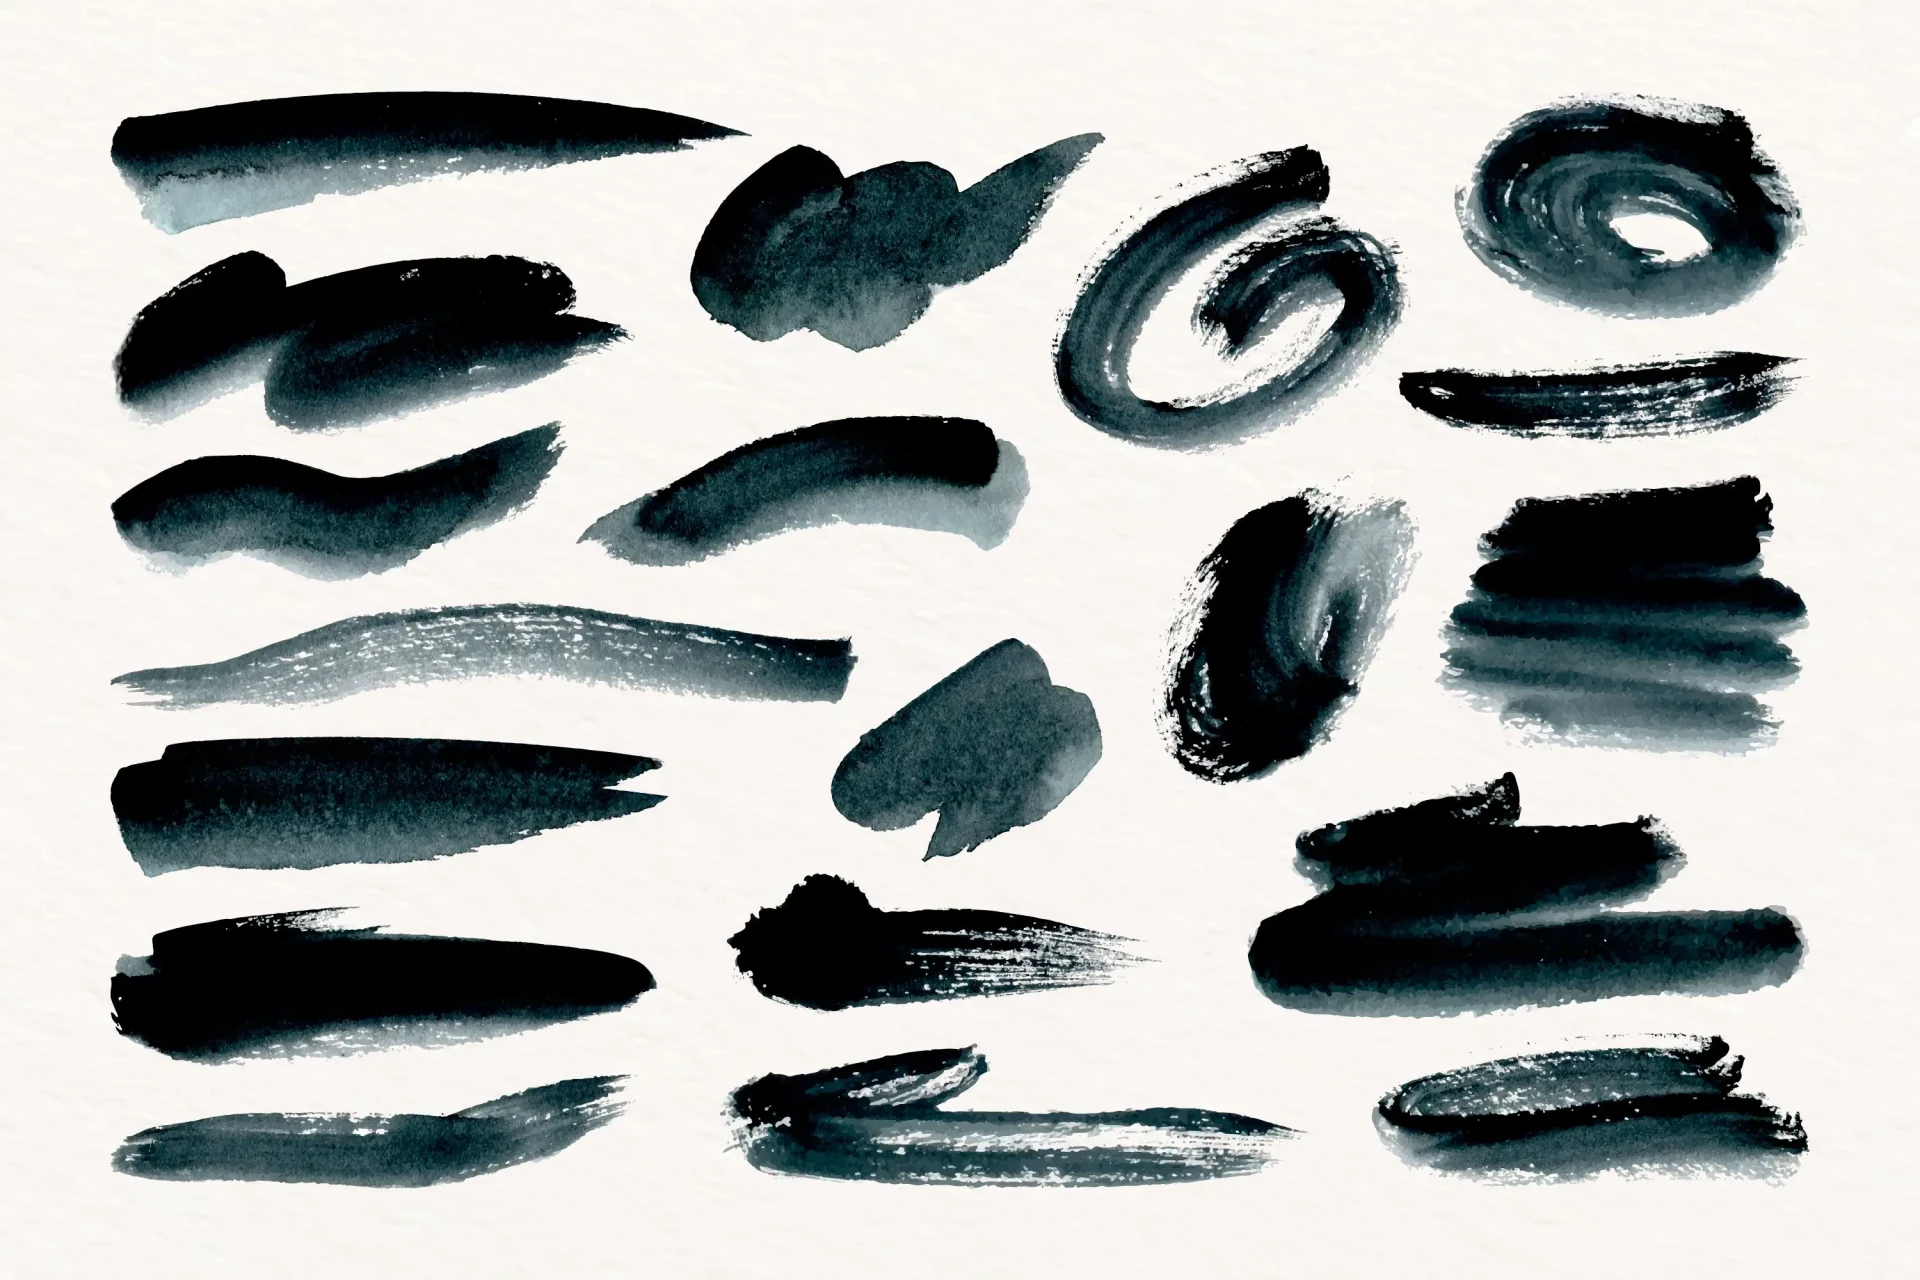
Once confident with a brush, let's move on to lines with the dip pen. Make free strokes to explore the different textures you can achieve depending on your tools.
Dip the tip into Indian ink, tilt it at about 45°, and test how much ink it can hold. If you have a kit with several nibs, take the opportunity to experiment with different types of strokes and thicknesses.
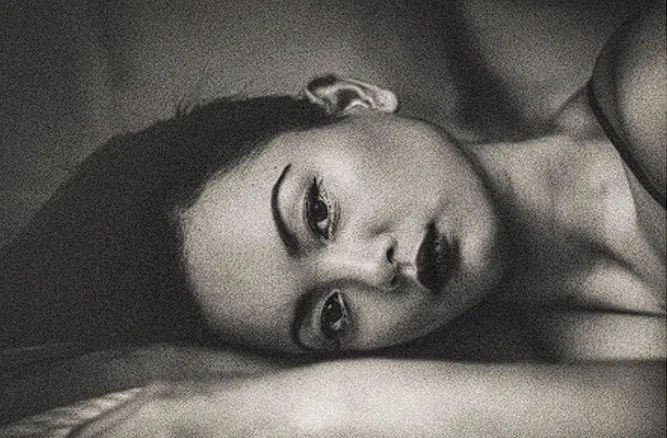
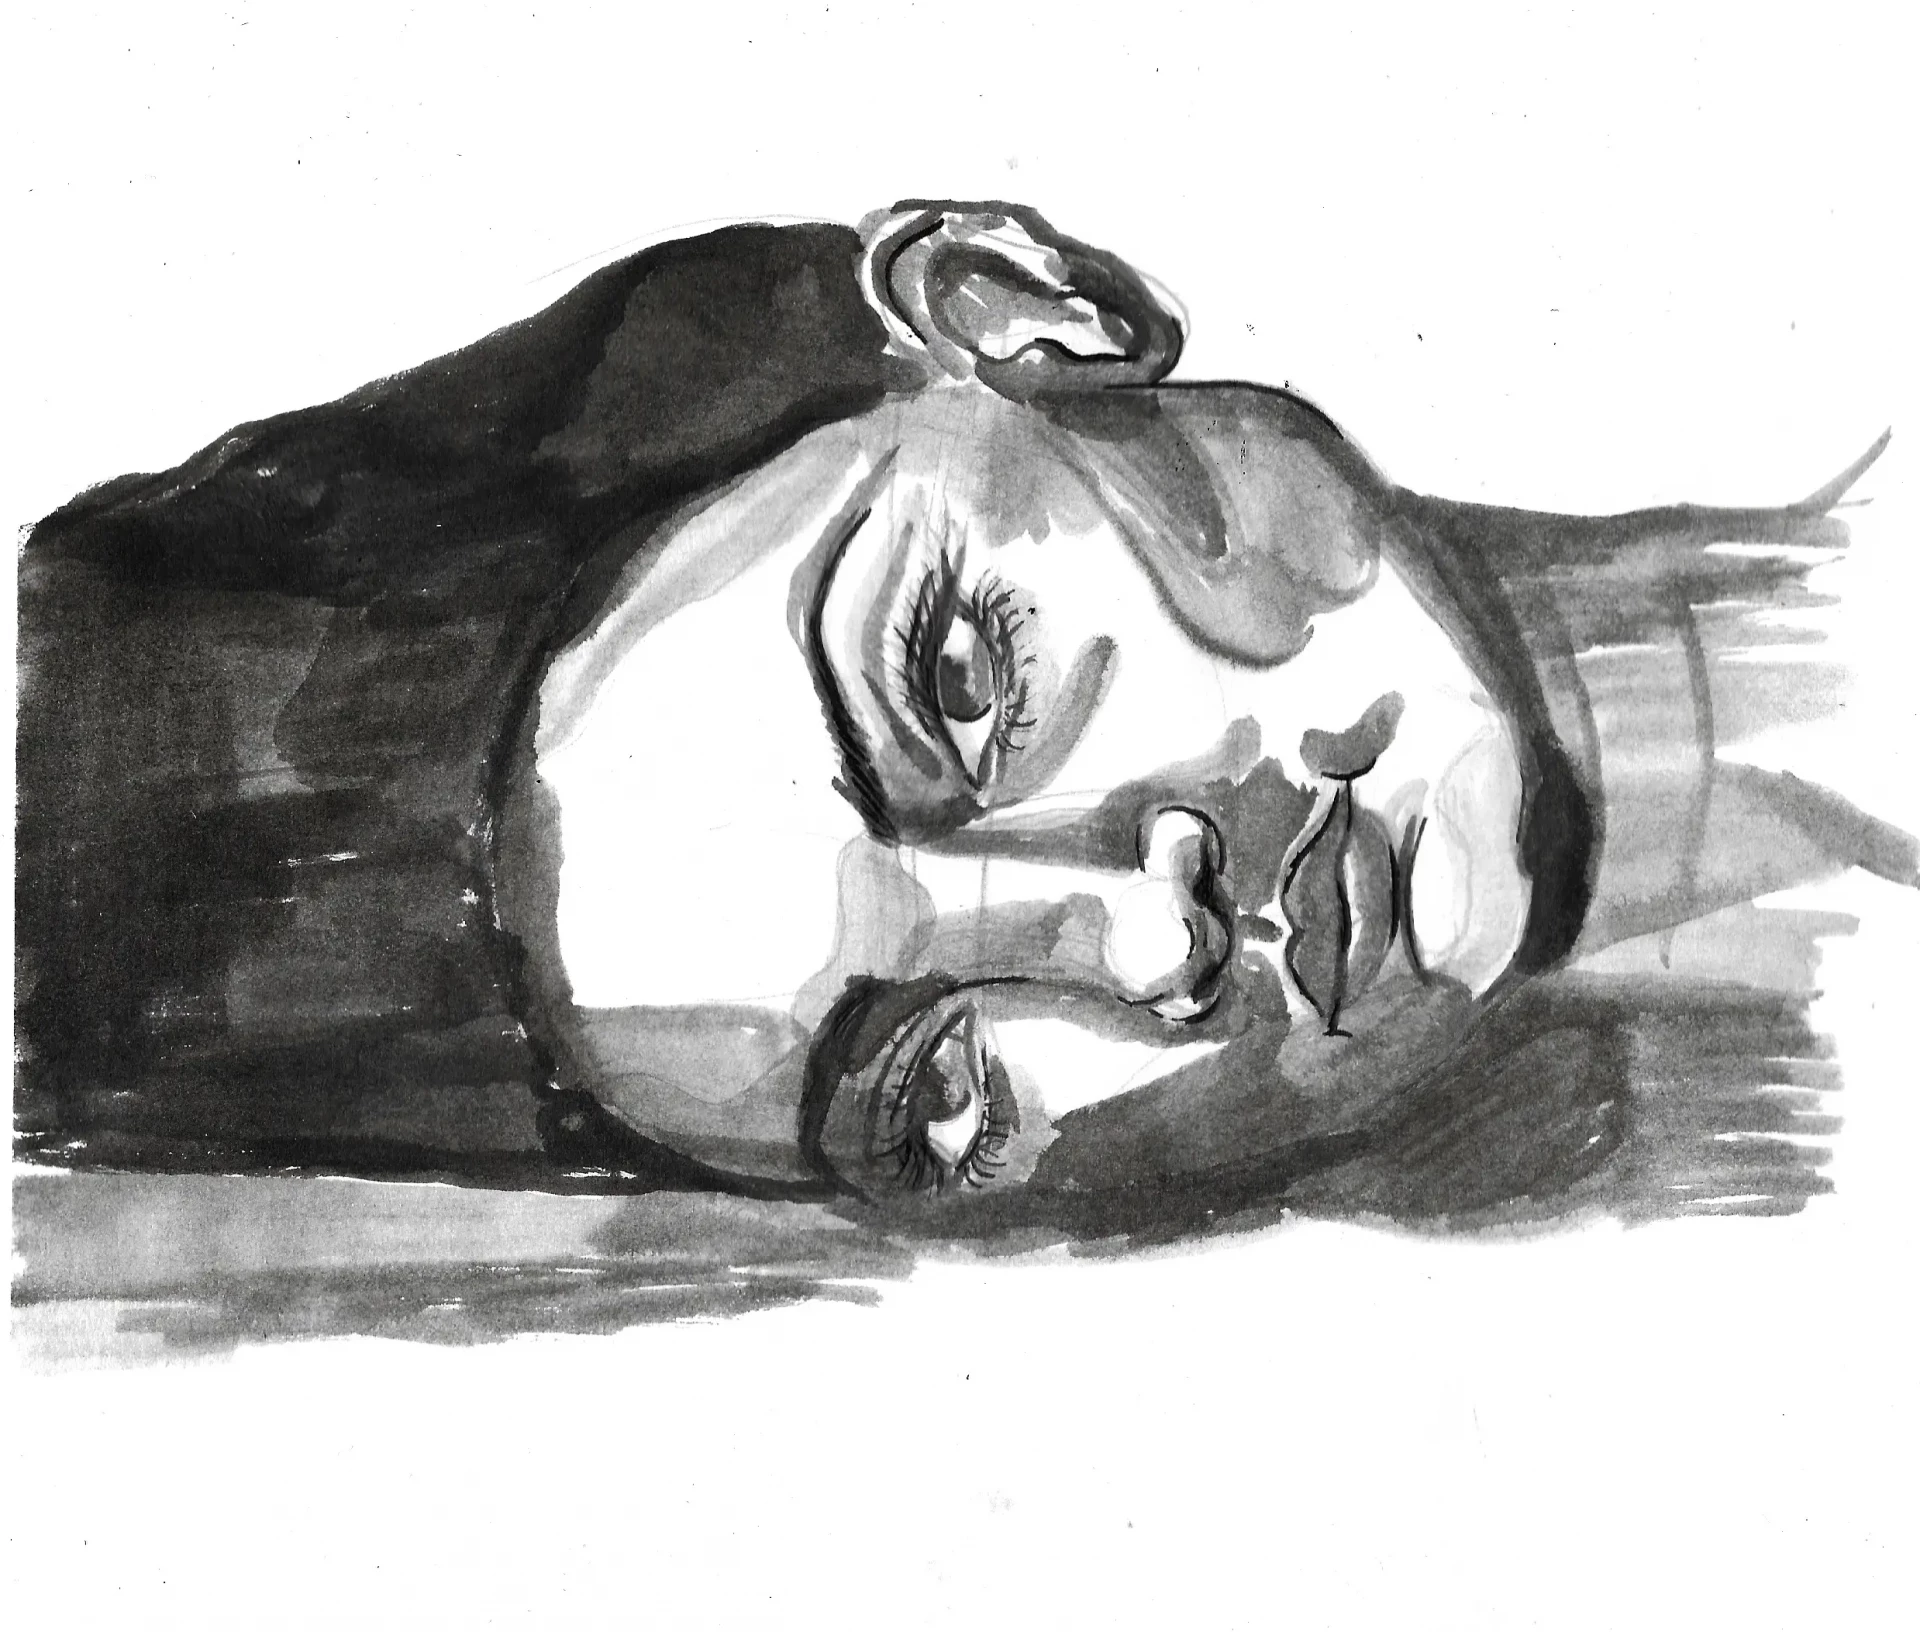
We'll start our drawing from this image. If it's in black and white, it will be even easier to identify the areas of light and shadow.
Drawing a Indian ink portrait step by step
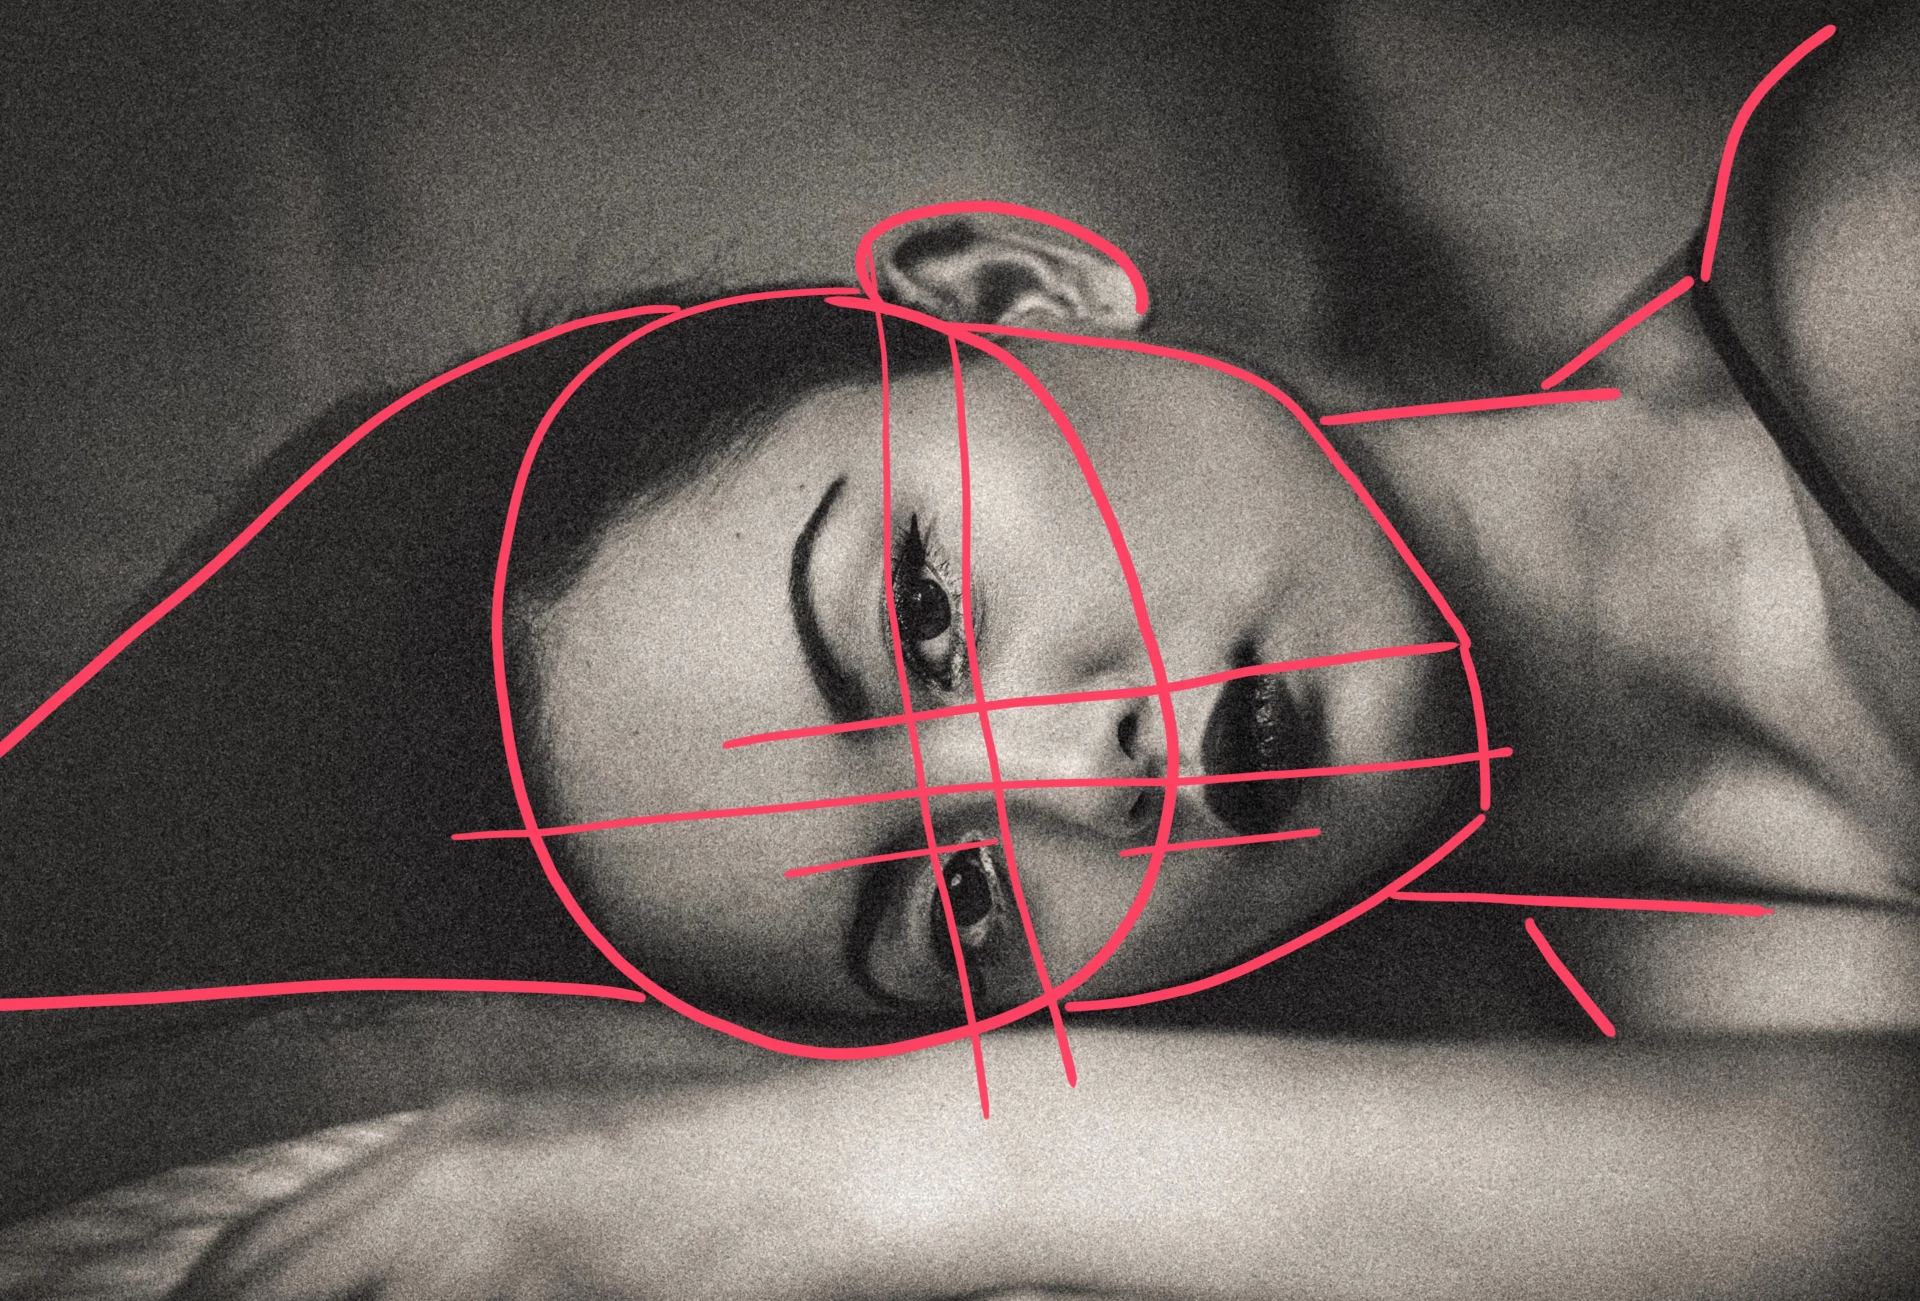
Let's now draw the base of the portrait. Start by tracing a circle on the paper using your reference image, then add the guidelines. You can also print the photo, mark the reference points on it, and then transfer them onto your paper.
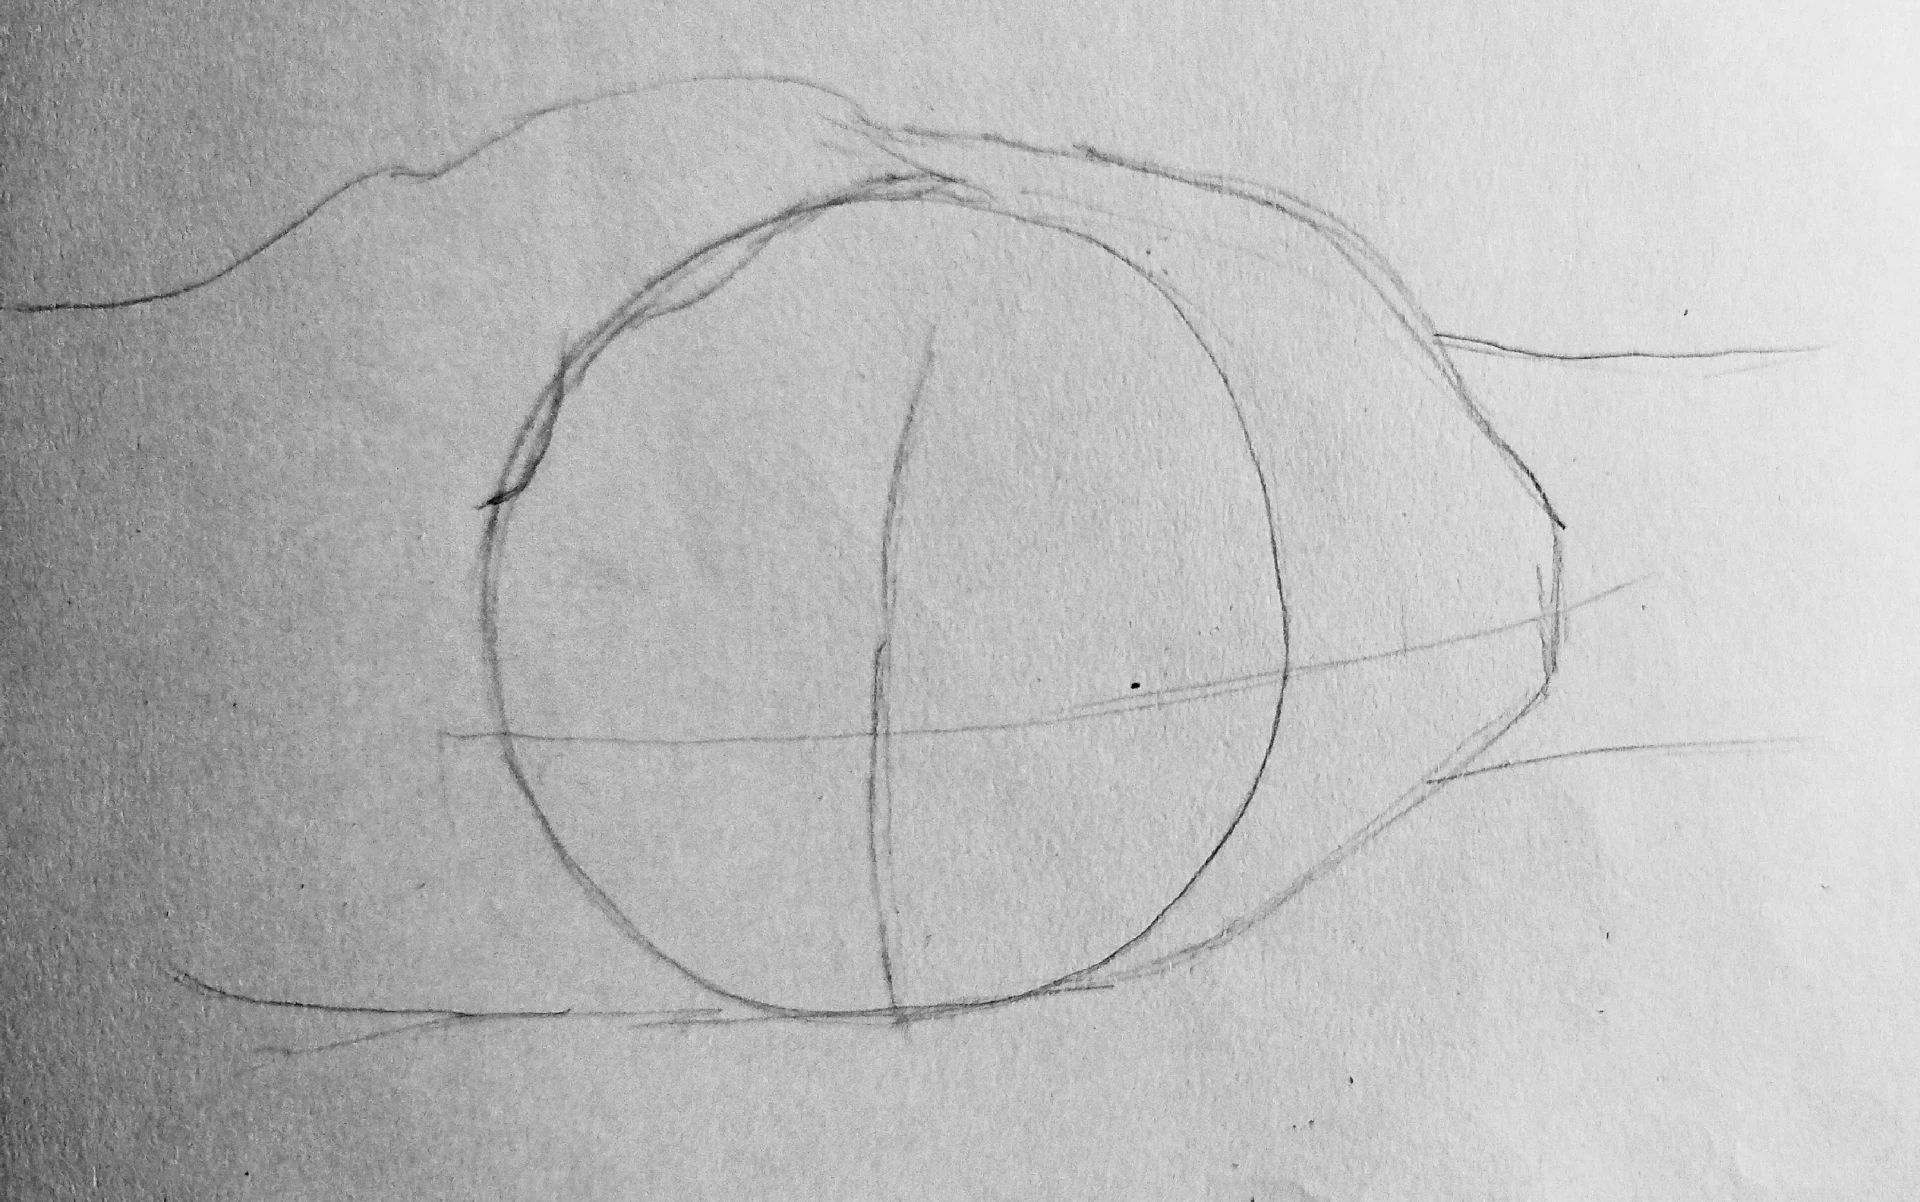
From these points, sketch the base of the face. It’s just a sketch at this point, simply draw the lines with a pencil.
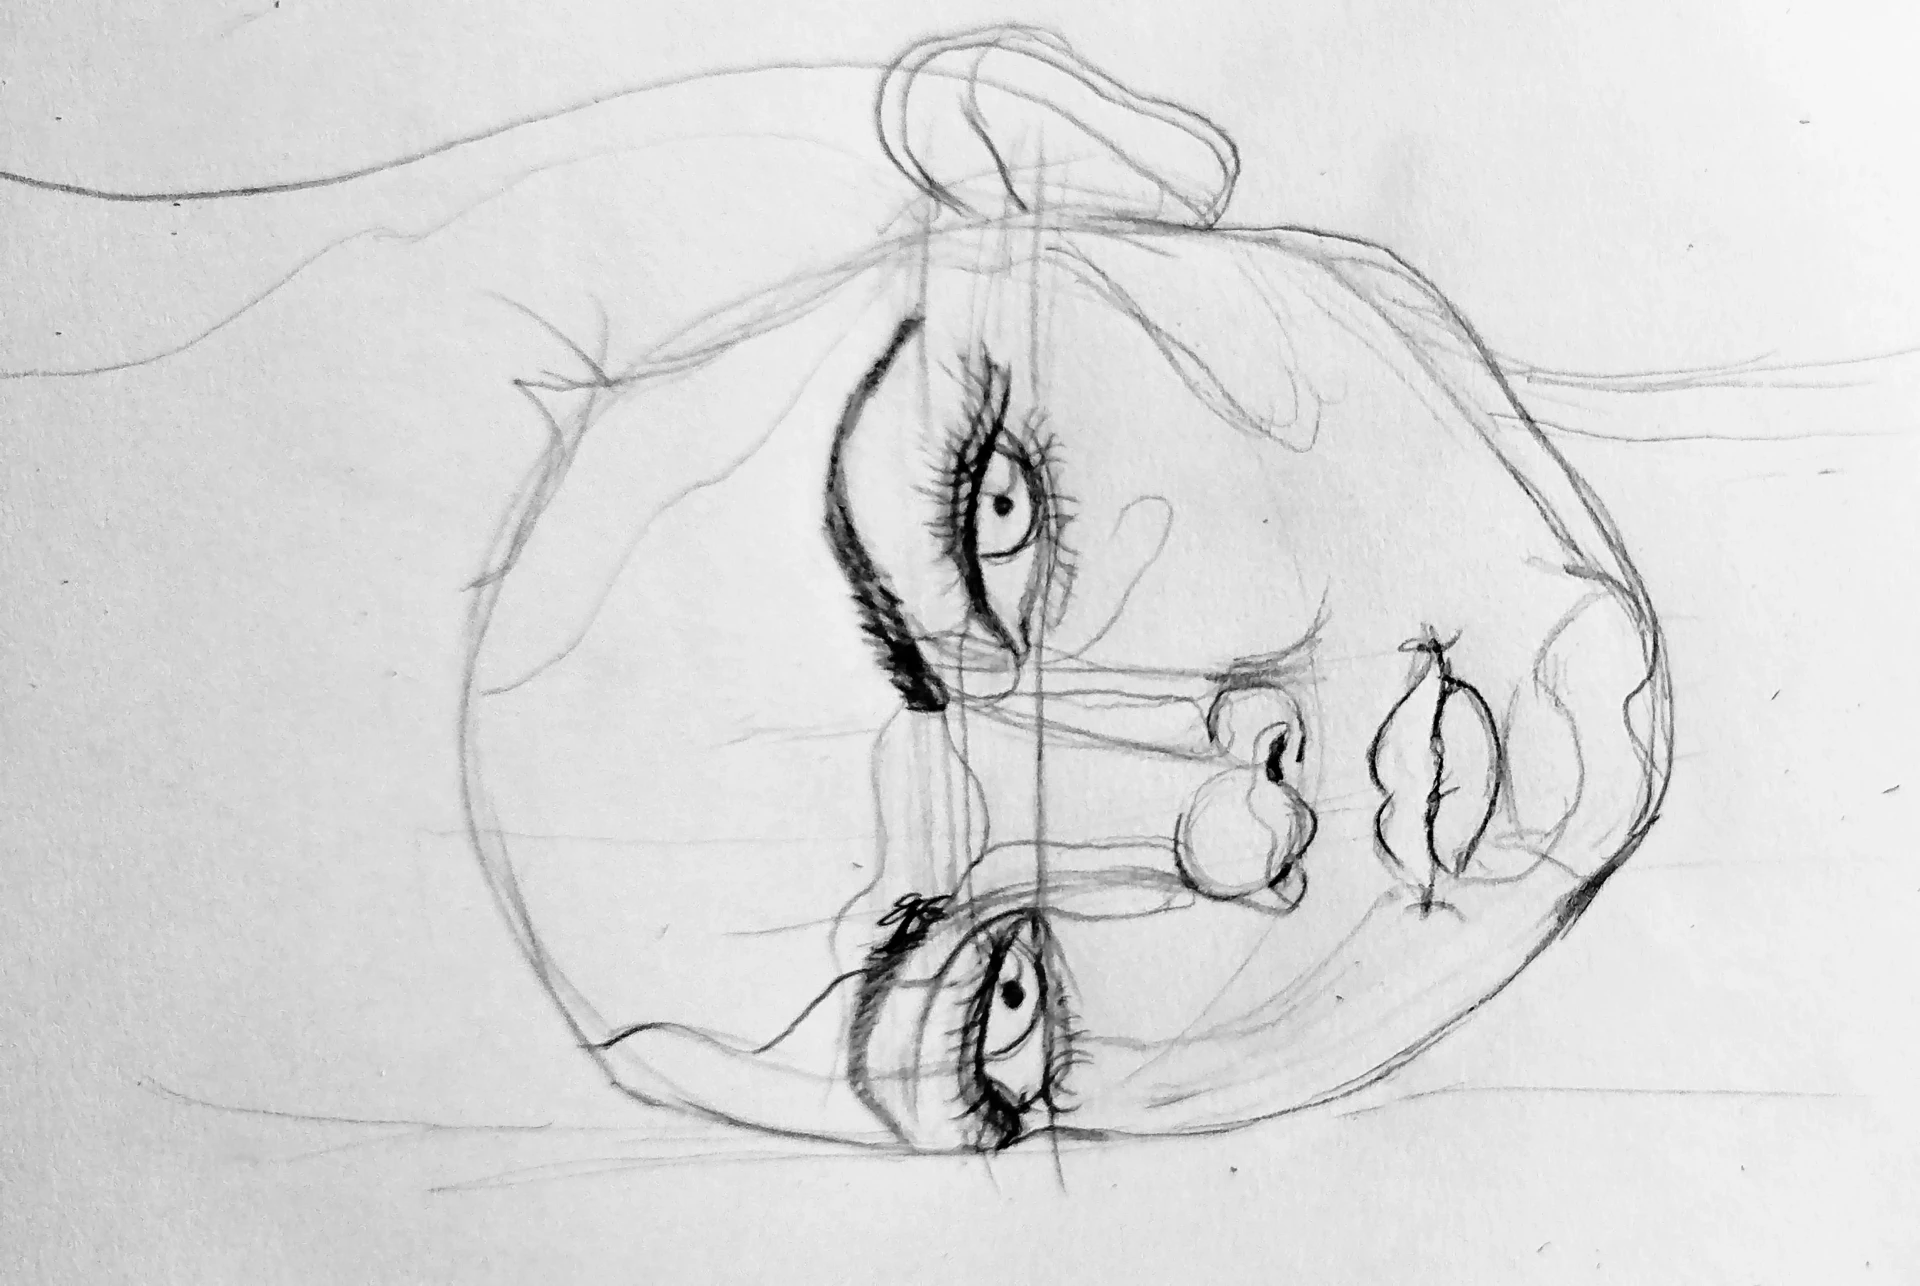
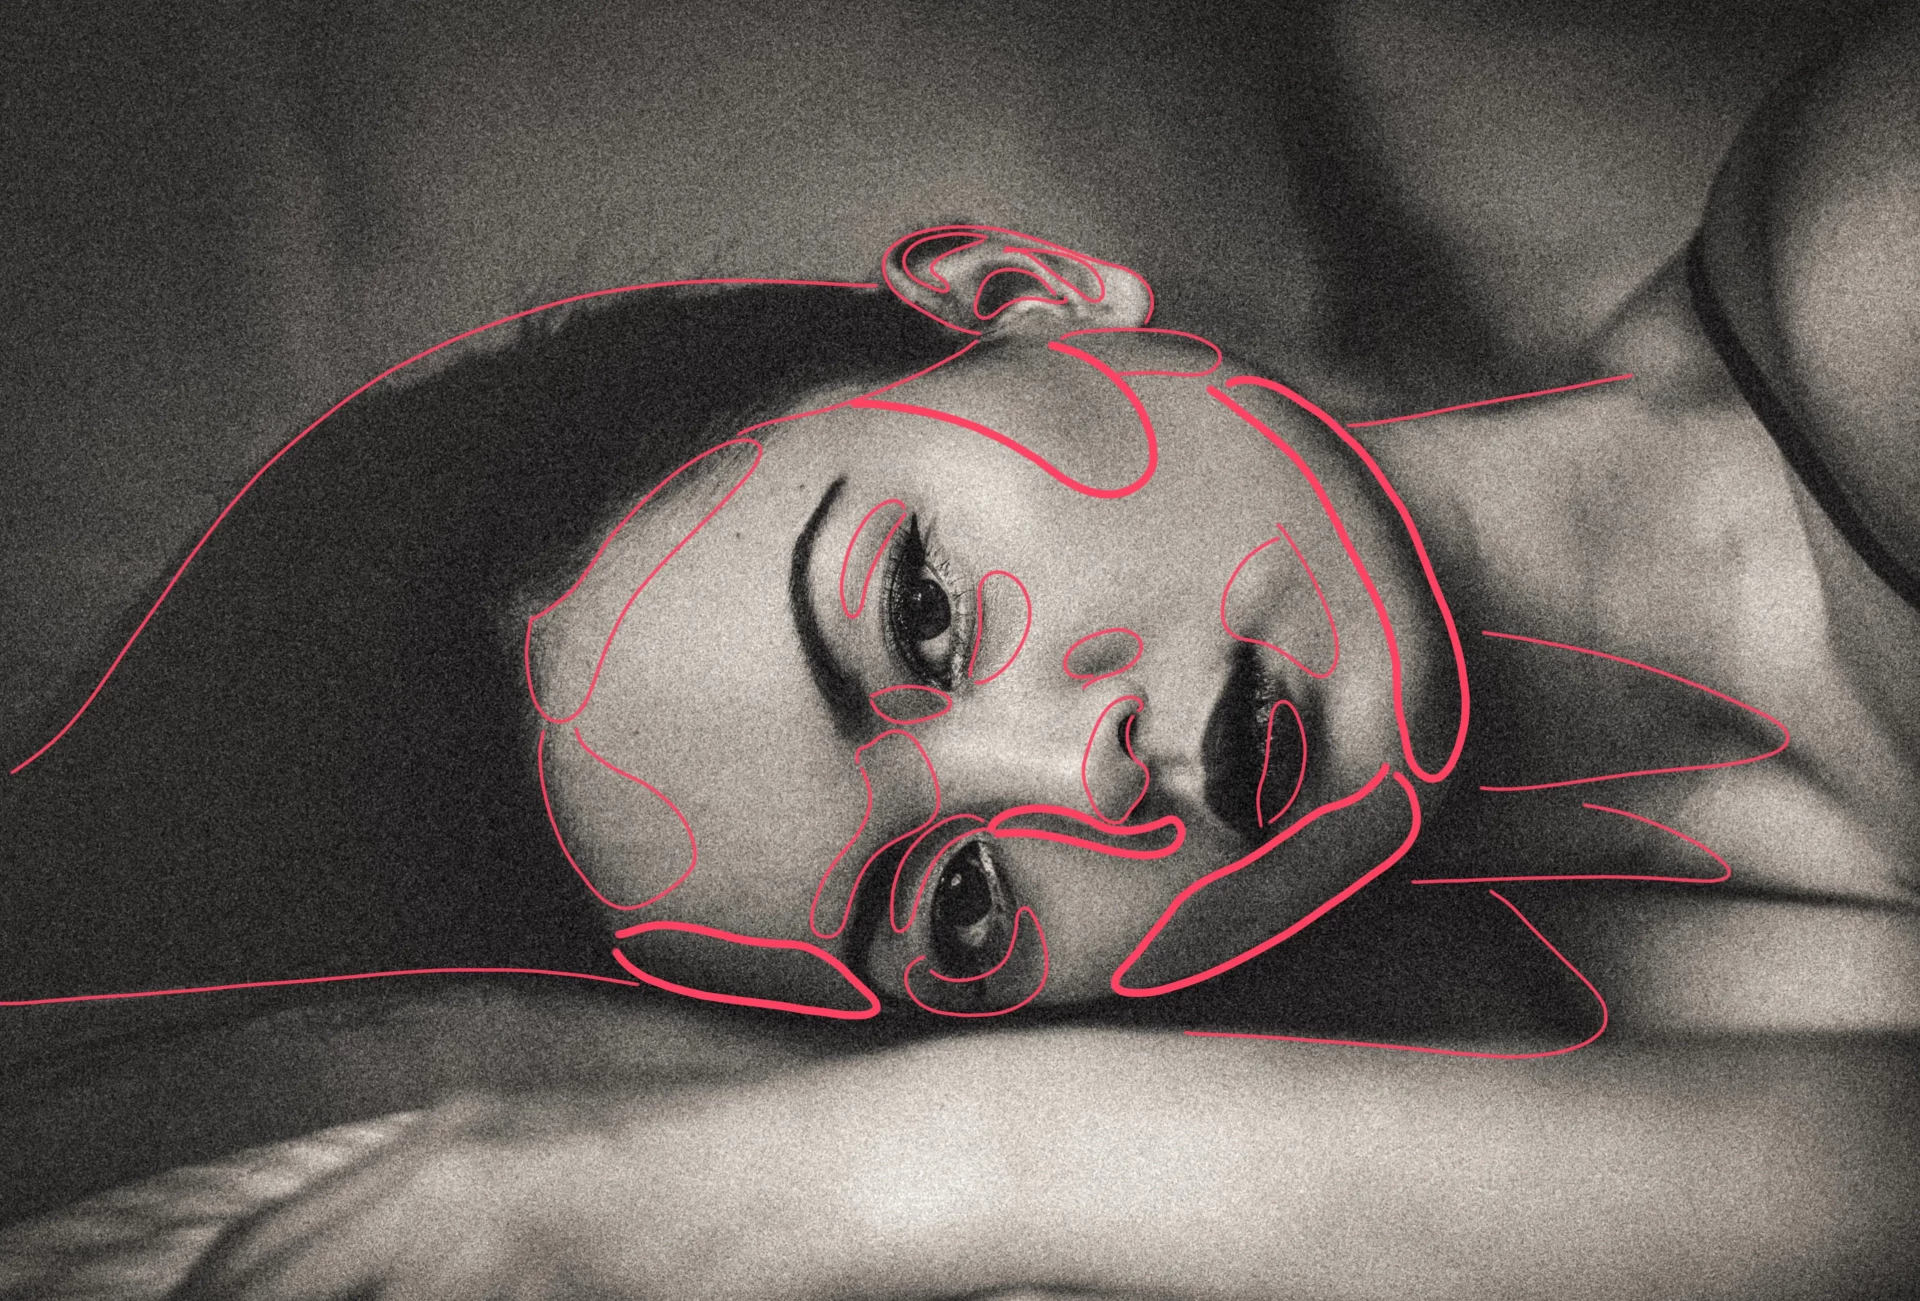
Then define the outline of the shadow areas. Observe them on the reference image and transfer them directly onto your drawing.
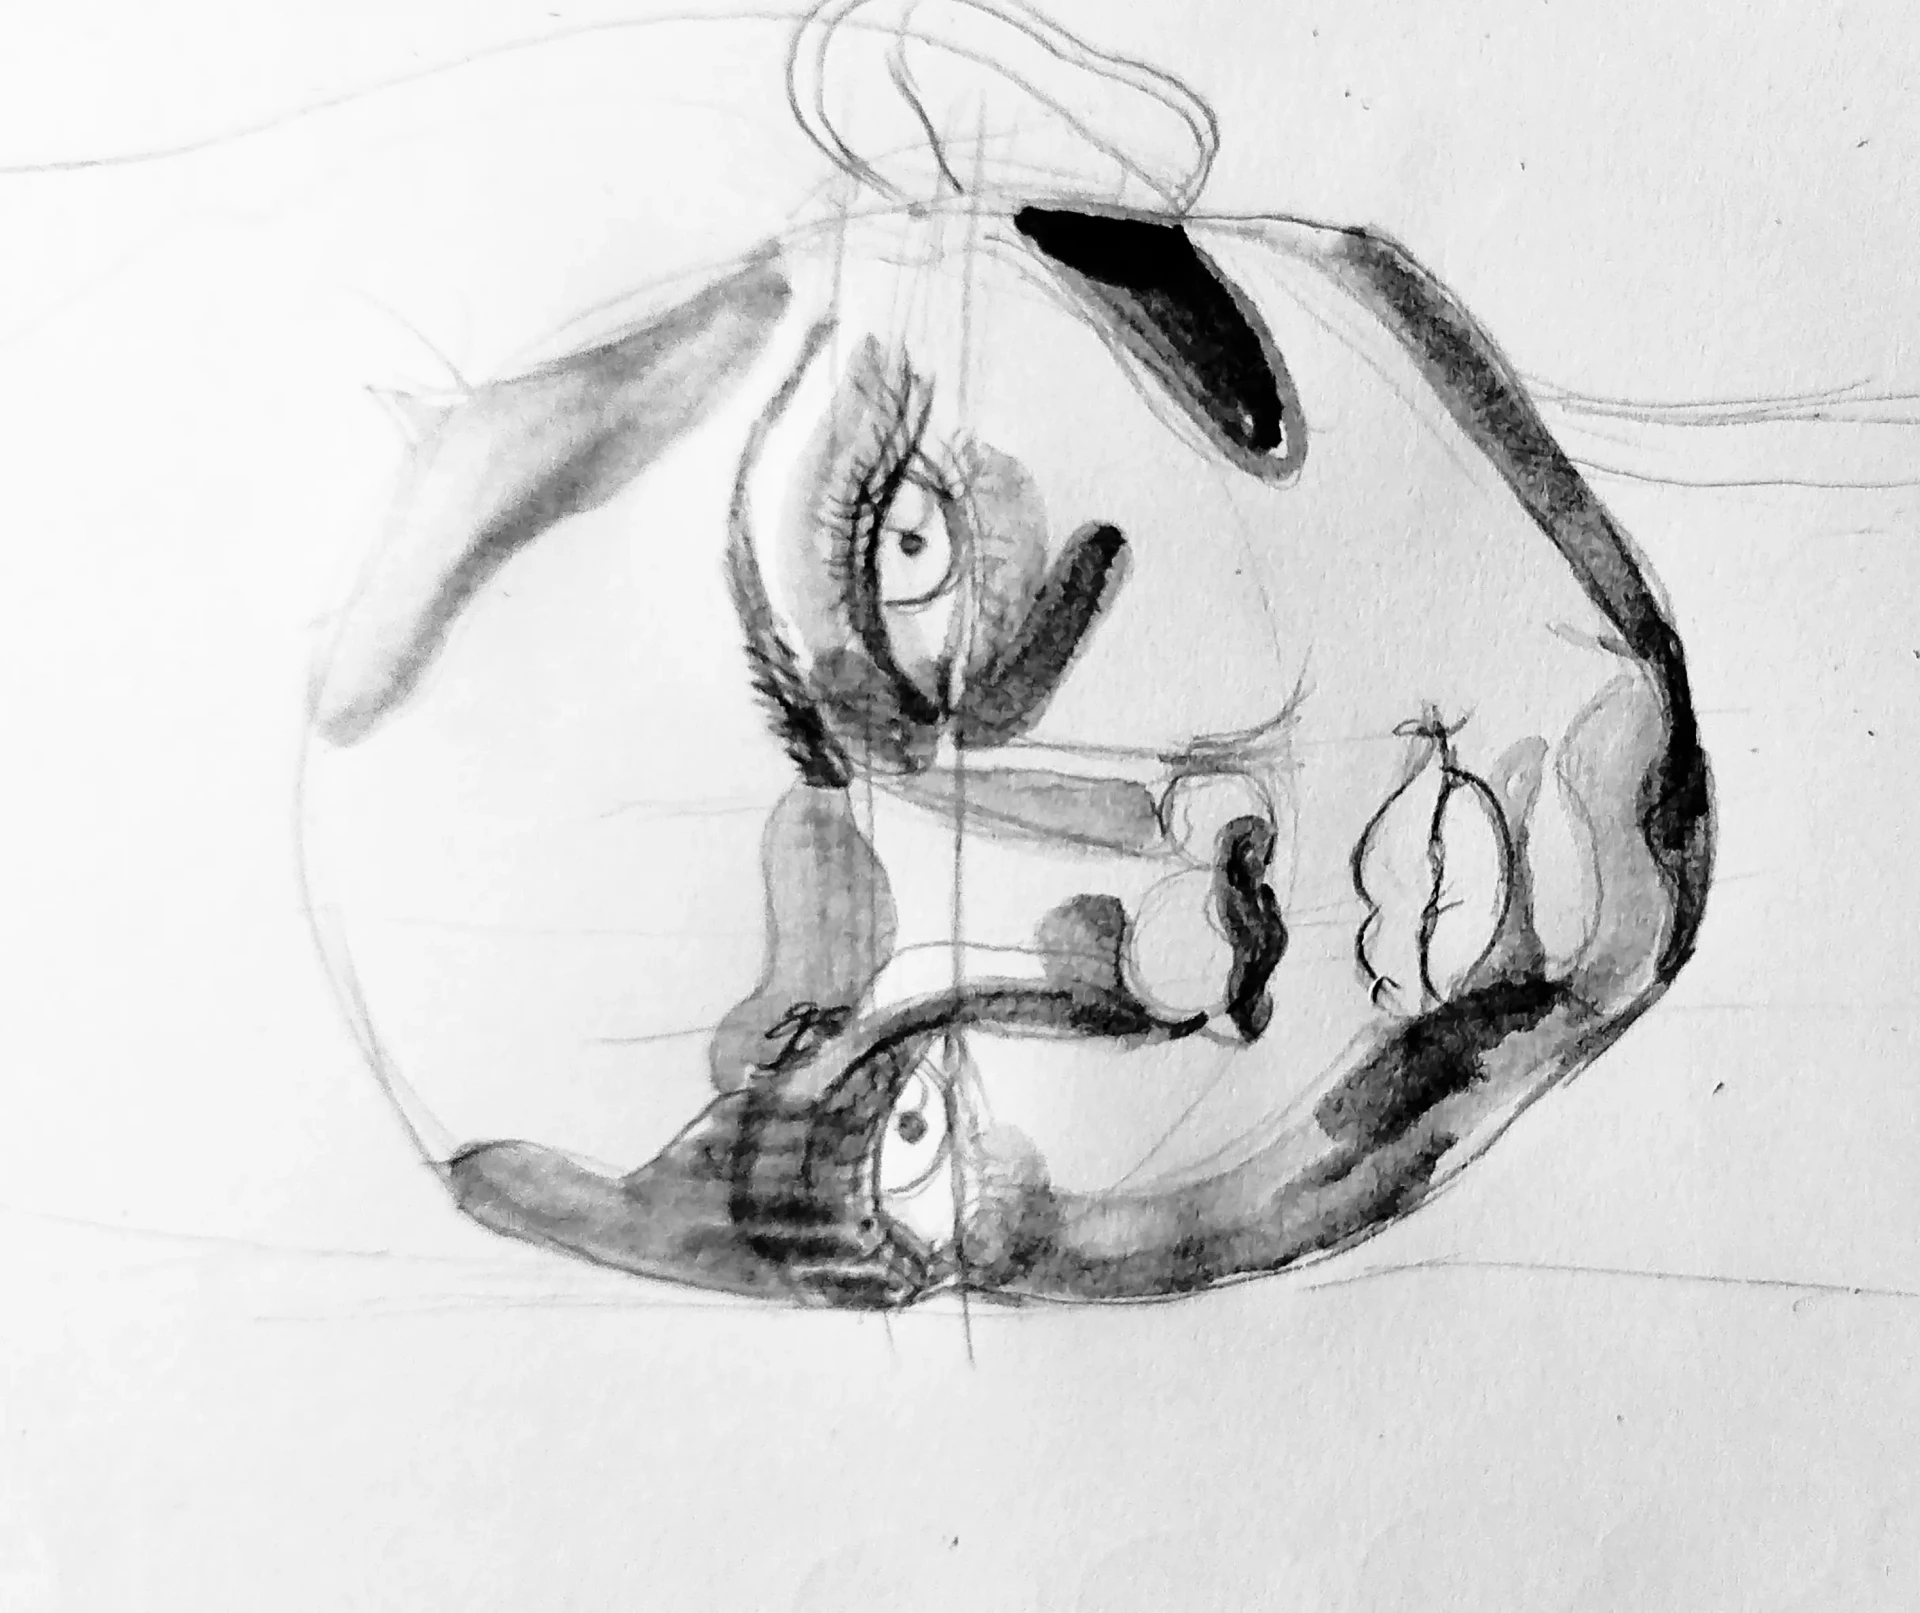
Work on the initial spots starting from the baseline, with a light dilution (70% water, 30% ink). Build the shadows gradually, from the softest to the most intense, gradually increasing the ink concentration.
You can use a brush or a special pen for Indian ink.
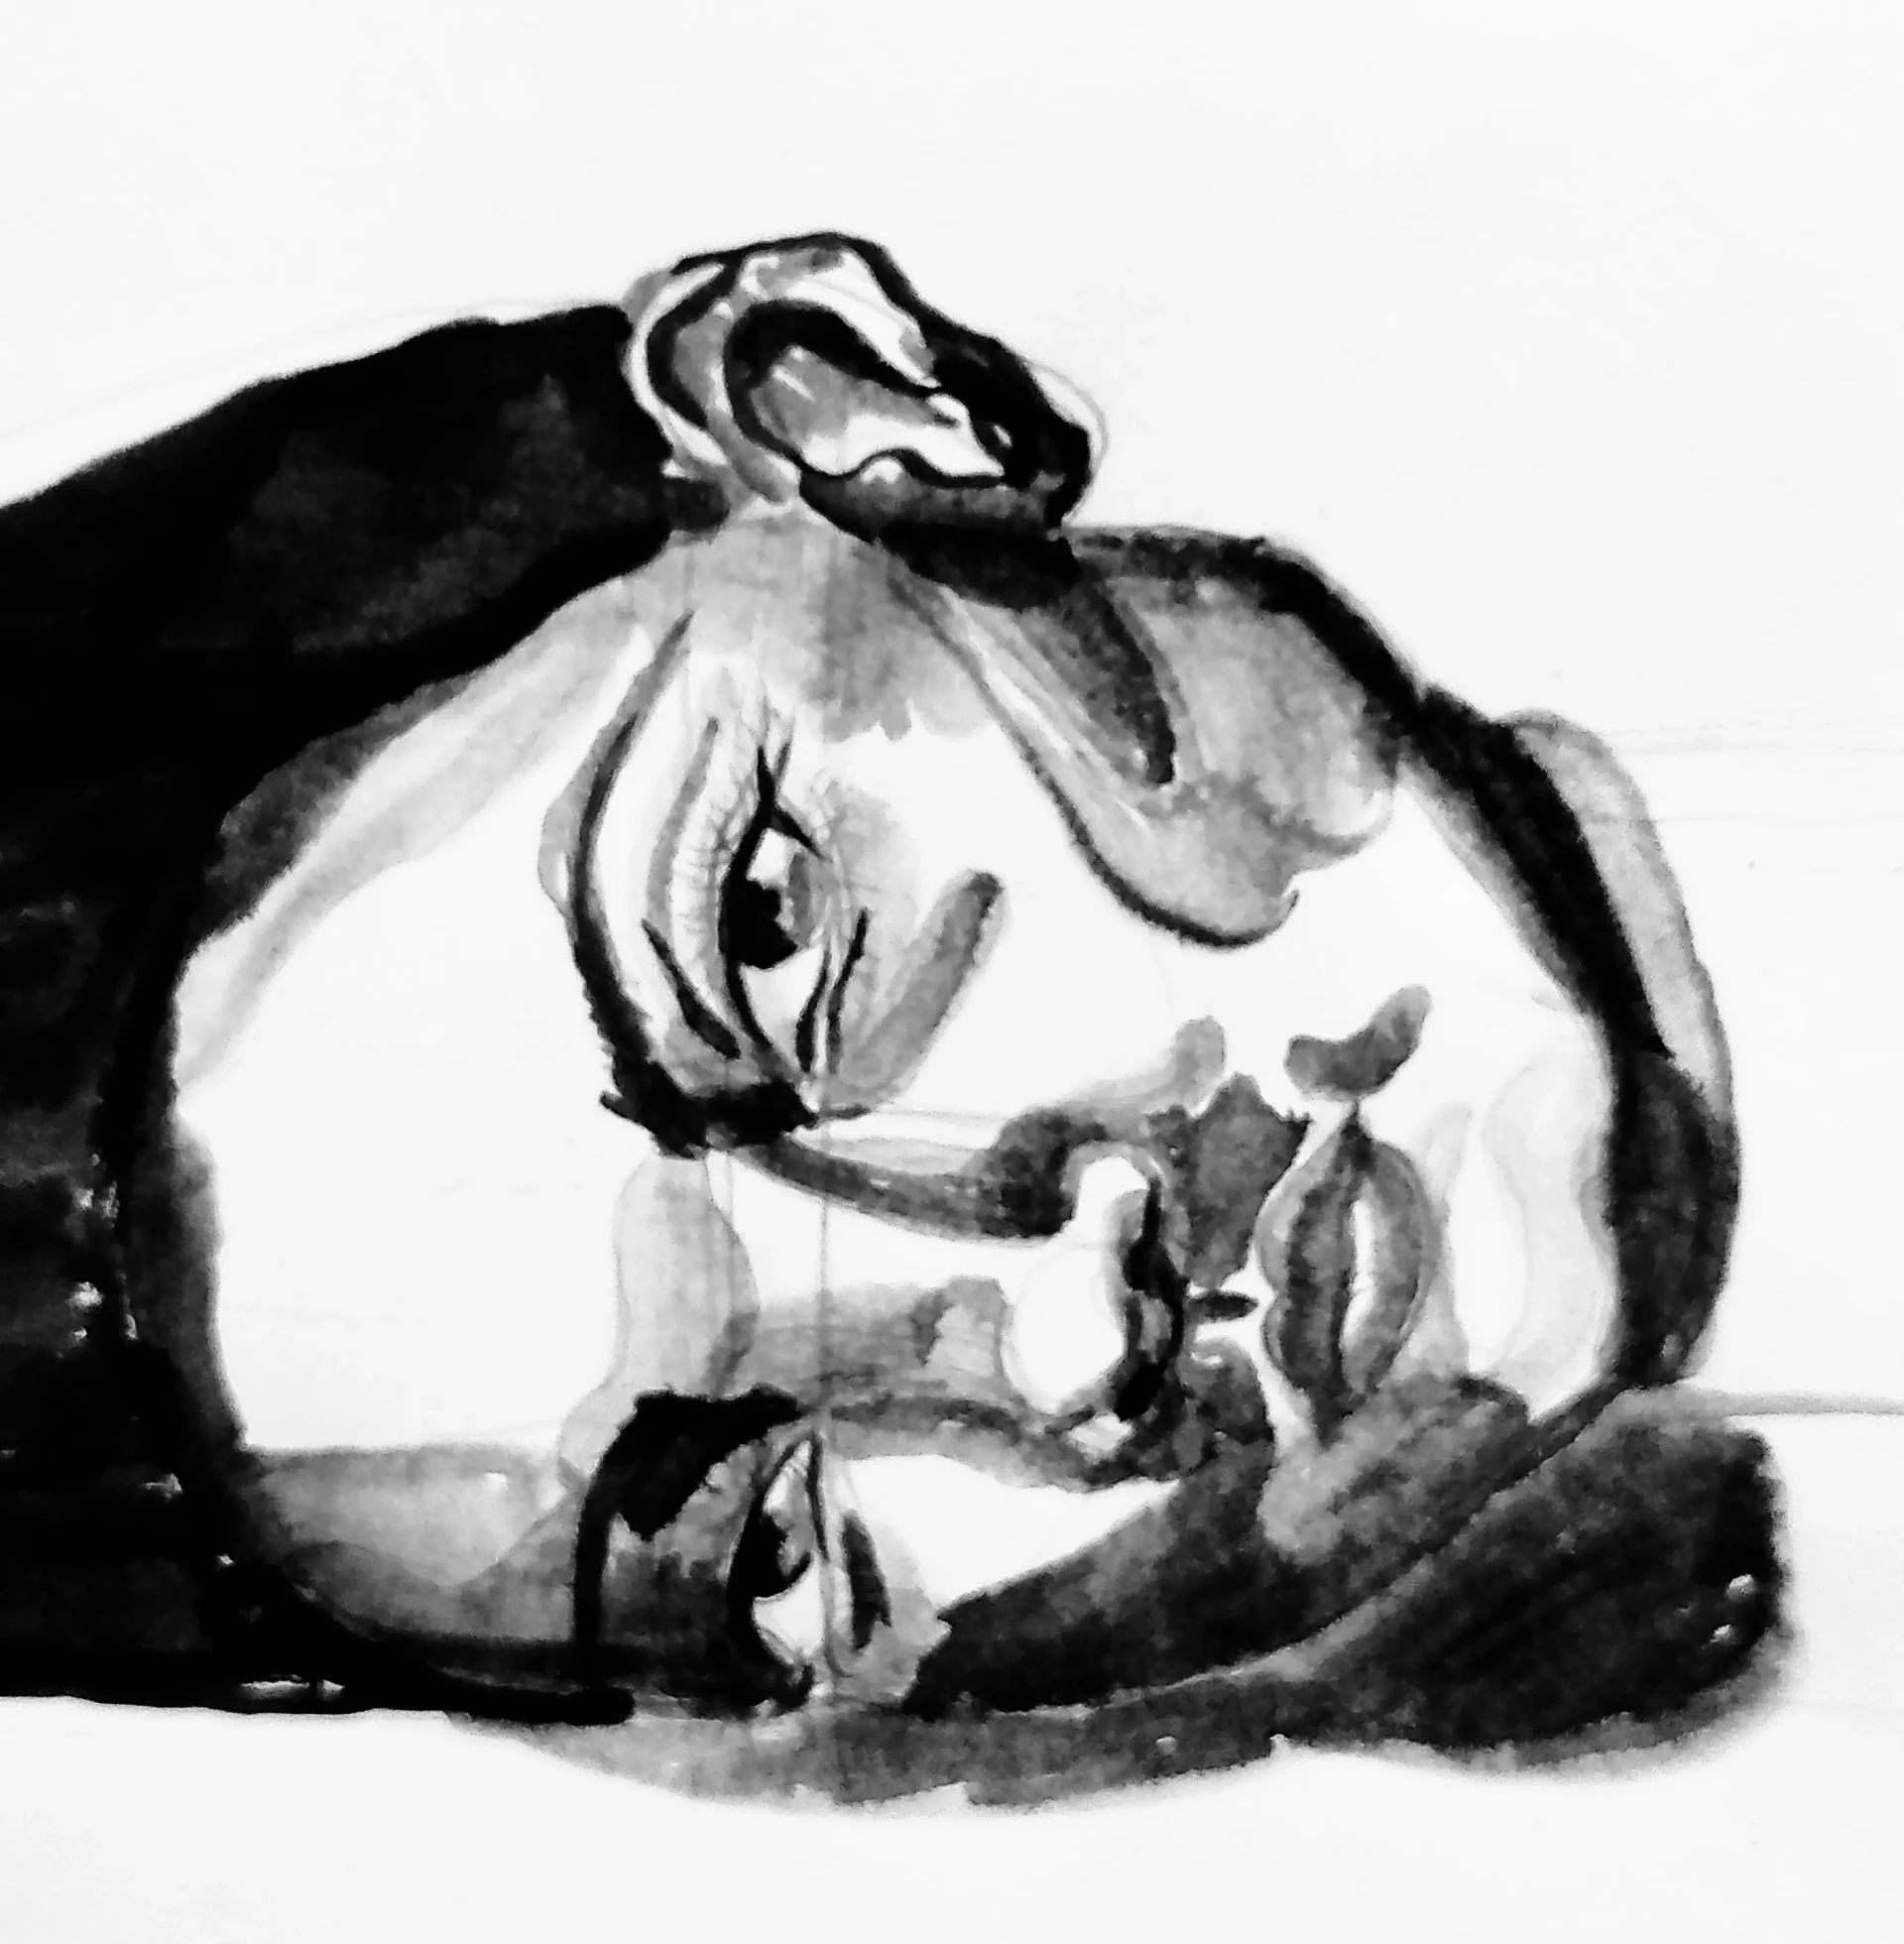
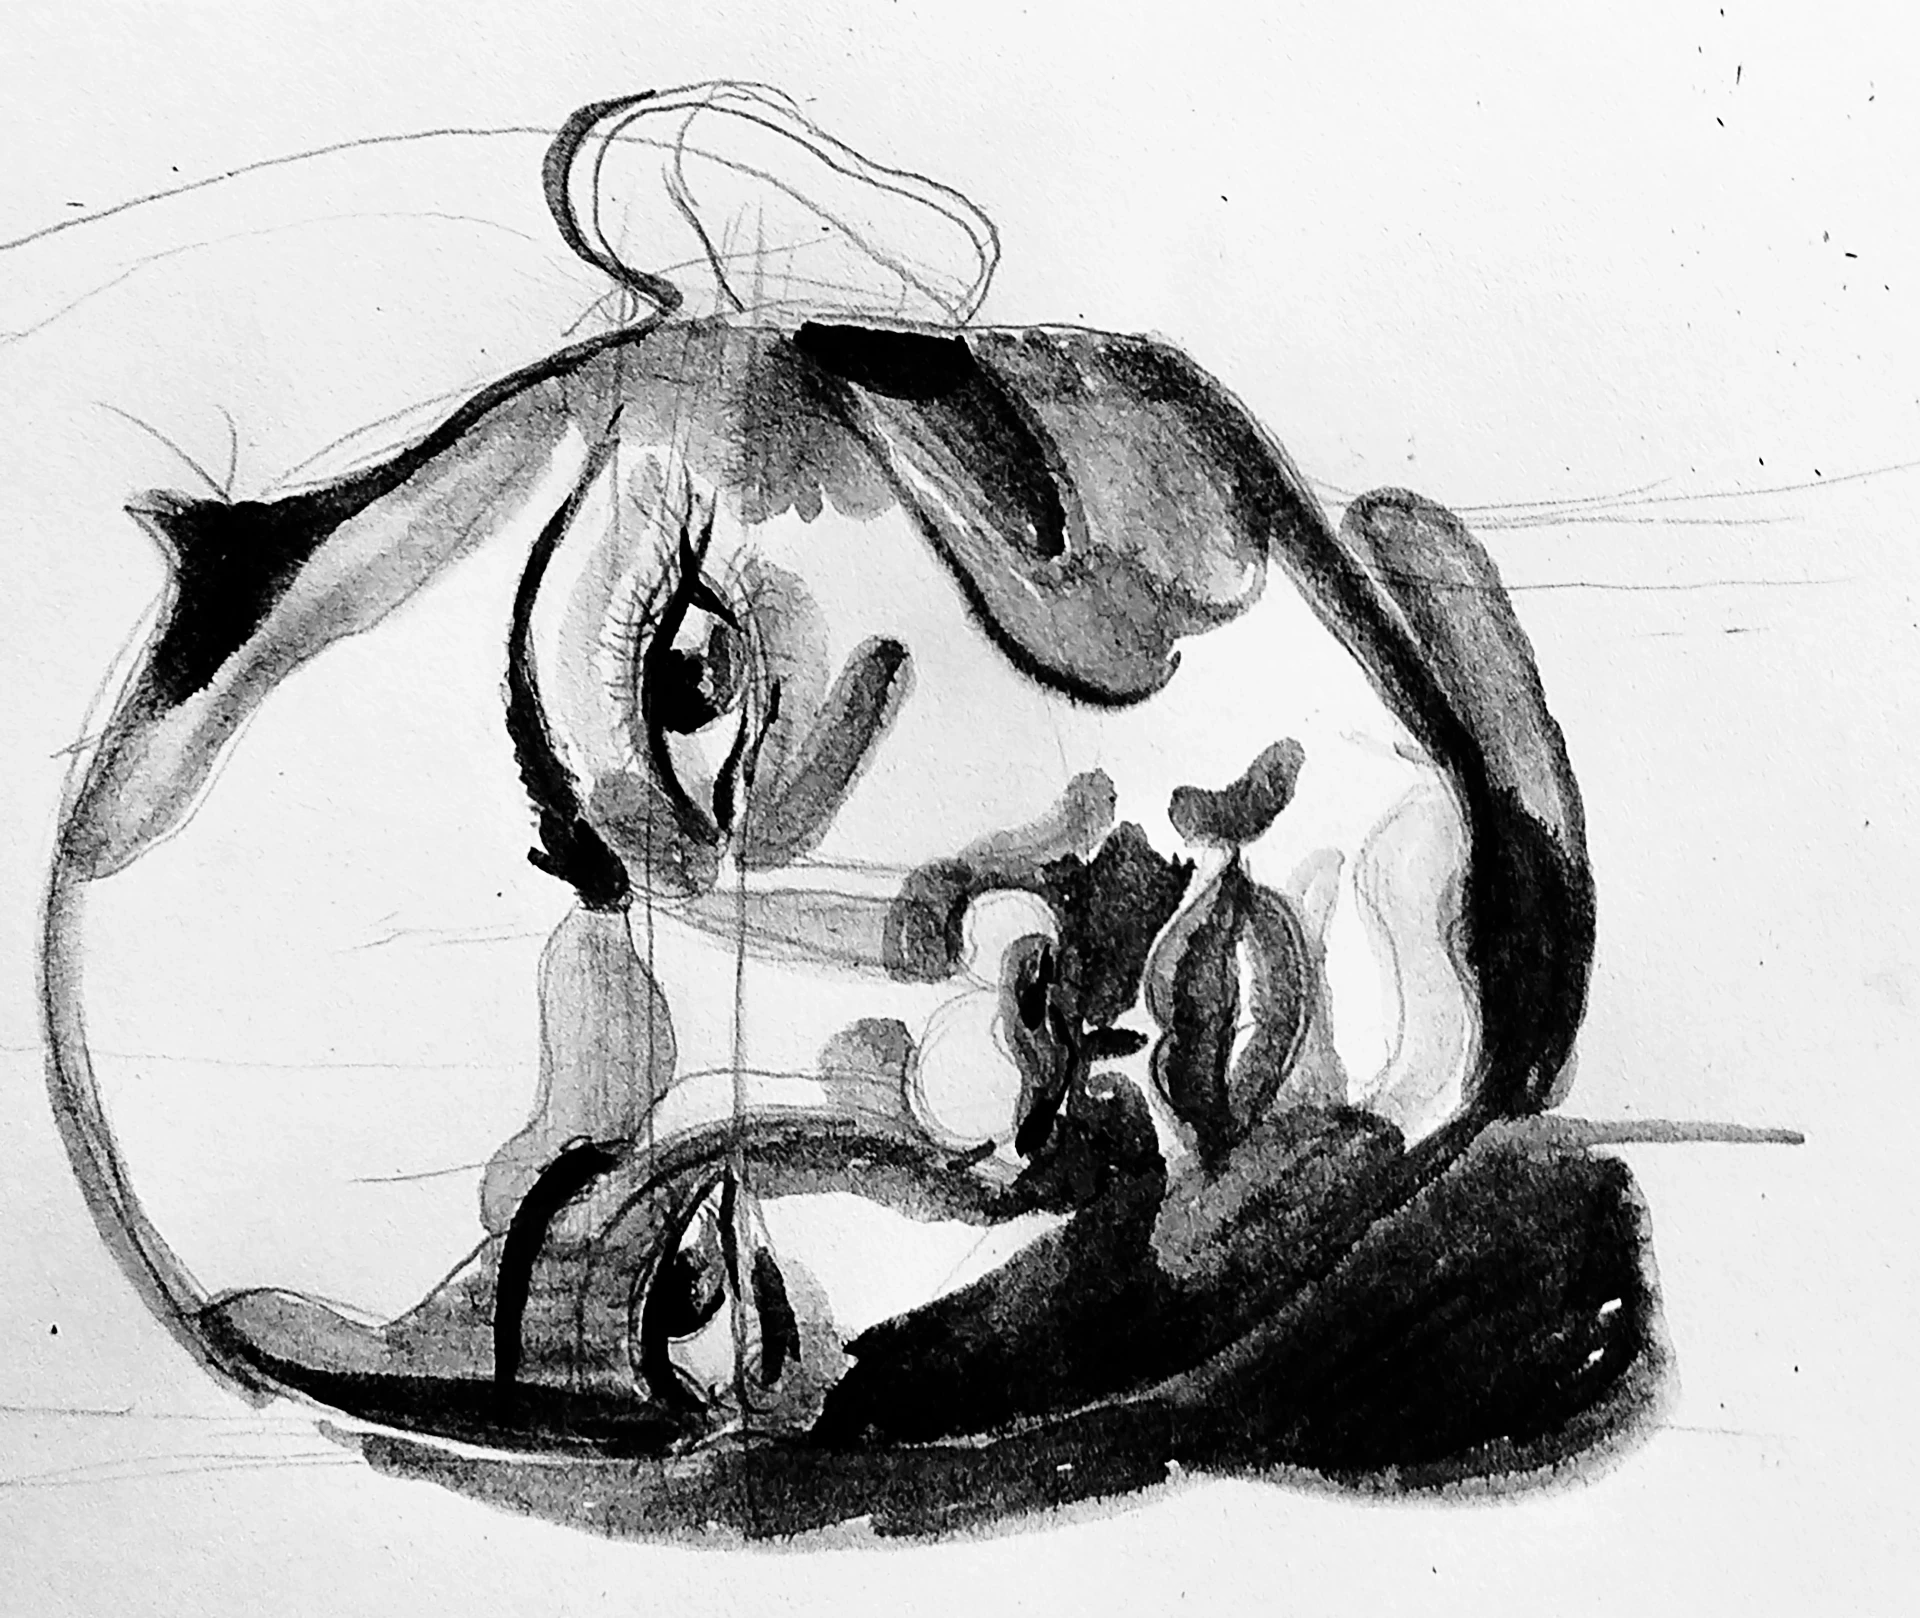
Add shadows to your drawing
Finally, add the deepest shadows. Details can be achieved with a fine brush, a dip pen or an ink pen, using the patterns you experimented with in the first exercise.

Indian ink is a millennia-old technique that, beyond its visual elegance, invites us to explore the relationship between light and shadow and to appreciate the subtlety of each stroke. Working on portraits with this approach enables us to see how a simple mark can transform into emotion and expression.
Every line, every tone, and every texture tells a story. By practicing this technique, we reconnect with an ancient tradition while refining our perception, learning to observe better and to create atmosphere from the basics.
Some additional advice
Before starting your portrait, practice playing with marks and gradients. This will help you better understand the intensity of the ink and its dilution.
- Do not be afraid of mistakes: in Indian ink, they can become interesting visual effects.
- Be careful with the amount of ink loaded onto your pen or brush. Too much ink can cause smudges, too little can leave incomplete lines.
- Always use thick paper or paper specially designed for ink, as thin paper may warp or tear.
- Carefully analyze the areas of light and shadow on your reference. Identifying them in the sketch will guide you throughout the work.
- Alternate stripes and spots to add more depth and texture to your portrait.
- Finally, take the time to enjoy the process: working with Indian ink is both a technical exercise and a practice of patience and contemplation.
Discussion
No comments yet.