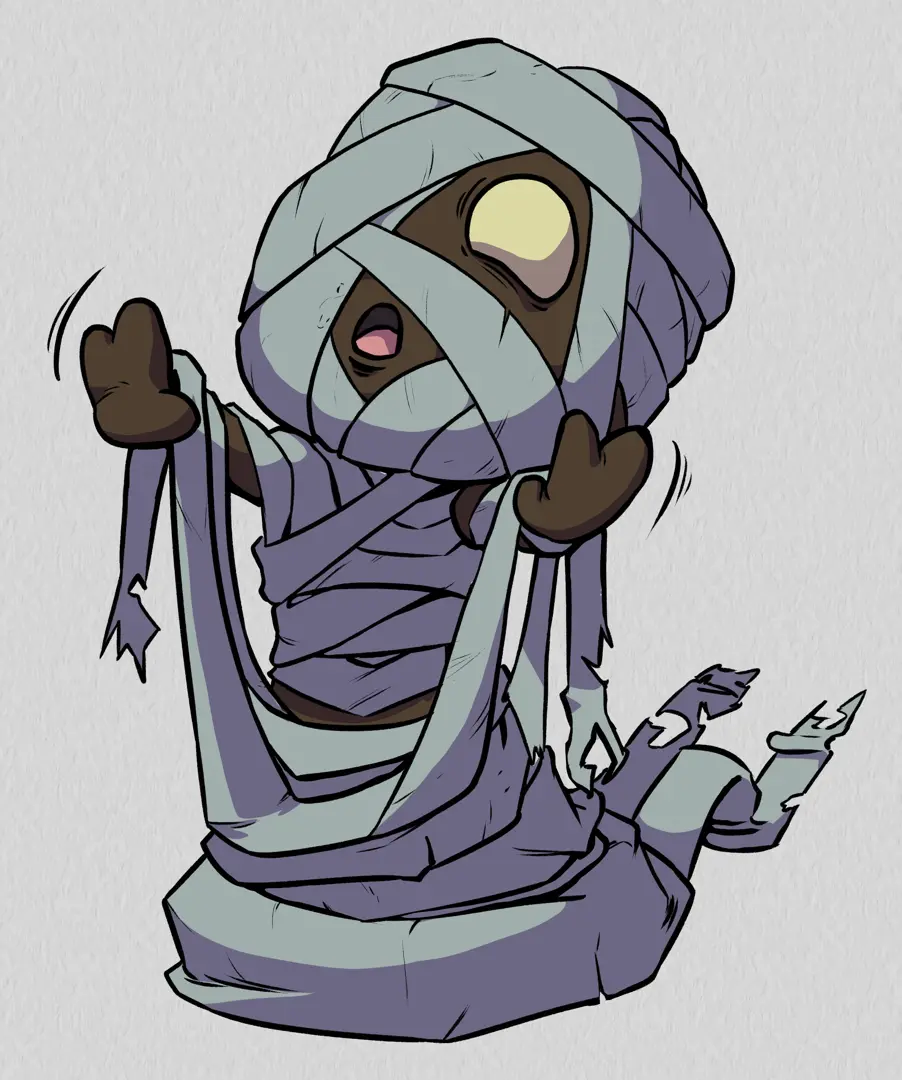
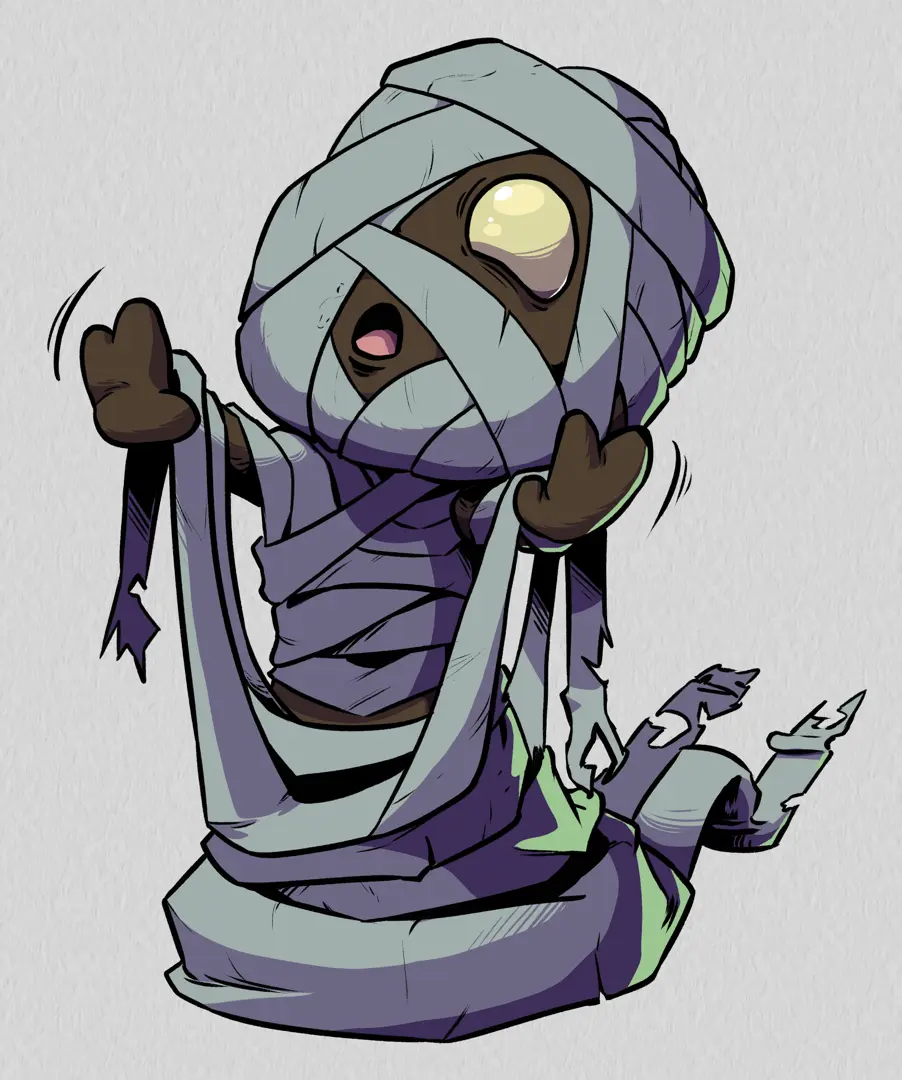
Flat Colours in Drawing
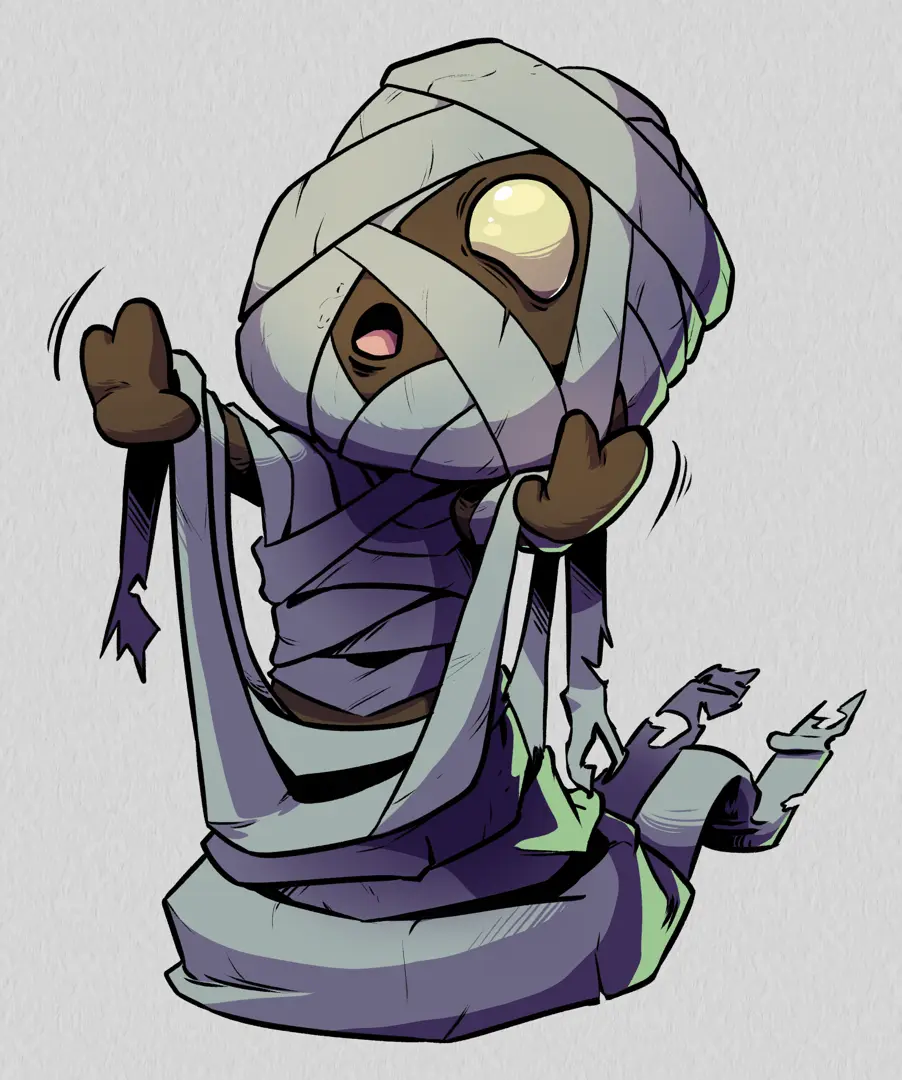
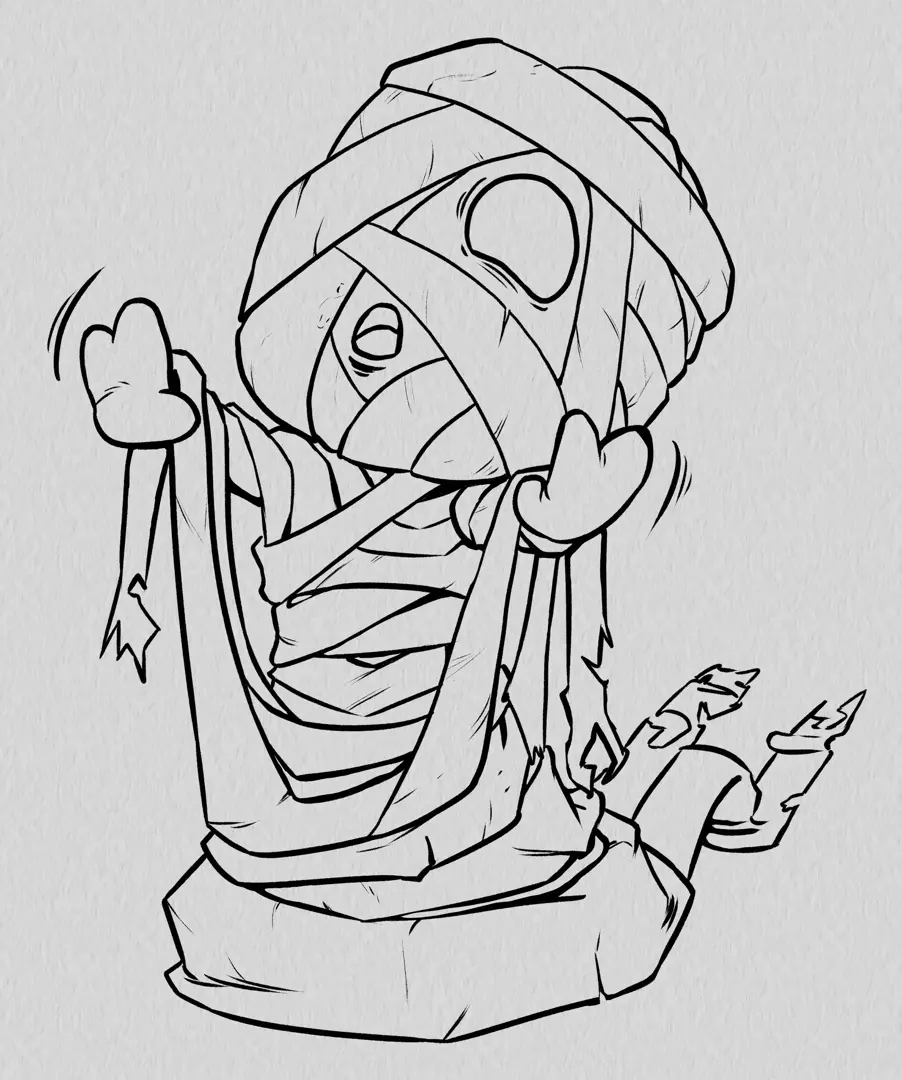
There are different ways to colour a drawing. One of the most popular methods is flat colouring. It is widely used in comics and animation, as well as in illustration. In this tutorial, we'll see how to go from an inked drawing to a flat coloured drawing.
ASSOCIATE SOLID COLOURS WITH EACH AREA: FLATS
The first step is to associate a solid colour with each area of the drawing. This is what we call flats. To do this, we will fill the different parts of our drawing with a solid colour.
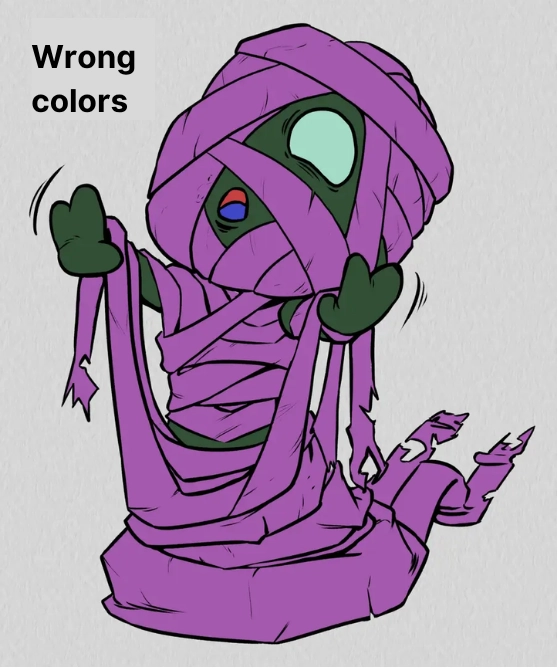
If you work digitally and are not sure which colours to use, you may well start with placeholder colours: these are random colours that identify the different elements of the design. You can then change them with the final colours.
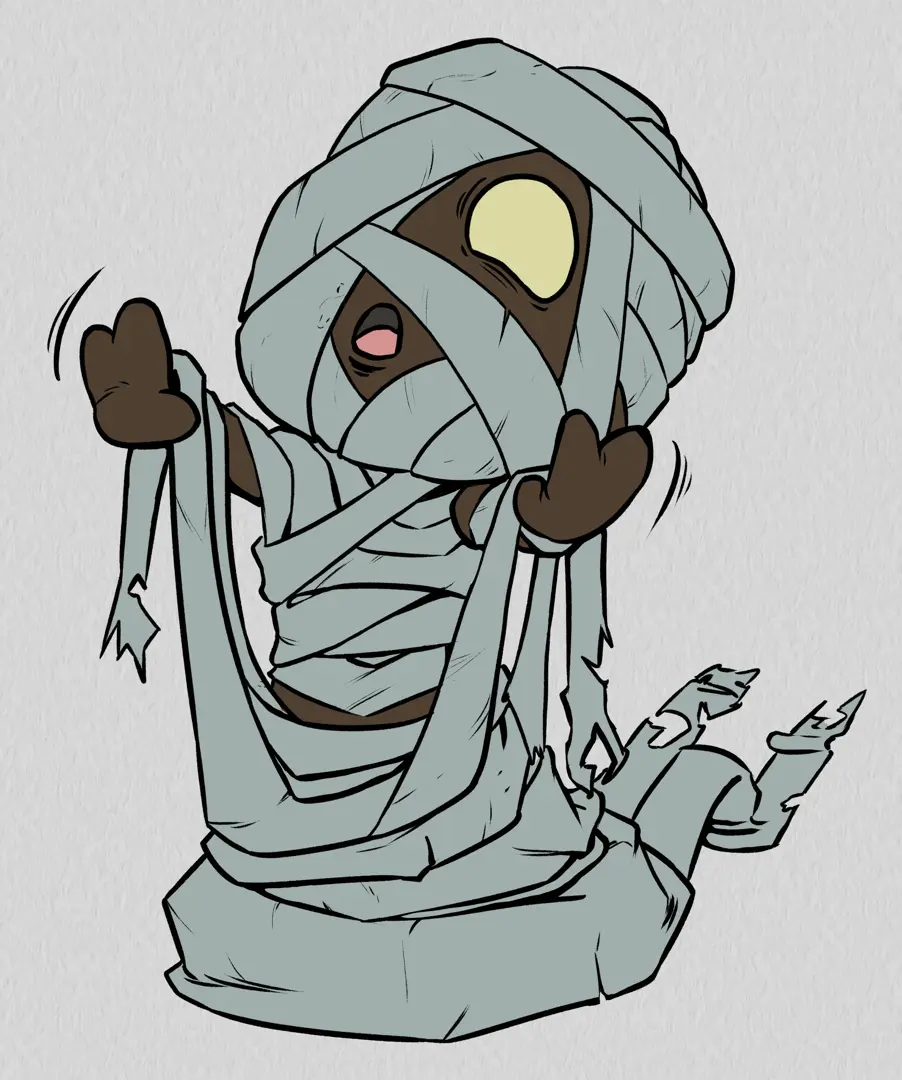
It is important to cover the entire design because volume will be added in these areas. With regard to the choice of final colours, opt for medium tones, i.e. colours that are neither too light nor too dark. The aim is to be able to blend and highlight them later.
DRAWING FIRST LEVEL SHADOWS
If the flat colouring stage is relatively easy, shading requires a little more thought. In fact, unlike traditional shading, gradients cannot be used here, which complicates the rendering of curved surfaces. It is necessary to choose a shadow colour and apply it to the entire shaded area.
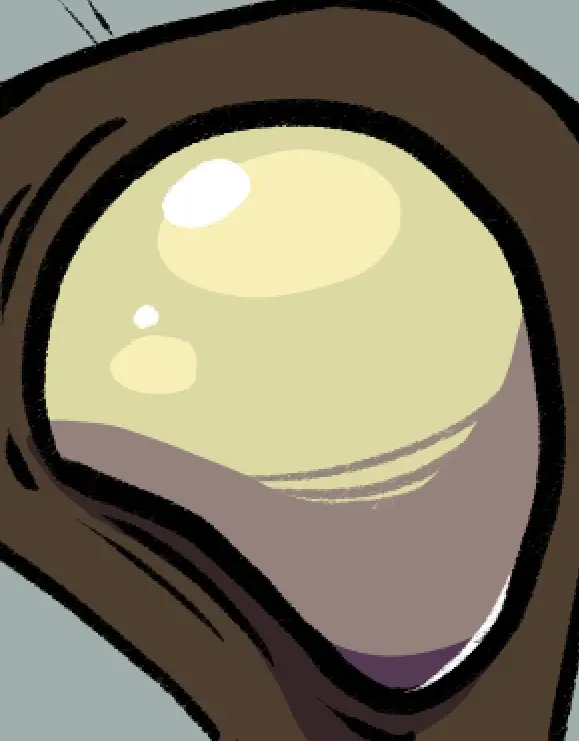
To fully understand how to choose the colour of the shadow and especially the area it should cover, I will give you an example. Let's take this area of my drawing:
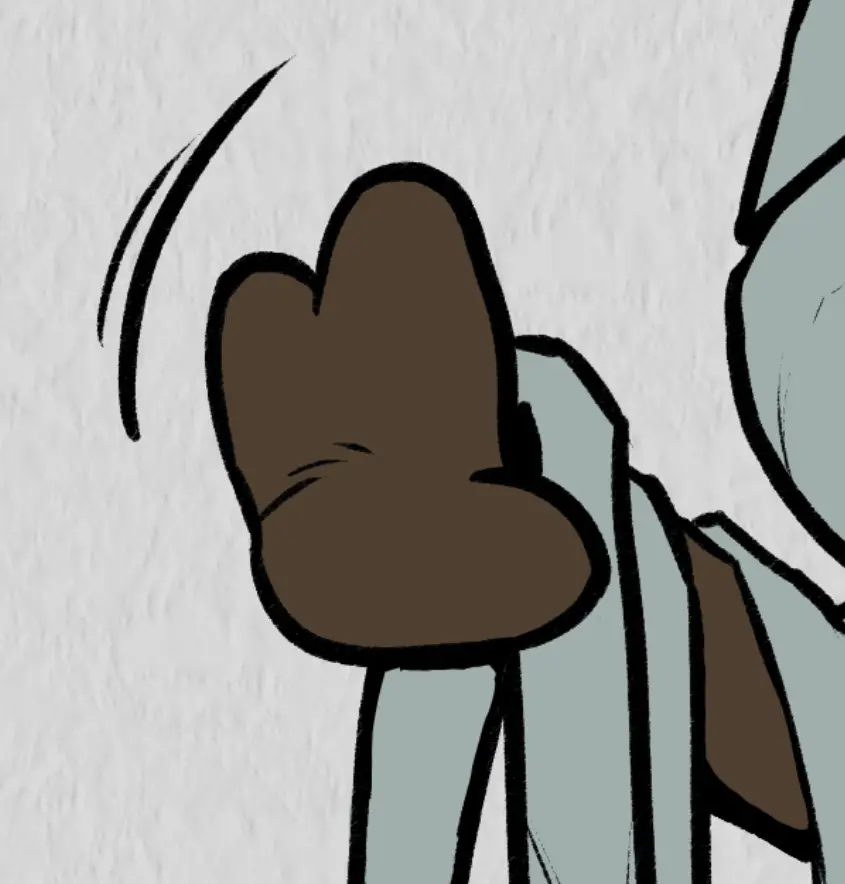
The surface on this part is curved. If I shade it classically with a gradient, I get this:

As you can see, I have several shades in my gradient, which are applied at different levels. I will choose one, which will determine the colour and area of my shadow. The darker the chosen colour, the smaller the area covered, and vice versa for a light colour.

For a first level of shading, a larger surface area is preferable, so I will choose a colour closer to the second example.
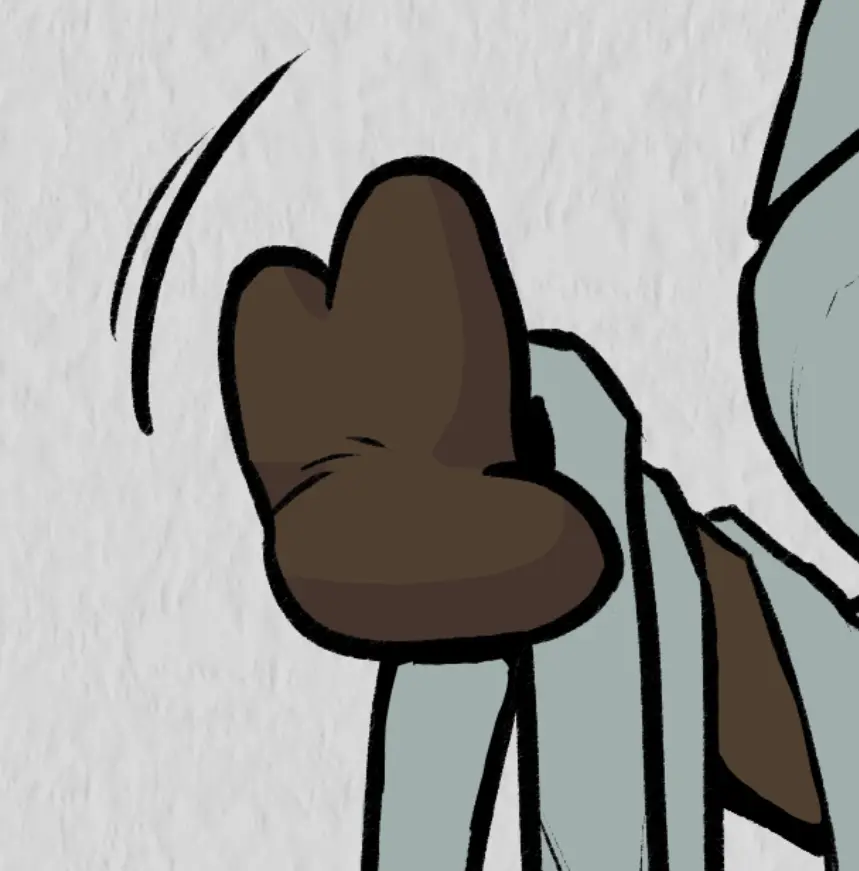
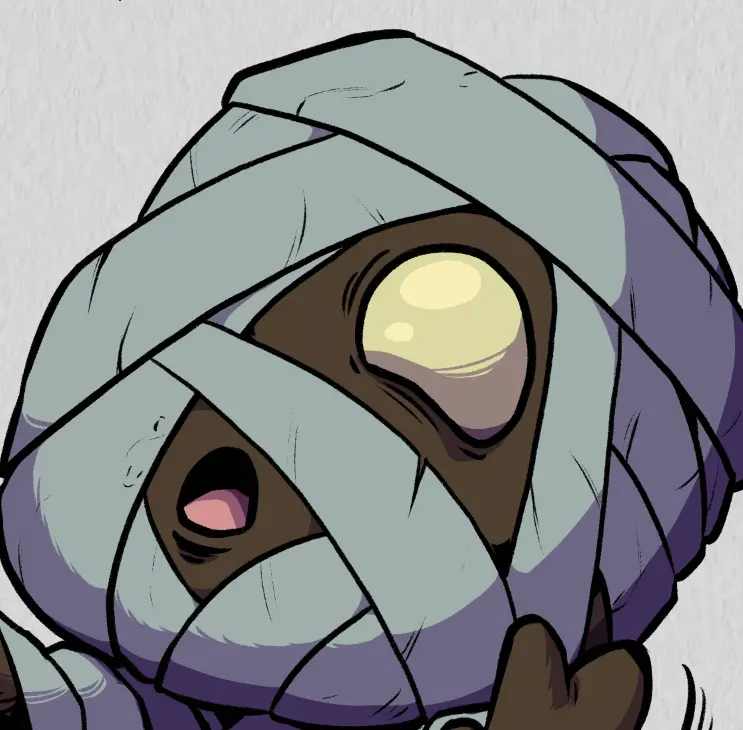
I repeat the process on my entire design and this is what I get:
Some areas are still too sharp and do not give a sufficient illusion of roundness. To solve this problem, I will apply cross-hatching. This is the tool that will allow me to simulate gradients. I advise you not to overuse it, the aim is still to maintain a "flat" appearance.
THE VOLUMES
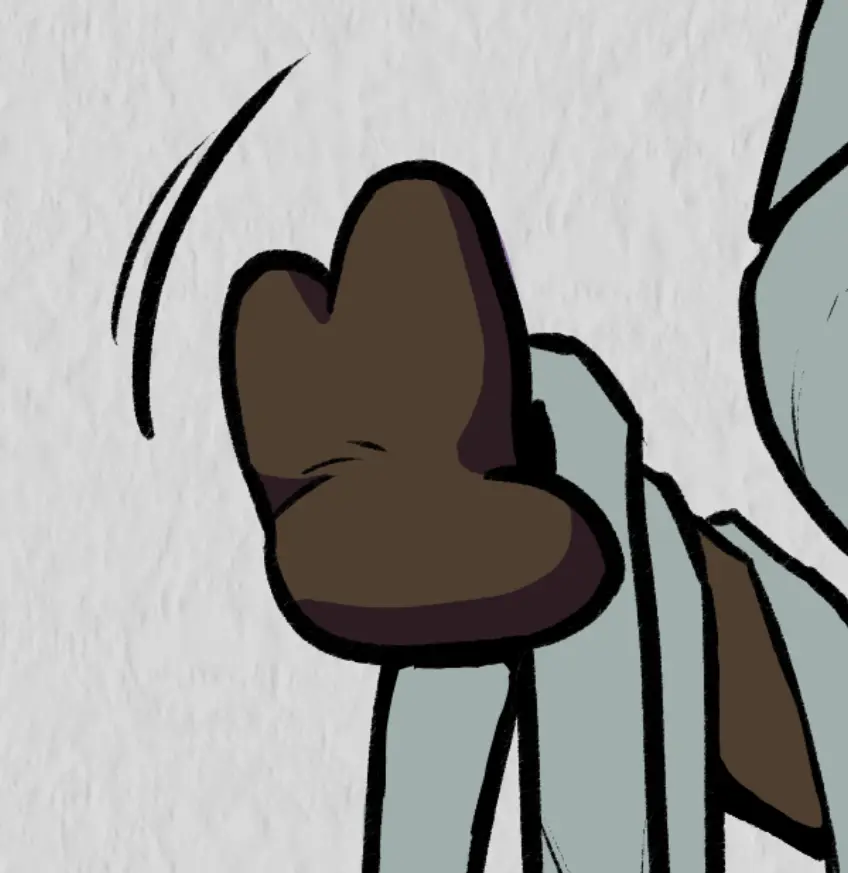
Now that our design has some volume, we can improve it a little more. Following the same principle as in the previous step, I add second-level shadows: they are darker, but inevitably cover less surface area. I place them where the light arrives least, usually to represent cast shadows.

You will notice that I have again used a darker shade, but not black. In fact, I reserve full black for the inking of the drawing, but also for the really dark areas. Similarly, I use hatching to give the illusion of shading.
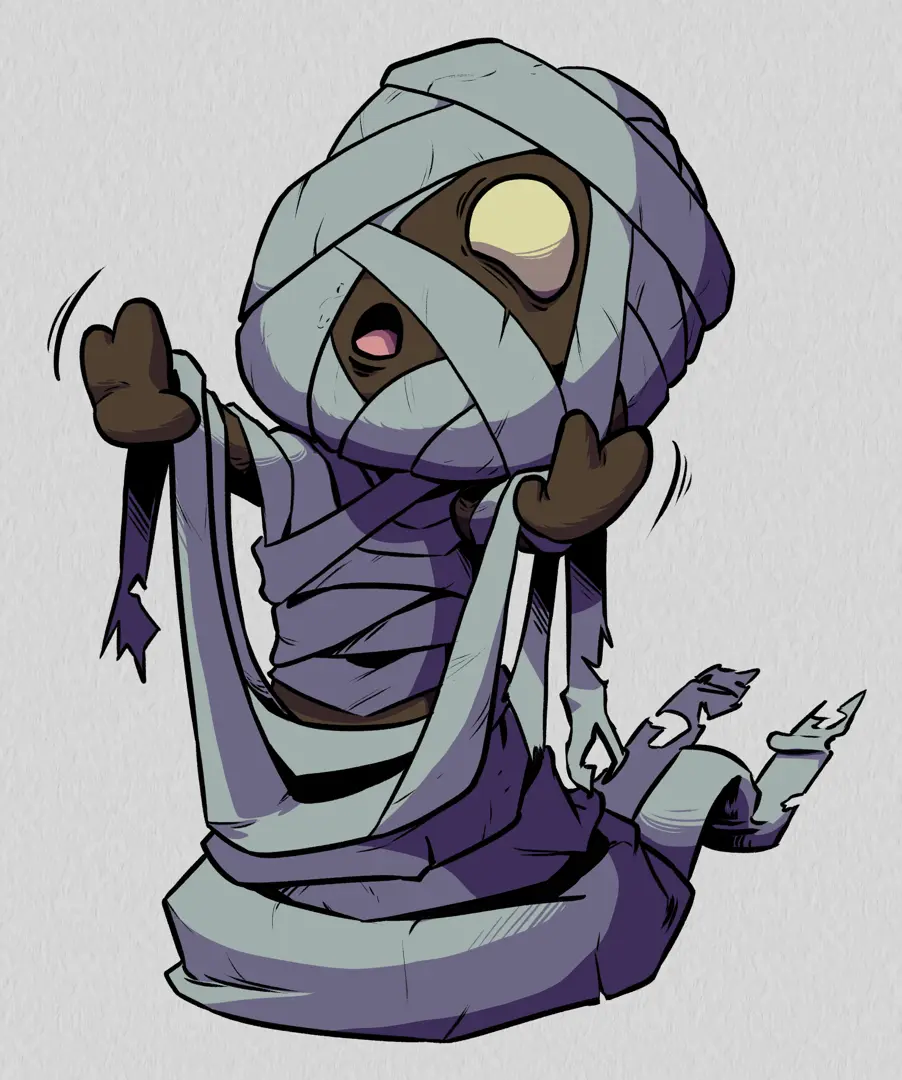
We will finish this phase by adding areas of light. As with the shadows, we will focus on a first layer of lights that we can eventually lighten later. To position these areas, it is a question of balance: if the shadows are very pronounced, the lights must be softer and vice versa. The objective is to maintain space for the basic colours to breathe.
For lighting, we reserve pure white for small details such as reflections.
A second light source can be added. It is usually more colourful and less bright than the main light.
APPLY GRADIENTS TO YOUR DRAWING
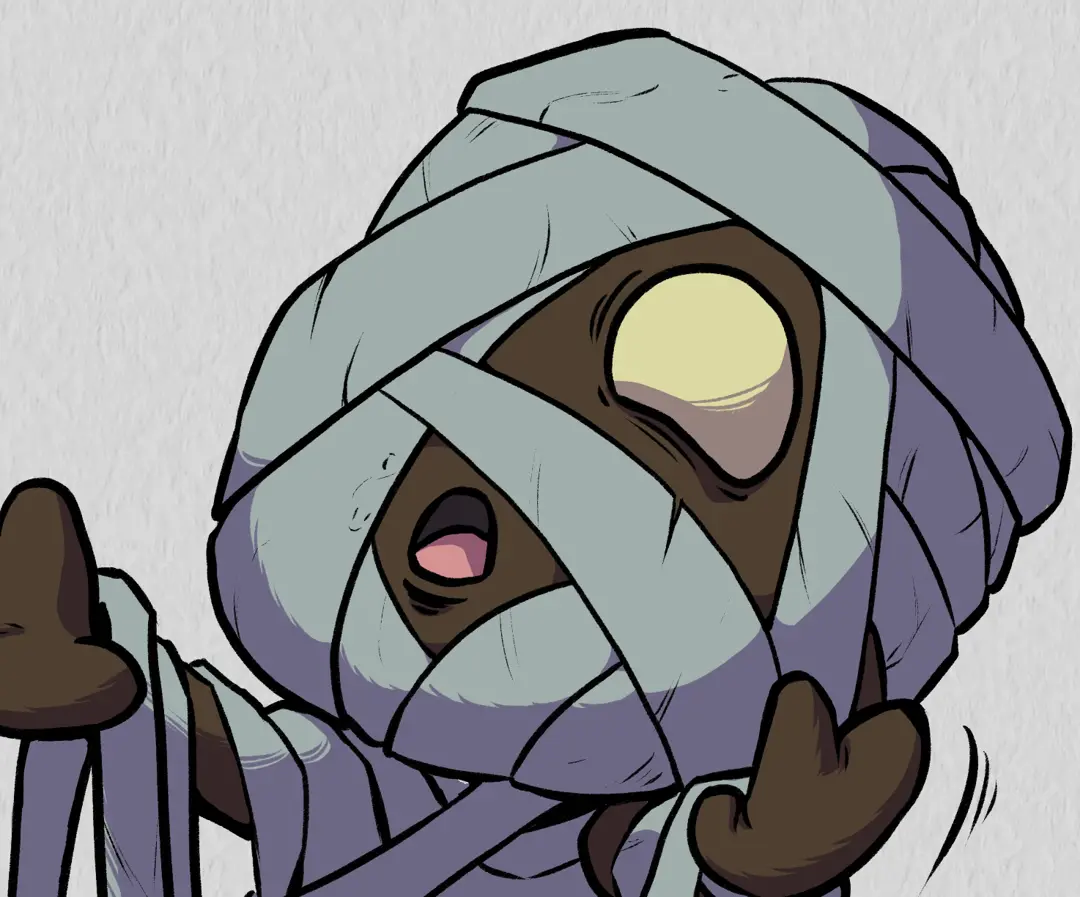
Our drawing is technically finished. You can keep it in its current state or apply some touch-ups. A common finish is the addition of shading to shade flat colours. They must be subtle and not overpower the flat areas. For this reason, they are applied discreetly and care is taken to keep the boundaries between the different areas of the drawing very clear.
In digital, you can do this on a layer over your drawing. In traditional, you will need to use a translucent technique (wash painting, very light markers, light layer of coloured pencil…) so as not to damage your flat colours.

As you can see, I added some gradients to accentuate the highlights and deepen some of the shadows, but my areas remain quite readable: the highlight is the flat colours!
BRINGING CHARACTERS TO LIFE
Do you like your flat colour design but wish to give it a bit more character? Why not use textures and patterns to add more variety to your flats. You can also use gradients for your base colours and add your volumes in flats, which will bring more life to your characters. There are multiple possibilities, don't hesitate to experiment with your colours and areas!
Discussion
Thank you, it's very clear and precise. This will help me a lot with digital coloring.
Christophe
When choosing the right color for shadows in flat coloring, consider the following steps:
Thank you