How to Draw a Motorcycle
In the world of drawing, the first step often involves breaking down the object you want to draw into simple shapes. Today, I'm going to share with you a detailed and effective tutorial on how to draw a motorcycle.
THE STRUCTURE OF A MOTORCYCLE
Drawing a motorcycle is not easy at first glance, but with the right method and lots of practice, you will surely be able to gradually create a drawing with a beautiful finish. Hopefully this tutorial will help you understand the different steps to effectively draw a motorcycle so fast!
To learn how to draw a motorcycle in a simple way, it is essential to start with basic shapes: draw two triangles for the frame and handlebars, and two circles for the wheels. These simple shapes are the foundation of your drawing.
Next, we add some details such as the saddle, engine and brakes that will make the design much more realistic. The correct positioning and proportionality of these elements are very important.
Finally, we erase the guideline lines and add shadows that will give the drawing more depth and more realism.
In summary, you will need to consider the basic structure, details, positioning, proportion, and finishes when designing your motorcycle.
DRAWING MATERIALS
For this drawing, you will need:
- A sheet of paper
- A pencil
- A compass for circles
- A rule
- An eraser
DRAWING A MOTORCYCLE STEP BY STEP
THE MOTORCYCLE FRAME
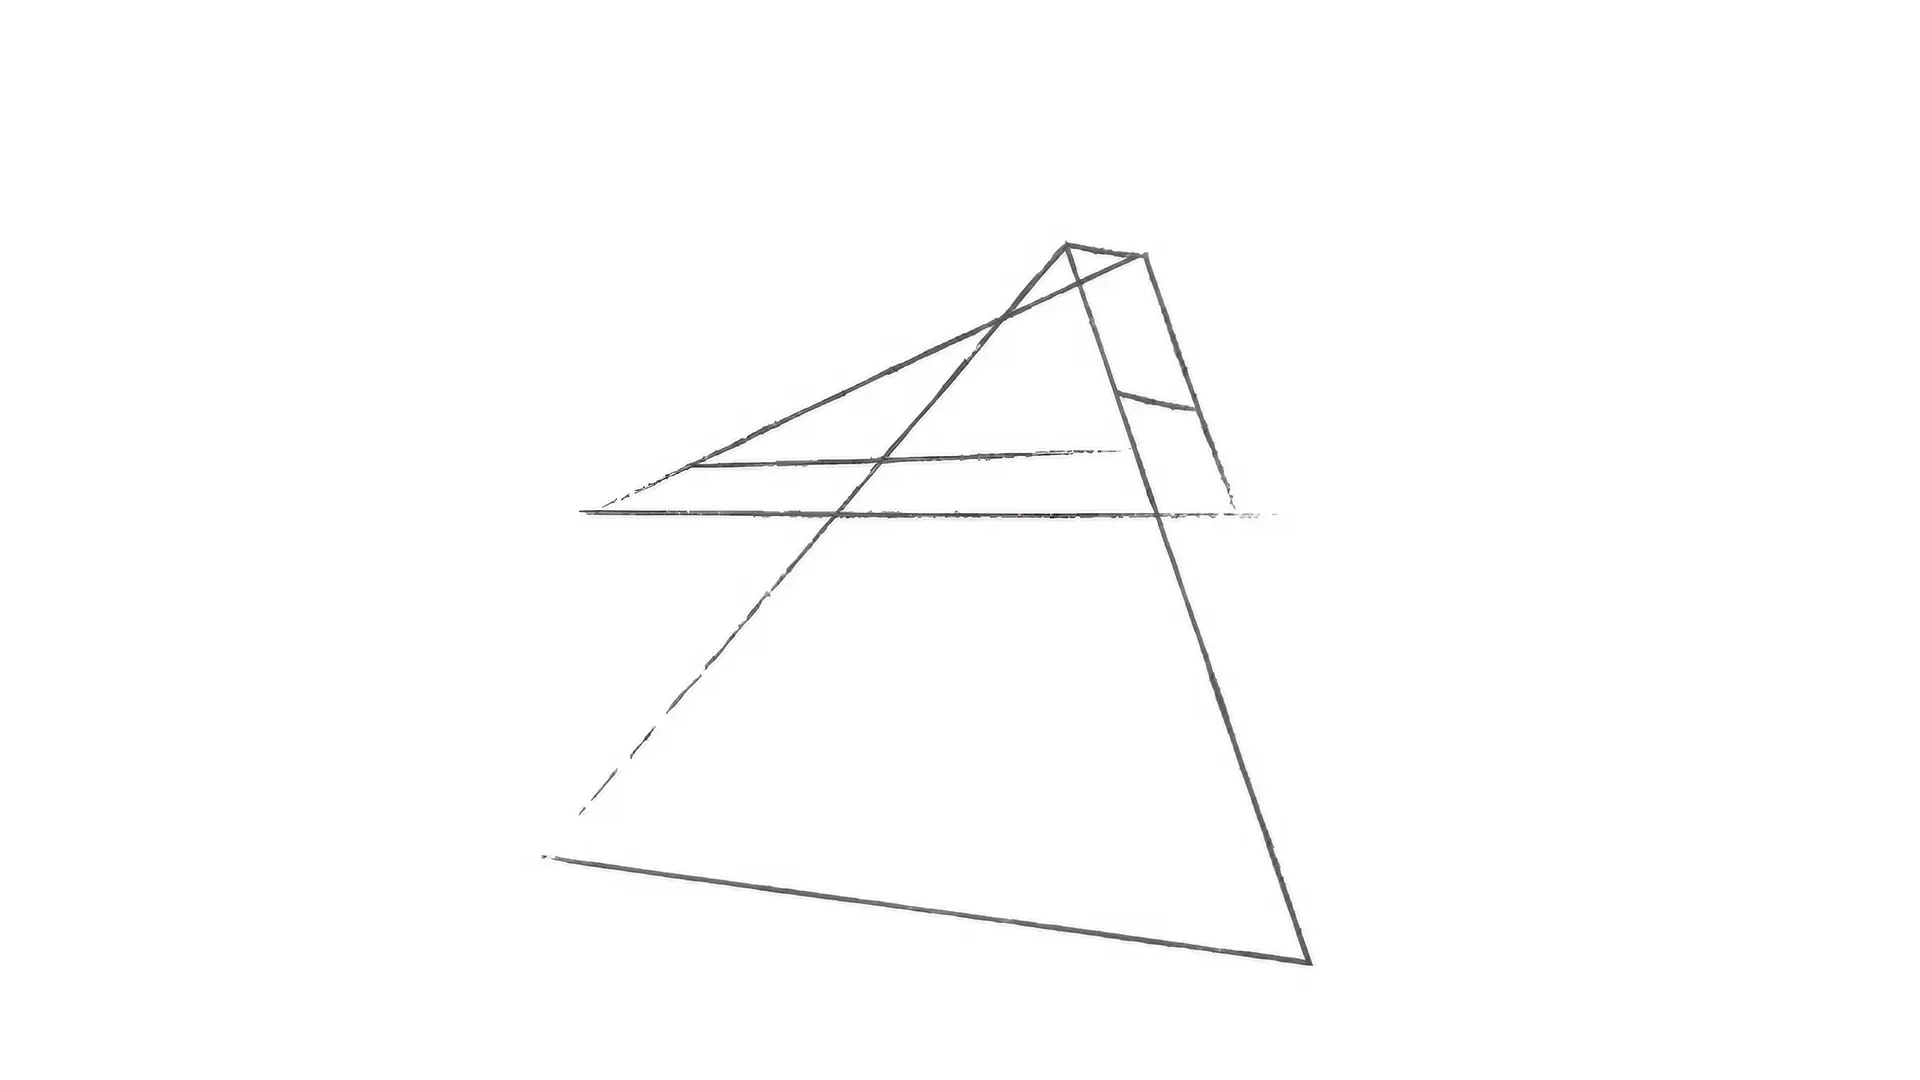
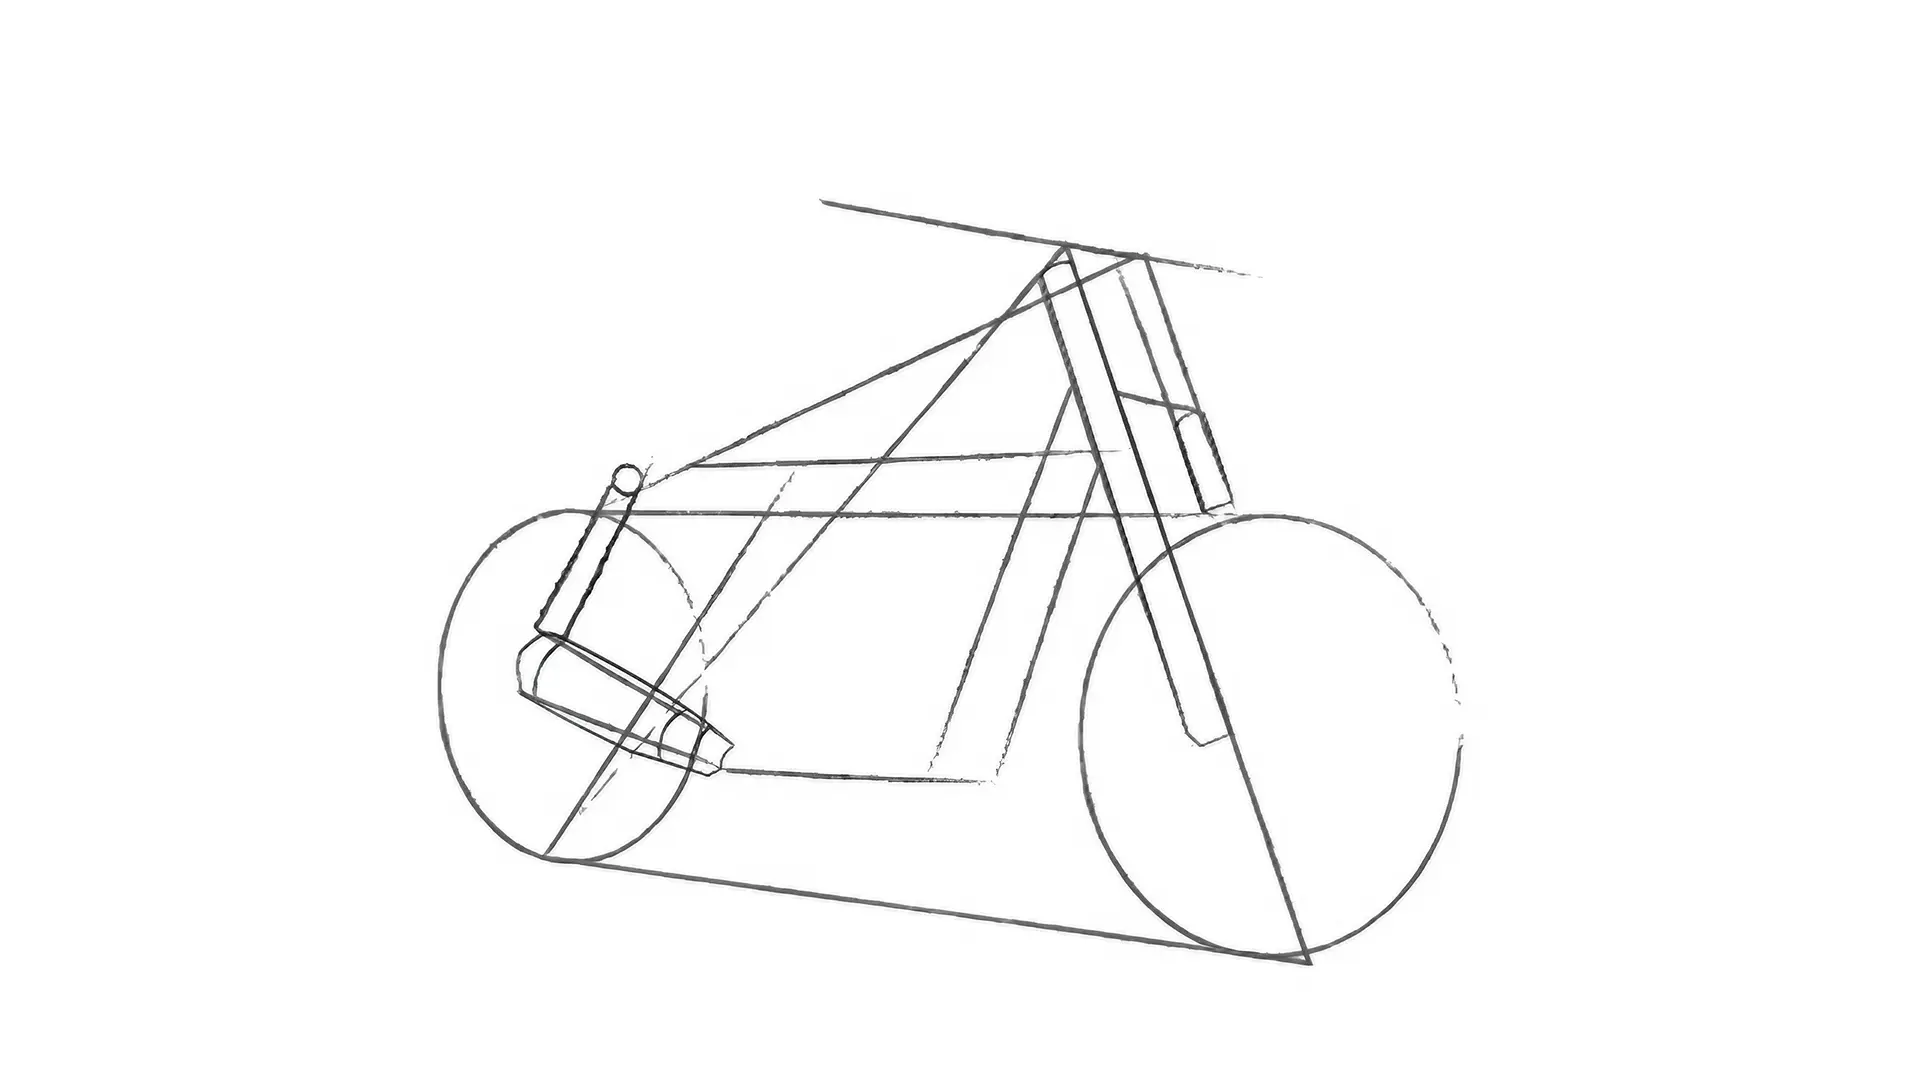
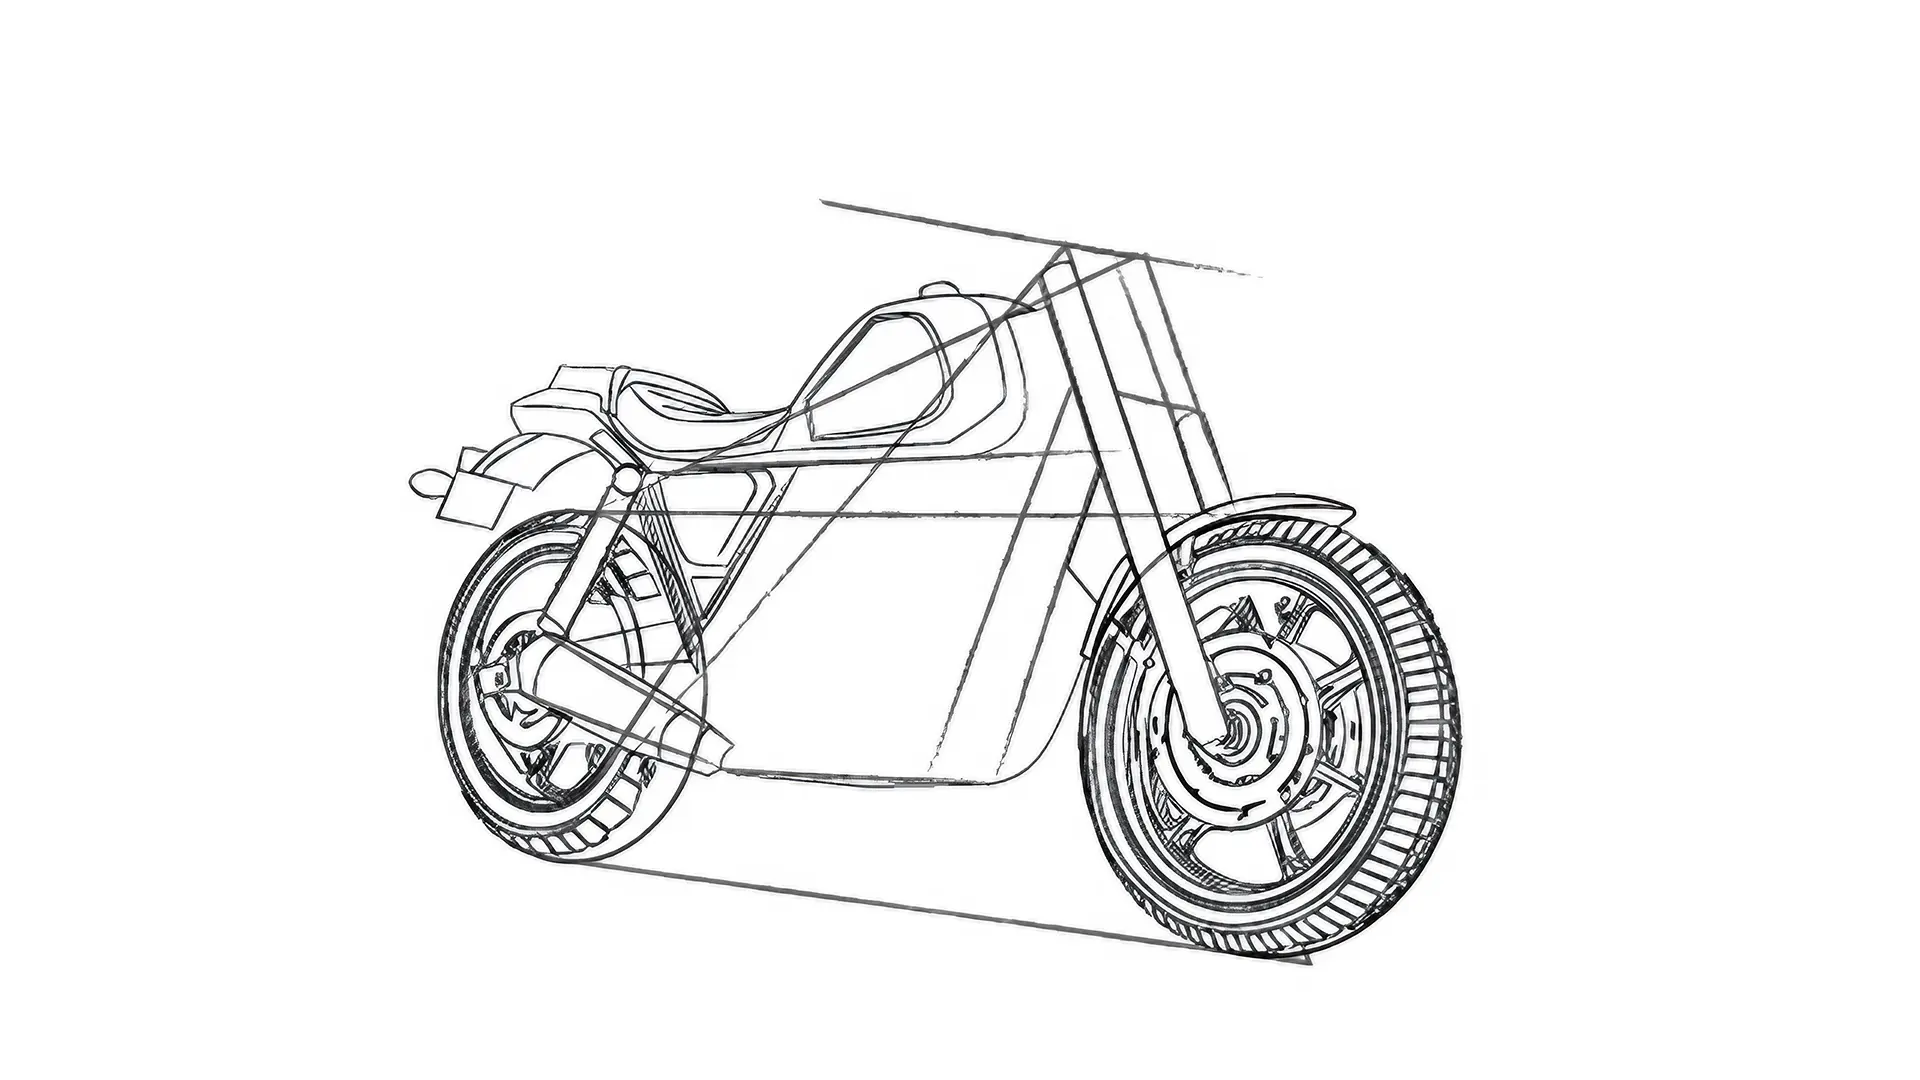
Start by drawing a triangle for the motocycle frame. This will represent the main structure of your motorcycle.
At the top of the frame, draw a second, smaller triangle. This will represent the motorcycle's handlebars.
DRAWING THE WHEELS
Draw one circle for the front wheel and another for the rear wheel. These circles must be drawn so that they touch the base of the triangle representing the frame.
Add Parallel Lines.
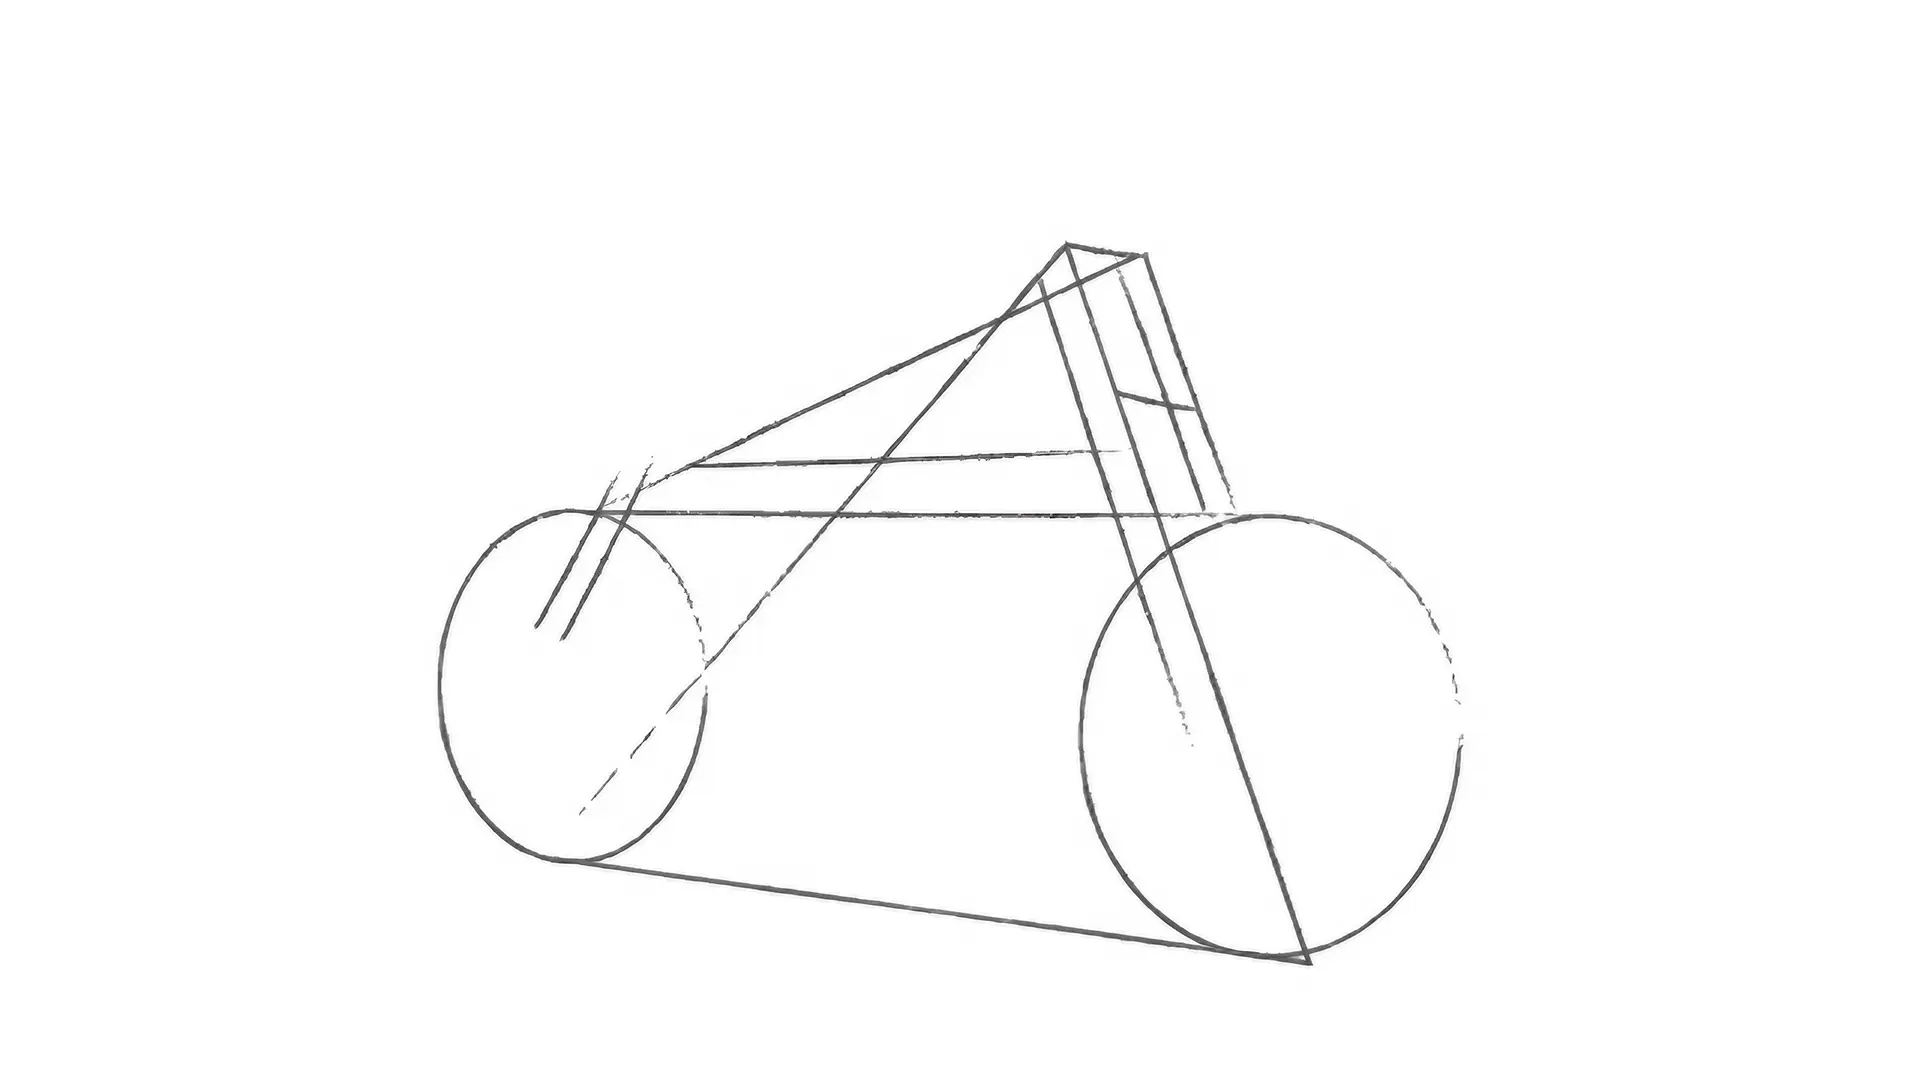
Draw the seat guide lines using two parallel lines. Draw lines to represent the exhaust and the engine.
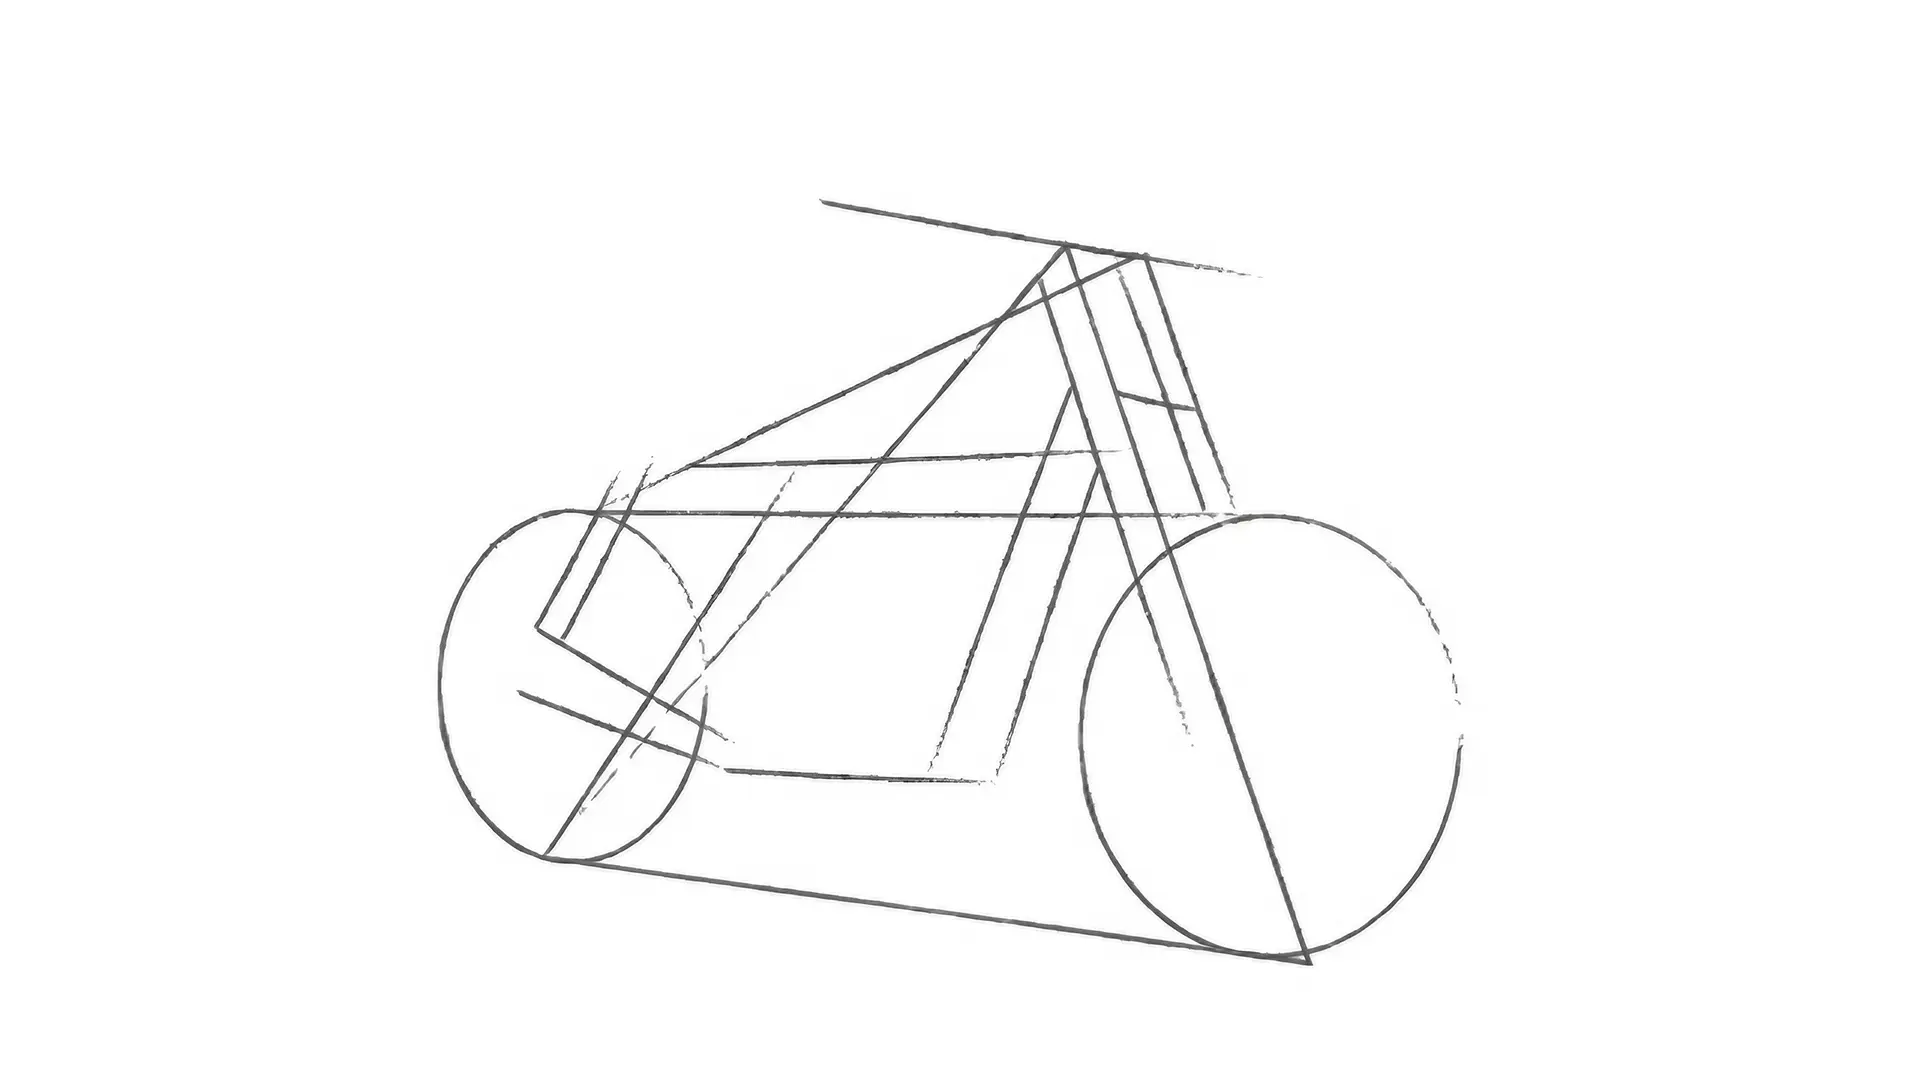
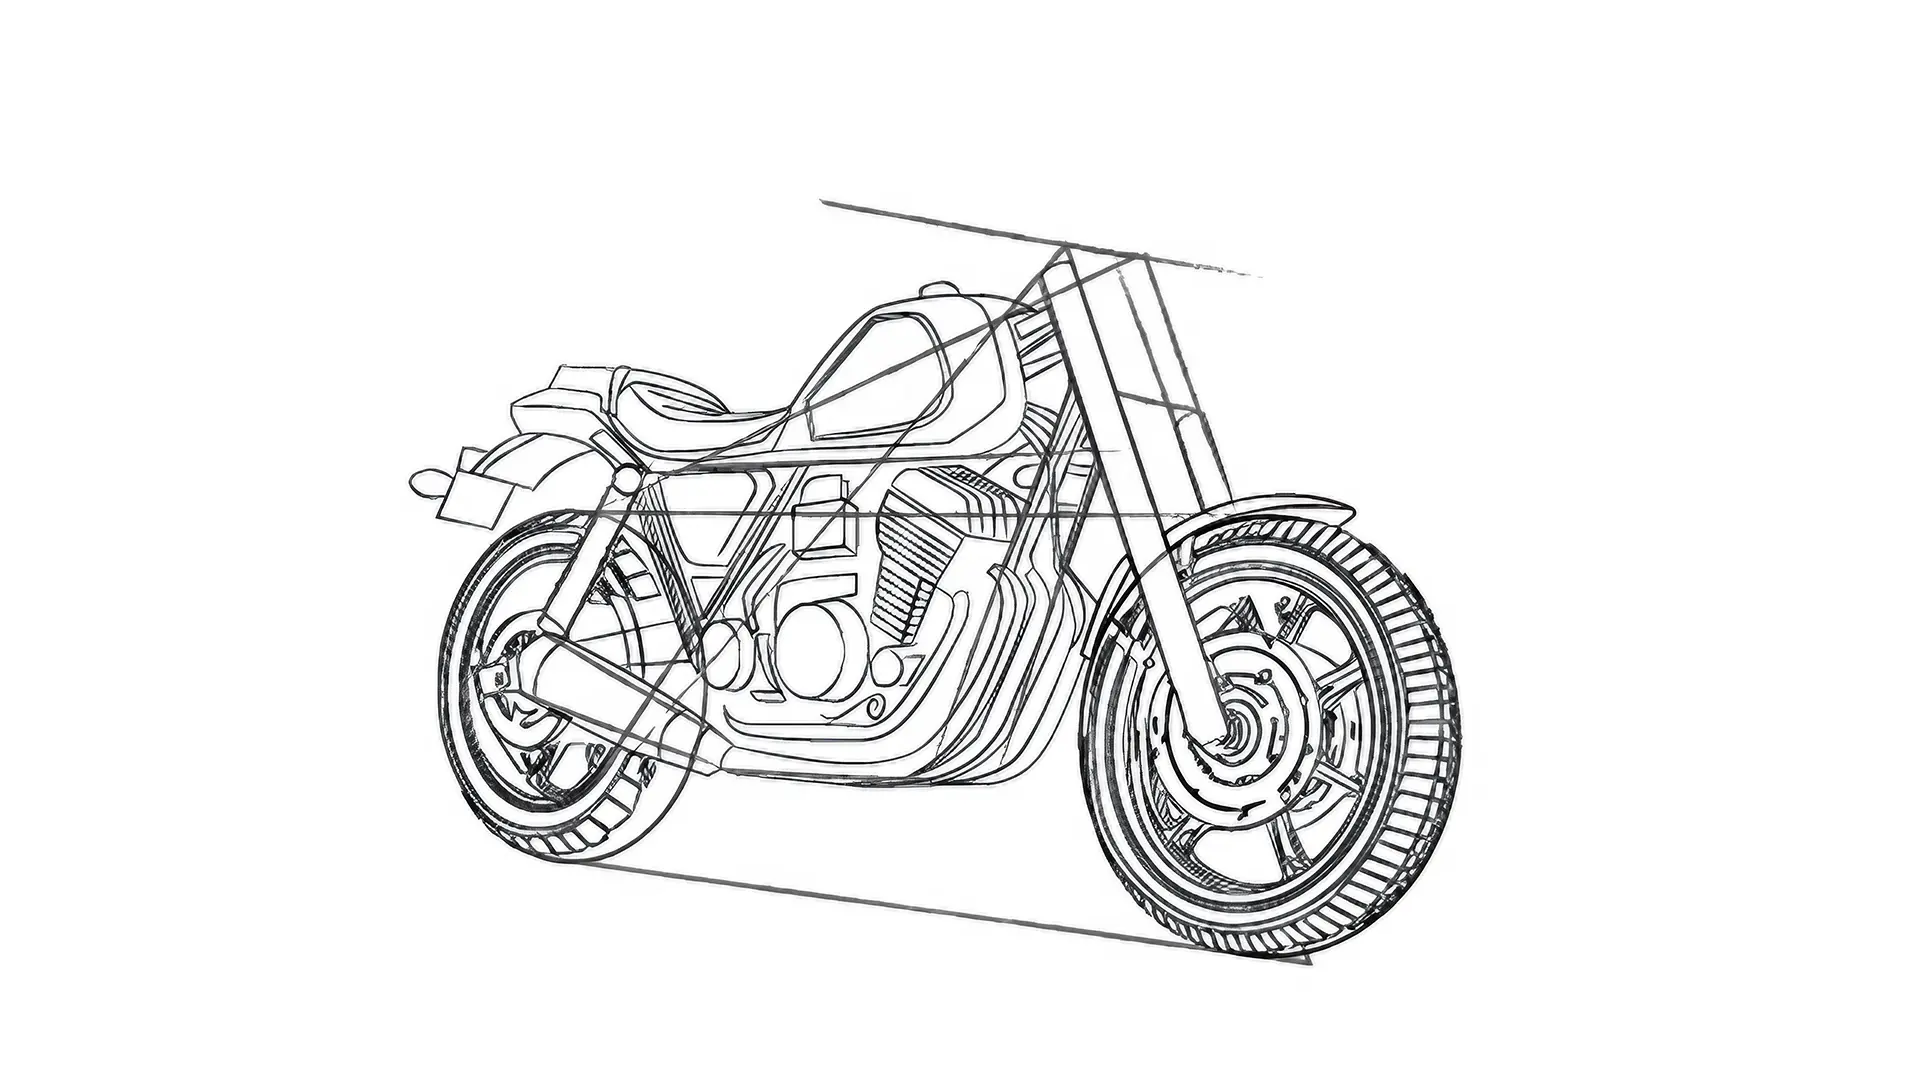
Now that you have the reference points and parallel lines, you can start adding details, beginning by drawing the contours of the shock absorber and forks.
Then we continue with the details of the front tyre.
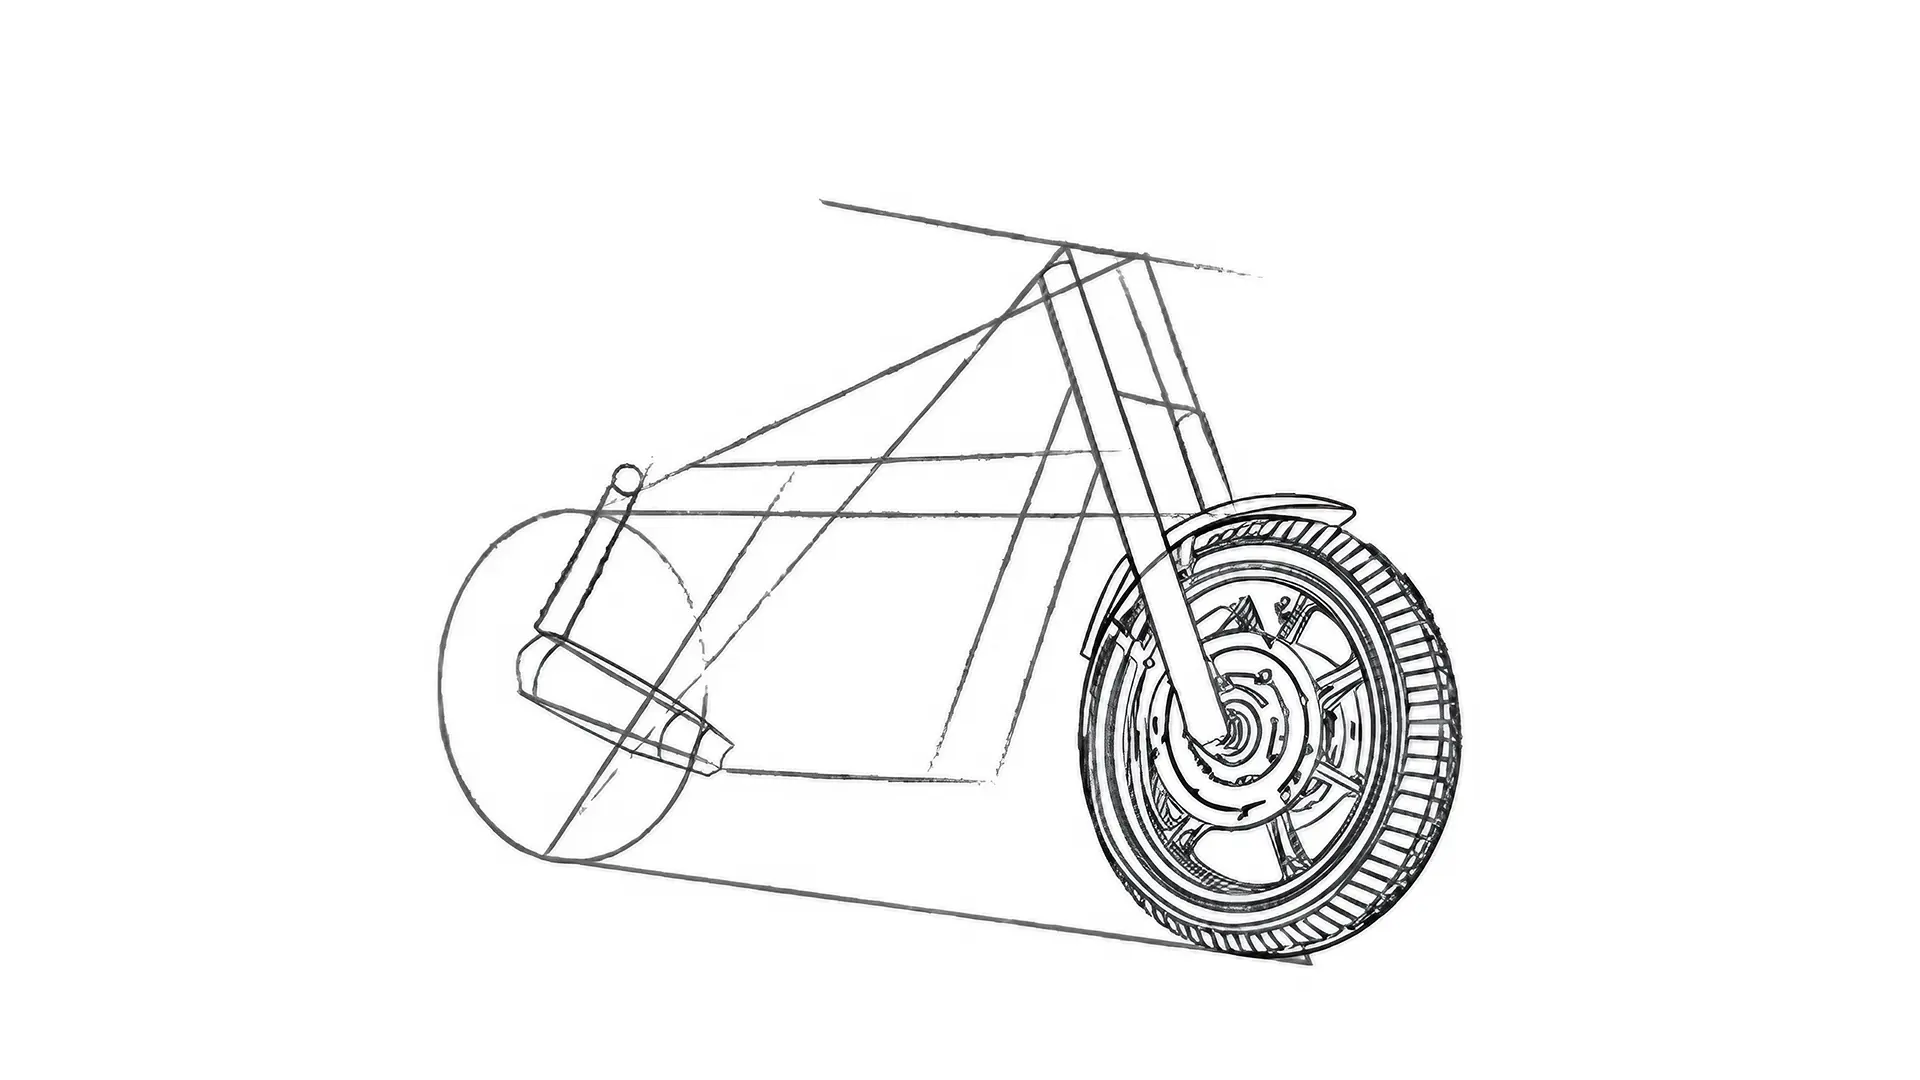
Next, the details of the rear tyre.
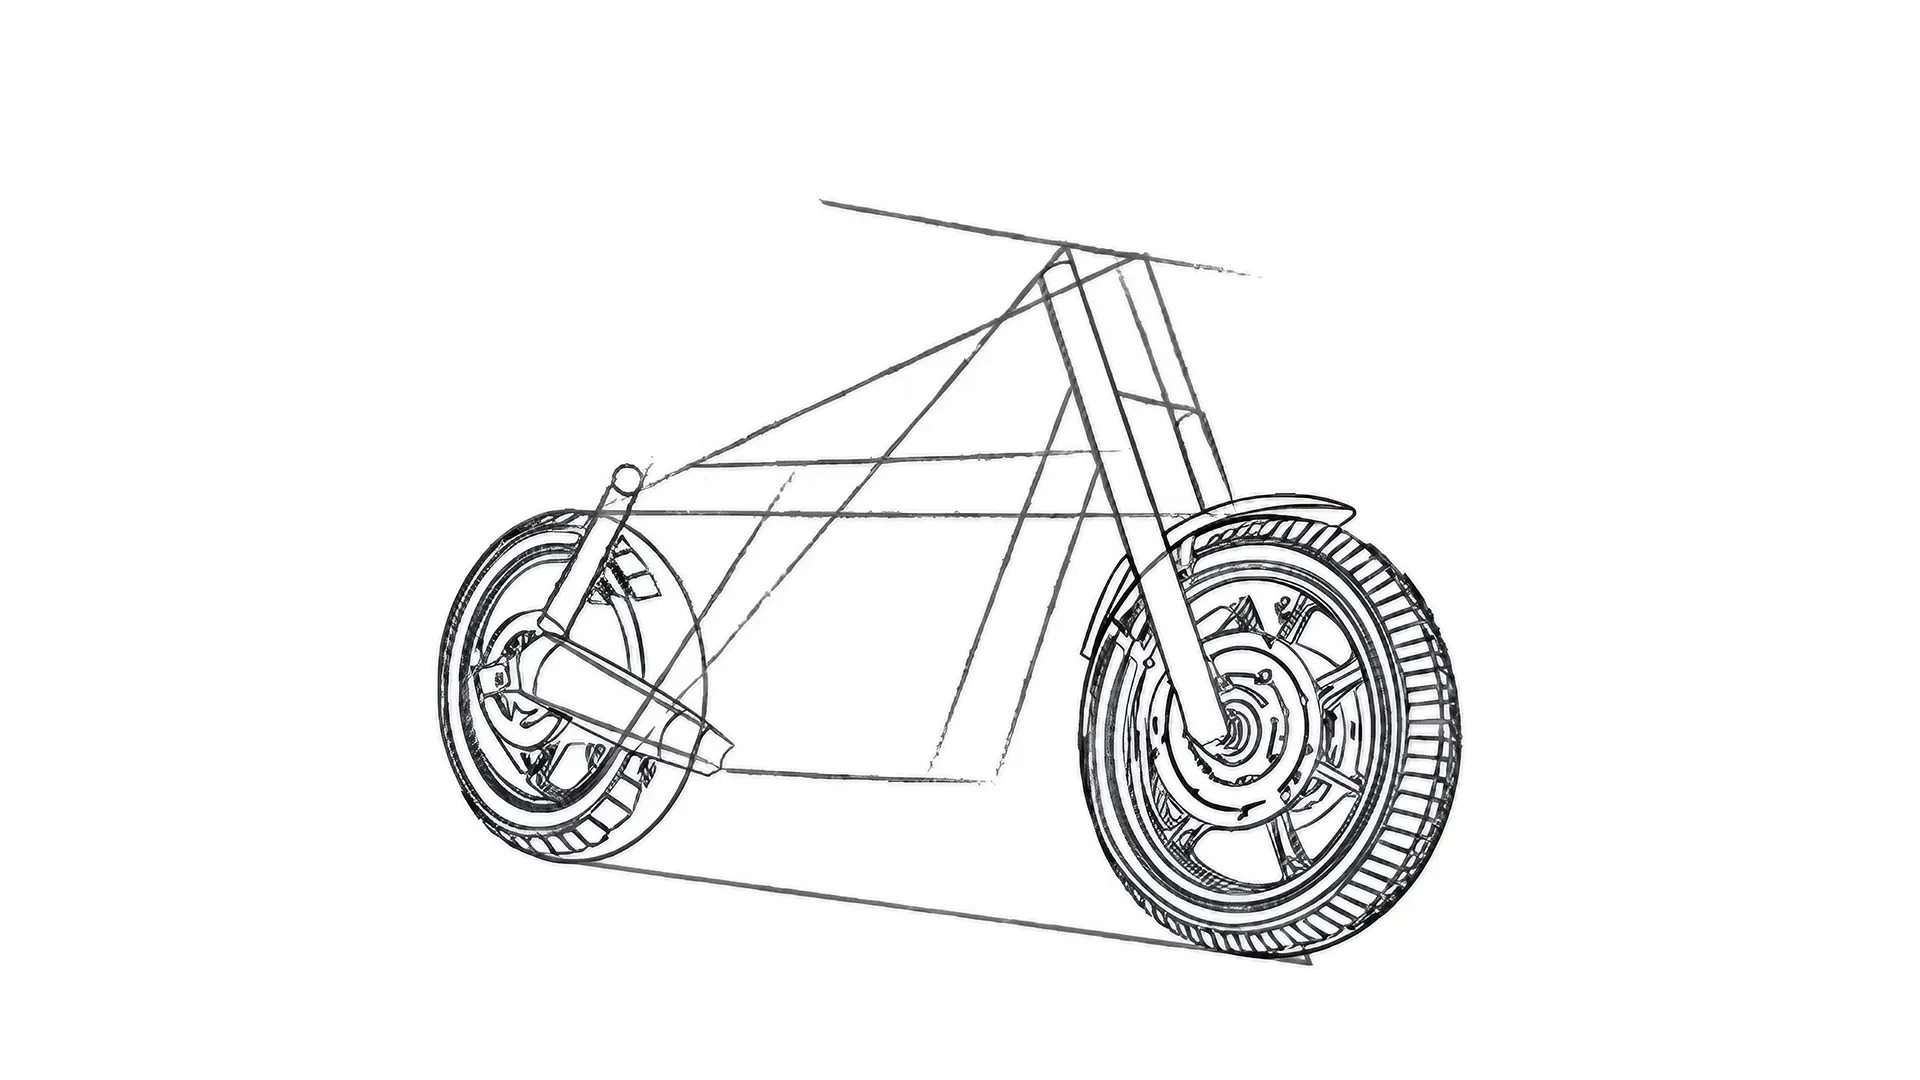
THE SADDLE, THE HANDLEBAR AND THE ENGINE
Then draw the motorcycle seat.
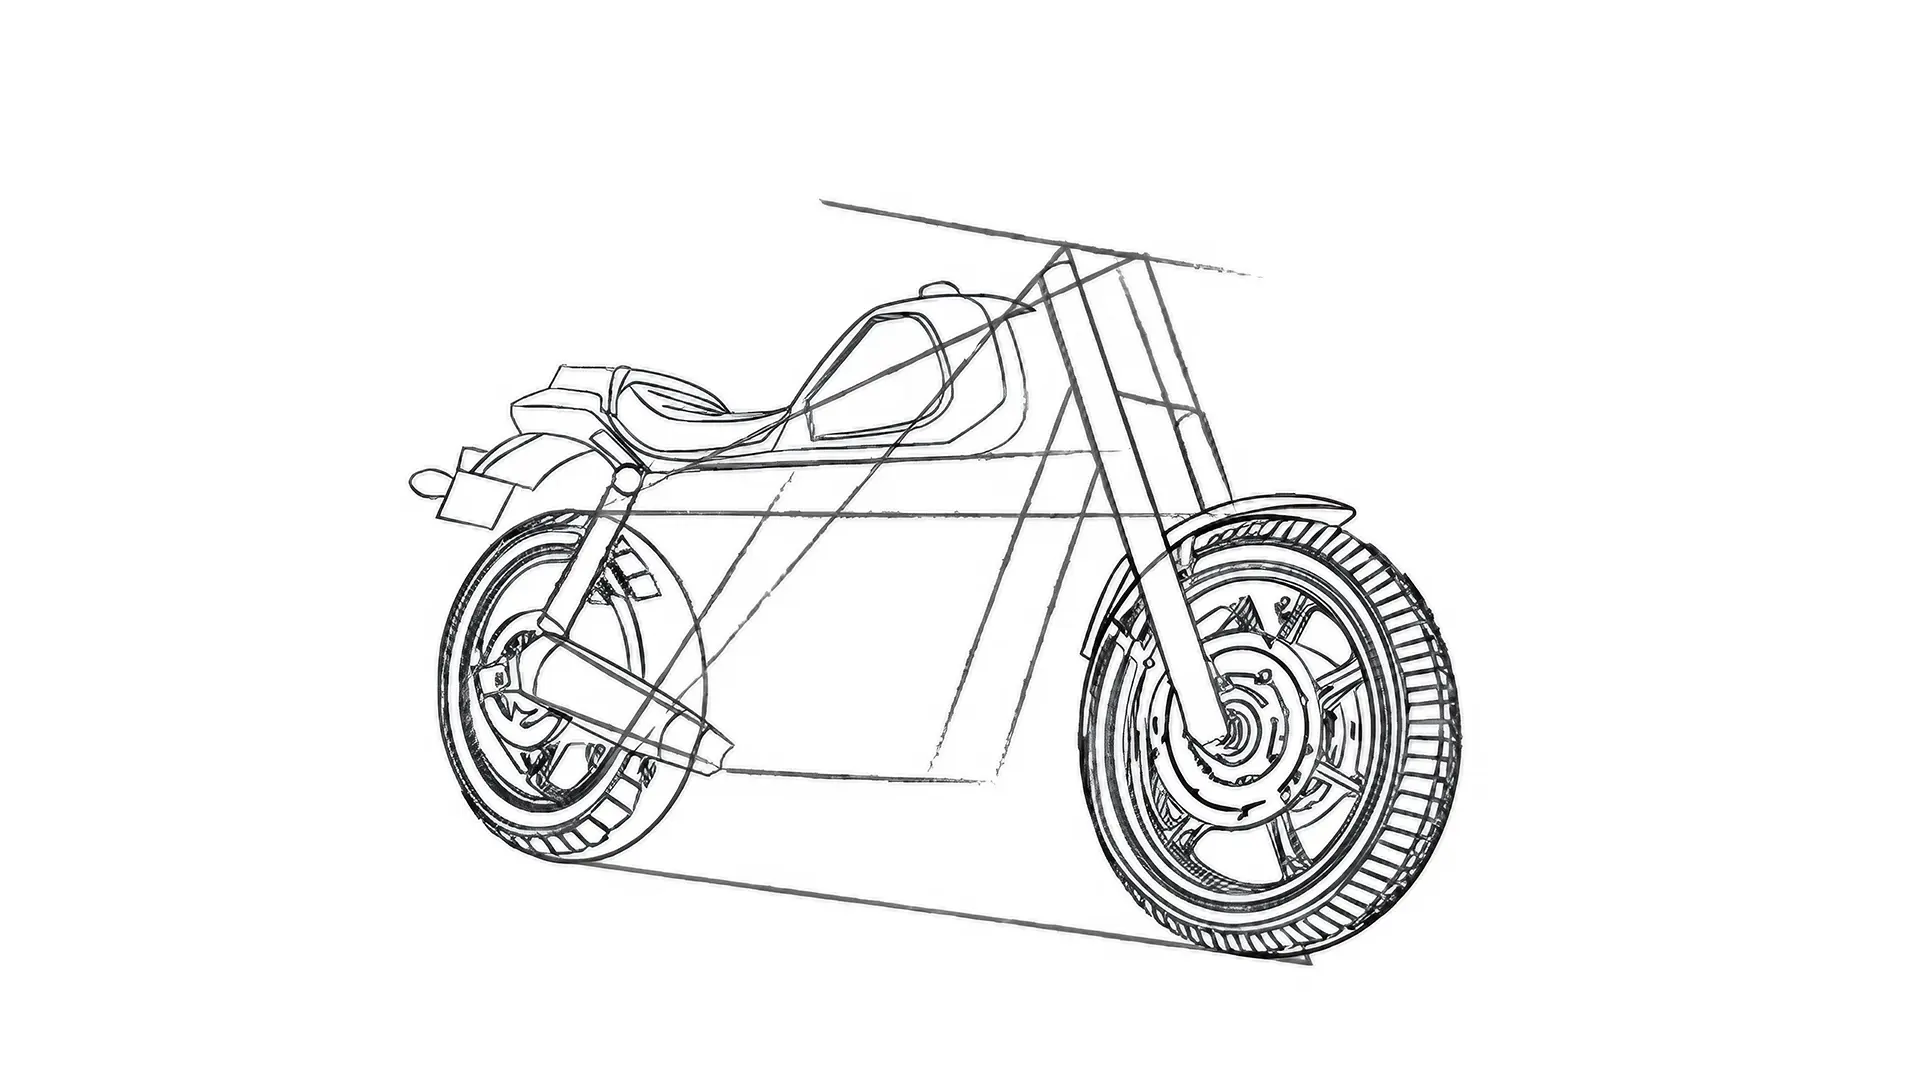
Add the frame. The saddle must be positioned approximately in the centre of the frame.
Add the engine and don't forget the details to give your design a realistic look.
The Handlebar: use two parallel lines to draw the handlebar. Be sure to review all the details to give your drawing a realistic look.
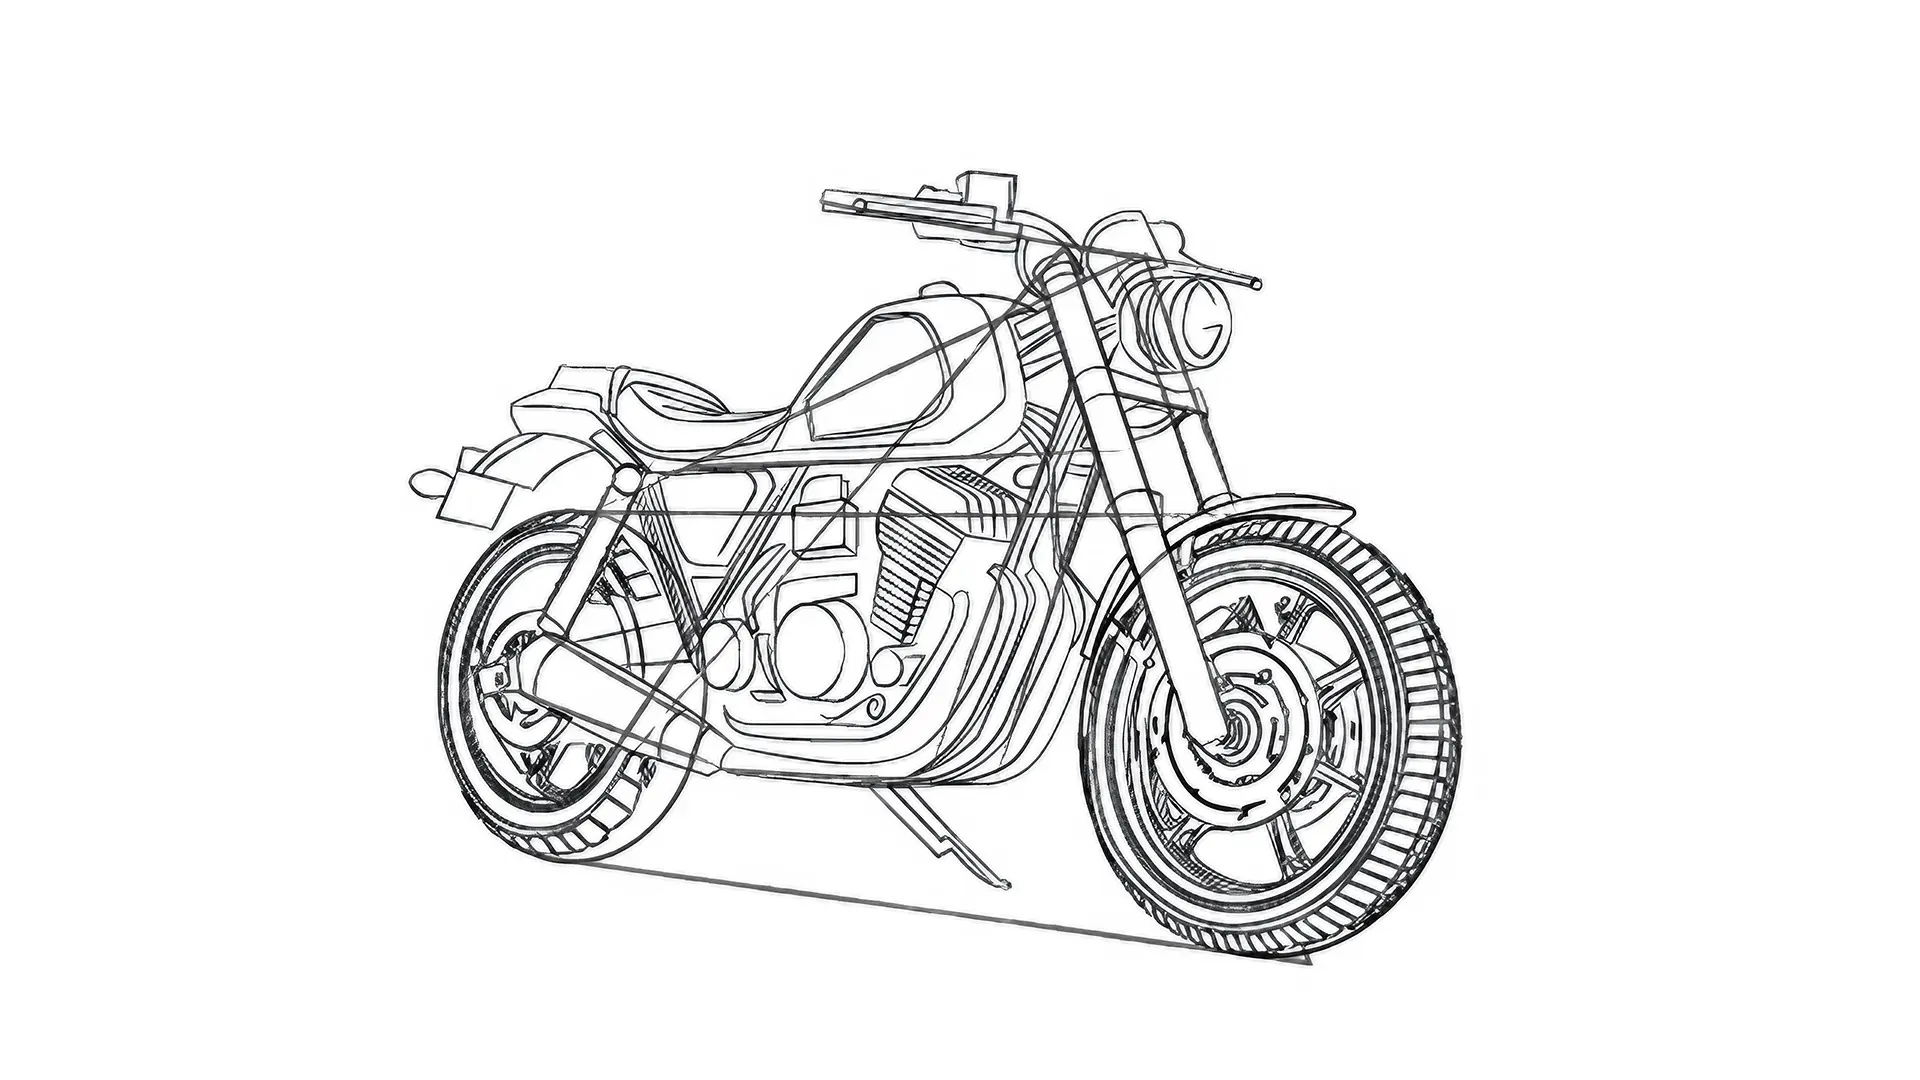
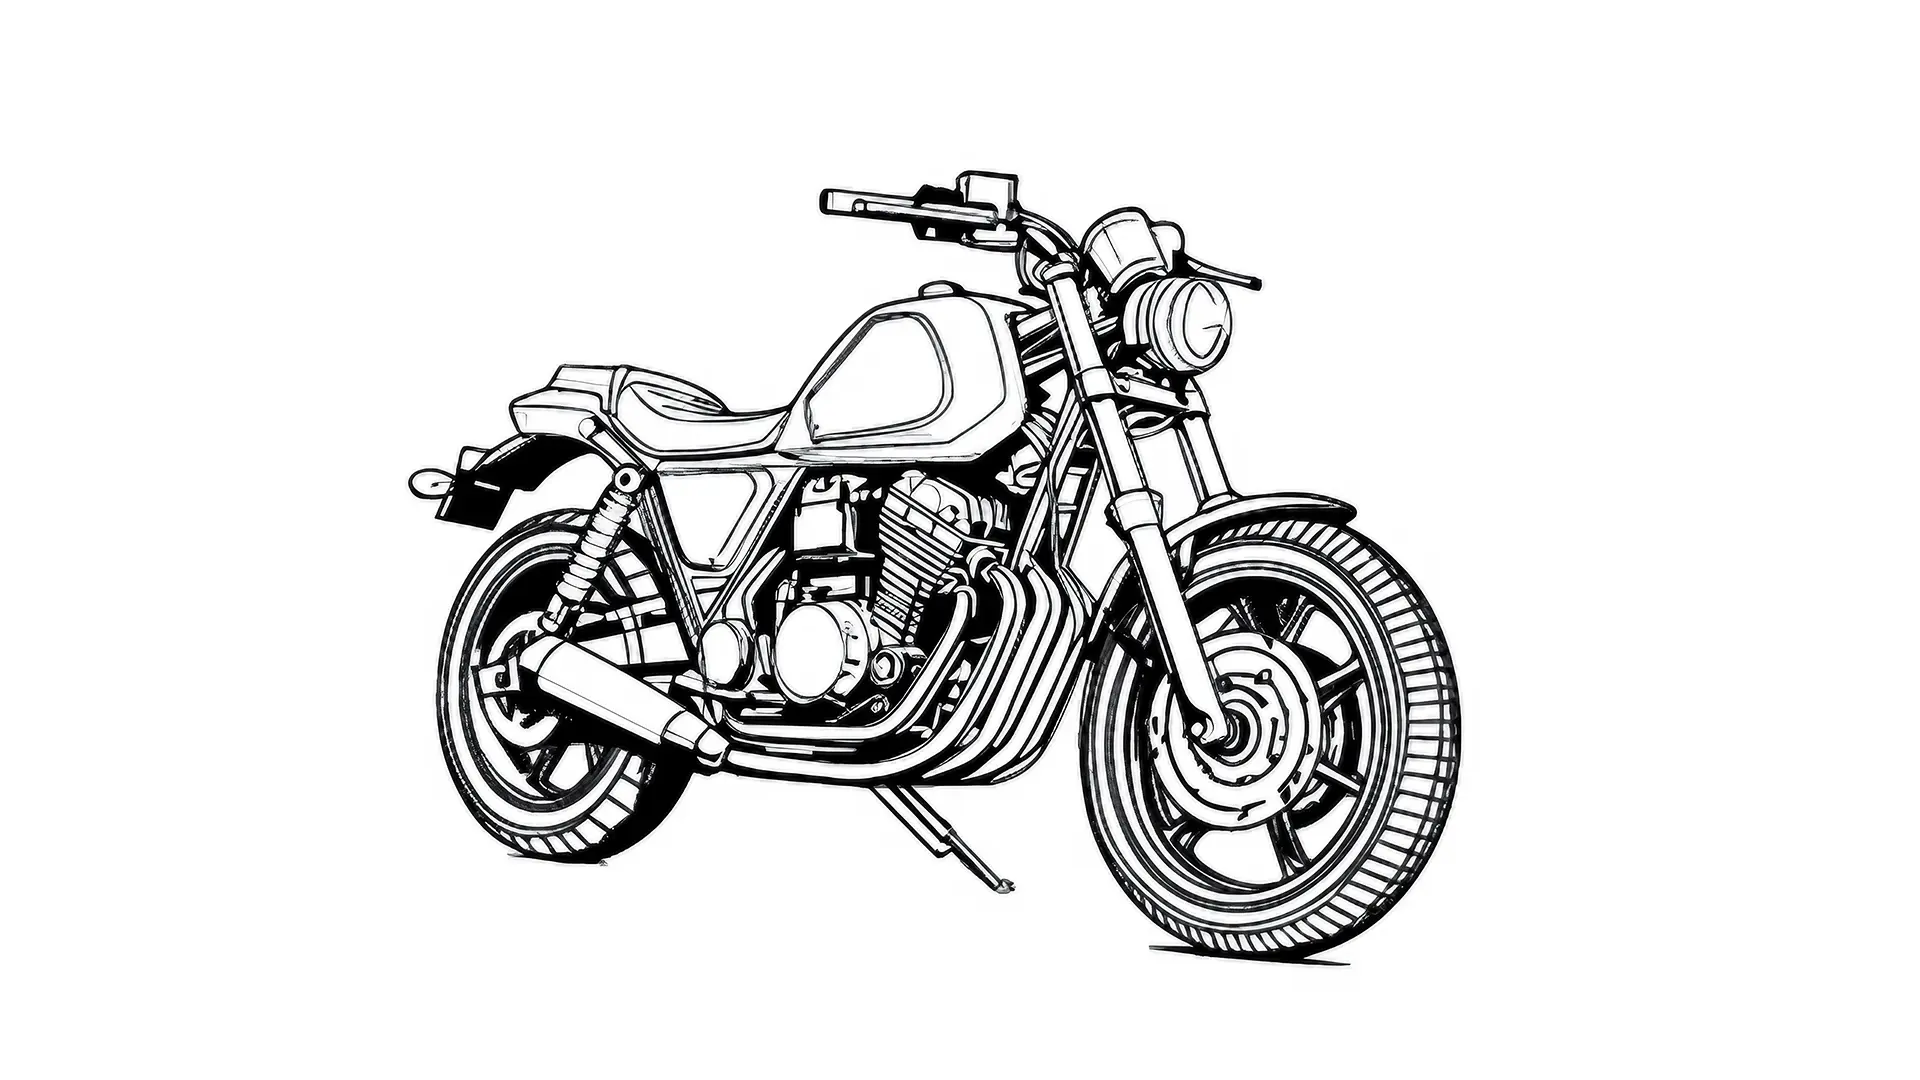
FINALIZE THE MOTORCYCLE DRAWING
The motorcycle is almost finished. Once all the details have been added, you can start erasing the round markers and parallel lines.
These lines were there to help you position the pieces correctly, but they are not part of the final drawing.
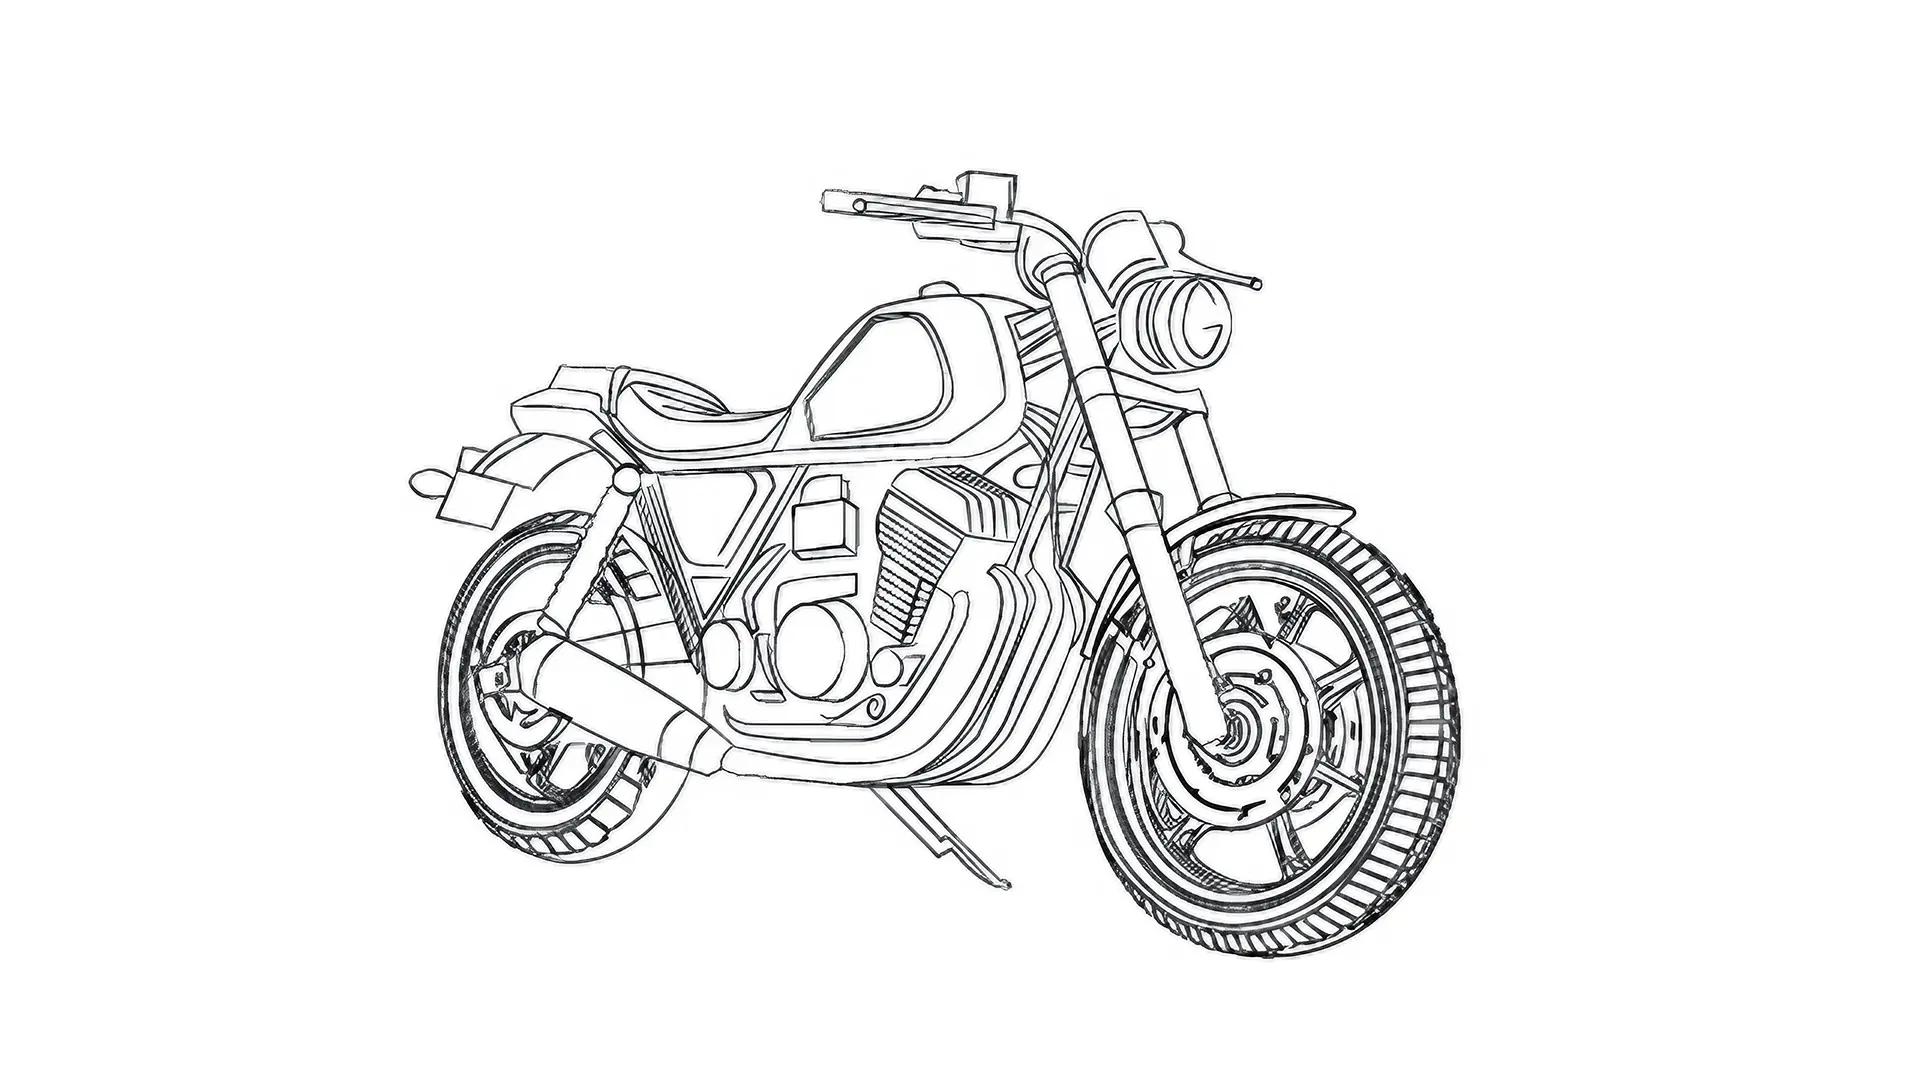
Finally, add shadows and finishing touches to give more depth, dimension, and realism to your drawing.

Illustrator and editor: Nathan
Discussion
No comments yet.