How to Draw a Still Life
Hello everyone, still lifes are often associated with dated paintings and for many are not necessarily of great interest. However, in this article we will see that they are more complex than they seem and we will also see how to create one step by step.
WHAT IS A STILL LIFE?
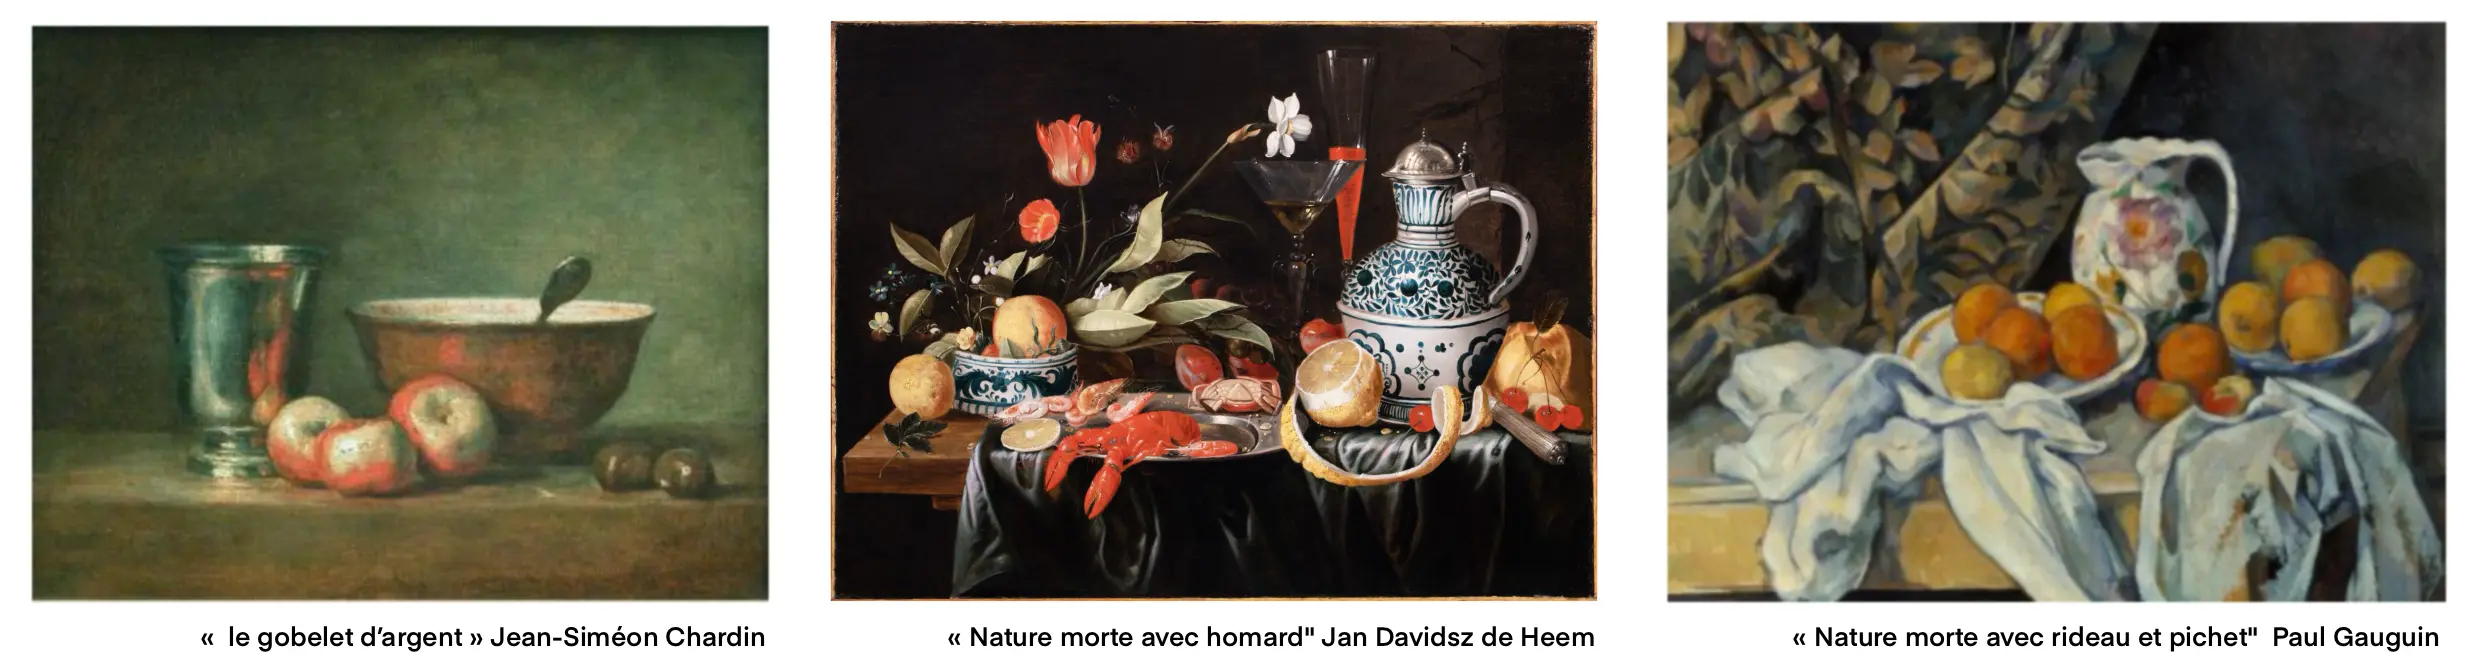
A still life is a representation of inanimate objects, such as fruits, flowers, vases, bowls... They generally feature very elaborate compositions and allow the artist to showcase their technical skill.
It is estimated that still lifes emerged in the late 17th century in Holland. They then reflected the evolution of society and the interest in luxury items. Gradually, across Europe, many painters began to create still lifes, which later became an iconic type of painting.
Still lifes are interesting because they provide a field for exploration in composition, light, and textures. They also allow for working on the understanding of objects and their interaction with each other.
STILL LIFE AND SYMBOLISM
Still lives are not just beautiful paintings; each element of a still life is associated with underlying ideas. For example, when looking at a still life, the painter did not just want to depict an apple next to a glass, but rather the ephemeral nature of life. Indeed, the apple is a commodity that rots quickly, while the glass is a precious object that is easily broken.
Here are some keywords associated with the different elements most commonly found in still lifes:
-Fruits: Abundance, fertility, vanity (often symbolizing the transience of life)
-Flowers: Beauty, fragility, passage of time, love, mortality (withered flowers symbolize decay)
-Skull: Death, vanity (often to remind human mortality)
-Candles: Life, light, passage of time (a lit candle symbolizes life, an extinguished one death)
-Vases: Wealth, Elegance, Prosperity, Stability
-Musical Instruments: Harmony, culture, art, often symbols of life's harmony
-Metal Objects (as cups or tools): Wealth, power, vanity
-Watch: Time, ephemeral life
-Glass or crystal: Clarity, purity, luxury
-Fish: Abundance, food, sometimes symbolizes the Christian faith
-Nuts or seeds: Potential, fertility, eternity
Of course it can happen that an apple next to a glass is just an apple next to a glass, but bear in mind that in most cases still lives are much more complex than they appear.
DRAWING A STILL LIFE STEP BY STEP
Let's now see how to draw a still life step by step. You can use whichever medium you prefer the most.
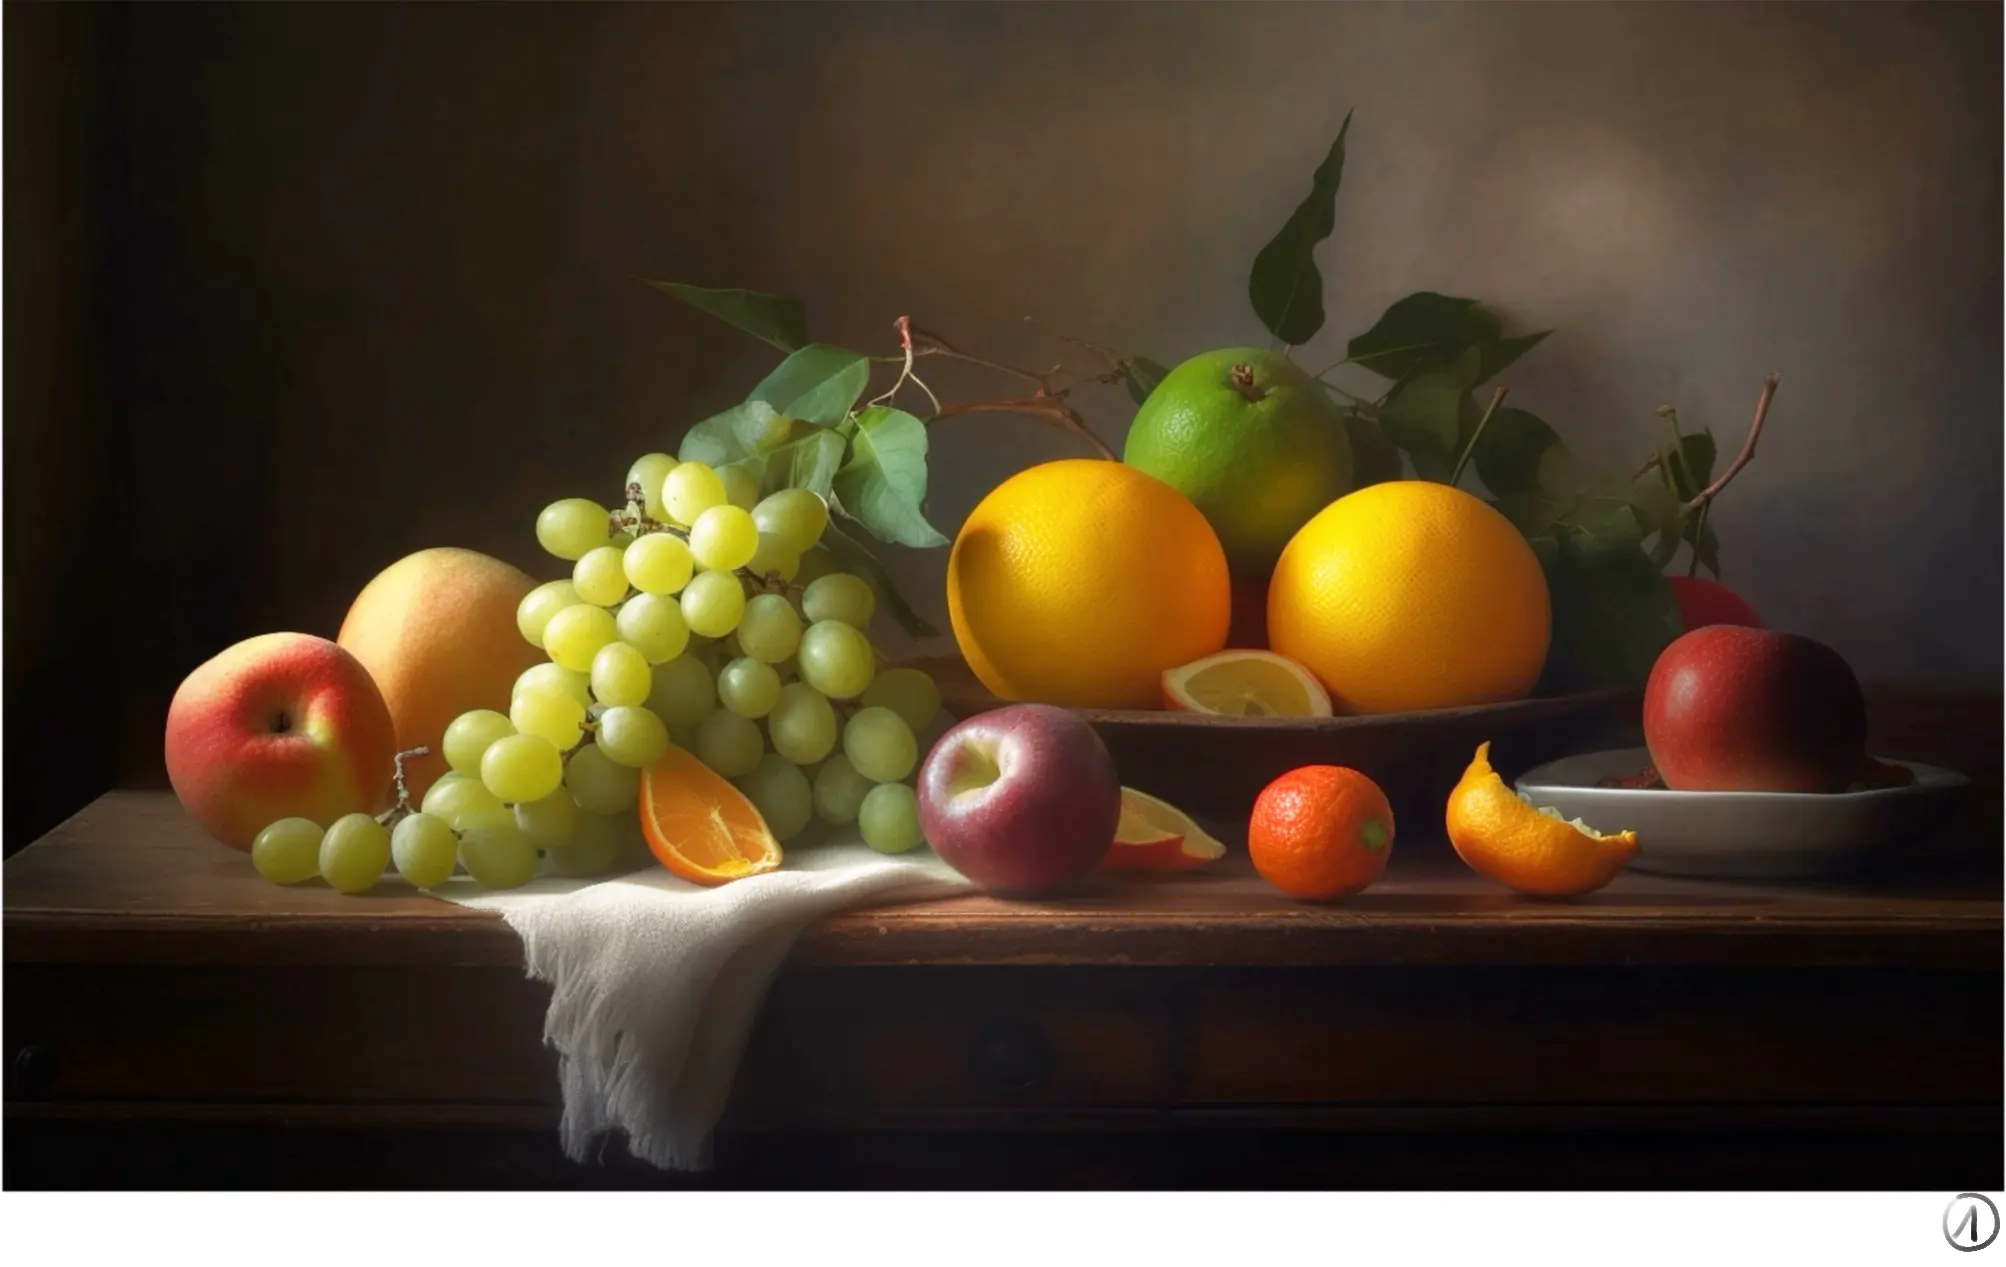
Start by arranging the elements to your liking. You can also choose a reference photo on the internet, if you wish to focus solely on the technical aspect.
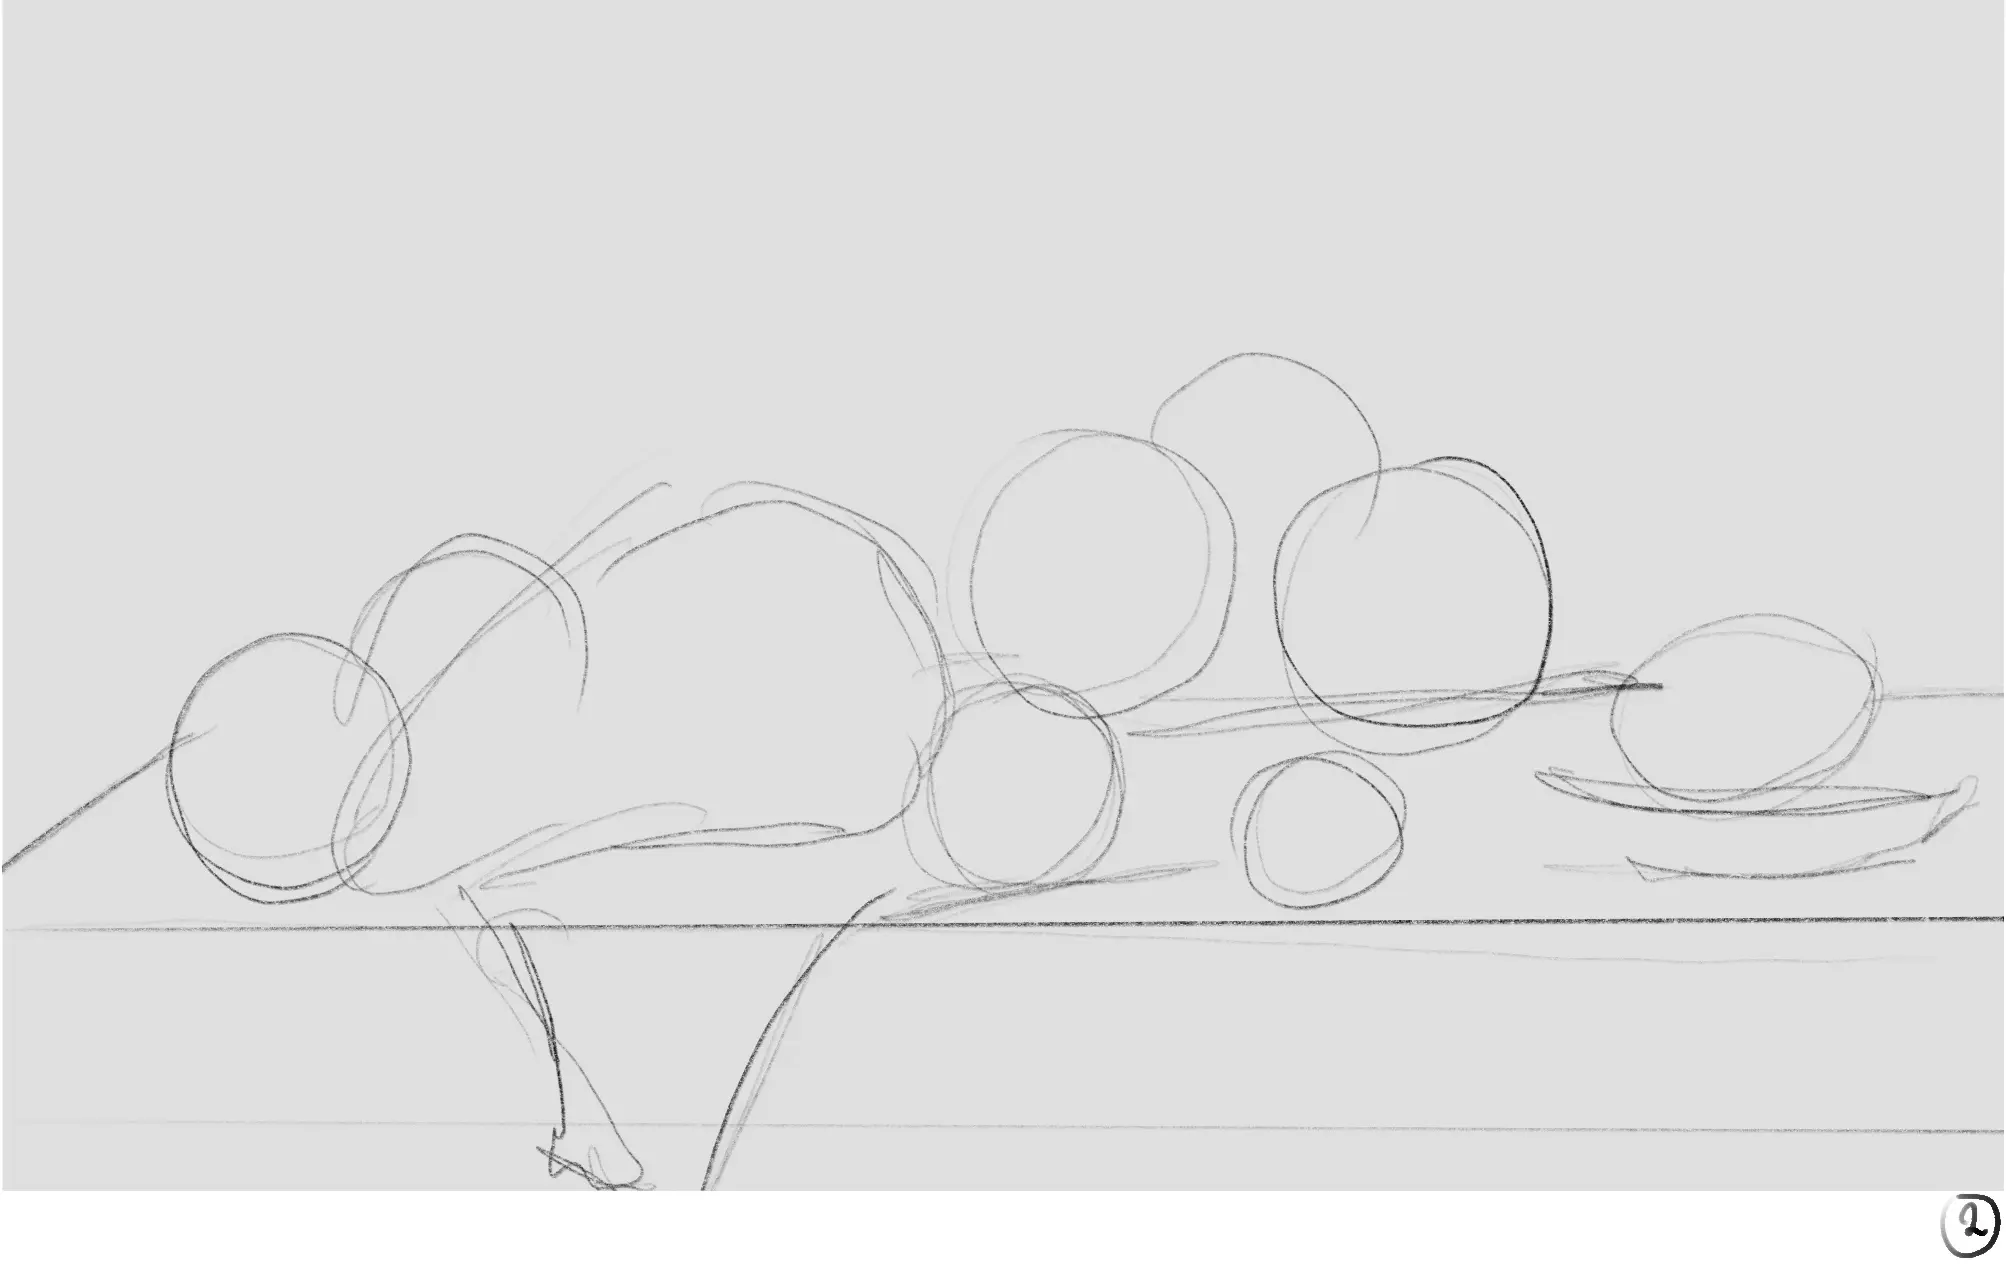
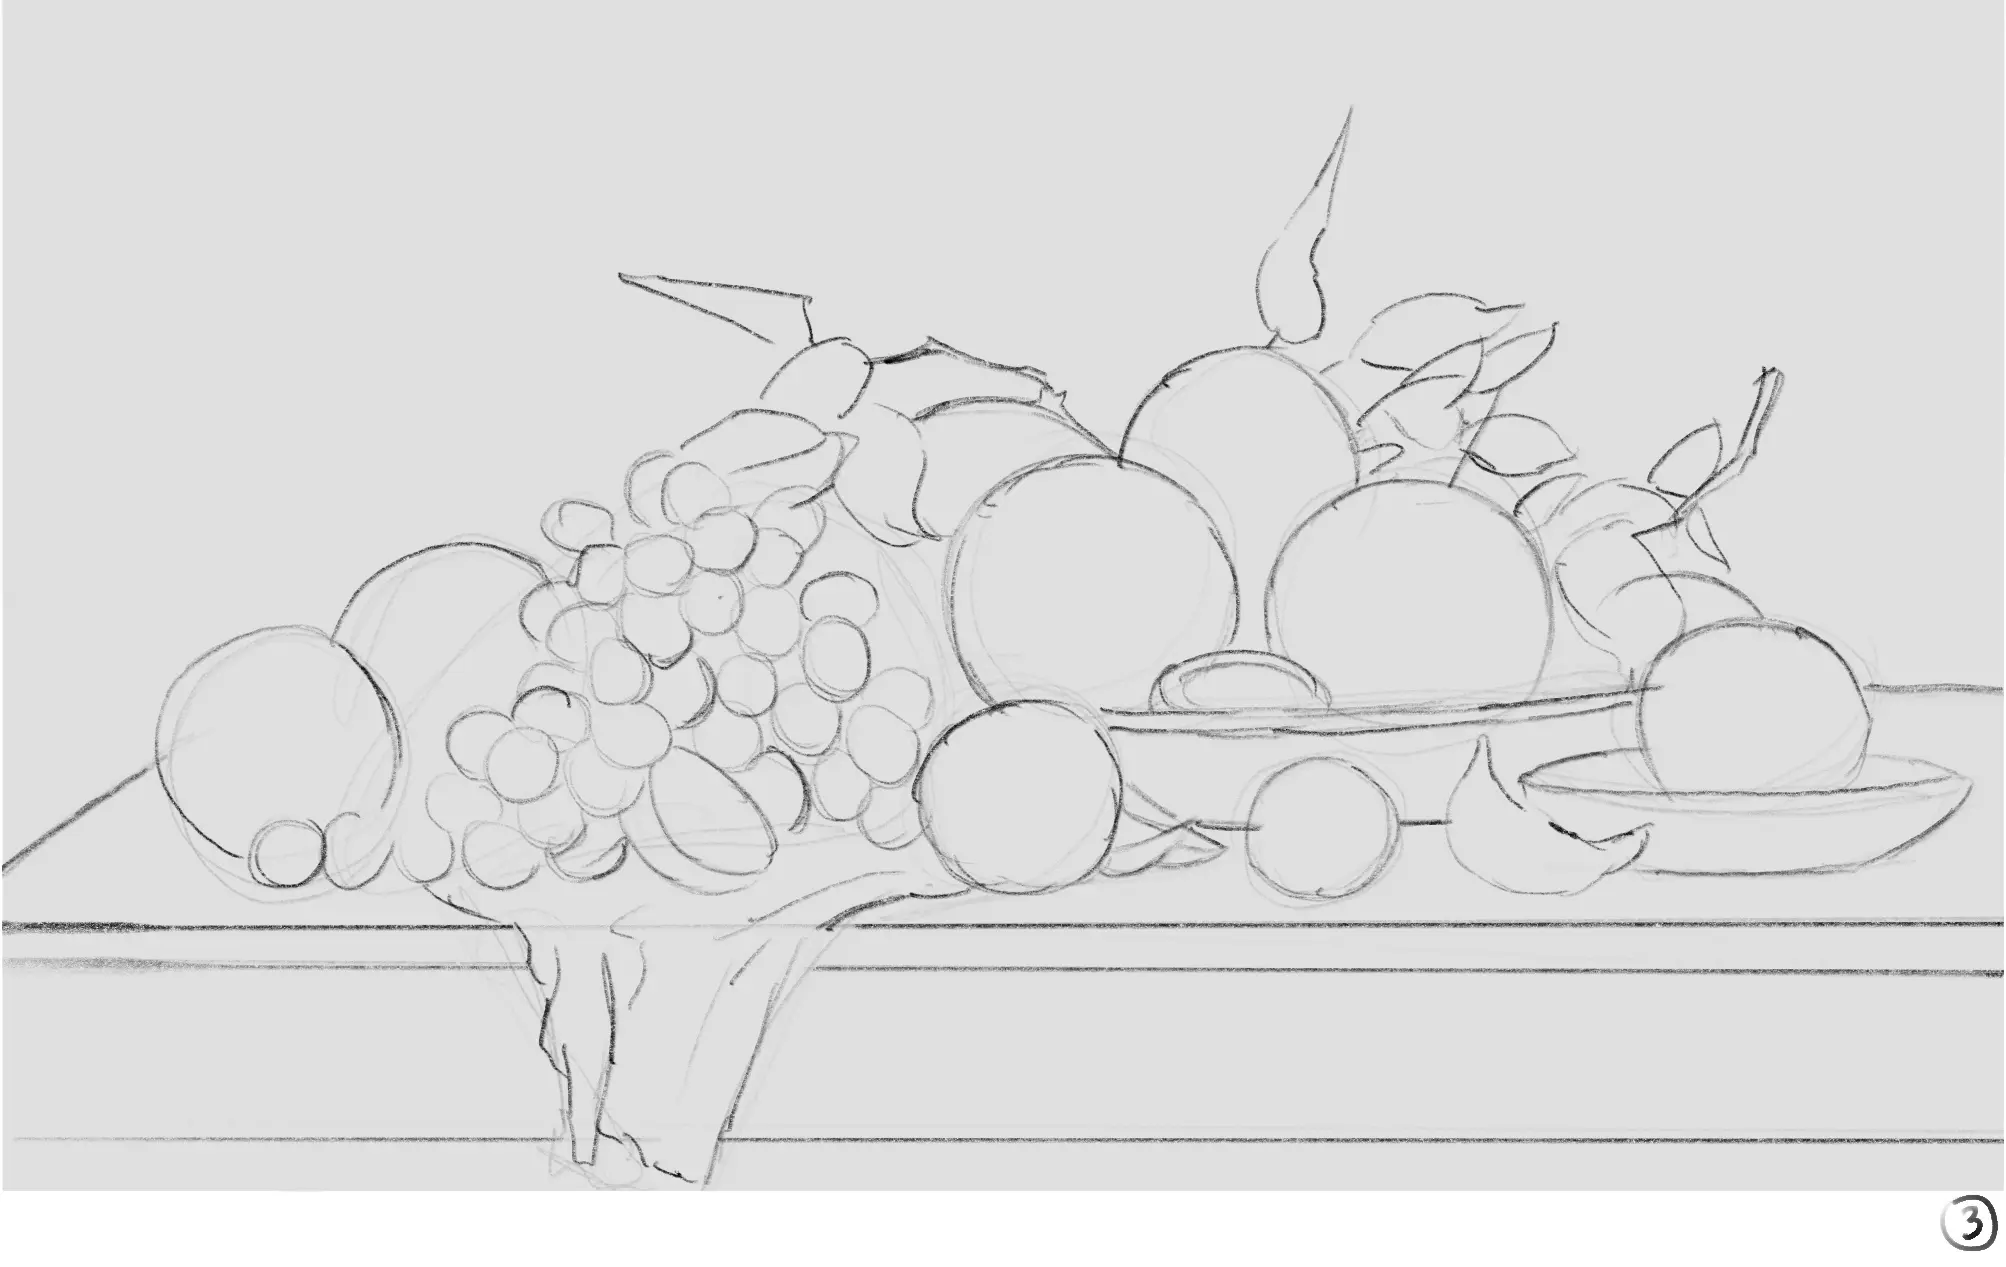
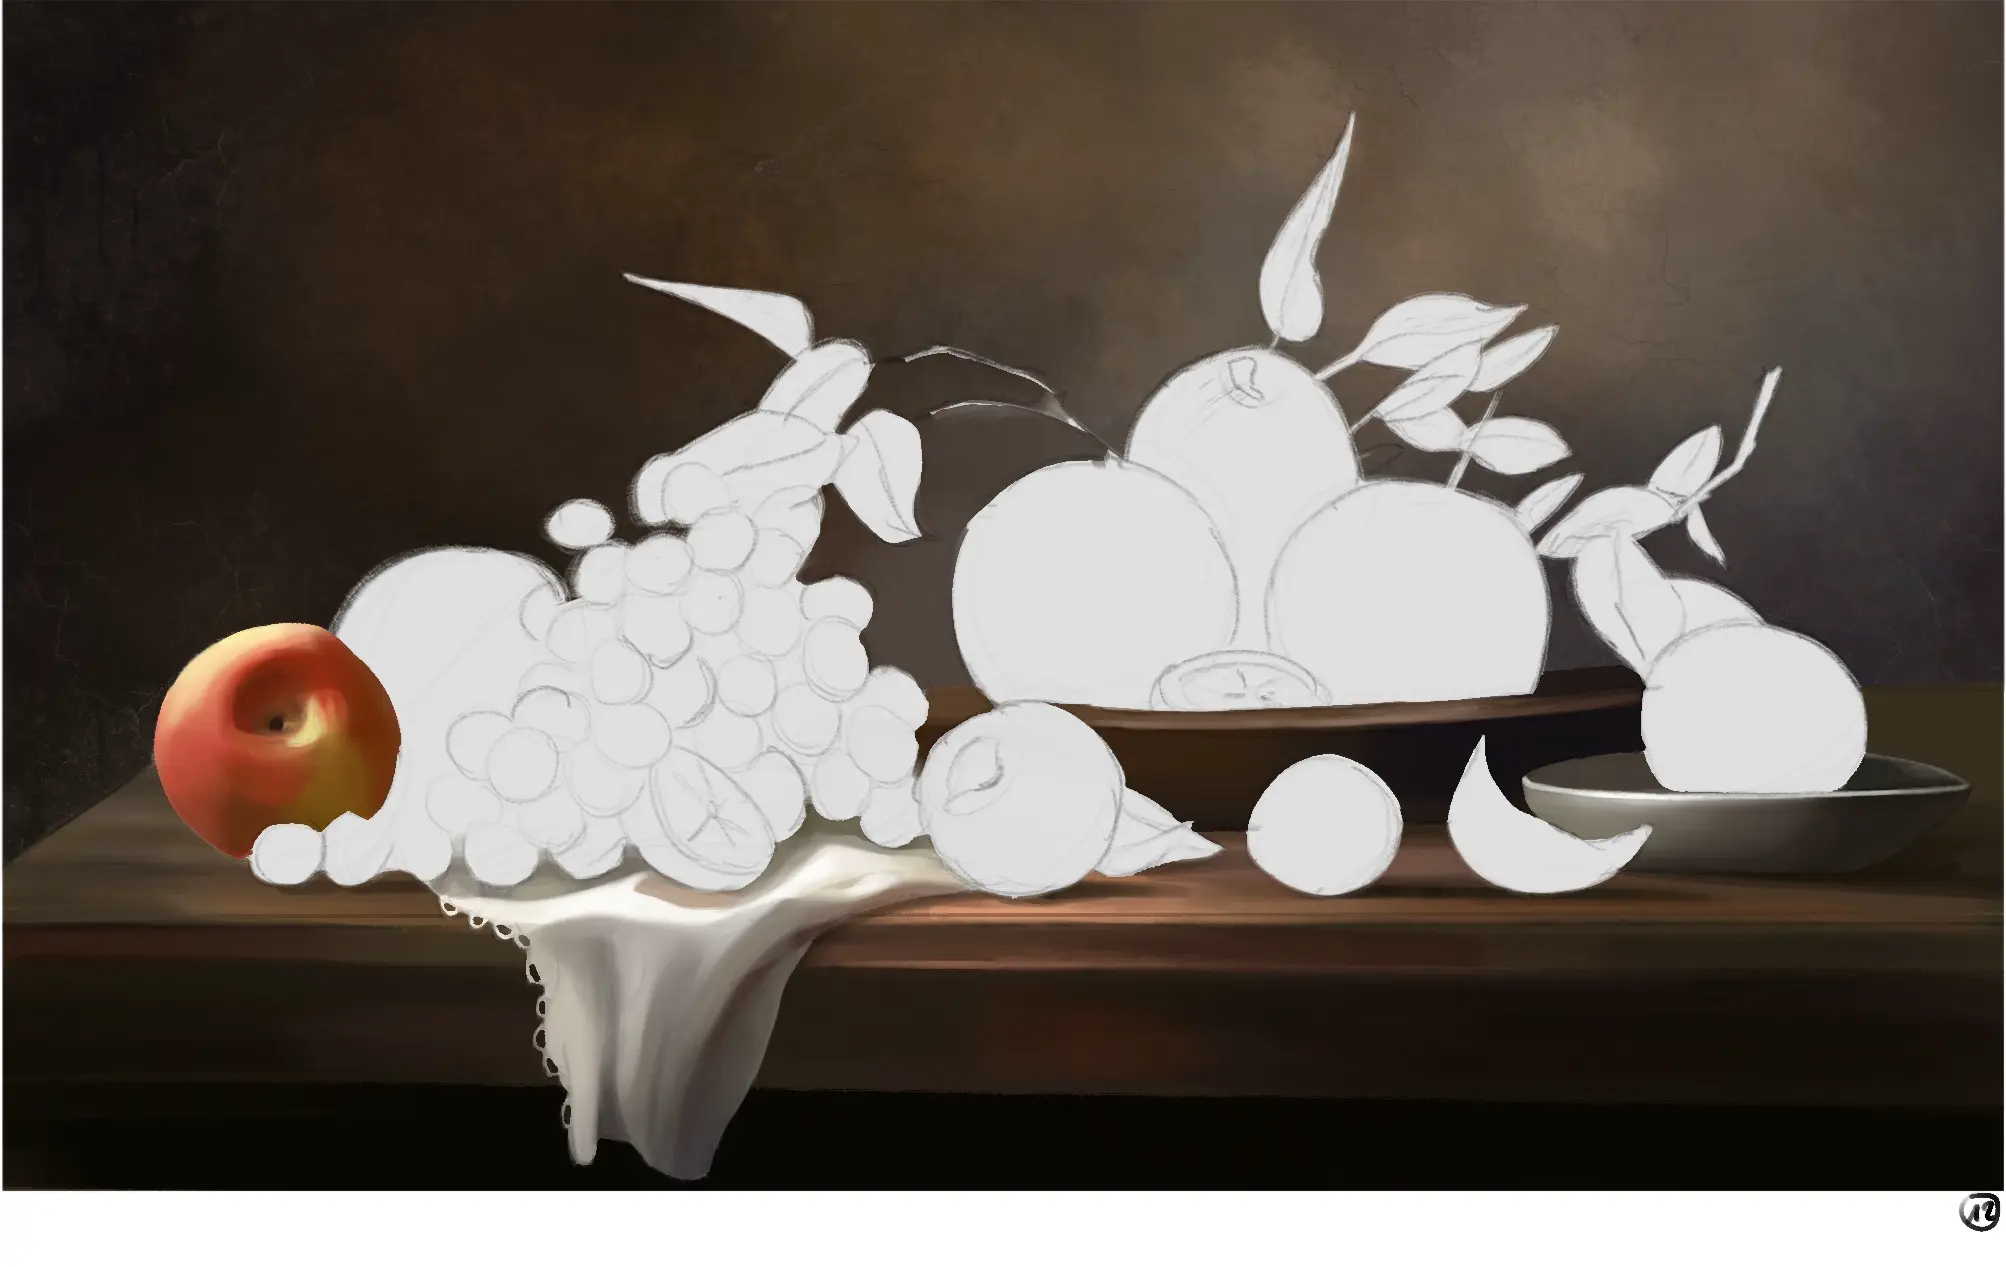
We made a very quick sketch and not very detailed. The goal is to place all the elements with the right proportions on our page.
We refine our sketch by detailing all the different elements more thoroughly.
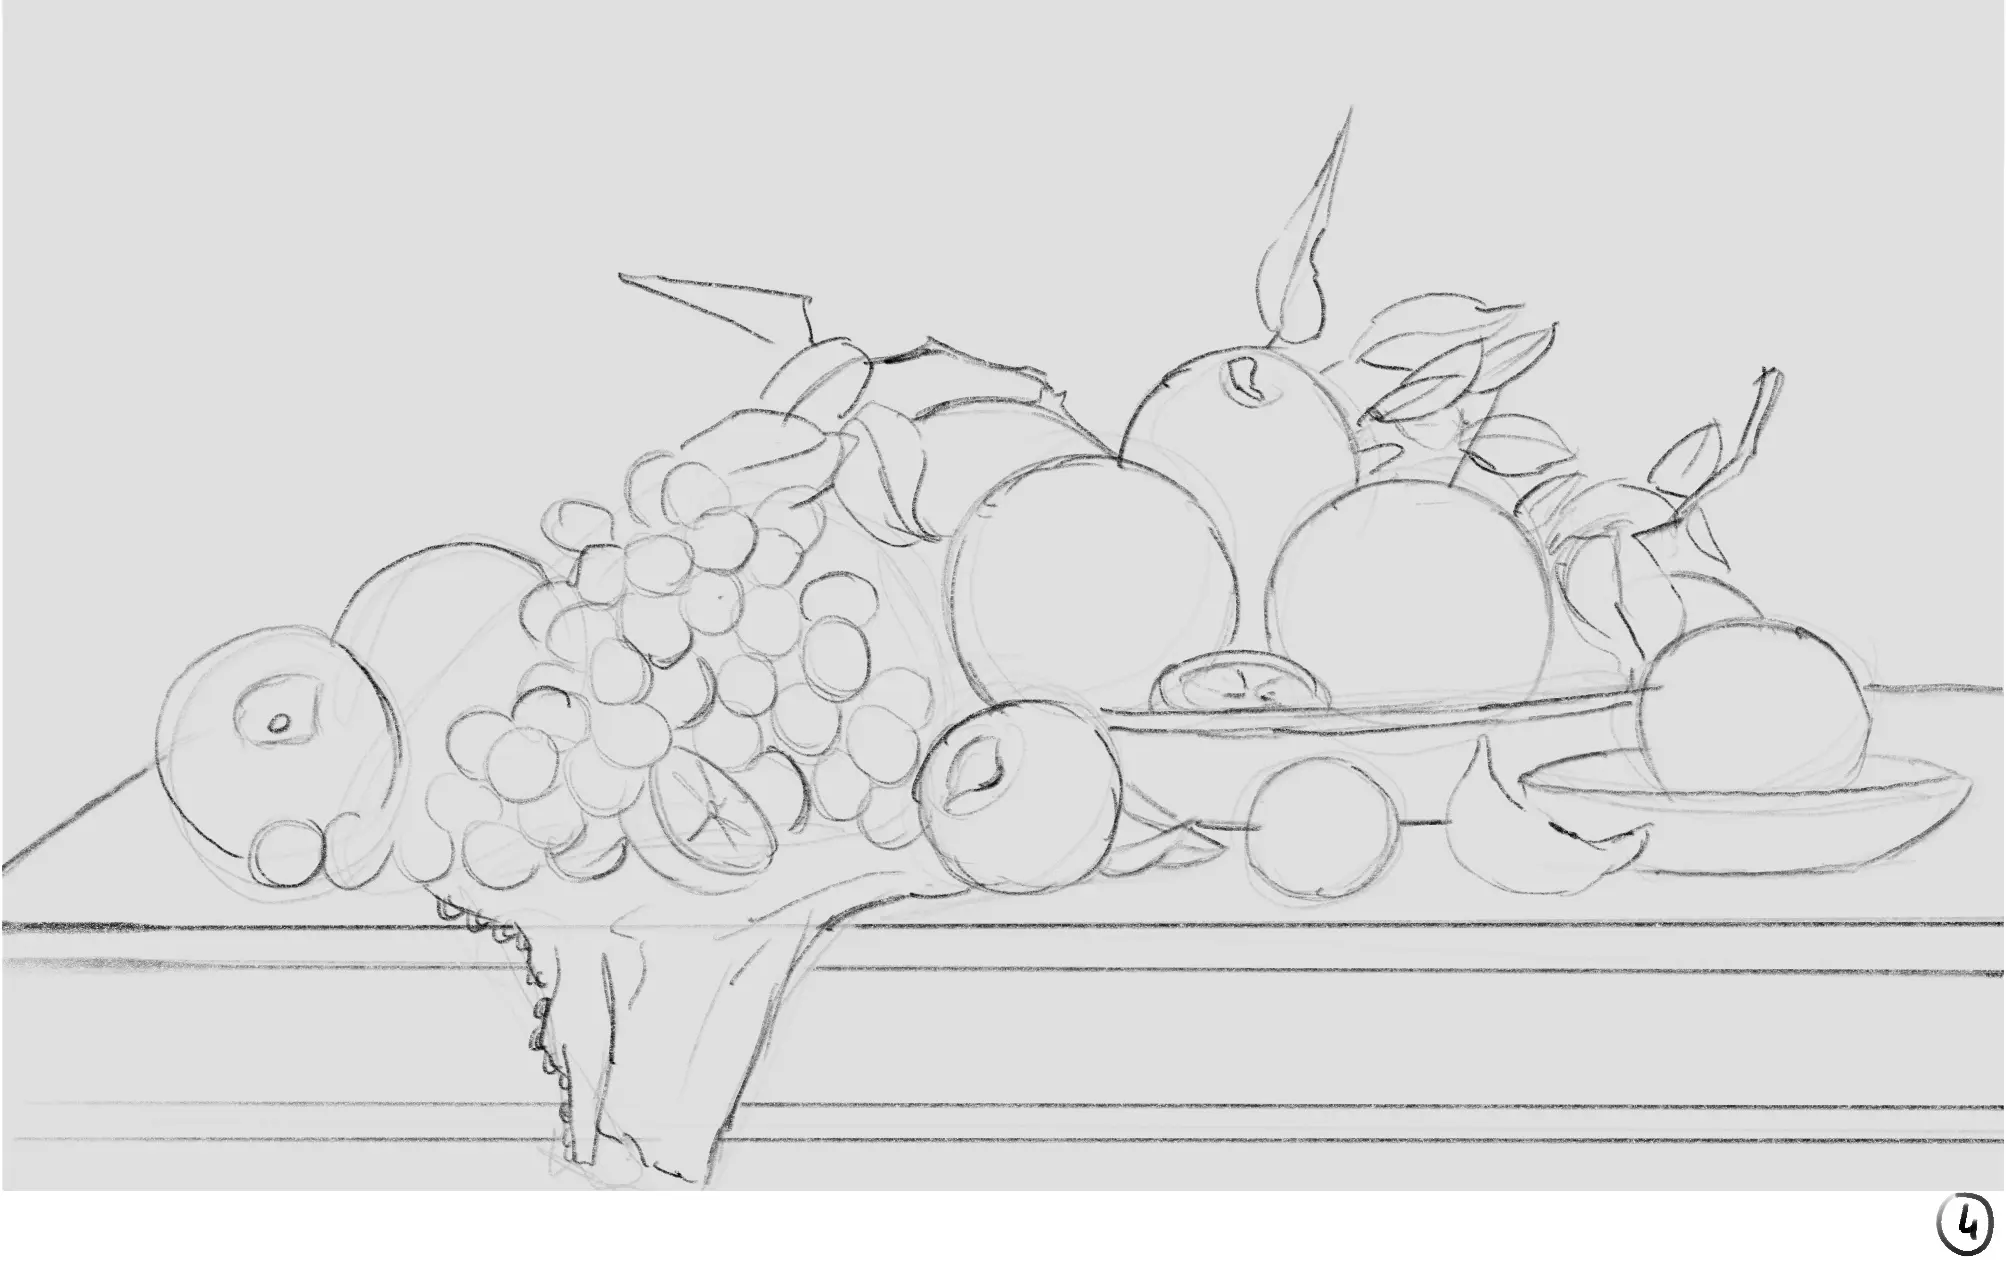
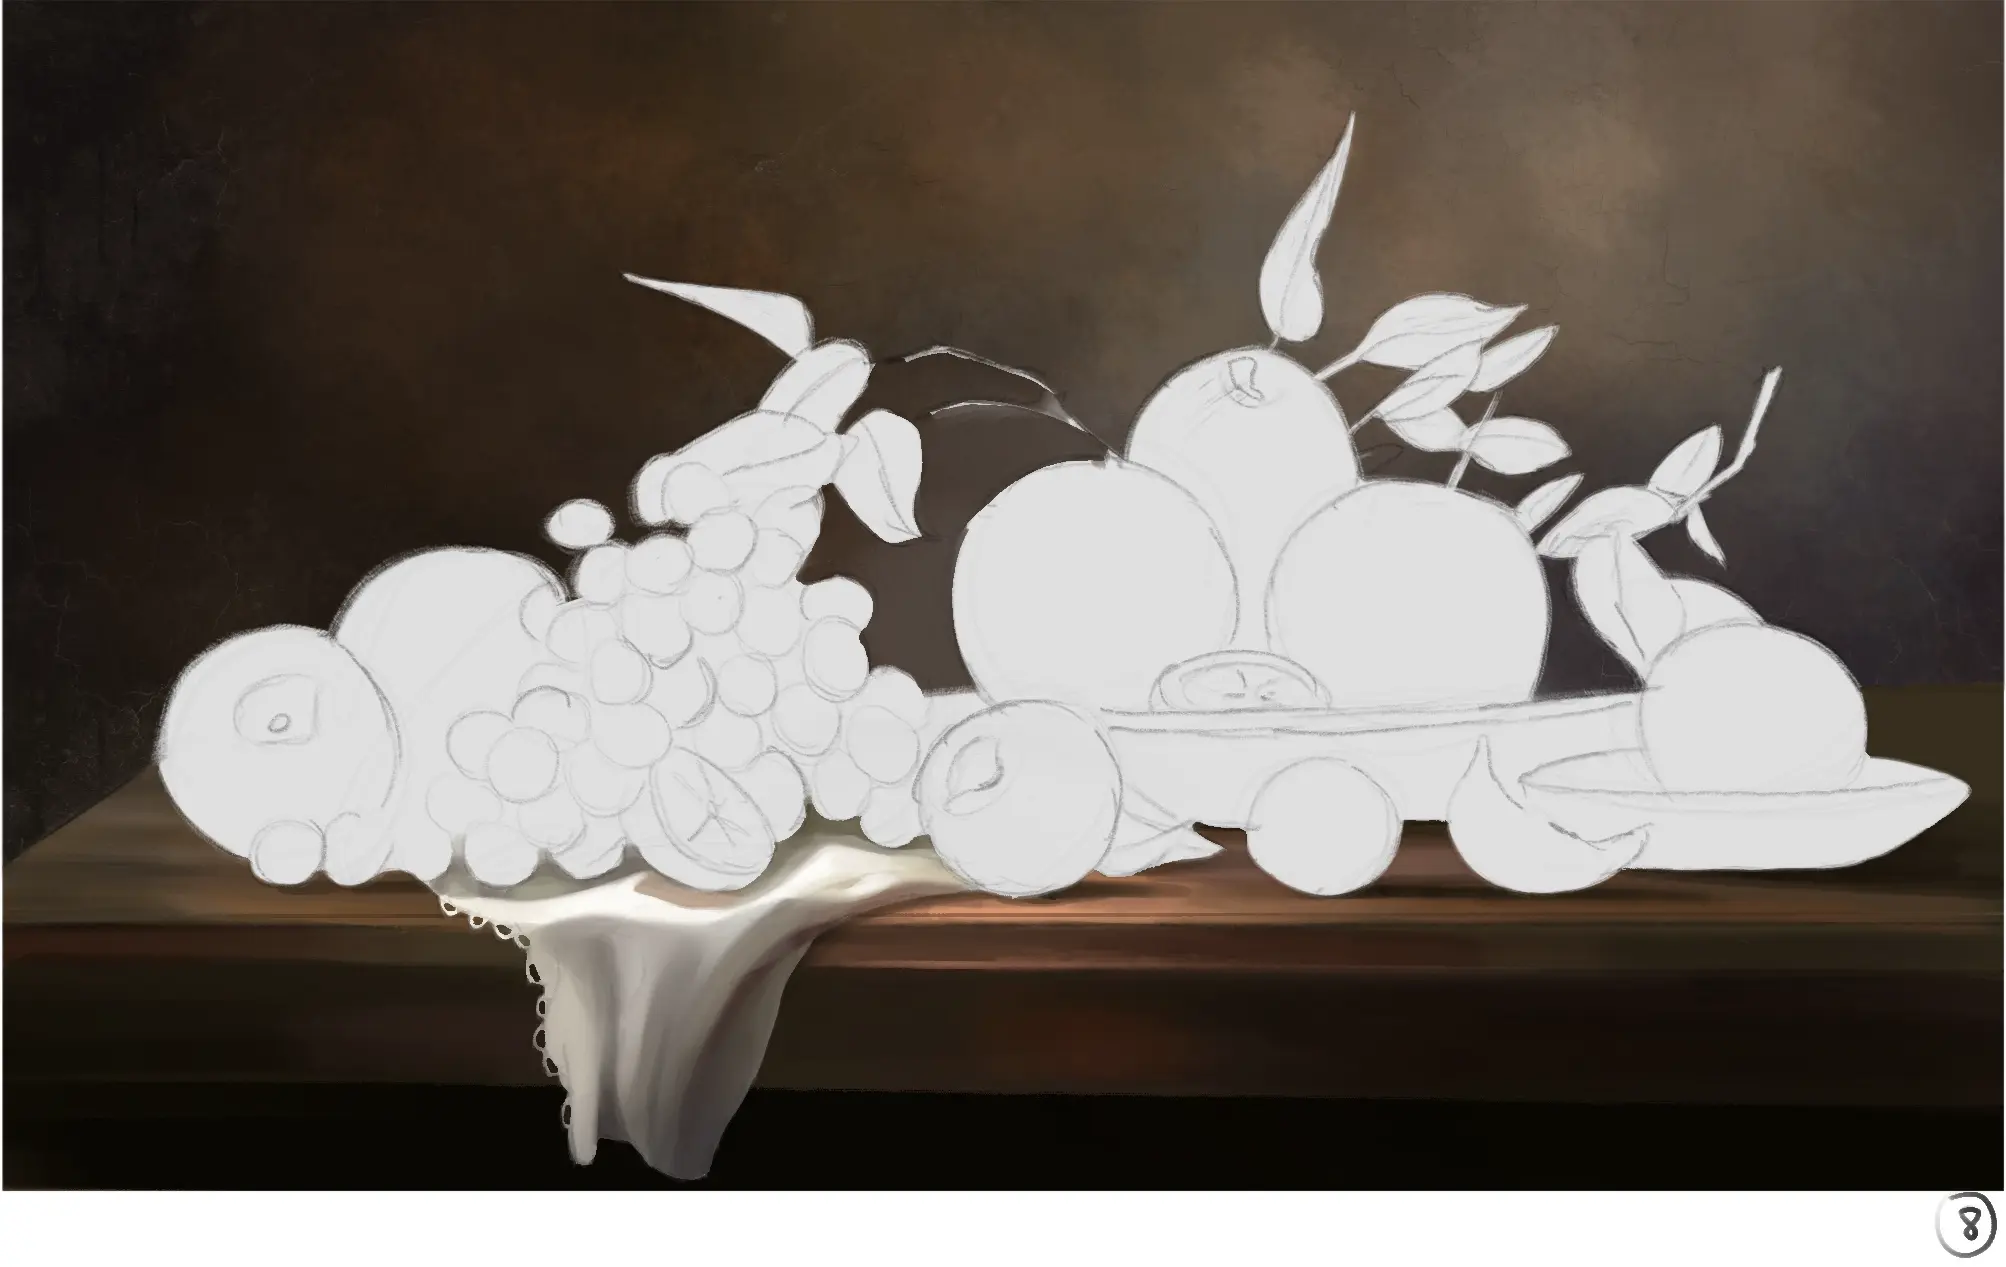
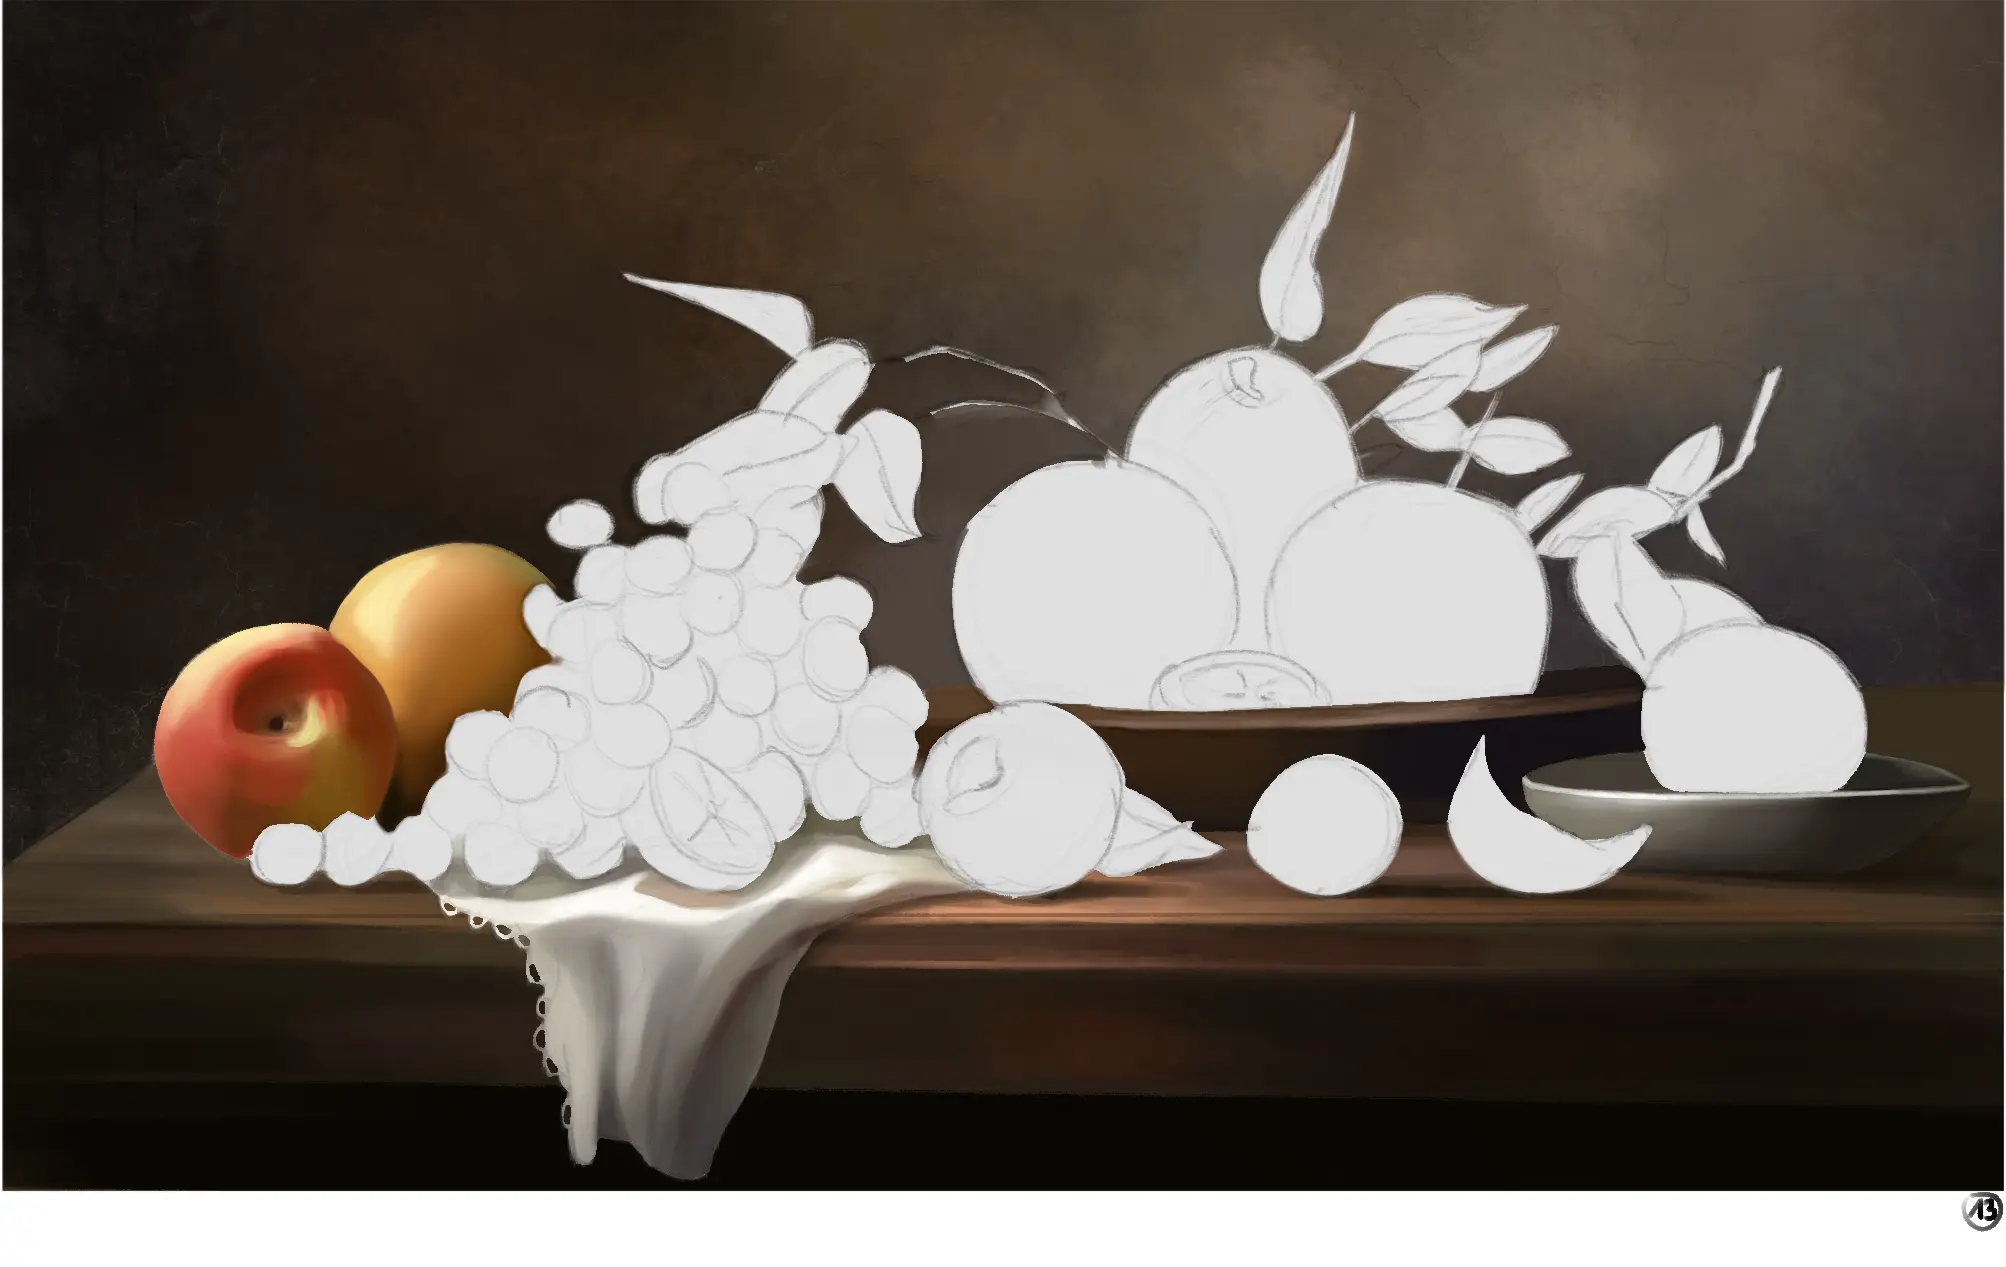
We add the final details to the sketch and check that all elements are correctly positioned with respect to each other.
ADDING COLORS TO YOUR DRAWING
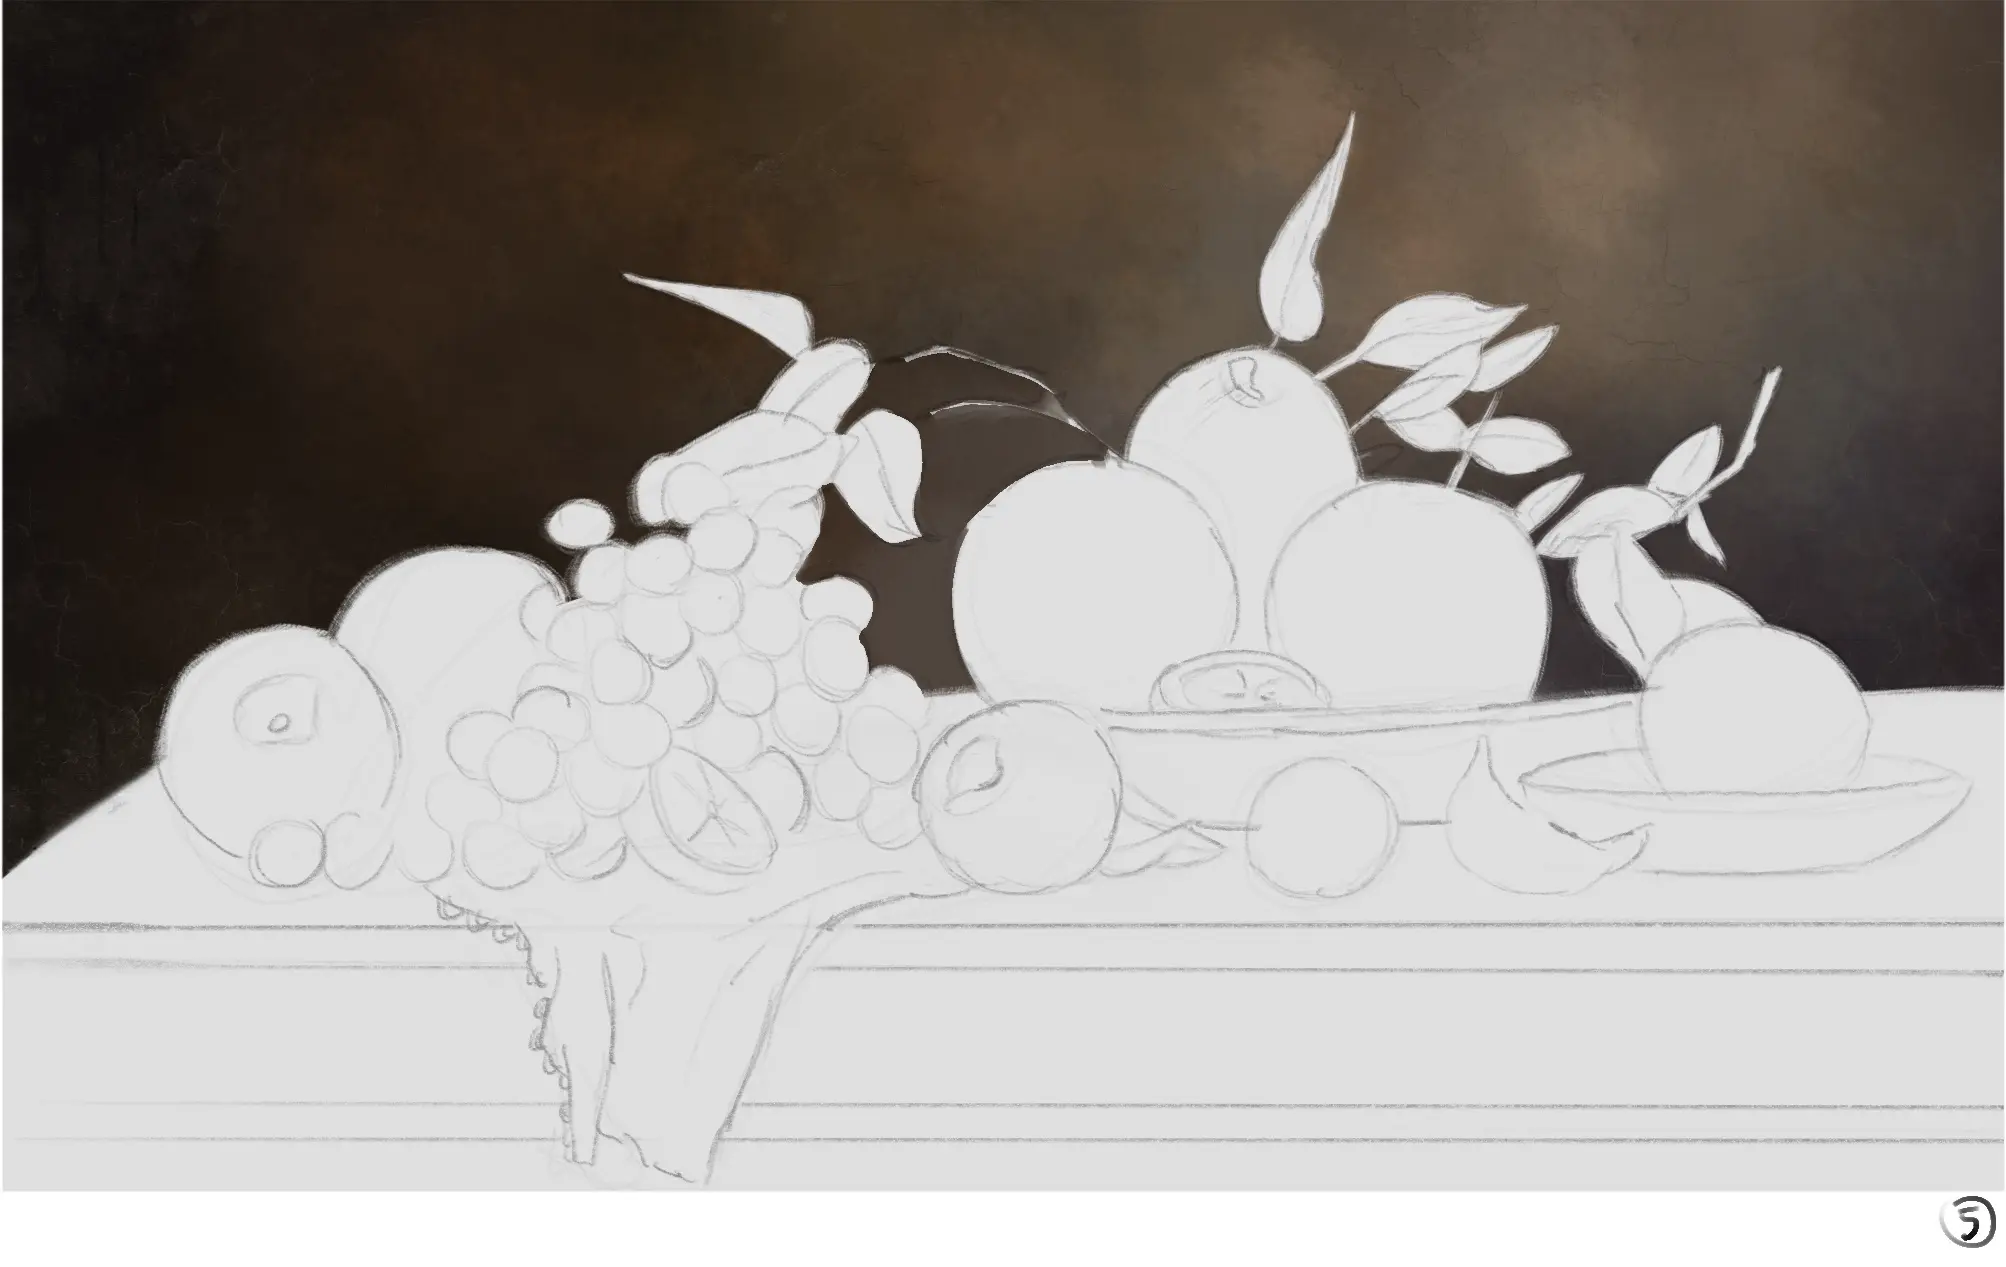
We start by creating the background, which will set the general tone for the image. Here I simply created gradients between different colours, trying to add some texture for a more realistic rendering.
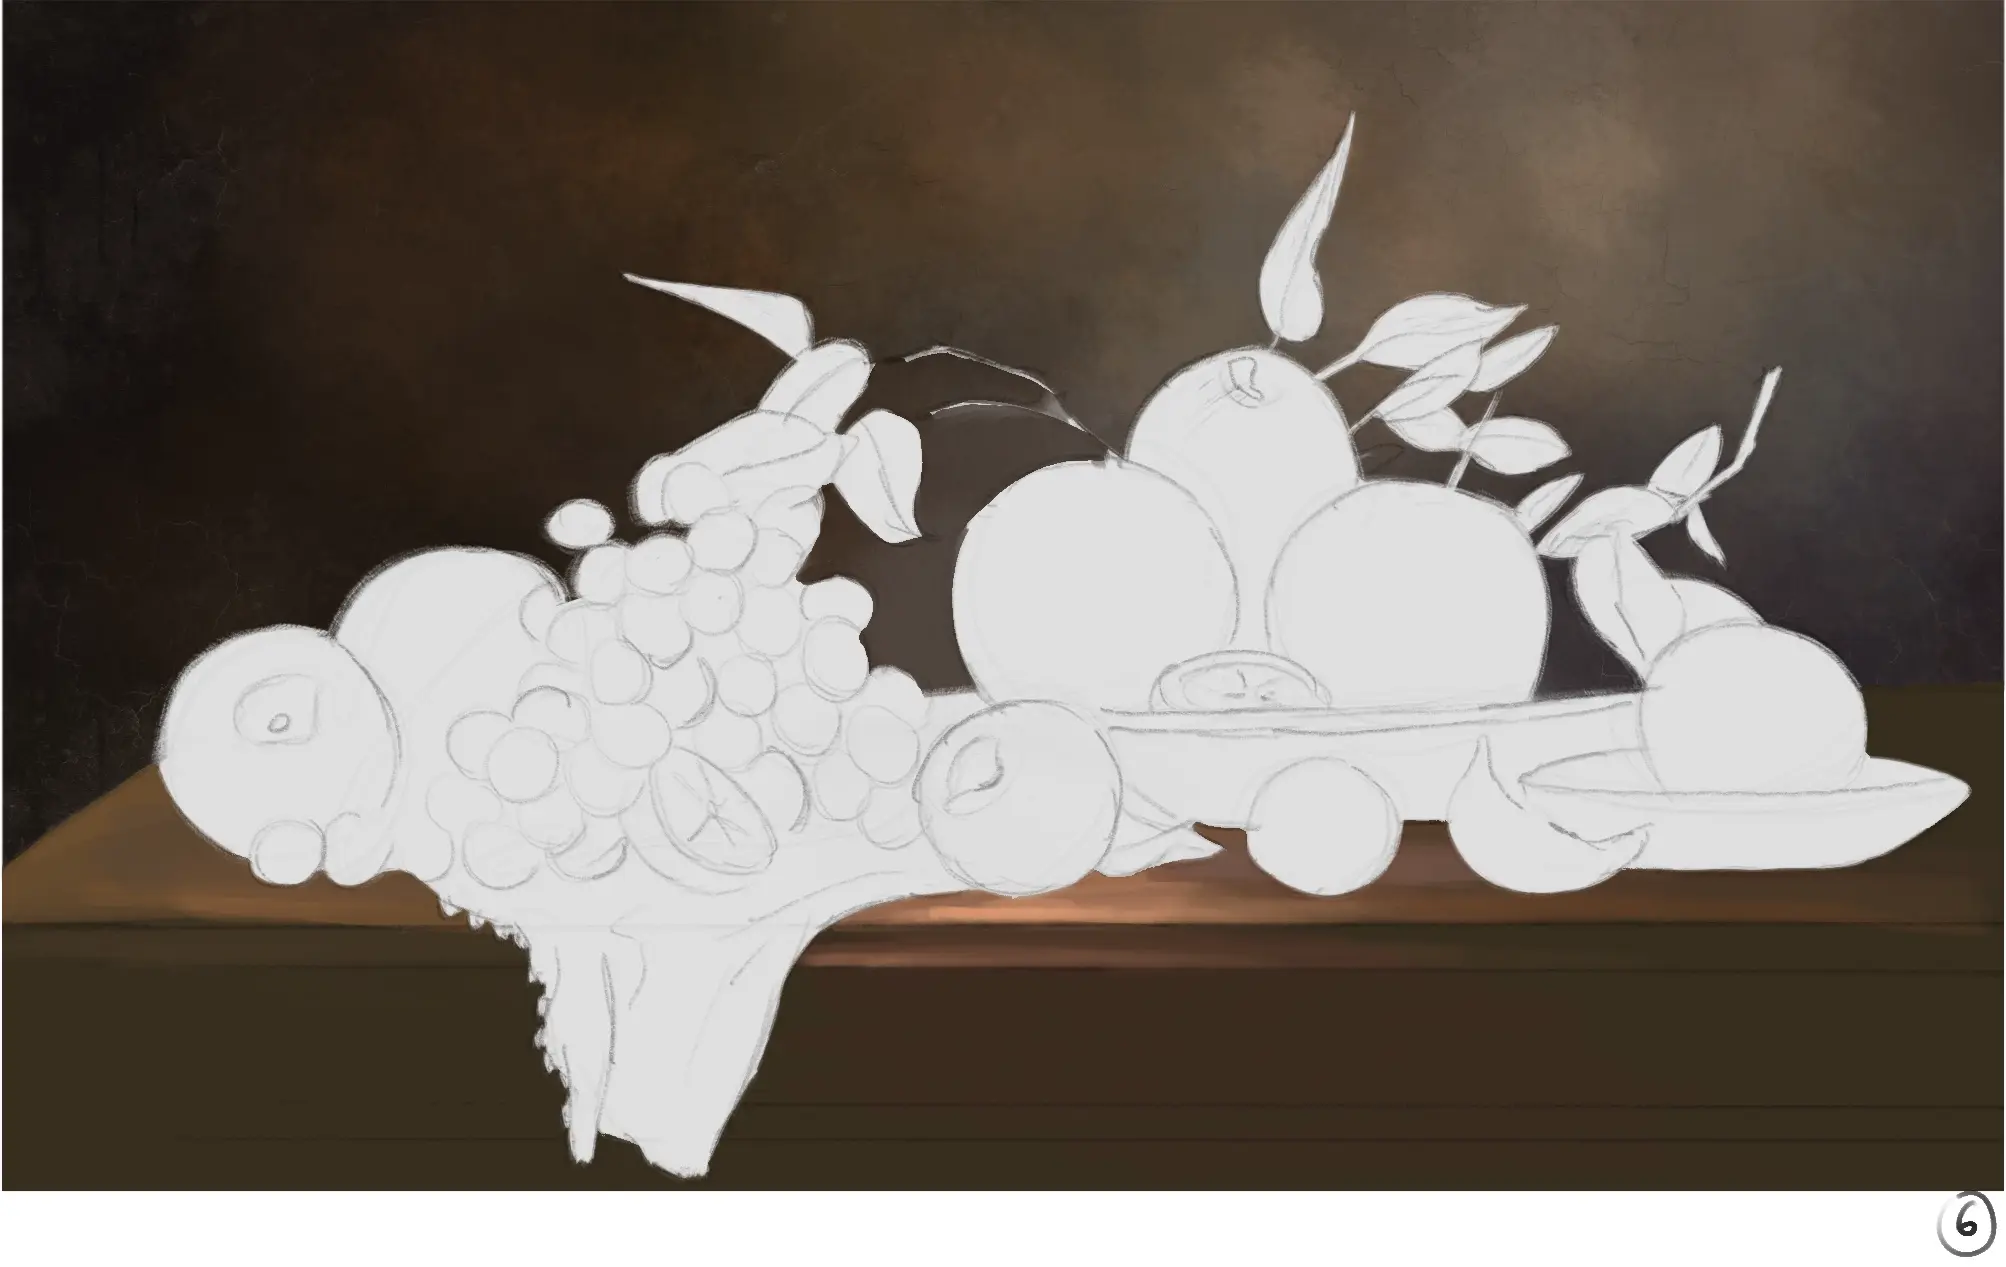
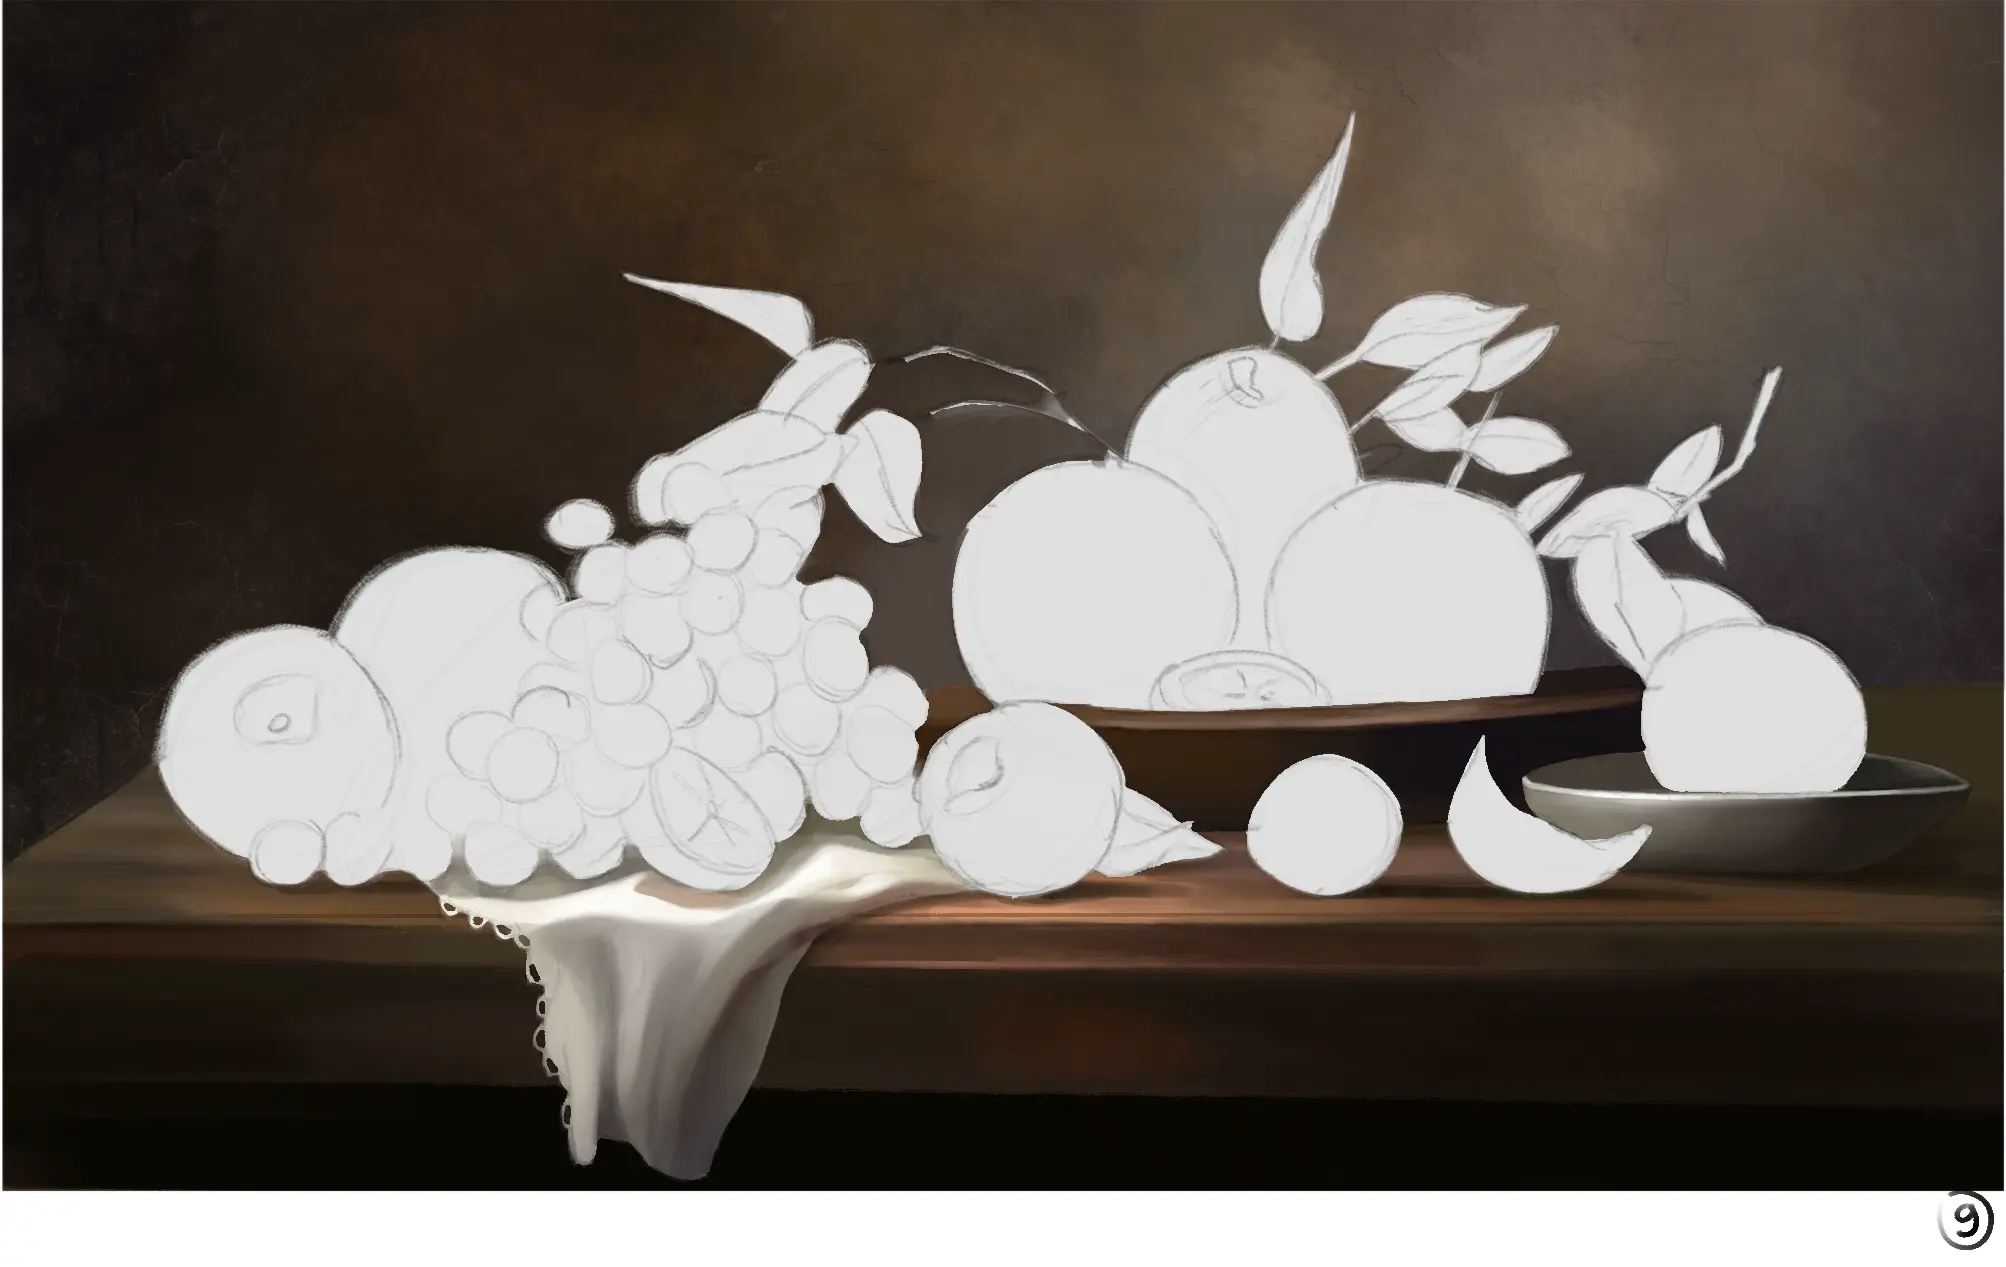
We then work on the basic colours and lights of the medium.

We add more depth and intensity to the medium, also reworking its texture and the shadows cast by objects.
Let's start working on the different elements. I like to start with the fabrics. We work gently on the colours, always starting with the lightest shades and gradually increasing the shadows.
In the same way, we continue with the other elements. Don’t forget to regularly check your reference to try to be as faithful as possible to it.
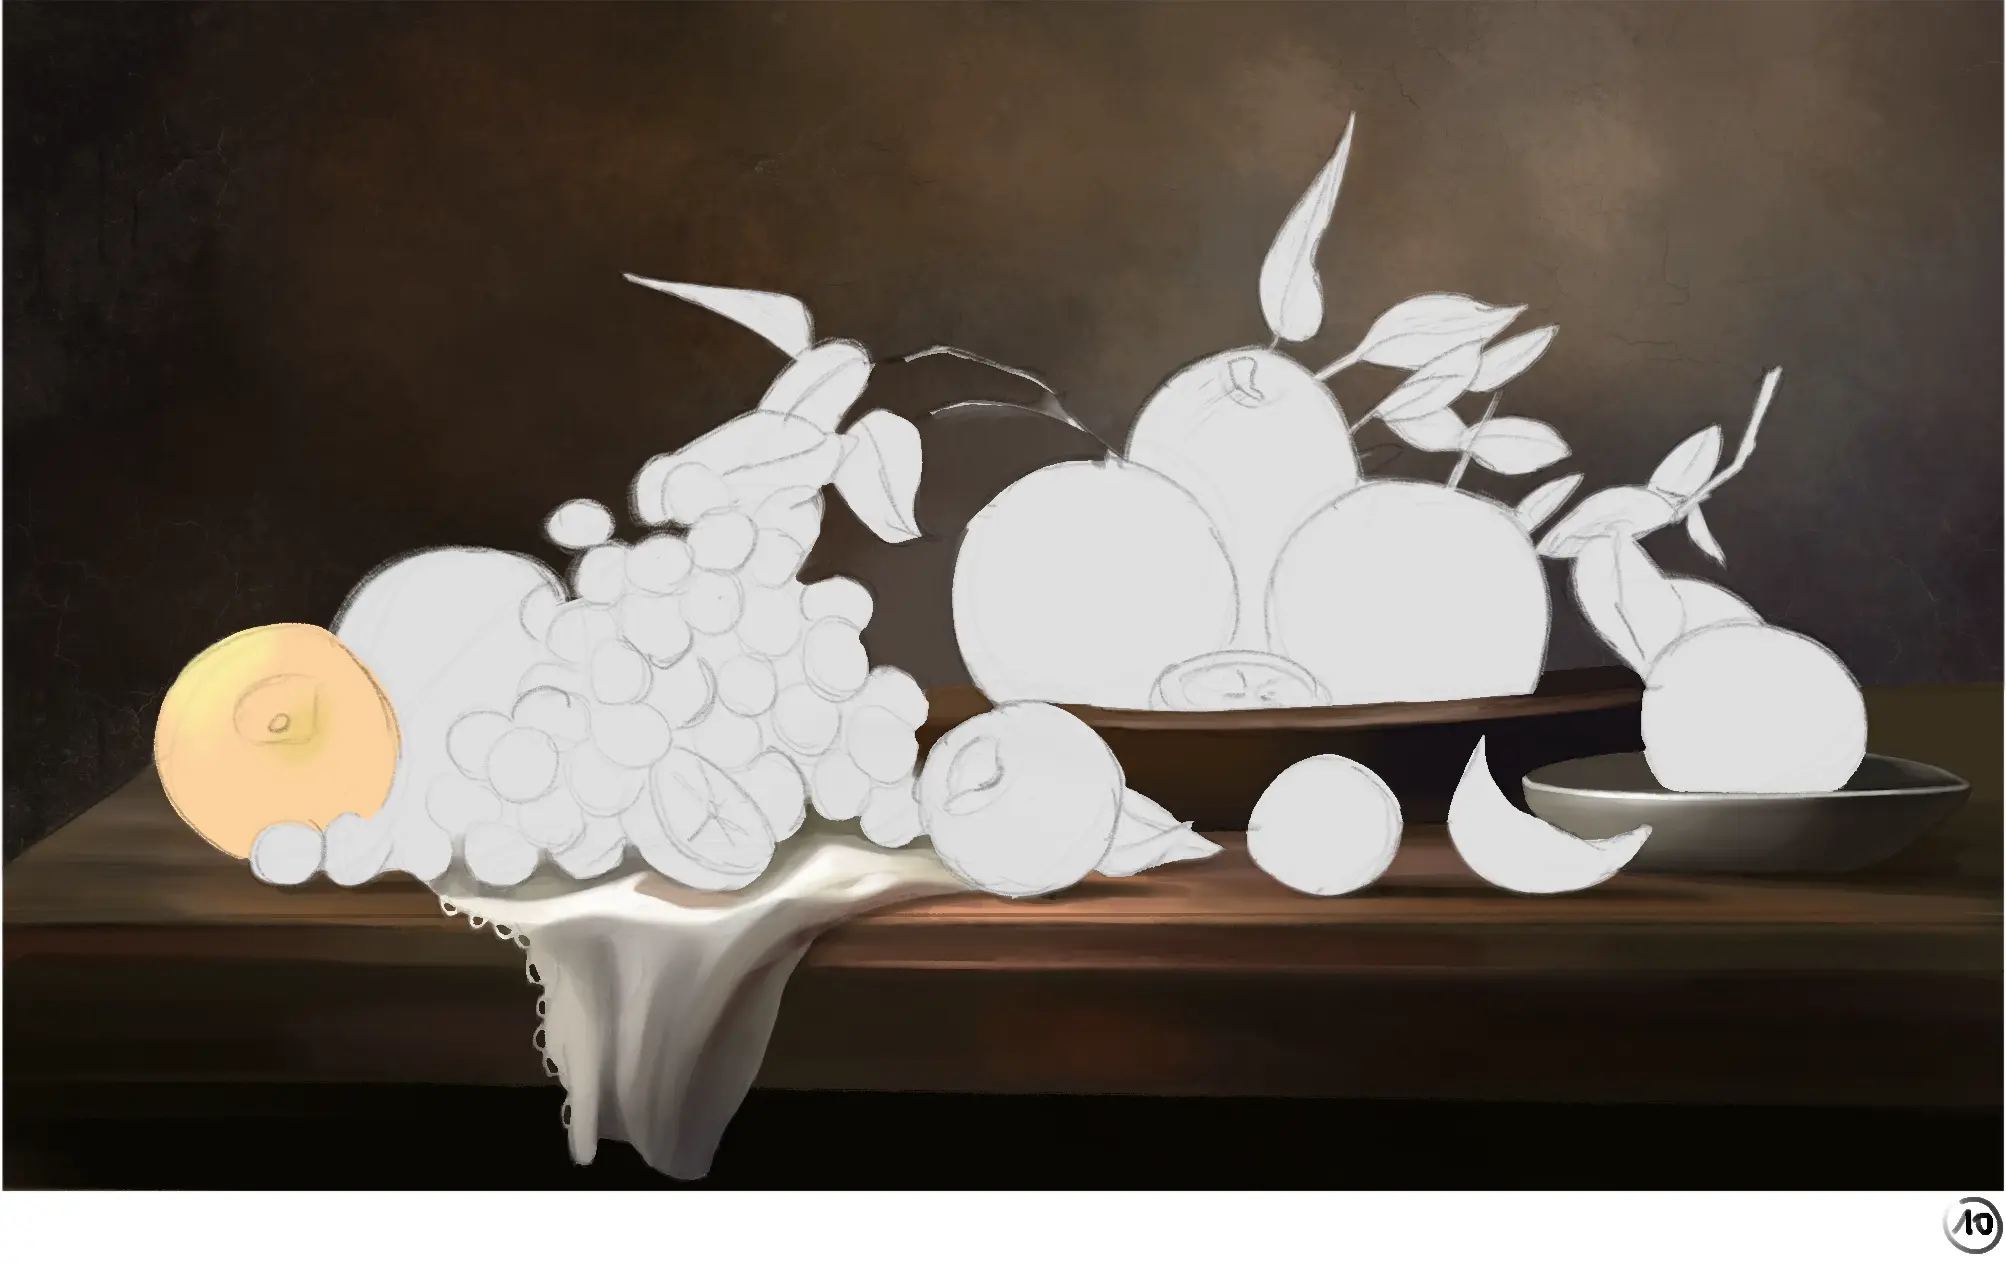
We can start working on the fruits, here I apply the brightest and lightest colours.
The colours are gradually built up by adding more nuance. The more meticulous you are, the cleaner and more realistic the result will be.
We finish setting the colours by working on the darkest and most intense shades. Remember, it's a work of patience.
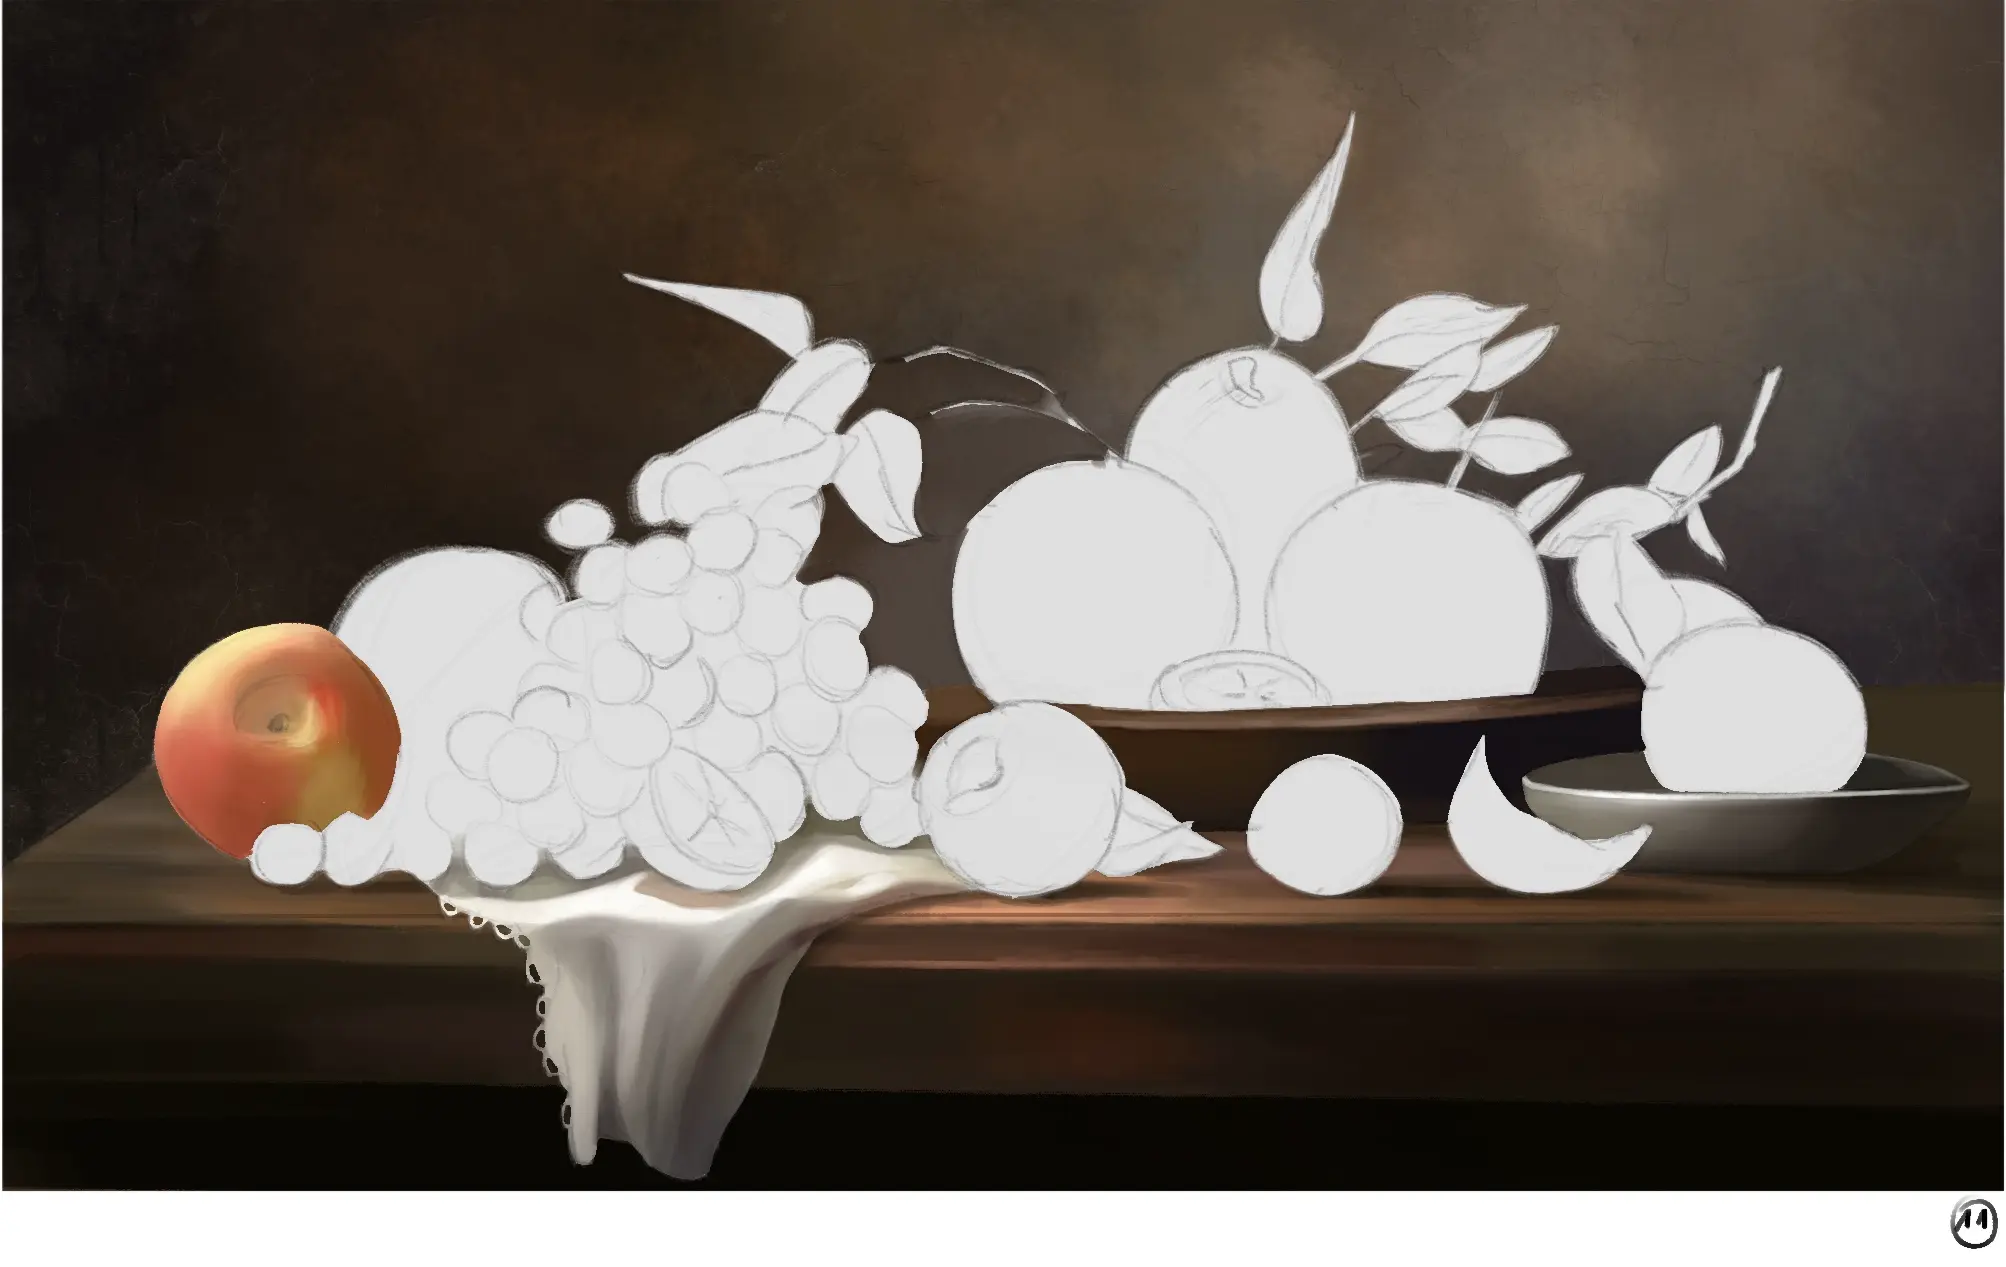
Following the same procedure, I work on the colour of a second fruit. I prefer to start with the fruit from left to right (as I am right-handed) so as not to touch the colours already applied too much. Similarly, I recommend working on the background elements first and then on the foreground elements. This way it will be easier to blend them together.
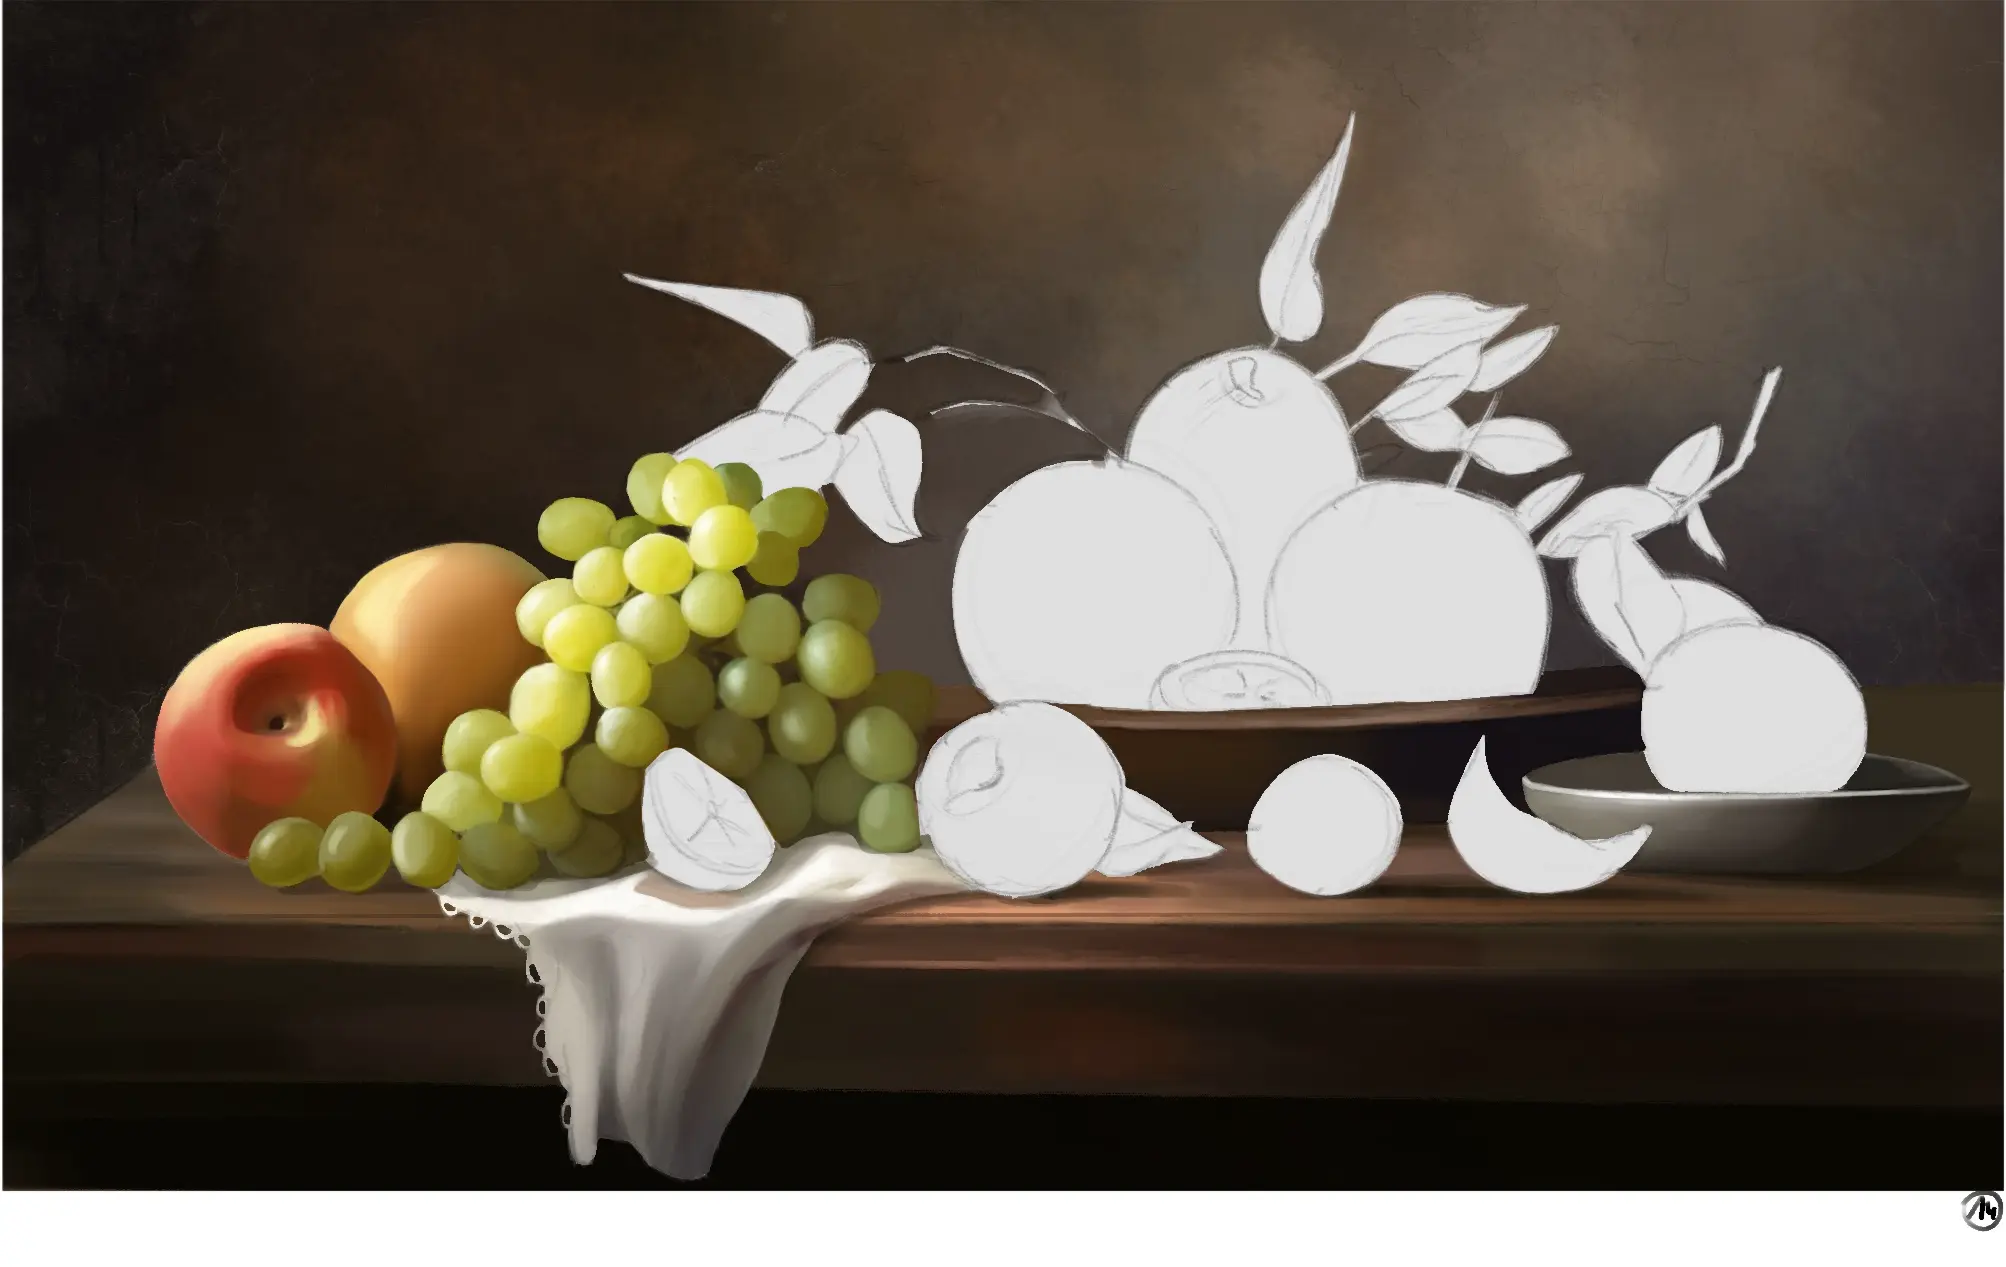
We continue to work on the fruits. For the grapes, I first worked on the shadows formed by the hollows to hint at a mass before drawing the most visible grapes individually.
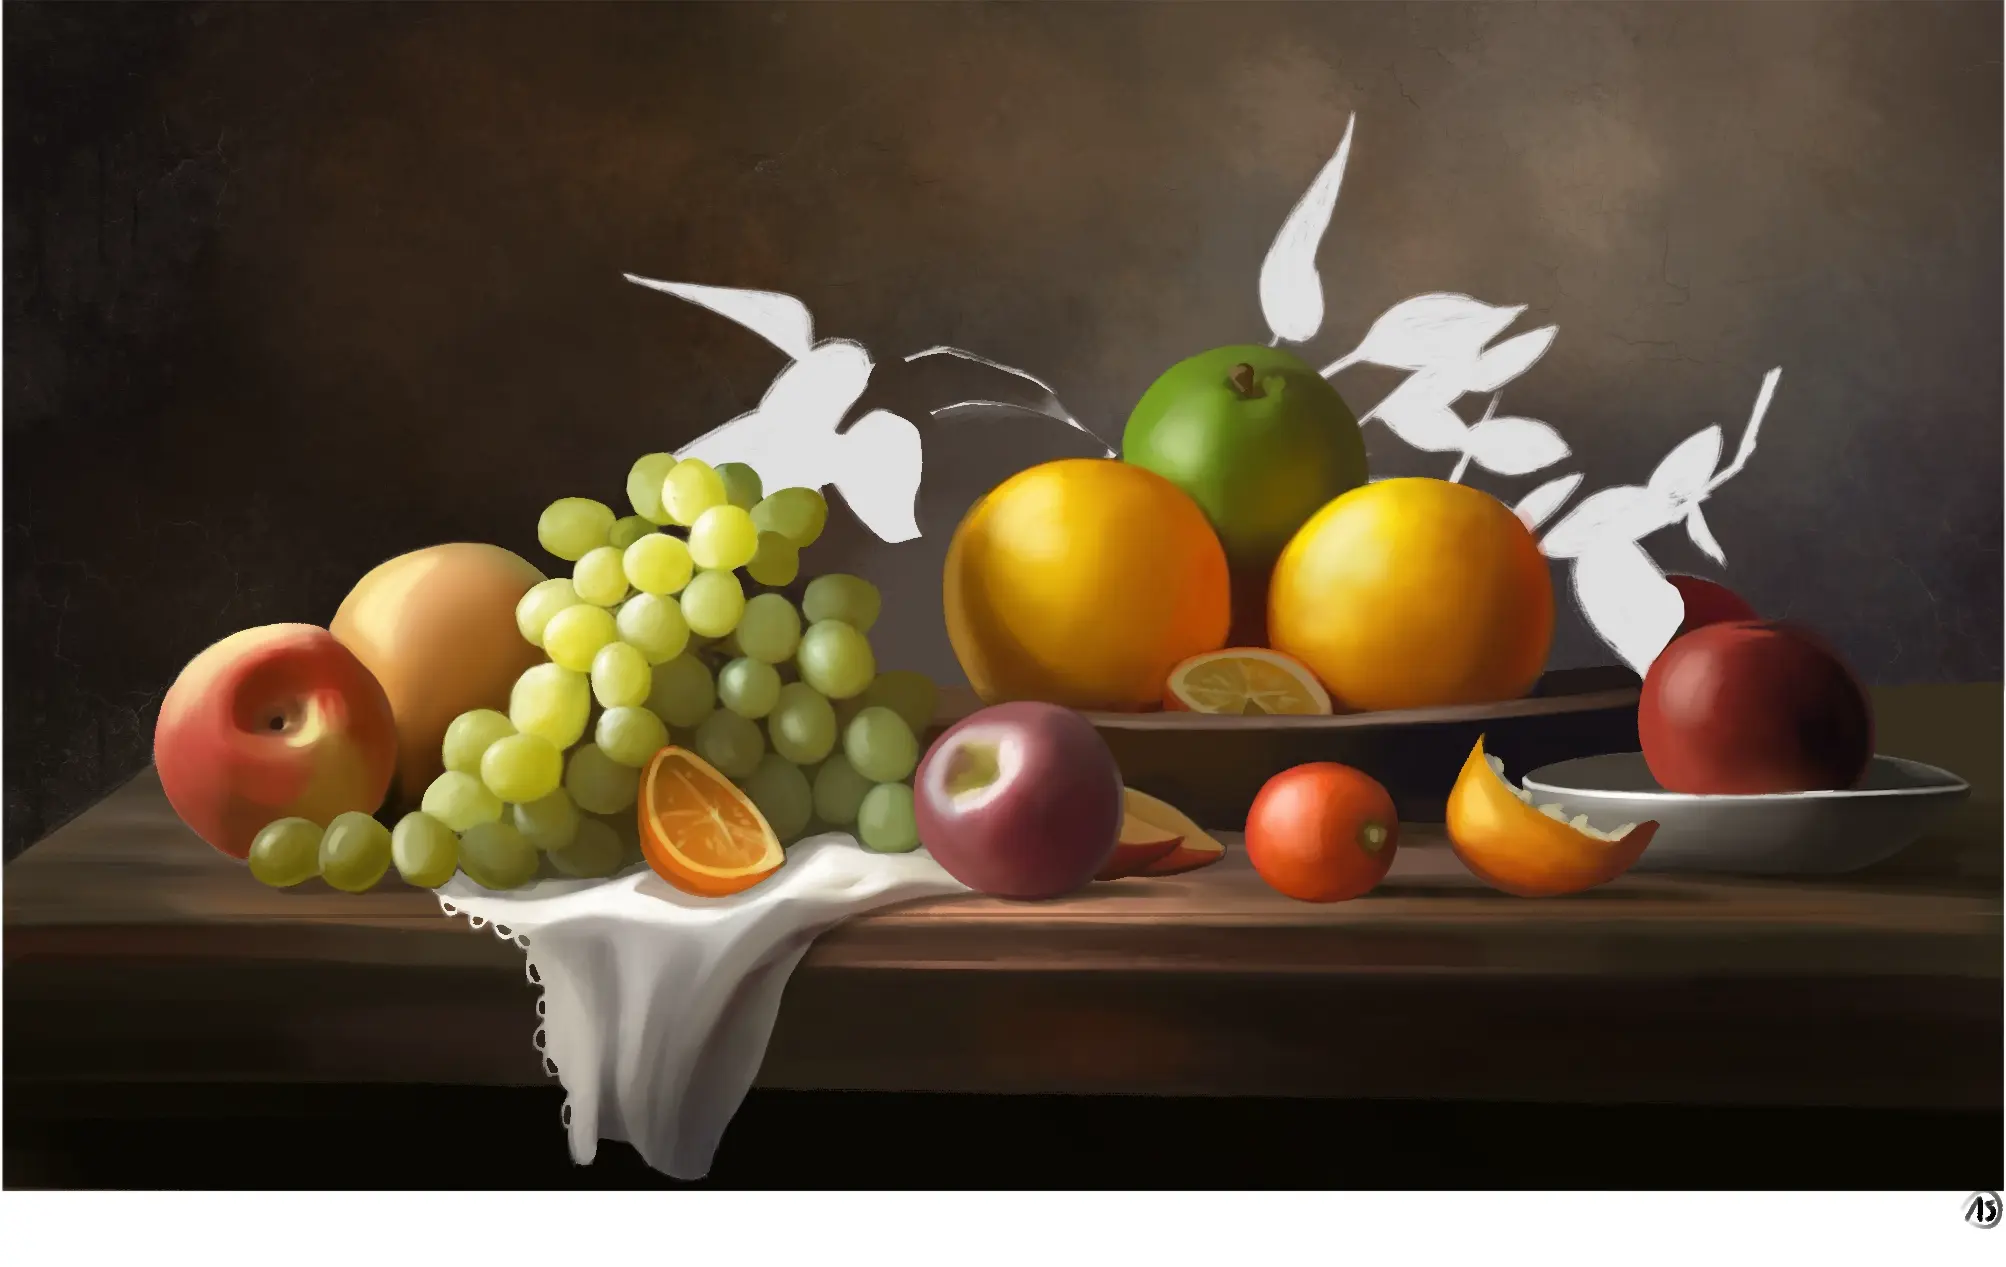
You are beginning to understand. We will go through the fruits one by one, taking time for each one and trying to be as gentle as possible.

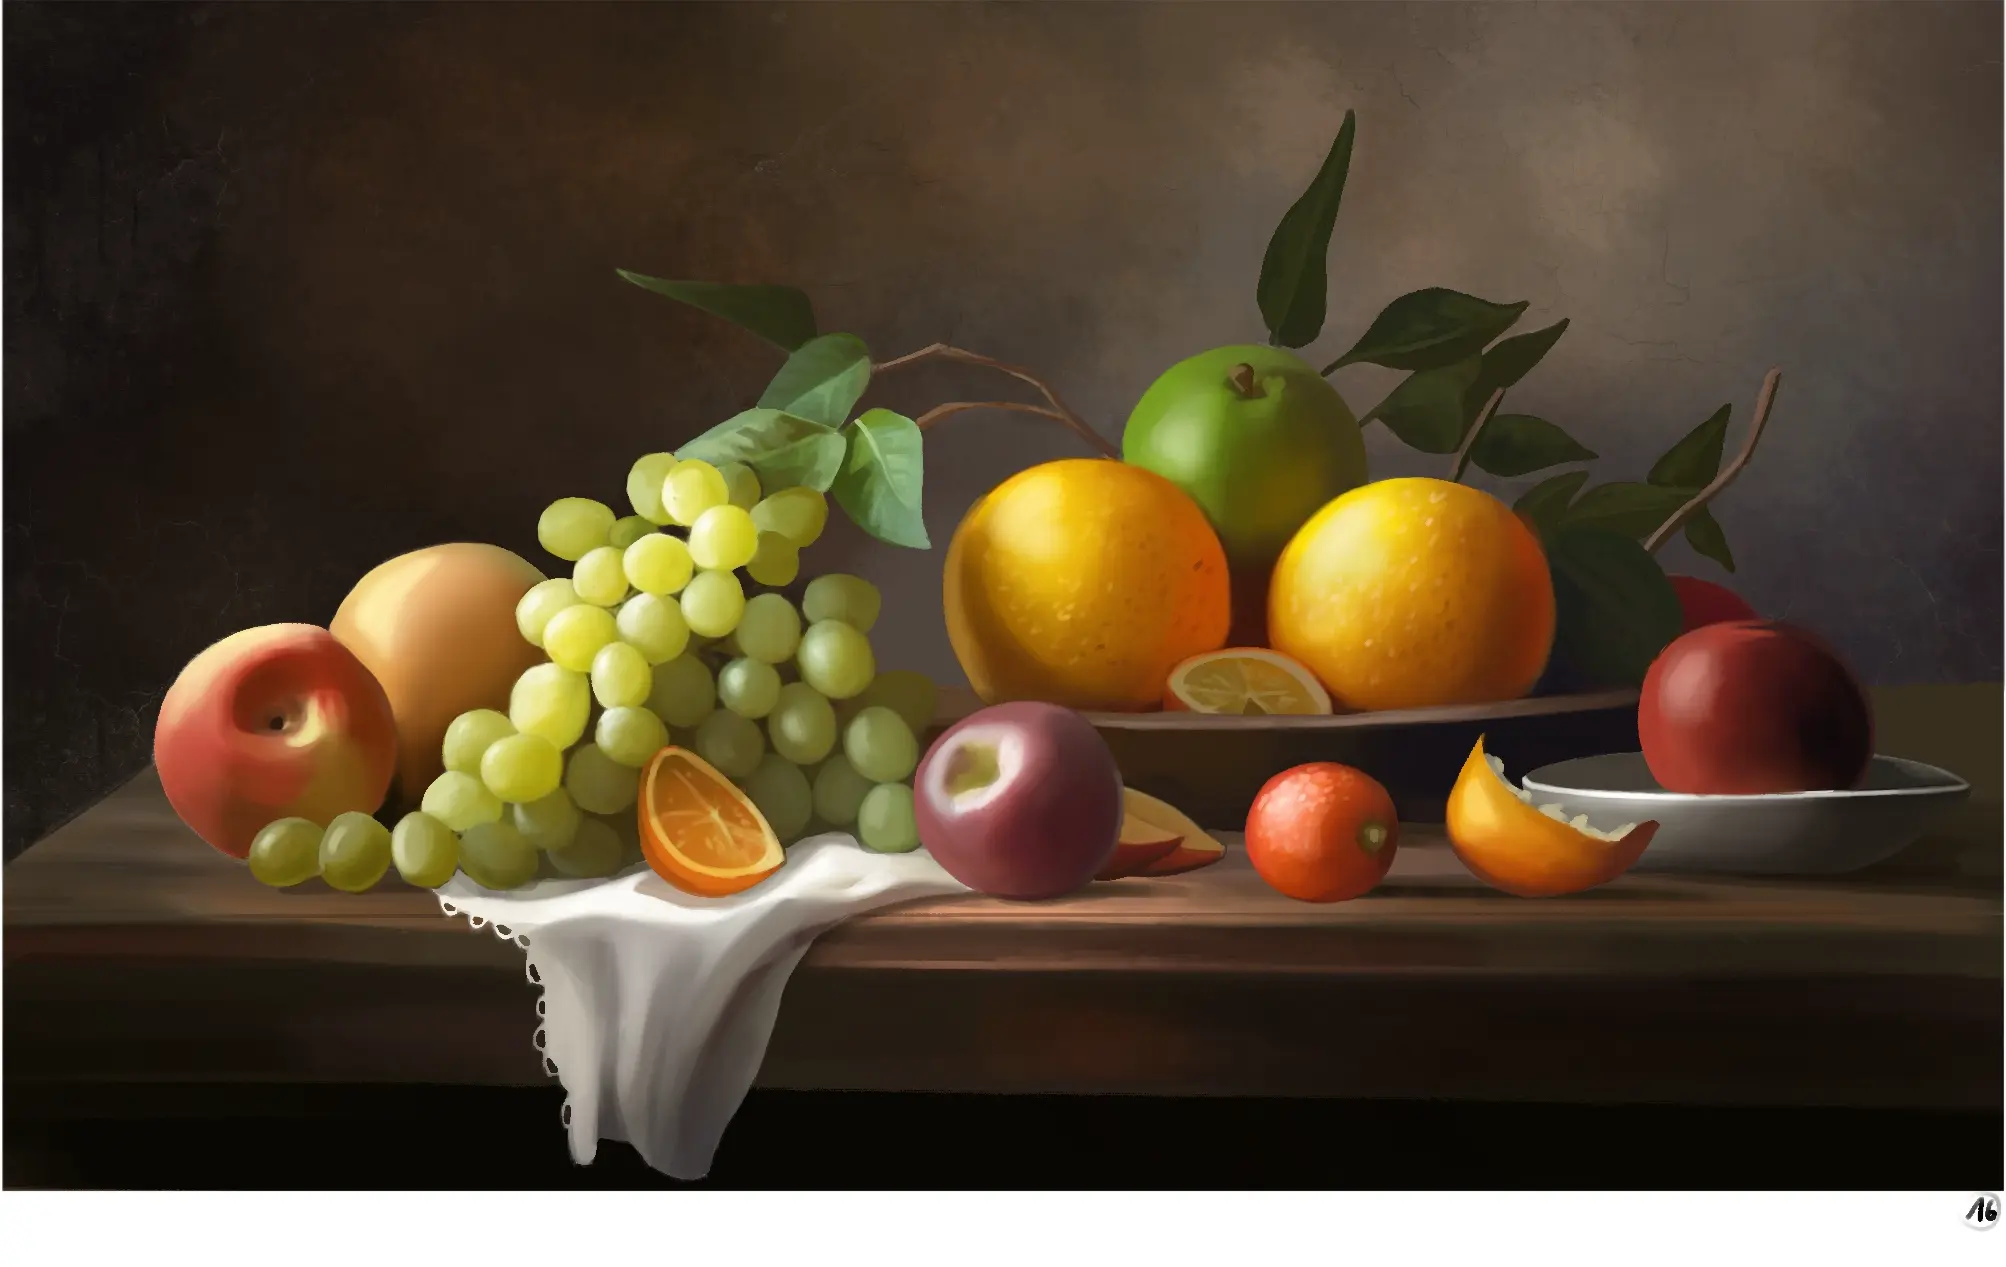
To finish, we add the final details, e.g. we can add some textures, some shadows...
And that's it! Now you have all the makings of still life paintings. You can choose to give deep meaning to your compositions or just focus on technique and beautiful rendering. Work carefully and patiently, layering colours and details fluidly, and you will create beautiful still lifes, in the manner of the 17th century Dutch painters.
Discussion
No comments yet.