How to Paint Atmospheric Perspective with Watercolors

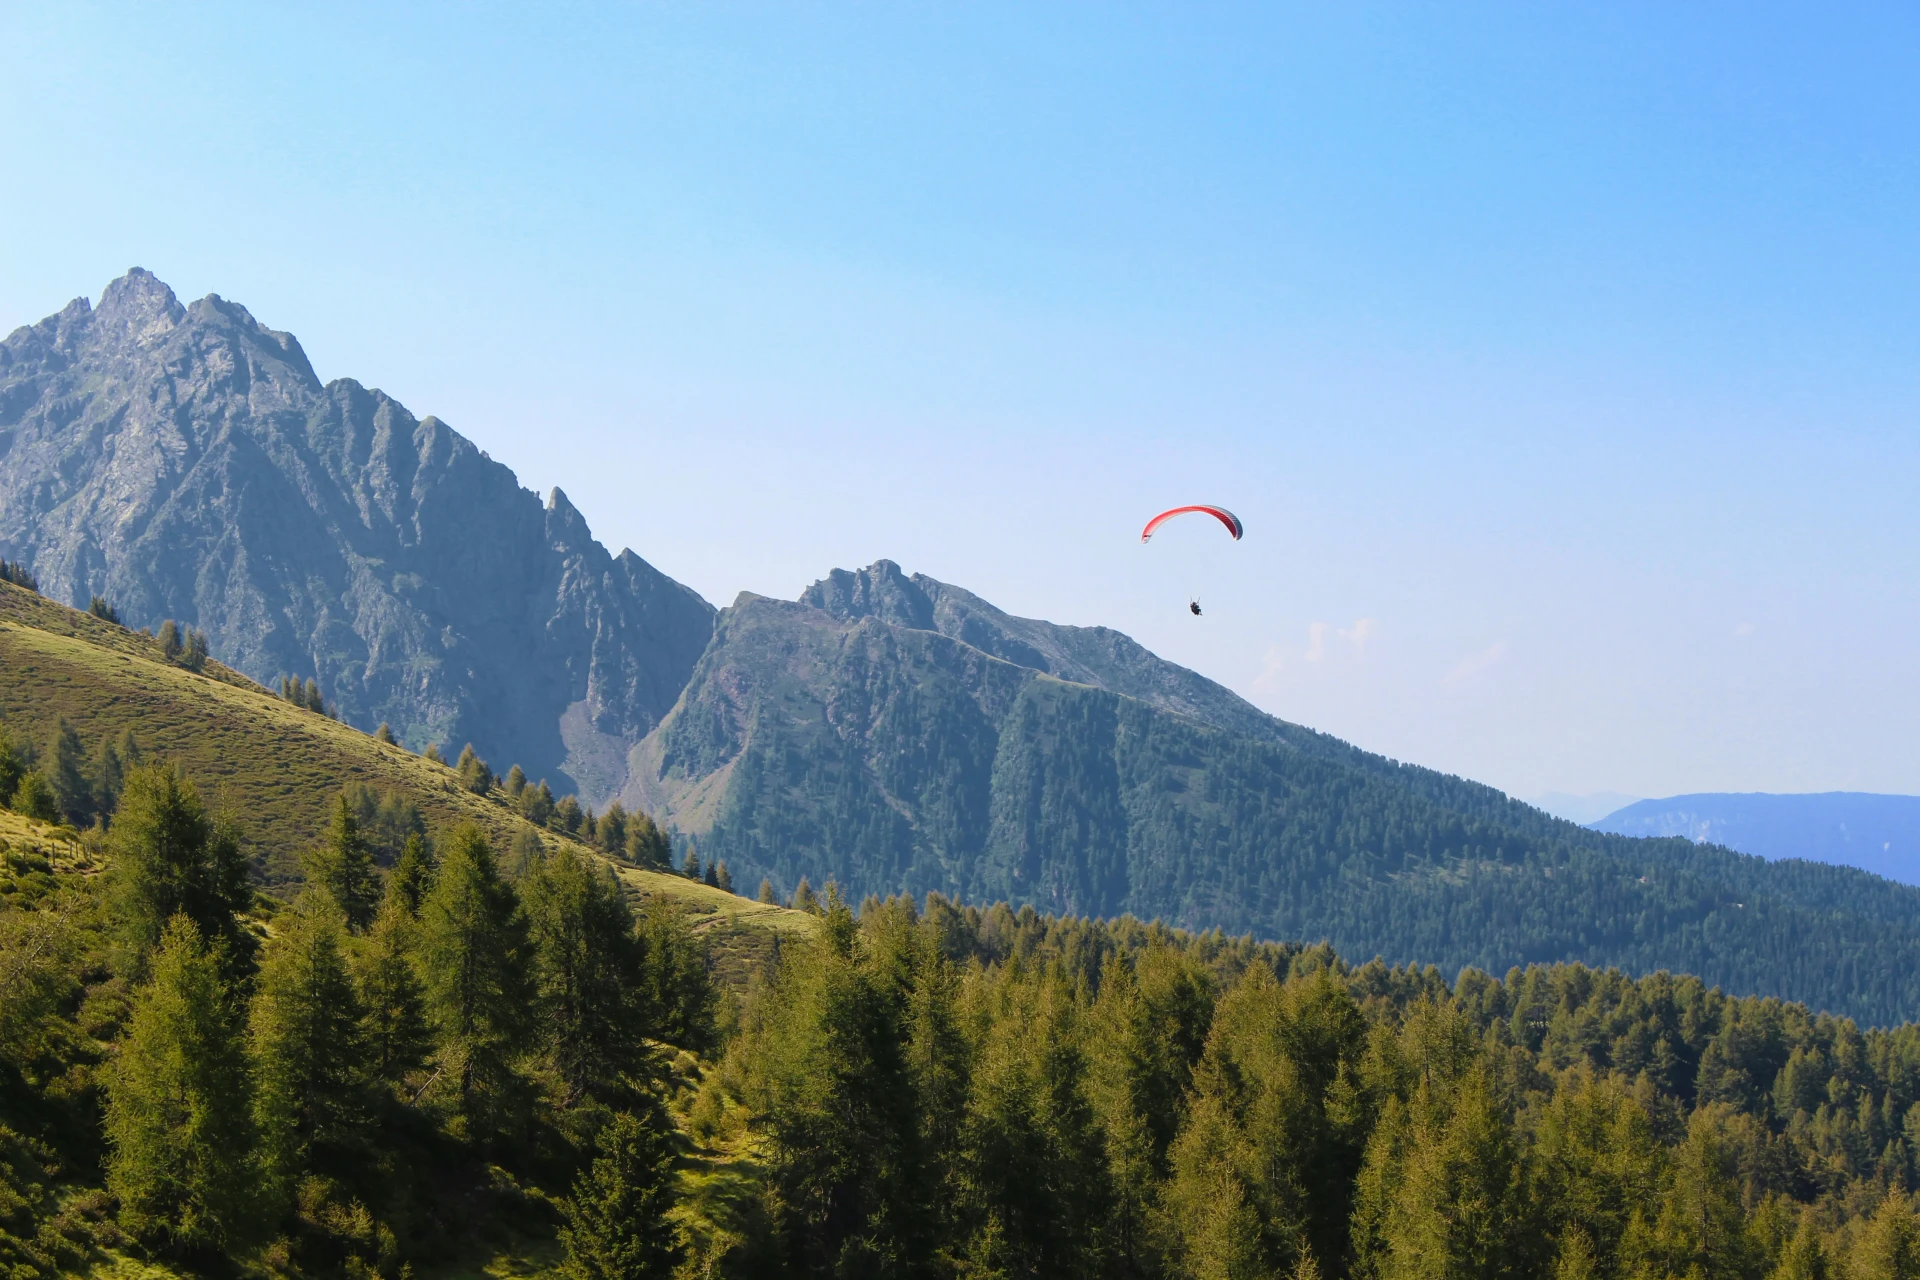
When we talk about perspective, we often think of oblique, frontal, or isometric perspective, with their vanishing points and projection lines. But atmospheric perspective, also known as aerial perspective, plays on other parameters: depth, distance, and the sensation of mist. These are concepts that watercolor naturally masters, and this is precisely what we will explore here.
What is atmospheric perspective?
The air around us is not invisible; it has density. The farther away an object is, the greater the mass of atmosphere between it and us. As a result, a bluish haze gradually blends the landscape into the sky, while details fade and contrasts weaken.
Watercolor and atmospheric perspective
Watercolor is the quintessential technique for landscape painting. It is therefore not surprising that it lends itself so naturally to this principle that emerged during the Renaissance. The master Thomas Ender provides a fine example with his Château de Lomnitz and the Tatras in Hungary (1861): the mountains fade majestically as they recede towards the horizon.
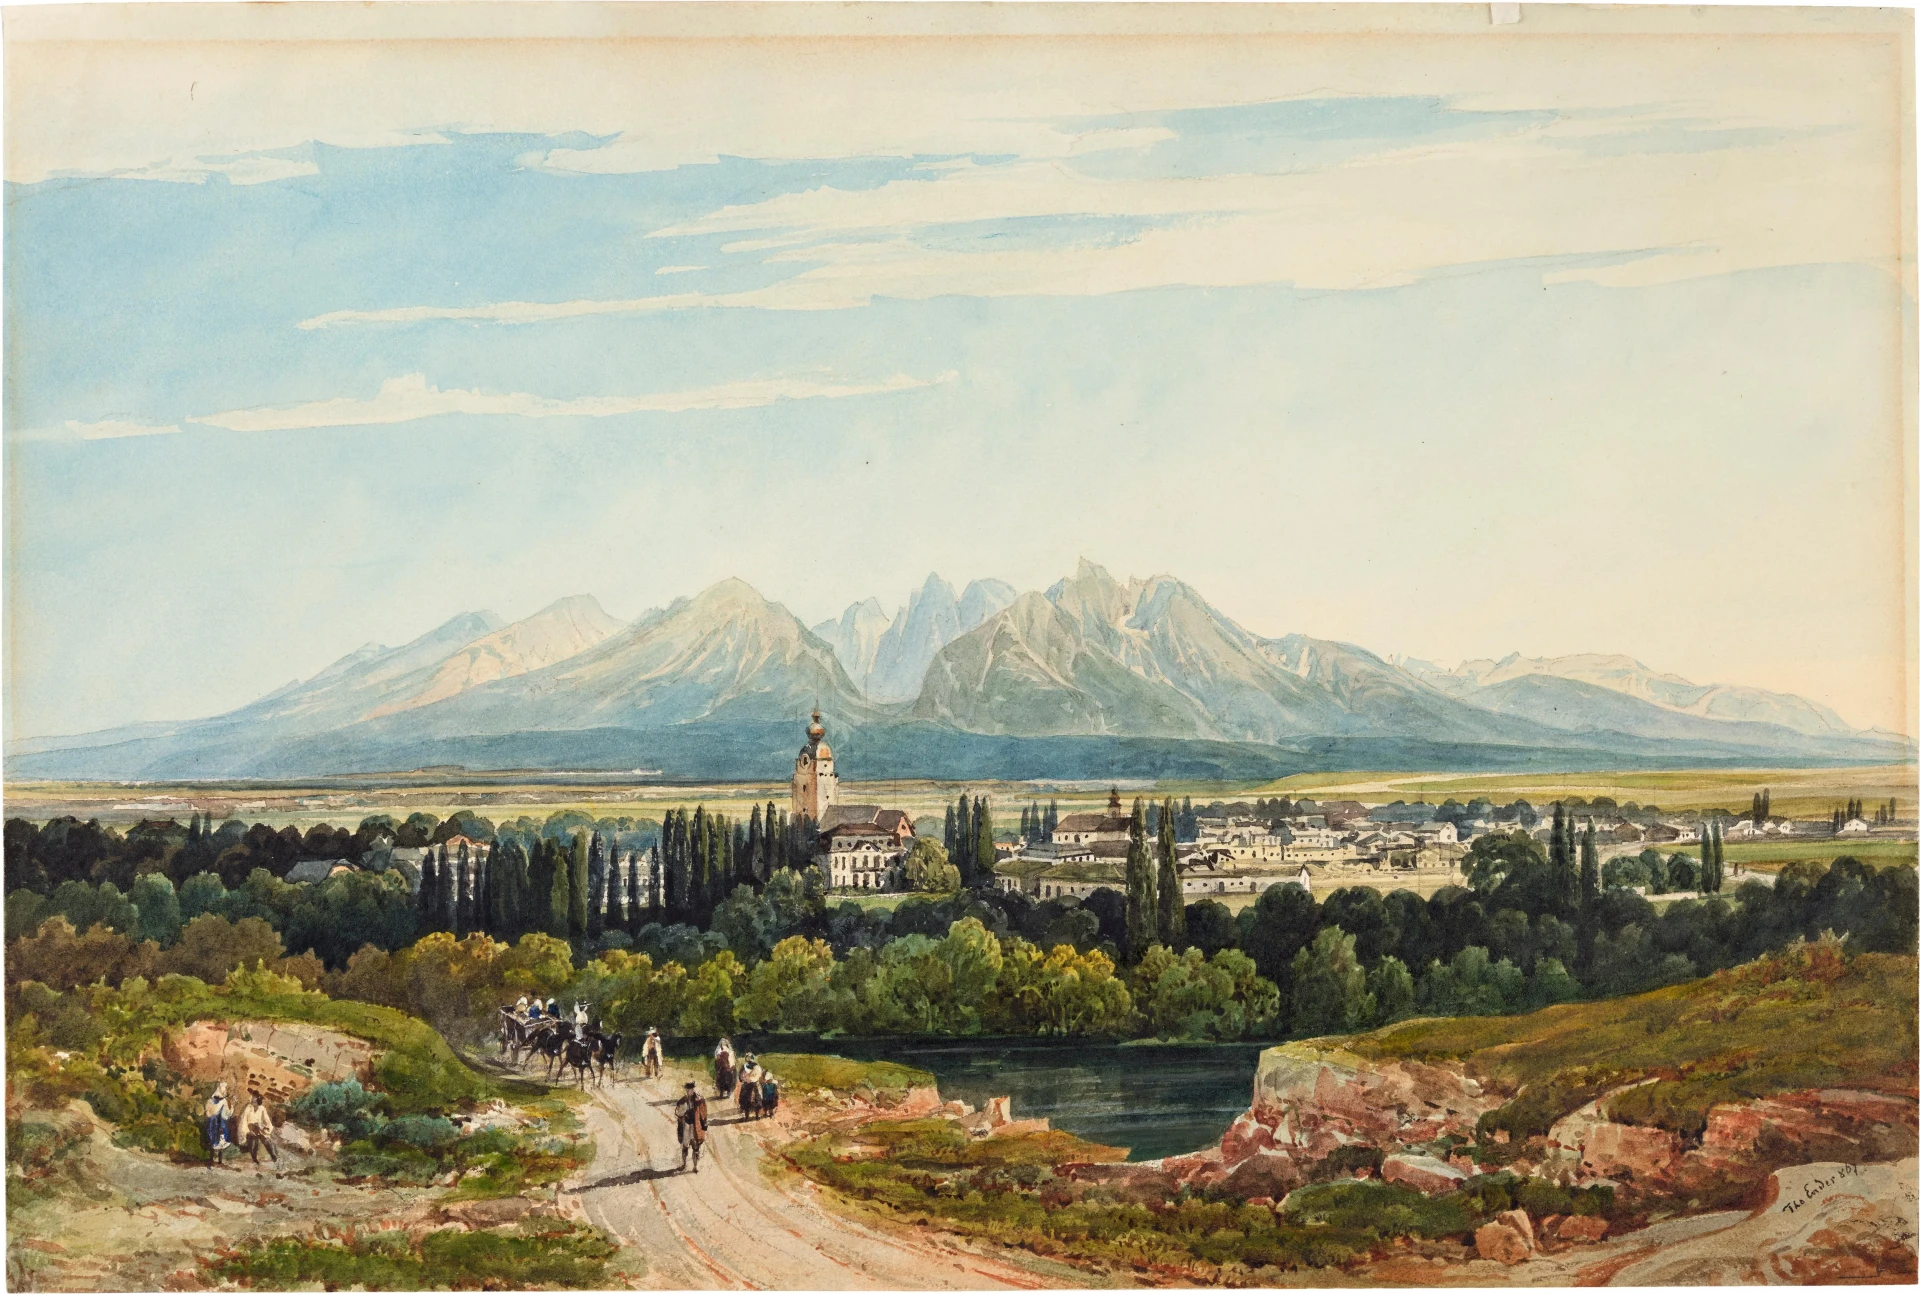
“The Lomnitz Castle and the Tatras in Hungary” (1861) Thomas Ender
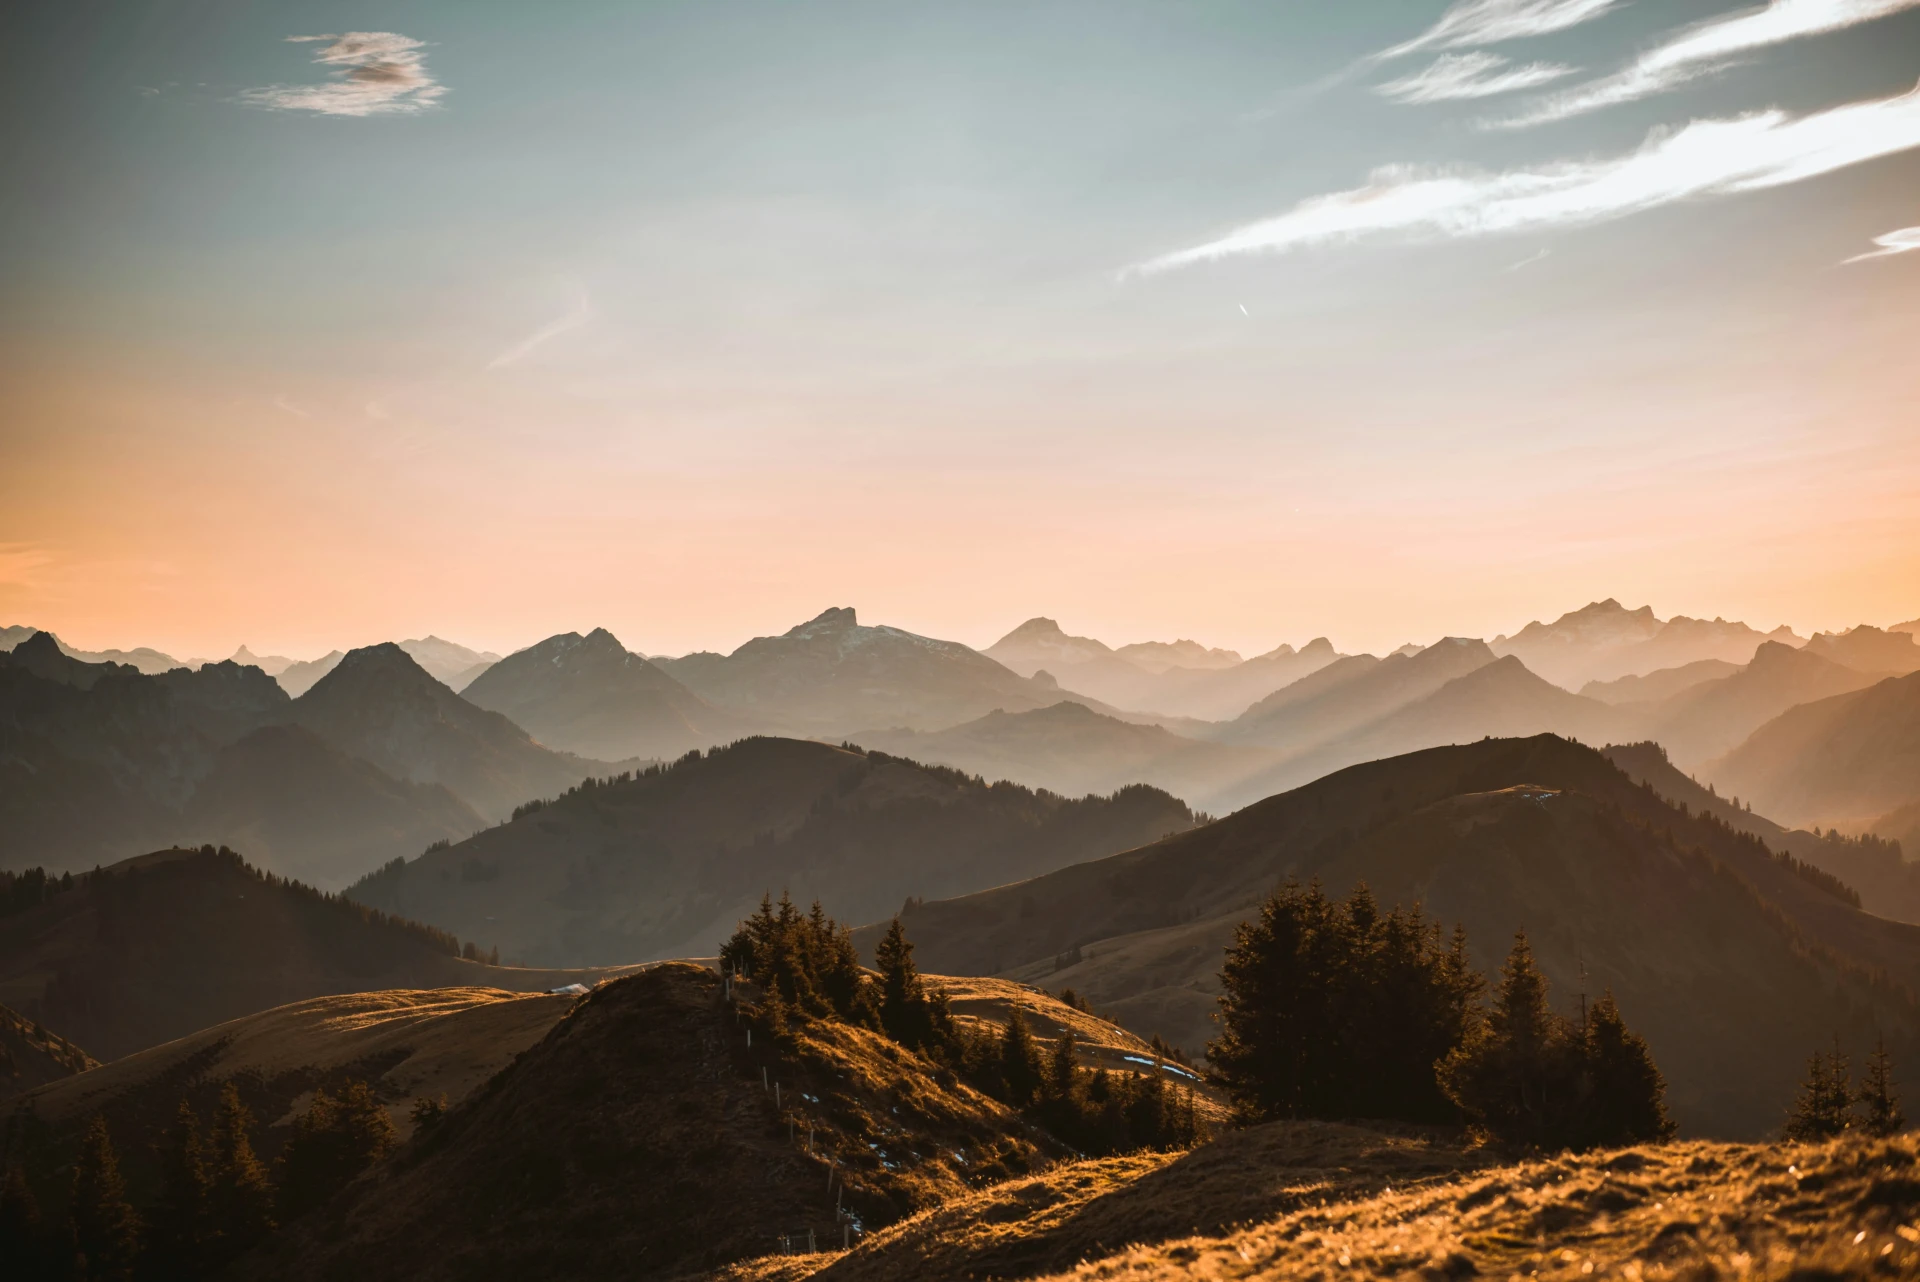
Before painting, you need to identify the planes of the scene. A very detailed foreground, a middle ground that is more muted and less defined, a background with tones close to the sky, and so on, up to the almost transparent mountains in the distance.
How to paint a landscape using atmospheric perspective with watercolors
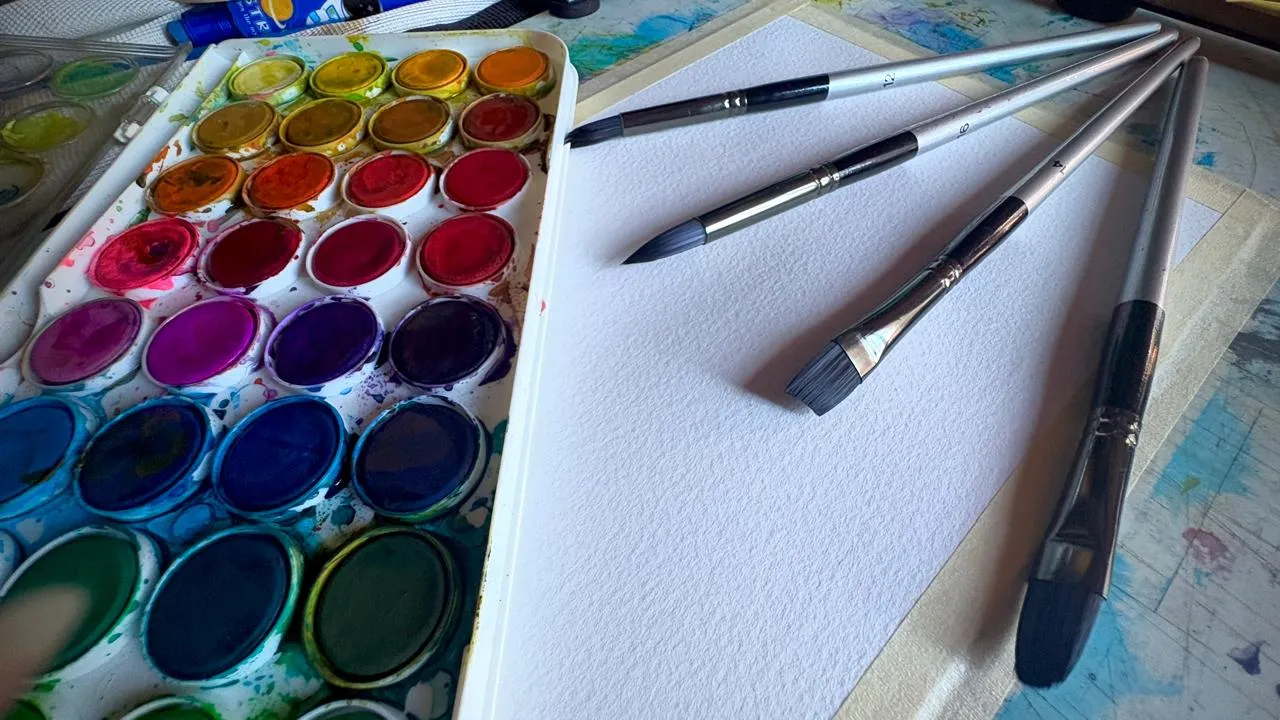
Before we begin, let’s talk about materials. To do this, you need to gather your watercolors, your brushes, and your special watercolor paper, as well as a few accessories such as masking tape, a pencil, an eraser, a container of water, and a small cloth.
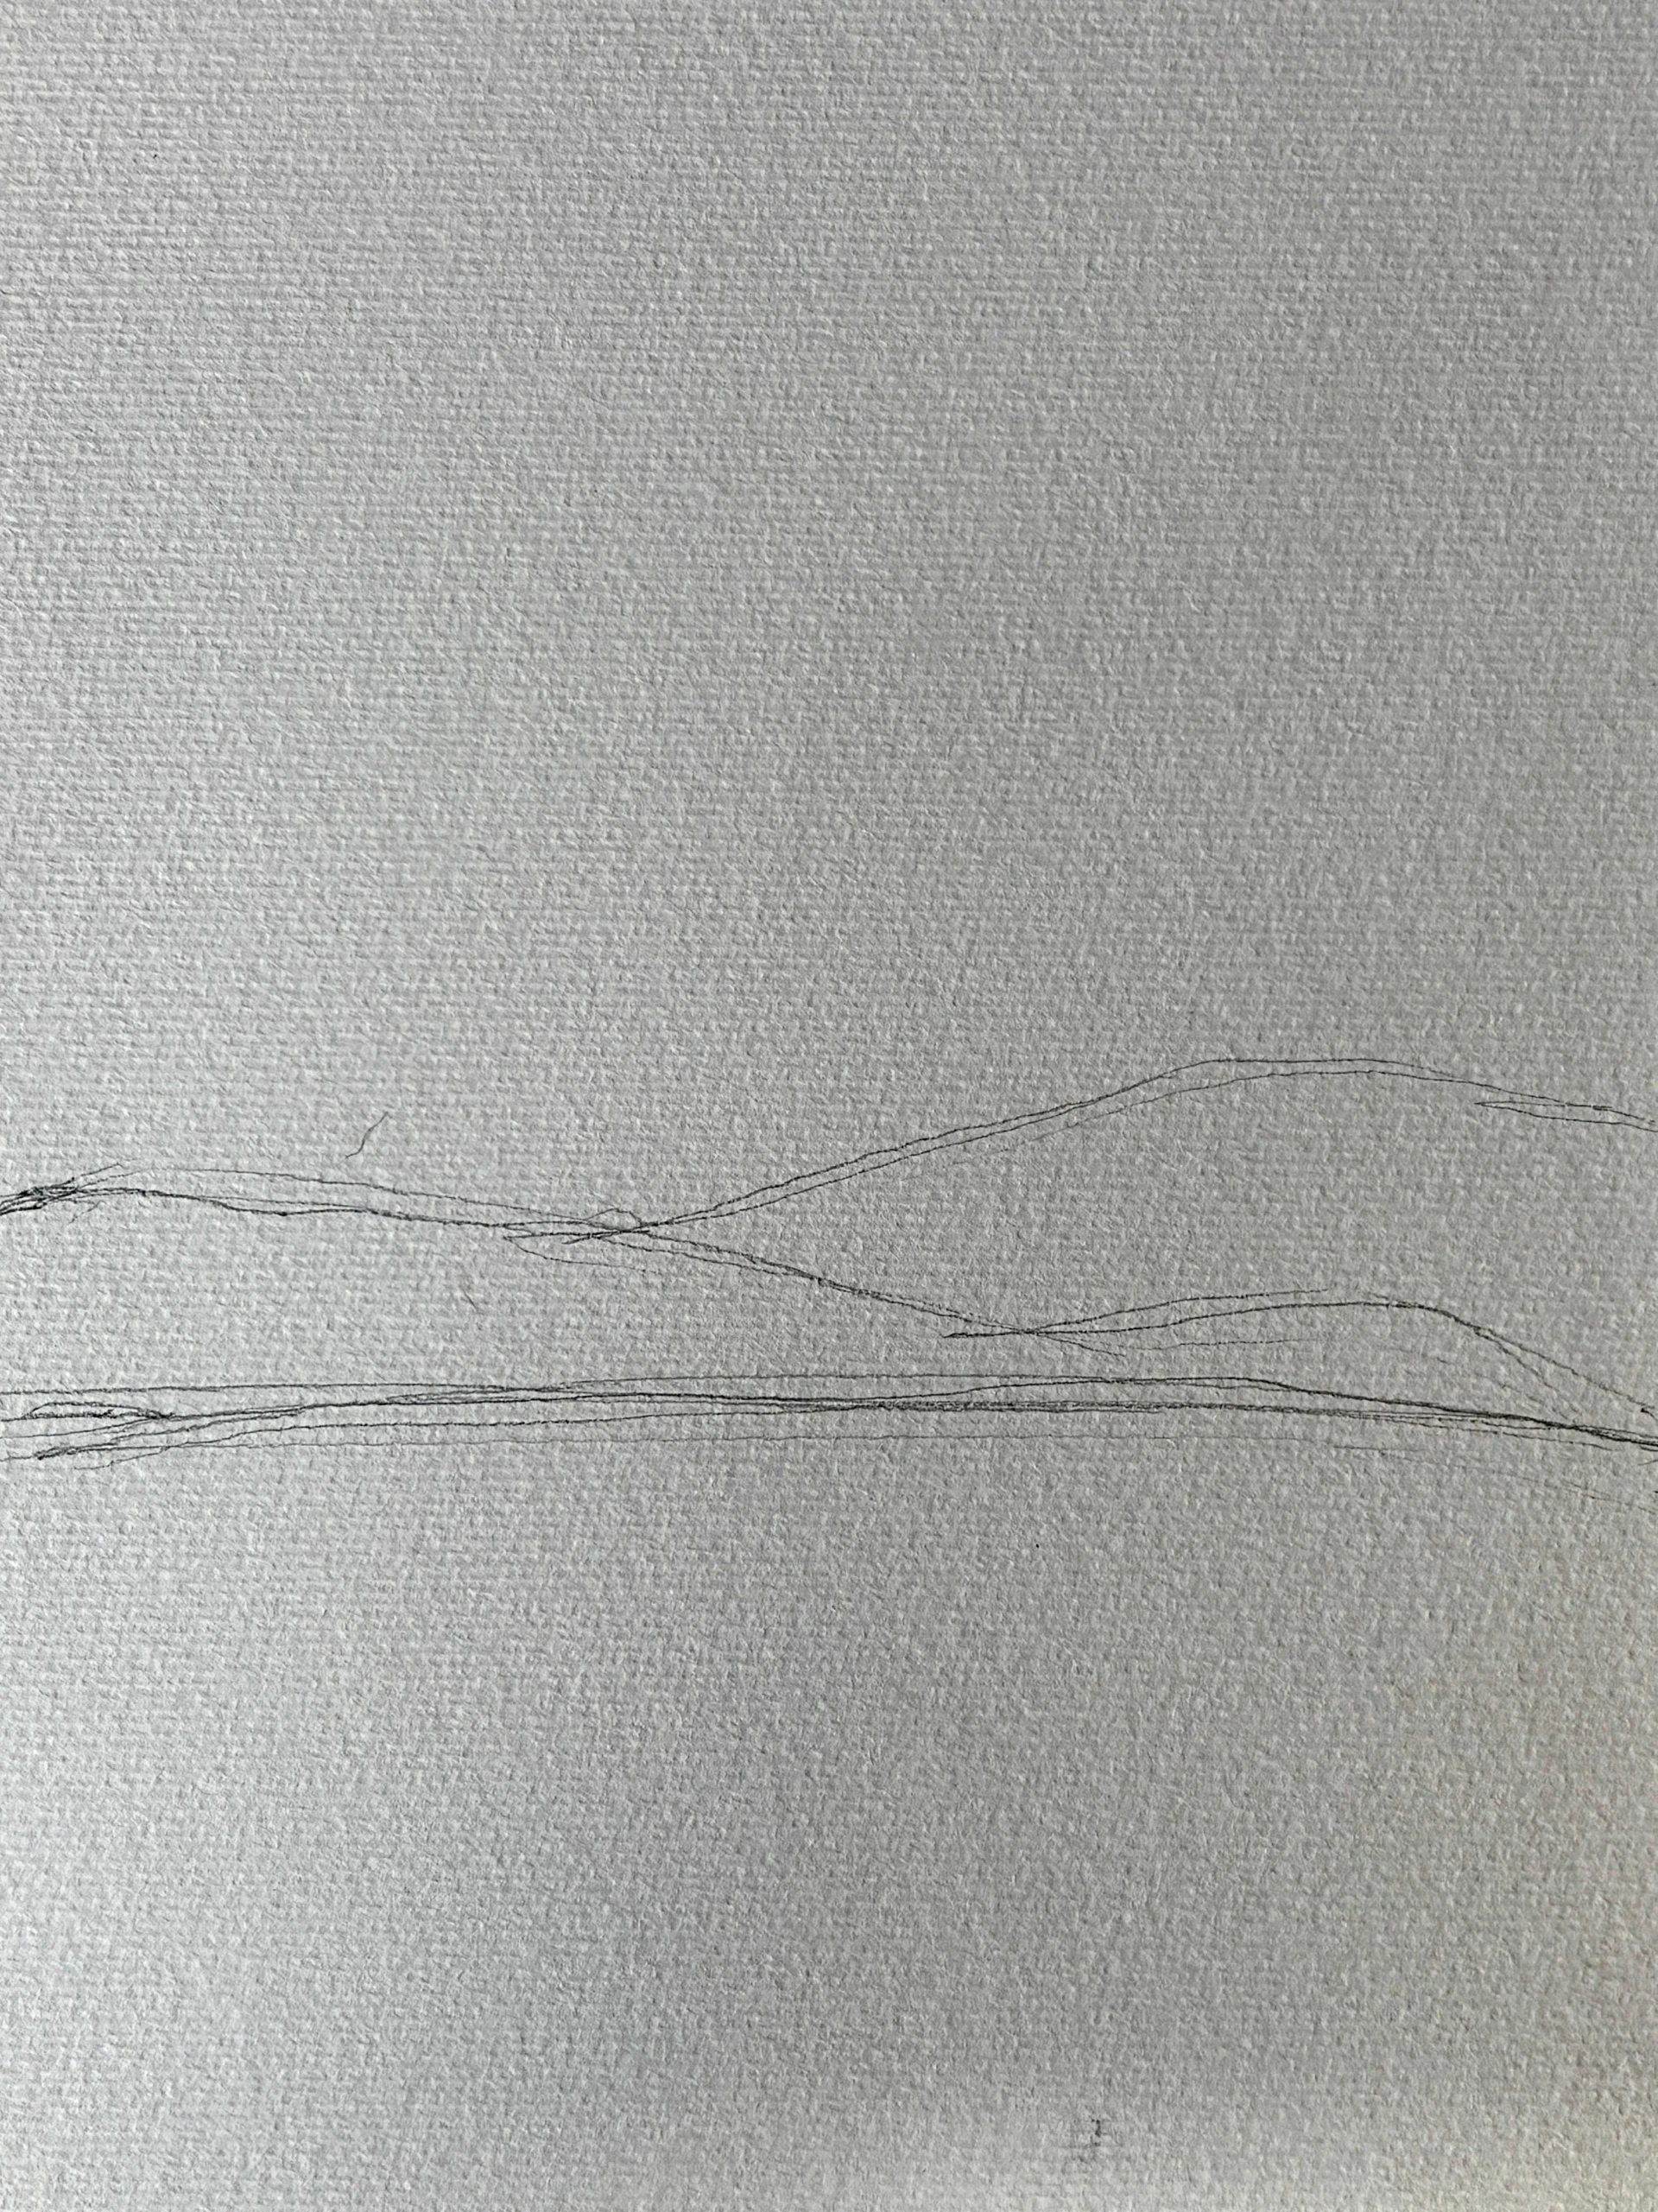
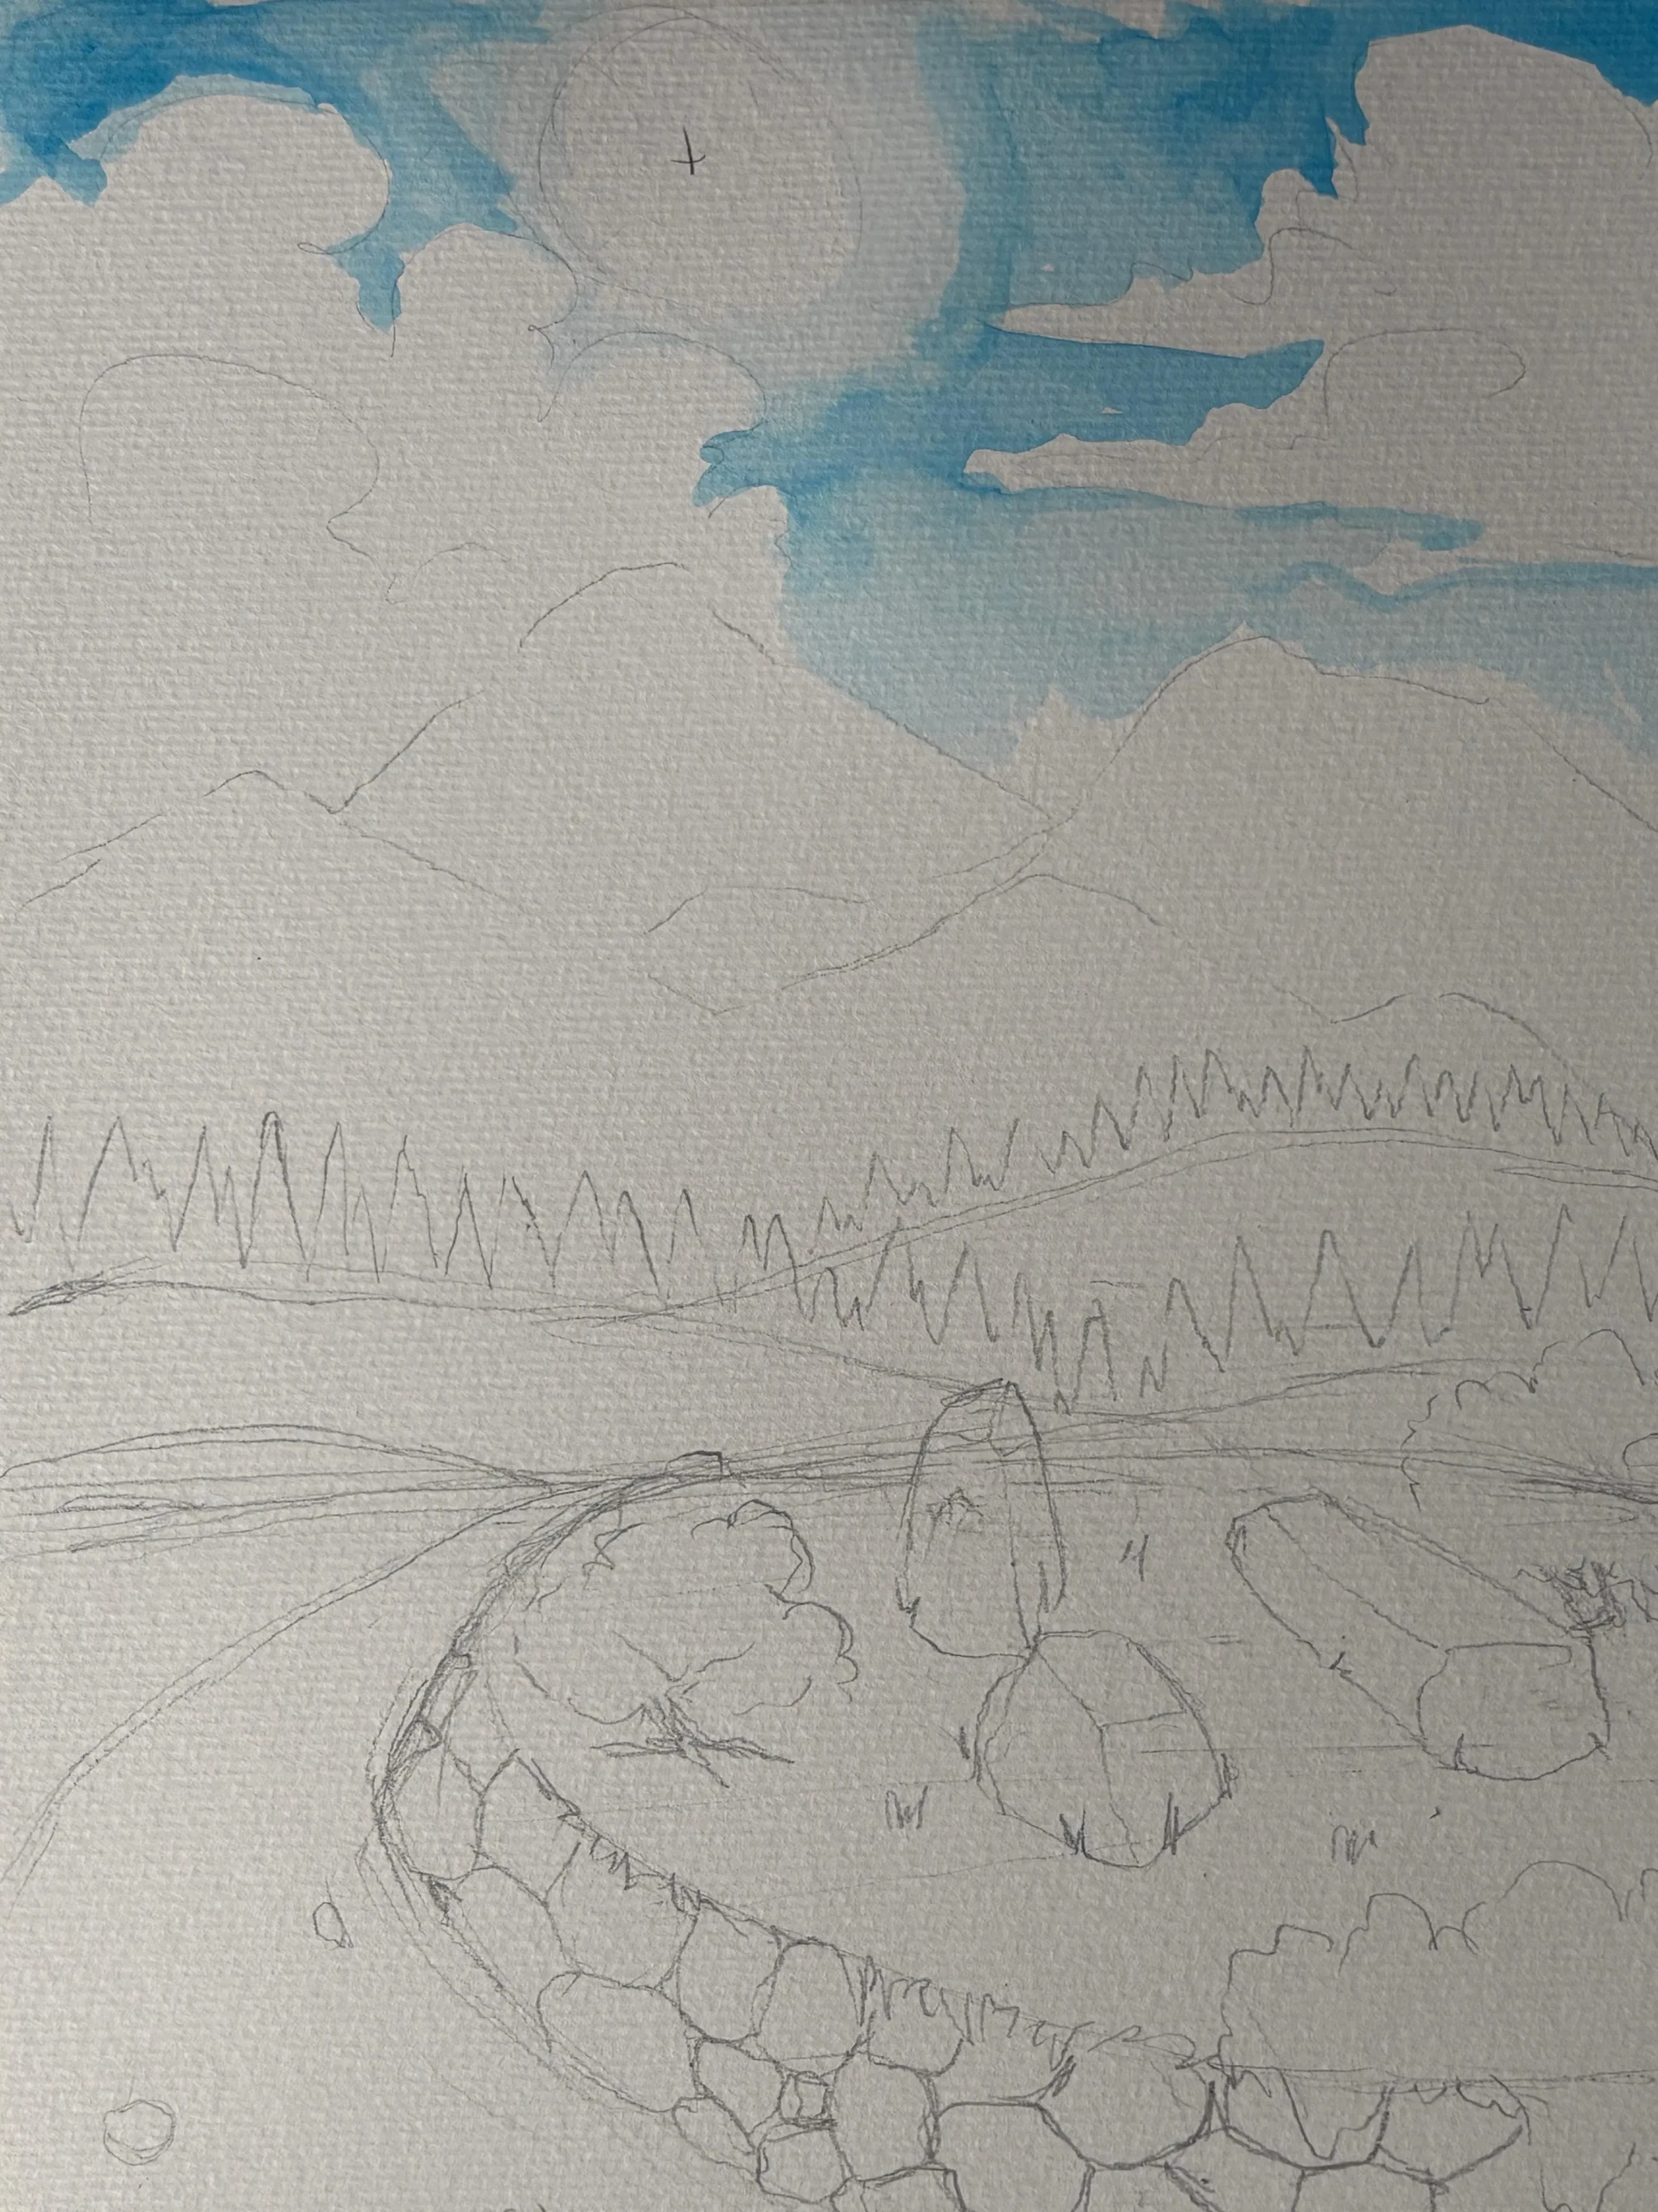
Now take your sheet of paper, but don’t prepare it for painting yet. Start by creating the sketch: once the paper is dampened, drawing and erasing lines could damage it.
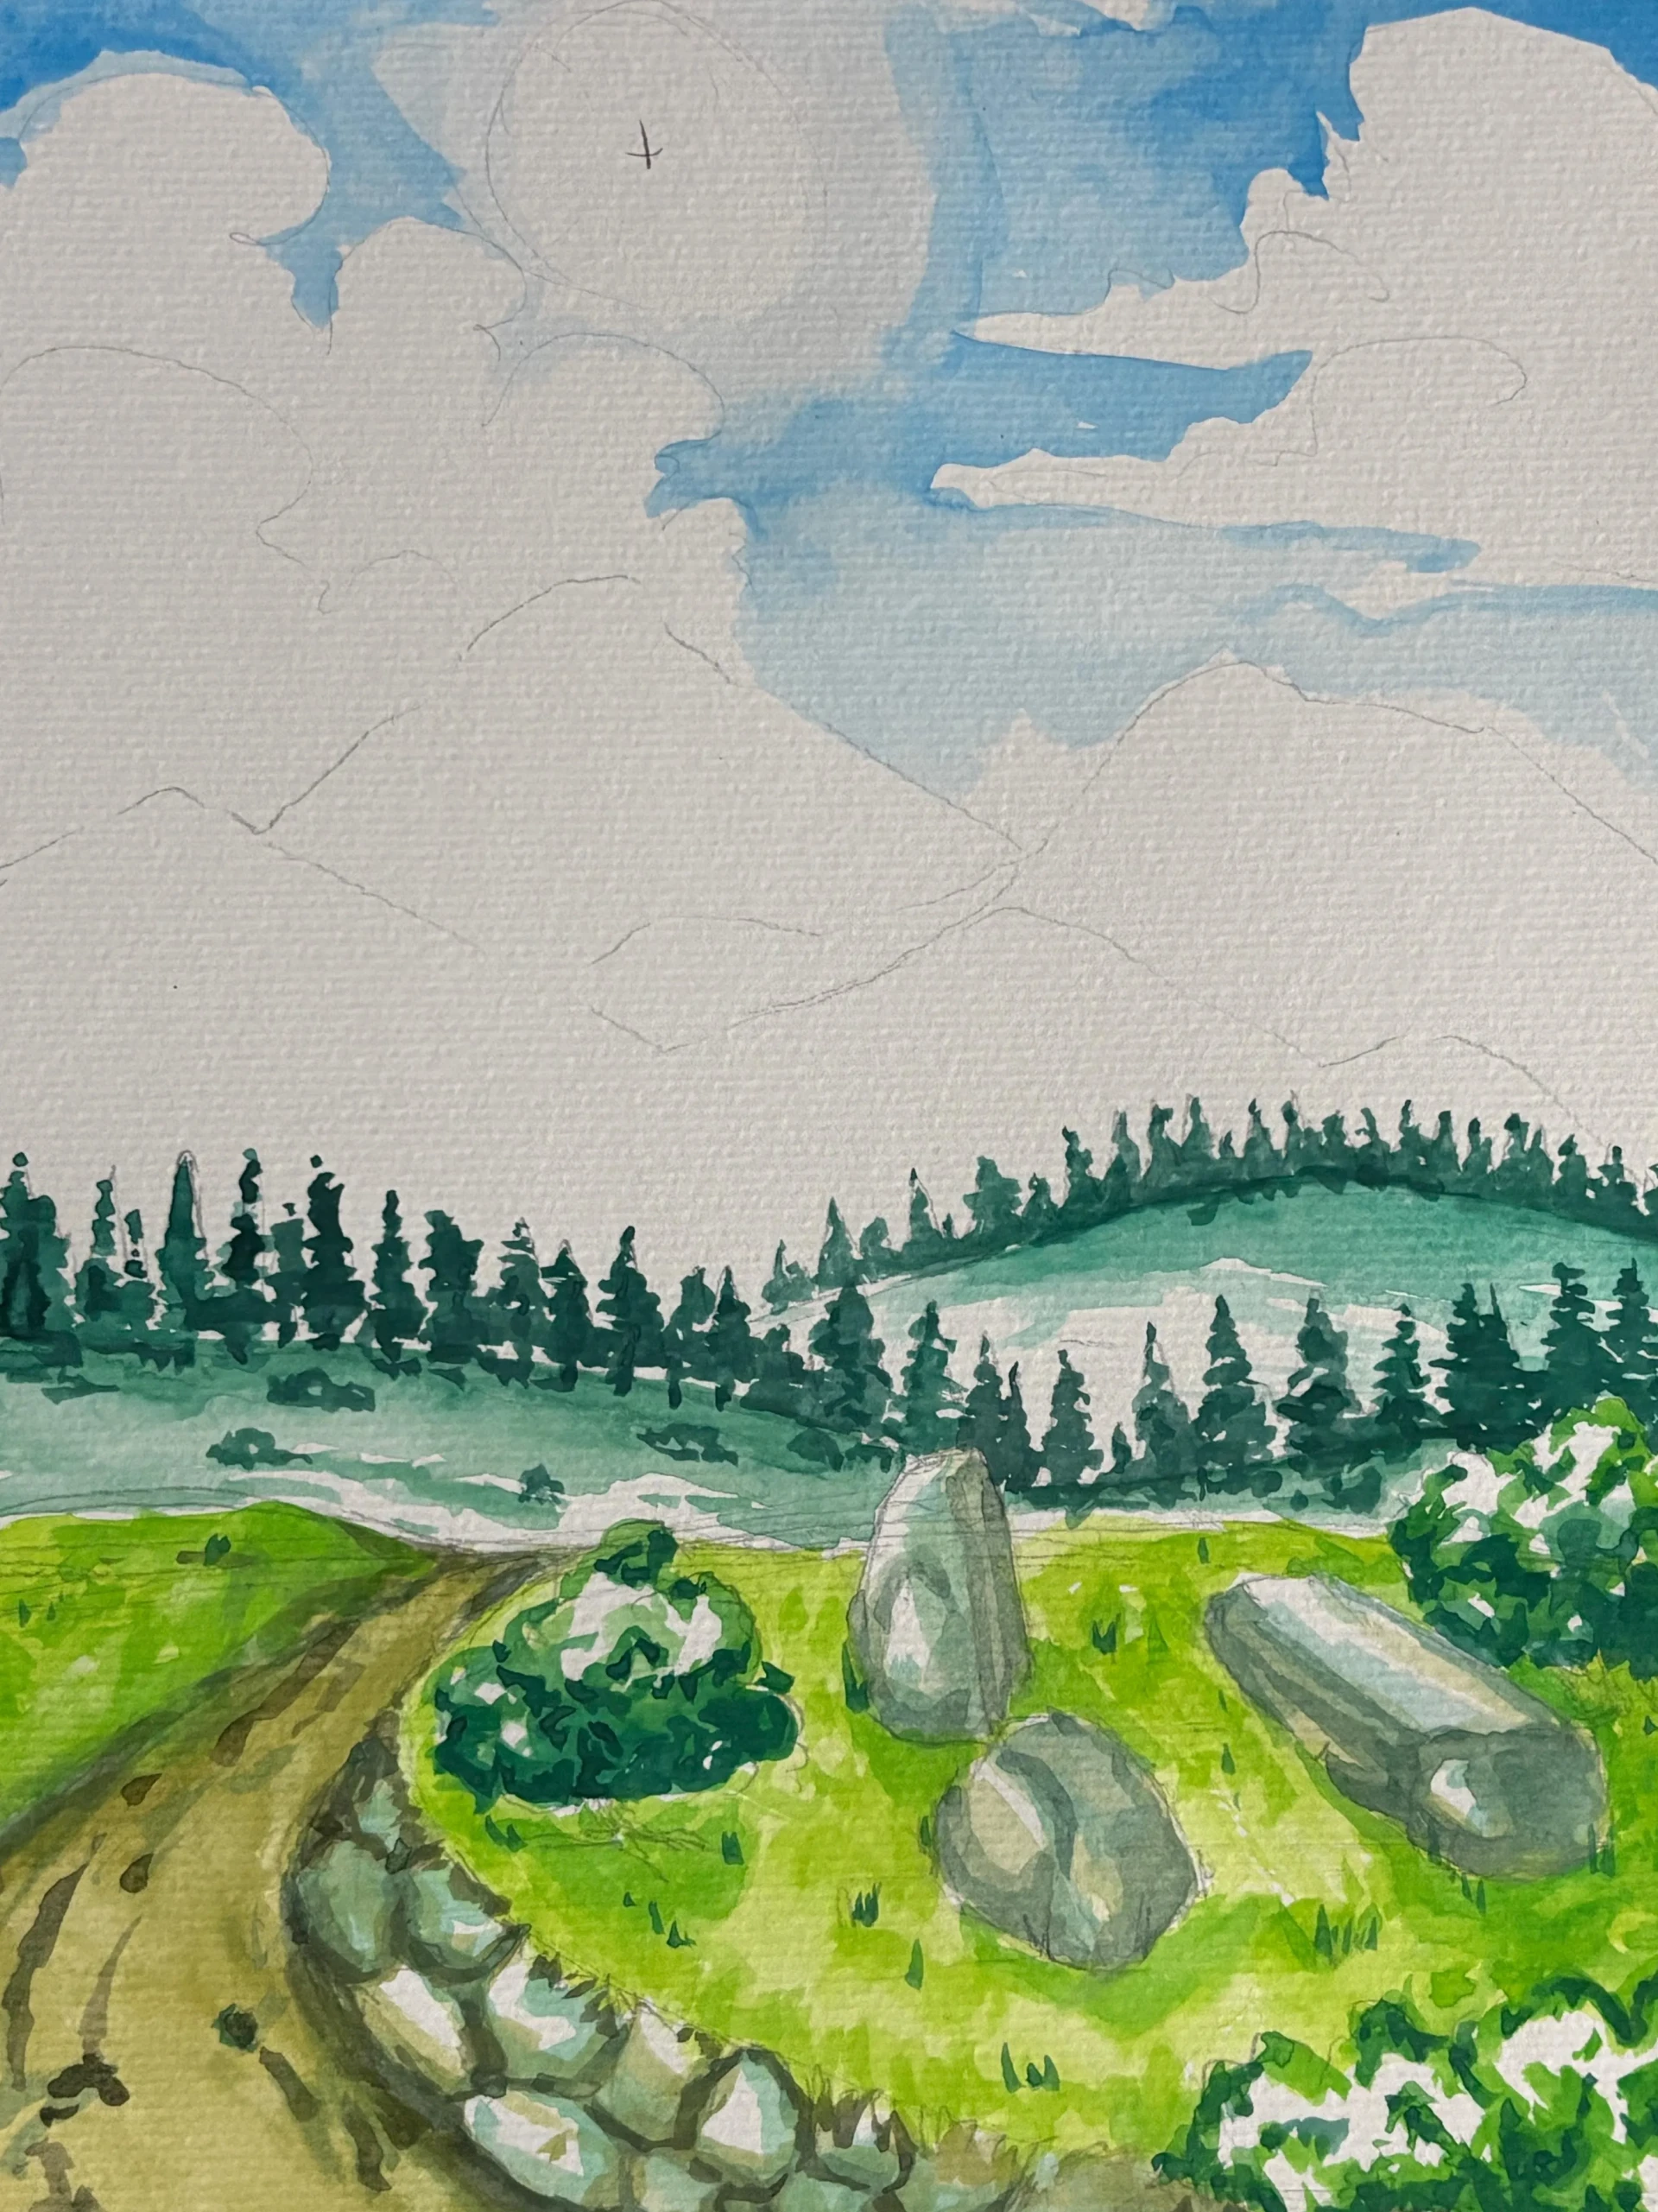
Draw a horizon line slightly below the middle of the paper, then sketch a few hills above it. This step helps to structure the composition and clearly distinguish the foreground from the background.
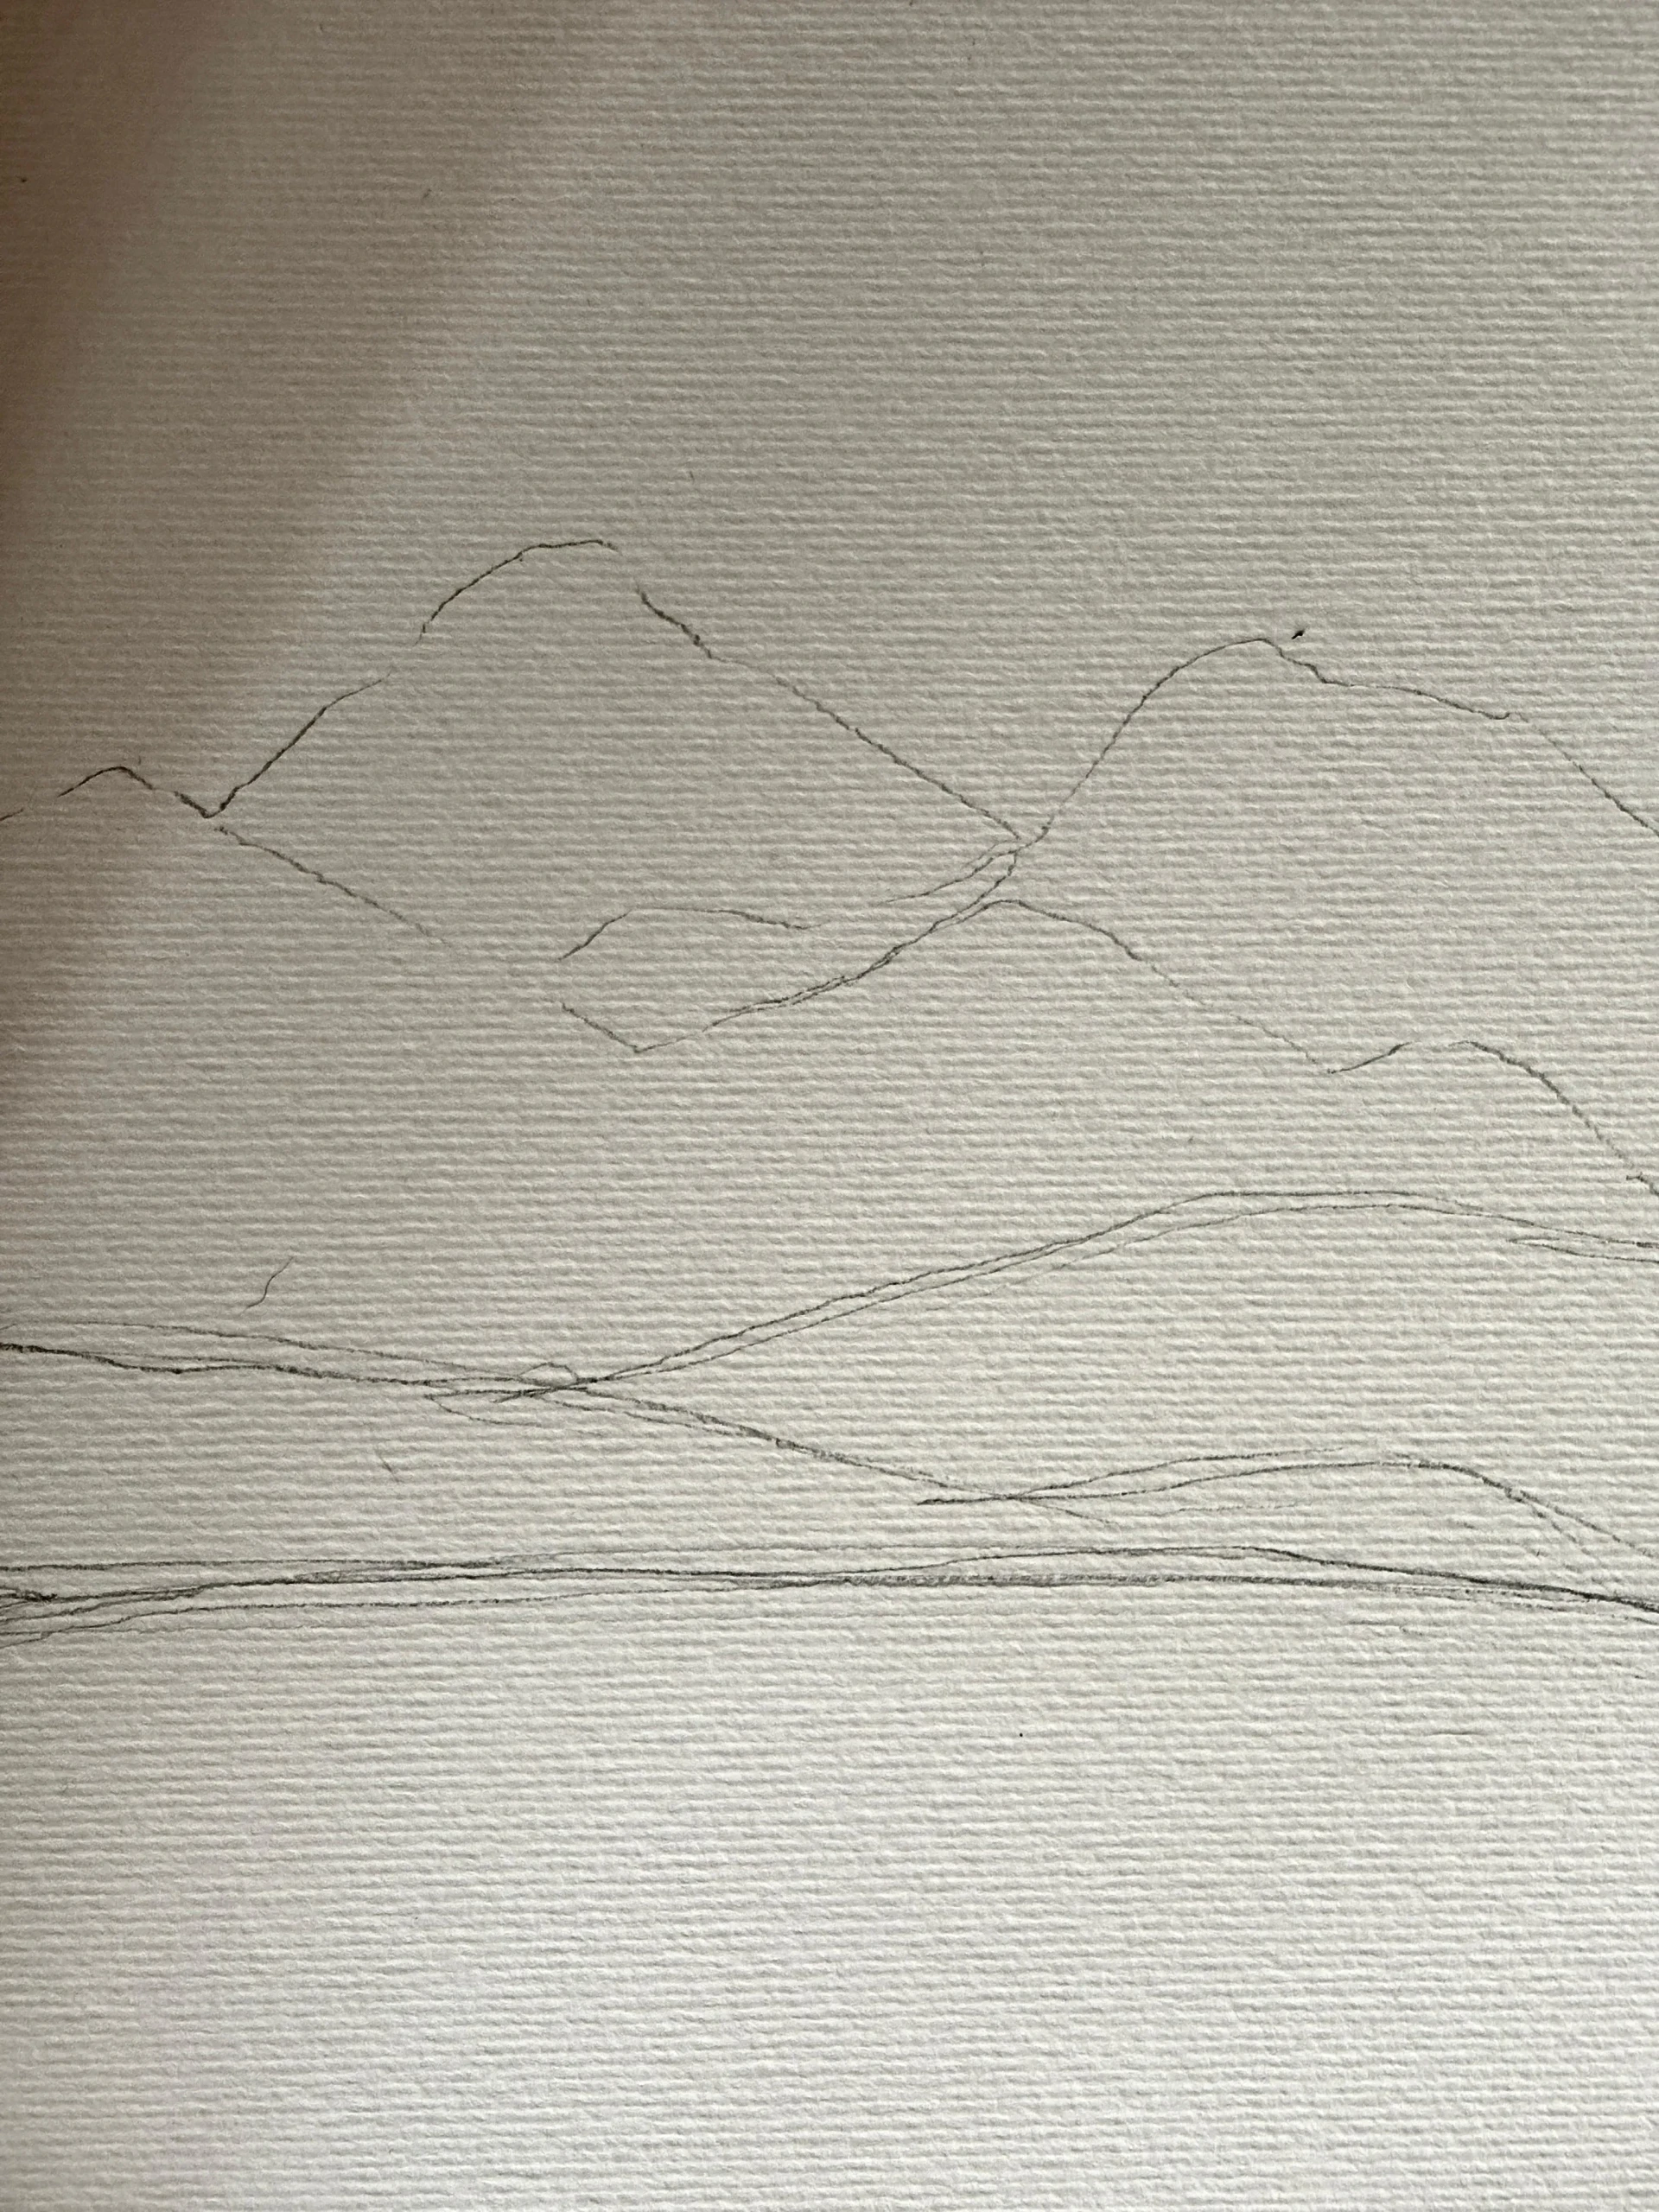
Now, draw some steeper and much higher mountains, using straighter and bolder lines to create a rocky effect. This completes the separation of the planes: a larger space for the foreground, an intermediate level for the middle ground, and distant mountains for the background.
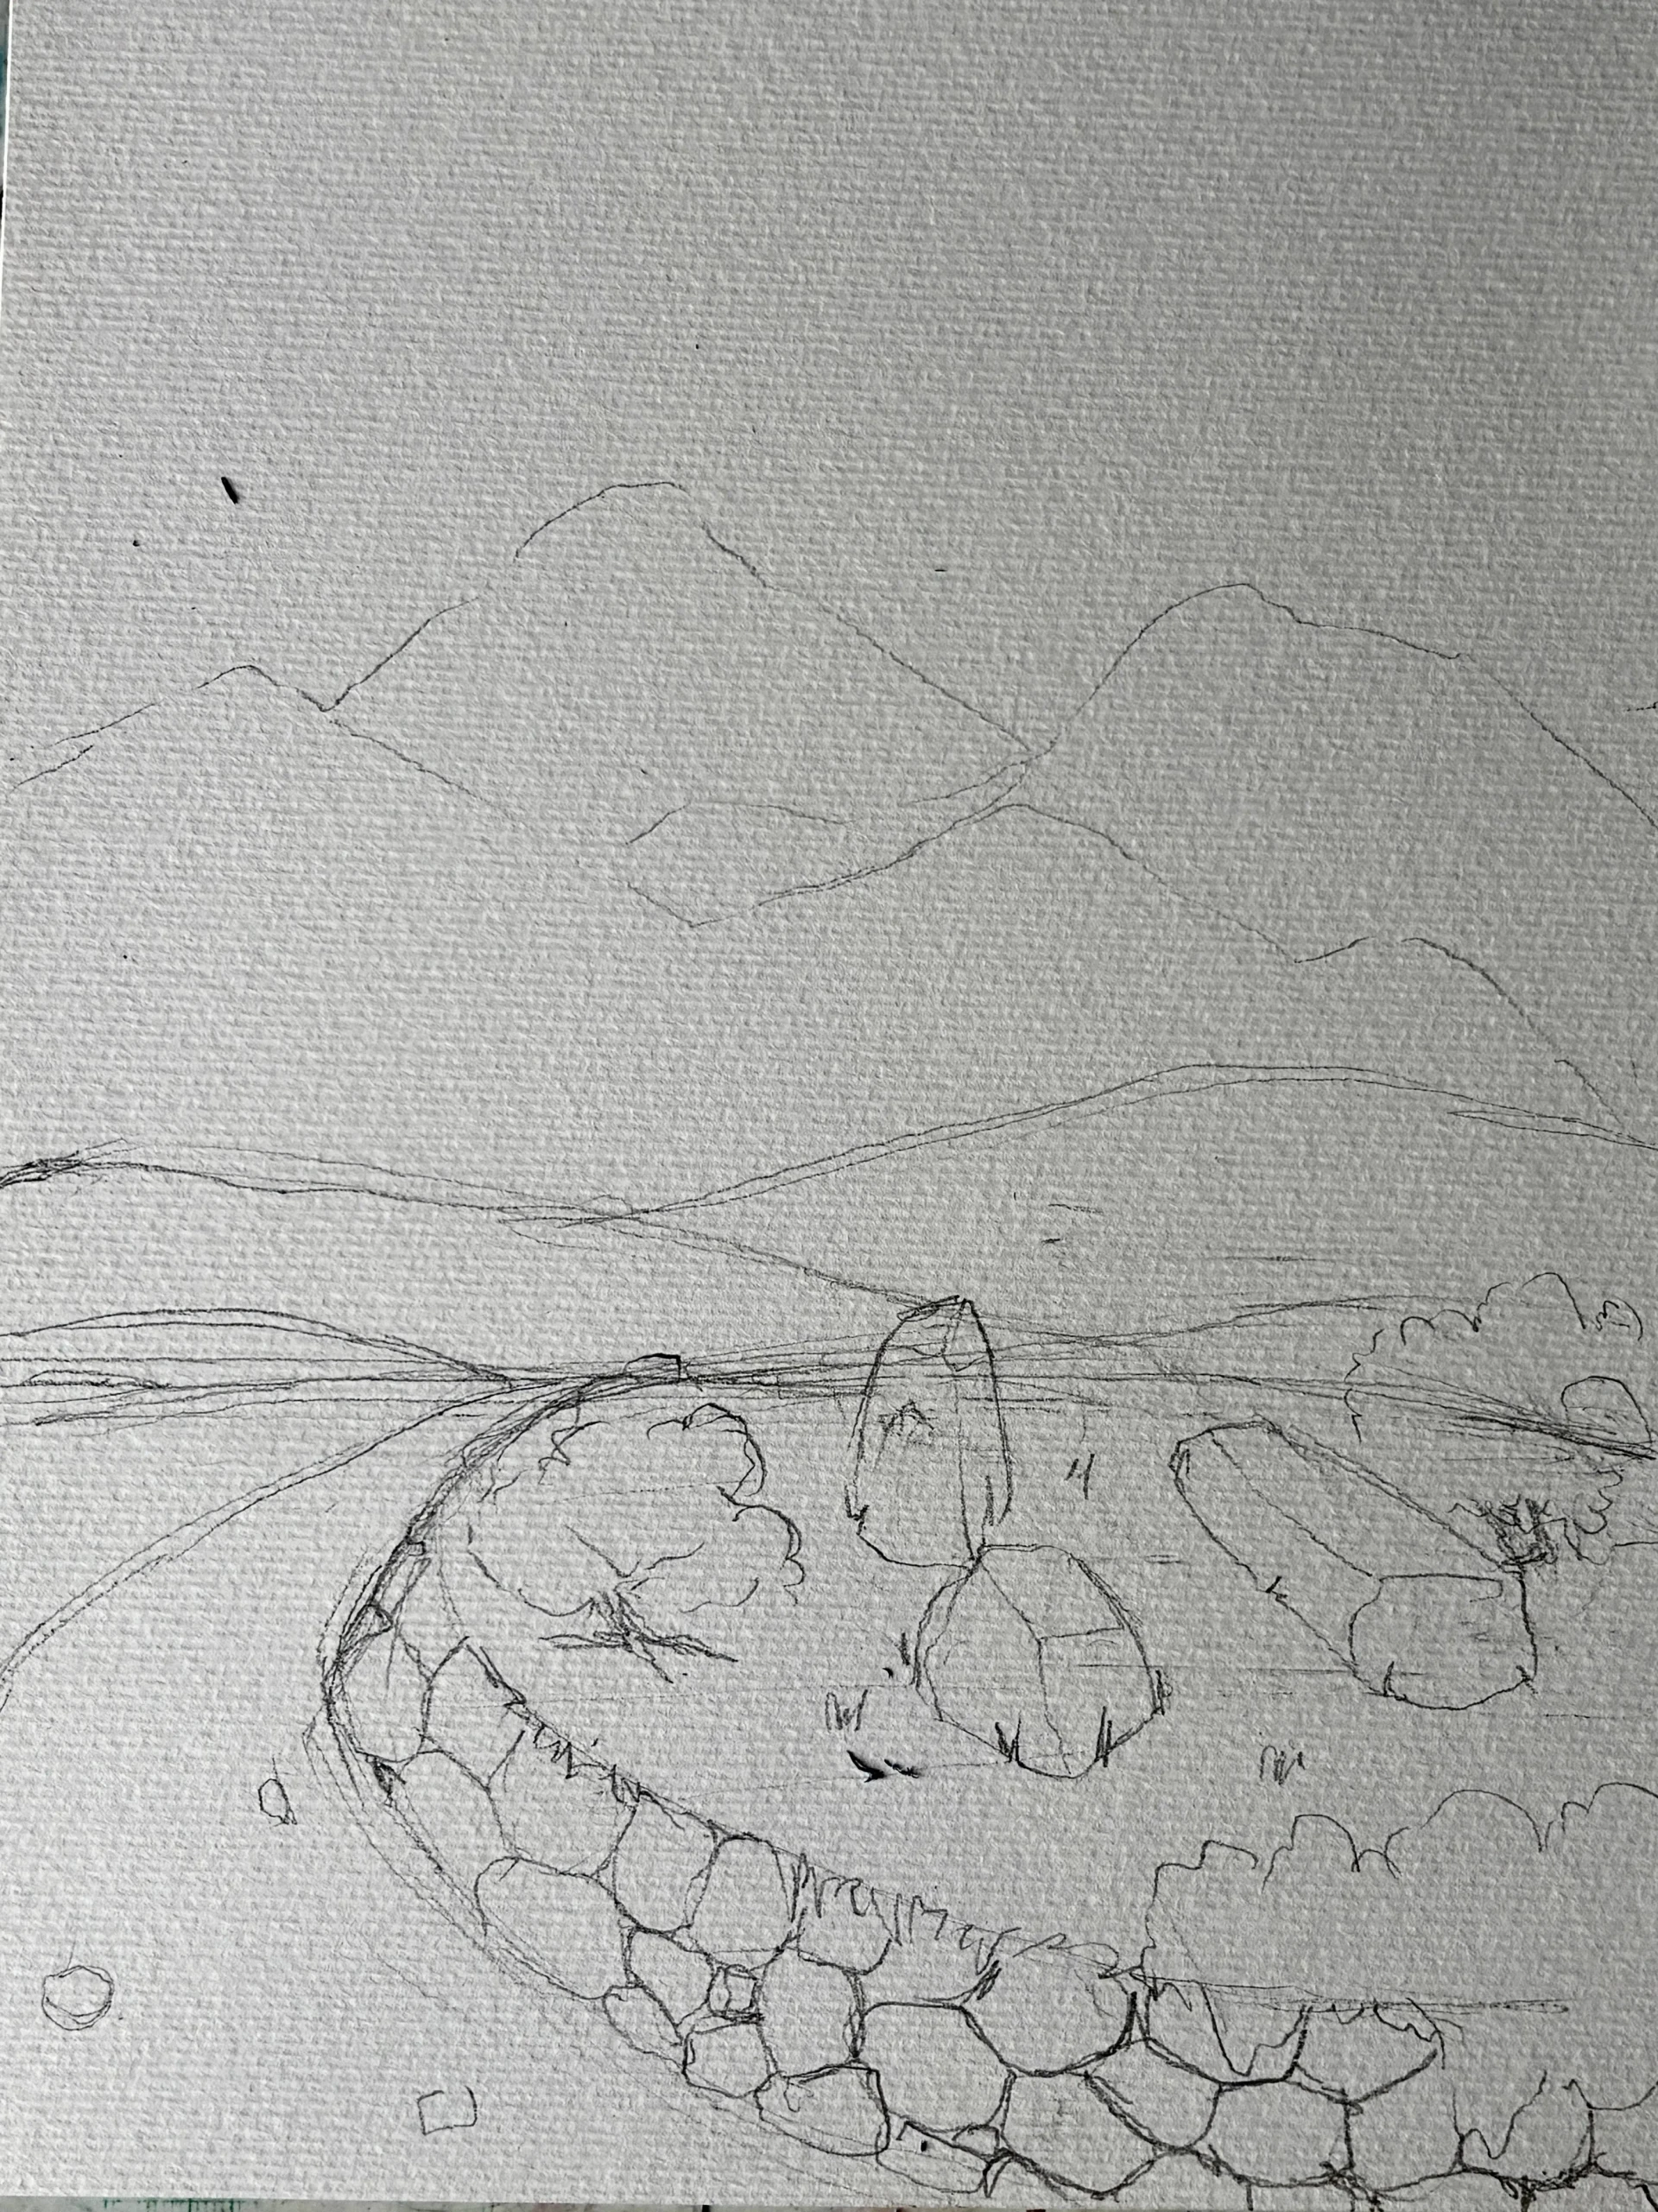
In the foreground, you can place the elements you want. For this landscape, we will create a path that enters the composition in a curve, elegantly bordered by an old stone wall, thus forming a small garden where a few shrubs and rocks complete the scene.
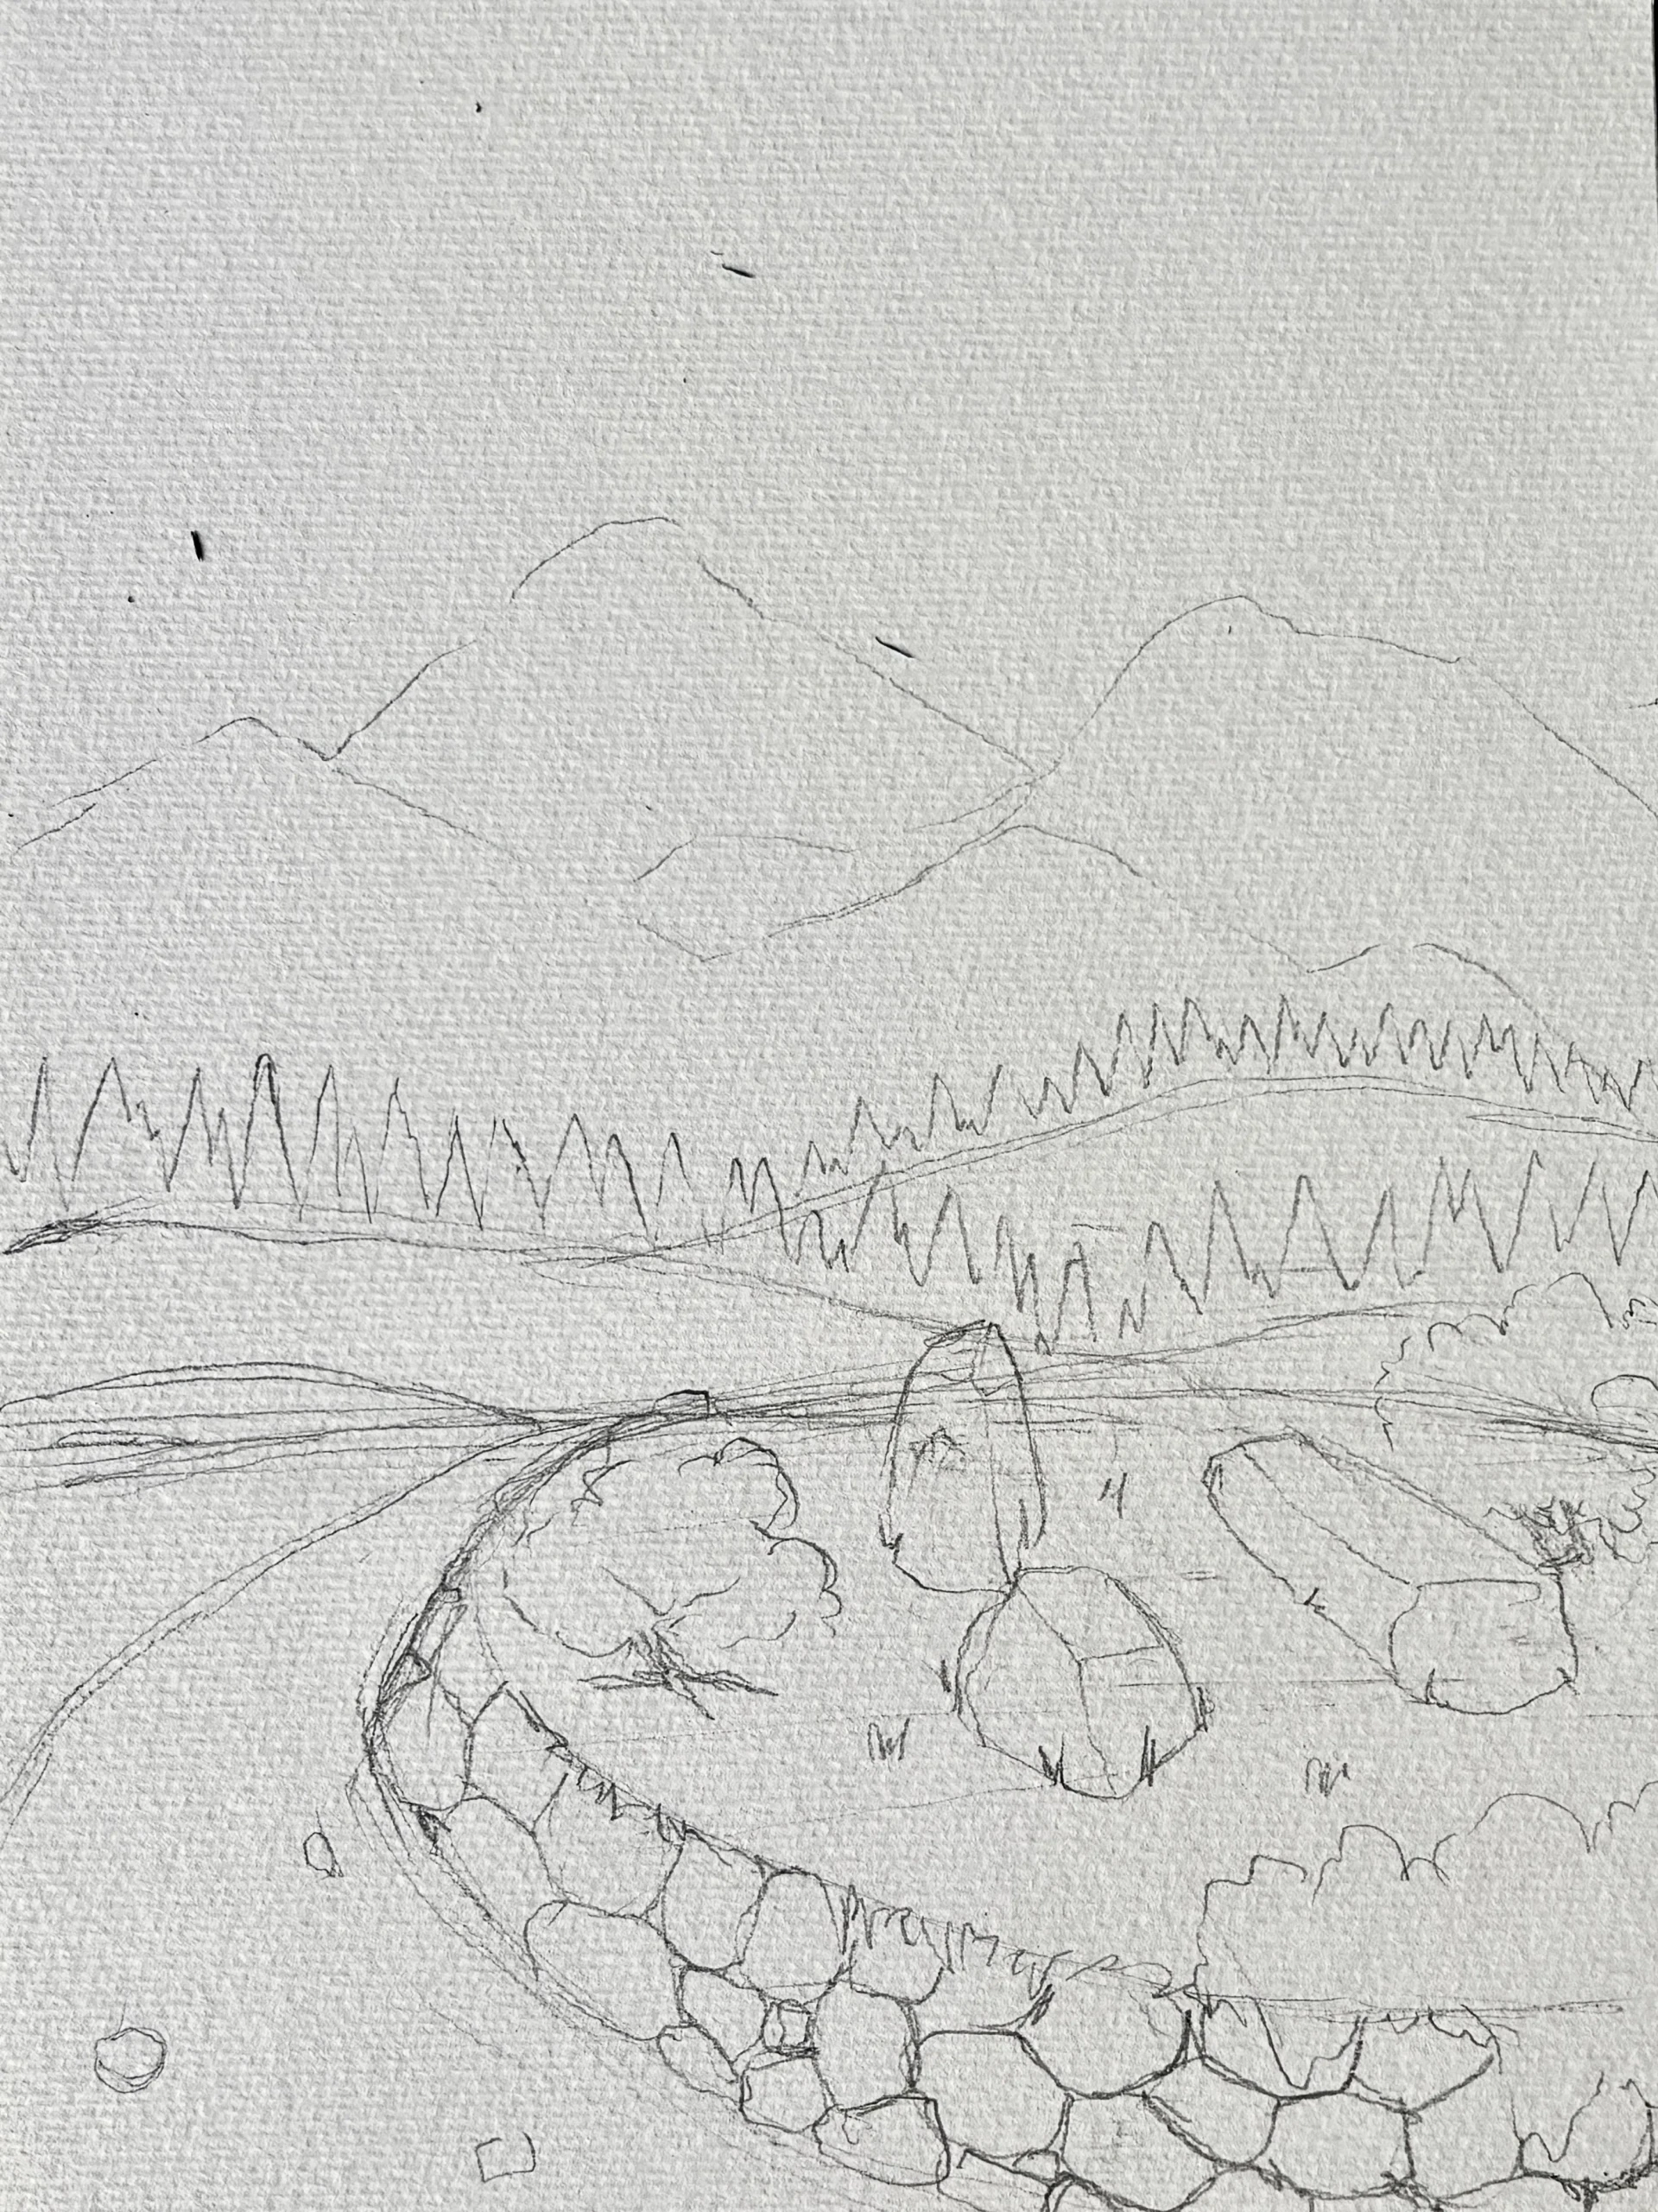
Identify the first two hills, the smallest and widest, on which we will place a forest that extends into the mountain. To do this, draw small, elongated shapes based on slightly distorted triangles.
Take your paper and prepare it to start painting. First, remove any excess graphite with an eraser to free the drawing from any unnecessary lines.
Next, moisten the paper using a brush, covering the entire surface with horizontal strokes to distribute the water evenly; you can also submerge it and let it dry on a flat surface.
Finally, wait for it to dry completely and secure all its edges with adhesive tape to prevent warping.
Add watercolor paint
Take the sky blue paint and apply it to the upper areas of the sky, gradually covering the paper without touching the areas reserved for the clouds. To create the gradient, simply add more water to the brush without adding pigment; with each new stroke, the color will naturally become more transparent.
Paint the foreground
Use green to paint the grassy areas, varying the dilutions to create different shades from the same pigment, as we just did for the sky. This will enable you to apply shadows naturally.
For the shrubs, choose a much darker green to create contrast. Leave some white areas to add light.
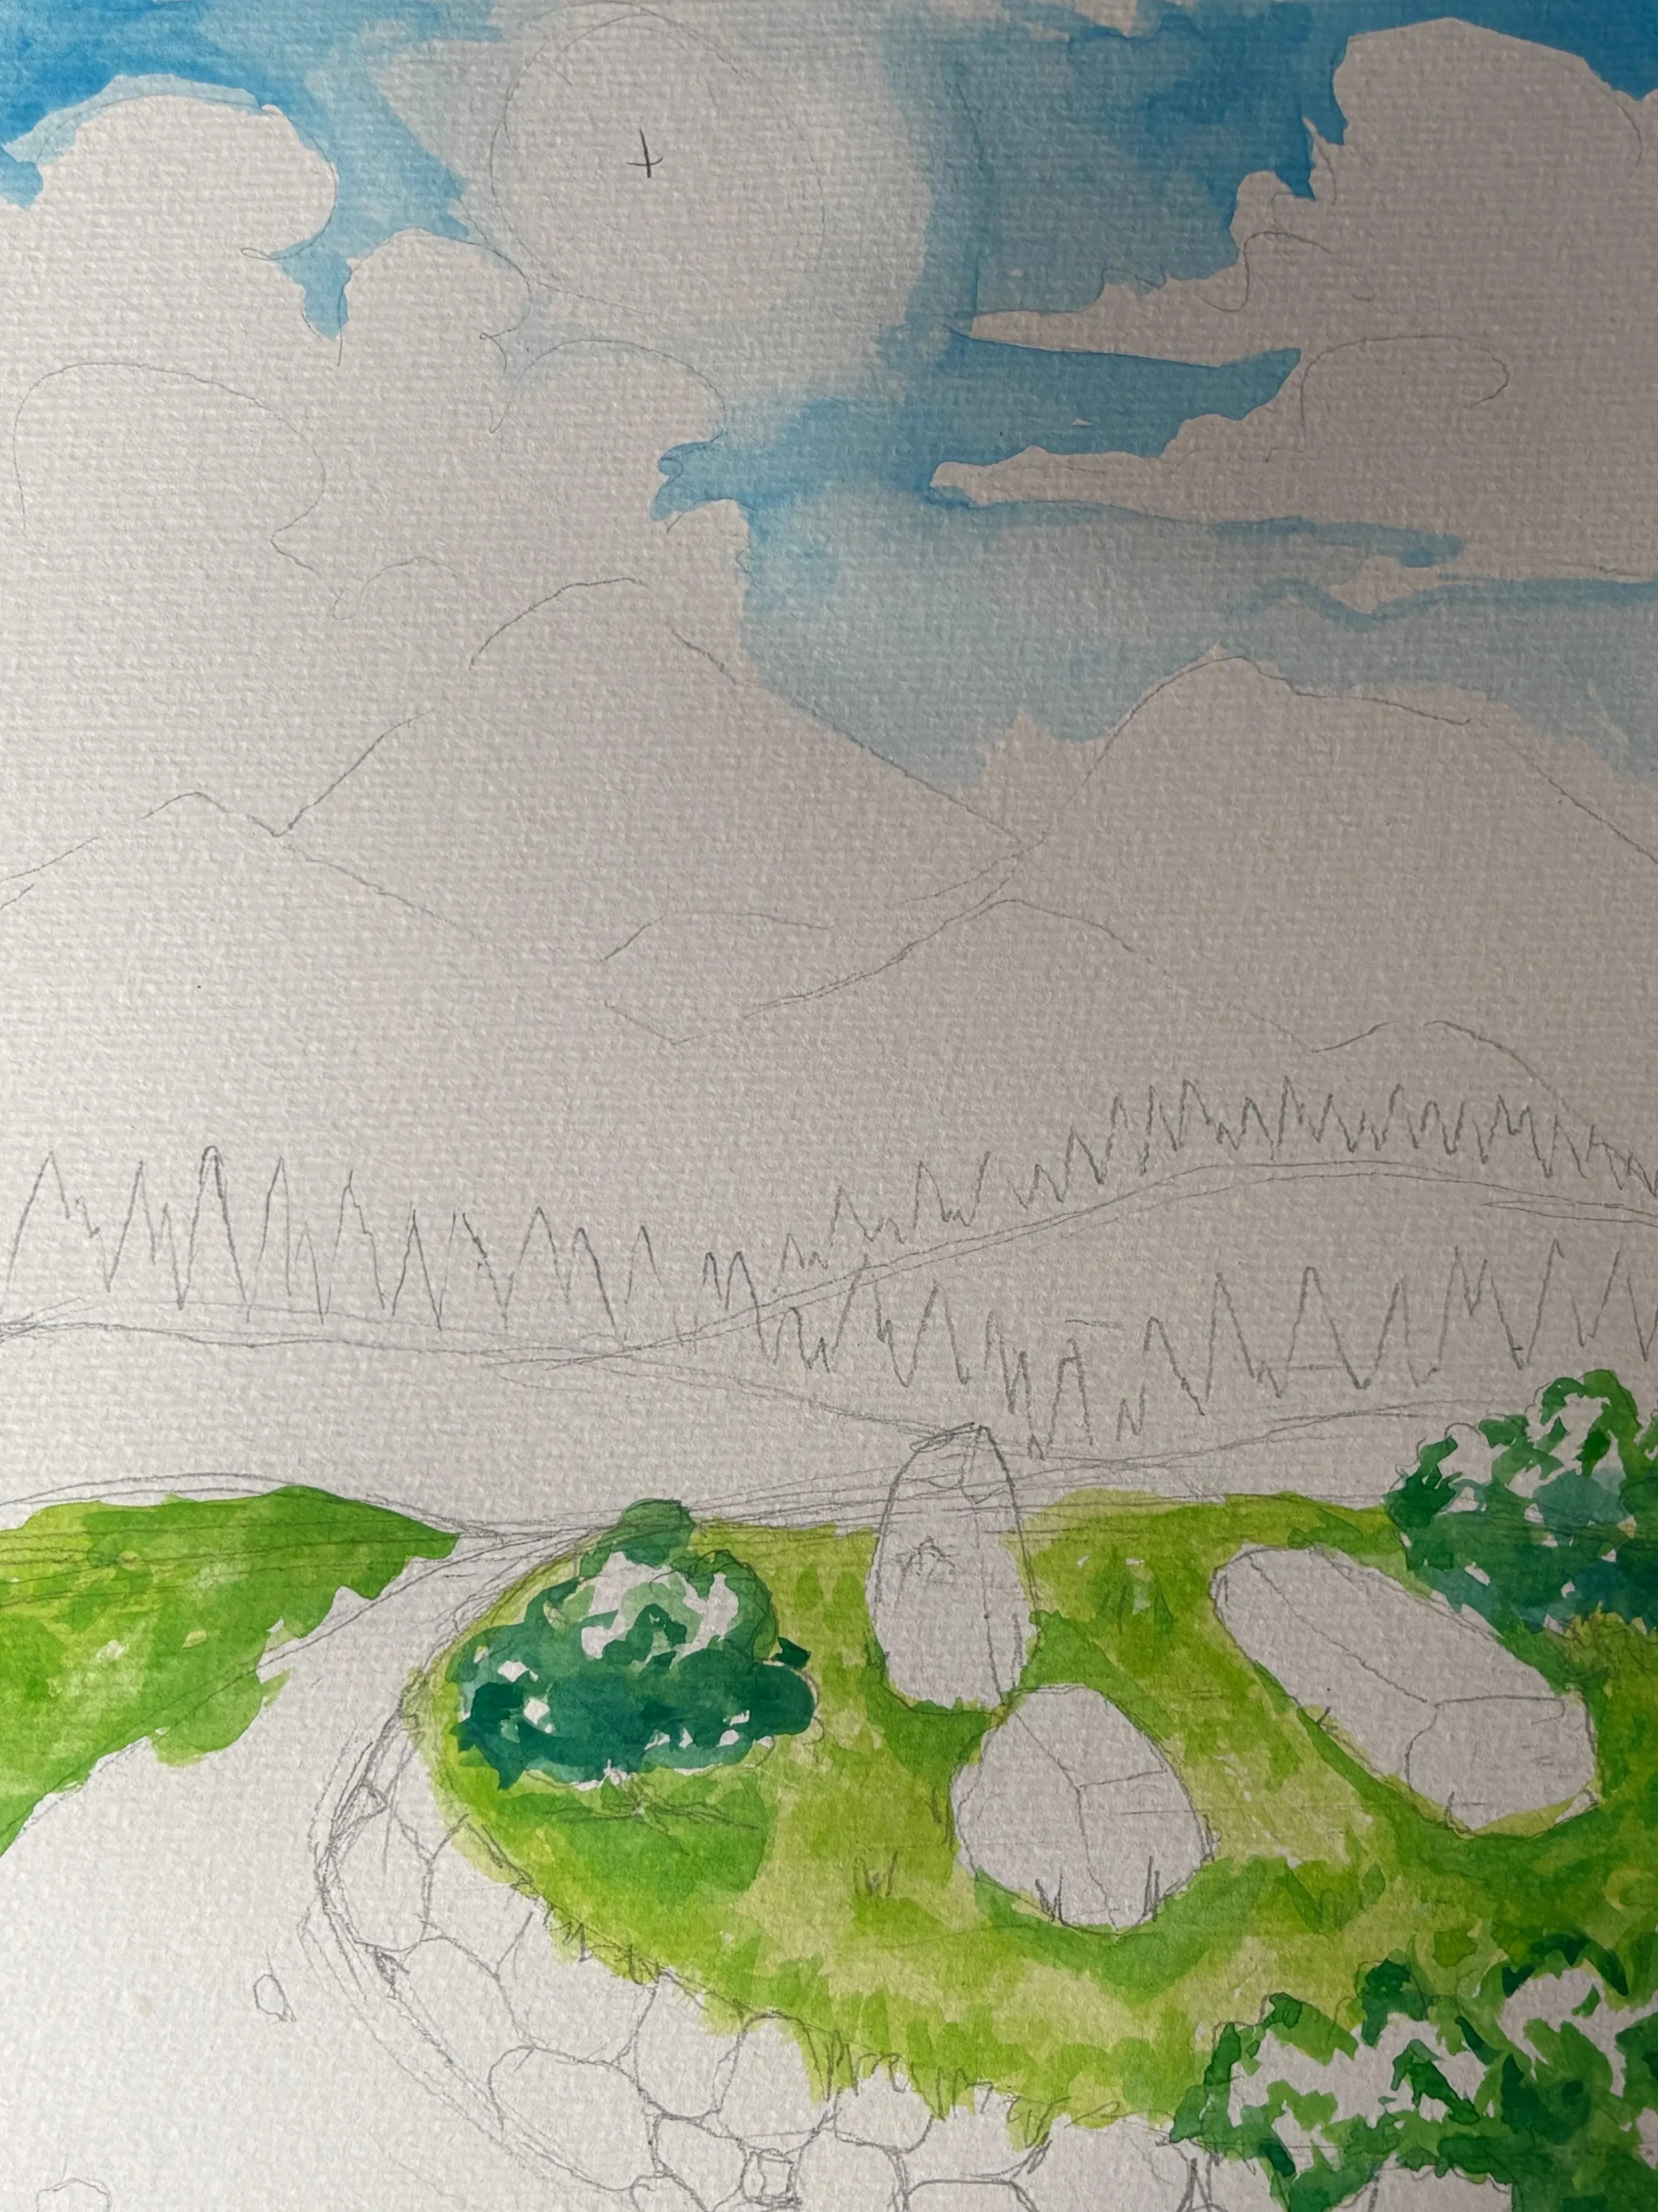
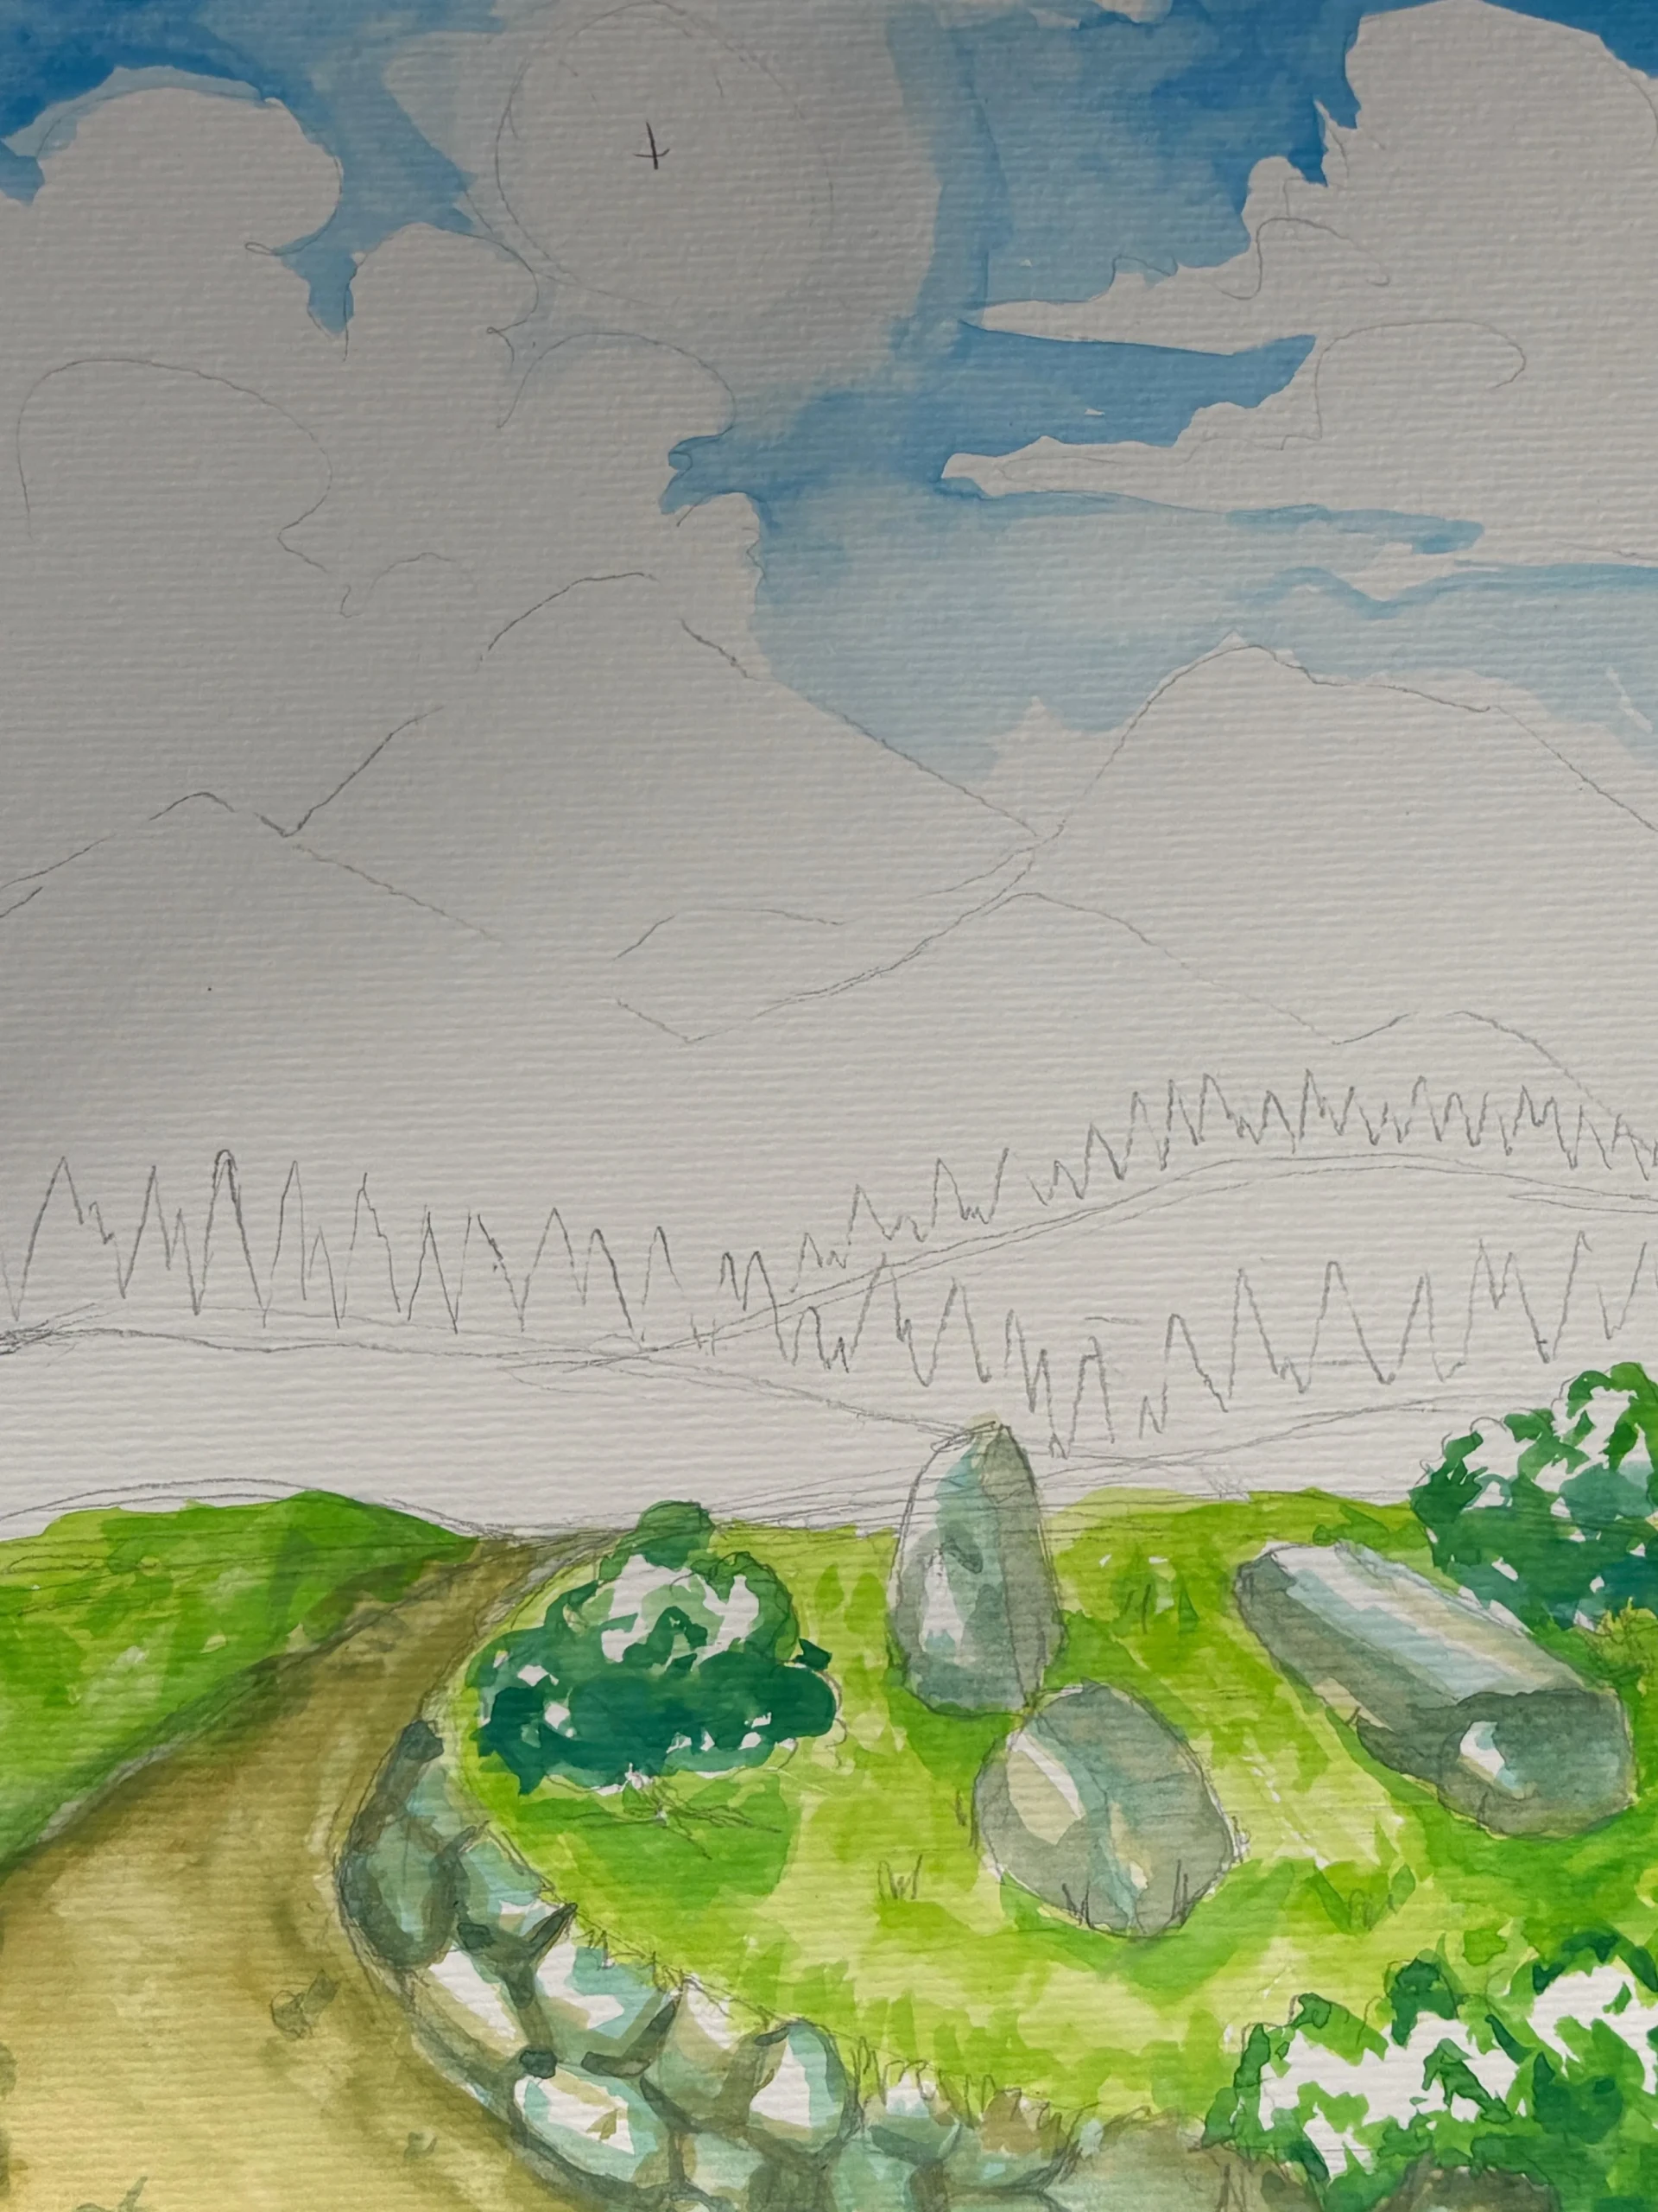
Now let’s move on to the rocks. Avoid using gray or brown on their own, as the result may look a bit amateurish. Instead, opt for muted shades of blue and yellow, or better yet, combine them to create a chromatic gray that blends naturally into the composition.
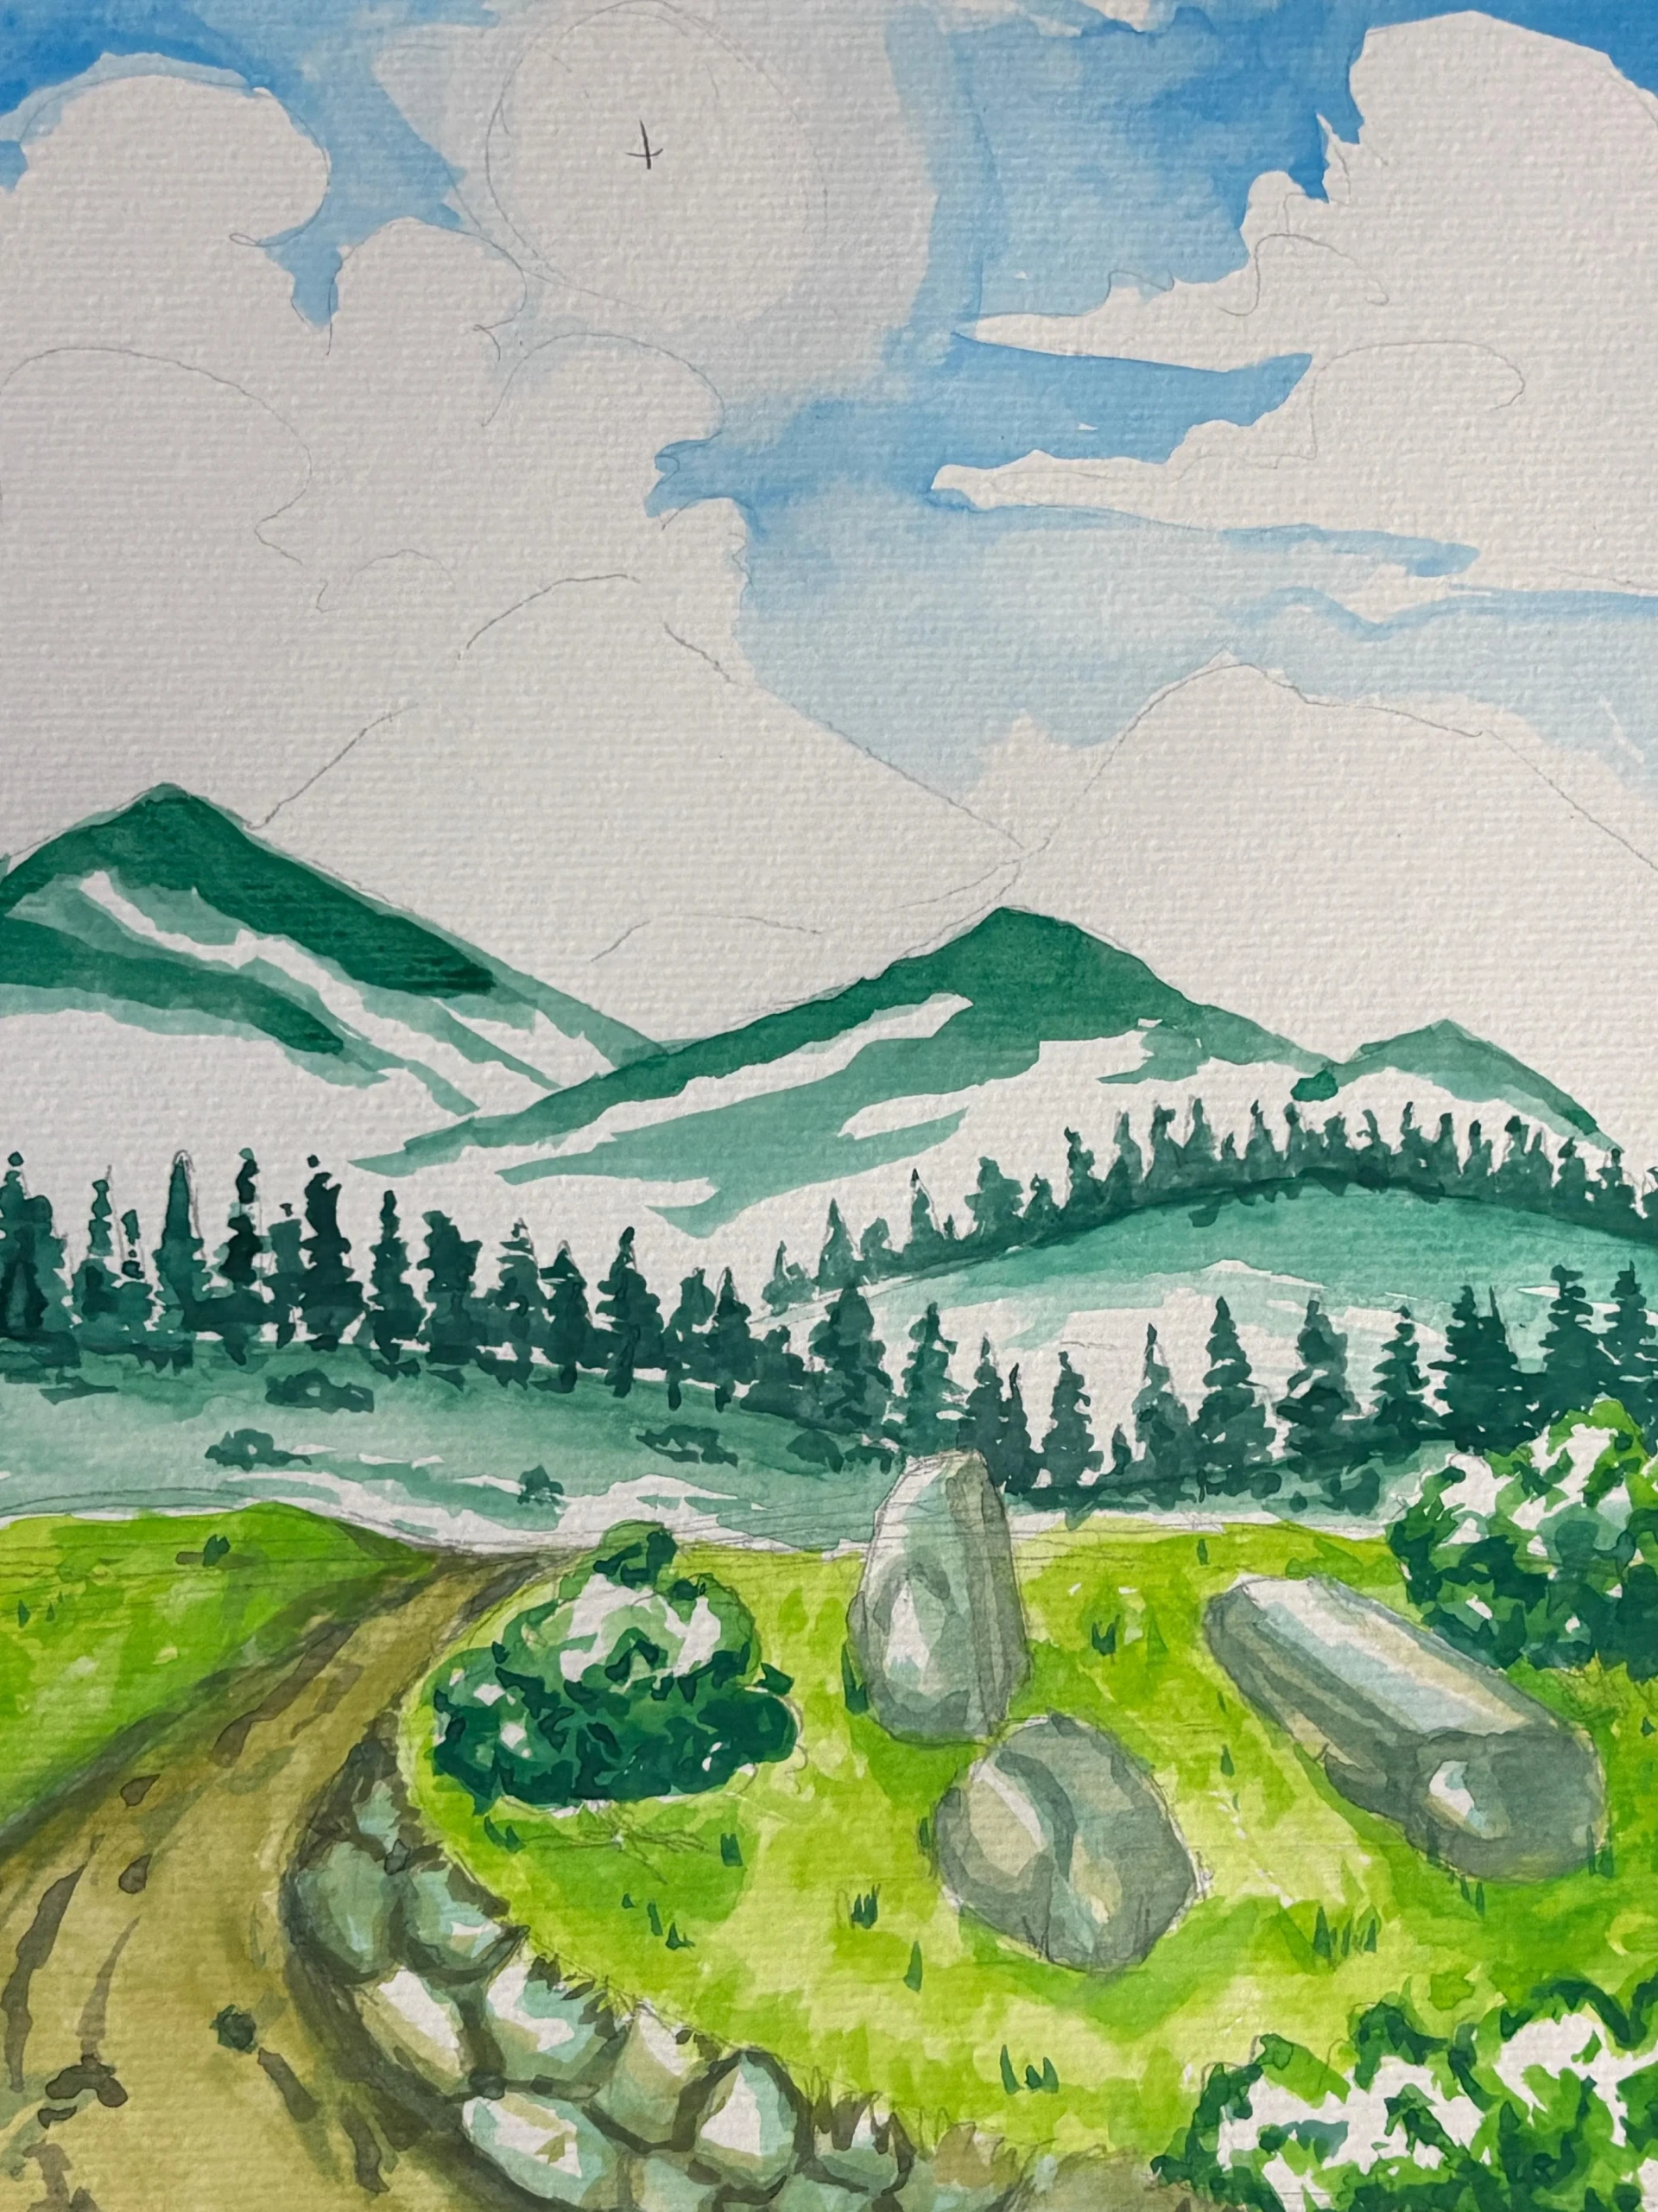
Draw the middle ground
Now, let’s move on to the hills and their pine forest. Take a dark green and trace the outline, then go over it again with a brush loaded with water so that the color gradually takes on a more transparent appearance.
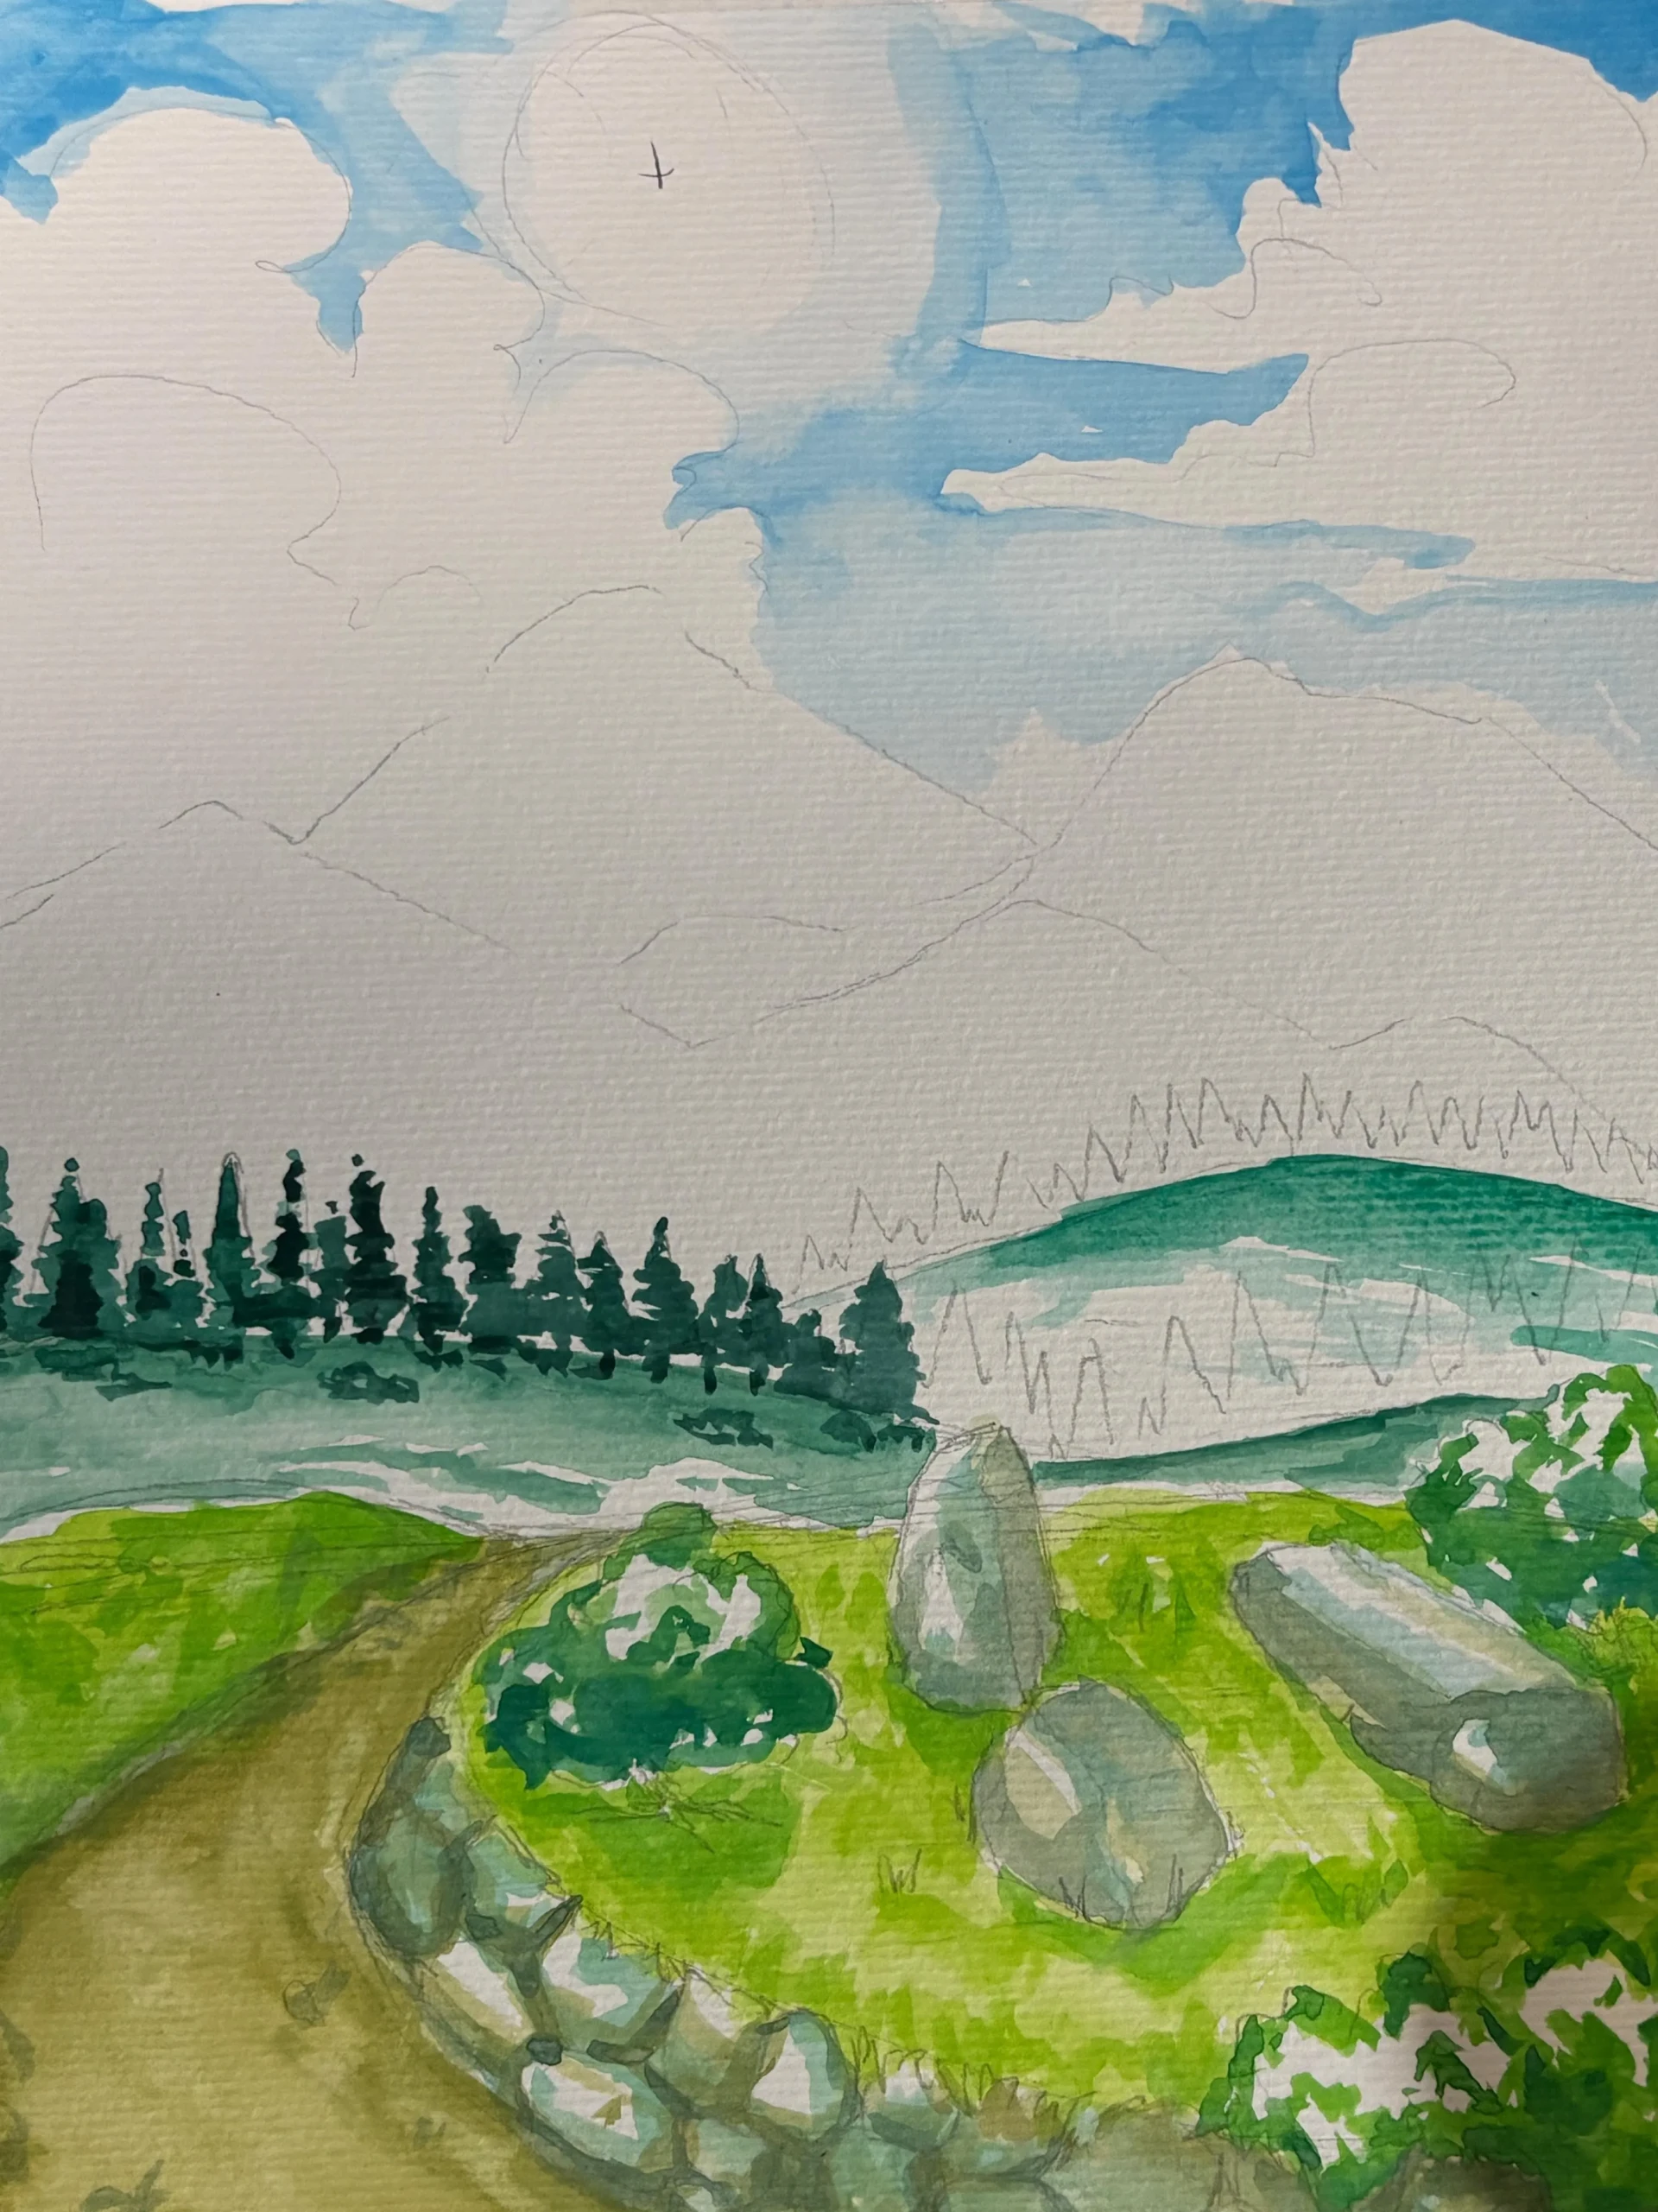
To give each tree a natural look, work in horizontal zigzags, using the triangles in the sketch as a guide. If you don’t have a darker green, create a well-pigmented blue-red wash to achieve a deeper tone. Paint the trees and let them dry slightly before adding new strokes.
Apply atmospheric perspective
Use the same shade of green as you used for the hills, but dilute it further to make it more transparent. Then, apply the color with brushstrokes in the shape of elongated, twisted points, all stretched in the same direction.
Finally, mix green with a little blue to create a lightly pigmented wash, and apply it to the most distant mountains, following the same brushstroke approach. Then, apply this same bluish wash to the intermediate mountains to make them recede into the distance.
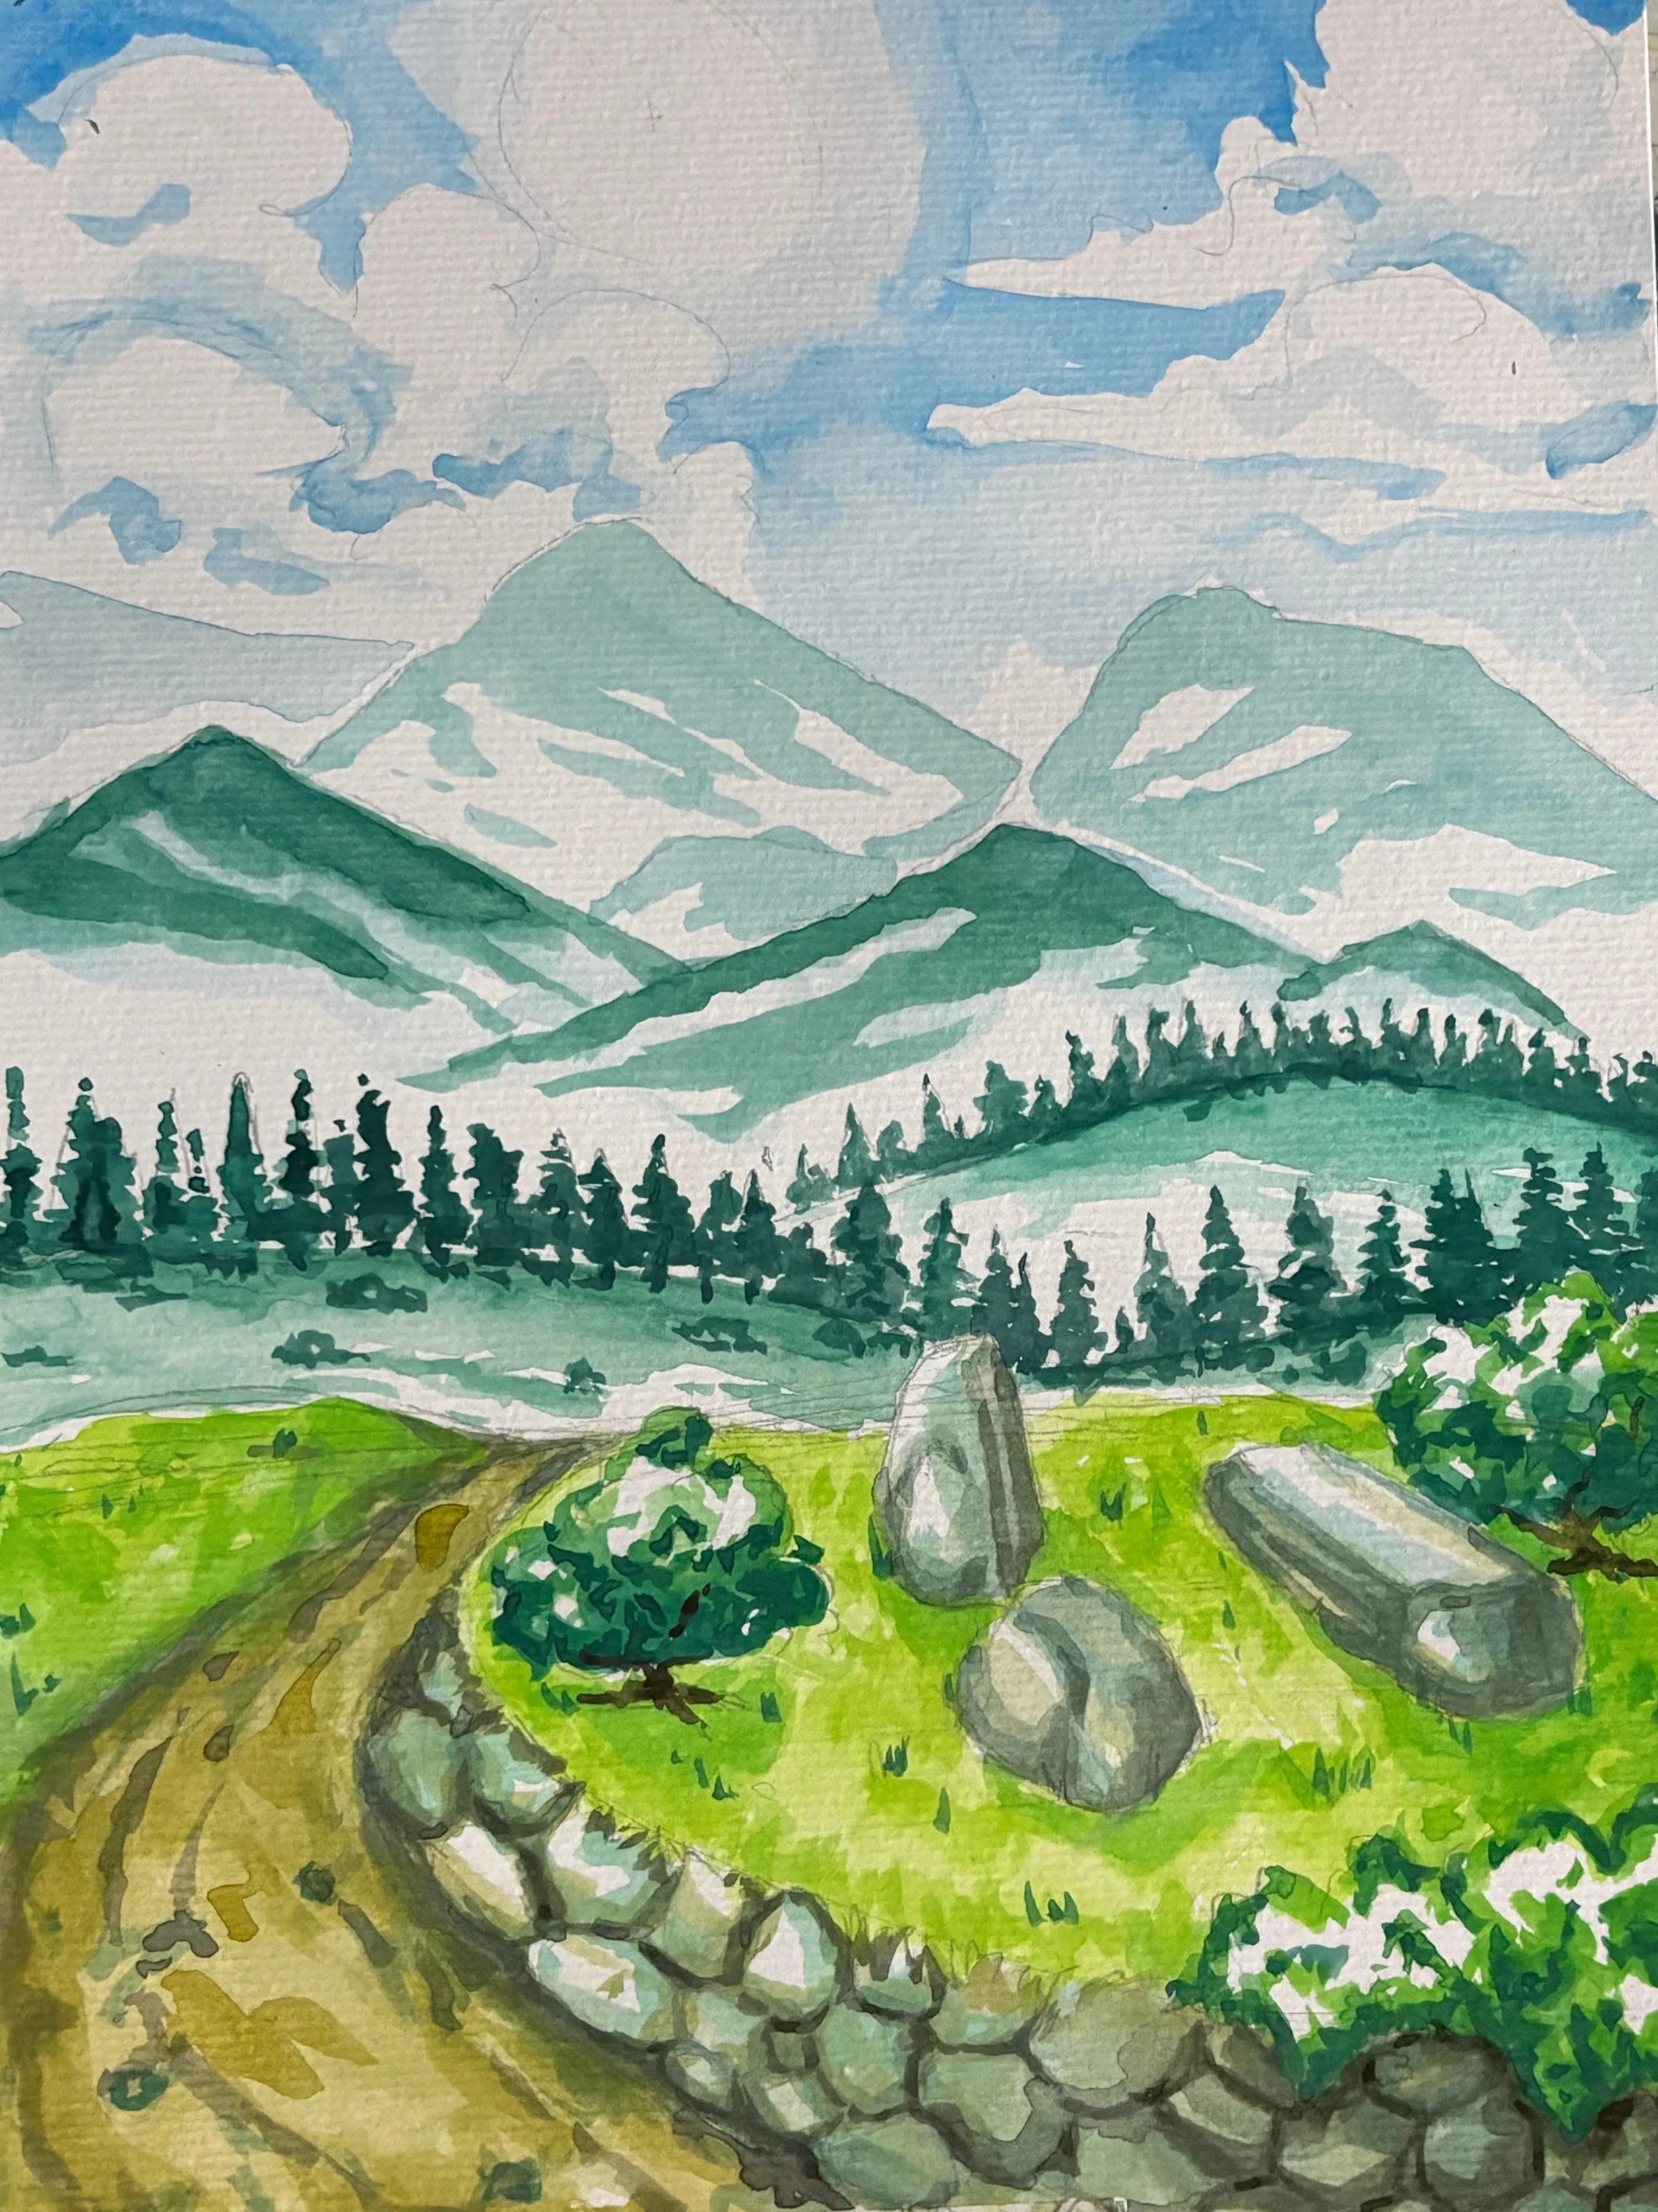
Your landscape is now finished. Watercolor is an ideal technique for capturing this sense of mist and depth; its natural transparency does all the work. Now it’s up to you to create your own version by applying these principles.
Discussion
The watercolor is truly fascinating; I think that people who choose watercolor in their art are calm, gentle, and of course enjoy challenges.
Thank you for these clear explanations. I will try it soon.