Painting by Combining Watercolor and Chinese Ink
In the world of painting, there exists a fascinating domain called mixed media. These techniques allow the use of two, or even several mediums in the same artwork.
Today, I invite you to explore the subtle alliance between watercolor and India ink, two incredibly expressive materials whose combination evokes delicacy, elegance, and simplicity.
The characteristics of watercolor and Indian ink
Let's start by understanding the characteristics of watercolor and India ink in order to know how to harmoniously combine them in the same piece.
Composition
Little anecdote: watercolor is made from colored pigments of various origins and gum arabic as a binder, which gives it its unique properties. Chinese ink, on the other hand, is made from soot (or lampblack), hence its deep black, and uses shellac as a binding agent.
Application
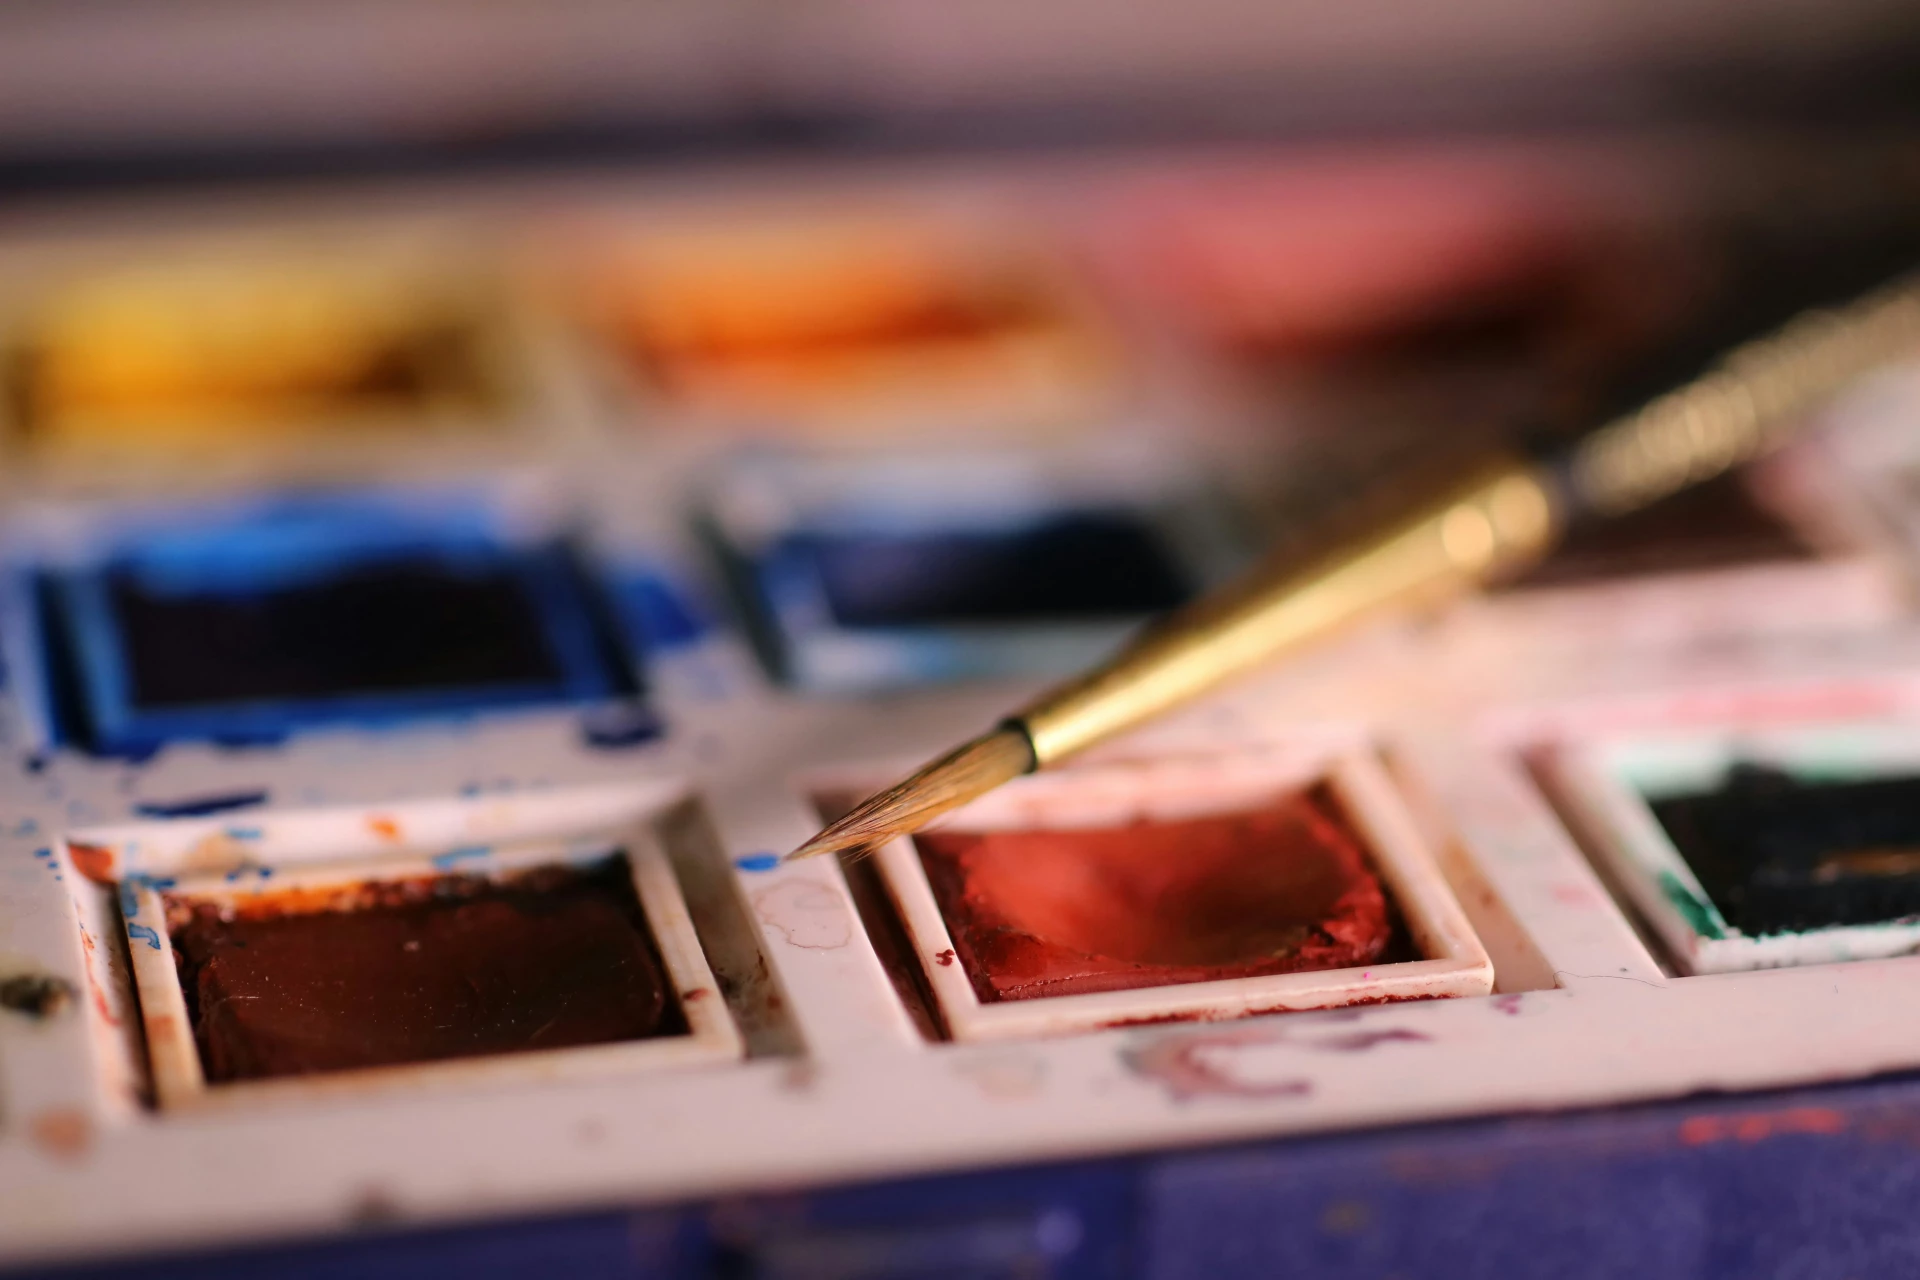
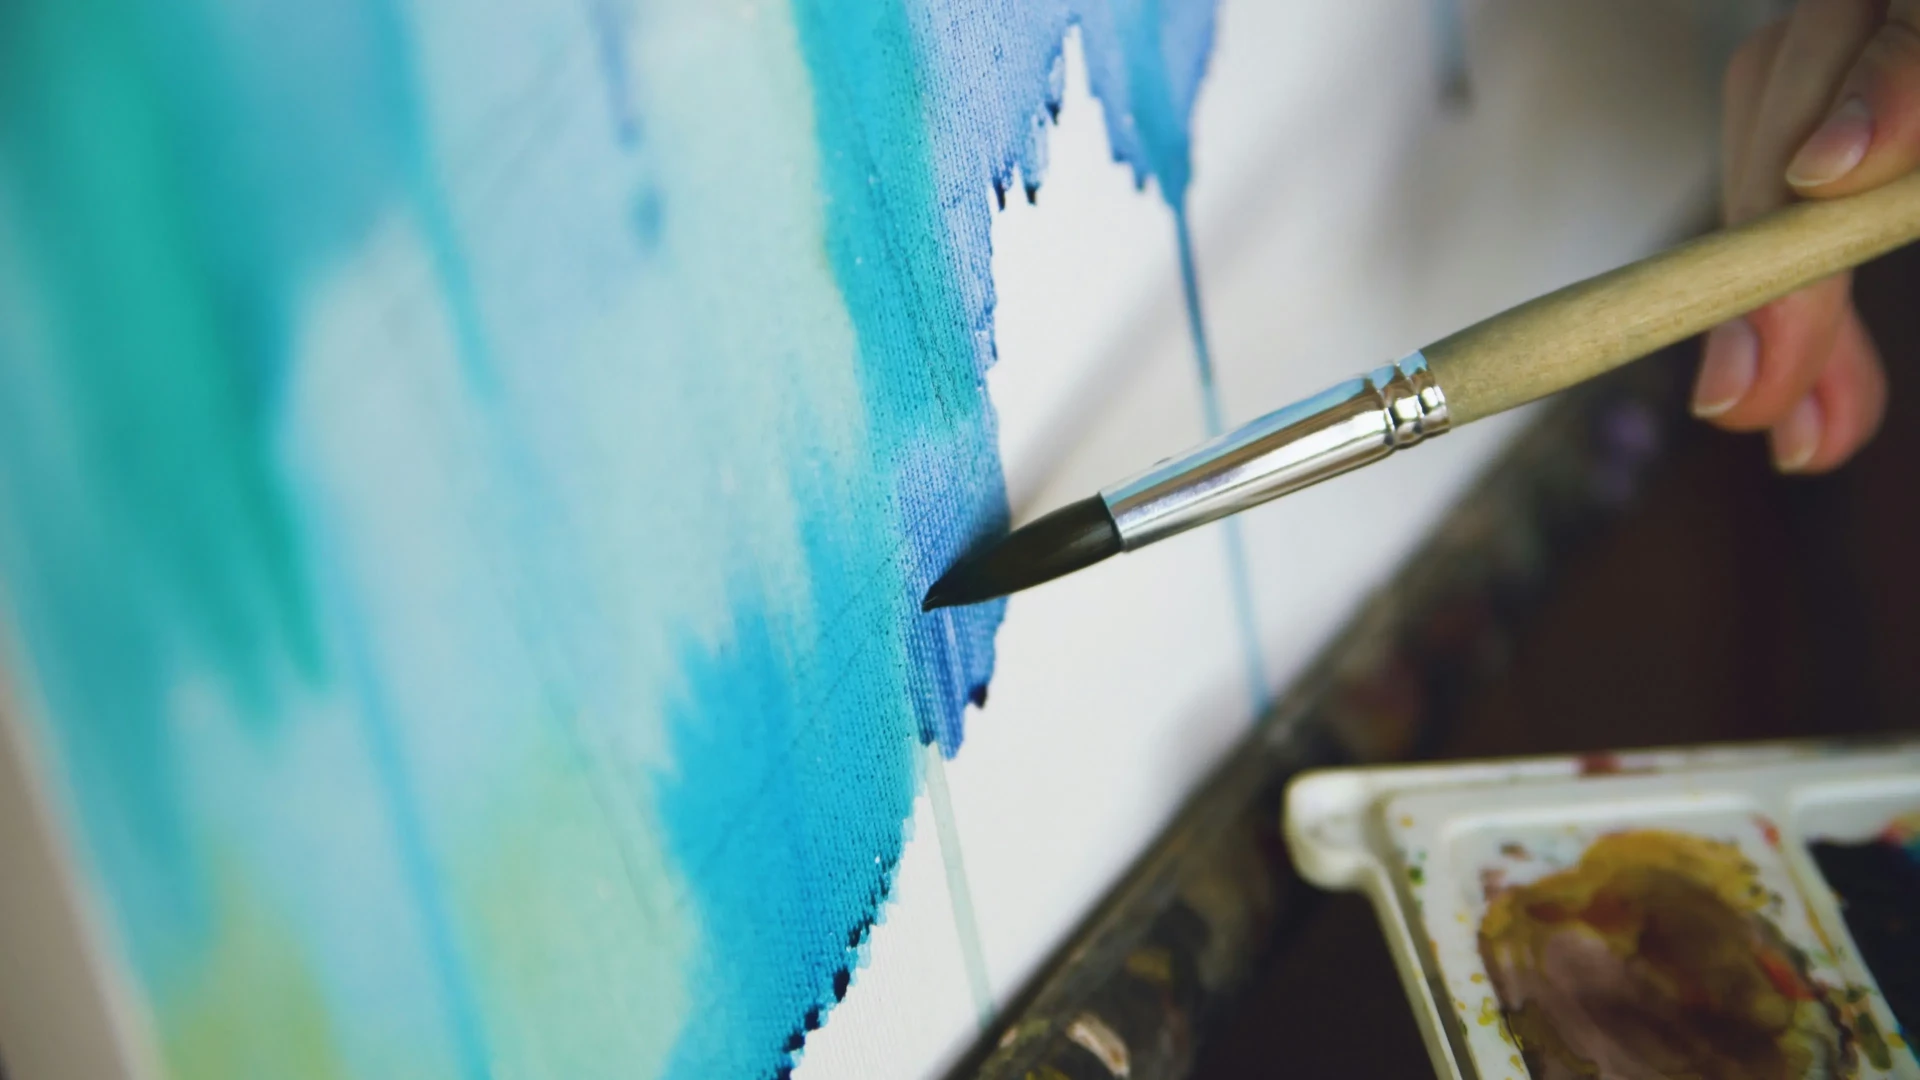
To paint with watercolor, we use brushes and water to dilute the pigments and apply them to the paper. India ink can be applied with a brush or pen, depending on whether you want to paint or draw precise lines.
Consistency
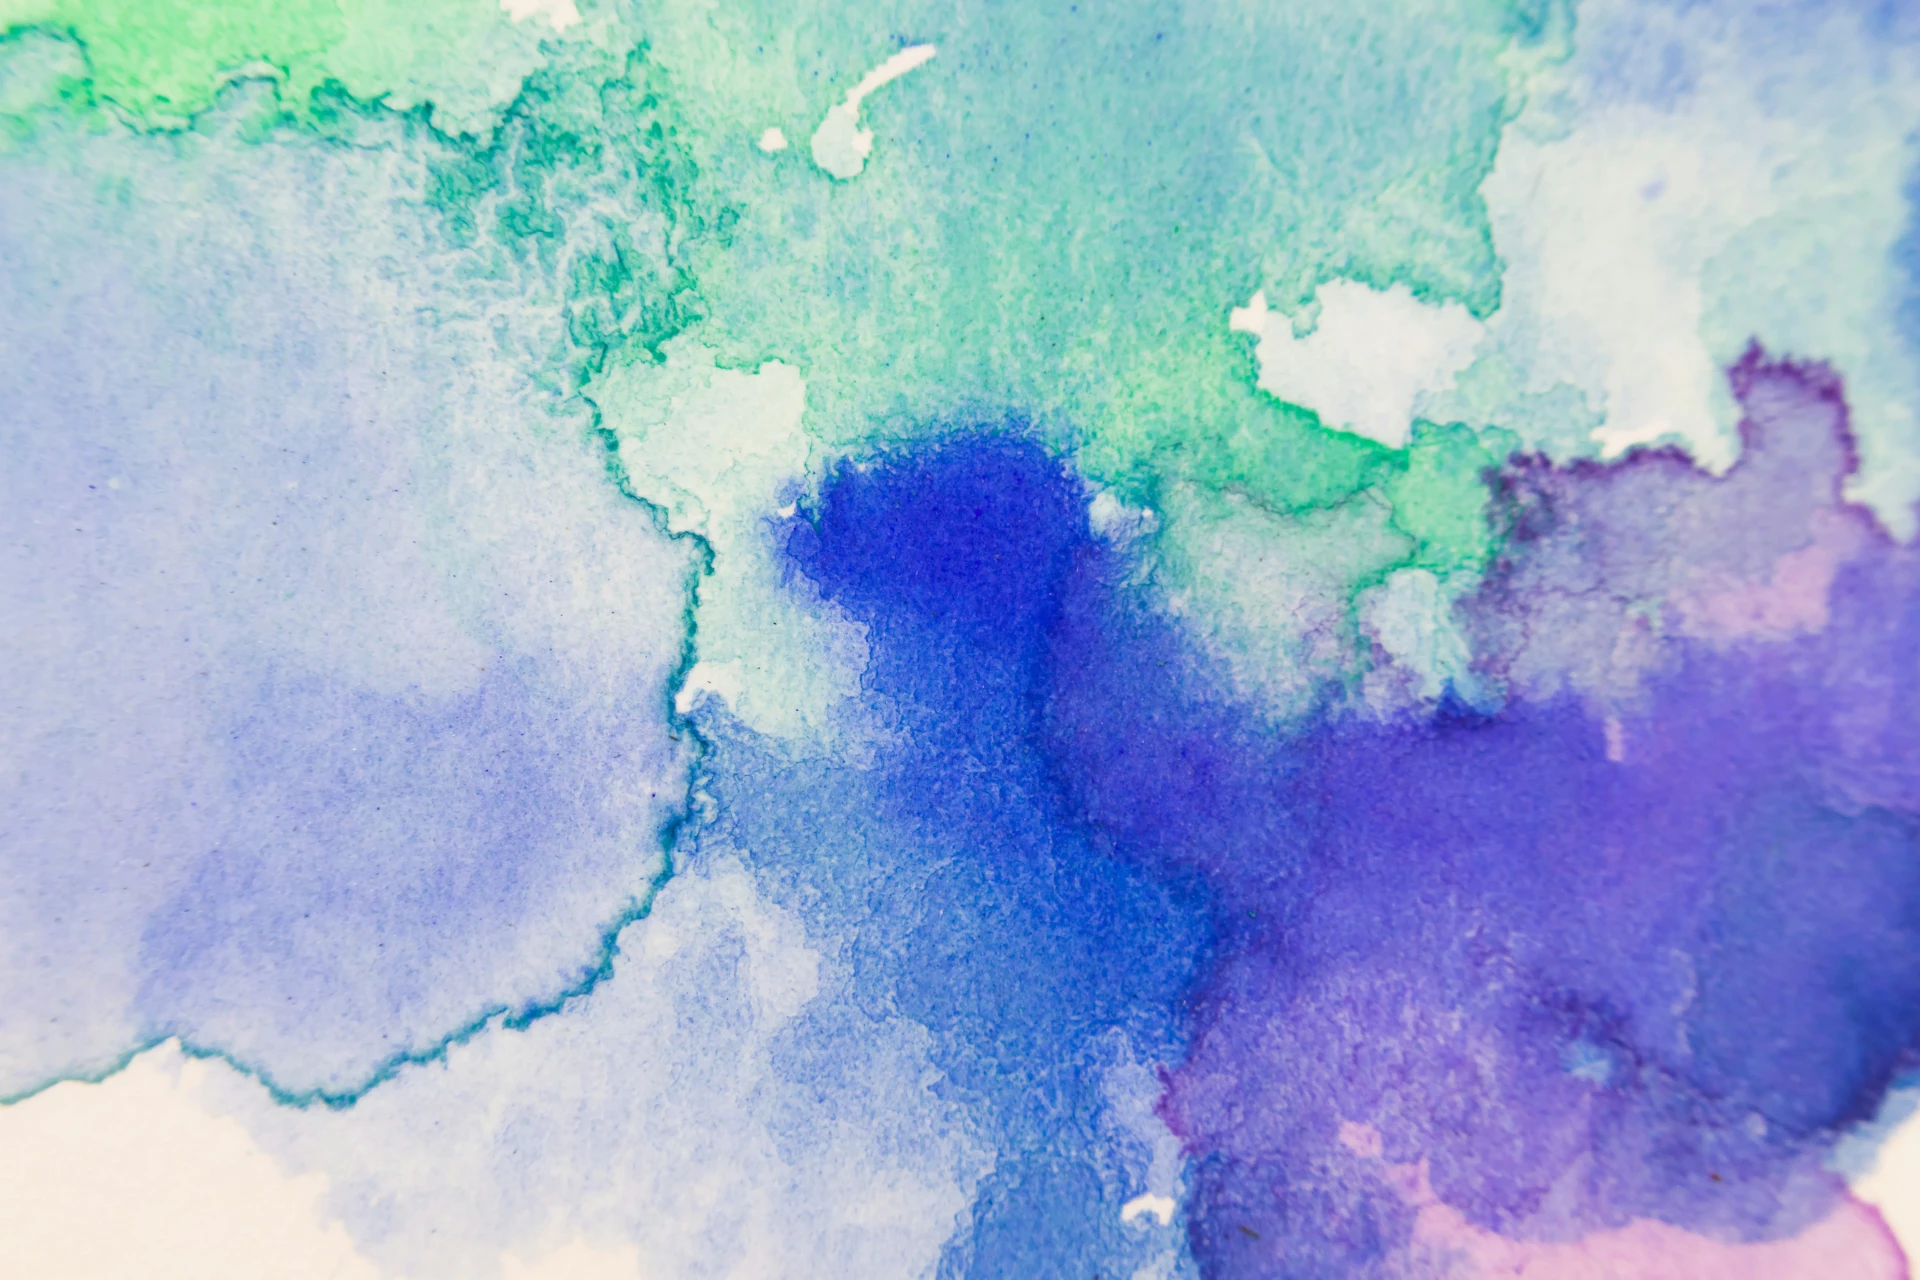
Watercolor is, by nature, transparent. This allows for working with layers or washes. Chinese ink, on the other hand, is dense and concentrated, but water-soluble: by diluting it, beautiful transparencies can be achieved.
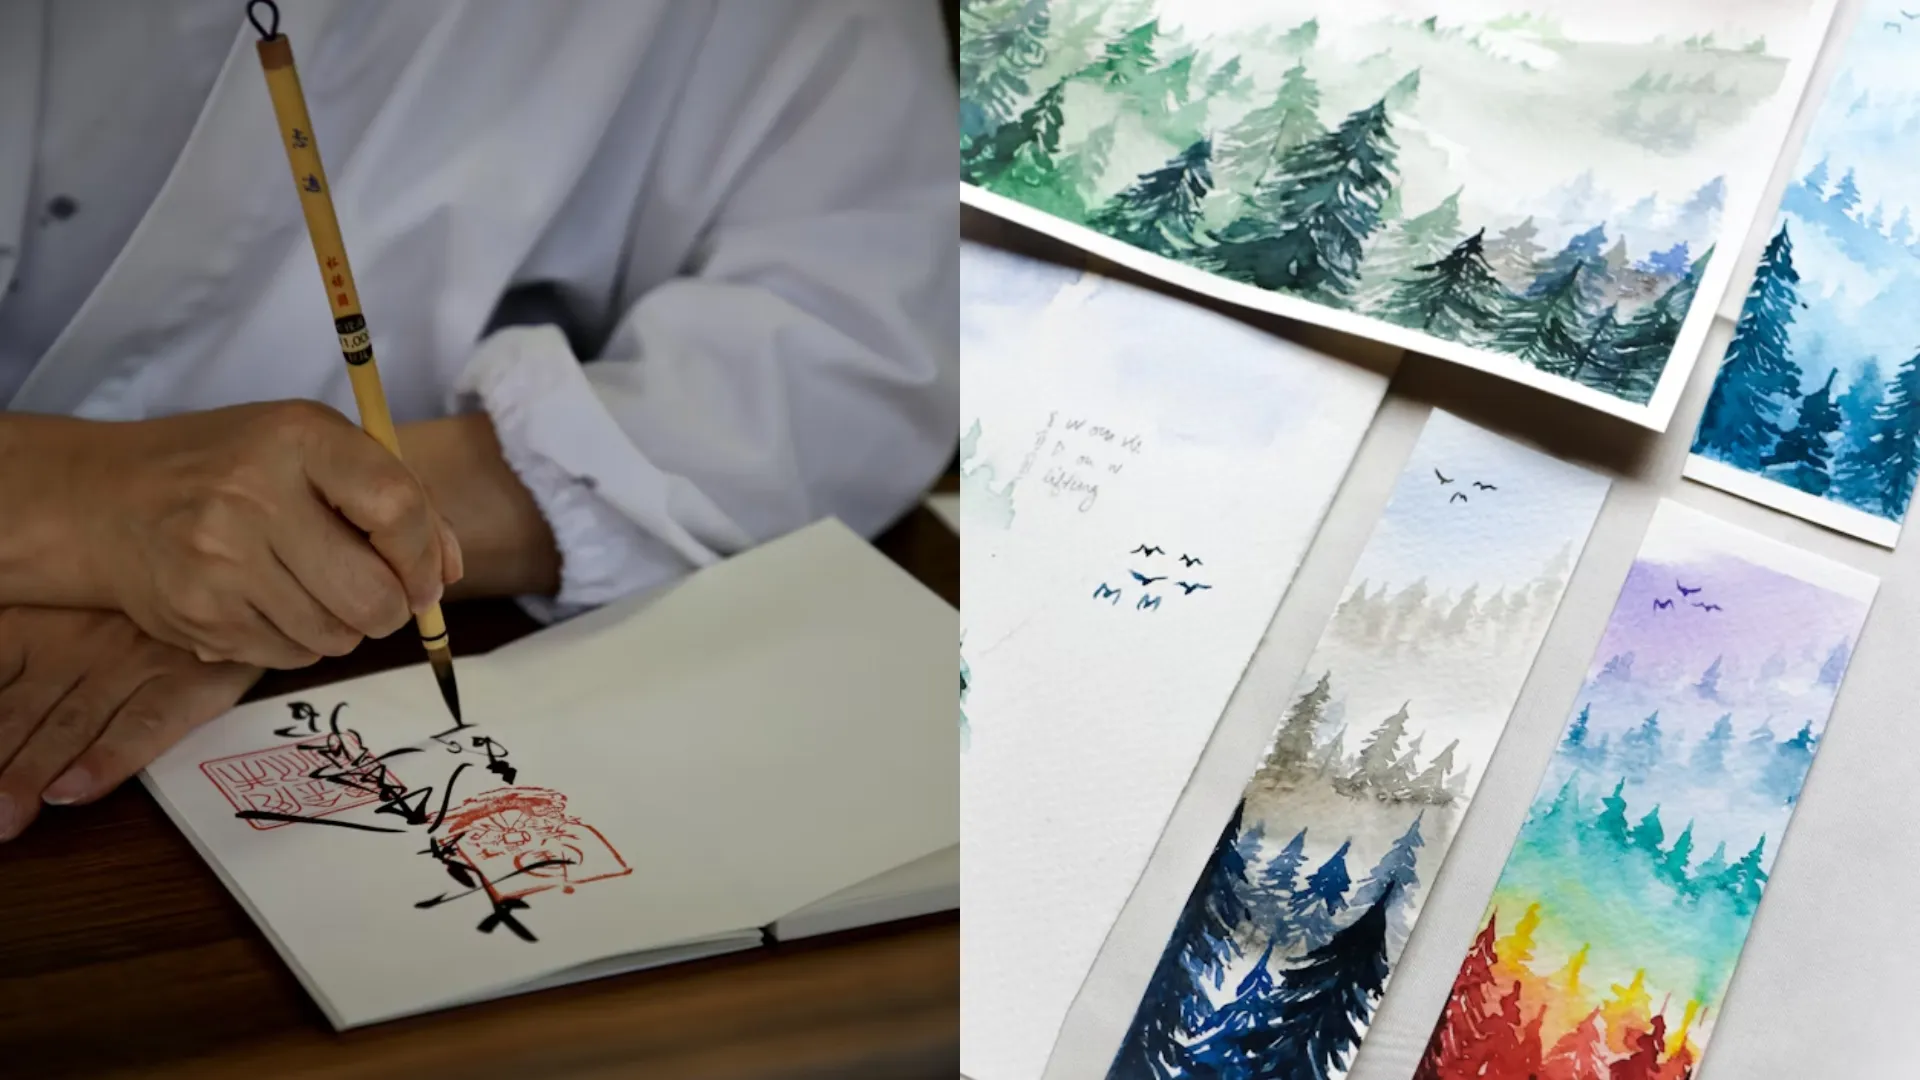
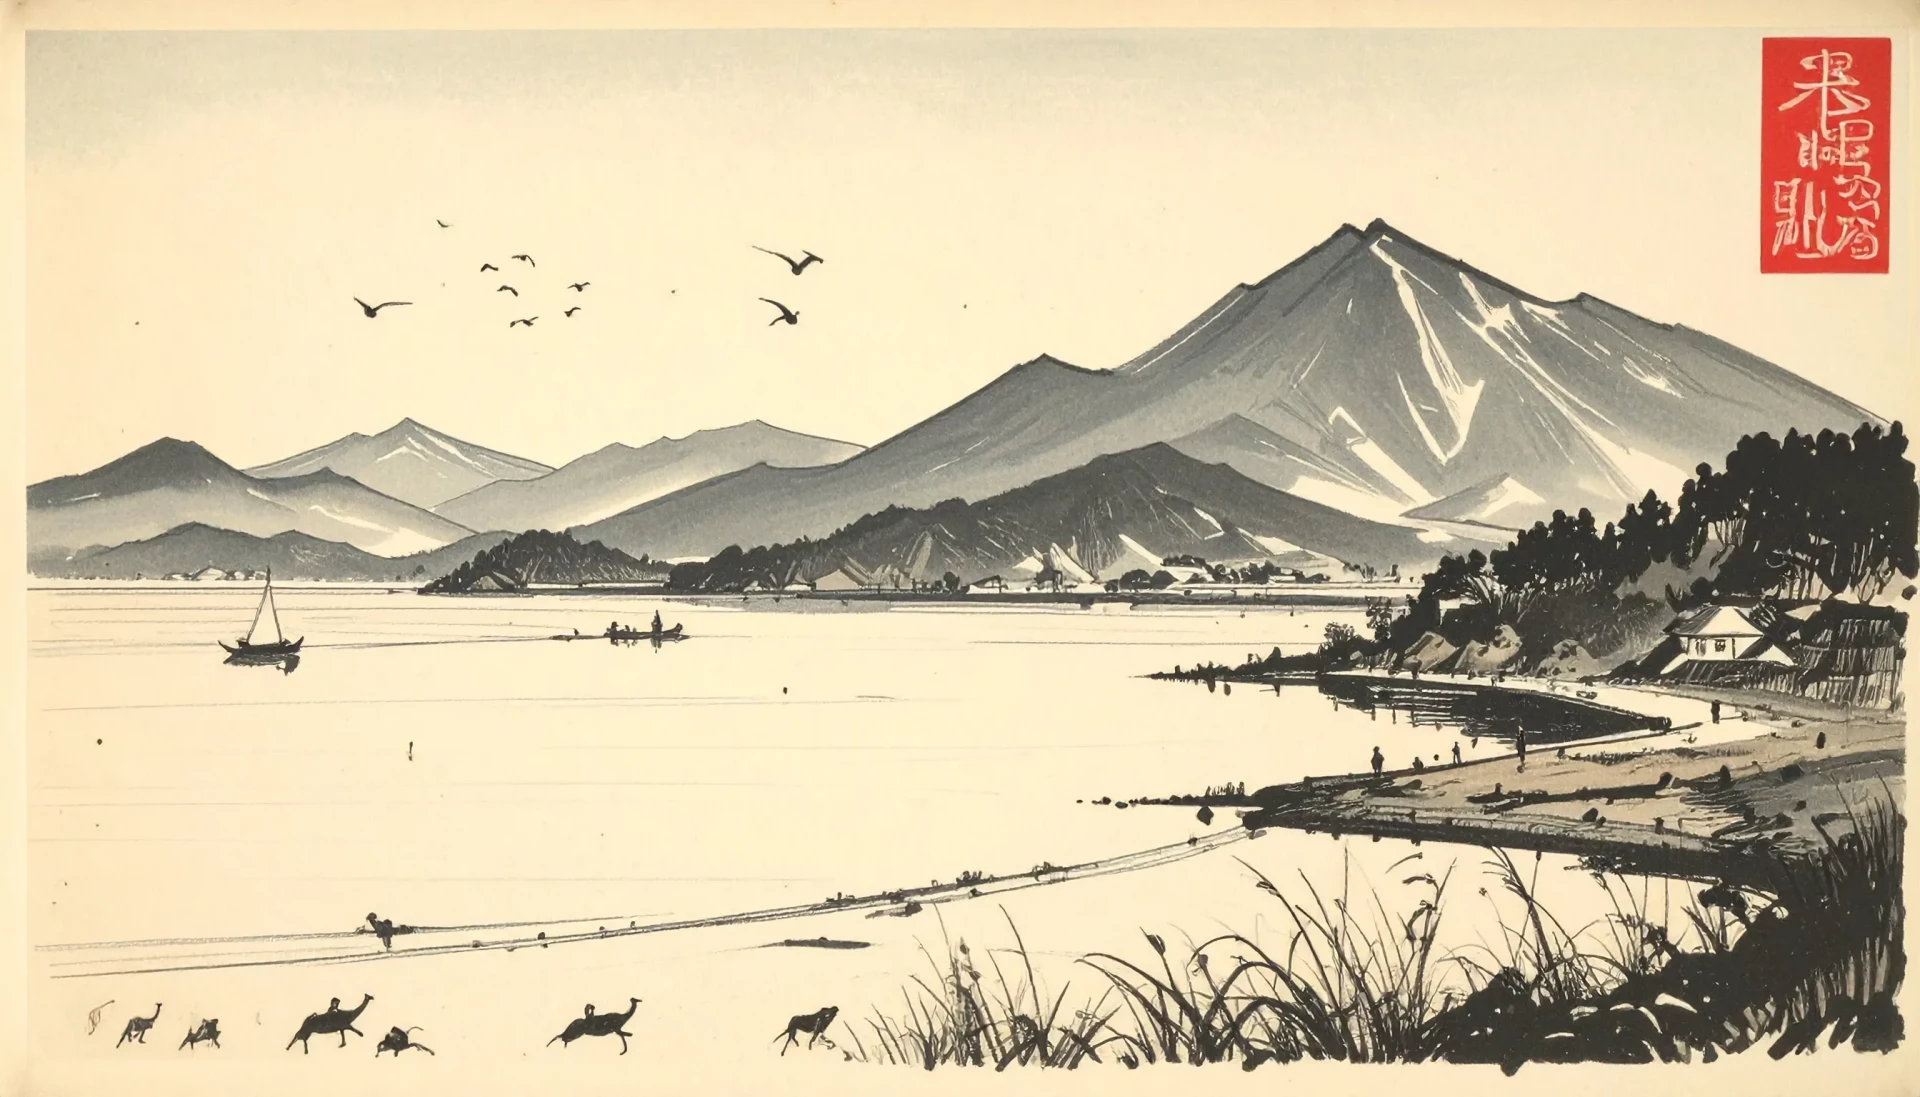
Sumi-e and the Asian Tradition
In China and Japan, a technique called Sumi-e was developed around Chinese ink. It was used to create landscapes and minimalist compositions of great expressiveness. Artists made several ink washes at different concentrations to achieve a multitude of shades of black, and sometimes added symbolic touches of color such as a flower or a red sun to enhance the meaning of the work.
Tips for Combining Watercolor and India Ink
Here are some recommendations to integrate these two techniques without mishap and achieve a harmonious composition:
- Use them at different times: finish all that you want to accomplish with one of the two mediums before moving on to the other.
- Transparency and opacity: the contrast between the colorful lightness of watercolor and the deep black of Indian ink creates a very strong visual effect.
- Work with washes: dilute both India ink and watercolor to achieve a wide range of subtle and consistent tones.
Painting with watercolor and India ink step by step
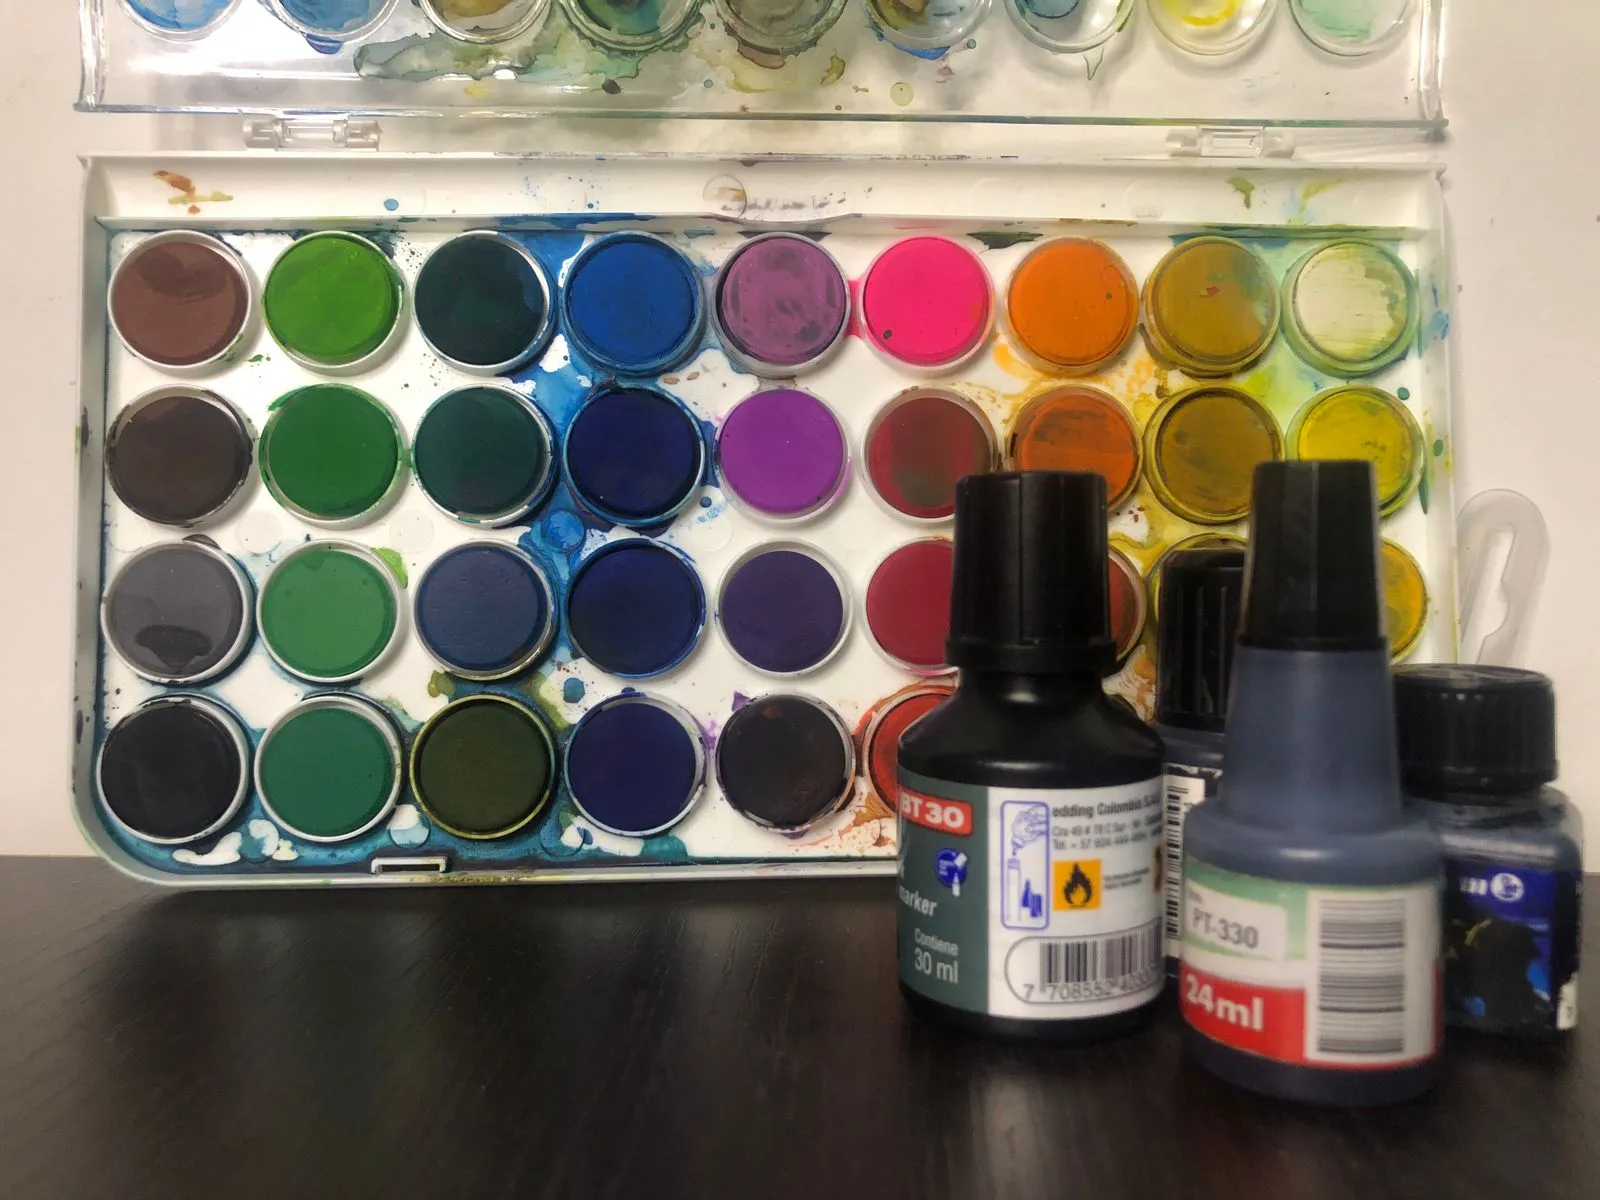
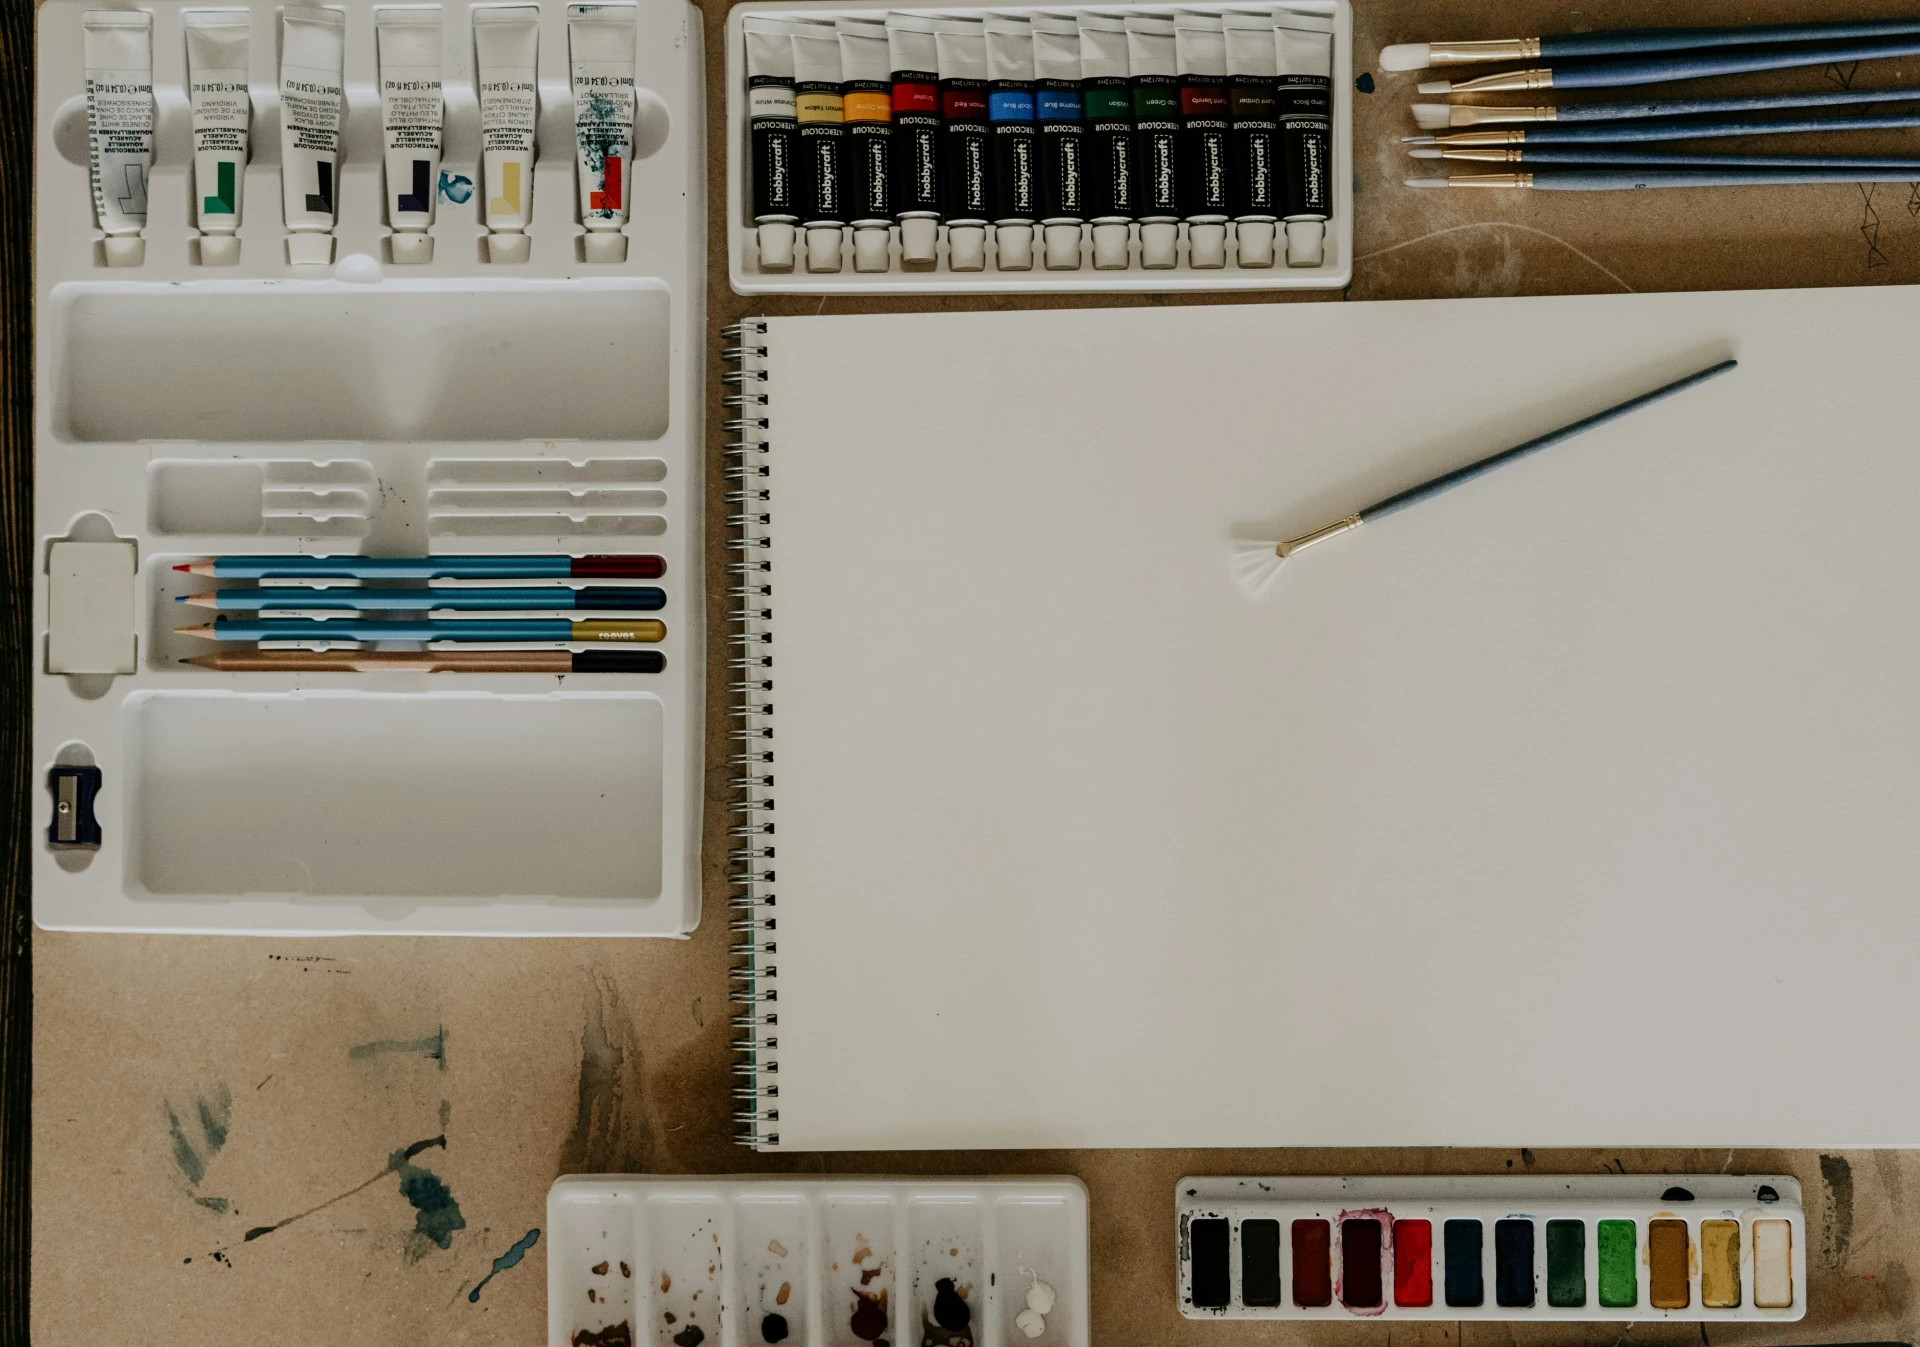
Before starting, make sure you have all the necessary materials. Here is a small checklist:
- Brushes of different sizes and shapes.
- Watercolors (in pans or tubes).
- India ink.
- Dedicated pen or brush.
- Palette for mixing.
- Thick paper (weight of 250 g/m² or more).
- Adhesive tape to secure the edges of the paper.
- One or two water containers.
- Graphite pencil and kneaded eraser.
- Handkerchief, towel, or rag to absorb excess water.
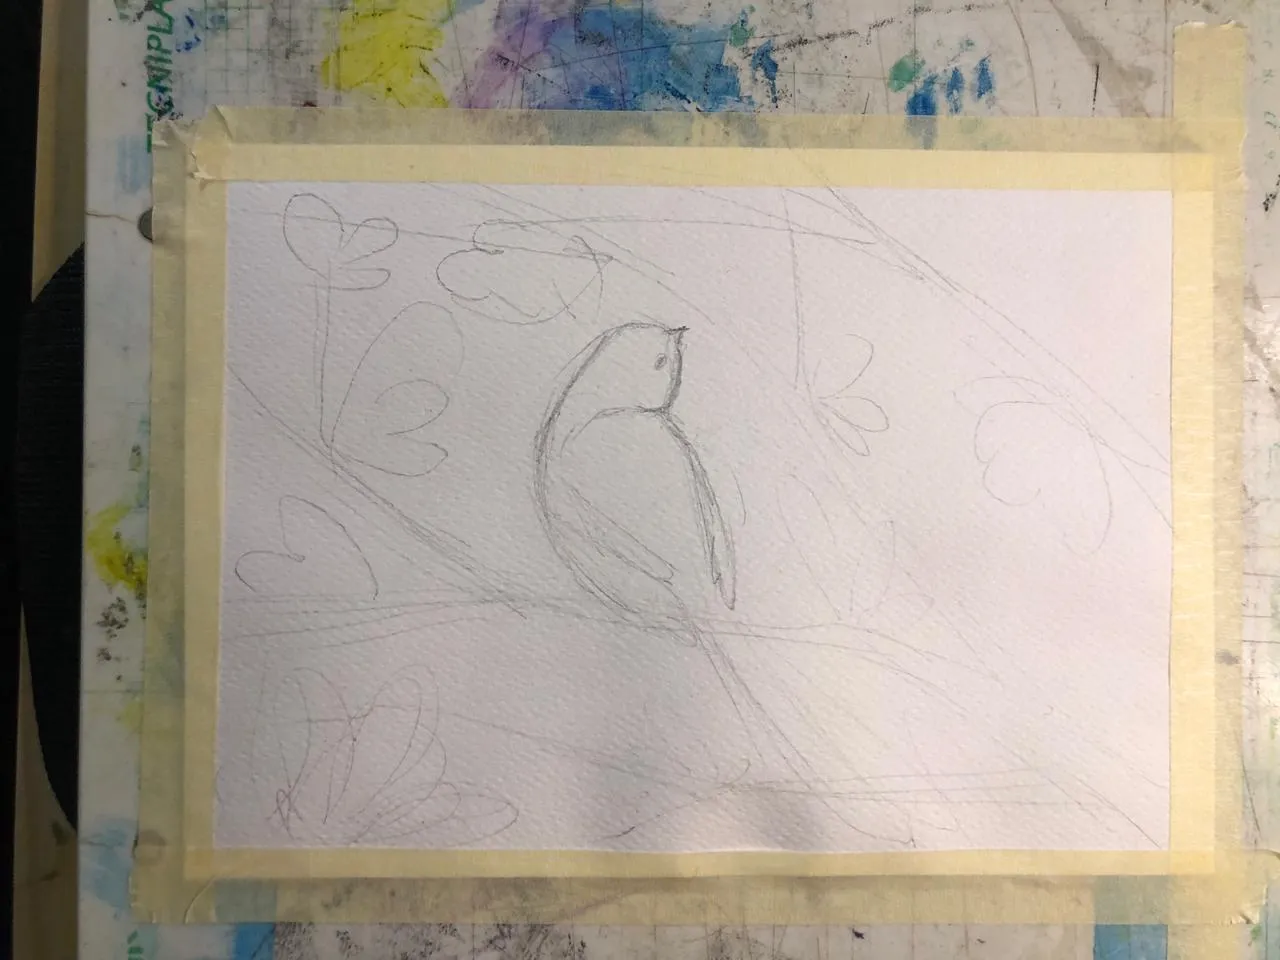
Draw the sketch
We will apply this technique to a drawing that appears simple yet is visually powerful. You will see how the interplay between ink and white spaces can create a captivating effect.
First layer of watercolor
To start, you can use a brush soaked in water to paint a petal, then another brush loaded with pink pigment to let the color diffuse on the wet surface. Then add some touches of other similar shades to create beautiful gradients and smooth transitions between colors.
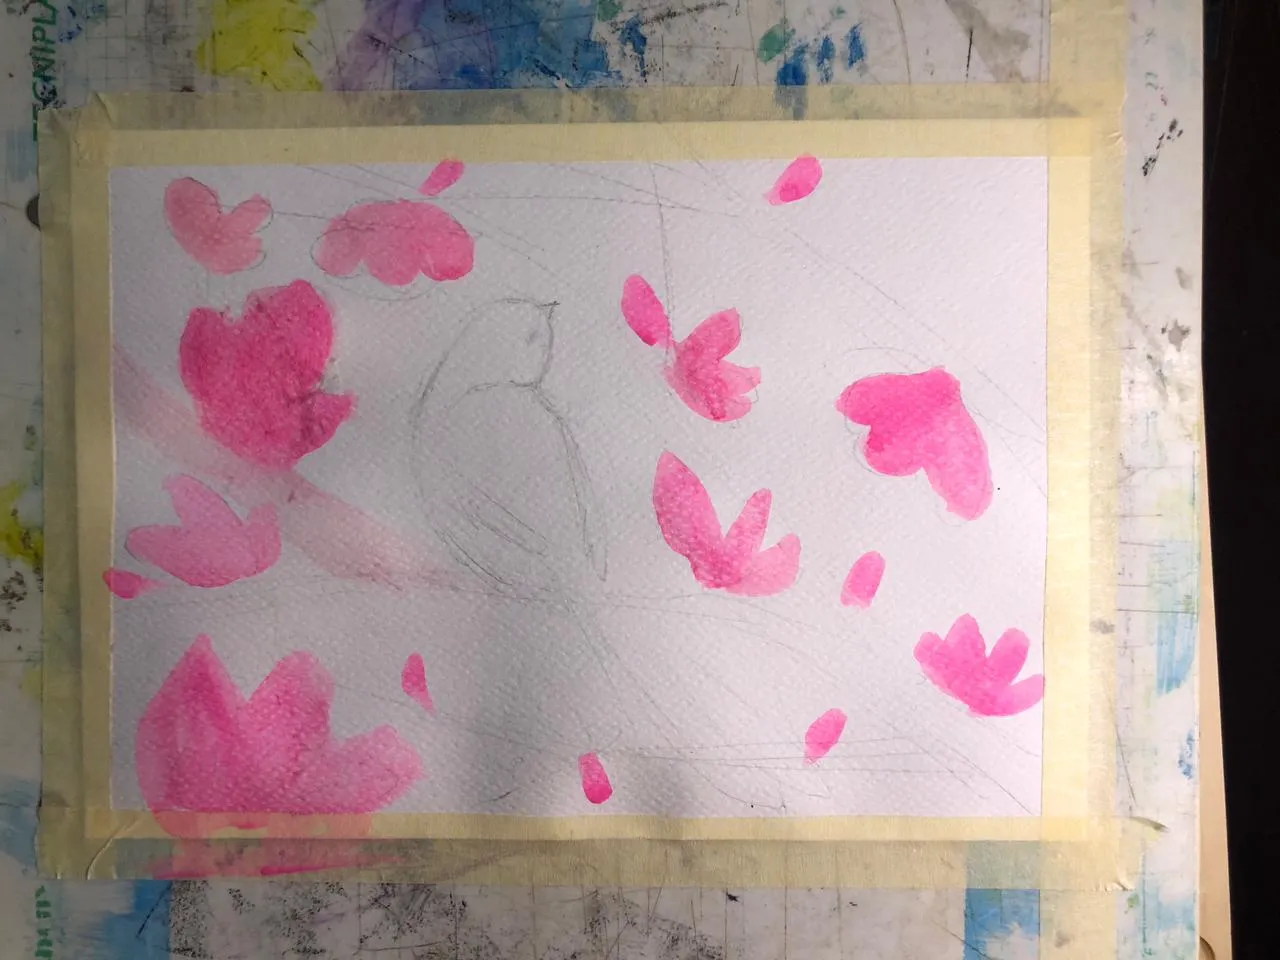
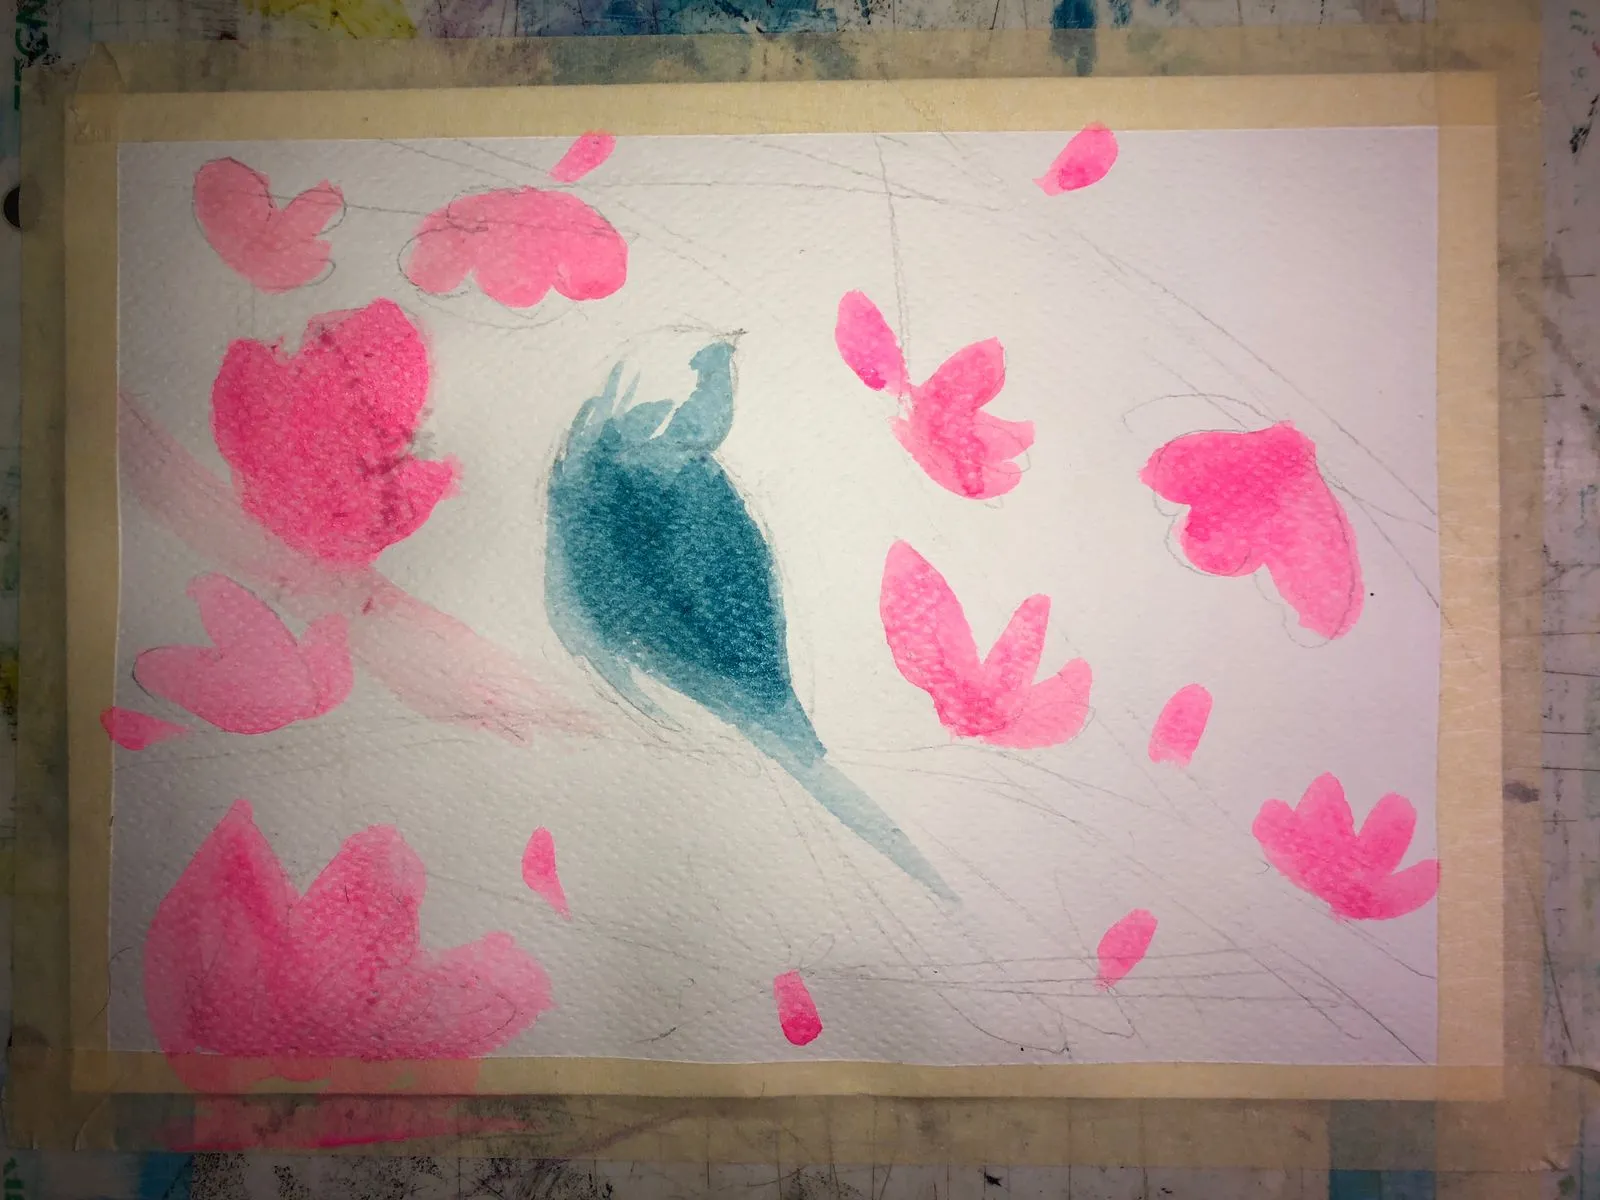
Switch to the bird: apply a blue watercolor spot, paint only a few details, and intentionally leave a lot of white spaces. By adjusting the amount of pigment in your mix, you can achieve lighter tones simply by diluting your brush more.
Details of flowers and buds
Take your base shade (pink) and add a hint of purple to obtain a slightly darker tone. Use it to paint some details. Make sure that the first layer is completely dry before adding new colors to prevent the pigments from spreading.
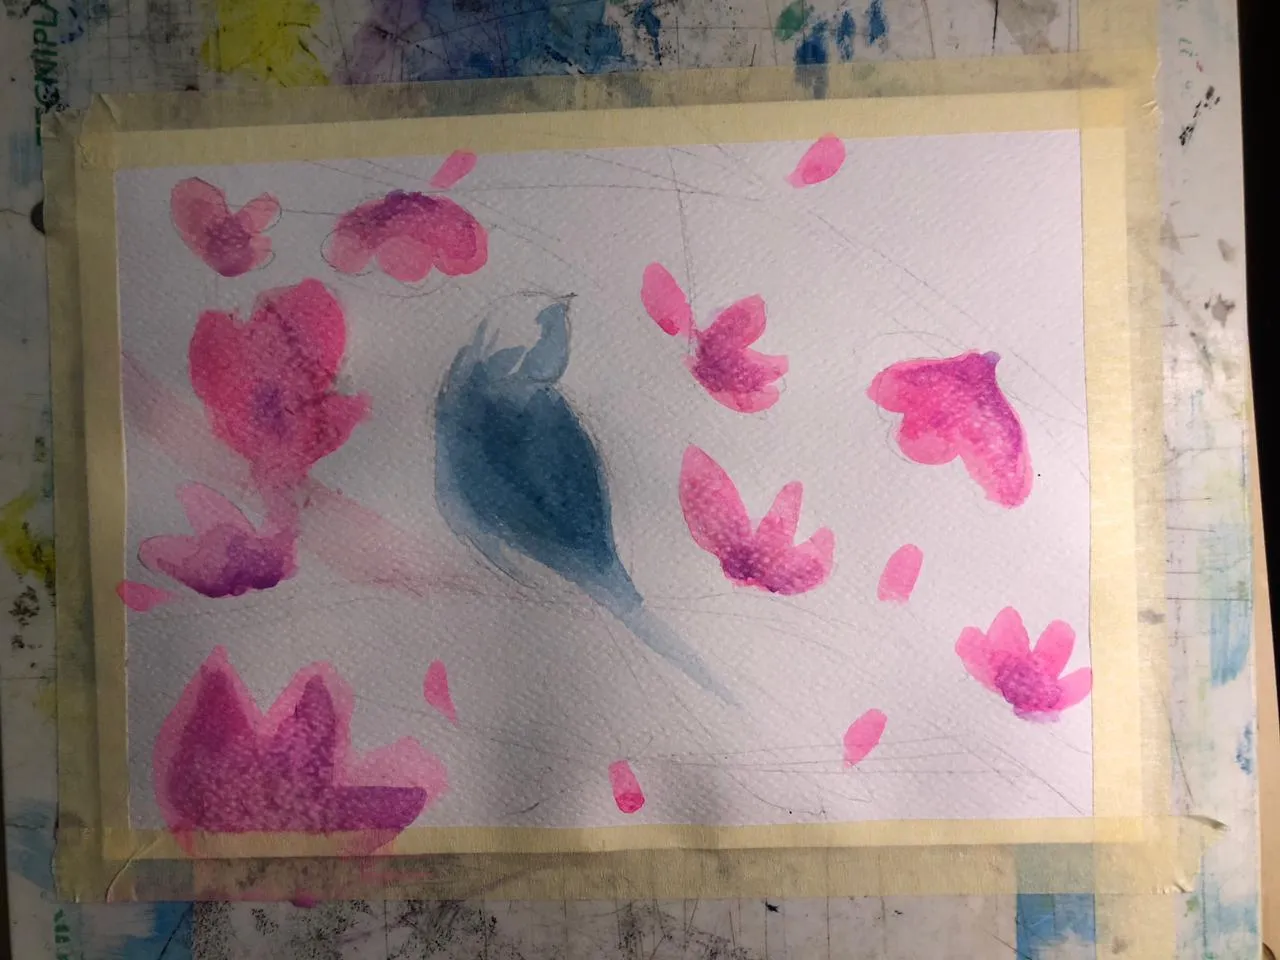
To create gradients on an already dry surface, apply the new color, then soften it with a clean, damp brush. This method will give volume and depth to your little buds.
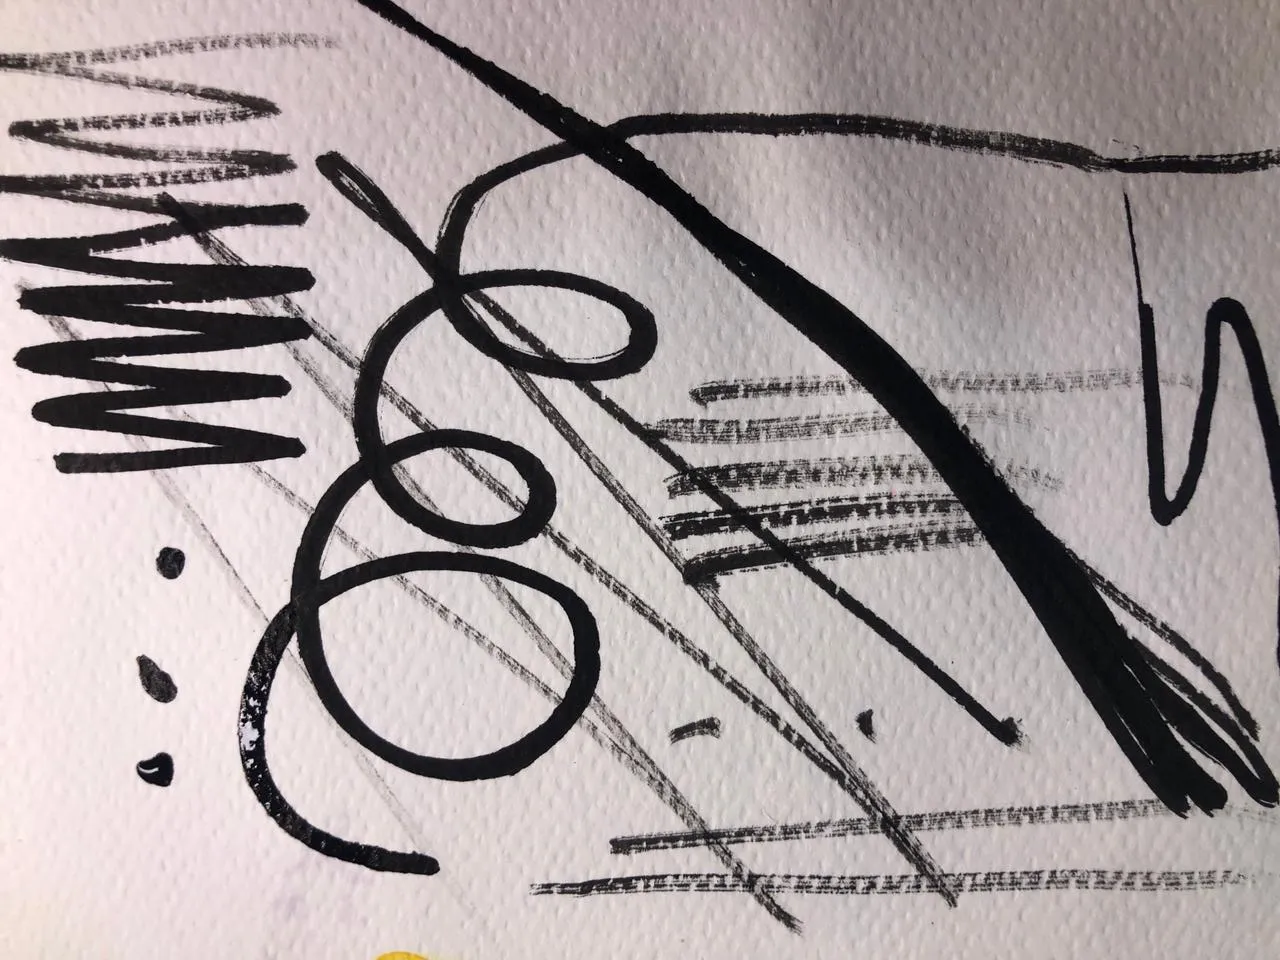
How to apply India ink?
Before moving on to the final composition, take the time to familiarize yourself with the ink. Take a new sheet of paper, a different brush, load it generously with ink, and then observe the paper closely. Start drawing freely: long or short lines, straight or curved, dots and varied strokes.
Explore the effects obtained whether the brush is full of ink or almost dry, and also try applying diluted ink to assess its texture and fluidity.
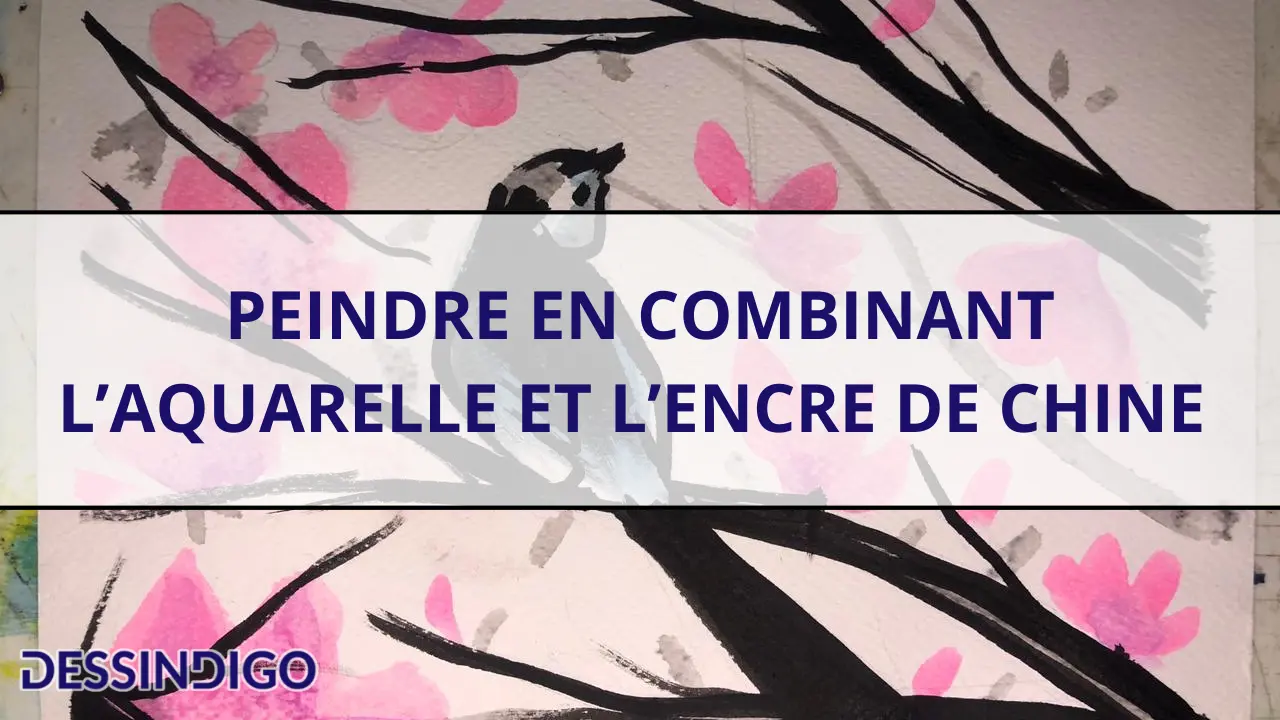
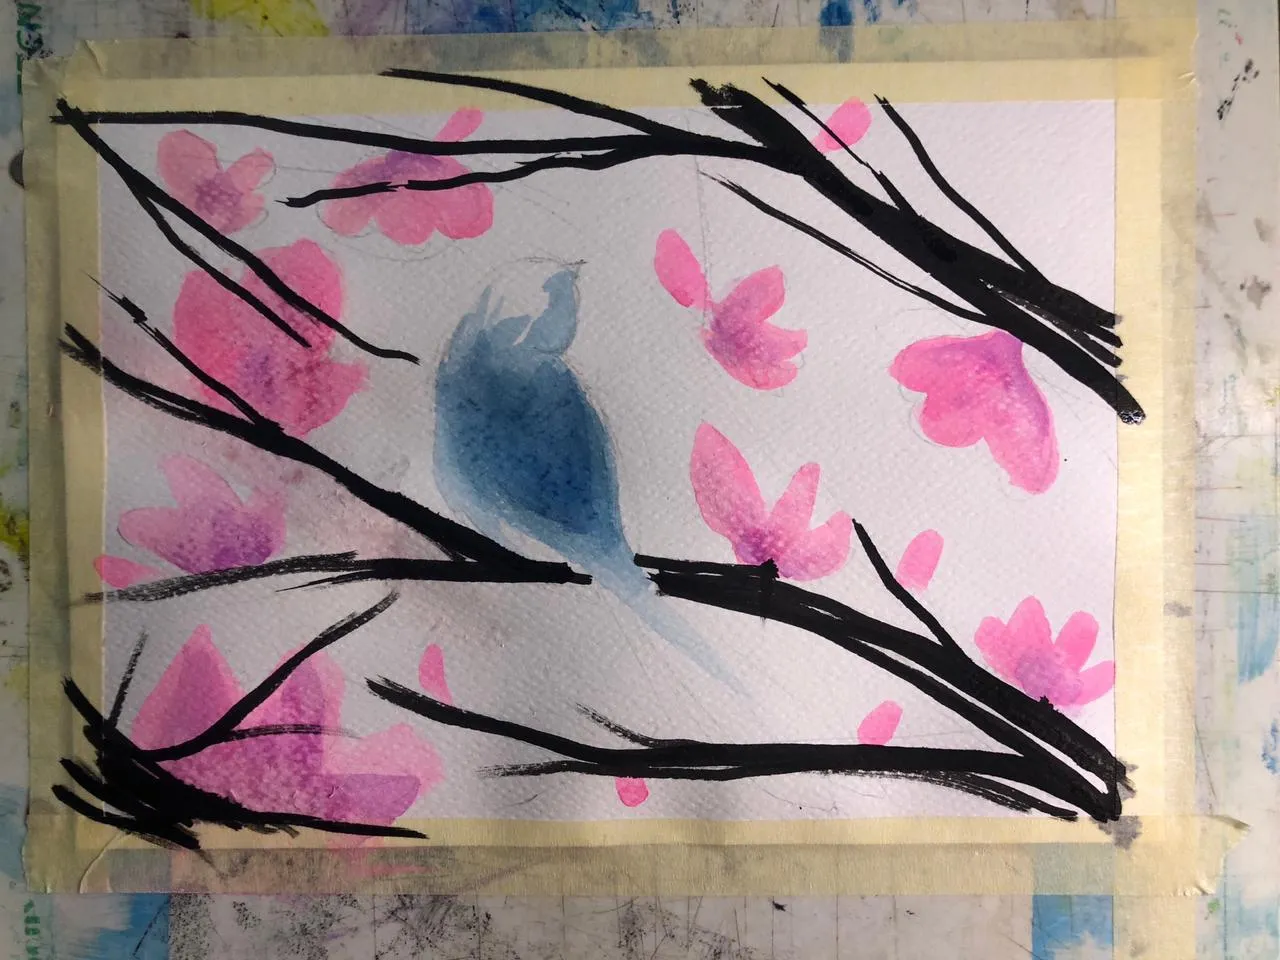
Once comfortable, move on to your final drawing: sketch the branches of the cherry tree, intentionally leaving white spaces.
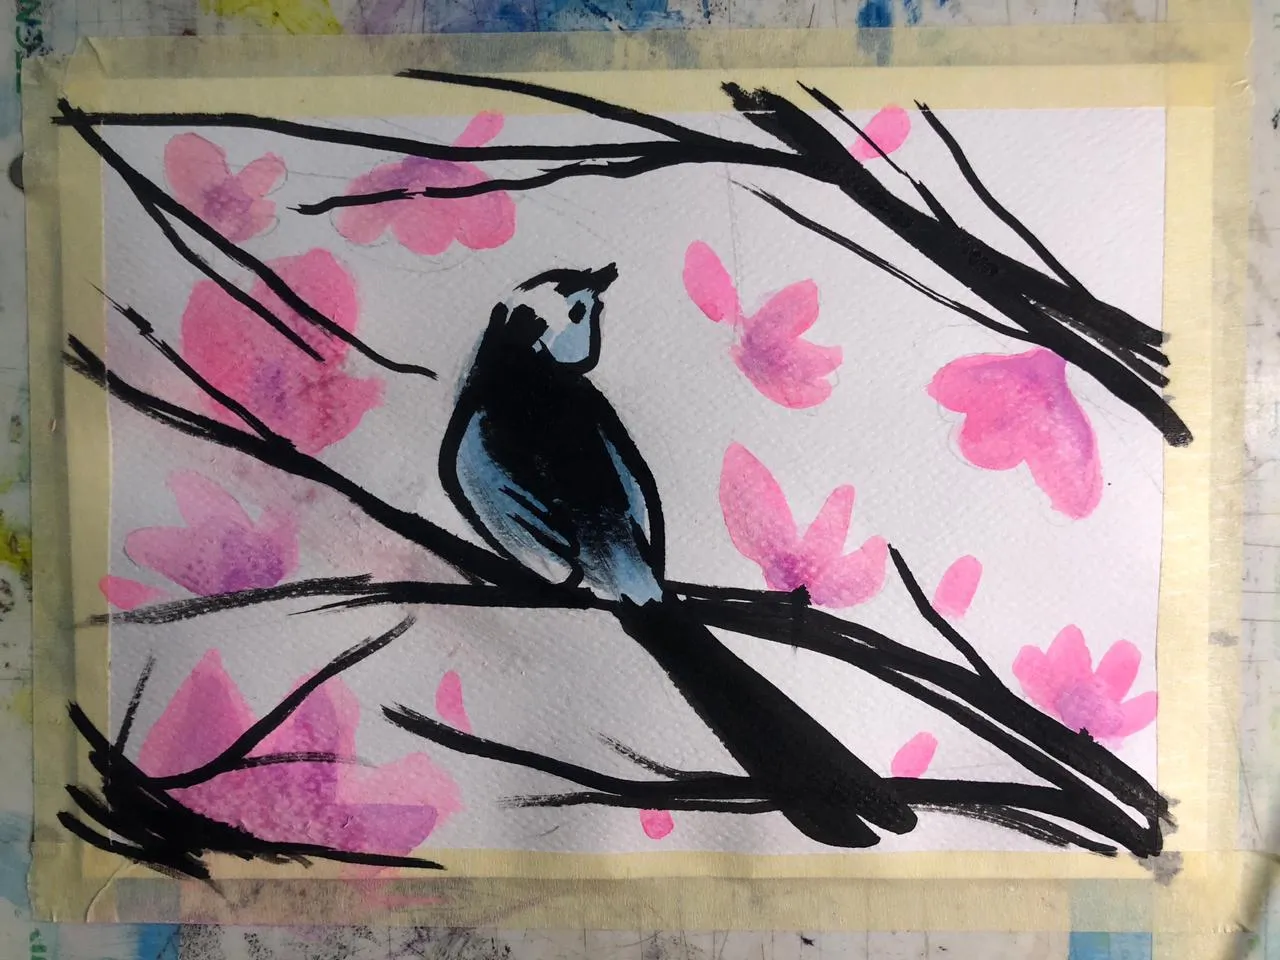
Then draw the bird in the center of the composition: the wings, the head with a small rounded beak, and fully paint the tail feathers black.
Create a wash by diluting the ink in an equal or greater amount of water. With this new mixture, add secondary details, such as a few leaves and small branches.
This diluted ink can also be used as a watercolor to enrich the bird's feathers with subtle gradients, or to overlay layers and achieve darker shades from the same ink.
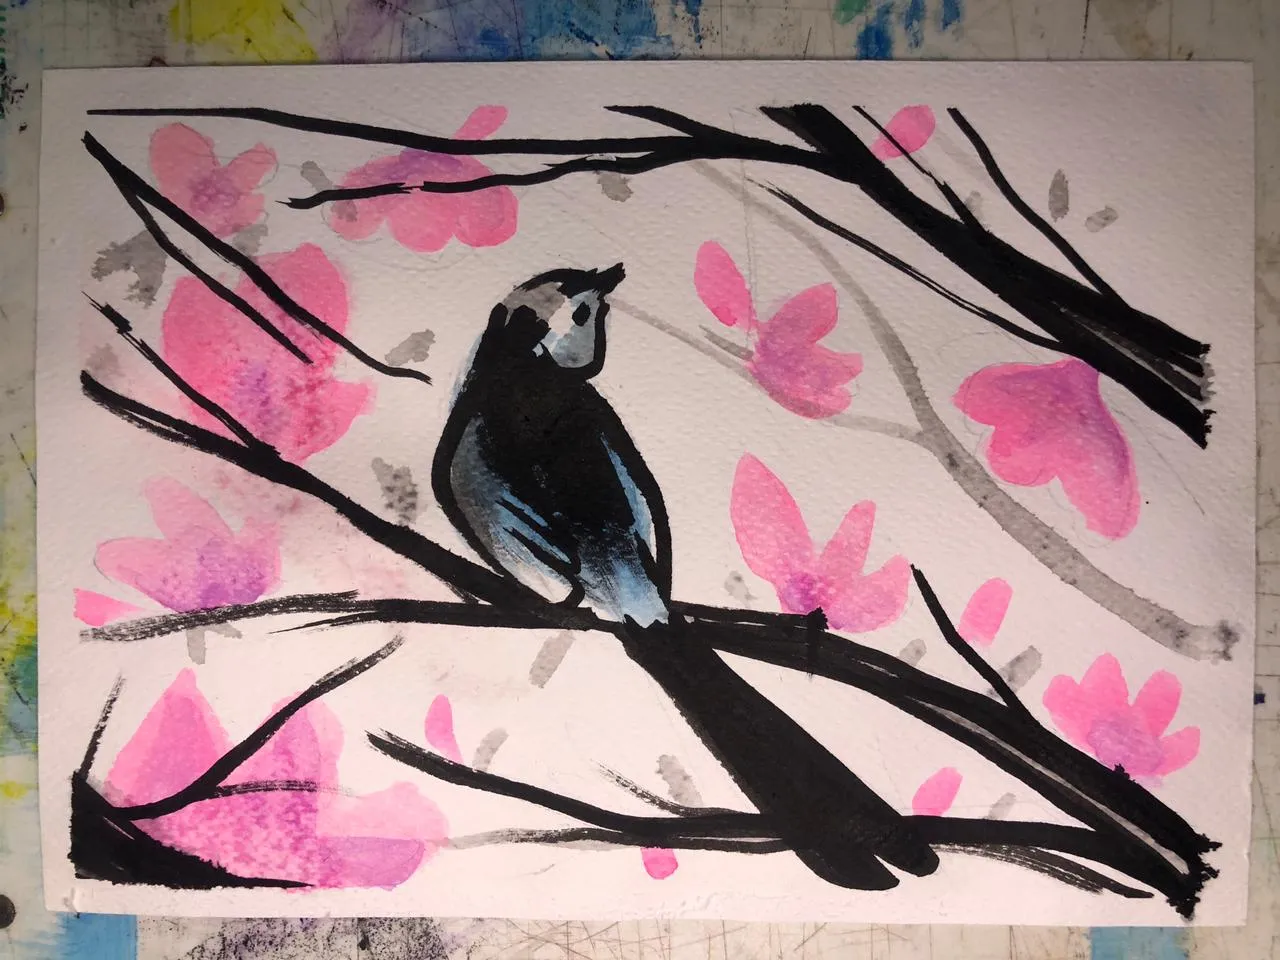
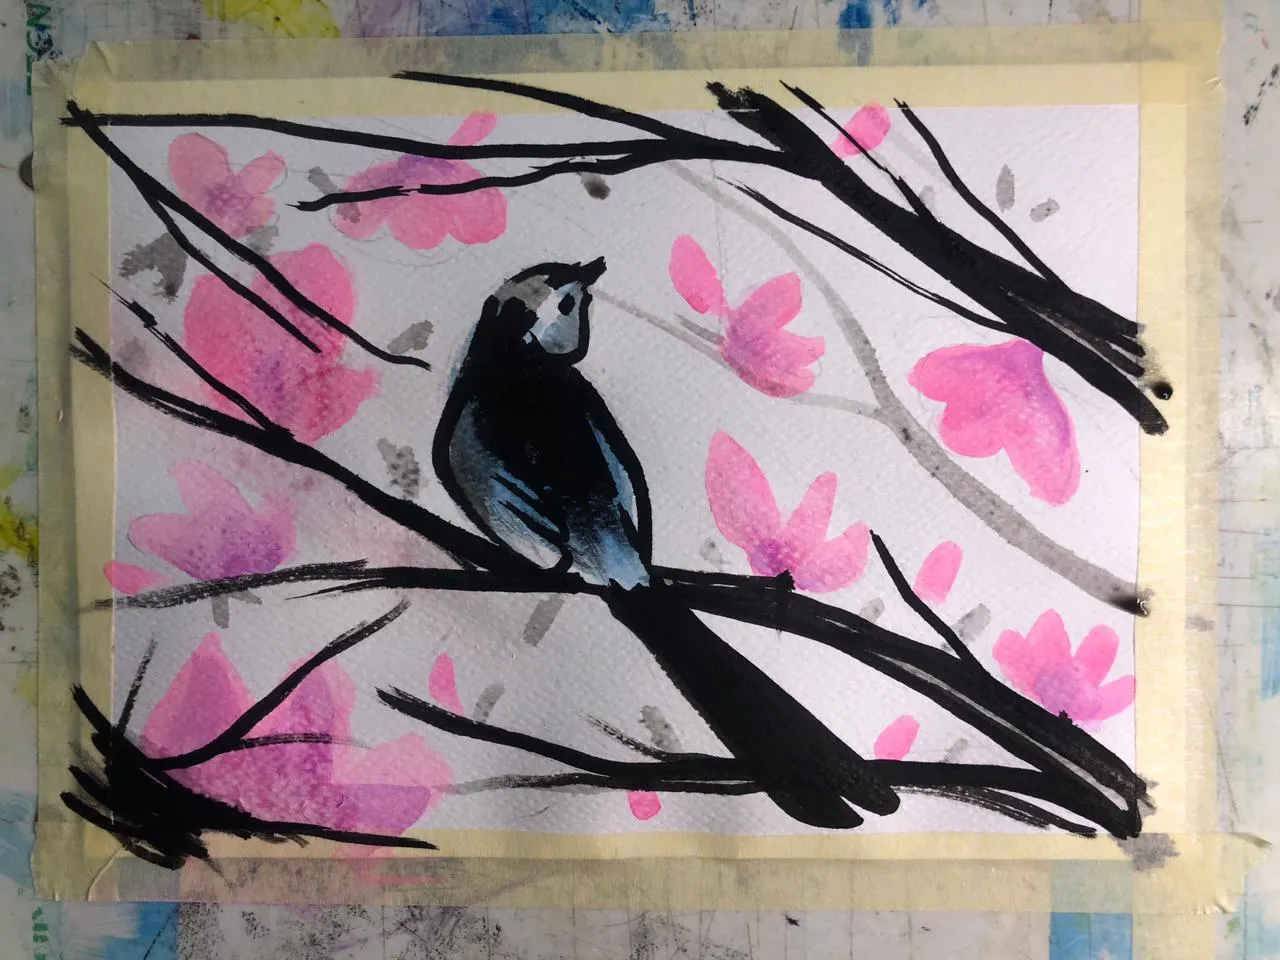
Here is the result of our creation of the day: a work balanced between softness and contrast, expressive without being overloaded with details. Now, it's your turn to play! Experiment, have fun, and let your artistic sensibility speak.
Writer and illustrator: Bryam Nopia
- Be the first to post a comment!