How to Paint a Spring Landscape in Watercolor
Spring is the season of life: the landscape fills with the colors of flowers and butterflies, while animals of all kinds emerge from their hibernation.
Today, we have a tutorial where you will learn to paint a landscape that is full of life using this dynamic material with vibrant colors.
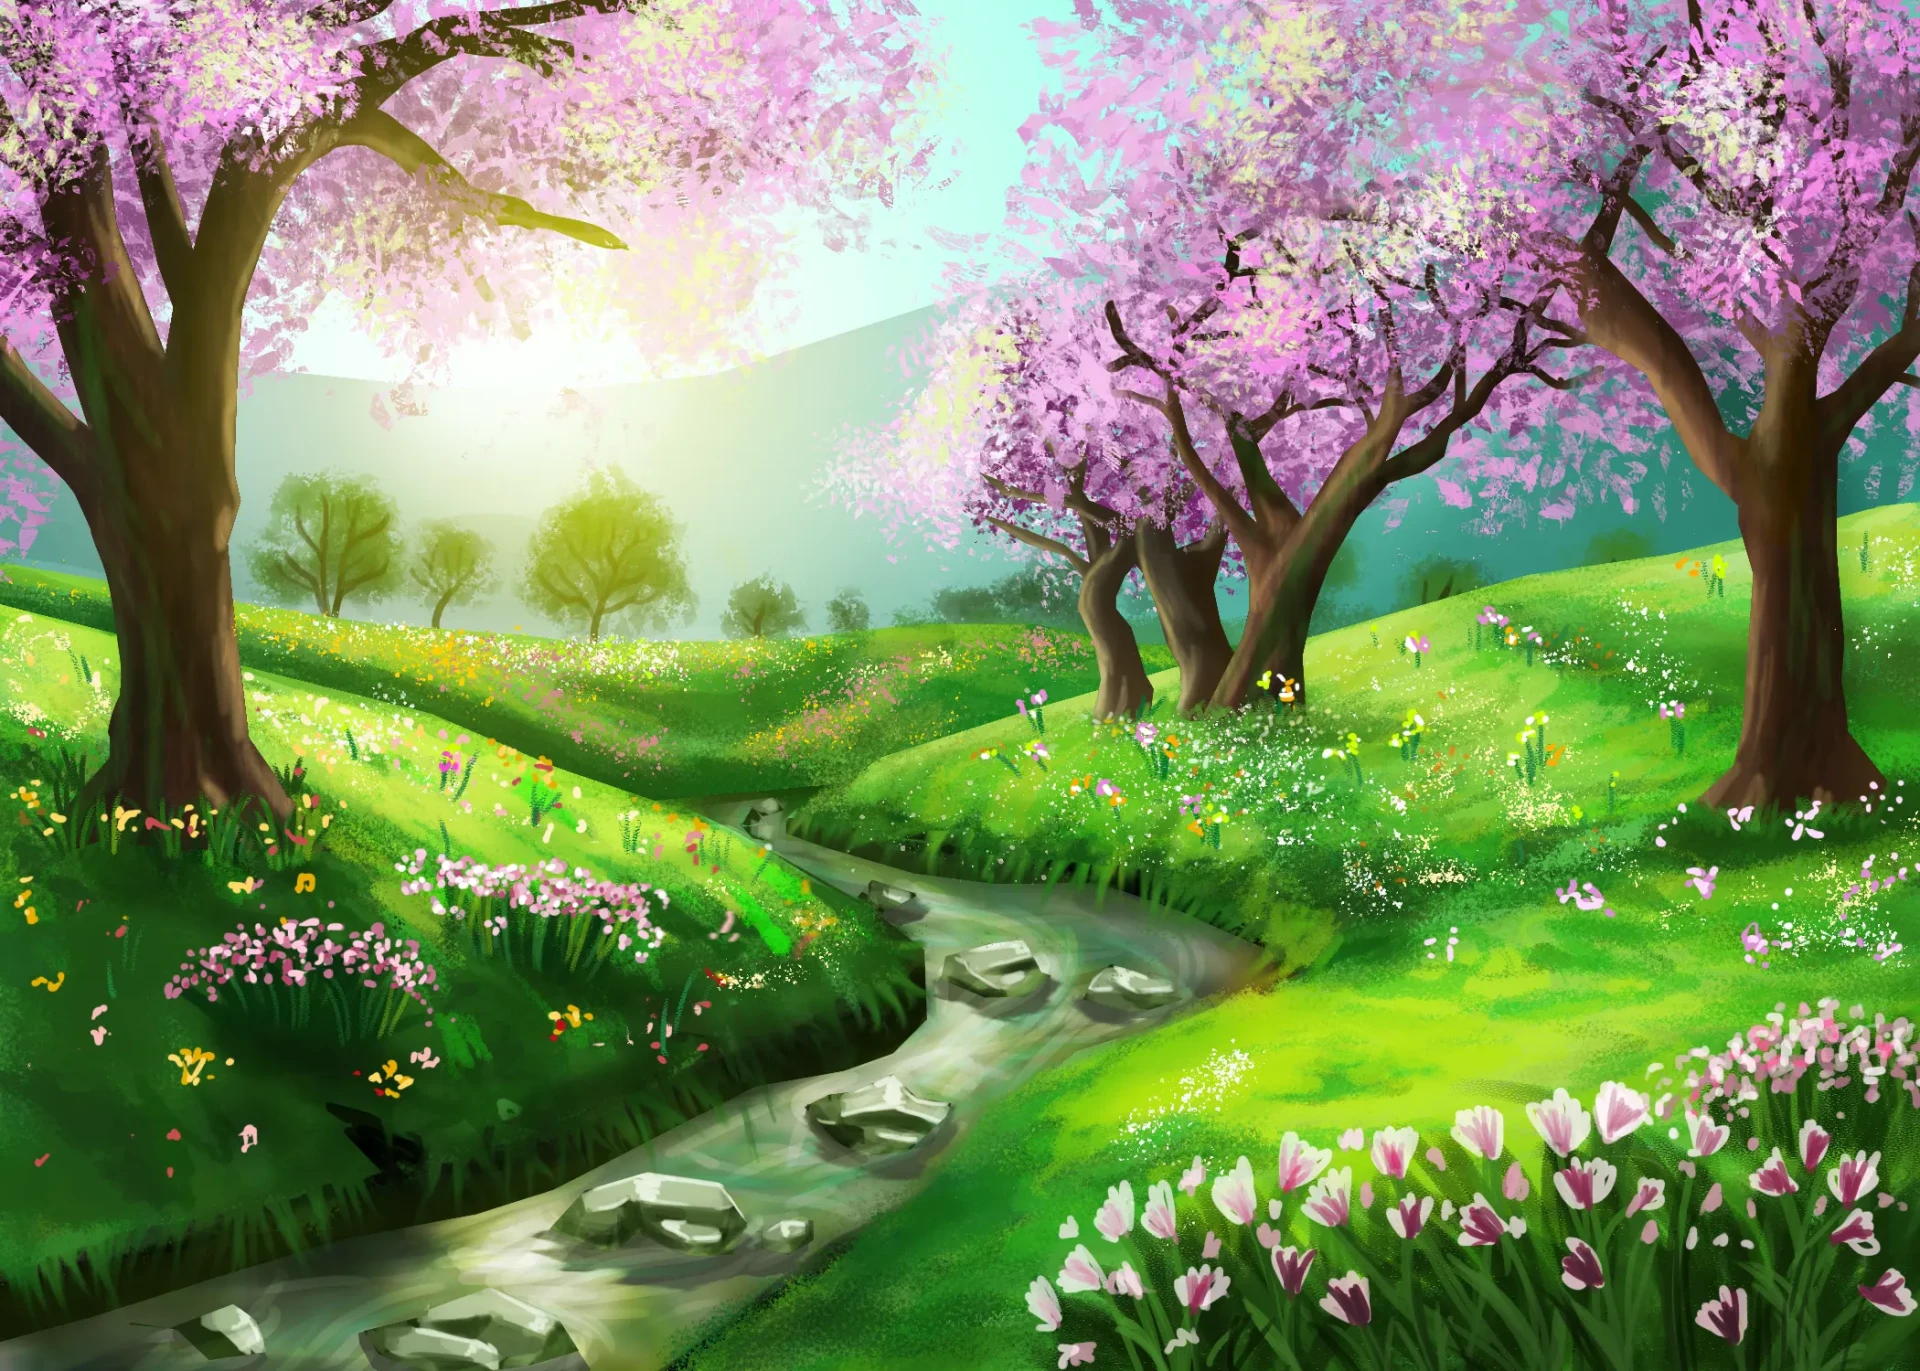
The elements of a spring landscape
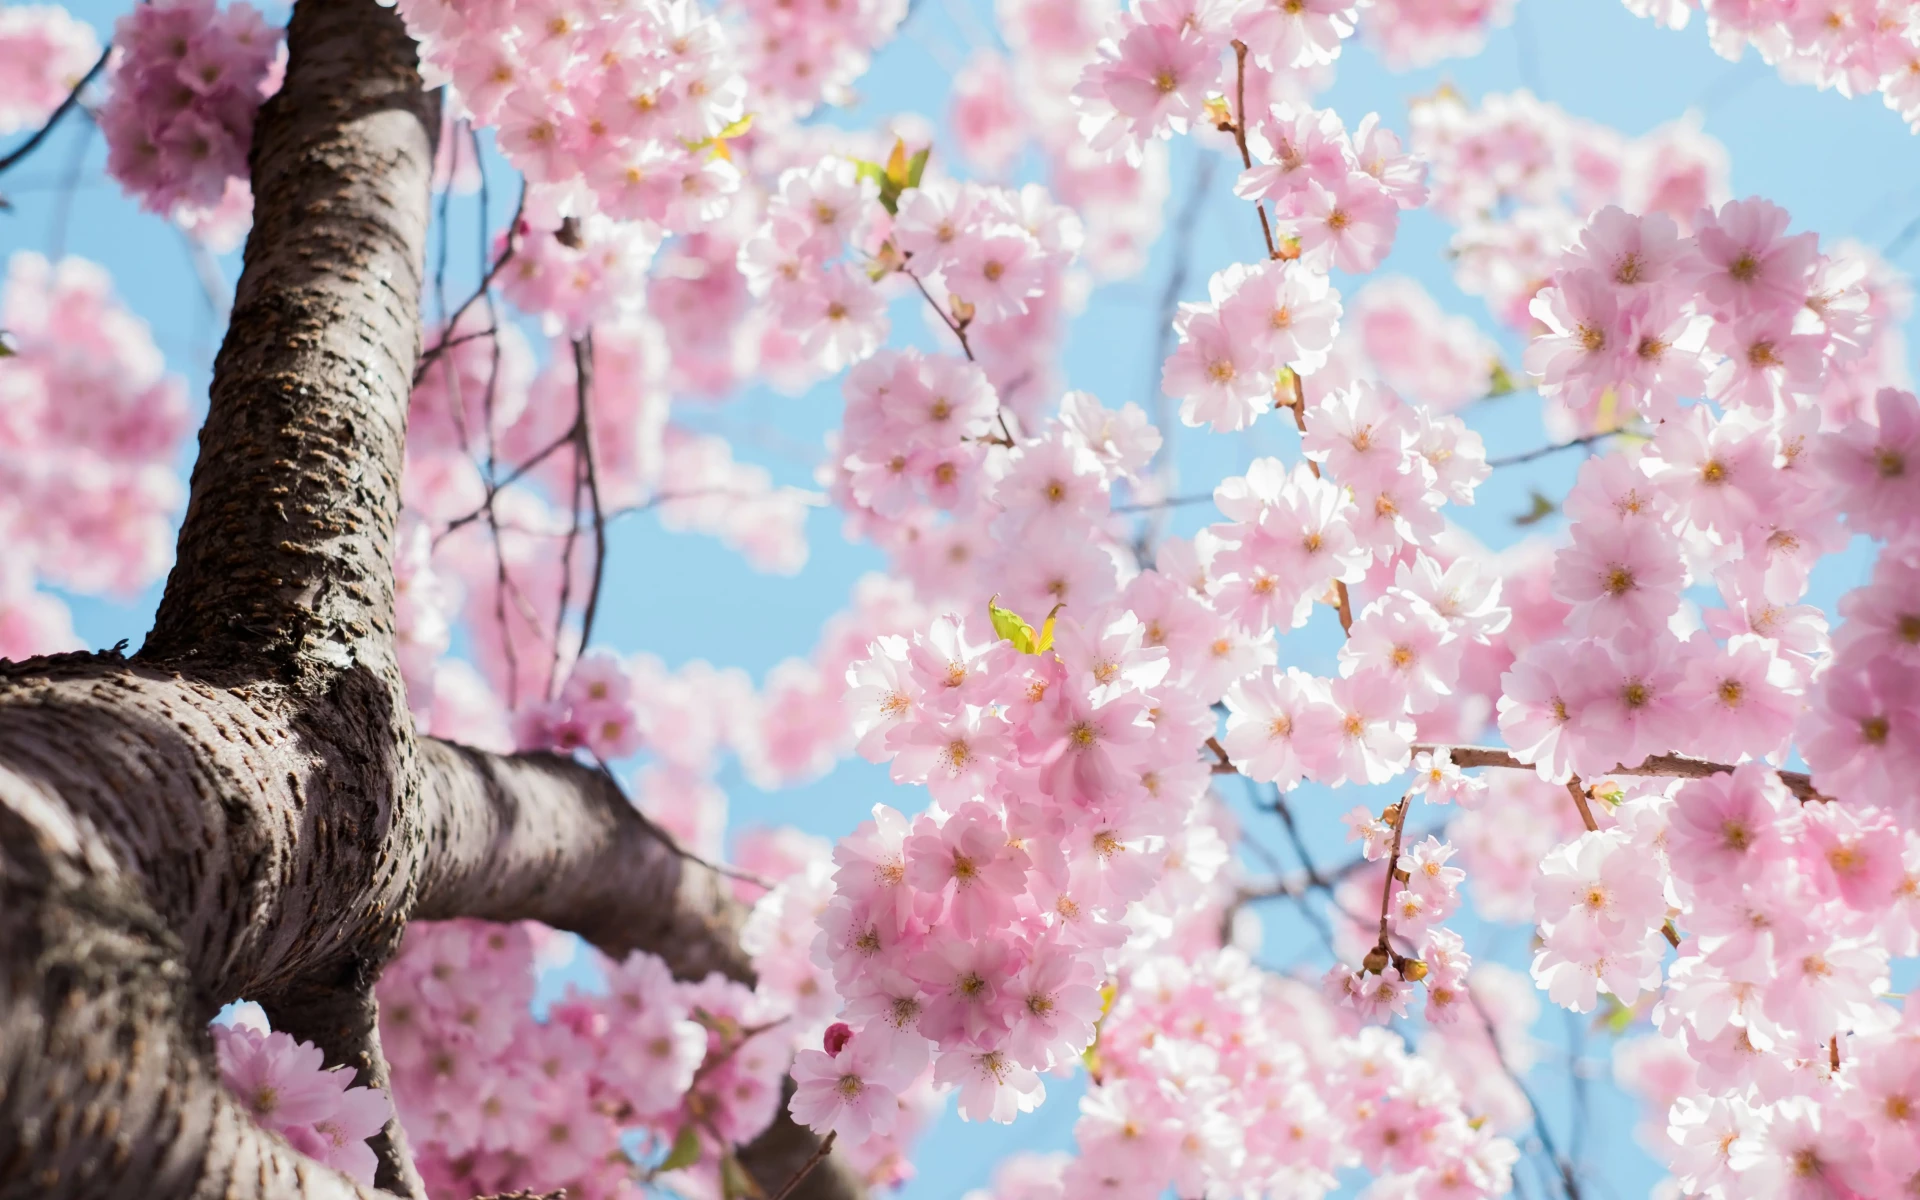
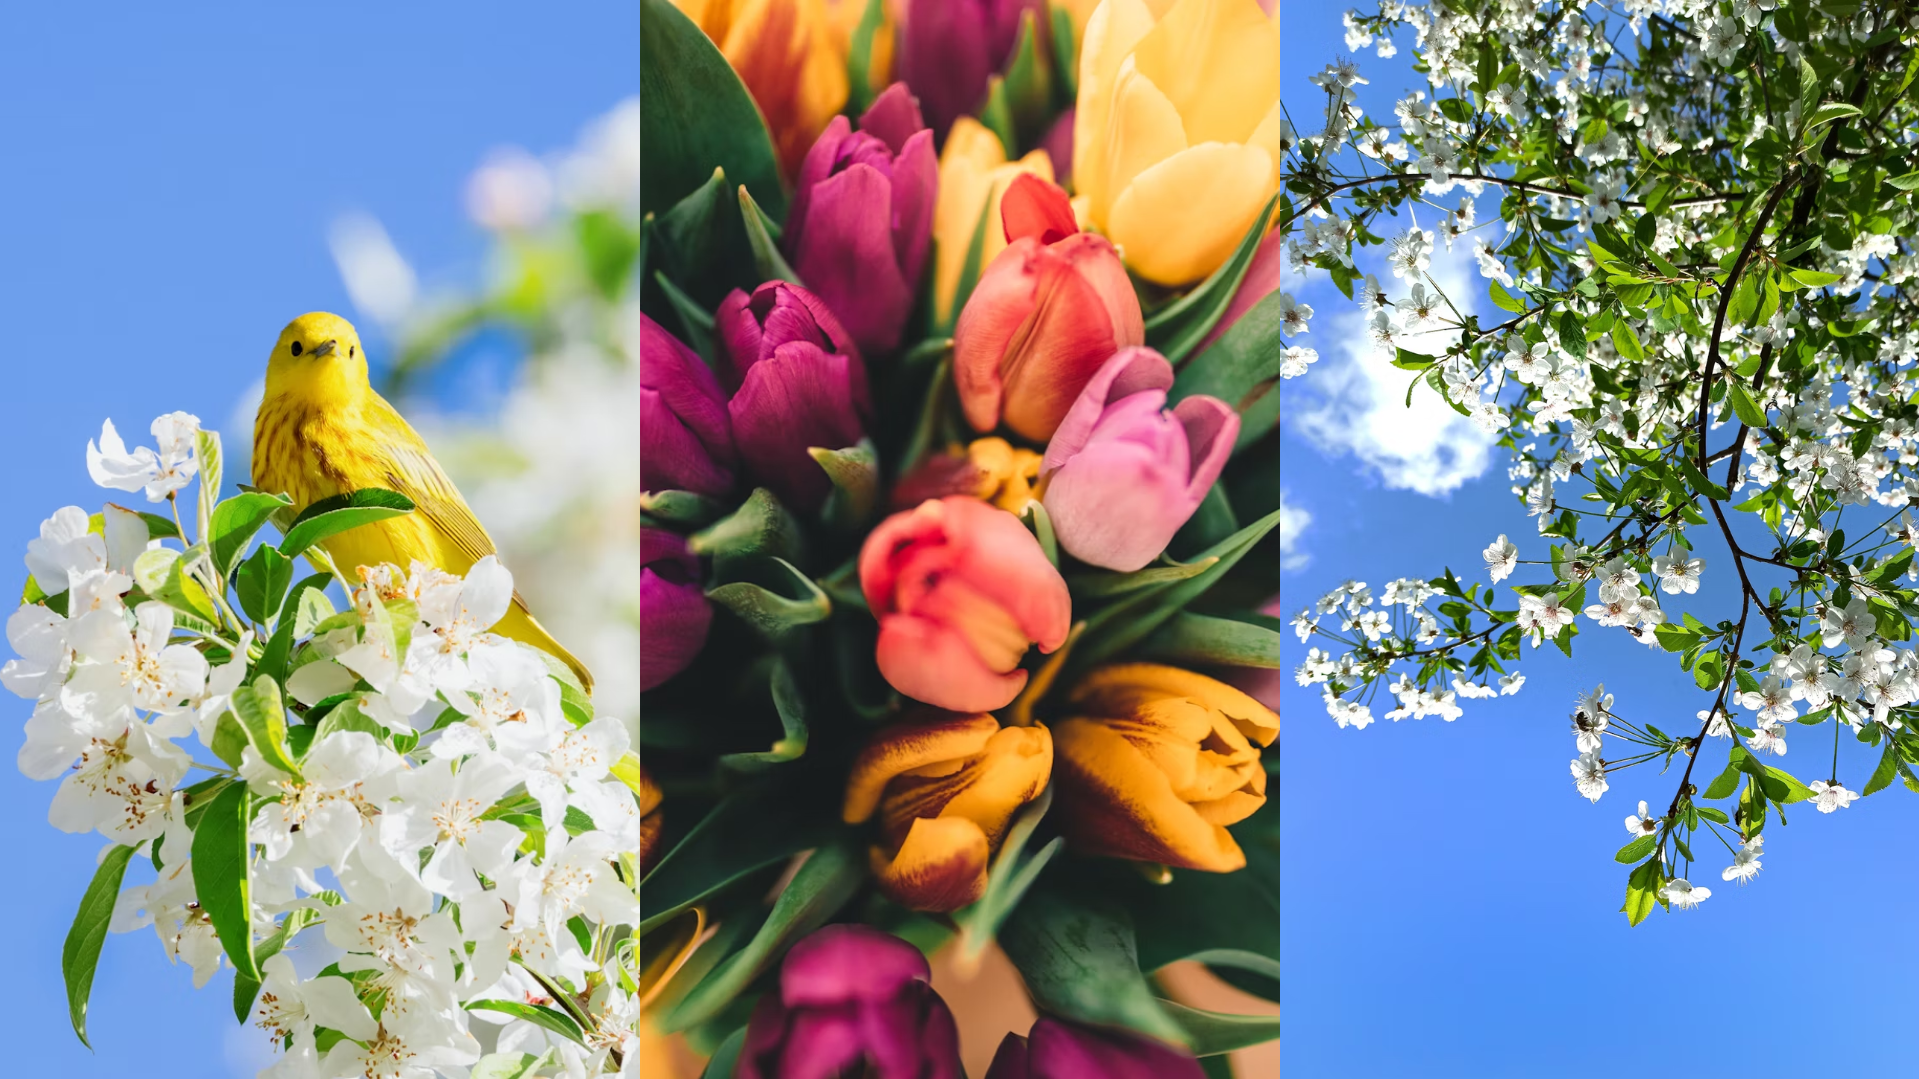
Before constructing our image, let’s consider the elements that will inhabit our scene and establish a list of essentials: flowers of varied colors, both in the trees and in the grass; majestic trees filled with brightly colored leaves; a light clear sky; and of course, fresh green meadows.
Furthermore, I believe that the most appropriate space to represent spring is a meadow or plain where we can clearly appreciate all these elements.
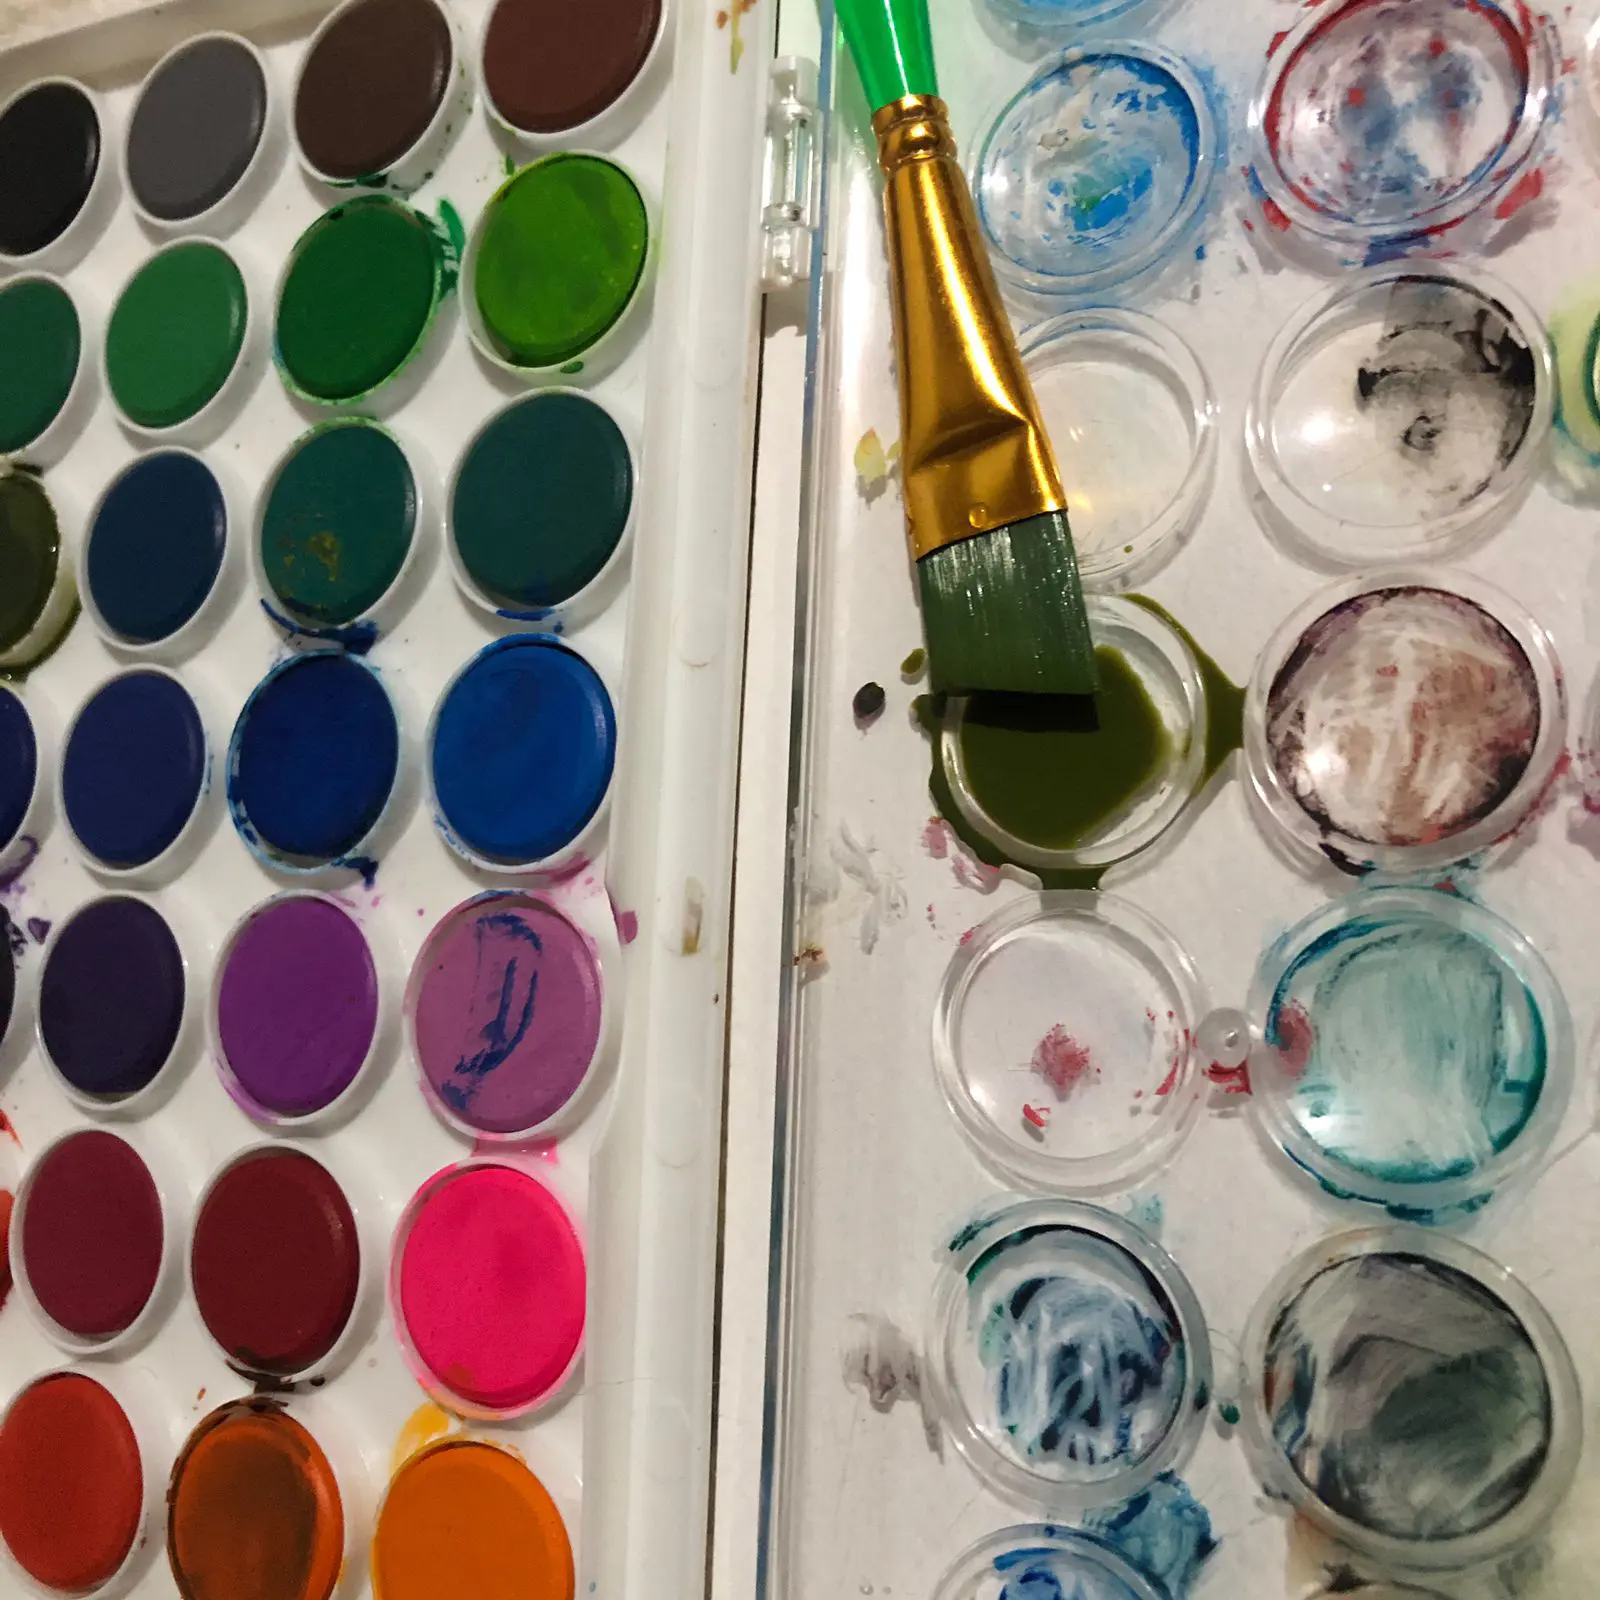
Prepare your equipment for watercolor painting
We know that watercolor is a paint that, once activated by adding water, becomes transparent, enabling the painting to be created in layers that elegantly overlap.
However, this presents a disadvantage: the brightest colors do not stand out on dark shades and thus lose their brilliance. To remedy this, for the areas intended to be painted with light colors, simply leave them white.

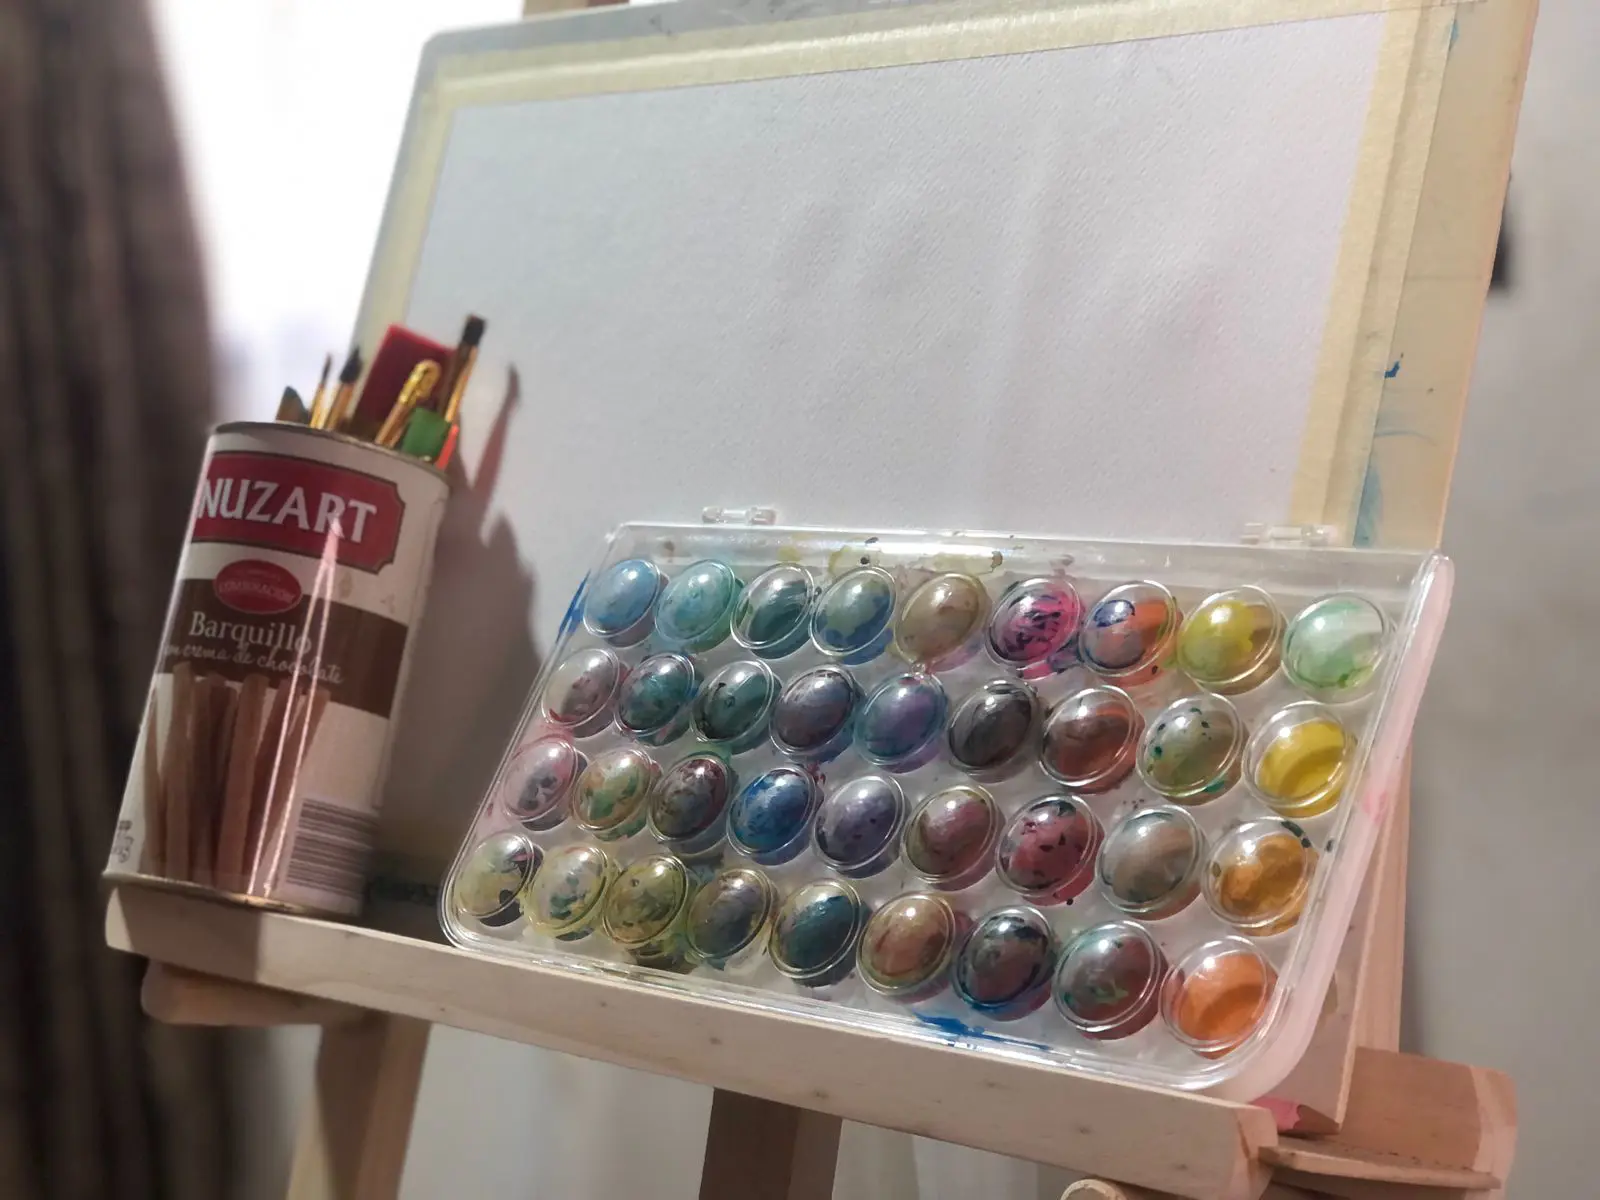
Before starting, make sure you have all the necessary materials. Here is a checklist to tick off:
- Brushes of various sizes and shapes.
- Watercolors in pans or tubes.
- A palette for mixing.
- Paper suitable for watercolor (weight of at least 250 g/m²).
- Tape to secure the paper on the edges.
- One or two water containers.
- Graphite pencil and kneaded eraser.
- A tissue, towel, or cloth to absorb excess water.
Paint a spring landscape step by step
It's not just about the base. Remember what we mentioned about dark and light colors in watercolor. Knowing where each element is and the space it occupies enables us to determine the areas not to paint, in order to preserve the purity of the colors.
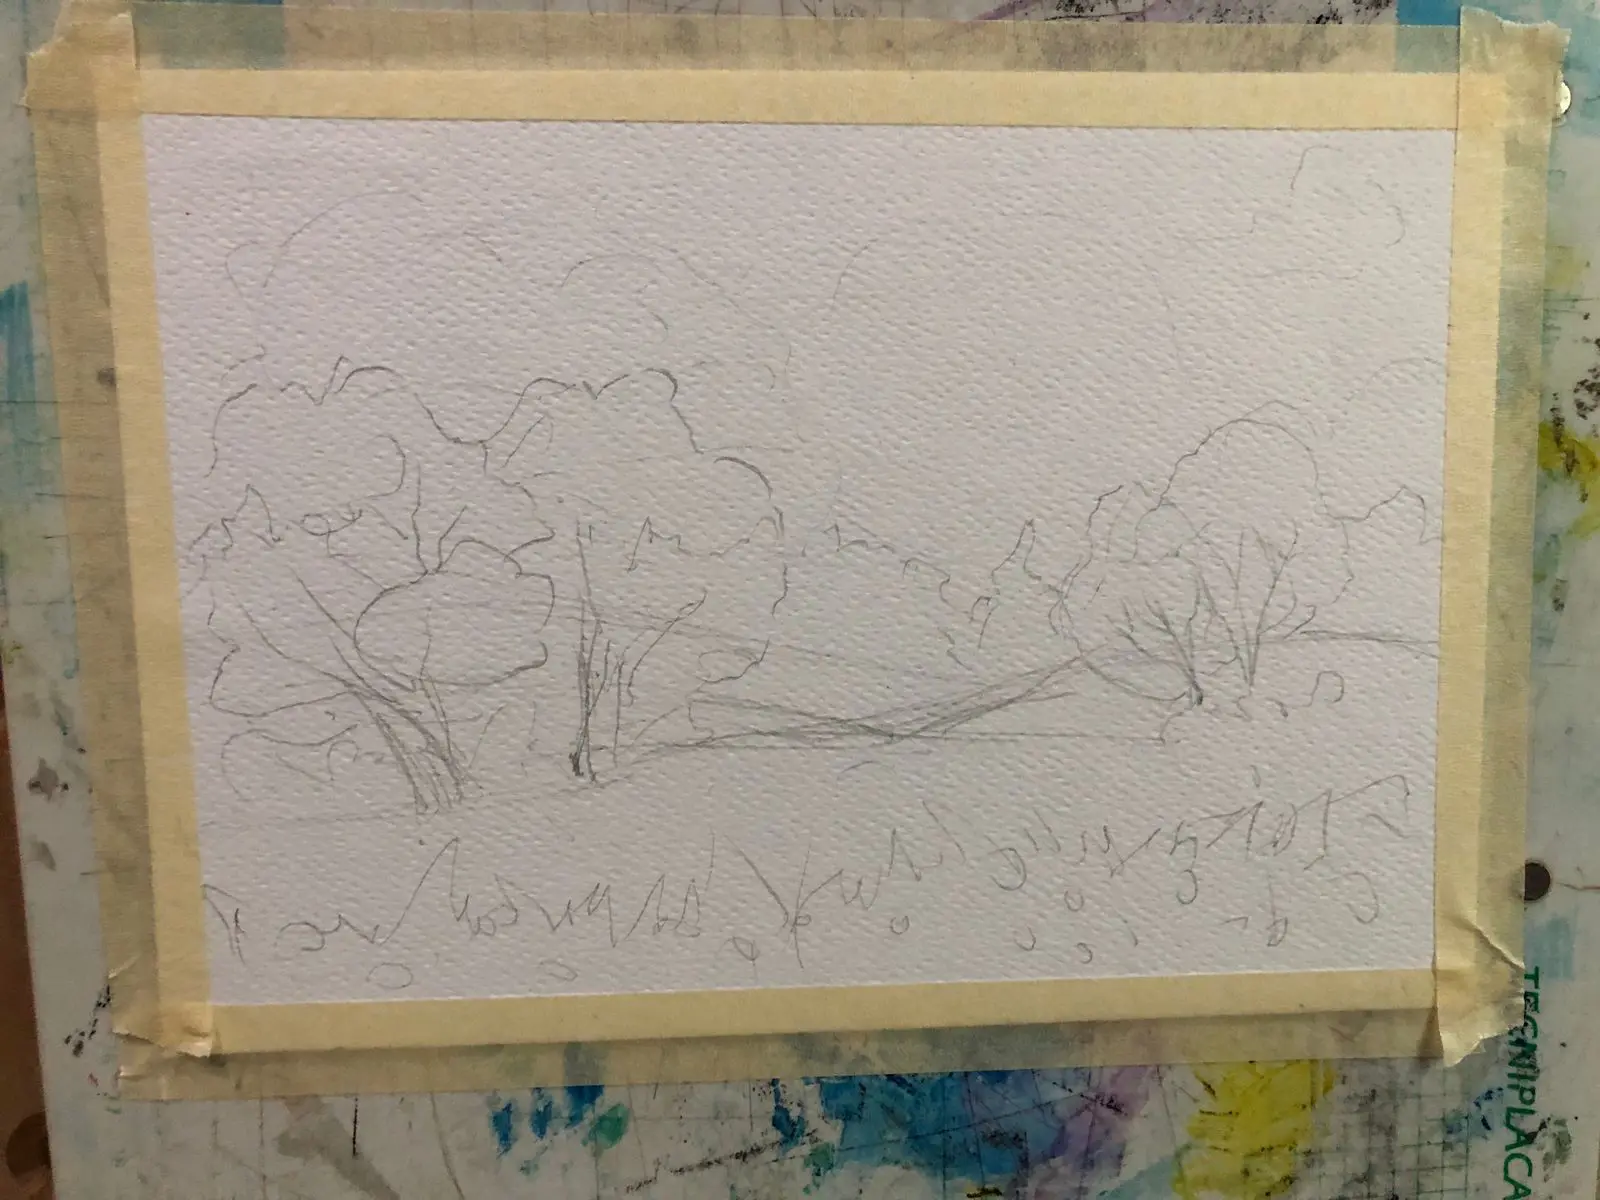
Prepare a mixture of water and paint, making sure it is not too concentrated in pigment. Then take a brush and start painting the basic surfaces of the drawing, such as the sky or the ground. Working in this way enables you to quickly and evenly cover areas while saving you unnecessary effort.
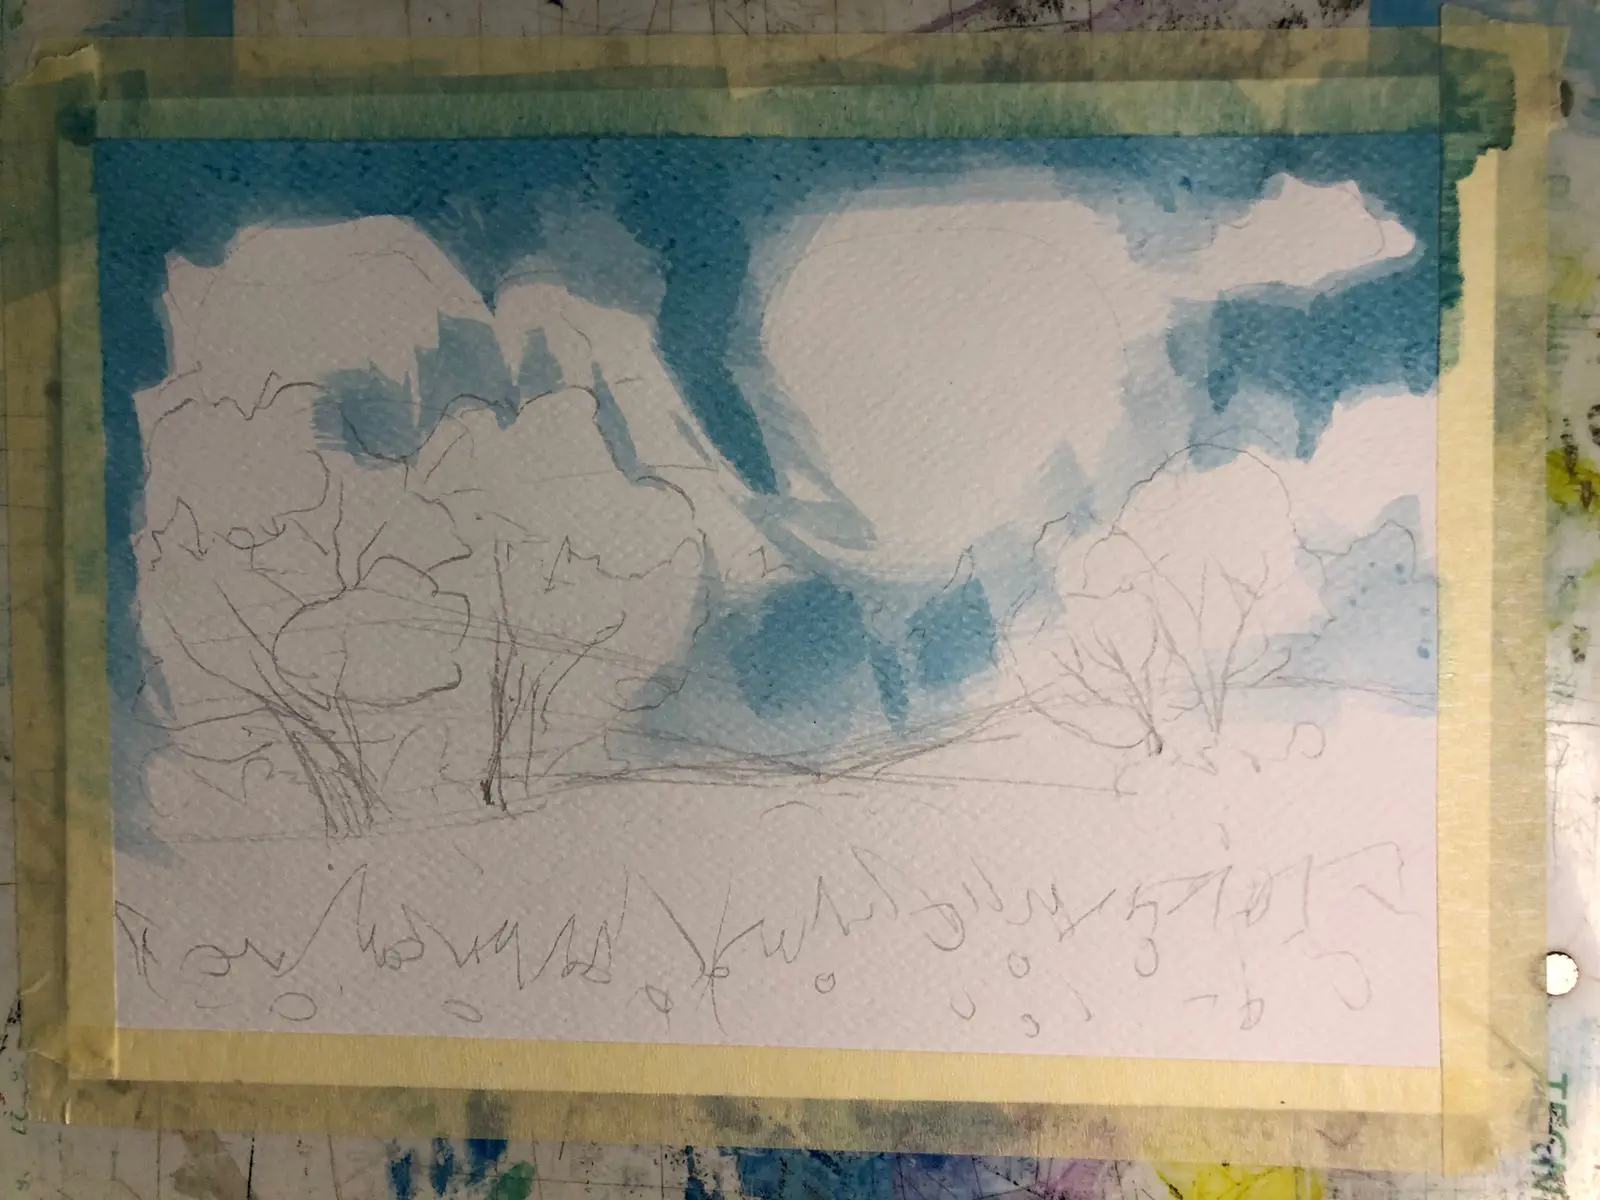
Paint the sky of a spring landscape
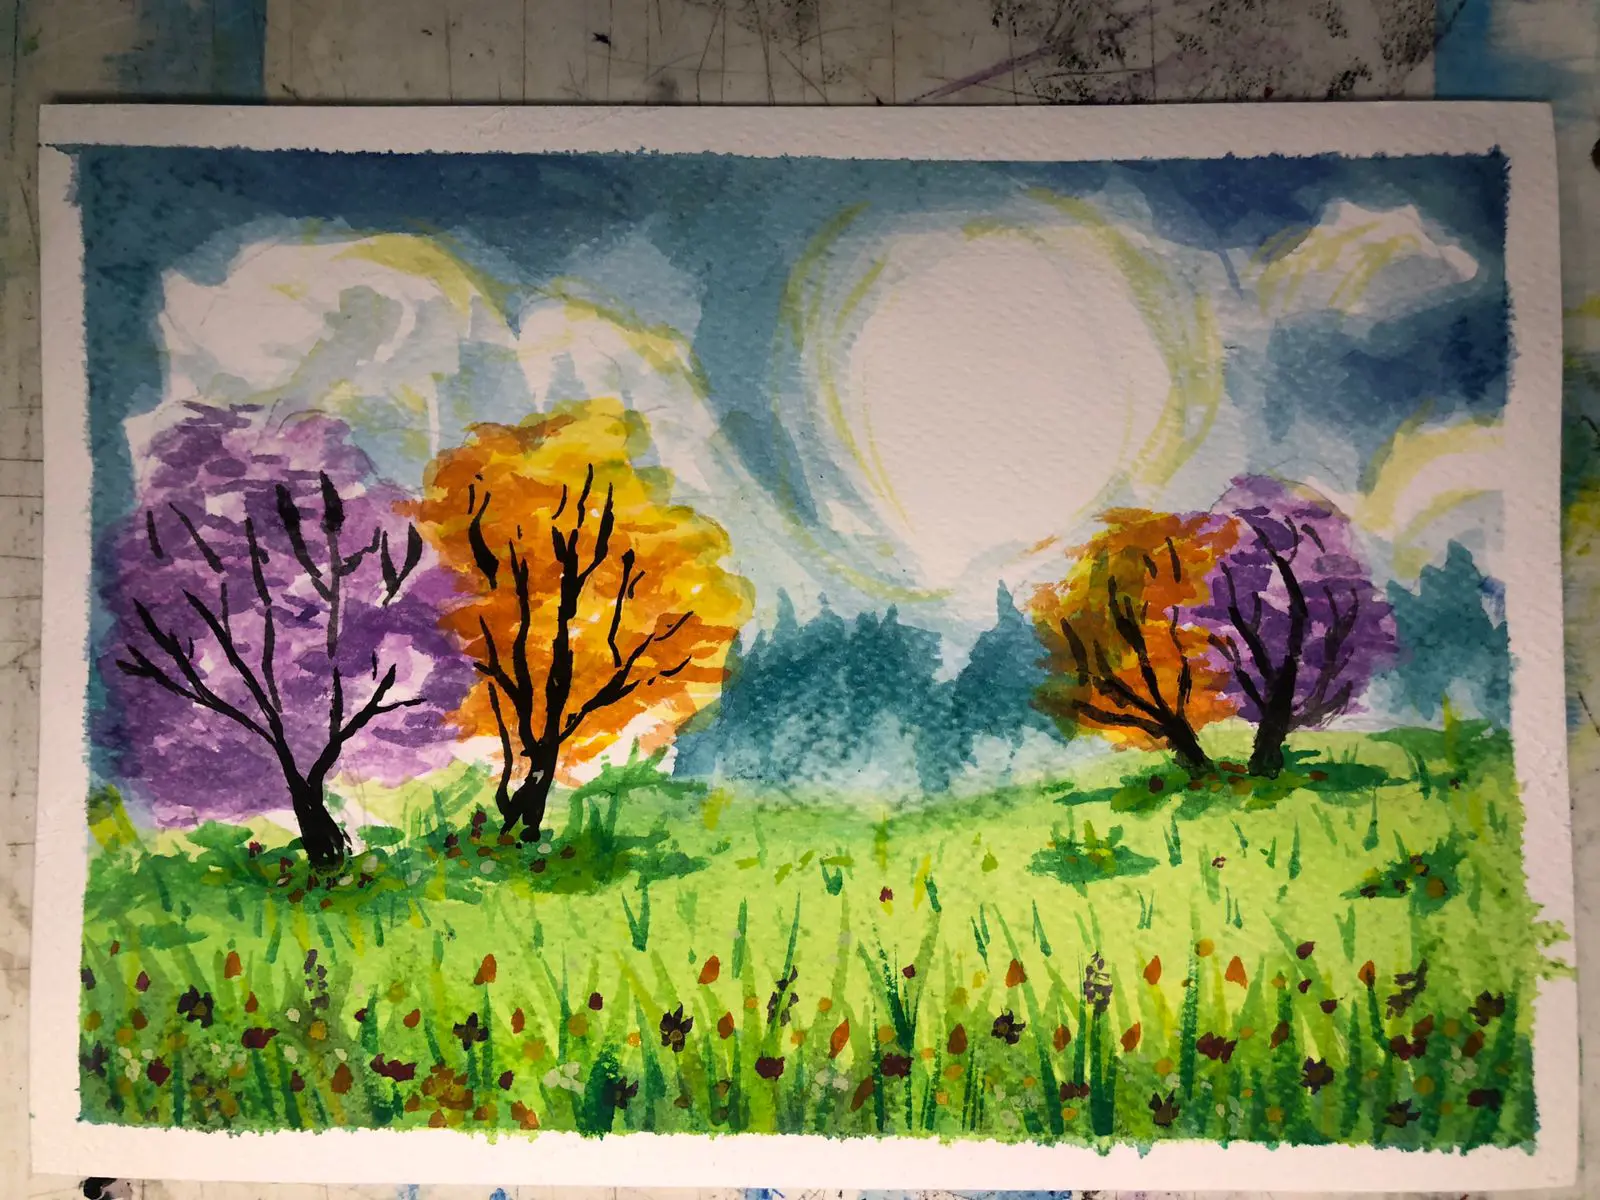
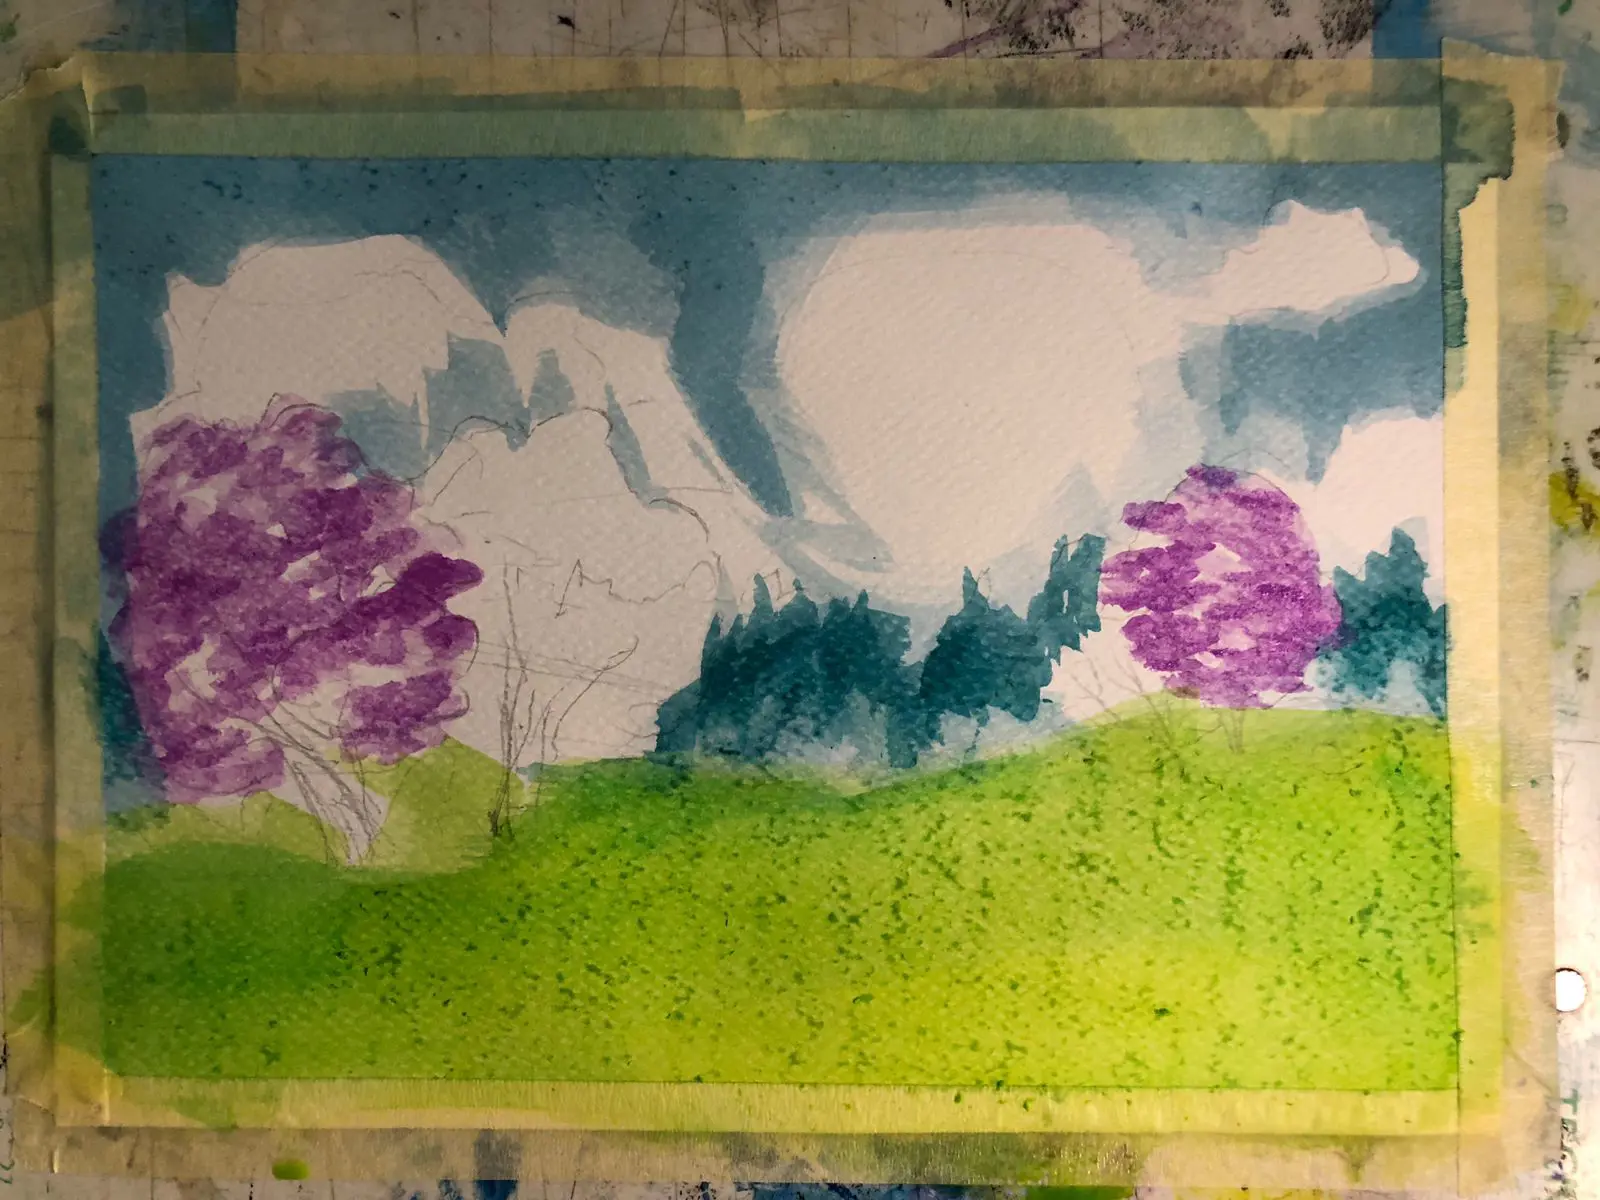
With a first layer of a mid-tone blue, start covering the area reserved for the sky. Observe the position of the clouds, the sun, and the trees, and avoid painting within these areas.
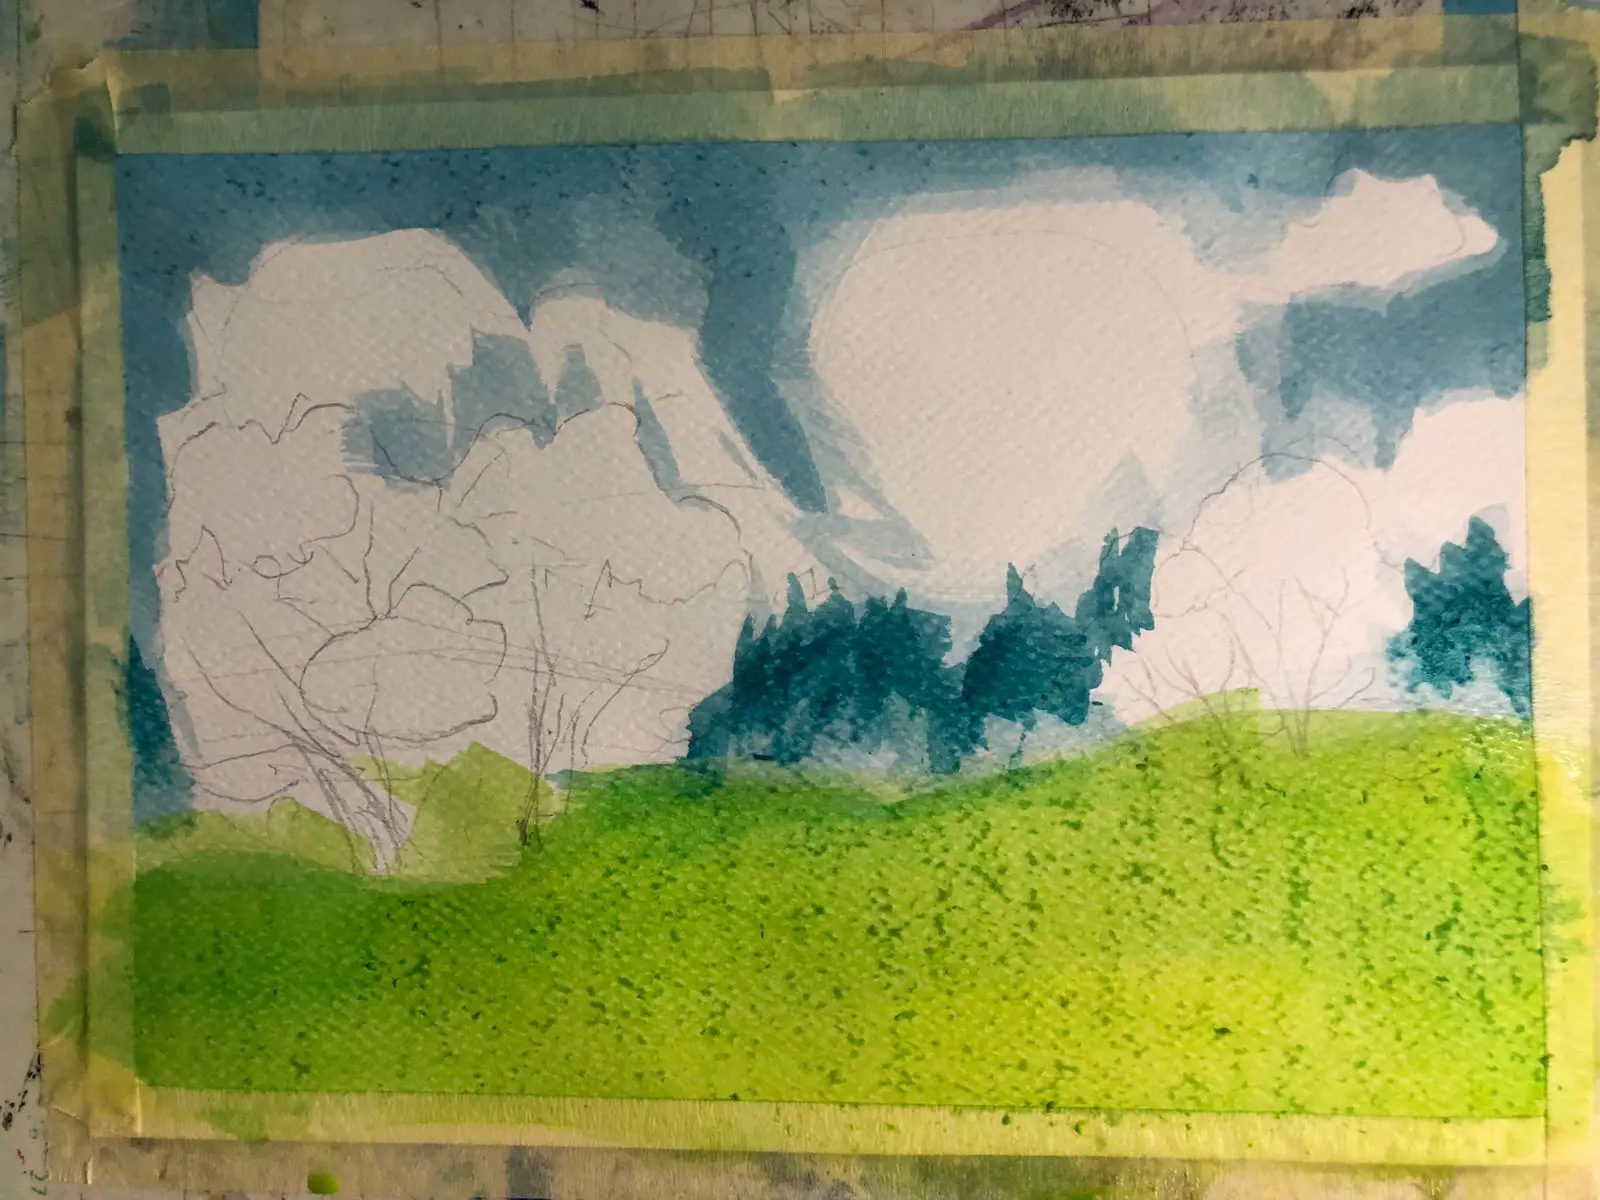
Create a first layer with washes of green in different shades. You can add other hues to make the colors richer.
For the background, paint a distant forest. Use a color between the blue of the sky and the green of the ground. Paint splotches suggesting tree silhouettes without going into detail.

We move on from washes and start building textures and precise elements. Use short brush strokes and vary the load of pigment and water to achieve different tones.
Add trees to the landscape
Start by loading pigment onto your wet brush and add a few touches of color on different areas of the trees. Wet it again to get a lighter version of the color. Repeat this process once more and finish the trees.
Now take some orange and repeat the process. If you wish, you can add a little yellow. Since these are complementary colors, they will make the two trees stand out from each other.
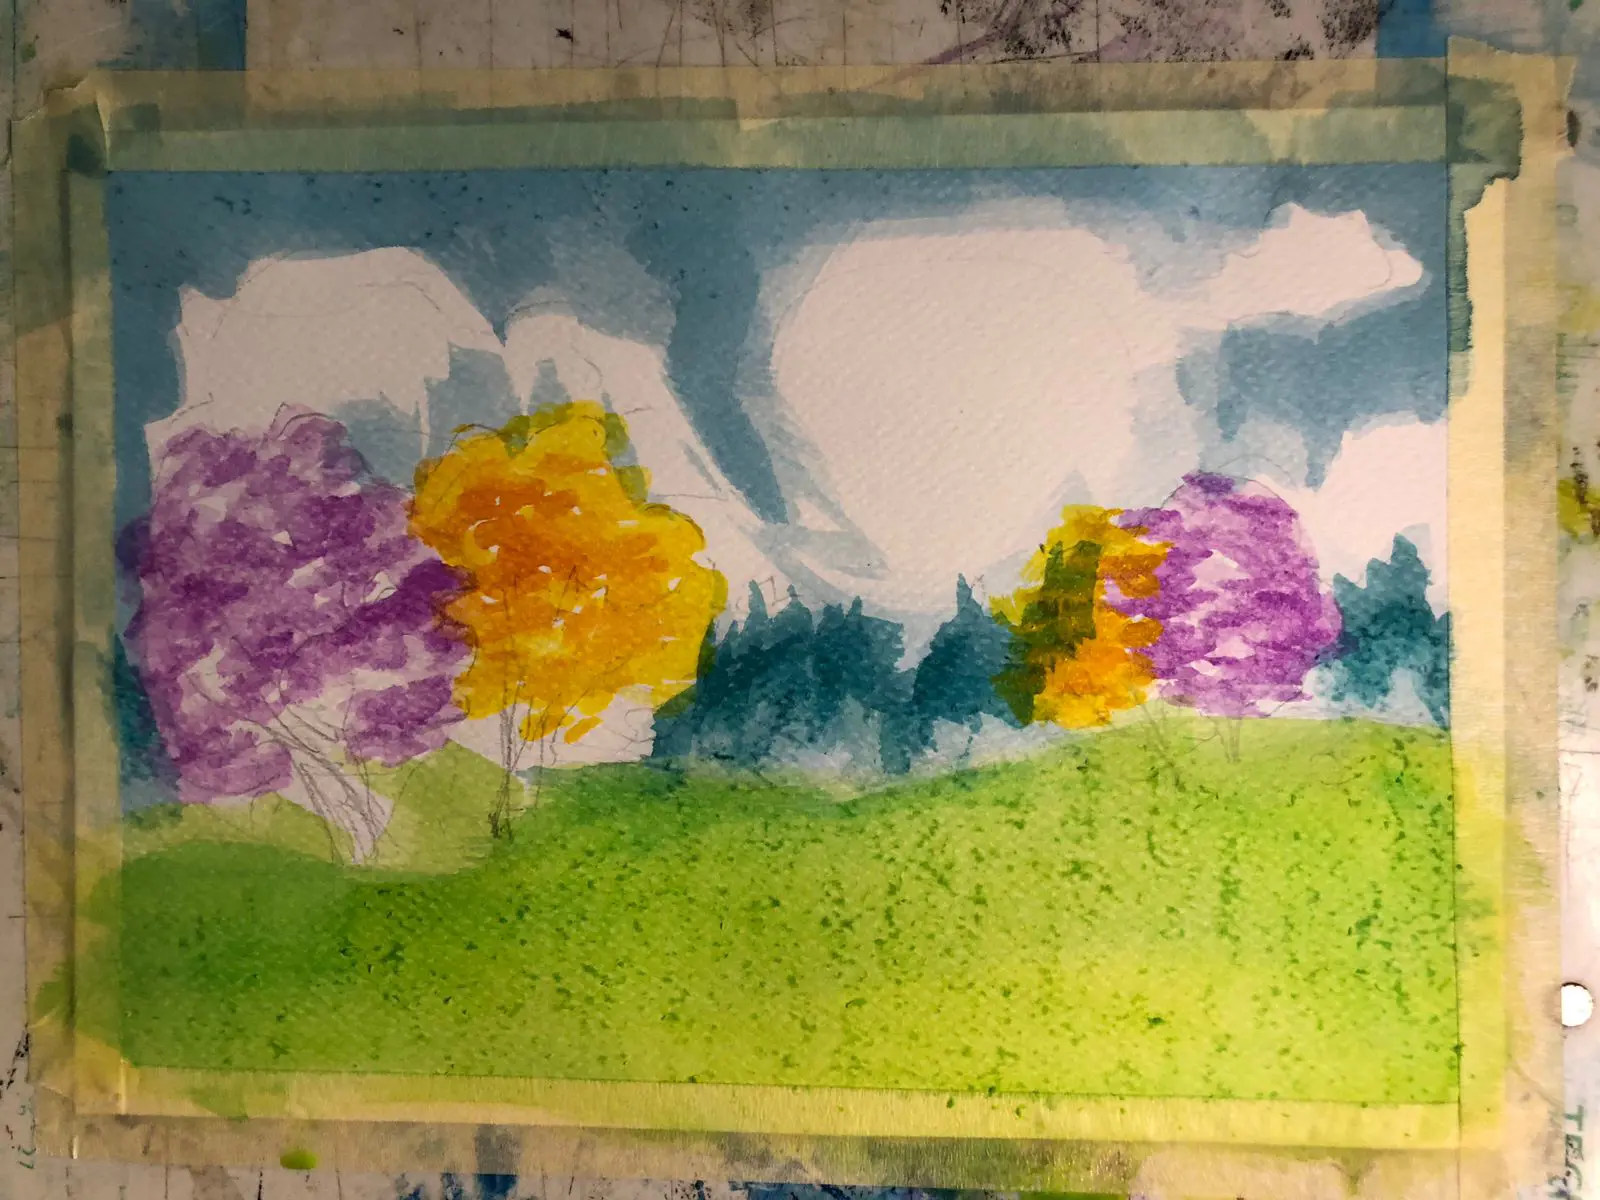
We will now paint some small bushes and long blades of grass. For the bushes, use the same technique as for the trees. For the grass, take a slightly darker green and make elongated strokes using the shape of the brush, then lift it quickly, like a whip, to finish each stroke.

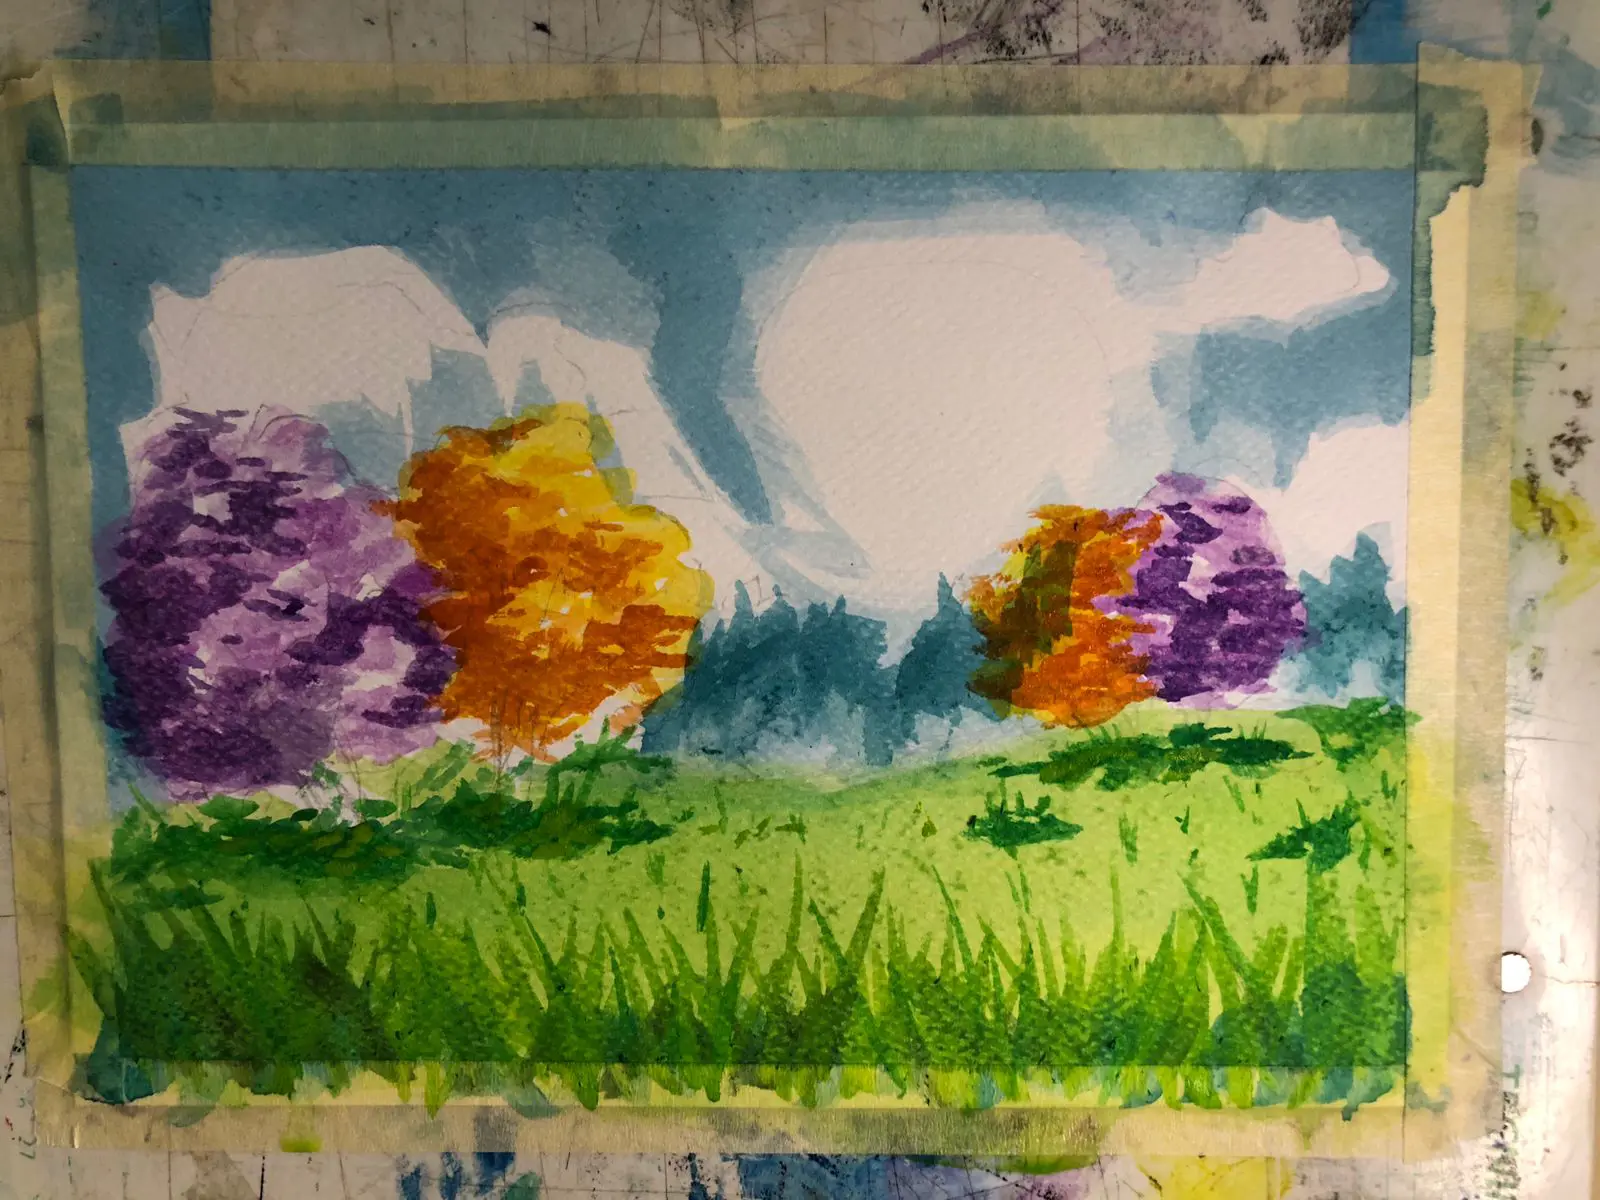
Wait for the first layer to dry and start again with a brighter green or the same with a touch of yellow.
Use the technique of short strokes again, this time with a slightly darker color, in the trees and the sky. This will add visual weight to the most important areas.
Add shadows to the painting
Dip your brush, add a little pigment, then dip it again. You will get a very transparent tone, perfect for painting bluish shadows in the clouds or reflections near the sun.
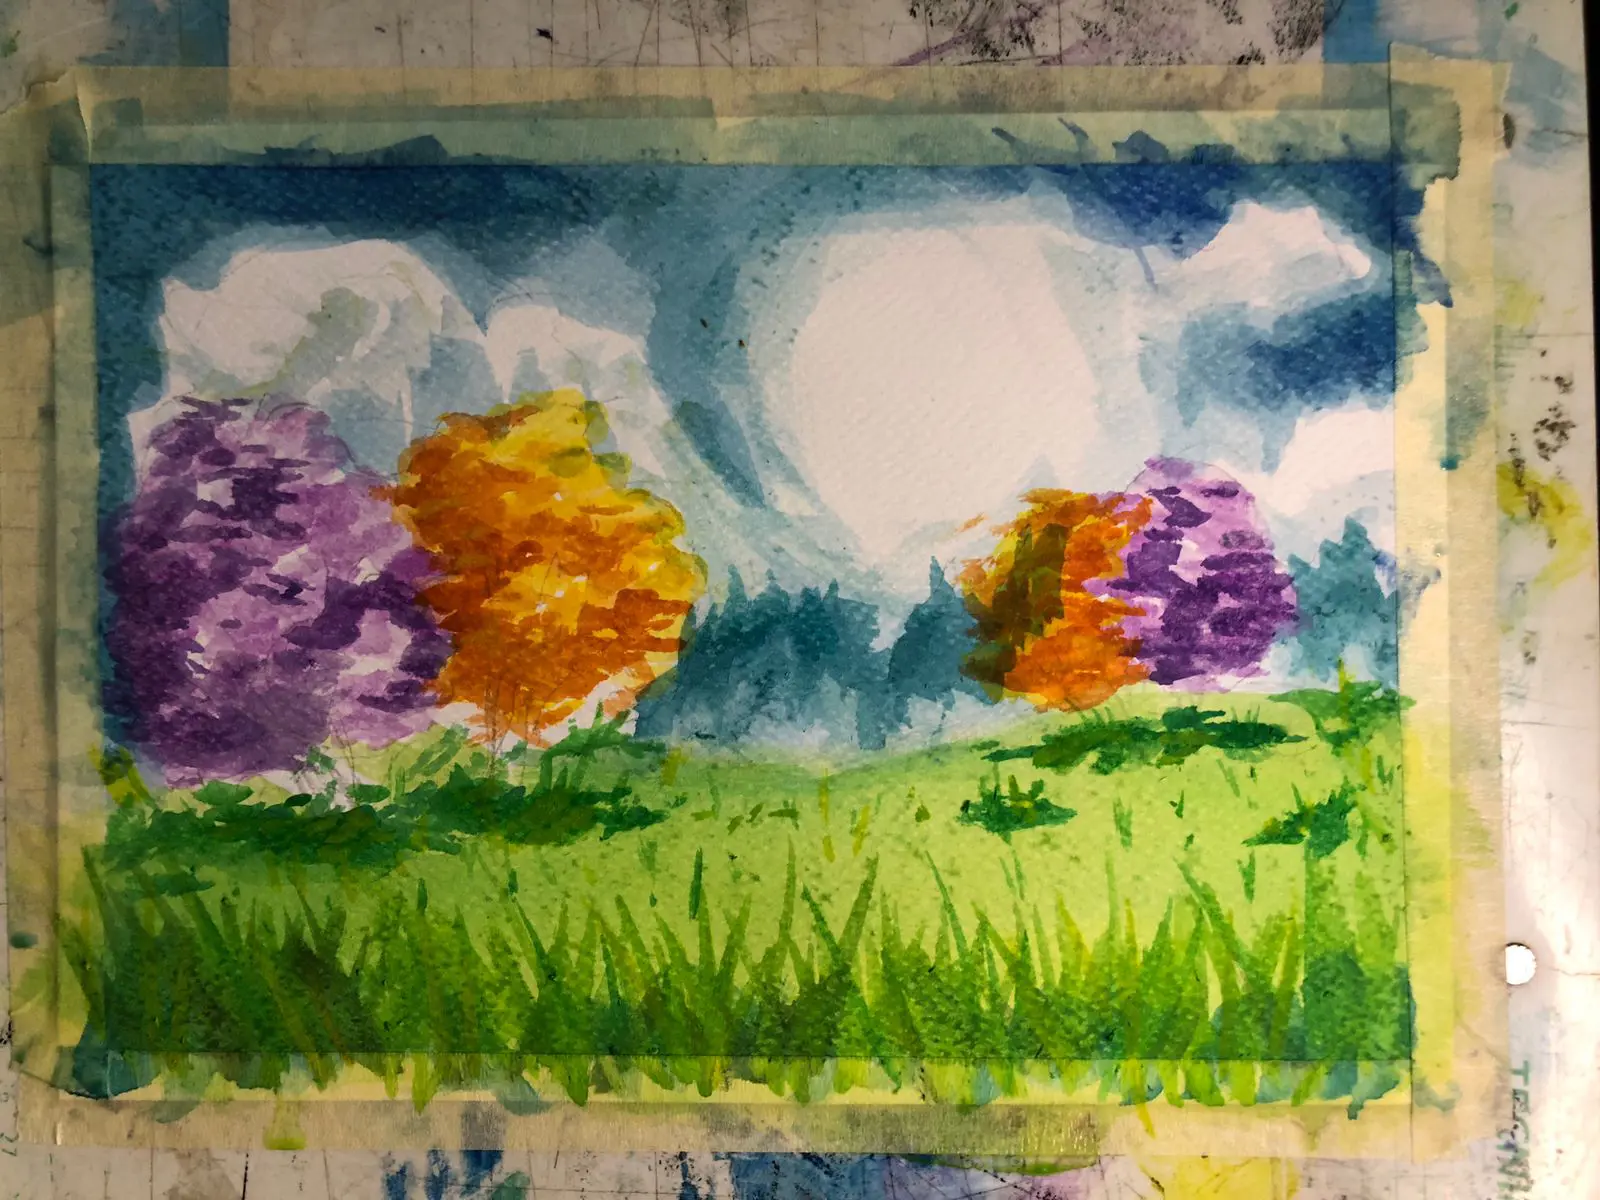
Now do the opposite: load your brush with a concentrated dark brown. This thicker ink will be used to paint the tree trunks and flowers scattered in the tall grass.
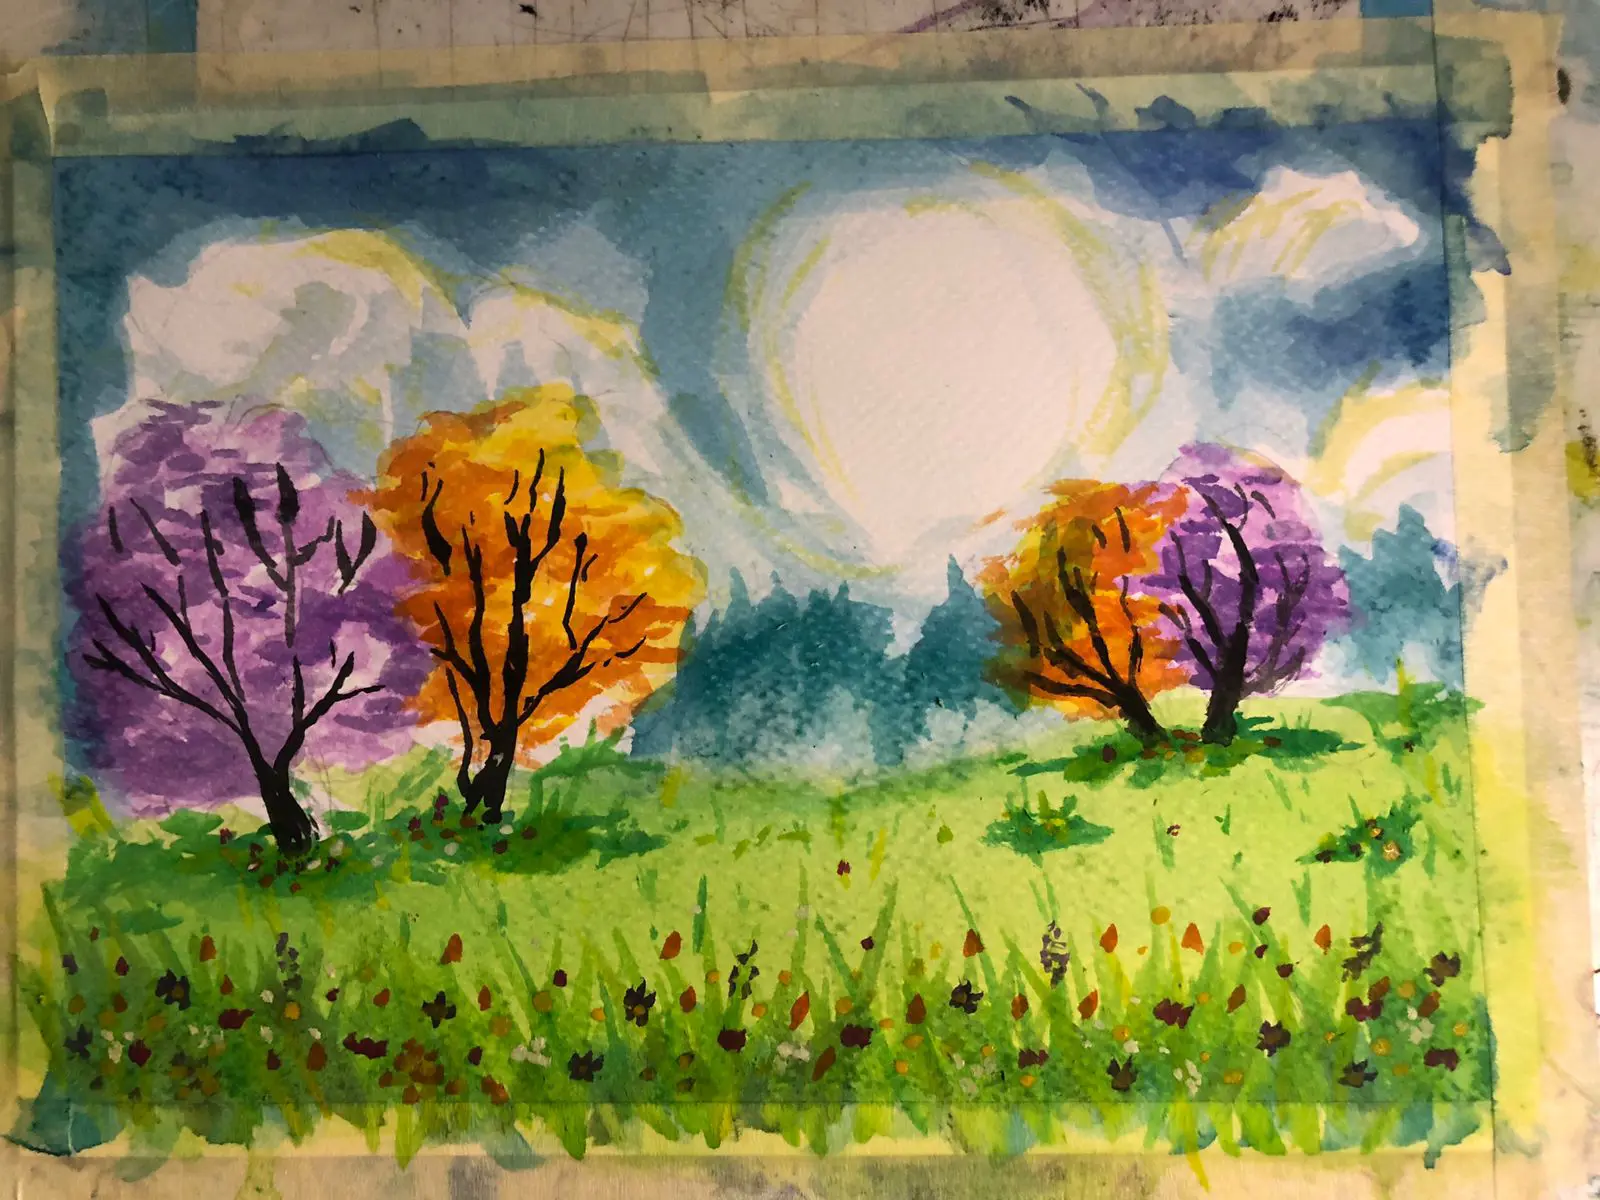
Carefully remove the adhesive tape, always pulling outward, and admire the result.

Here is a simple spring landscape, made with watercolor. I hope you had fun creating it, and that you will have another go soon.
Discussion
Interesting 😃! I really like these step-by-step lessons: they reveal tips and secrets. Later, drawing compositions may change but the secrets remain. Thanks for everything.
It would be nice to have a step-by-step video.
It would be nice to have a step-by-step video.
It would be nice to have the step-by-step in video.
I love step-by-step tutorials; they're a great way to acquire technique and learn tricks.
thank you ++++
It's very interesting. I'm starting watercolor and I already love it. It looks easy but it requires a lot of practice.
What size is the watercolor paper used? Video tutorial would be appreciated! Thank you!