How to Paint a Watercolor Portrait
This tutorial focuses on creating a watercolor portrait, with a technical approach characterized by controlled brush strokes, using the white of the paper, and minimal layers of pigment.
The goal is to create a small portrait, prioritizing water control, proportion accuracy, and tonal planning to ensure a realistic representation.
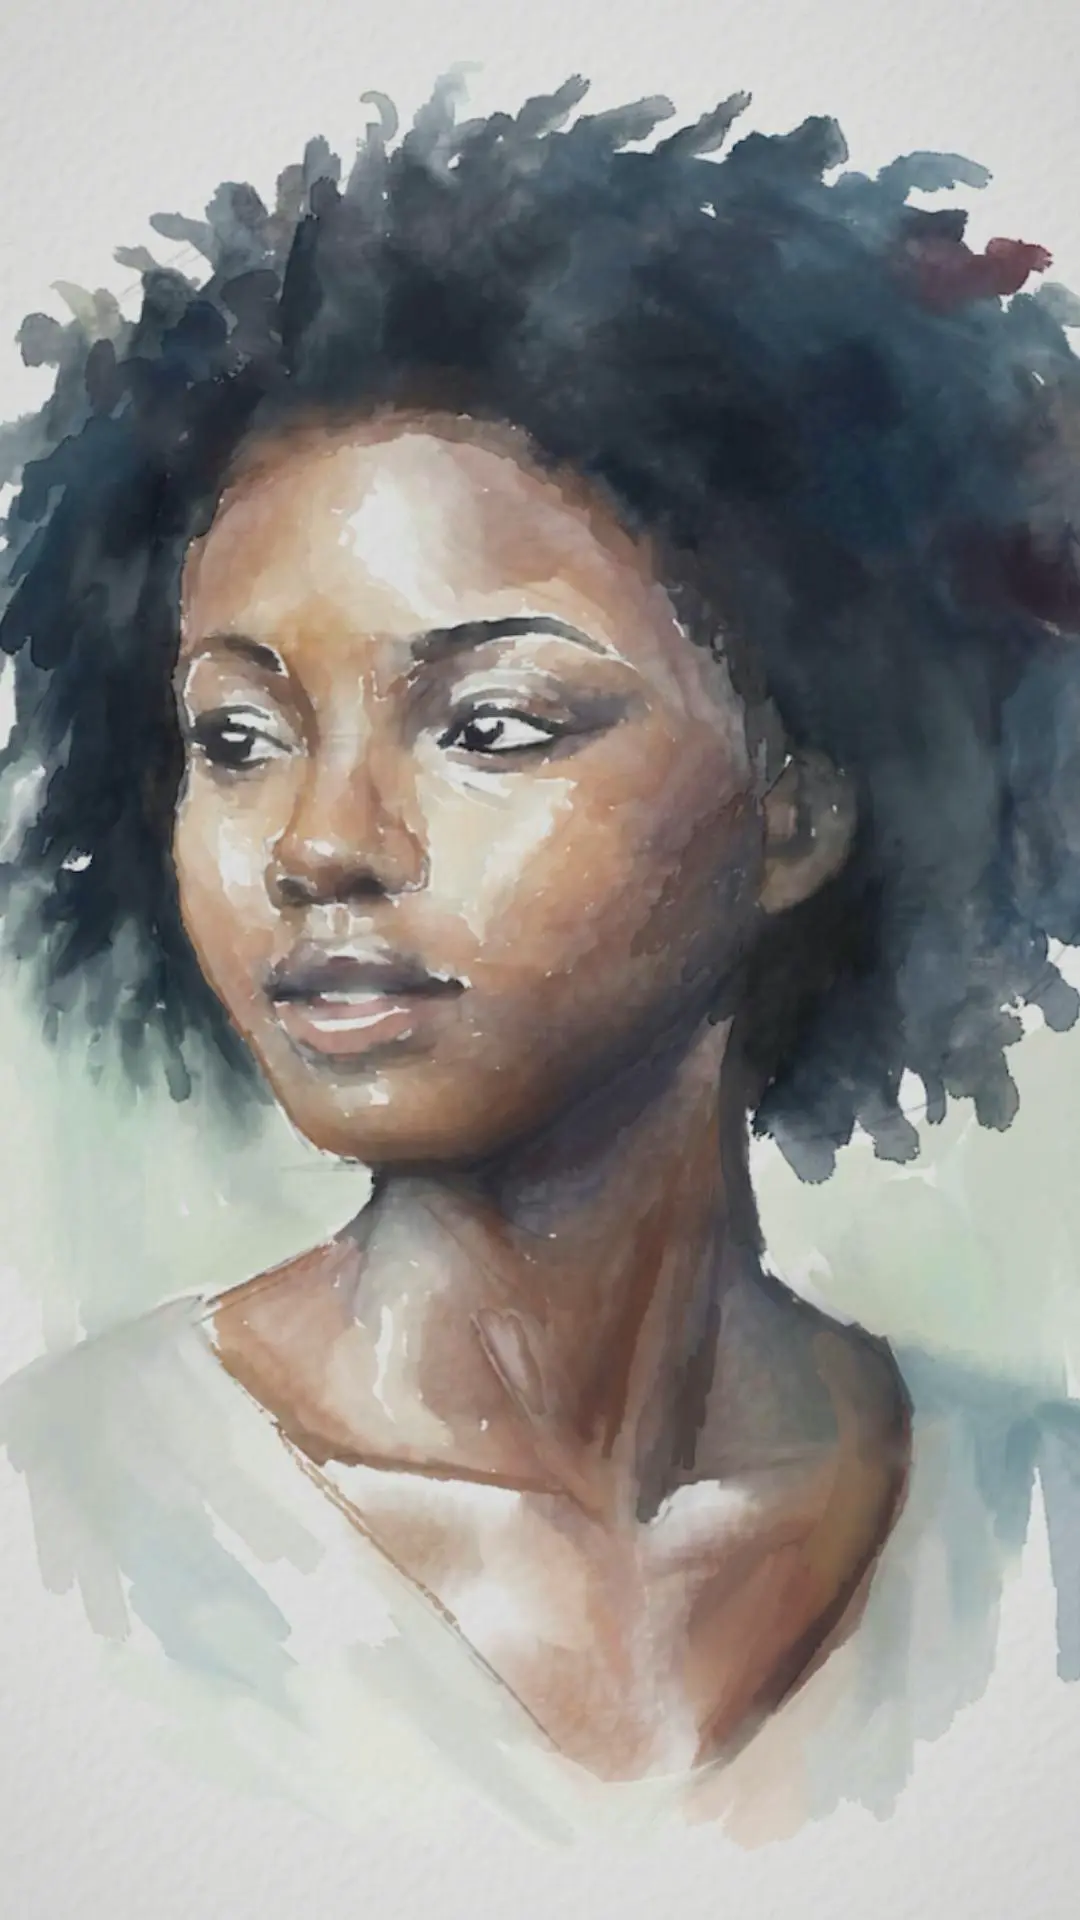
The final work presents a female face, created using warm values and a gradual application of shading, mid-tones, and reserved highlights.
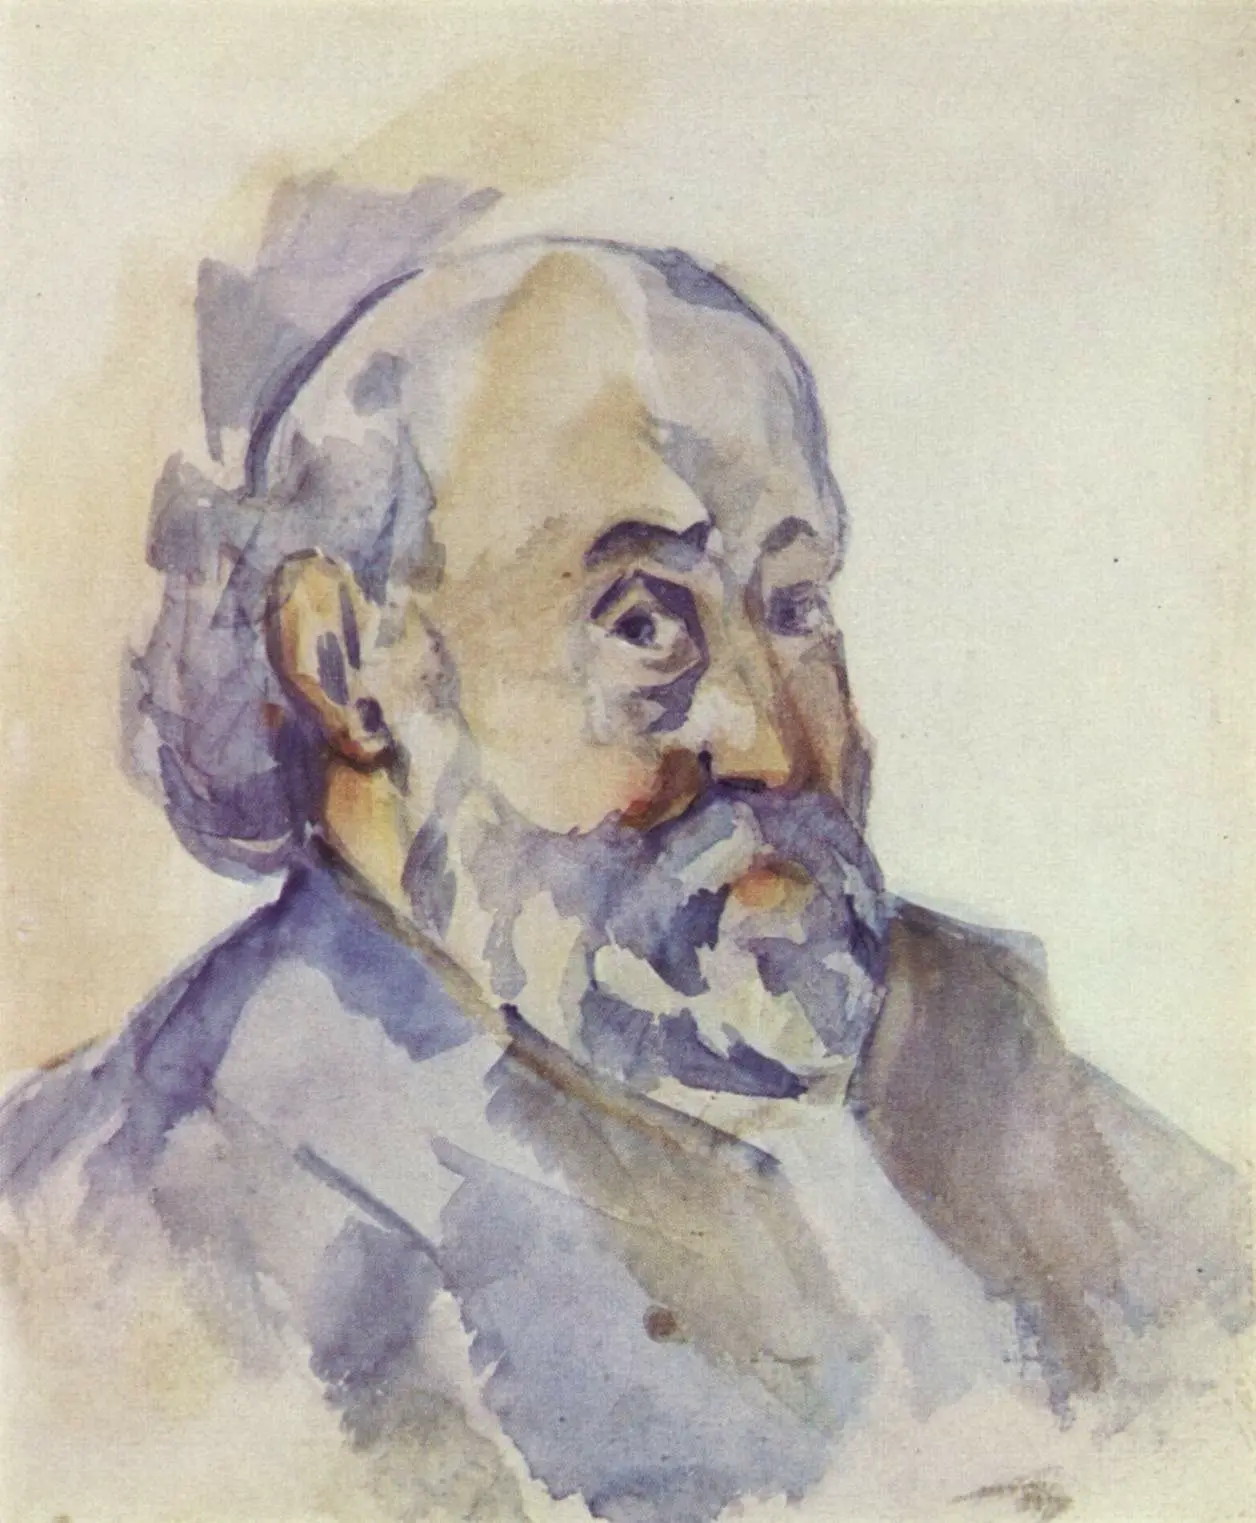
Paul Cézanne, "Self-portrait" (1895).
This painting is useful for studying the simplification of facial planes through controlled washes.
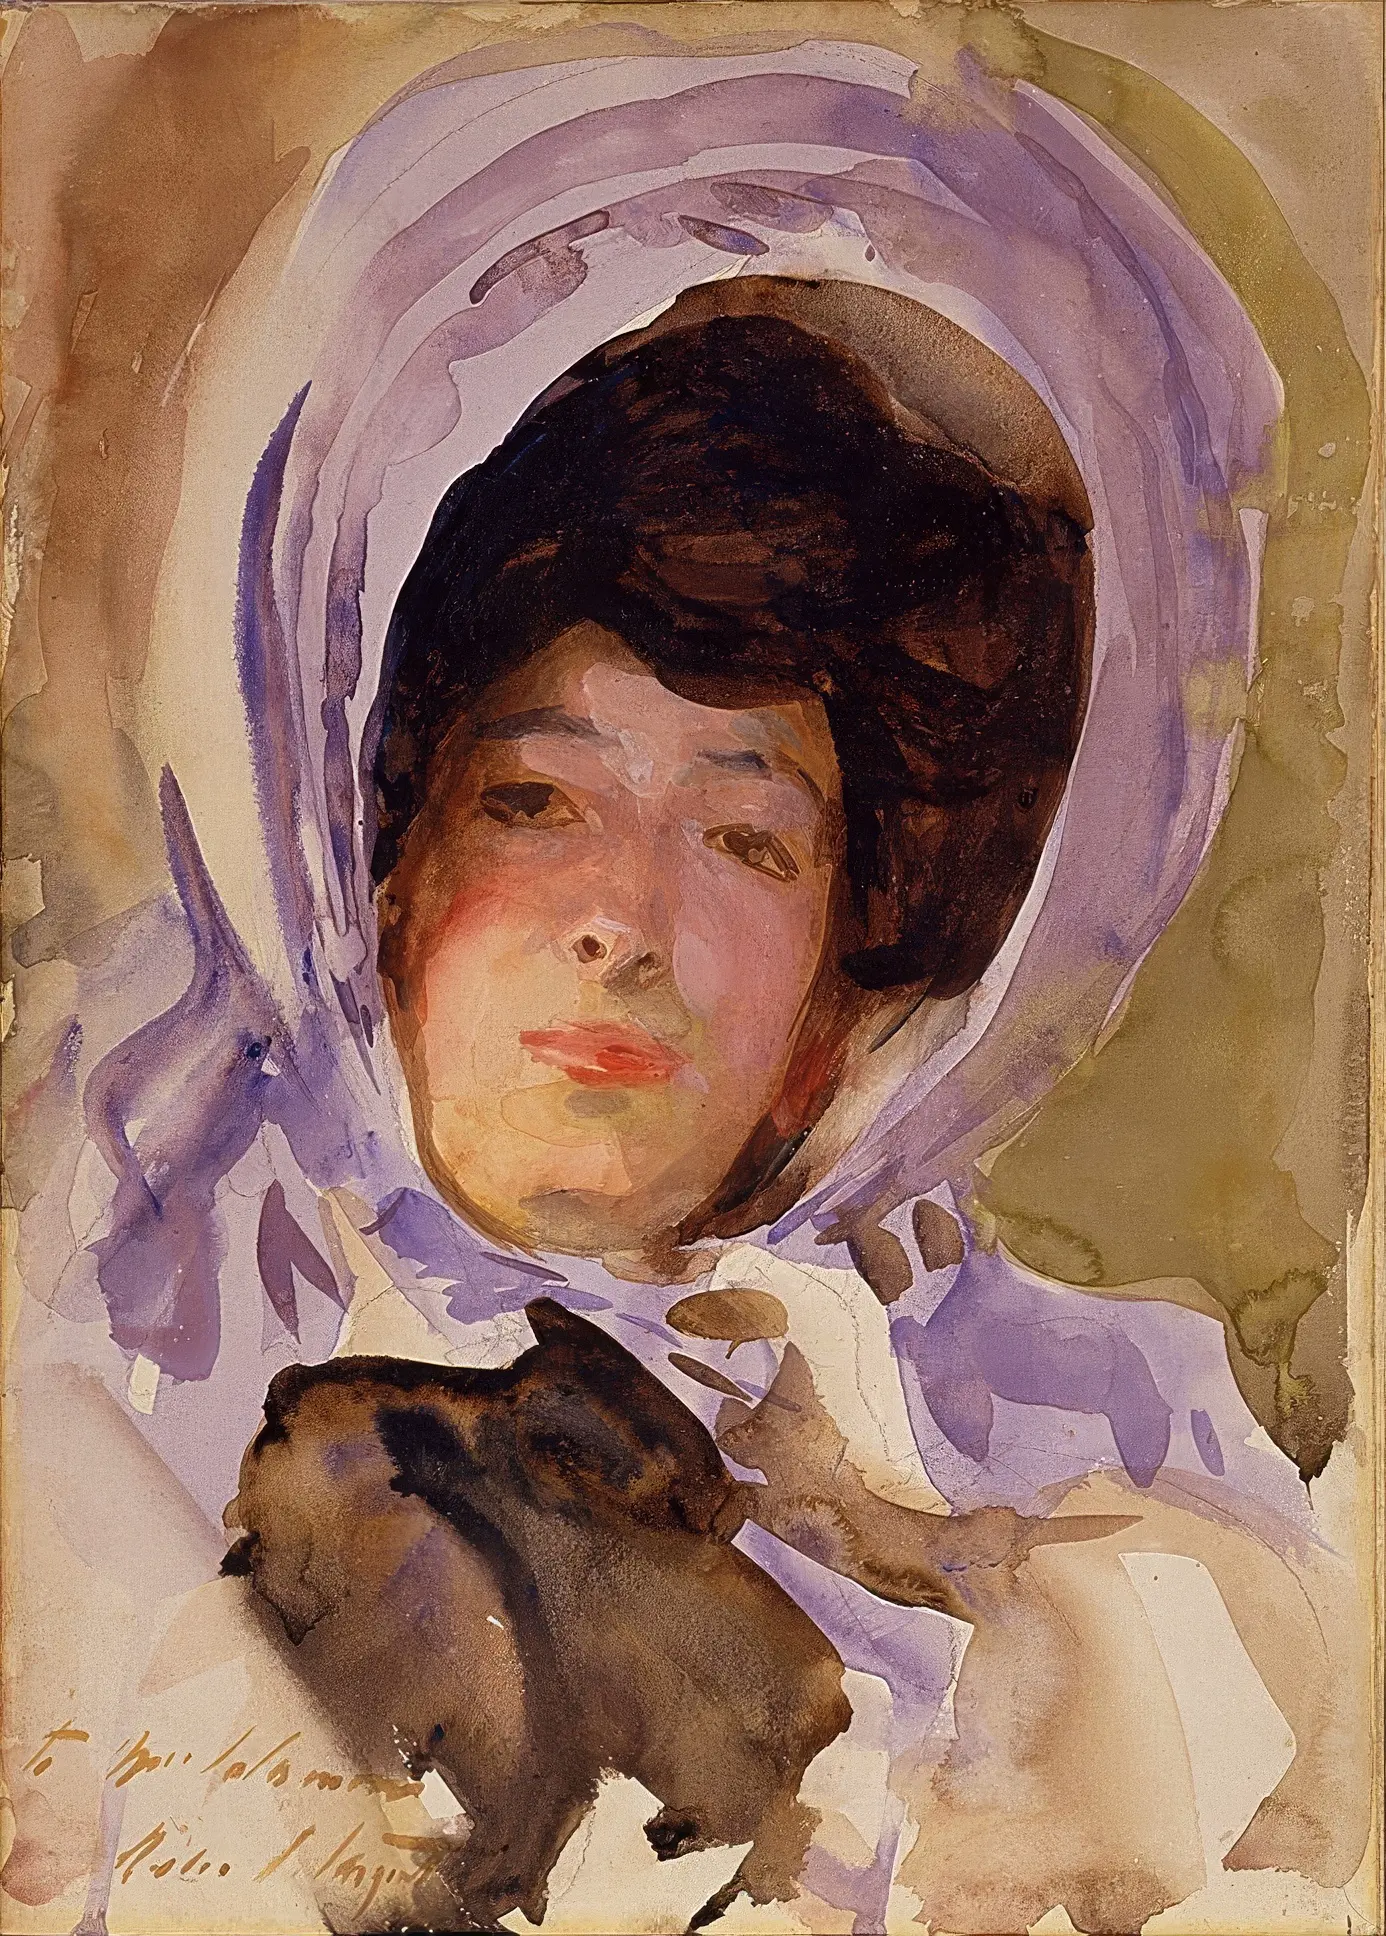
John Singer Sargent, in "Betty Wertheimer Salaman" (circa 1910‑1912), illustrates depth achieved through precise washes and mastered tonal control in watercolor on paper.
This painting is interesting to observe how to represent the volume of the face with a minimum of strokes, while letting the brightness of the paper serve as the main source of light.
Step-by-step guide to painting a watercolor portrait
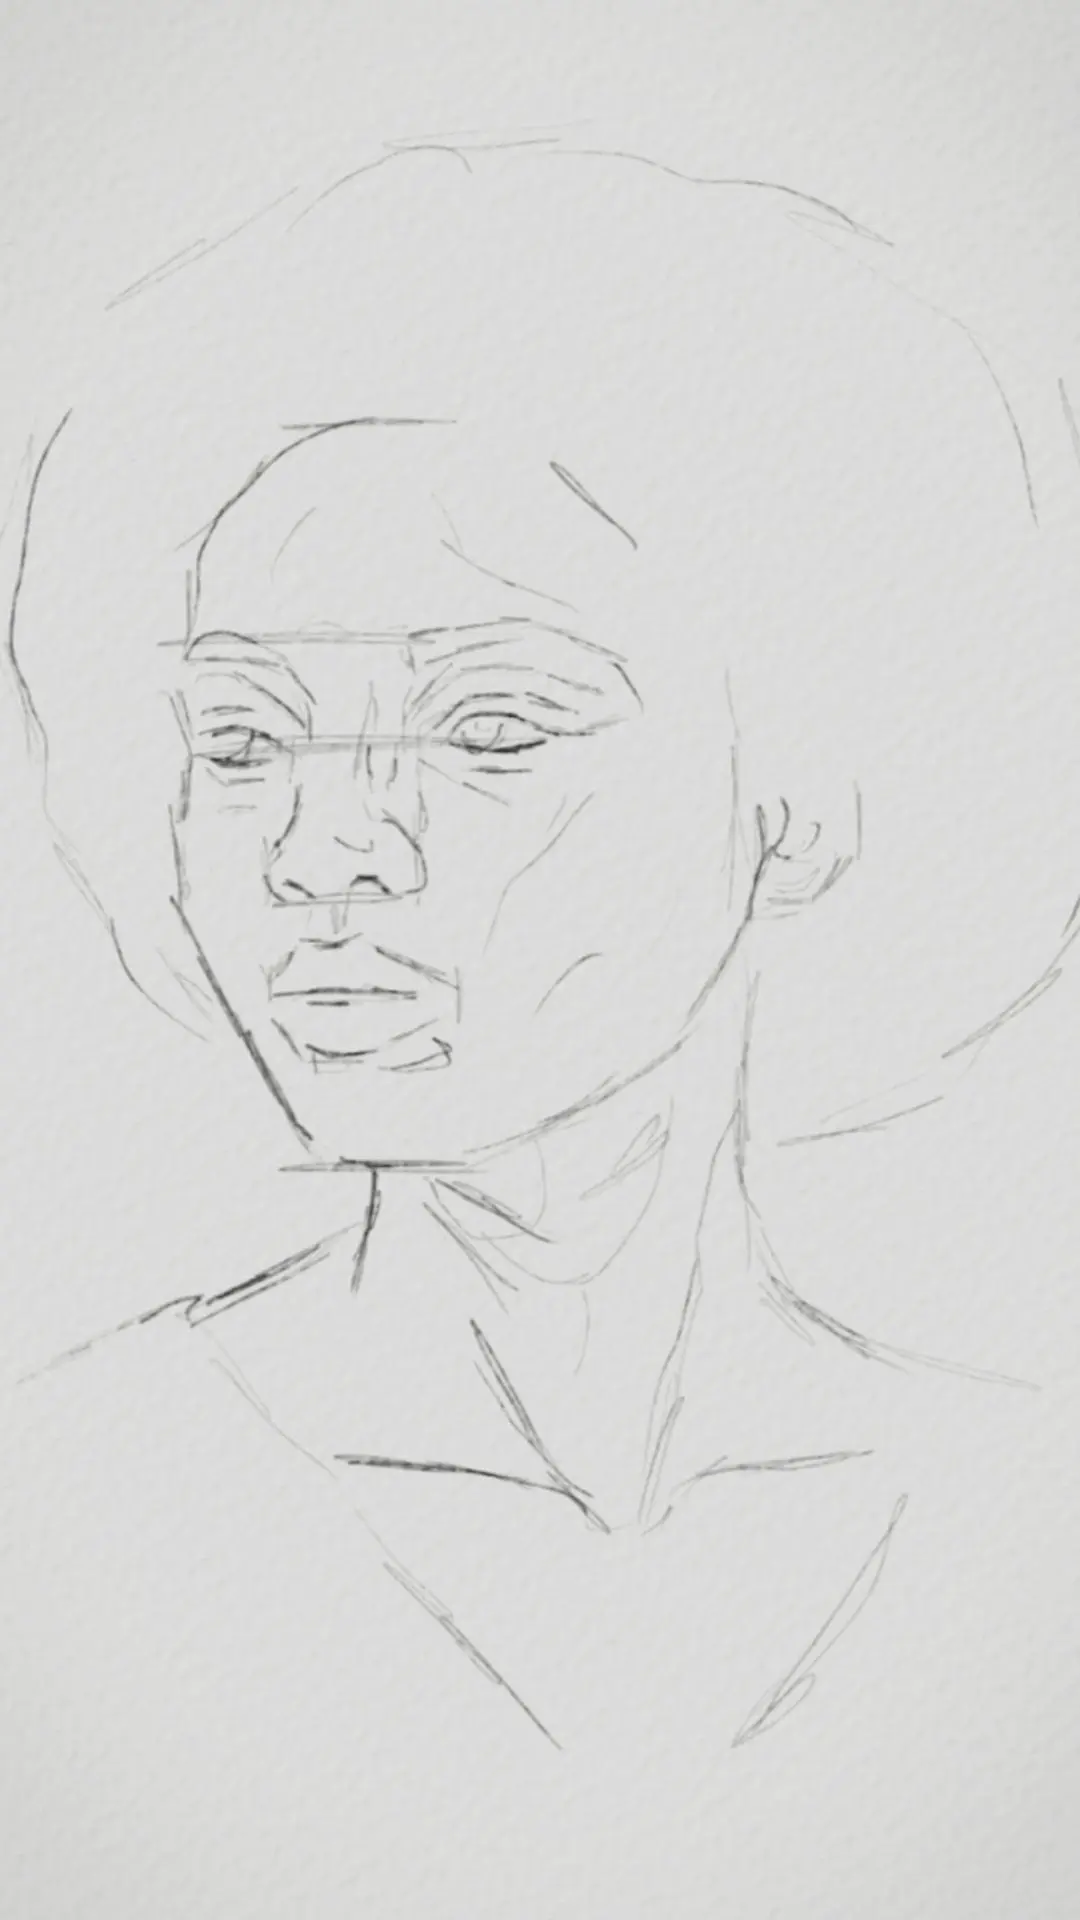
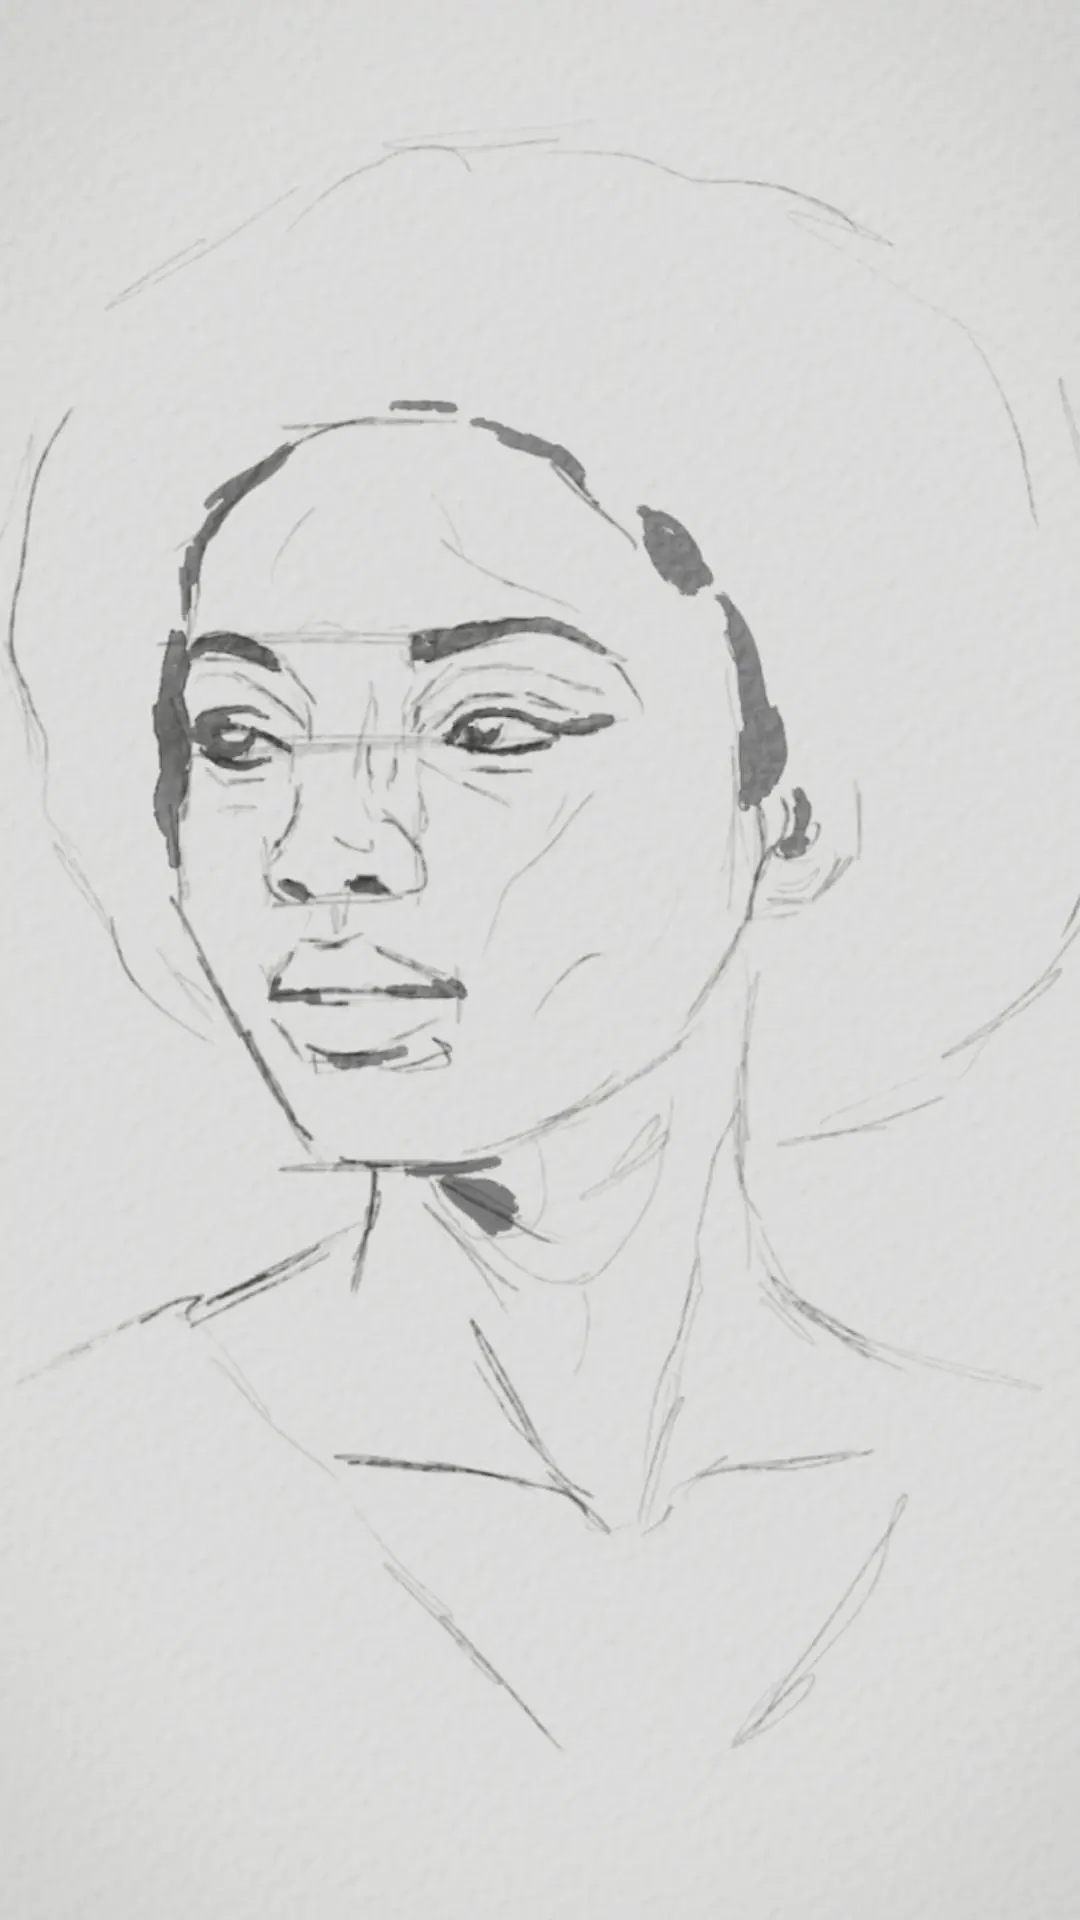
The structural drawing is established with a very soft HB pencil. Vertical and horizontal lines define the location of the face, the axes of the eyes, and the base of the jaw. This step ensures correct proportions before applying water or pigment.

We reinforce the main features with a 2B pencil to set firmer outlines. The lines are drawn delicately to avoid deep marks that would remain visible under the watercolor. We also define the general volume of the hair with broad strokes.
Applying watercolor paint to the portrait
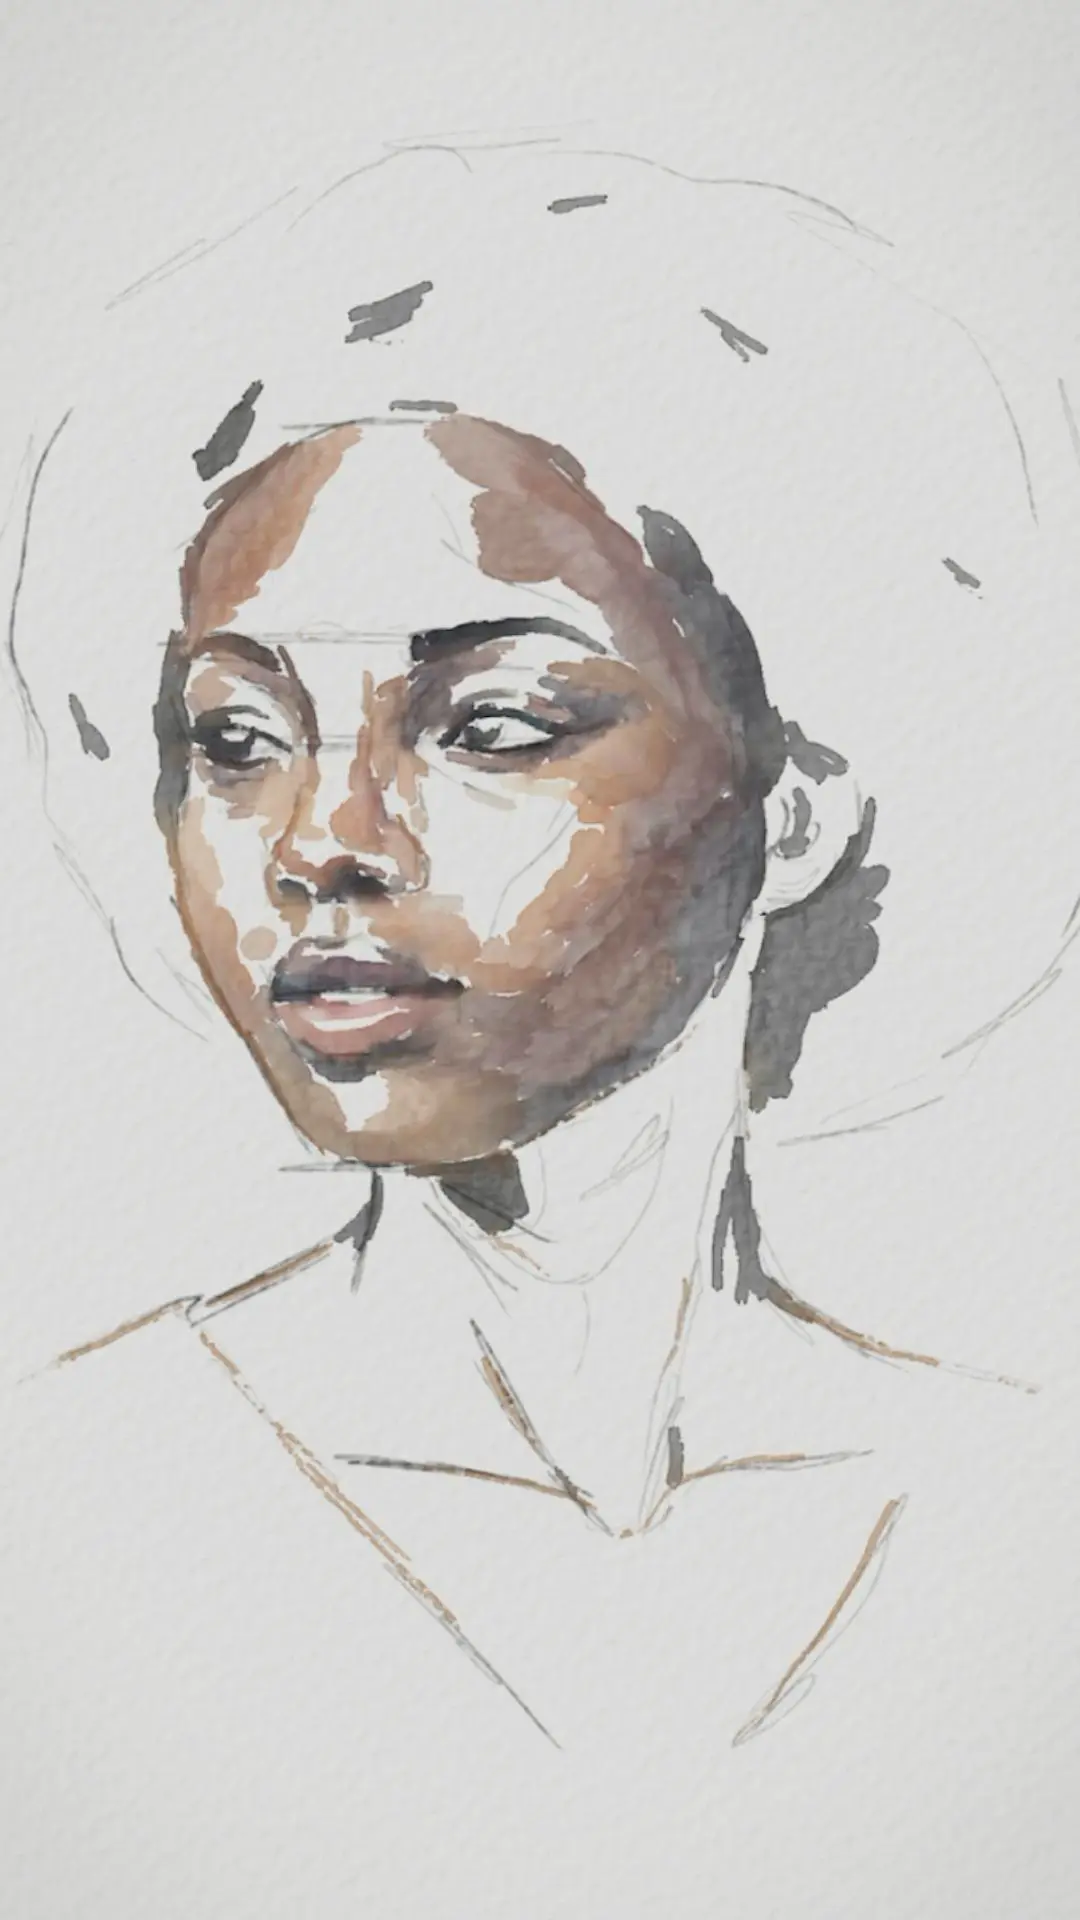
We begin applying watercolor paint by working with minimal amounts of water. The main shadows are laid down with a warm and slightly grayed pigment, building the tonal base of the face. The paint remains focused on small areas to maintain control of the flow.
We go over the sketch line with a medium brown applied with a fine brush in the skin areas. This layer covers much of the initial drawing, which helps to unify the structure. We avoid touching the brightest areas in order to preserve the white of the paper as the main light, and apply the first skin tones around the eyes and nose.
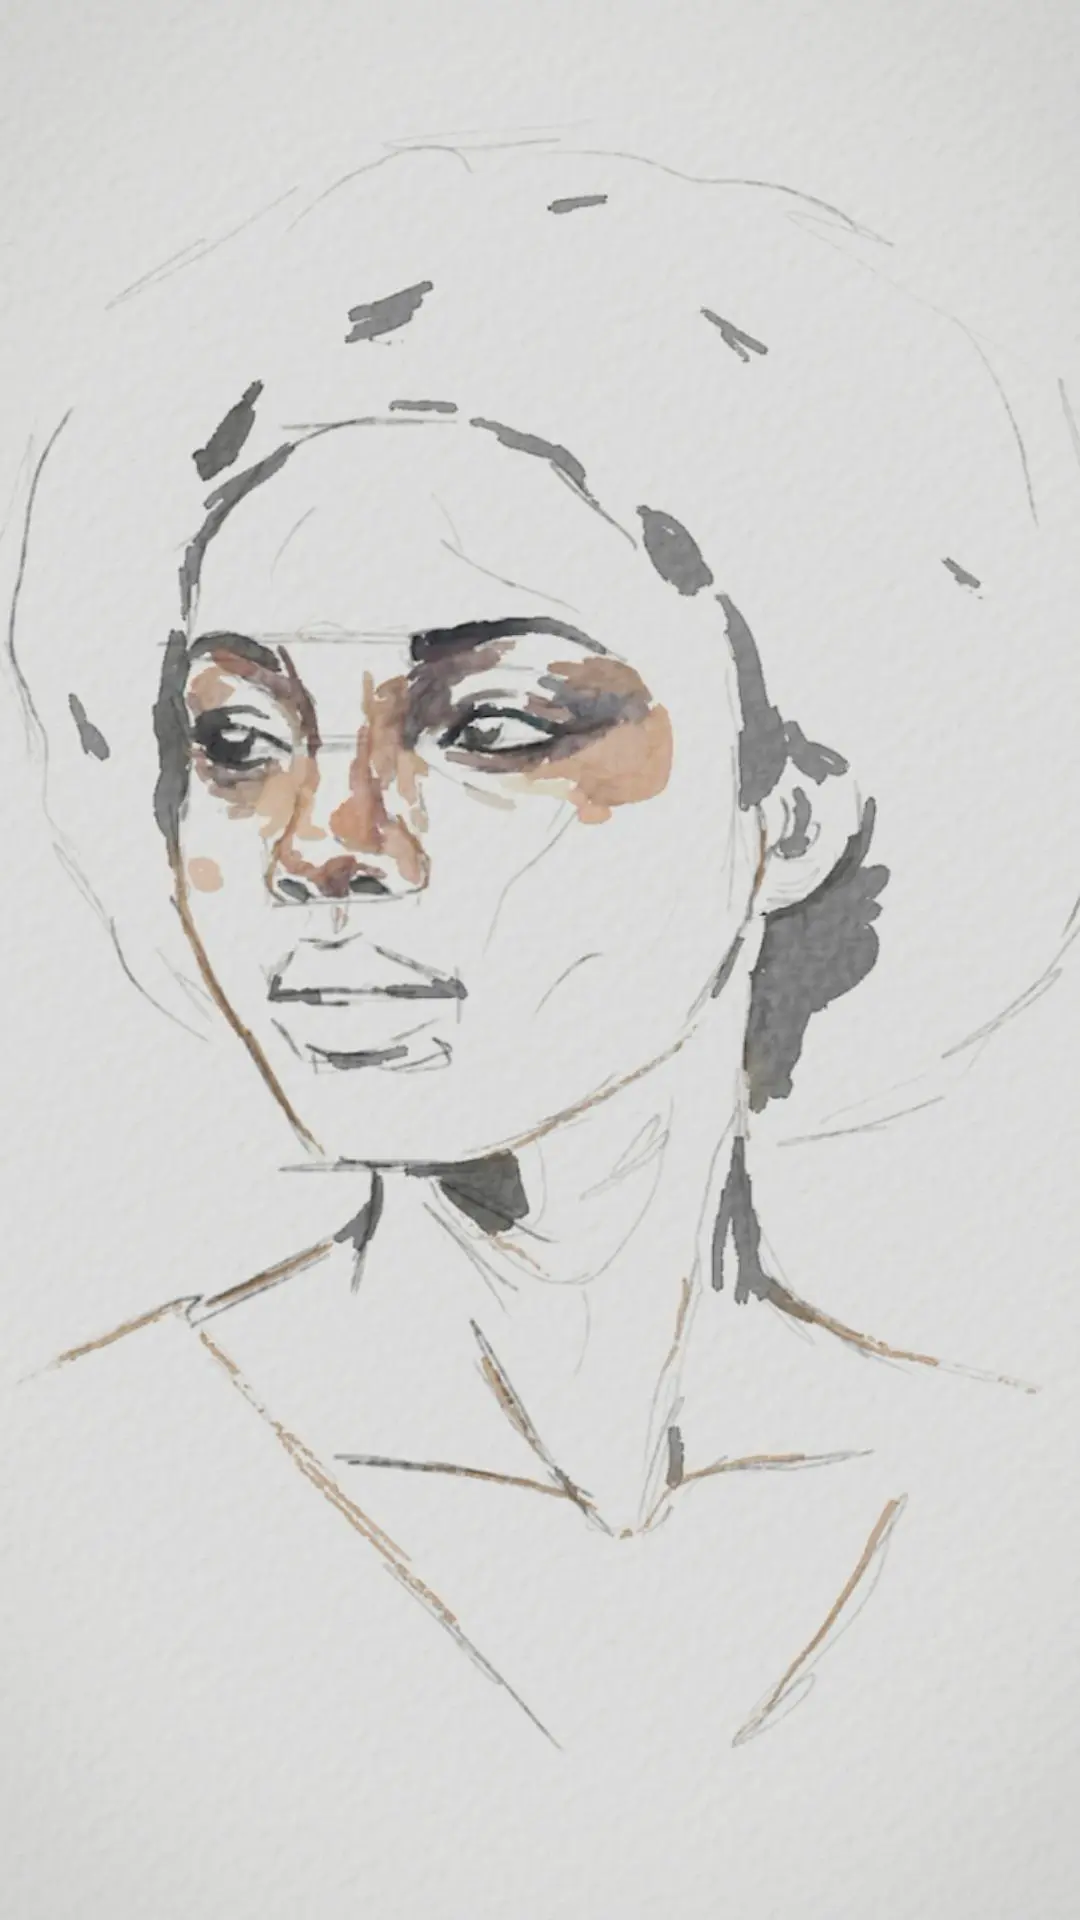
We lightly moisten the face area to enable smooth transitions. We apply the first warm tones, making sure to keep the highlighted areas clear. The upper lip is defined with a grayish red that sets the base for the volume of the feature.
A soft pigment is applied to the chin, blending it with the previous layers to avoid harsh edges. The lower lip is painted pink, leaving a small uncolored space to show the natural shine. It is important to control the amount of water on the brush so that the colors blend properly and remain harmonious.
Add volume
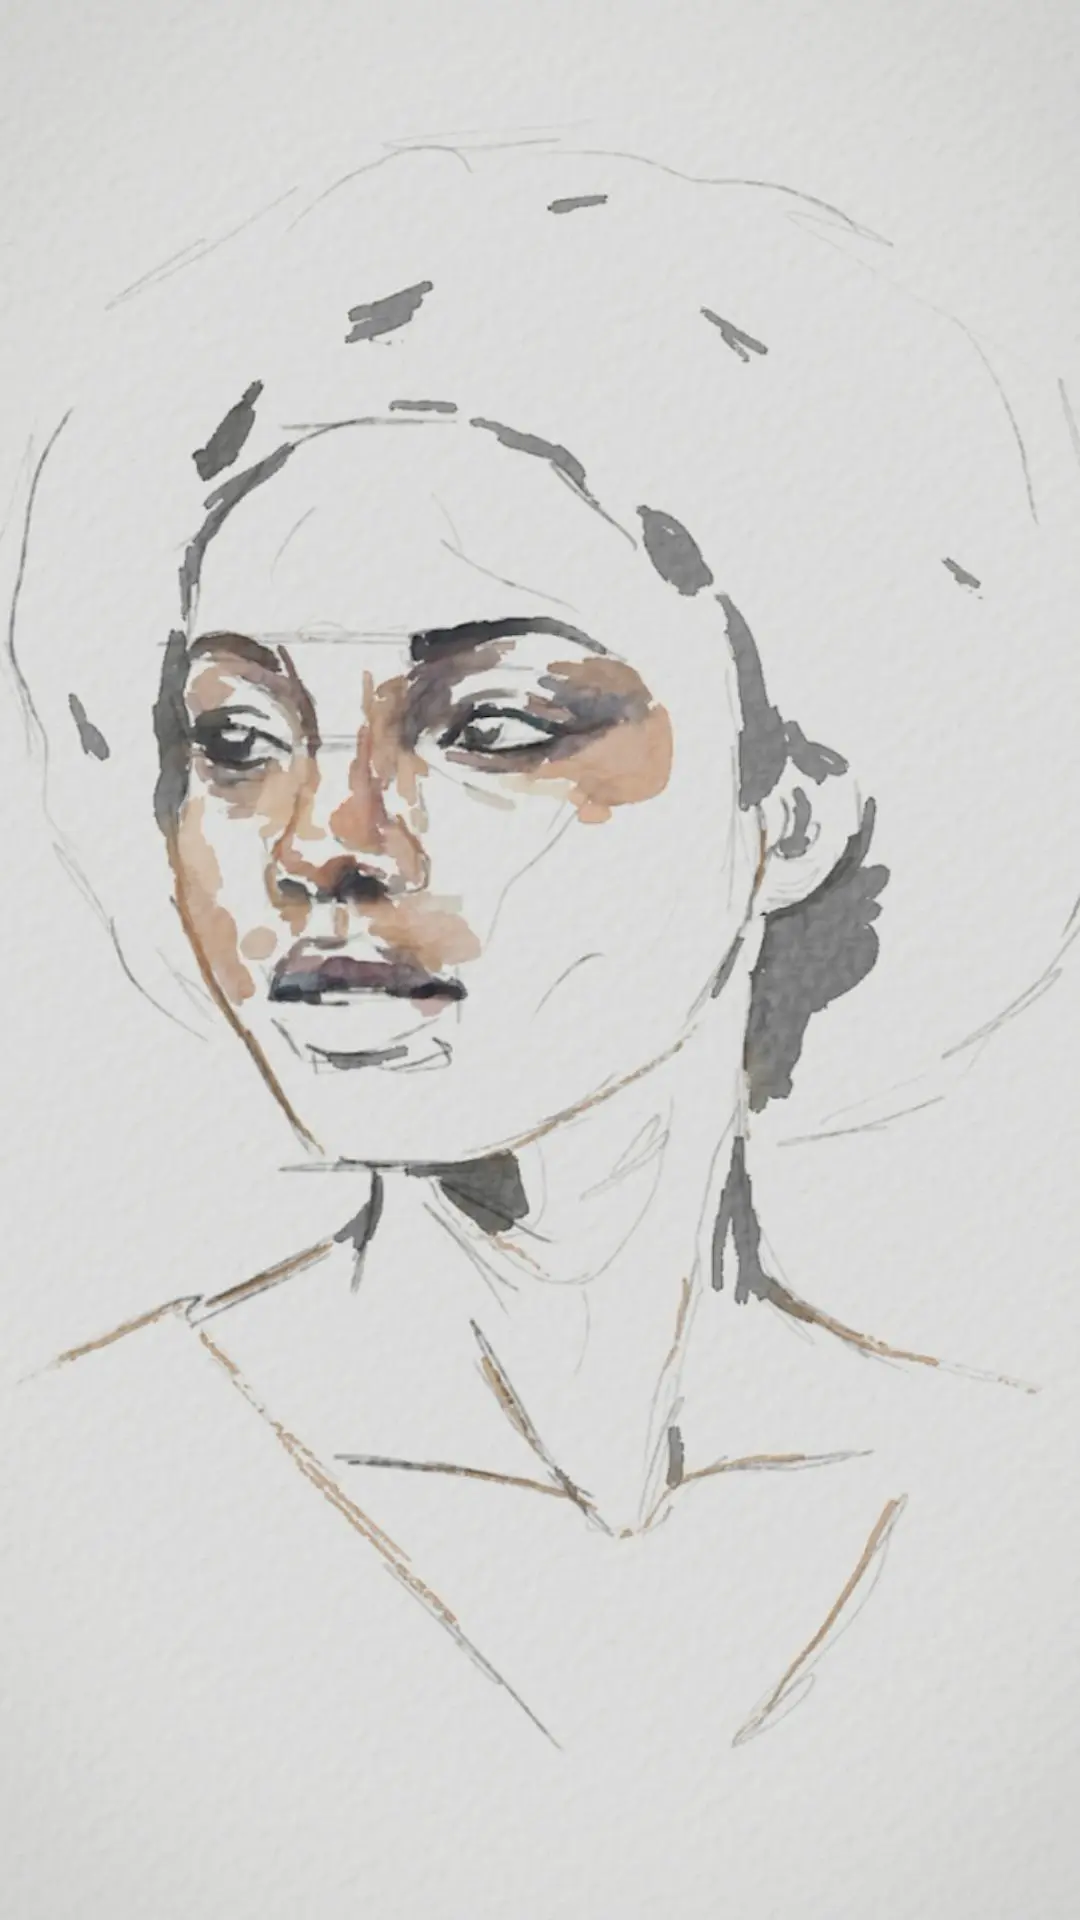
We add warm and cool half-tones to shape the planes of the face. The transitions between deep shadows and light areas are softened by precise touches. This step helps to give volume to the face while maintaining the clarity and transparency that are characteristic of watercolor.
Red and warm shades are introduced into targeted areas, such as the cheekbones and the space between the eyebrows, to avoid a monotone skin tone. The brush is lightly loaded with pigment to prevent abrupt blotches or an excess of color.
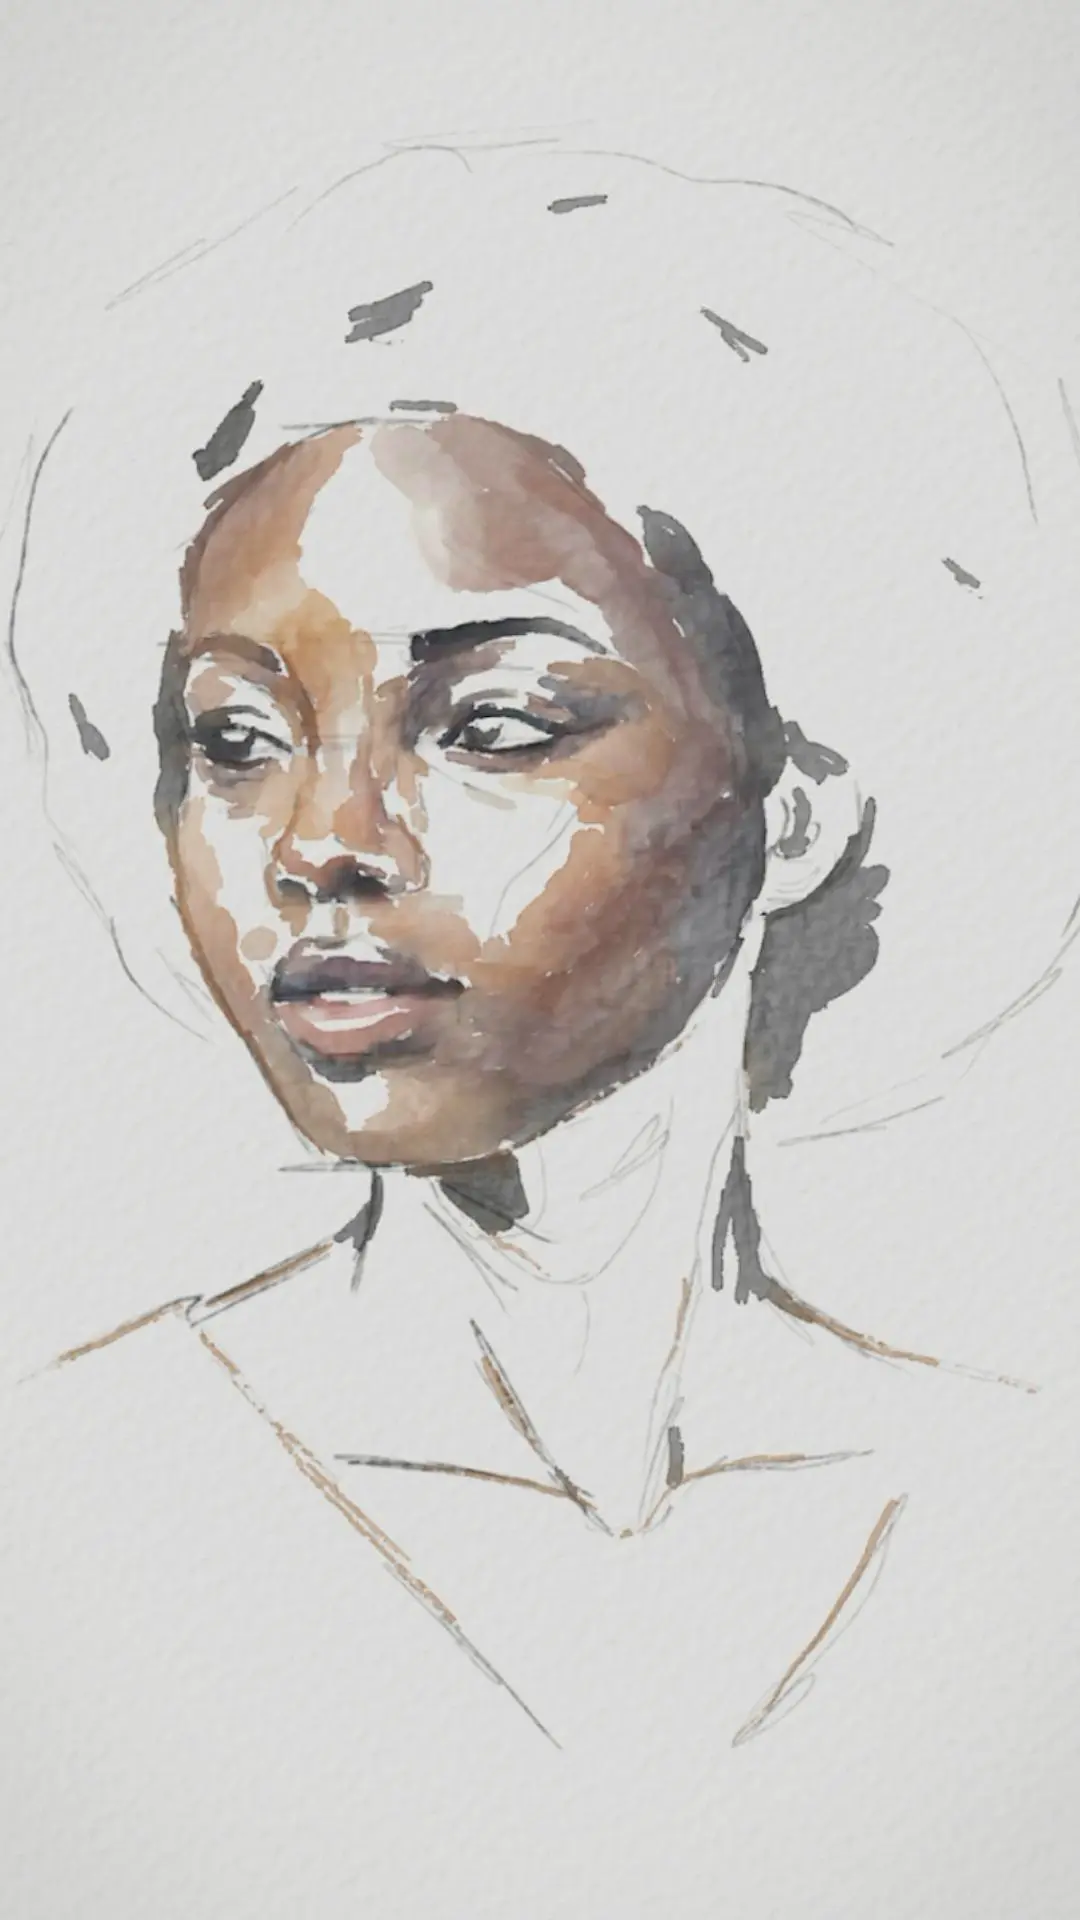
The tones around the bright areas are delicately lightened by blending them with clean water, to avoid overly harsh transitions. The white of the paper is preserved as the main source of light, especially on the forehead, the bridge of the nose, and the tops of the cheeks.
Very light layers are applied to the sides of the nose, preserving the central brightness. A soft gradient is created towards the shadow of the nose wing, avoiding overloading the pigment in order to maintain the characteristic transparency of watercolor.
Light shadows are added under the lower eyelid, on the sides of the nose, and at the corners of the lips. These shades enhance realism without hardening the features. Water is used precisely to avoid marked edges or excessive pigment buildup.
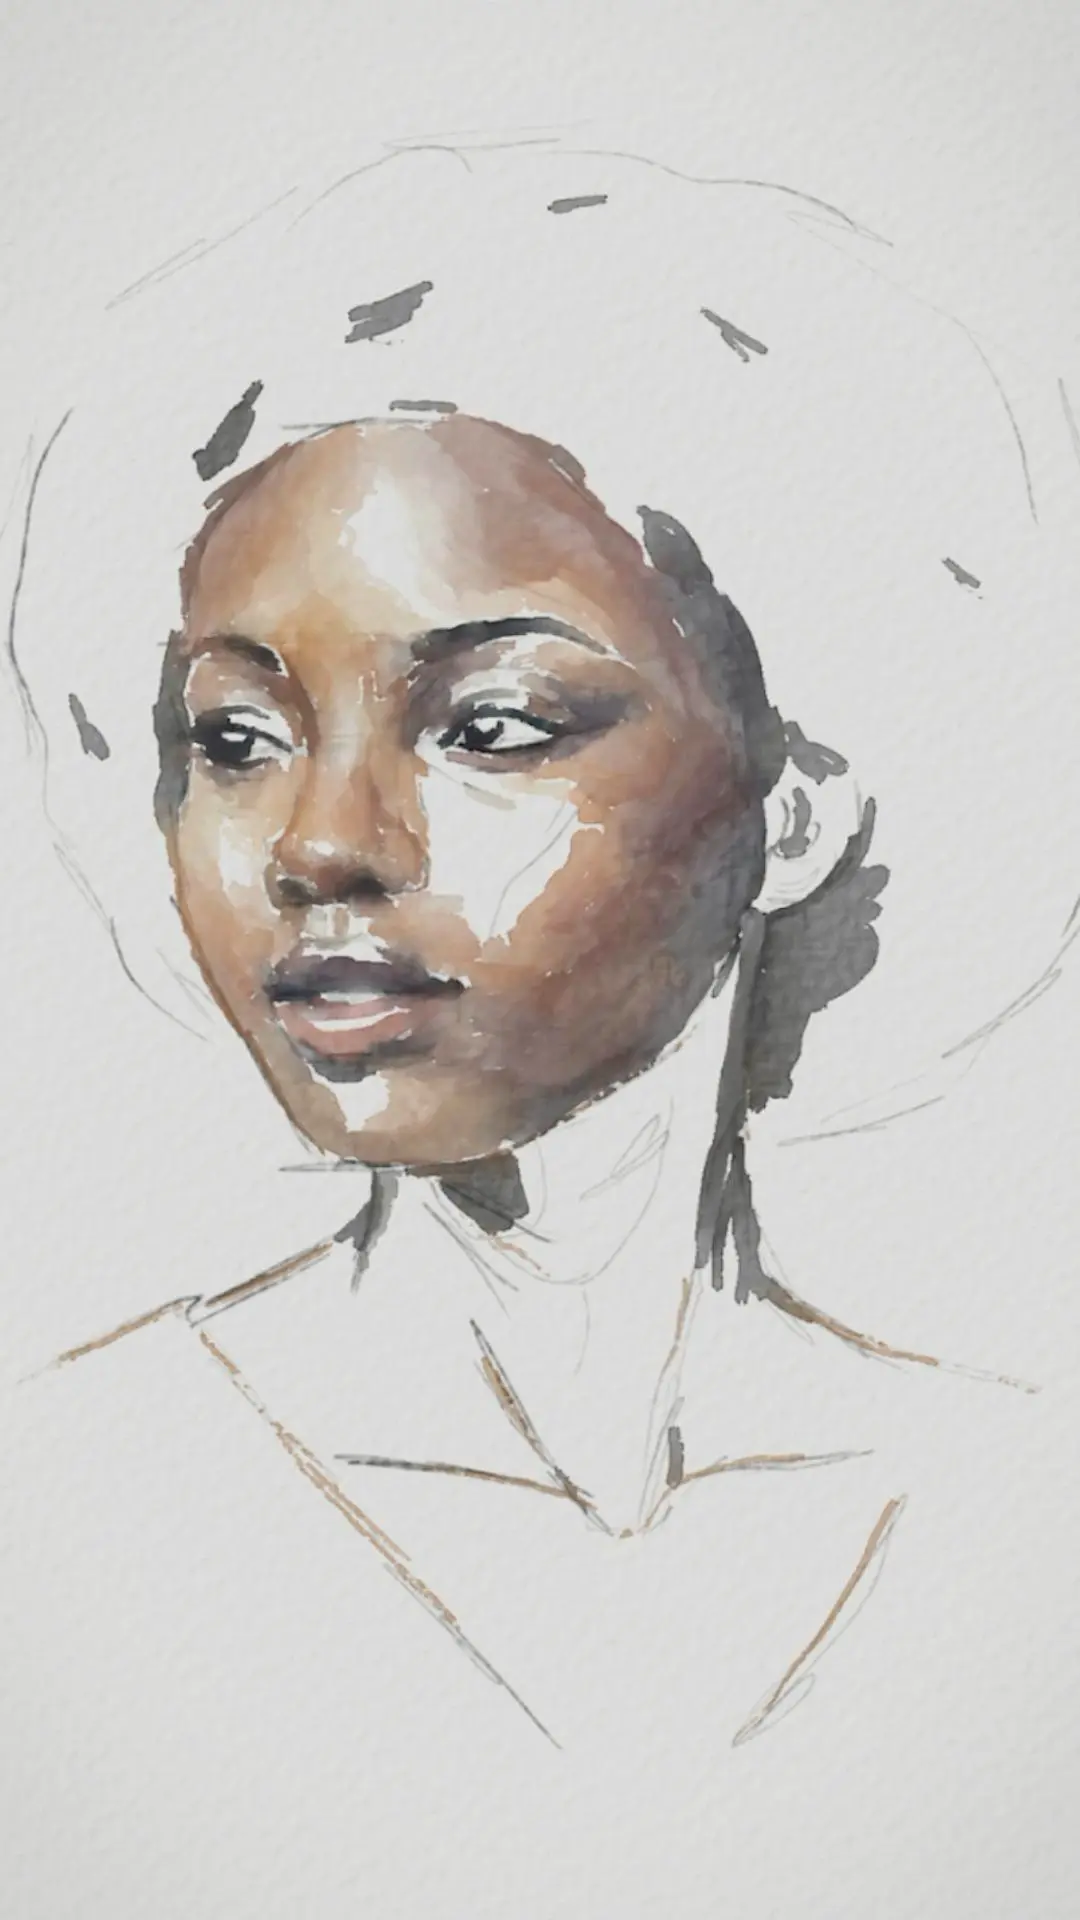
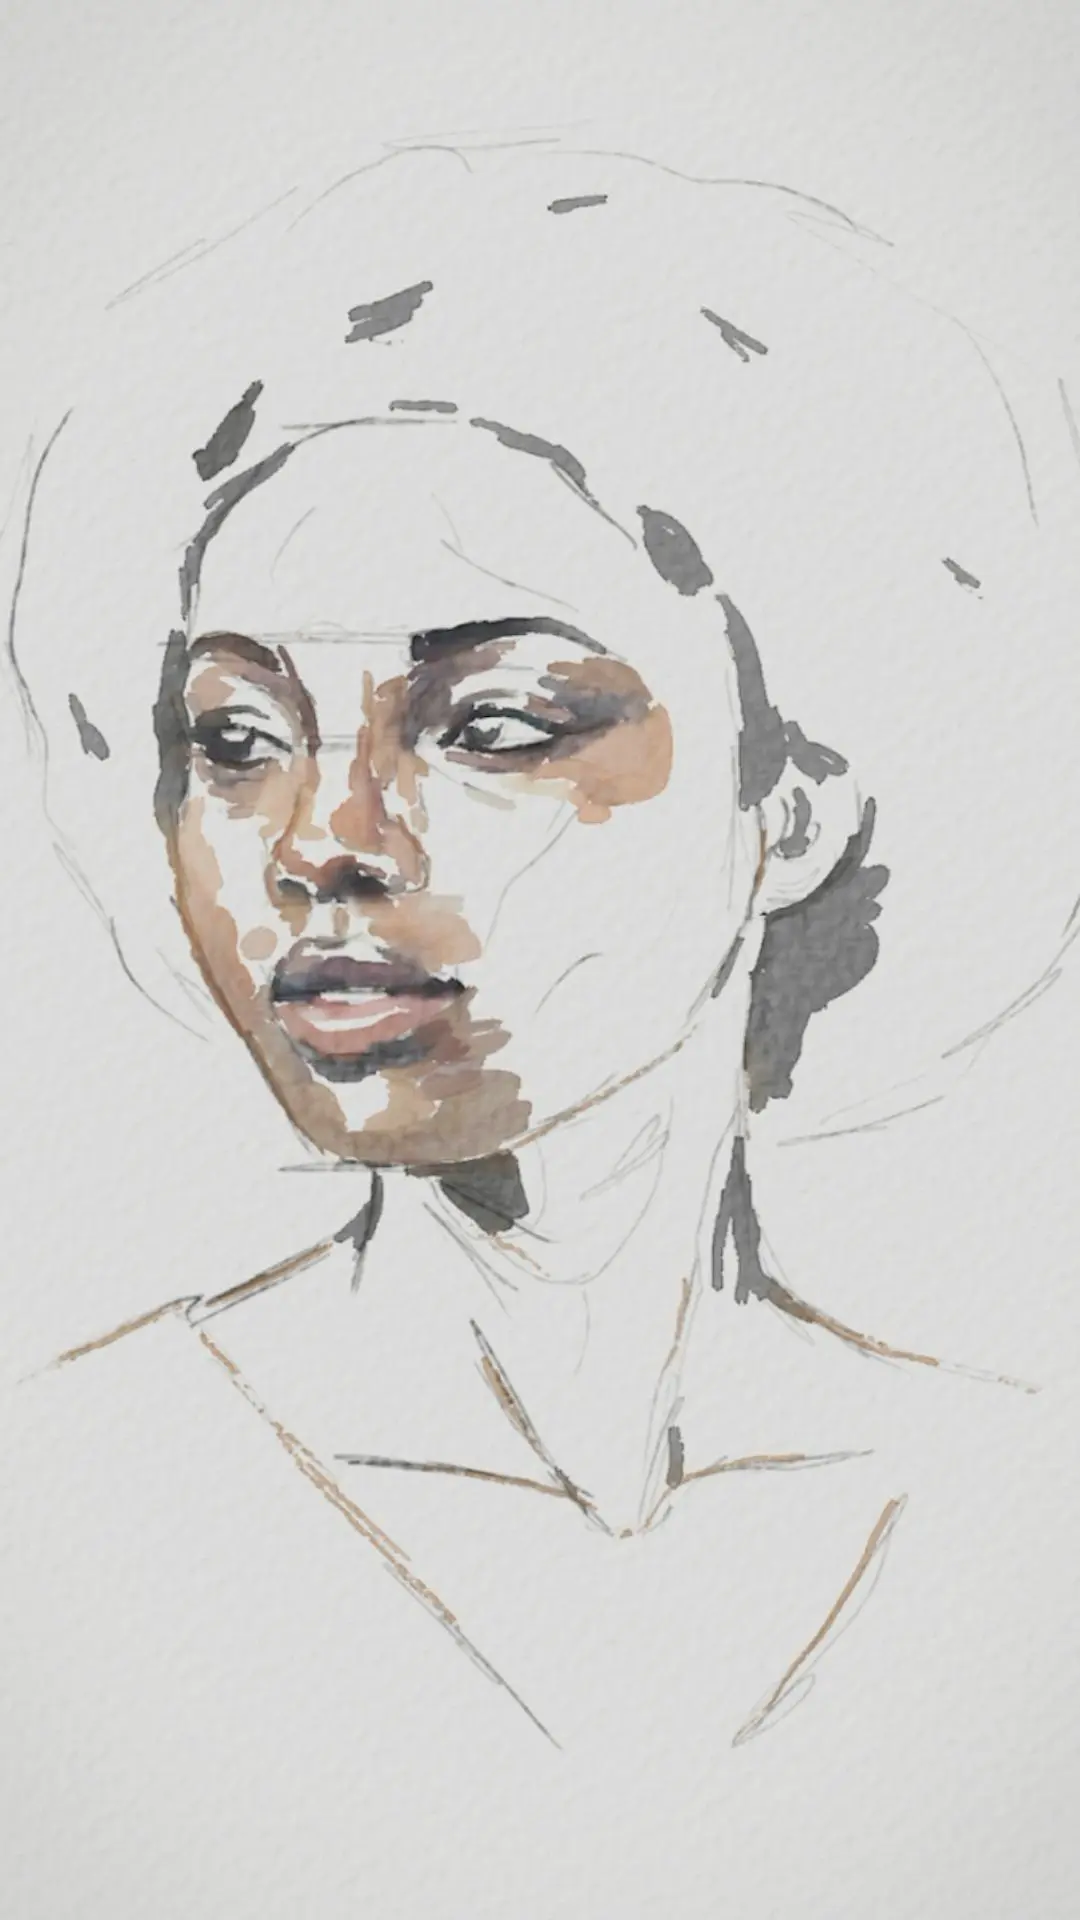
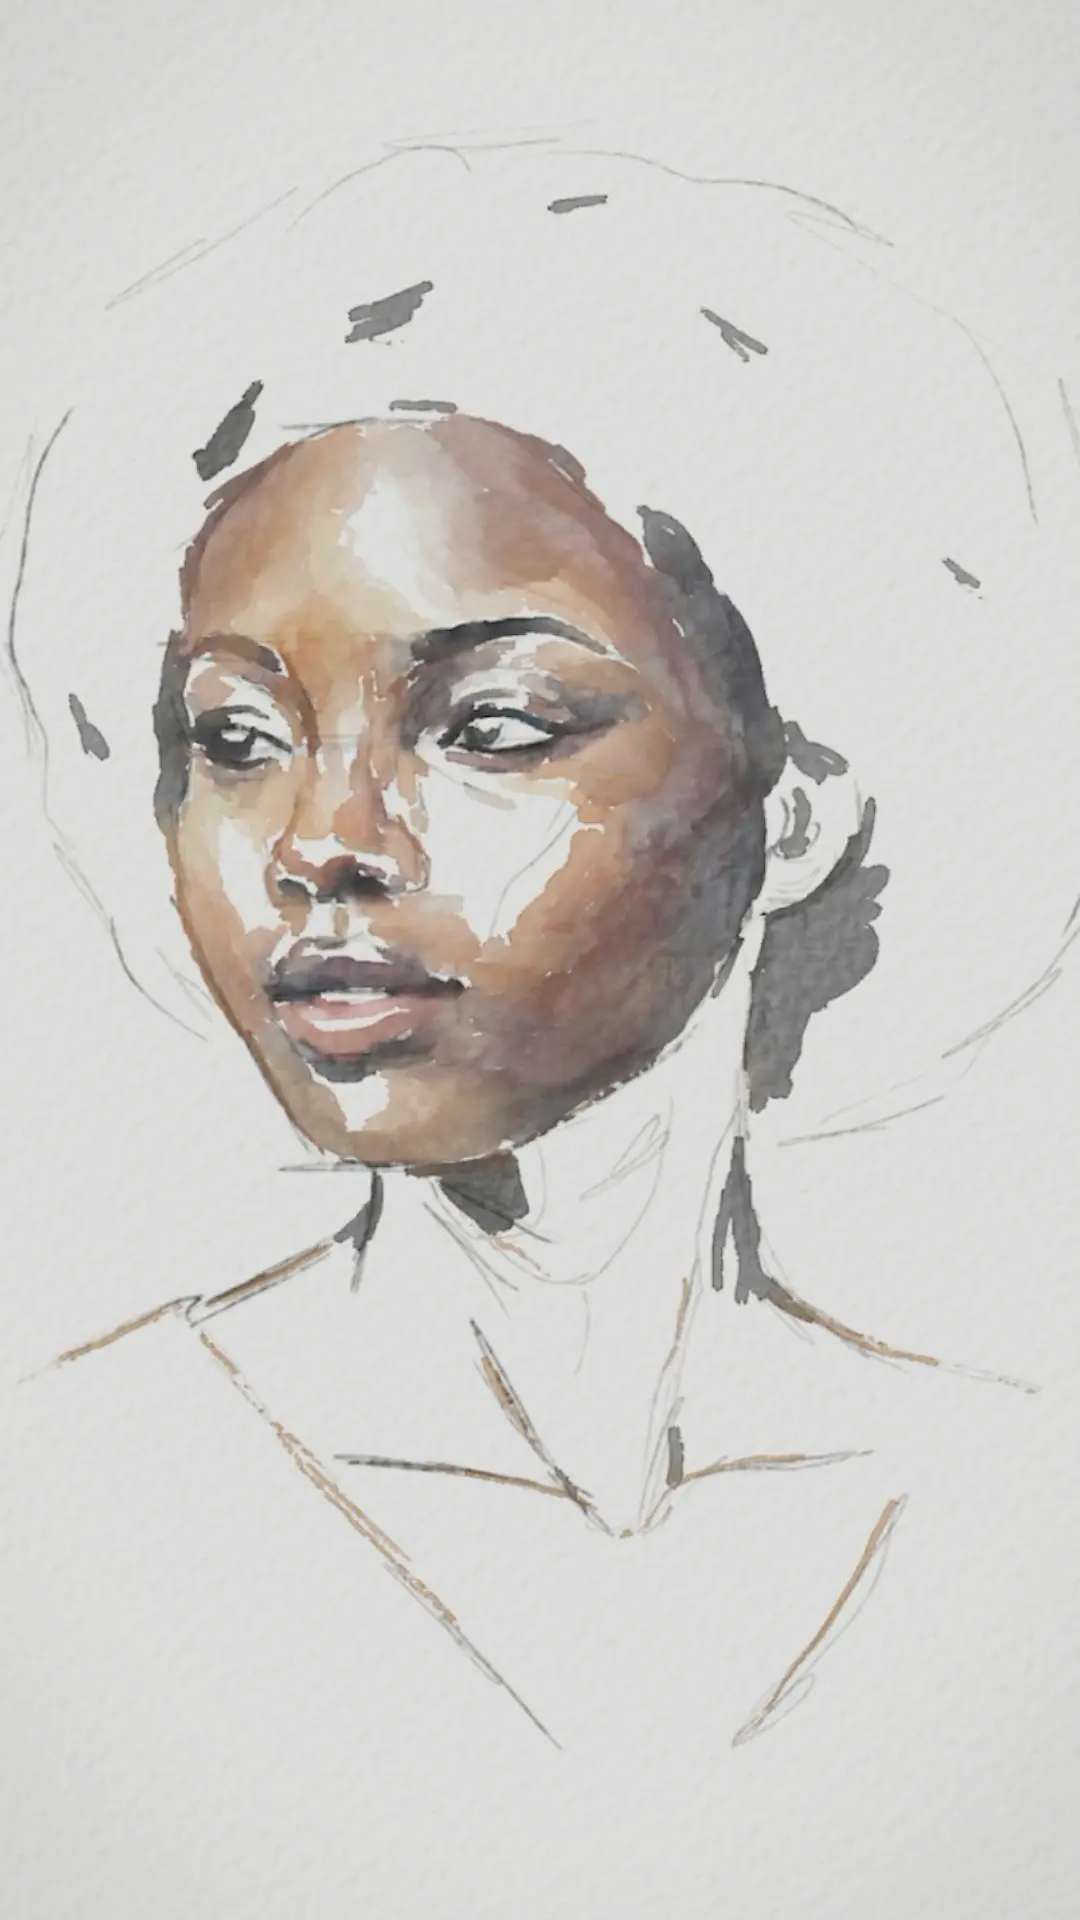
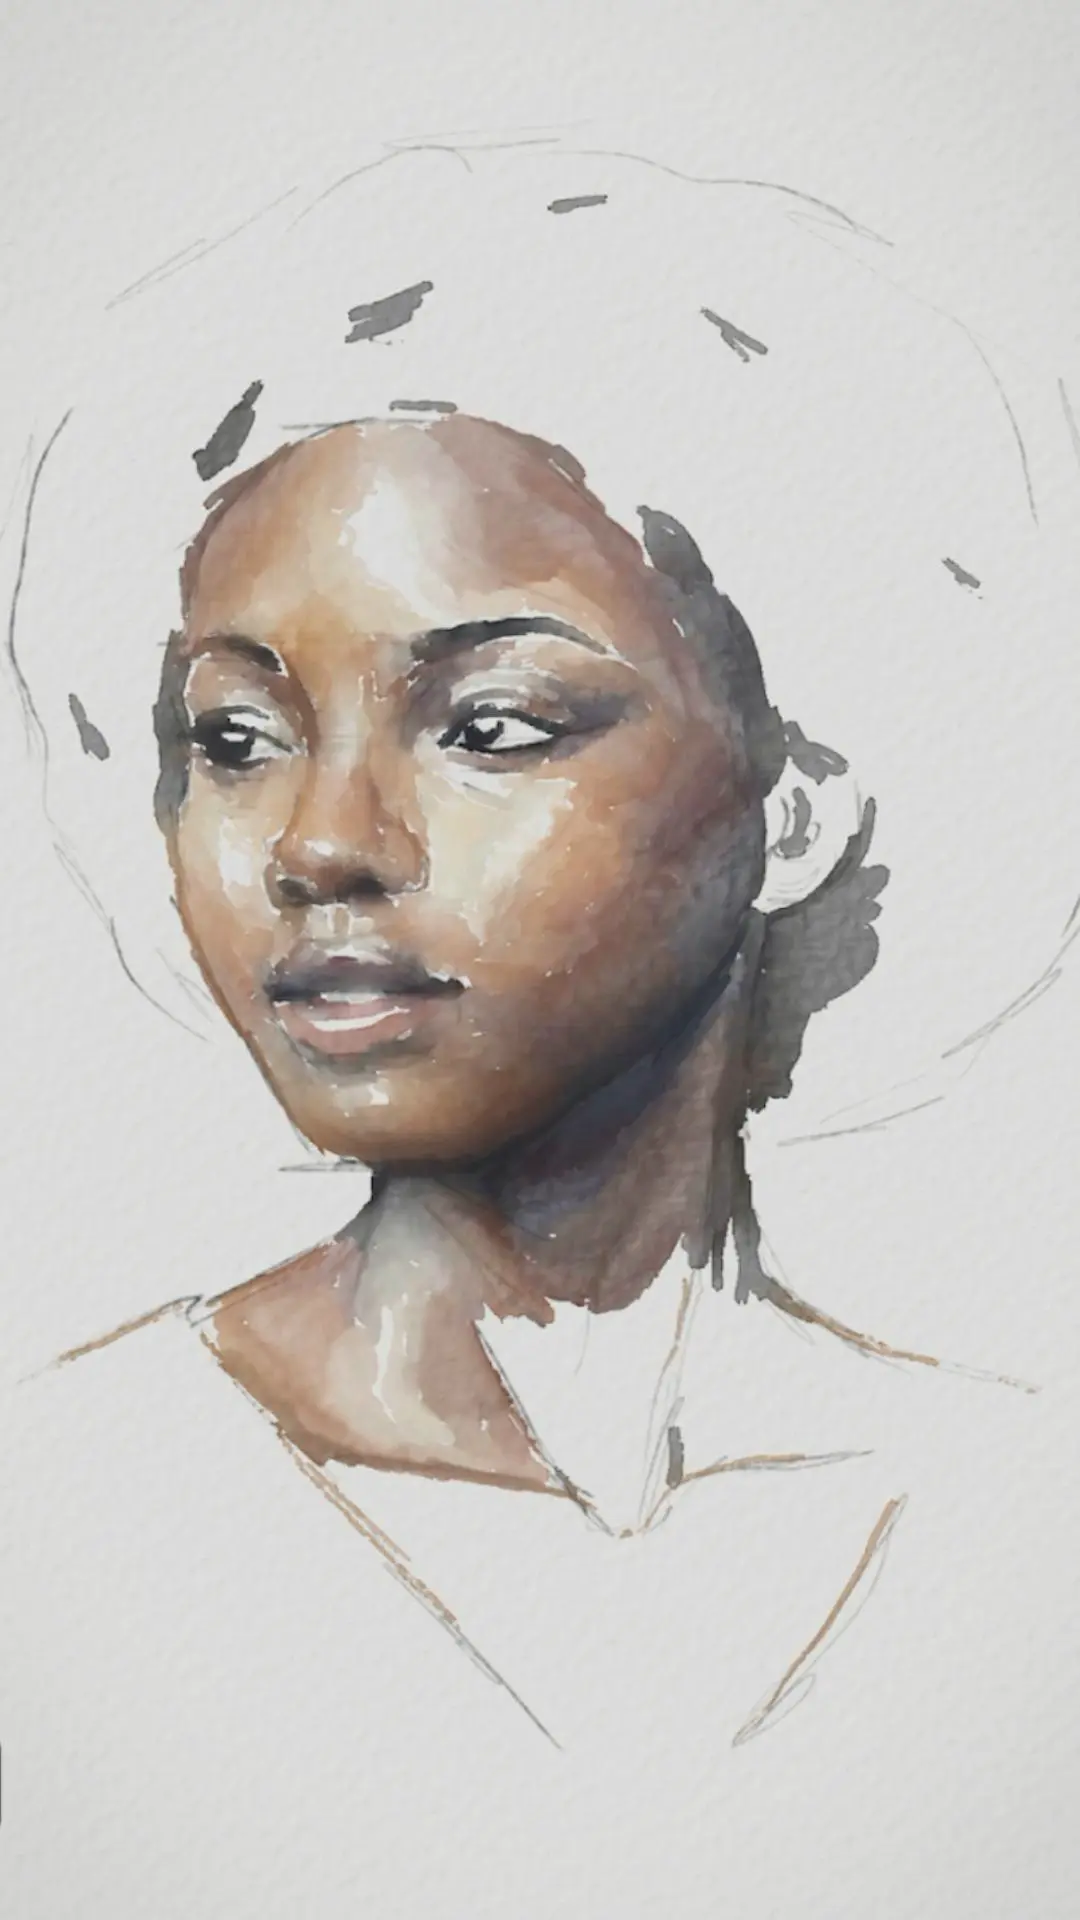
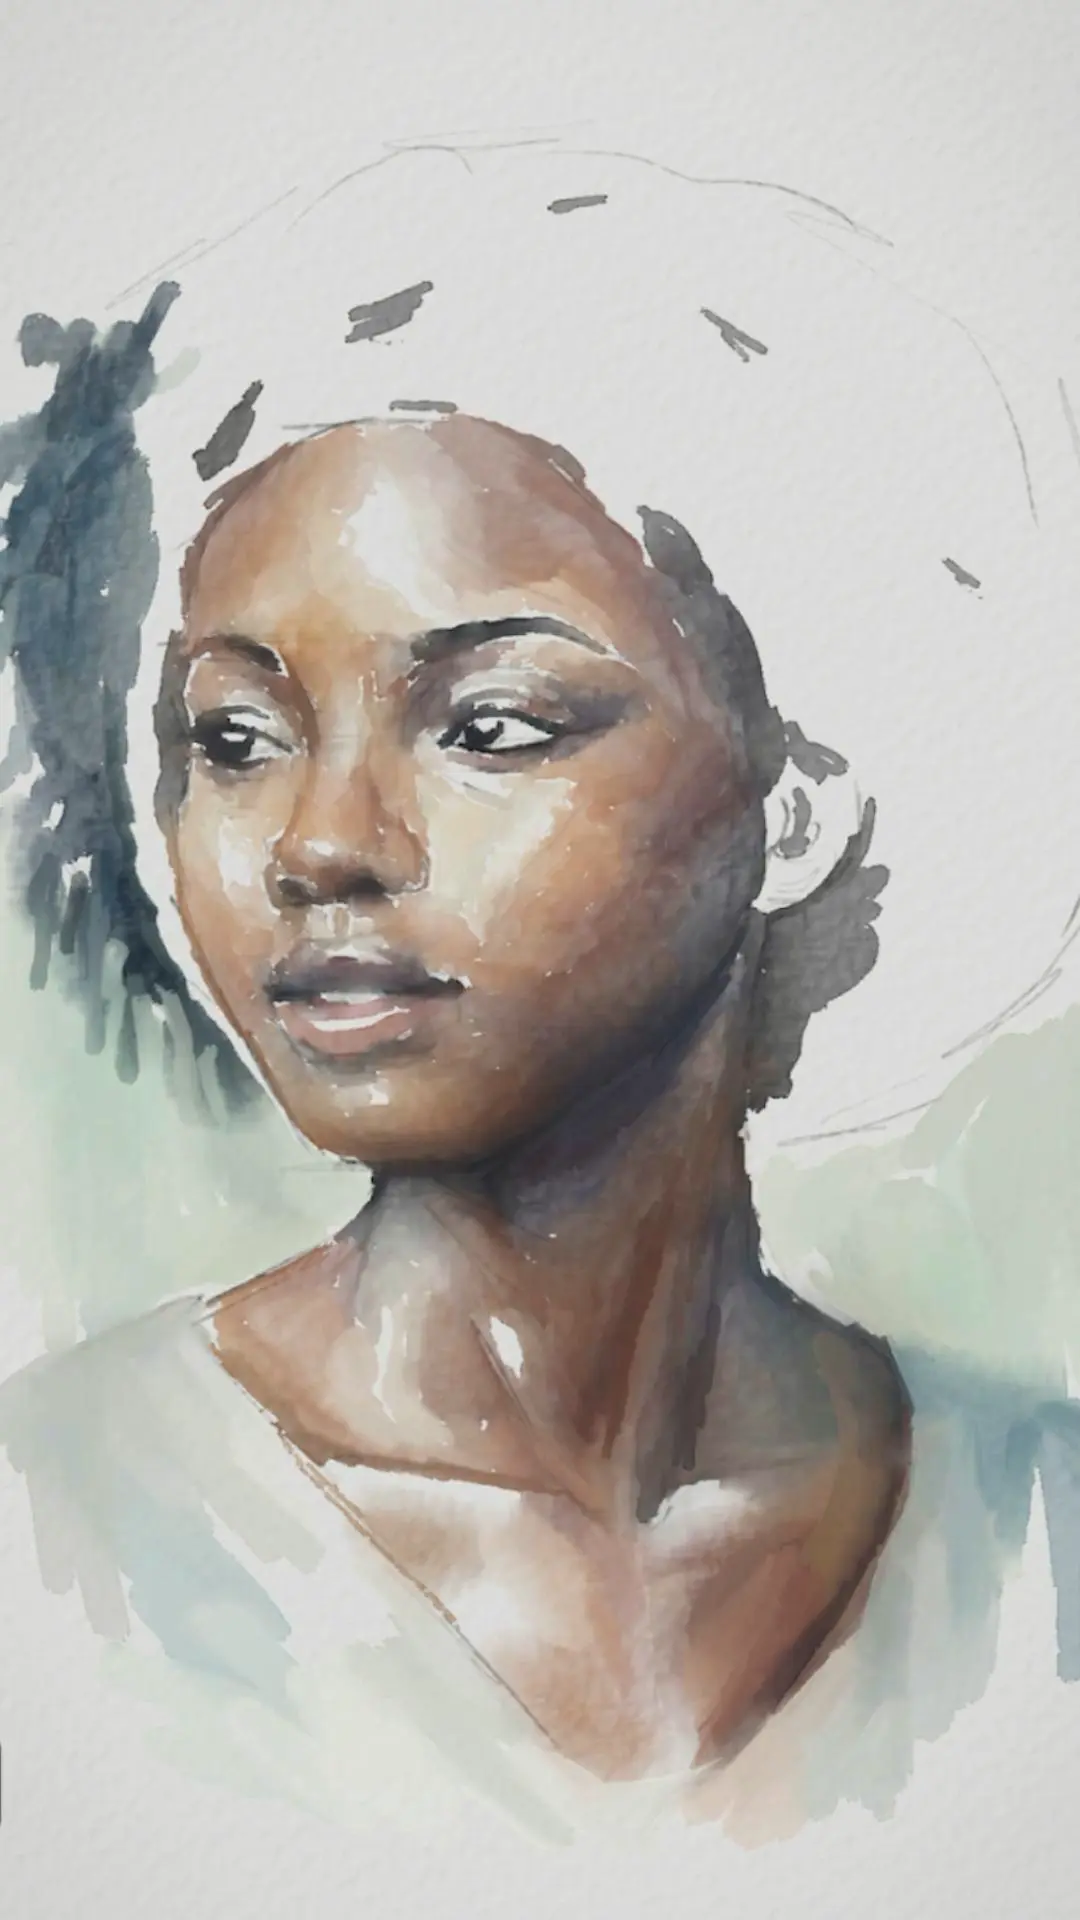
We complete the neck by applying warm and greyish shades from shadow to light. The transitions are worked to maintain color consistency between the face and the neck. The strongest definition remains on the face in order to keep the focal point.
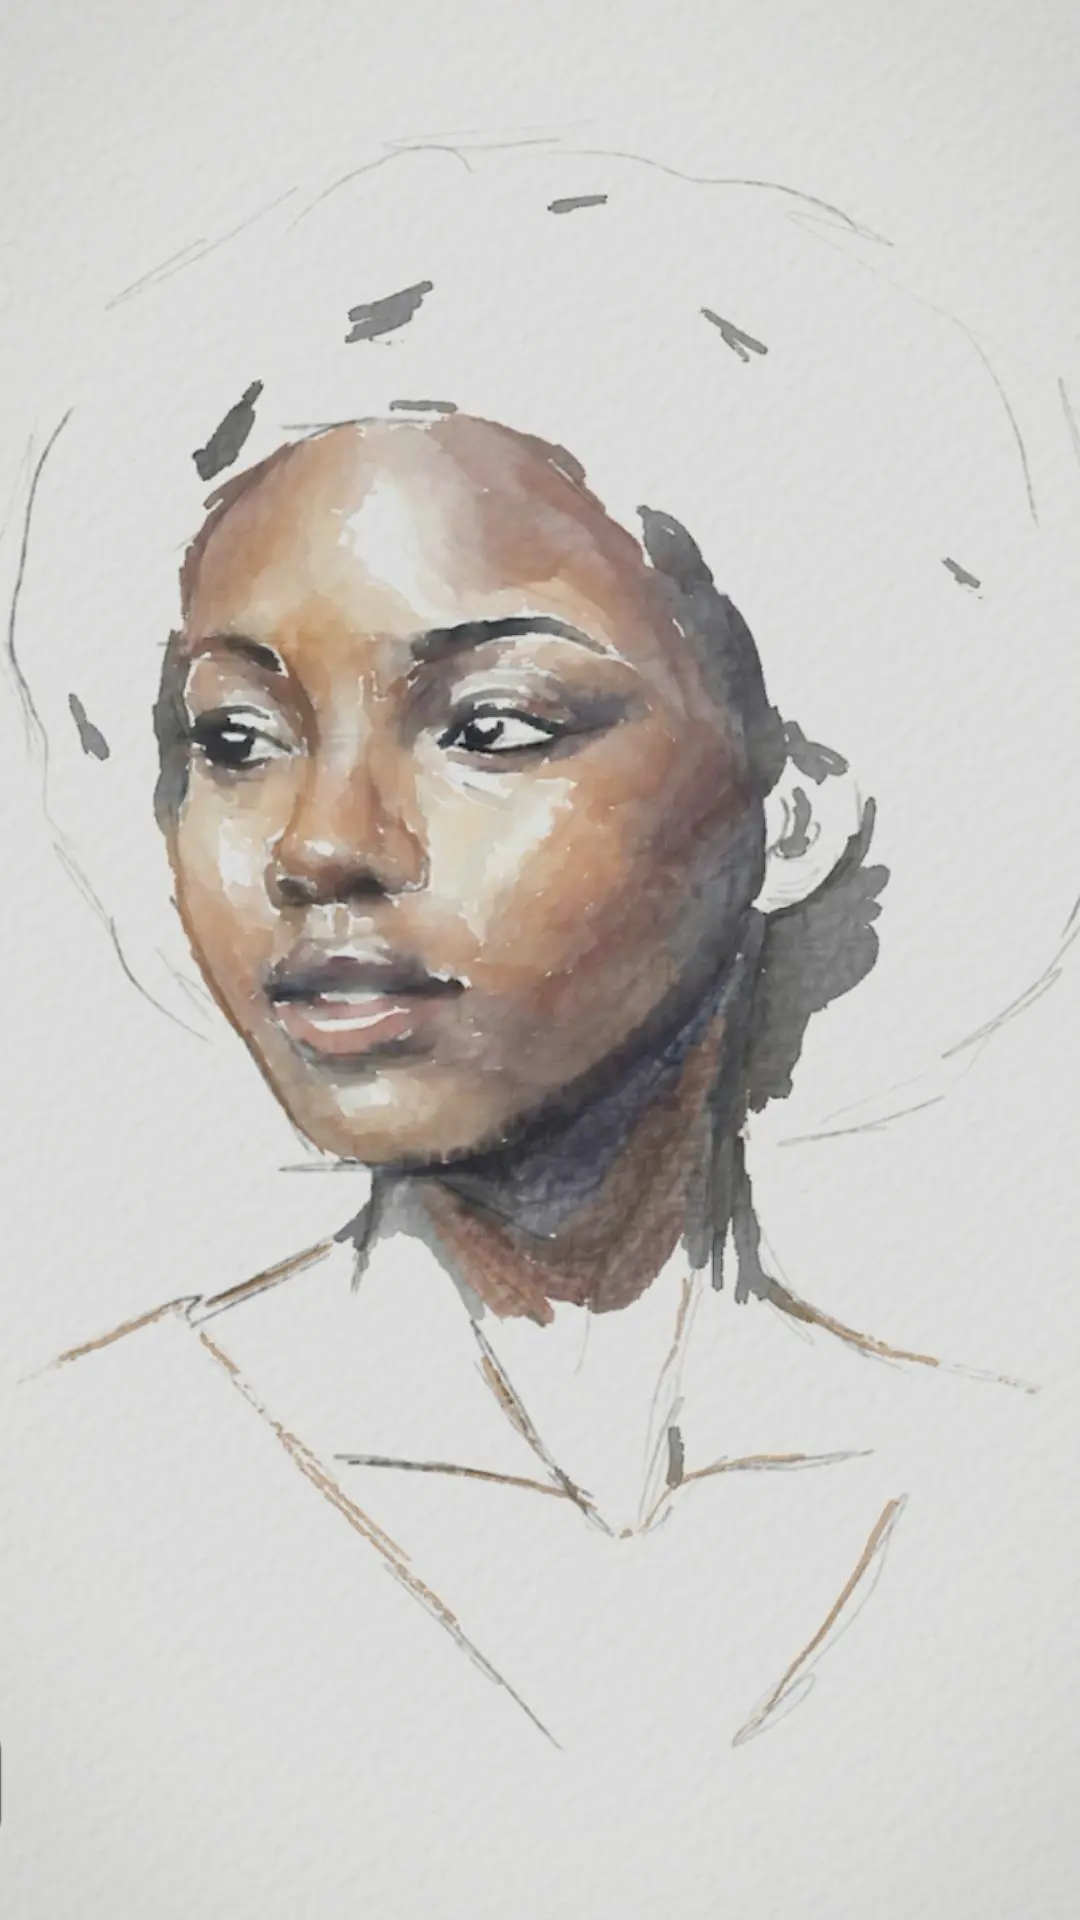
We lighten the bright area of the neck with a broader brush to create soft transitions. This area is treated with less detail than the face, allowing for quicker and less controlled strokes to enhance the contrast hierarchy.
The clothing is painted quickly and synthetically with grayish blues. Unpainted highlights are preserved to add dynamism.
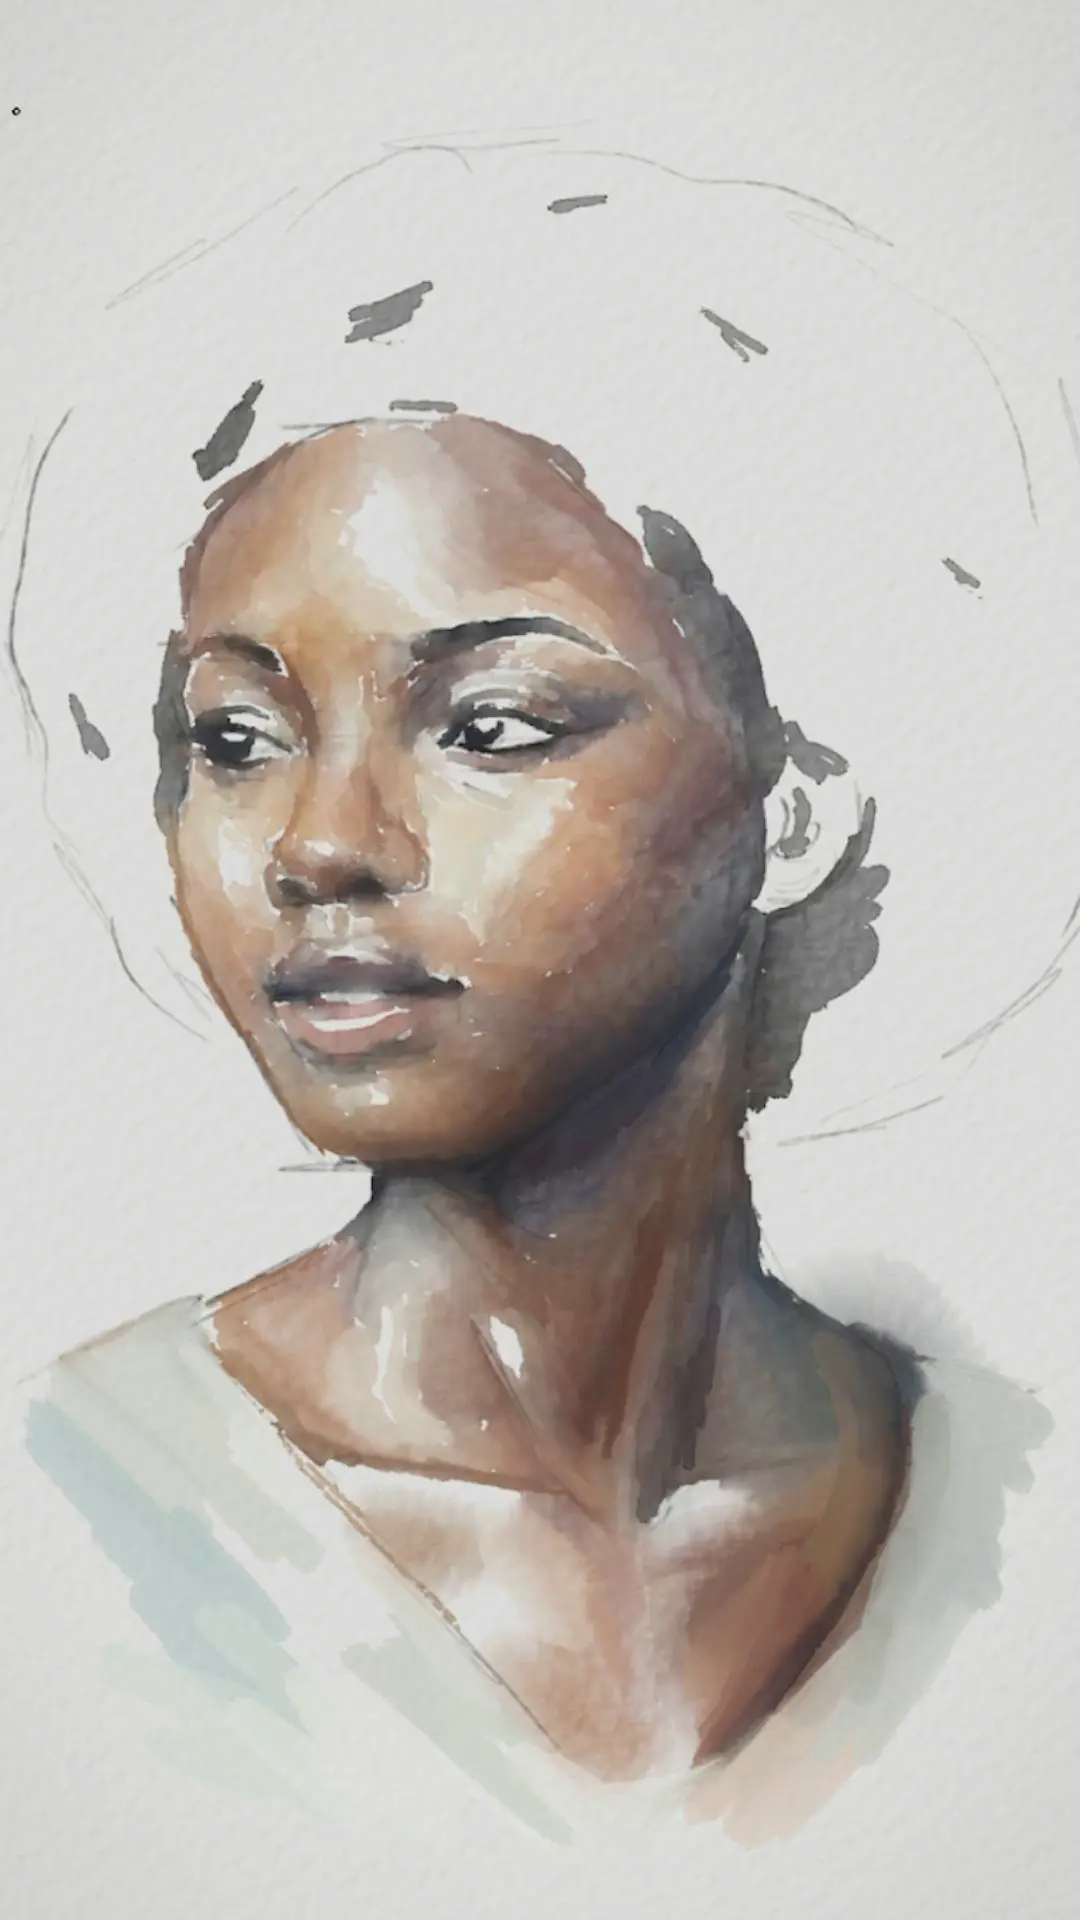
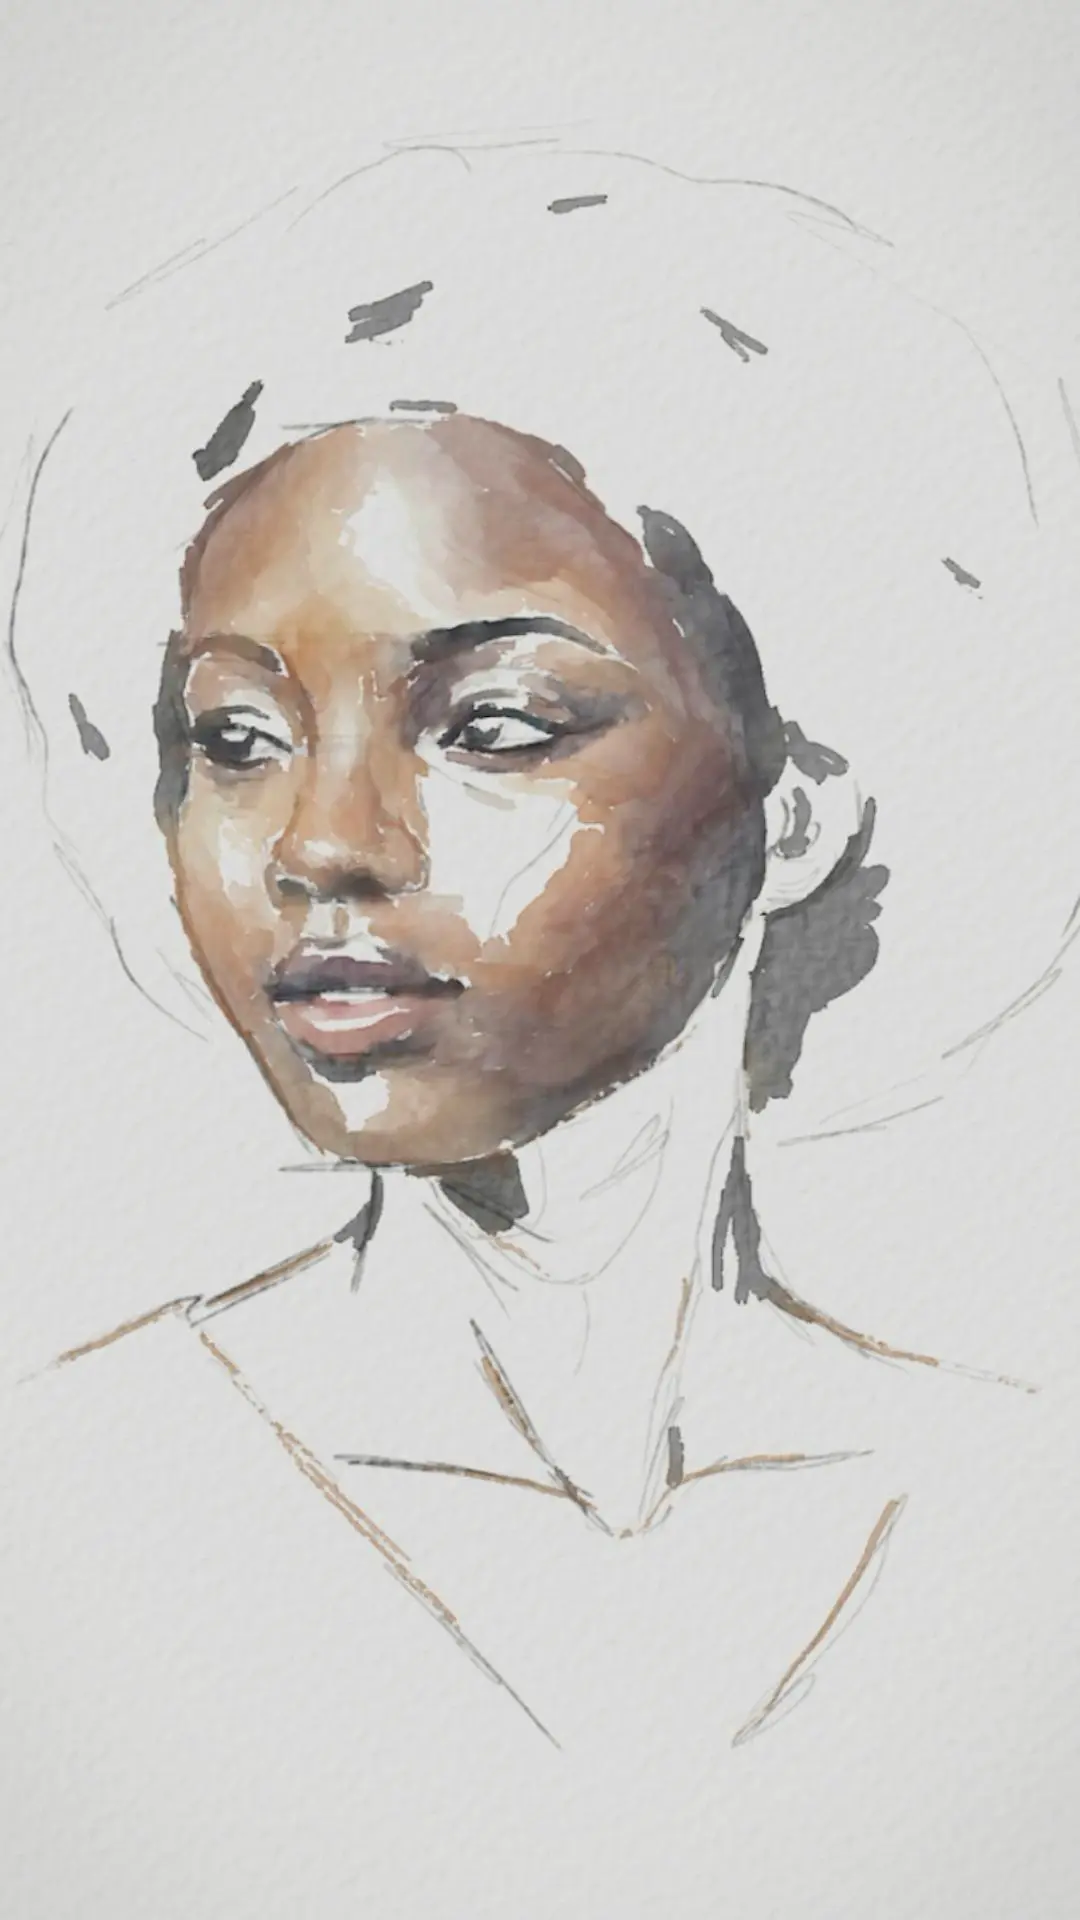
A broad wash of very light green is applied around the face with a large brush. The background remains expressive and devoid of details, which reinforces the visual hierarchy. The edges are softened so that the face blends harmoniously into the color environment.

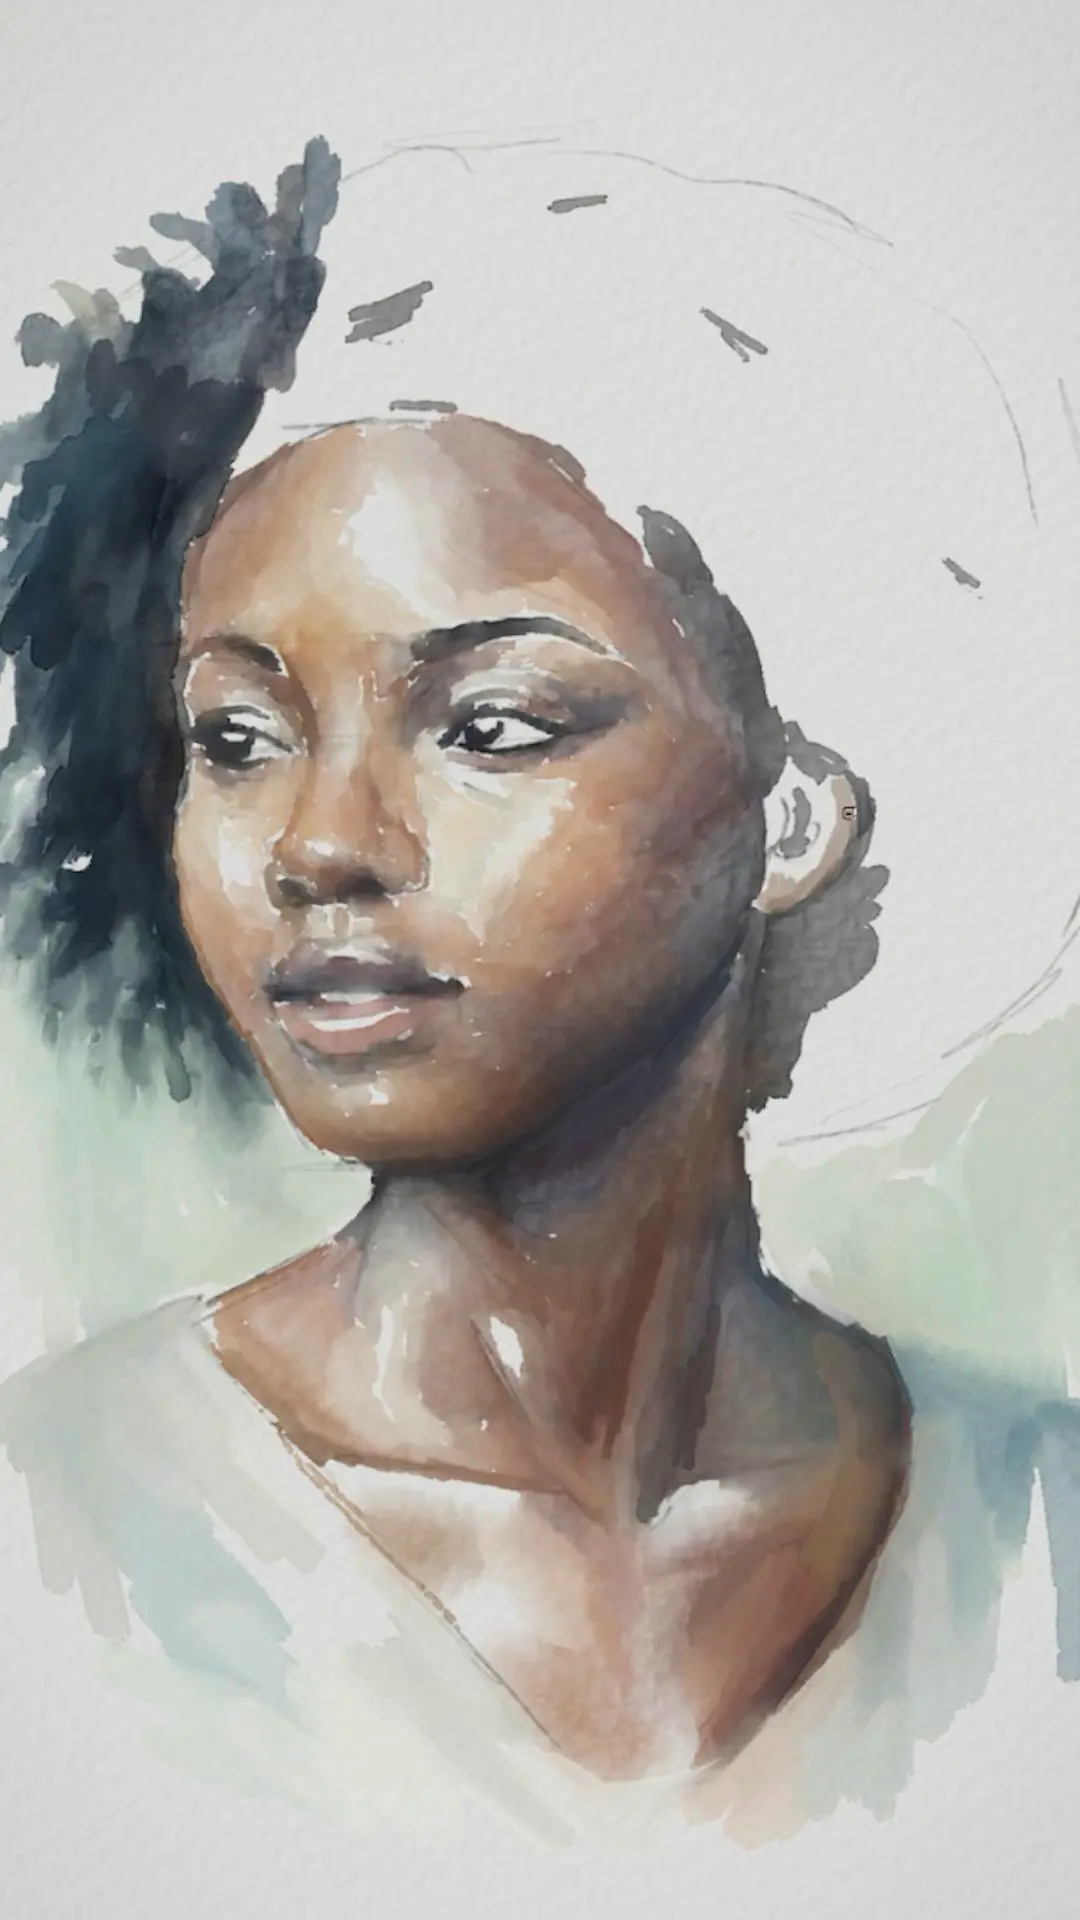
We outline the contour of afro hair with dark tones and a medium brush. Curved shapes suggest the structure of the curl. The applied tones are blended inwards to create a uniform tonal mass.
A second wet layer is applied over the already painted dark areas to intensify the value of the hair. Simultaneously, we begin to shape the ear with warm and soft tones.
We draw free loops and curves around the hairline with a medium brush. These marks create a sense of volume and density. The construction of the ear is finalized by chromatically integrating it into the face.
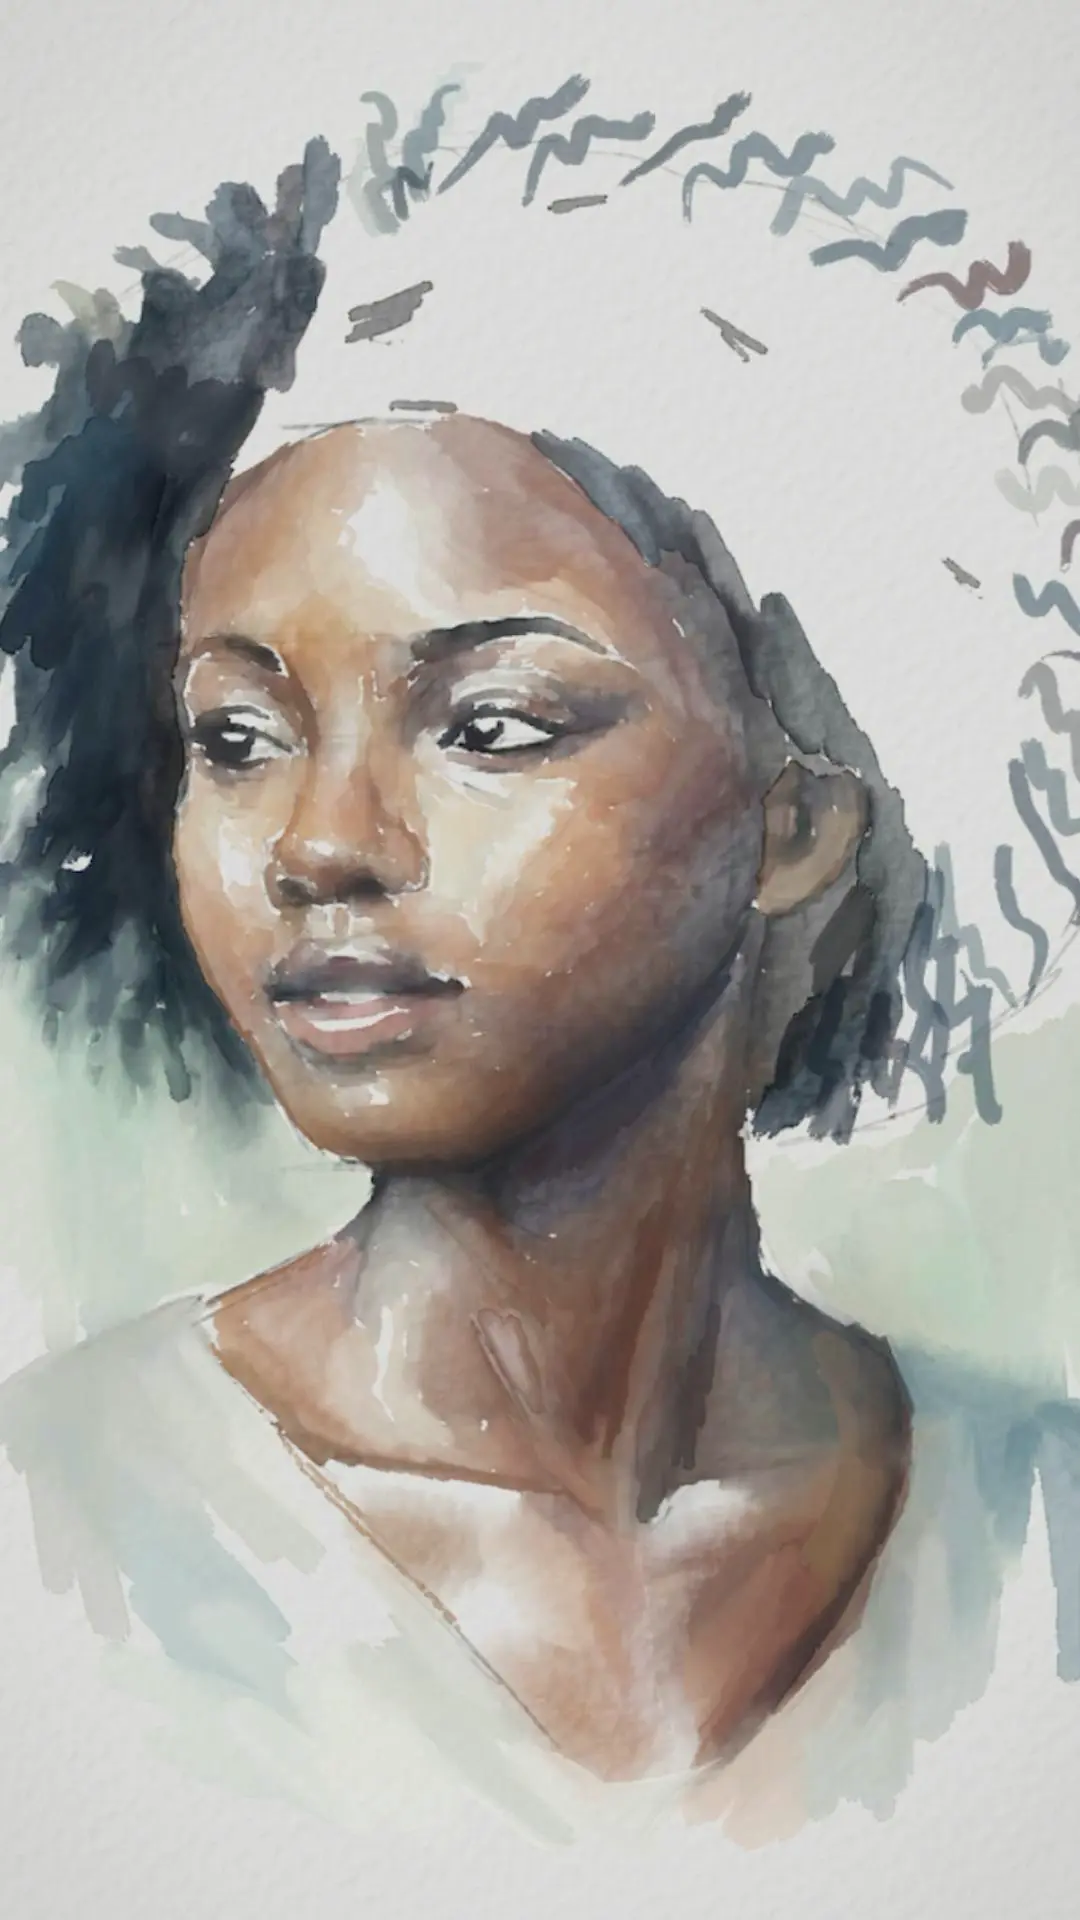
The right area of the hair is covered with a dark value that establishes the general mass. The previous curls are slightly faded in order to integrate the pattern without losing the texture. This area serves as a chromatic counterbalance to the portrait.
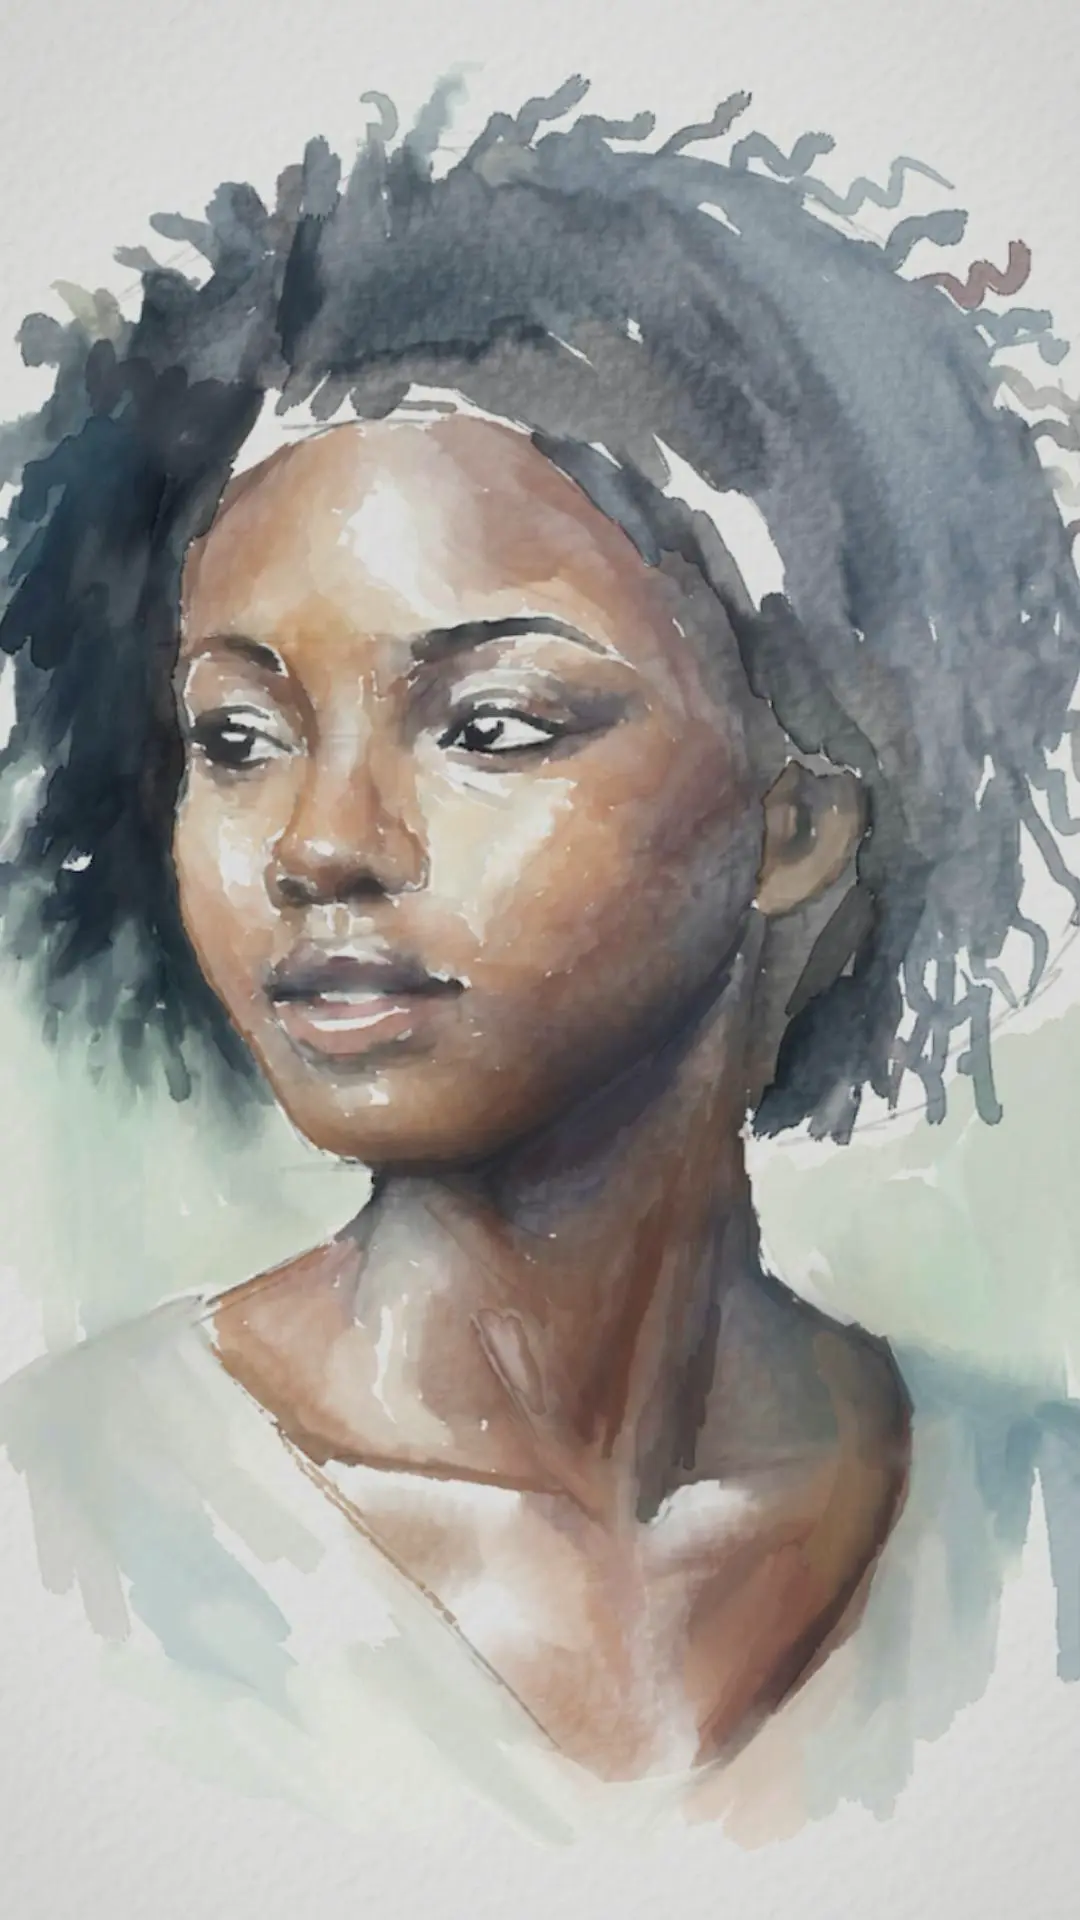
An additional layer is applied to intensify the deep shadows in the hair and to unify the overall volume. We check the edges, transitions, and proportions to ensure tonal consistency. This final layer completes the watercolor.

And there we have it, our watercolor portrait is finished.
I hope you enjoyed following each step and that you feel, like me, the gentleness and harmony emanating from the face. Don't hesitate to experiment yourself and add your personal touch!
Discussion
No comments yet.