How to Paint a Landscape in Acrylic
Landscapes fascinate us, and you must have already been amazed by a sunset with red hues spreading across the sky, to name just one among many. I bet you are here with the desire to capture these magnificent landscapes on your canvases.
Today, we will explore together the key elements to consider when creating an acrylic landscape painting.

Acrylic and its characteristics
Before we begin, it is essential to fully understand this technique, its features, and possibilities. I generally recommend experimenting freely without trying to paint something specific, but simply to observe and maybe take some notes. What I suggest is to paint a canvas, mix colors, experiment with different densities, diluting with water or even testing other mediums. The experience will let you know exactly how this material works and what you can or cannot do with it.
I will provide an overview of the factors to consider to guide your explorations. Acrylic is a material composed of acrylic polymers, which gives it the following characteristics:
Quick drying: you can create paintings in just a few minutes and layer them up.
High adhesion: it can be applied to almost all surfaces.
Water resistant, while being soluble in it.
Great versatility: ideal for texture and transparency.
Remember that this is a material that will offer you great freedom while remaining practical. It is important to keep in mind that it dries quickly, so take the necessary amount of color and use strategies to keep the palette and brushes moist.
You can add water to dilute the paint and achieve transparent surfaces, or use the paint as is, in thick layers, to create textures that will add depth to your composition.
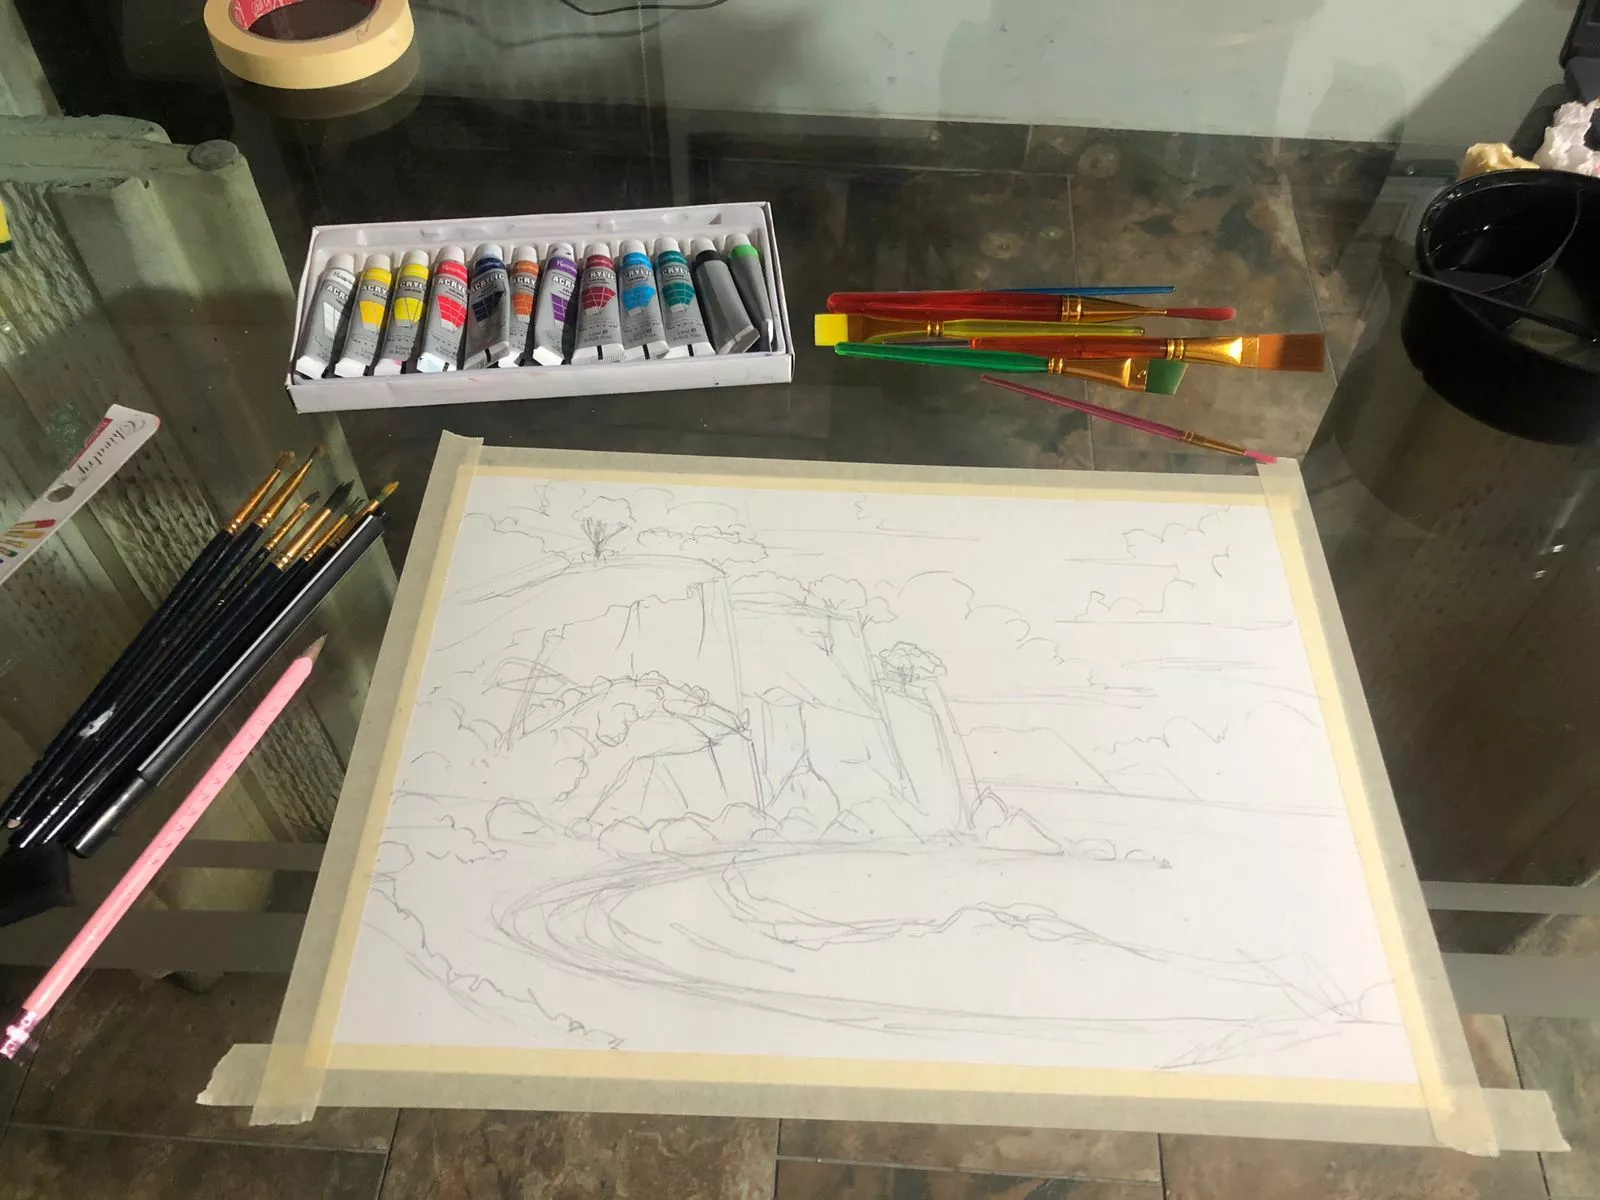
Required equipment
To paint our landscape we need: acrylic paints, brushes (but you can also use spatulas, sponges, or other tools), a surface to paint on (it could be any surface, from thick paper to glass), a palette to mix the colors if needed, containers of water or other solvents if you are accustomed to using them, and of course, a cloth to clean or dry excess water or paint.
It is also always useful to have a pencil and eraser for sketching. Once all this is available, we can start.
Painting an acrylic landscape step by step
To start, I suggest you look up references for the elements you want to include in your composition: rocks, trees, waterfalls, clouds, flowers, etc.
Having visual examples will help you enrich your scene. Also use basic composition rules: for example, the rule of thirds, to organize your image in a balanced way. Don’t forget to create a focal point to draw the eye where you want it.
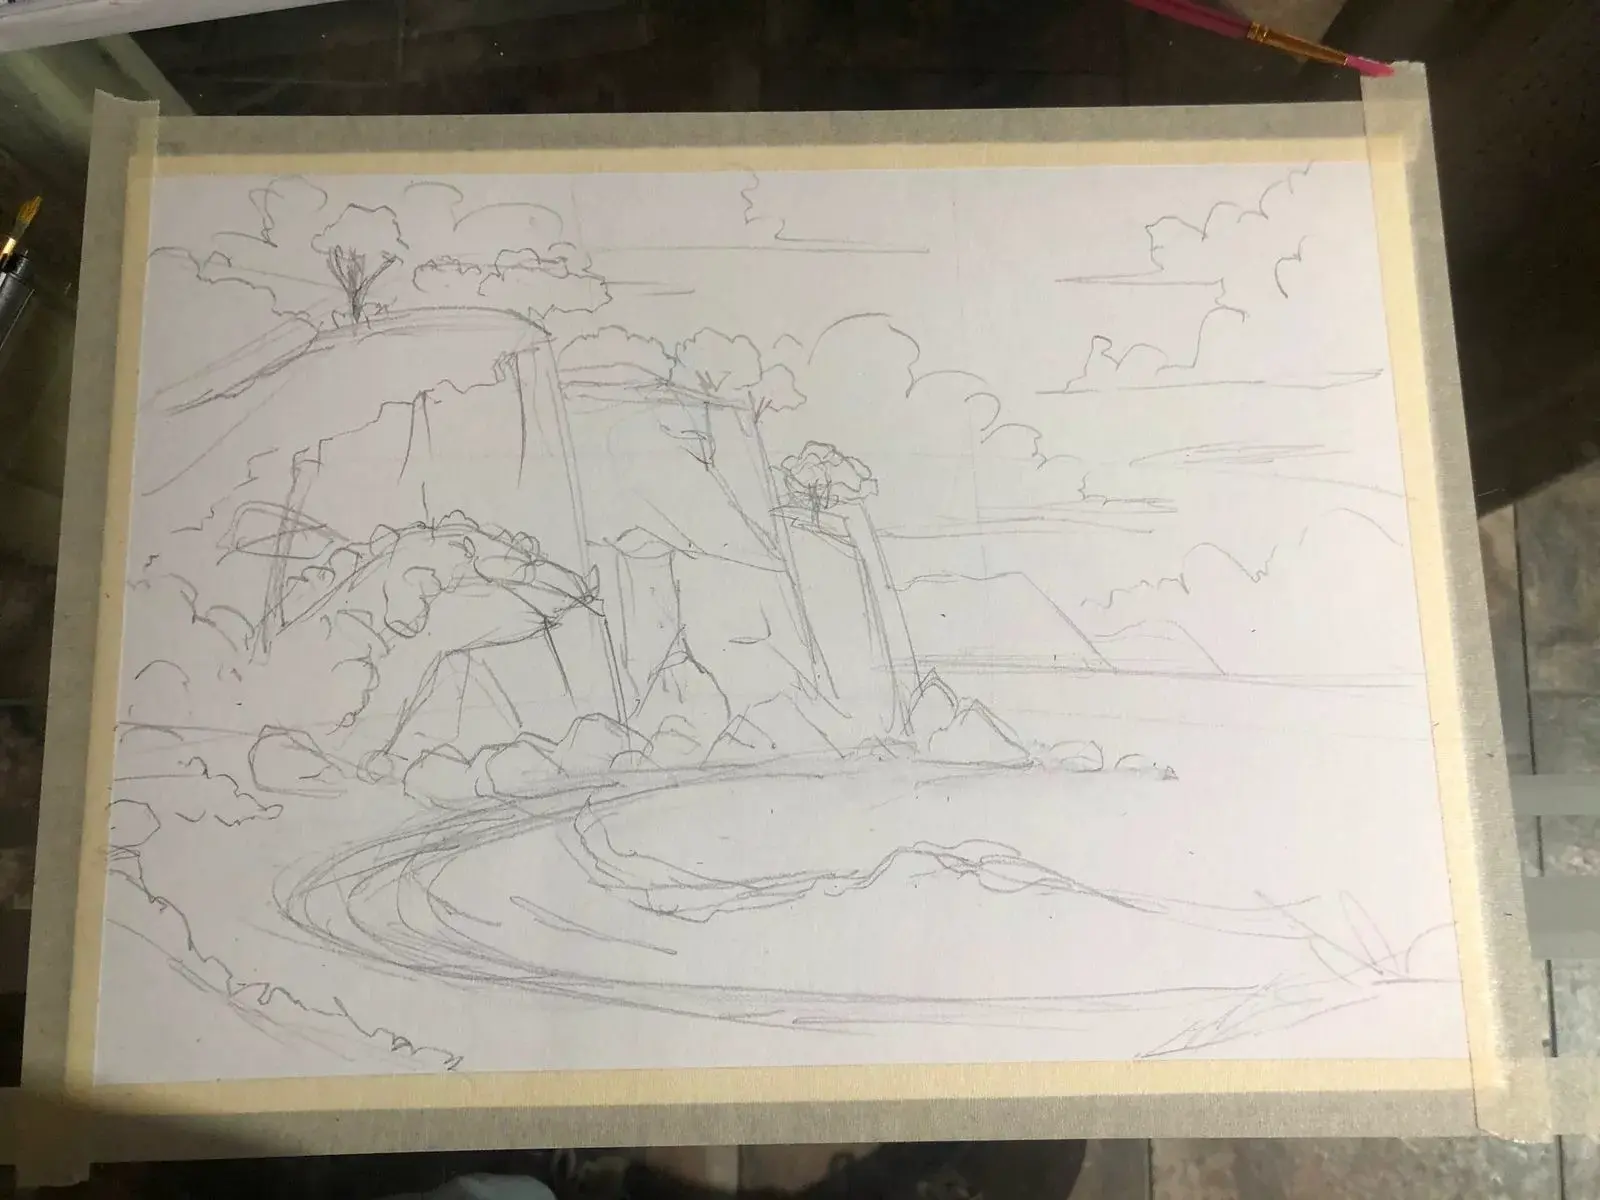
Sketch the rough outlines of your landscape
You can make a sketch in the way that is most comfortable for you, whether with generic shapes or by drawing directly with a pencil on the canvas. You can also make a separate sketch to guide you.
Painting the main elements
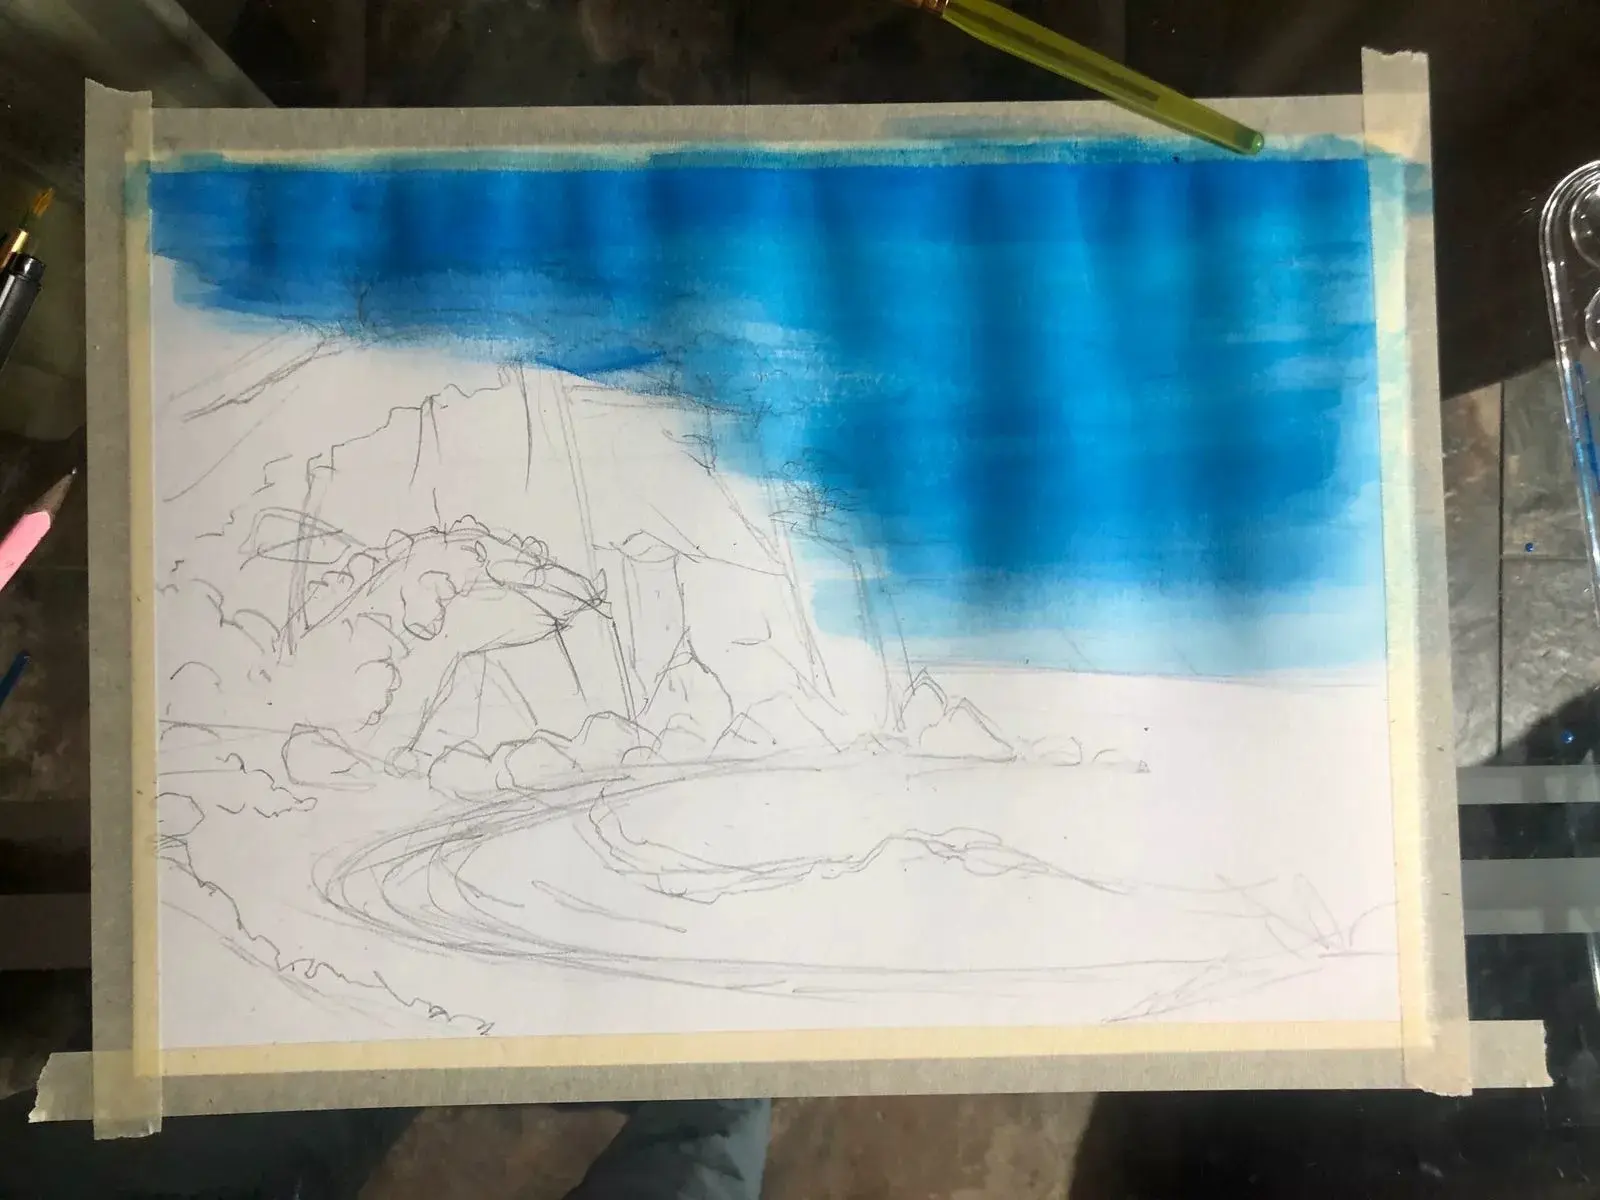
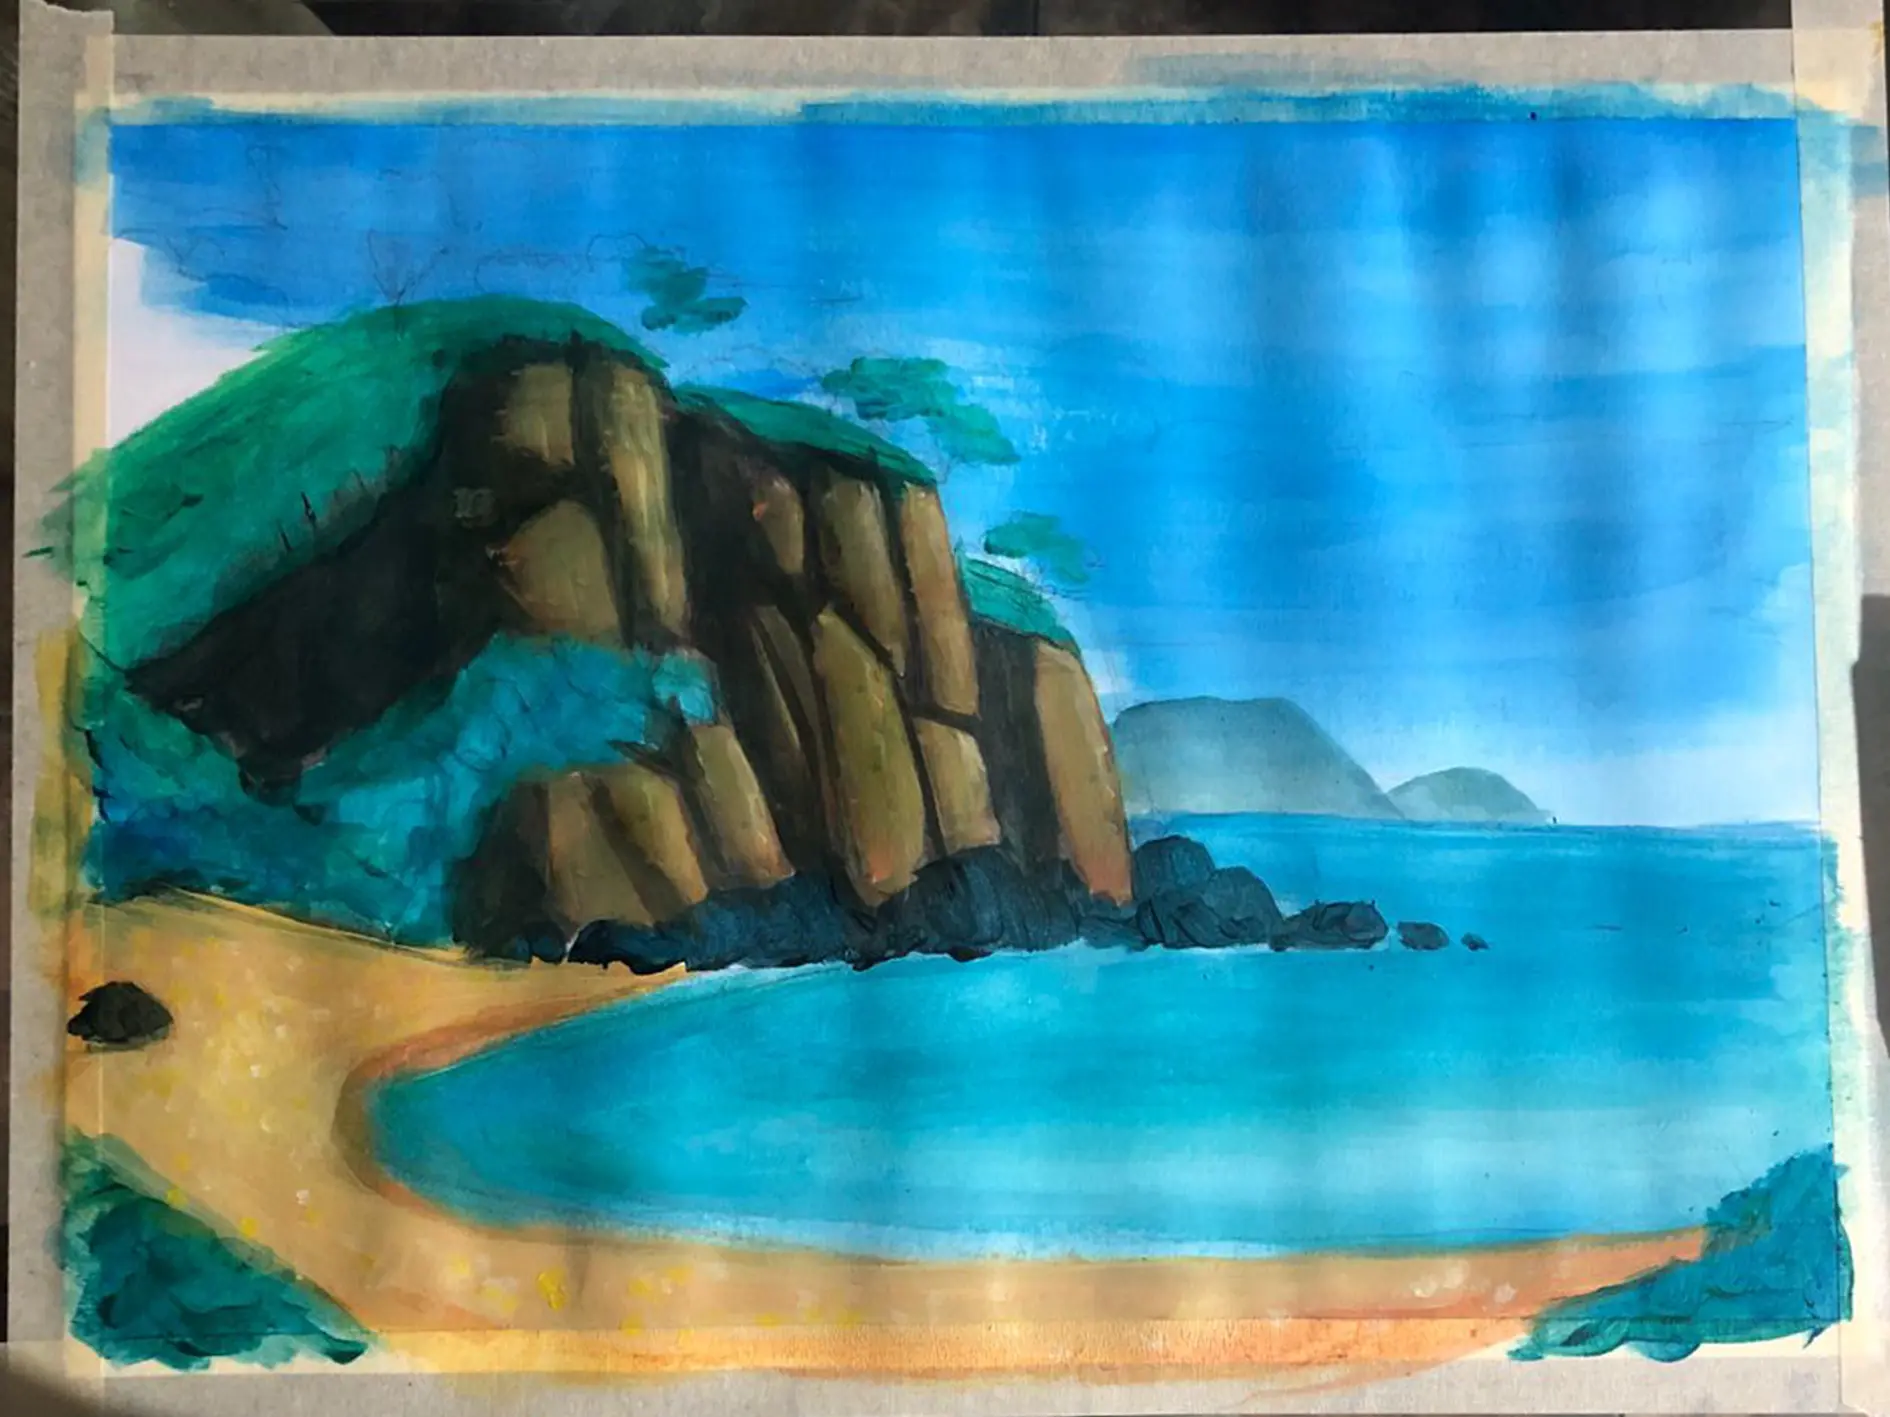
We will paint our landscape starting with the most distant elements and gradually move towards the main and most visible elements. In the example that I have prepared, I chose to paint the entire canvas with a neutral, almost opaque color, to move away from pure white.
This will enable us to better appreciate the colors afterwards. Once the background is dry and the sketch well defined, we can start painting the sky, creating a downward gradient with acrylic diluted in a lot of water. This will allow the pigments to blend delicately before drying. I will let everything dry before adding the clouds.
For these, I will use shades of blue ranging from opaque tones to almost white tones, adding a few bright touches to simulate light.
Next, I will start to fill my composition with the large shapes of my landscape. I will paint the beach, the rocks, and the vegetation with basic color spots that are close to them. At this stage, the shapes do not need to be perfect, the main thing is to set the foundation of the scene.

Painting the foreground of the landscape
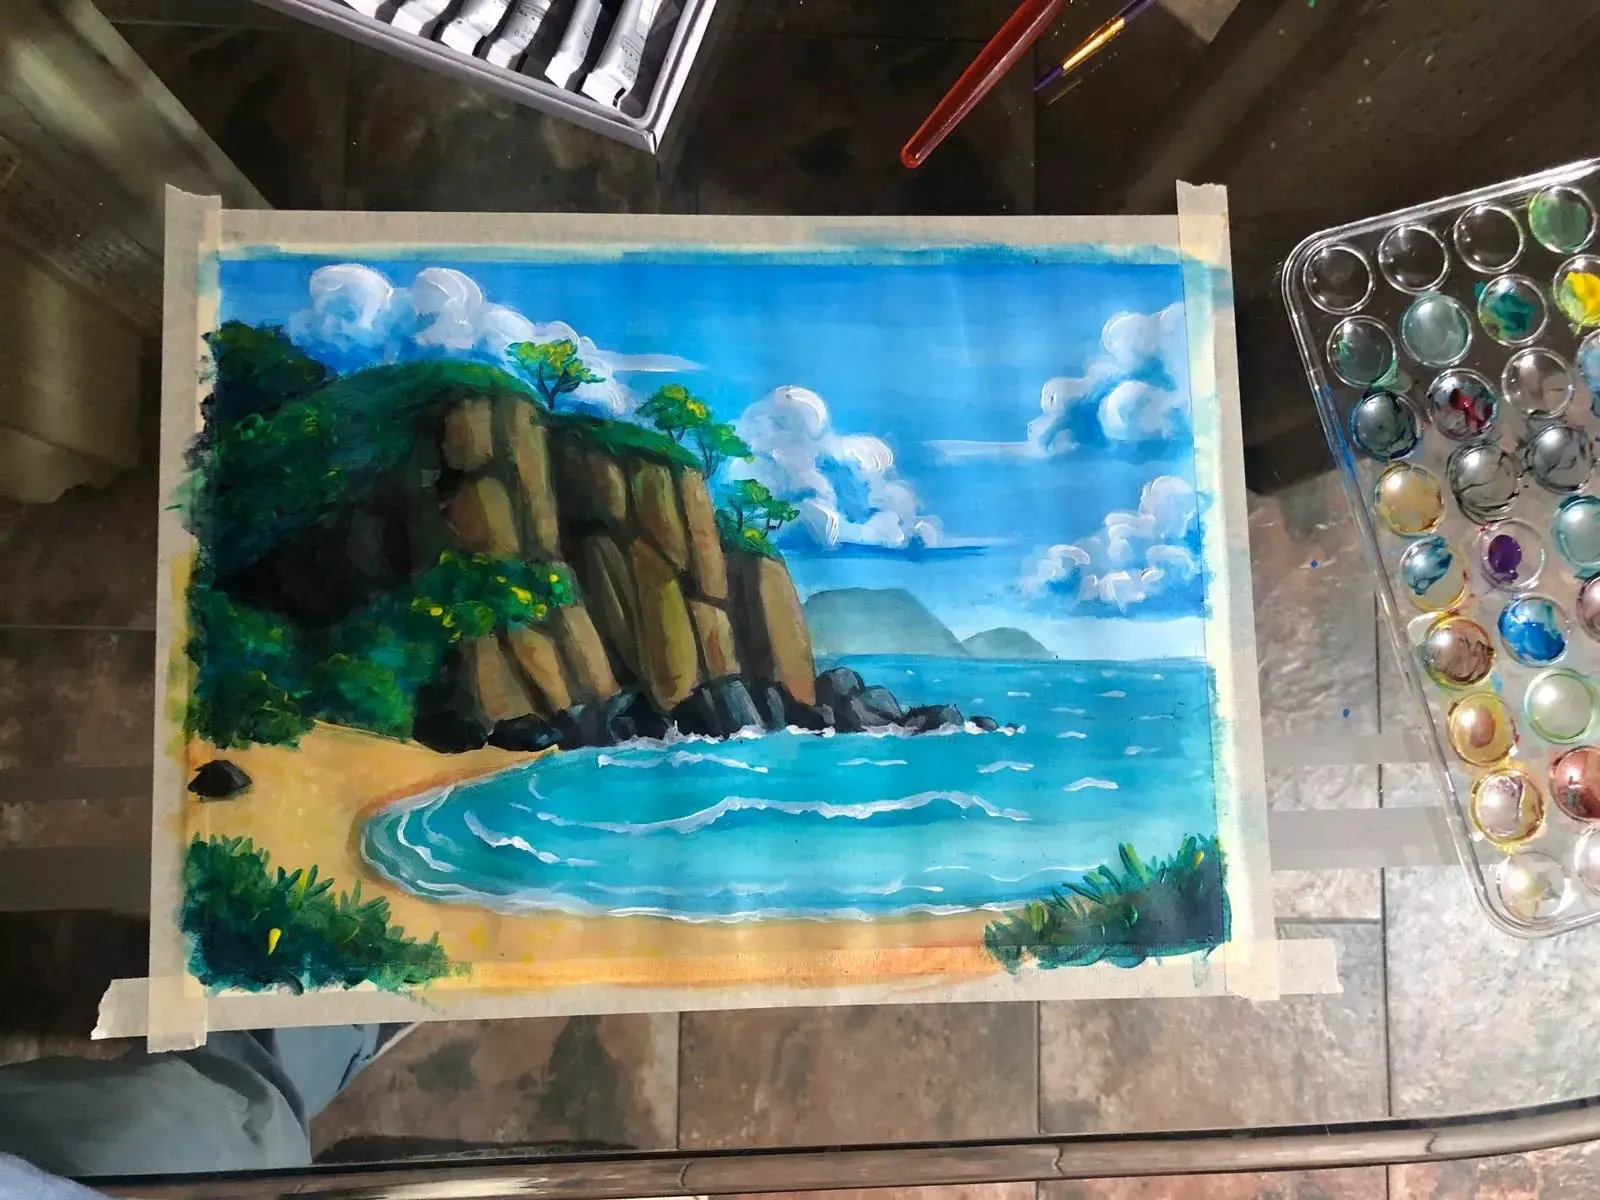
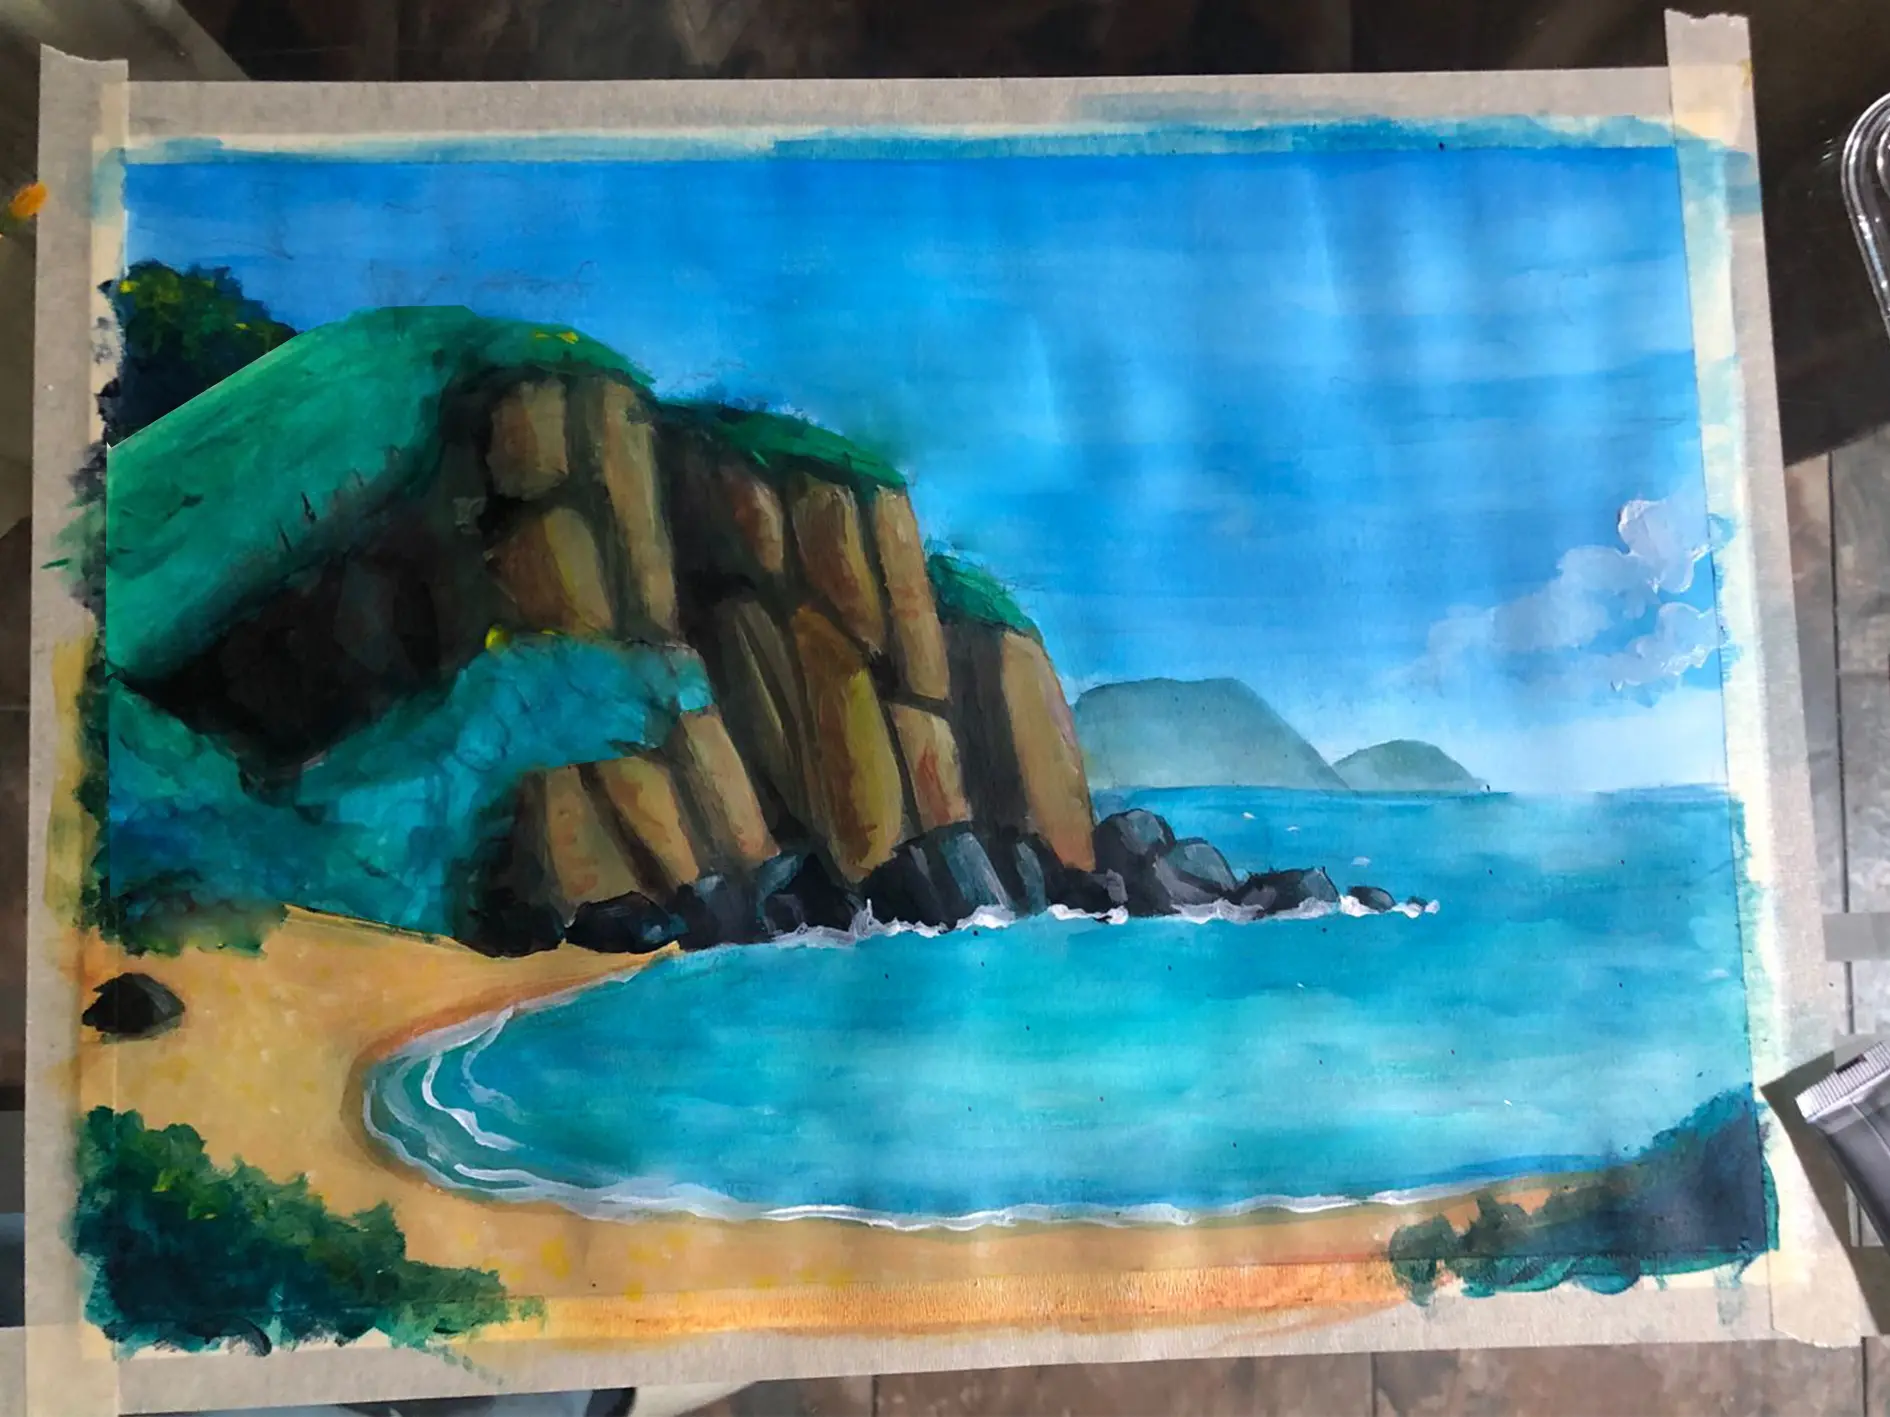
Let's now move on to the foreground, which is the most important, as this is where the central elements of the scene are placed. I will add rocks and waves approaching the beach, as well as sand that welcomes them.
I continue to add layers of color to shape the elements, but this time, I incorporate texture so that different elements, like the foliage of trees, wet rocks, and sea foam, are clearly distinct.
In our drawing, we see a mountain emerging from the sea in the background of the scene. We will gradually add volume and texture to the mountain without defining every detail too much.
I will simply apply increasingly lighter general color shades to give it shape. Then, I will move on to the sea, drawing curved horizontal lines that narrow as they approach the horizon, where they disappear completely. I'll use different shades of blue and other colors, feel free to use white for bright, marked highlights, as it's a characteristic of water.
I will now paint the rocks, creating long, sharp shadows, while increasing the contrast to mimic the illusion of wet stone. I will add highlights with white and a few touches of pale yellow to simulate sunlight and create a feeling of warmth.
To brighten the plants, I will add different shades of green, with small touches of yellow to give them brightness. Gradually, shapes of trees and bushes will begin to appear.
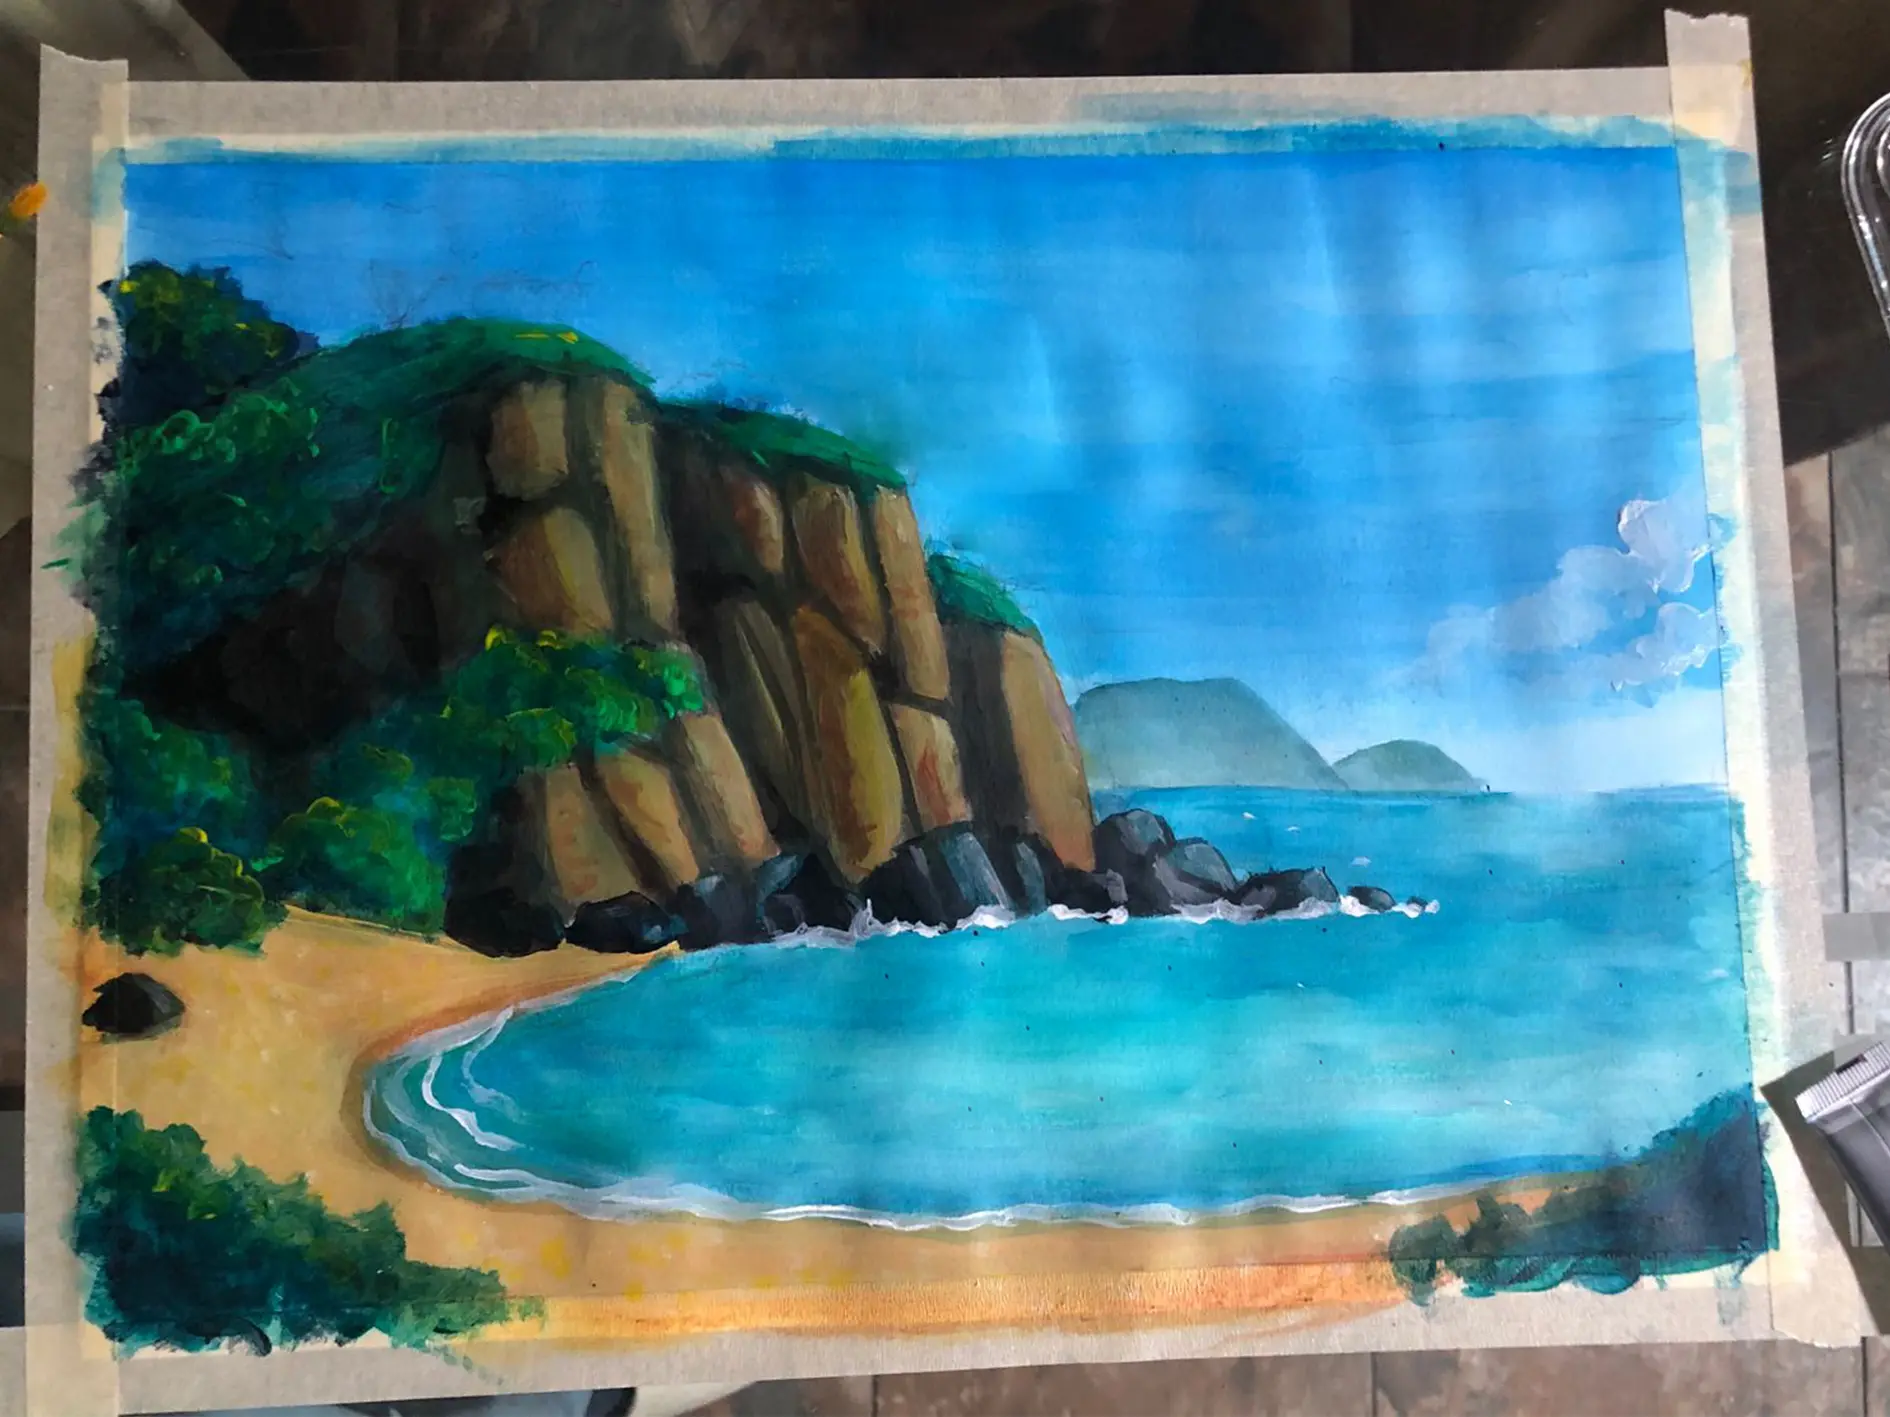
This is where the waves start to collide and break on the sand. To represent them, I will use continuous brush strokes to give the feeling of fluidity characteristic of water. I will not use white at the beginning, but in some places, it will be necessary to apply it.
Finally, the waves will slide onto the sand, where I will paint them with a very diluted light blue, using several overlapping layers that blend into the color of the sand. I will add a few white curved lines to represent the foam left by the impact of the waves.
Finalizing the landscape painting
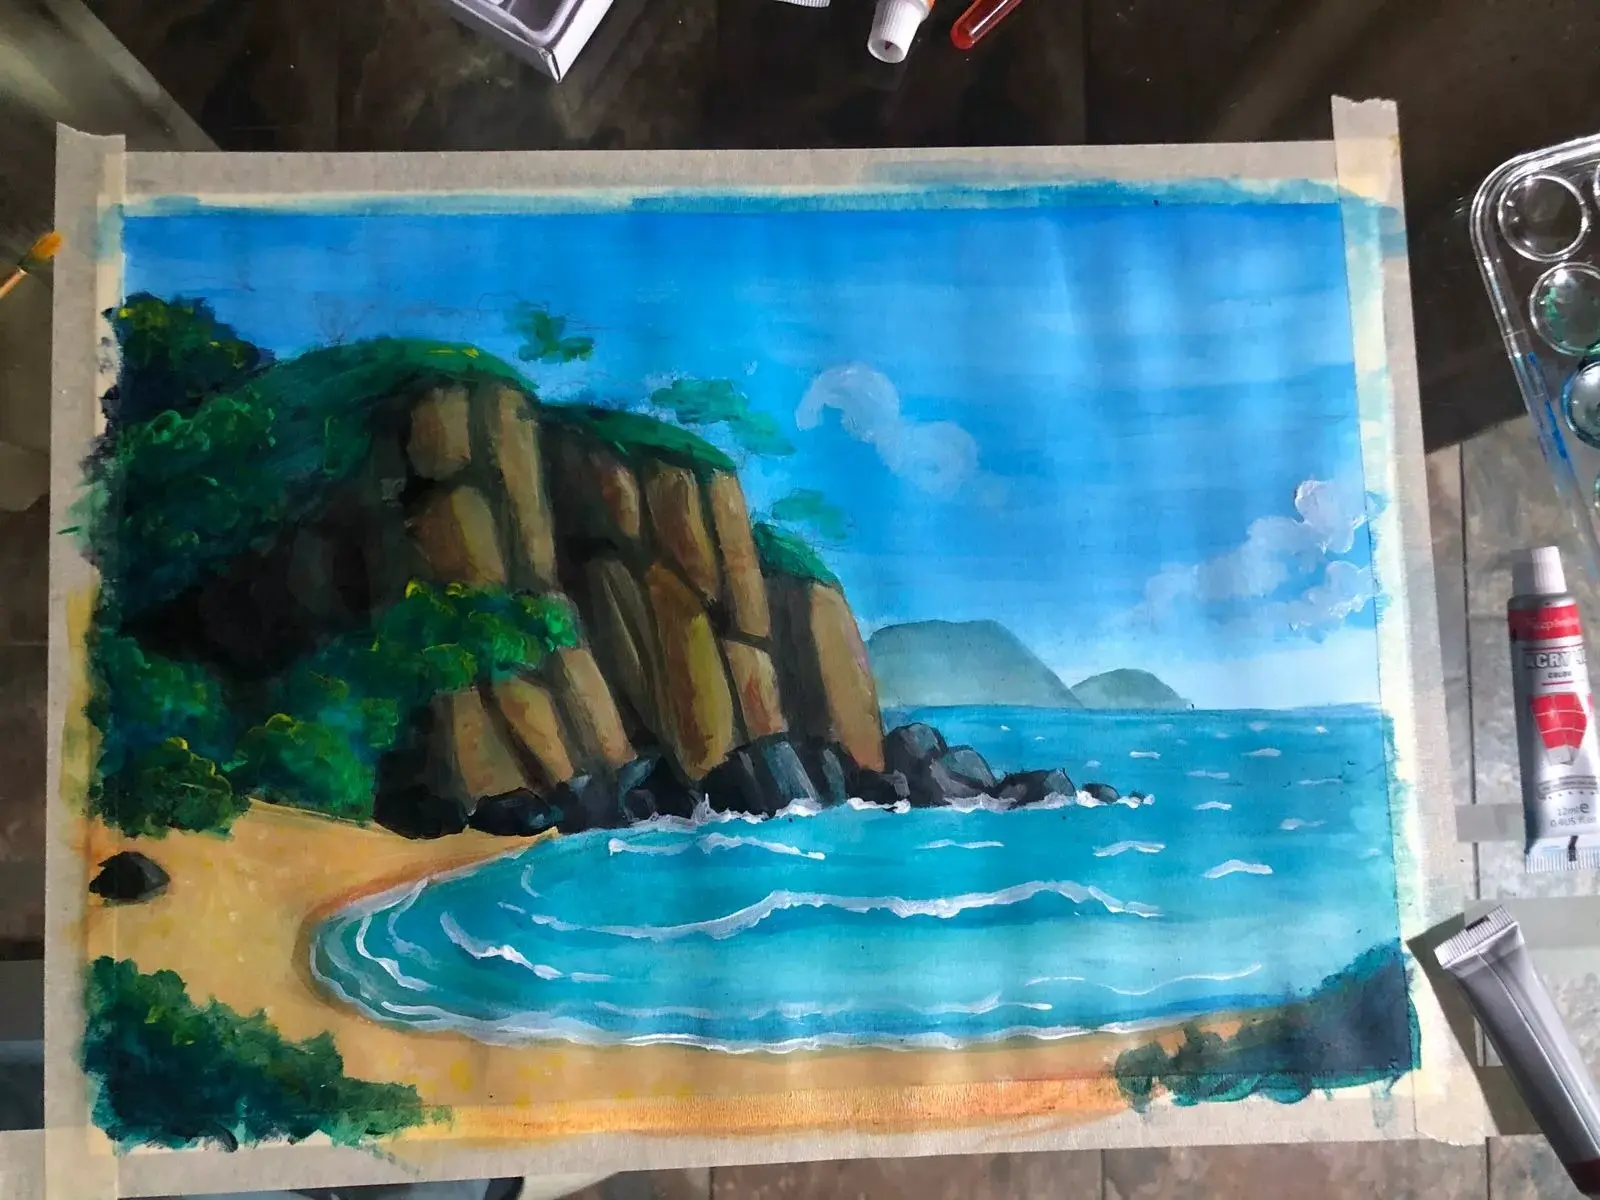
For this section, I will paint the grass in a darker green, as if it were in the shadow. I will add some detail and texture, but not too much, as these elements are in the foreground, but they should not dominate the scene.

I hope you enjoyed this article and that it helps you start creating your own landscapes.
Do not forget to design your acrylic painting by following the rules of composition, painting from the background to the foreground, focusing on details and textures for the main plane, and initially working with base colors before adding brighter shades. Reserve white only for reflective or transparent surfaces.
Discussion
I'll give it a try :-)