Painting a Rose with Acrylics
Roses, and flowers in general, are a common subject in painting, ideal for decorating an interior or giving a lasting gift. When painting them, many factors come into play, from theoretical aspects to symbolic aspects, and of course, the choice of material. Indeed, a flower painted in oil, with its nobility, is very different from one painted in watercolor, which is much more spontaneous.
Today, I invite you to join me to discover how to use the power of acrylic to paint a striking rose.

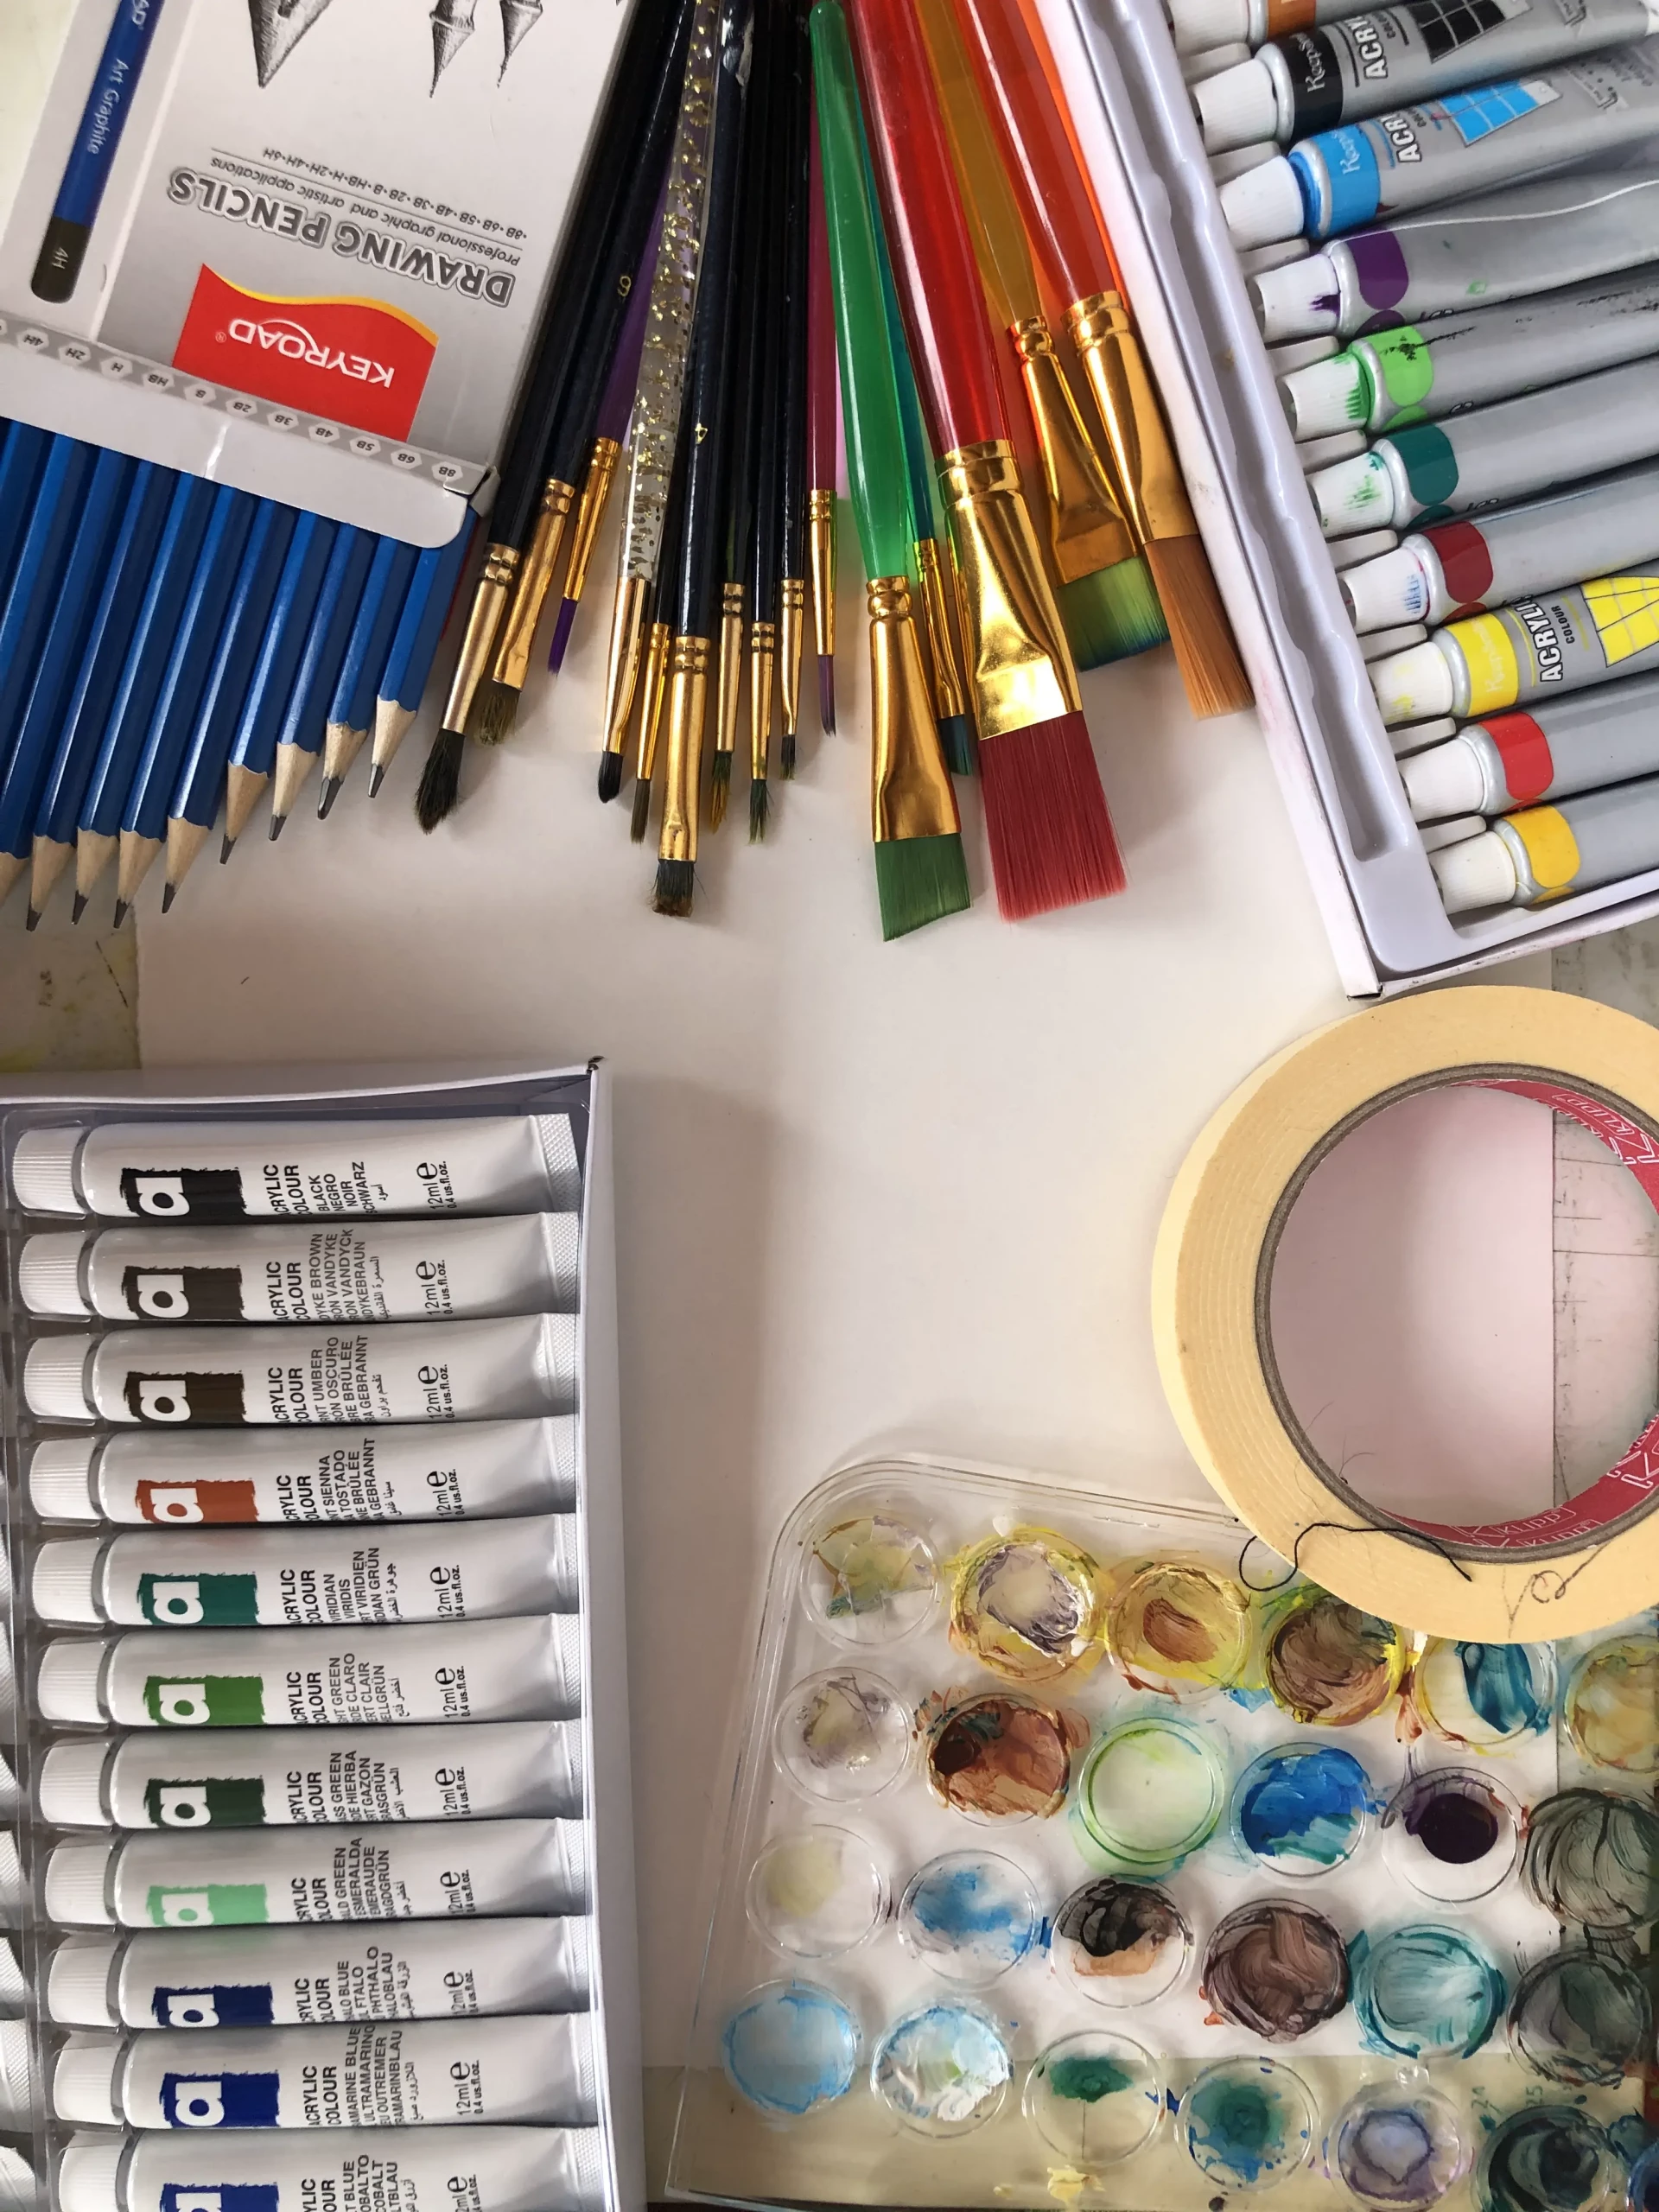
What equipment should be used?
Before you start, make sure you have all the necessary materials. This way, you can work without distractions or interruptions. Gather your set of paints, a palette for mixing, brushes of various sizes and shapes, pencils for sketching, heavy-weight paper, and masking tape to secure your surface.
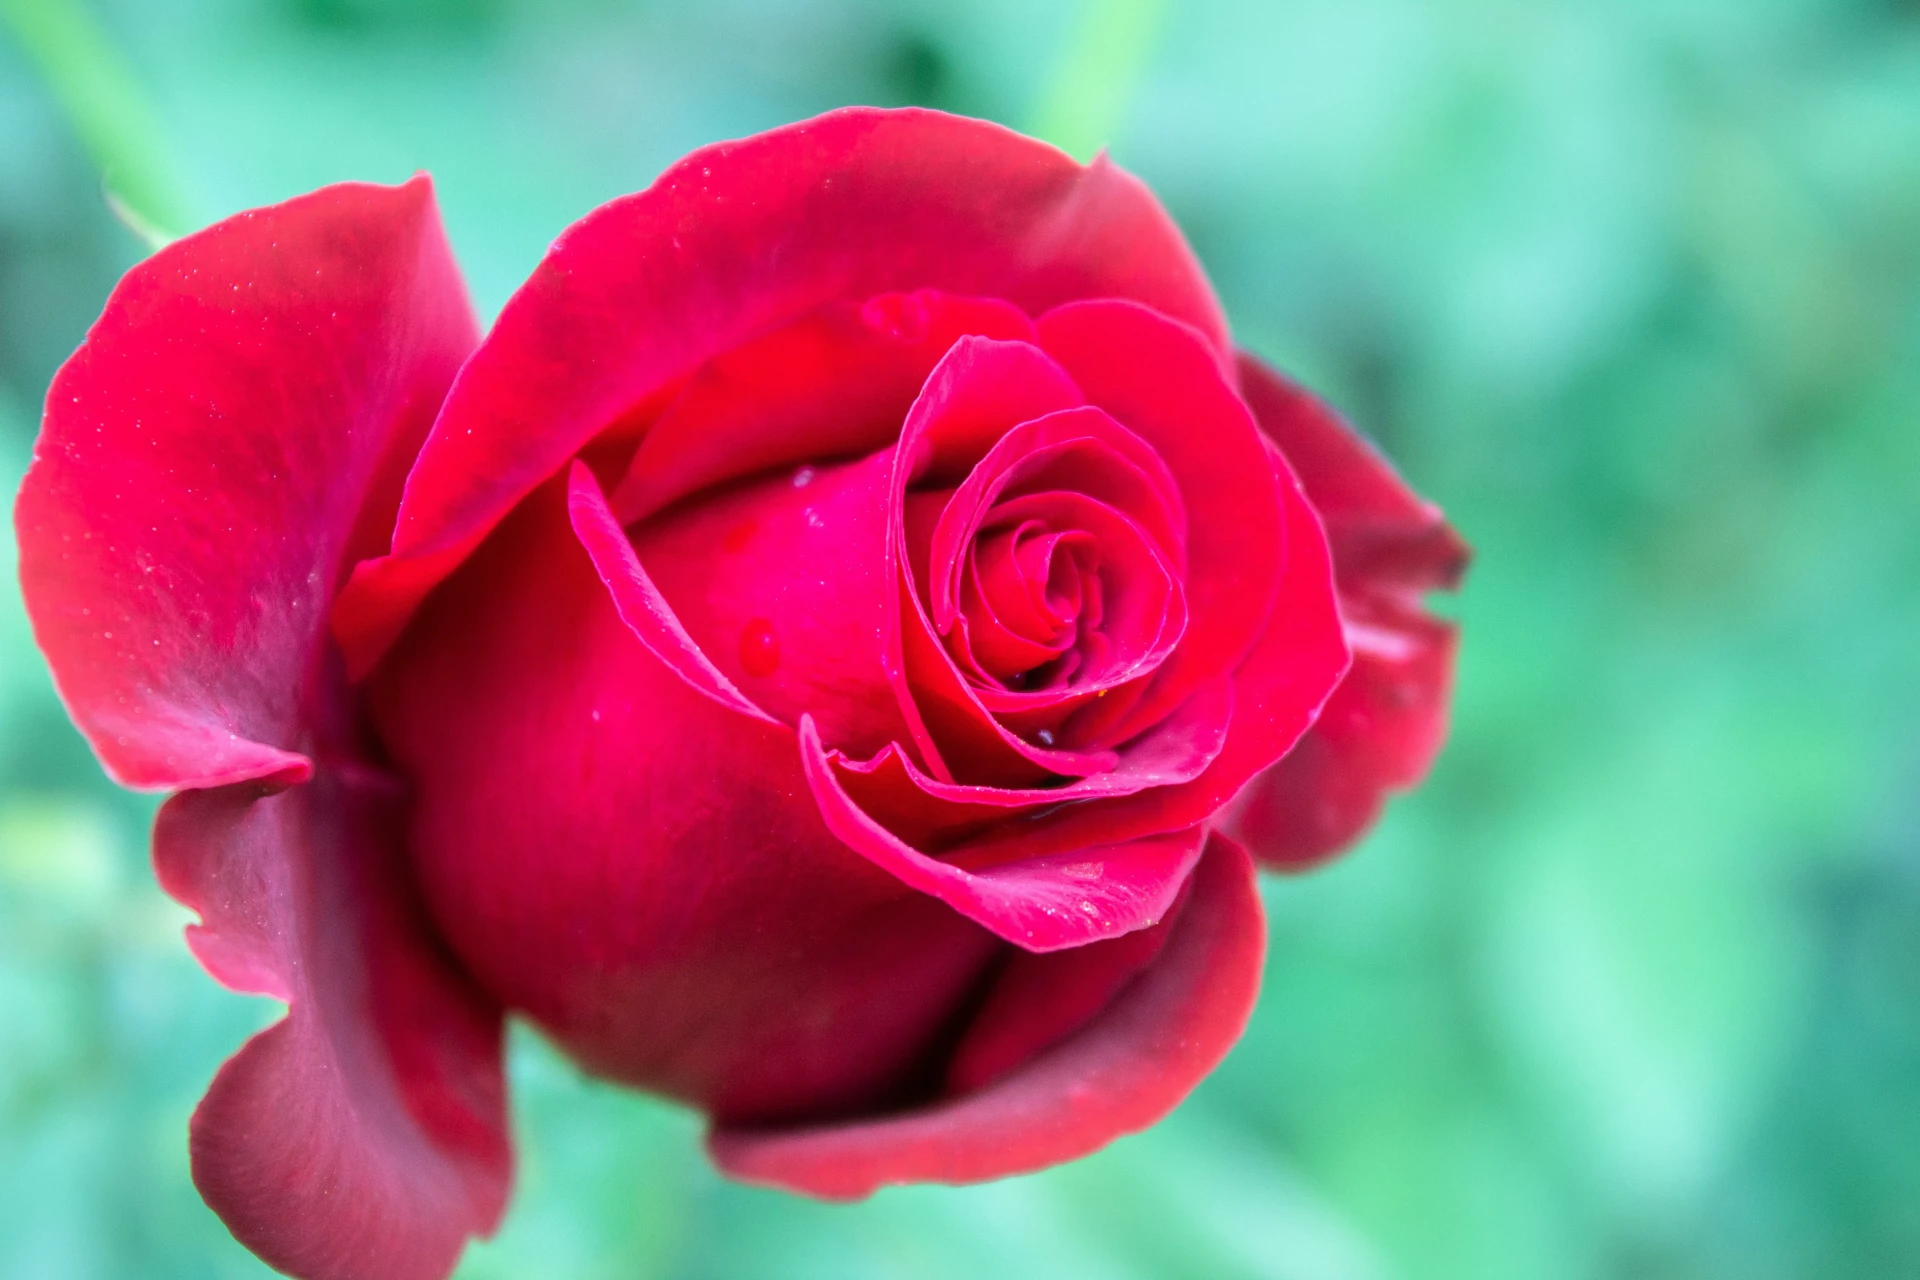
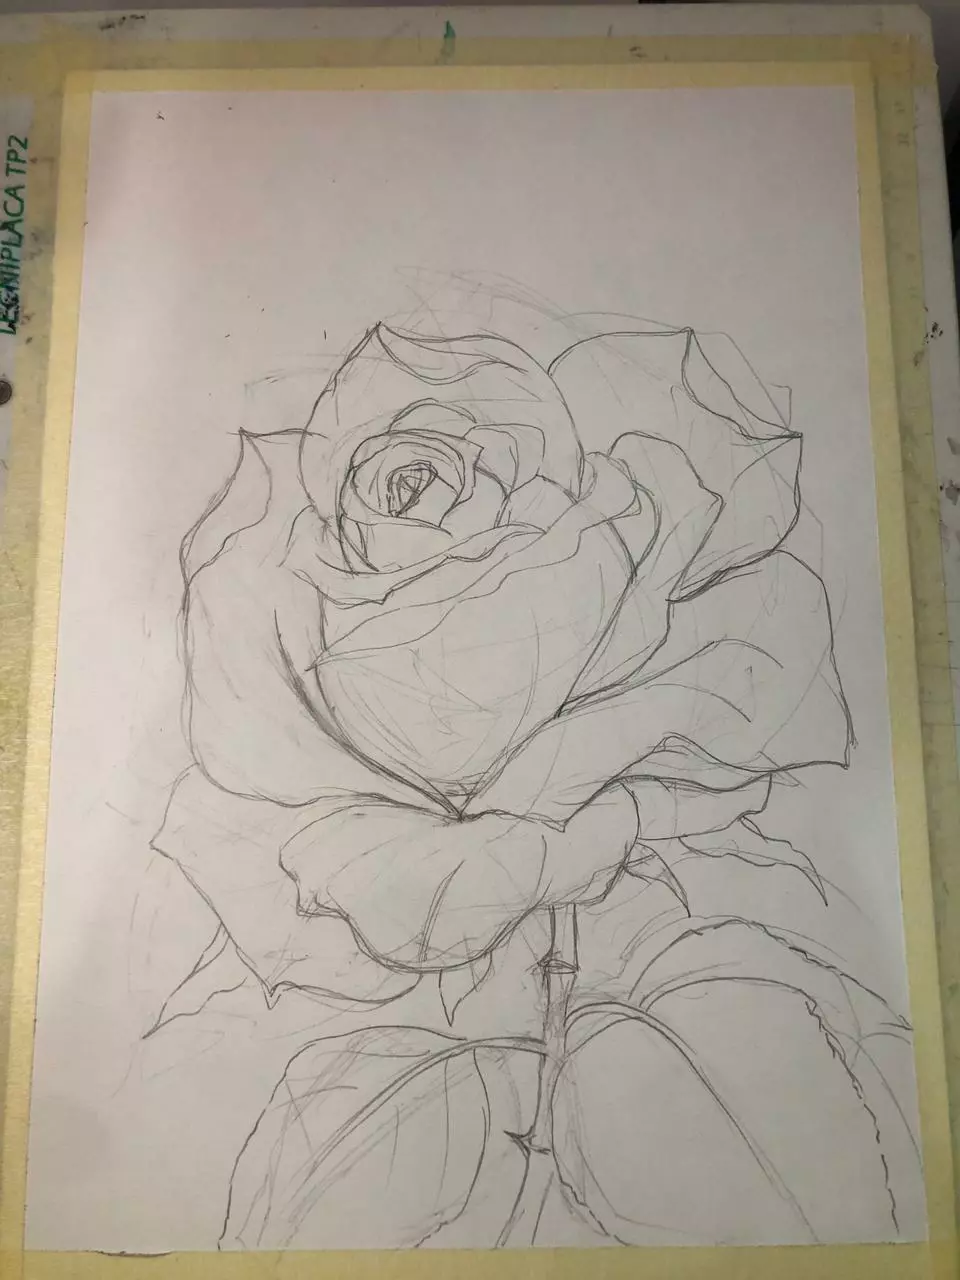
Observe and understand the structure of a rose
Roses have a complex structure, so we will dedicate a part of our work to observing them carefully. Keep the following elements in mind:
The petals are soft layers that slightly crease and intertwine. Each petal is born in the middle of the previous one and folds back towards its edge.
The closer we get to the center, the smaller and more curled the petals become.
Then reserve the most dynamic lines for the outer petals.
Even though the rose appears mostly red, its texture and coloring contain several shades of that same palette. You will find pinkish tones, purples and other variations that will add more realism to your painting.
Today, we are going to paint, so it is useful to draw inspiration from some reference works. This helps to better understand how to exploit expressiveness and texture.

Painting a Rose with Acrylics Step by Step
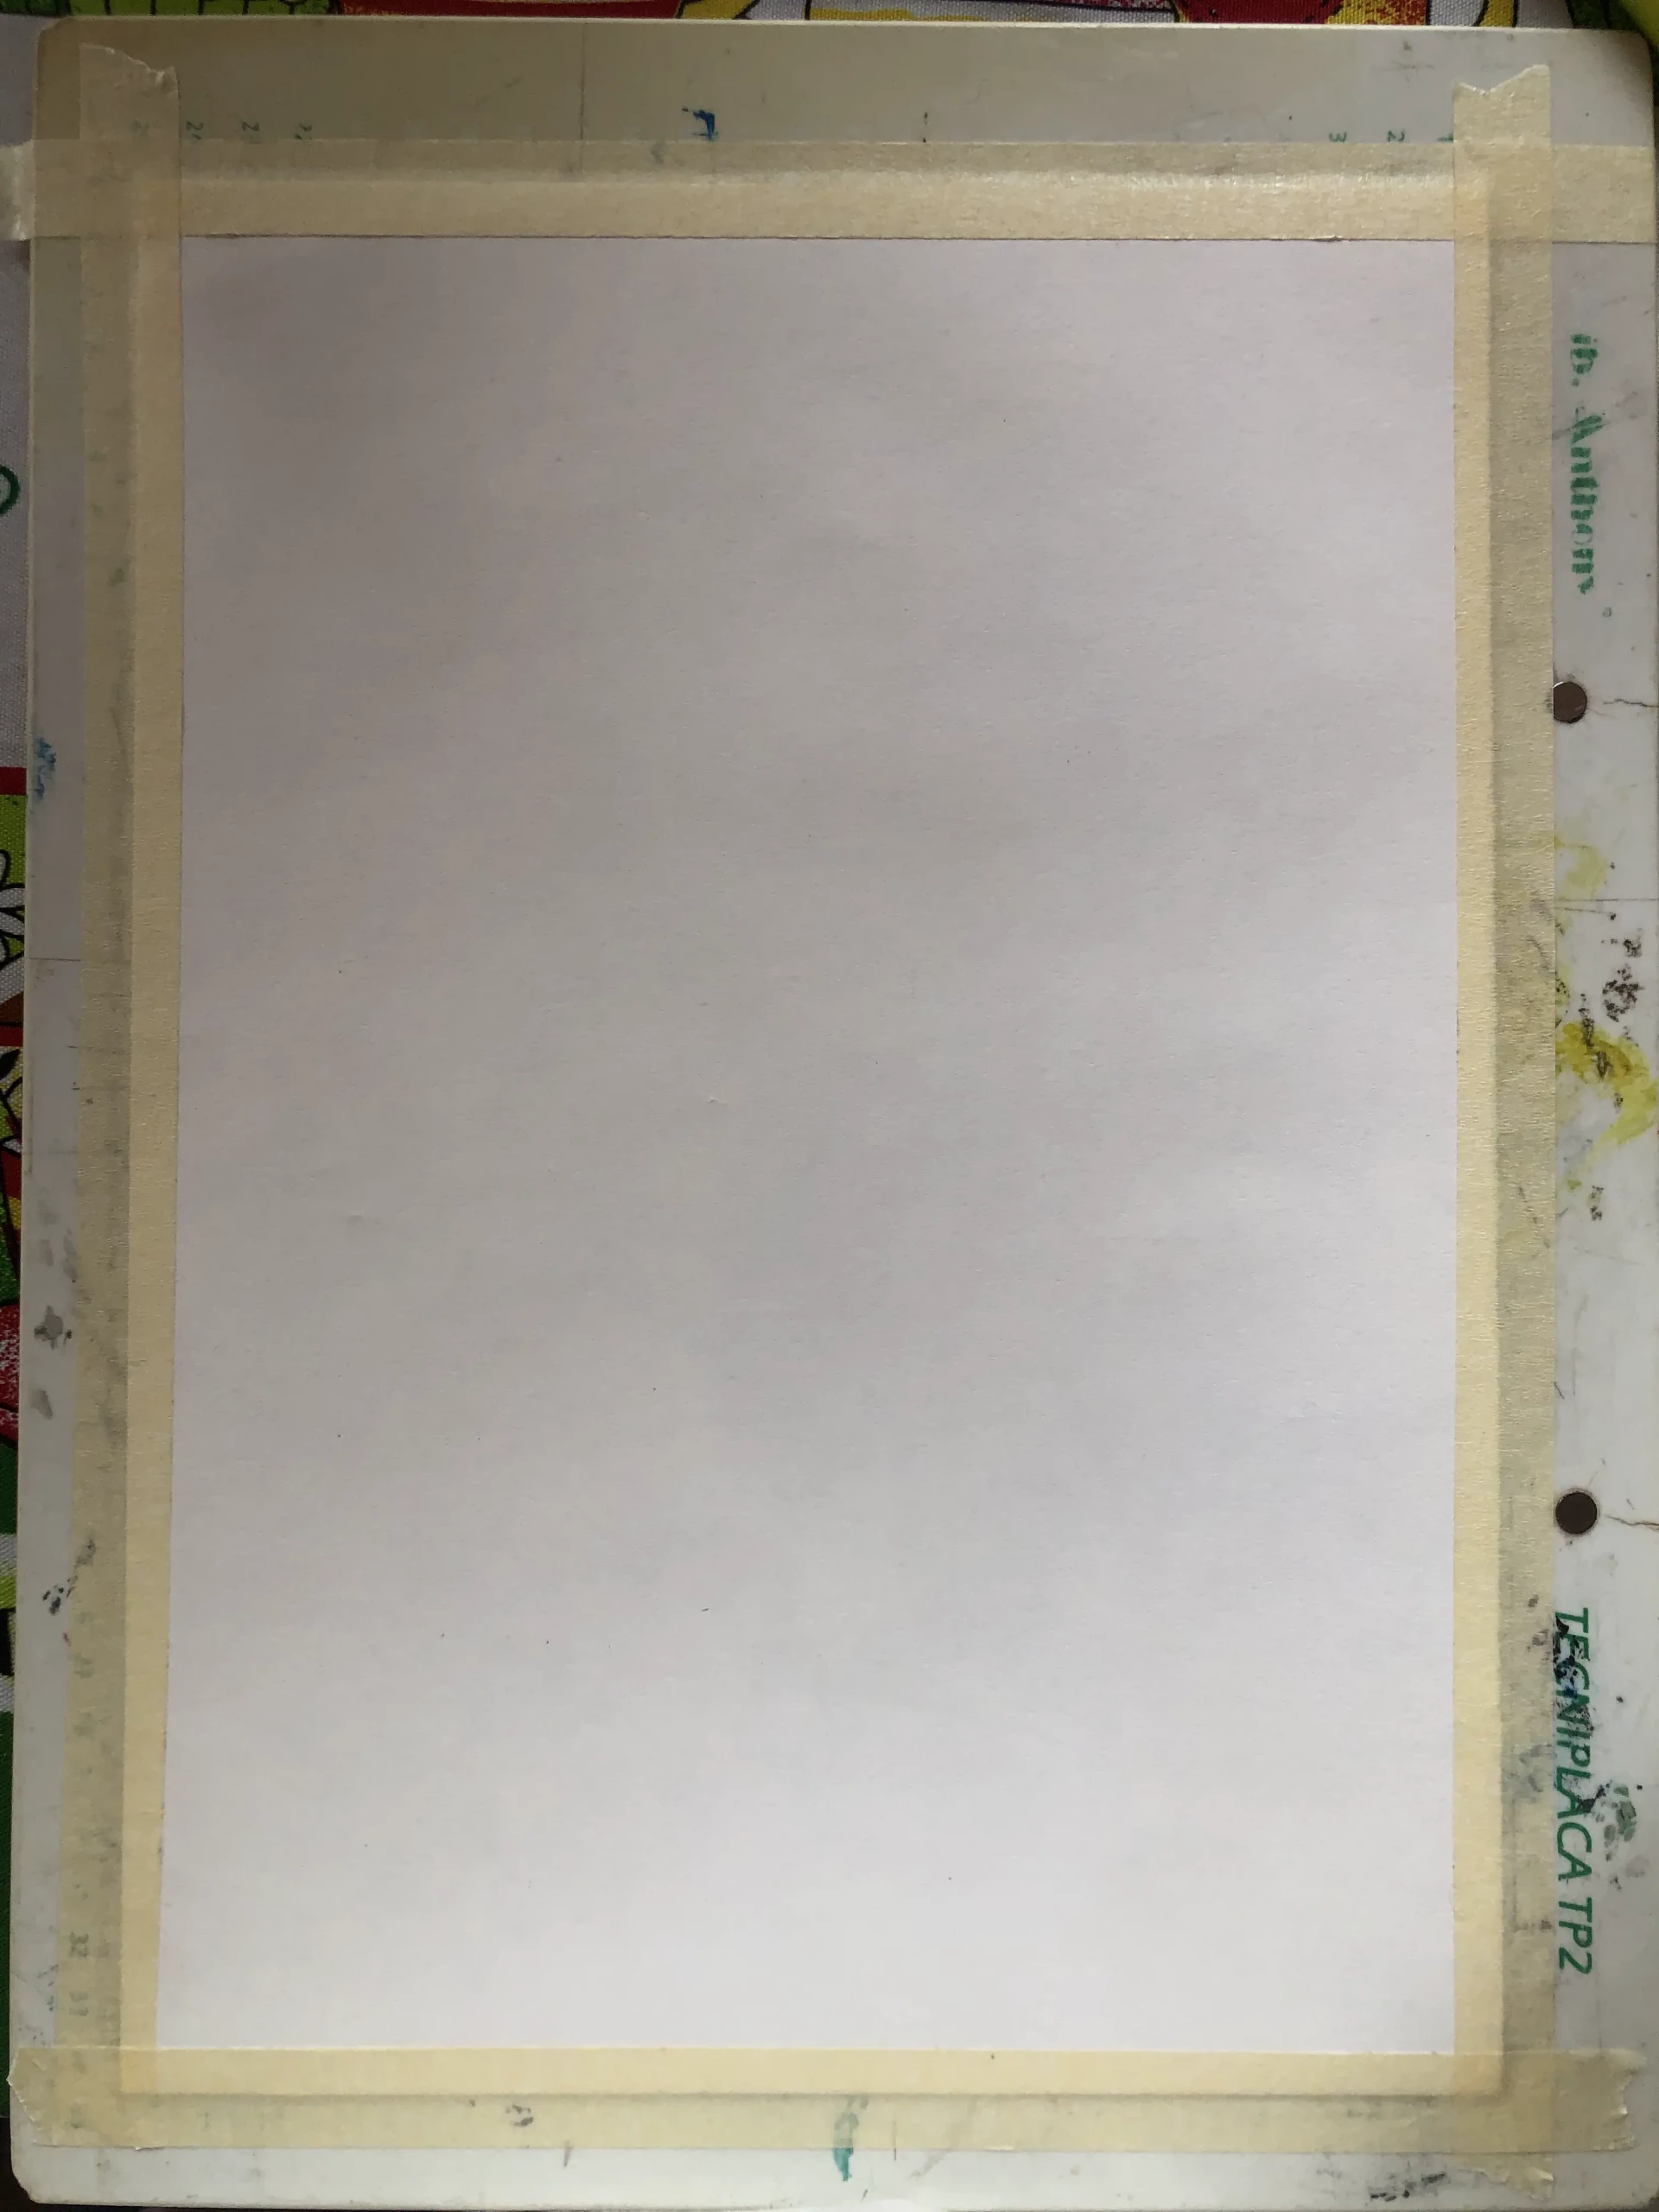
To start, choose a well-lit area, like a table or a drawing board. Next, secure your paper with masking tape or, if you're working on a canvas, make sure it is stable to prevent it from moving or shaking. Keep your paints and brushes close by, but at a sufficient distance to avoid accidents. It is also useful to have a container of water to clean your brushes and thin the paint.
Using your observations and/or a real model, create a sketch. Think about the composition, the elements present, and clearly define the shape of your rose.
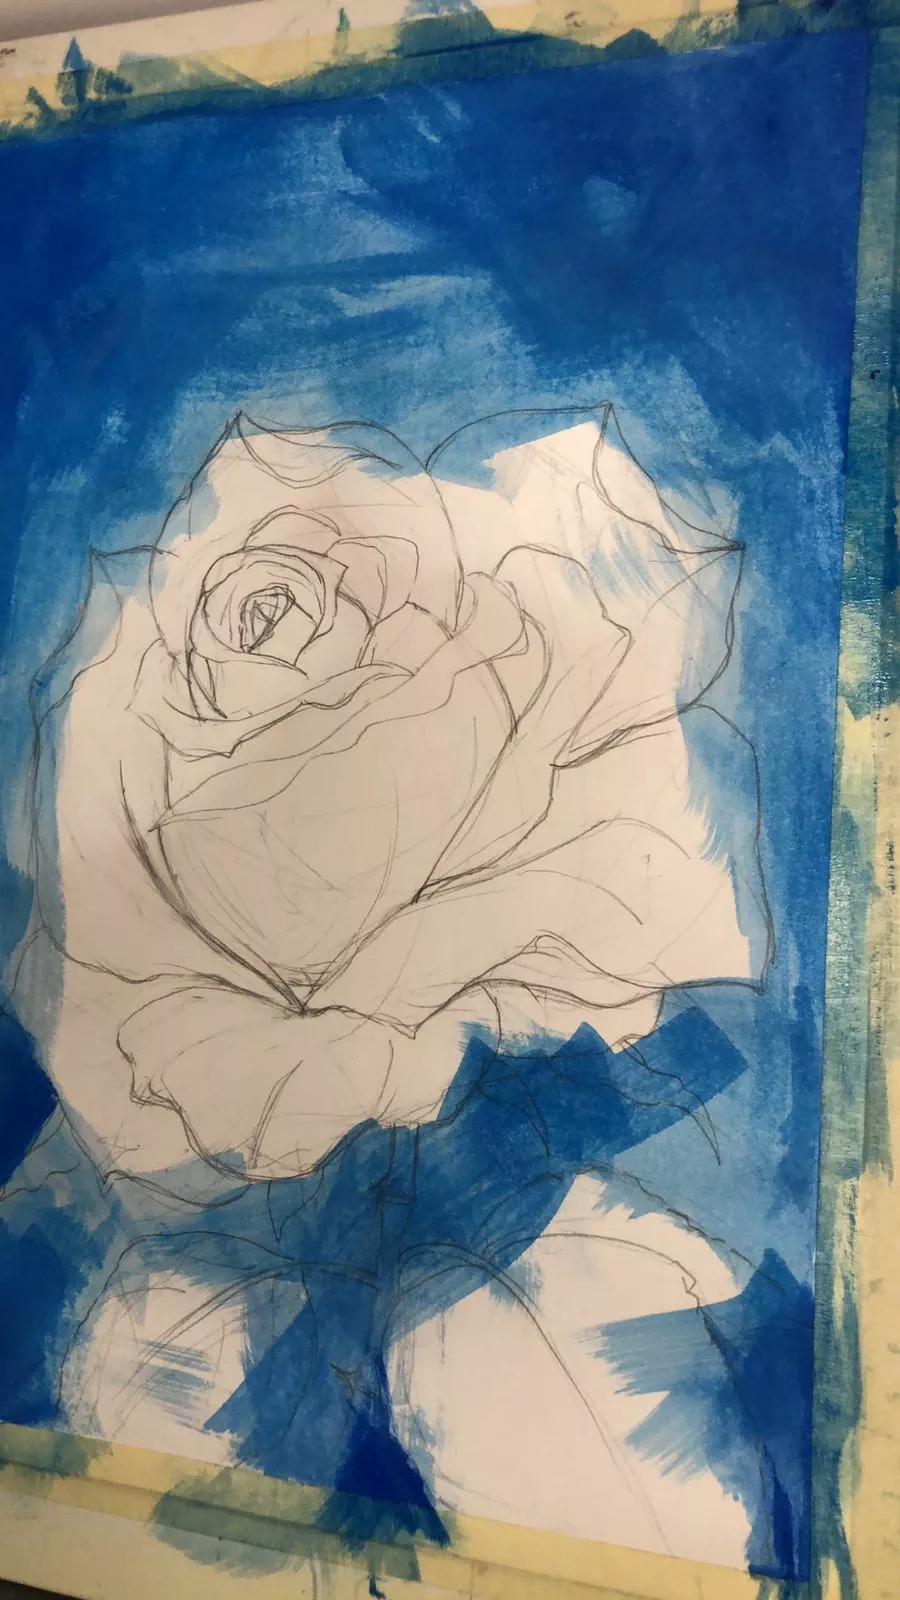
We will now start applying the paint beginning with the background. Don't forget that acrylic dries quickly: if you want to cover the entire surface fairly evenly, add a little water.
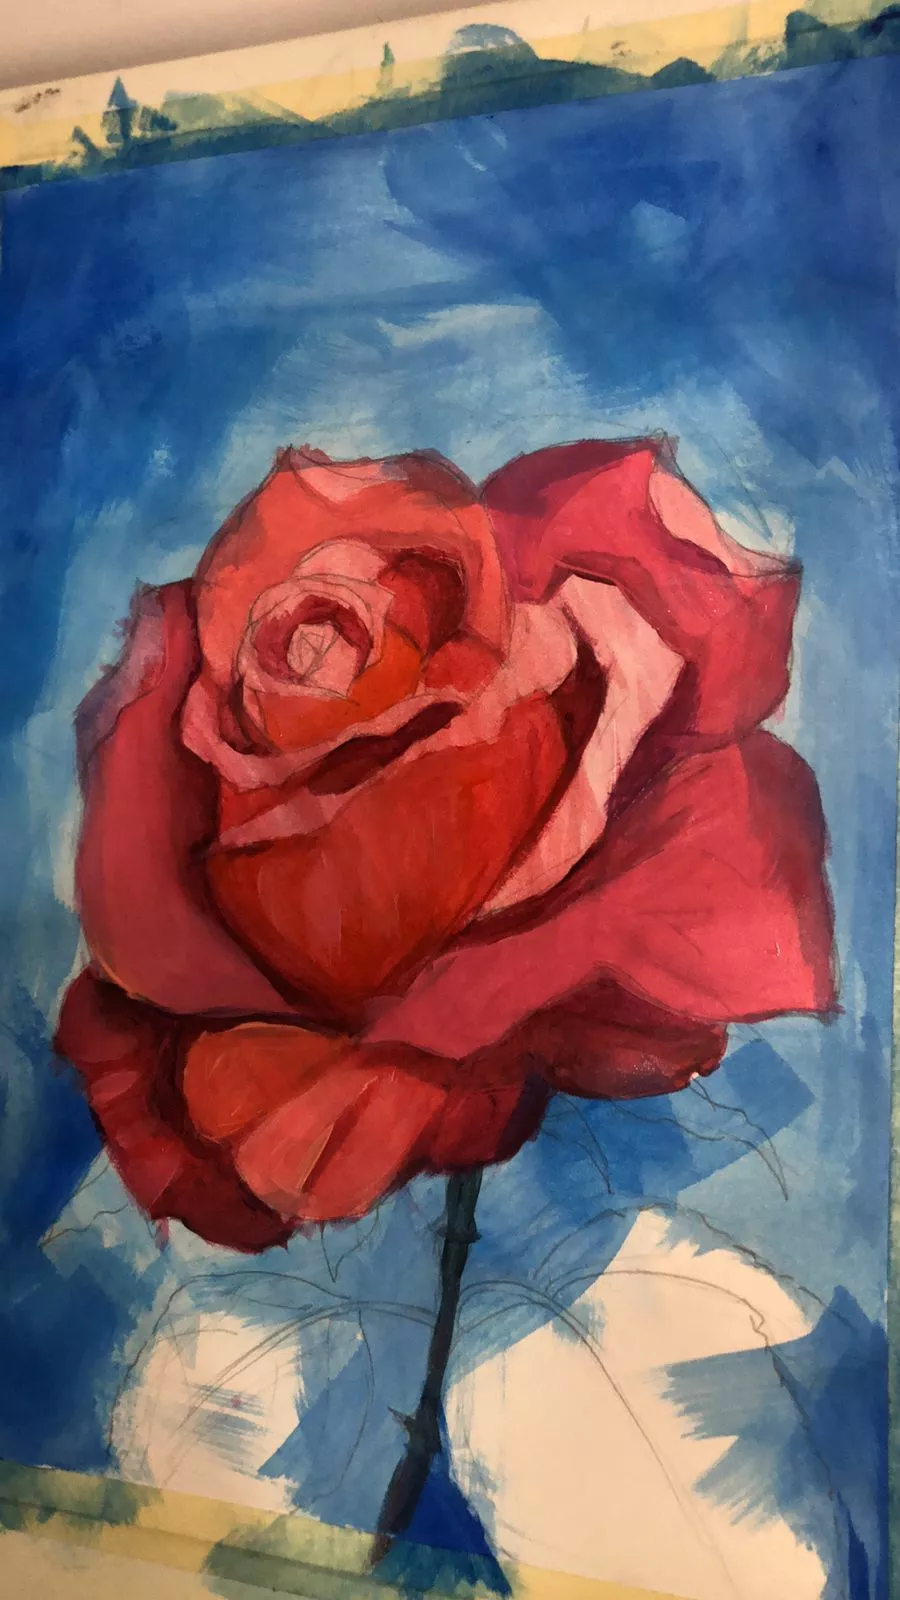
Apply the first coats of paint on the rose (H2)
We are now going to paint our rose. From here, it’s a good idea to add tonal variation, so use different shades of red.
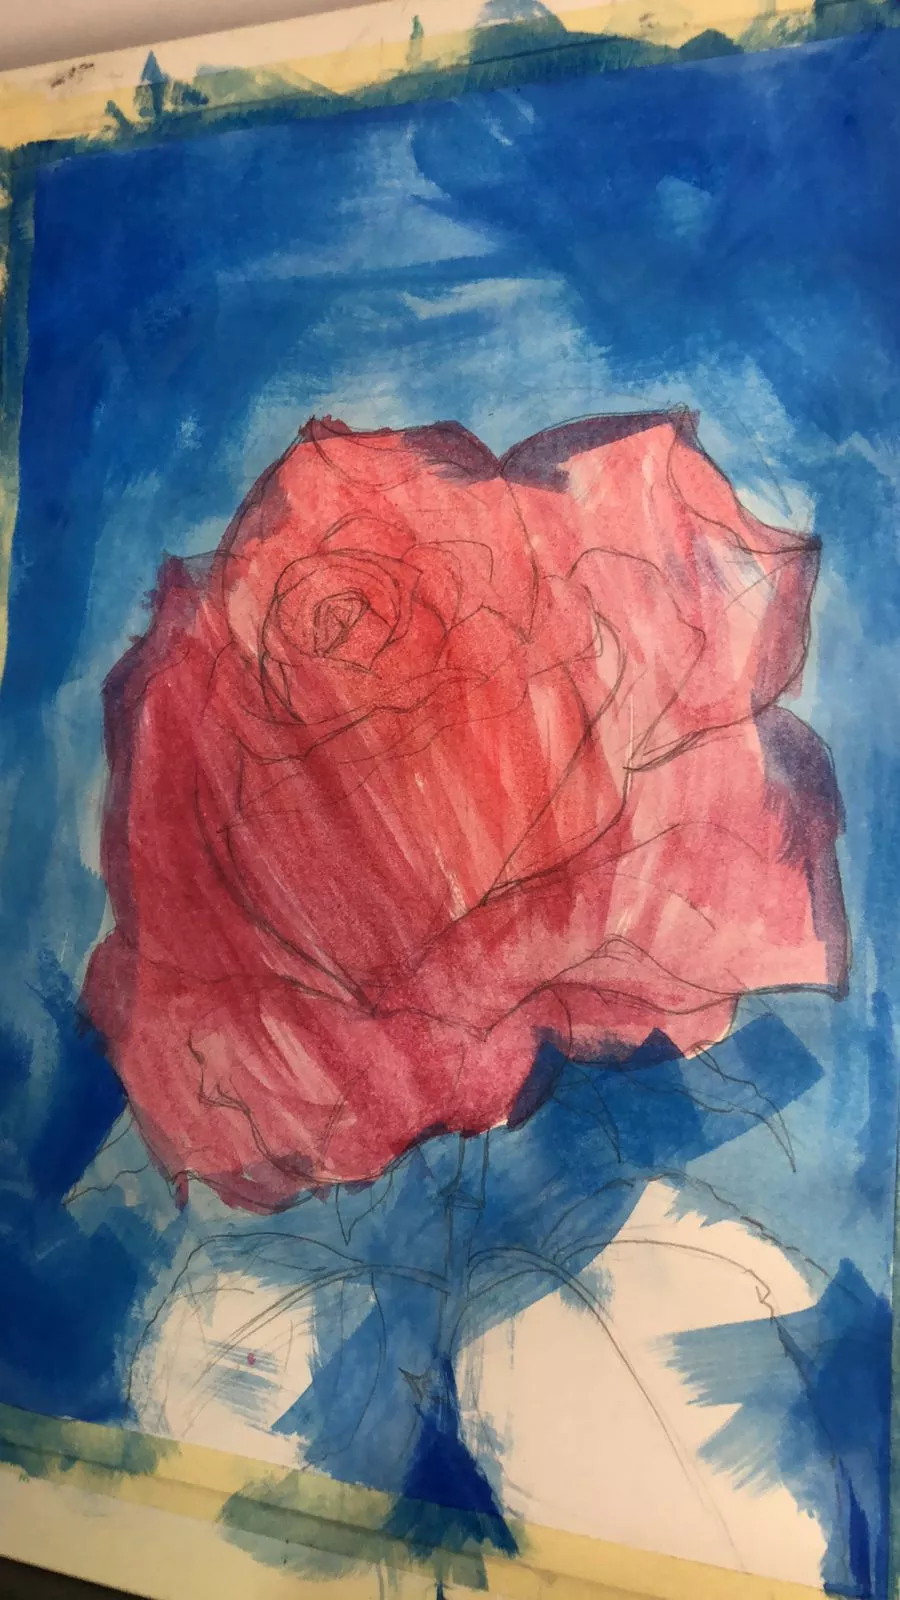
Take your darkest red; if you only have one, darken it with its complementary color, which is green. Identify the deepest areas and paint them. The idea is that this layer serves as a base and that from there you add brighter tones of the same color.
Then, add mid-tones. Use multiple shades of red with a similar light intensity and distribute them by areas across the entire rose.
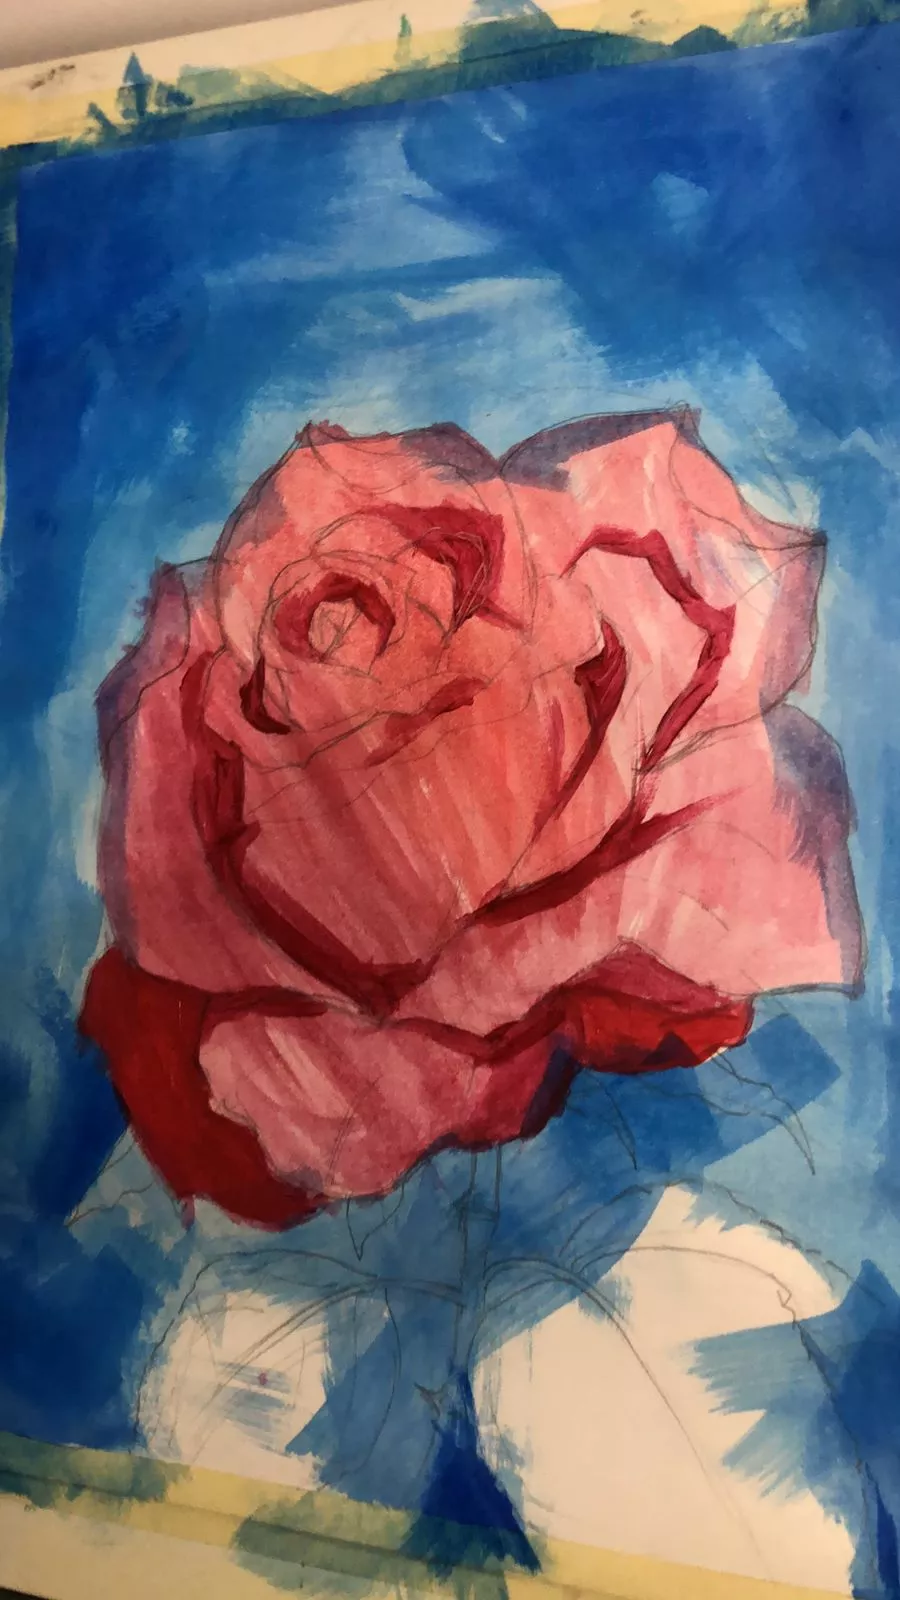
We will now move towards the lighter areas. Use pinkish tones in connection with the shades already applied and paint the remaining areas. Take advantage of these hues to add some highlights in the darker parts.
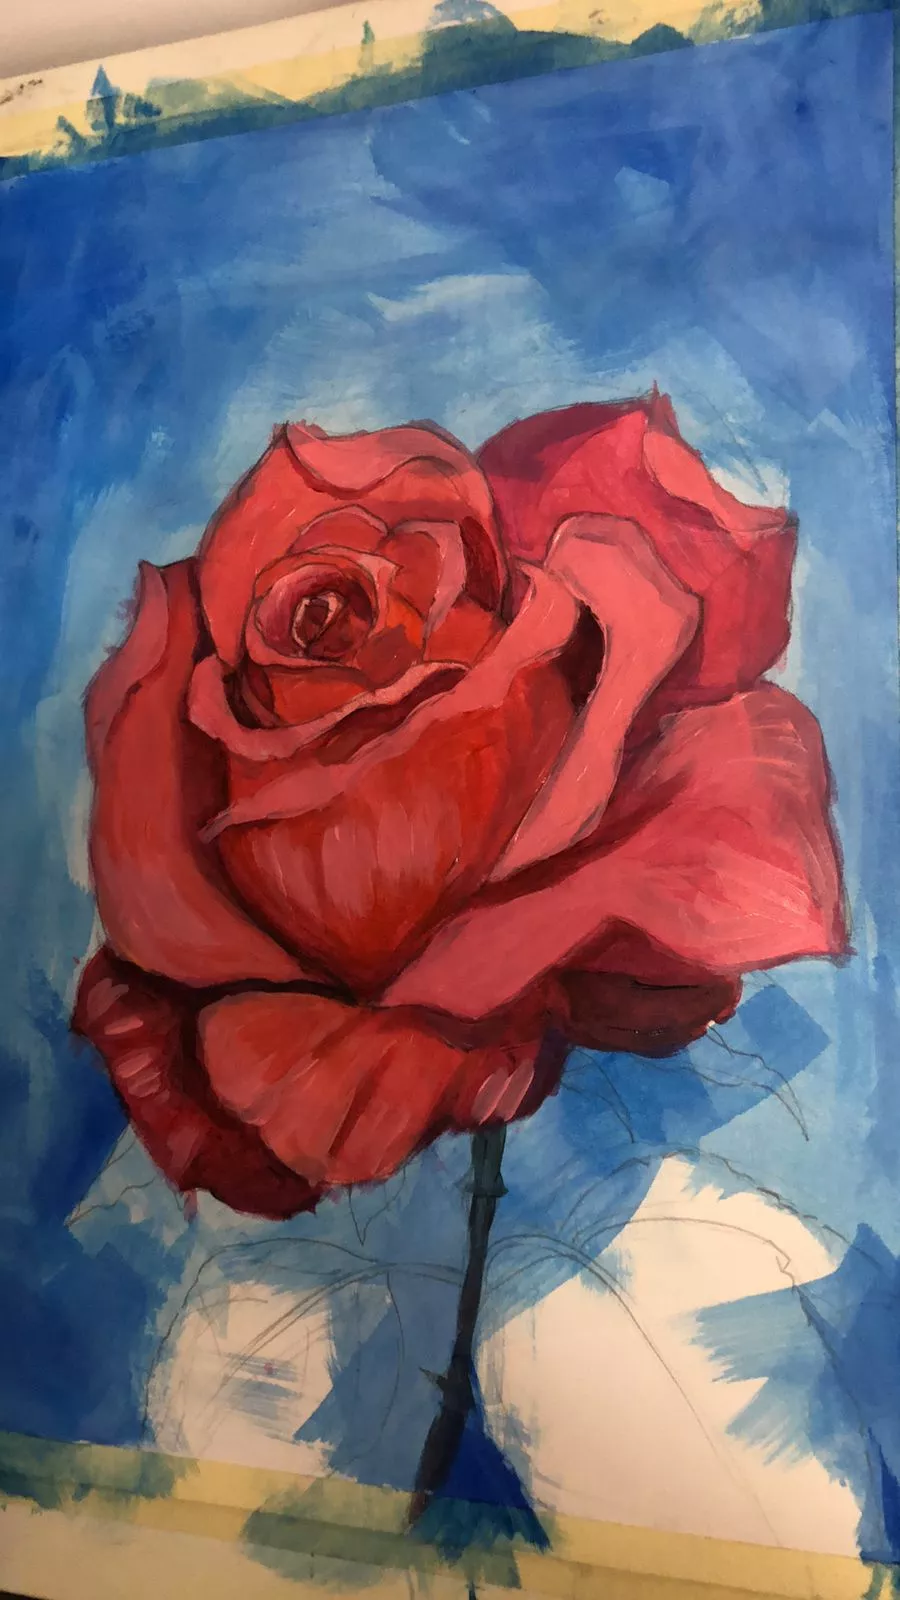
Add textures
Use a lighter pink to gradually illuminate the brightest areas, especially the folds of the petals or the large curved surfaces. To simulate textures, paint small spaced lines that will give the impression of a delicate crumpling observed in the petals.

We will now move on to the stem and leaves. Take your darkest green and, if that's not enough, don't forget to use its complementary color, which is red. Apply one or more layers until the shapes are well defined.
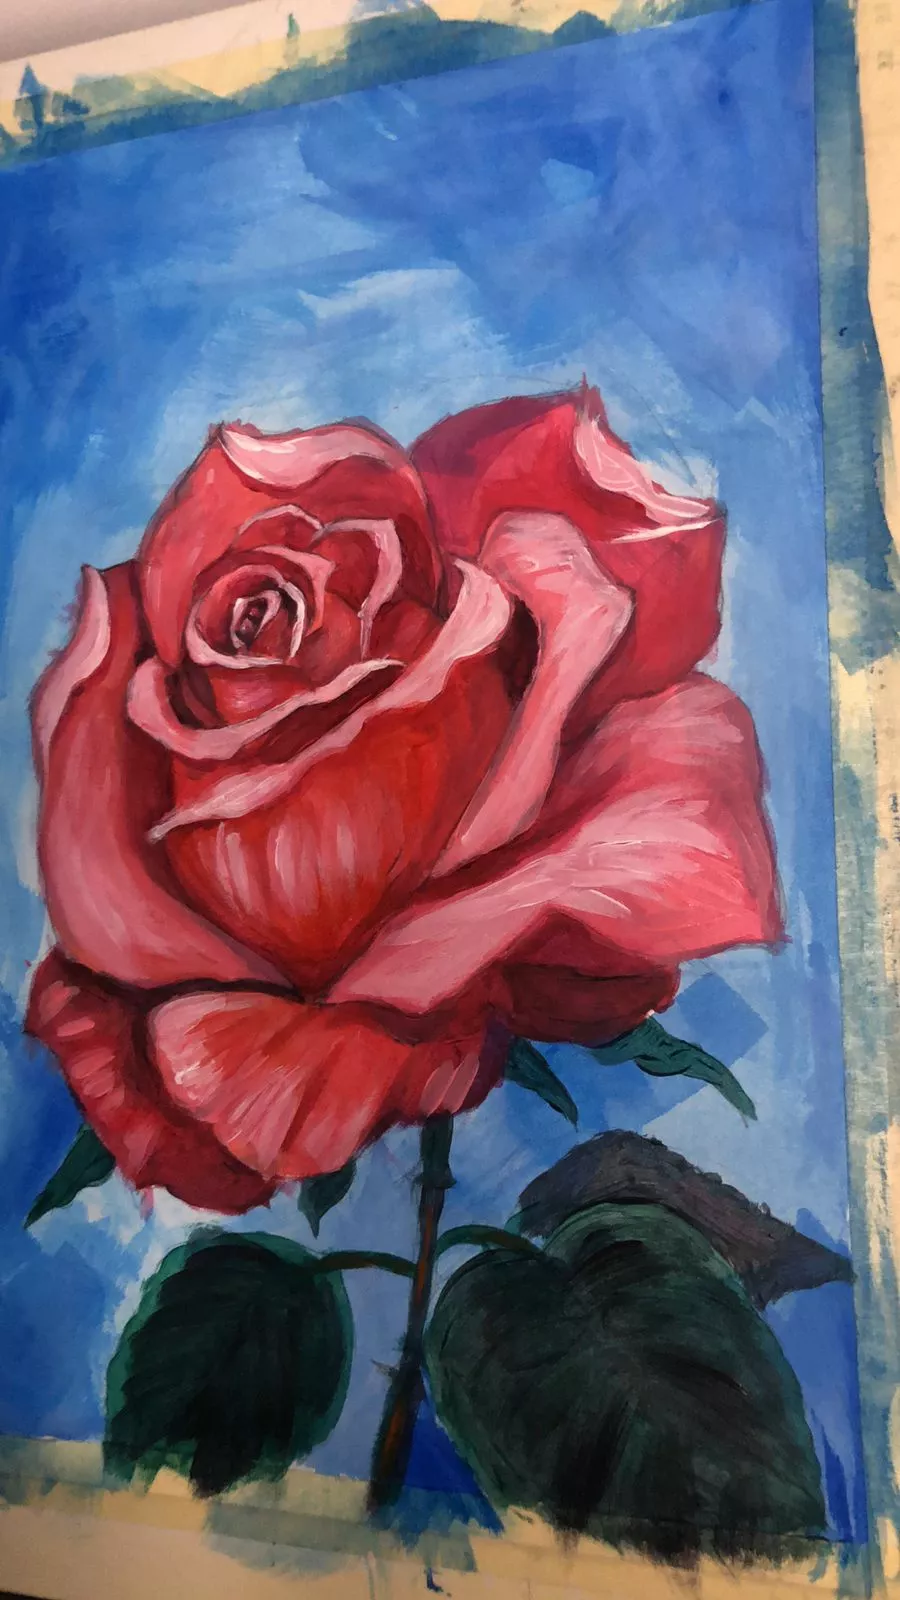
At this stage, we'll apply the same logic as for the petals, that is to say, add progressively lighter layers until achieving the desired volume and textures. A little extra tip: if you want more contrast, make sure to let one layer dry completely before adding the next one; otherwise, they will blend.

Finalize your painting
Finally, check the last details. Step back a bit to look at your work as a whole and ensure everything is in order. Then, remove the tape by always pulling it outward. And there you are, finally facing your finished rose.
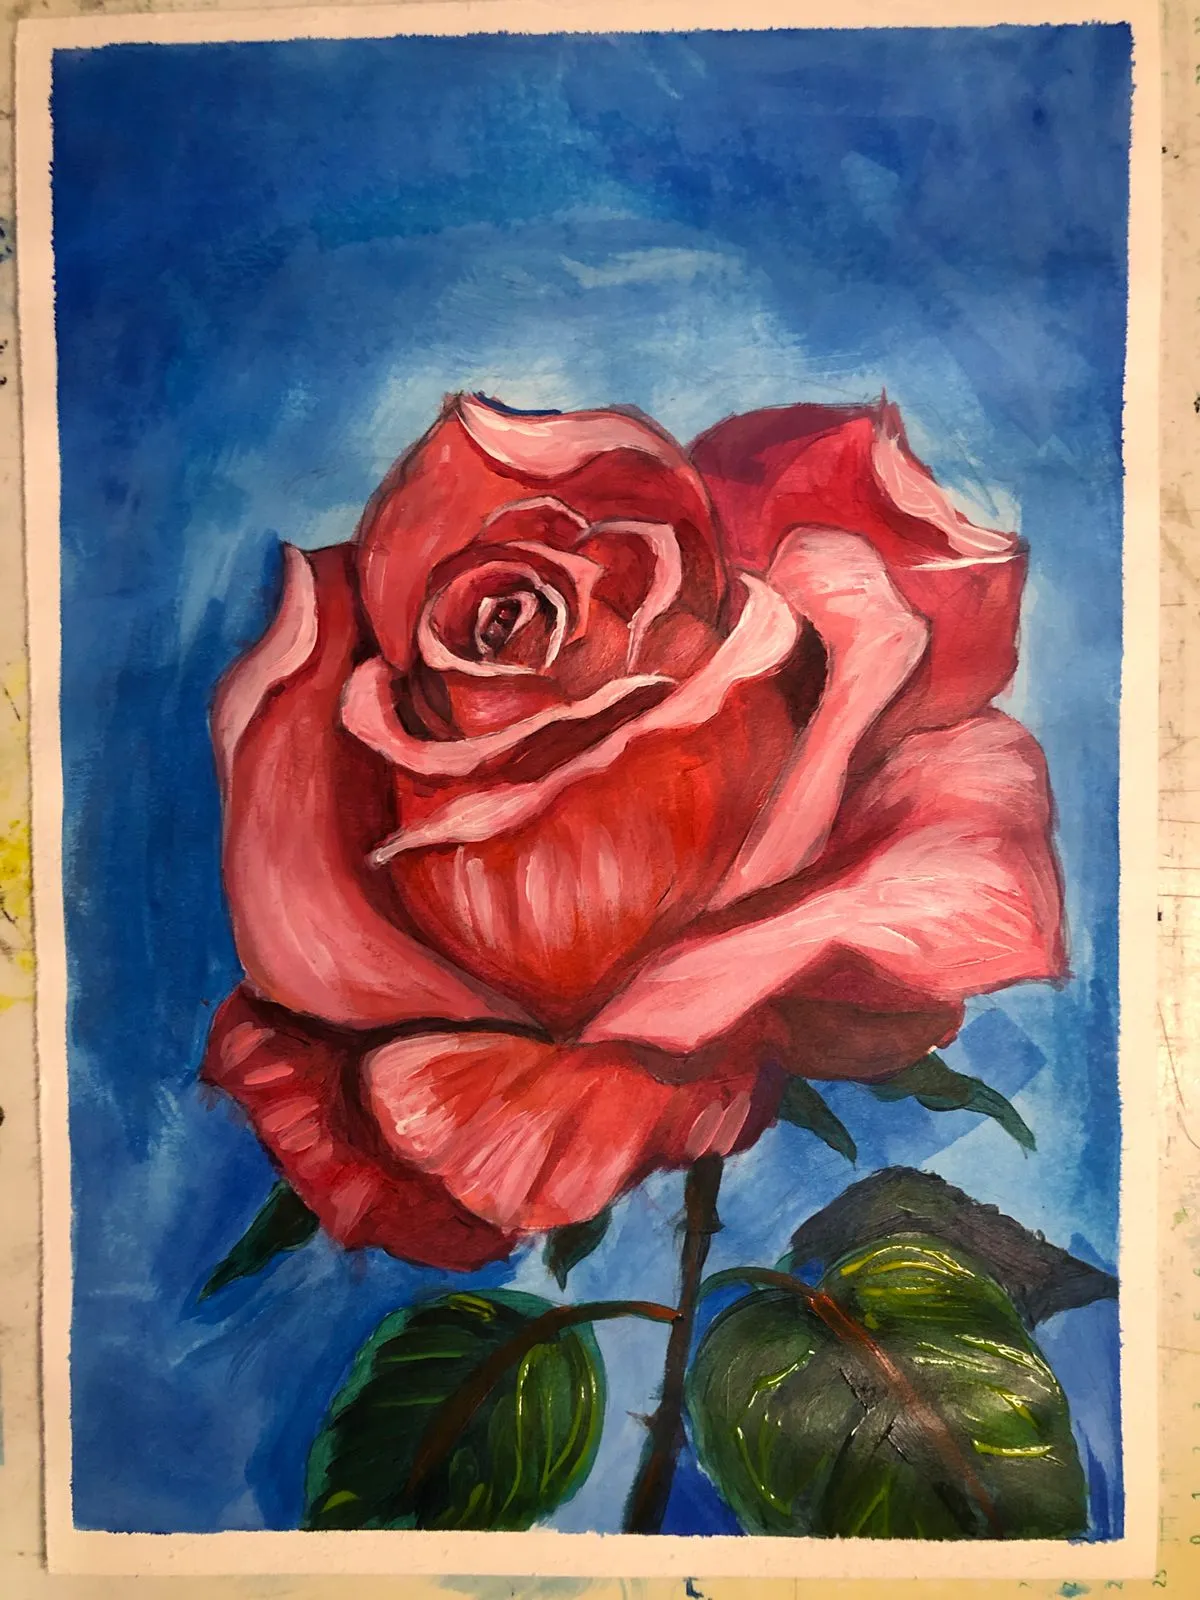
This tutorial is now complete!
As usual, it's time to move on to practice, so grab your brushes and turn this reading into a stunning artwork. Before you start, carefully analyze your references and seek inspiration from existing works.
Enjoy this medium: painting offers unique possibilities. Paint in layers, going from darkest to lightest, to create deep volumes. And finally, use wet paint to blend the colors, then let it dry to enhance the contrasts.
Writer and illustrator: Bryam

Bài viết hướng dẫn kỹ thuật estompe rất rõ ràng, đặc biệt là cách kiểm soát độ chuyển sắc để bản vẽ mềm mại và có chiều sâu hơn. Khi cần thư giãn sau giờ luyện vẽ, mình thường chơi<a href="https://slicemaster.net/">https://slicemaster.net/
</a> – một game đơn giản nhưng giúp rèn phản xạ và giải tỏa đầu óc khá hiệu quả.