How to Select Materials for Drawing Manga
Have you ever thought about drawing your own manga, written a fascinating script, or developed original characters, but you're not sure which medium to use for your first panels? In this article, we will explore the diverse and varied range of materials available for drawing your own manga.
Traditional technique, digital, or both?
The first question you've probably already asked yourself is whether to opt for traditional or digital media.
The term traditional drawing technique generally refers to the one that involves creating artwork entirely on paper. It has the advantage of being generally more instinctive since the vast majority of artists start drawing on paper. Therefore, it might seem more natural to choose this technique if you are a beginner. However, traditional drawing is usually slower and more difficult to correct.
Digital drawing is an increasingly adopted technique, both by amateurs and professionals. Here, it is necessary to have a graphic tablet and drawing software to create your panels. Although digital drawing generally requires an adjustment period, it benefits from infinite correction capacity and multiple tools to make your task easier.
Finally, there's no need to make an exclusive choice. It's entirely possible to use both techniques together. If you are more comfortable with your pencil for the drafting stage but inking has always intimidated you, why not scan your sketches to clean them up digitally? Conversely, if you like the feel of paper under your pen but want to use digital tools, you can work on your draft on a tablet and then print it out for inking later.
In the remainder of this article, we will mainly focus on the traditional technique, as the materials used are more varied. However, we will touch on digital aspects at the end.
The sketch
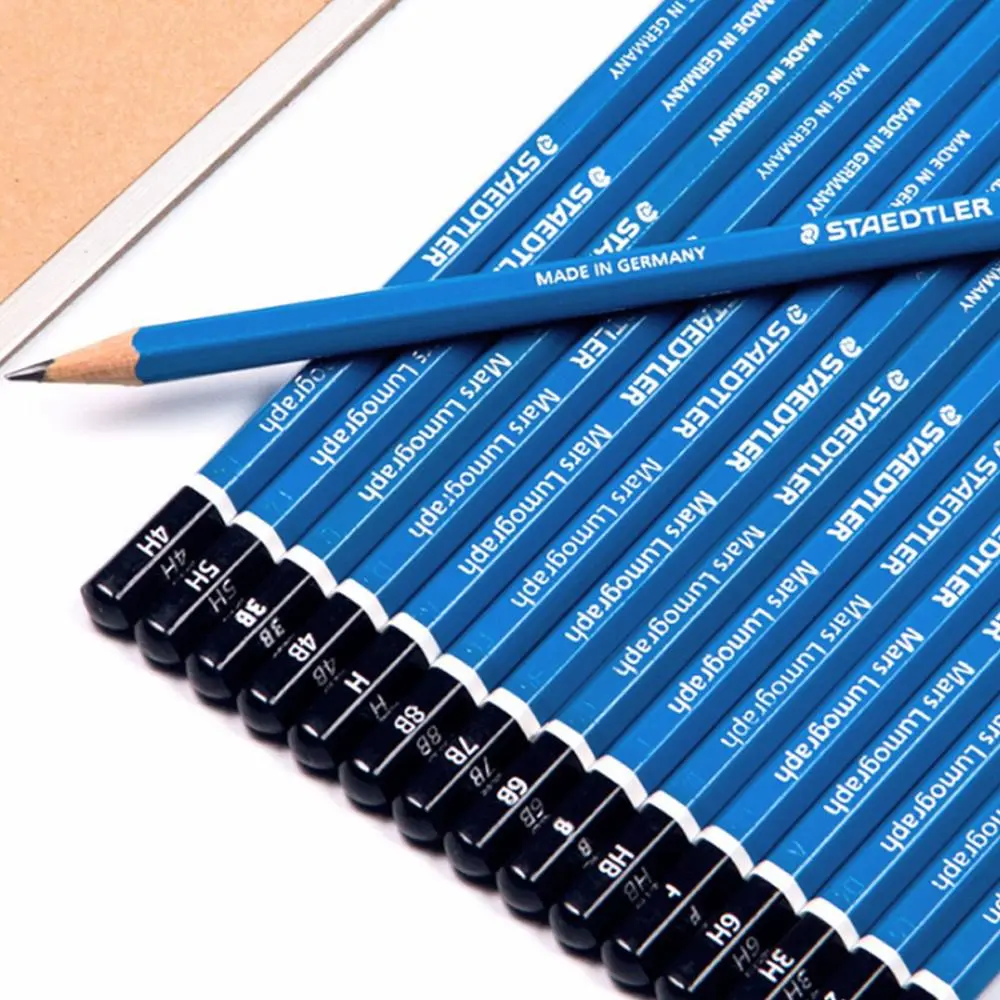
Let's start by dealing with the case of the sketch, also called the draft. Unsurprisingly, it is generally made with a pencil. There are several types available, but it is generally advisable to opt for dry pencils if your draft is done on your final paper.
Preferably choose pencils from the H family rather than B. The higher the number before the H, the drier the pencil will be, and the easier it will be to erase. However, be careful: a very dry pencil like a 9H will deposit very little graphite on your sheet and it might be tempting to press harder or even go over your lines multiple times. You might end up marking your paper and creating lines that are much harder to erase, which would be counterproductive. Generally, a 3H is more than sufficient, but don't hesitate to test various grades to find the one that suits you best.
It is also possible to do your sketching using a colored pencil, usually blue or red. The advantage here is that you can ink directly on it without having to erase anything. Indeed, it is possible to digitally remove the blue (or red) during the scanning stage of your page and keep only the neat version.
There are special pencils for this, sometimes even with two leads: one blue and one red. They are commonly called "animator pencils," as they are primarily used in traditional animation. Although it is not necessary to erase them, it should be noted that they are difficult to erase.

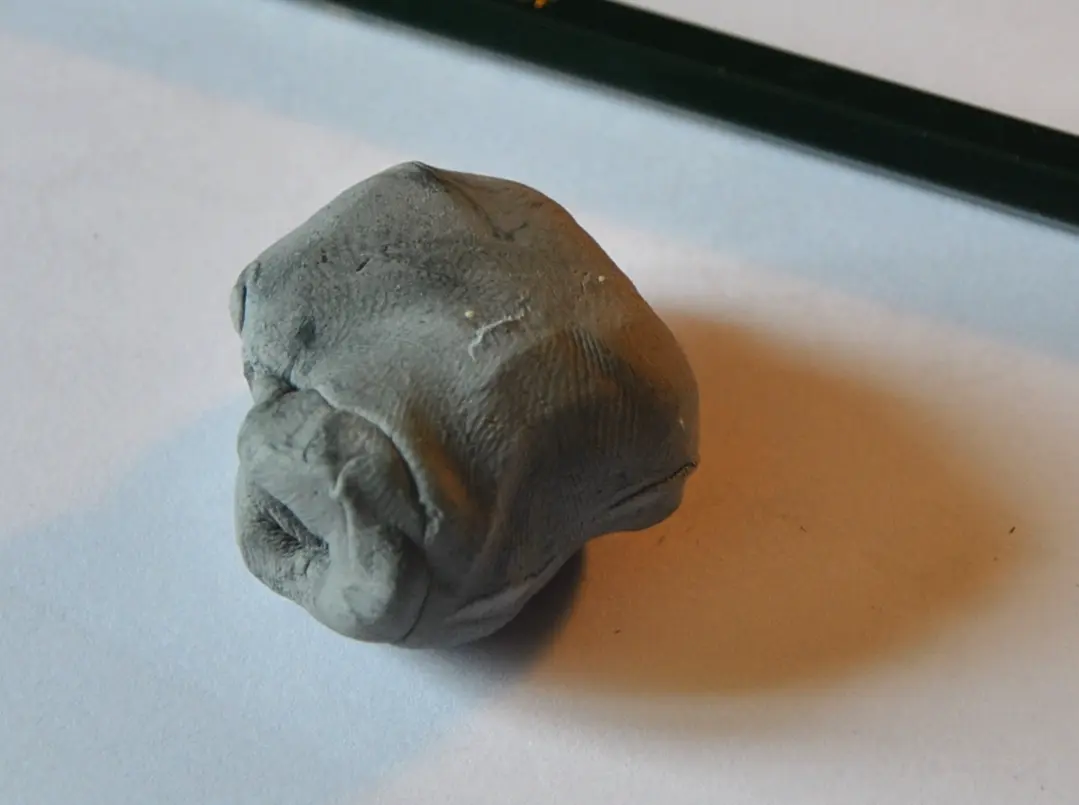
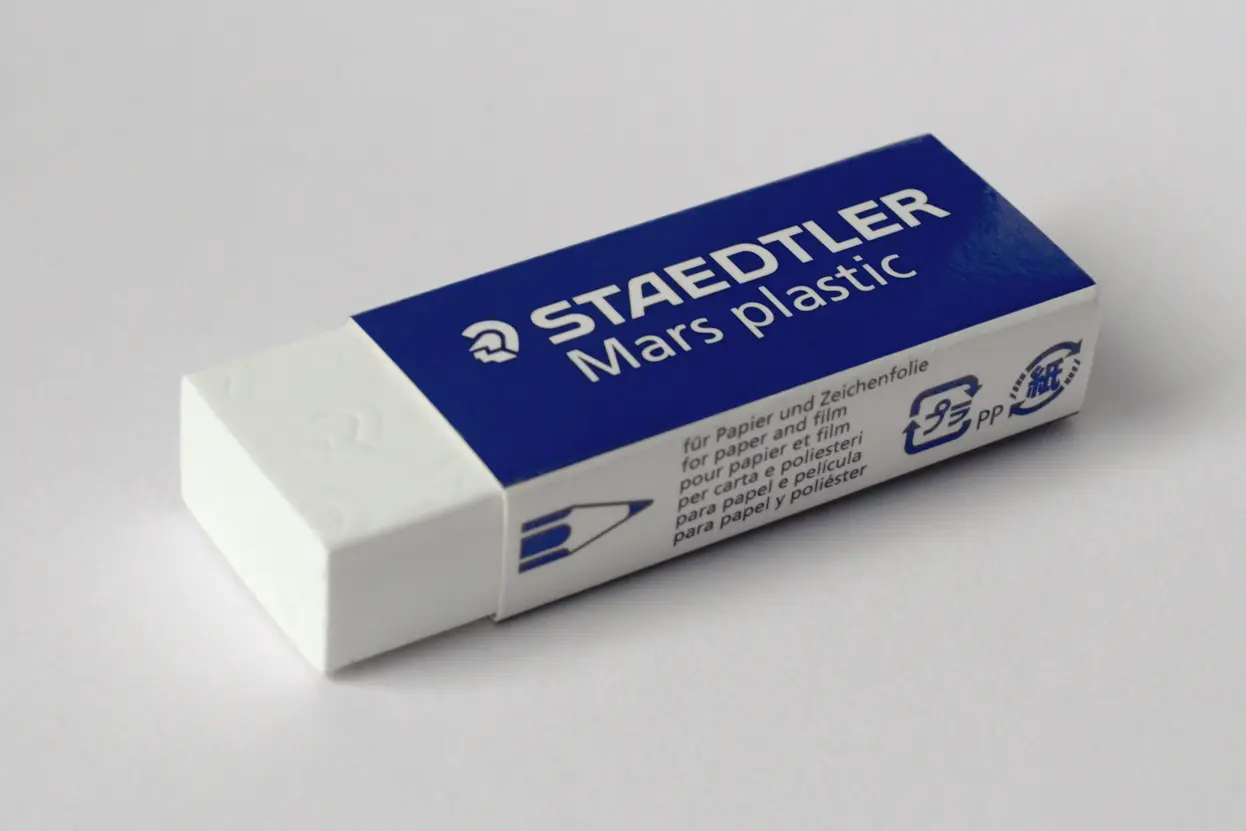
Speaking of erasers, it is entirely possible to use a classic white eraser to erase your mistakes. It erases more effectively than the kneaded eraser, but it can wear out the paper over time. The kneaded eraser, on the other hand, erases less effectively but is malleable and less harsh on the paper.
It does not leave small bits of waste during erasing, which is nice for cleaning the countertop! Finally, if you want to combine the precision of a kneaded eraser and the strength of a white eraser, there are precision erasers with very fine white eraser tips, both manual and electric.
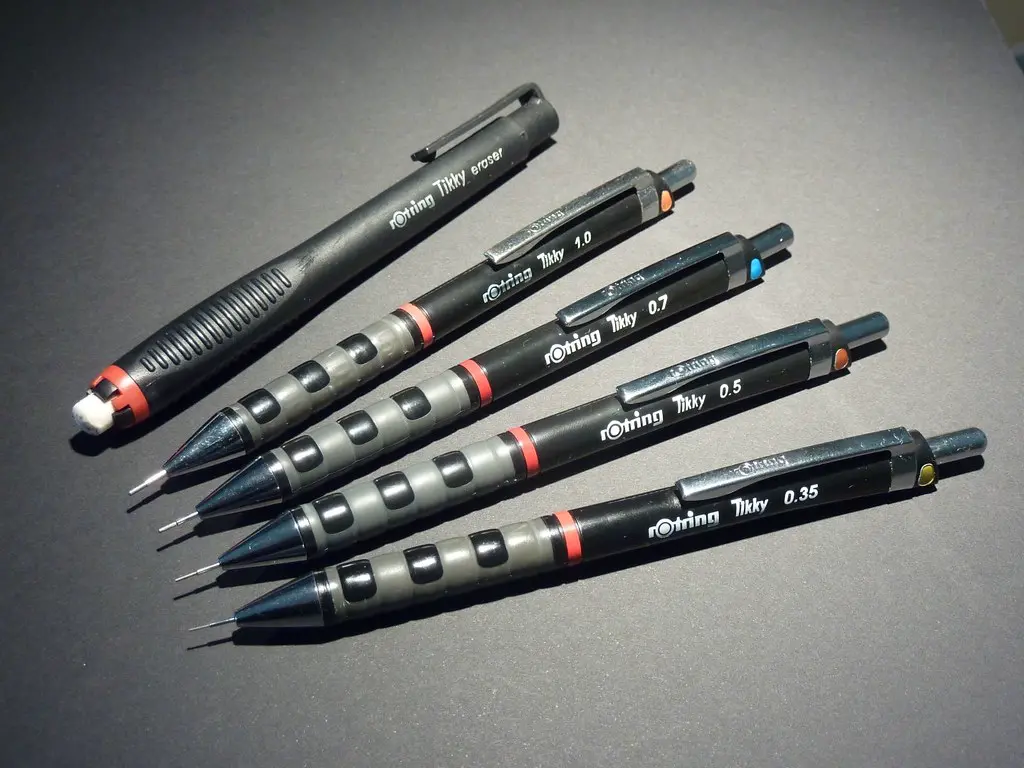
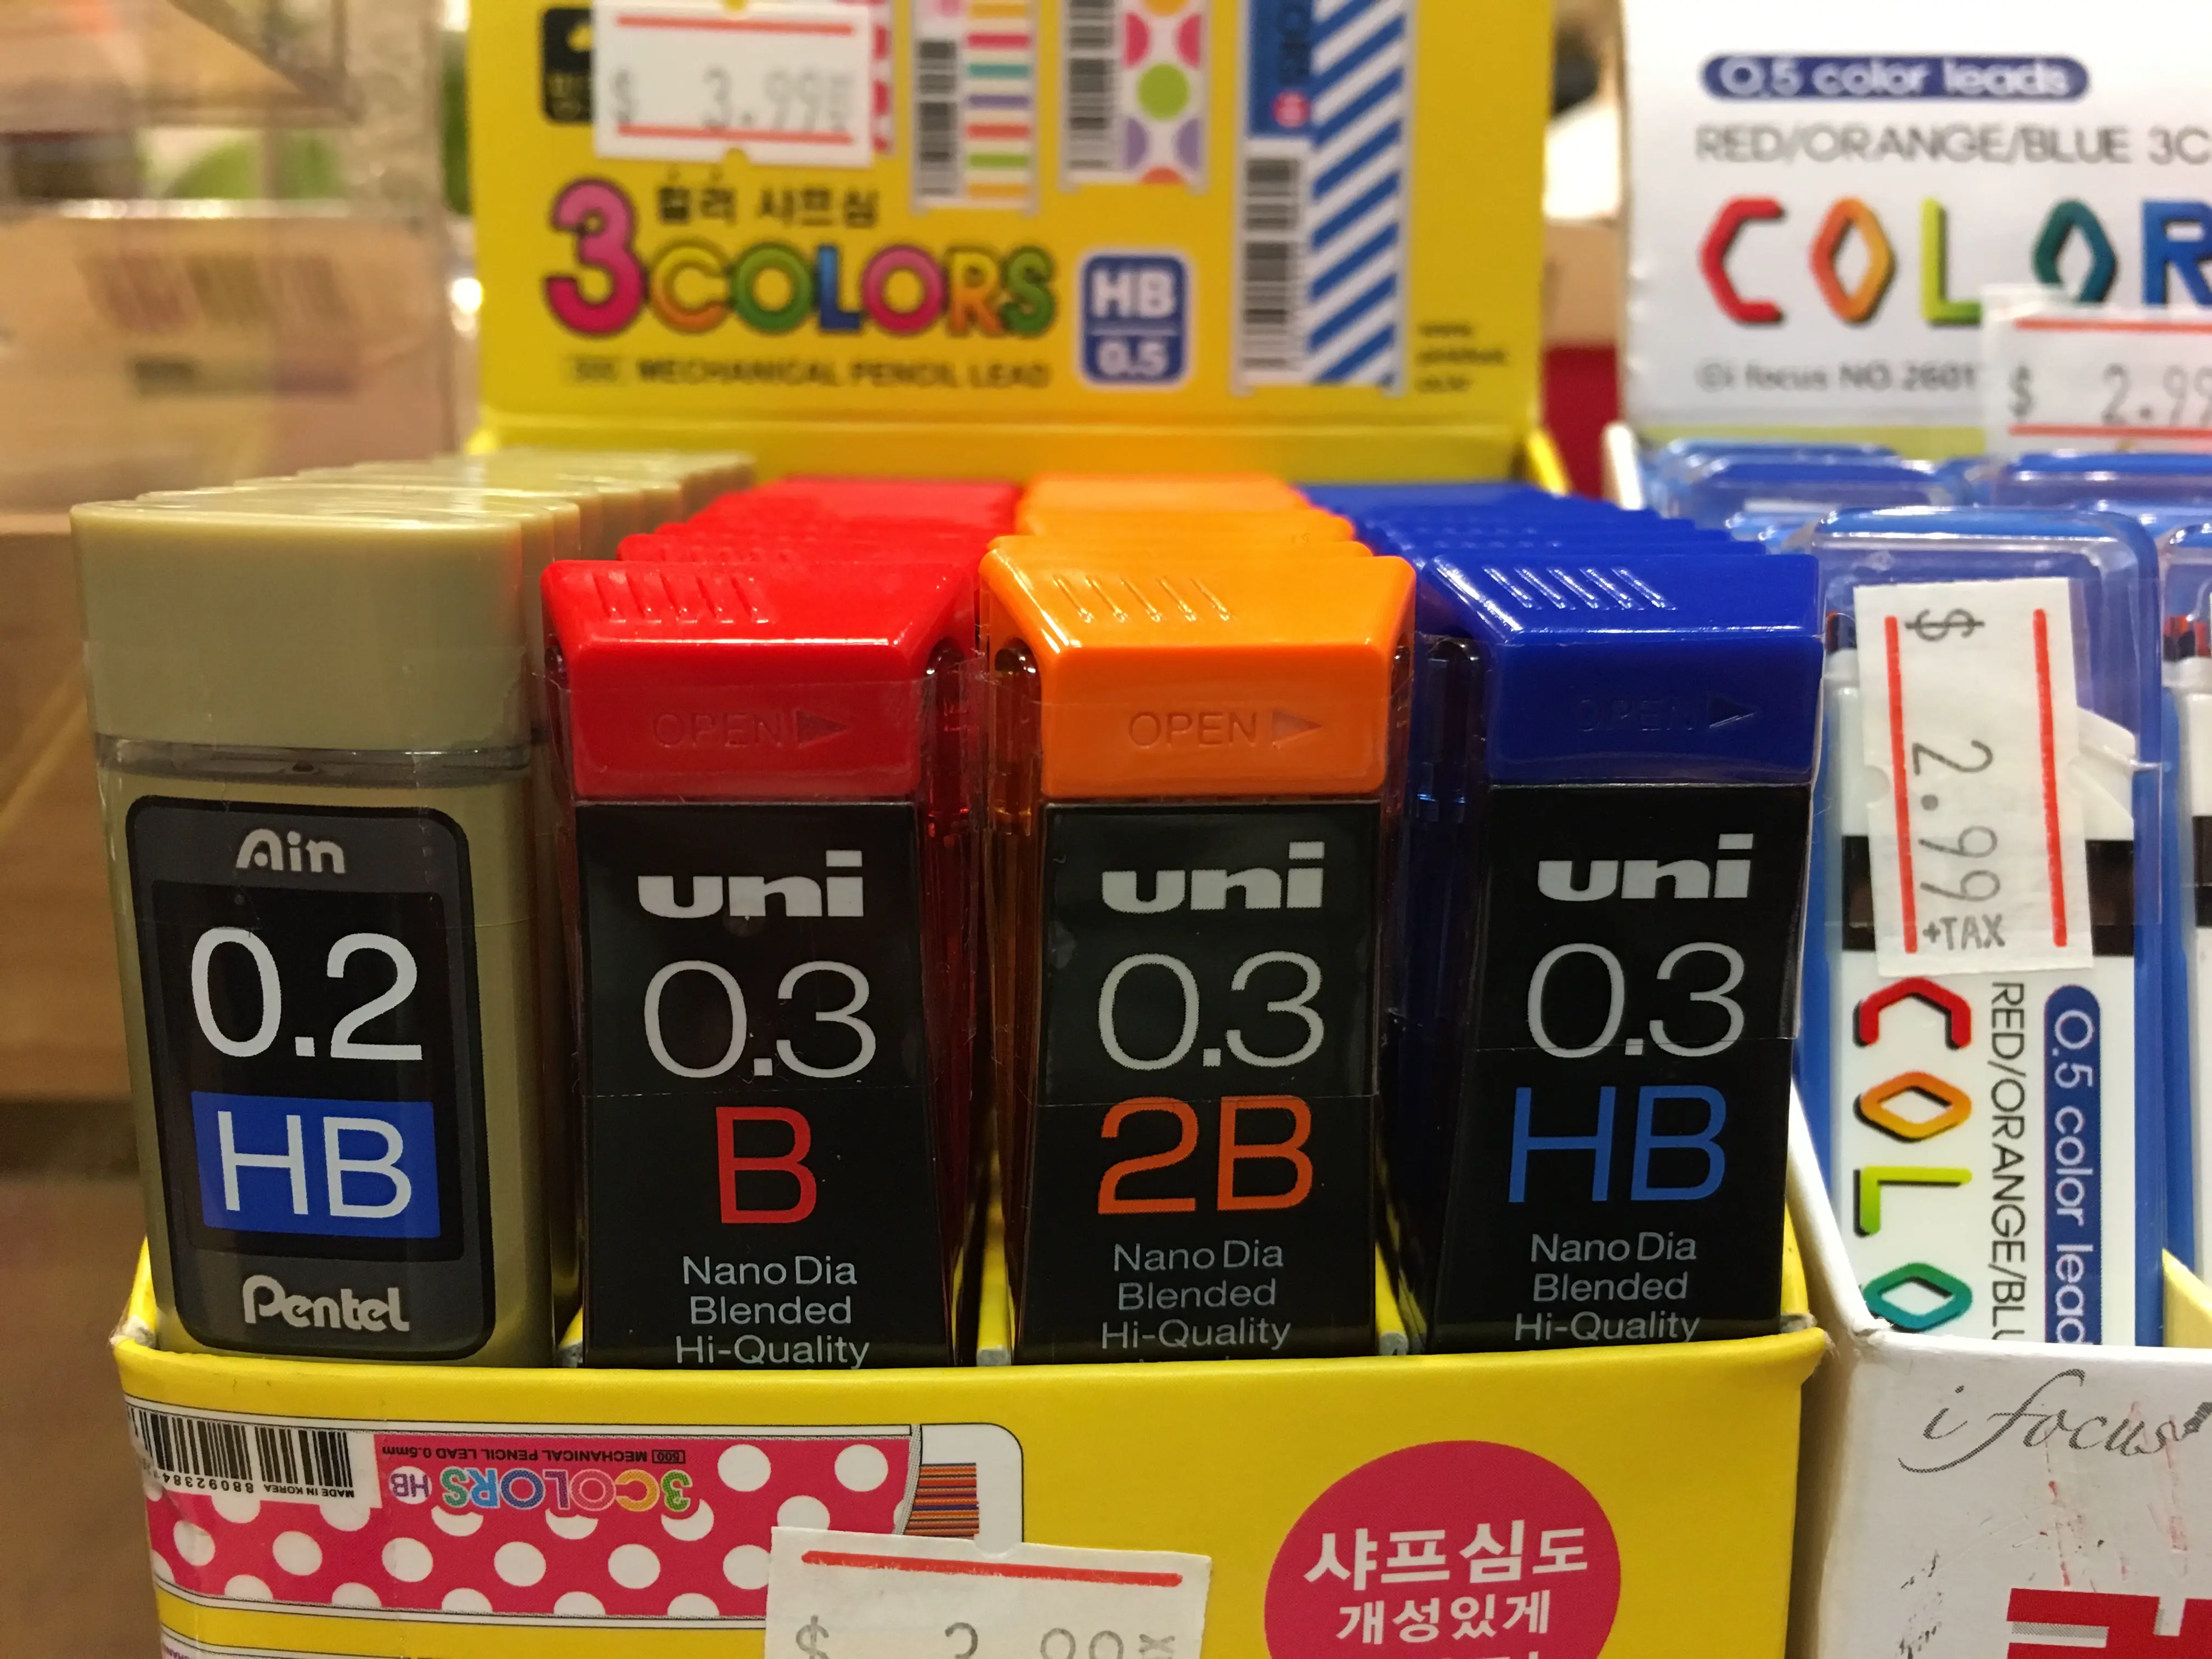
Finally, if you prefer mechanical pencils to traditional pencils, be aware that there are a multitude of different leads available, both hard and soft, and of course, in various colors.
Choosing your paper for drawing manga
In the previous section, I mentioned "definitive" paper. This is generally the paper used for your final board, the one you will ink, as opposed to your draft paper. While draft paper can technically be any paper, you will need to choose a higher-quality paper for your final board.
The first point to consider is the weight of your paper. The weight represents the thickness of your paper. Generally, a weight between 120g and 180g is more than sufficient. If you want to use a brush on your boards and therefore apply a lot of ink, opt for a higher weight, such as 200g or 250g.
Next, you need to choose the grain of your paper. A fine grain enables your tools to glide better on your sheet but absorbs ink less effectively. Conversely, a coarse grain absorbs liquids well but the roughness may cause your lines to wobble. Therefore, opt for a fine or even smooth grain for greater precision.
Finally, you need to choose the format and dimensions of your boards. Even though mangas are published in pocket size, they are generally created on larger boards. A4 size seems to be a good minimum, but you can also opt for A3 if you want more space. Note that there are other formats that are more commonly used in Japan: B5 and B4. These are slightly smaller than A4 for B5, and slightly larger than A4 for B4.
If you do not want to have to draw your margin or gutter markers yourself, be aware that there are also ready-to-use papers available that include graduated indicators and pre-printed blue frames. These are handy for avoiding having to redo your layout every time!
Equipment needed to finalize your drawing
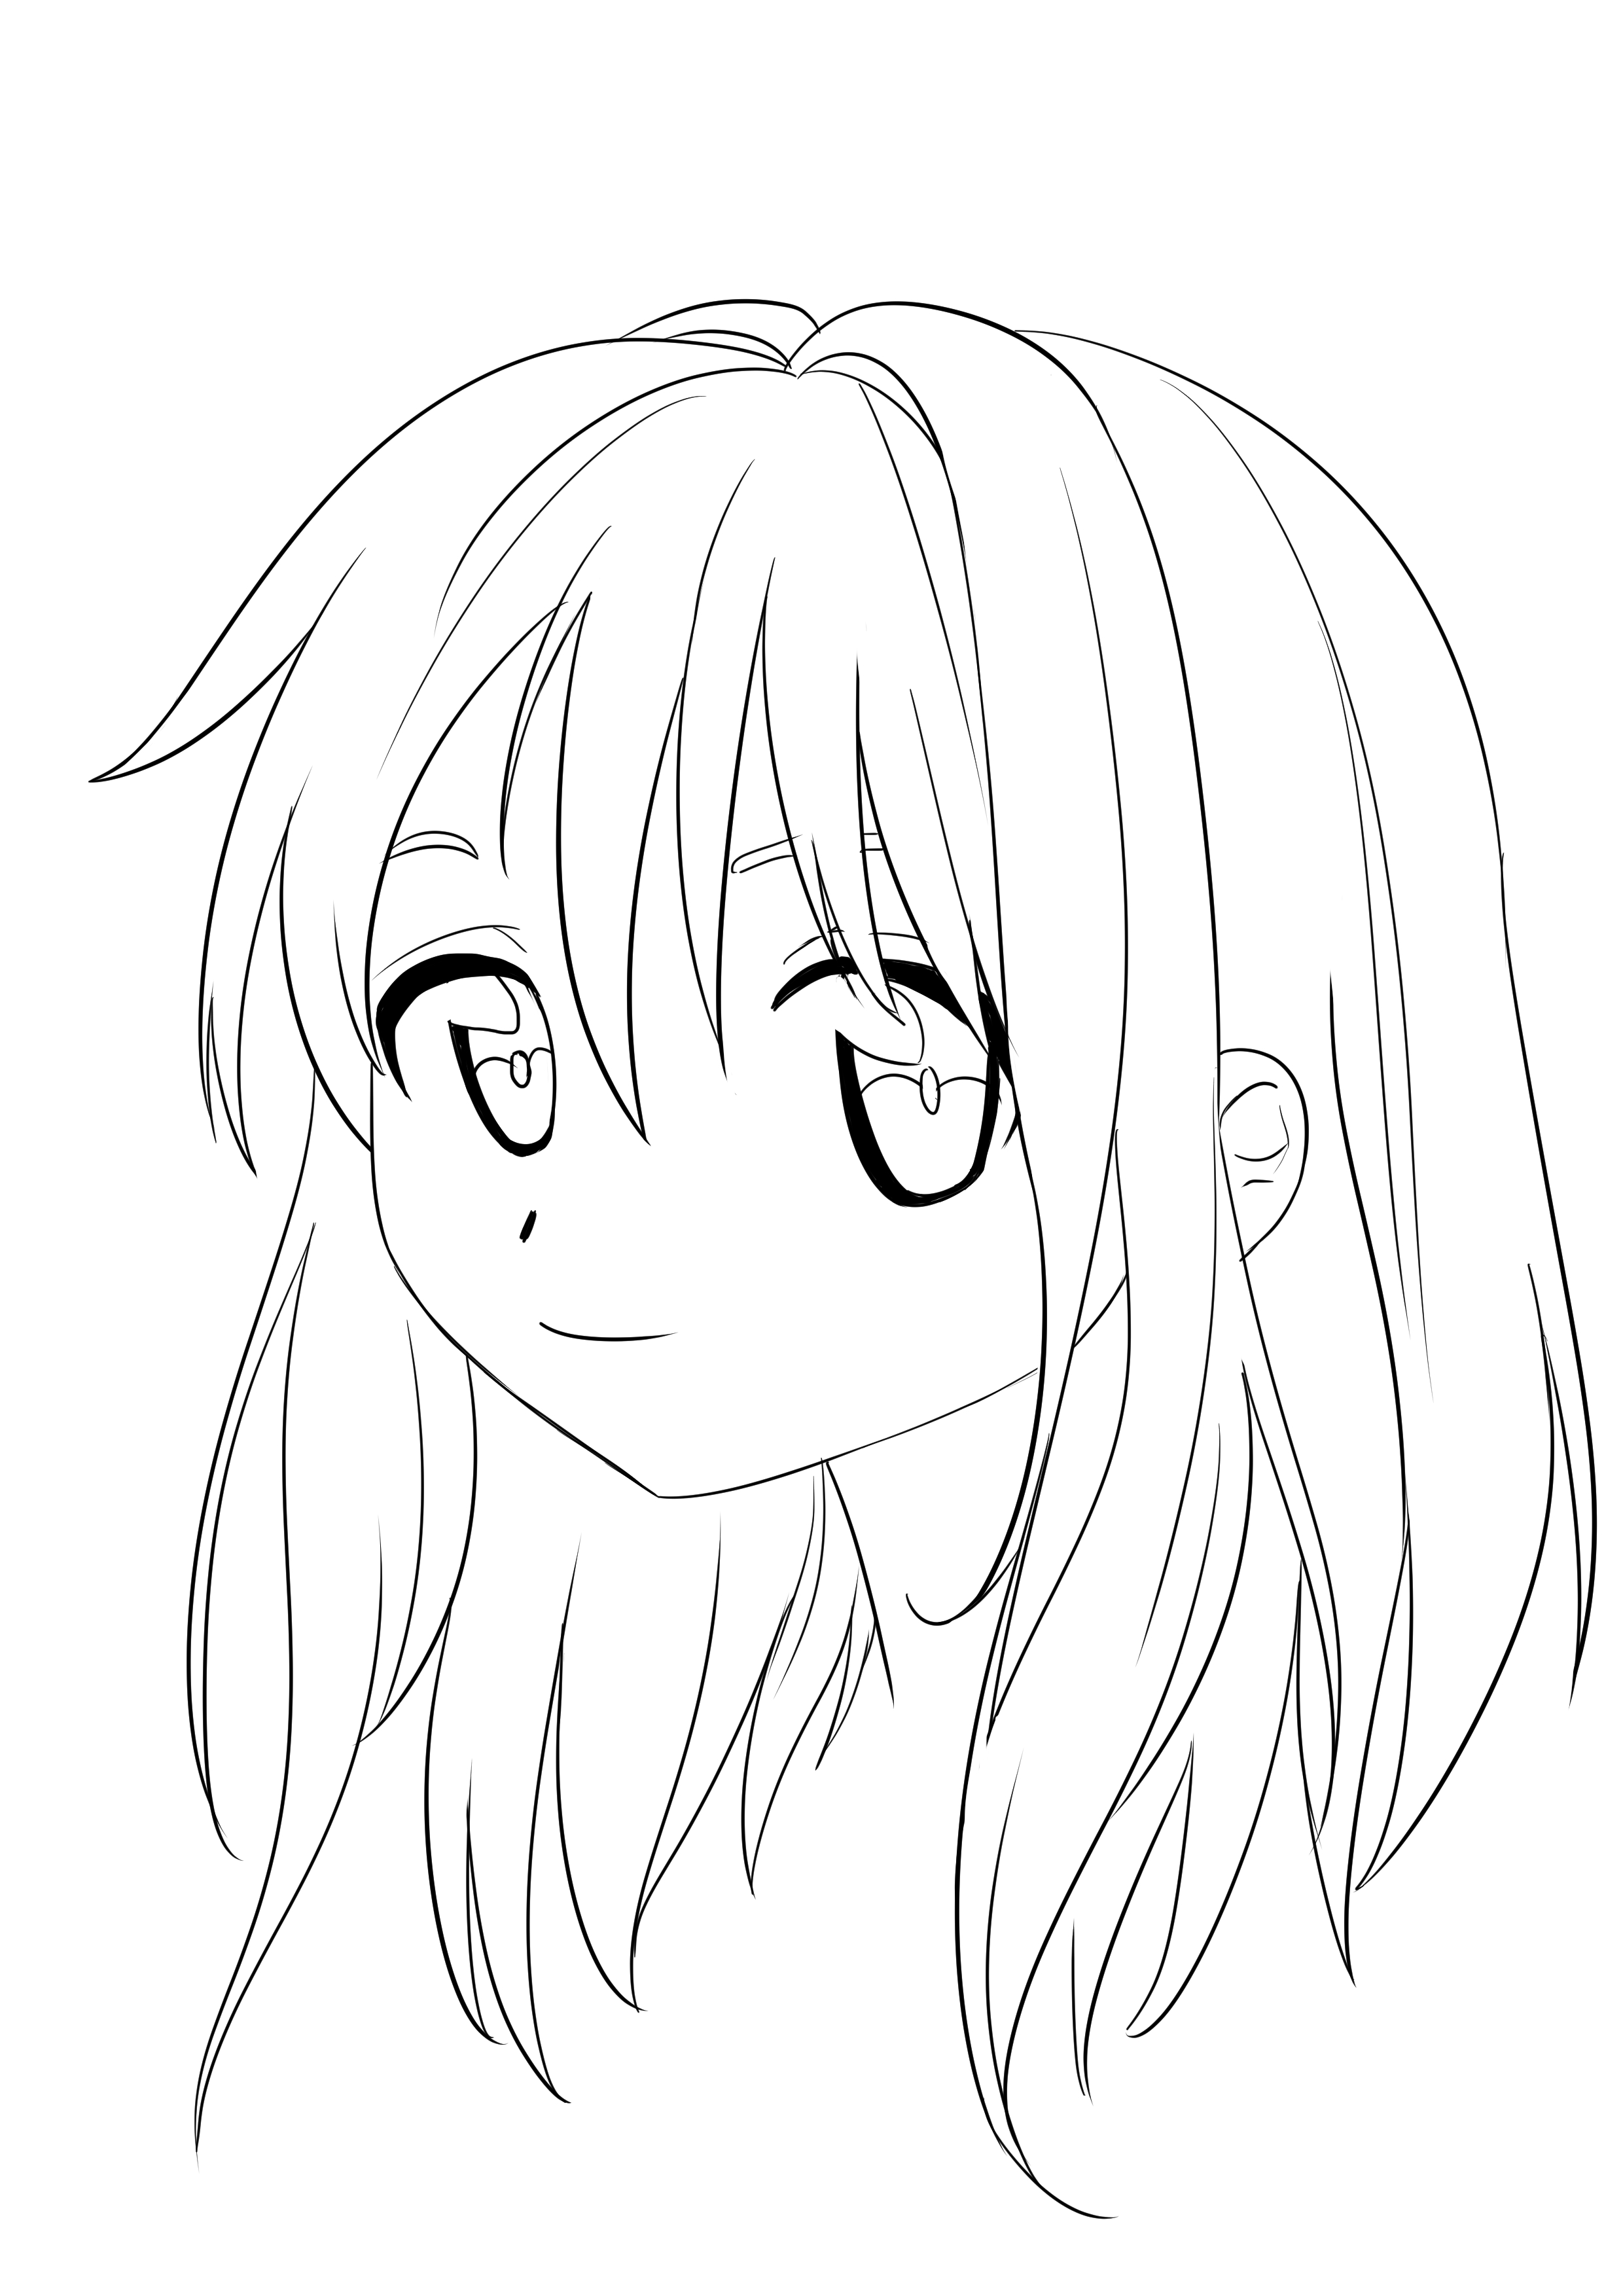
Once your sketch is finished, it's time to clean it up. This step is generally done in ink, commonly referred to as "inking." There are various tools for inking a panel, but here we will look at the main ones, which are calibrated markers, the nib pen, and the brush.
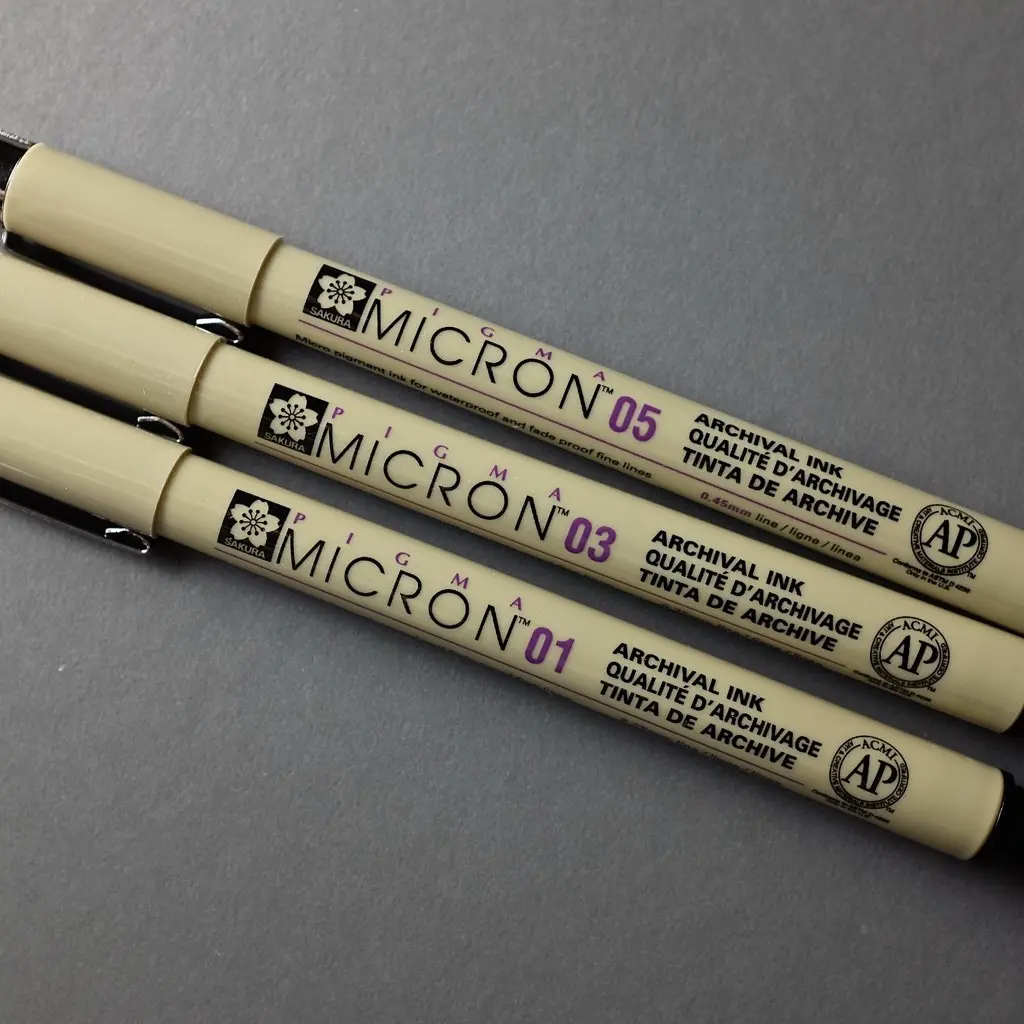
The "liners" or "calibrated markers" are, as their name suggests, markers with tips of different thicknesses. They are tools that allow for making fixed-thickness lines and are generally easy to use and appreciated by beginners. Moreover, they can easily be used with a ruler and a square to draw your frames effortlessly. There are several different brands of markers, but opt for markers with waterproof ink and archival quality if you wish to preserve your drawings over time.
Although calibrated markers are often sold in samples of different gauges, you can certainly create your own panel. Generally, at a minimum, you should have a fine marker (0.1 or even 0.05mm), a medium marker (0.2 to 0.3mm), and a thick marker (0.5 to 0.8mm).
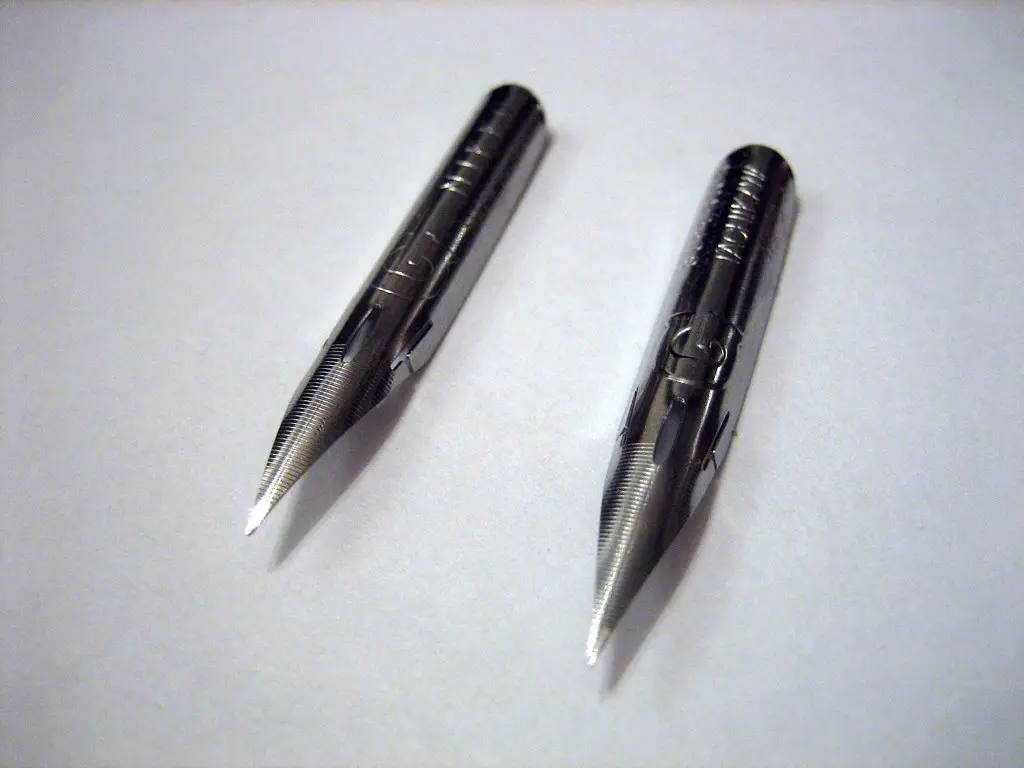
Another very popular tool for manga inking is the nib. Like calibrated markers, there are different types of nibs, which are more or less thick and flexible. The most popular and versatile nib is the G nib. It enables you to easily create fine lines but is flexible enough to make thick lines and vary the thickness during the drawing. Maru or Atome nibs are small, fine nibs that are perfect for small details.
Finally, the Saji nib is a large nib that allows for very thick lines. Avoid writing nibs like Sergent-Major, which are generally too rigid and offer little variety in line thickness. Finally, it is important to buy a nib holder that matches the thickness of your nib! Smaller nibs like Maru and Atom require specific nib holders, unlike others.
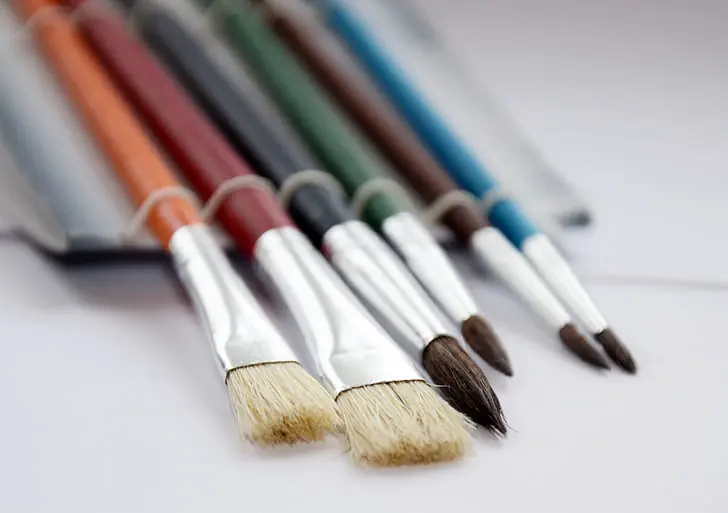
If you want a softer line than what a pen can provide, you can opt for a brush. As with pens, there are different sizes of brushes and different shapes of tips. For drawing your lines, choose brushes with a fine, round tip.
Like liners, you can choose a variety of sizes depending on the line thicknesses you want. You can also get wide brushes to cover large black surfaces, and even use worn brushes in order to have a variety of textures at your disposal.
Brushes and pens should be used with Chinese ink. The main characteristics of India ink are its opacity and viscosity. You should preferably use a fluid and opaque ink to achieve beautiful deep blacks.
If you make a mistake while inking, you can use some white gouache or acrylic to cover your smudges. Avoid using correction fluid as it tends to yellow quickly. If you can find it, there is also white ink available.
Finishing touches
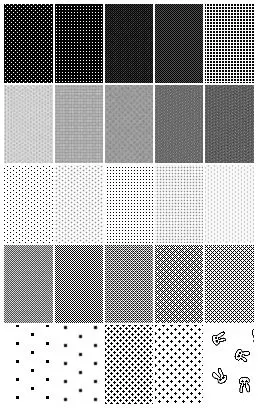
Once your draft is cleaned up, you can start adding volume. Usually, this is done using toned paper. It’s a self-adhesive paper with a pattern that allows you to add grayscale effects to your draft. Traditionally, the pattern in question is a dot screen, but now you can find all sorts.
You will also need a small cutter or scalpel to precisely cut your screen on your board. It is also possible to scrape the screen with your cutter to create interesting gradients.
If you can't find a frame, it is also possible to apply your volumes directly with India ink and a brush, diluting it as needed. However, be careful to only use this technique on fairly thick paper!
And what about digital media?
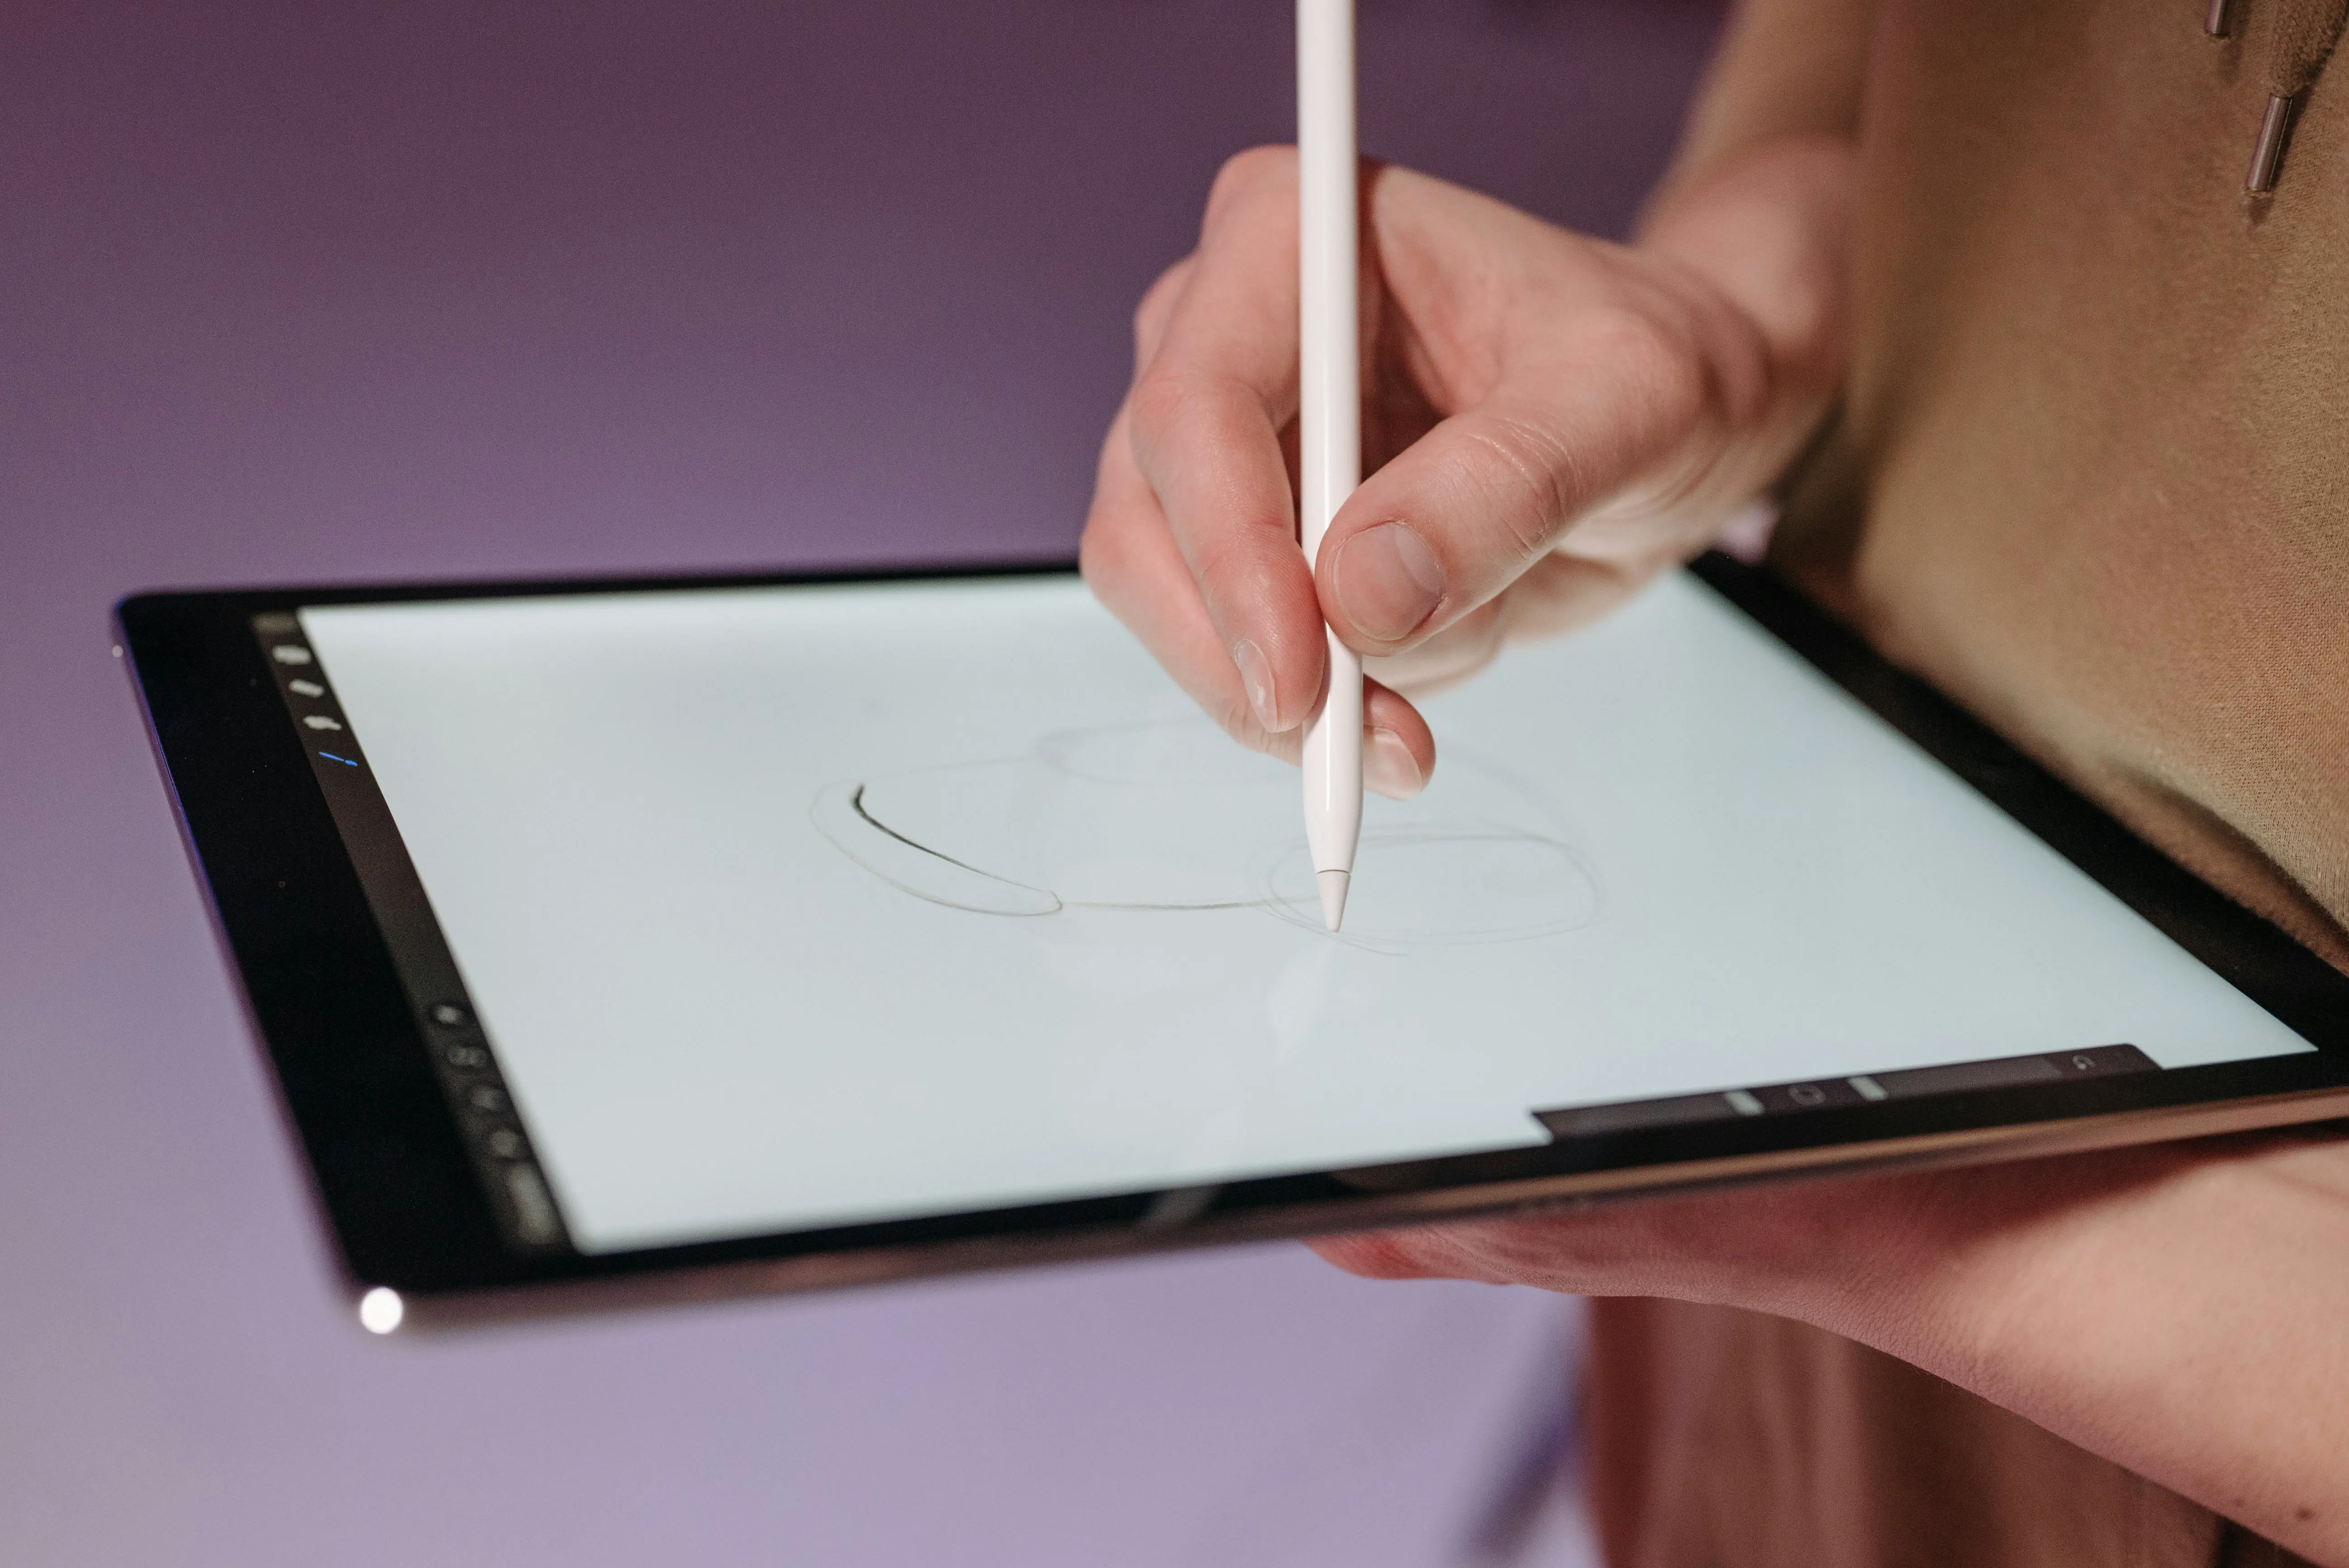
As mentioned previously in this article, it is possible to complete all these steps entirely digitally. Here, two solutions are available to you: graphic tablets and laptops.
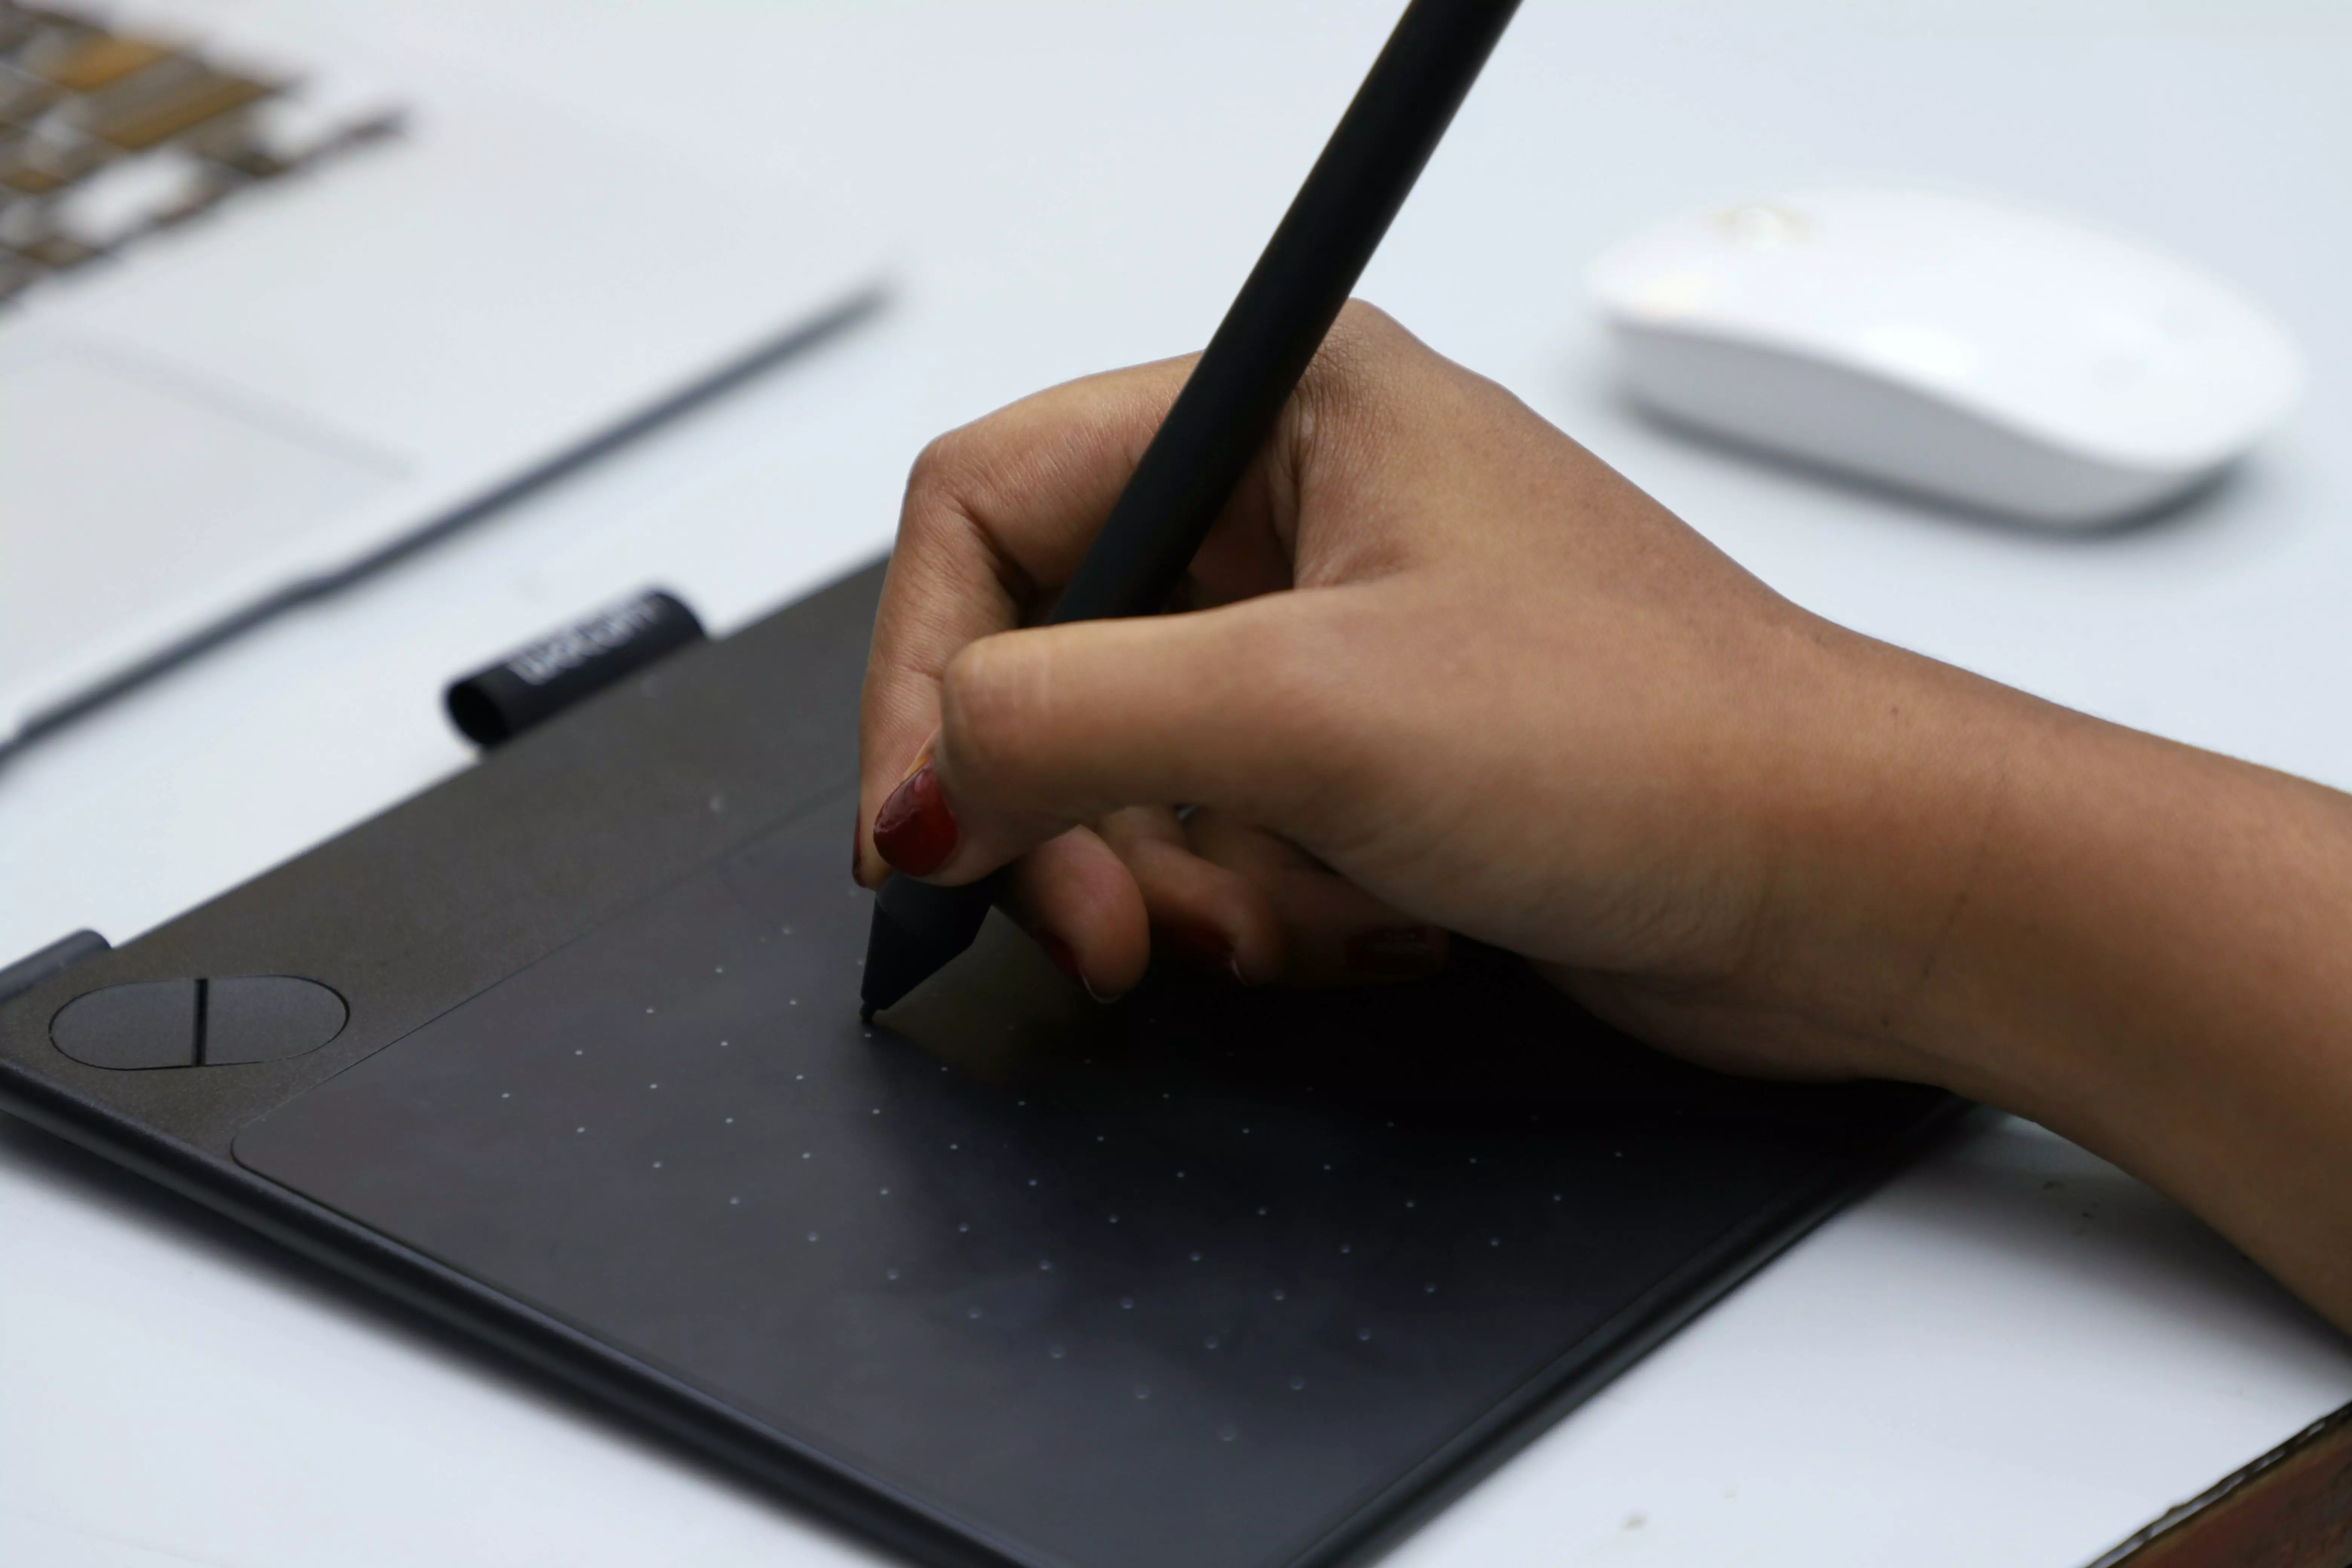
The graphic tablet is a device that you connect directly to your computer. It can be with or without a screen. Tablets without screens, also called active surfaces, are less expensive and have a more pleasant drawing surface but require a bit more dexterity than those equipped with a screen. You will need to look at your computer screen and not the surface of the tablet while drawing.
Although it may seem complicated at first, it will become much more natural as you adapt. Tablets directly equipped with a screen are generally easier to grasp but have much less friction.
With these, you draw directly on the glass of your tablet and your stylus will tend to slide much more easily. Graphic tablets, being connected to your computer, require the use of drawing software installed on it, such as Photoshop, Clip Studio Paint, or Krita.
Portable or mobile tablets do not need to be connected to a computer. They are equipped with a screen and are used in the same way as display graphic tablets. You will also need to install drawing software to draw on them, such as Procreate for Apple tablets, and Clip Studio Paint or Krita for Android tablets.

You are finally ready to dive into your manga panels, both traditionally and digitally! Don’t hesitate to try out different tools until you find the perfect one for you.
Written and illustrated by Louis Grieves
Popular Articles
Discussion
No comments yet.