Drawing Manga Eyes
If there is one element that you should particularly focus on when drawing manga, it's the eyes. Did you know? There is a manga drawing course available on our Dessindigo site, go take a look, if you haven't already! ;) In addition to their prominent size on the face, the eyes are also customizable and a way to easily recognize the style of different designers. Very expressive, they can be varied almost infinitely, as there are so many ways to differentiate them.
In this article, I will show you how to draw a simple manga eye. I will show you a fairly classic version, but there are countless variations and customizations possible, both in terms of color and shape. So feel free to open your favorite mangas and watch your favorite anime to try things out and see everything that already exists ^^
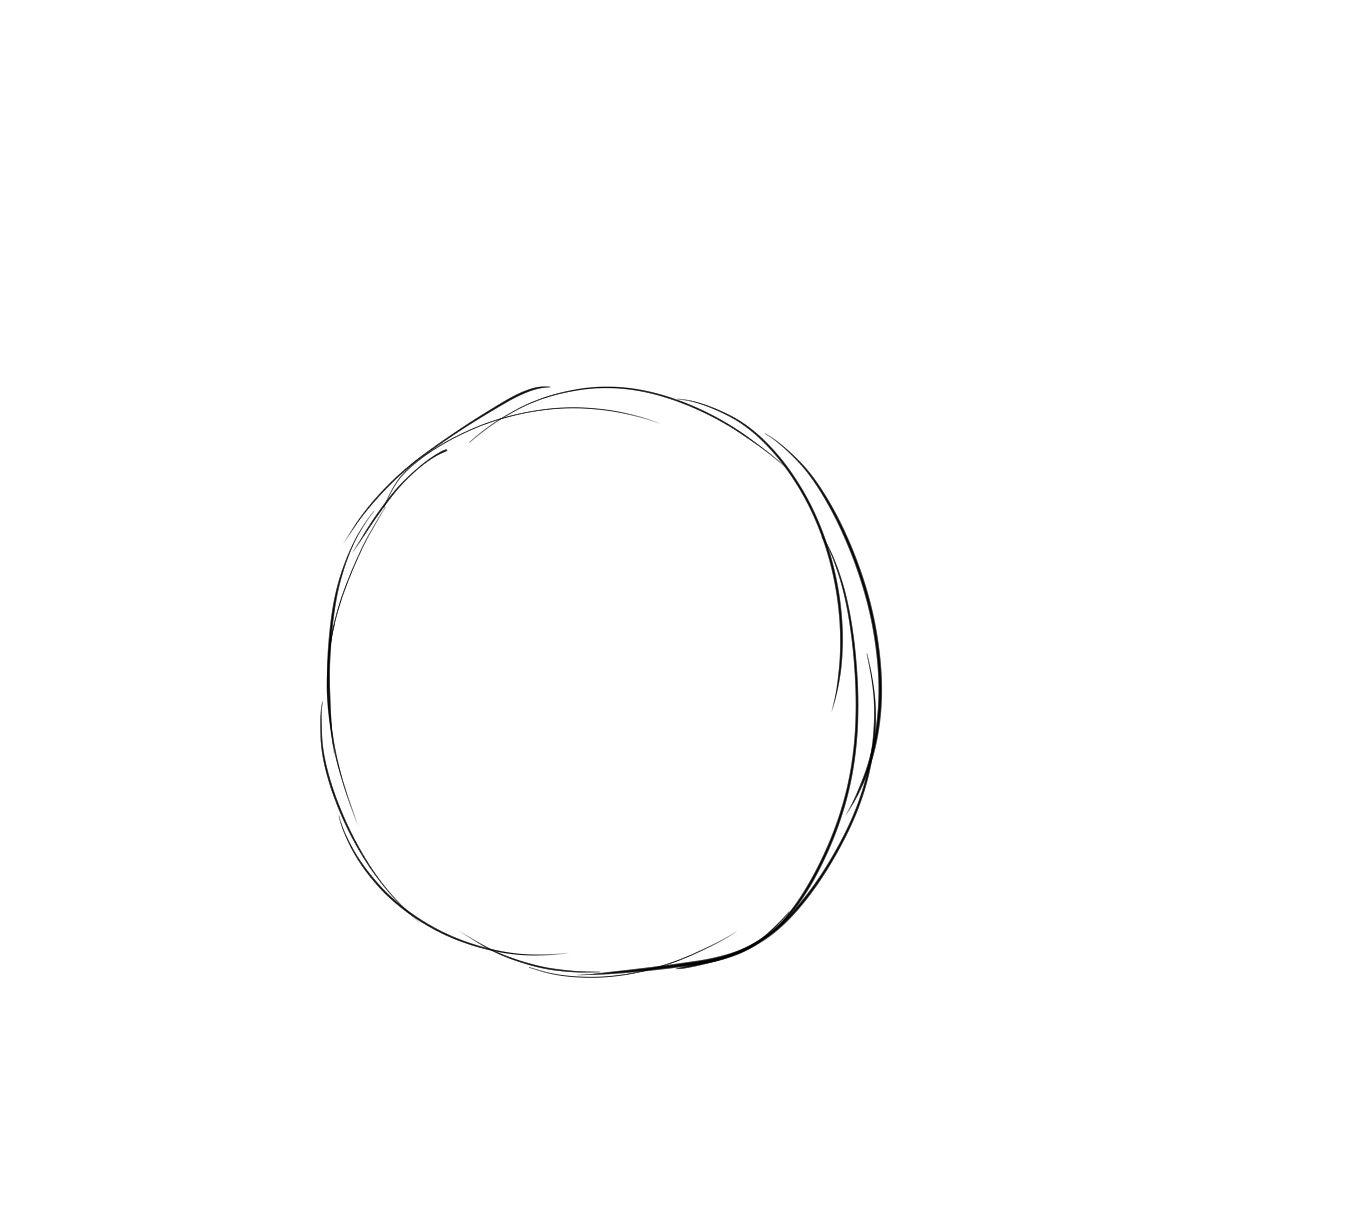
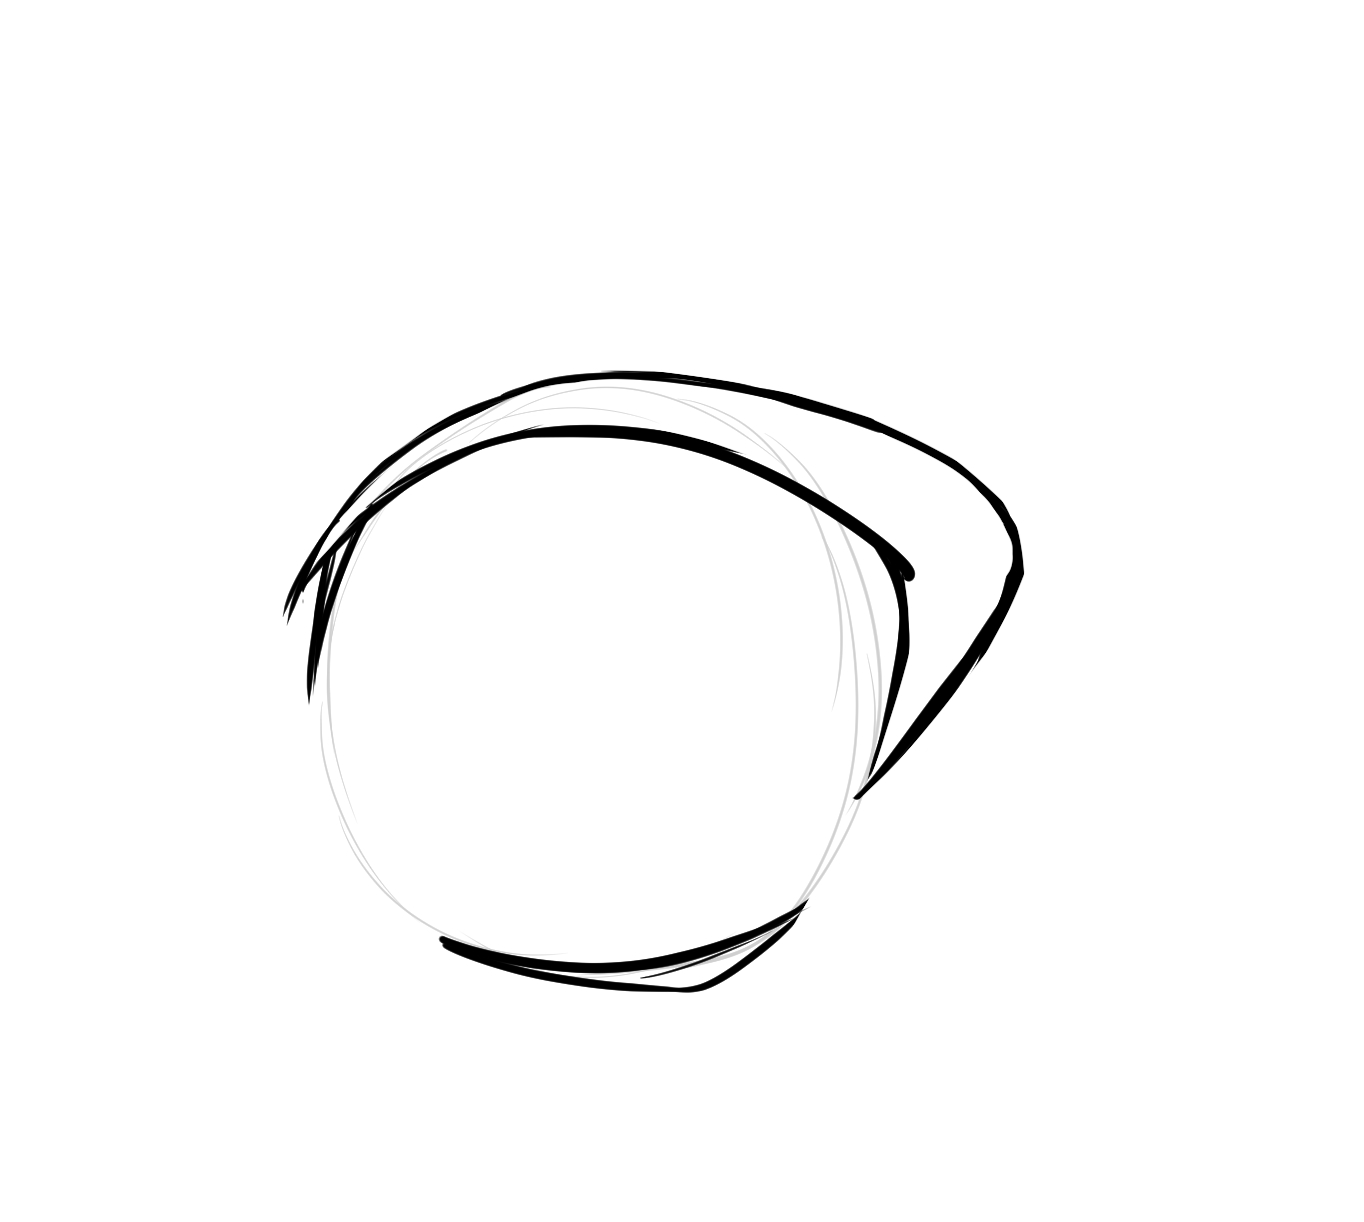
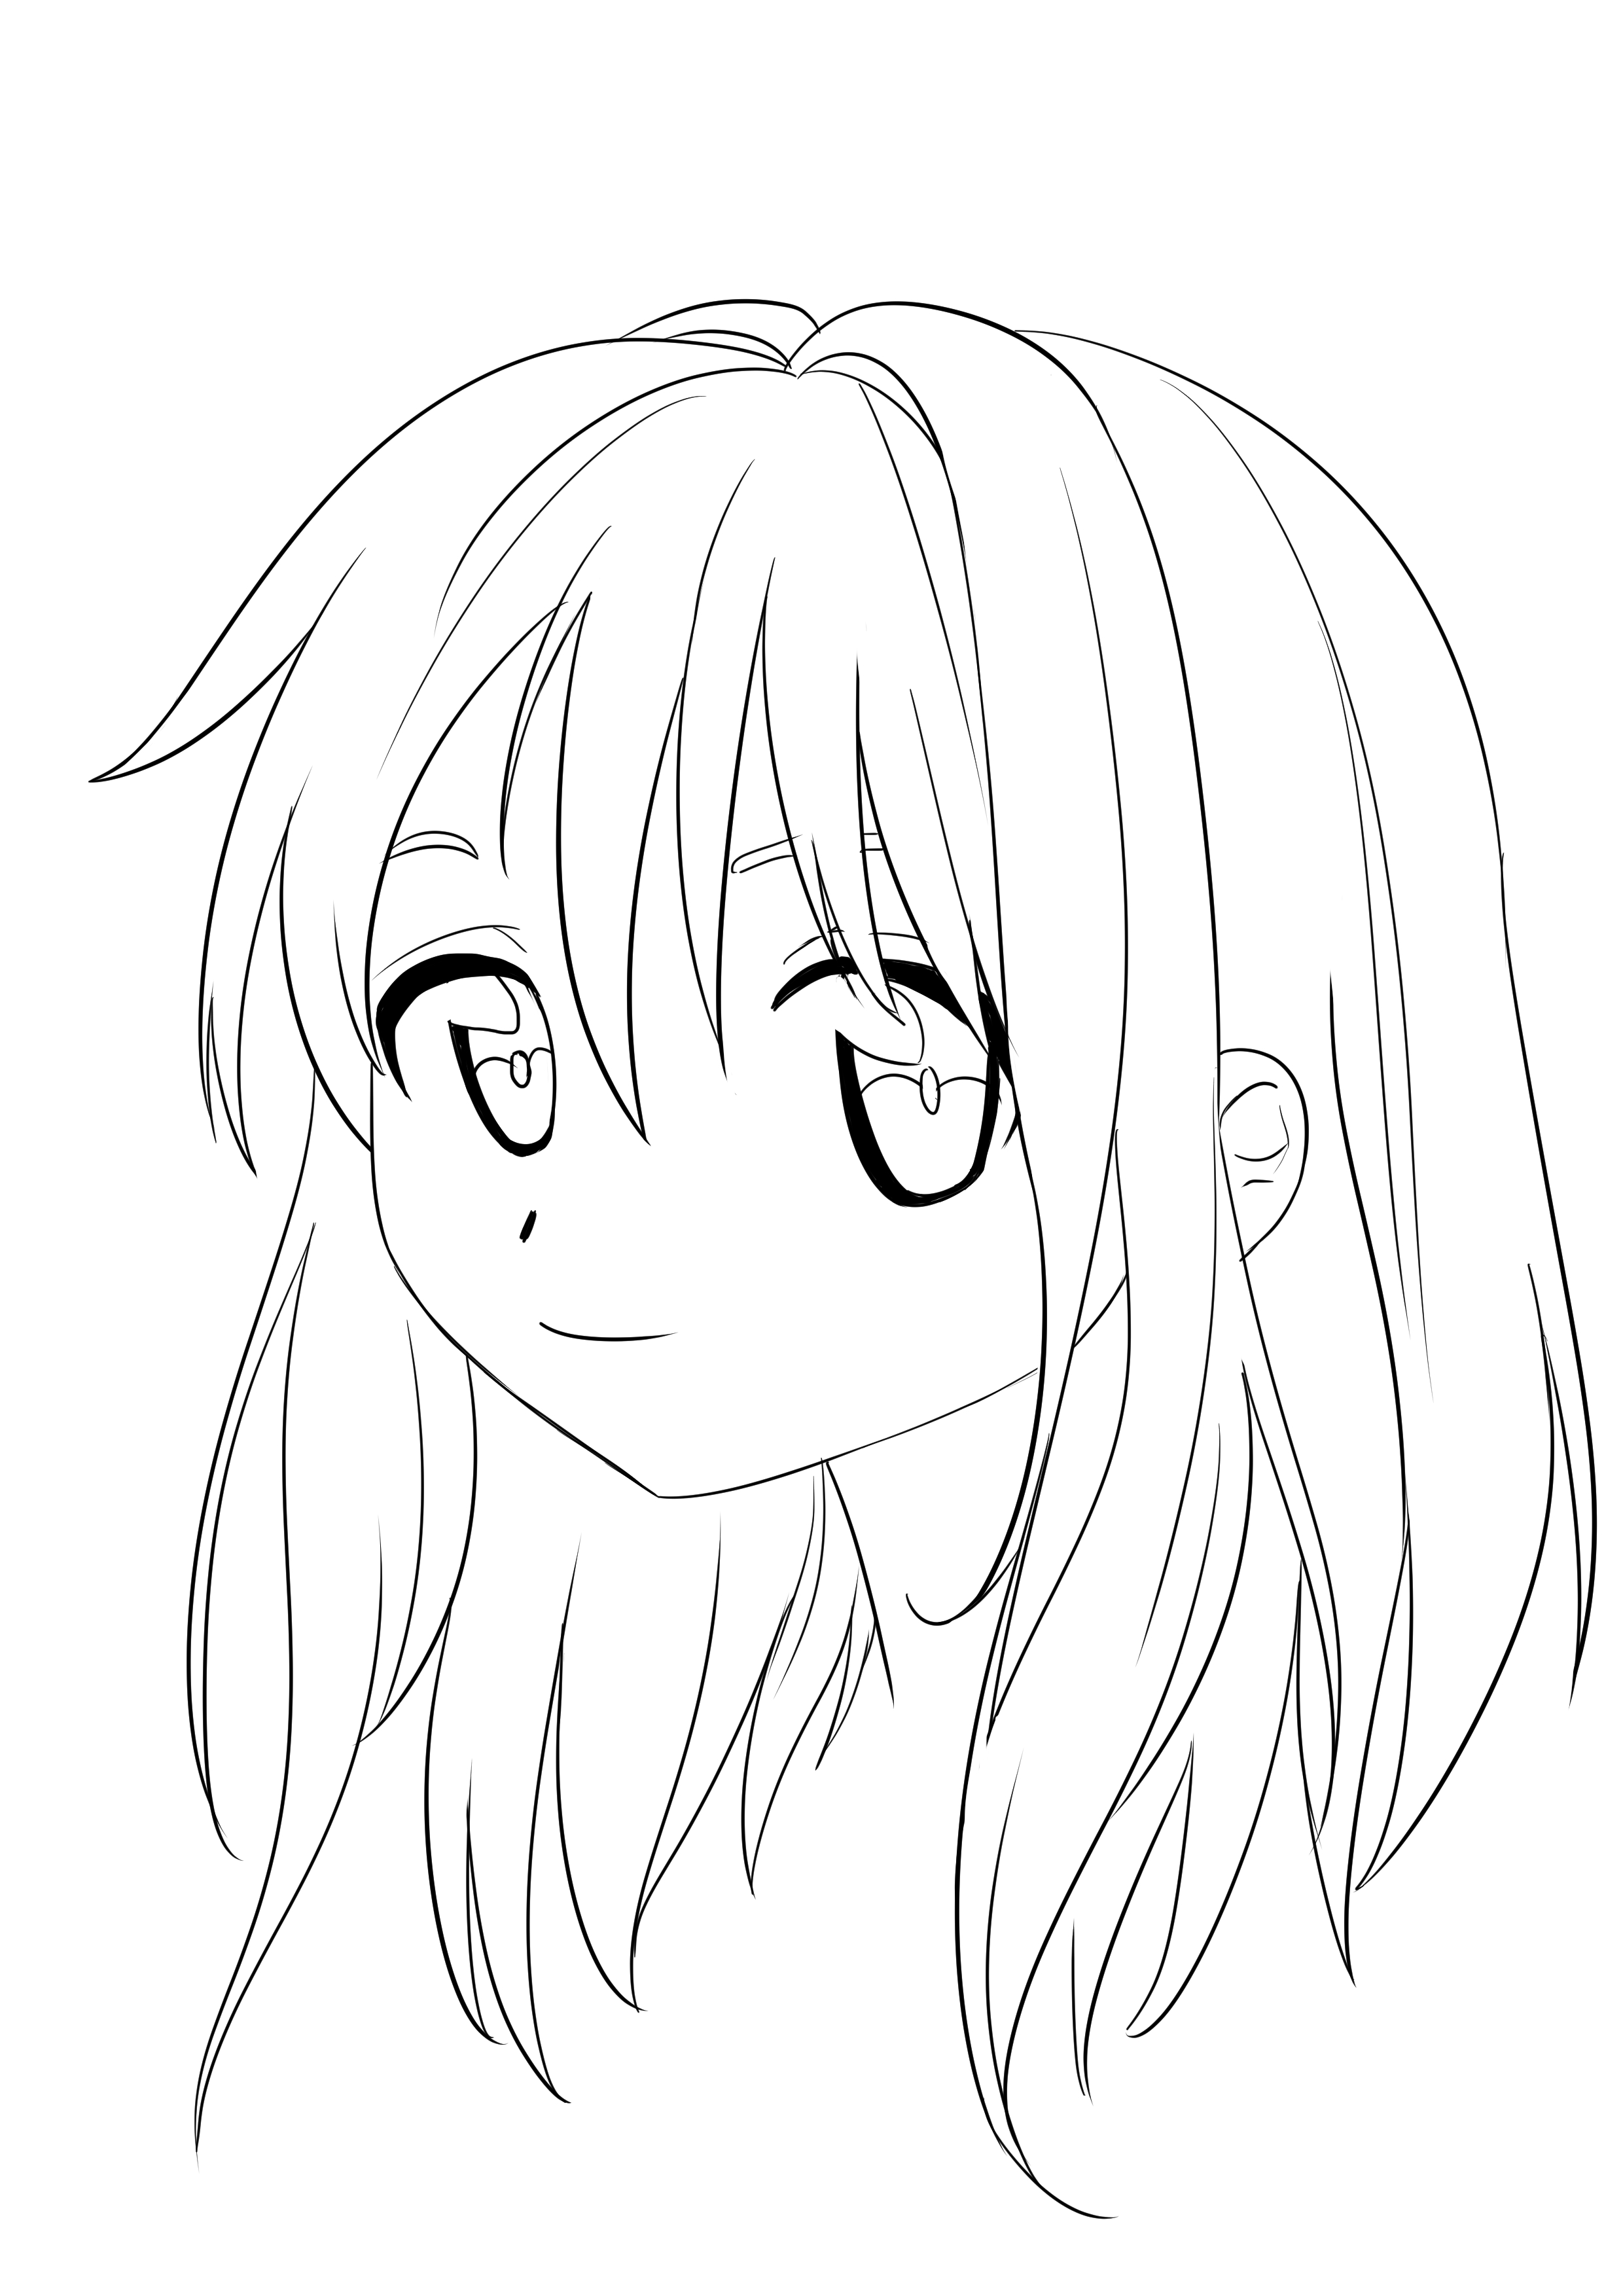
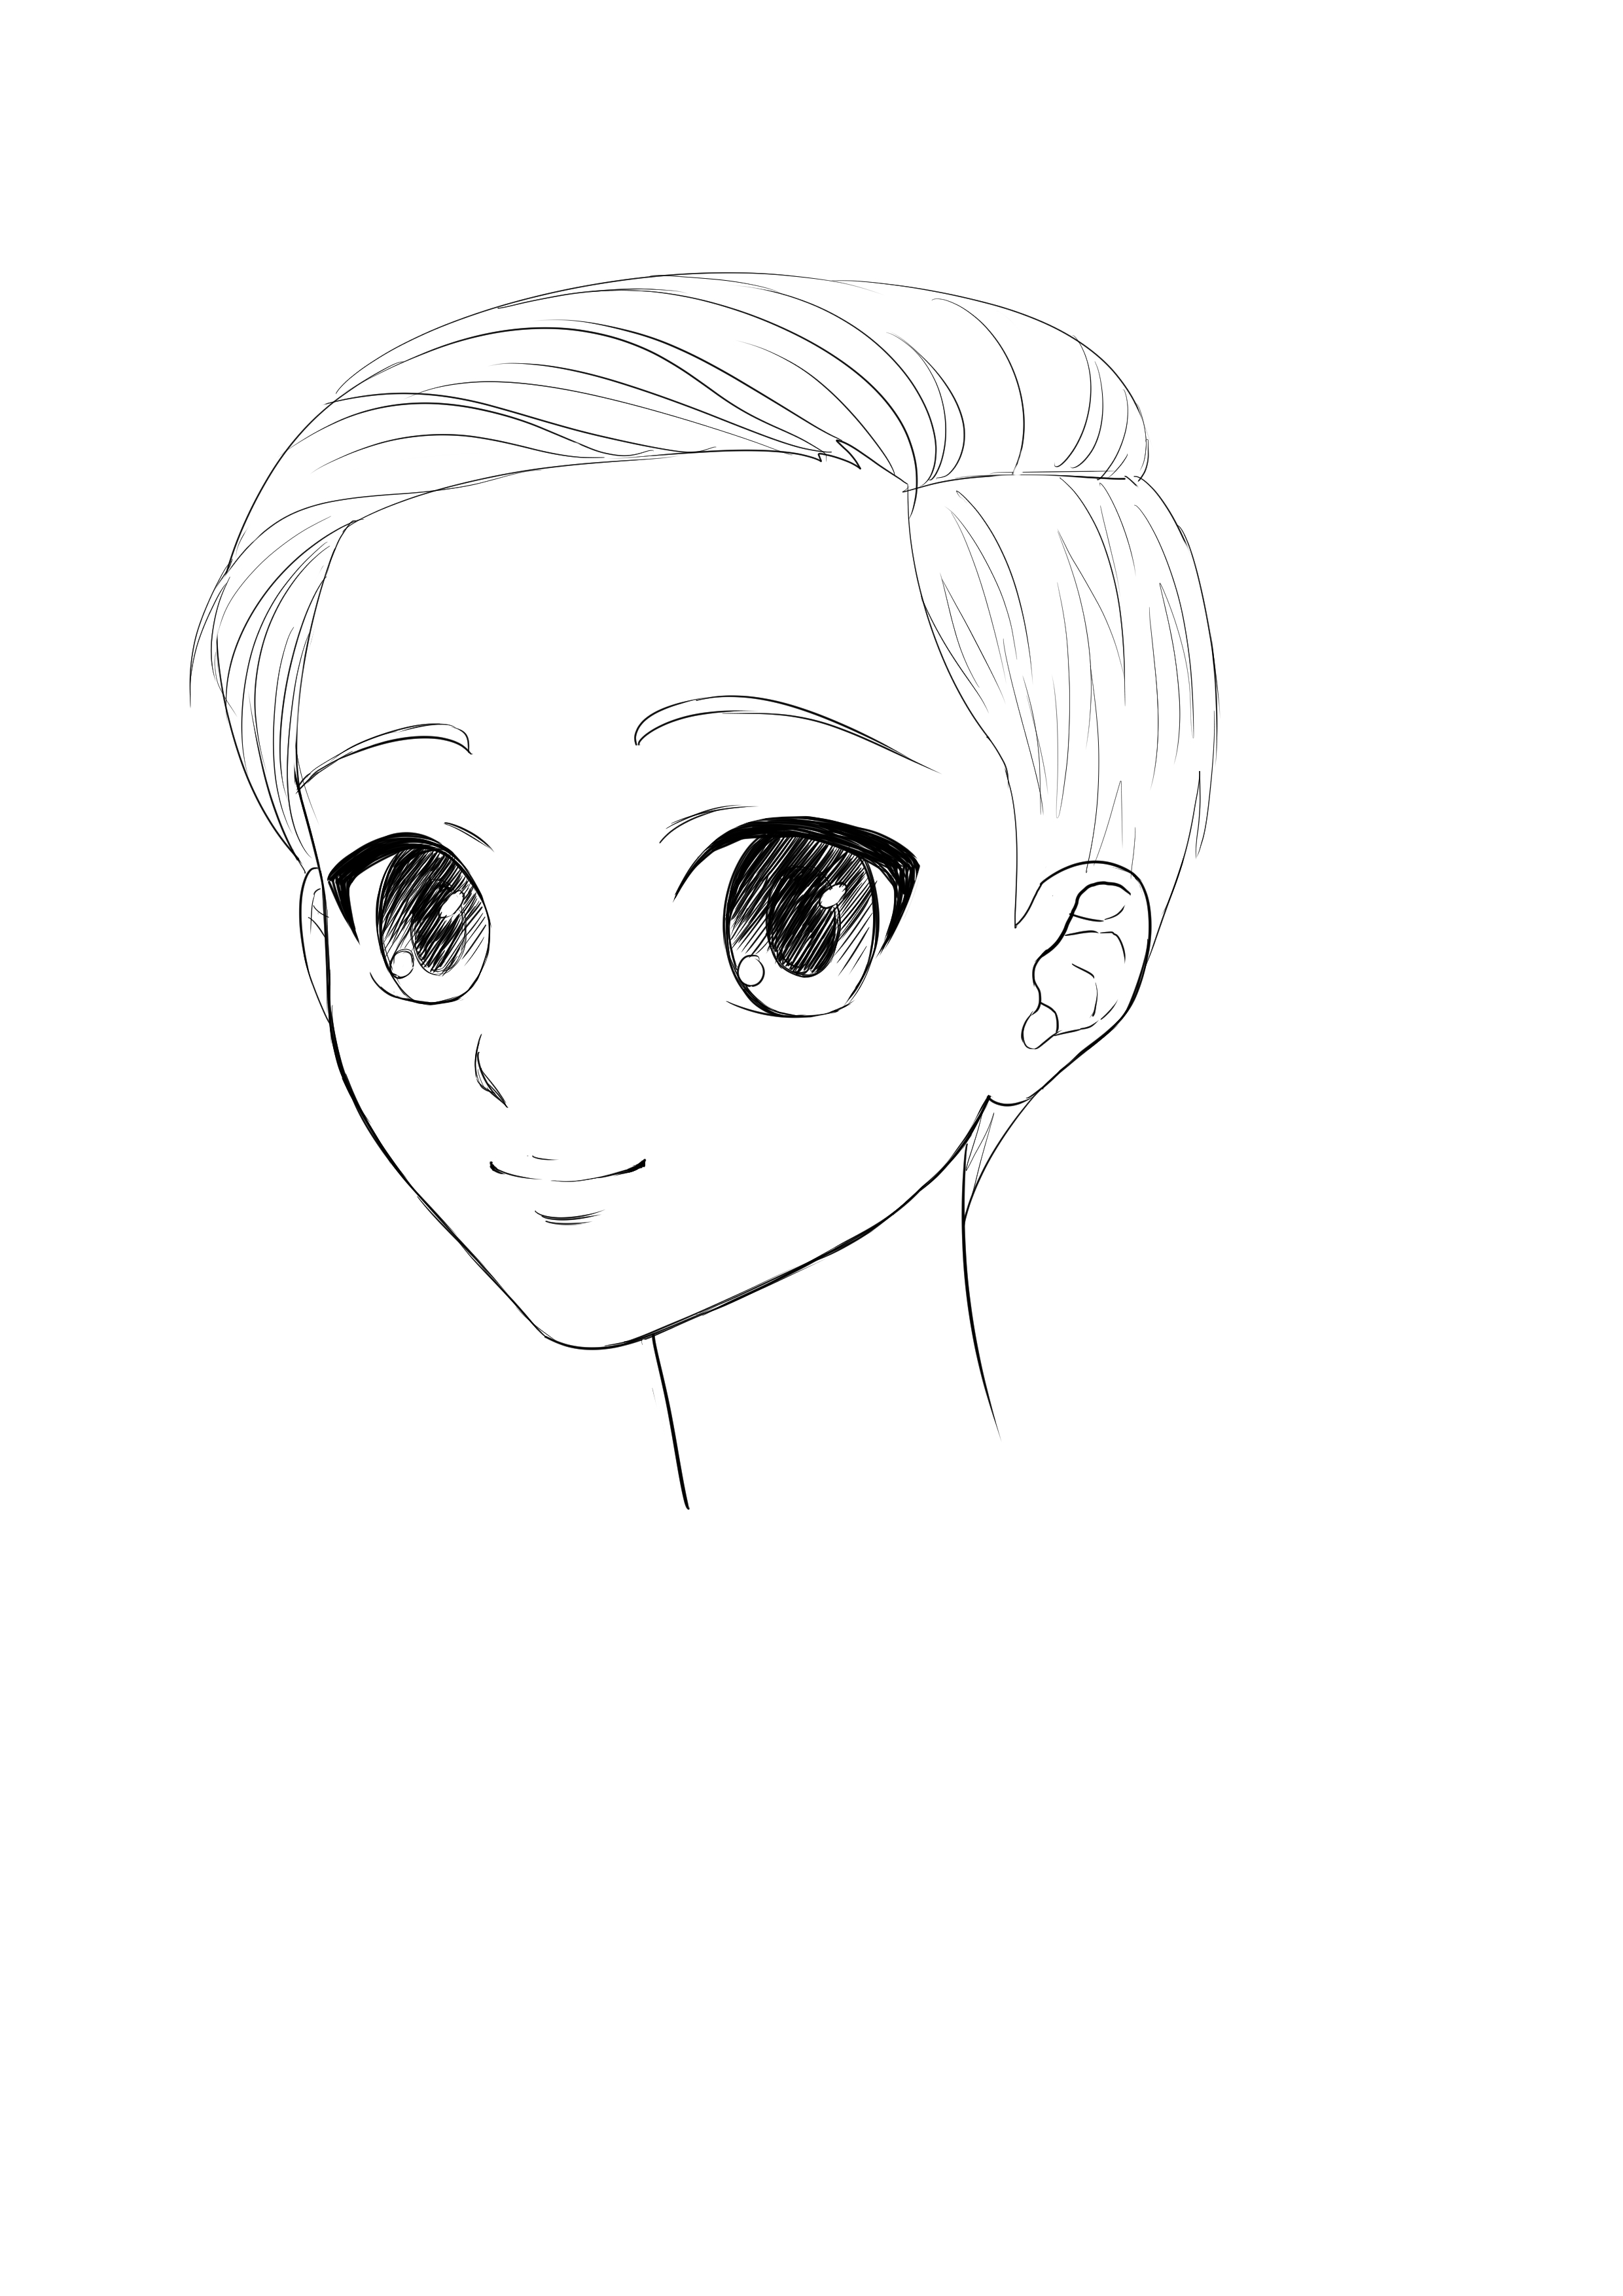
Eyes are eyeballs, so let's start by drawing a circle, a little taller than it is wide.
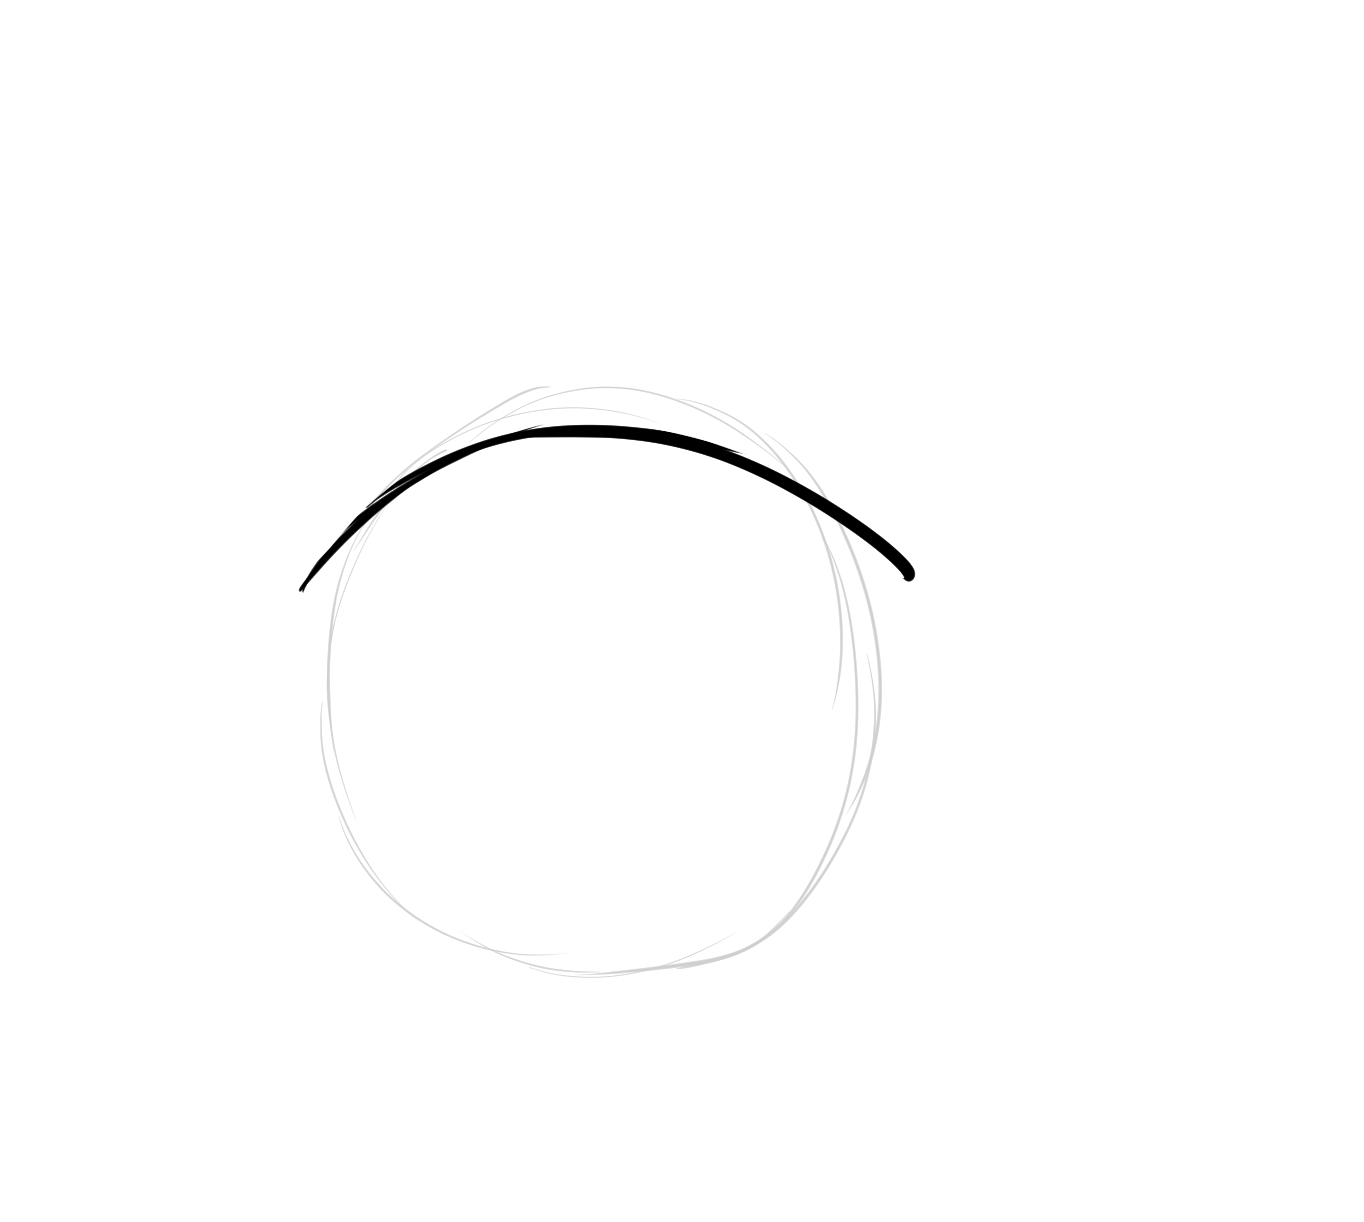
This will serve as our base. Then, draw a line on top, which will be our upper lash line. I want to create a kind, slightly drooping eye. Note that the inner corner of the eye is on the left and the outer corner is on the right.
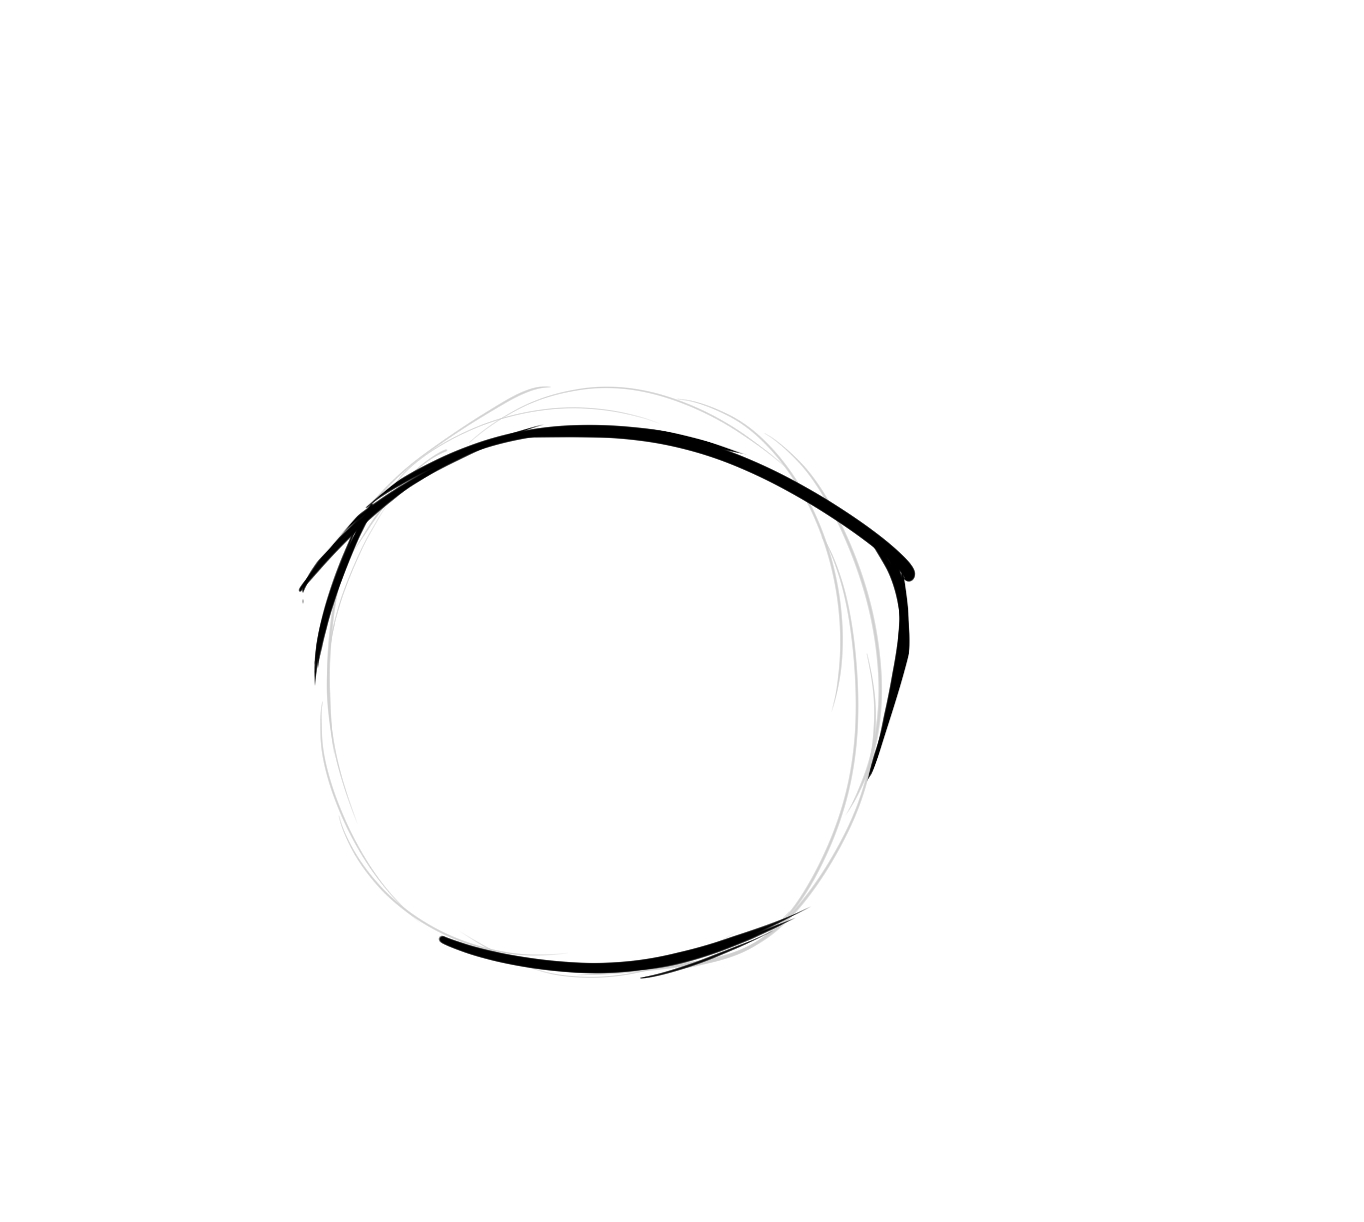
Once that's done, let's move on to the lower lash line, which is narrower. We are not trying to close the eye, but to enlarge it.

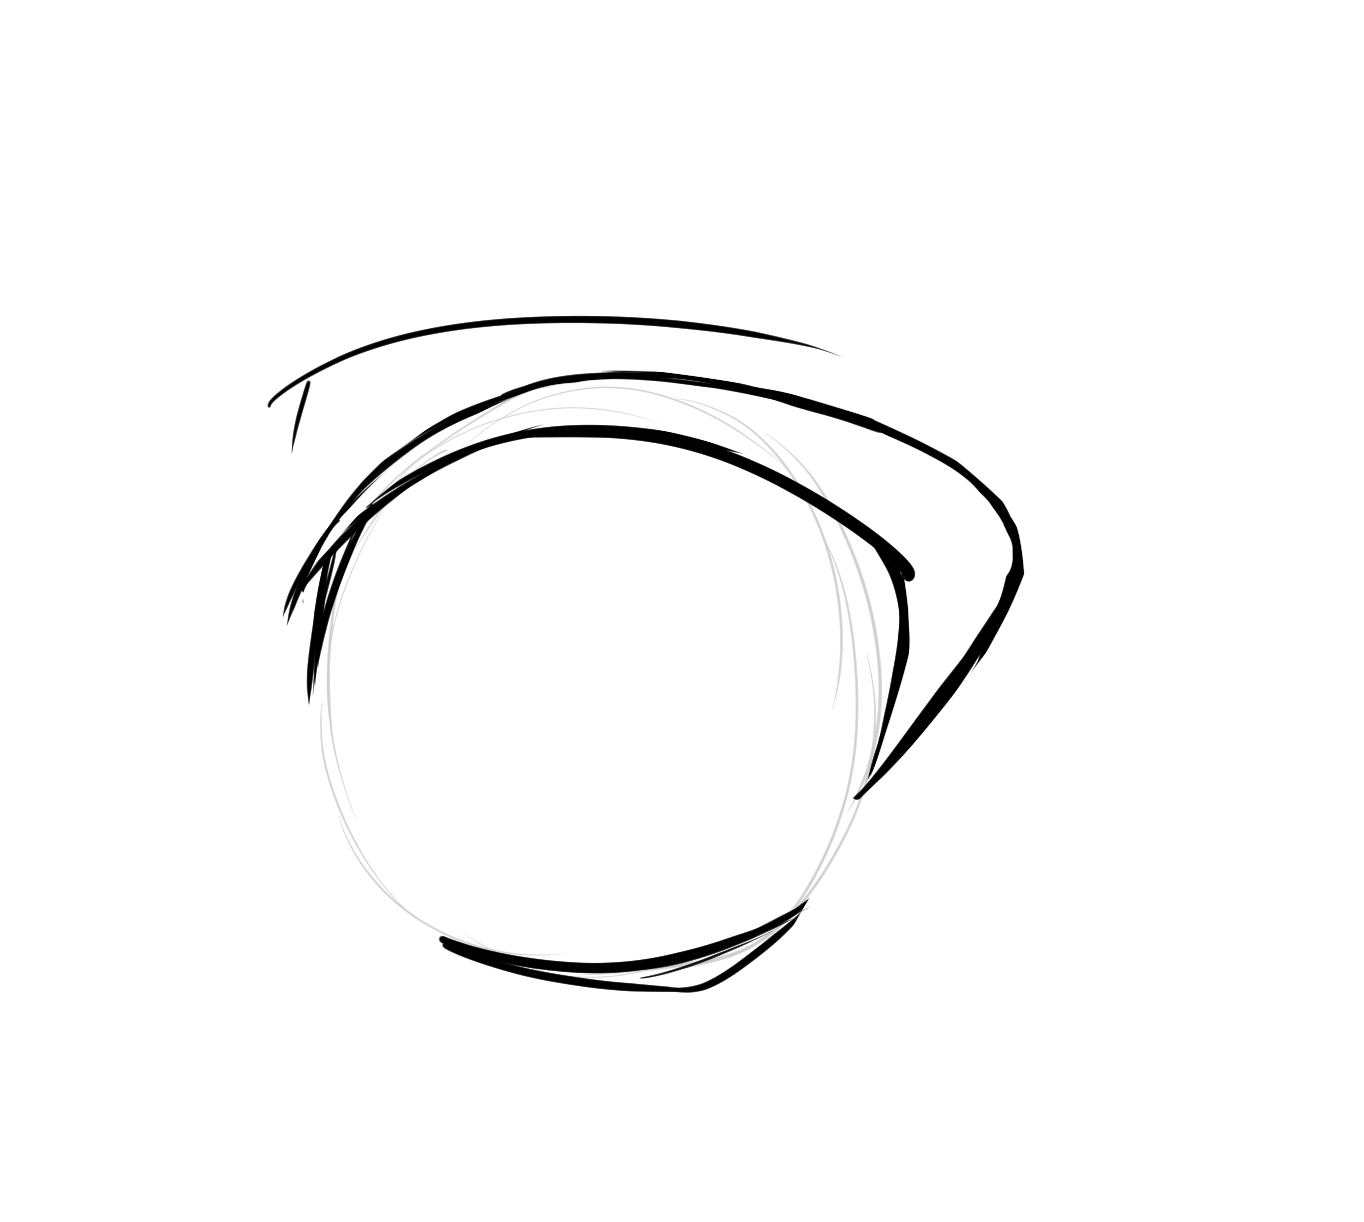
We will add a little bit of detail by going over the upper lash line. We will suggest how the upper lashes meet the lower ones. Towards the inner corner, draw a slight stroke following the shape of the eyeball, and towards the outer corner of the eye, make a curve. This can be more or less pronounced depending on the type of lashes we want to have.
Speaking of eyelashes, let's thicken them up. We'll start from the principle that eyelashes are thinner towards the inner corner of the eye and thicker towards the outer corner, which is also the case in reality. As always in drawing, even a very stylized drawing, we always refer to reality, so don't hesitate to refer to it to understand the logic that can be behind a stylization :)
We've already made quite some progress! It's time to place the eyelid. Again, we can either choose to emphasize it a lot or a little. In our case, we'll go for a horizontal line that is slightly curved above the eye, and a smaller one towards the inner corner that symbolizes the bulk of the eyelid, or the shape of the eyebrow arch, as you prefer.
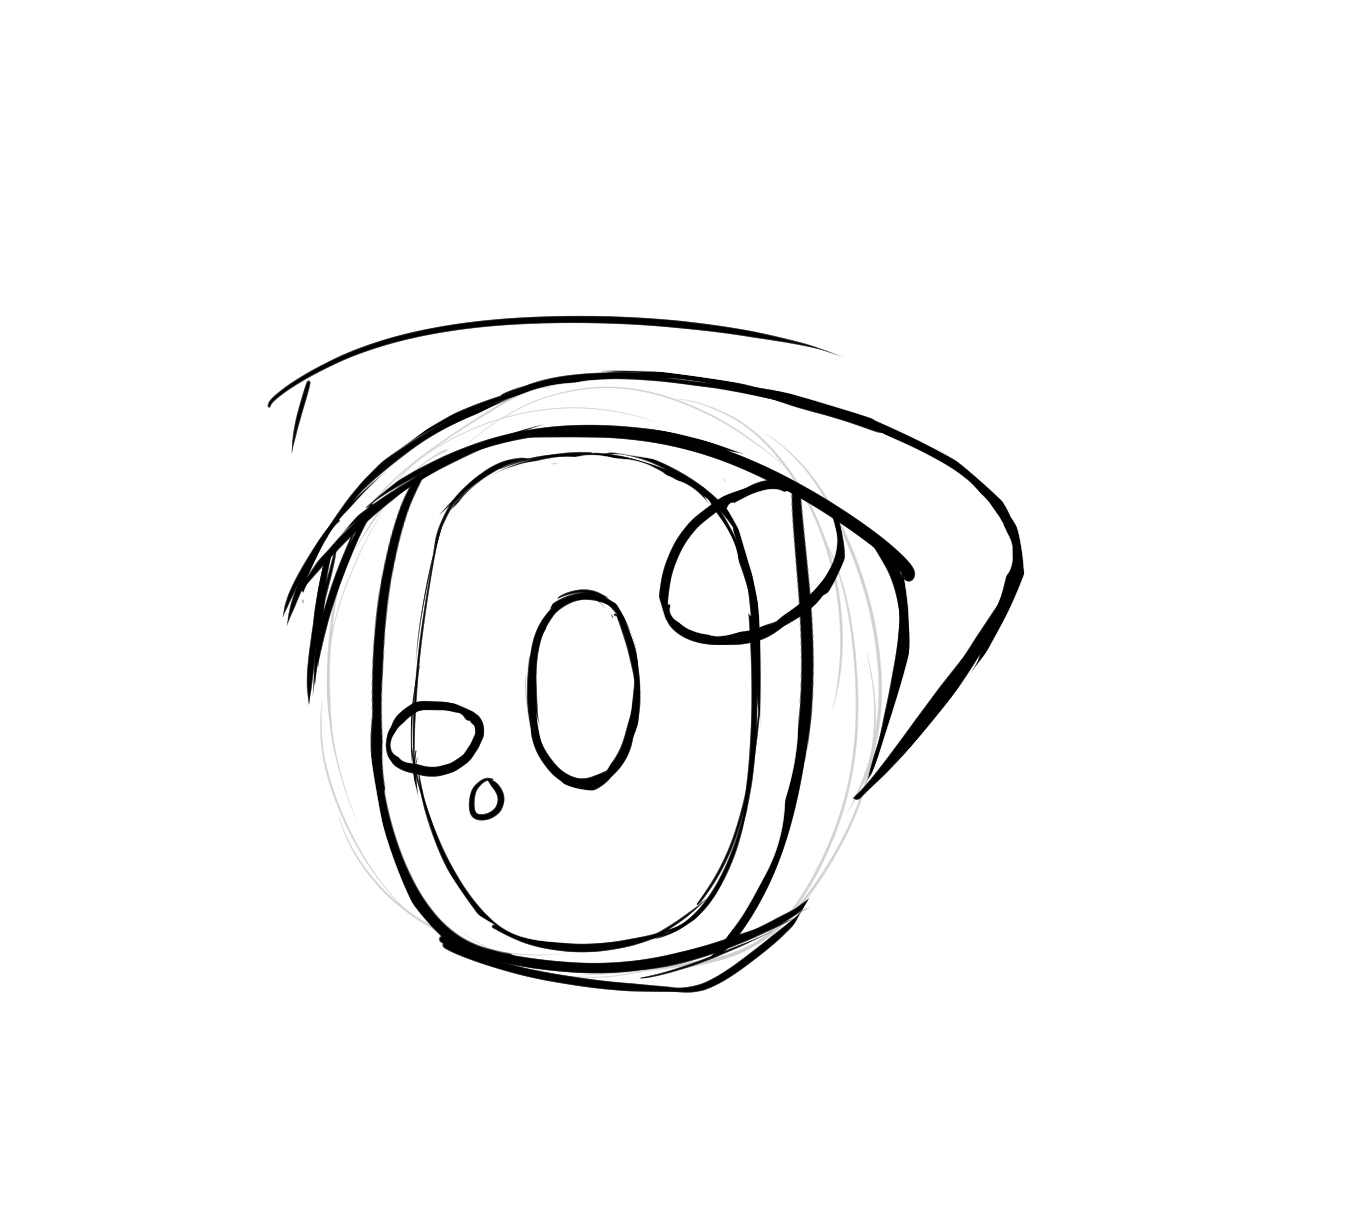
We will place the eyebrow later. Let's go back to the eye itself, and particularly, the fun part: the iris. In a normal human, this iris is round. But our eye here isn't, it is much taller than it is wide, and we want a look that attracts attention and allows the character's expressions to be read easily. So, we will opt for a large, oval-shaped iris.

I told you, we're going to keep it classic, so there won't really be any whimsy in the eye we are drawing today. We will add relatively realistic details (but we are still stylizing it!). If you look at your iris in a mirror, you will note several interesting elements. First: the outline is always darker. So that's what we're going to do. We will draw an outline, but don't forget that the iris continues underneath the upper and lower eyelids, so you might not see the outline everywhere in the same way.
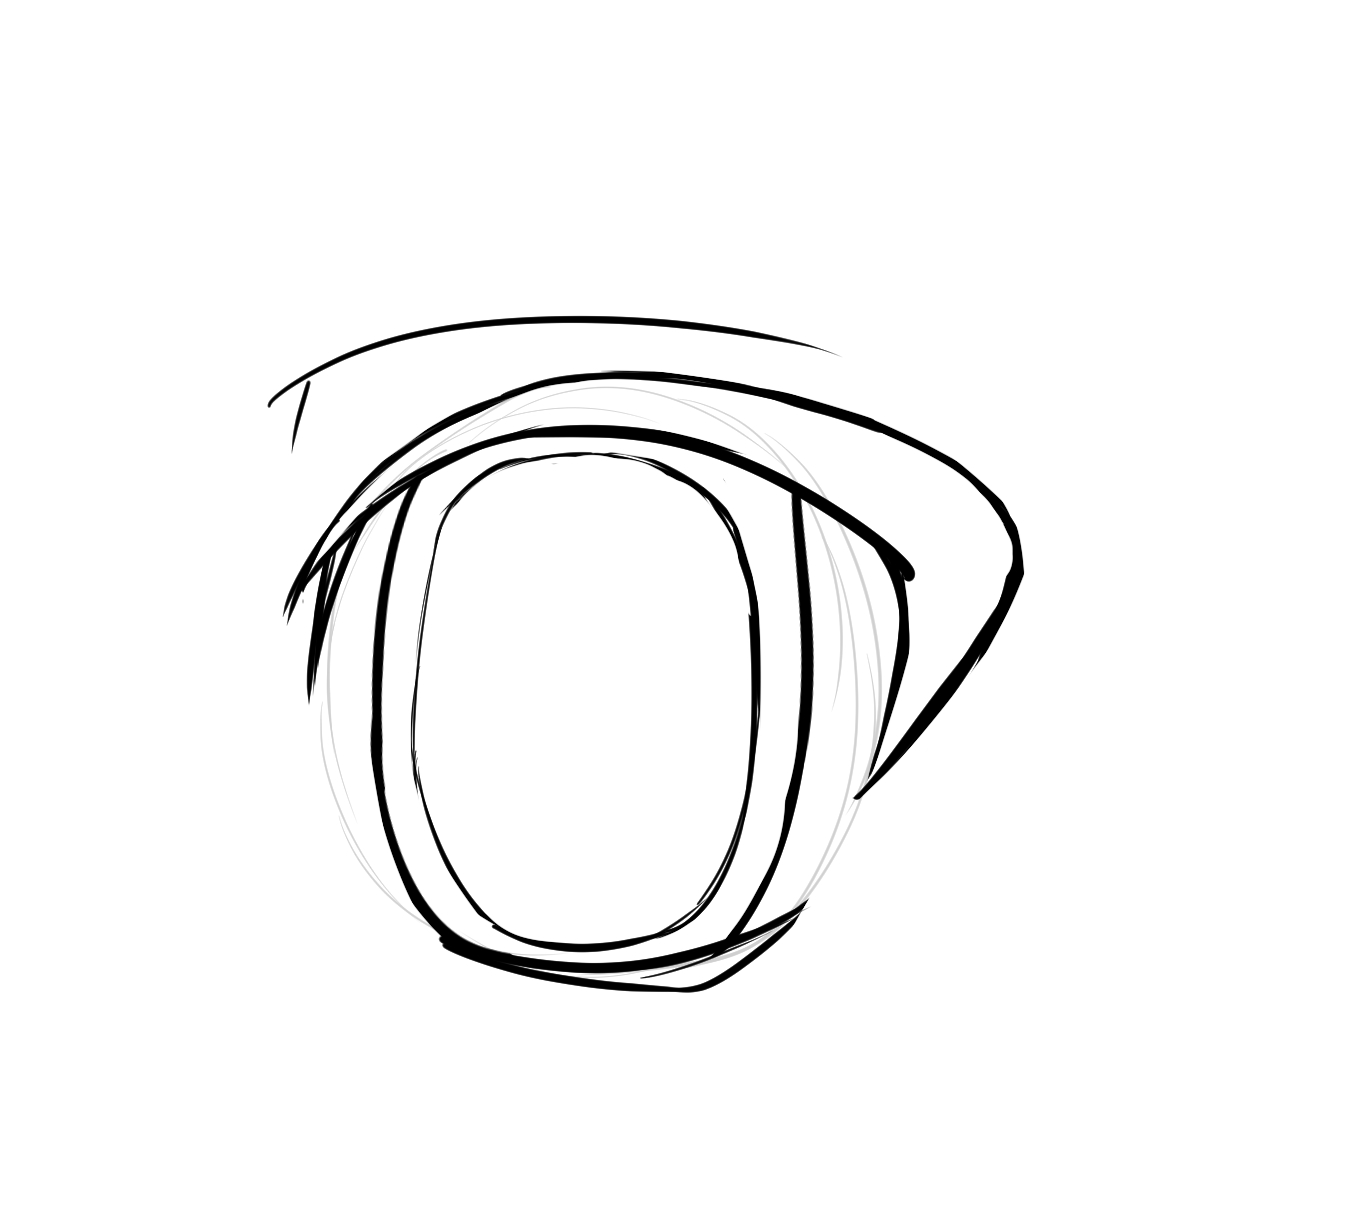
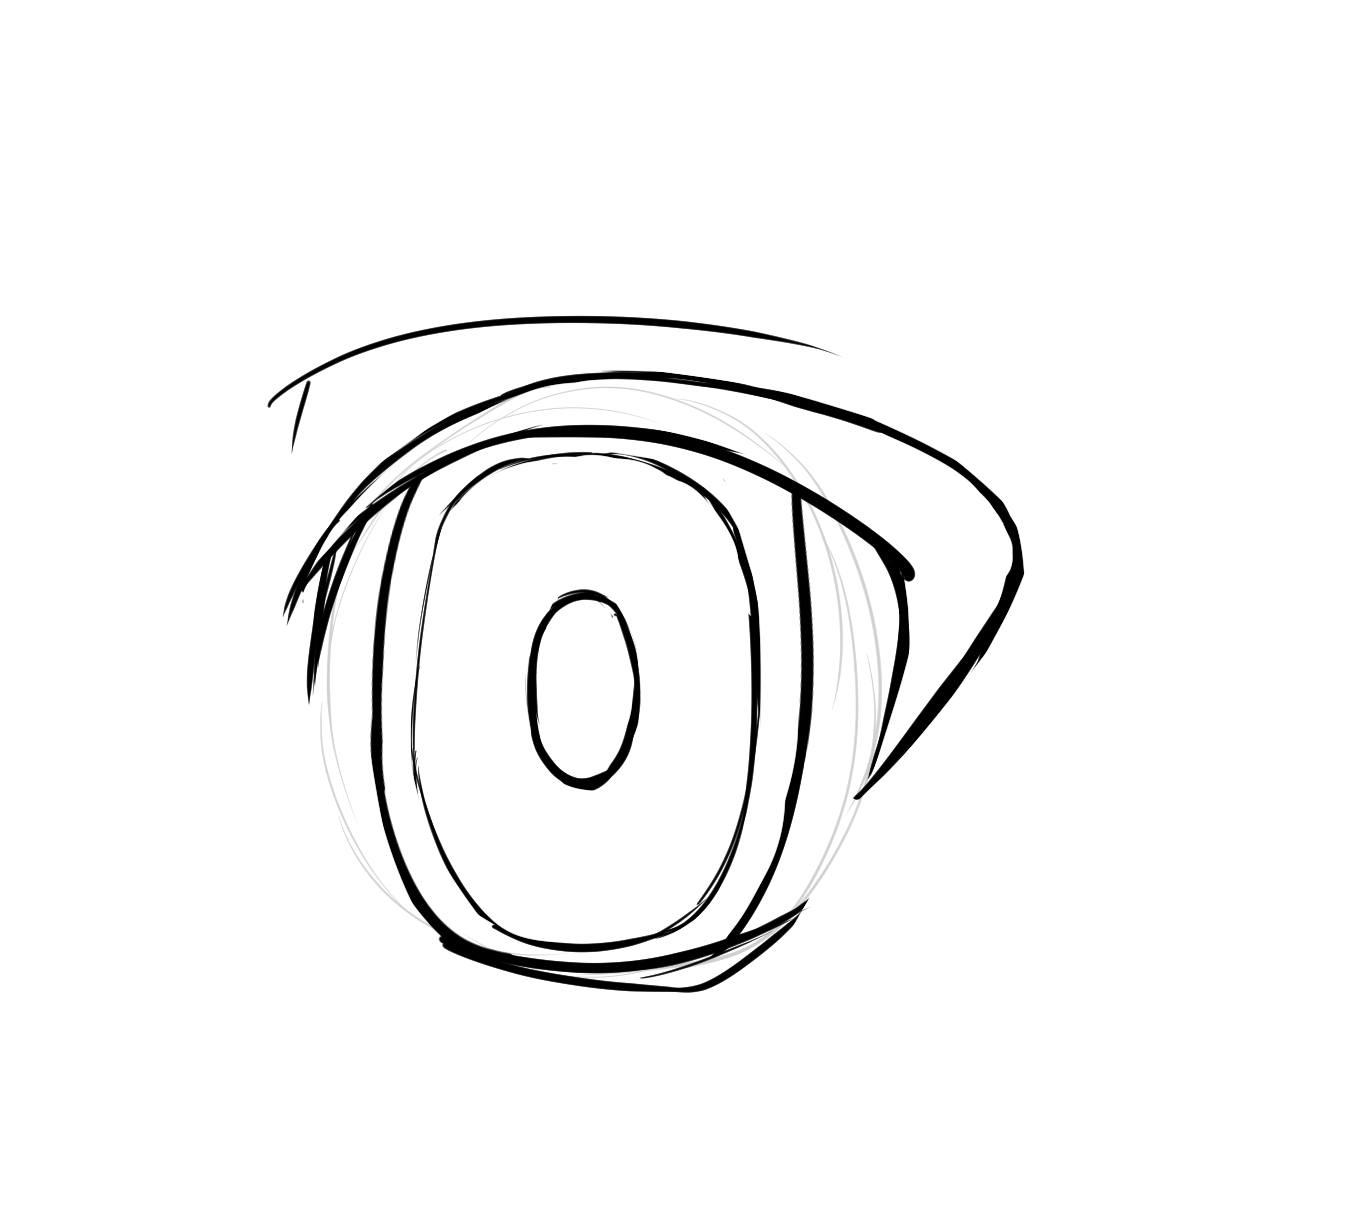
Second interesting point: the pupil is located in the center of the eye. In a normal human eye where everything is round, it is also round. But we haven't made anything round so far, so ours will be more elongated.
A key element of manga eyes is the reflections. Eyes are moist and therefore constantly shiny. Reflections are not only found on the iris but over the entire eye, so they can "overflow." They are generated by a light source, generally situated above. Therefore, the most significant reflections are usually located at the top of the eye. For my part, I chose to create three reflections. Their shape is relatively oval, sometimes a bit triangular. Feel free to vary their angle and size!
And for good measure, let's erase the lines that are no longer needed.
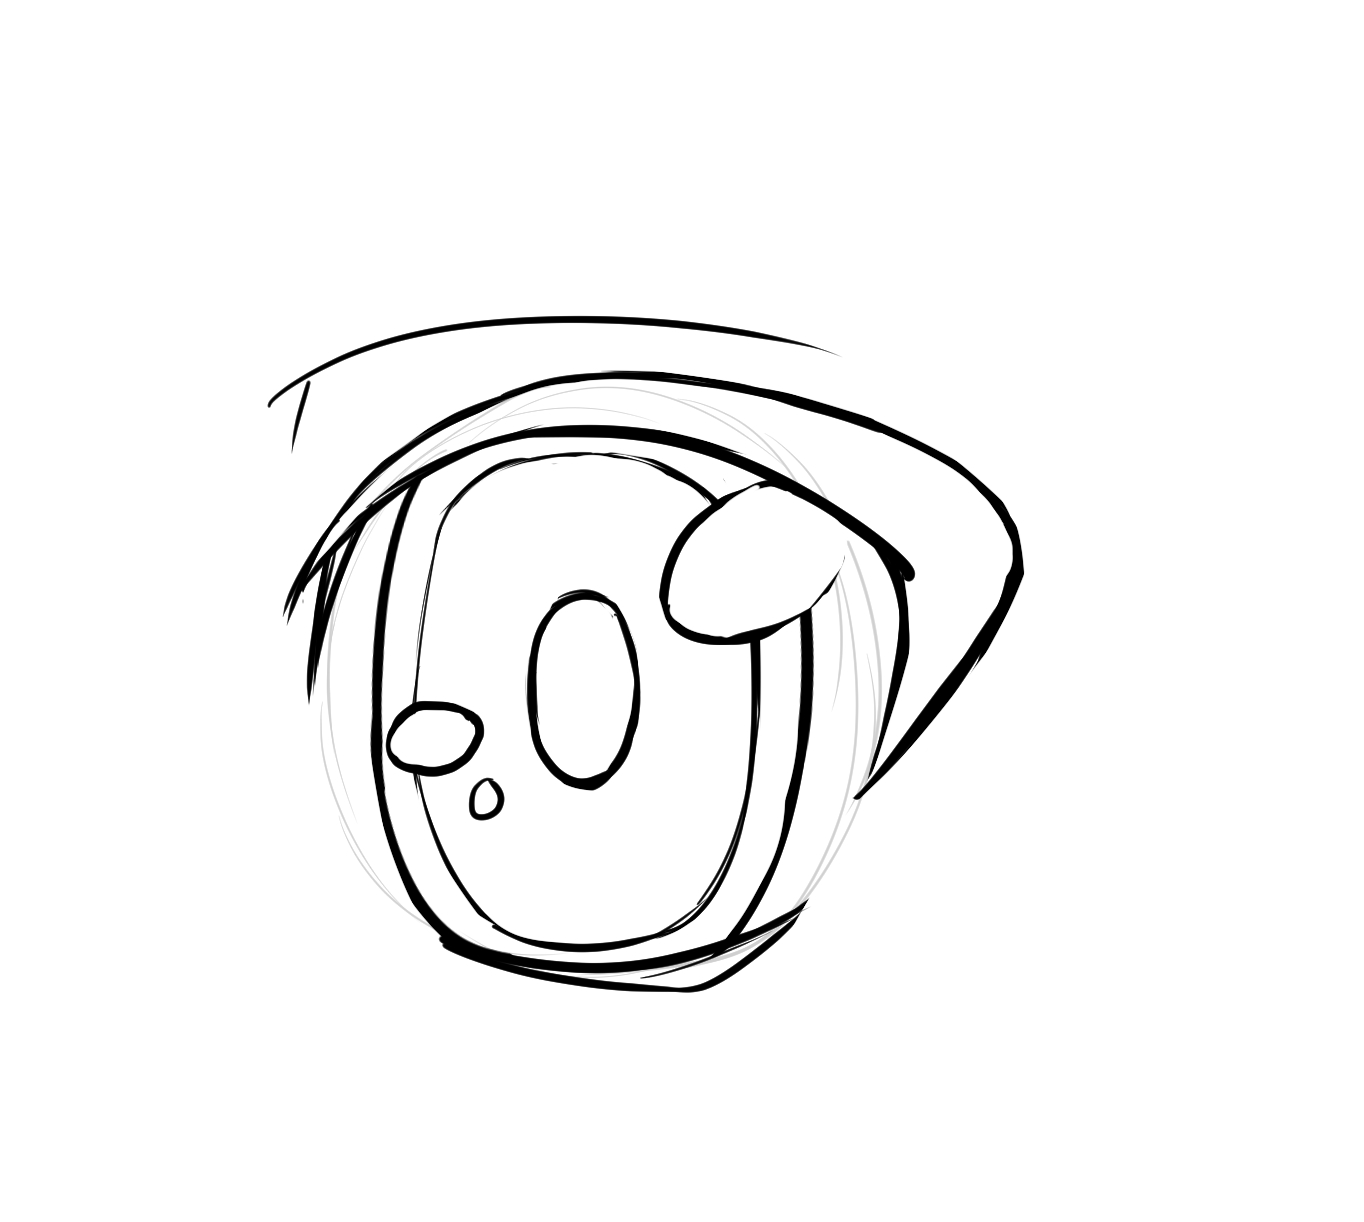
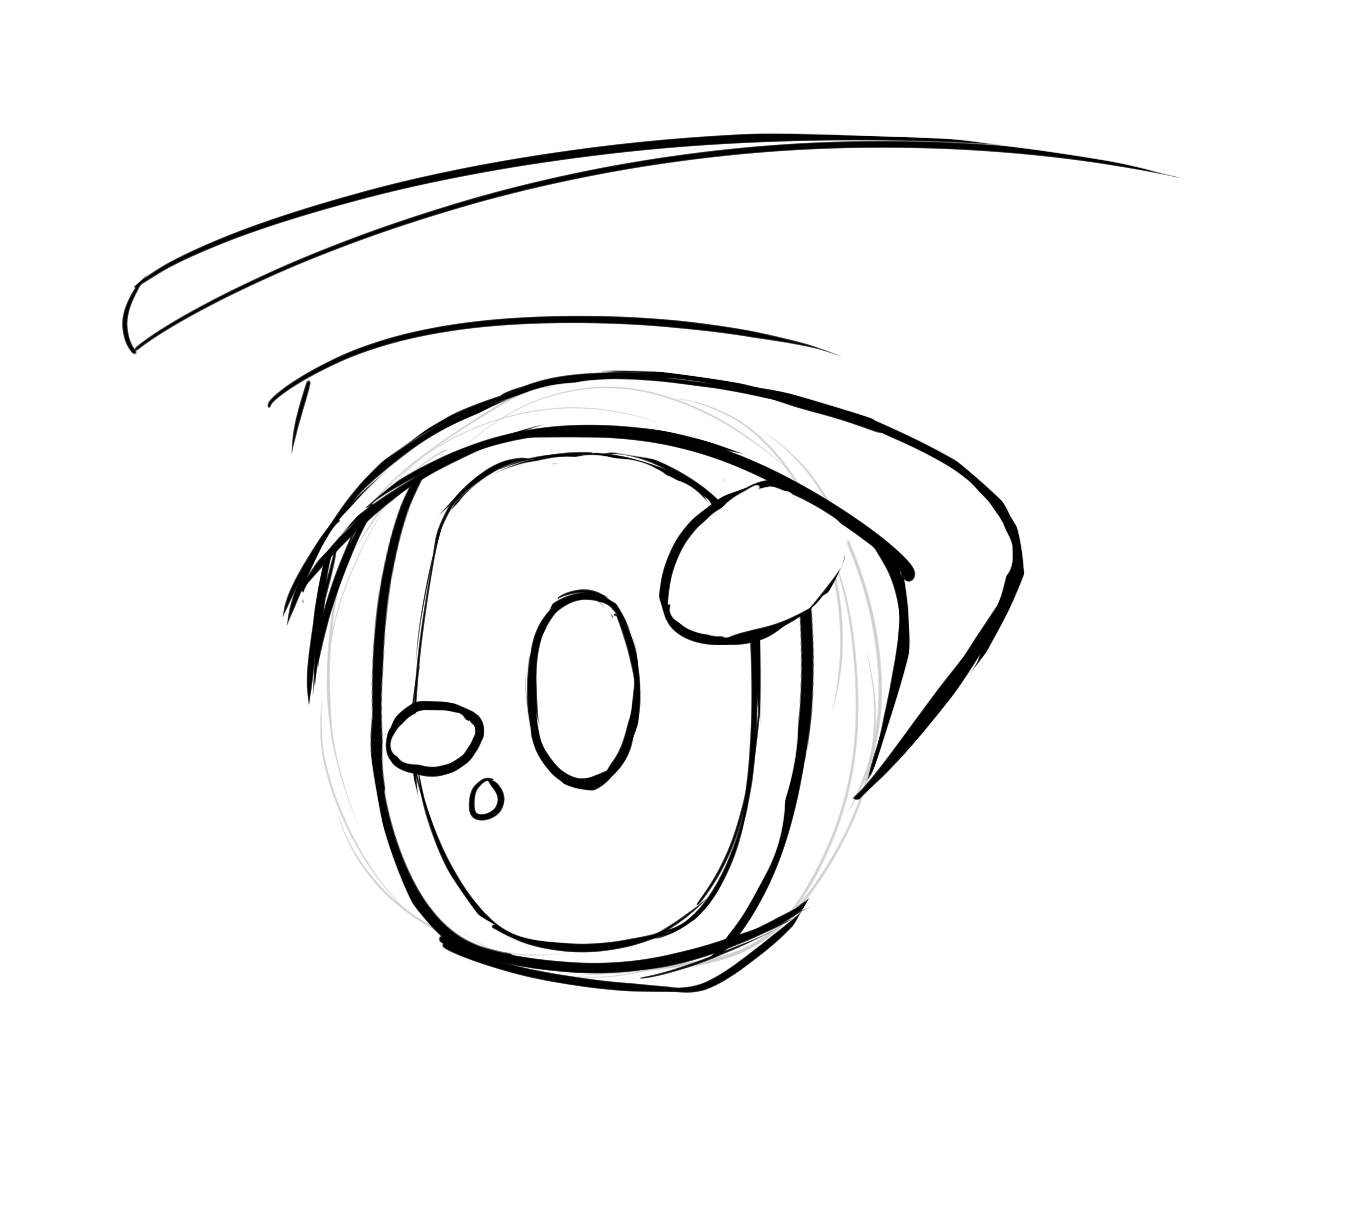
We already have a good, simple, and basic foundation, but I think it's appropriate to add an eyebrow. Generally, they are quite long and thin. Although there are many exceptions, with very small eyebrows, others thicker, others with rather unusual shapes (isn't that right, Kagami in Kuroko no Basuke?). But as with the eyes, I stick to the classics :3
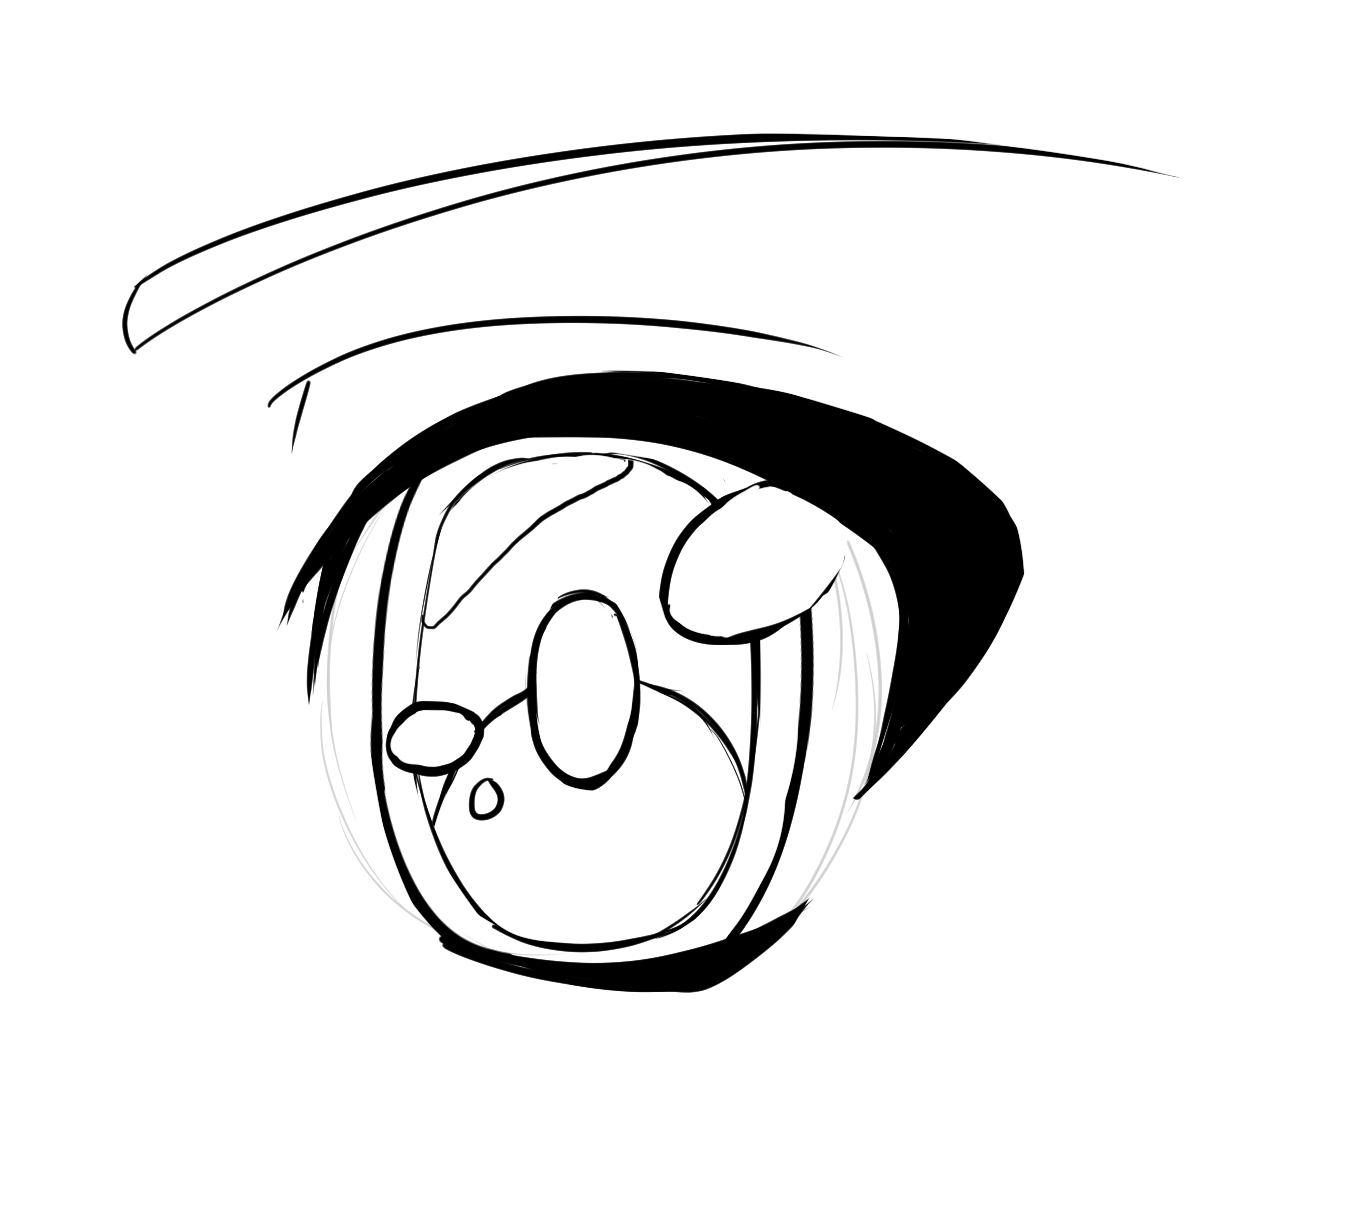
How about we make the lashes black to get a better idea of what it looks like, hmm?

We're doing pretty well! But we can elaborate further! Let's continue examining our iris. As our eye is a shiny sphere, it captures reflections and light at various spots. So let's place a subtle reflection towards the top of the eye, under the upper lash line, to add more depth.

And if you continue to observe examples, you will see that due to this upper eyelash line, the top of the iris is generally darker. It’s logical; our eyelashes are long and designed to protect our eye from dust, but also from light that is too strong. We will show this using an arc approximately in the middle of the iris.
And if we want to delve deeper, the upper part is darker, but the lower part, which clearly receives light, is the brightest and most colorful. It's the part that really makes your eyes pop. So, we'll show this with a kind of small crescent moon in the lower area of the iris.

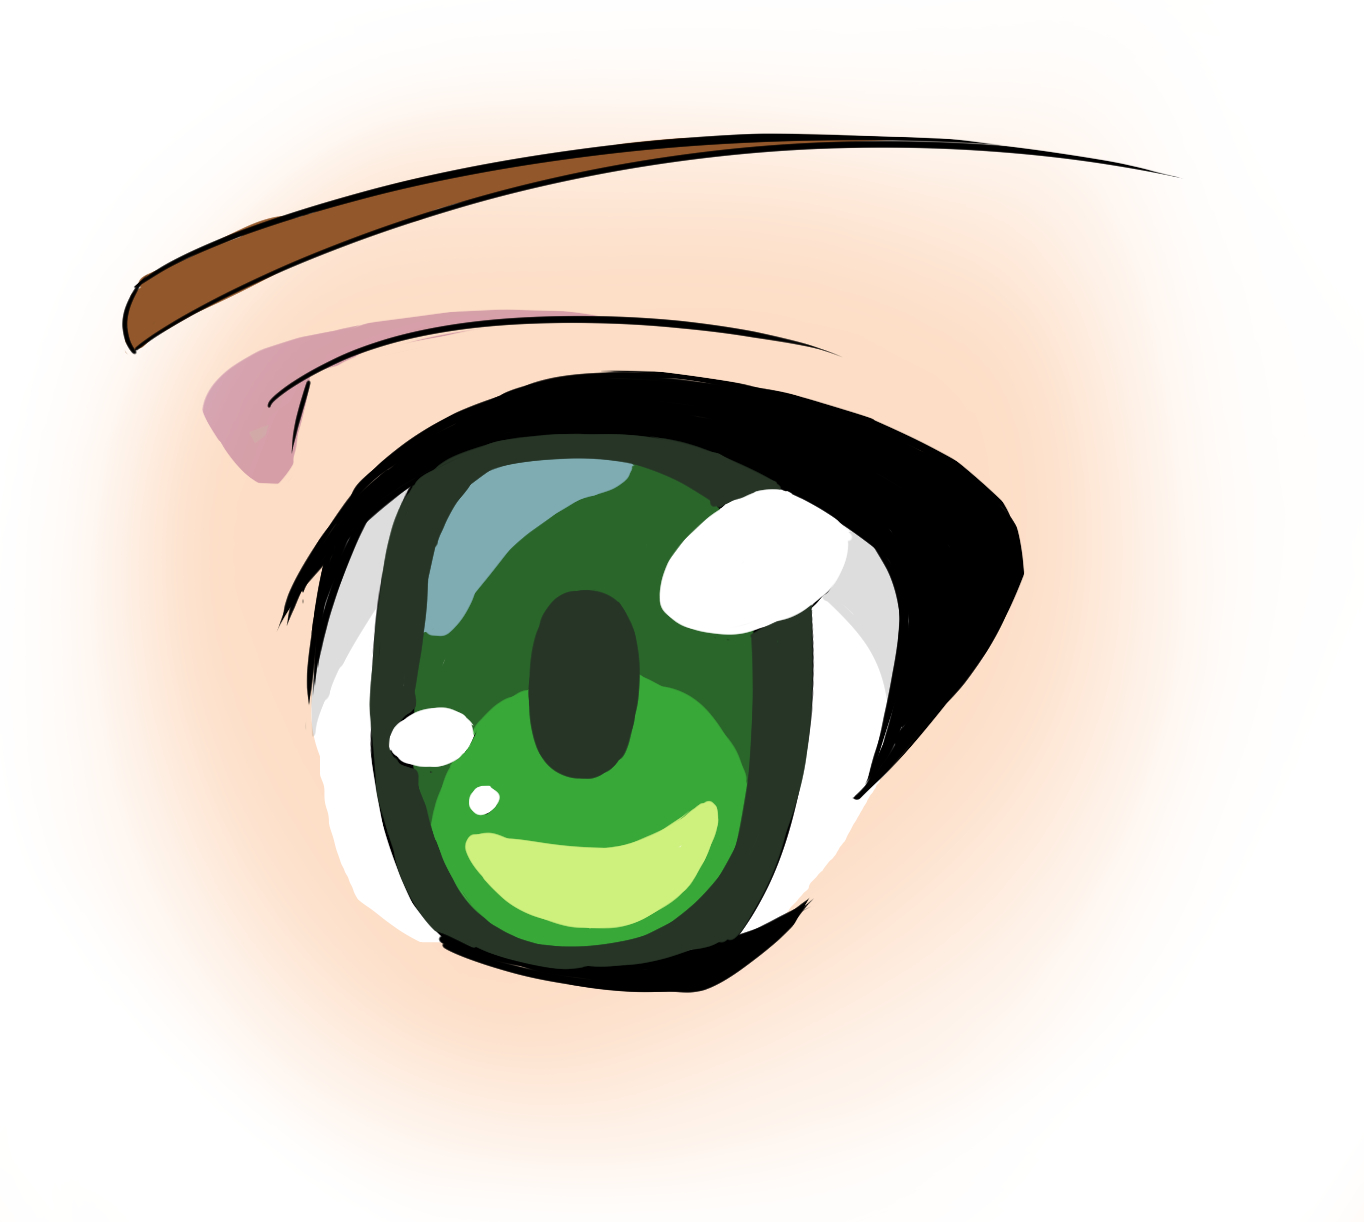
And here, we have a more detailed eye! All that’s left is to add color. For this, let's refer to real life as usual ^^ So remember: dark outline, dark upper part, dark iris as well (you can use the same color or vary it slightly), and a reflection towards the top, which should be slightly lighter and for which I recommend you use a gray/blue color. And don't forget the lower half of the eye color and the small crescent in the lightest shade :3
To give you an idea, here's what it can look like, I chose to create a pretty green eye:

Don't forget to shade the eyeball if you add color!
And there you go, now you know how to draw manga eyes!
Brief Recap:
- Create a basic globe for the shape of the eye
- Draw the lower and upper lash lines without trying to close the eye
- Thicken the eyelashes
- Trace the eyelid and eyebrow
- Draw the iris then add details
- Position the reflections
- Enjoy!
Popular Articles

Discussion
so great I loved it