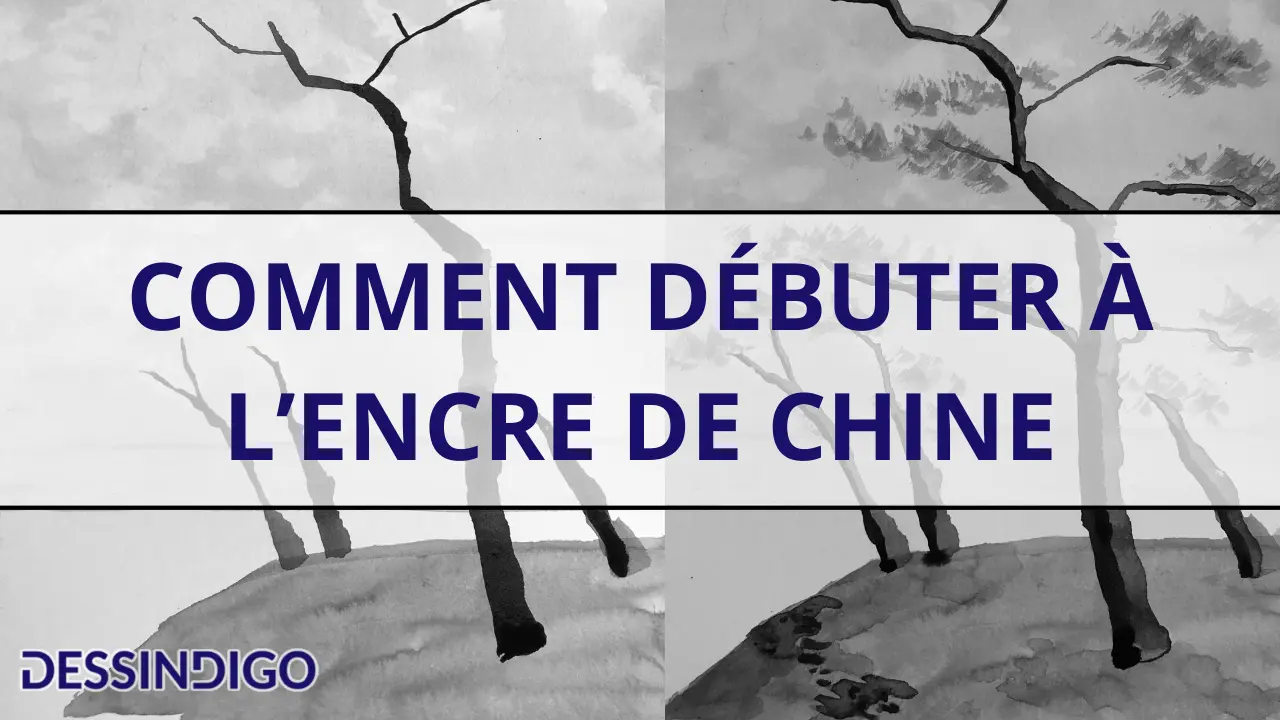
How to Start with Chinese Ink?
Chinese ink, as its name suggests, is an ink that comes from China or India (Indian Ink in English). It originally came in the form of a stick, but now it is more commonly found in a bottle.
Chinese ink is a mixture of several components:
- Carbon black = pigment. Result of combustion such as coal.
- Binder: shellac (resin from a small insect)
- Plant components (which give Chinese ink its interesting texture and make it indelible).
Be careful, it is advisable to work with rolled-up sleeves!
Chinese ink is permanent so it is better to wear suitable clothing.
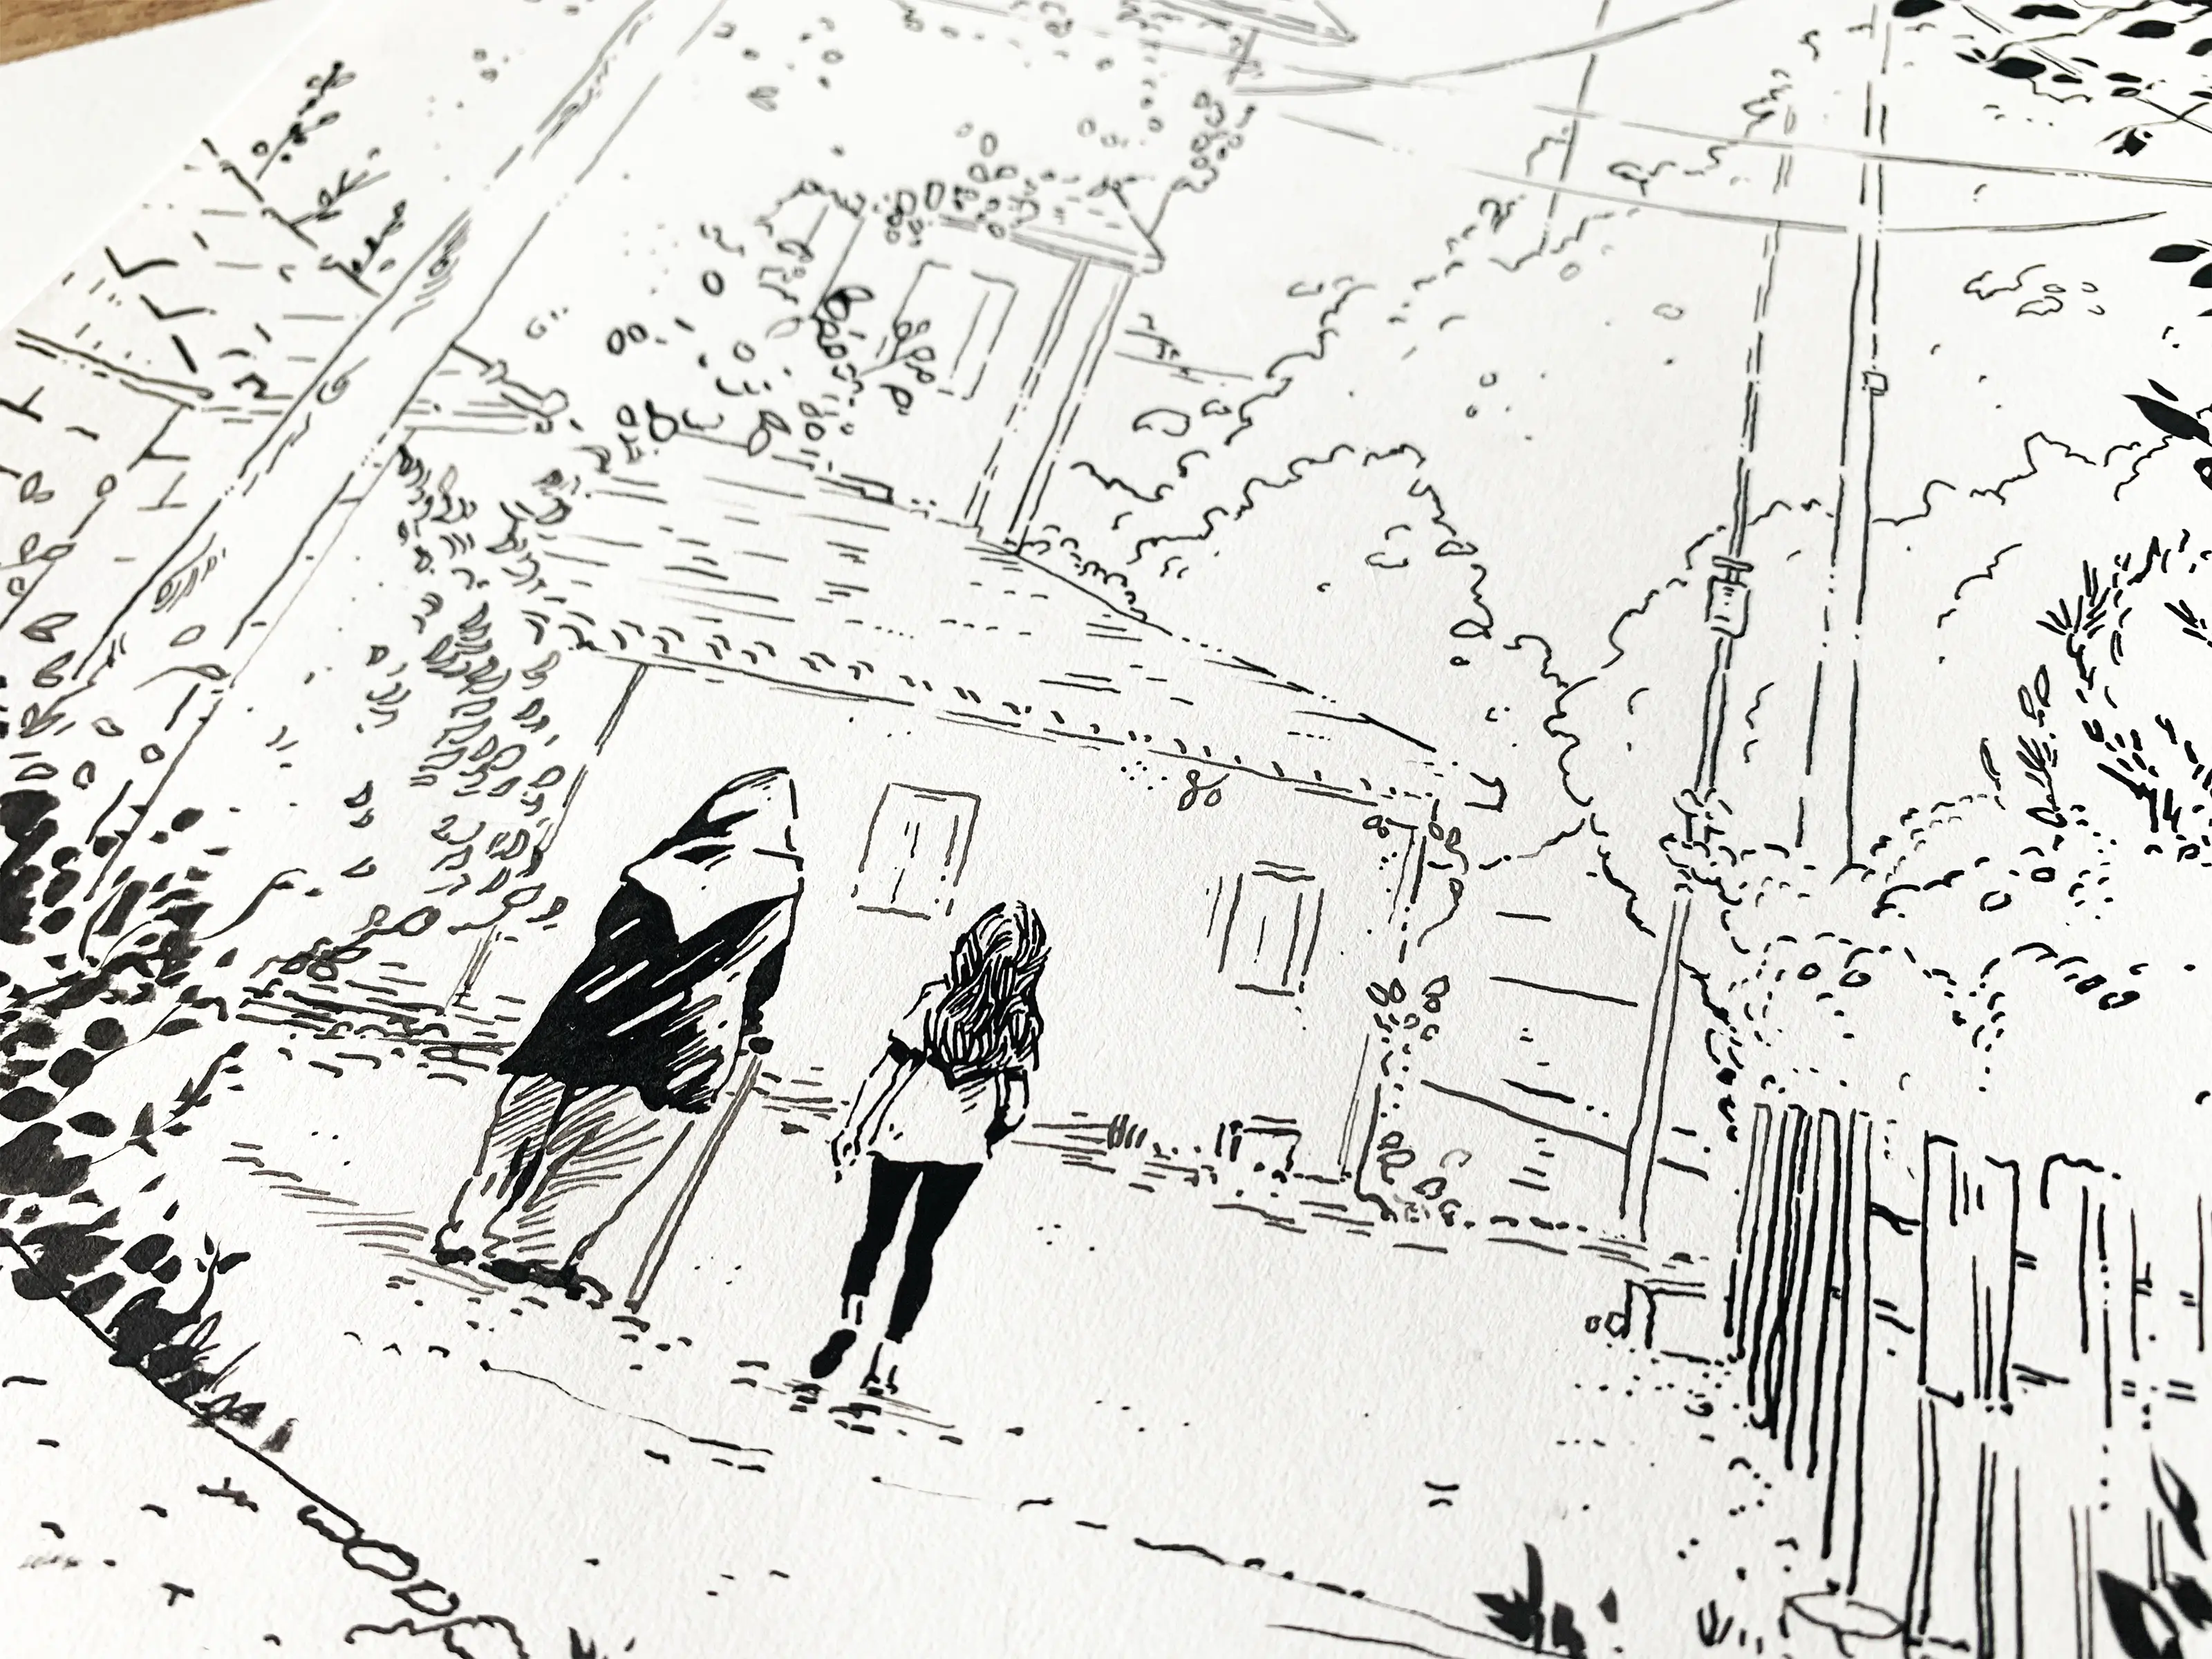
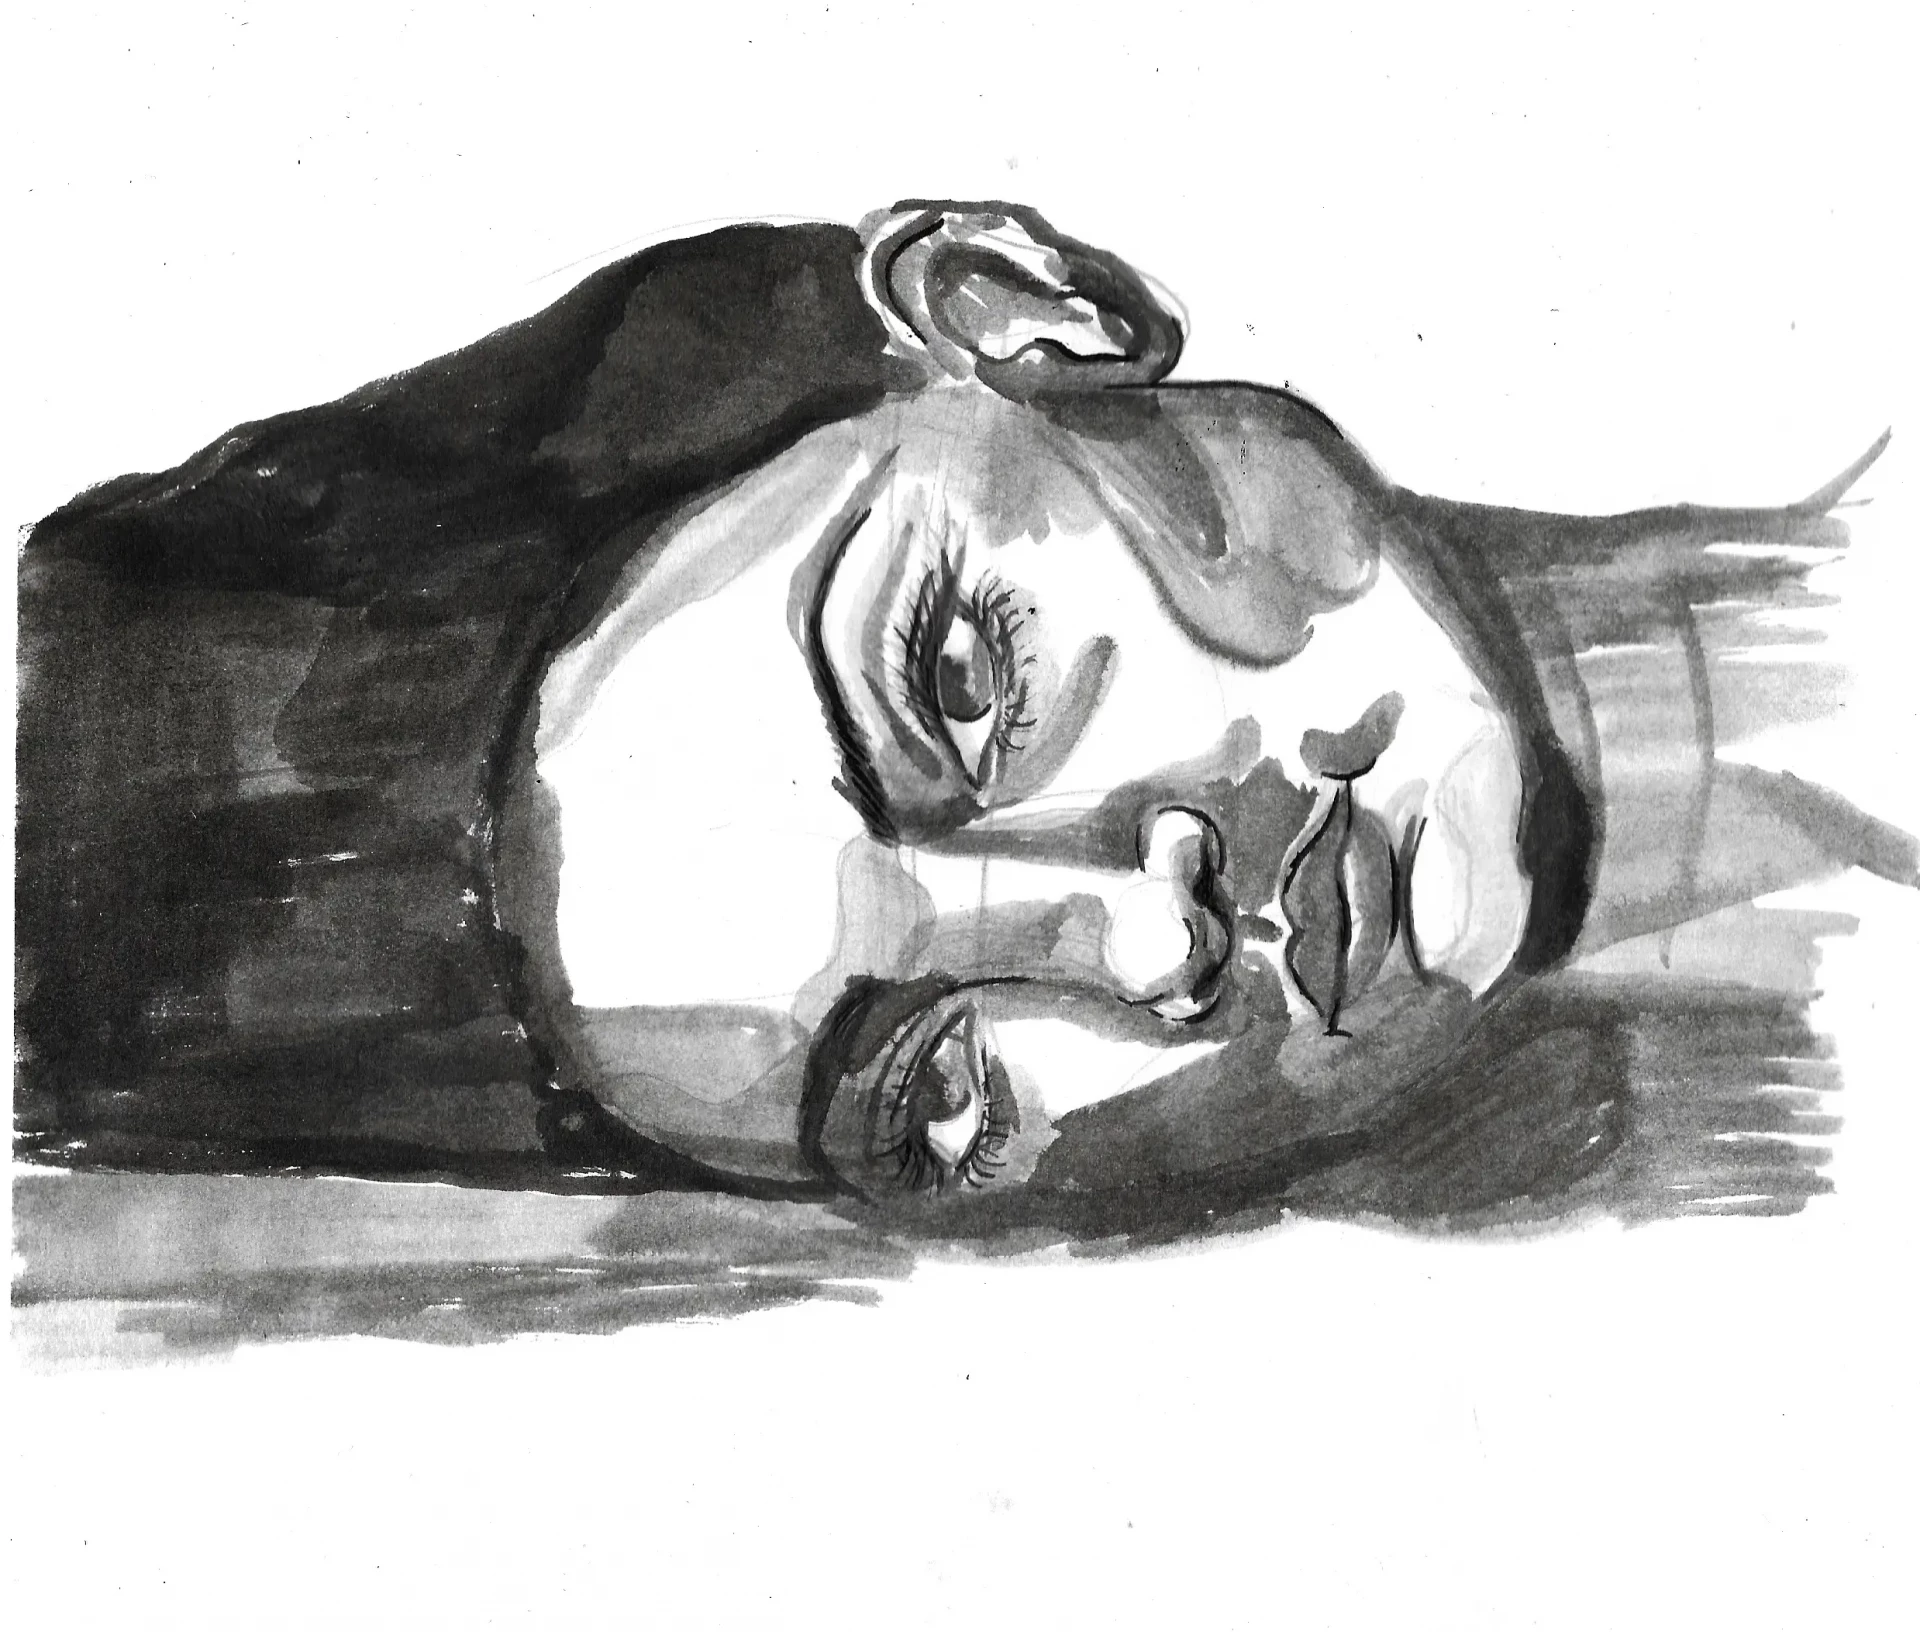
Some examples of ink drawings
Application Examples:

Gao Xingjian uses Chinese ink in very refined compositions (Where to go, 2020), just as ...
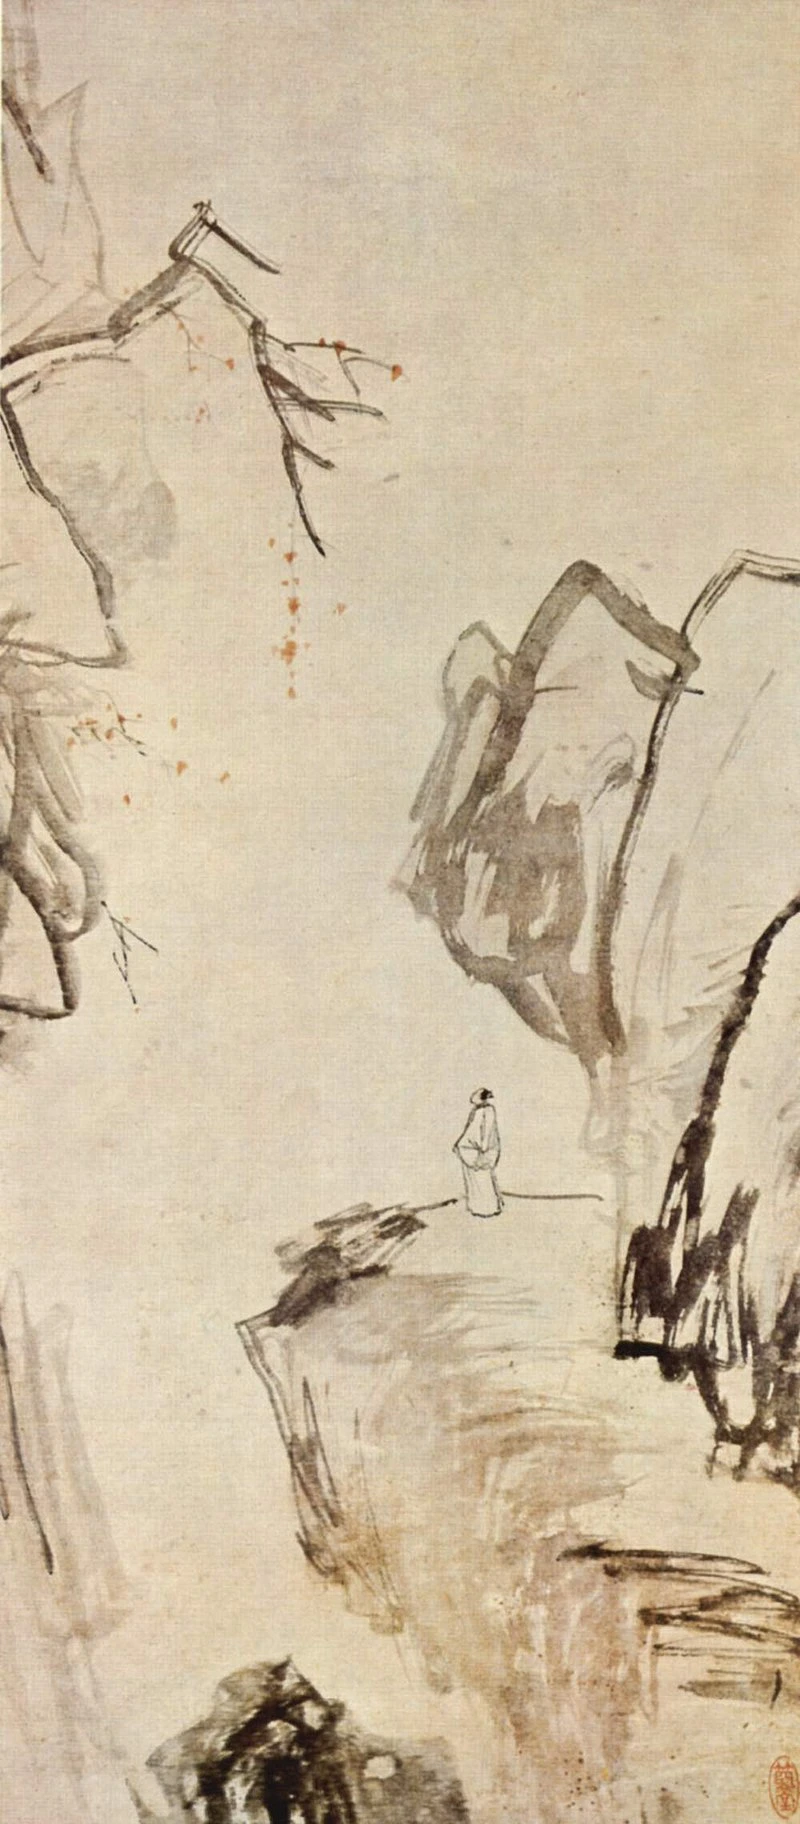
Chang Feng, a 17th-century Chinese artist:
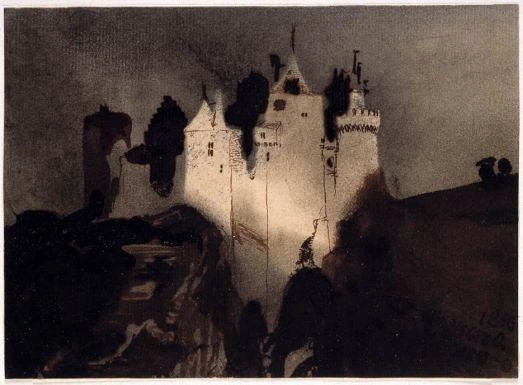
Victor Hugo used this technique to create a series of drawings with India ink, notably to illustrate some of his stories. It's interesting to note his use of reserve, where he uses just the white of the paper to give a burst of light in the middle of the castle.
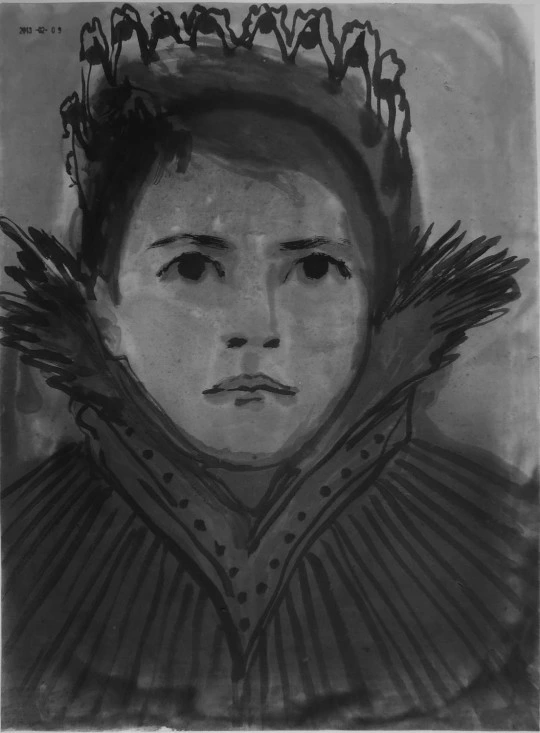
Claire Tabouret, for her part, a contemporary French artist, used this medium for a series of self-portraits (she made one per day for a year). She combines wash and line drawing, in several different shades of gray.
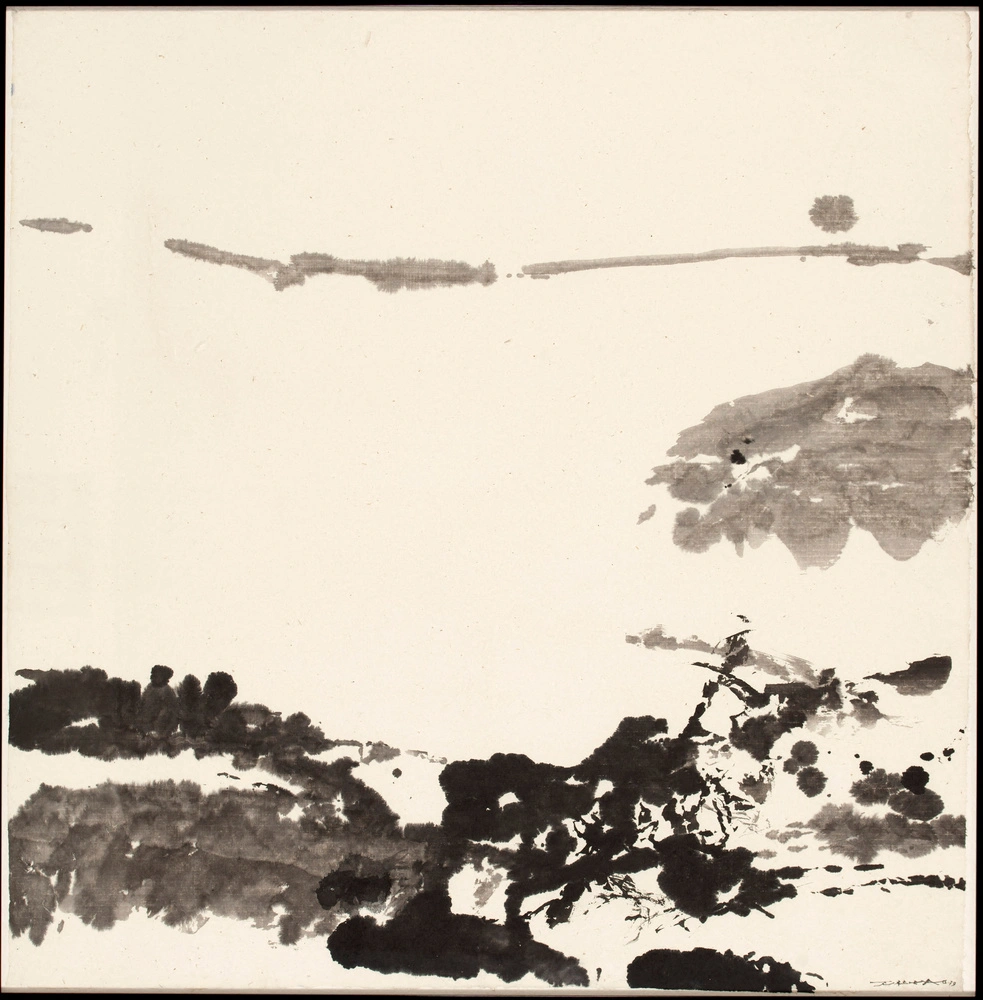
Zao Wou-Ki, on the other hand, uses Chinese ink in a completely different way, inspired by traditional techniques, but to create abstract works on paper, when he is not working with oil on canvas.
Materials for drawing with Chinese ink
To start with this technique, several possible utensils:
- Chinese ink in a bottle. There are also colored inks available.
- water
- a cloth
- drawing gum to work in reserve (optional): apply the drawing gum to the paper, then let it dry, which will prevent the ink from coming into contact with the paper afterwards. When the drawing is finished and the ink has also dried, remove the gum, which will reveal the untouched paper underneath and bring a lot of light.
- paper: there are several possible uses, but it is better to prefer thick paper (200-300g) so that it stays moist as long as possible. You can also use thin newspaper for quick, expressive, and experimental treatment. Drying is much faster, however be careful not to tear the paper if you use a lot of water, as it is more fragile.
- a pen : allows for fine and precise lines for detailed drawings
- Chinese calligraphy brush for creating thick and thin lines or watercolor brush (less precise but more expressive and dynamic strokes).
Preparation for drawing
To begin, prepare several containers with different shades of gray:
- a glass of pure water
- 100 mL of water with 15 drops of Chinese ink (container 1)
30 mL of water with 30 drops of India ink (container 2)
pure Chinese ink with a few drops of water (container 3)
a small container with pure ink (a few dozen drops are sufficient)
For these exercises, we need watercolor paper, at least 200gsm. 250gsm or 300gsm is even better.
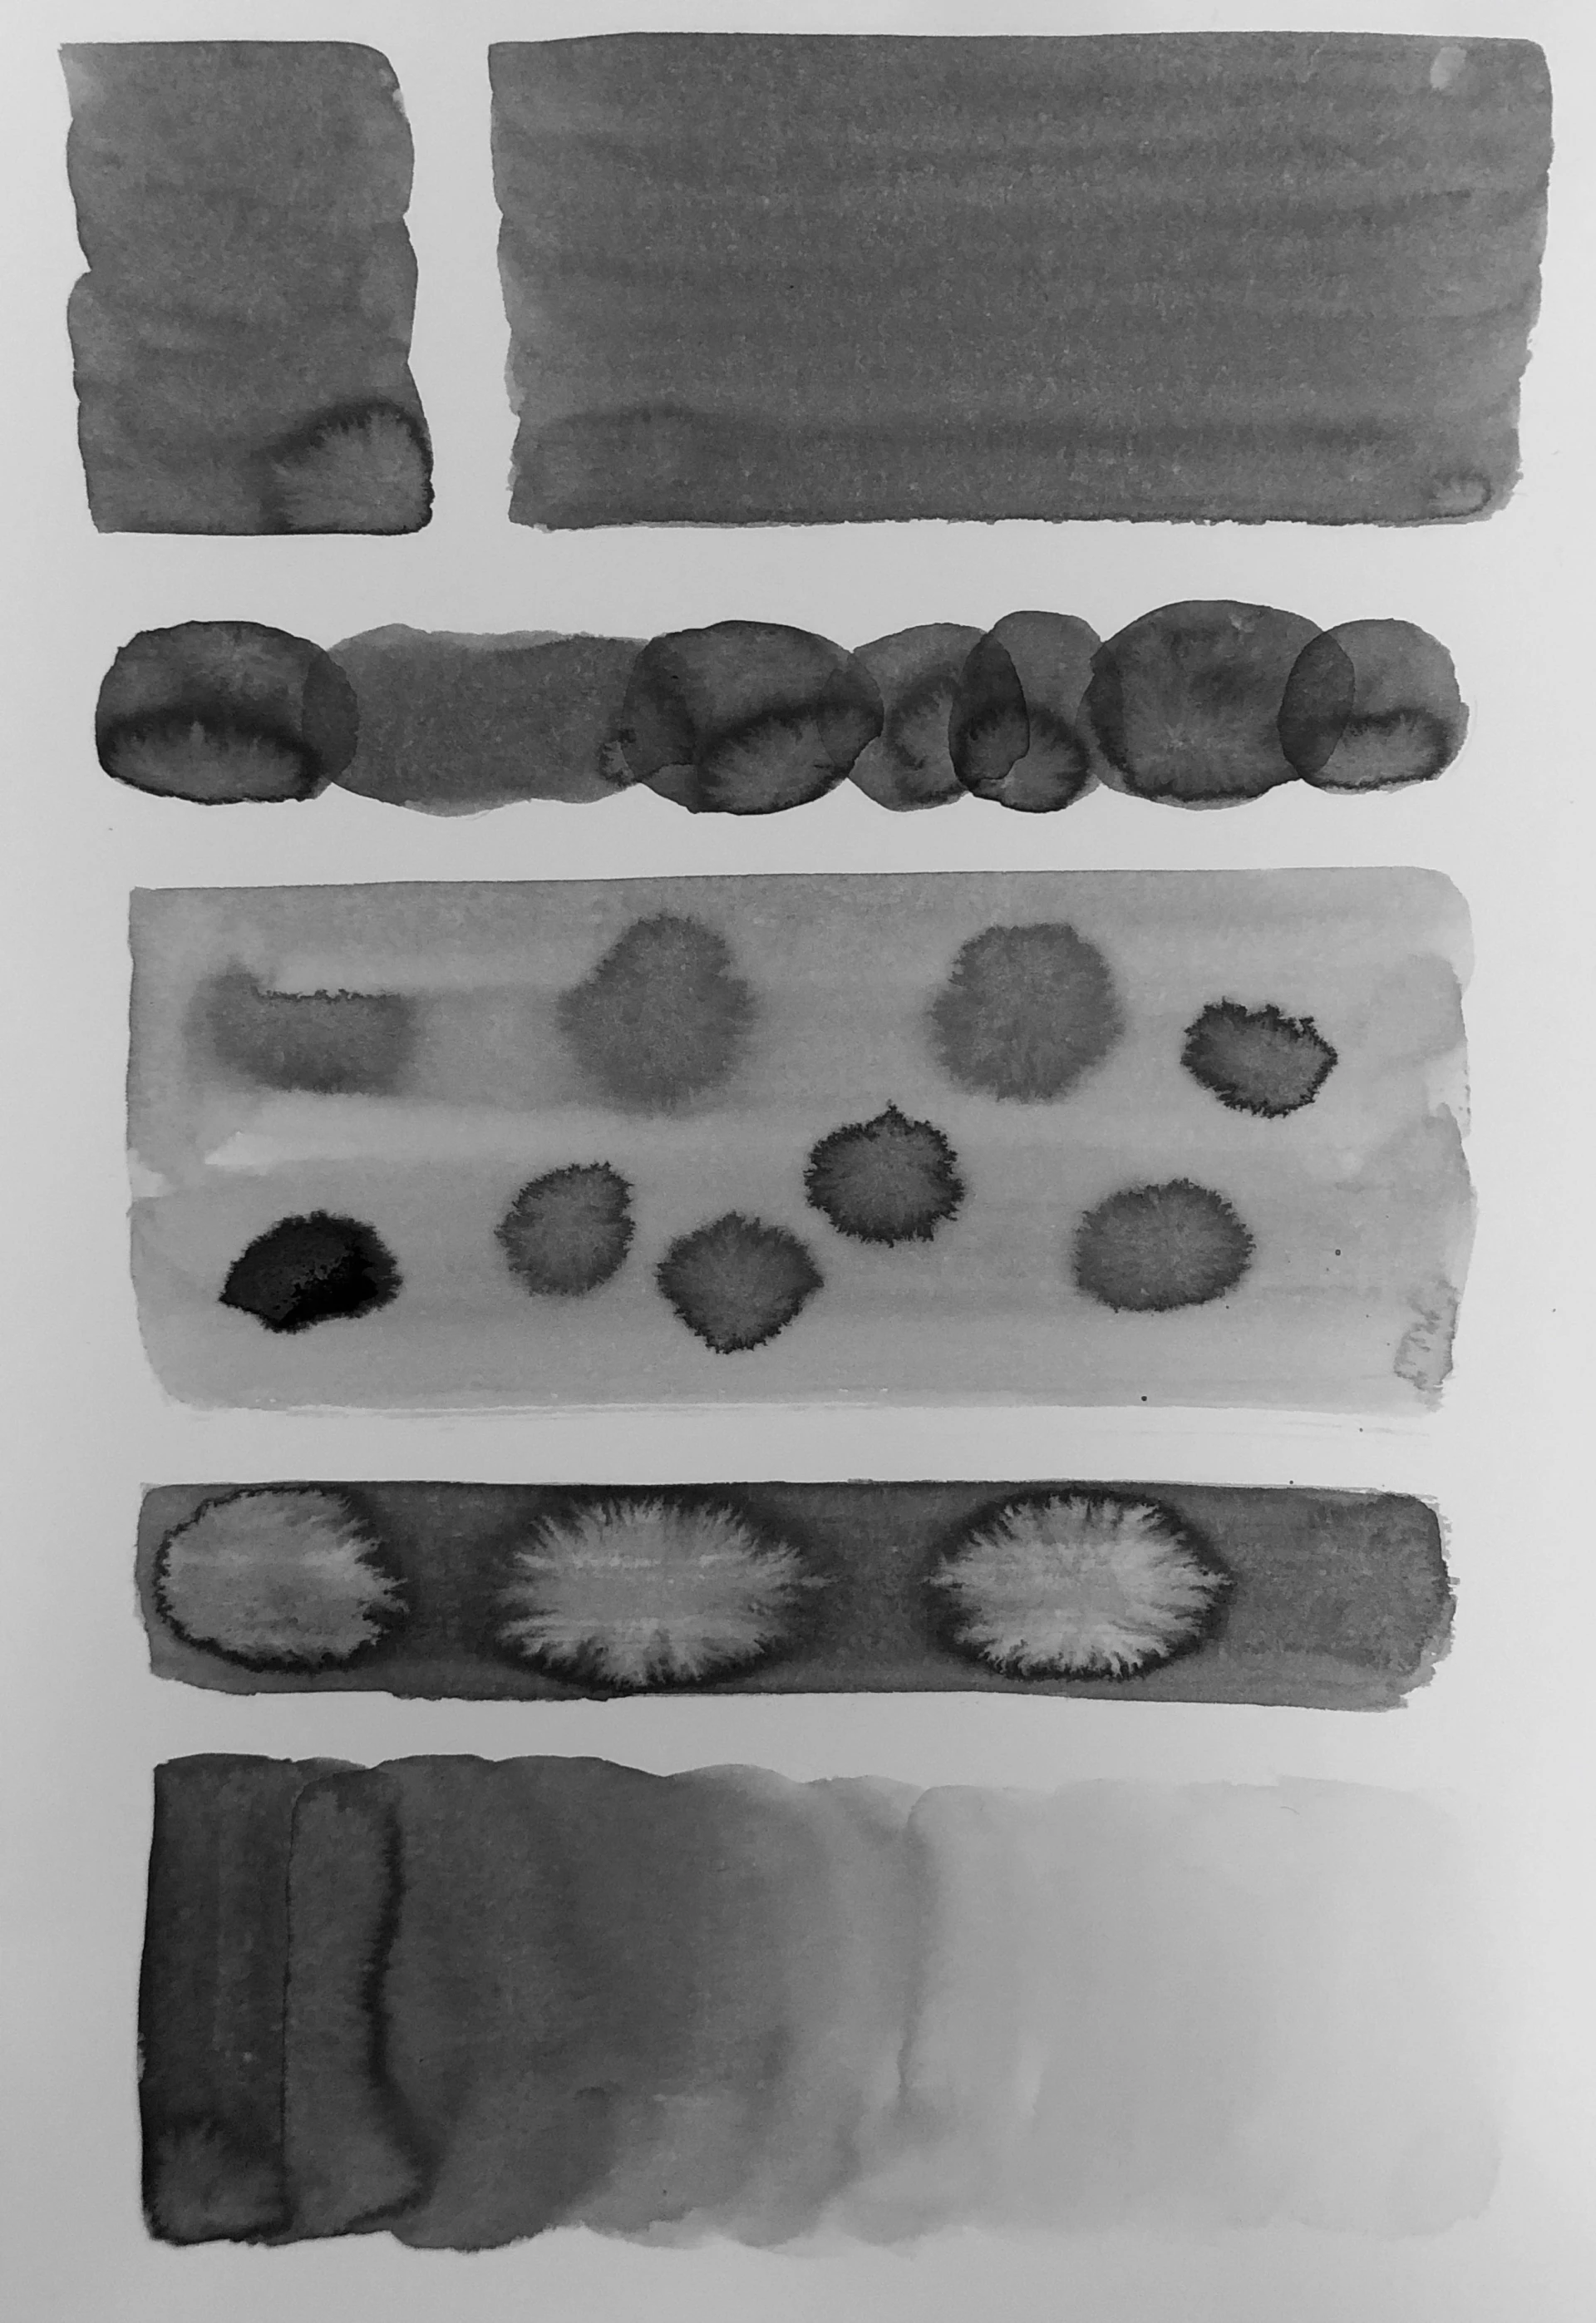
On this same sheet, we will carry out several small exercises to learn about the introduction to the subject and the basic techniques of Chinese ink:
A flat color area
With ink no. 2, dip the brush well into water and remove the excess water but keep the brush fully loaded with ink. Make back and forth motions on the paper, downwards, to obtain a smooth flat wash. Think of it as if you are pushing the drop on the paper with the brush. If the drop disappears, the brush is too dry, you need to dip the brush back into the ink.
Superpositions
Perform several separate tasks from each other. Let dry then cover with other spots and observe the layering effect. You can play with different ink densities here.
Ex: first marks with ink no. 1, then the second marks with ink no. 3, etc.
Ink diffusion on the clear surface
Apply a flat coat with solution no. 1. Rinse and dry the brush.
When the surface is still wet, apply drops with the tip of the brush using one of the darker solutions, ideally the one from container 3 for a contrast effect. Observe the ink dilution.
Diffusion of water on the dark surface
Make a flat wash with solution no. 2. Rinse and dry the brush.
When the surface is still wet, apply drops of pure water with the tip of the brush. Repeat the action several times if necessary, so that the water spreads well over the surface.
Gradient from dark to light
Dip the brush into solution #3. Make two horizontal coils to the right.
Rinse and dry the brush. Dip the brush into solution #2. Make two more coils towards the right, picking up the ink from the previously made surface.
Repeat the action with solution number 1, and finally with pure water.
Making multiple attempts is okay if it doesn’t work the first time; it’s the most difficult exercise.
You now have the basics for Chinese ink wash techniques. Now let's move on to the application!
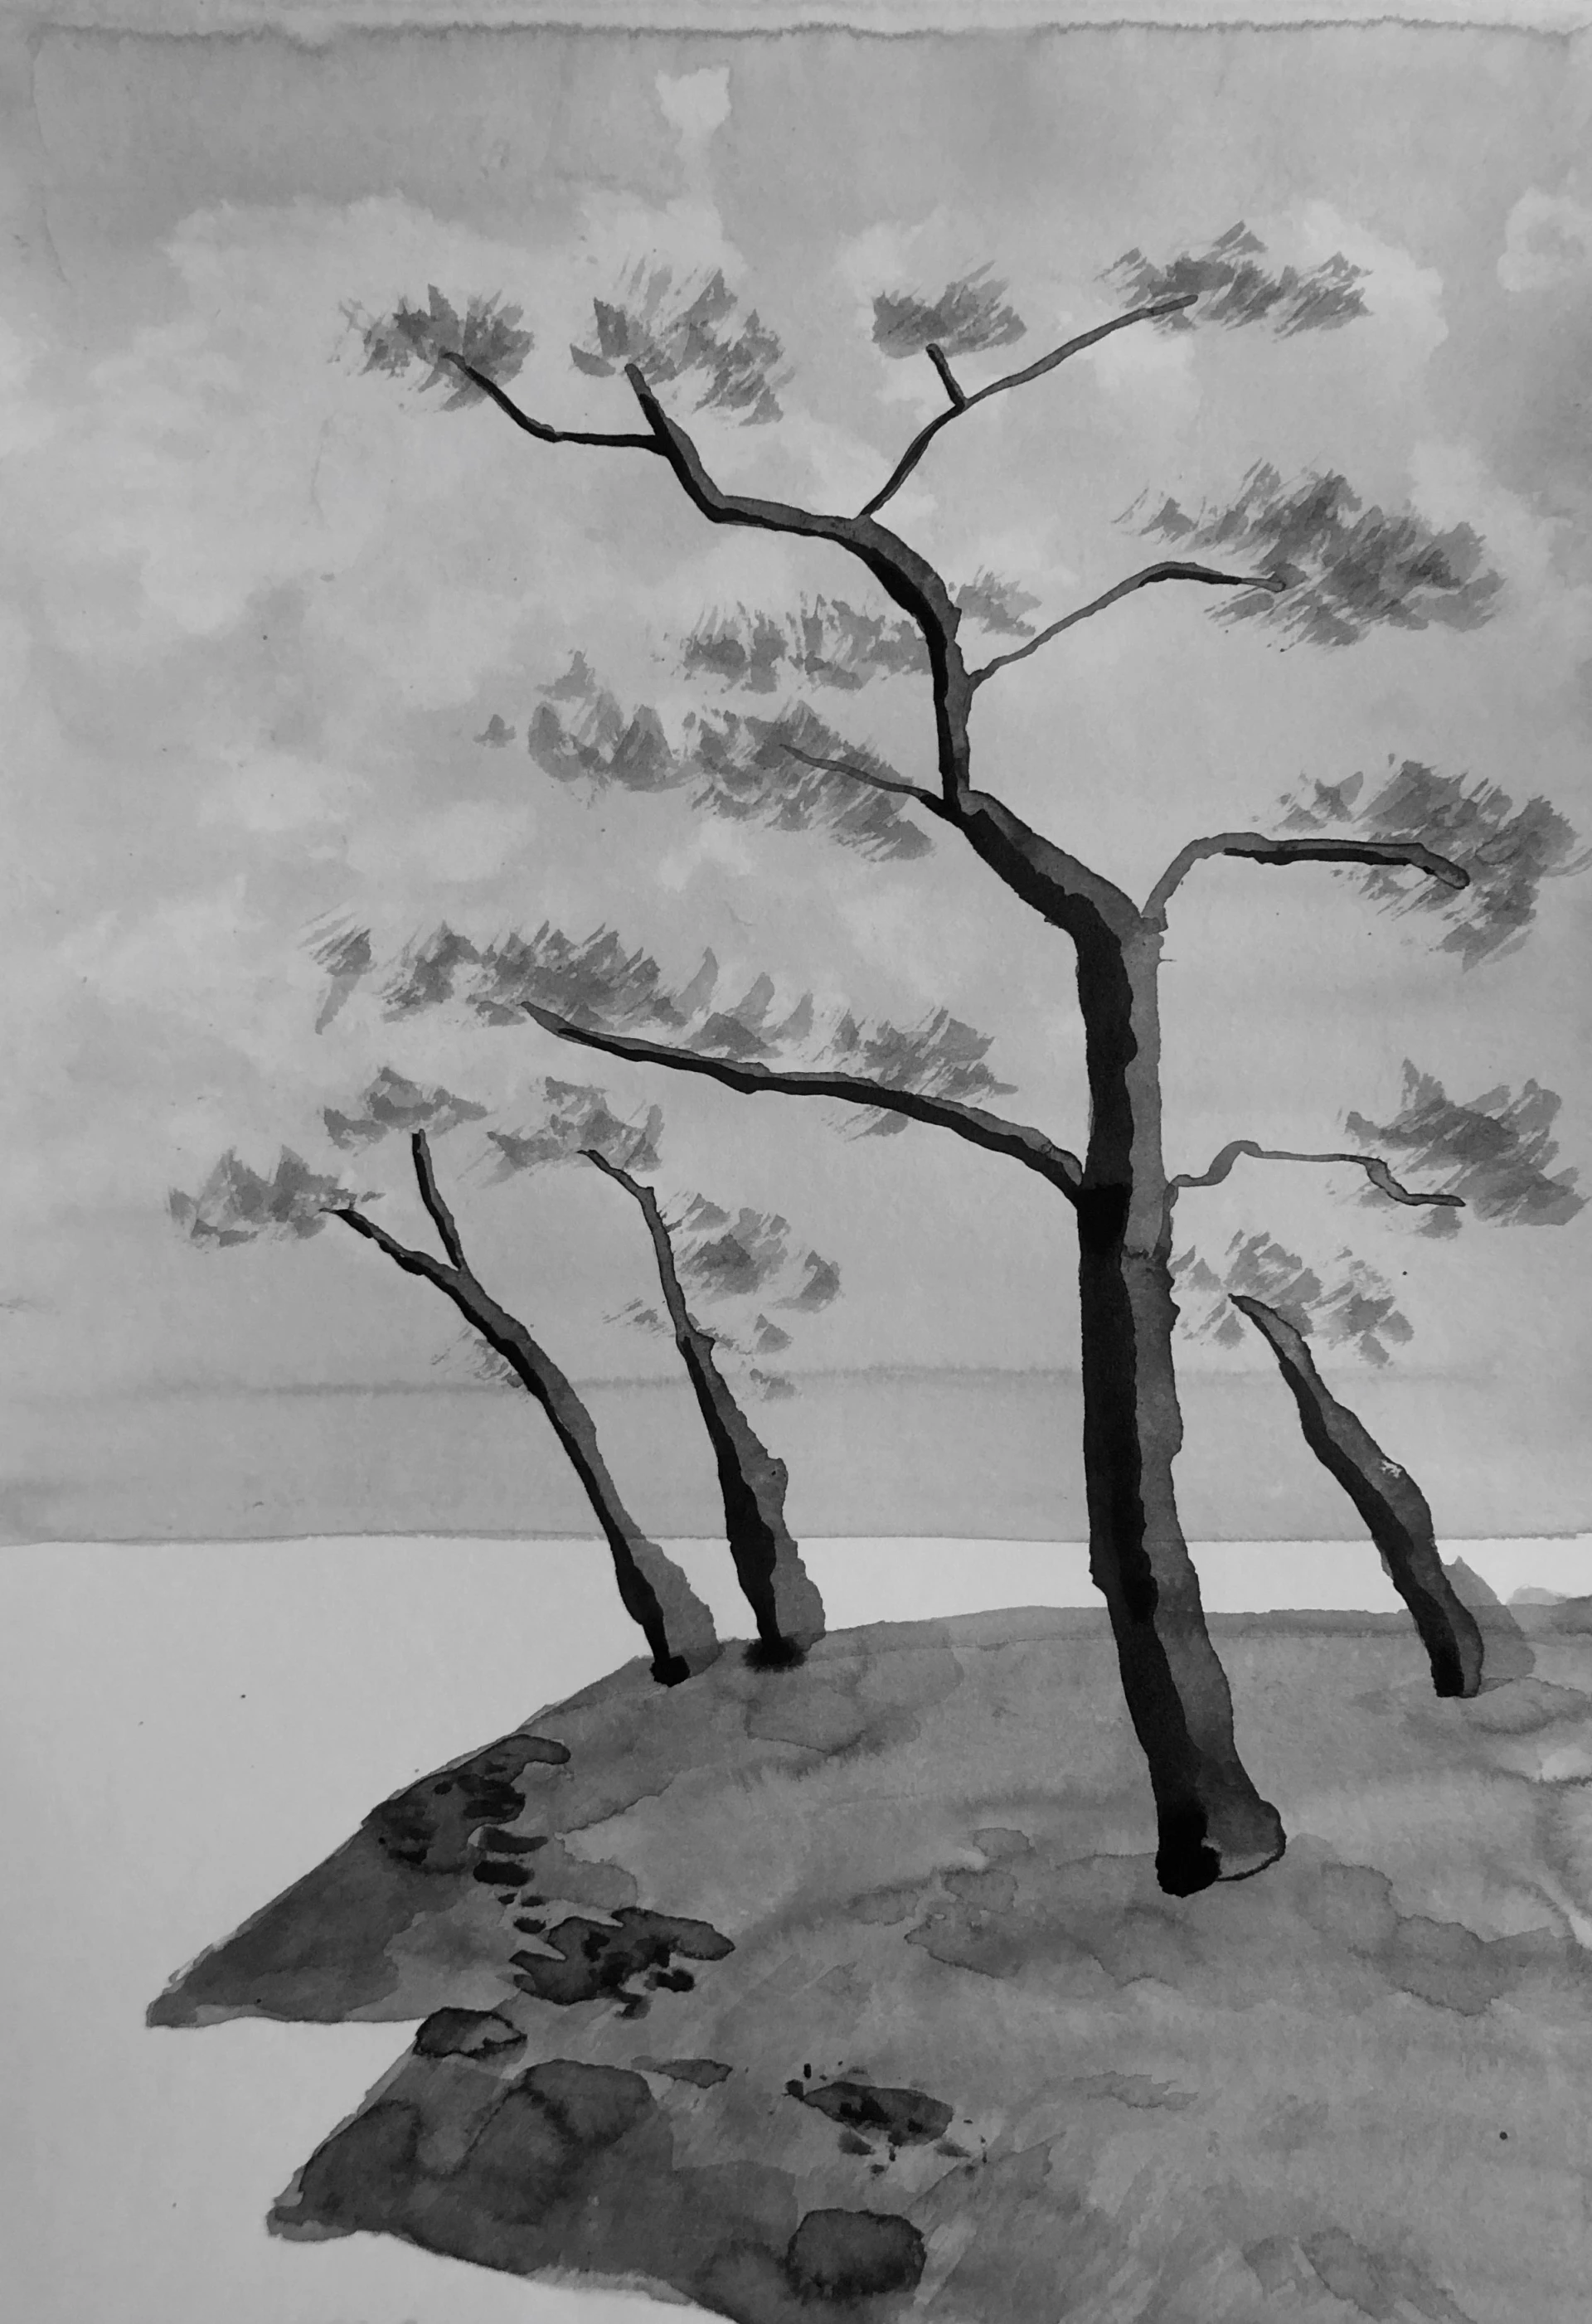
Drawing a tree for beginners with Chinese ink
To draw with Chinese ink, use a high-contrast image as a model if possible, as this is when its use will be most interesting.
We are going to process an image that brings together different examples of the application of India ink: the wash and the details.
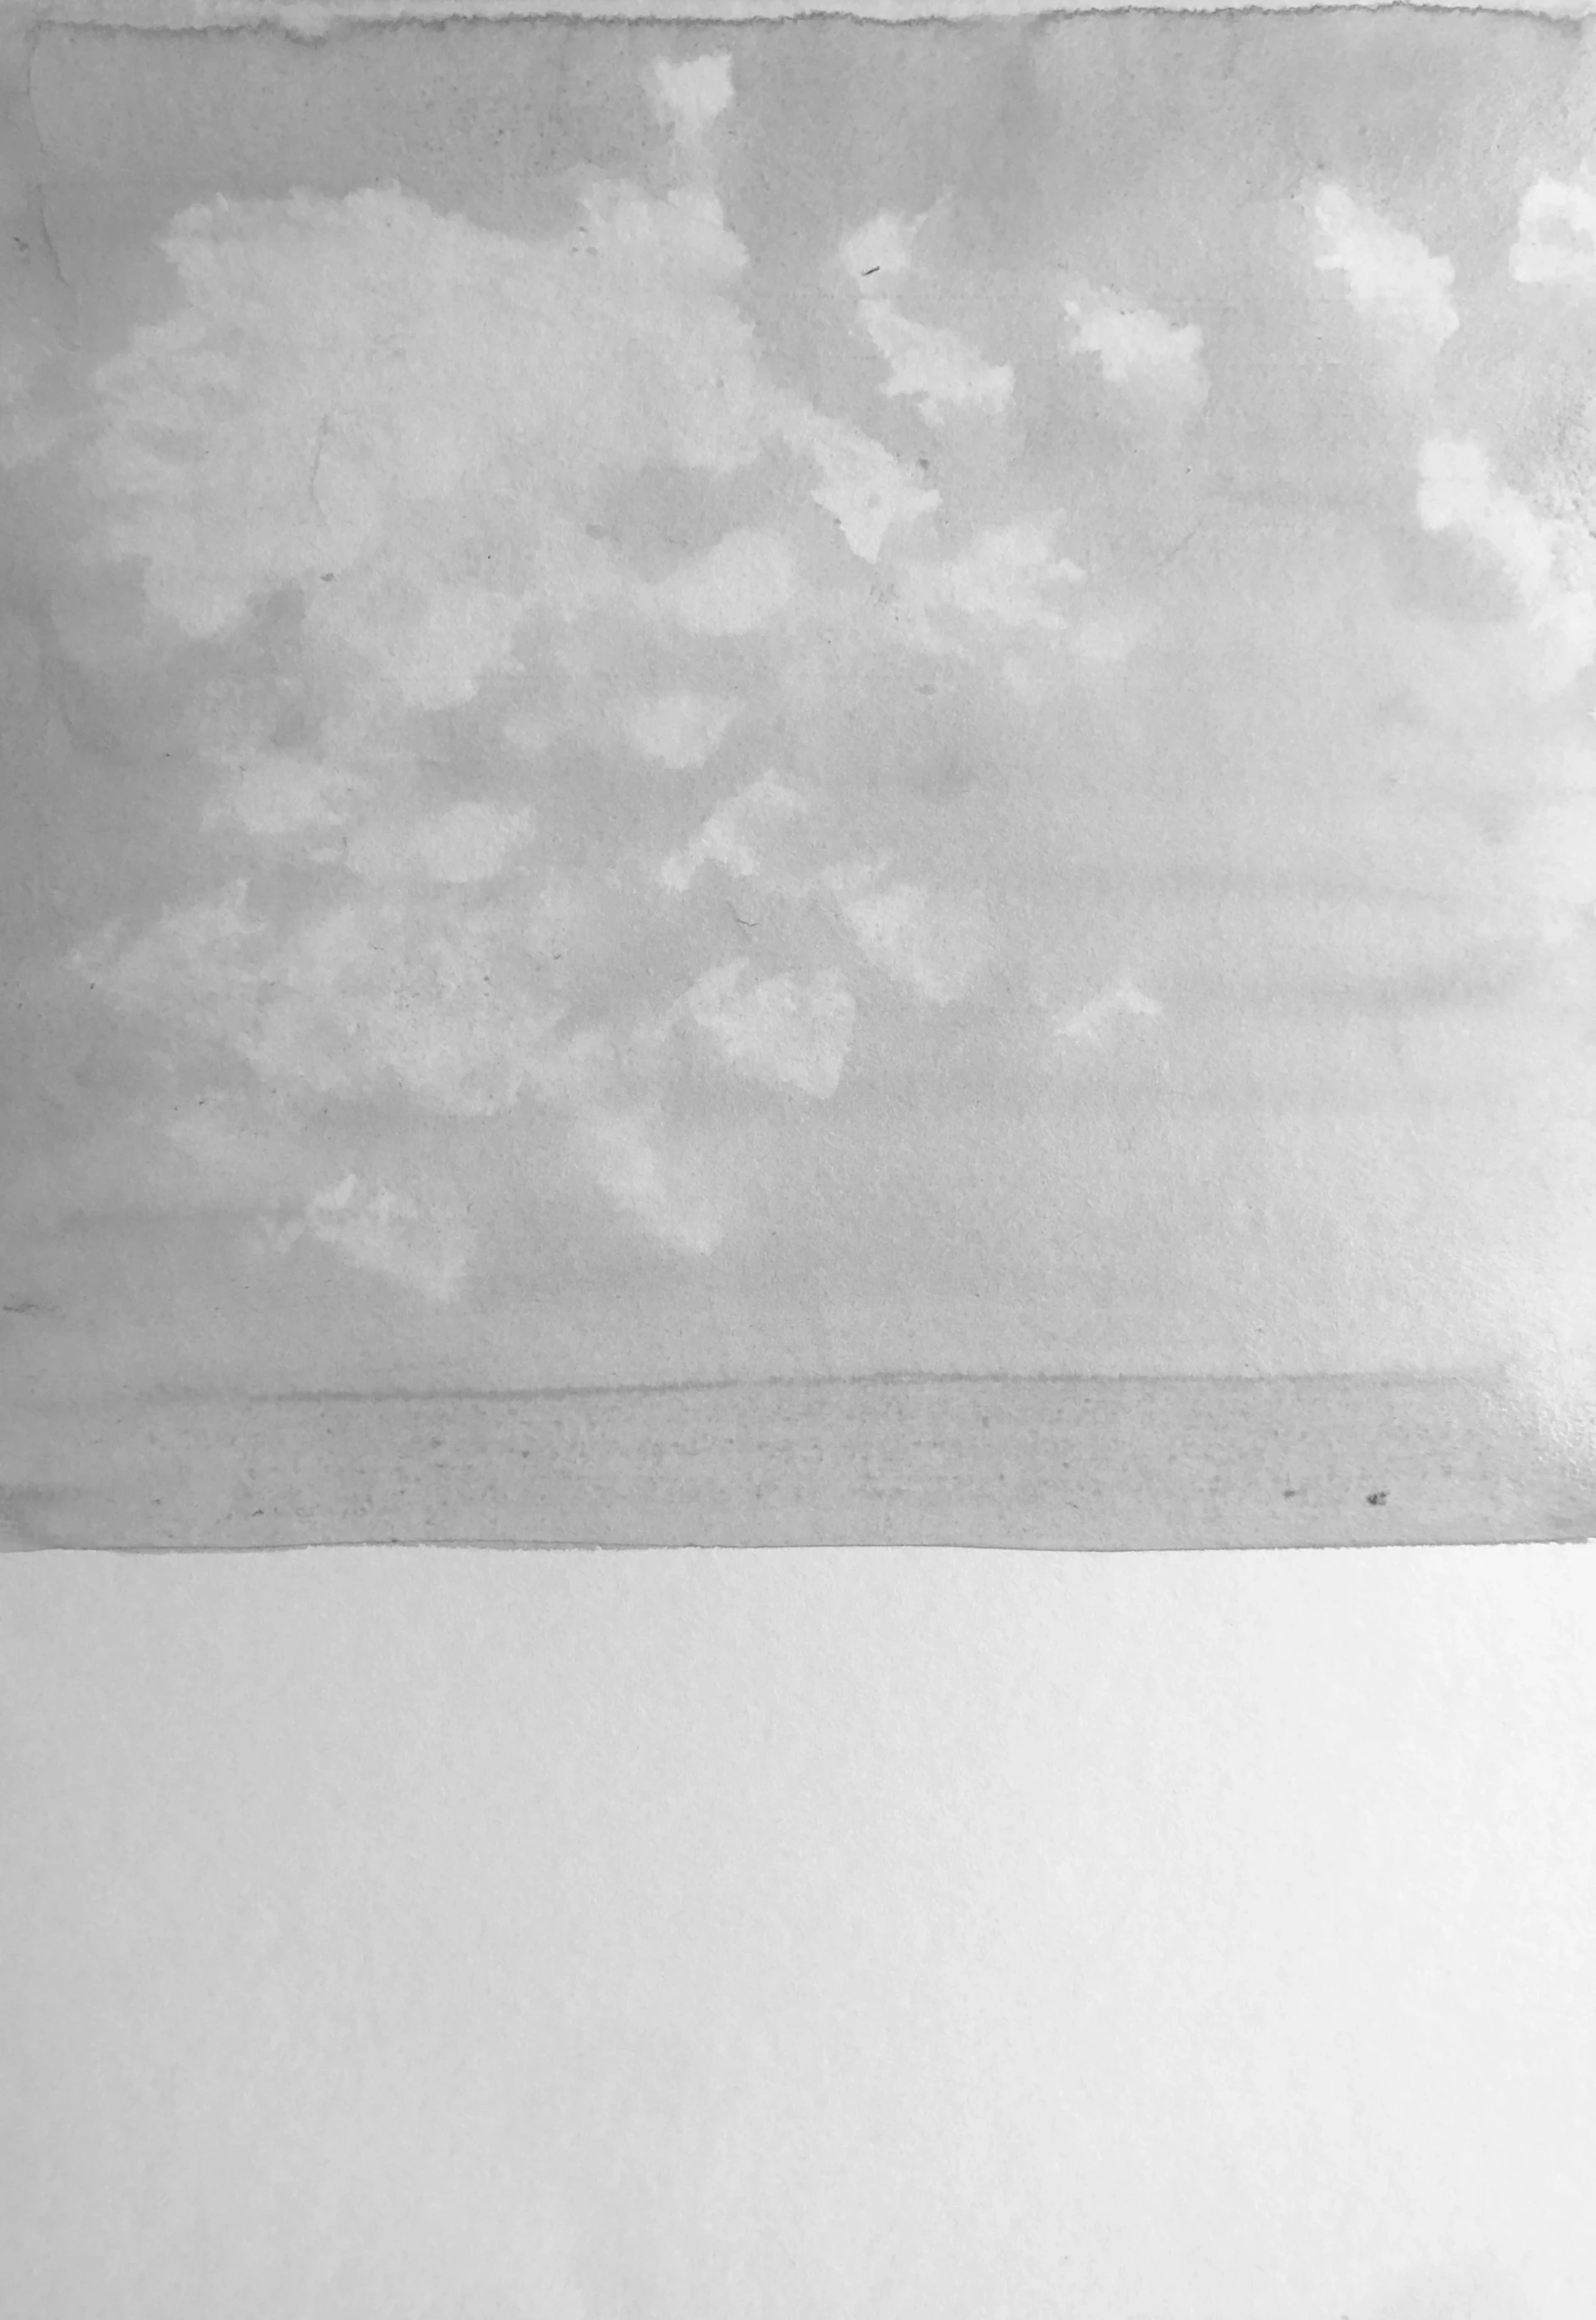
Create a flat wash with solution #1 up to about two-thirds of the sheet.
Before the ink dries, dab with the cloth to create a misty effect, these will be the clouds.
If you want some of them to come out of the frame, it will be more balanced for the composition.
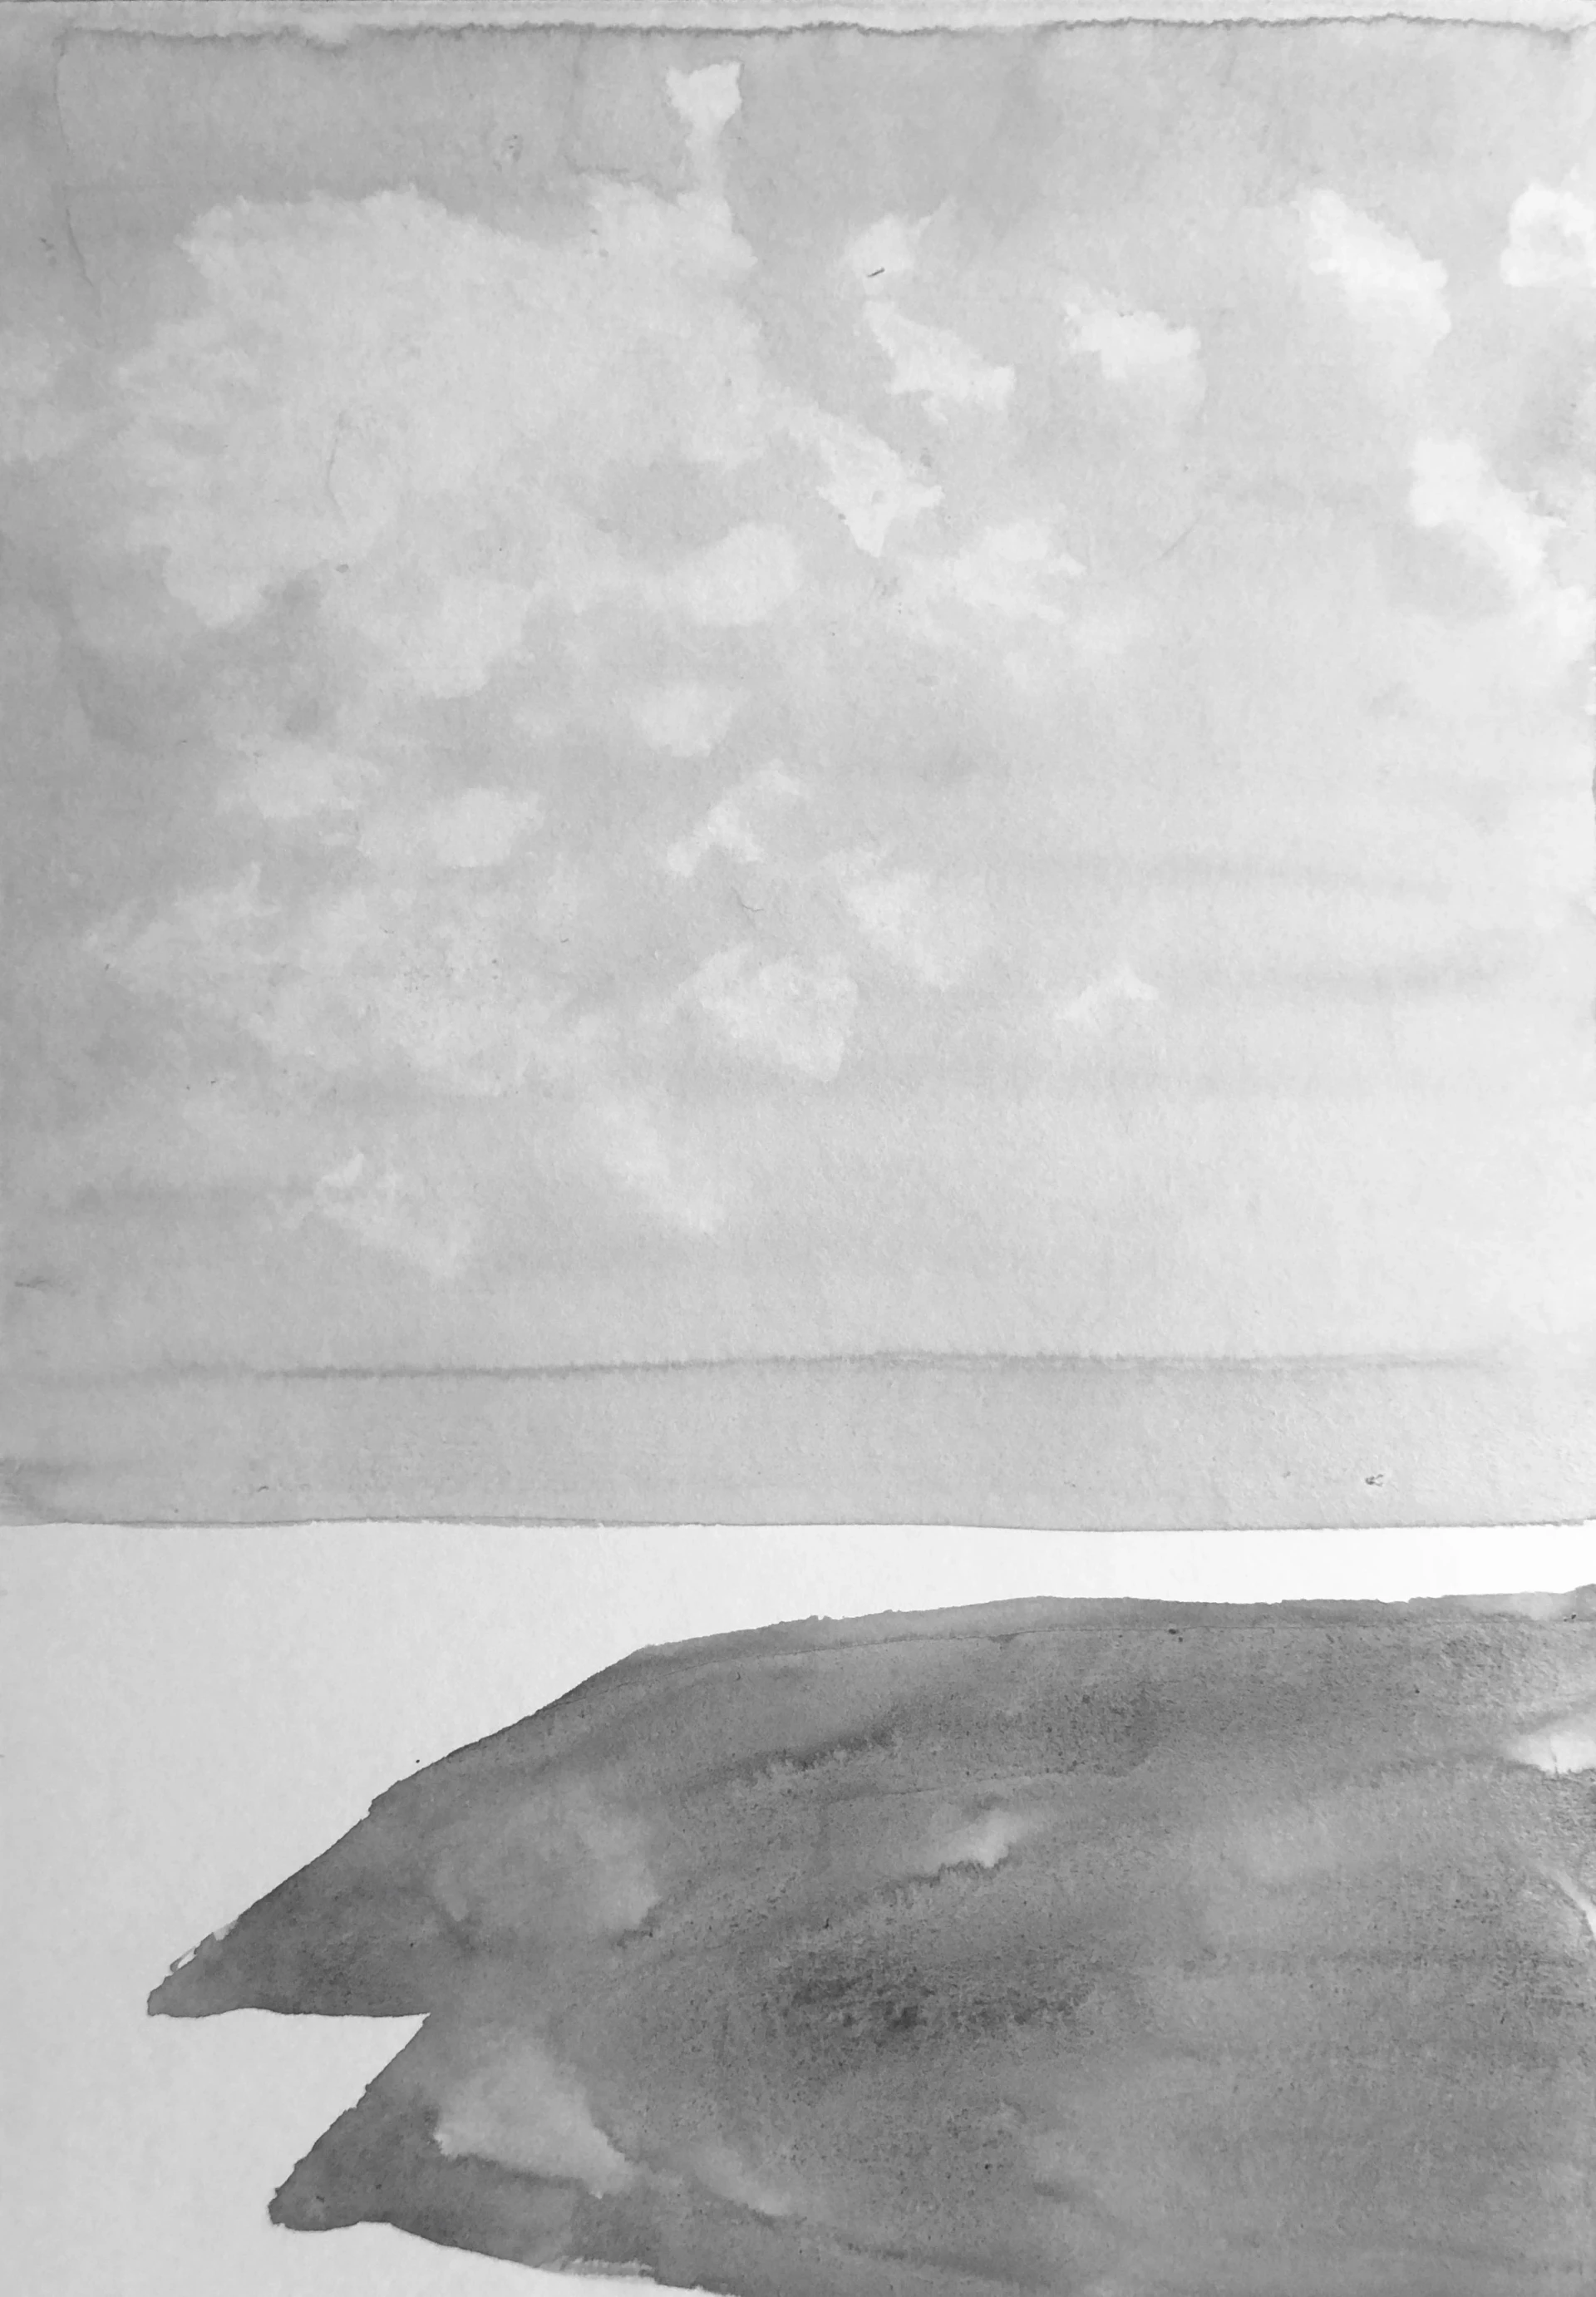
With ink no. 2, make another solid color at the bottom of the sheet, it will be the ground. You can also add some contrast by dabbing some areas with the cloth.
When both areas are dry, draw the trunks with solution #3. They will be highlighted by their strong contrast on the sheet.
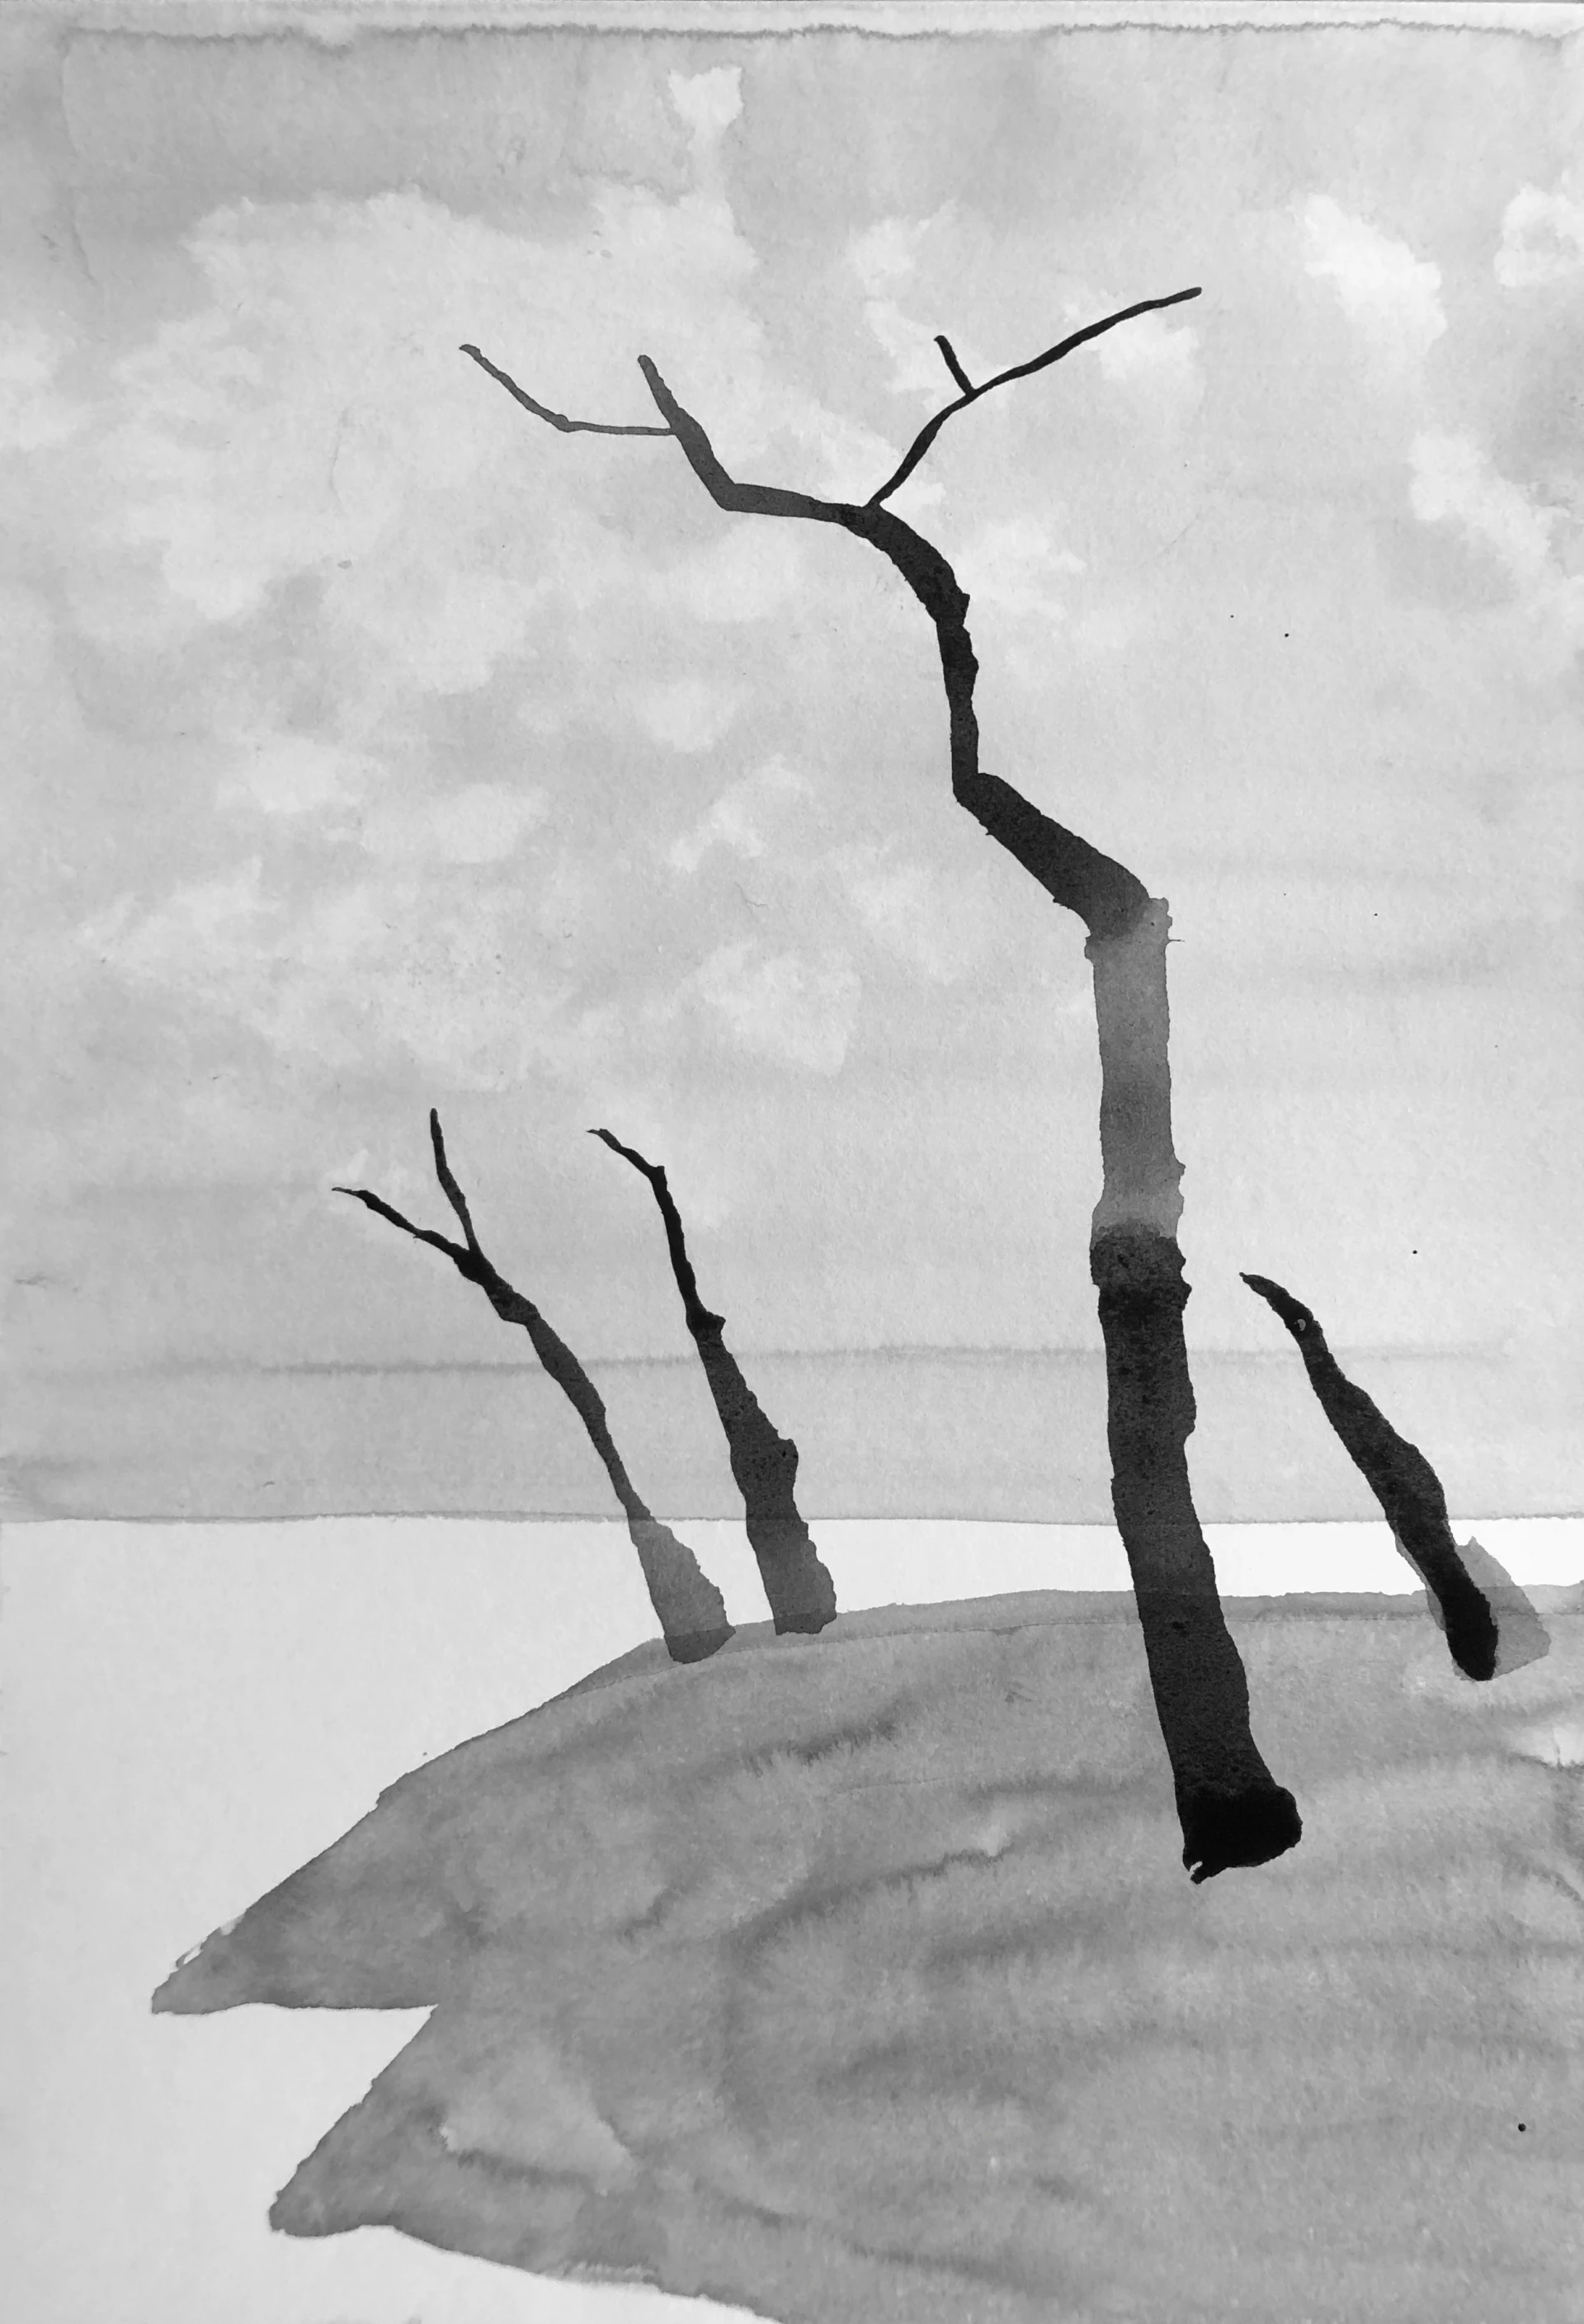
Add some shadows to the bottom of the hill with solution #3 and add the branches while the trunk ink is still wet, this will allow you to avoid separation with different drying times.
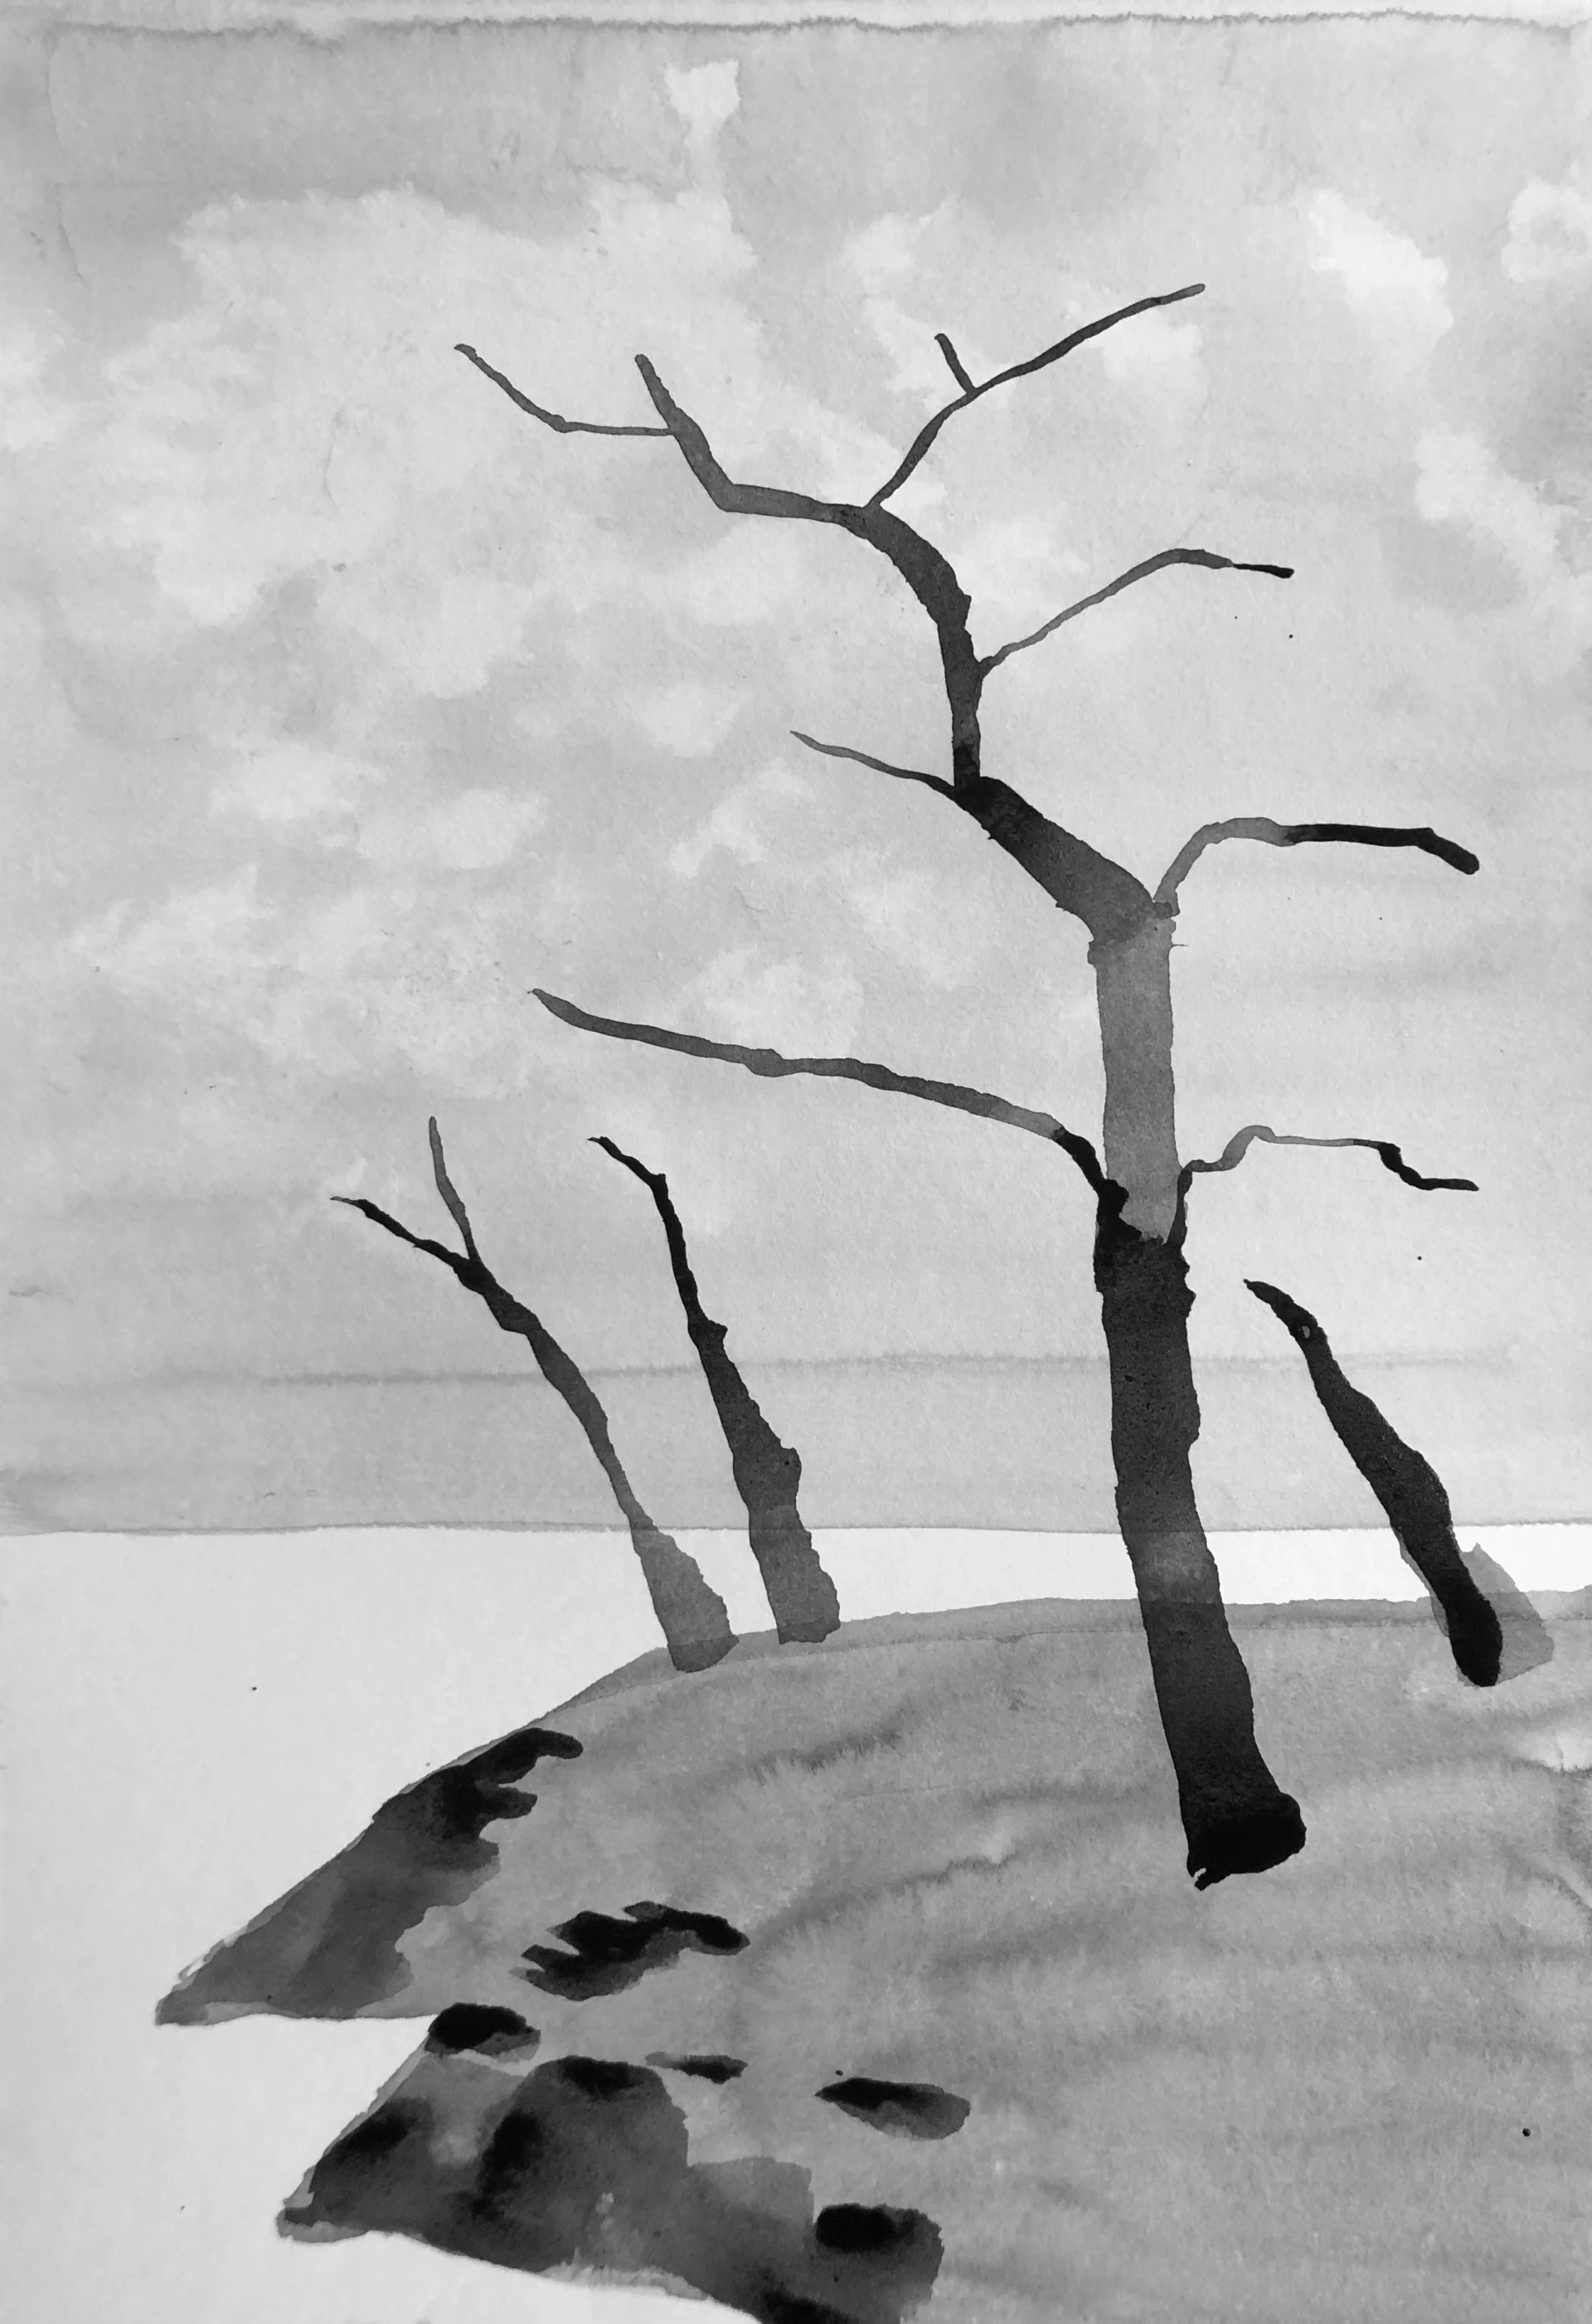
Rinse and dry your brush. Dip it into solution No. 1. Hold the tip on your cloth for a few seconds to dry it gently, but not completely. You can then create foliage effects on the trees and the ground, using quick, short strokes of the brush on the paper.
Be careful not to make your brush too wet! Otherwise, we won't get the same grass effects. Do some tests beforehand on another sheet.
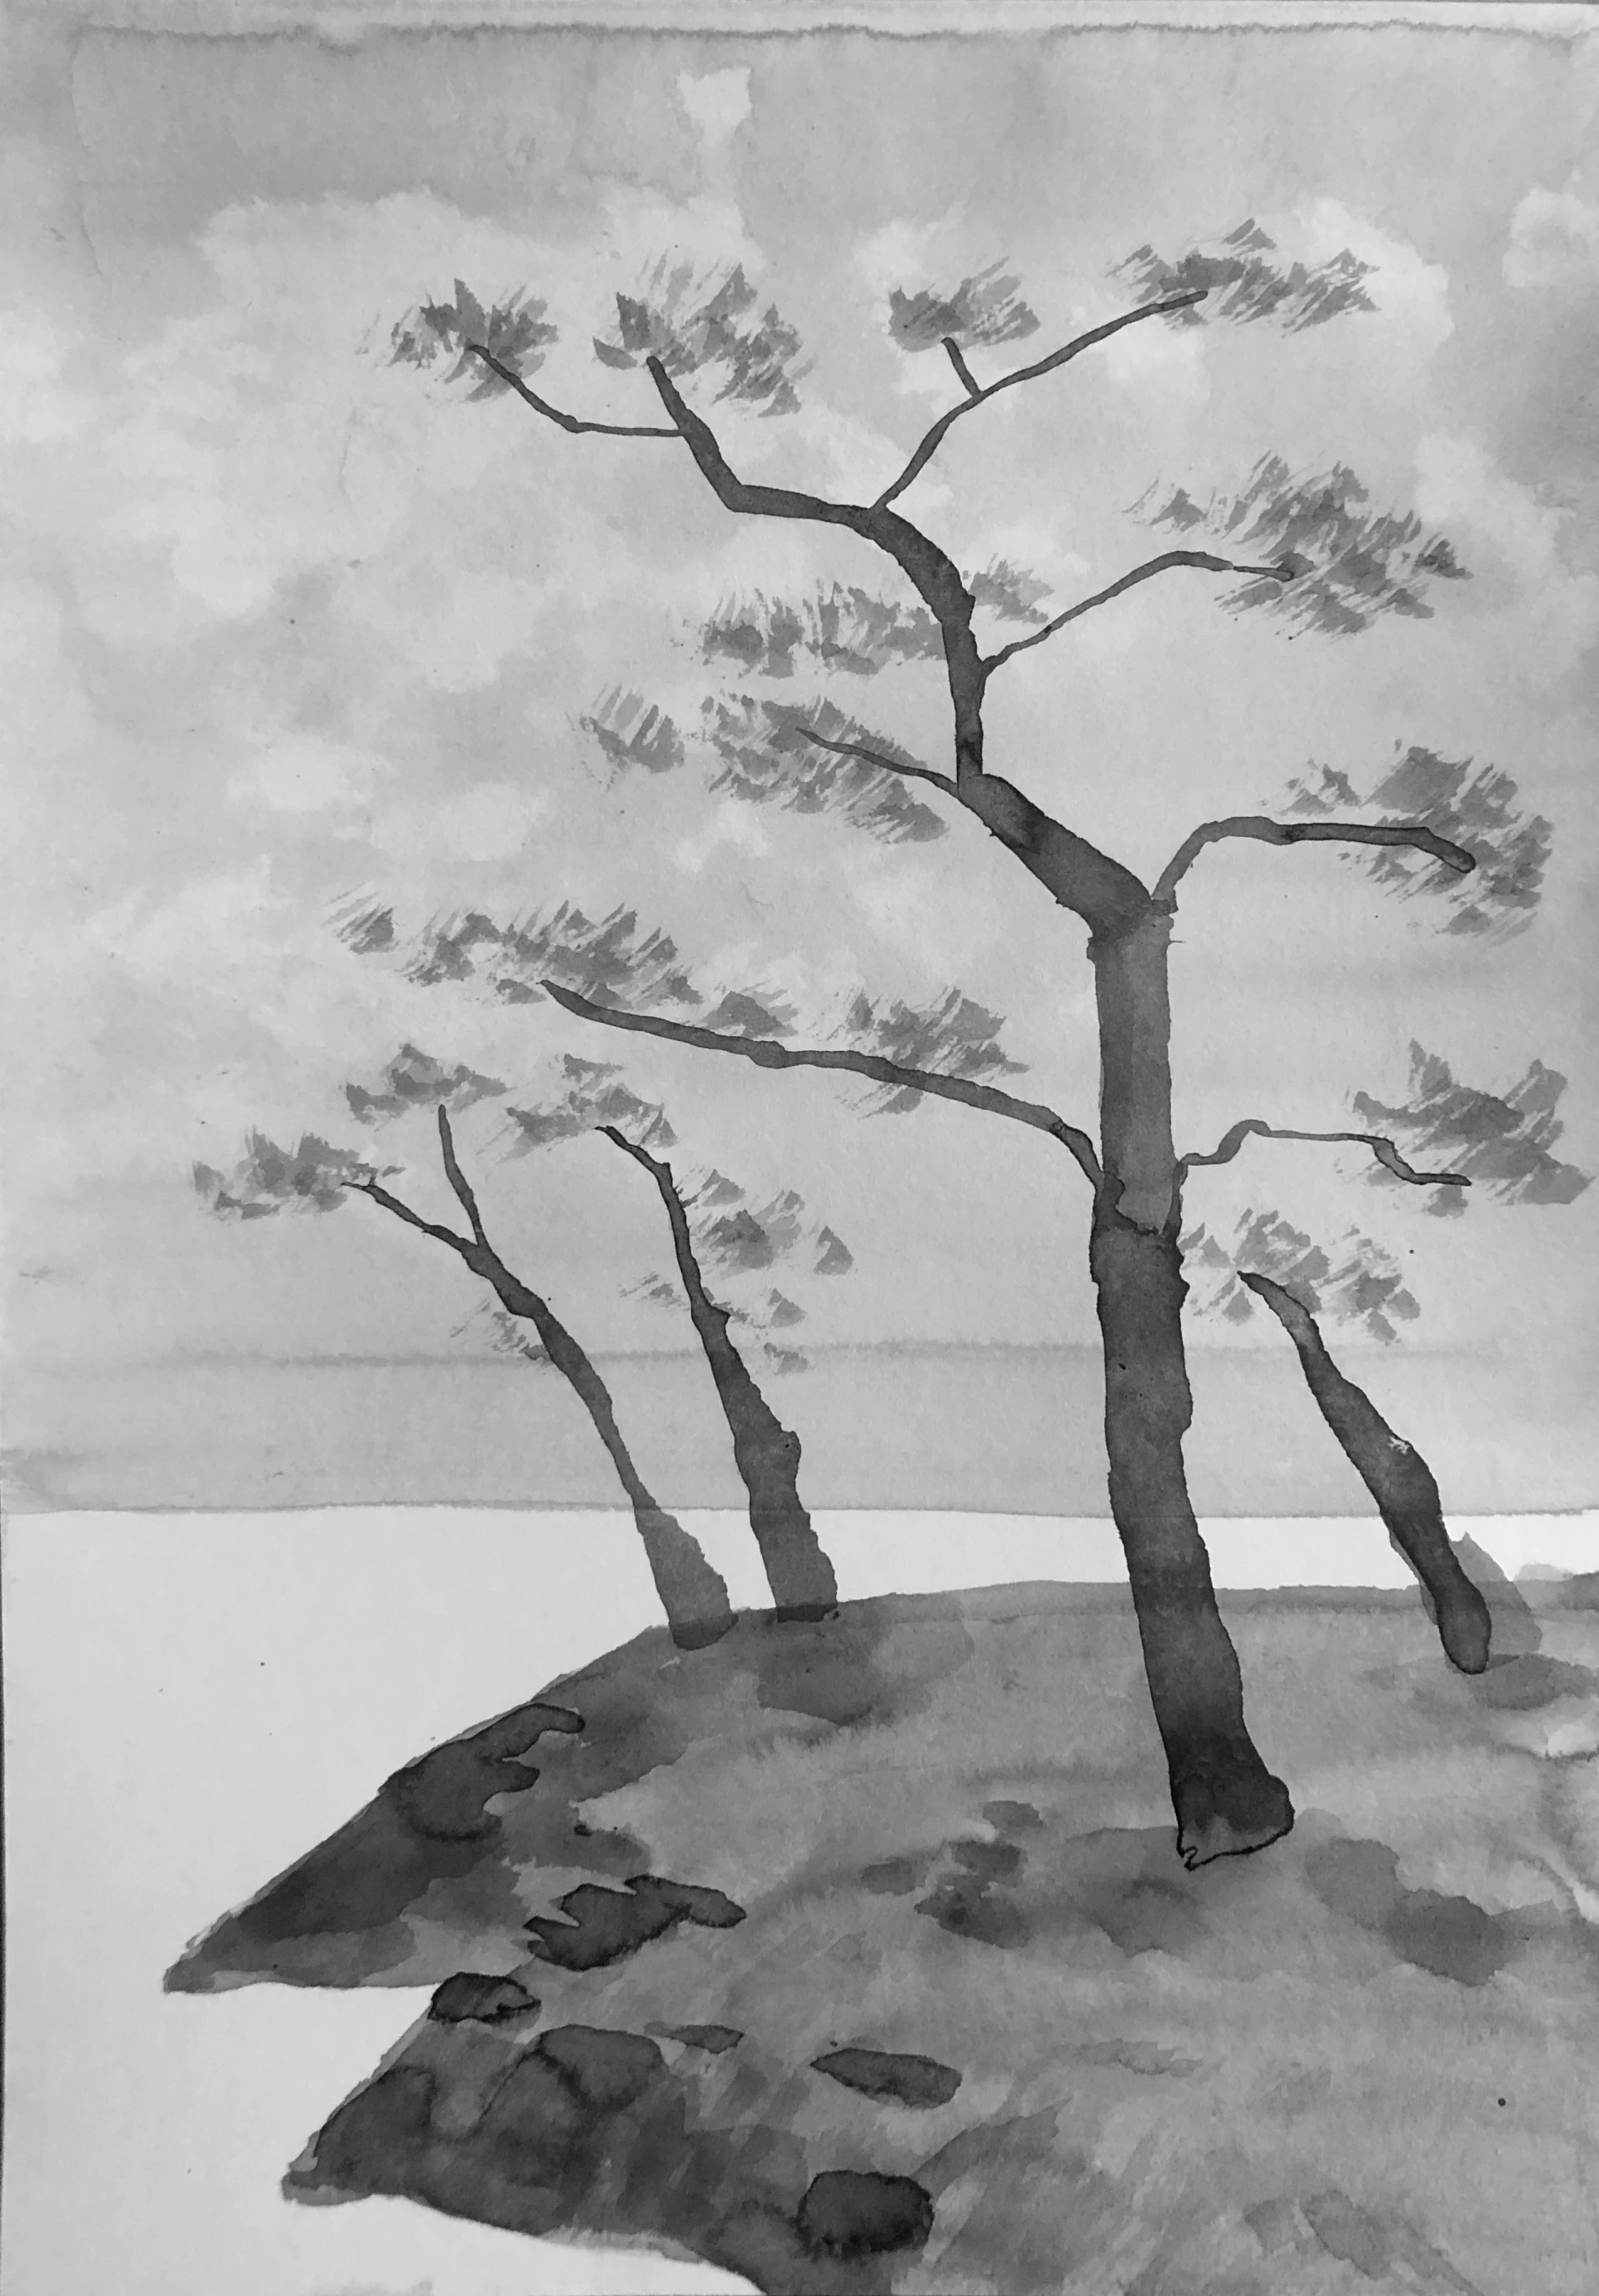
Using pure ink, add clean shadows on the trunks and ground to bring some light into the image.
Here you go! You now know the basic applications for making a Chinese ink drawing. All that's left is for you to choose your own image and interpret it as you wish!
- Be the first to post a comment!