Draw a Christmas Sleigh
This holiday season is the best time to learn how to draw Santa's sumptuous sleigh, with its glittering, festive colours! Here's how to do it, in a few simple steps.
THE DESIGN OF THE CHRISTMAS SLEIGH
Santa's sleigh is more ornate than traditional sleighs, characterized by curved lines, arabesques or Christmas motifs. It is made of wood for the exterior, and very often, a cozy velvet interior.
Regarding the choice of colors, we can use a very specific range of colors: green, red, gold, black, and finally white. The popular image we have of a sleigh remains predominantly in shades of a deep red, like Santa Claus's coat.
Sleds often have similar patterns and designs on each side. Thus, the first step of this tutorial is to be creative and have fun with different sketches to choose the design for the sides of the sled.
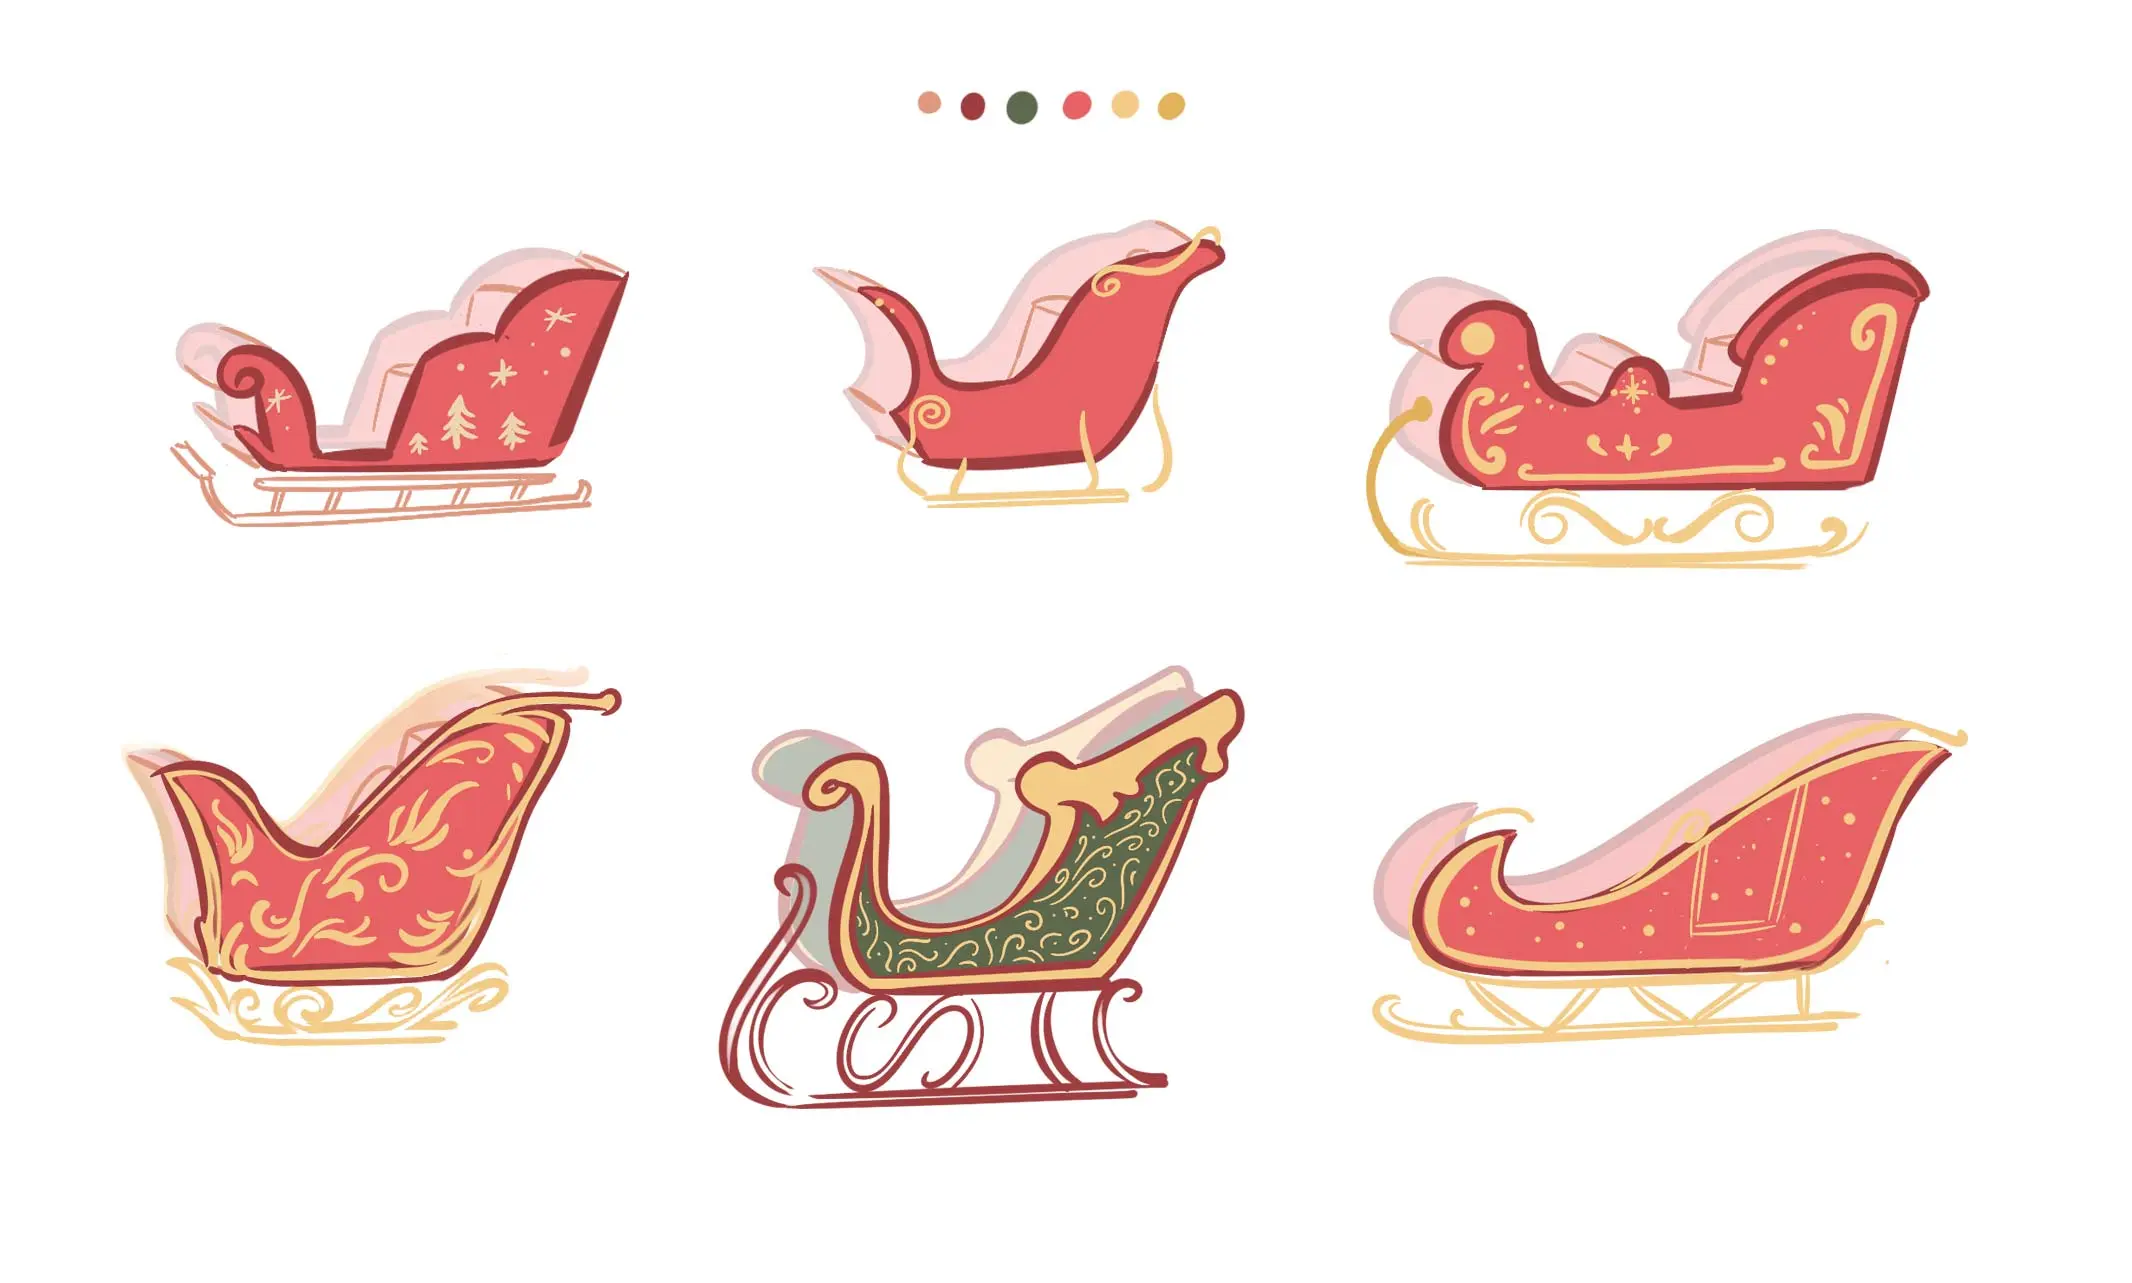
Here are some examples of sketches: you can see arabesques, gilding intertwining on the wood, sinuous lines...
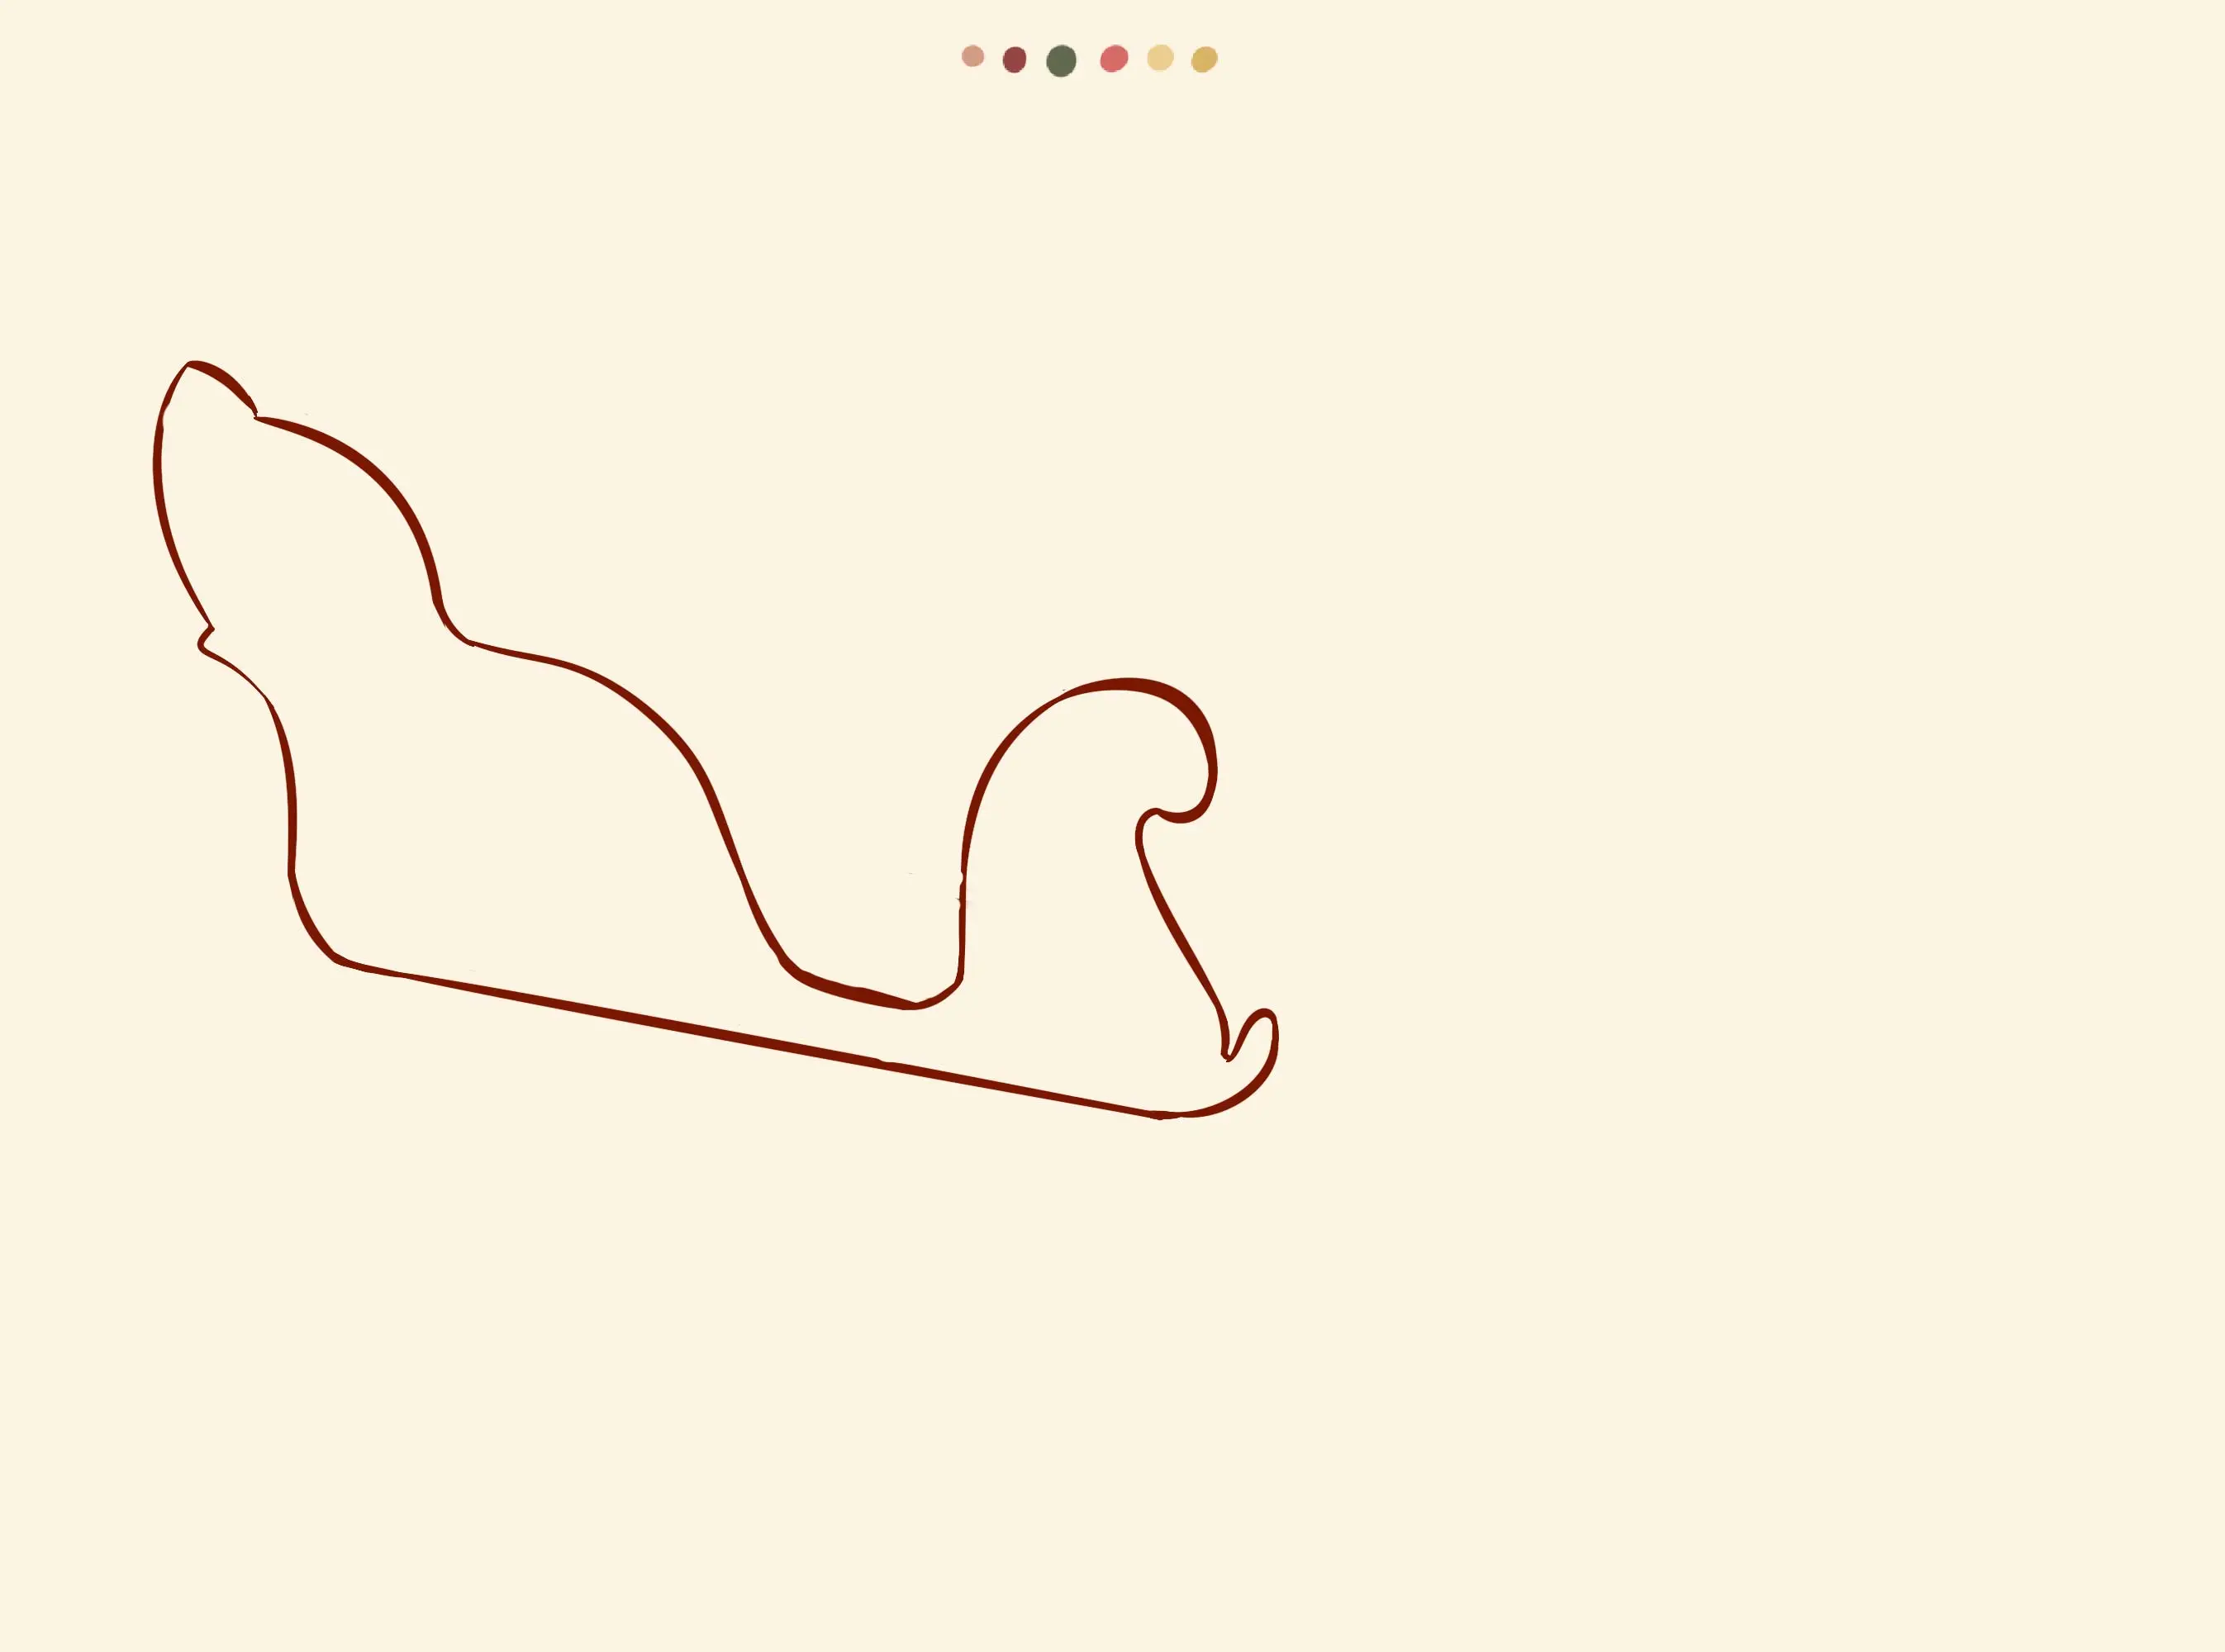
1/ To make these sketches, I create a coloured palette as a reference and draw the shape of the sled profile. I play with shapes, indentations and curves.
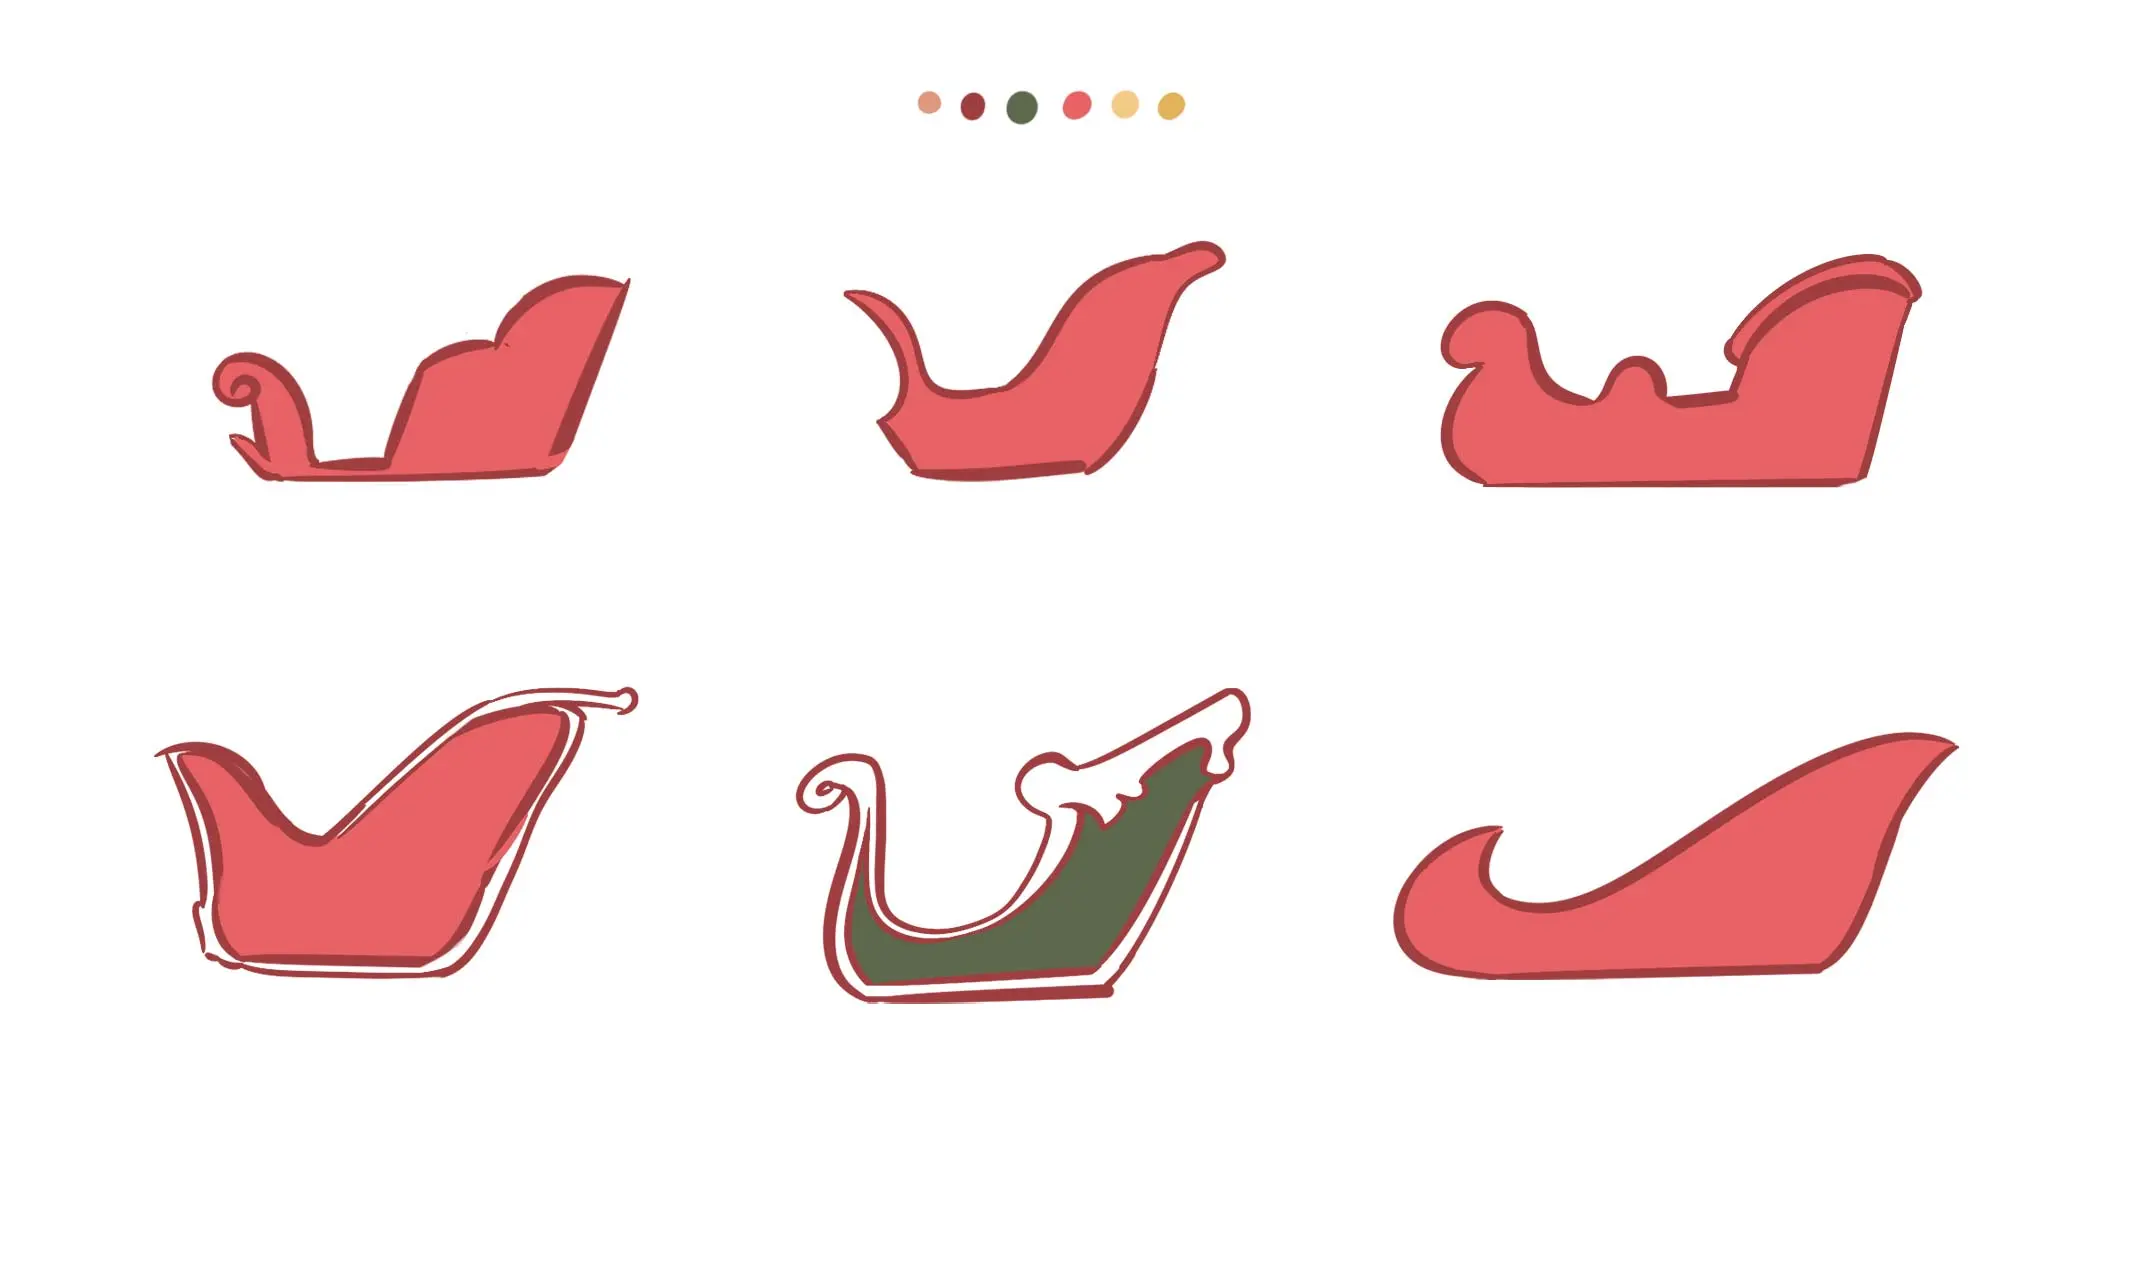
2/ I draw the back of the sleigh.
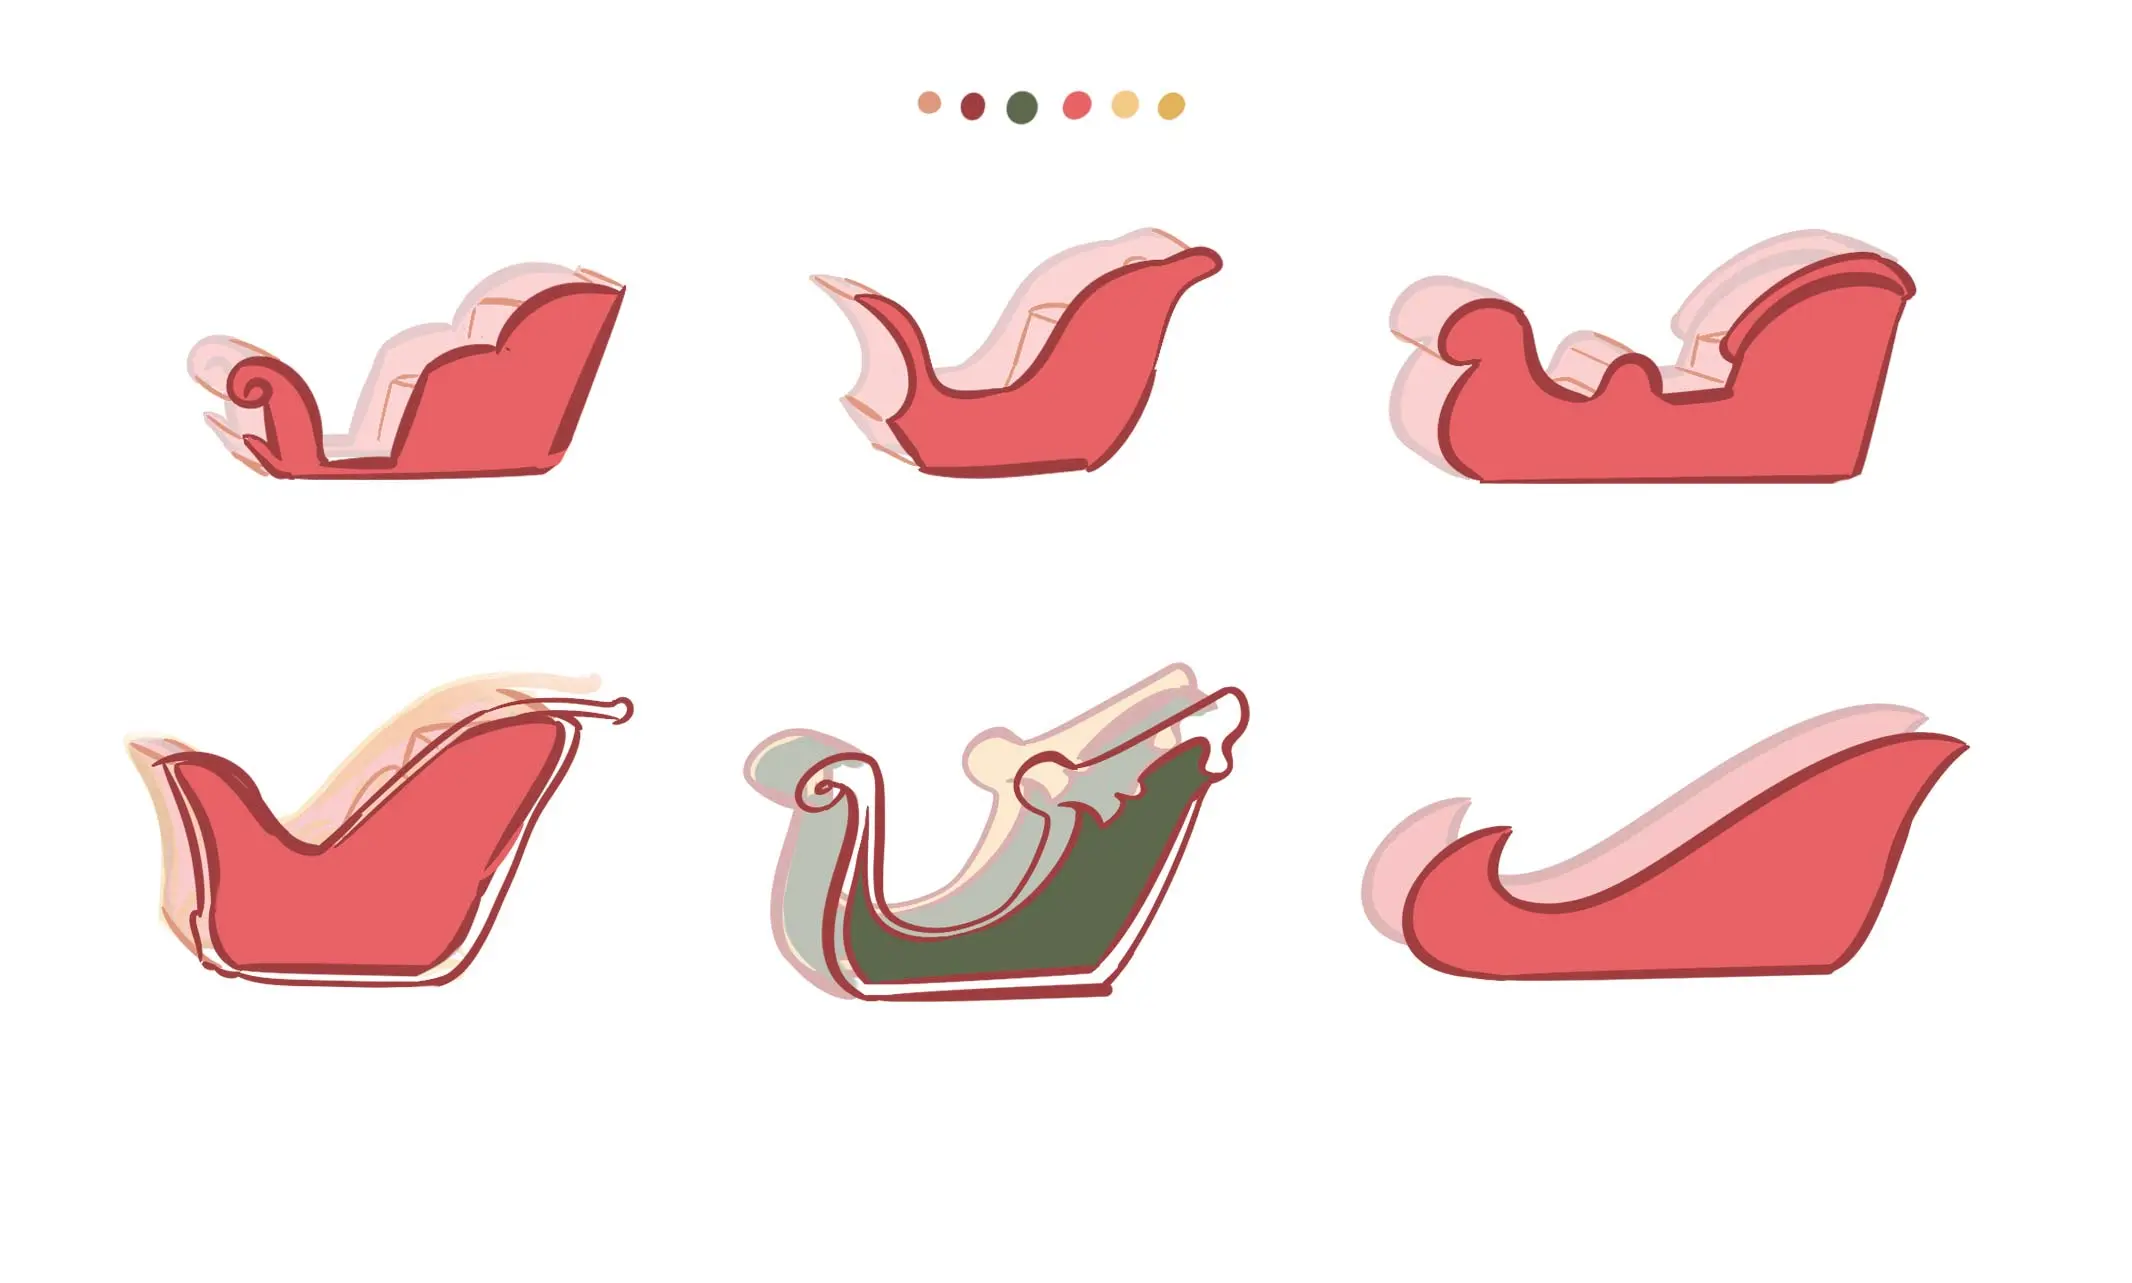
3/ I place the patterns and mats. To help you, here is a small list of decoration ideas:
- Holly
- Snowflakes
- Arabesques
- Stars
- Fir trees
- Snowmen
As soon as you like a sketch, we can start the final design. You can apply your own models or follow mine!
DRAWING A SLED STEP BY STEP
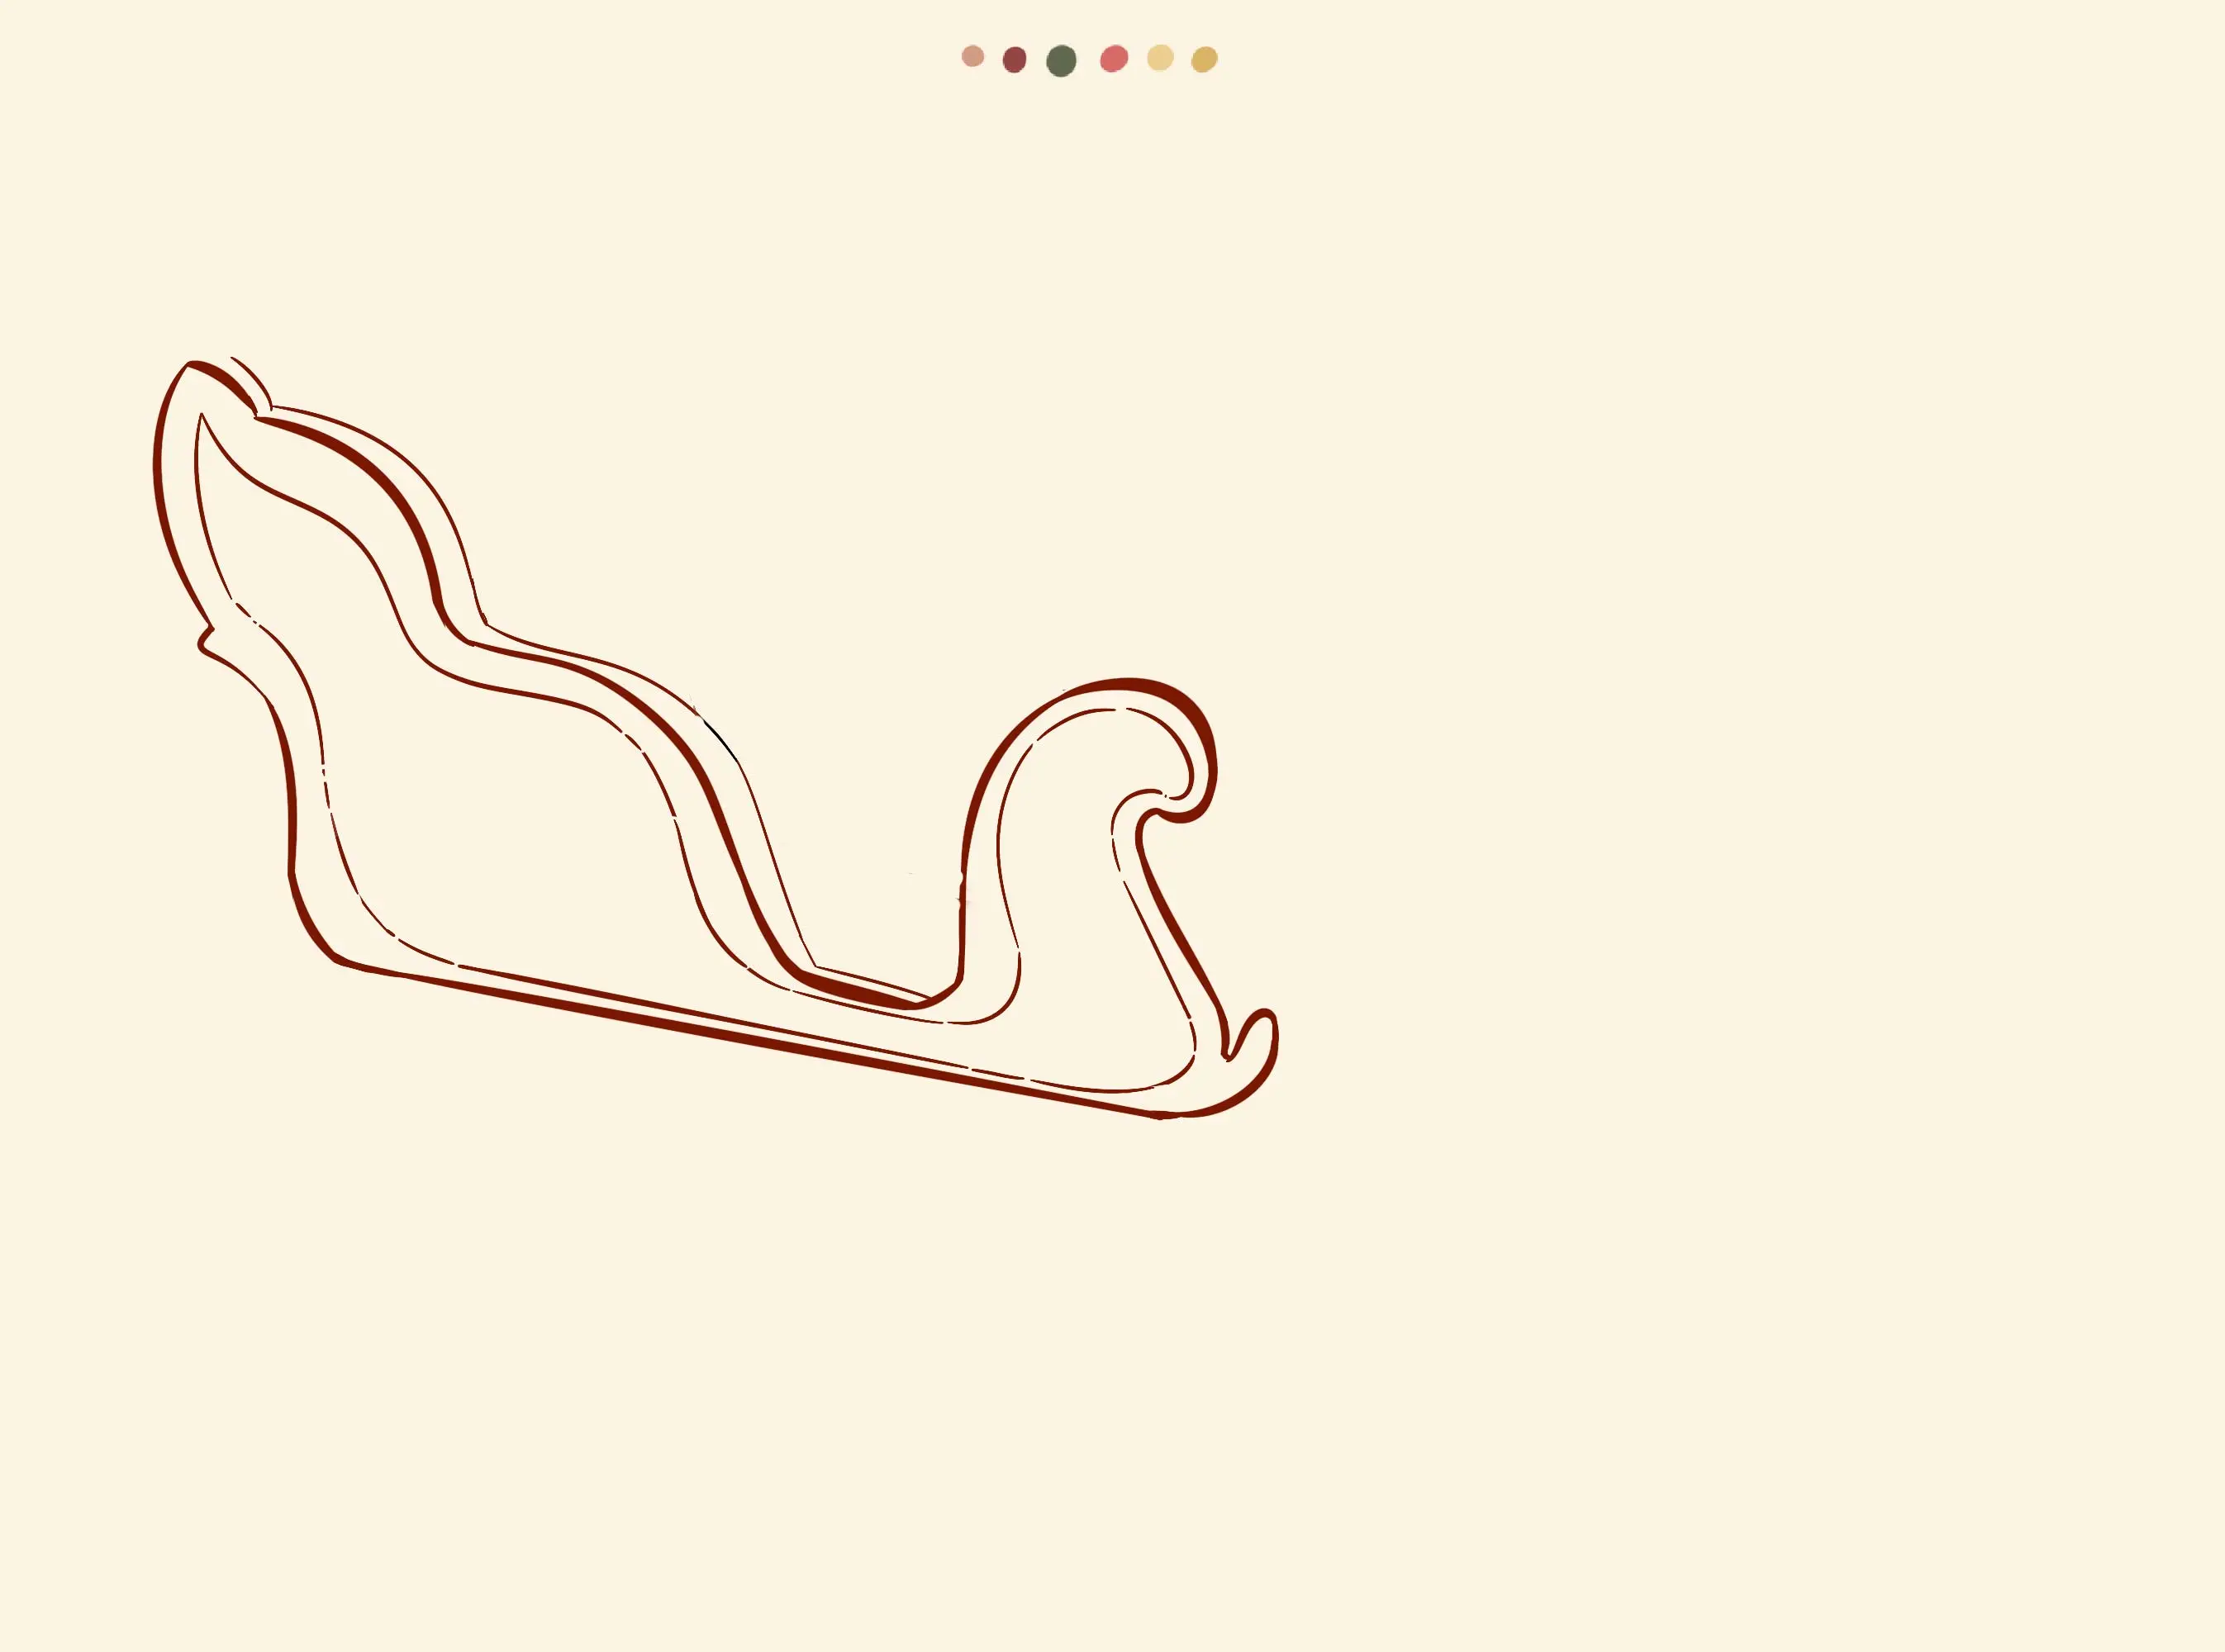
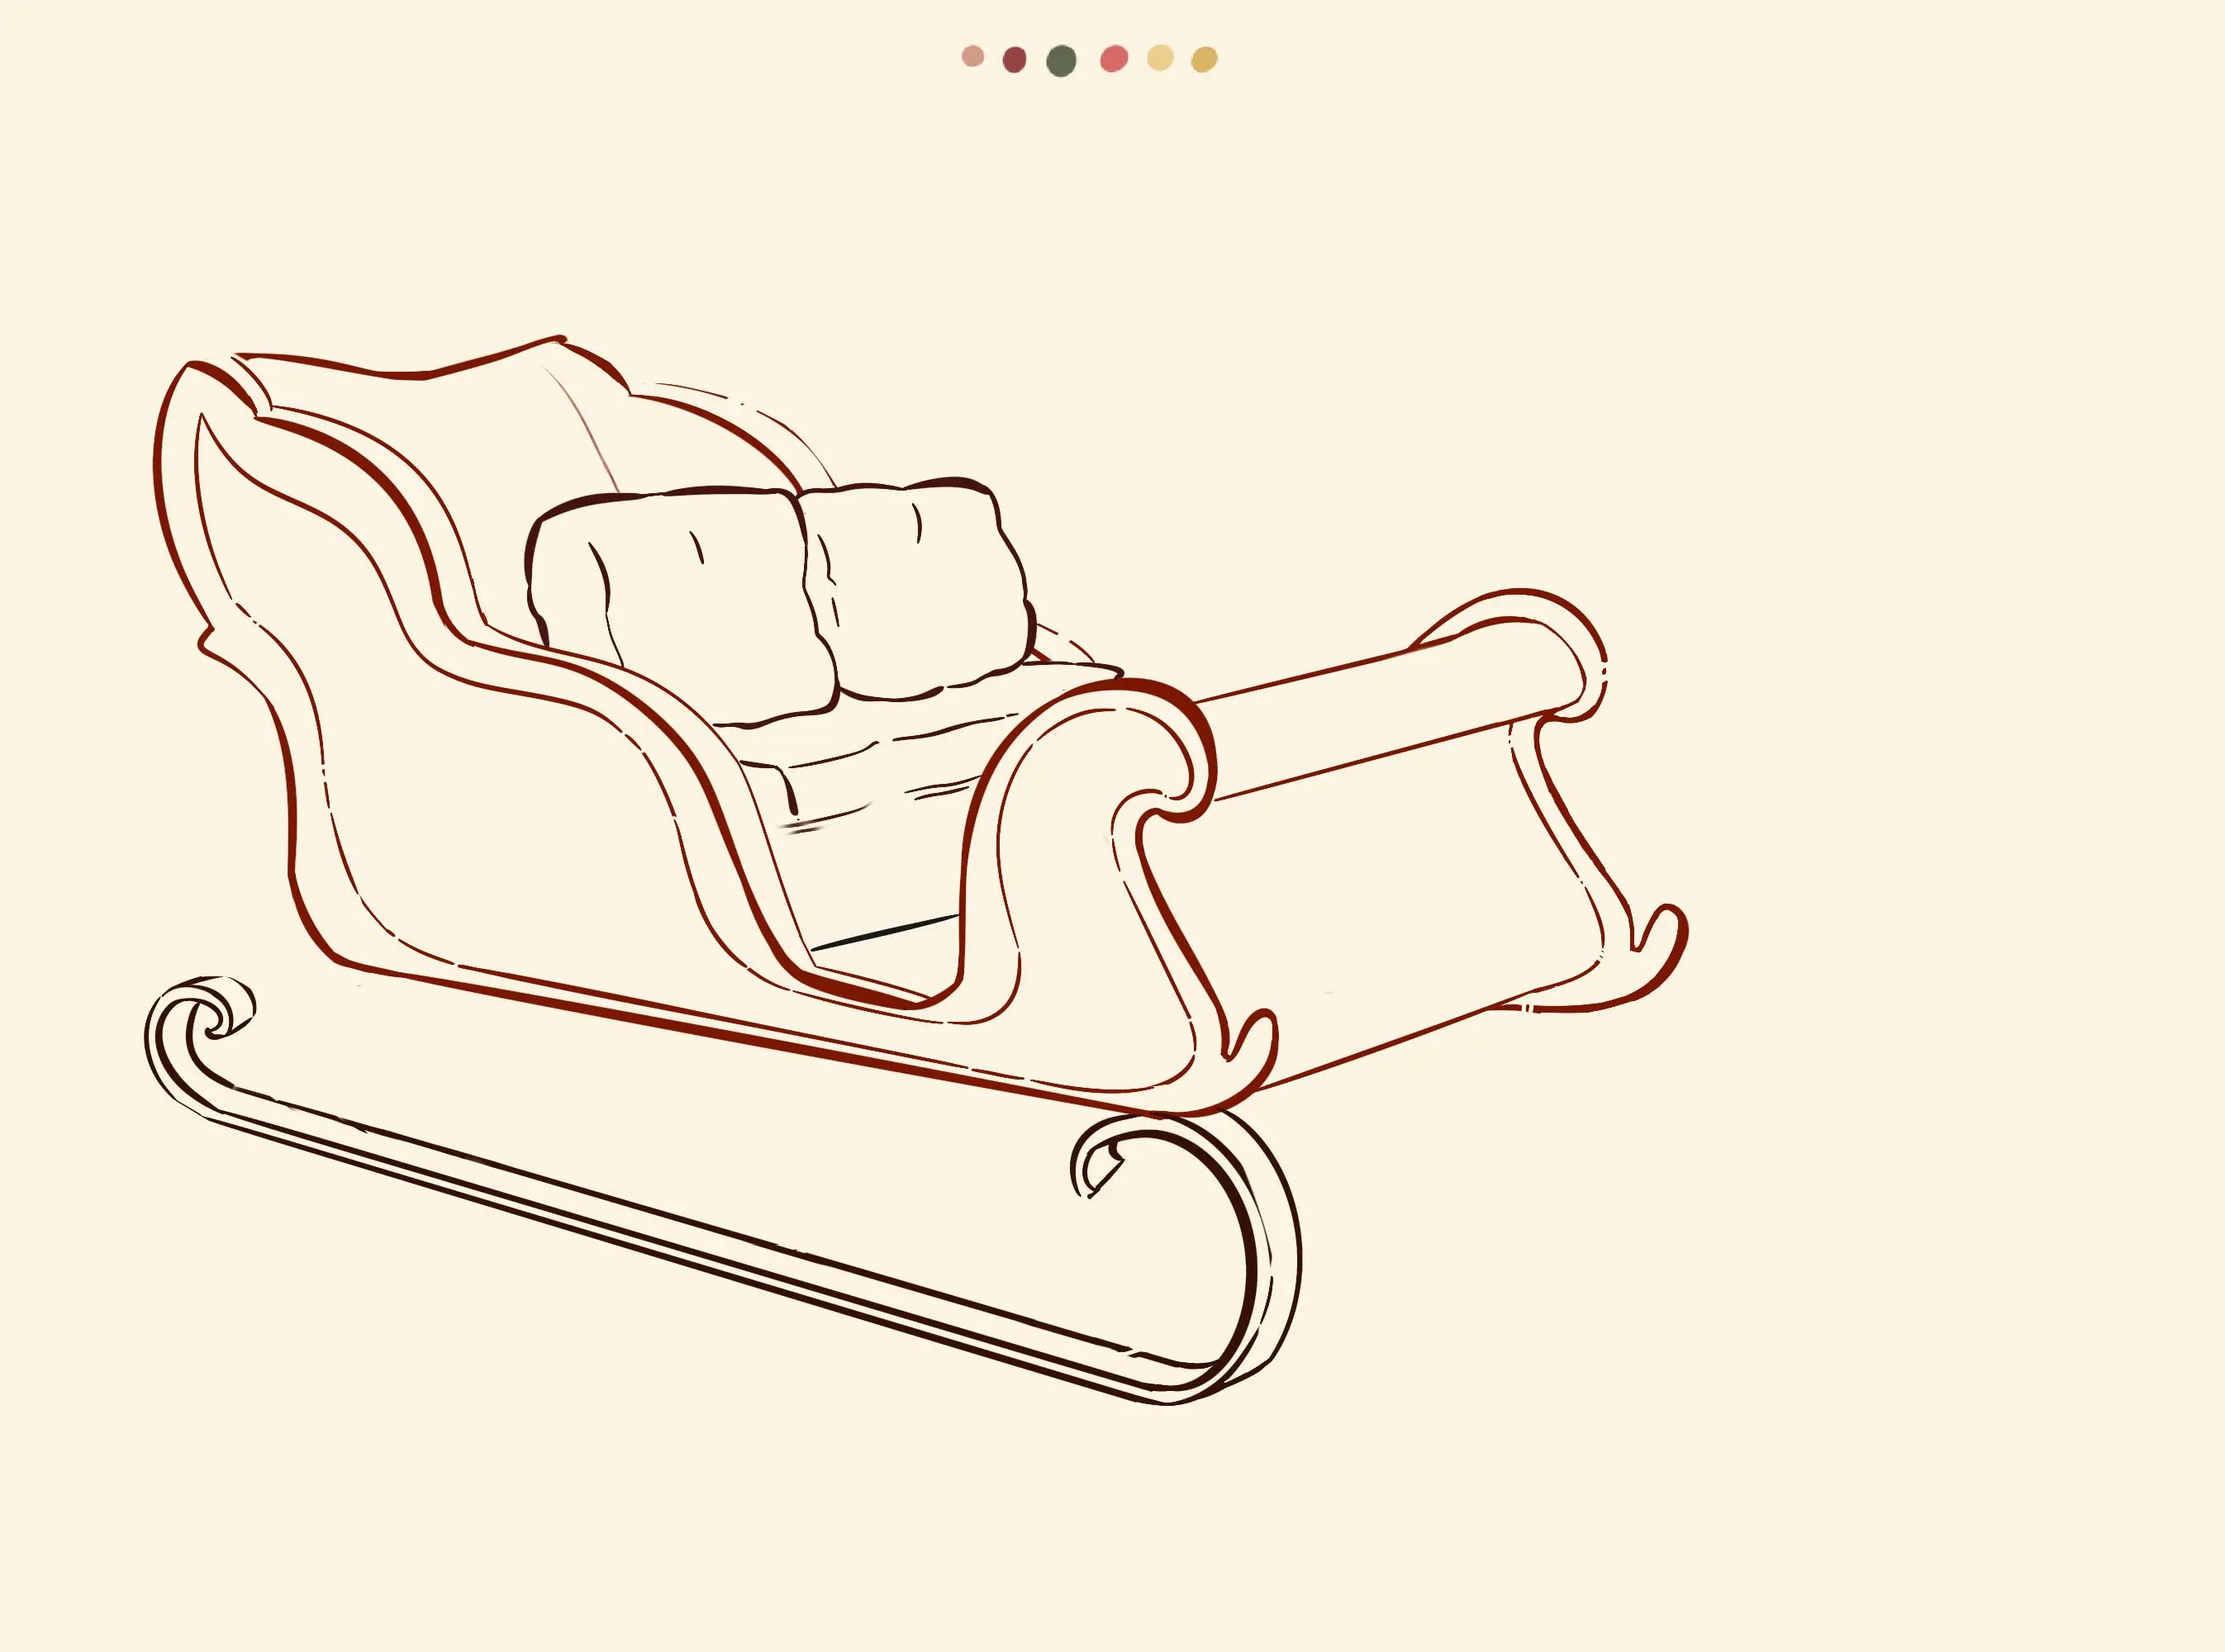
1/ I trace, as for the sketches, the outline of the side of the sled. I draw it from a ¾ view and from the front, leaving some space on the right for the rest of the drawing. It will consist of two seats with cushions and a basket behind the bench for storing presents.
2/ I draw an initial sketch on the inside of the outline to differentiate the colours later, and I draw the edge of the slide on the outside.
3/ I draw the lower part of the sled, using the shapes of the first side. I then connect the front of the sled with straight lines.
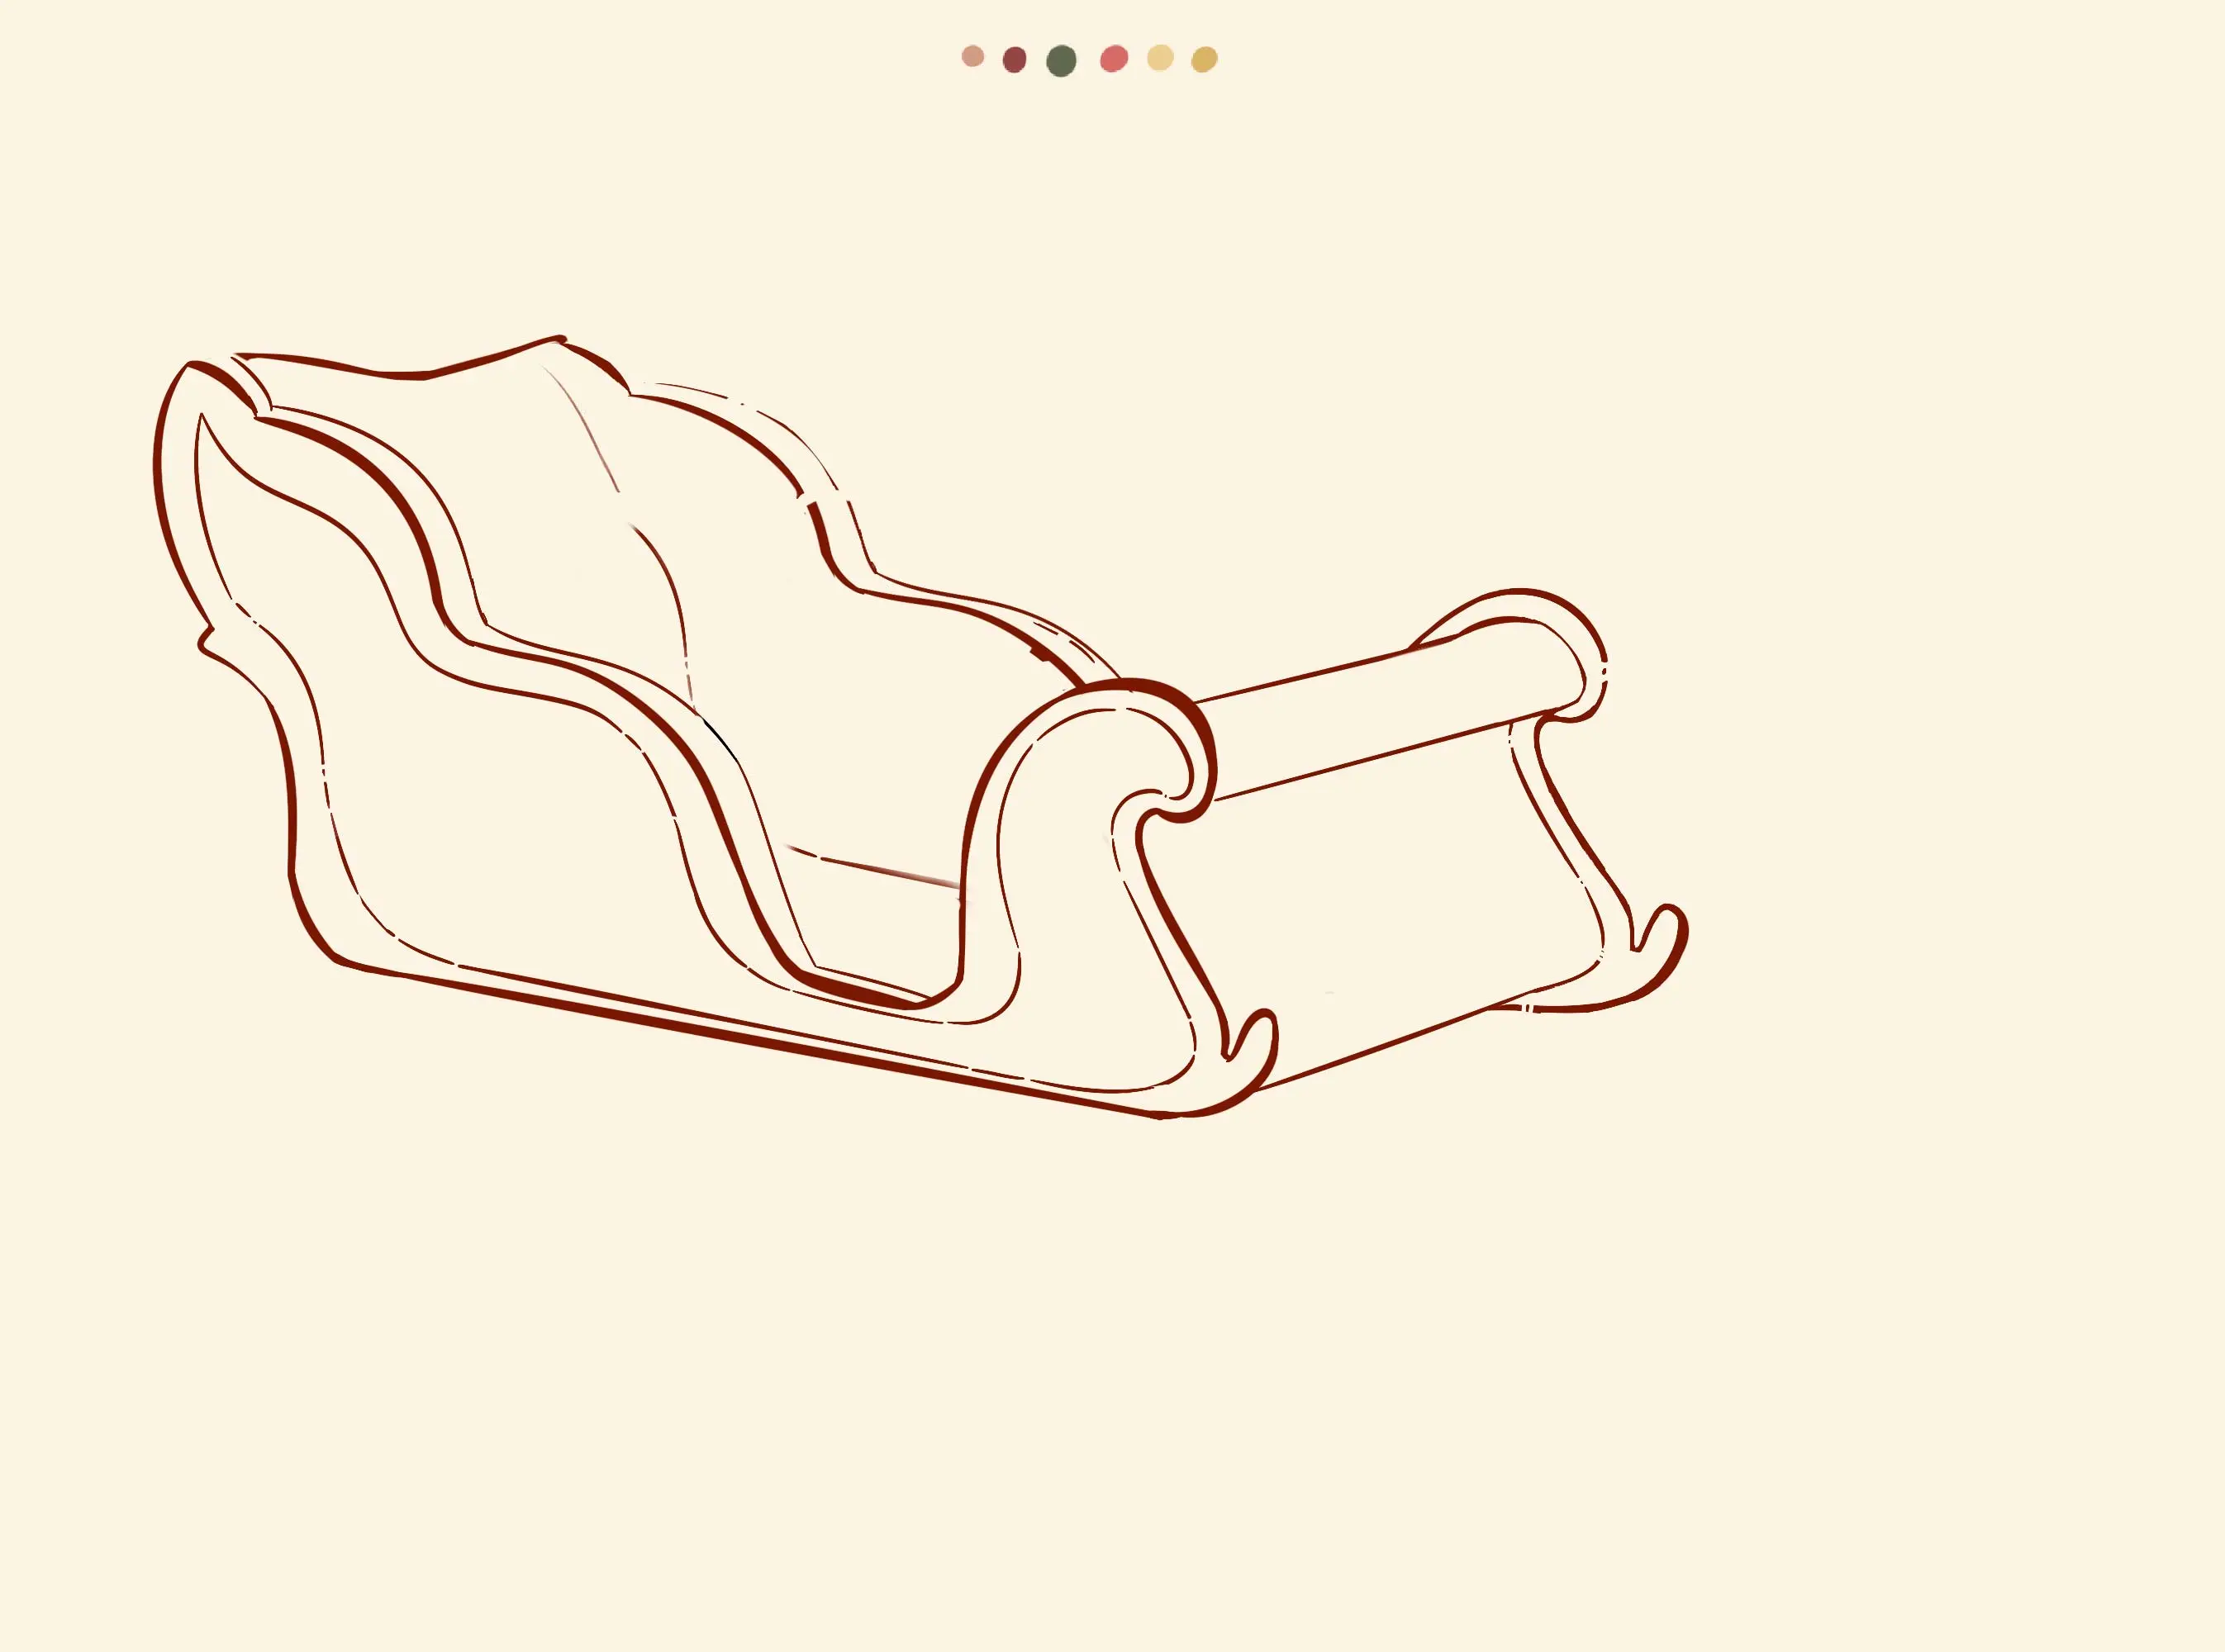
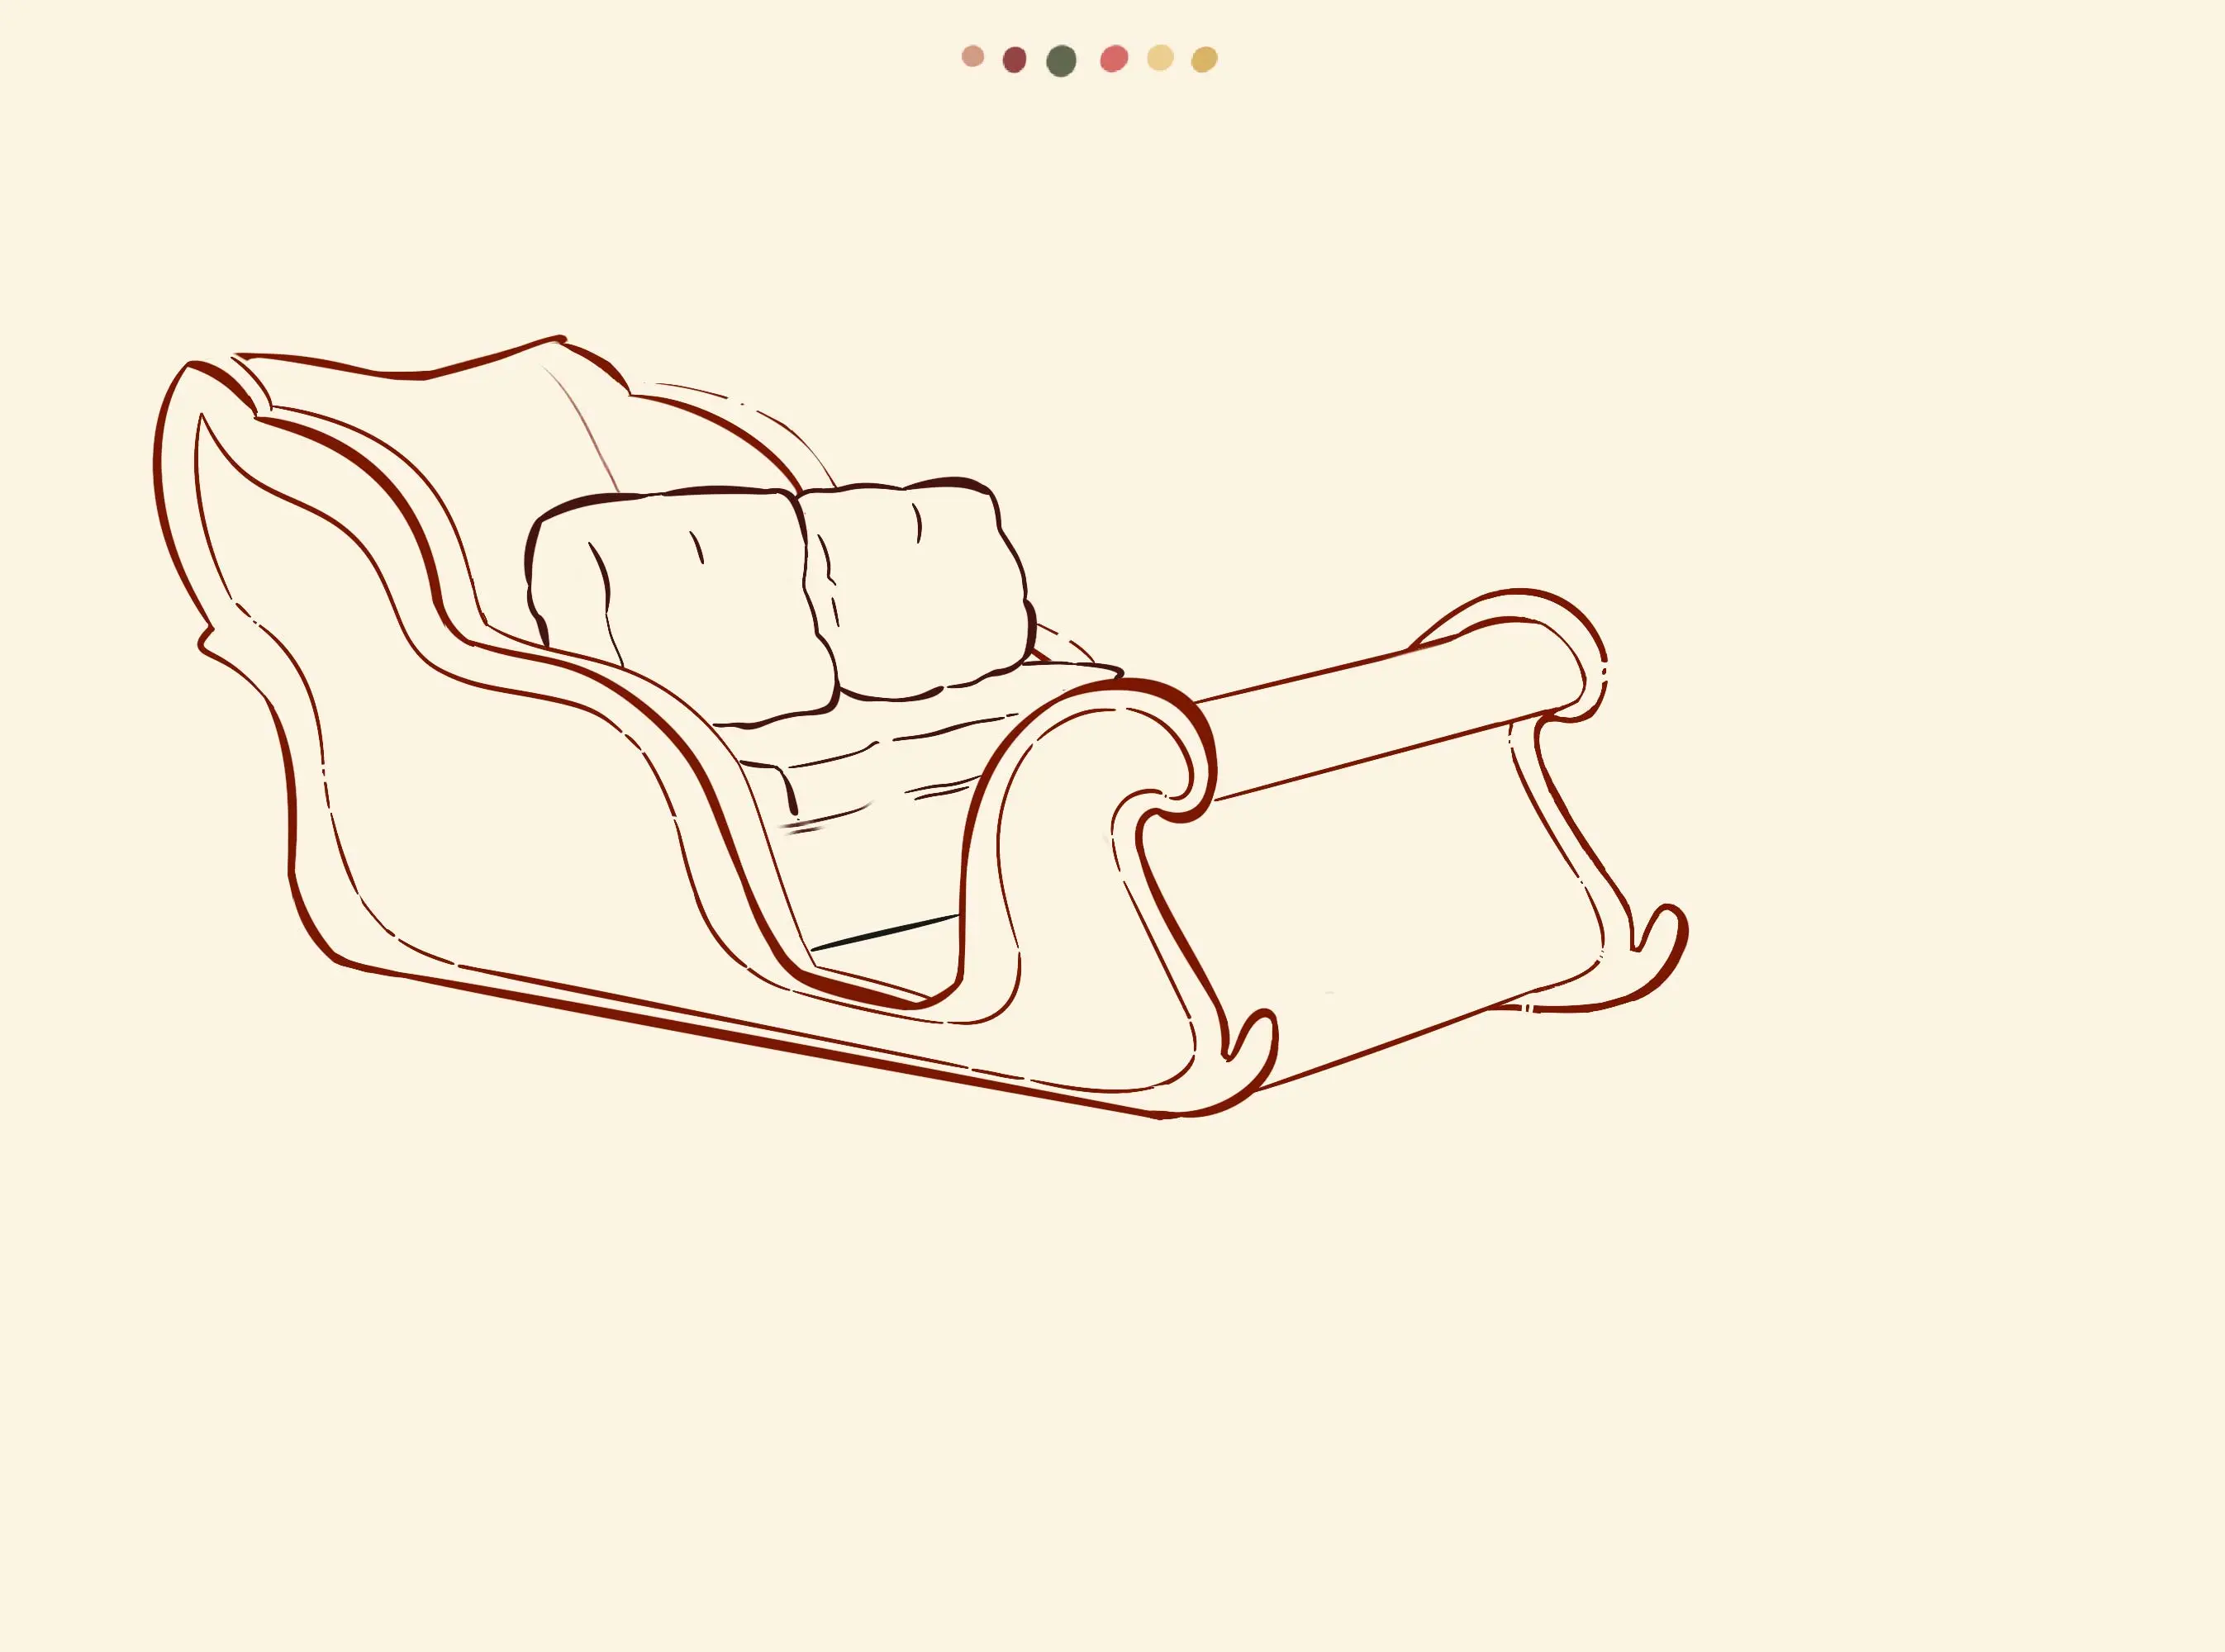
4/ I add the bench and two large cushions.
5/ I draw the base of the first skate. Think about perspective here, making sure that the closer the skate is to the viewer's eye, the larger it appears.
6/ I add ornaments to the skate, with bent wood.
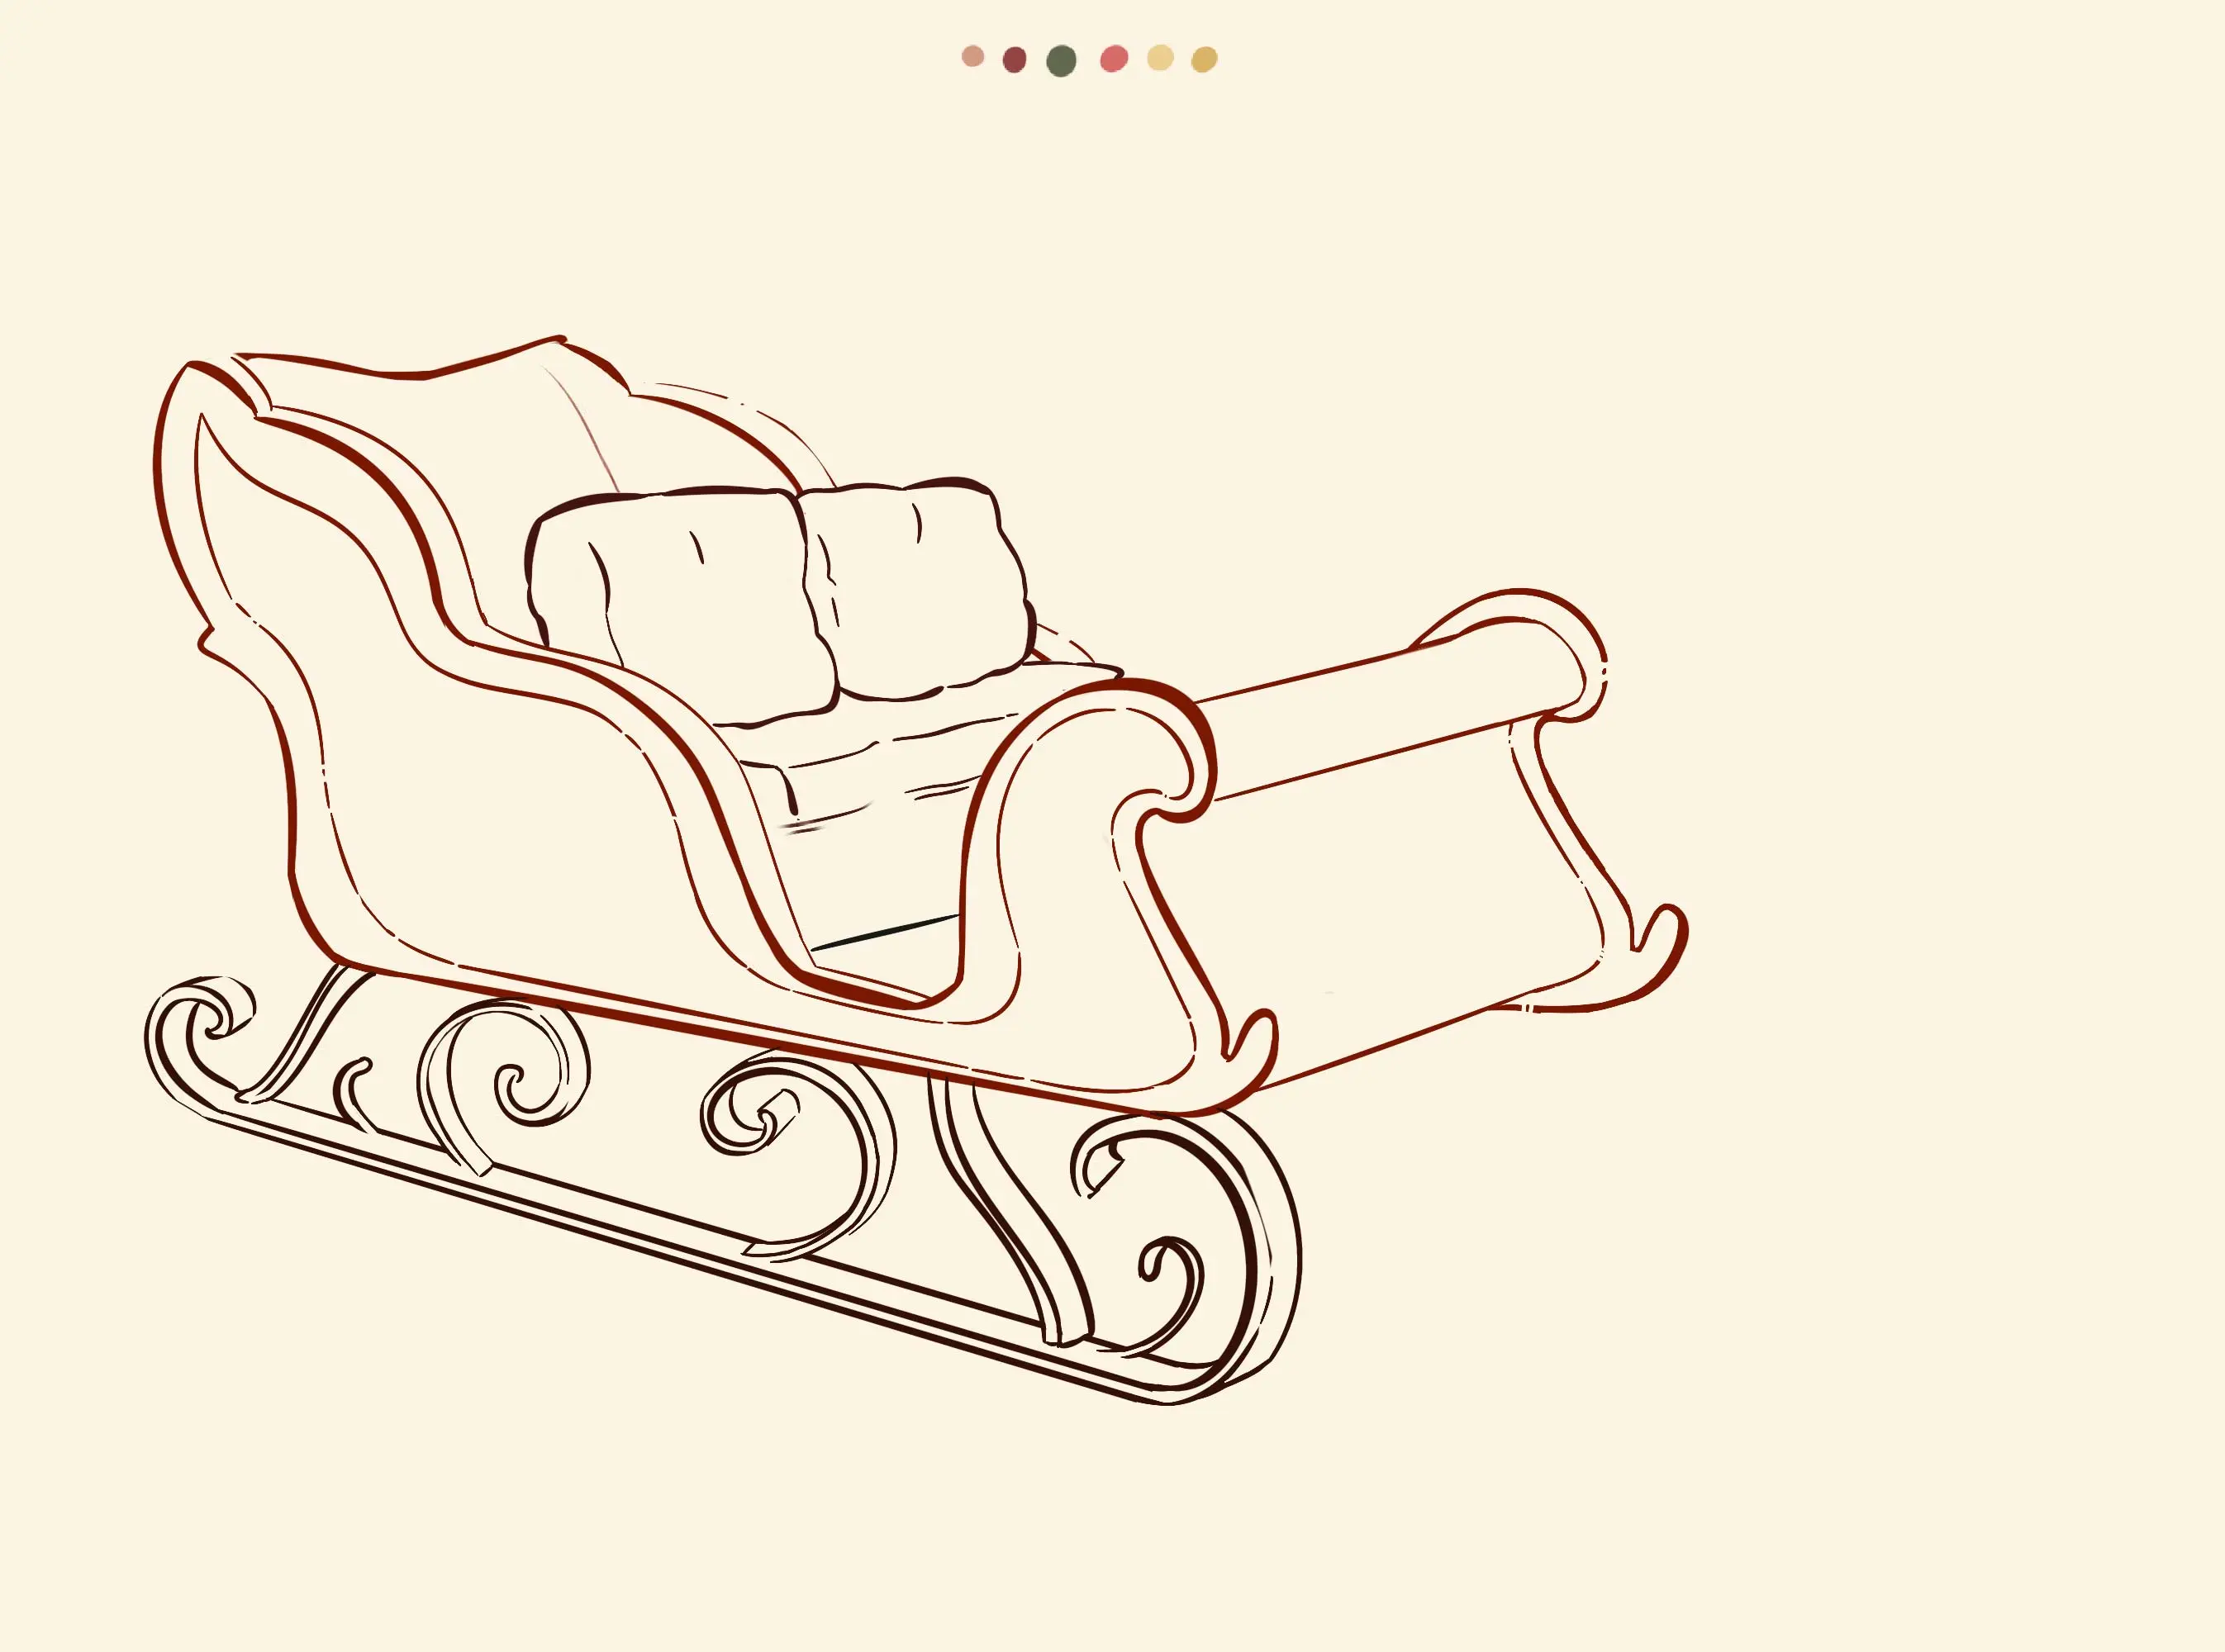
7/ I draw the second skate, following exactly the design of the previous one.

ADDING COLORS TO THE DRAWING
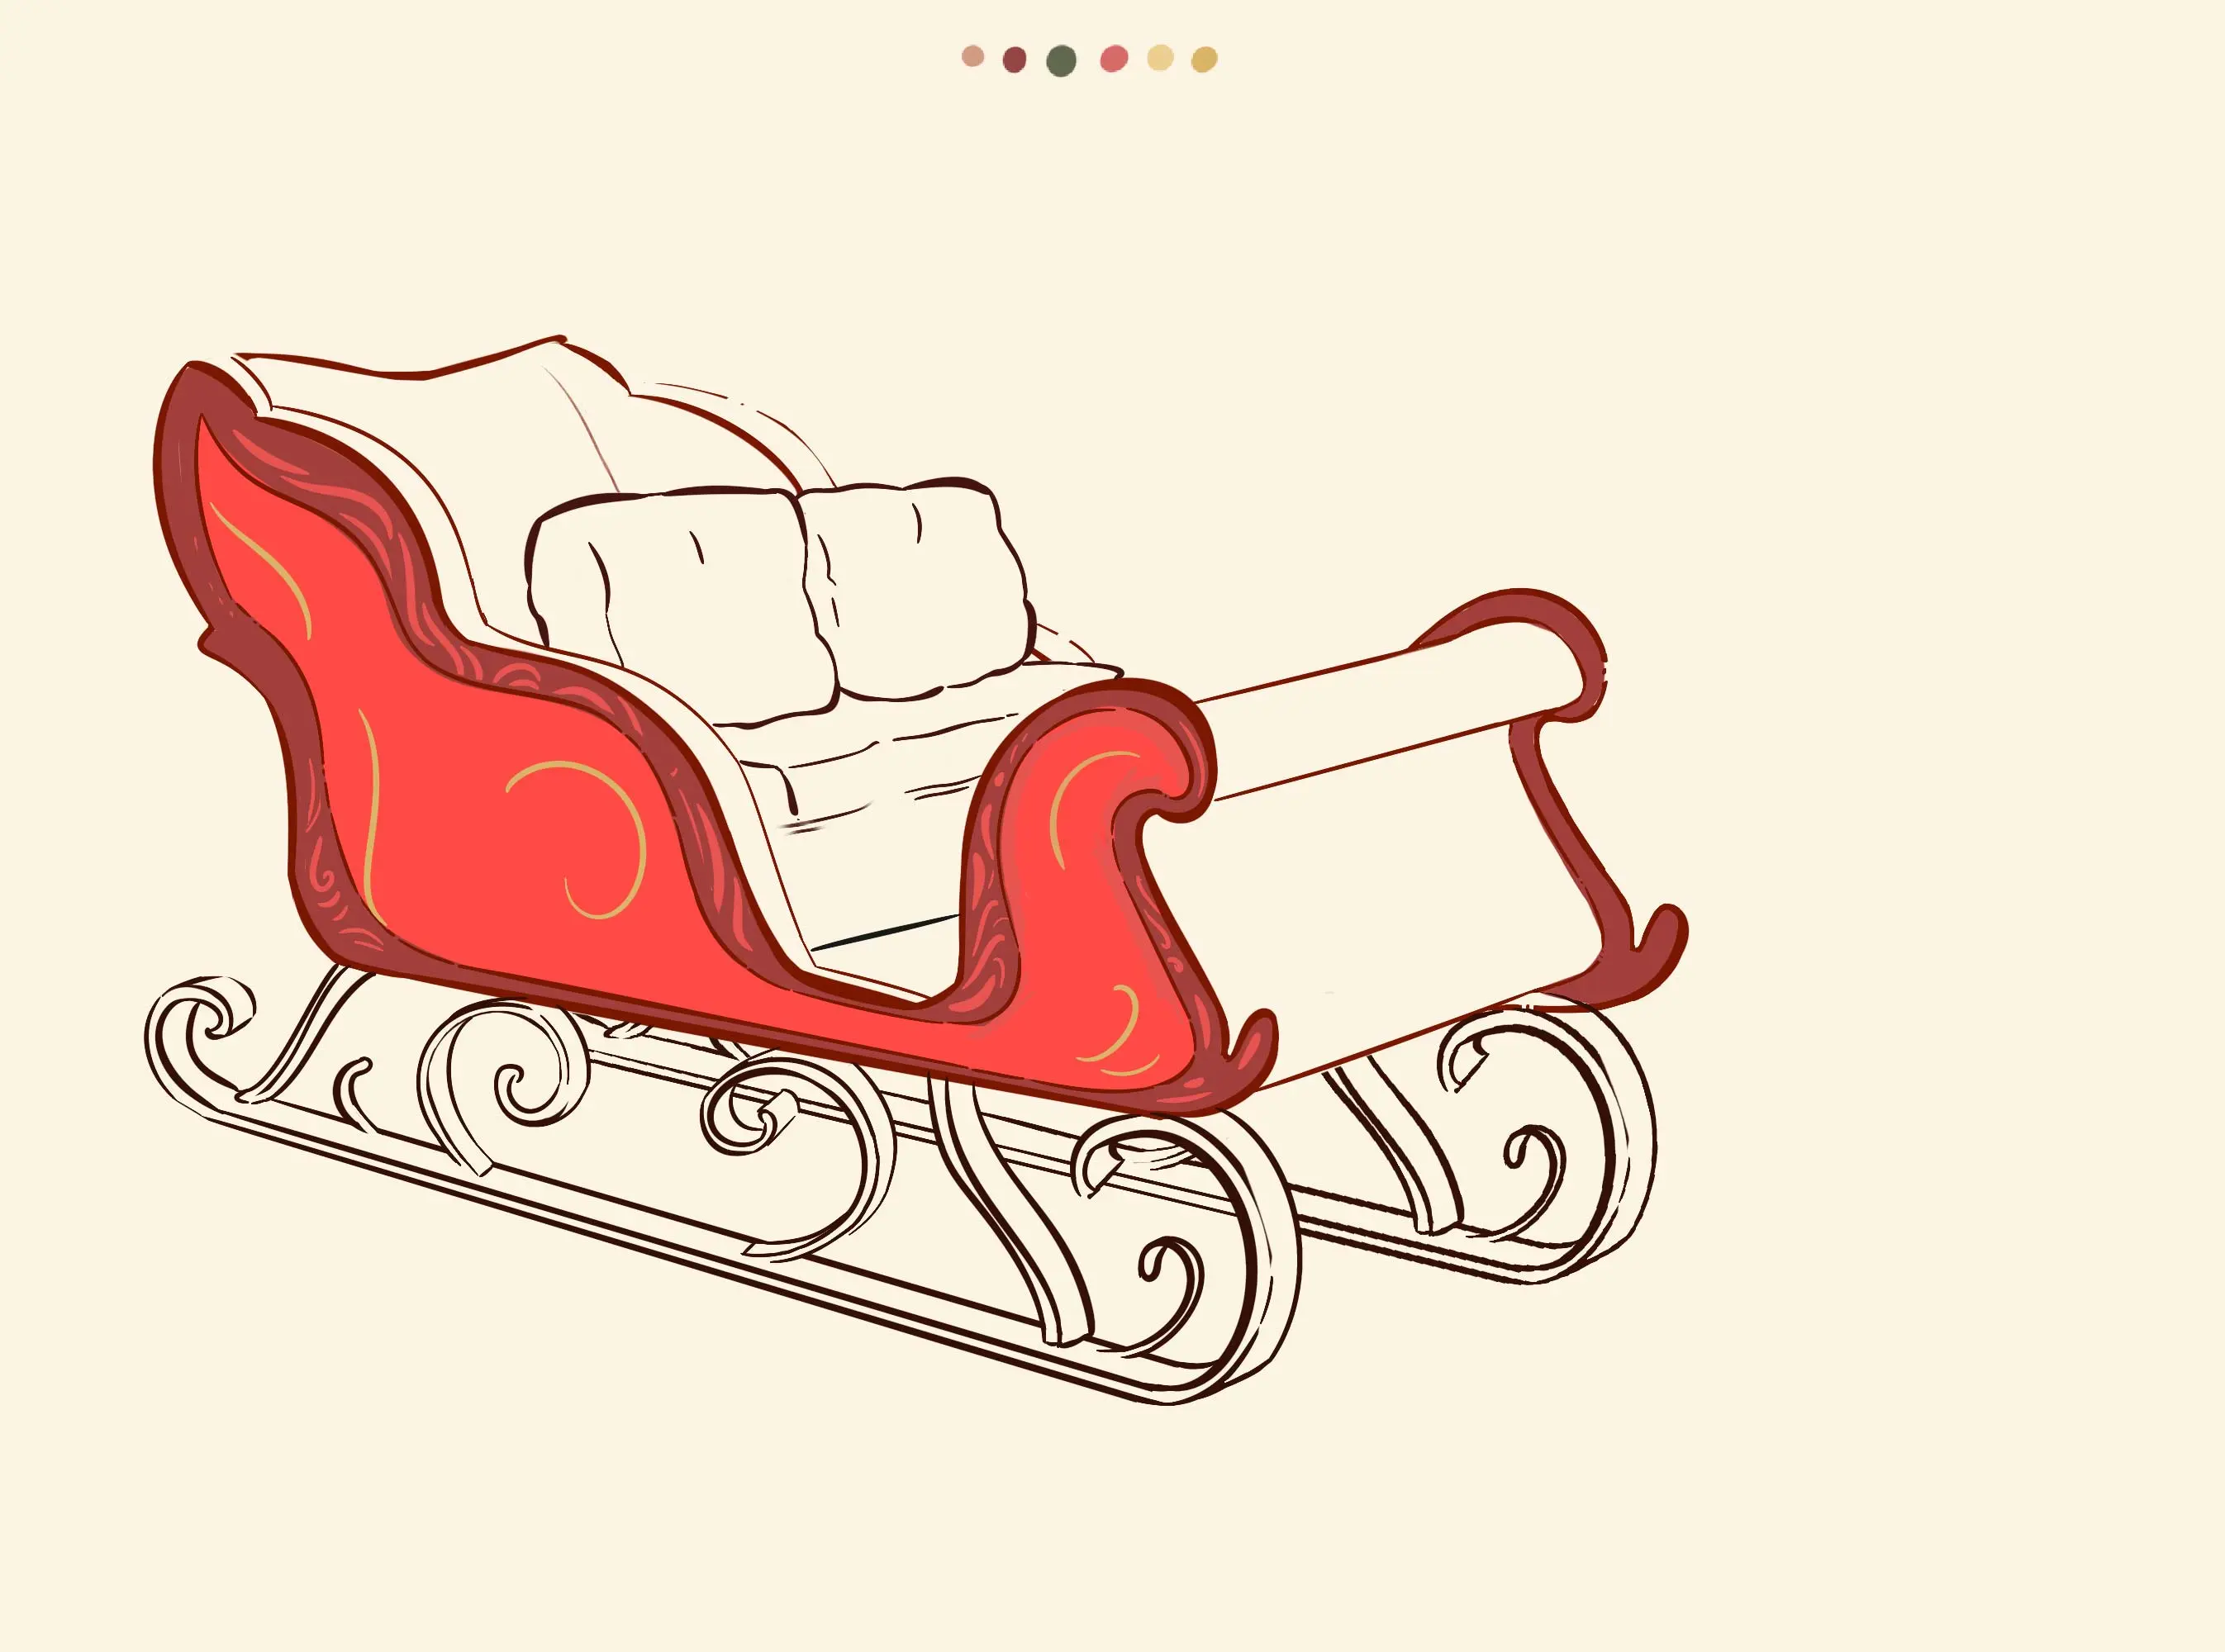
8/ Red will be the main colour of the sled, I will also keep green, but for the interior and the front of the sled.

9/ In the same intense red color, I create arc-shaped patterns in the dark red of the borders.

10/ I place curved, golden lines to represent the base of my future arabesques. Here you can start drawing the motifs you want.
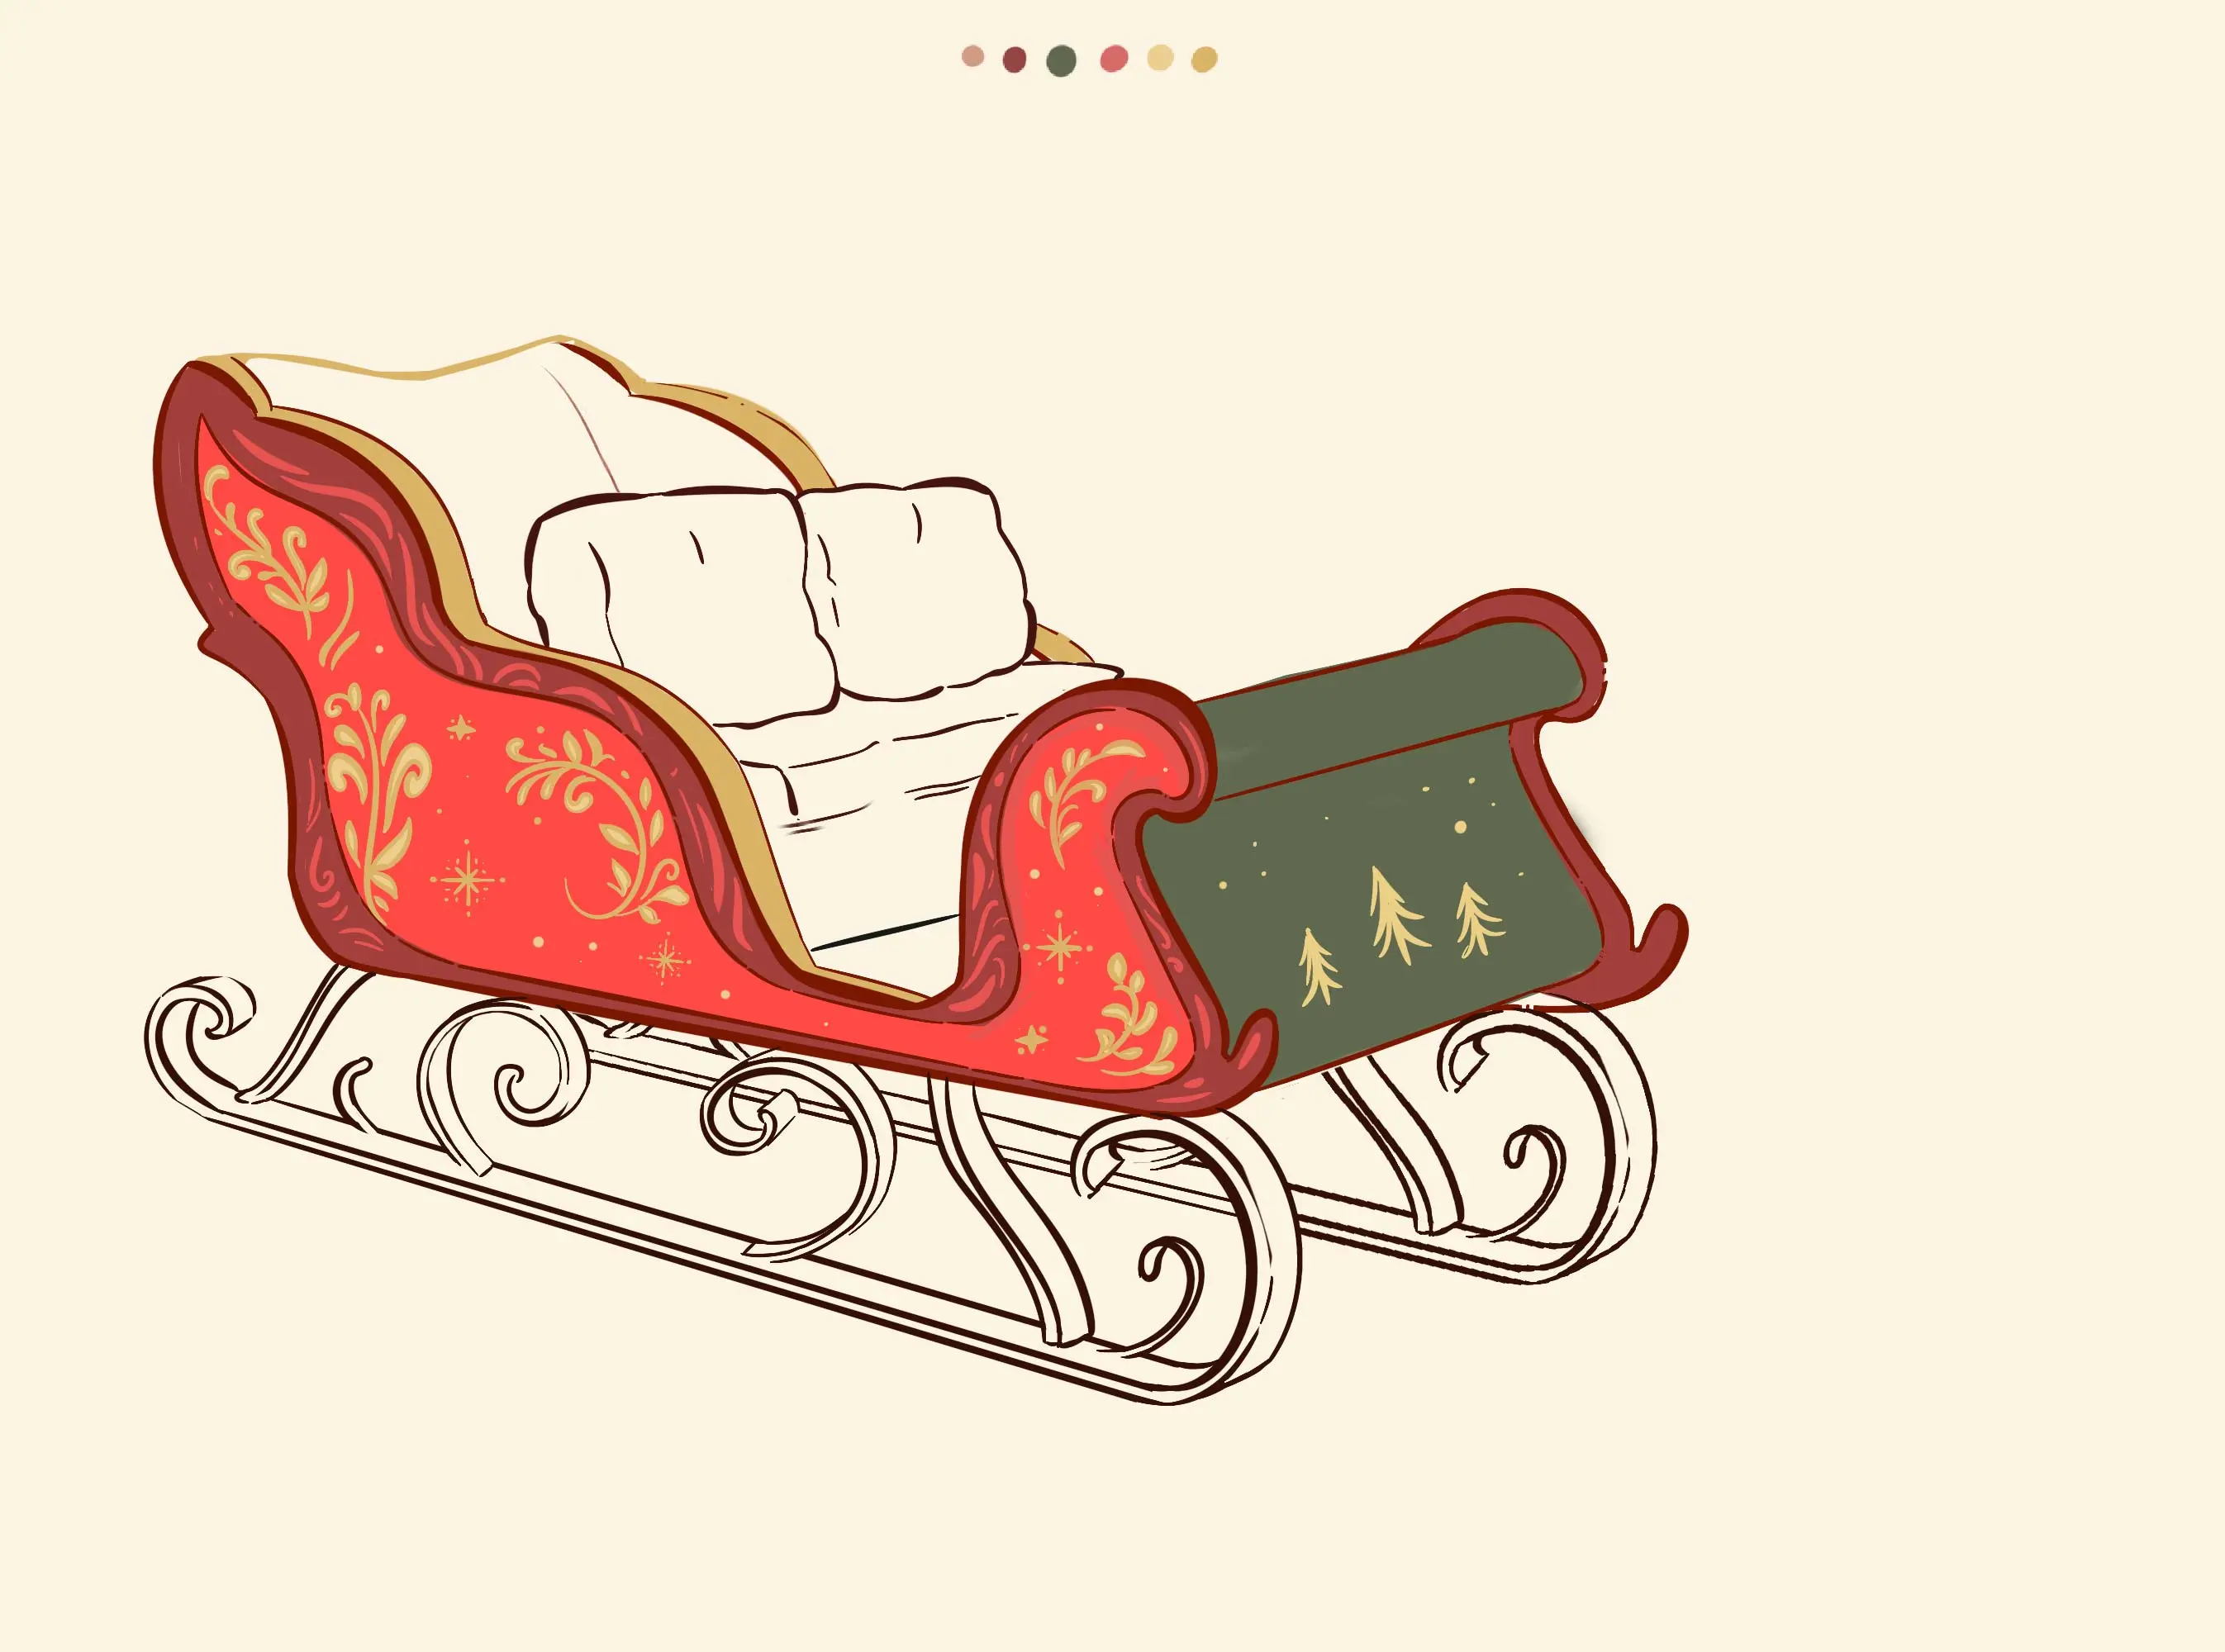
11/ I finish drawing the arabesques: I draw small leaves, curves that follow the movement of the stem. I also add snowflakes and stars.
On the front of the sleigh, I place a fir green flat color.

12/ I colour the borders in gold and add small designs on the front. In light yellow, I colour the inside of the arabesque leaves.
13/ Having finished the outside of the sleigh, I take care of the bench by colouring it a deep purple.
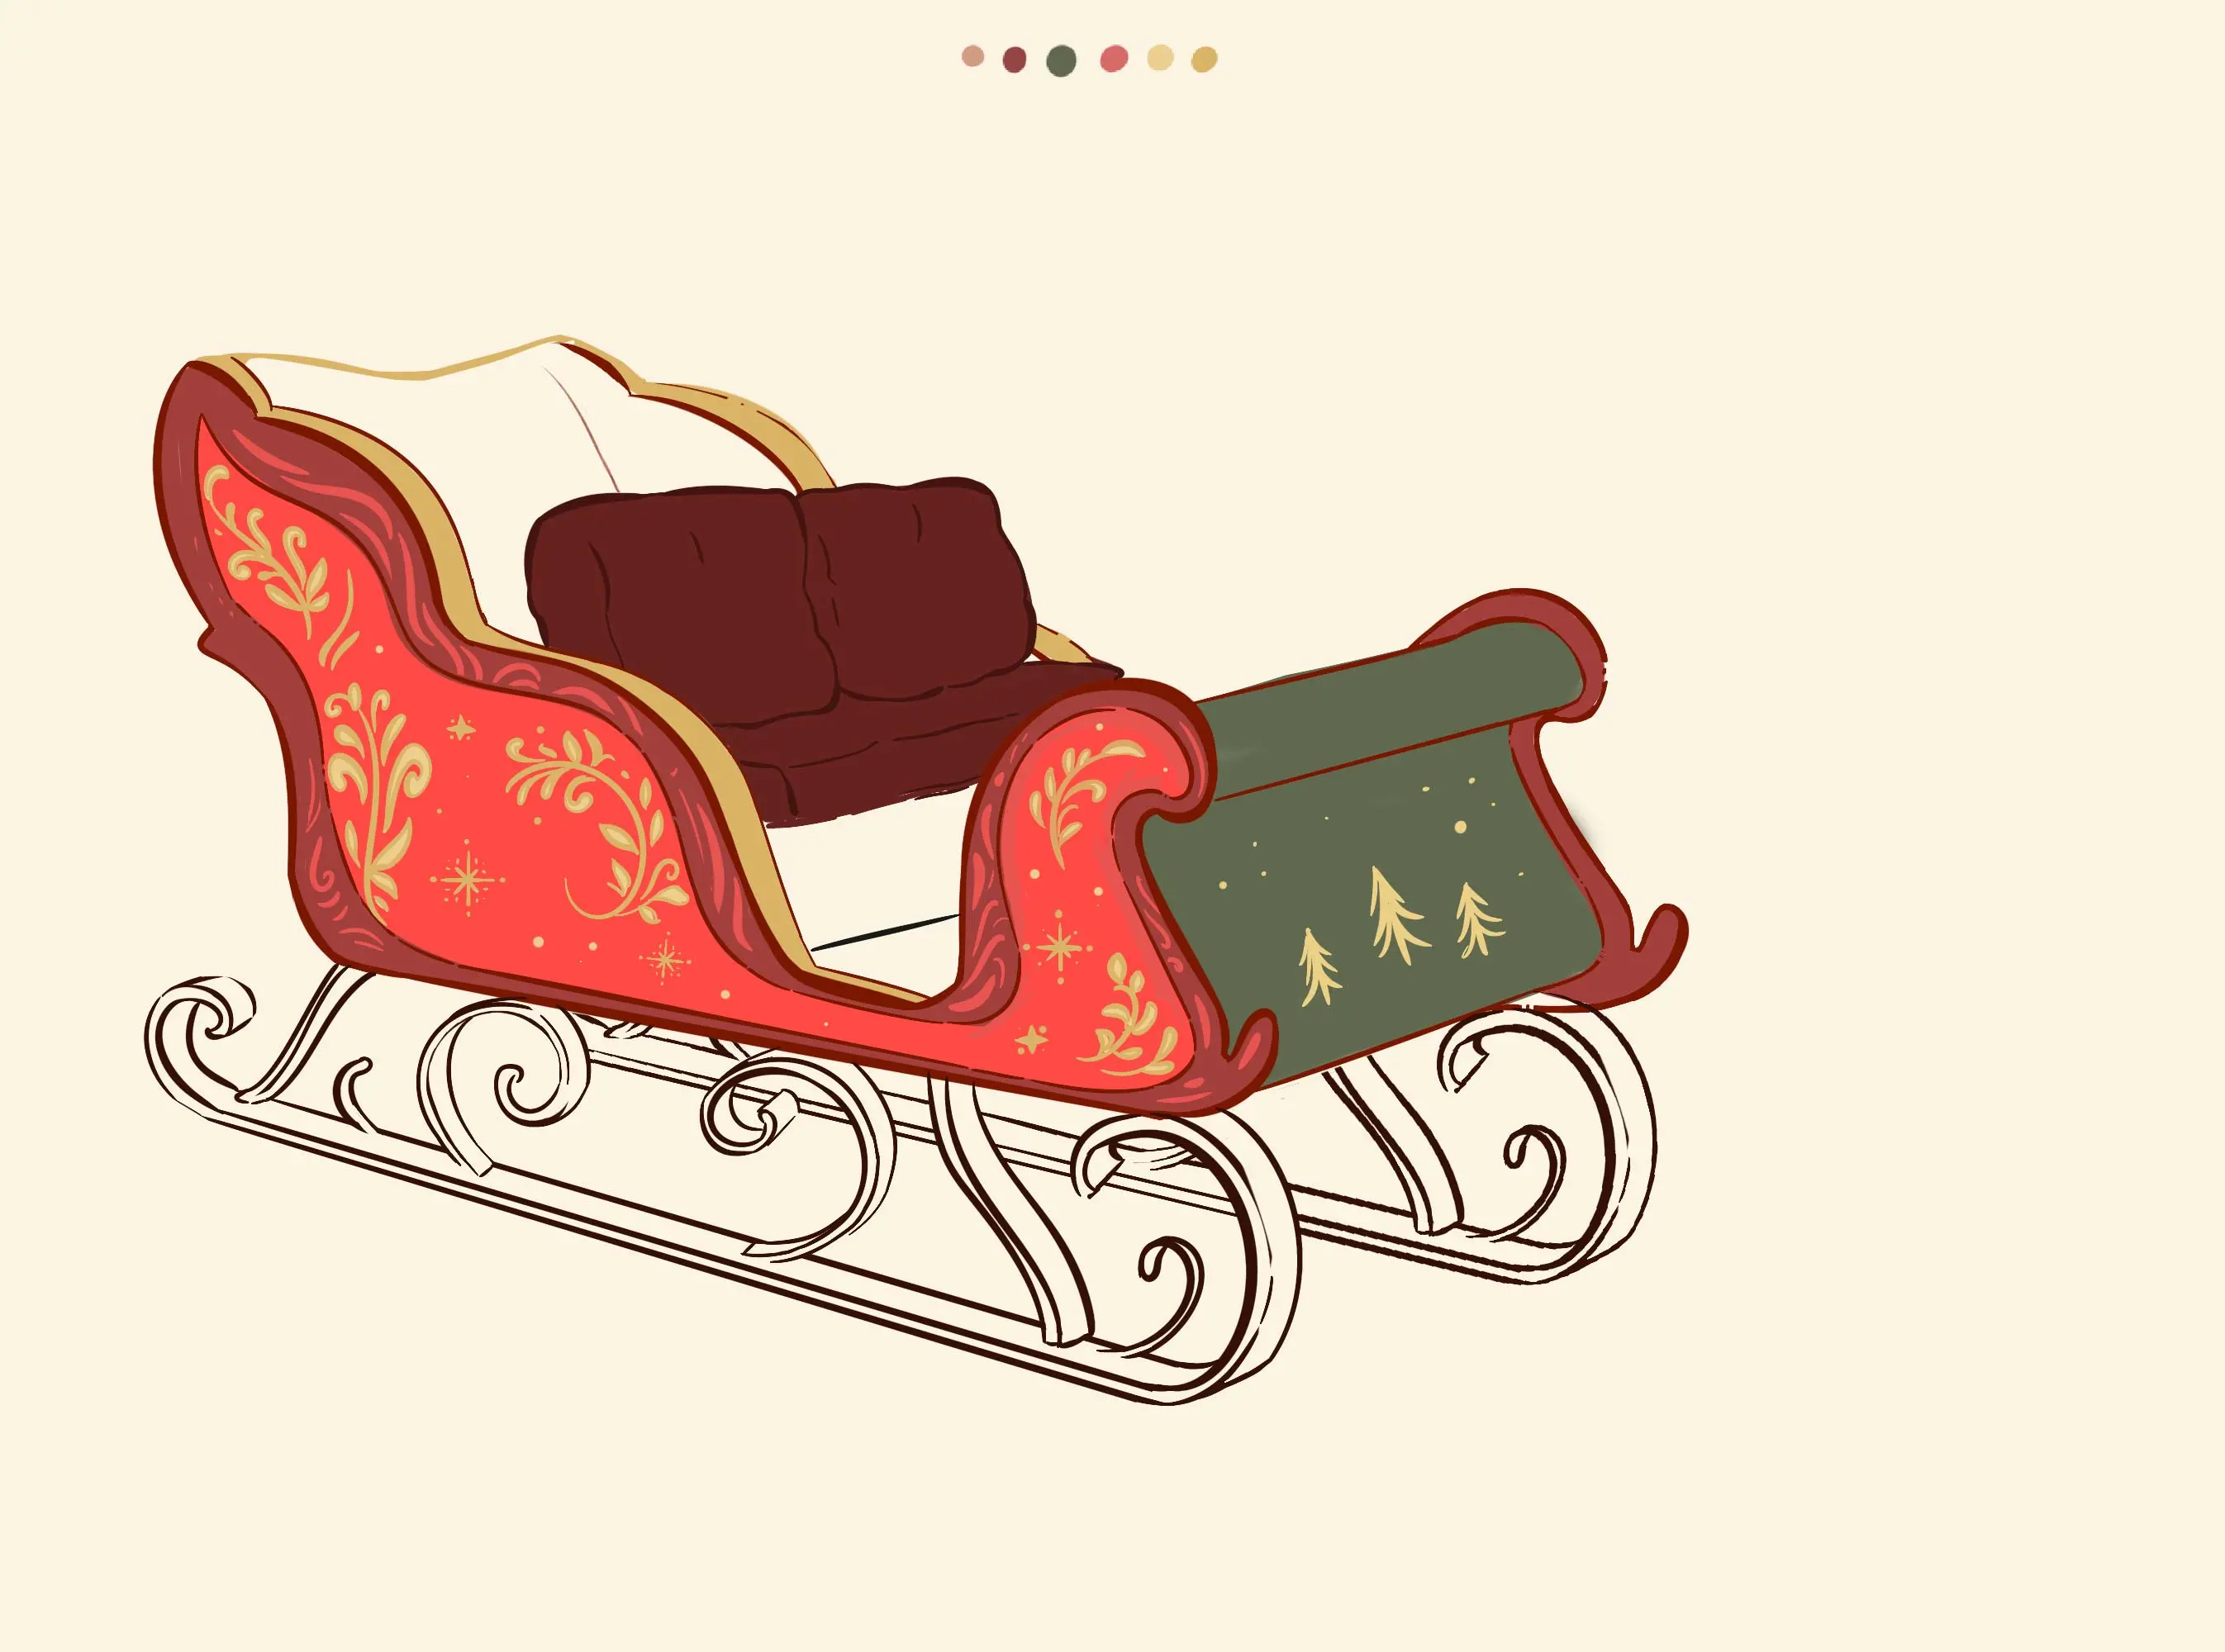
14/ I adjust the colors slightly and place the lights on the cushions and the bench.
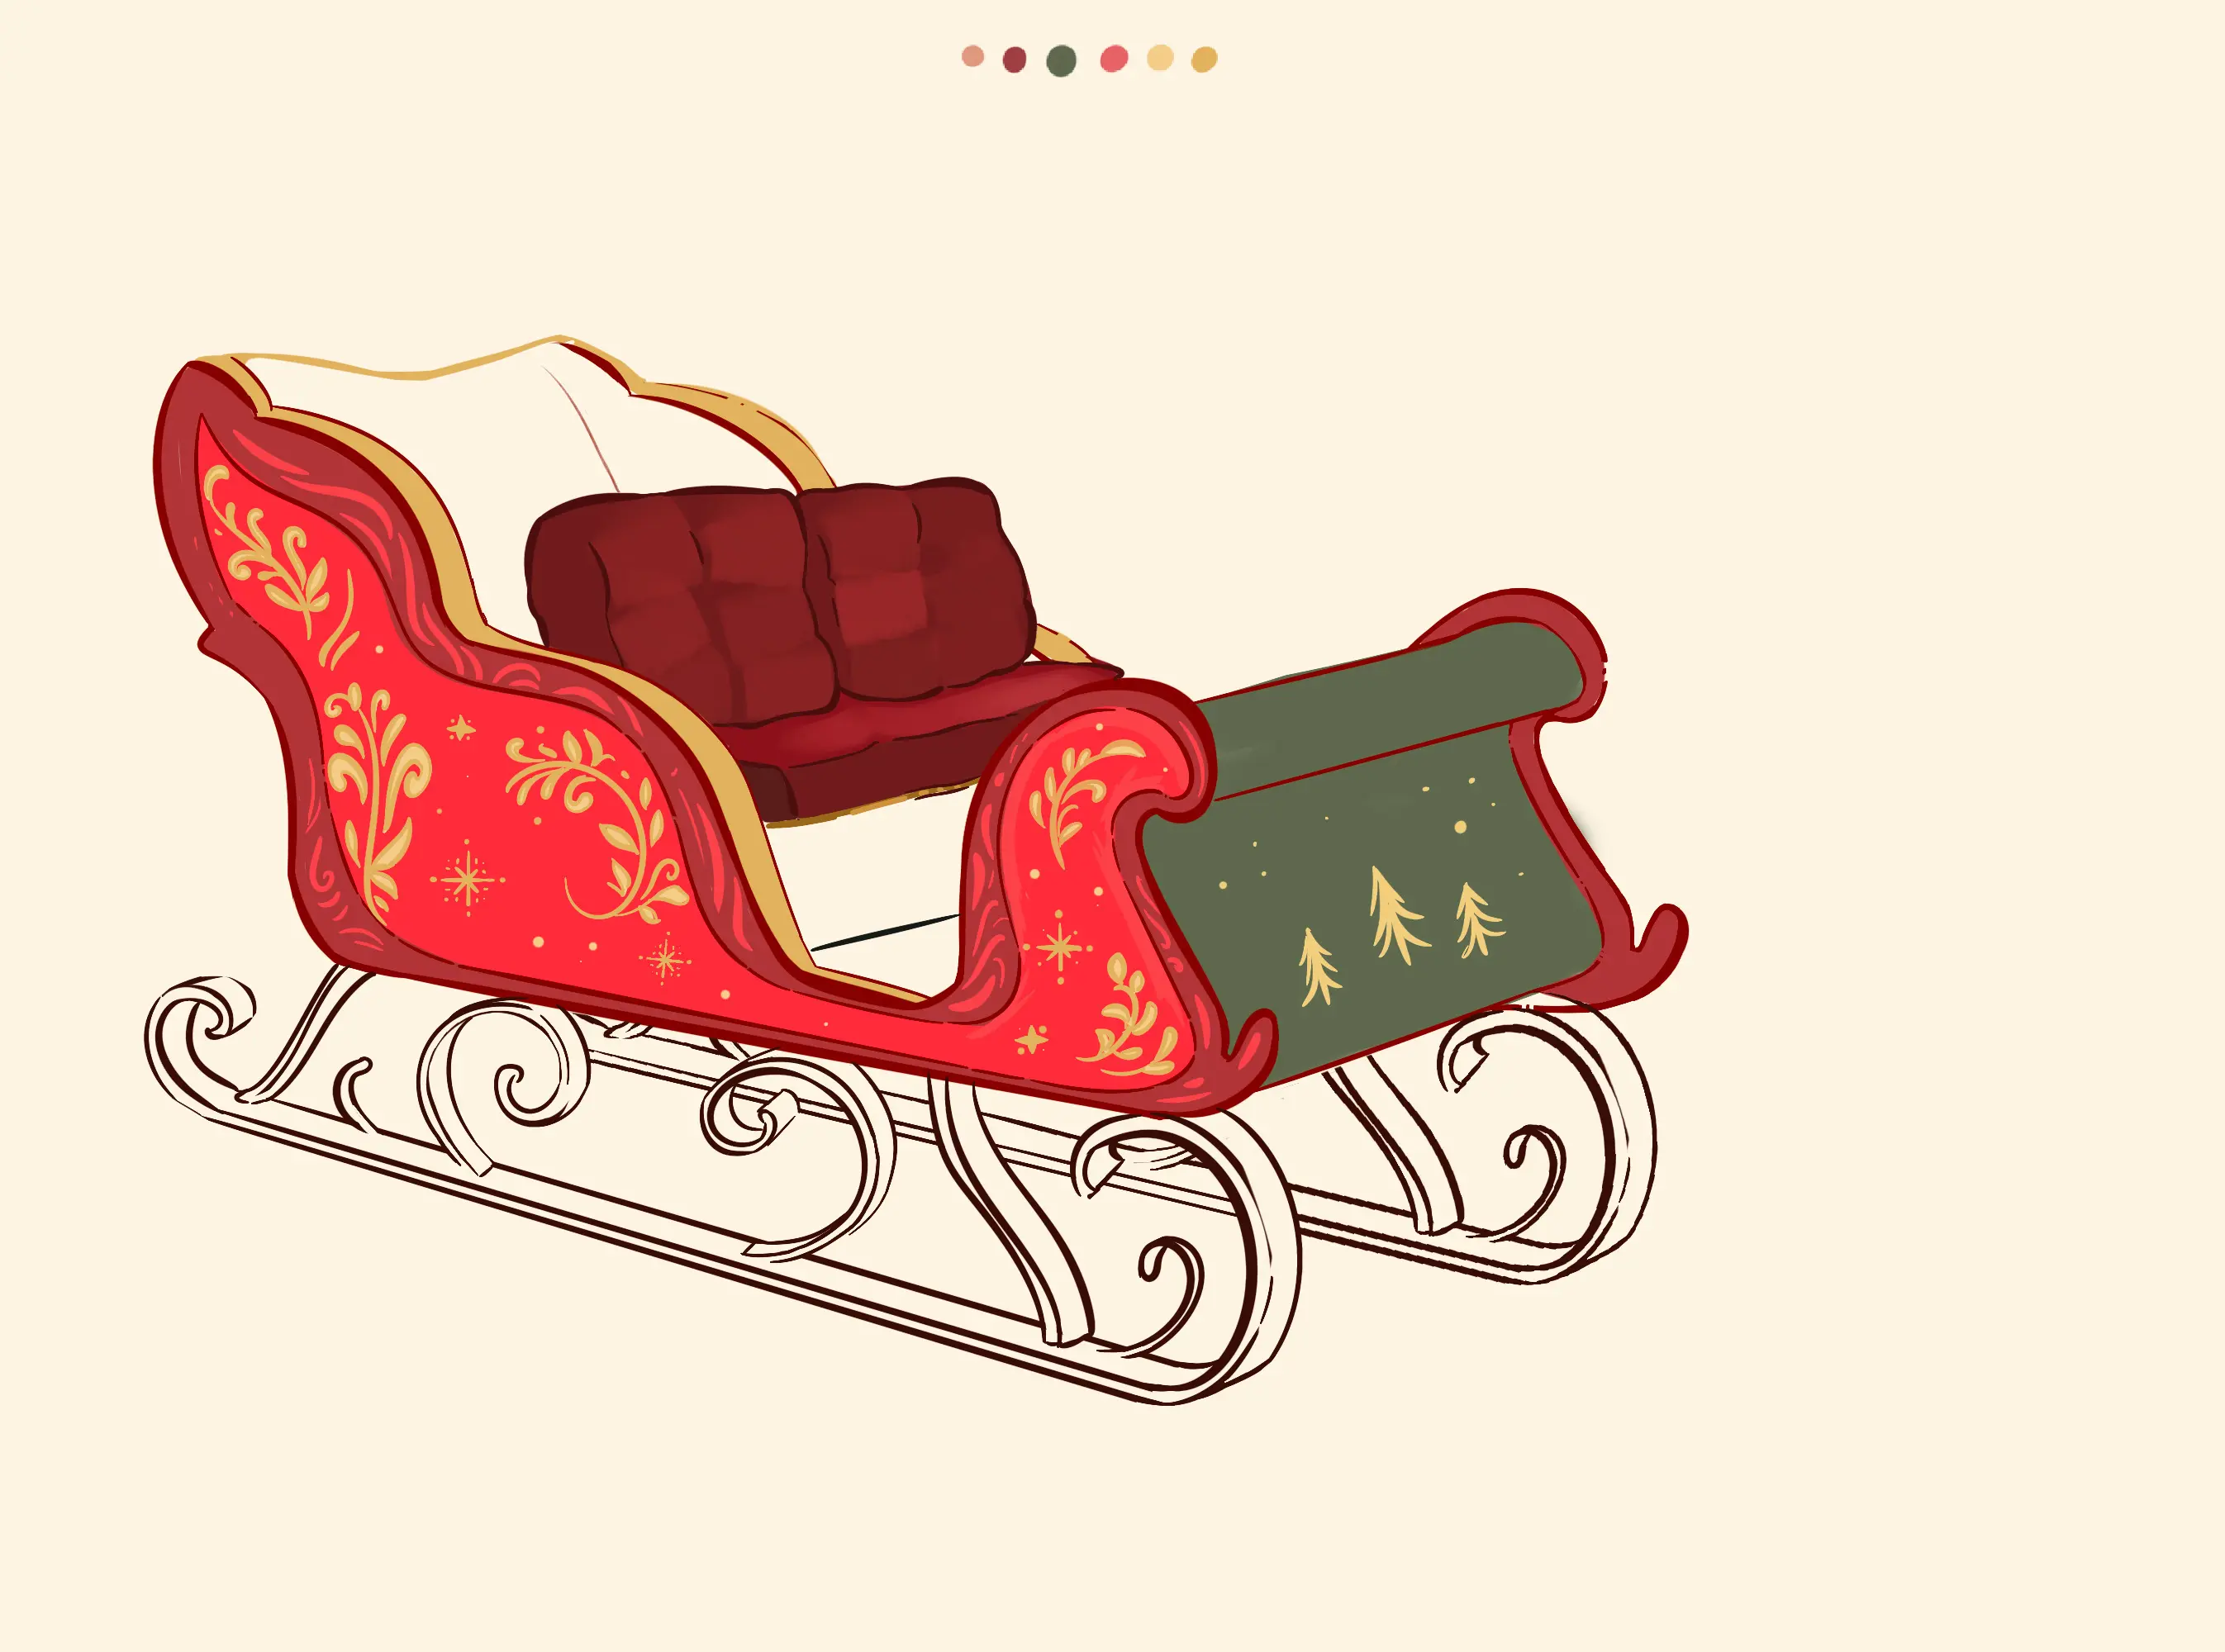
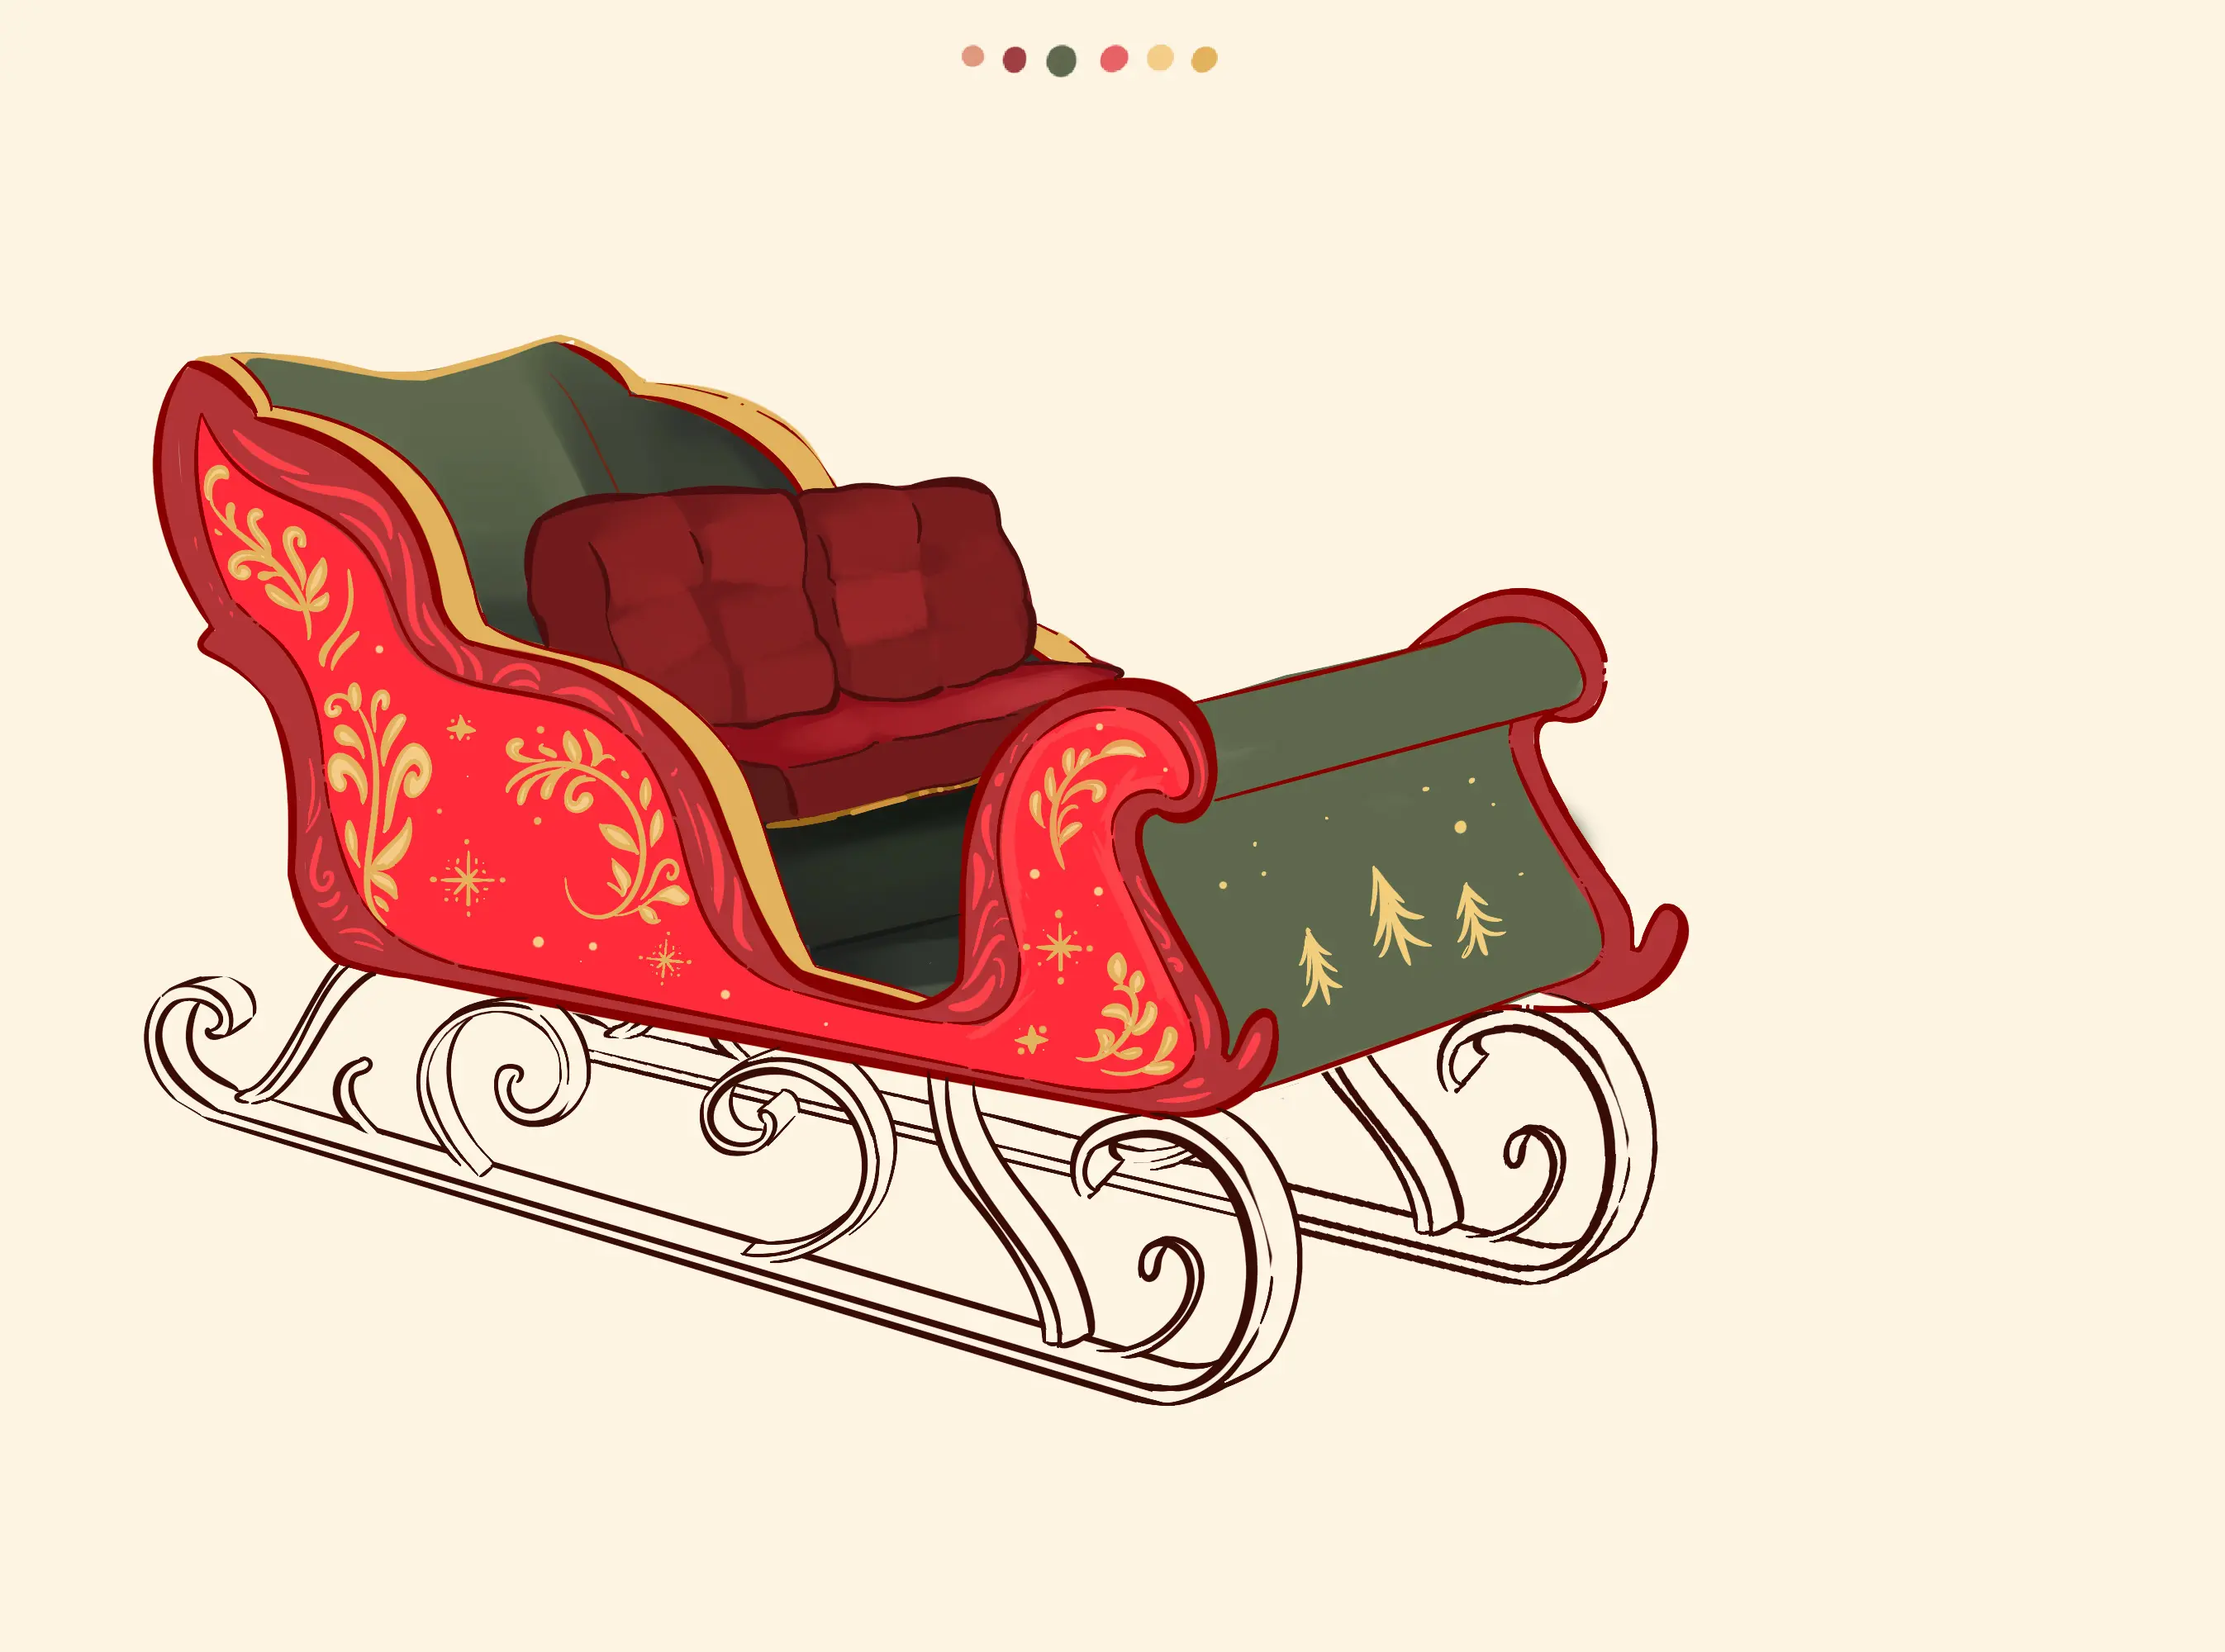
15/ To finish the sled, I colour the inside of it the same green, placing the shadows and highlights. In particular, I darken the underside of the seat and the edge of the second side.
16/ For the skids, I keep the original colour of the wood, leaving the bottom wood darker than the front.
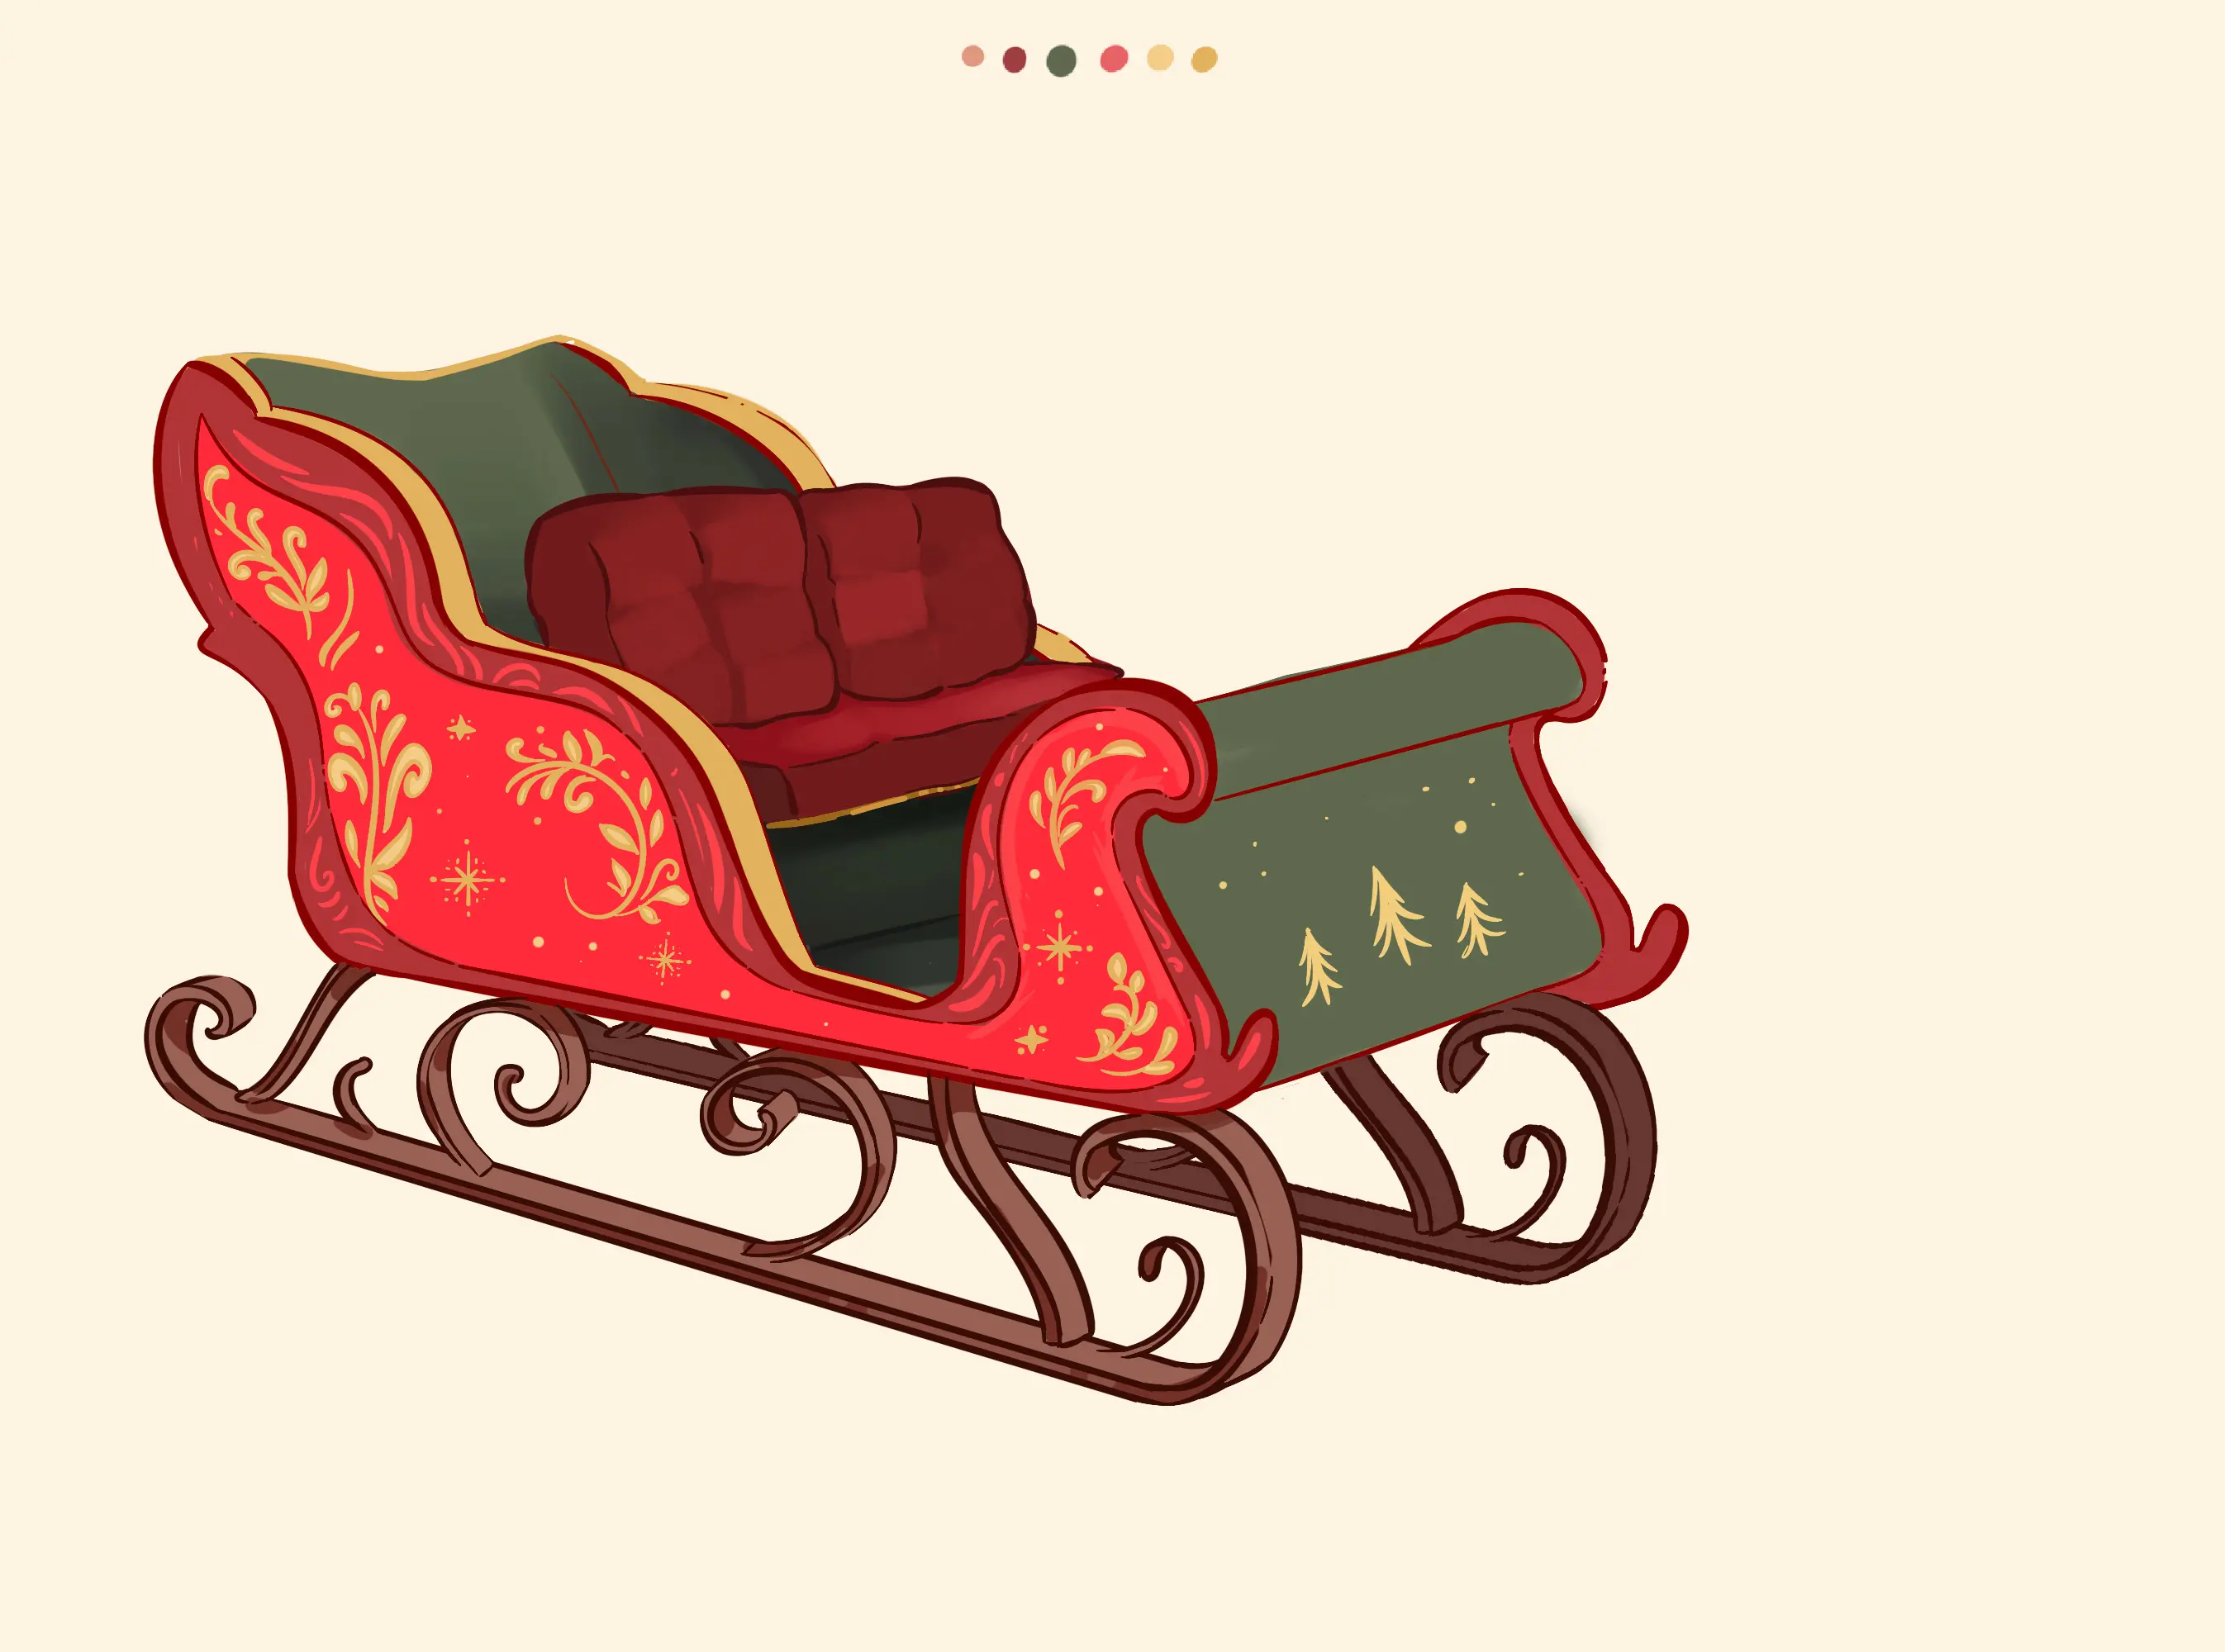
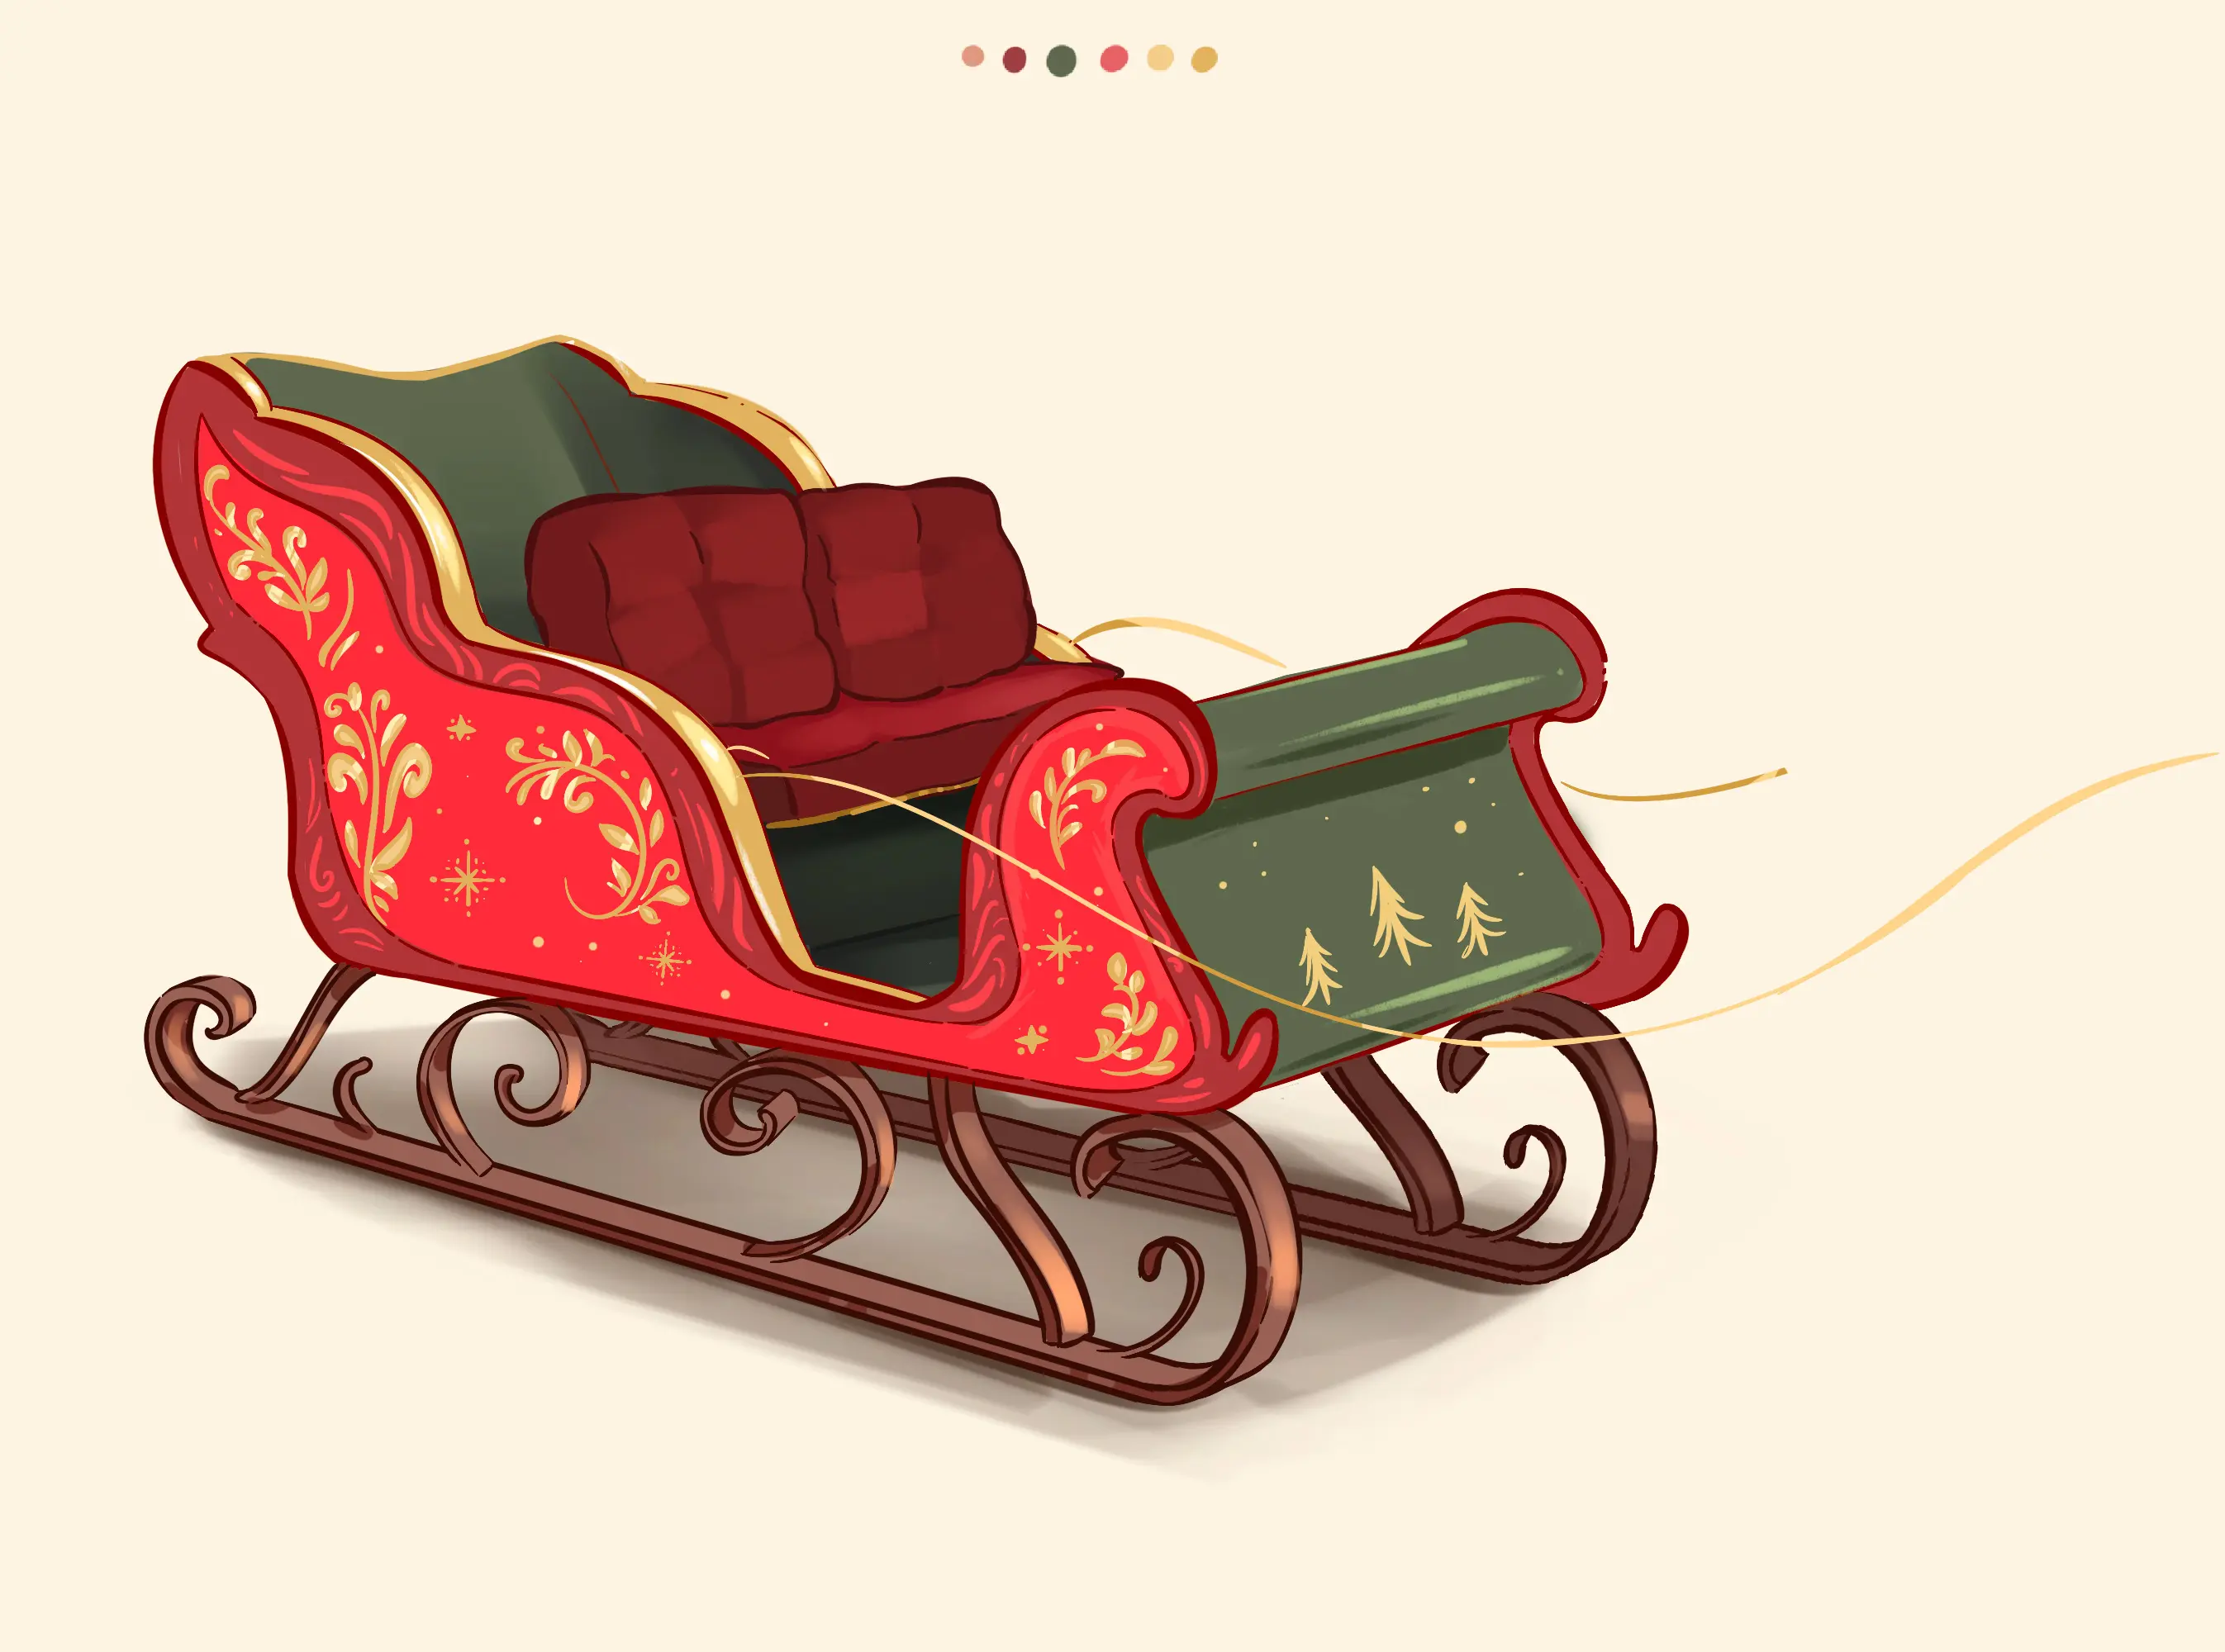
17/ Now that the main part of the work is done, we can deal with the details! To make the design more lively, I add accents of light in various places: on the golden edges, on the arabesques, where the light is most intense on the skids and, finally, on the front of the sled to emphasise its curvature.

18/ With thin golden lines, I draw the reins of the mount. Under the reins, I draw the shadow of the sled.
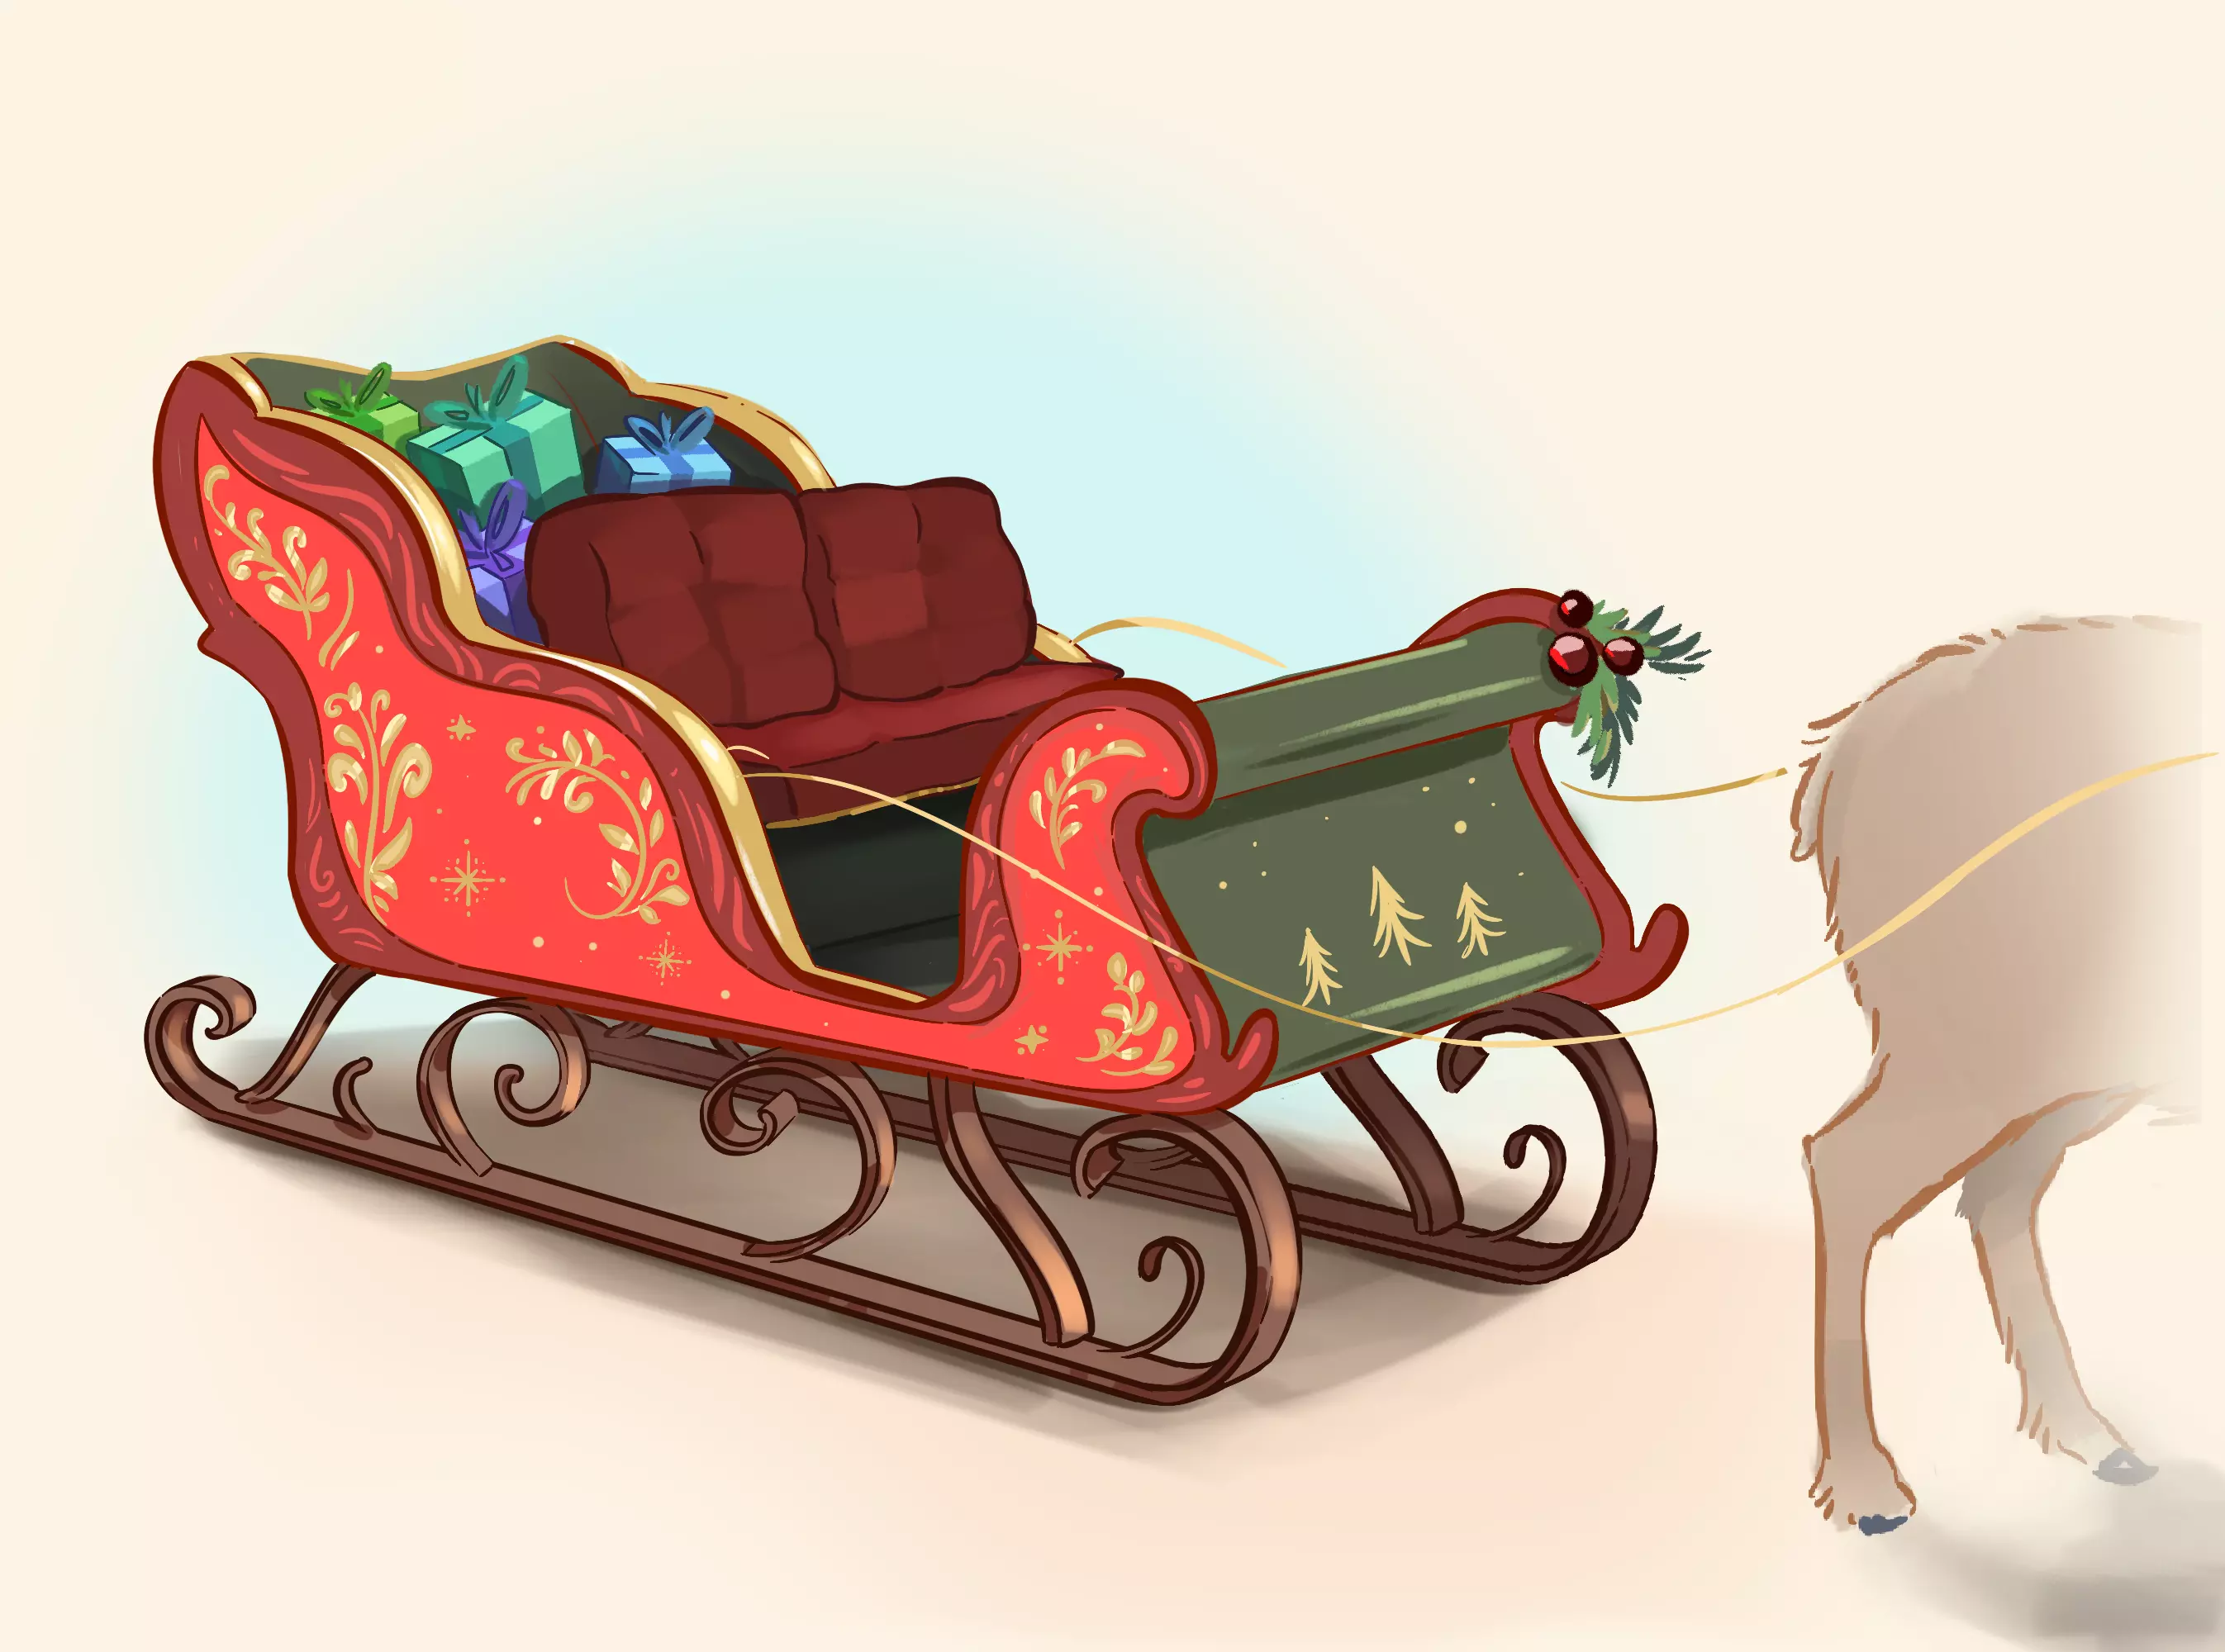
19/ The drawing is finished! You can add as many details and characters as you like: I draw a reindeer, put presents on the back and holly on the front.
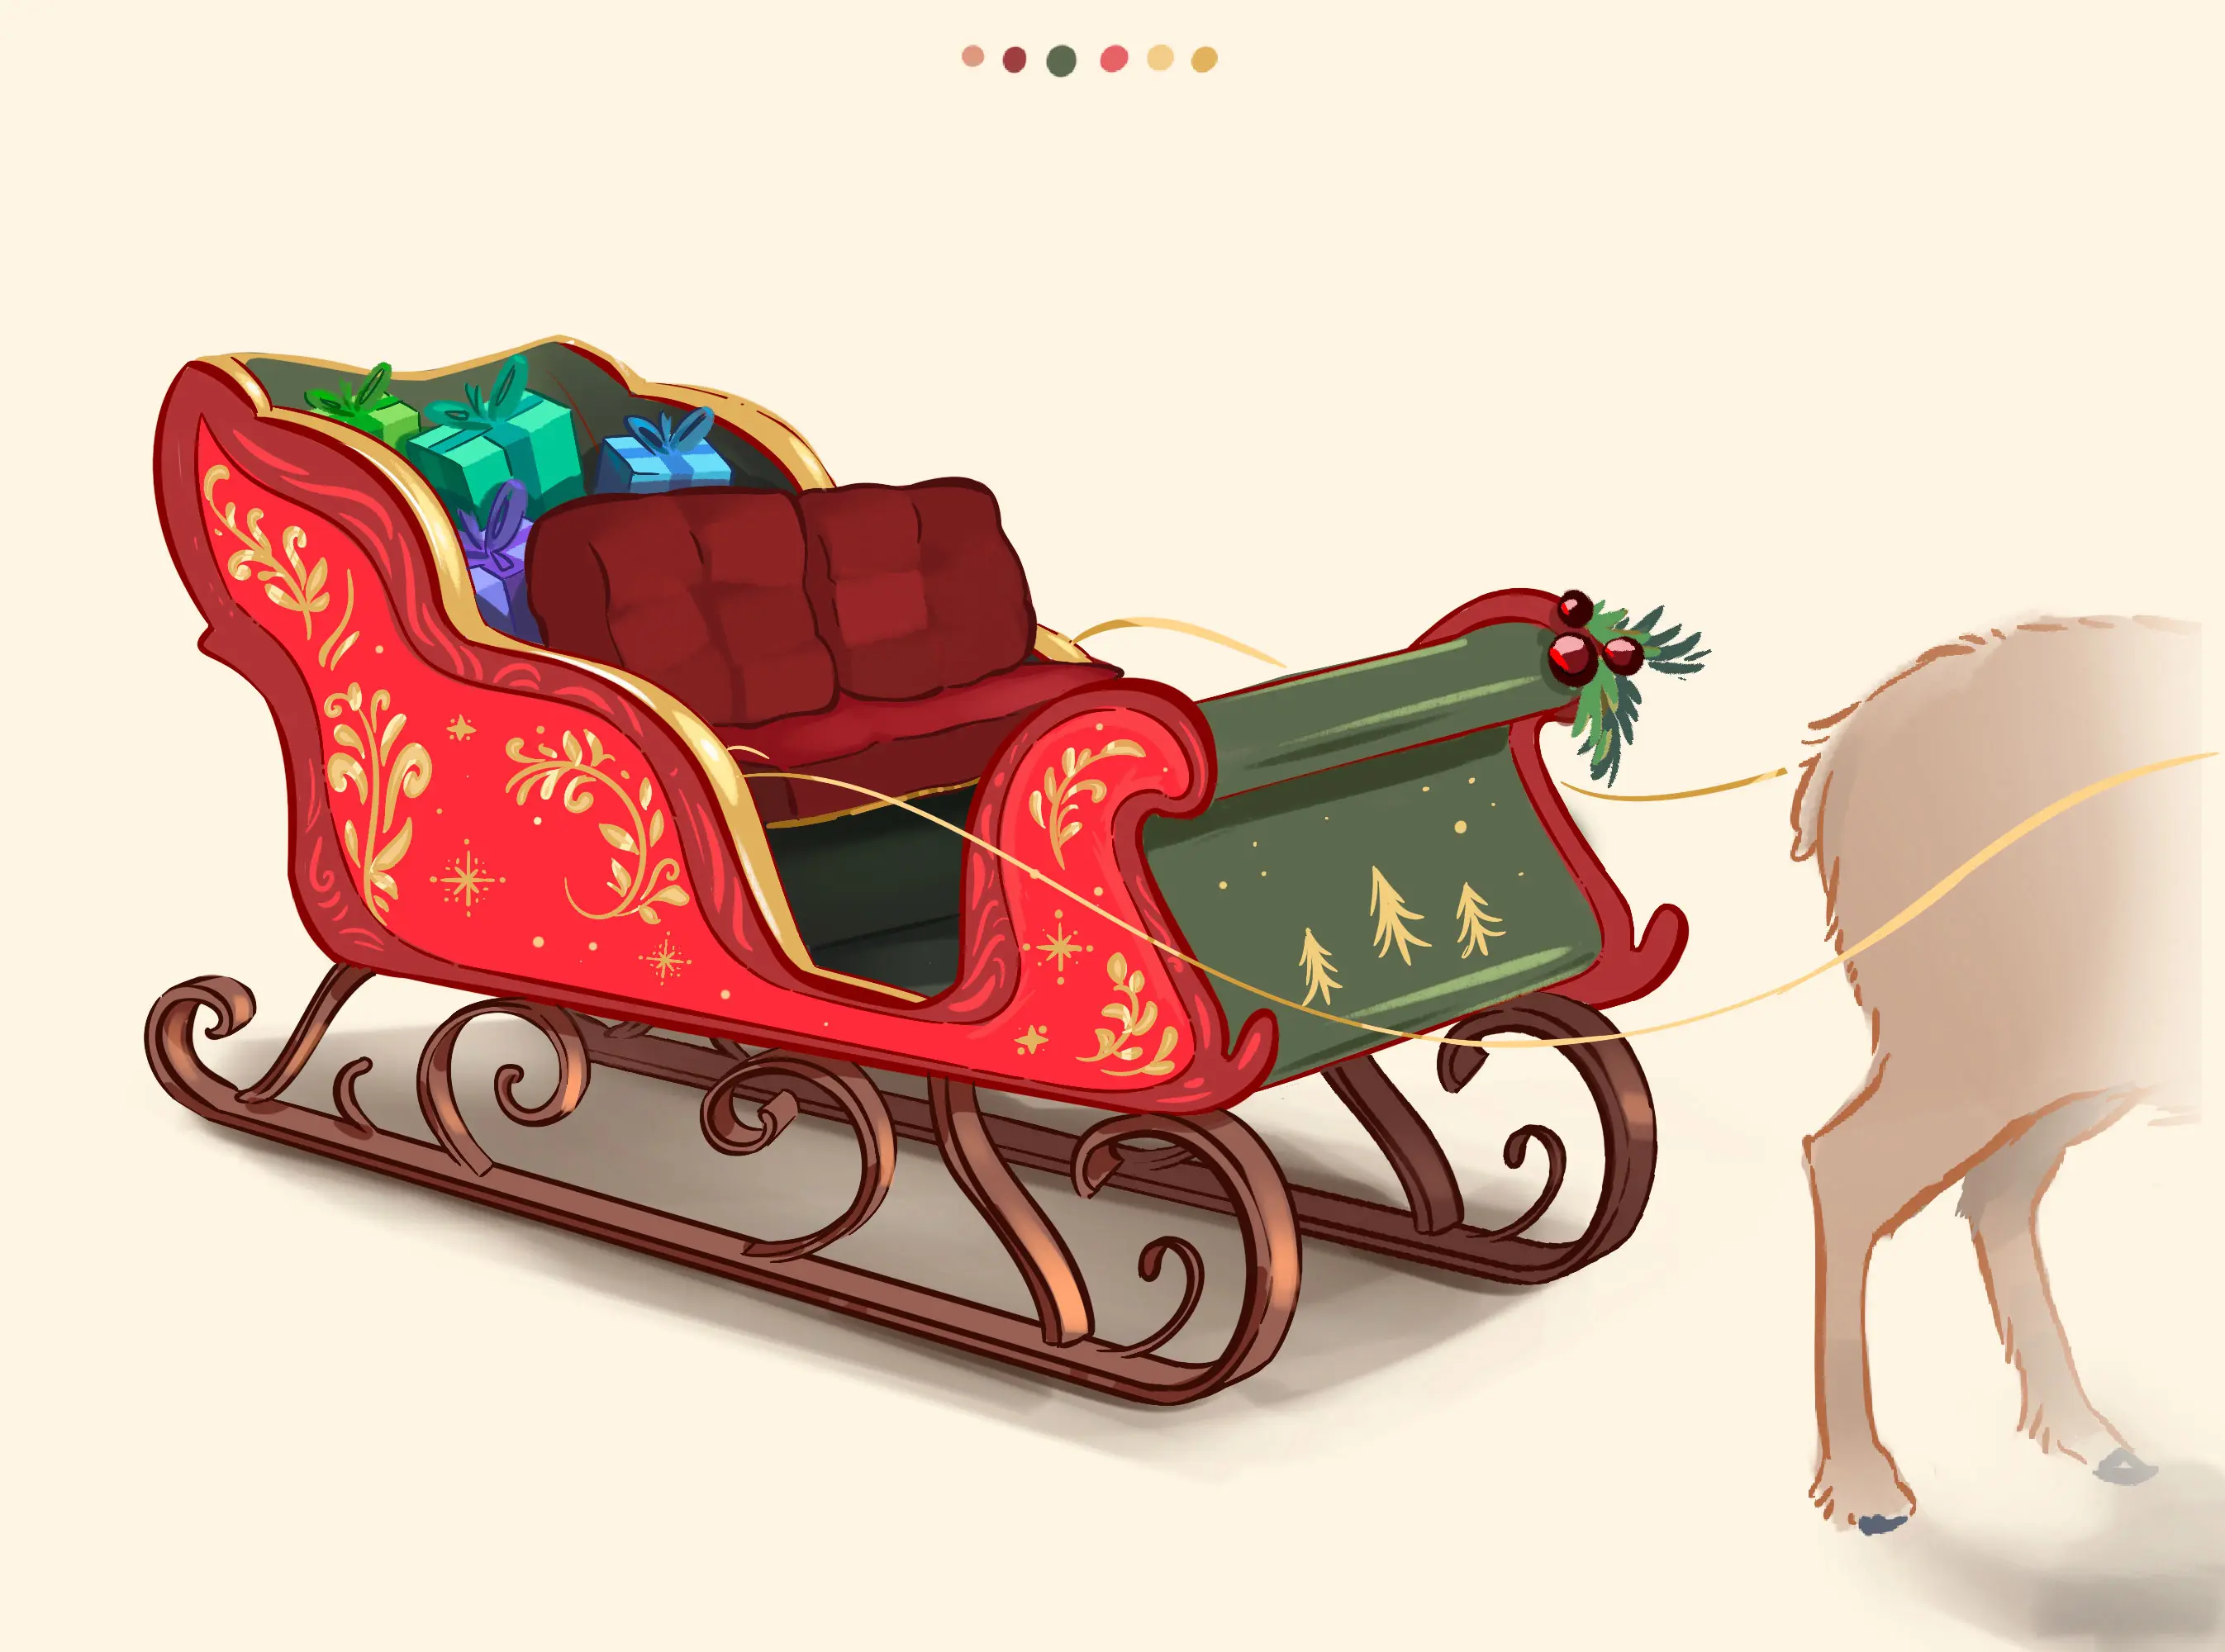
20/ Here is the finished drawing.

I hope you enjoyed this tutorial and happy holiday season!

Discussion
No comments yet.