How to Draw a Fantasy Landscape
Hello! Today, we're going to draw a landscape, but not just any landscape: we're going to add a touch of imagination and magic.
Fantasy is defined as anything that is close to magic. What is impossible becomes real thanks to the power of magic. With this in mind, our landscape must include an impossible element that transforms it from an ordinary landscape into an enchanted one.
What to consider when drawing a fantasy landscape
When creating a landscape, several elements must be considered. The first is composition. Composition refers to the placement of elements on the canvas and how they harmonize to create a visually pleasing image. For this, we will use the rule of thirds, which we will discuss later.
Then, it is necessary to consider depth. Elements that are closer to us will always be darker, while those that are further away will appear lighter. Depending on the light from the sky or background, objects fade, lose their color, and take on the hue of the background.
Creating a fantasy landscape step by step
Let's now move on to the demonstration!
I'm going to work digitally, but if you prefer, you can do this with colored pencils or paint.
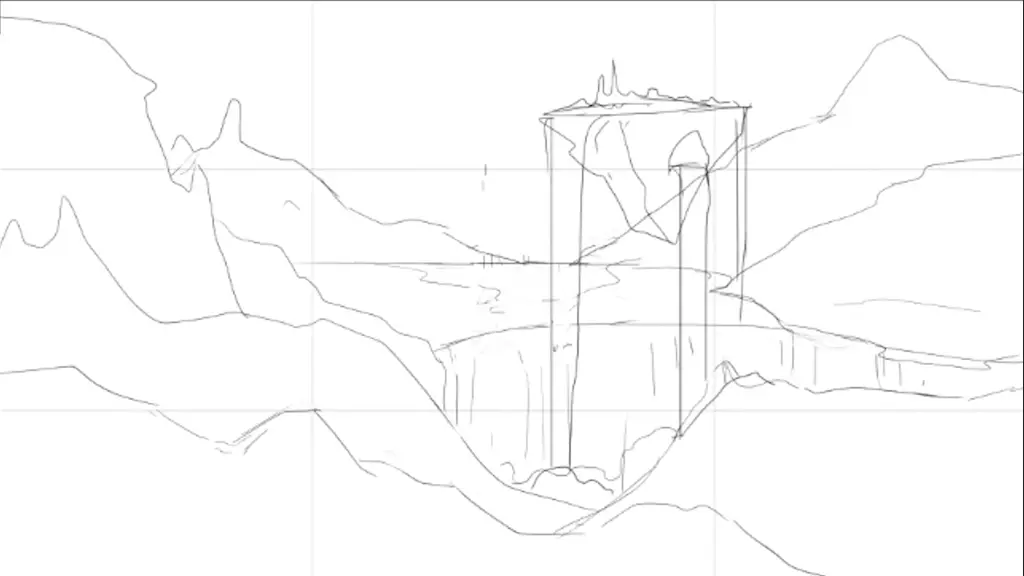
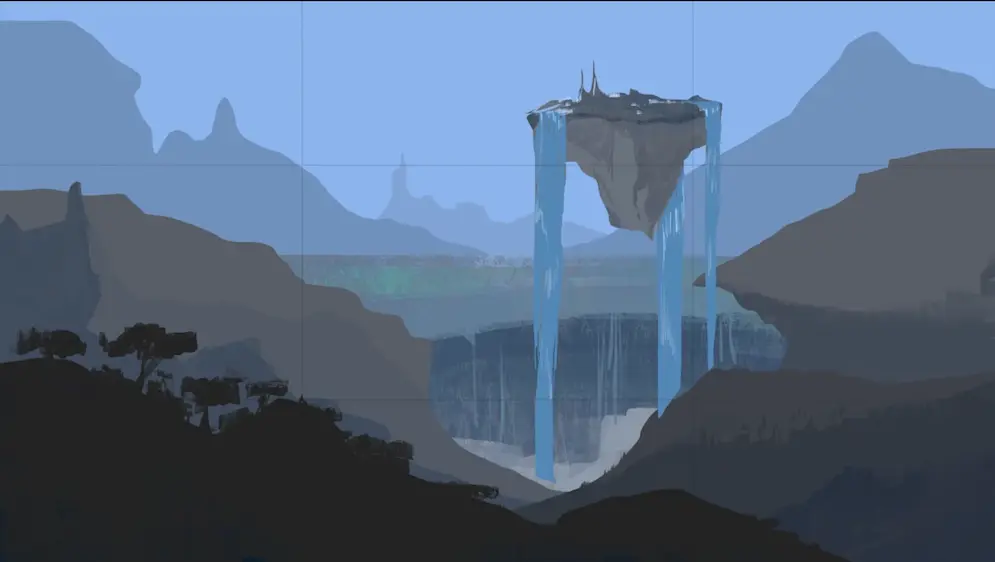
Here's the sketch of the landscape I'm going to draw. These squares you see correspond to what's called the "rule of thirds." These lines serve as a guide, and they guarantee that if I place the important elements at the intersections, I position them at the main points of attention for the viewer. This will make it much easier to understand the hierarchy of objects in the image, that is, which elements are more important than others. In this case, we want the floating island to be the central element.
Don't panic if the sketch seems a bit strange to you: all this will evolve a lot later on. Moreover, we want the shapes to be irregular to mimic the behavior of nature. Think about drawing very angular lines to give your drawing more expression.
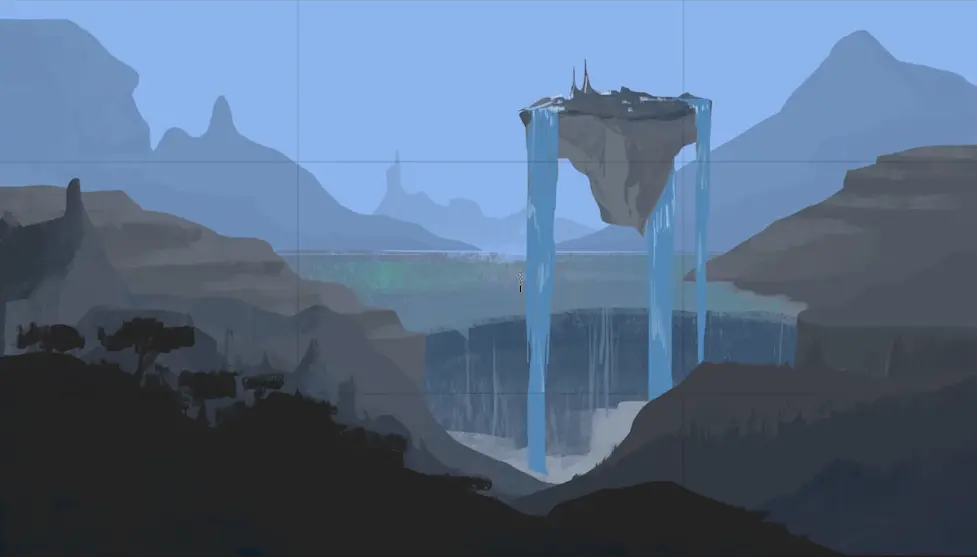
The next step is to apply blocks of color. If you're drawing digitally like me, the color palette is not very important at this stage.
However, if you are drawing with pencils or paint, make sure to choose a harmonious palette. For this drawing, I recommend blues and yellows.
Now that the blocks are placed in perspective, keeping in mind that a more distant object will be lighter, and a closer object, darker, we can move forward. Remember that the farther away the objects are, the more they blend into the background color.
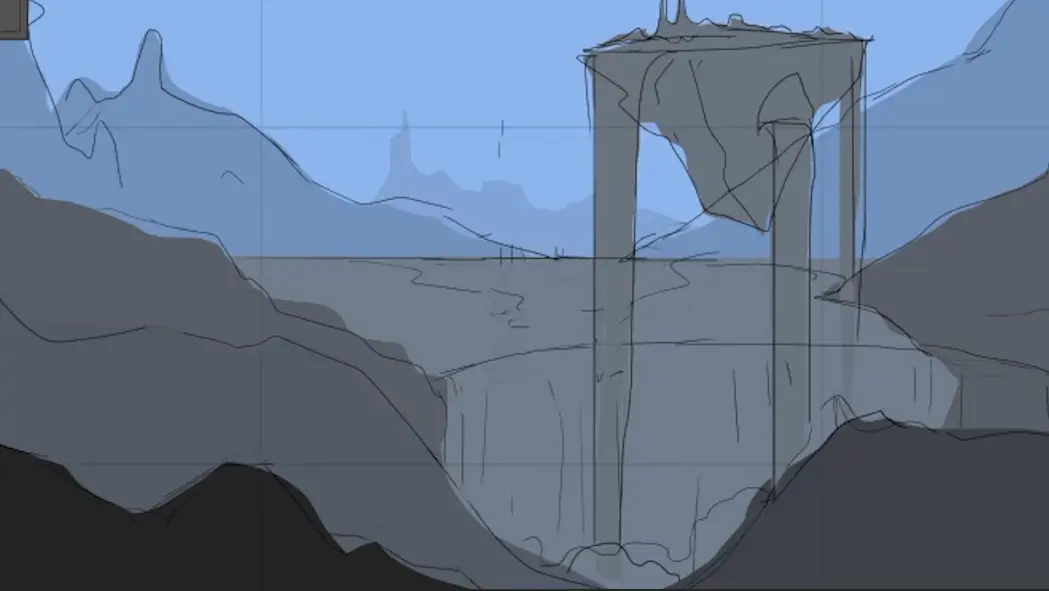
Always work from the largest to the smallest objects. The details will come at the end, because once added, it is more difficult to modify them if we do not like the result. At this stage, we can add more basic blocks to delineate the objects in our work.
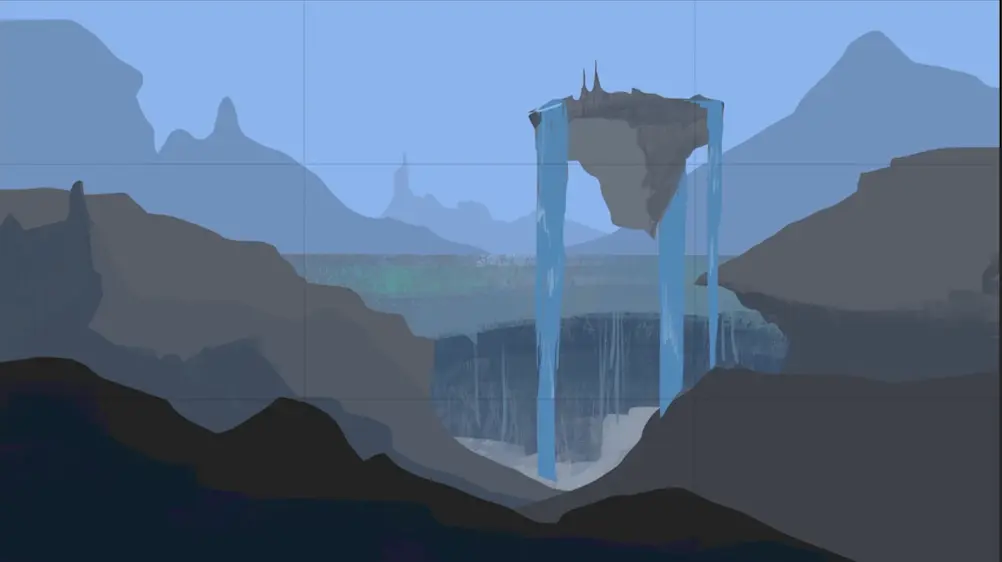
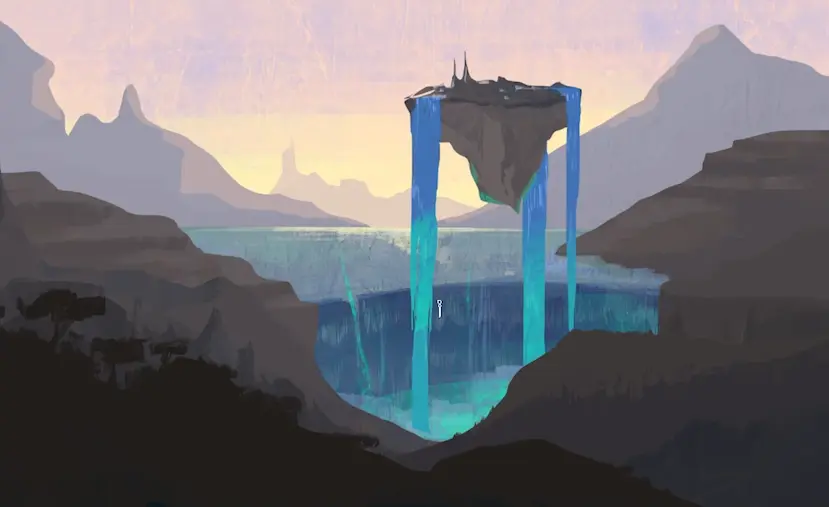
We will now add shadows and highlights, layer by layer, keeping in mind that our main source of light is located at the center of our drawing, where the sun is.
Afterwards, we will add a secondary light source under the waterfall, but for now, let's focus on the one in the sky. Objects closer to the viewer will always appear larger and with more detail. So, for the closest plane (or block), we add trees to enhance the depth.
At this stage, we can better define the mountains and the waterfall. The distant mountains do not require much detail.
Adding color to the drawing
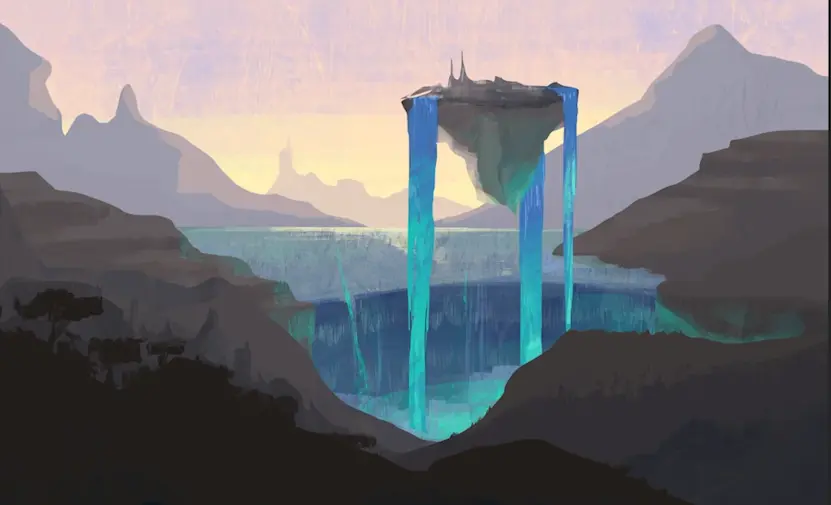
Now, let's move on to color. If you're working digitally, this step is relatively simple: just apply a uniform color using a layer in "multiply" mode to get a shade that preserves the initial shadow and light values.
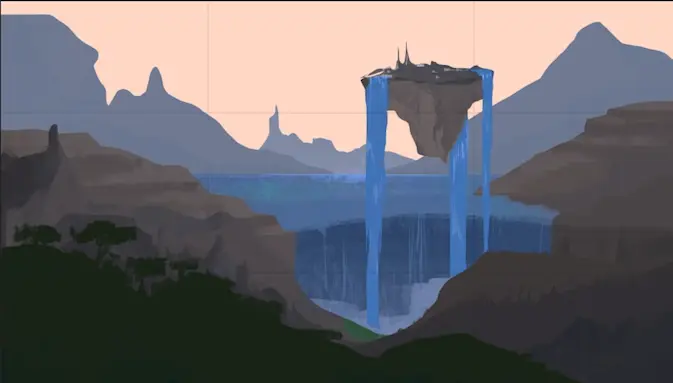
Now that our light source is well defined, we can start to clarify the shapes of the mountains and water. Water is very reflective, so we will add a lot of light to it, emphasizing it more in the center to show where the light is coming from.
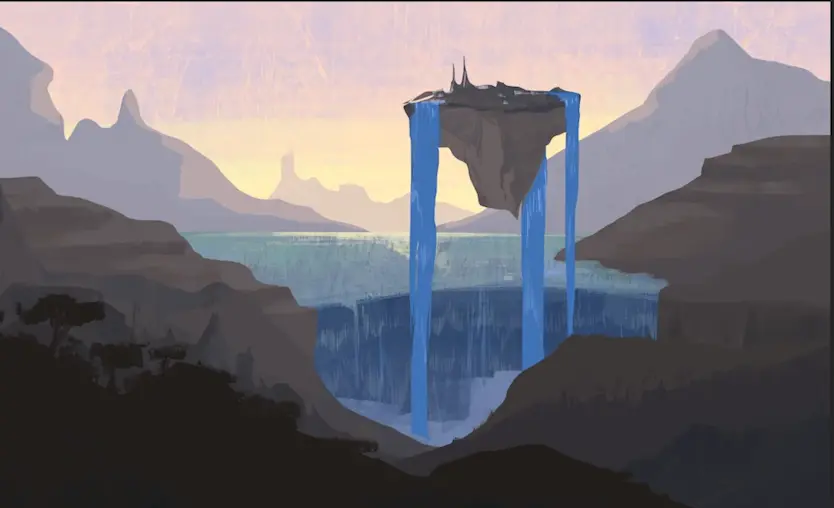
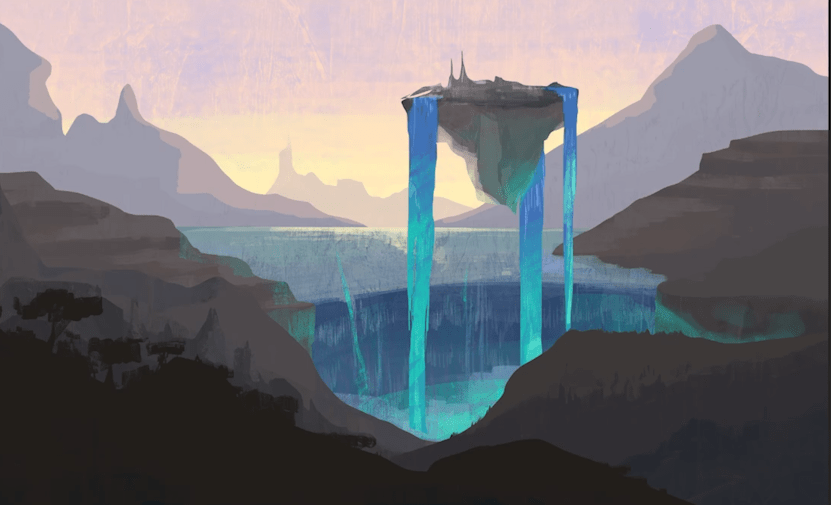
Let's now add a magical touch to our work. We ask ourselves: how does this island float? I imagined that it is the power of water that makes it levitate, and for that, it needs a special look. Let's saturate the water with a hint of aquamarine, giving it an ethereal, almost magical ambiance.
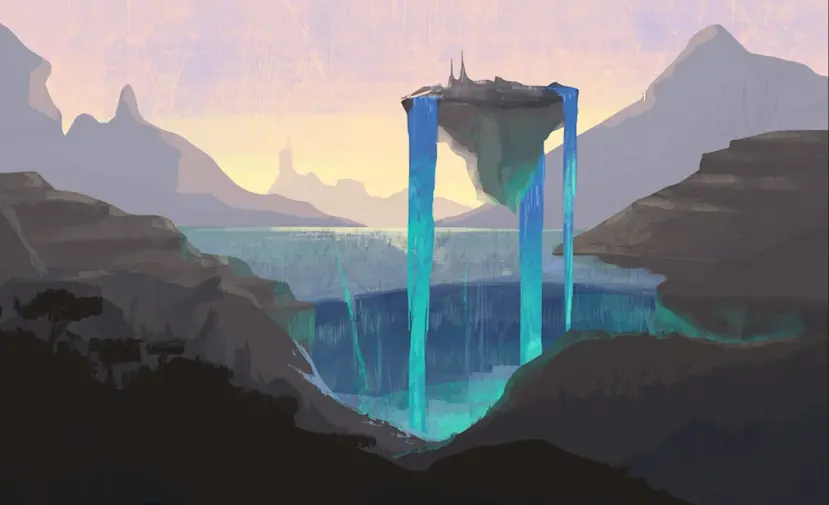
Since it's magical water, it must shimmer. So, you need to add bright reflections. You can use the same shade of magical water on surrounding objects, like the rocks or the island itself, to give the impression that the light is reflecting everywhere.
Now we are adding some more bright reflections, which will create precise shapes on our blocks.
Adding the details
To conclude, let's add the final details.
Let's add some clouds. These will have rounder shapes, contrasting with the landscape, which is drawn with sharper lines. We can also play with colors and reflections in the water: by layering shades like purple, yellow, aquamarine, and blue we achieve a very interesting texture.
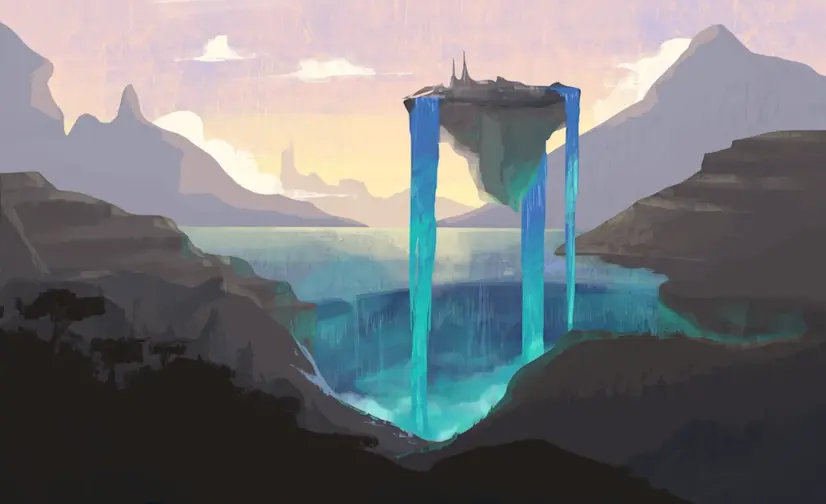
Next, let's add more clouds to the background, as well as the color of our magical water falling. By reducing the opacity of the brush, we can create a luminous effect to simulate a strong light source coming from the water. If you are working with pencils or paint, you can achieve this effect with a light glaze of white.
Finally, we'll refine the smallest details.
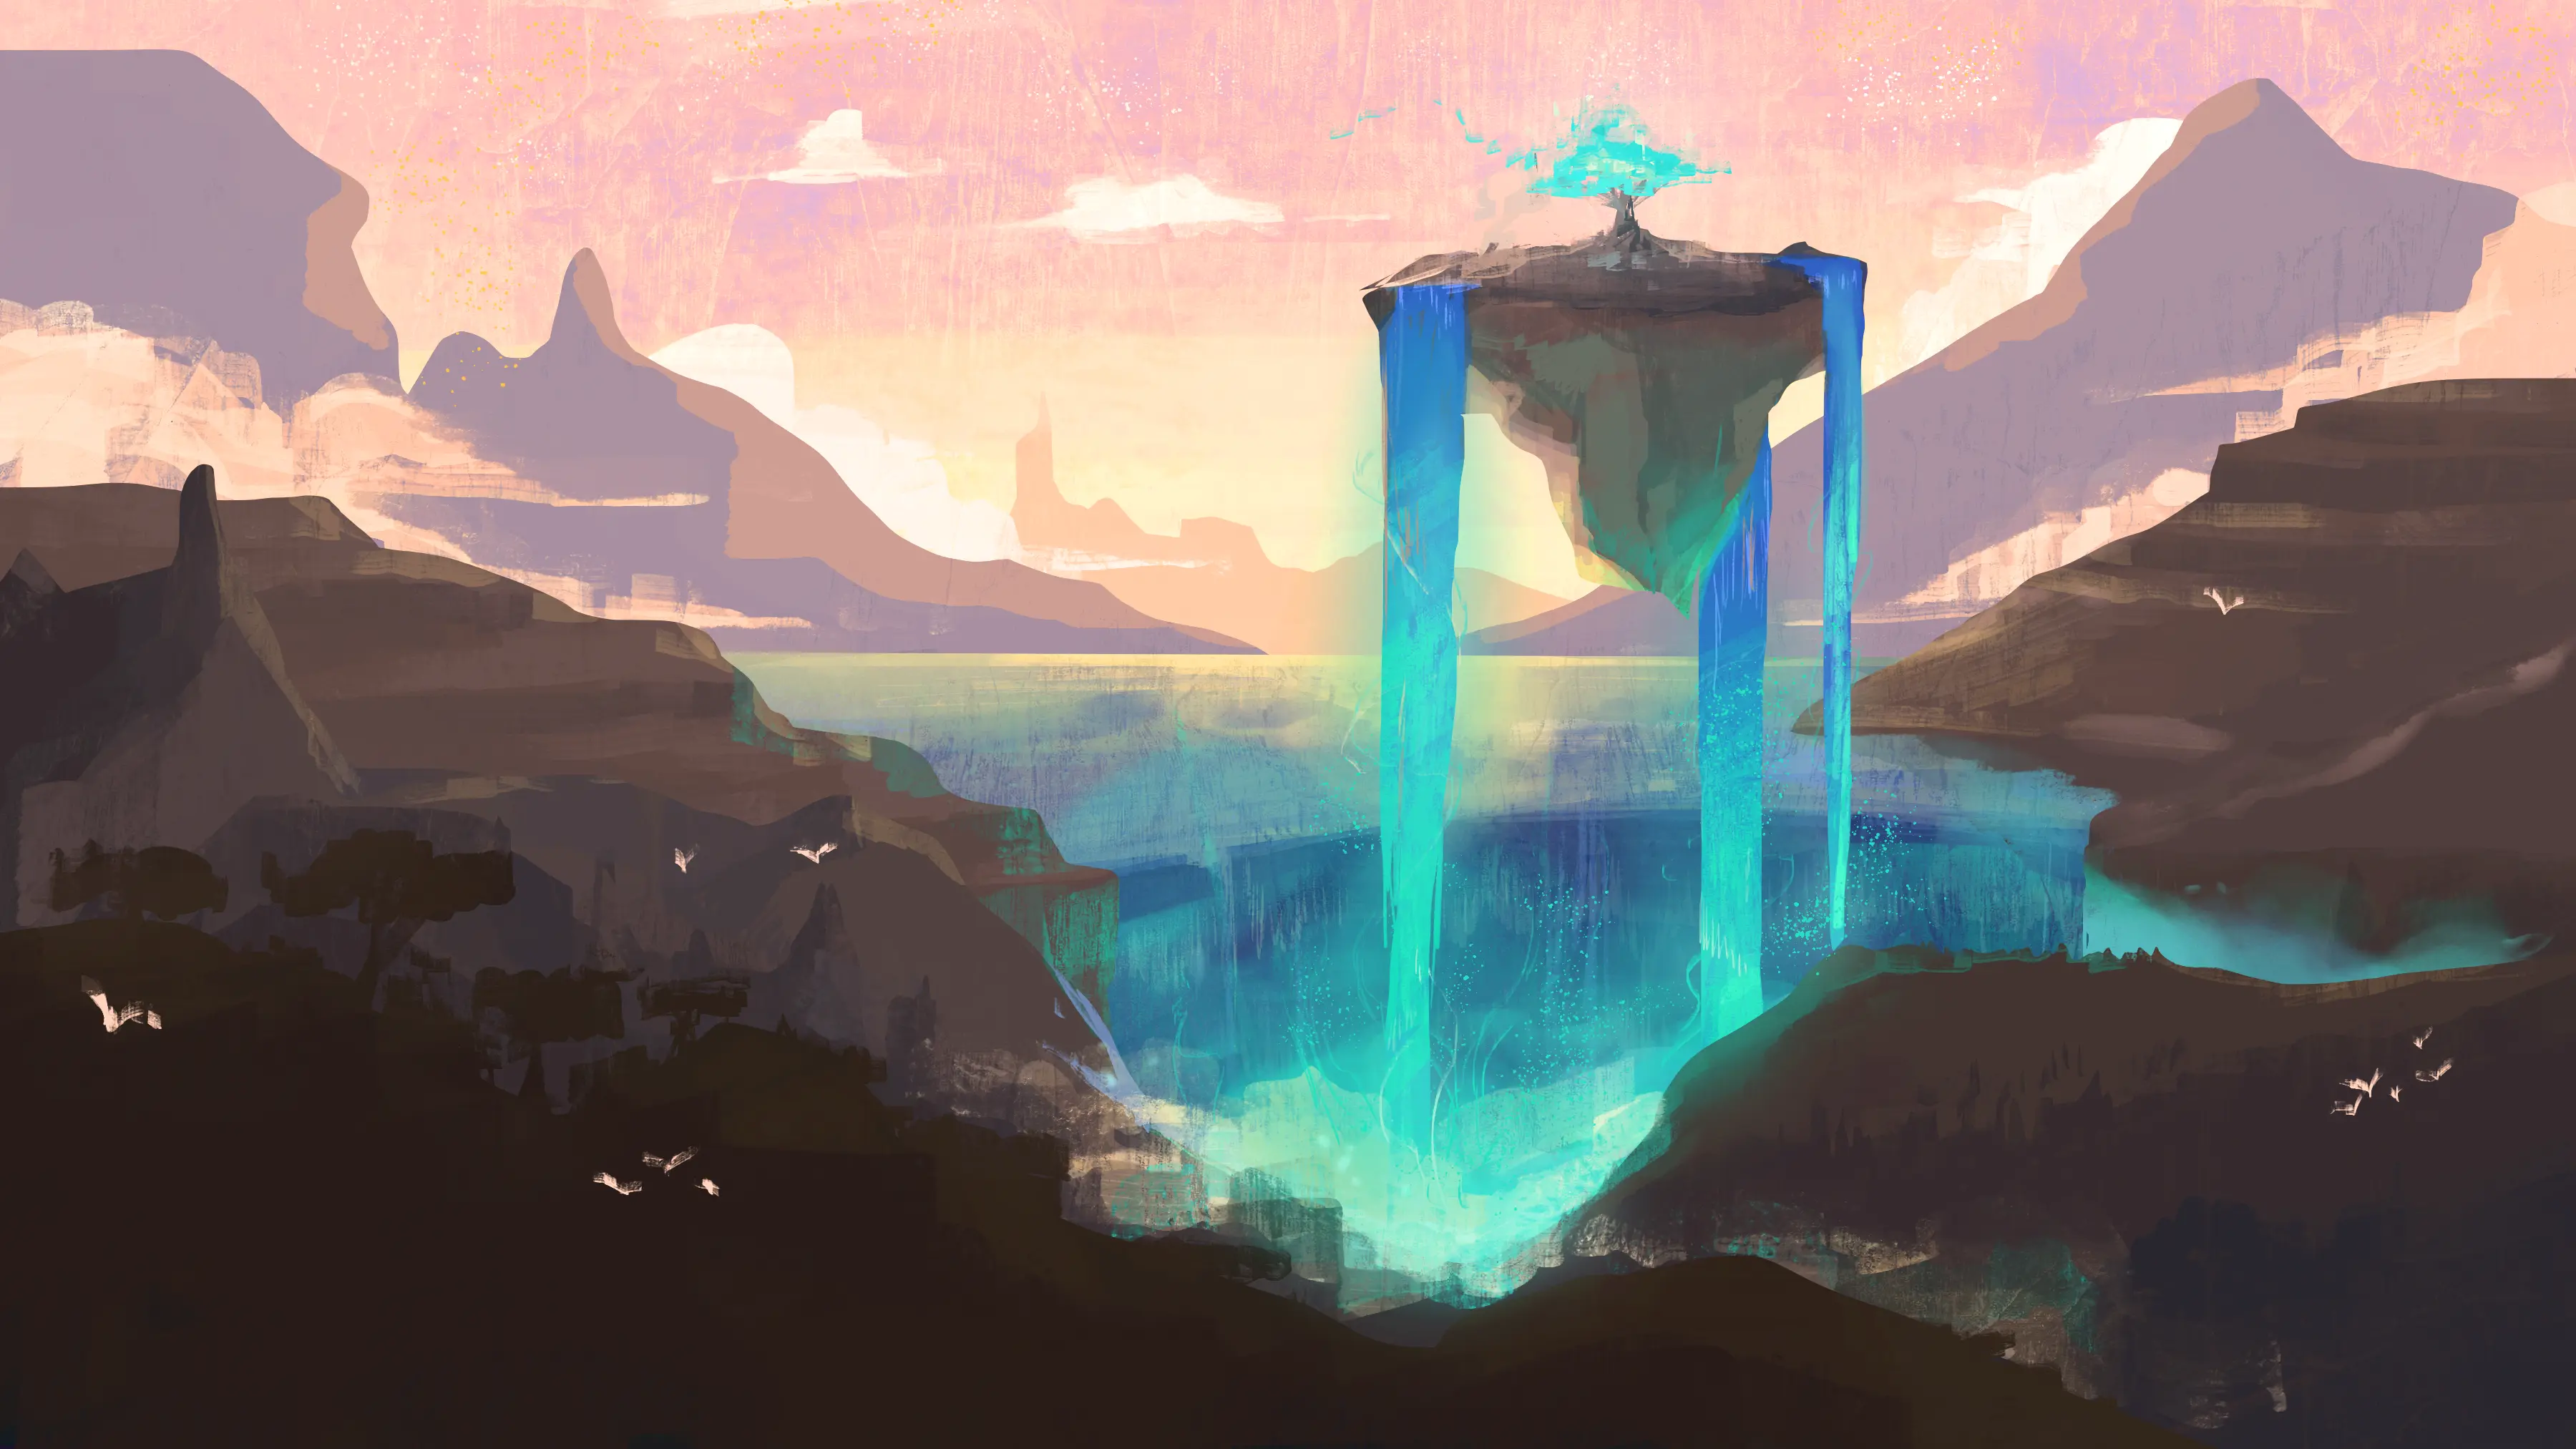
In my case, I changed the design of what was above the waterfall: I imagined that the source of the magical water could be a life-bearing tree. I also added a few birds by making two small brush strokes with a bright color. And to accentuate the magic of the water, I added some aquamarine splashes and fine lines around the water.

There you have it! Our fantasy landscape is complete. I hope you enjoyed this tutorial and found it helpful!
Discussion
Wow, thanks for sharing it with us. I will surely try it out.