How to Draw a Manga Man
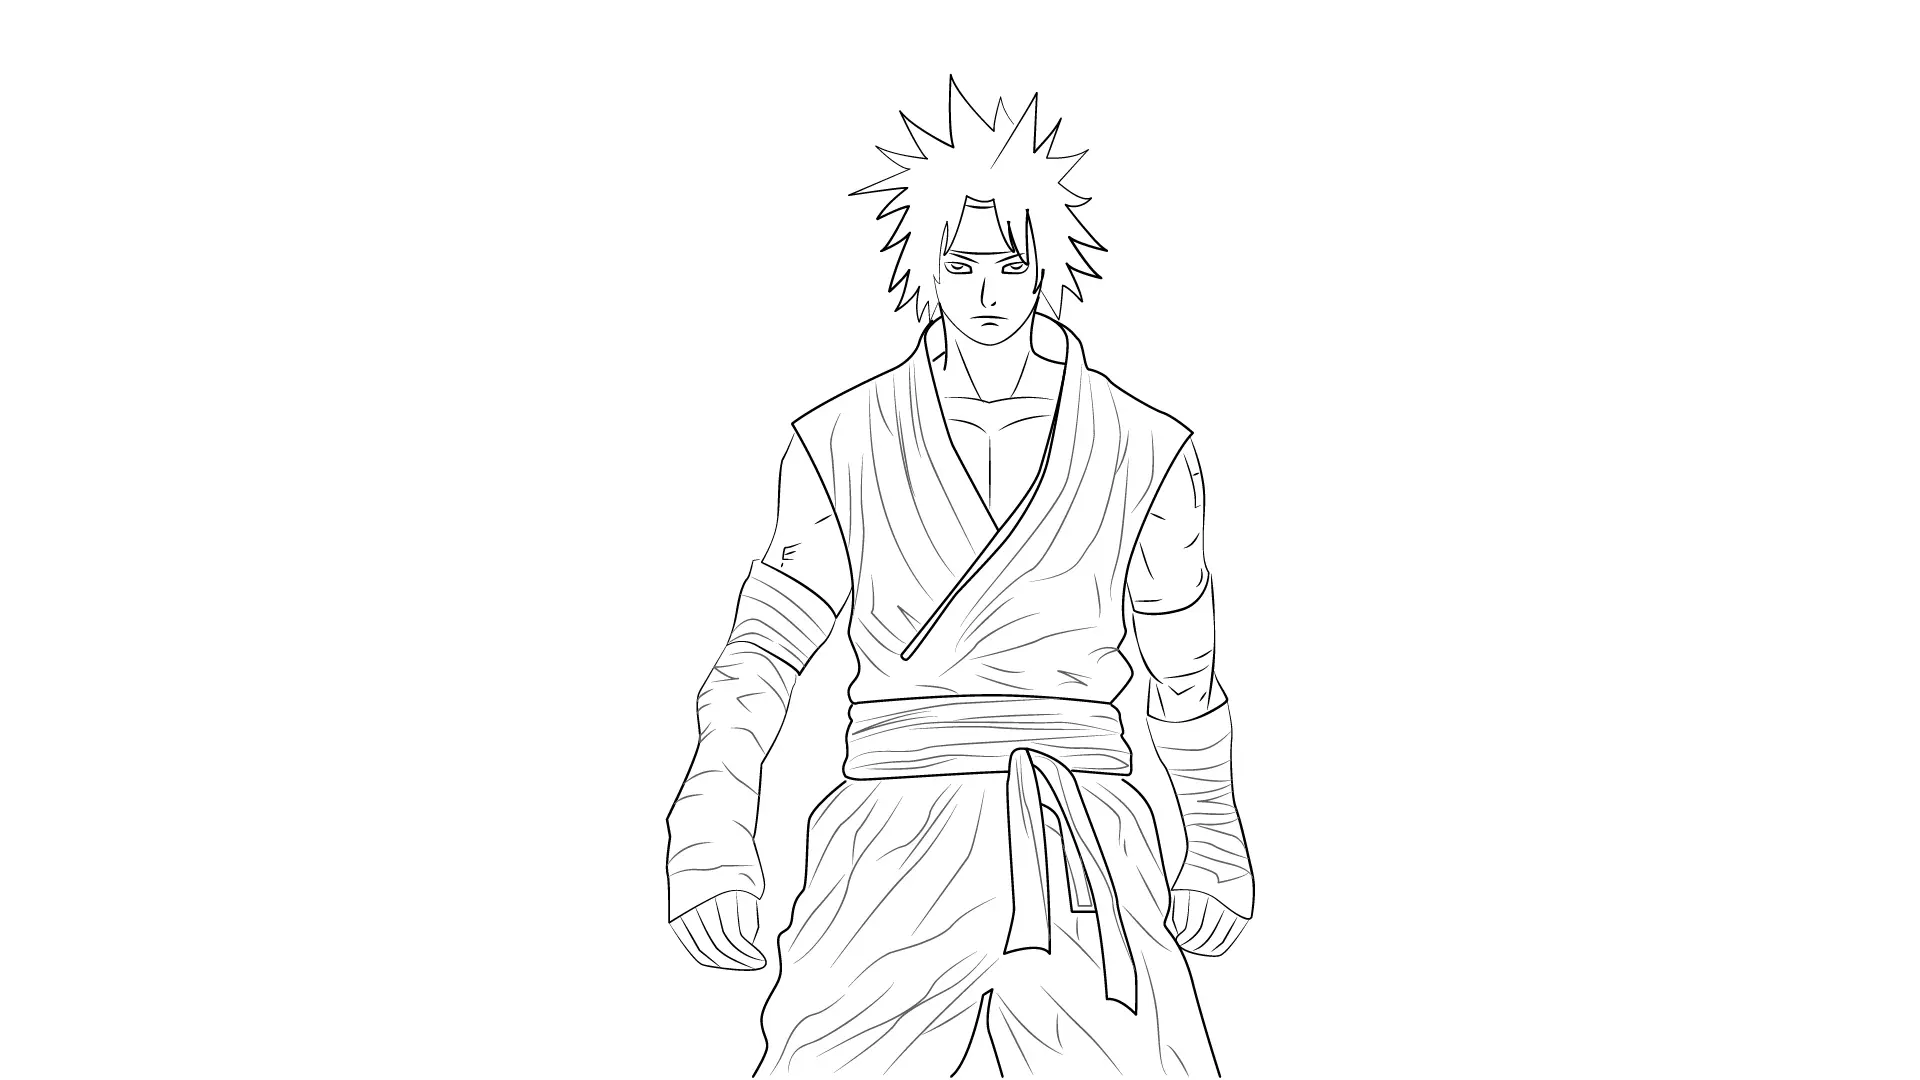
Welcome to this step-by-step drawing tutorial to create a manga man! In this guide we will explore the basic techniques for drawing an eye-catching manga character using only a pencil, an eraser and some paper.
Whether you're a beginner at drawing or looking to improve your skills, follow these simple steps to create your own lively manga character.
THE MATERIAL FOR DRAWING
Necessary materials:
- A pencil (preferably an HB or B graphite pencil)
- An eraser
- A smooth A4 size sheet of paper
Ready to unleash your creativity and bring your manga character to life? Then, let's get to work and dive into the captivating world of manga drawing!
DRAWING A MAN IN MANGA STYLE STEP BY STEP
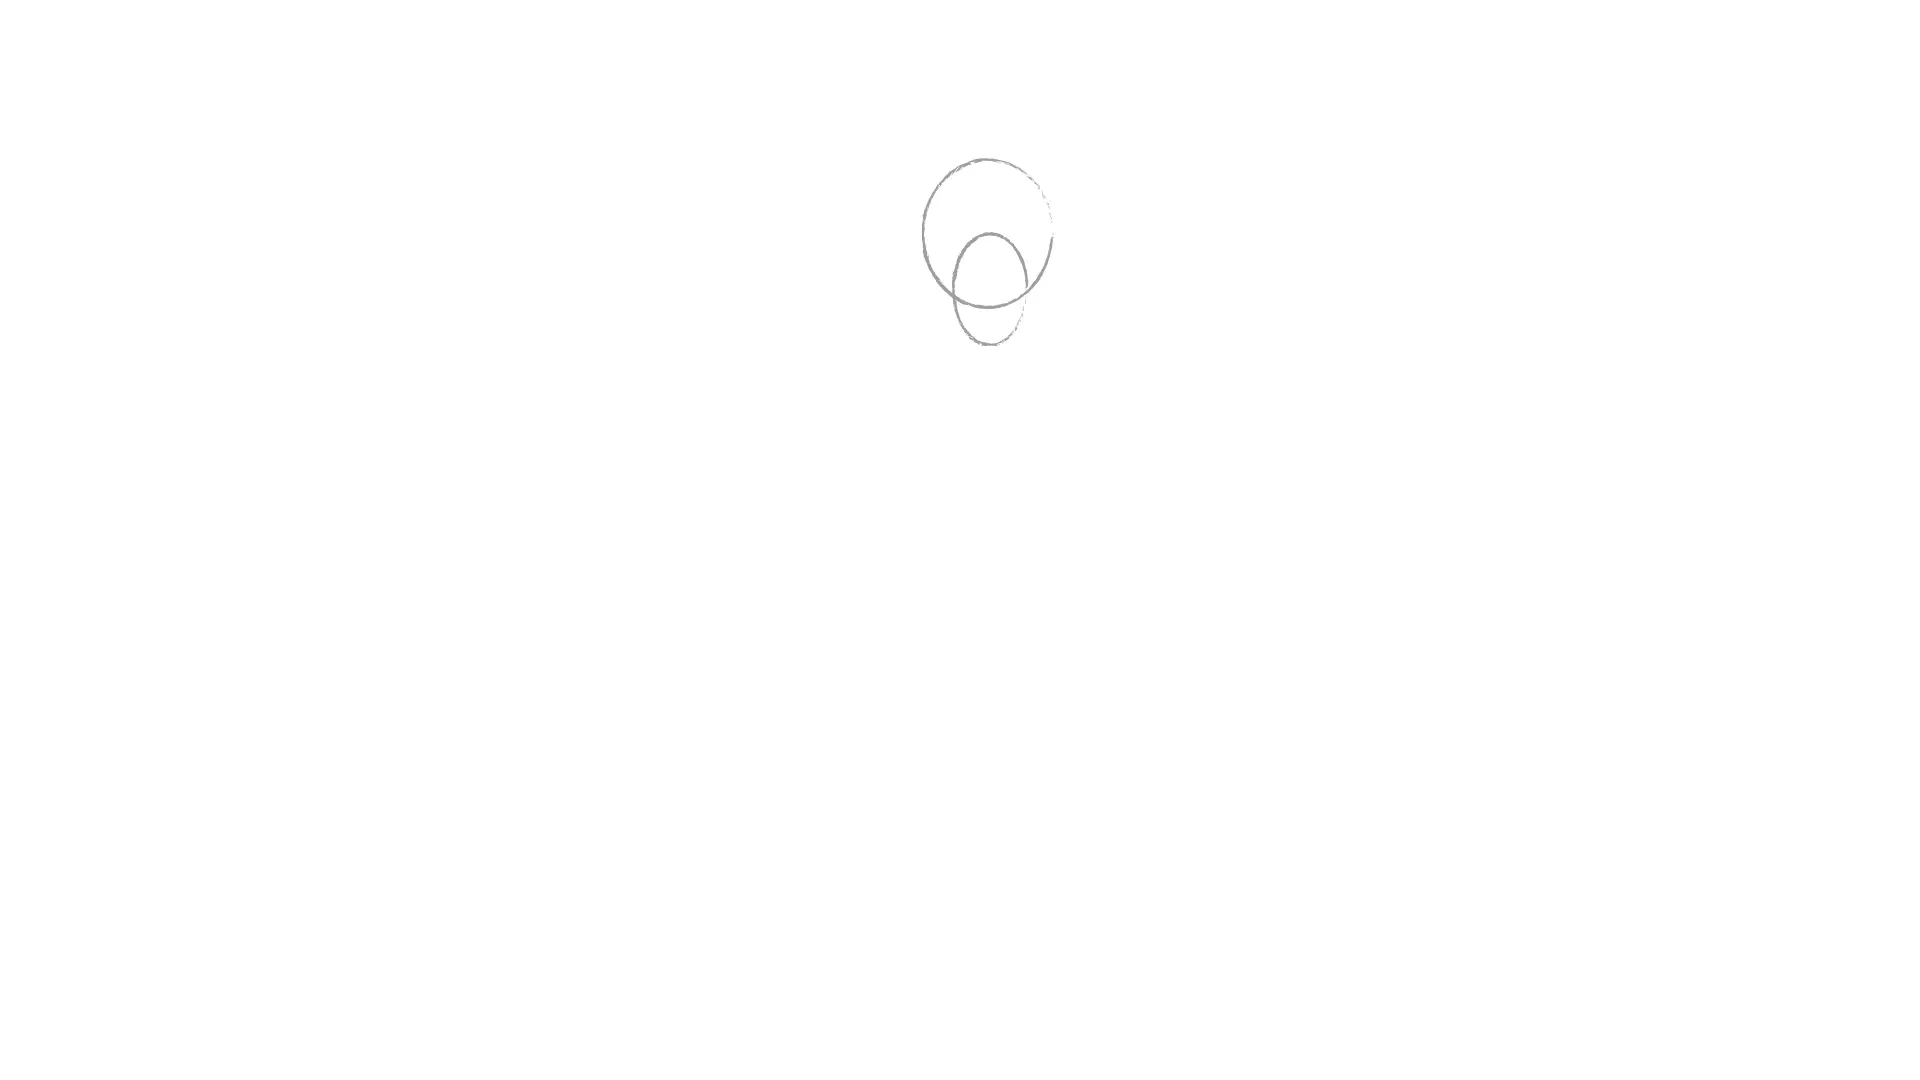
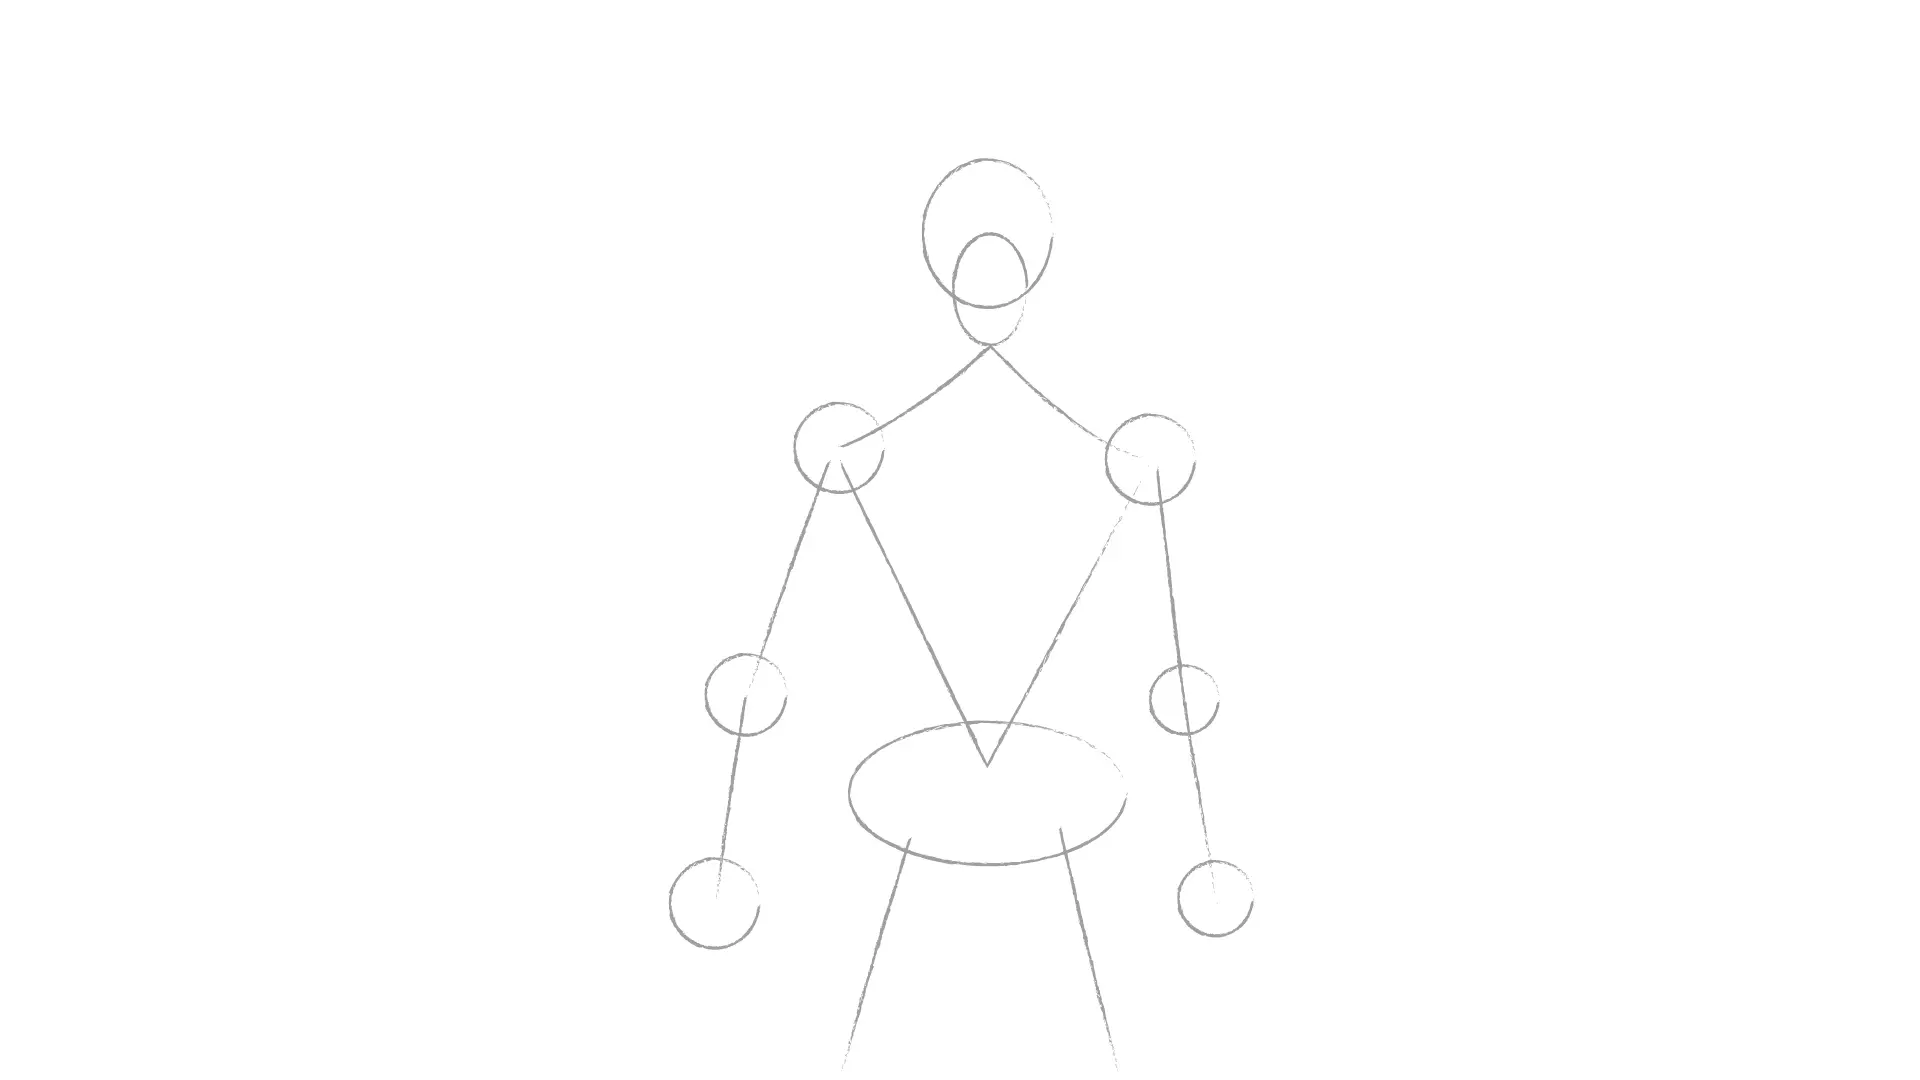
Start by drawing two ovals that will serve as a guide for the head of the manga character. These ovals form the base of the character's head. Feel free to adjust their size and position according to the style you want to achieve.
Use light strokes for this step, as these marks will be erased later. This will establish the foundation of your drawing and allow you to define the proportion of the head relative to the rest of the body.
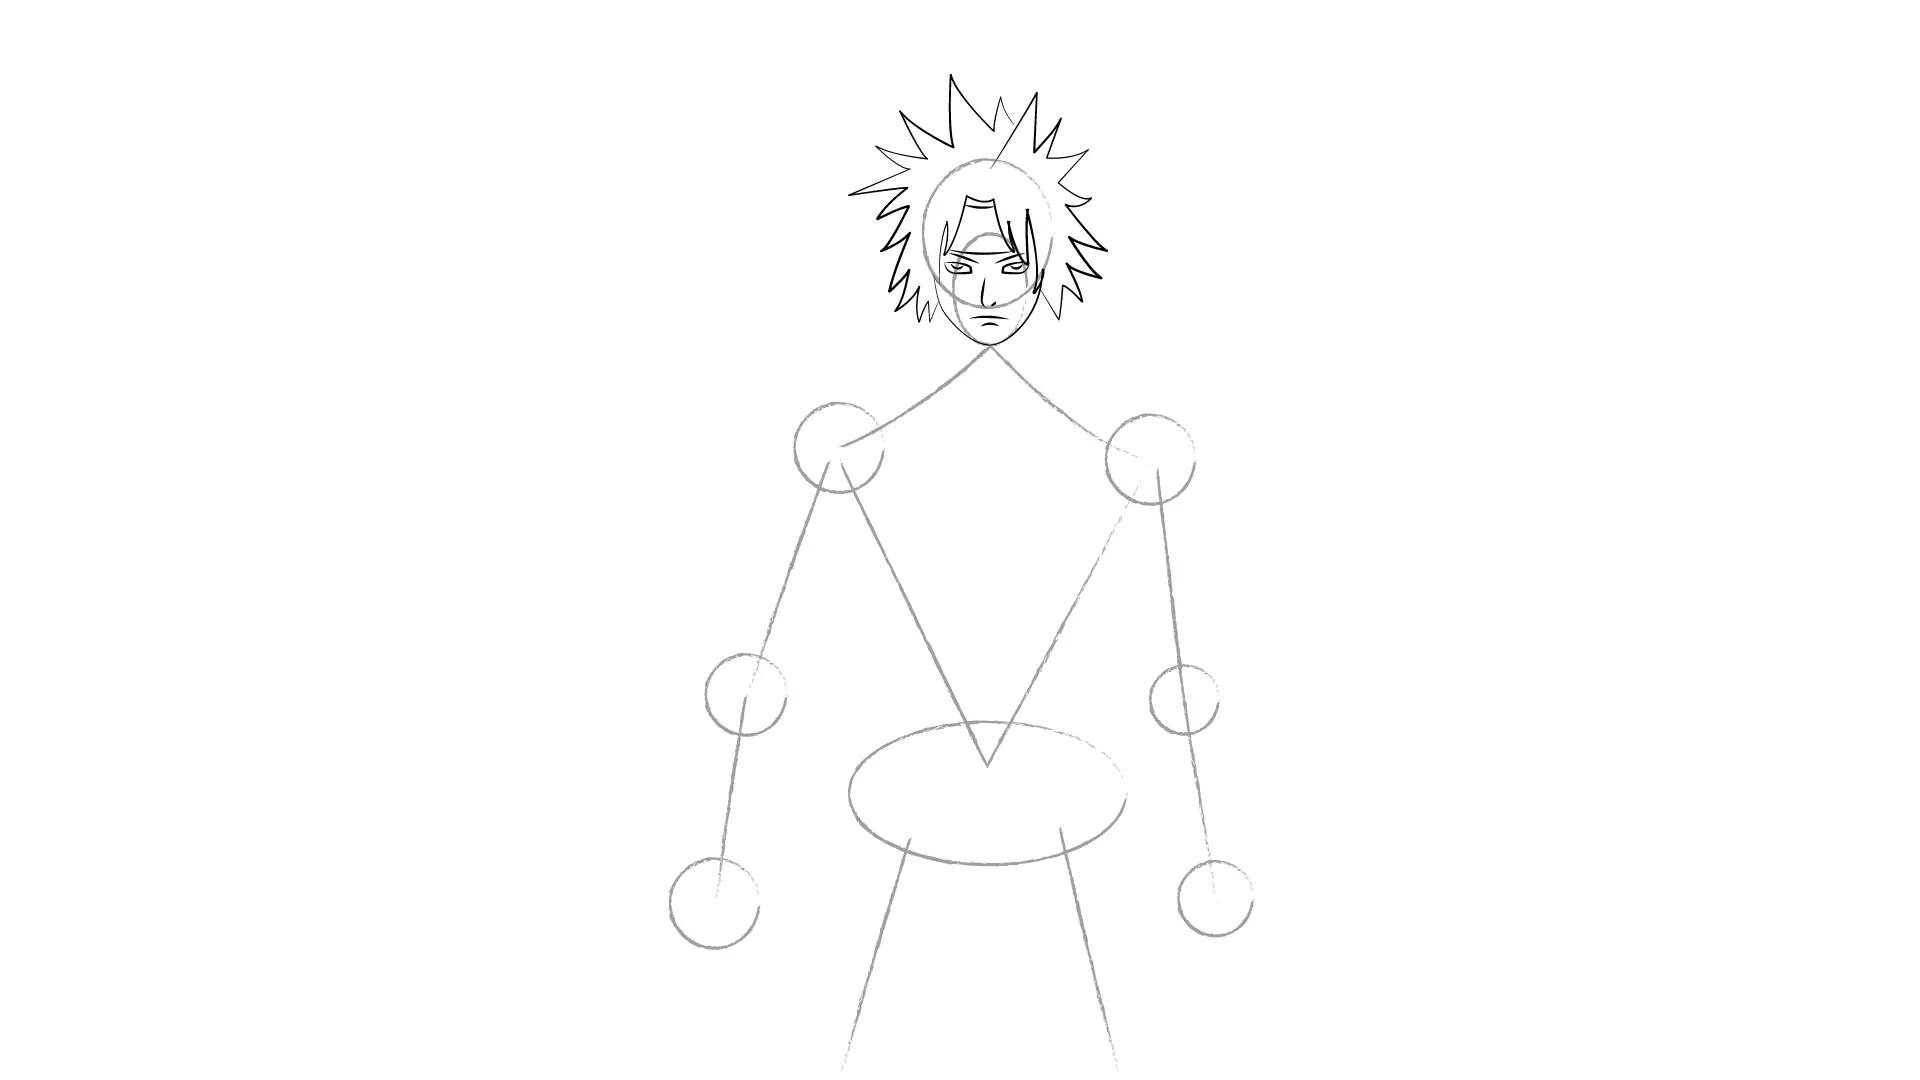
Now, draw circles to represent the body's joints. These circles will be markers for the shoulders, elbows, wrists, and hips. Place the circles in a way that corresponds to the posture and pose you have in mind for your manga character.
Next, connect these circles by drawing light lines to indicate the direction of the body. These lines will serve as a guide for the position and orientation of the different body parts. Remember, this step is about establishing the basic structure of your character and defining its overall pose.
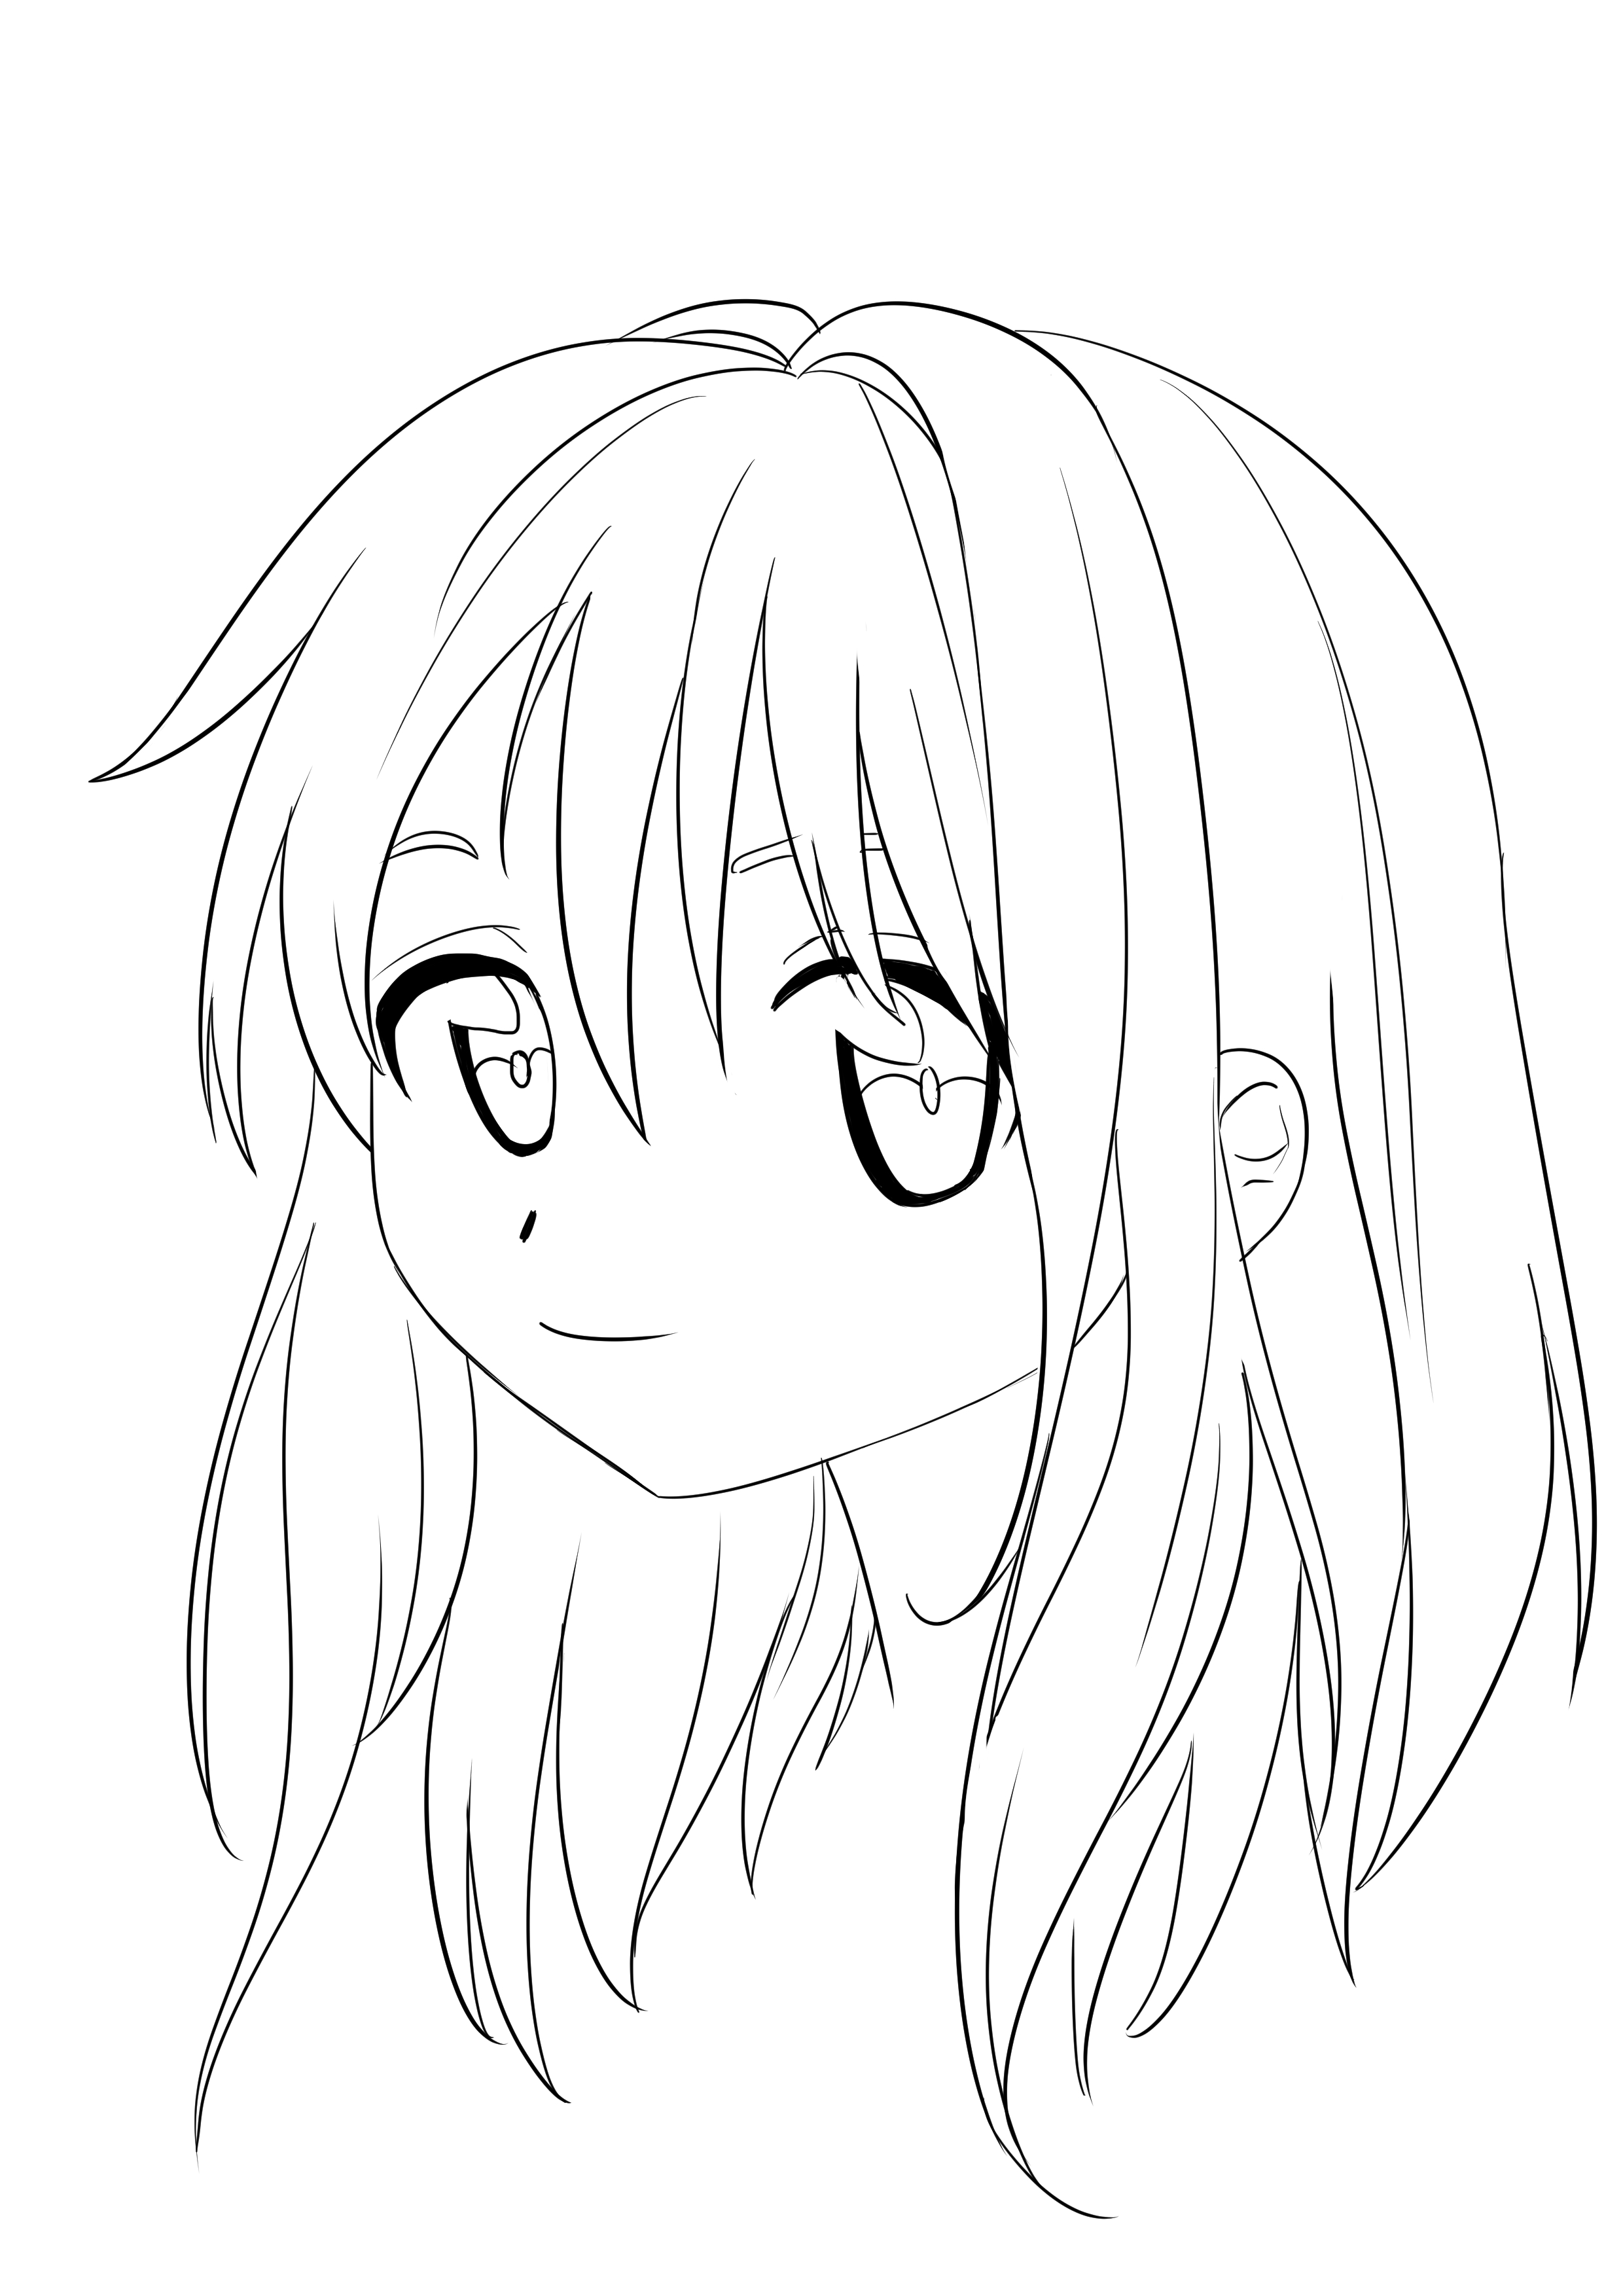
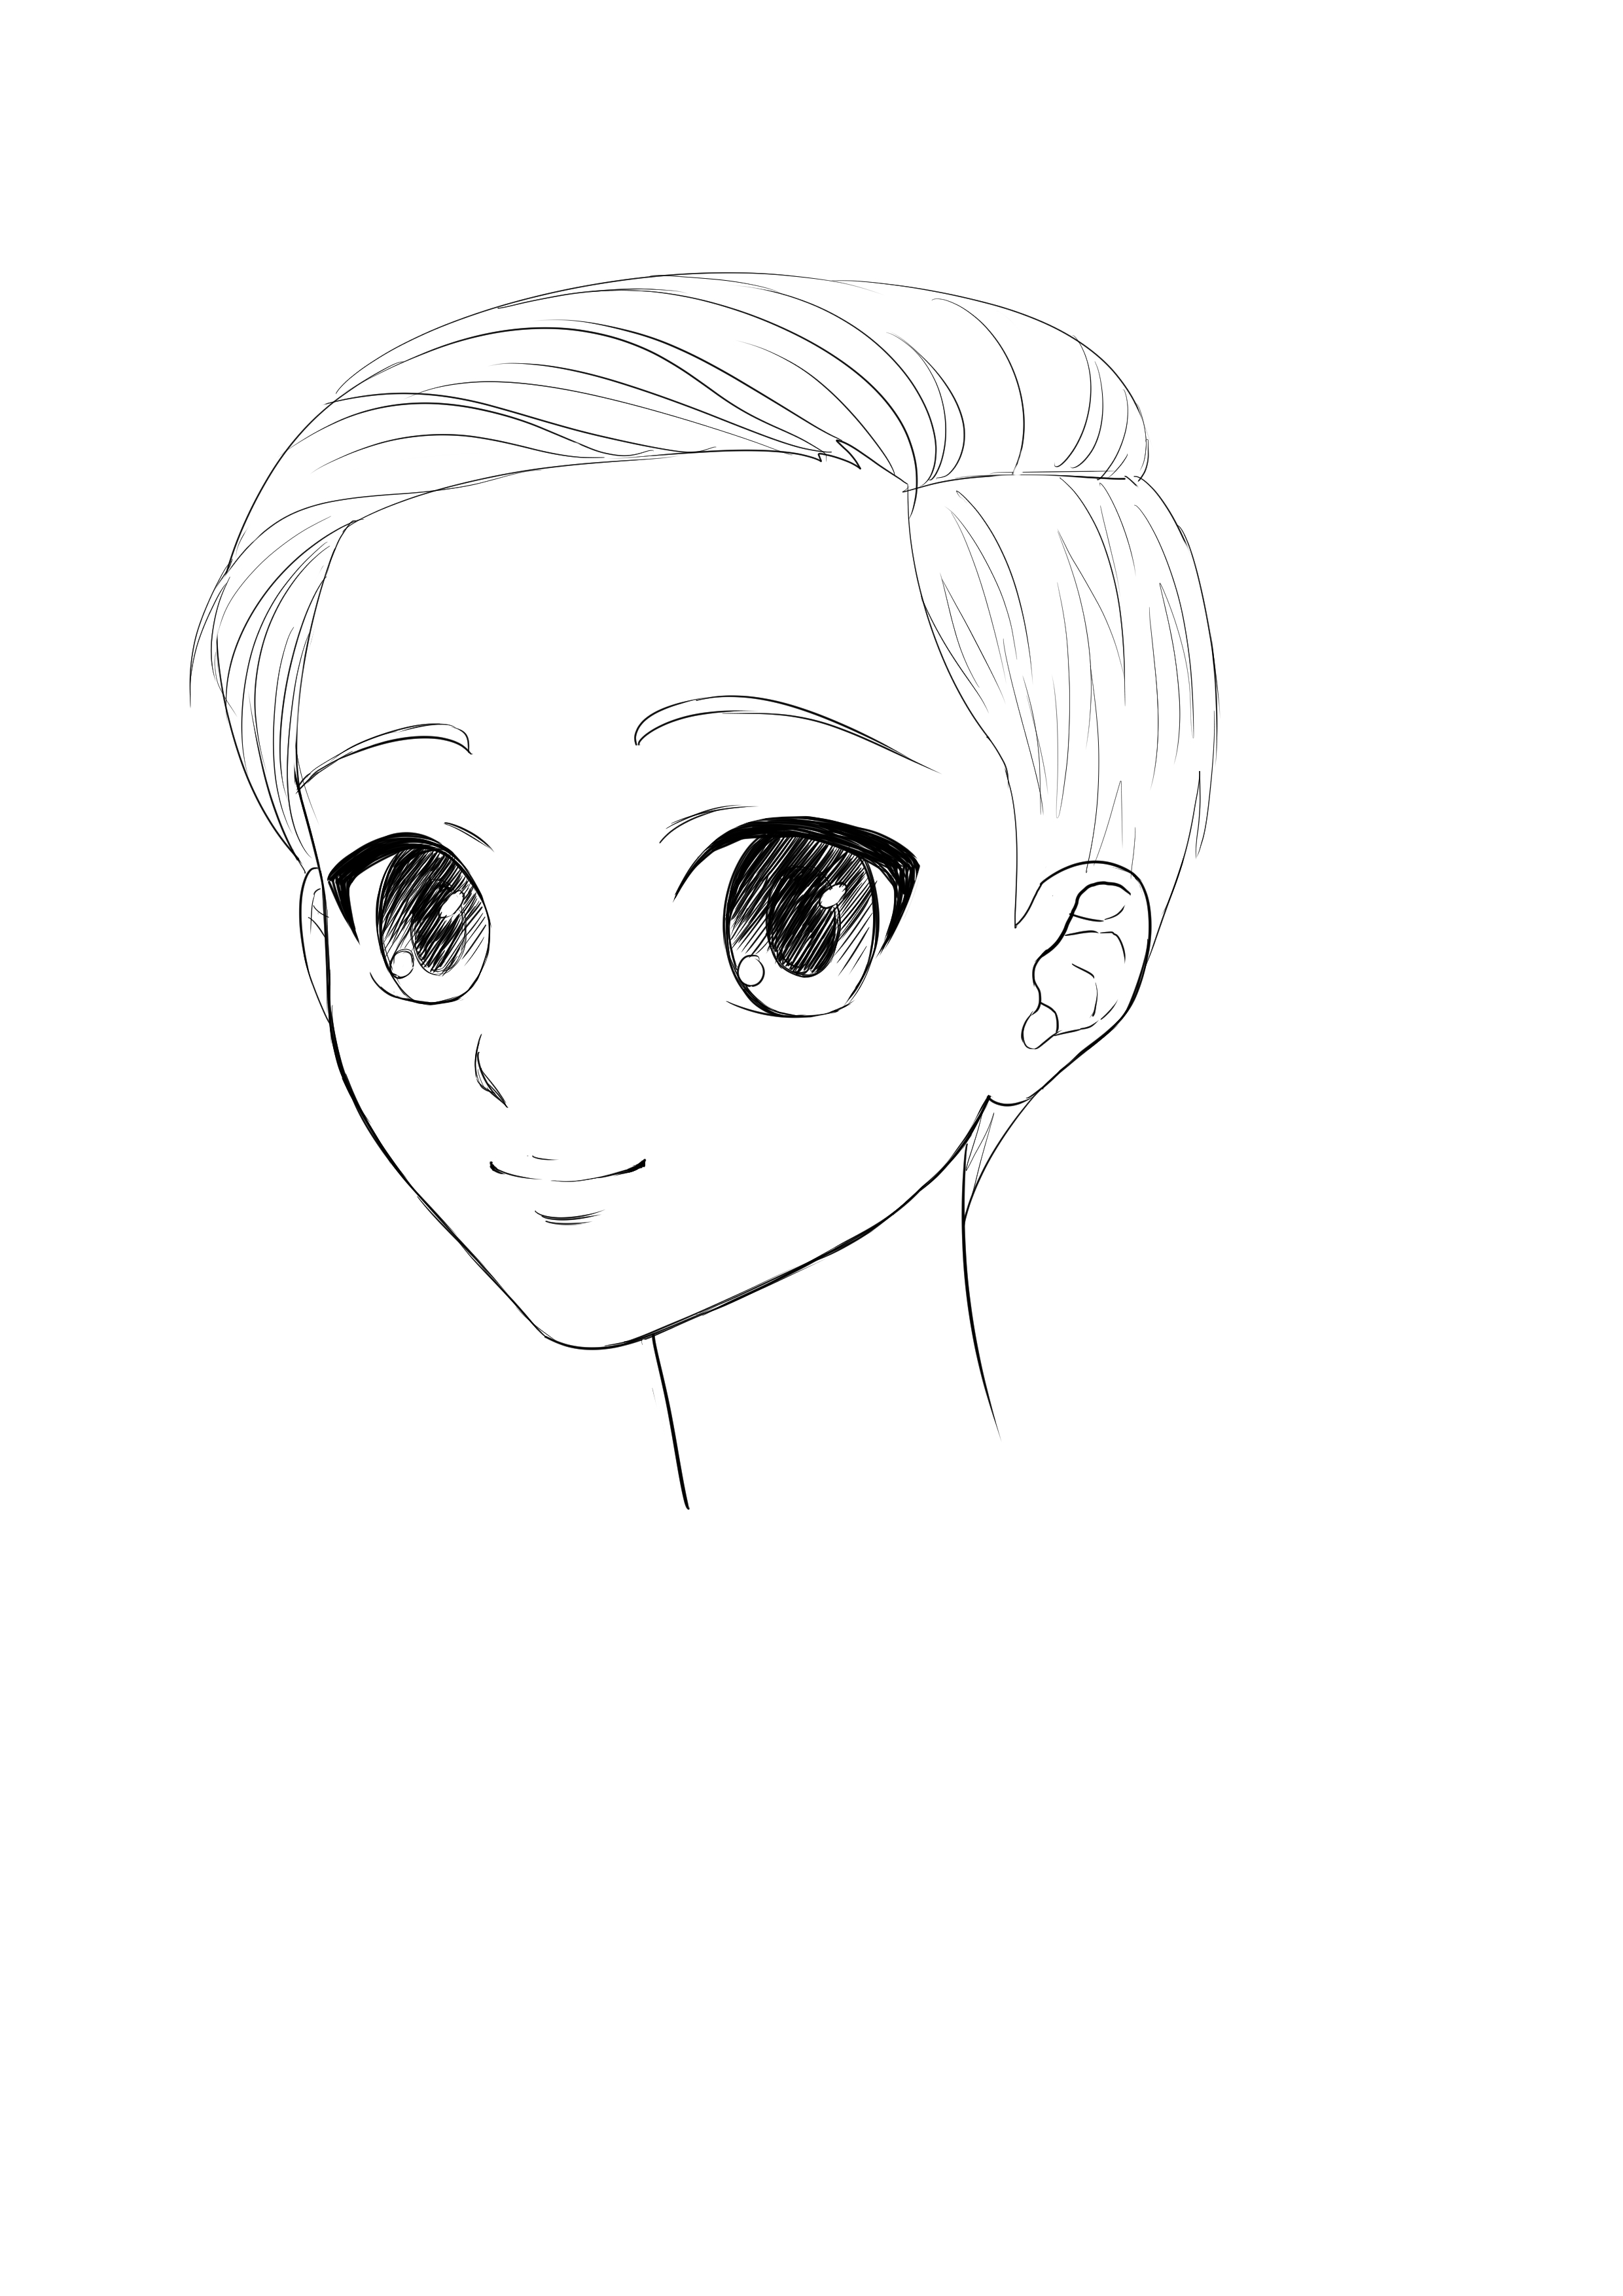
Let's now move on to the details of the face and hair of your manga character.
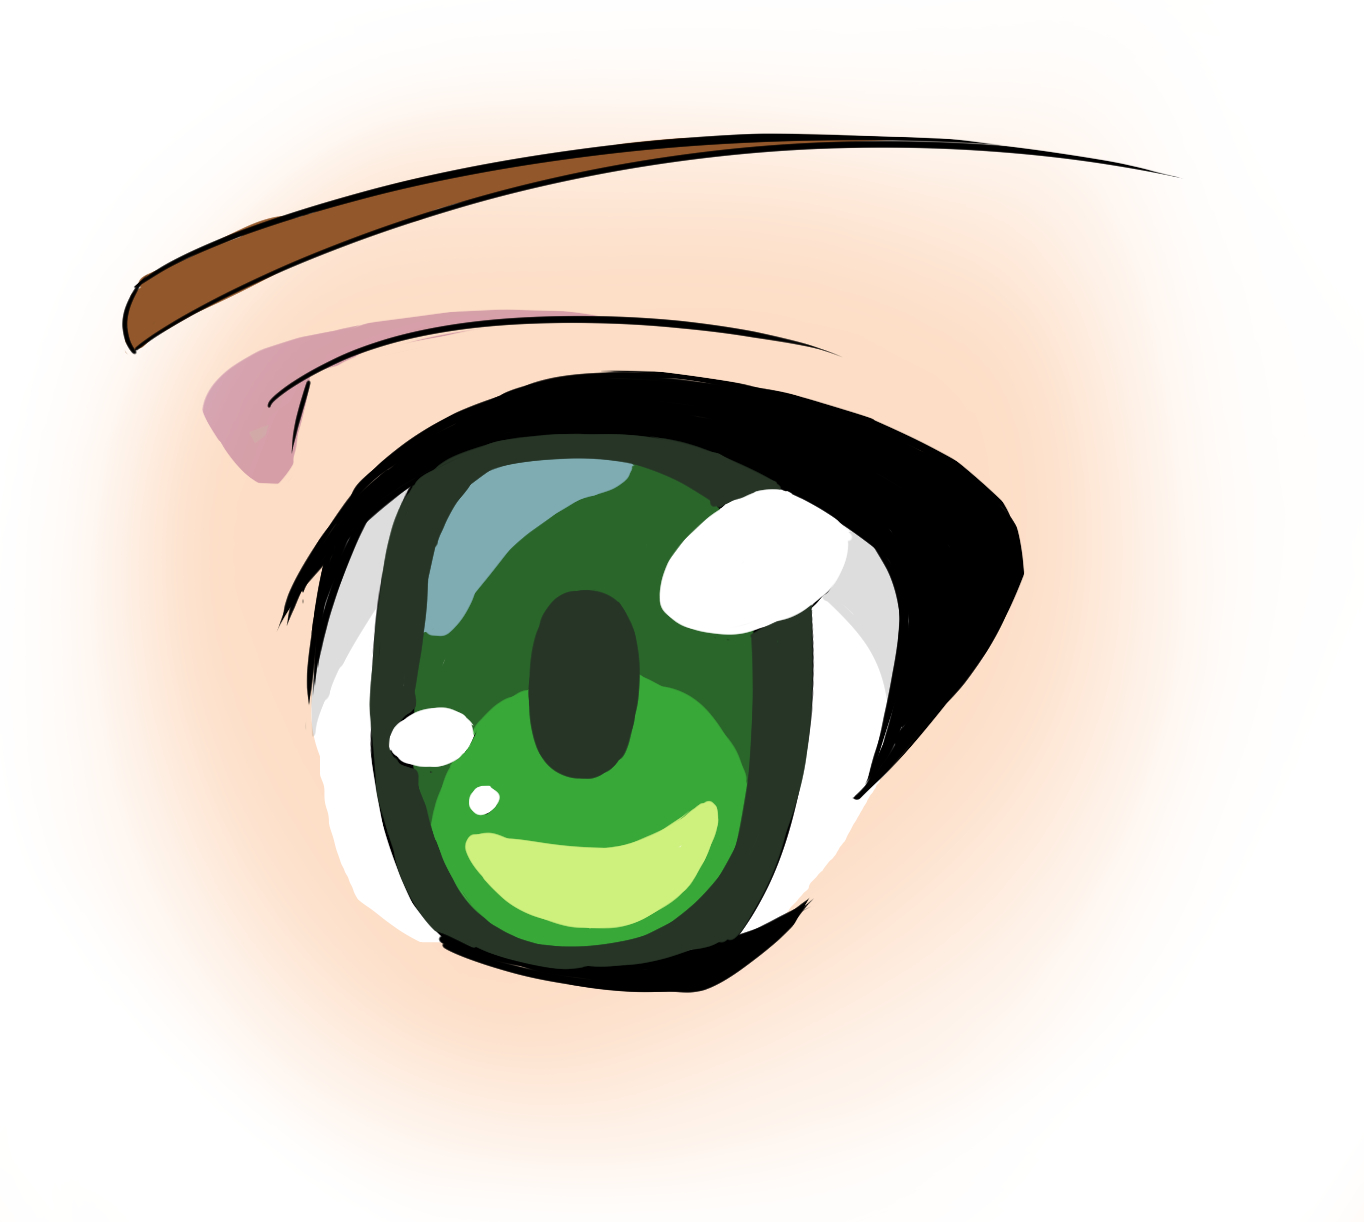
Use the previously drawn guides to position the character's eyes, nose and mouth. Draw the almond-shaped eyes along the upper oval, taking care to leave space between them. Add a small nose just below the midline of the face. Then draw a mouth using curved lines for the lips. Do not forget to add eyebrows above the eyes to give expression to the face.
For hair, imagine the hairstyle you want for your manga character. Start by drawing the outlines of the hairstyle using dynamic and energetic strokes. Experiment with different shapes of locks and bangs to create a unique style.
Take your time working on these details, as the face and hair are key elements in expressing the personality and style of your manga character.
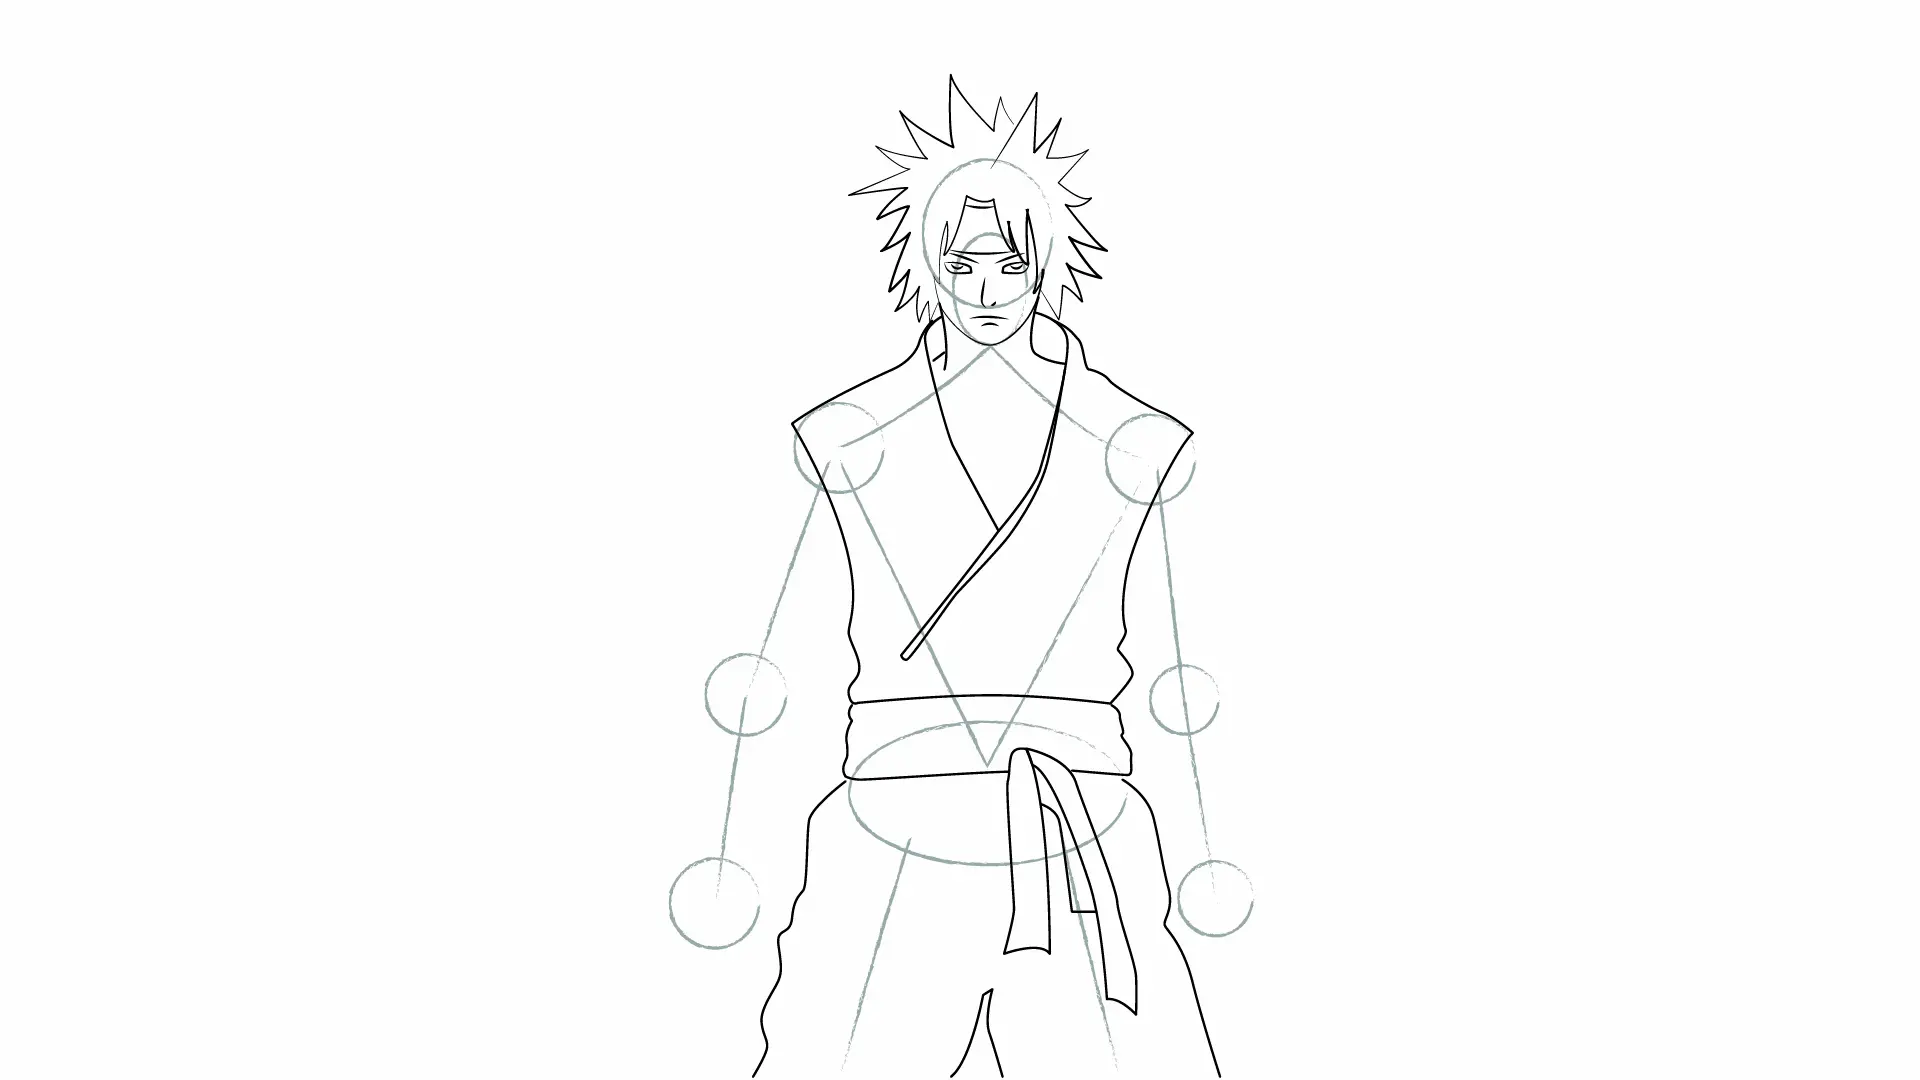
Now, let's focus on drawing the body of our manga character, based on the guidelines we previously drew. We will also give him a fighter's outfit with a belt.
Use the circles you have drawn as markers for the joints and shoulders. From these markers, draw the torso by adding lines for the muscles and the pose you want. Create a realistic body structure while keeping in mind the manga style, using curves and fluid lines.
Imagine a battle outfit for your character. Start by drawing the outlines of this outfit, inspired by the aesthetics of manga. For the belt, draw a horizontal band around the character's waist and add decorative elements according to your style.
At this stage, keep in mind the pose and perspective of your character. Take your time to create a proportionate body and clothing that reflects the personality and style of your manga character. Once you are satisfied with the result, you can move on to the next stage to add the arms and final details.
Let's continue by drawing the arms of our character based on the guidelines we created earlier.
From the circles drawn for the joints, start drawing the arms using light lines. Draw the upper part of the arm (the arm itself) by connecting the shoulder circle to the elbow circle. Next, add the lower part of the arm (the forearm) by connecting the elbow circle to the wrist circle.
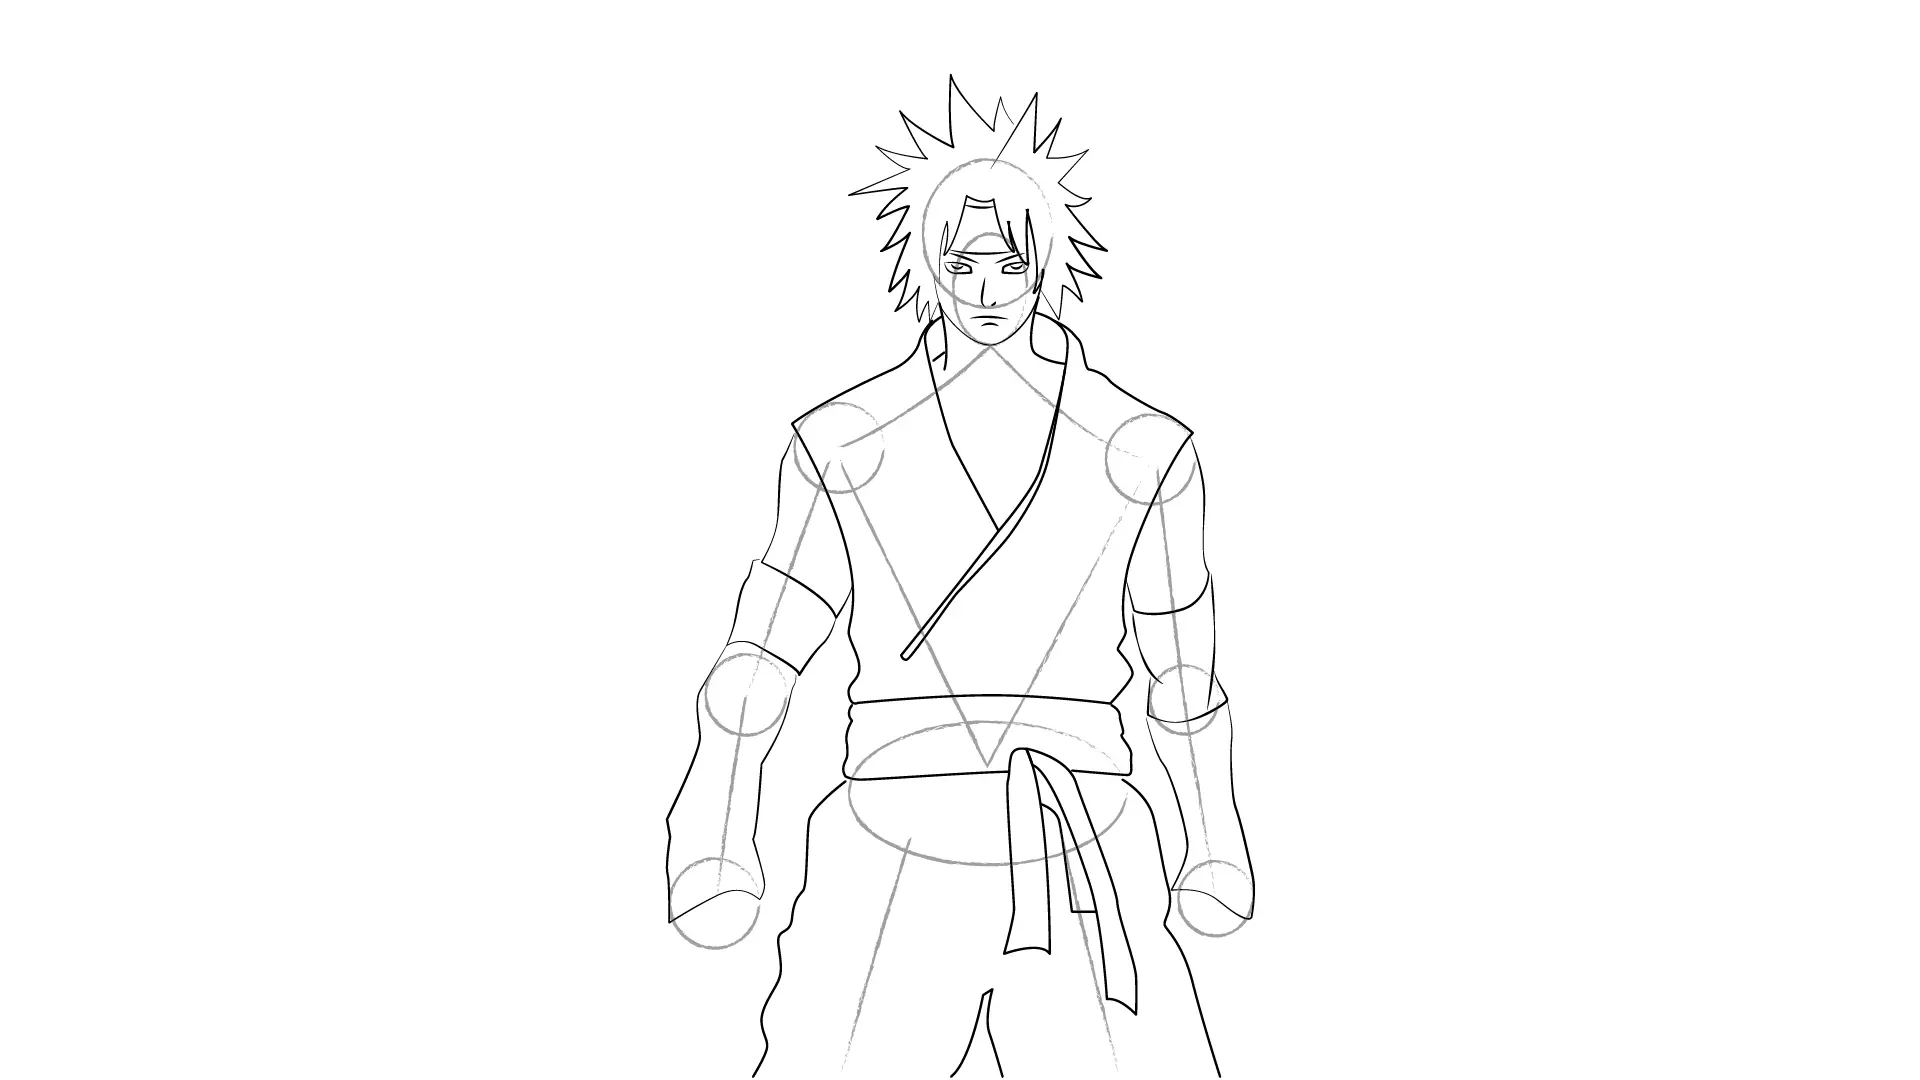
Once the arms are drawn, take the time to add details such as muscles, elbow folds, and finger joints. Don't forget to adapt the details to the manga style using clean and dynamic lines.
At the end of the arm, sketch the basic shape of the hand. Start by drawing a shape similar to a rectangle for the palm, then add oval shapes for the fingers. You can adjust the size and shape of the fingers according to the position of the hand in your character's pose.
Then, connect the fingers to the palm by adding lines for the knuckles.
Add details to the torso of your character as well.
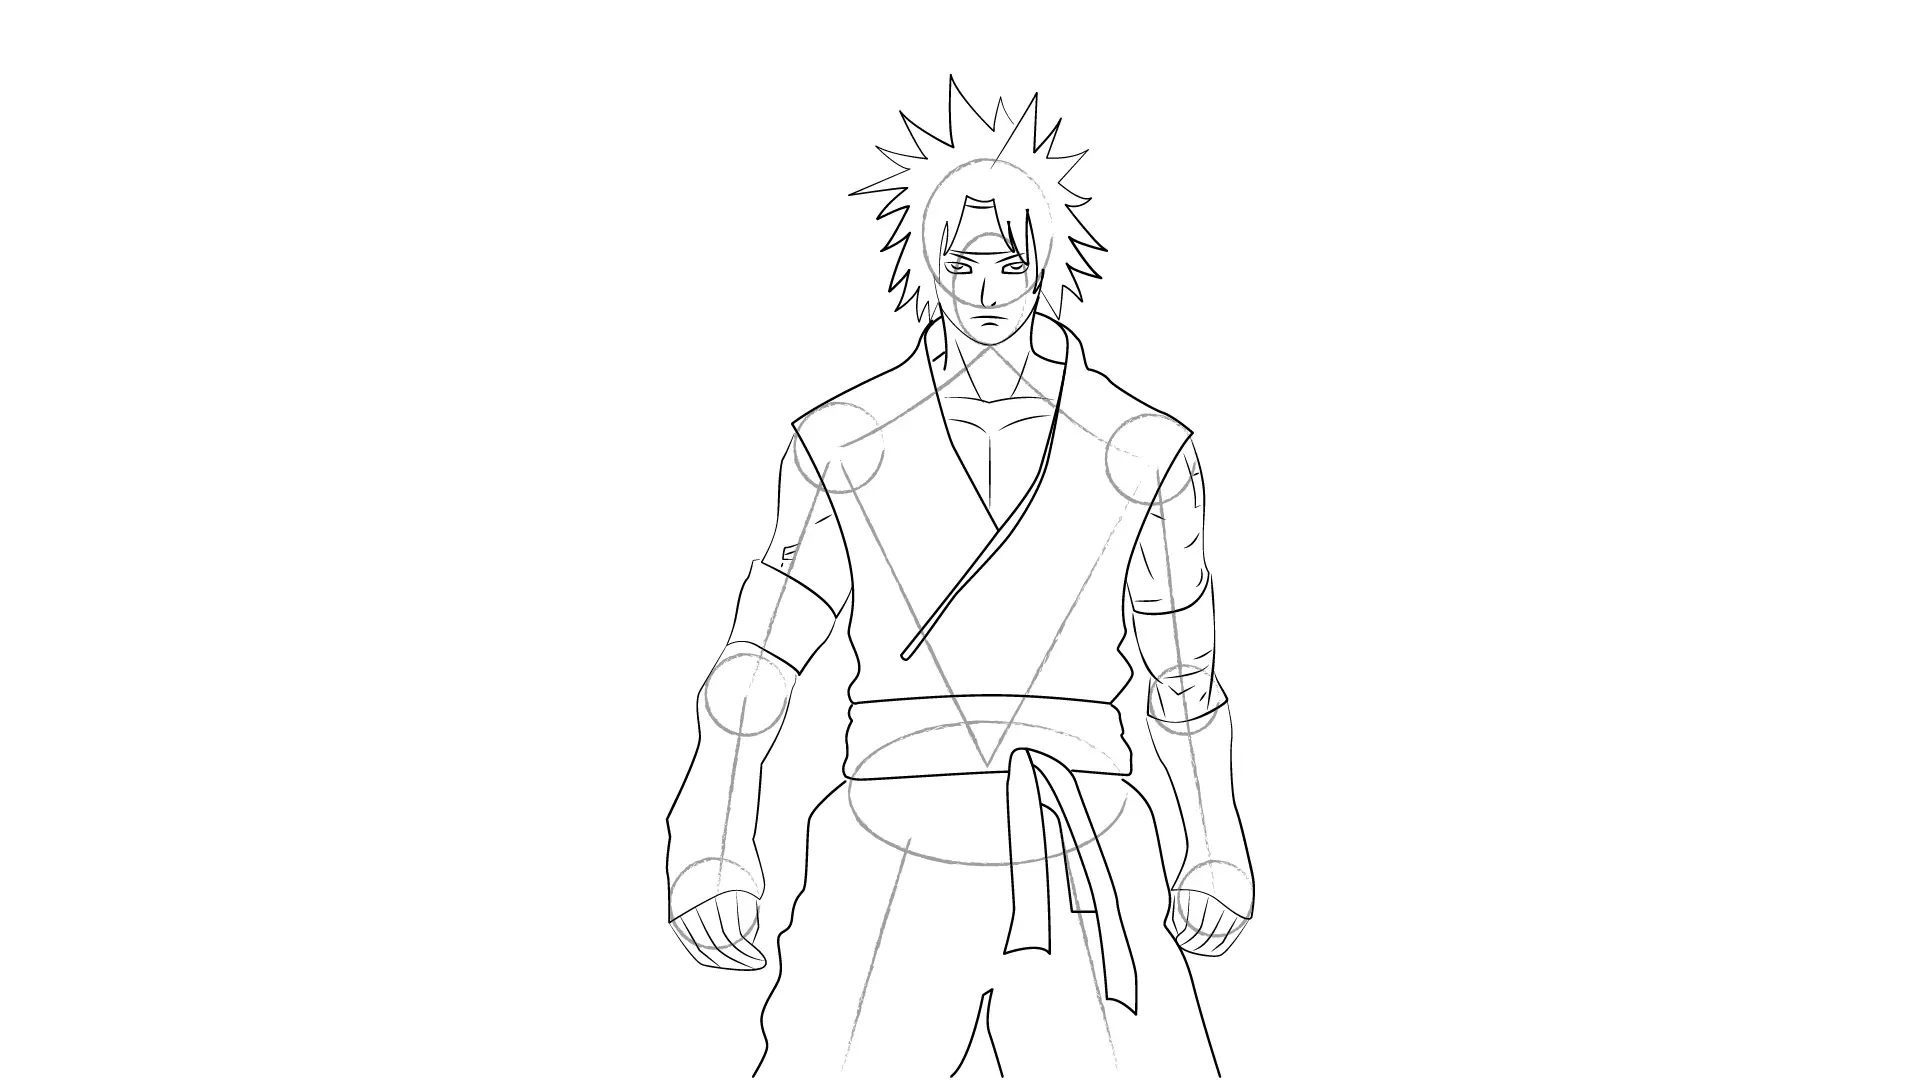
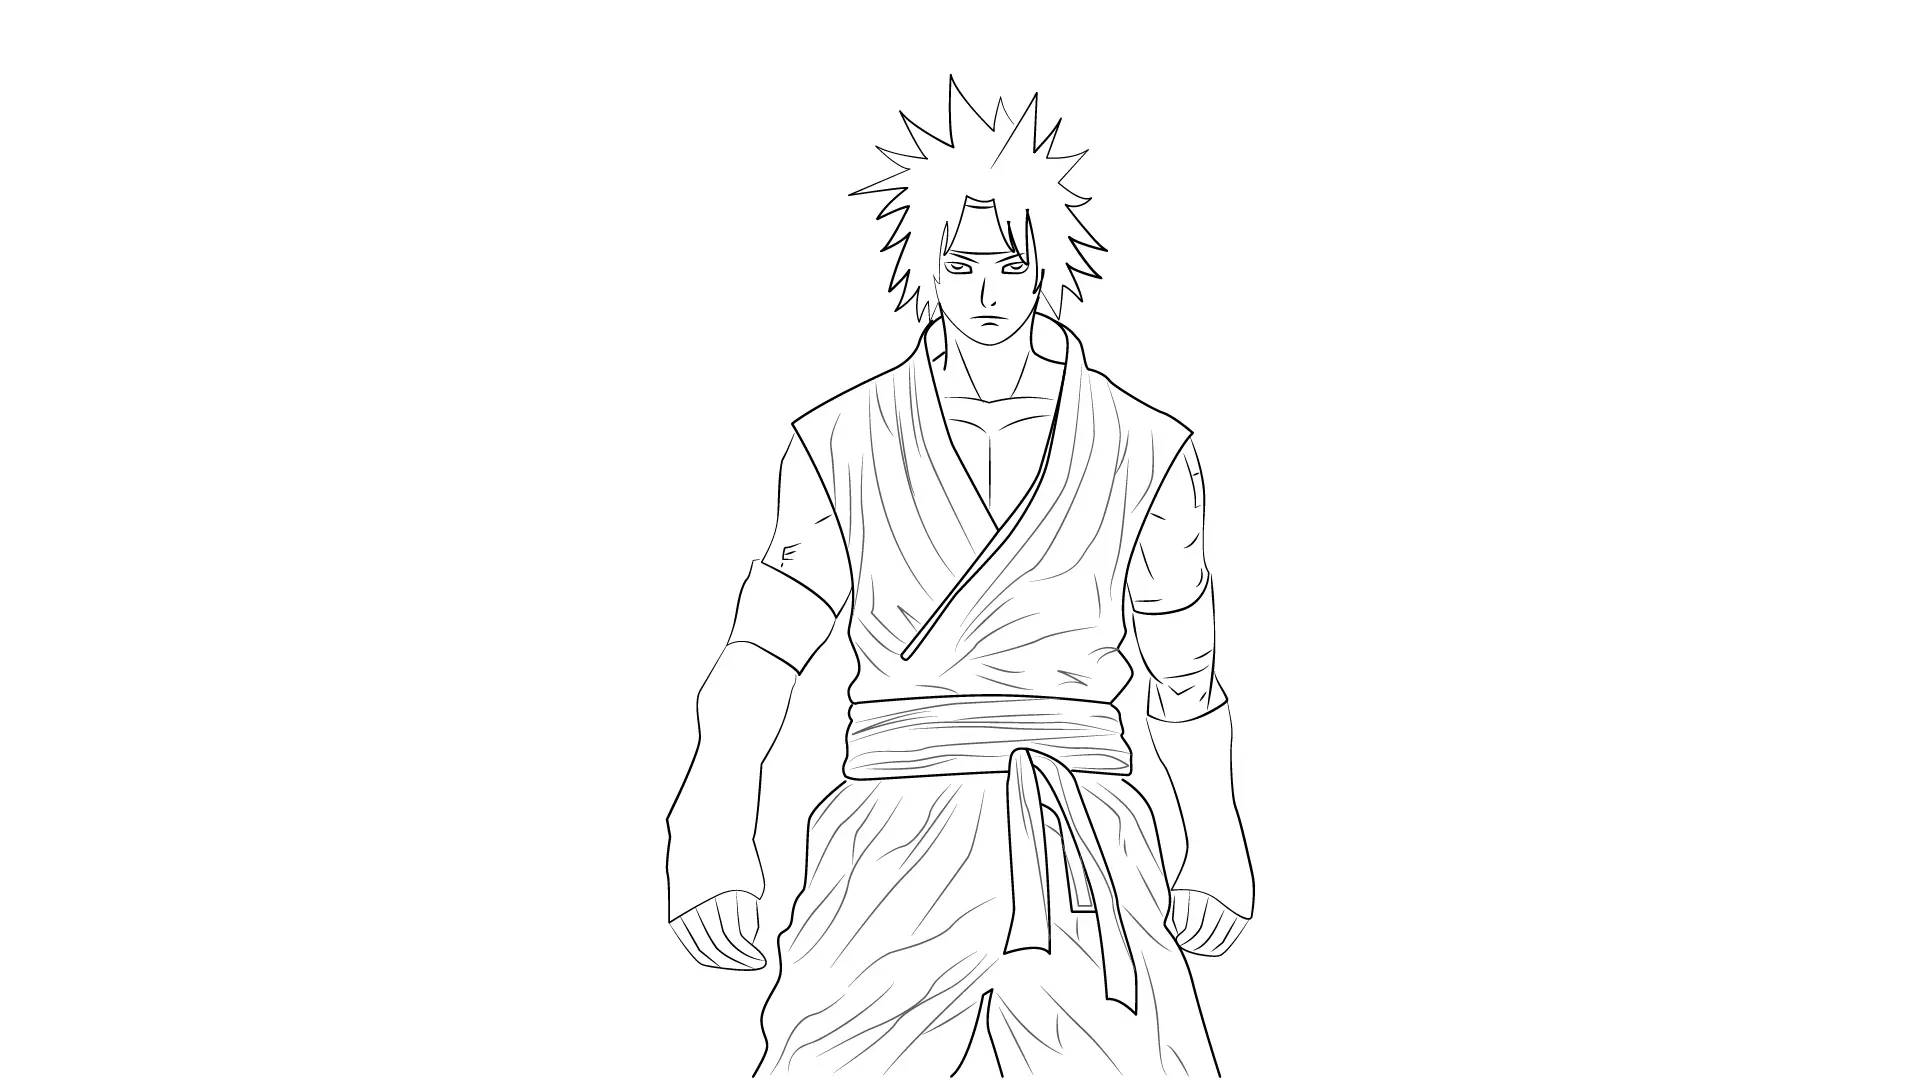
We will now erase the marks drawn at the beginning to make room for our fully formed manga character.
Use an eraser to gently erase the lines of the ovals and circles you used as guides for the head, joints and body. Be sure not to accidentally erase the main lines of the character. The goal is to clean up the drawing while preserving the details and structure you added along the way.
Take your time during this step to achieve a clean and neat result. Once you have erased the marks, you will see your manga character come to life with its facial details, hairstyle, fighter outfit, and well-defined arms.
Now that the guidelines have been removed, we are ready for the final touches in the next phase, where we will add the final details and shadows to give depth to our design.
In this step, we will add details by creating folds at the top of his outfit as well as on his belt.
To make our character's outfit more realistic and dynamic, let's draw folds on the top of his fighting outfit. Imagine how the fabric folds and wrinkles naturally when the character moves. Use curved lines to hint at the folds and waves of the fabric. Make sure to maintain your character's pose while adding these details.
Let's now move on to the belt of our character. Add decorative details such as patterns or fasteners. Draw lines to define the width and contours of the belt. You can also add a buckle or other elements to accentuate the style of the belt. Remember to consider the perspective and pose of the character when adding these details.
Keep in mind that folds and details add realism and depth to the design. Take your time to work on these elements and experiment with different forms of folds to achieve the desired effect.
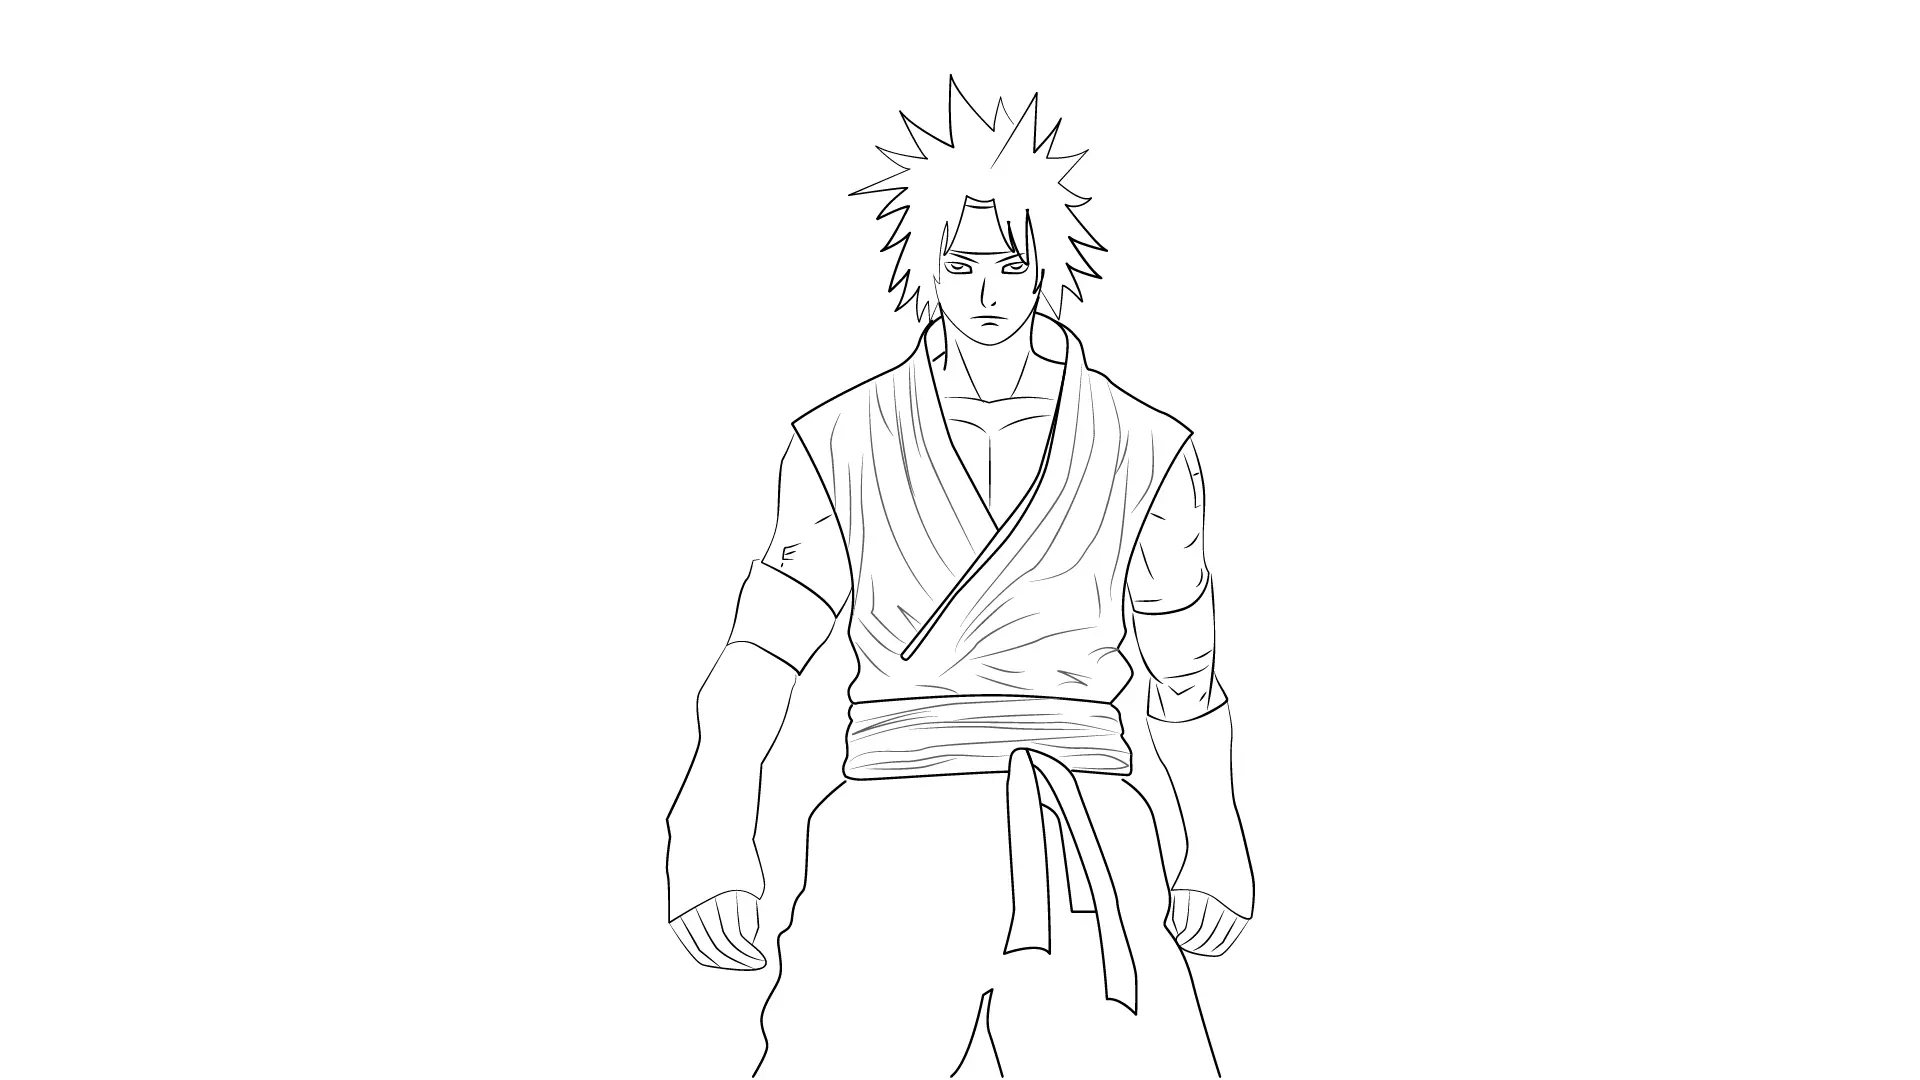
In this step, we will add details by creating folds at the bottom of the outfit to give even more realism and movement to our manga character.
Use curved lines to draw folds that naturally form when the character is in motion as in the previous step.
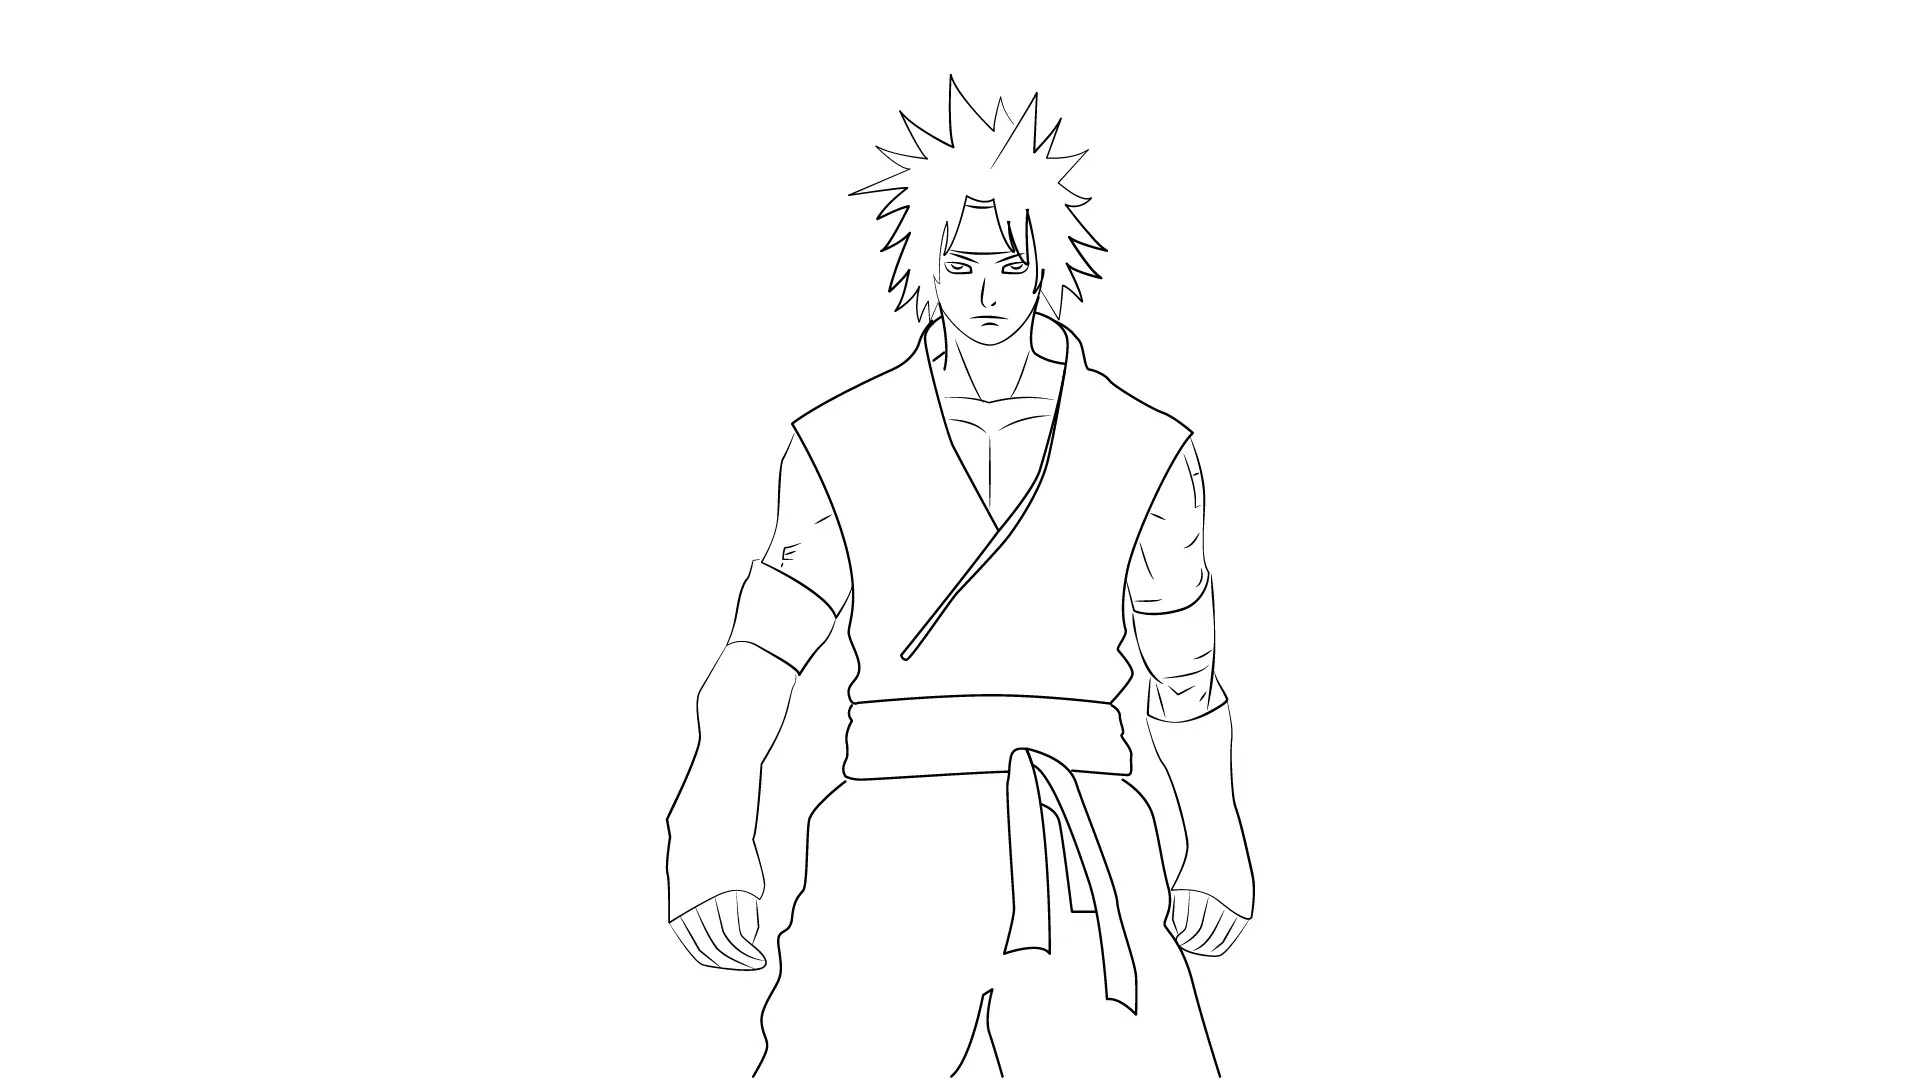
In this final step, we will add the finishing touches to our drawing by adding details to the arm, including the folds on the band wrapping around the arm.
To add realism and characterization to our character's arm, let's focus on the folds that form on the ribbon that wraps around the arm. Imagine how the fabric folds and stretches around the arm in motion. Use curved lines to draw these folds smoothly and naturally. The folds can form at the points where the fabric is tightened by the band, as well as at the elbow joints.
By adding these fold details on the arm band, you will give an impression of movement and tension to your character's outfit. Make sure to stay consistent with the rest of the folds you have drawn on the outfit for a harmonious effect.
Congratulations, you have now finalized the details of your manga character's arm!
Feel free to add your personal touches to further customize your character and show creativity in this final step!

Popular Articles
Discussion
No comments yet.